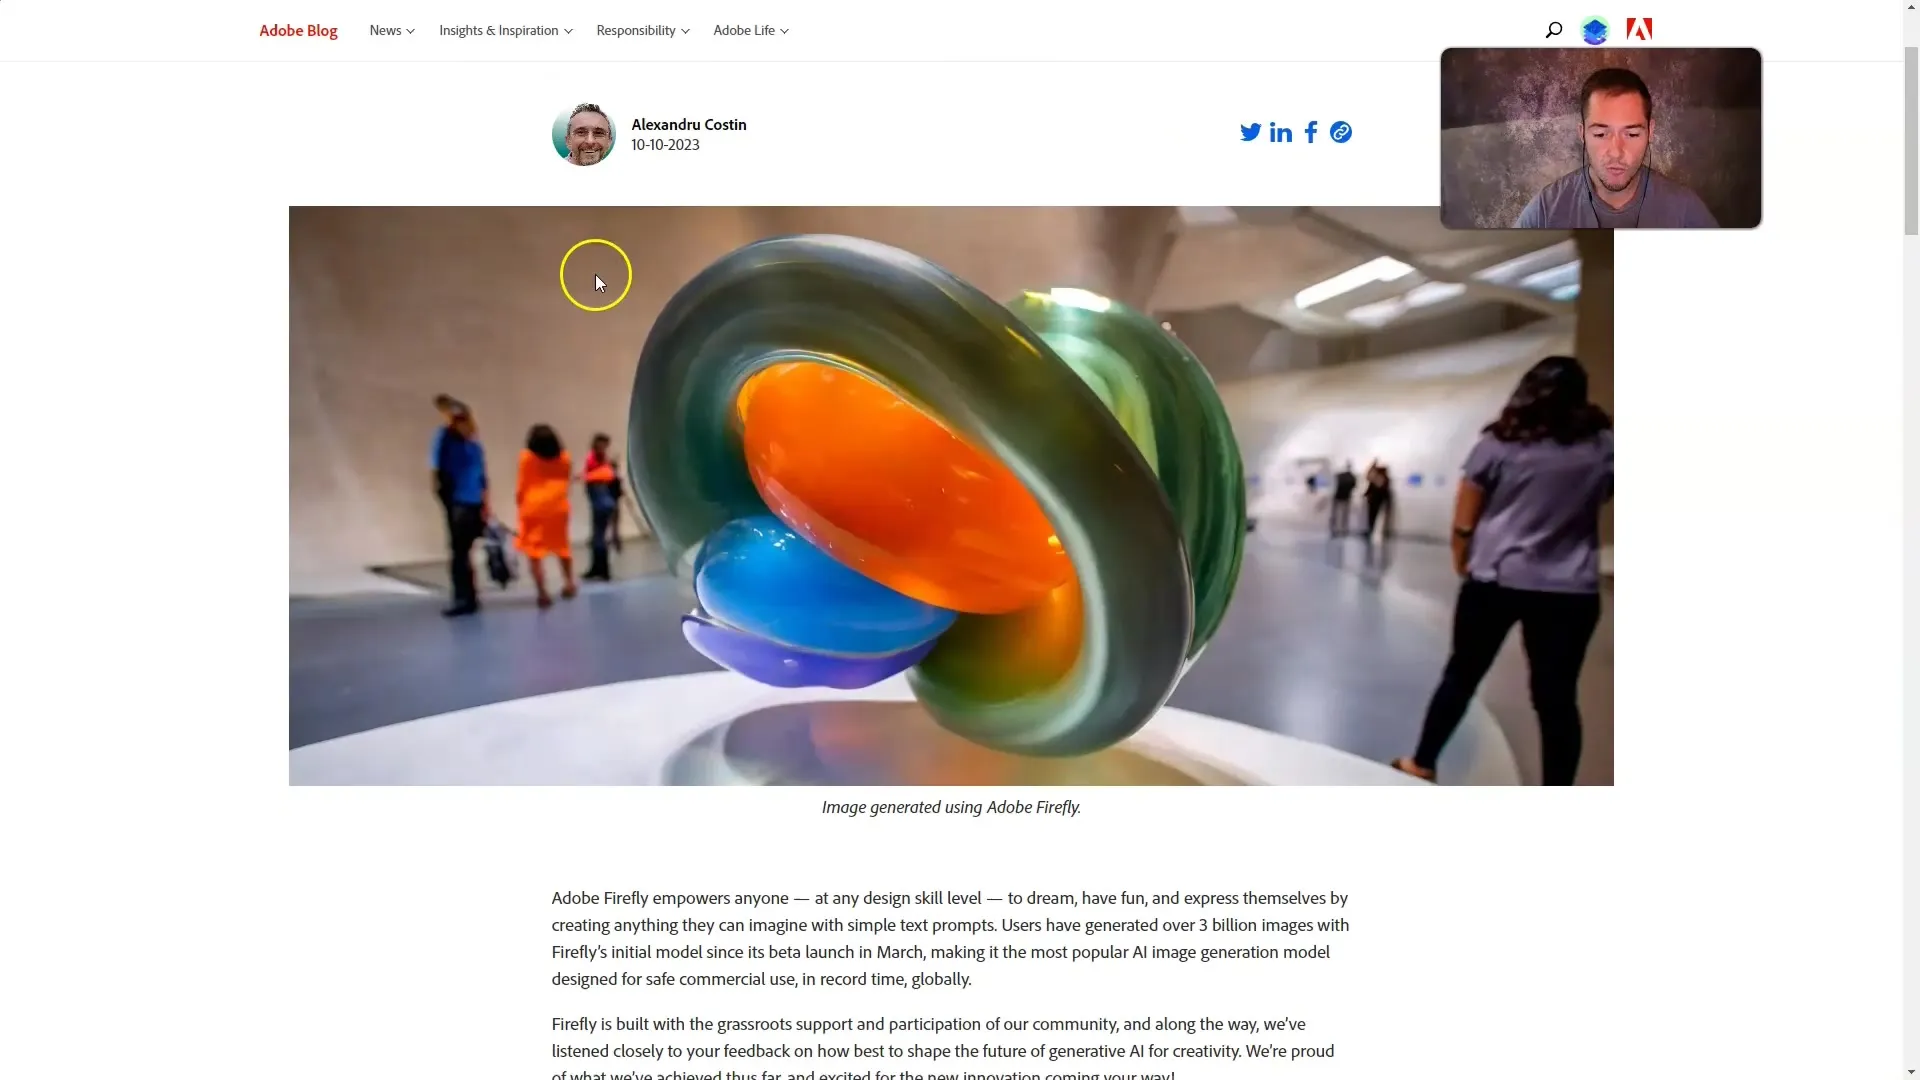
Adobe Firefly has quickly established itself in the field of generative image editing and offers an exciting update with version 4.2, which must compete against rival products like Dall-E 3 and Midjourney. In this guide, you will learn everything important about the new features of Firefly 4.2, how to efficiently utilize them, and what improvements have been implemented compared to the previous version.
Key Insights
- With the new version, you can use images commercially, the quality of the generated images has significantly improved compared to version 1, and Firefly offers versatile customization options through new styles and effects.
- The use in Photoshop, the options for image adjustment, and the integration with other Adobe services will support you optimally in creating creative content.
Step-by-Step Guide
To make the most of the new features of Adobe Firefly 4.2, follow these steps:
1. Get to Know the Firefly User Interface
Open Adobe Firefly and familiarize yourself with the user interface. You will find creative options as well as a gallery of examples created by the community. An overview of these features is particularly important to grasp the software's capabilities directly.

2. Generate Images with Firefly 4.2
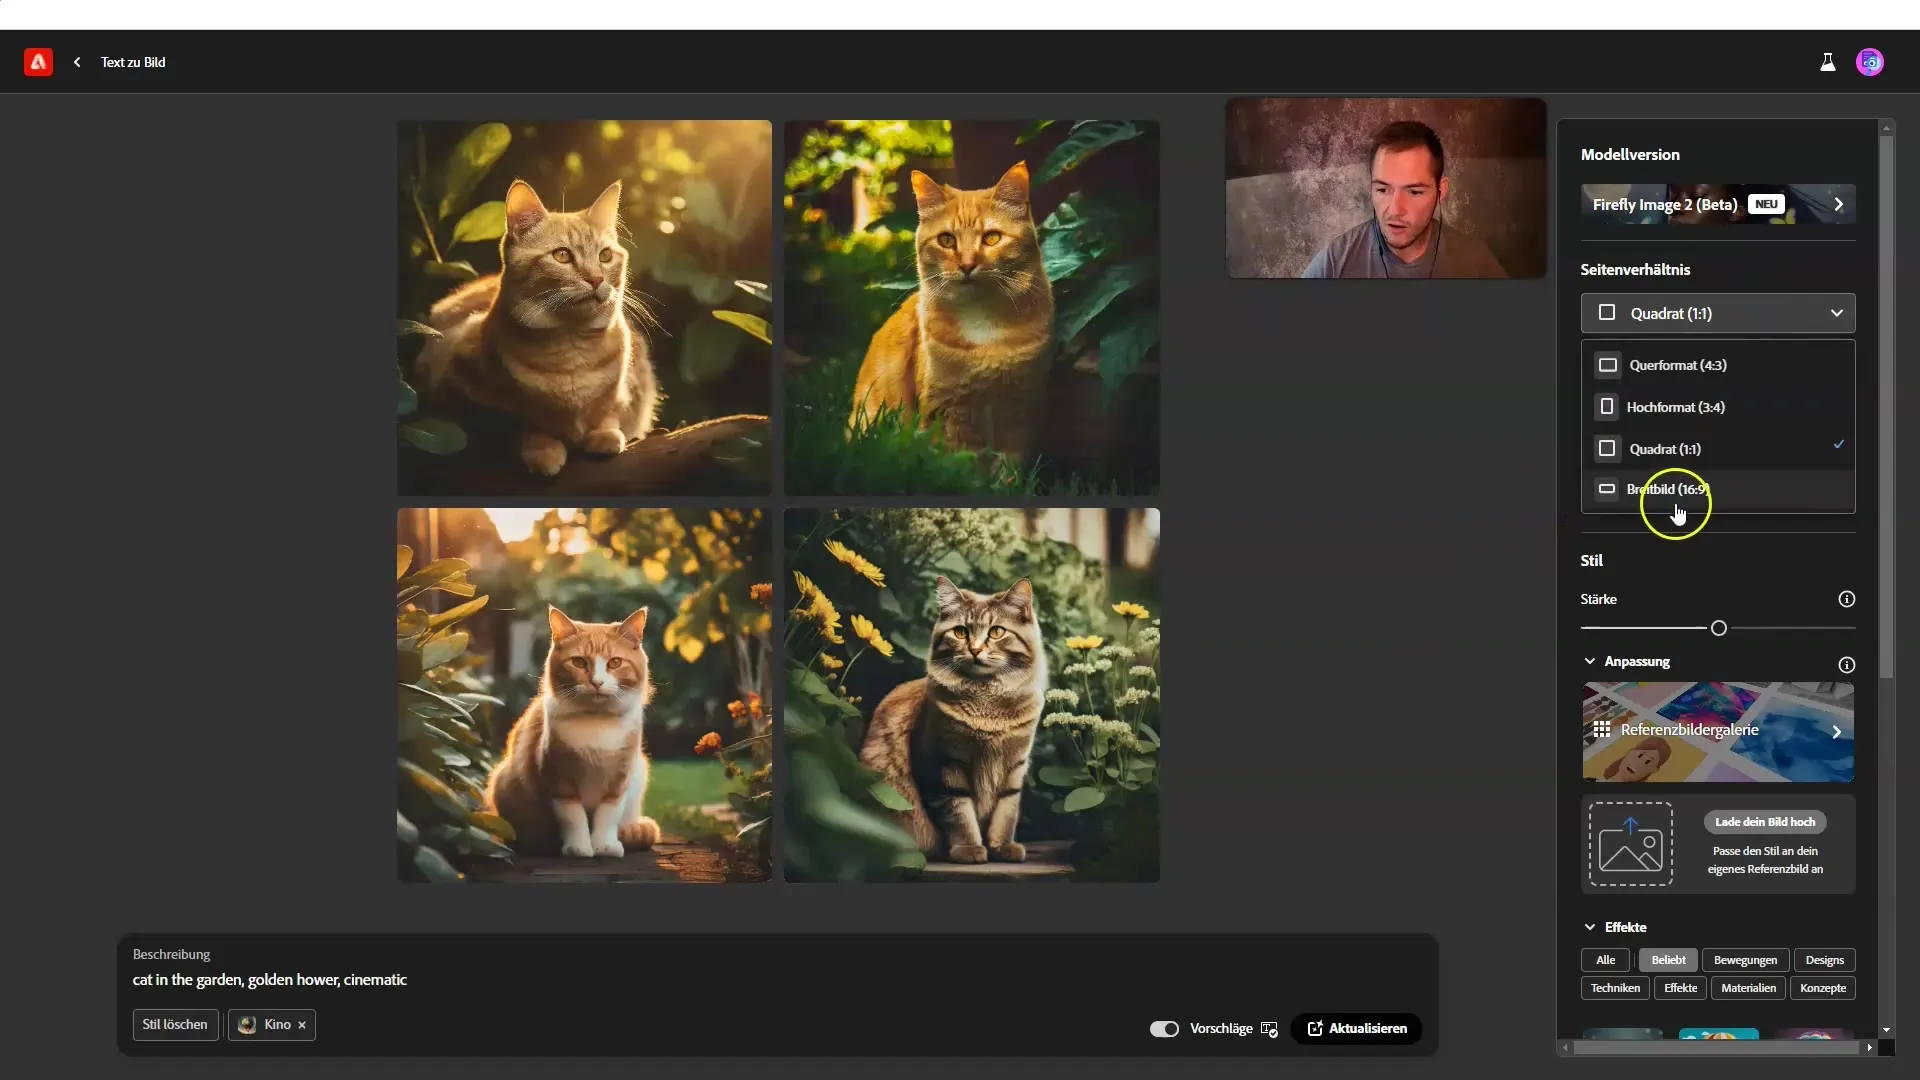
Start creating your first image. Use simple prompts for input. You can work with short prompts to observe the software's response to different requests. An example prompt would be "Cat in the garden at golden hour." Test how well the image is executed and save the results for later use.
3. Understand Aspects of Image Adjustment
Firefly offers the opportunity to utilize various aspects of image adjustments. Switch between the models available to you and adjust the aspect ratio (such as 16:9 for videos). These adjustments are crucial to customize the appearance of your final graphics to your specifications.

4. Use Styles and Effects
Make use of the new style options in Firefly 4.2. You can adjust the strength of the chosen style to tailor the effect on your image. A clear example is increasing the style strength, giving the image a distinctive appearance.
5. Upload Images for Style Transfer
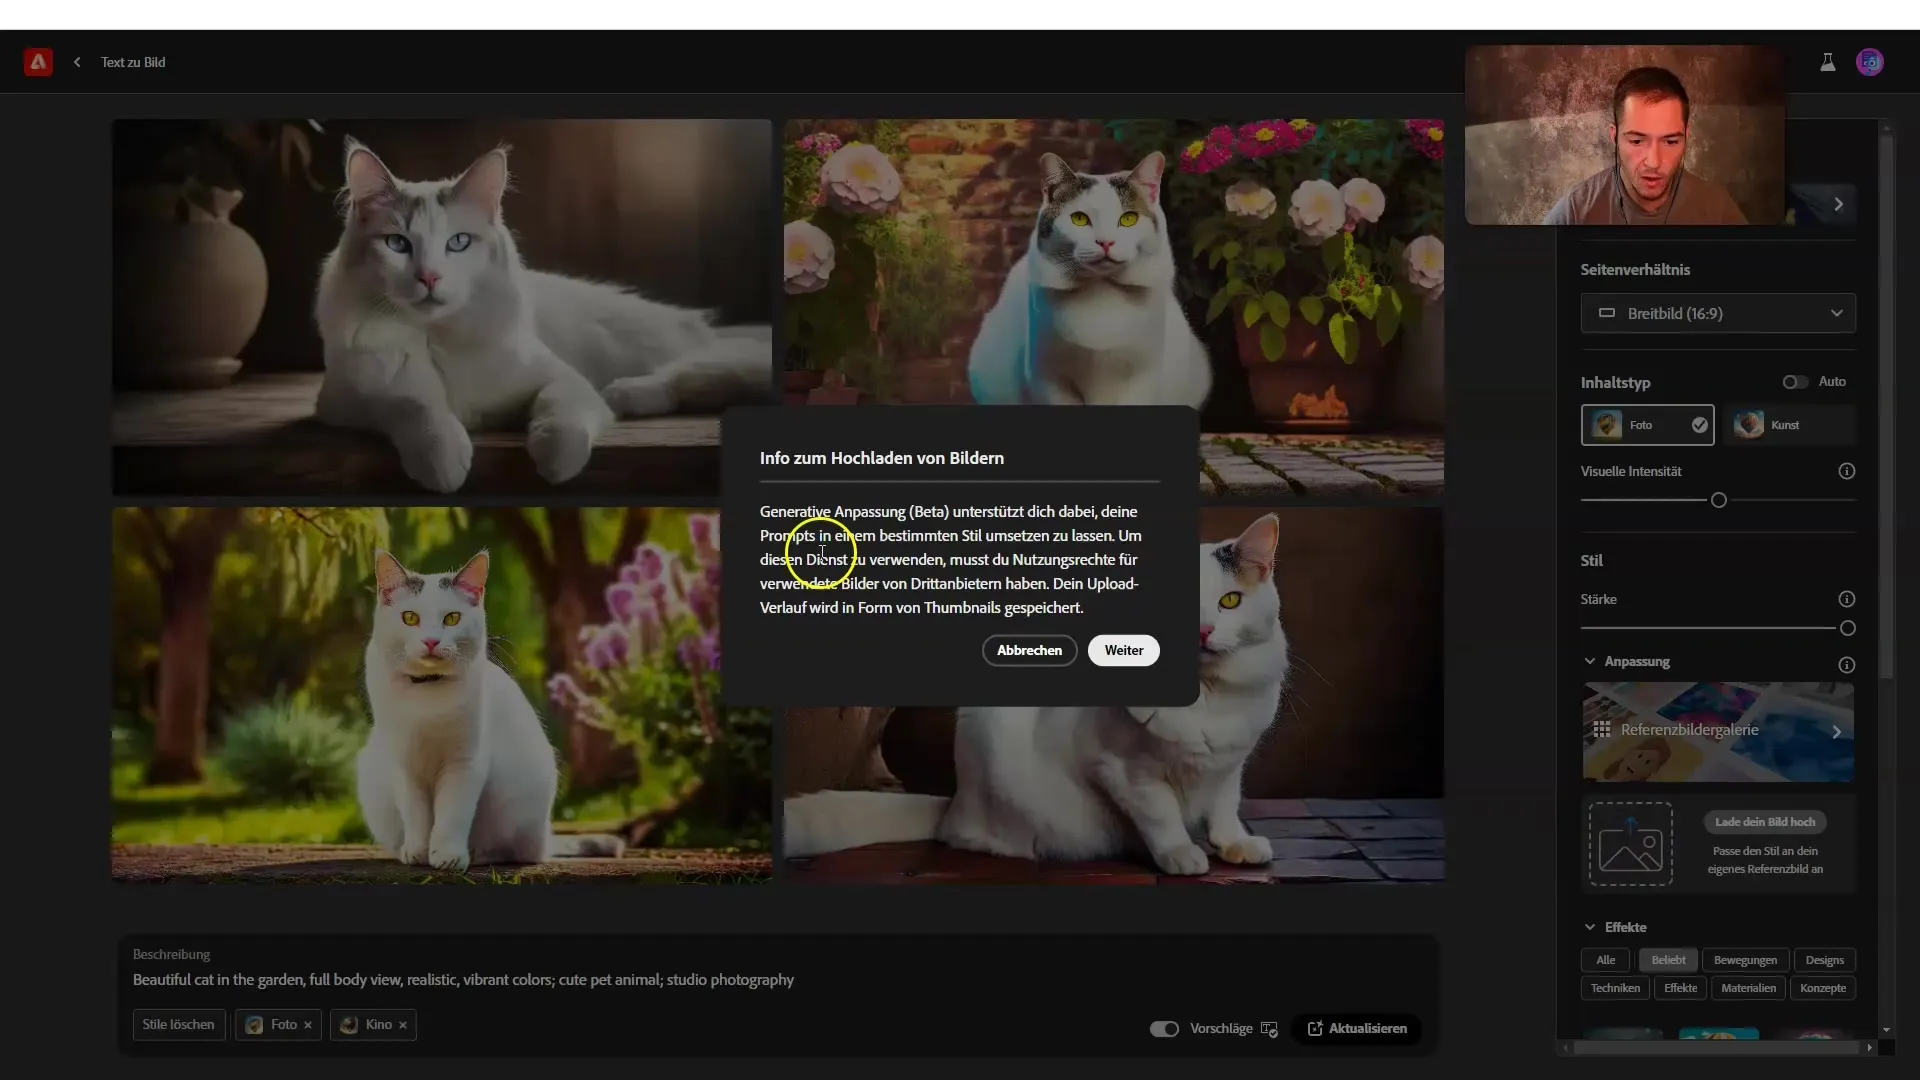
This feature is new in Firefly and allows you to upload your own image for style transfer. Make sure to clarify that you respect image rights while uploading. Try it out by uploading an image of a snowy landscape and combining it with a generated image.

6. Compare with Other Tools
Conduct a comparison between Firefly and other generative tools like Dall-E 3 and Midjourney. Analyze the resulting images in a side-by-side arrangement to determine which tool achieves the best results in which areas. This will give you a valuable perspective on how to best utilize Firefly.

7. Utilize the New Features for Commercial Purposes
One of the most significant changes in Firefly 4.2 is the ability to use the generated images commercially. However, pay attention to Adobe's guidelines and make sure you understand all conditions to avoid legal issues. This opportunity opens up various application scenarios, including t-shirt design or creating marketing materials.
Summary
Adobe Firefly version 4.2 offers powerful image editing features that you can use commercially. In this guide, you have gained an overview of new features, the user interface, customization options of styles and effects, and the comparison to other generative tools. Experiment and make use of the possibilities offered by Firefly!
Frequently Asked Questions
How can I improve the quality of the generated images?You can increase the style strength and experiment with different prompts.
Can I use the images commercially?Yes, commercial use of the images is allowed since version 4.2.
Are all Firefly features also available in Photoshop?Yes, the new features are integrated and also available in Photoshop.
How many free generations can I perform per month?The number varies, but there is a cap of about 25 free generations per month.
What are the new style options in Firefly?You can adjust the style strength and upload images to adopt styles.


