The processing speed is often a decisive component. Adobe Photoshop has added a powerful AI tool with the integration of Firefly, which allows you to quickly and easily fix errors and unwanted elements in your images. In this guide, you will learn how to effectively use the Remove Tool to optimize and perfect your images. Whether it's small errors or distracting objects, with this guide, fixing them will be a breeze.
Main Insights
- The Remove Tool in Photoshop is fast and efficient.
- It is excellent for removing small and medium elements.
- Precise inputs lead to better results.
- The quality of the result may vary with complex objects.
- Try out the tool to improve your image editing.
Step-by-Step Guide
1. Accessing the Remove Tool
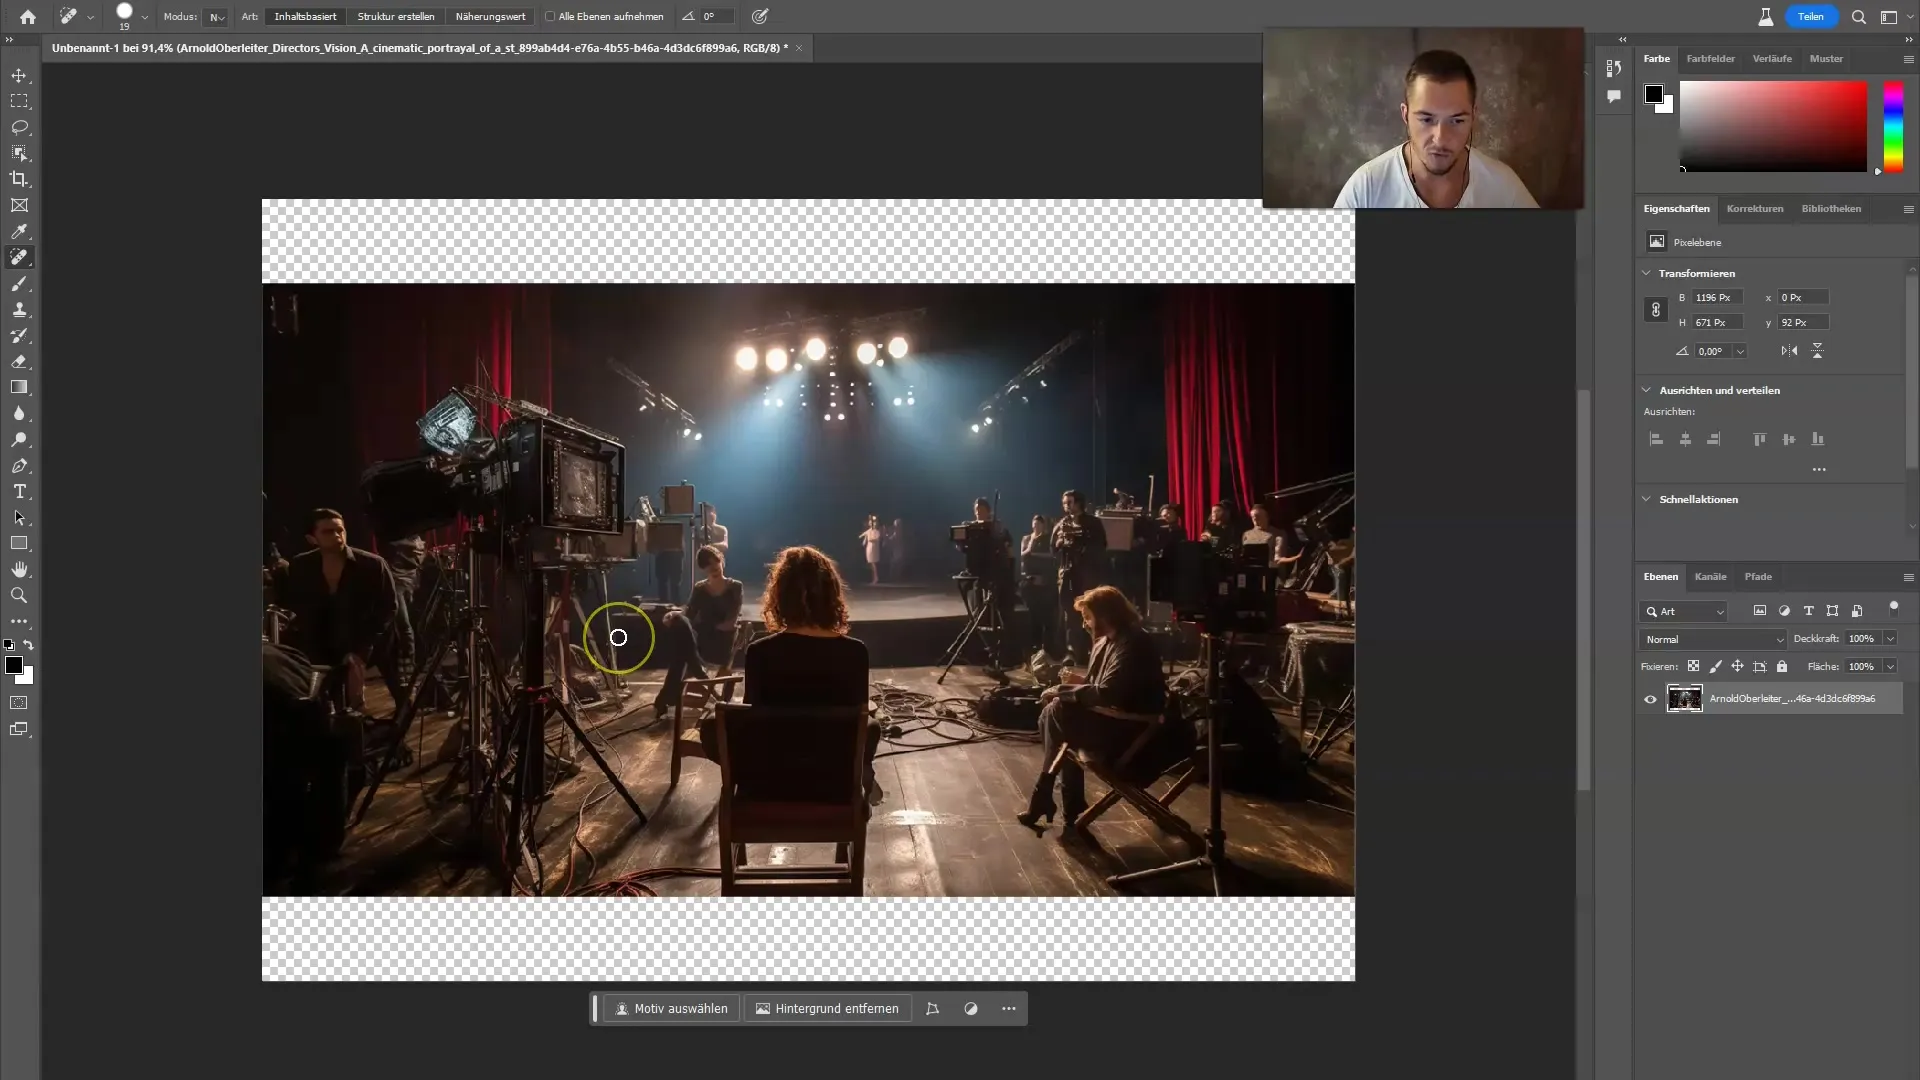
To use the Remove Tool, first open your Photoshop and load the image you want to edit. Click on the Remove Tool found in the toolbar. You have the option to choose between different brushes. For most applications, the brush is the best choice.
2. Selecting the Object to Remove
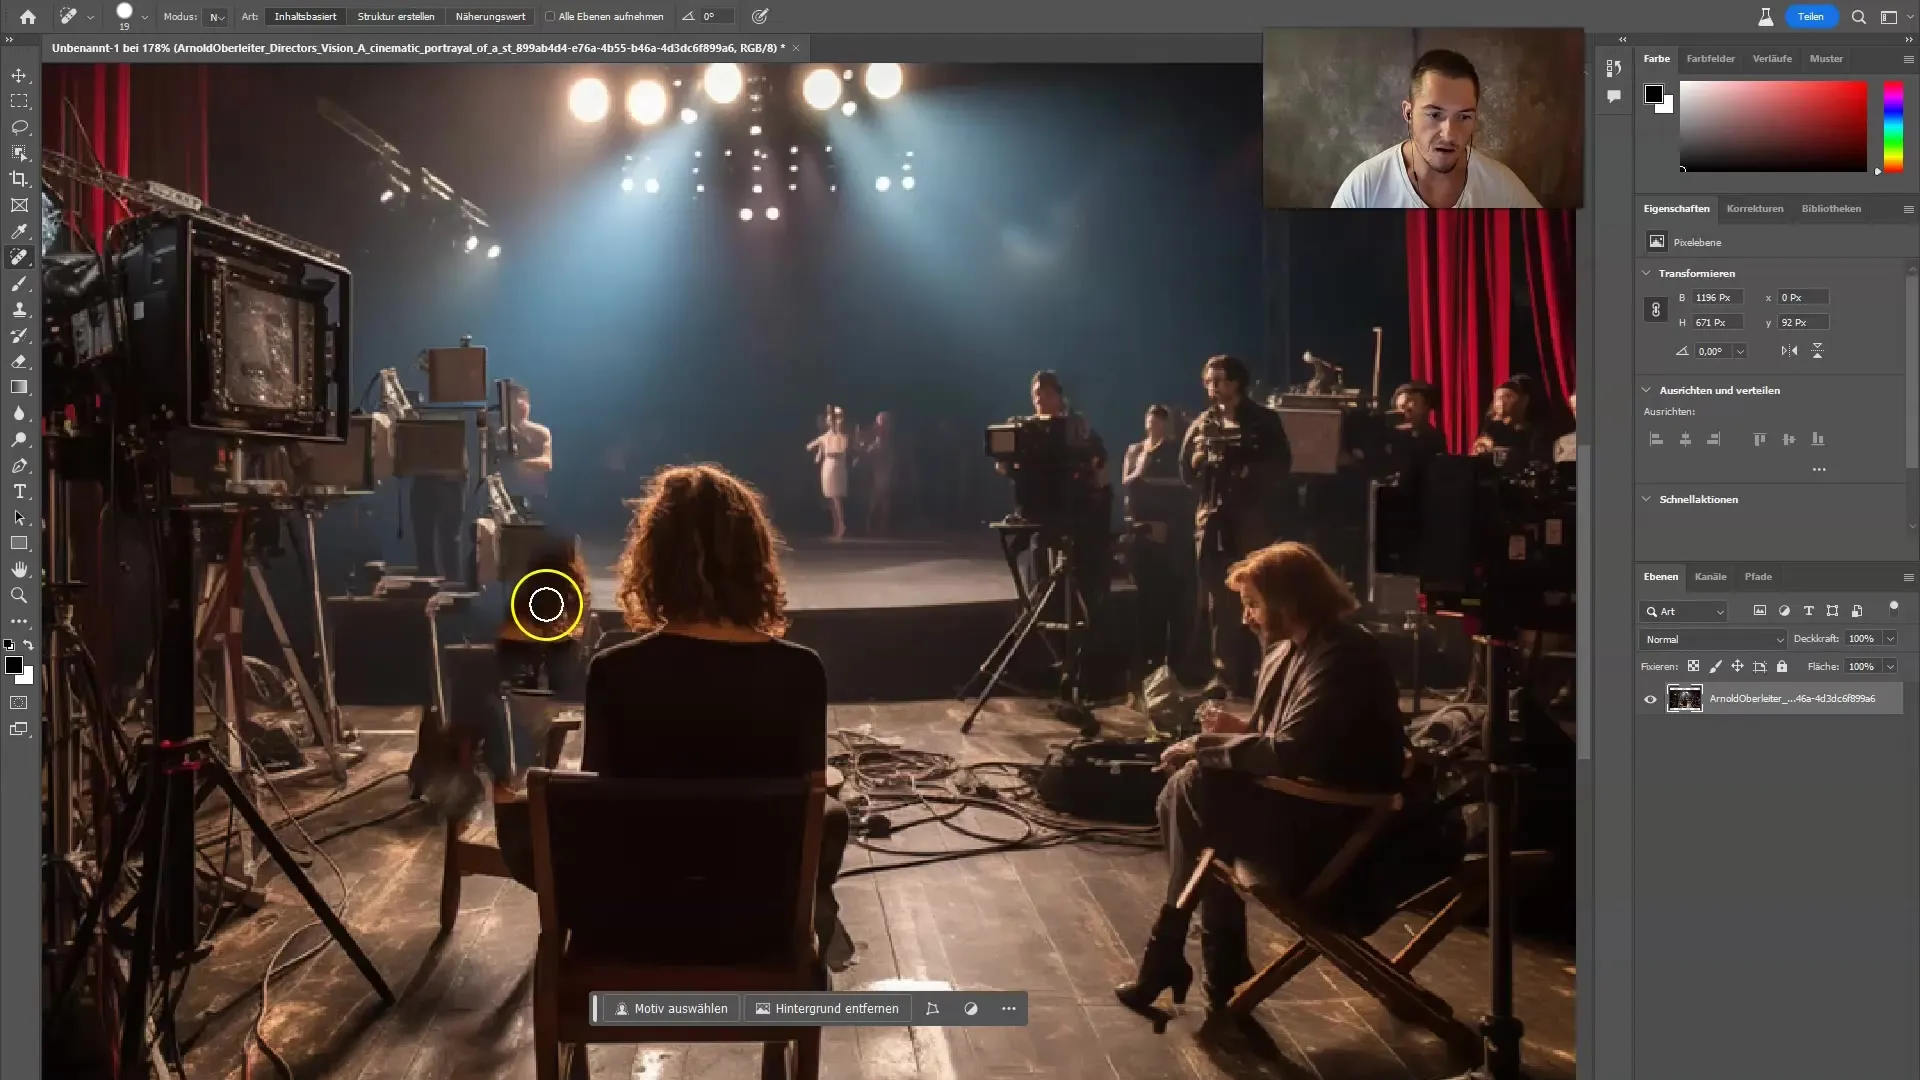
Move the brush over the element you want to remove. In this example, you see an unwanted cable clutter in your image. Place your brush over the cable and mark it. Photoshop will automatically try to detect and remove the unwanted element.
3. Fast Removal
As you hover over the telescope or cable, you will notice how quickly the tool works. You can watch in real-time as the object disappears. Release the mouse cursor, and the cable is removed.

4. Trying Out with Other Object Removals
Try the same process with other elements. For example, if you have a bottle in the image, simply brush over it and let the tool do the work. It delivers amazing results in seconds.
5. Achieving Optimal Results
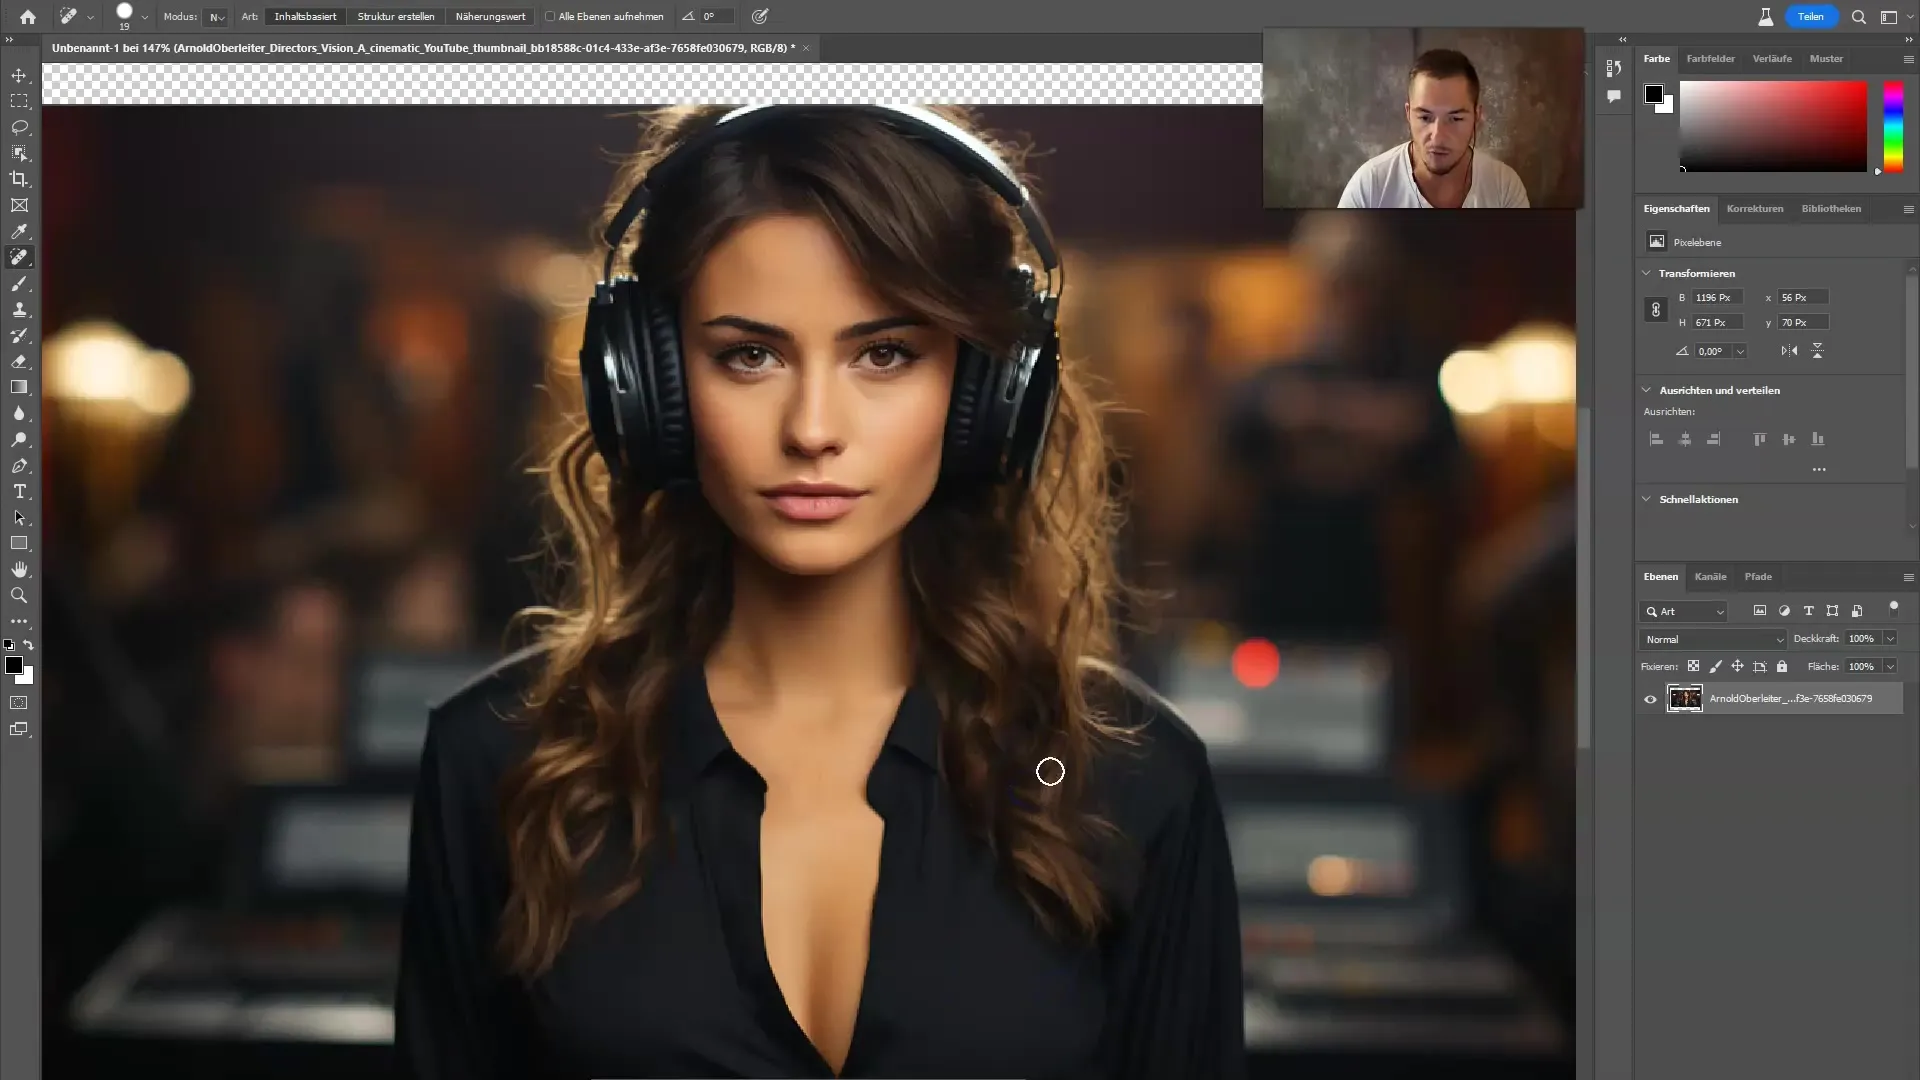
The Remove Tool is capable of quickly fixing many small errors, whether it's a stain on a shirt or a small distracting object. Note that the tool works best with small and medium objects. By brushing over an object multiple times, you can often optimize the result.
6. Removing More Complex Objects
However, keep in mind that removing large or prominent objects like people or large furniture can be more challenging. You will find that the quality of the result is often not optimal in such attempts. The tool is not meant to reconstruct large areas but instead offers a simple way to fix minor errors.

7. Final Adjustments
After editing, you can manually touch up any remaining traces. Select the appropriate tool from the toolbar to reshape details, especially in areas like hair or textures where perfect appearance is crucial.

8. Saving and Exporting
If you are satisfied with the final result, save your image. Go to "File" and choose "Save As" to save the edited version of your image without altering the original.
Summary
In summary, Adobe Firefly's Remove Tool provides a powerful and quick way to improve your images by efficiently removing unwanted elements. It is important to select the appropriate objects and have realistic expectations for results with complex or large objects. Through practice, you can expand your understanding and skills in image editing. Use this tool to enhance your editing skills and bring your creative visions to life.
Frequently Asked Questions
How does the Remove Tool work?The Remove Tool uses AI algorithms to identify and remove unwanted objects in an image.
Can I use the tool for large objects as well?The Remove Tool is not optimal for large objects; it is better suited for smaller, less complex elements.
How do I save my edited image?You can save your edited image by going to "File" and selecting "Save As".
Does the tool always produce perfect results?Not always; the results can vary, especially with complex objects.
Is the Remove Tool available in all versions of Photoshop?The Remove Tool is available in newer versions of Photoshop that have integrated Adobe Firefly.


