In this tutorial, I will show you in detail how you can realistically insert any object into a glass using Adobe Photoshop. Whether for graphic designs, presentations, or personal projects, mastering this technique will help you achieve appealing visual effects. Let's go through the process together!
Key Takeaways:
- Masking an object is crucial for realistic integration into the glass.
- Using the "Select and Mask" function improves the edge quality of the masked object.
- Adjusting the image mask enables a seamless integration of the object into the glass.
Step-by-Step Tutorial
1. Prepare the source material
First, open Photoshop and load your image of the glass along with the object you want to insert. Make sure both elements are in the same file to simplify the process.
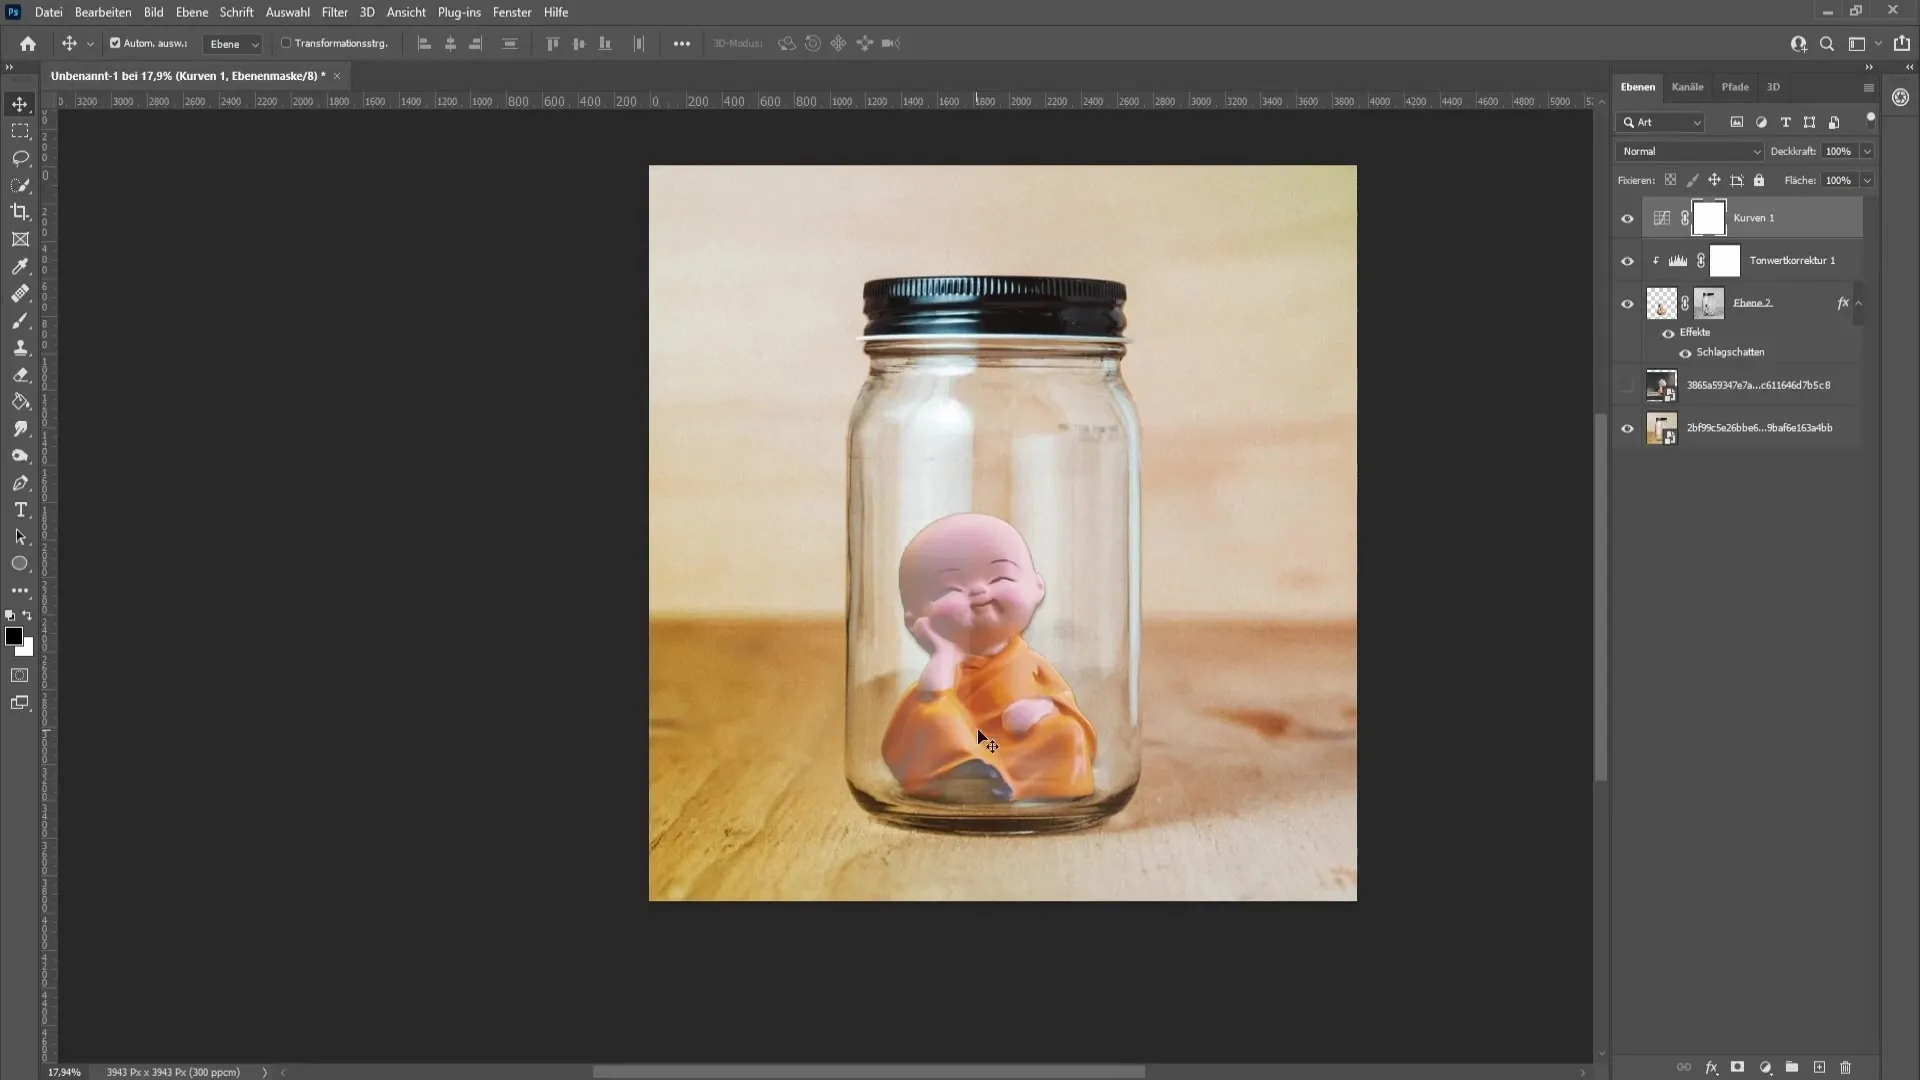
2. Mask the object
To mask the object, you can use the Quick Selection Tool or the newer "Select and Mask" function. Click on the selection area and choose "Select and Mask" from the menu. This function is available in the latest Photoshop versions.
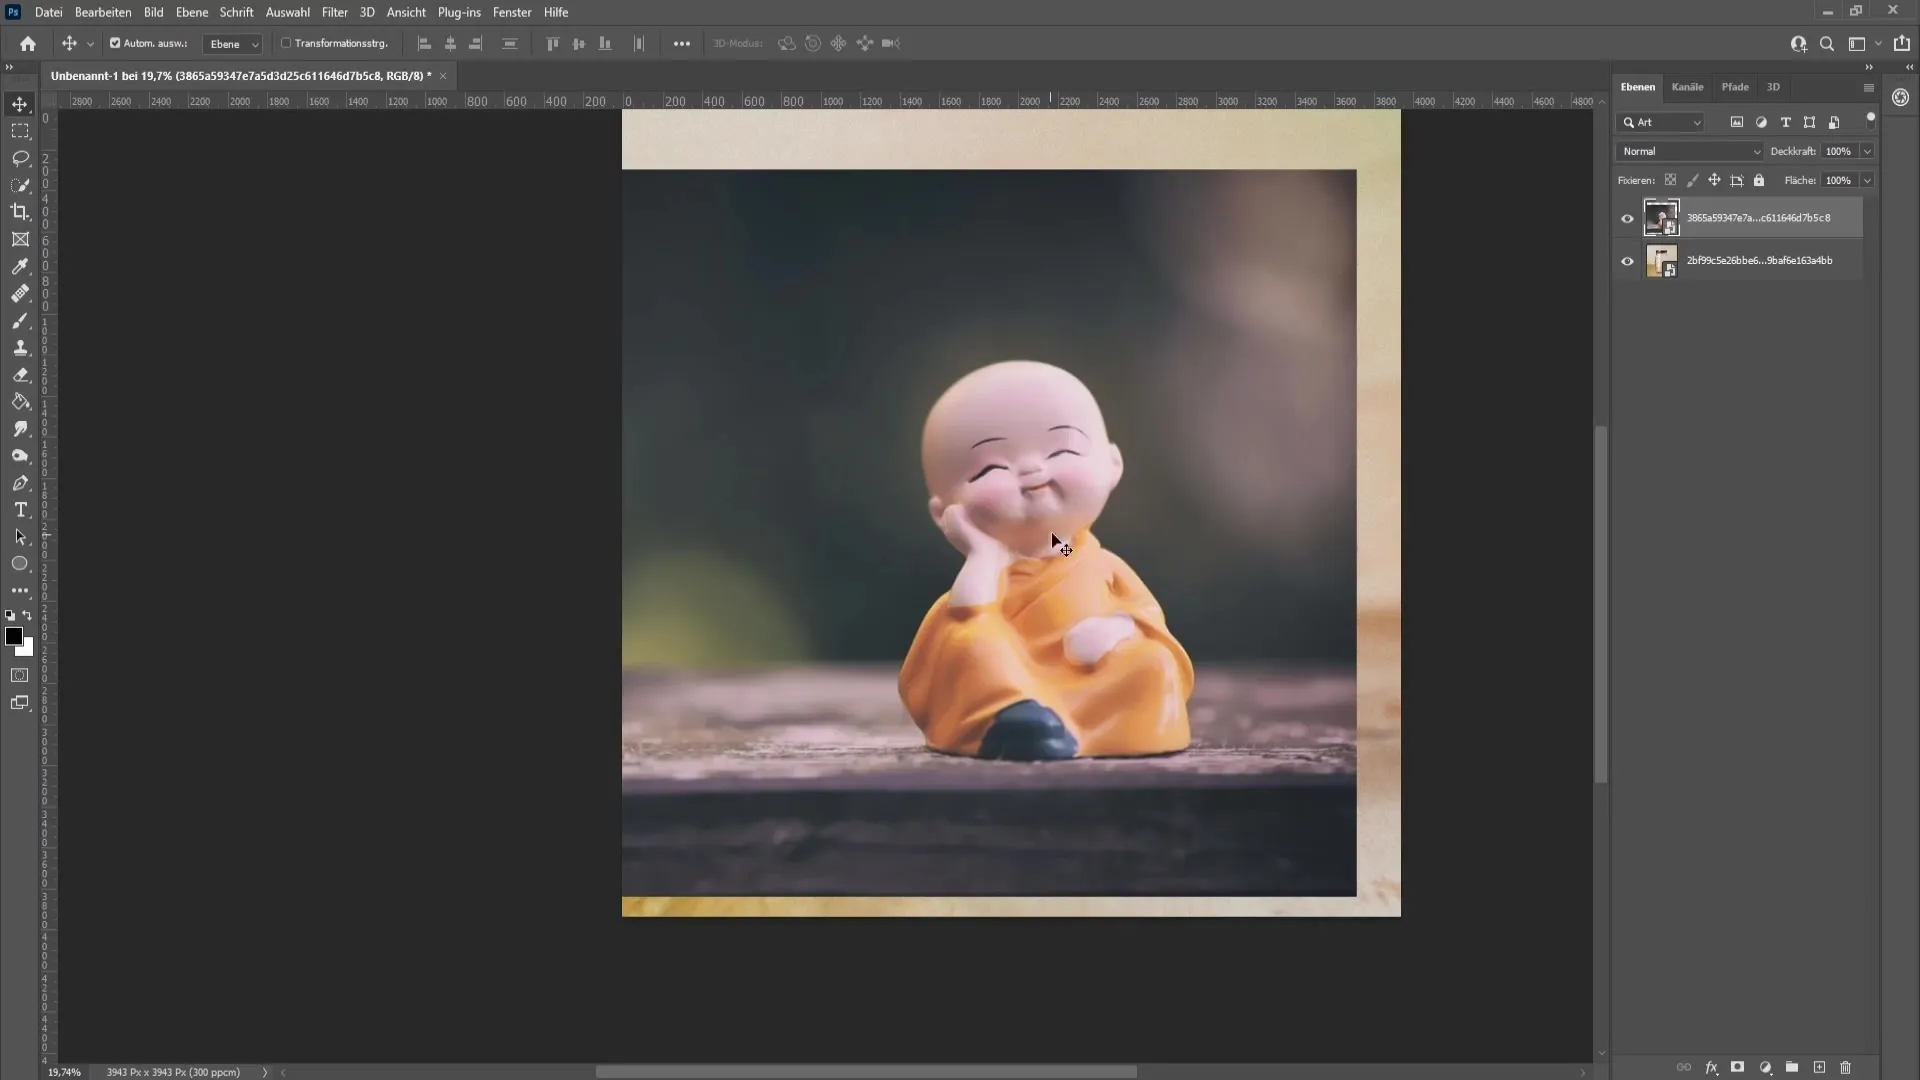
3. Adjust the view
In the options, you can change the view to "white" to better see the edges. Increase the opacity to optimize the masking and make sure to correct the edges to look natural.
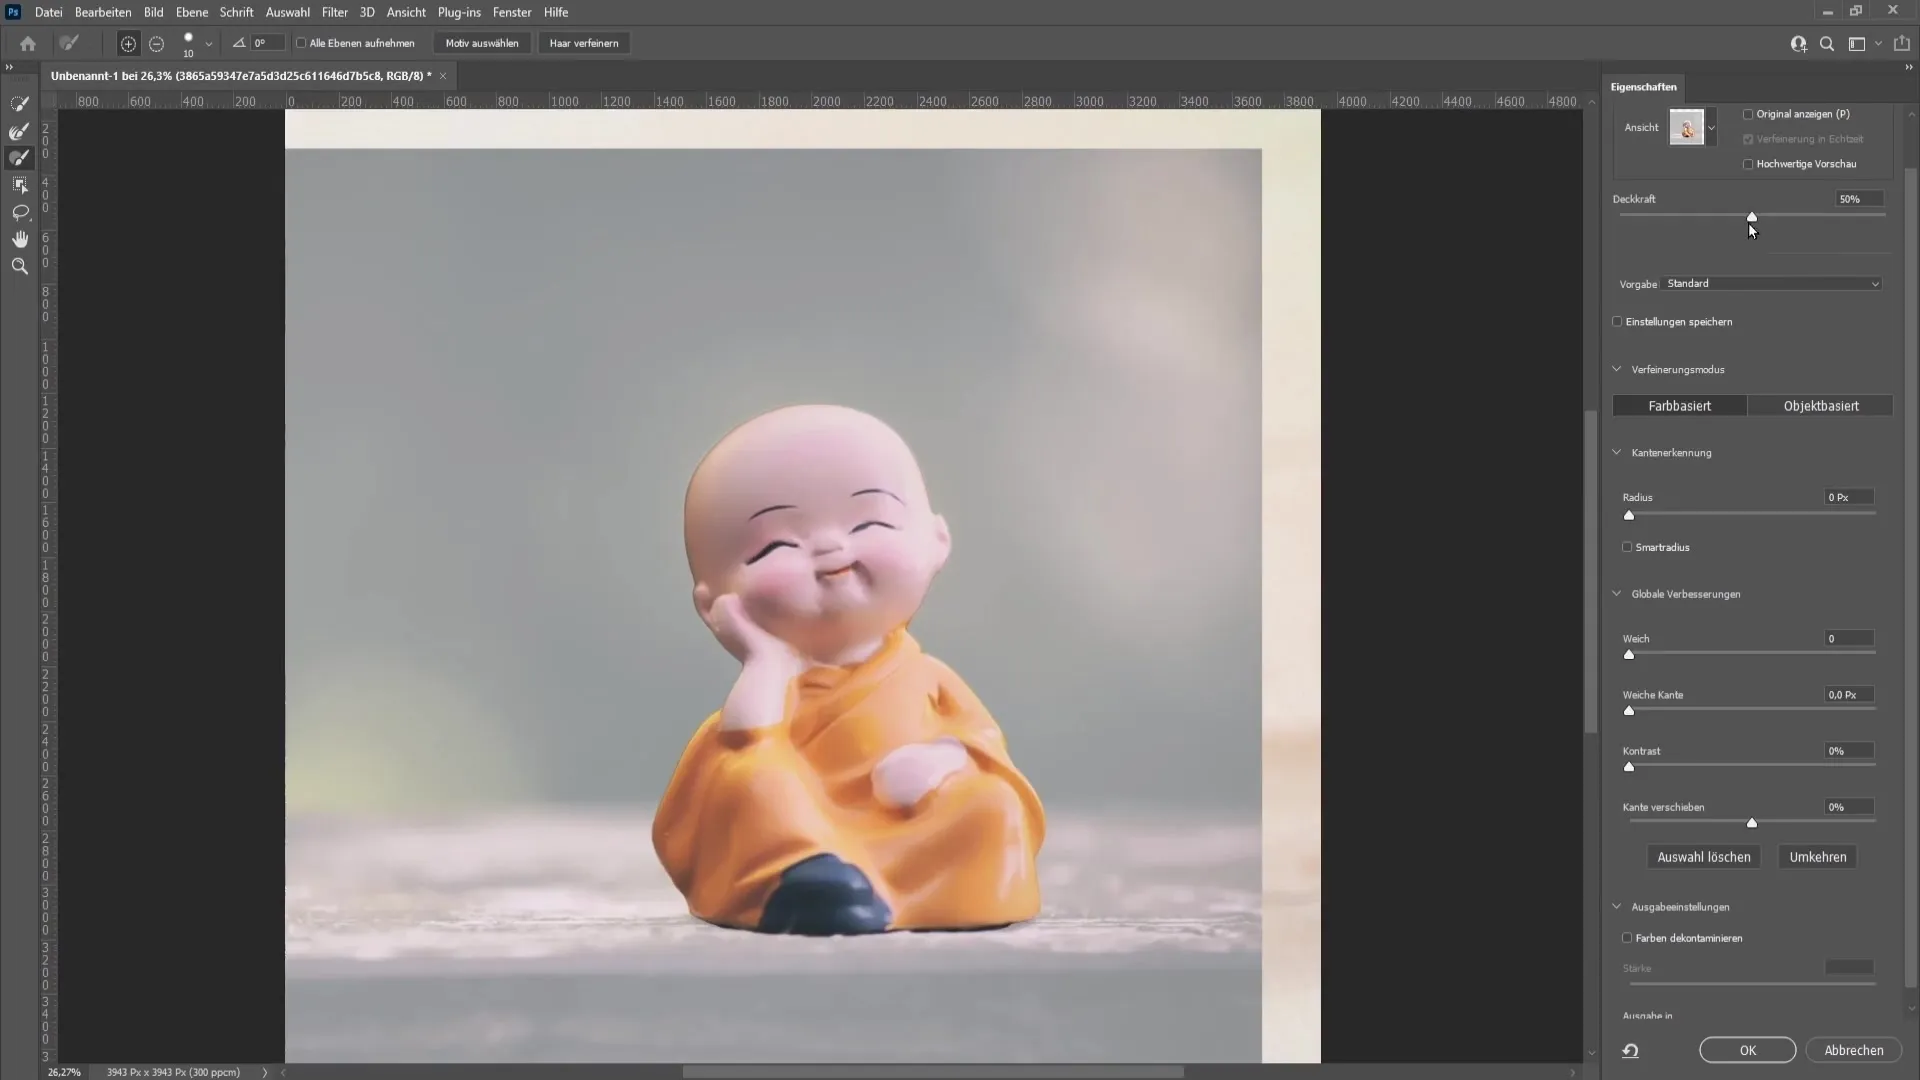
4. Refine the edges
Use the Refine Edge Brush Tool to refine the edges of the masked object. Work along the edges, especially with complex shapes like hair or clothing, to ensure everything looks clean.
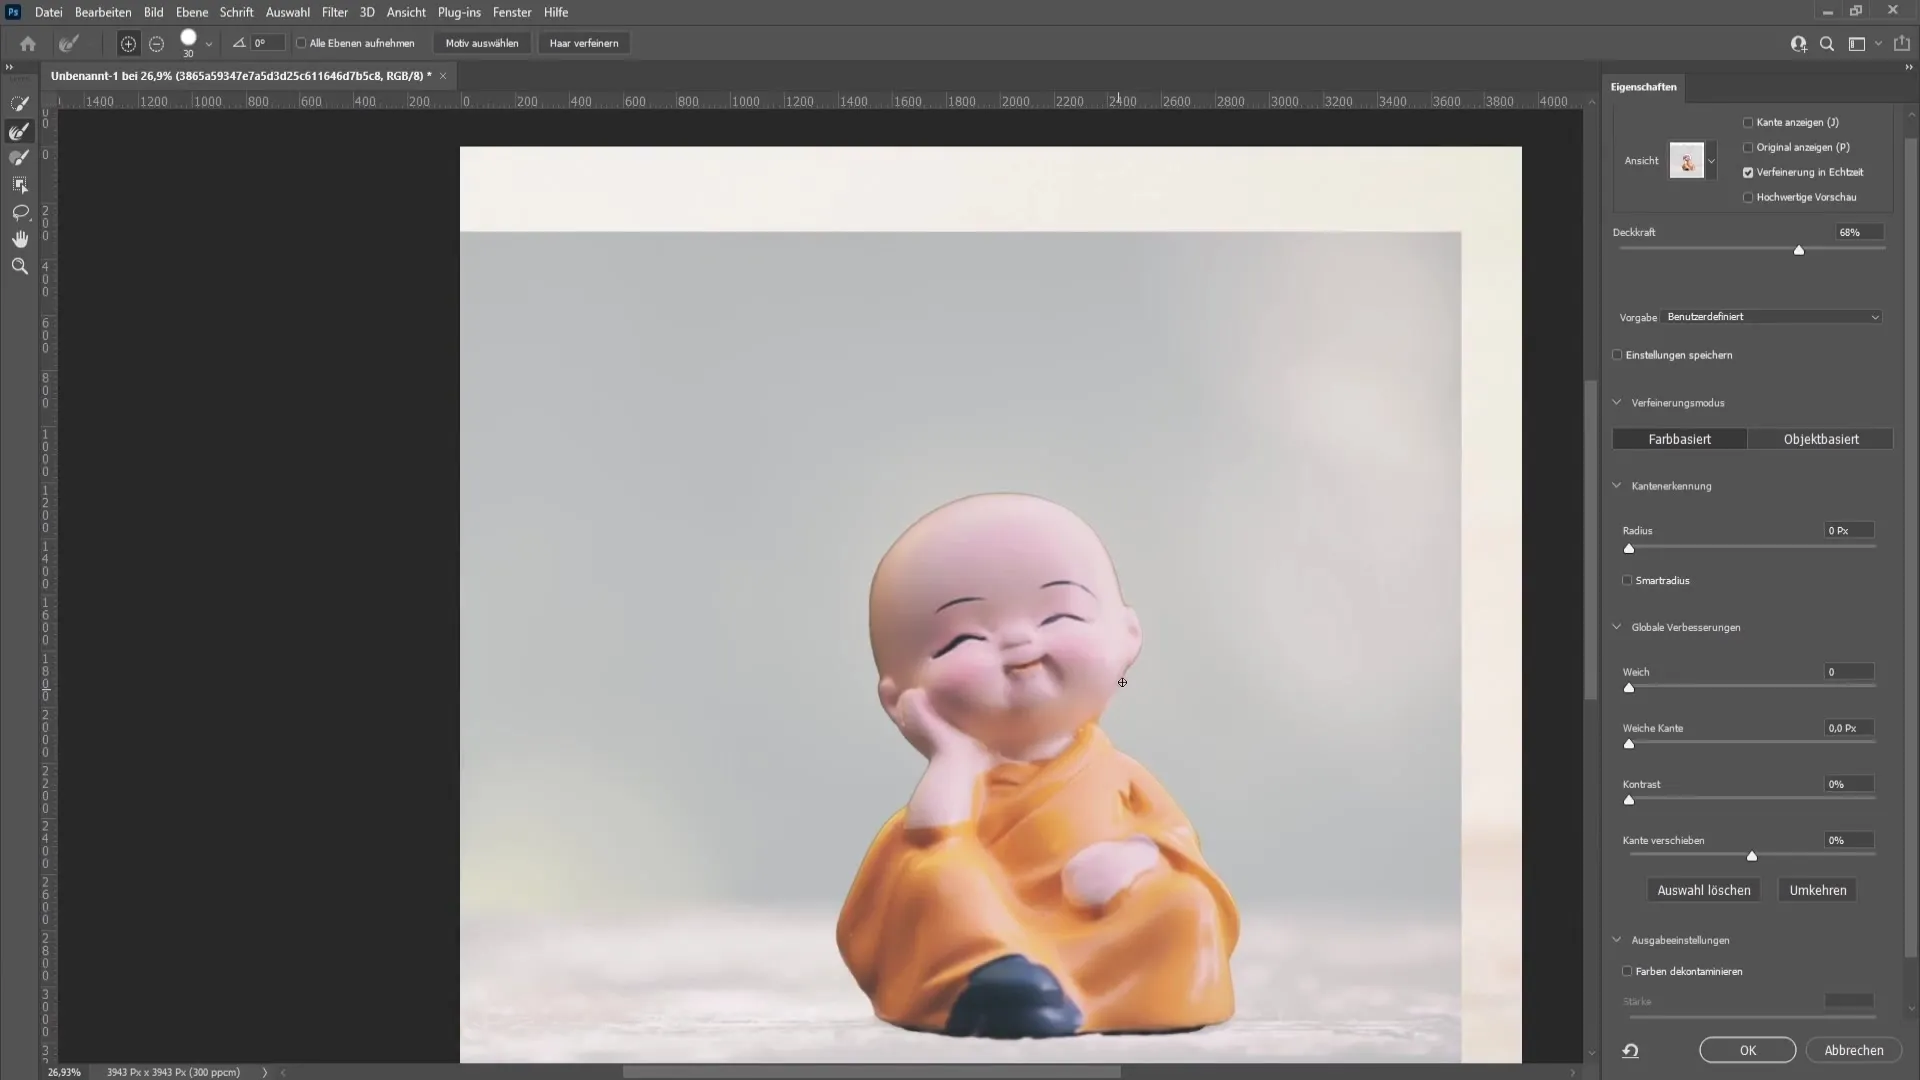
5. Finalize the masking
Once you're satisfied with the edge refinement, select "New Layer" in the "Output" section and click "OK." Your masked object should now appear on a new layer.
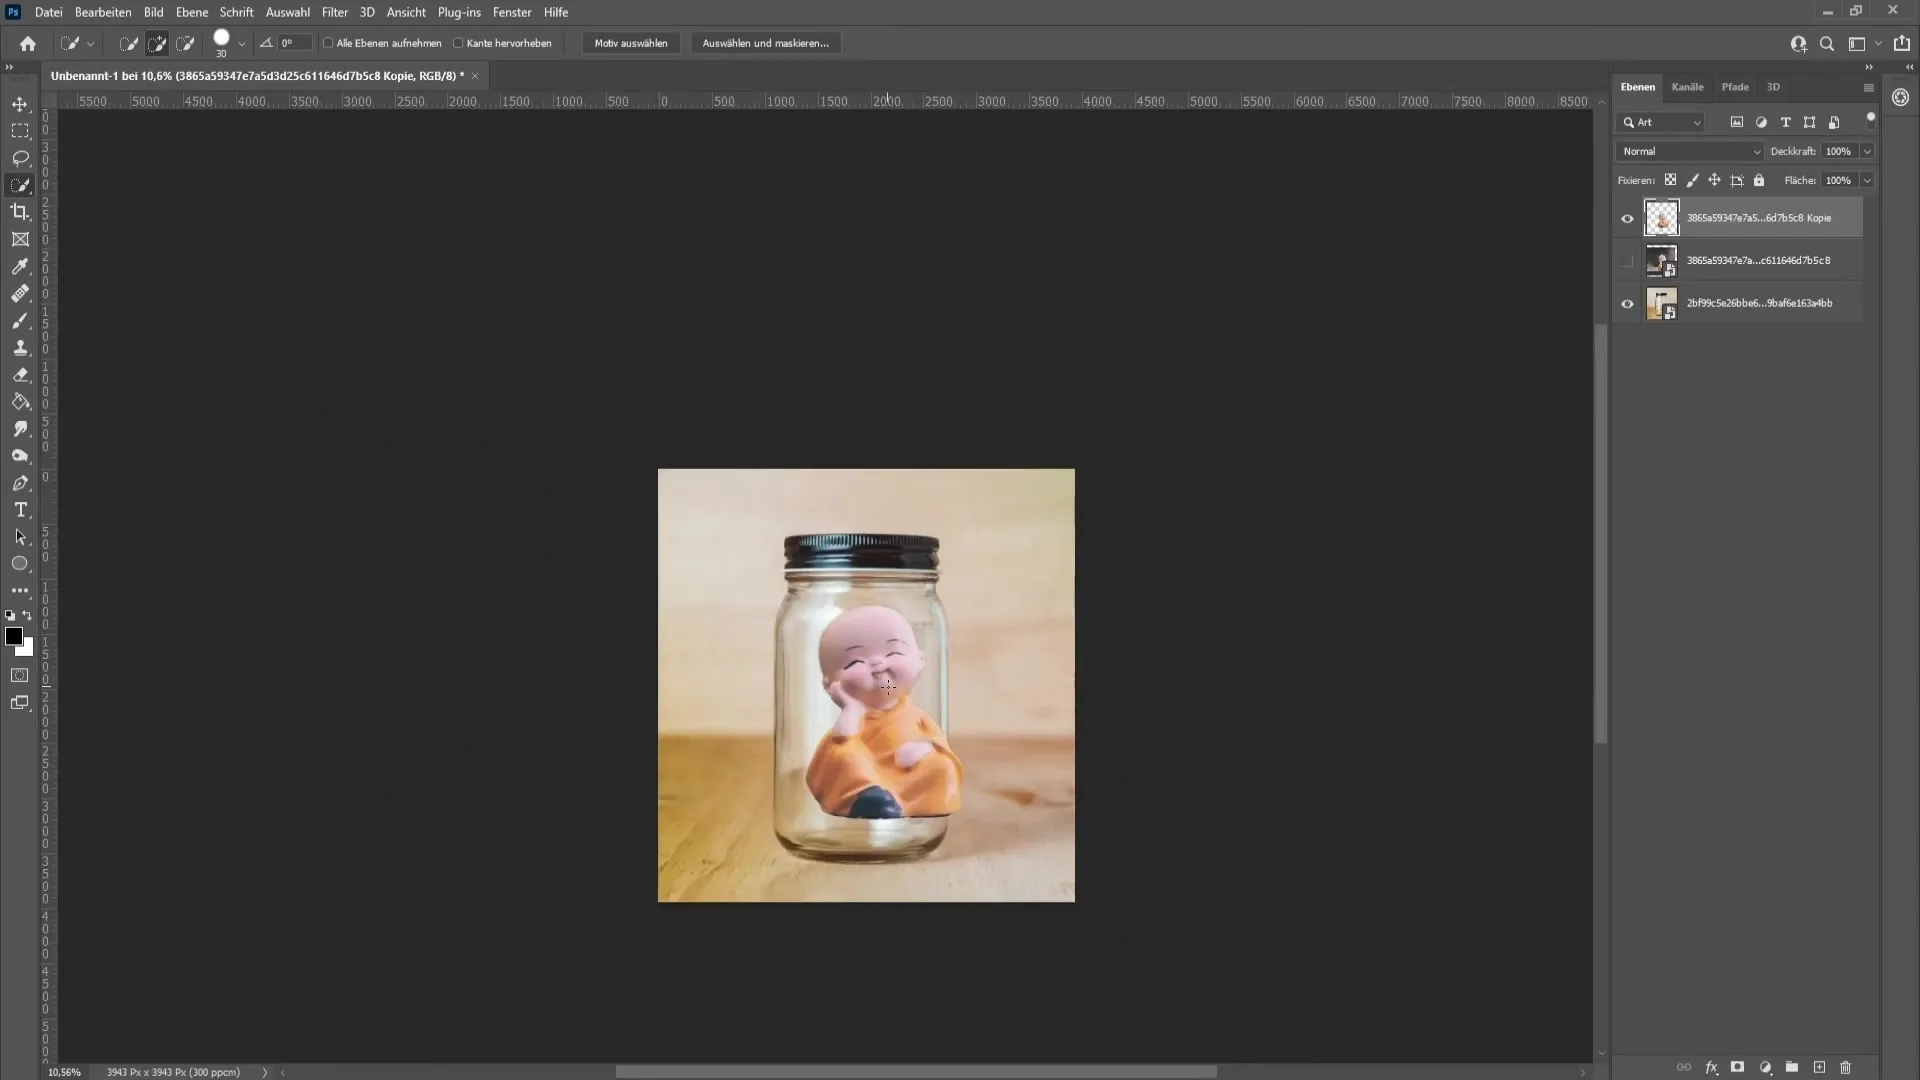
6. Convert the object into a Smart Object
Right-click on the masked figure and choose "Convert to Smart Object." This feature allows you to edit the object later without losing image quality.
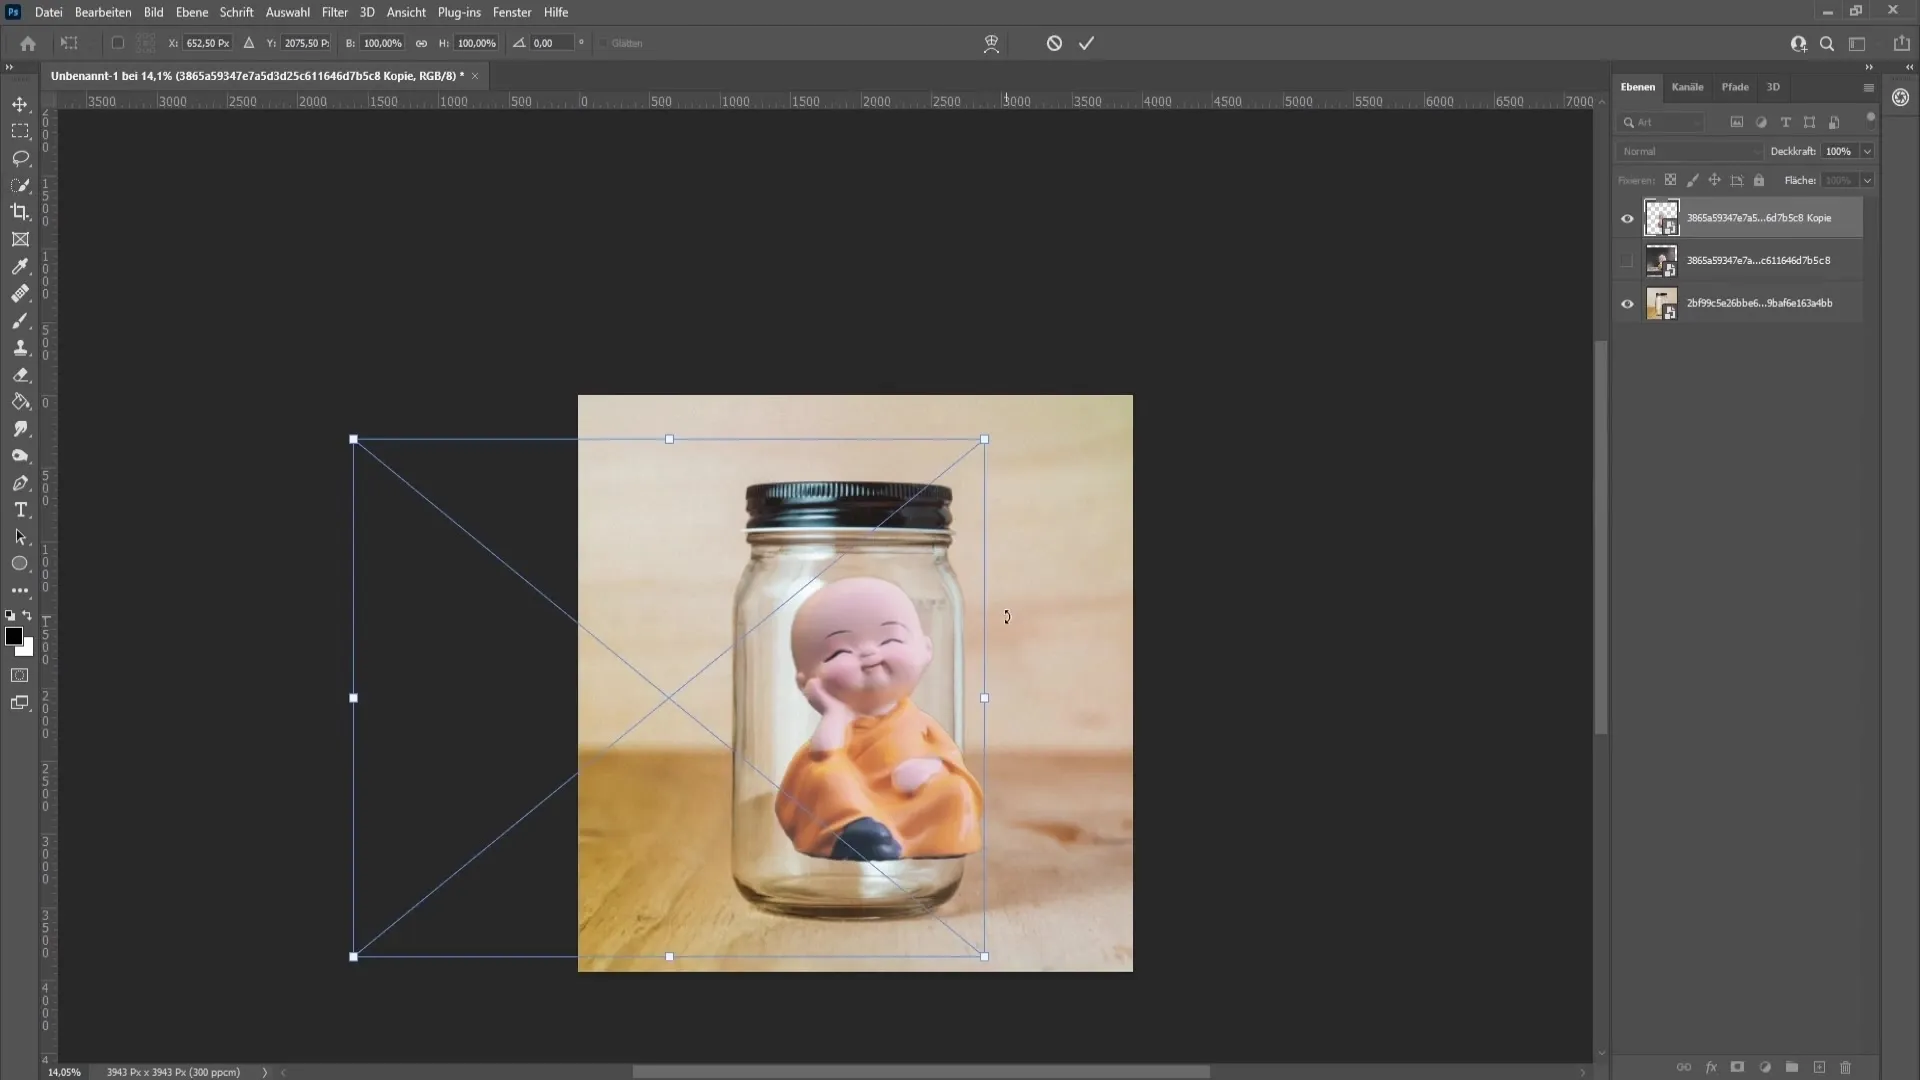
7. Transform the object
Use the shortcut "Ctrl + T" to transform the object. You can now scale and adjust it to fit the glass perfectly. Confirm your adjustments by pressing the Enter key.
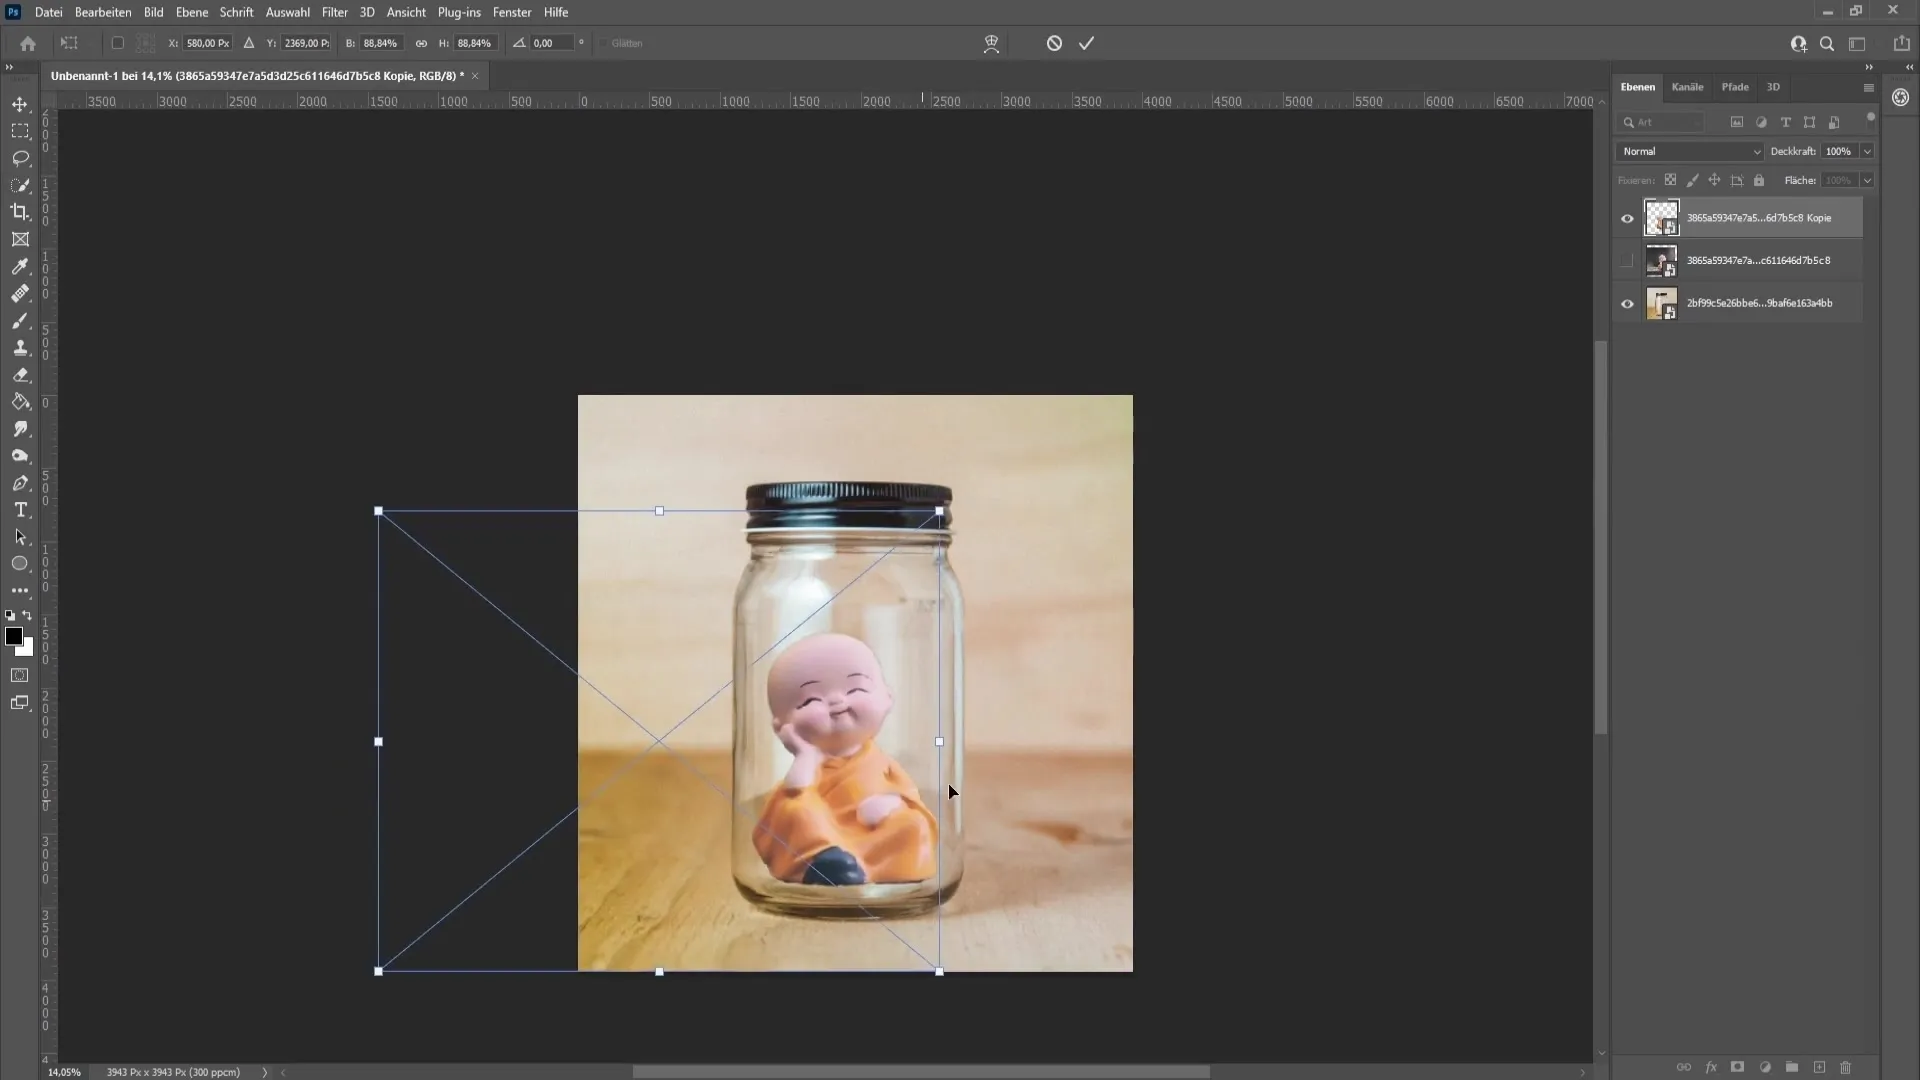
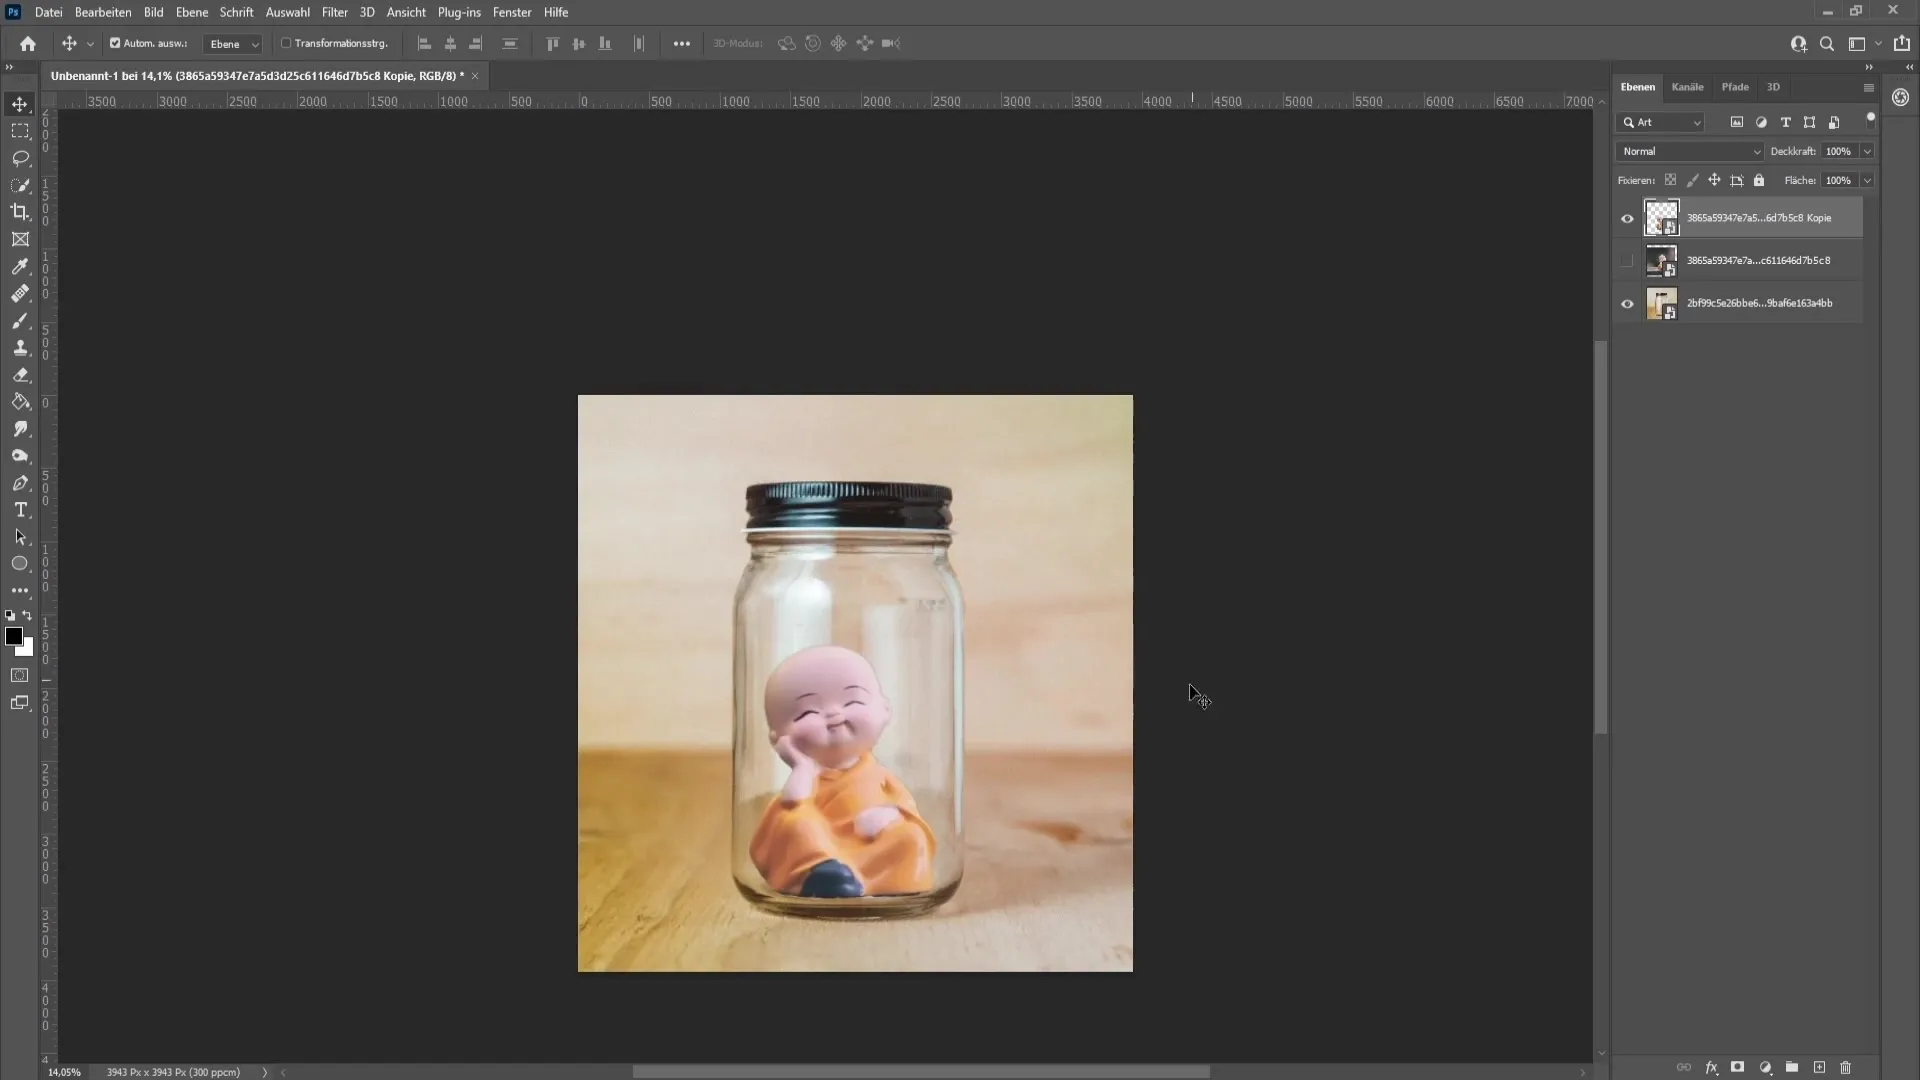
8. Adjust the positioning
Use the Move tool to precisely position the object in the glass. Make sure it looks natural and fits well in the glass.
9. Fine-tune masking through the mask
To perfect the illusion, hide the masked object and go to the channels. Make sure the Channels window is open by navigating through the "Window" menu and activating "Channels."
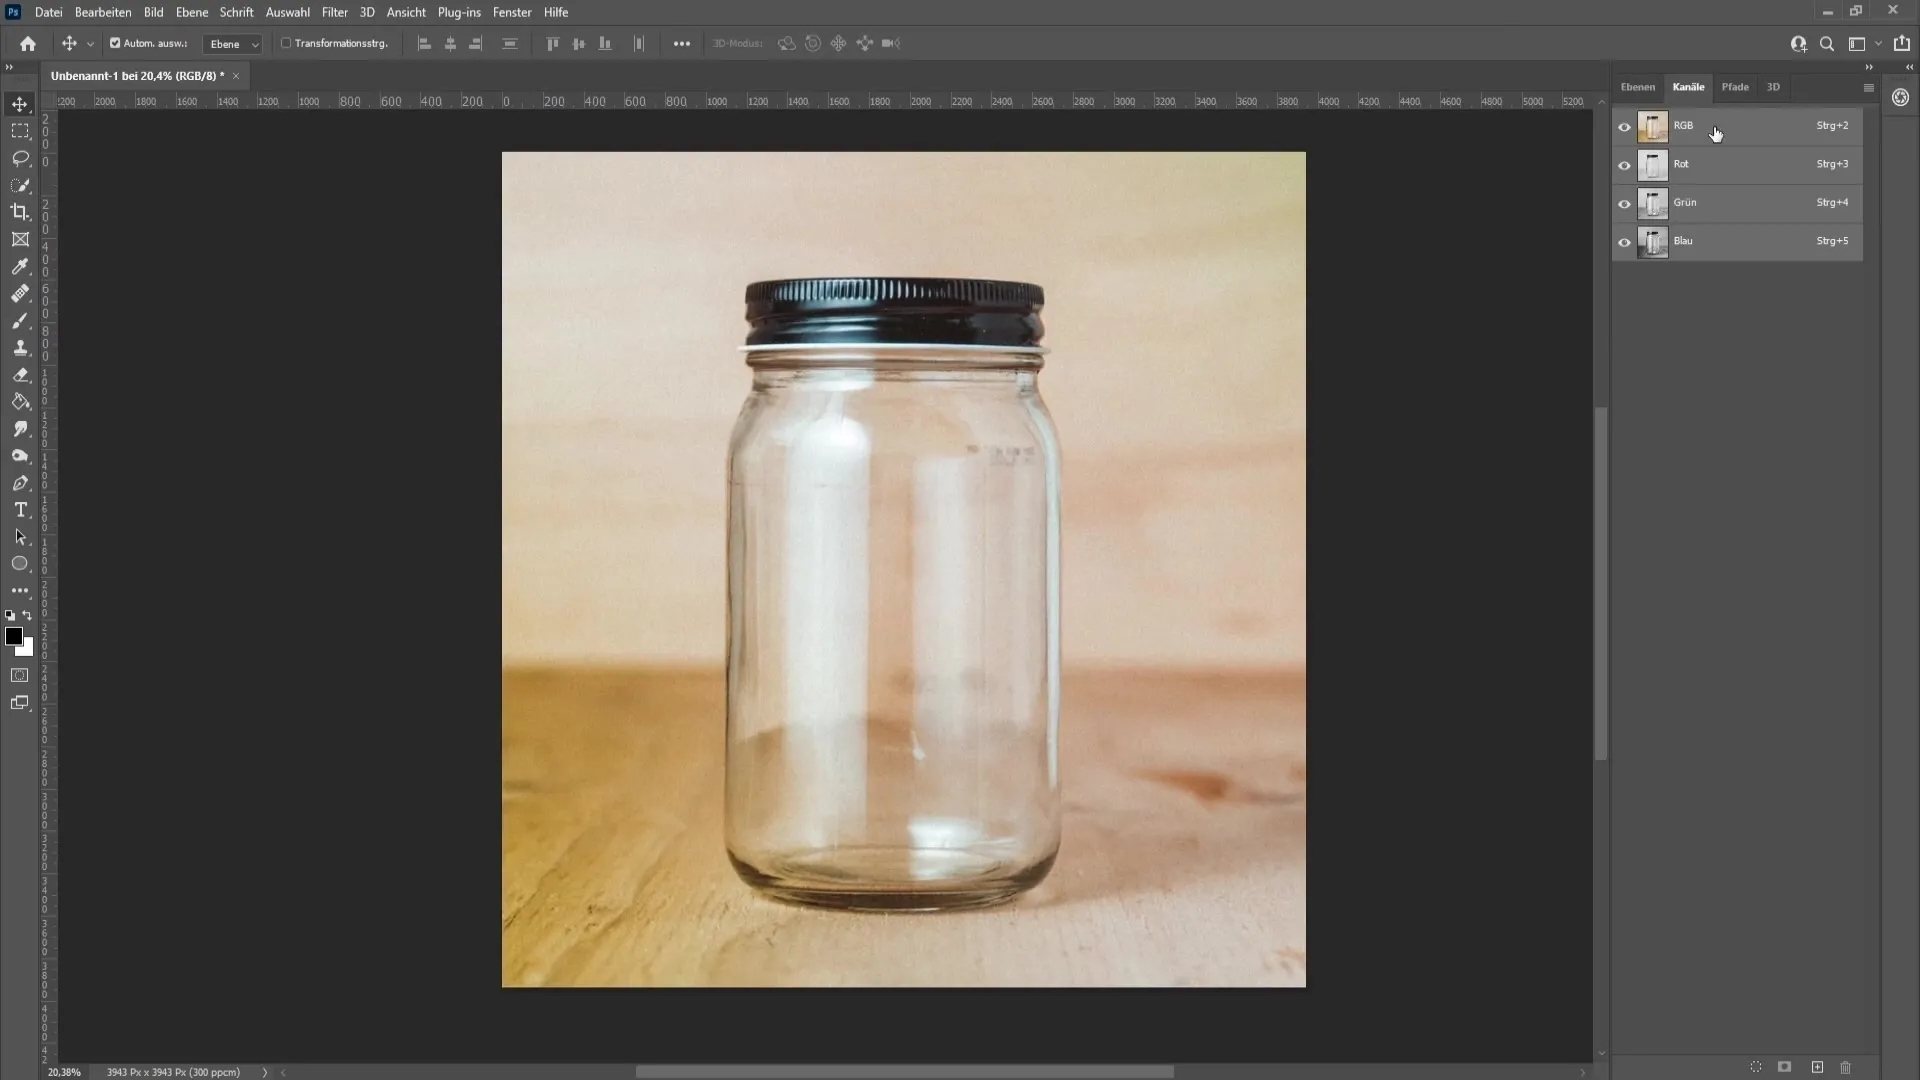
10. Select from the channel
Hold the Ctrl key and click on the thumbnail of the Glass channel (RGB). This will create a selection that you can now utilize.
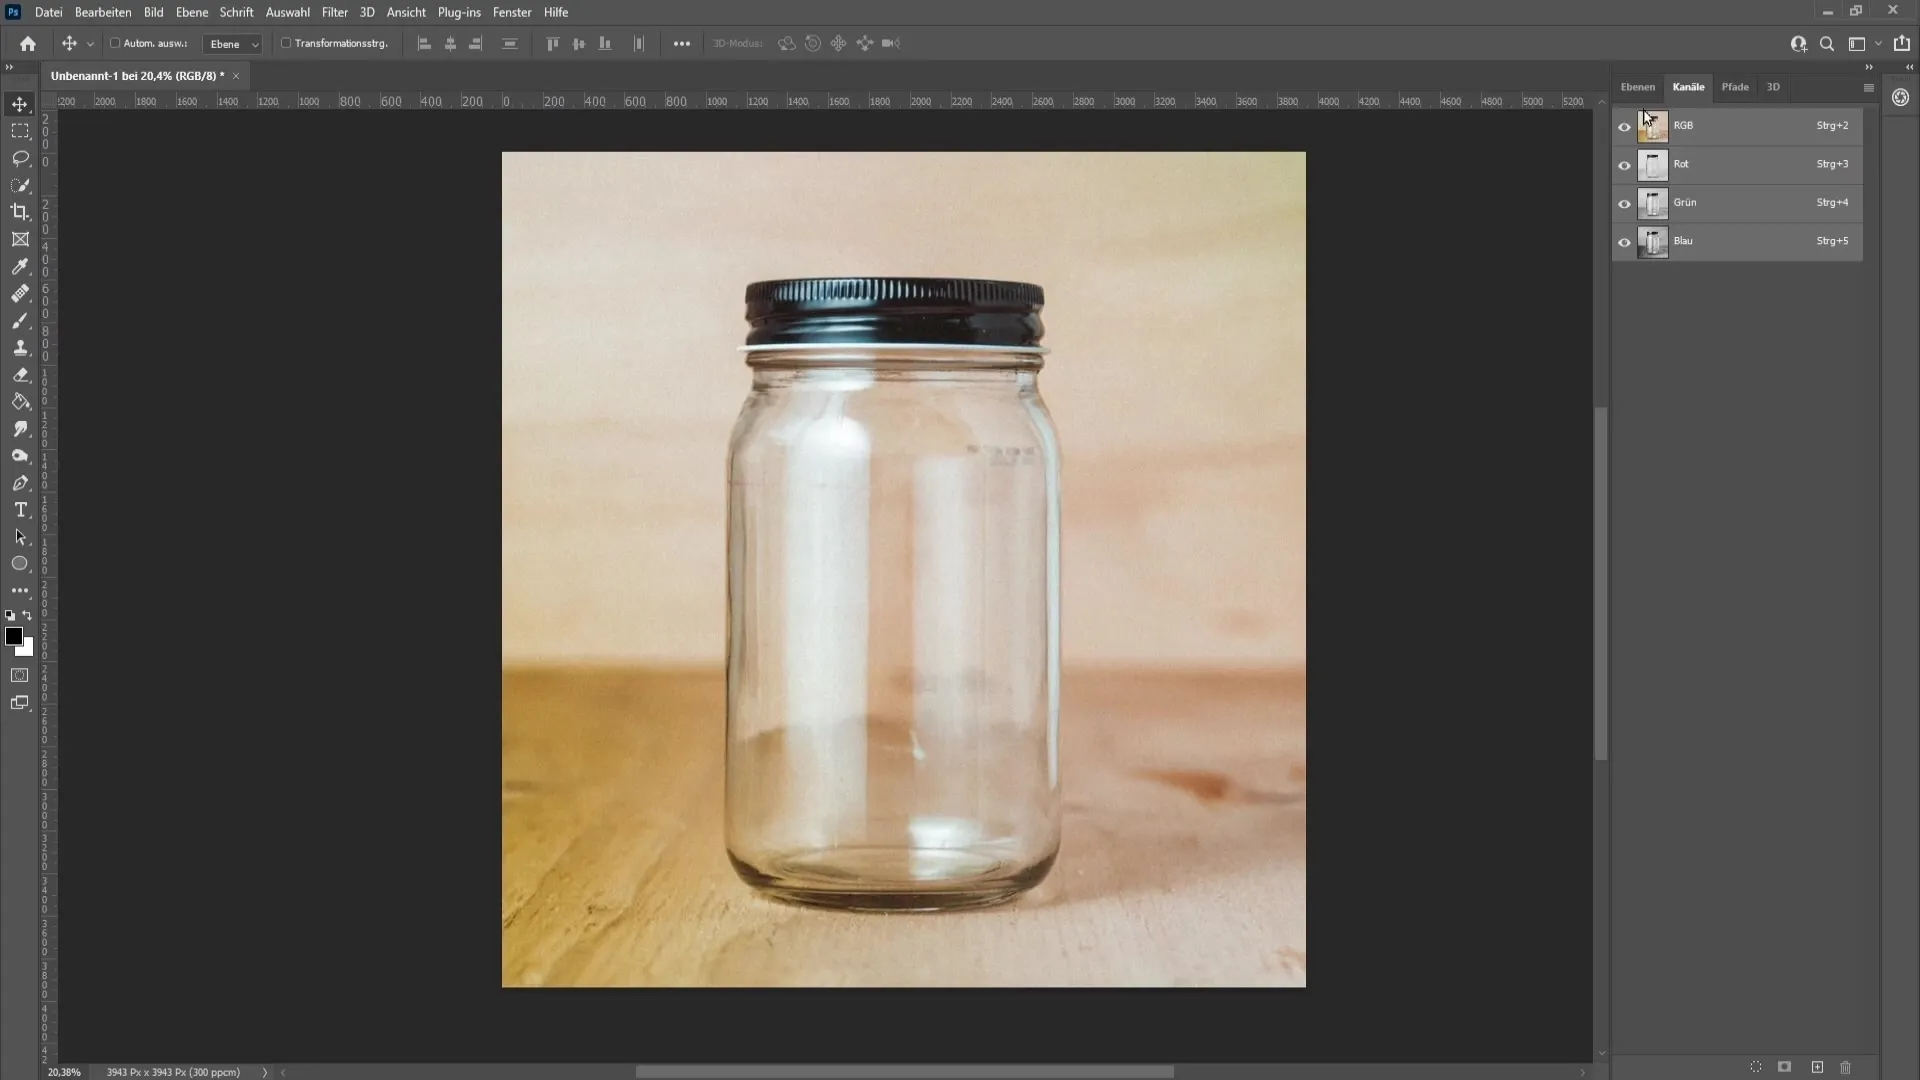
11. Adding a mask
Switch back to the layers, activate the layer of the cut-out object, and click on the layer mask icon. This function integrates the object into the glass.
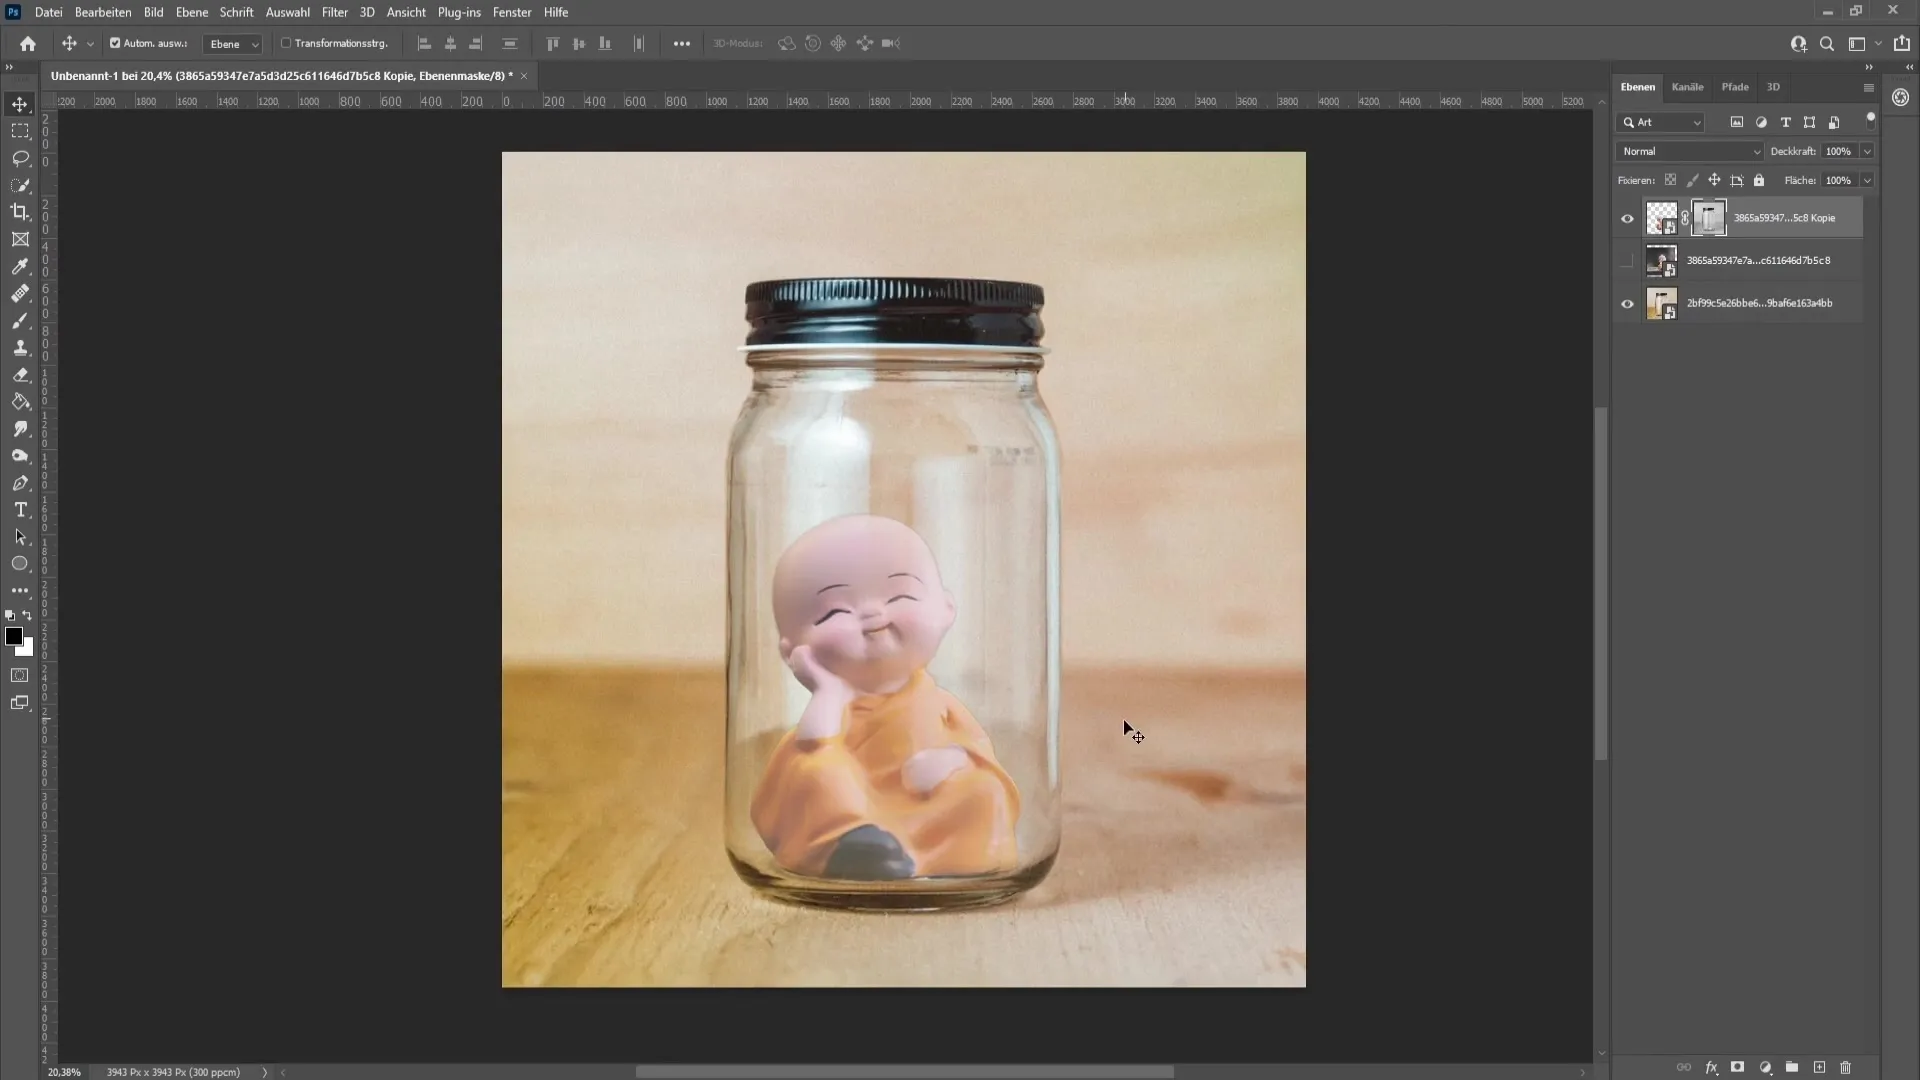
12. Making fine adjustments
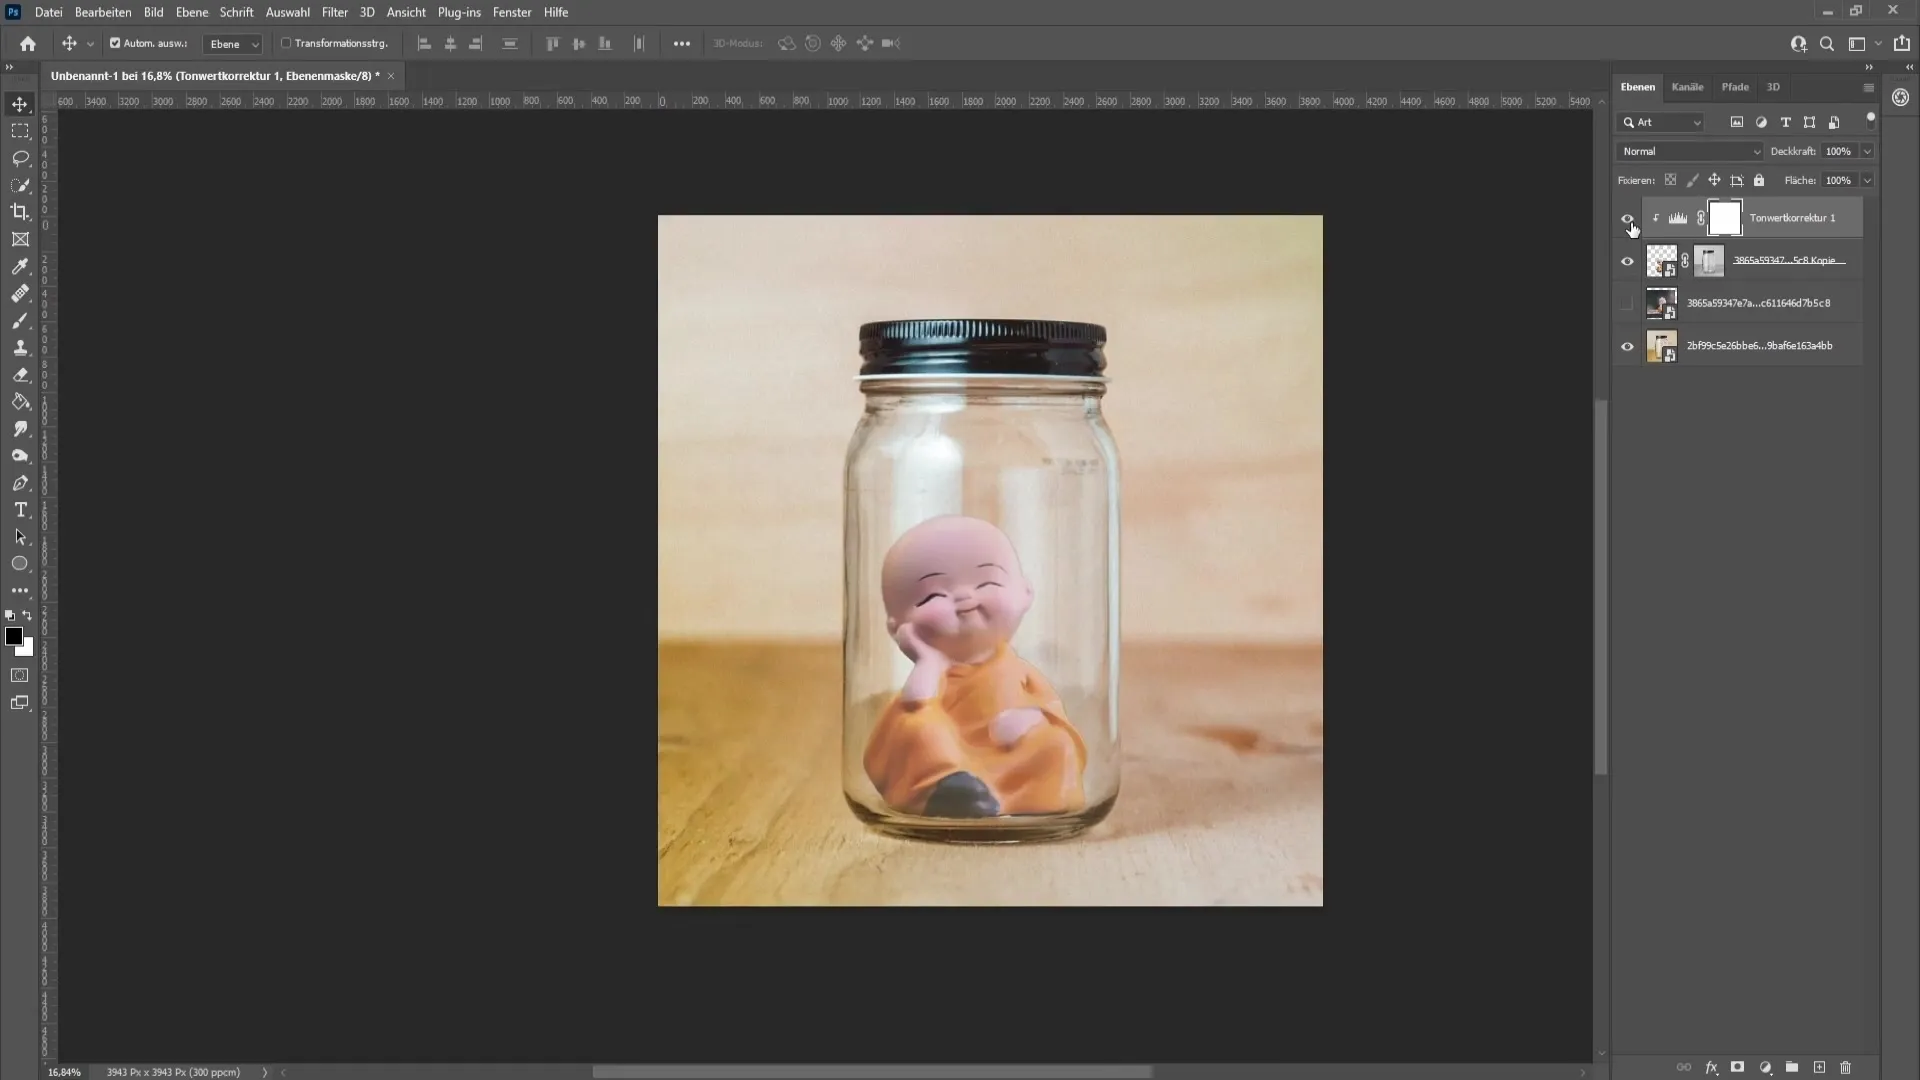
You can still adjust the mask to ensure that the object looks good in the glass. Use adjustment layers like "Levels" to further optimize the appearance of the object.
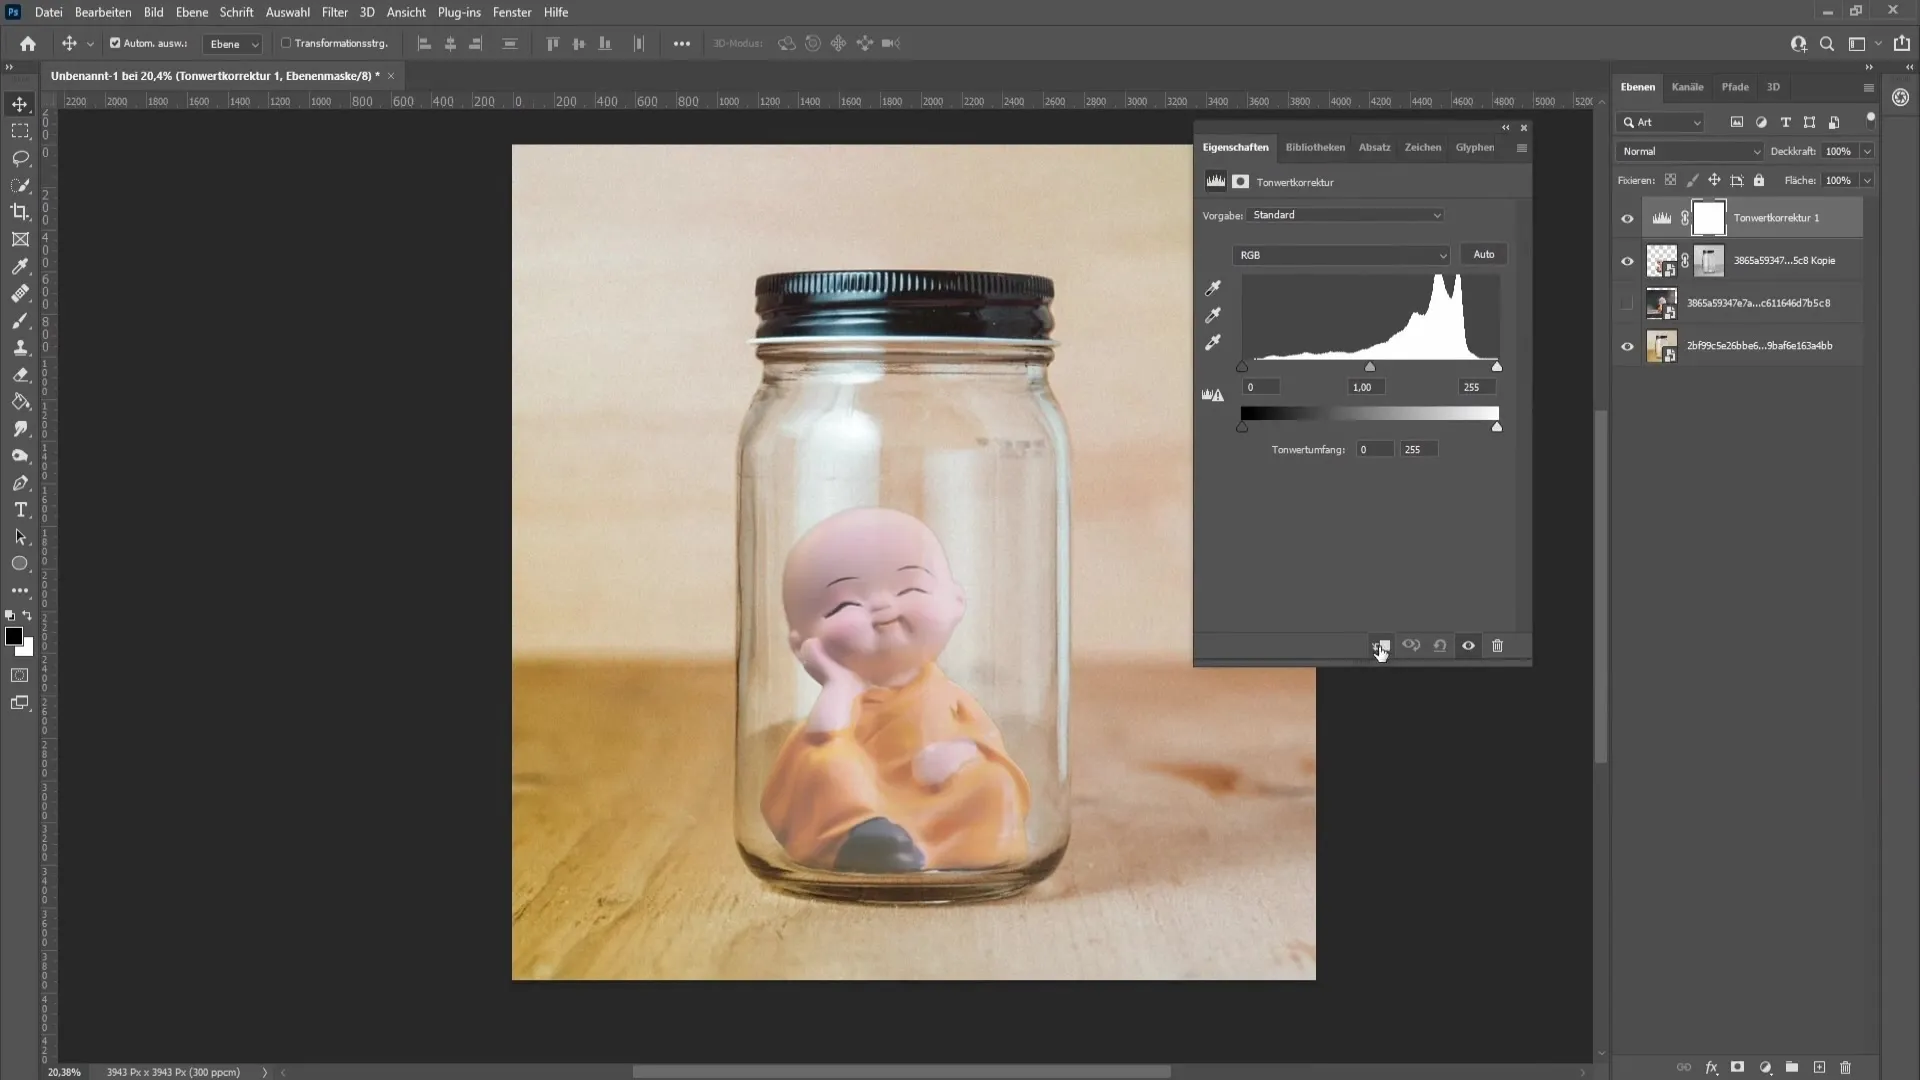
13. Final check
Check the result and if necessary, display before/after comparisons to see the changes. This way, you can determine if the figure has been smoothly integrated into the glass.
Summary
In this guide, I have explained step by step how you can realistically insert an object into a glass. Through precise cutting, the use of layer masks, and adjustments, you can achieve a professional result.
Frequently Asked Questions
Which Photoshop version do I need?An up-to-date version of Photoshop is required for the "Select and Mask" function.
How can I improve the edges of the object?Use the Refine Edge Brush tool to carefully work on the edges.
Can I undo my changes?Yes, converting to a Smart Object allows you to undo changes without loss of quality.


