In this guide, I will show you how to easily remove objects or people from an image. These plants or people in the background can sometimes be distracting and affect the overall composition of an image. Photoshop offers several helpful tools for this purpose. Let's go through the different techniques step by step so that you can confidently handle these tools.
Key Takeaways
- Photoshop offers several tools for removing people or objects.
- Choosing the right tool depends on the image situation.
- Working on a new layer allows for non-destructive image editing.
Step-by-Step Guide
1. Working with the Clone Stamp Tool
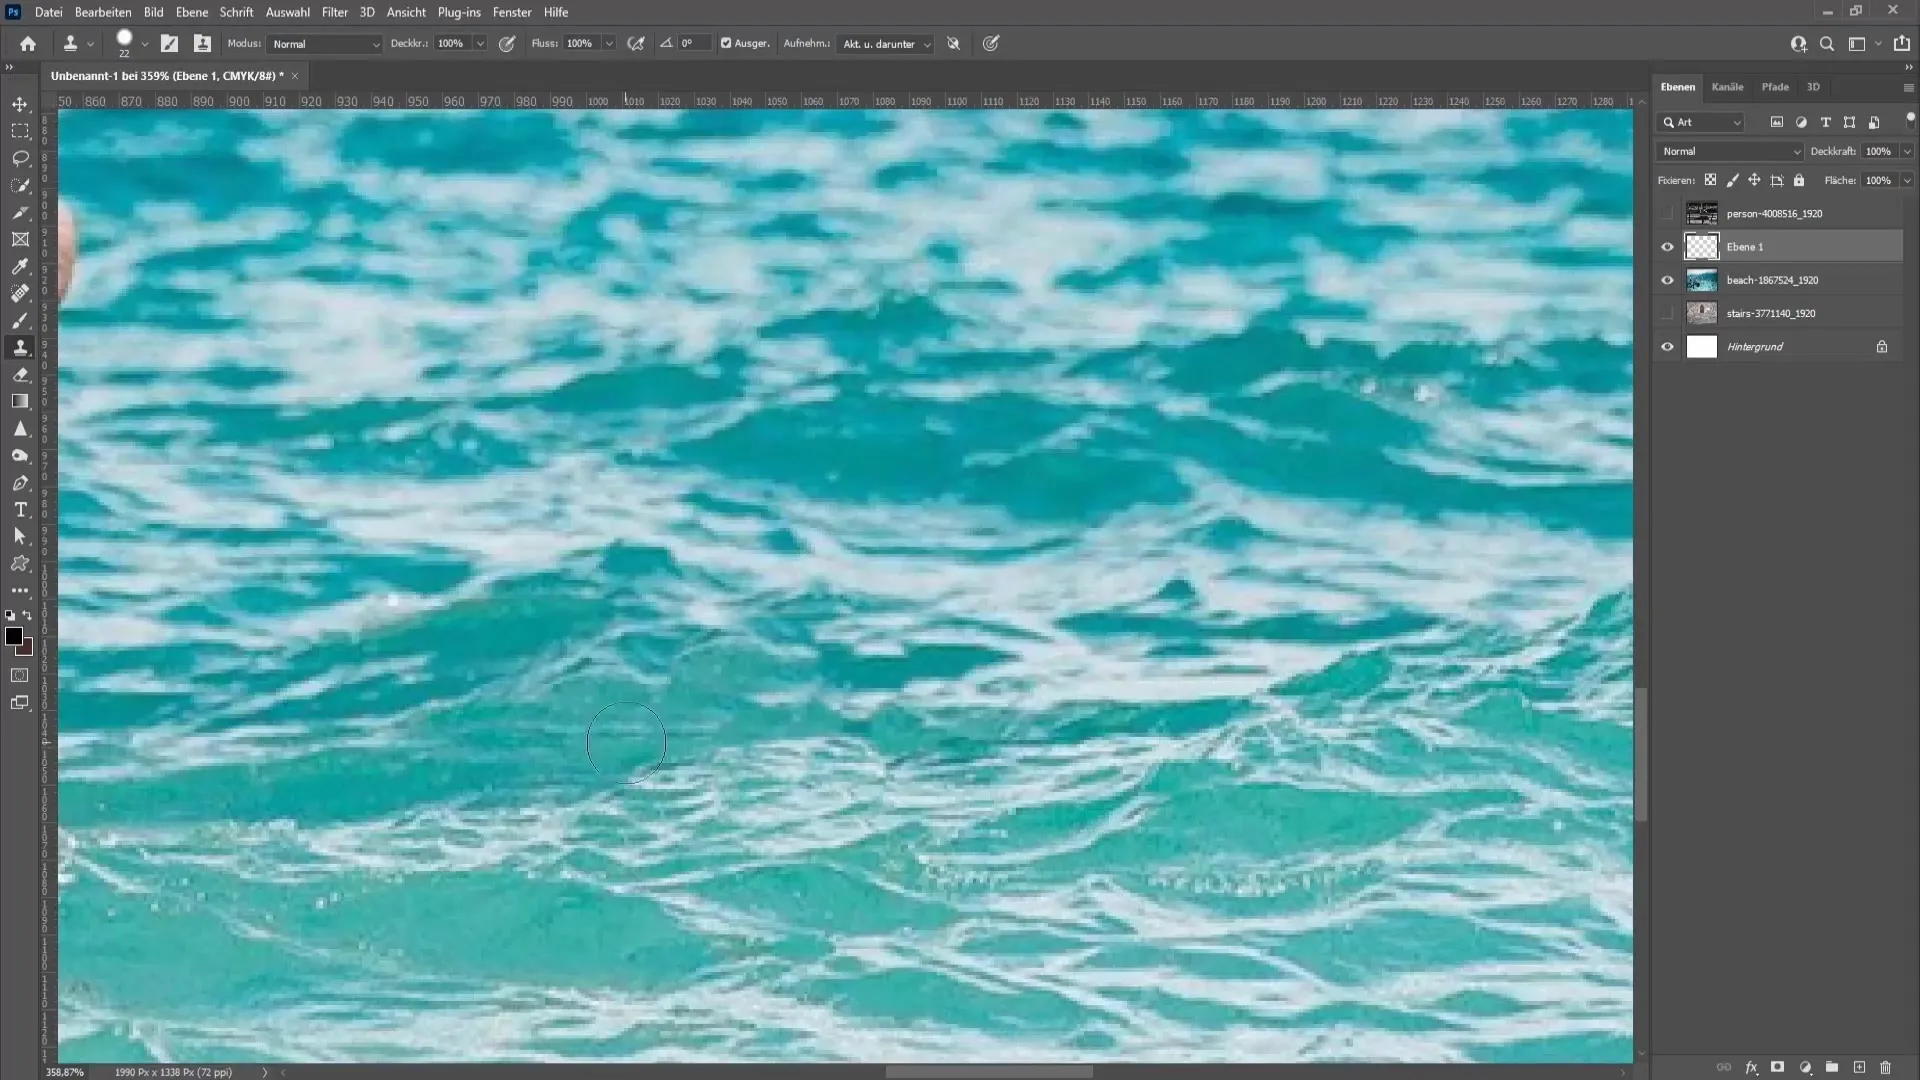
To remove an area from your image, you can use the Clone Stamp tool. First, create a new layer. This allows you to undo the changes and make the editing non-destructive.

In the Clone Stamp tool panel, choose a hardness of about 83%. While holding down the Alt key, click on an area in the image that has the desired appearance or texture. This area will then be transferred to the spot where you want to remove the unwanted object or person.

Apply this technique by strategically switching between different areas to achieve a clean result. Make sure to zoom in on the image from time to time to ensure that the transitions look natural.
2. Using the Healing Brush
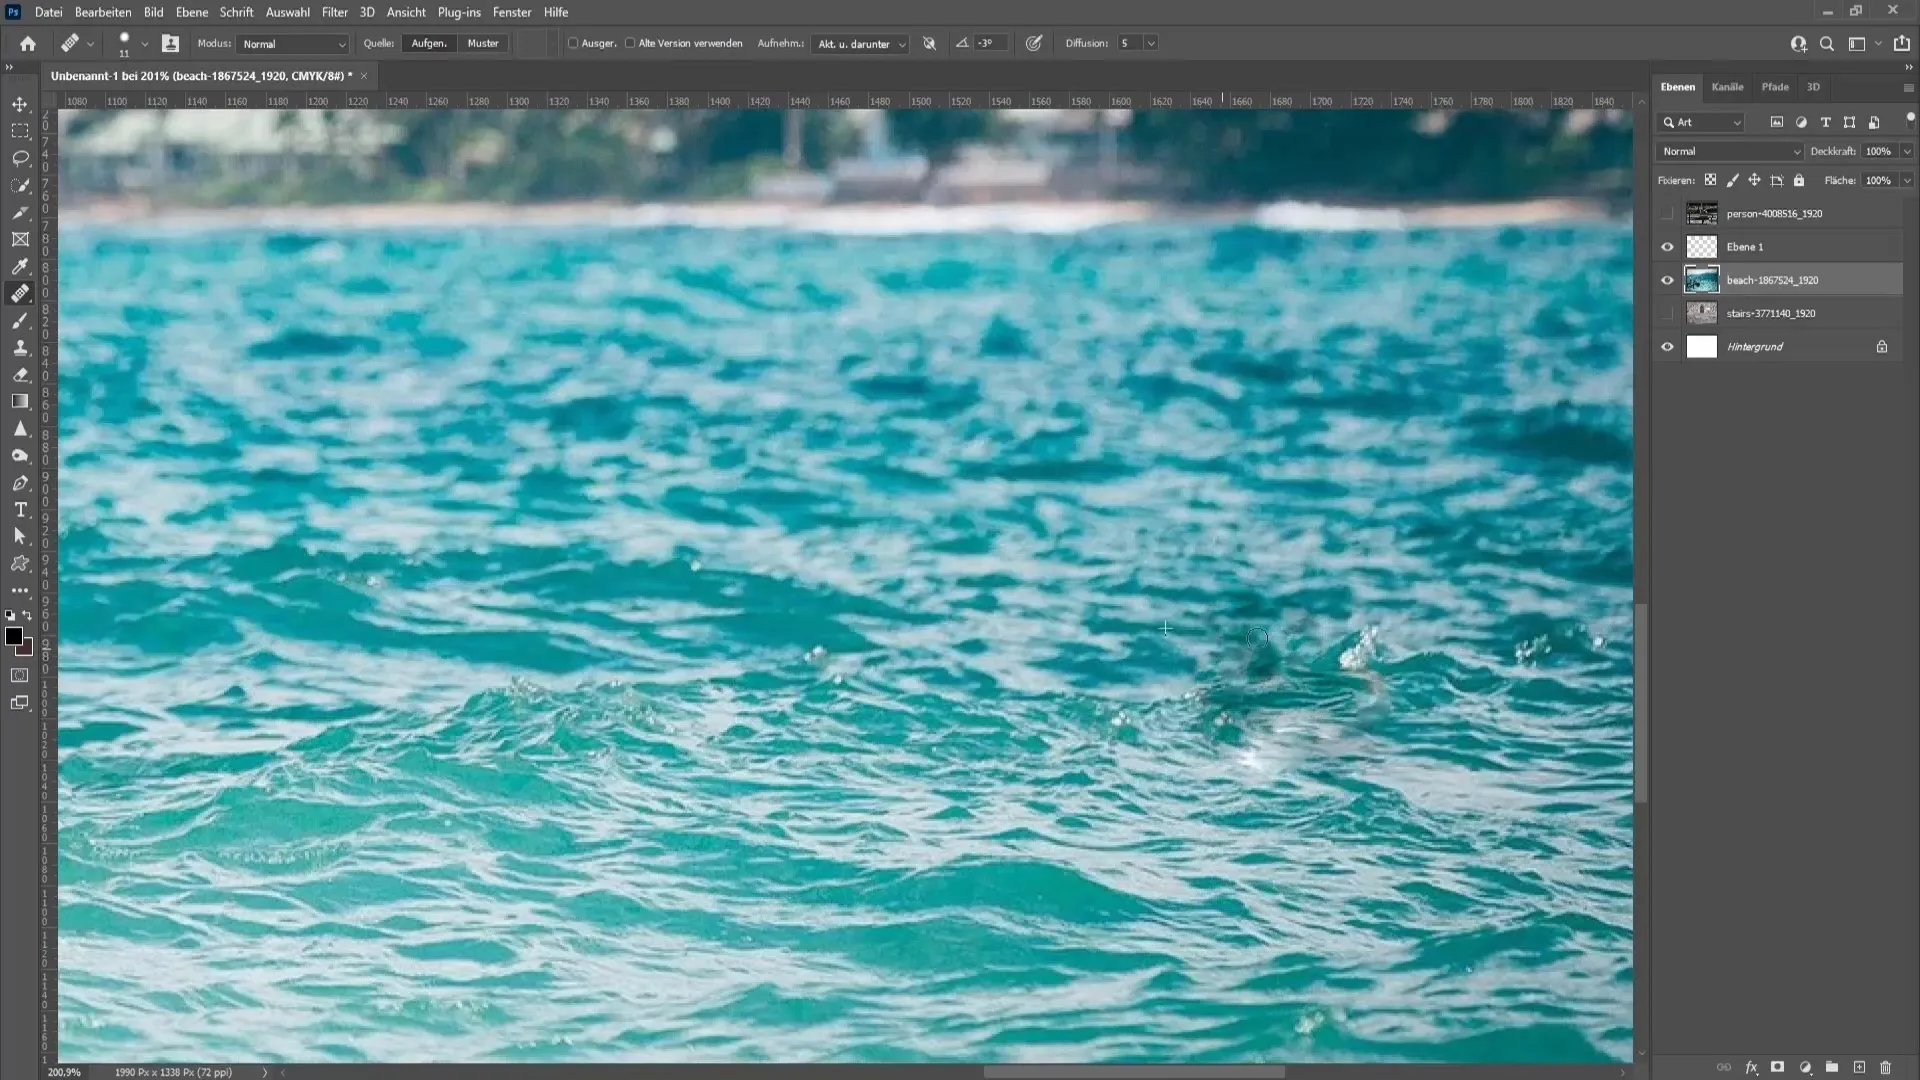
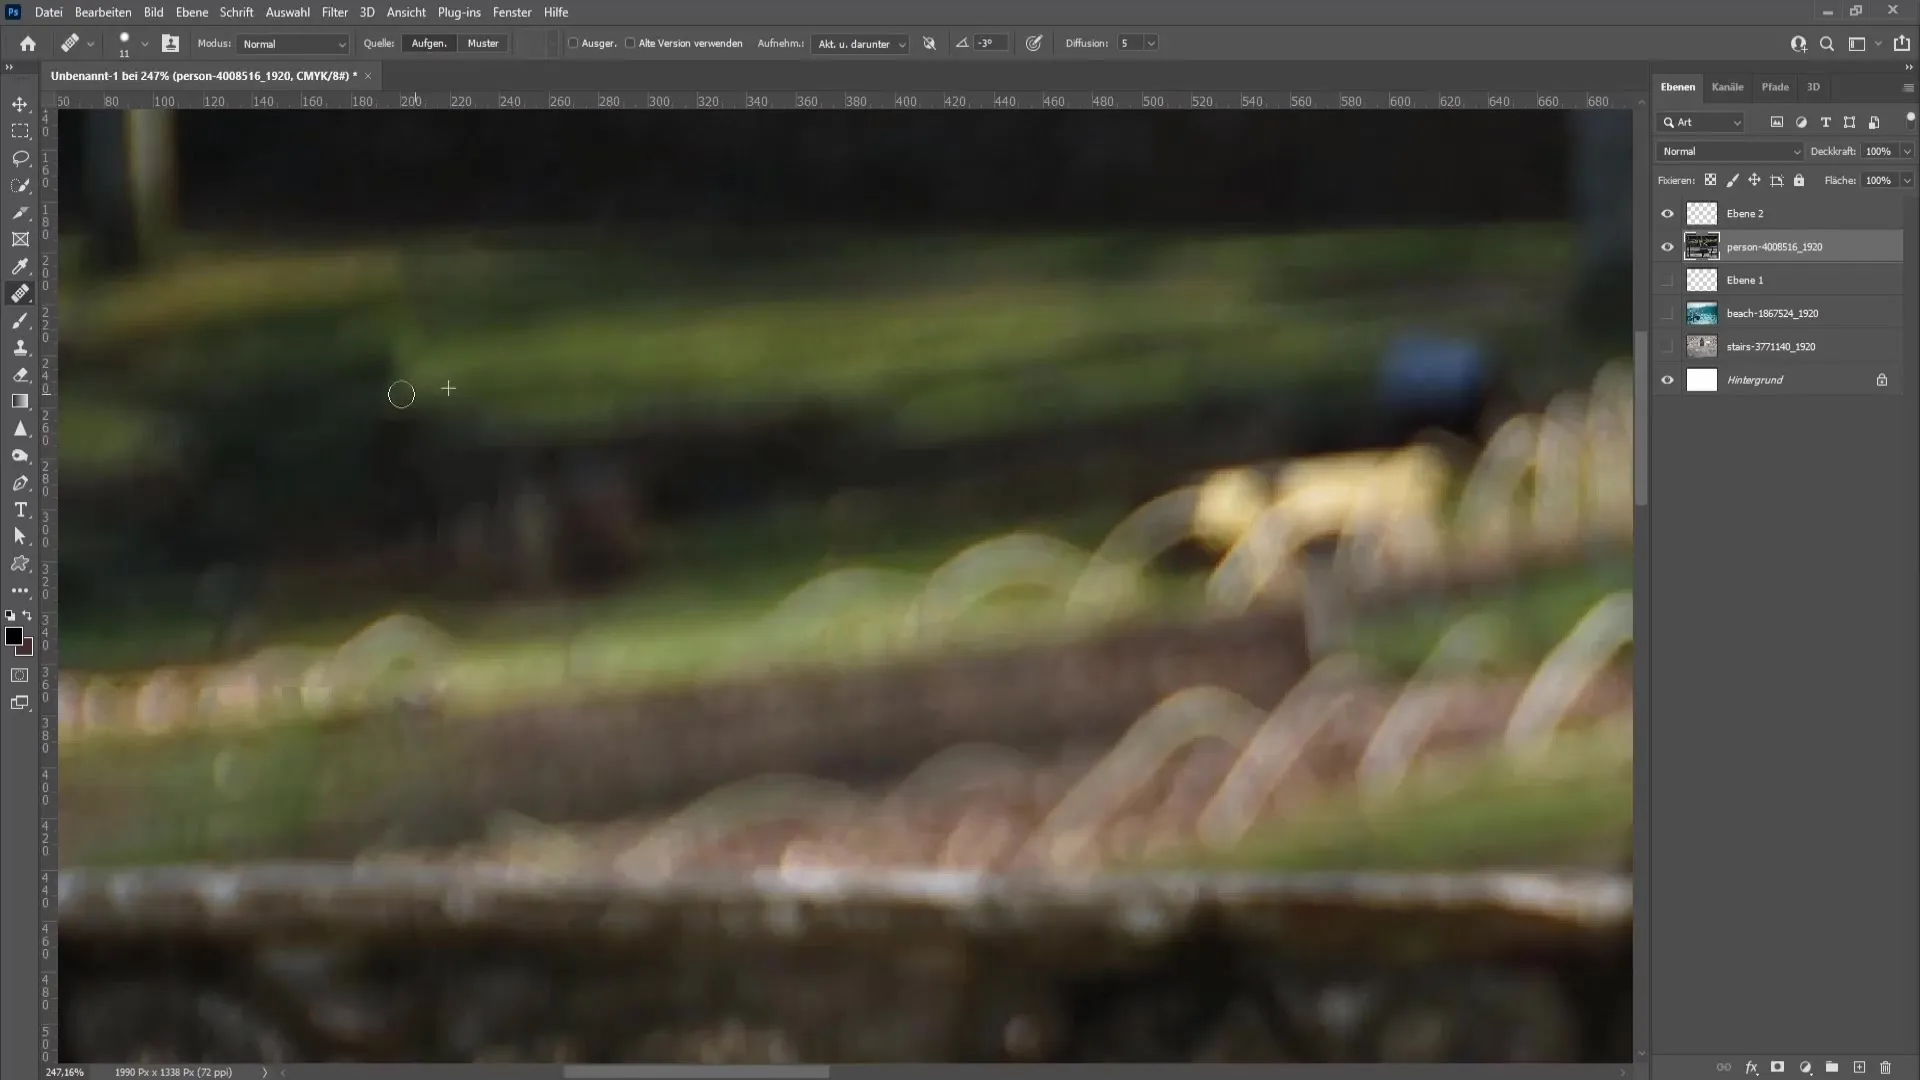
Another option is the Spot Healing Brush tool. This tool is particularly useful for retouching small areas. Select the tool and brush over the affected area.
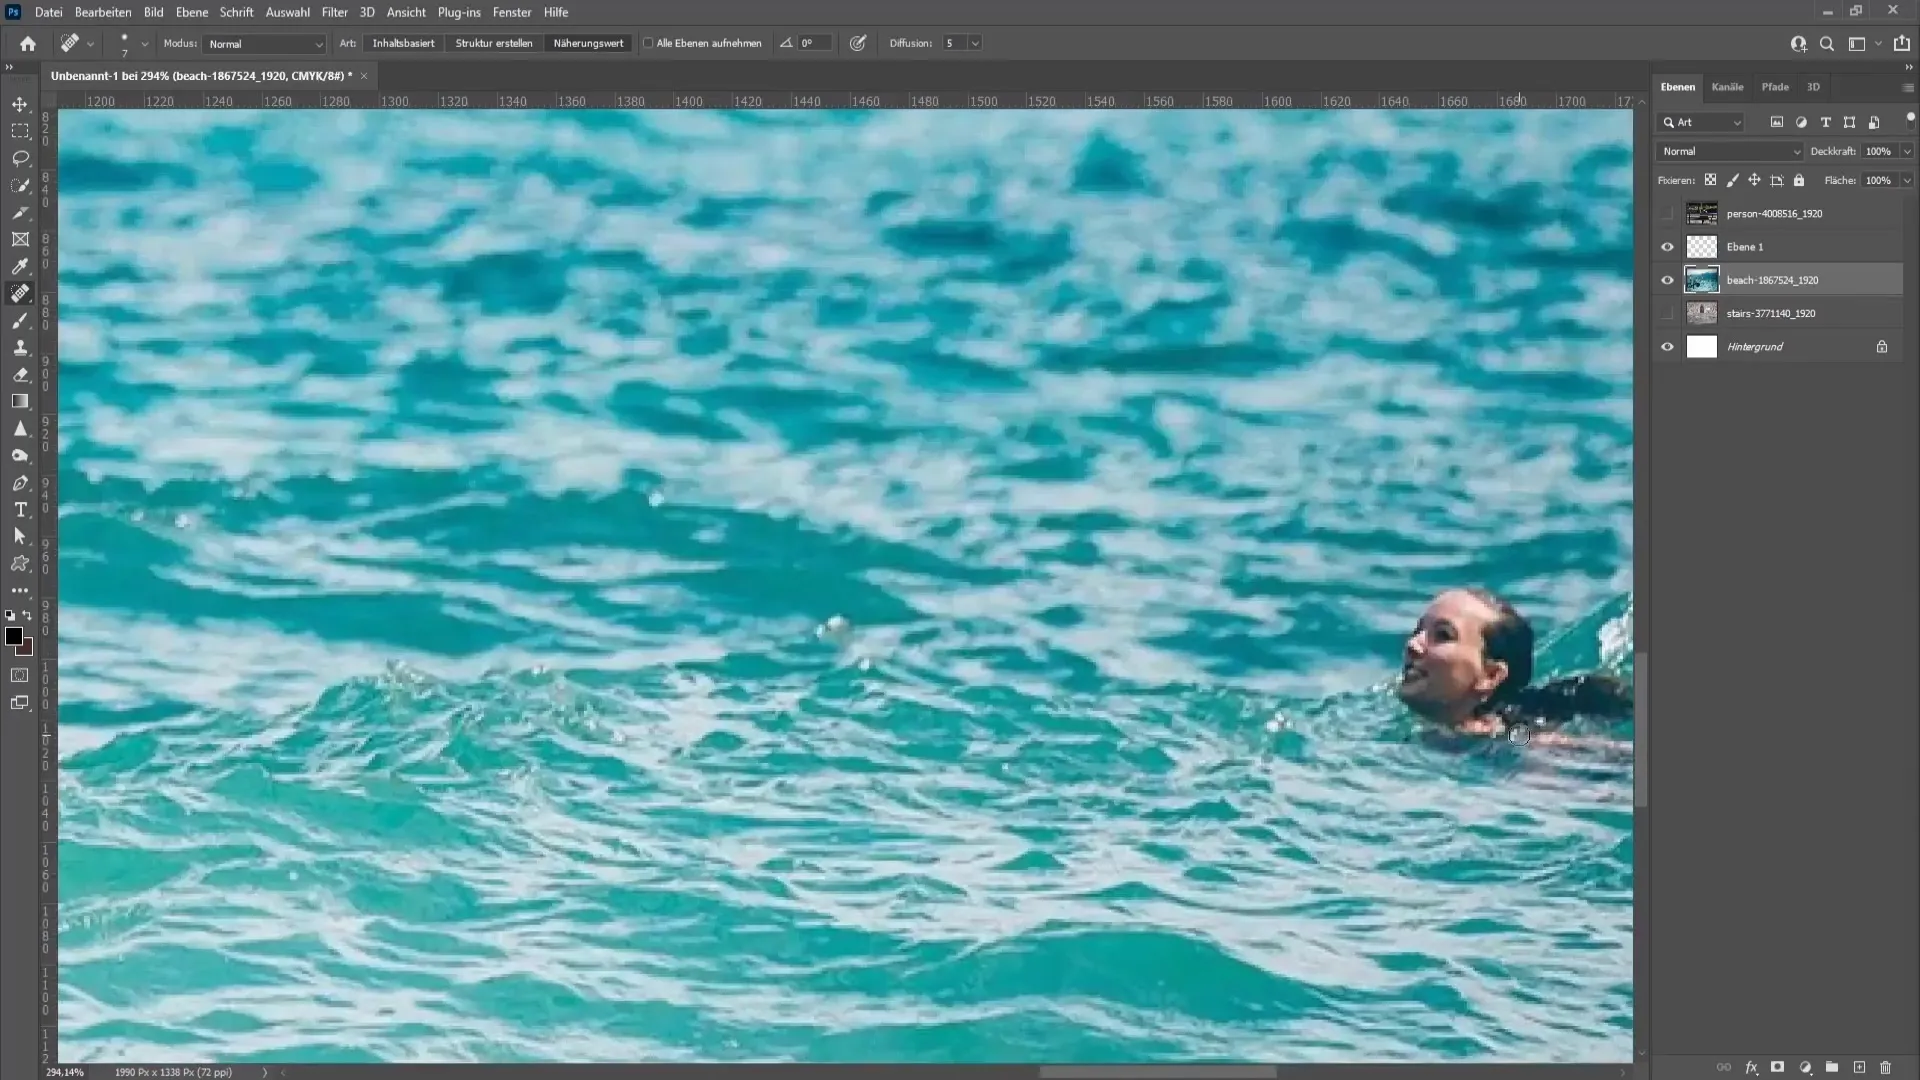
You may need to go over it multiple times to achieve a desirable result. The Healing Brush tool works similarly to the Clone Stamp tool, using neighboring pixels to replace the unwanted area.
3. Content-Aware Fill
This method is especially effective for removing larger objects or people. First, select the Lasso tool to outline the area you want to remove. Hold down the Shift key to add more areas or the Alt key to subtract areas.
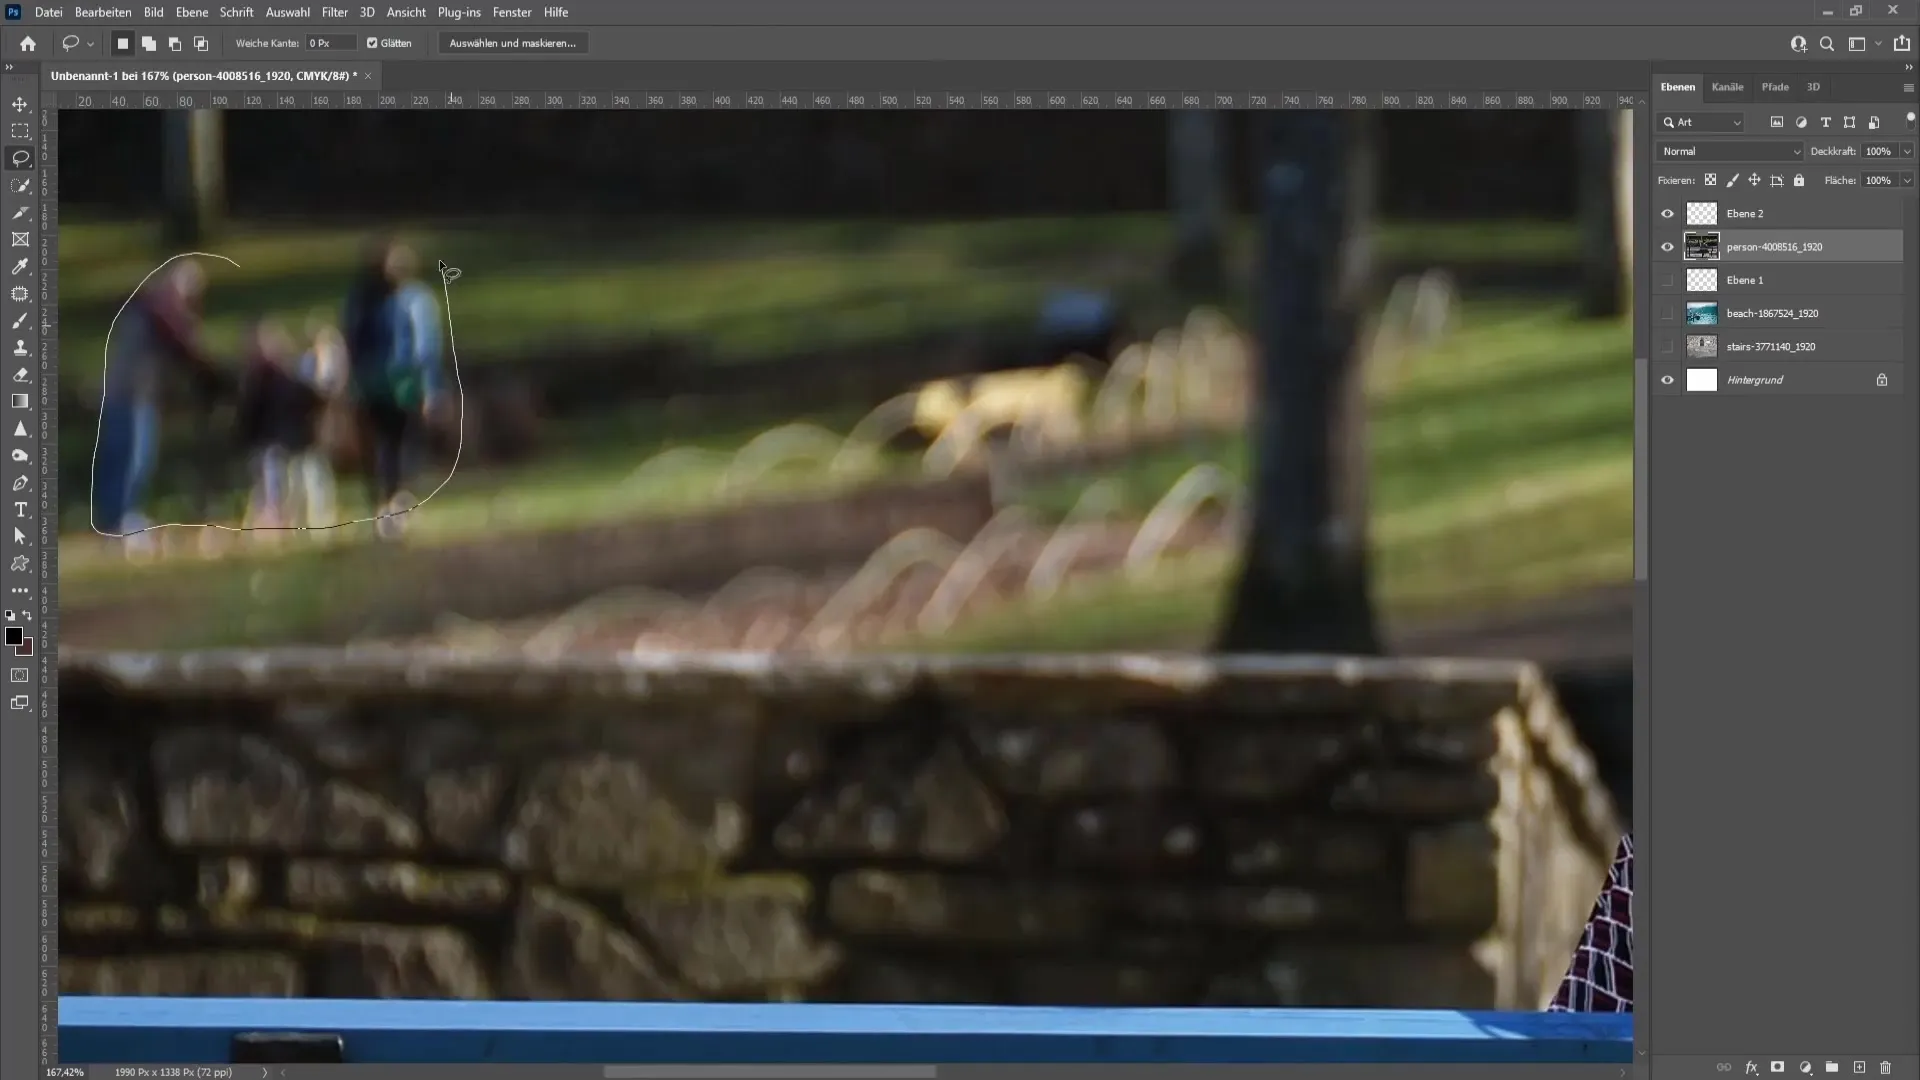
After making the selection, right-click and choose "Fill." Set the mode to "Content-Aware" and confirm your selection. Photoshop will automatically fill the selected area with images from the surrounding.
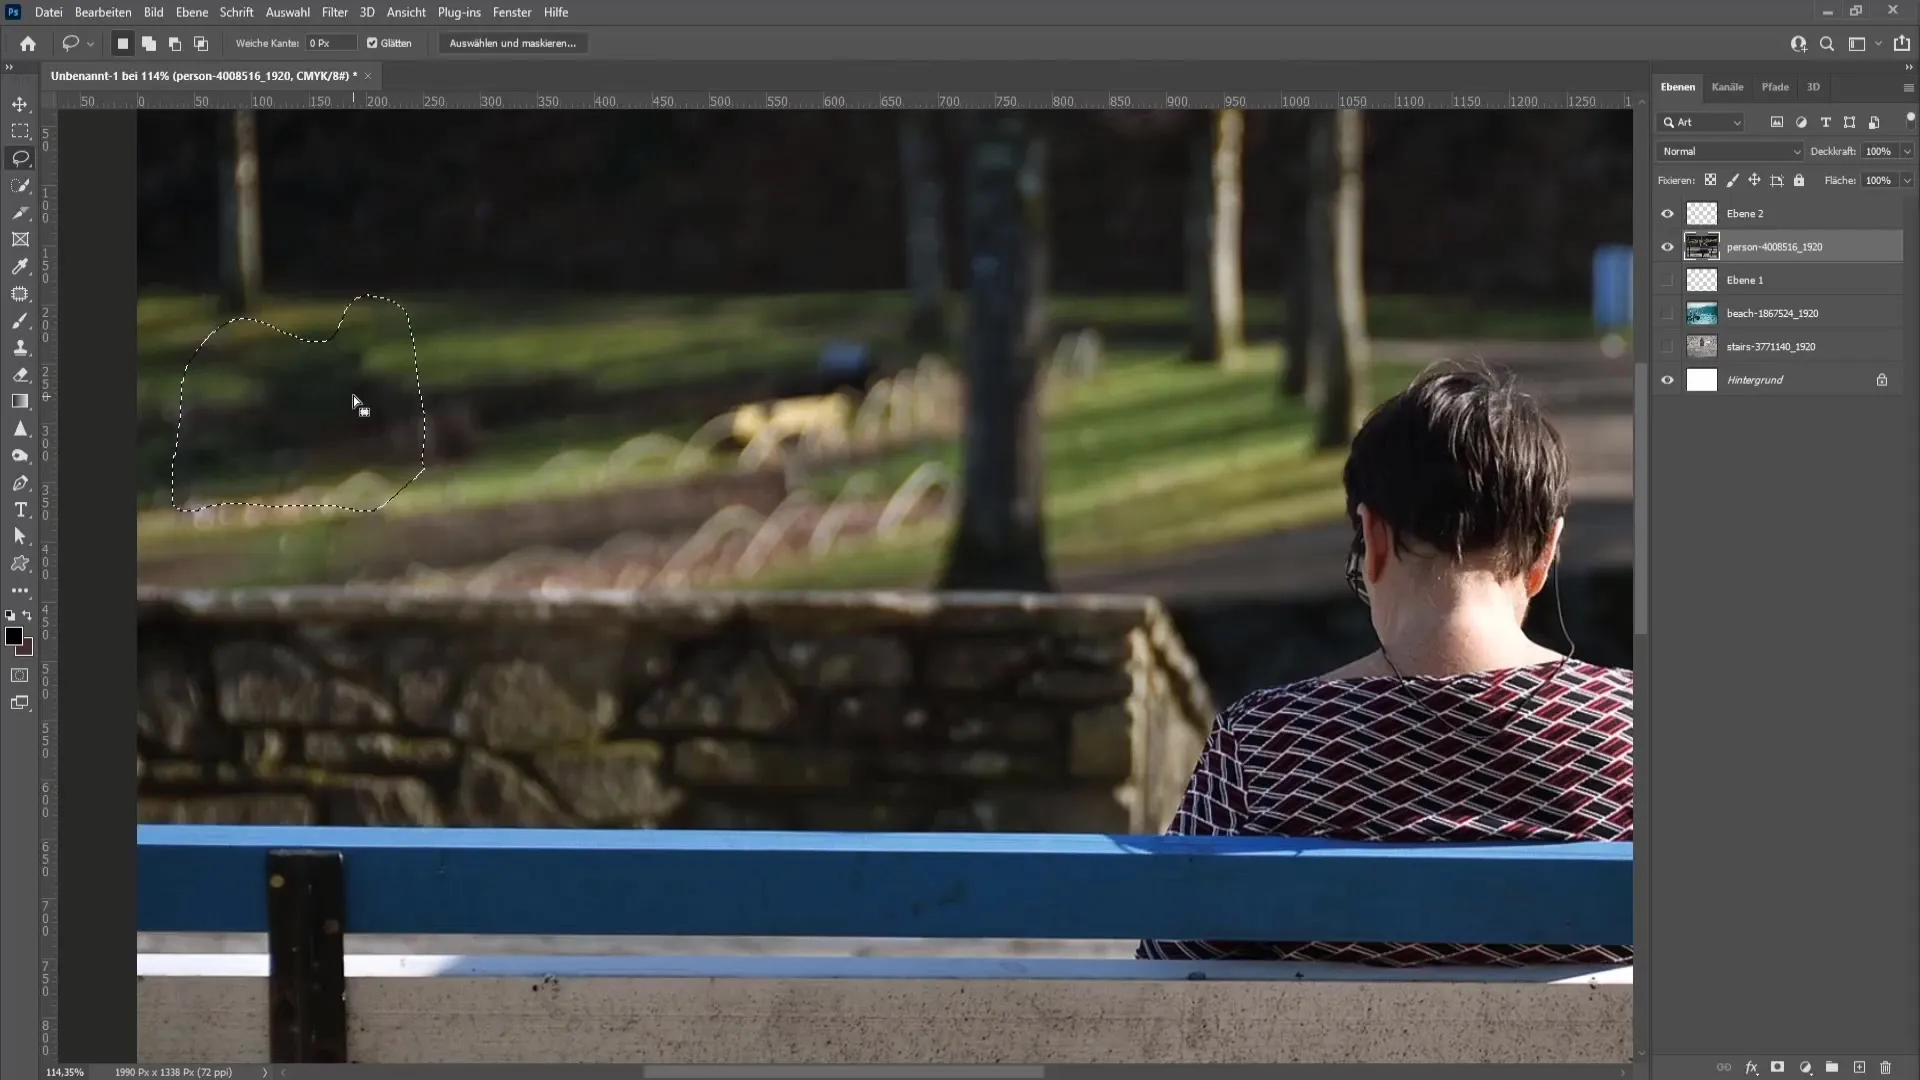
If the transitions are not perfect, you can refine them using the Clone Stamp tool or the Healing Brush tool.
4. Adjusting Colors and Transitions
Since there may be color discrepancies or transitions, you should also make adjustments. Use the Levels adjustment to modify the colors to appear consistent.
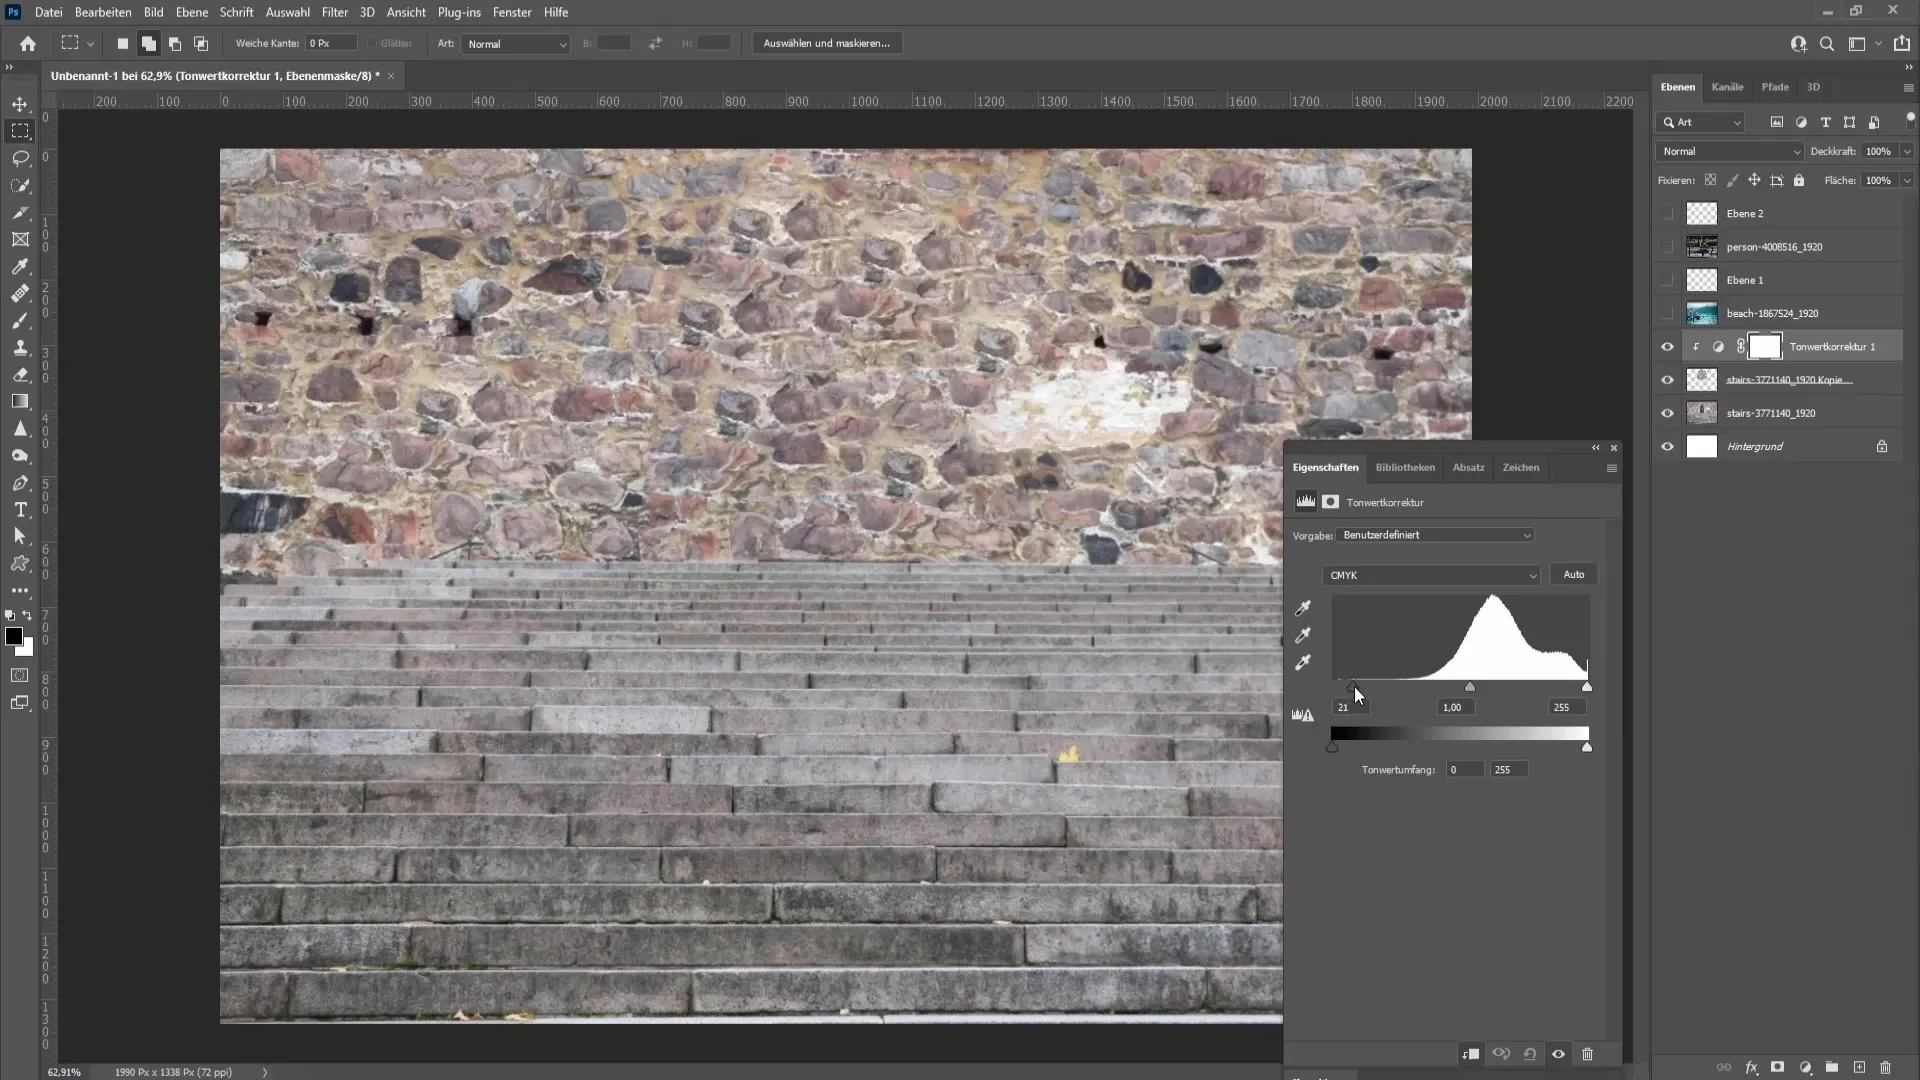
By dragging the left slider to the right, you can darken the image, while the right slider lightens it. Adjust the levels to appear harmonious.
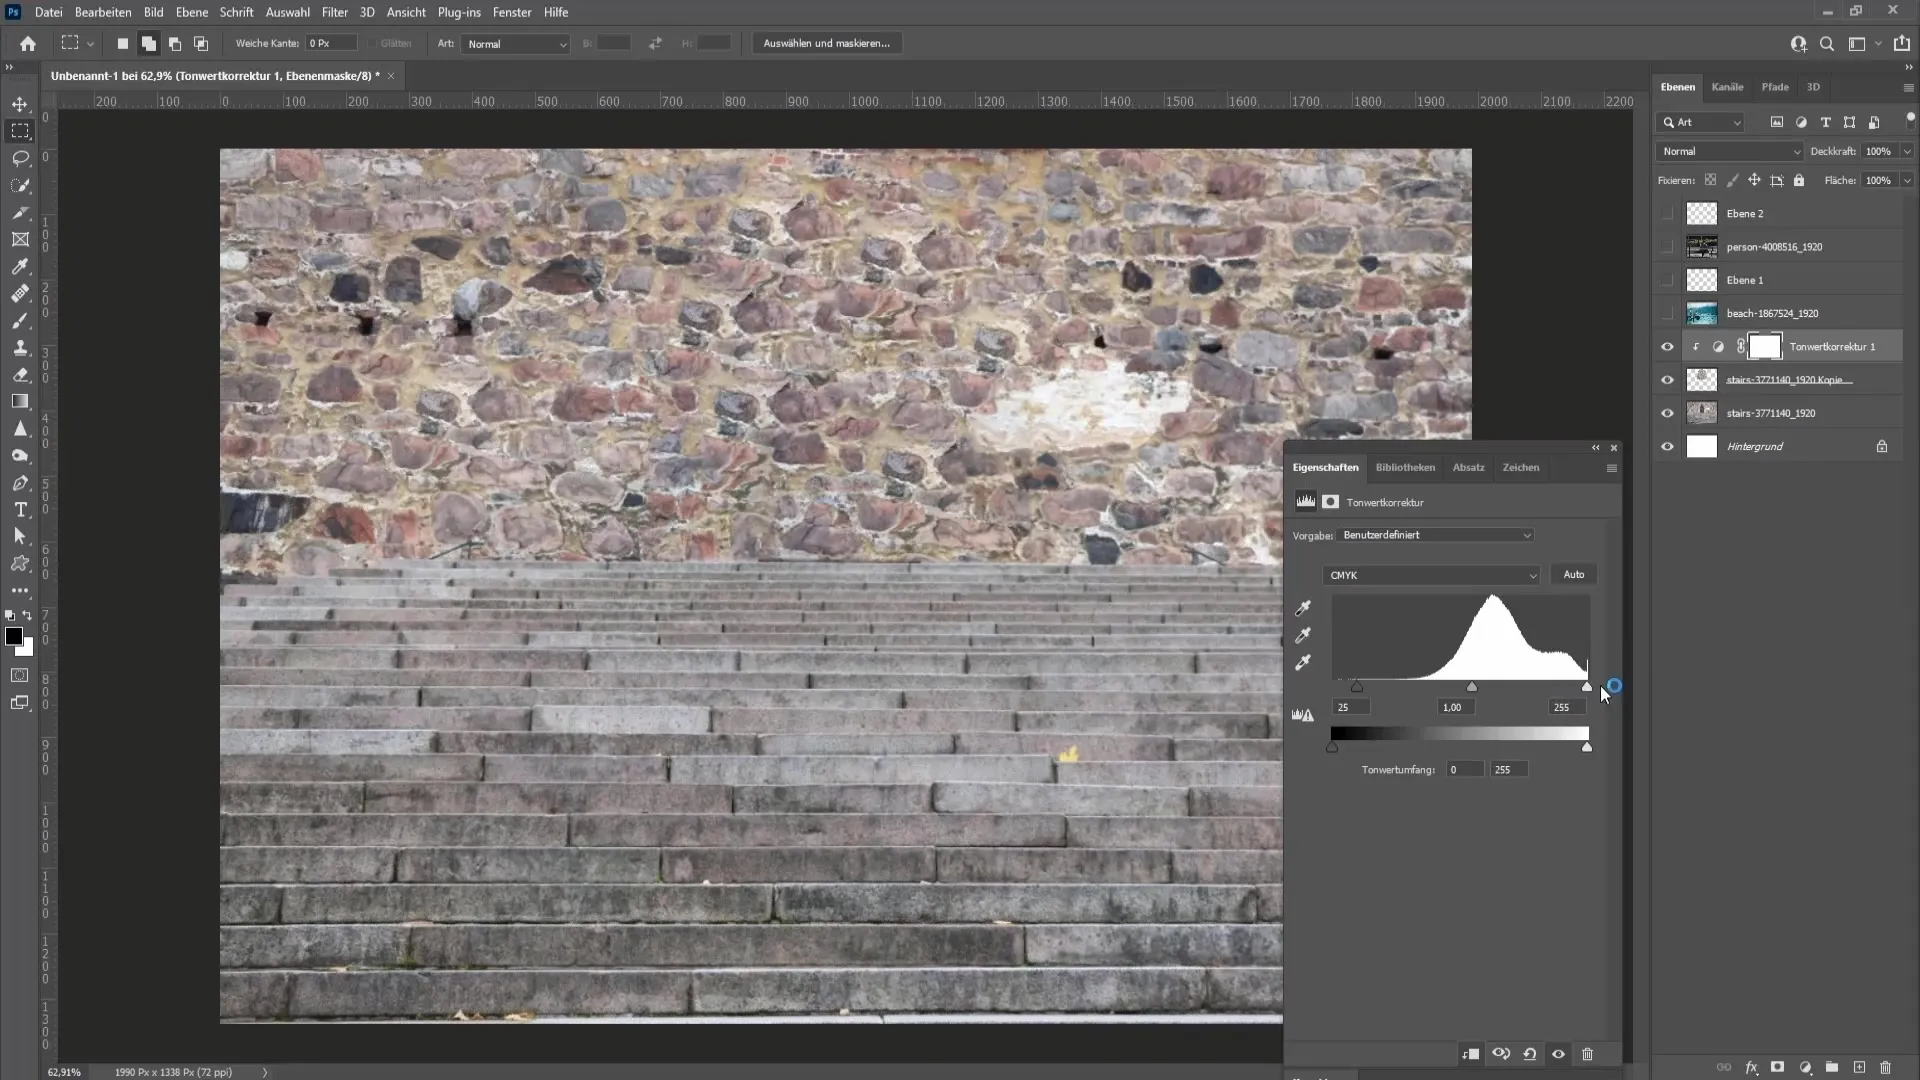
5. Finishing Work on the Edges
To ensure that everything looks as if it has always been that way, you can use masks. Apply a masked layer and paint over the edges with a brush. This helps to smooth out unnatural transitions.
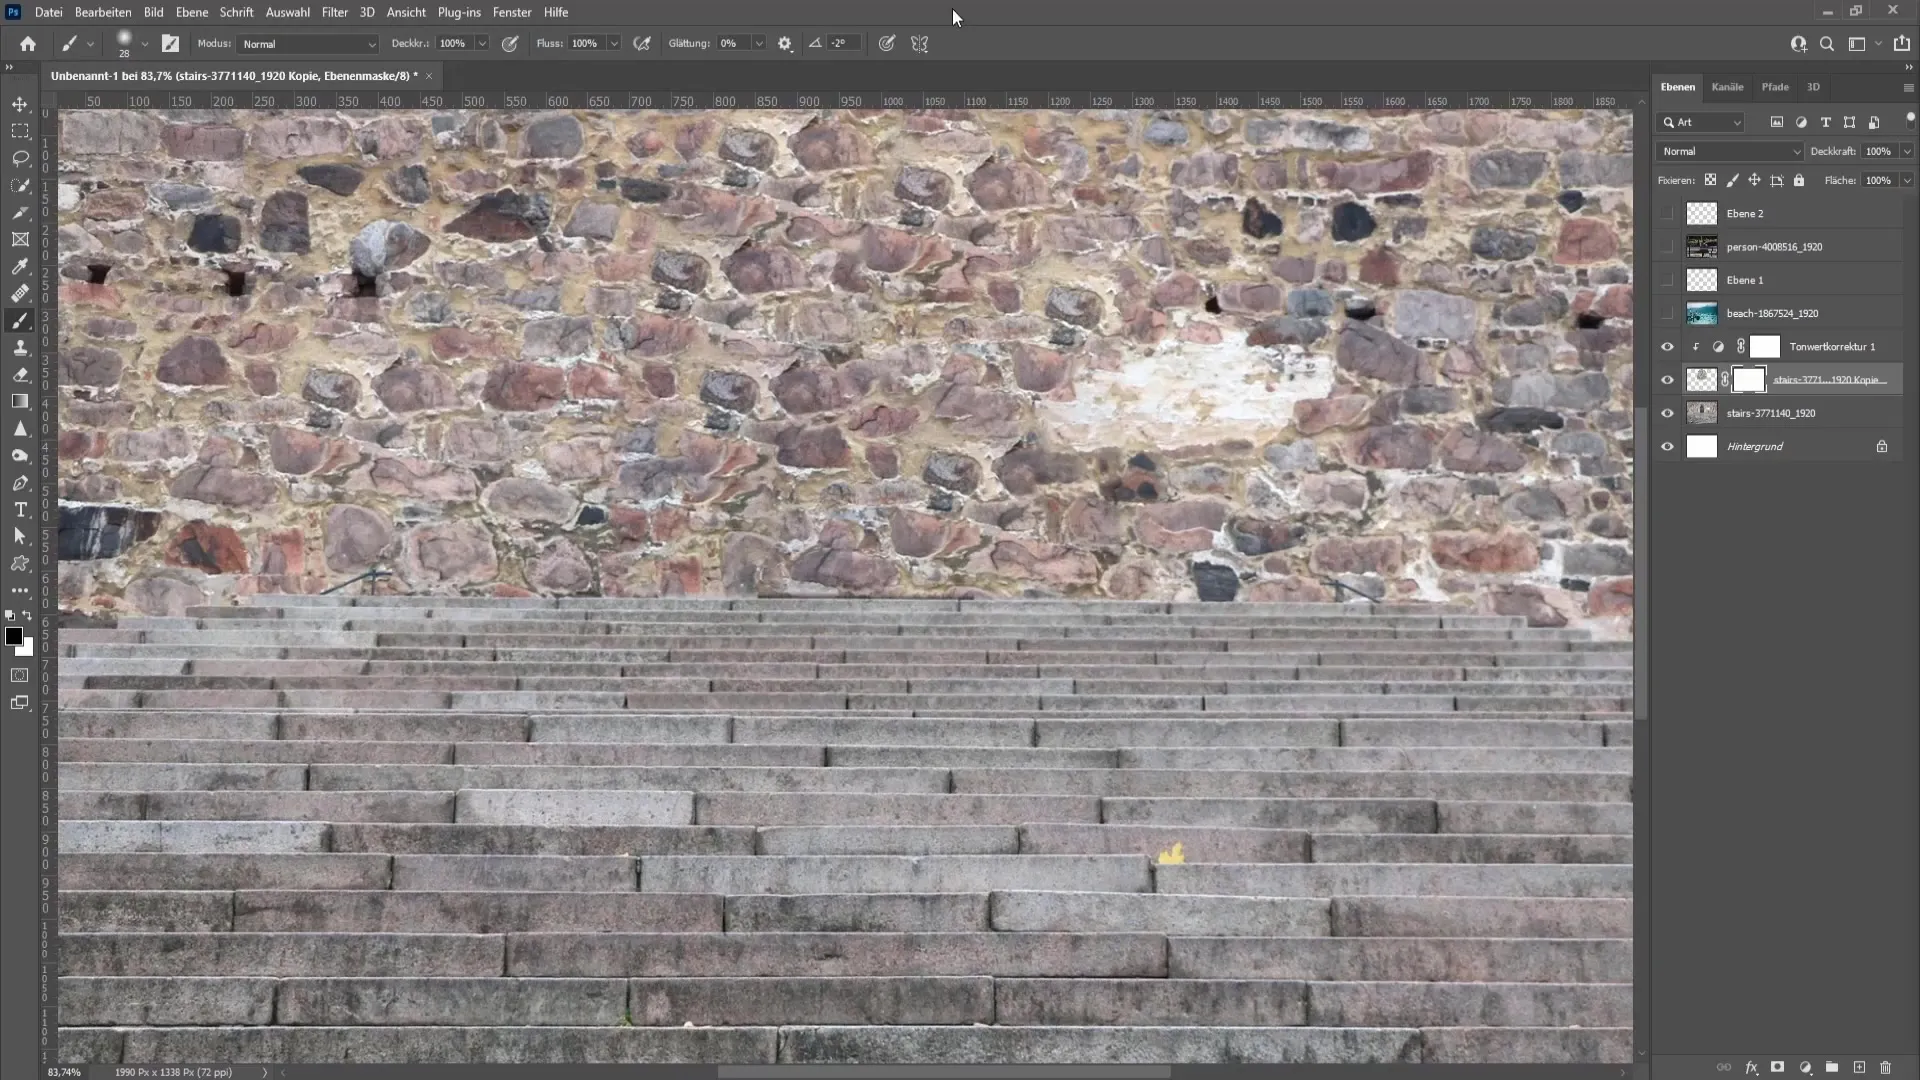
Use a soft brush tip with 0% hardness to make the edges more gentle. Make sure the colors and textures appear as if they were natural.

6. Removing More Complex Objects
If you need to remove more complex objects or people, it is advisable to use the pen tool. This allows for precise selection. To create a selection, click around the desired area to create a path.
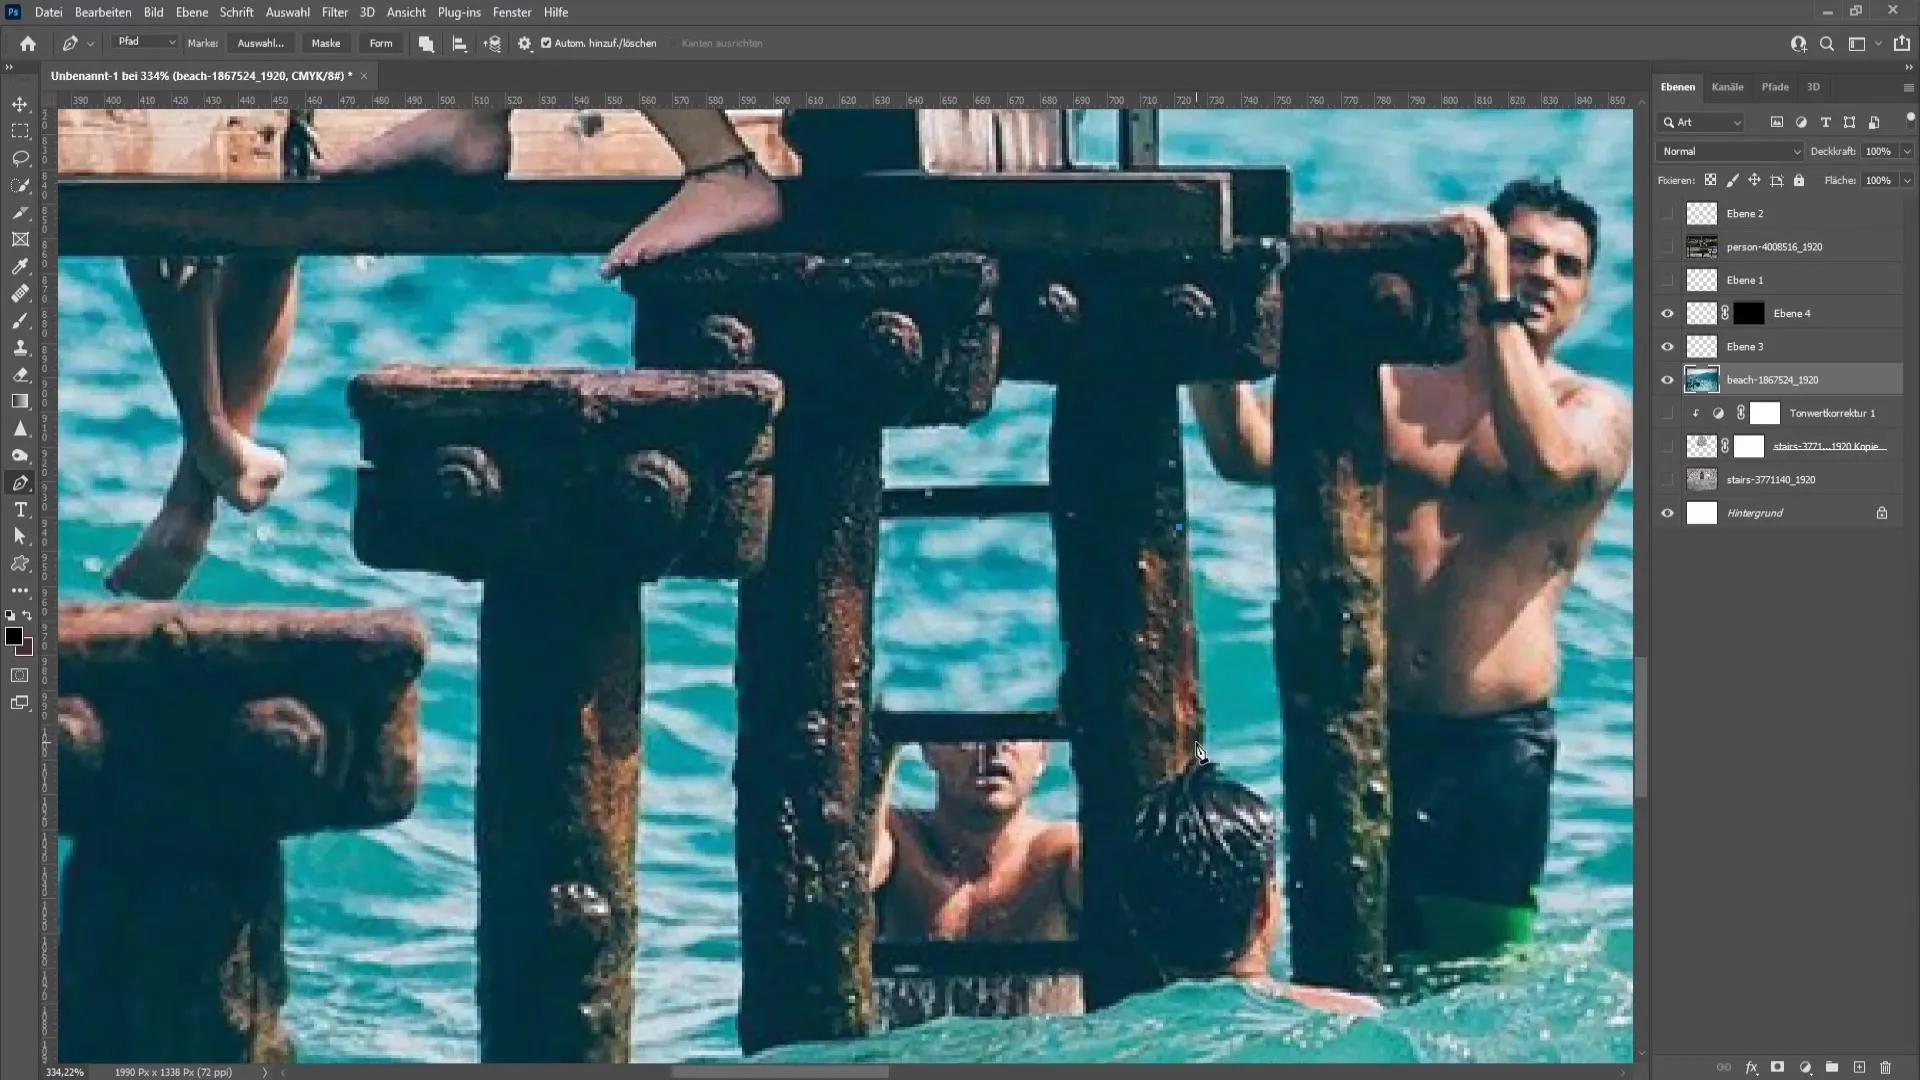
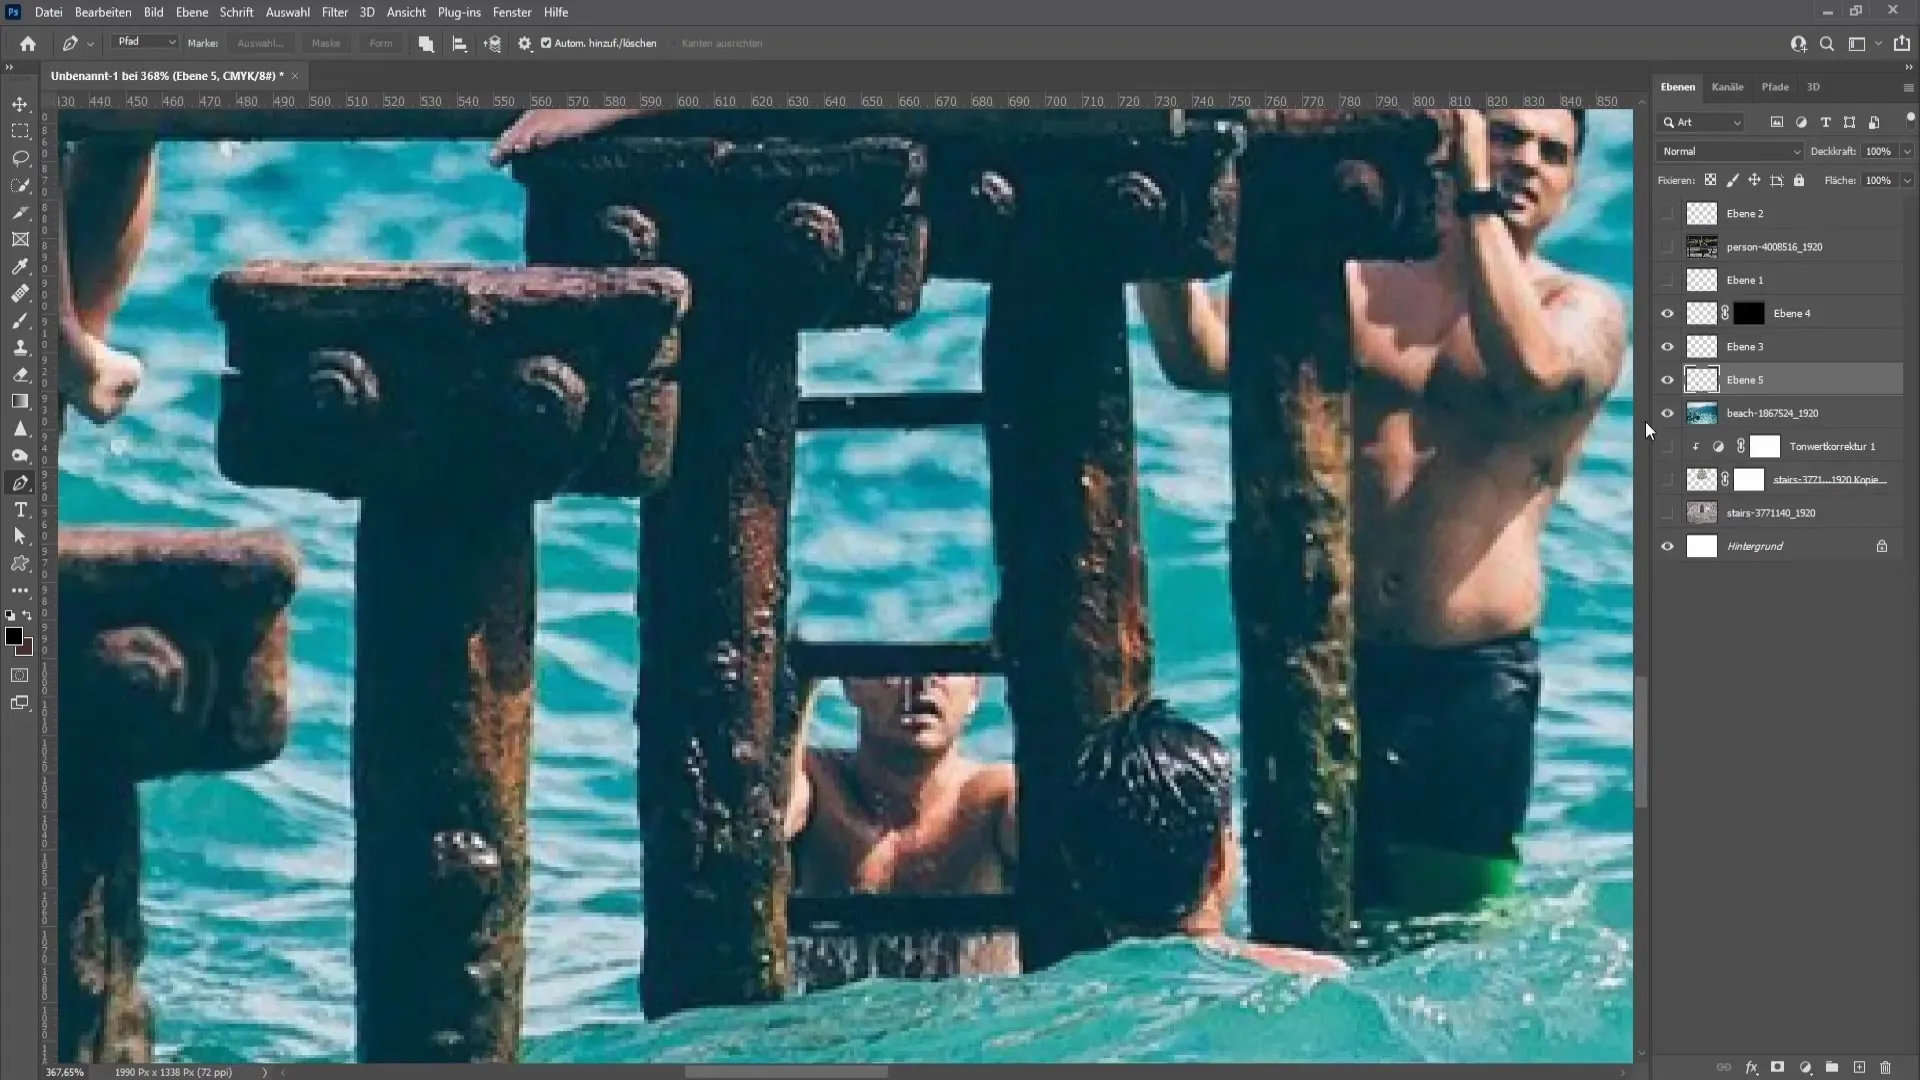
After creating the selection, you can copy it and paste it onto a new layer. Then, you can refine the edges by applying the techniques mentioned above.
Summary
In this guide, you have learned how to use various tools and methods in Photoshop to remove unwanted objects or people from images. With techniques like the clone stamp tool, the healing brush, and content-aware fill, you can professionally edit and enhance your images.
Frequently Asked Questions
How can I adjust the hardness of the clone stamp?Go to the brush settings and set the hardness to a desired value, such as around 83%.
What is the difference between the clone stamp and the healing brush?The clone stamp copies a selected area exactly, while the healing brush integrates neighboring pixels to soften transitions.
How can I adjust the colors after removing an object?Use the levels adjustment to modify the colors and brightness of the edited area.
Why do some methods not work for every image?Each image has its own challenges. The chosen method depends on the image complexity and elements.
Is there a way to undo work in Photoshop?Yes, you can use the undo function (Ctrl + Z) or access the history to revert previous adjustments.


