Note: This tutorial is a text version of the accompanying video training by Marco Kolditz. The texts may therefore have a colloquial style.
Marco now shows you how to place the little boat with the little man on the stormy sea. To do this, select: Open file and select the image that shows the boat. In this case "Boat.jpg" ...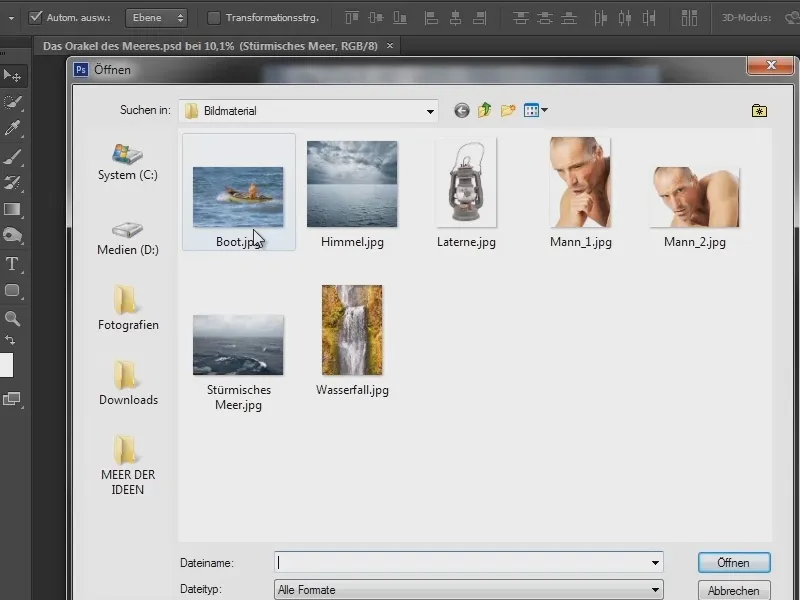
... and you have opened the file. Double-click on the hand symbolto enlarge the image.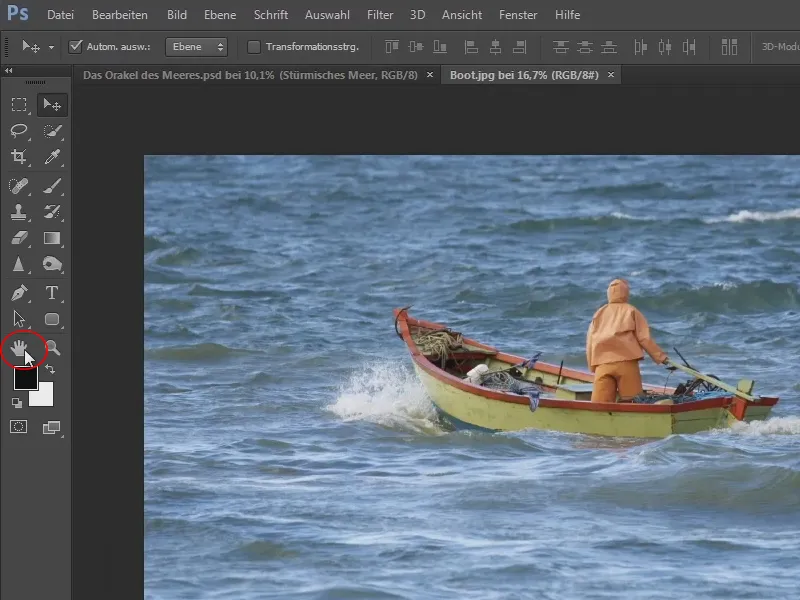
A new tab "Boat.jpg" has been created at the top here. To the left is the image you are currently editing, with the sky and the sea.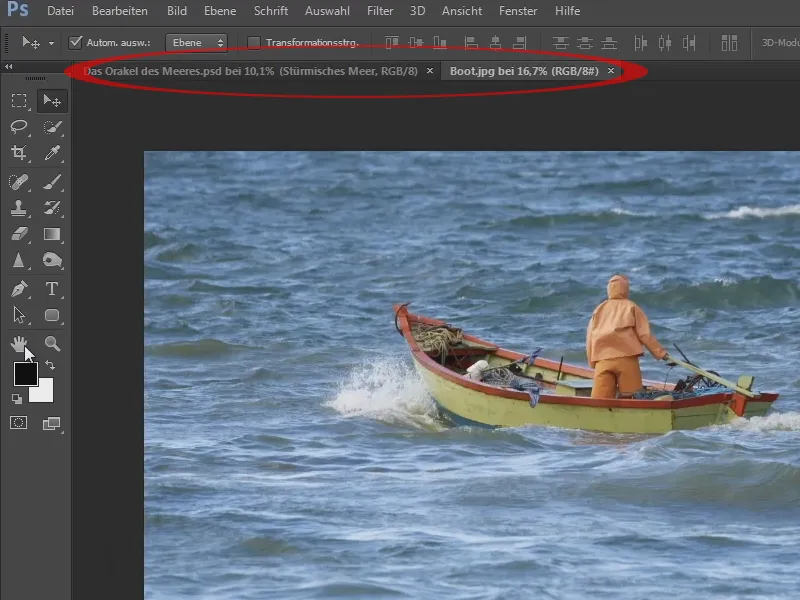
Why doesn't Marco go the way he just suggested, by simply dragging an image into Photoshop or placing it via File>Place?
Well, that's exactly what it's all about. By placing or dragging files into Photoshop, you place a file into a file that is already open. It's different if you don't have a single image open in Photoshop and then drag an image into Photoshop; then the image (as in this case) is opened as a separate image. This is also desirable in this case because this image is still to be prepared so that the boatman with his boat can be dragged onto the image with the sea.
Take a closer look at the picture. How can you now remove the sea or get rid of the sea?
You can see a relatively strong contrast here, especially the orange in contrast to the complementary color blue. This can be cropped very well. The boat is so ambivalent because the boat also has green tones, which also appear in the waves.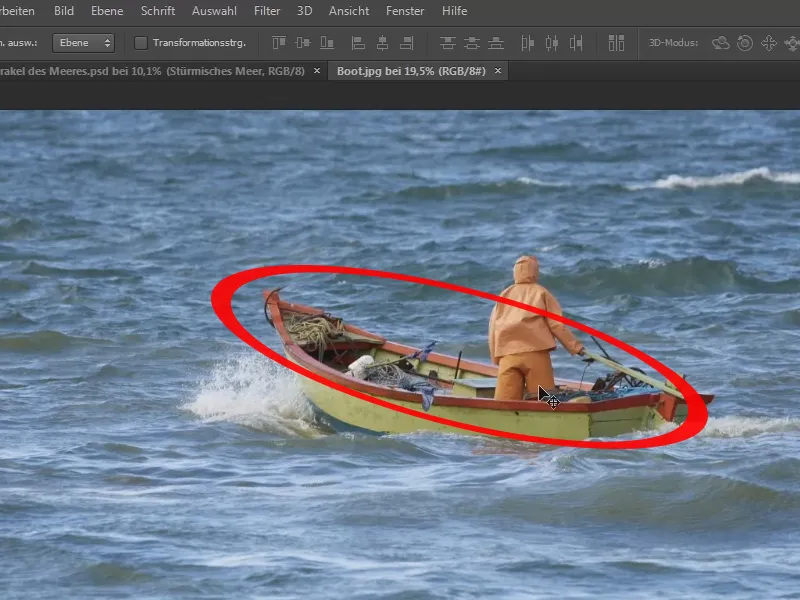
As is so often the case, there are many different ways to achieve a goal in Photoshop. One way is better than the other, one way takes more time than the other. Here, Marco has chosen a way that he also used for his finished image and that he finds very good and suitable, and he would like to show it to you now.
Take a look at the channels palette. You can display it via Window>Channels.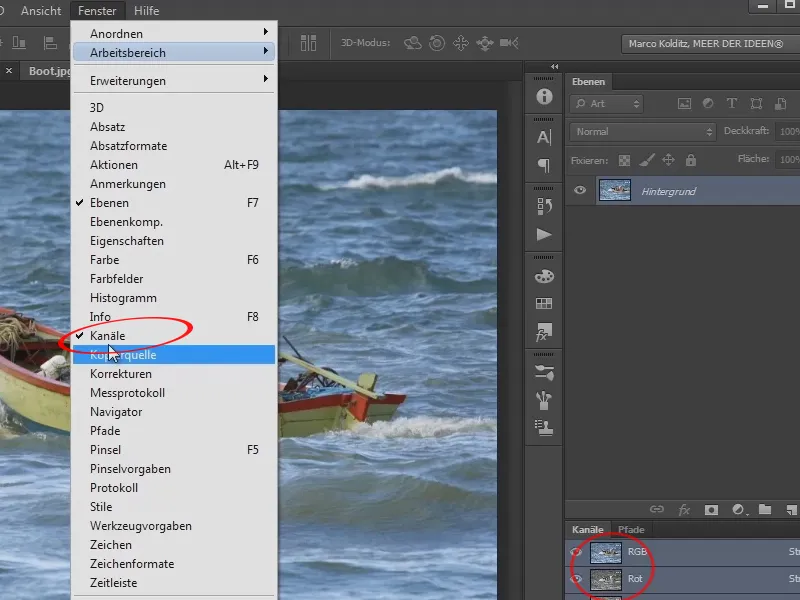
In this case, it is already open and you can see it here: You are in RGB mode. In red, green, blue mode.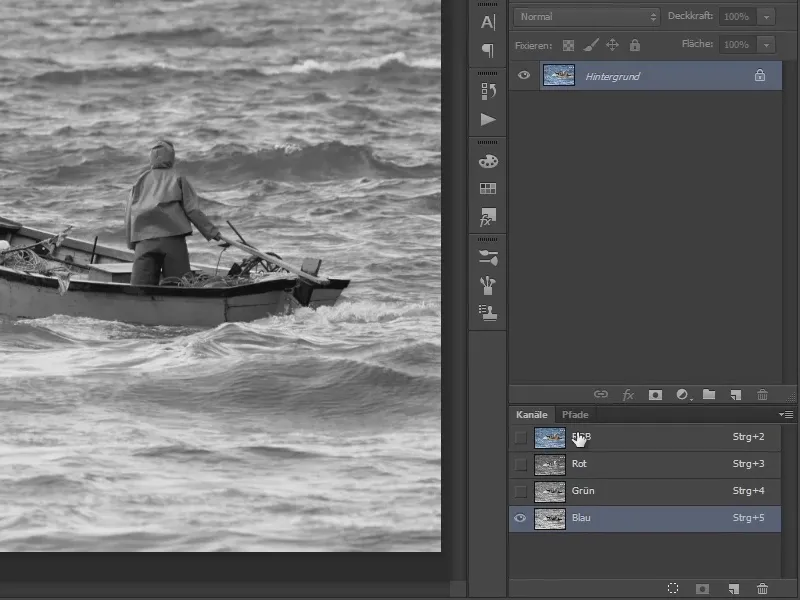
You now want to exit this mode. Via Image>Mode ( RGB is currently selected here) you switch to Lab Color mode, but the image has not changed.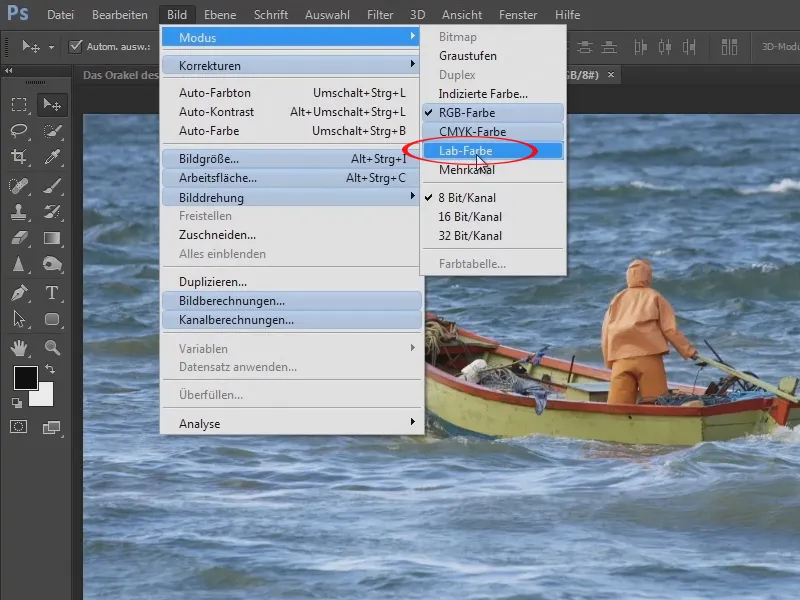
What has changed are the channels. Here you can see a Brightness channel, which is responsible for all luminance information, i.e. brightness information in the image. Black to white.
And the two channels a and b. These two channels are responsible for the color in the image. More on this in a moment.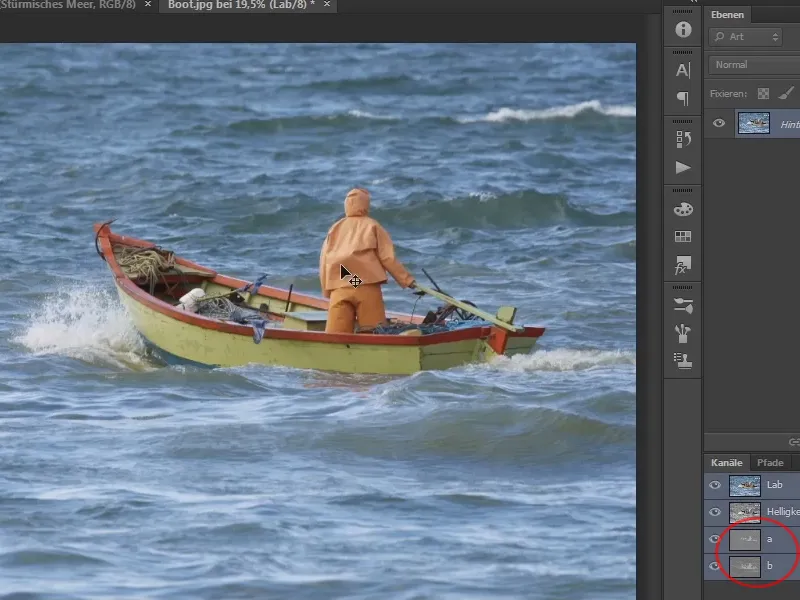
What do you do with these channels now? Why can they help to make the sea disappear?
Well, you are currently on a background layer because you have just opened the image. If you want to move it now, Photoshop says: The Move tool could not be used because the layer is fixed.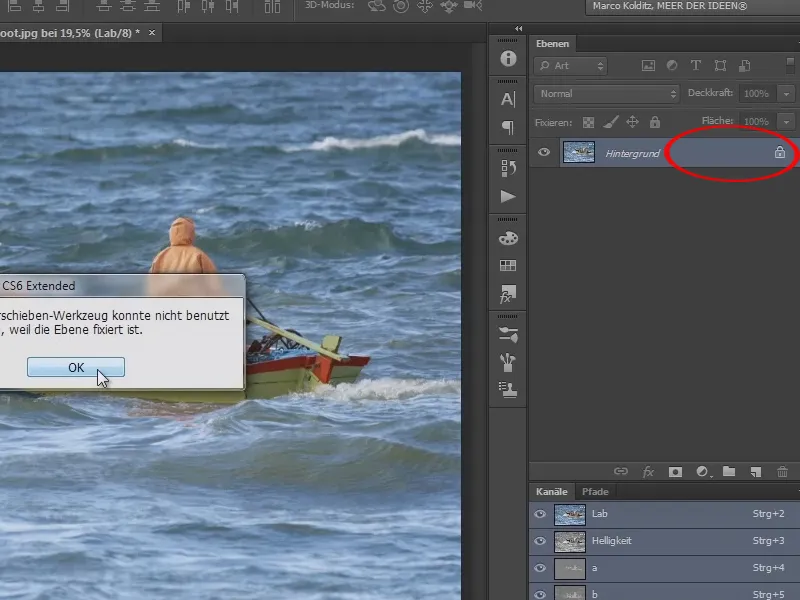
Now double-click on this layer. This dialog box appears and you name this layer "Boat".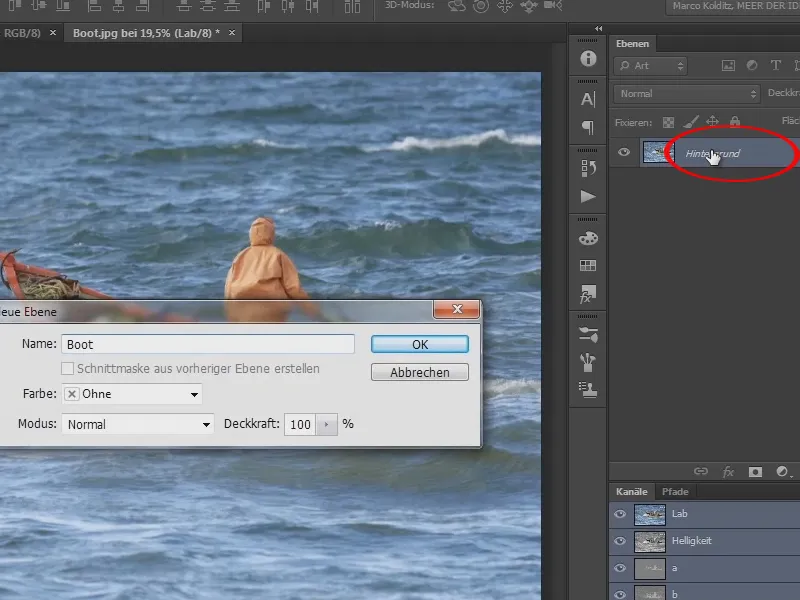
Now you have a floating layer that you can move back and forth. You can now edit this layer much more easily.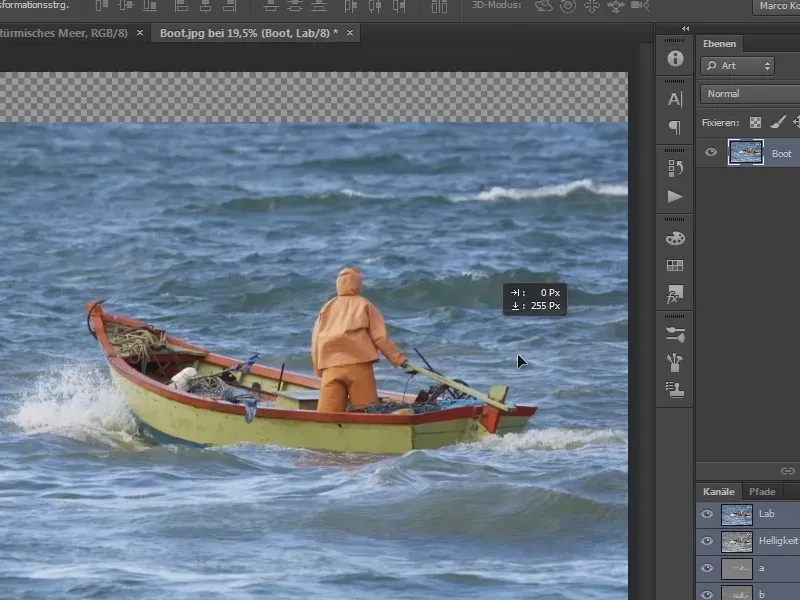
Now double-click somewhere to the right of the name on the free area. Not on the layer name, because you can change the name there.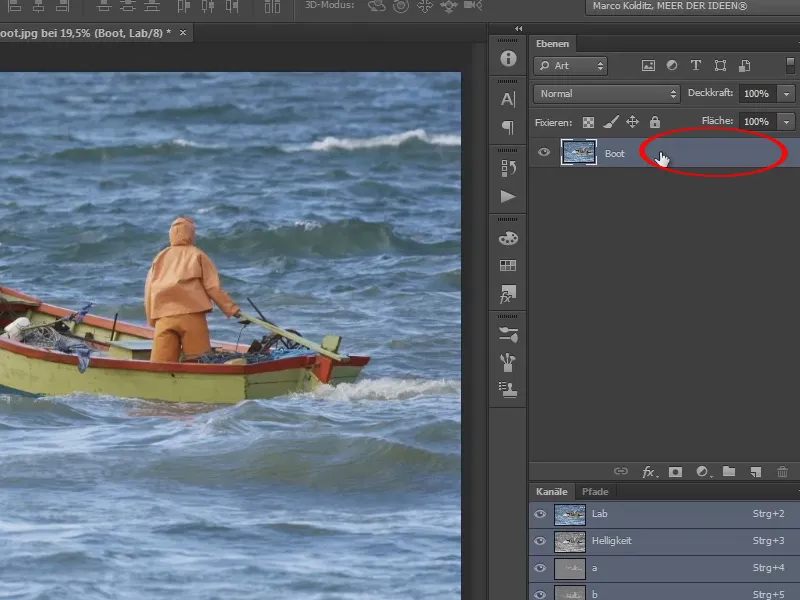
This dialog box will appear: Layer style. The layer styles area is very extensive and actually worthy of its own tutorial. But that's not what we're going to talk about here, we're going to focus on the area with the two sliders.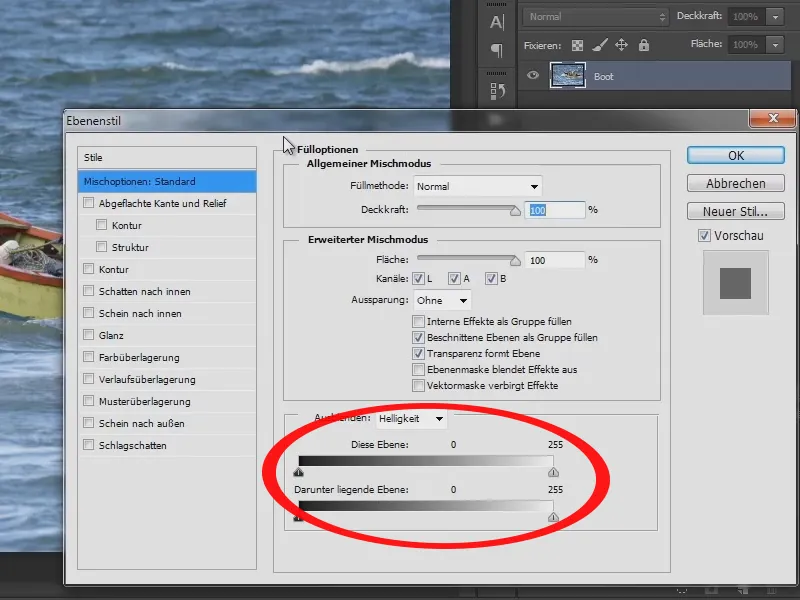
What do you see? It says Hide, i.e. these sliders are probably hiding something, in this case the brightness. Click on Brightness and then you will see the two channels a and b. The b channelis interesting here. This b channelis responsible for the blue to yellow range.
This is easy to remember because blue starts with B and yellow ends with b.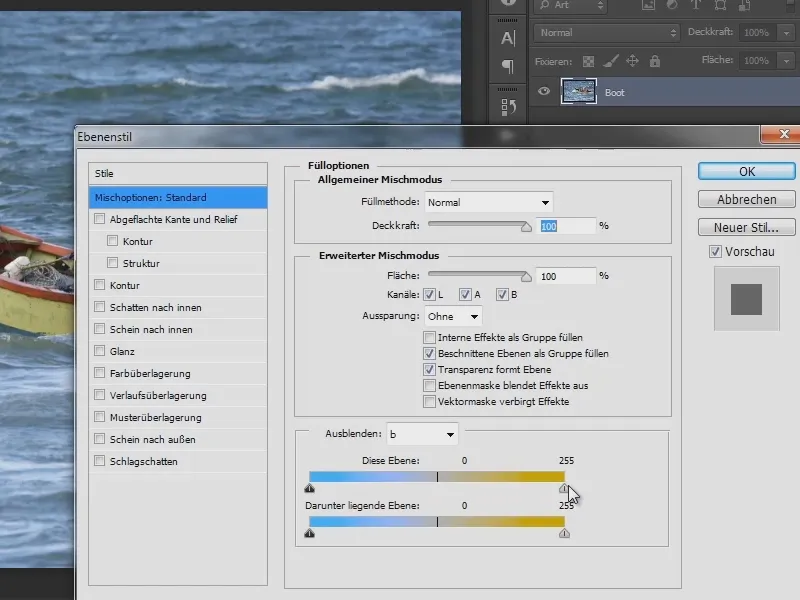
If you believe the word fade out, this means that if you drag the blue slider to the right, all blue colors should actually disappear. Drag the slider to the right until the sea has almost disappeared.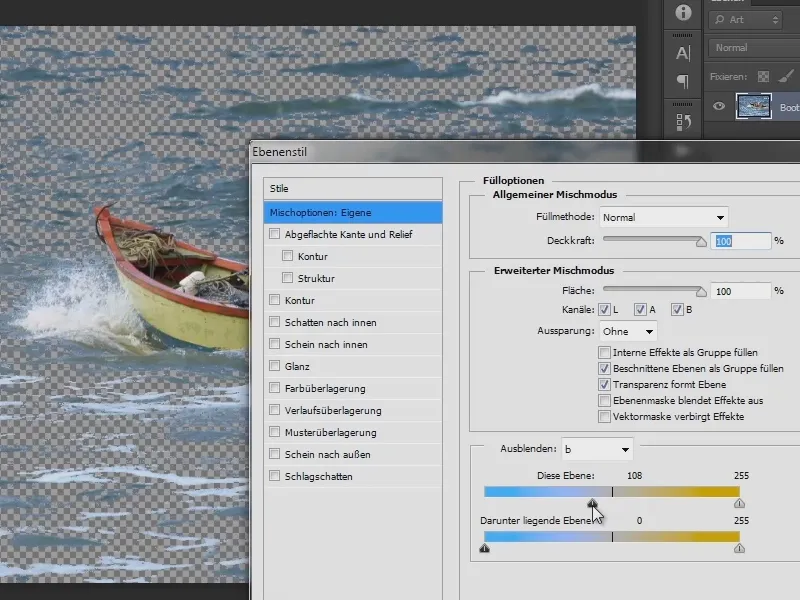
What is noticeable, however, is that these remaining snippets of the sea are cut off quite harshly. Of course, this is not nice and Photoshop offers an interesting function: You can see this small line at the handle. You can create transitions there by holding down the Alt key and dragging the mouse.
Pull the two halves apart and the color areas between the half sliders are semi-transparent. If you drag the slider further to the left, the sea will be semi-transparent. This can also be used very well with other images and can also achieve very good results and effects.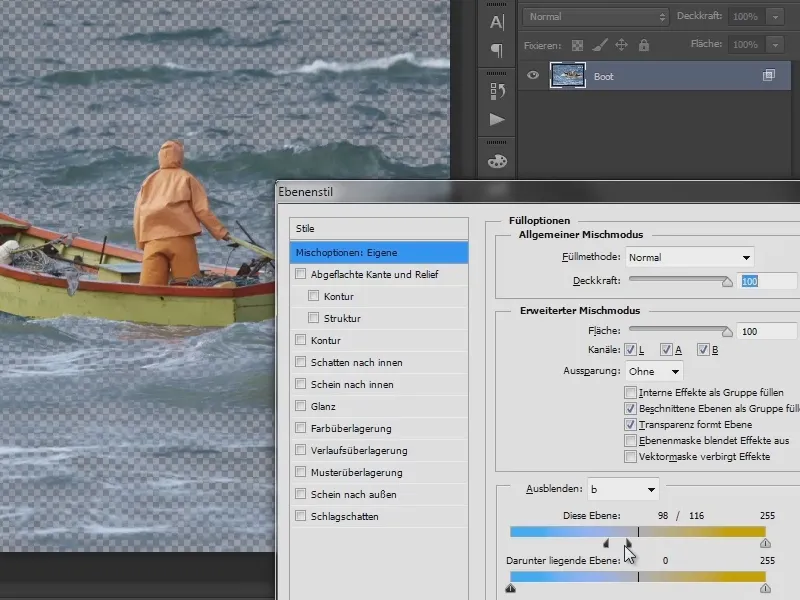
In this case, however, a small area is sufficient so that the man is still clearly visible and as much of the sea as possible is cut off.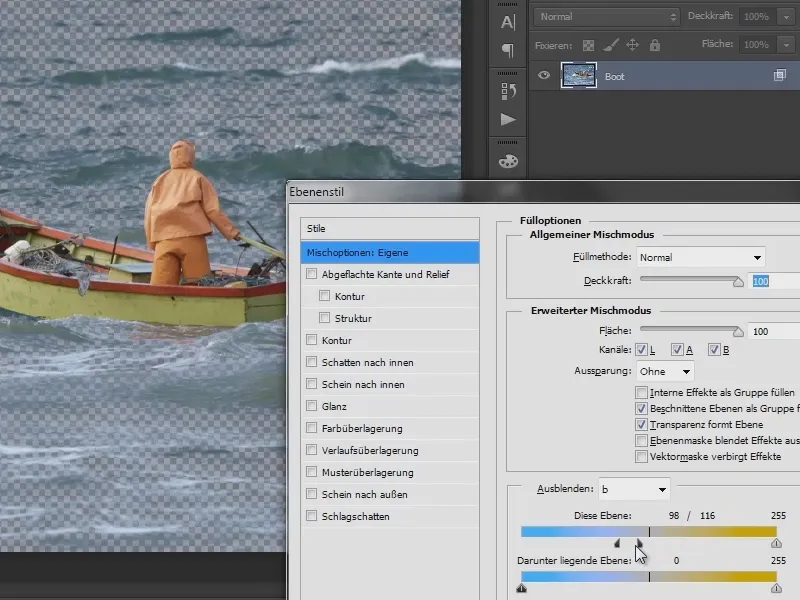
The remaining areas are not affected by this, as they contain green tones, and if you were to crop them as well, the boat would slowly dissolve. So now you can actually be quite satisfied and confirm with OK. You have now made a large part of the sea disappear. However, it is not a mask. You haven't used a mask and you don't see a mask symbol. You have done everything in these layer styles. What's left are the areas of water, all of which you can delete.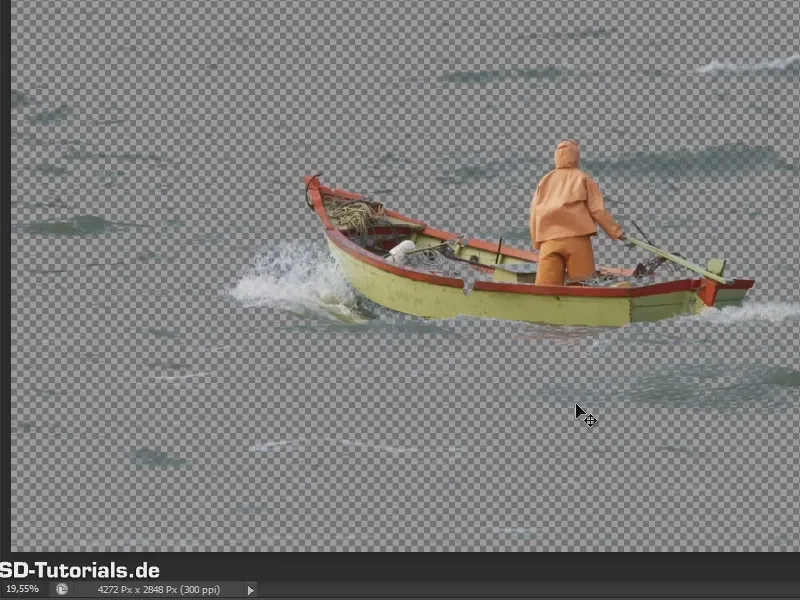
To do this, create an auxiliary layer by clicking on the Create new fill or adjustment layer icon and then on Color area.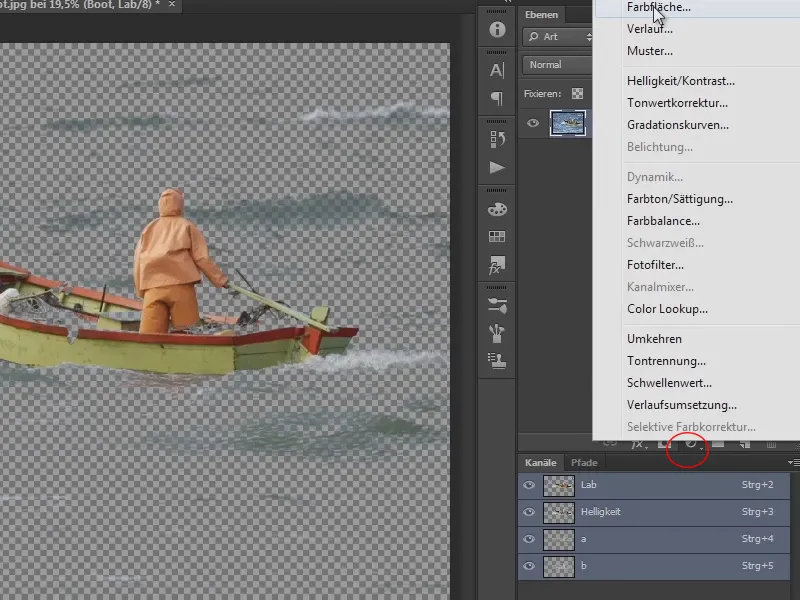
At first, everything is black because black color is selected. Now take a bright color, for example green, and drag this color plane layer under the boat layer.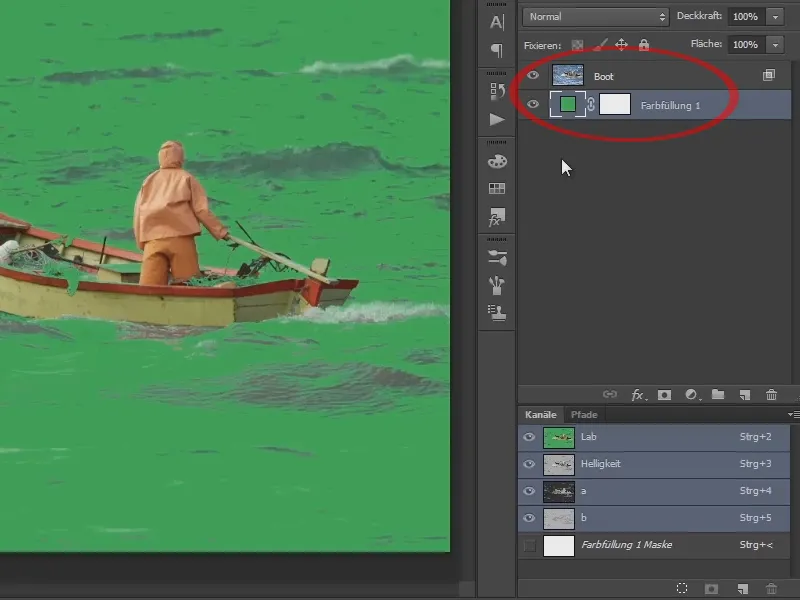
This color layer is simply there to display a flat color. You can change the color at any time by double-clicking on the color symbol.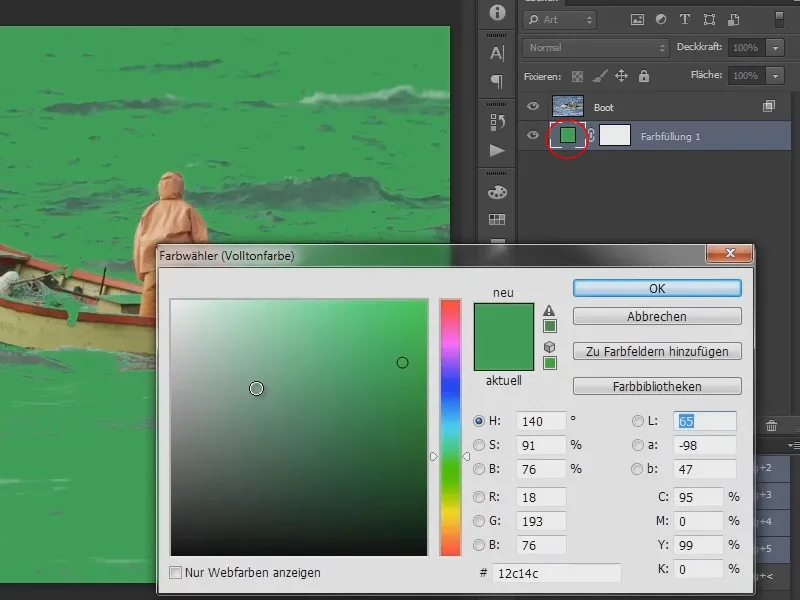
Go back to the boat layer and create a mask by clicking on the mask symbol.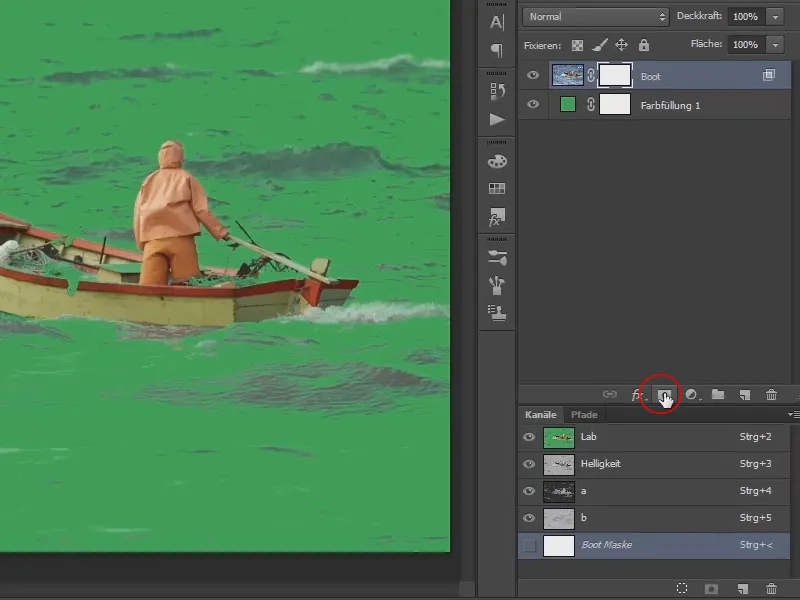
Then select a brush and use the black foreground color to remove these areas with the brush.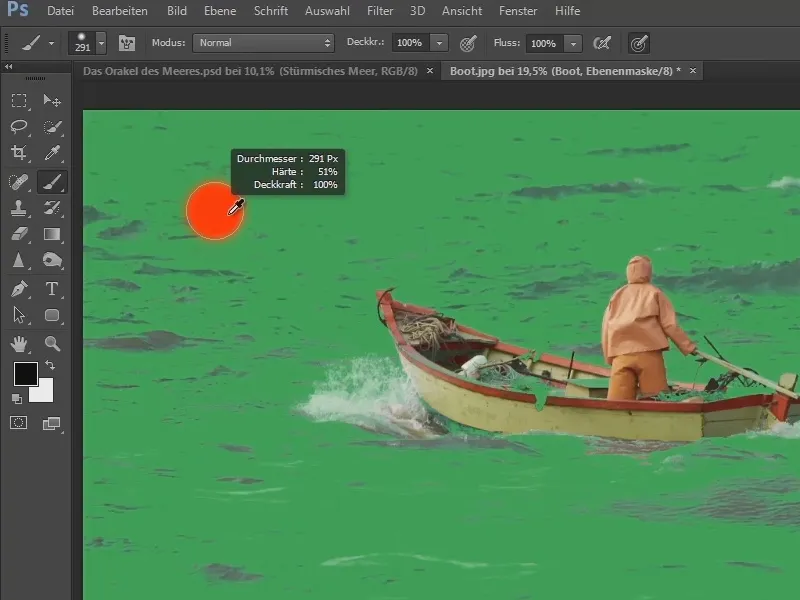
If the foreground color here is not black and/or the black is in the background color, then simply click on X or on the symbol to the right above the two color fields (the curved double arrow).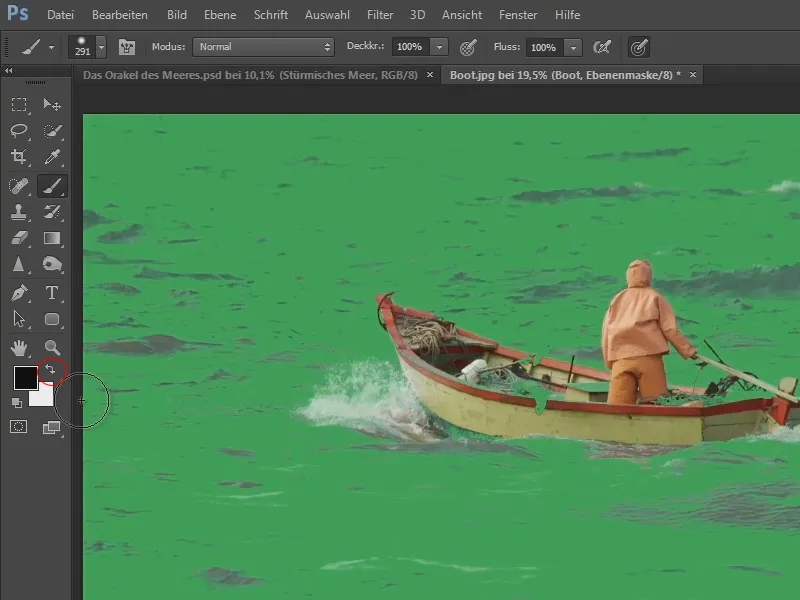
Or maybe the black is more of a gray, then press the D key and it will be reset. As I said, you can always use X to switch between the foreground and background color. In this case, you want black because the mask is white. Use black to mask everything and make these unsightly areas disappear. Marco does this very quickly now, but you can take your time and work more precisely.
In this case, you don't have to work very precisely. Just remove the areas that are particularly unsightly and that you really don't need. When you later place this boatman on the sea, some of the remaining spots will blur with the sea. The areas here are all relatively bluish and will blend into the color range of the sea. You don't have to go right up to the edge or the outline of the man. It is sufficient to cut away the roughest areas.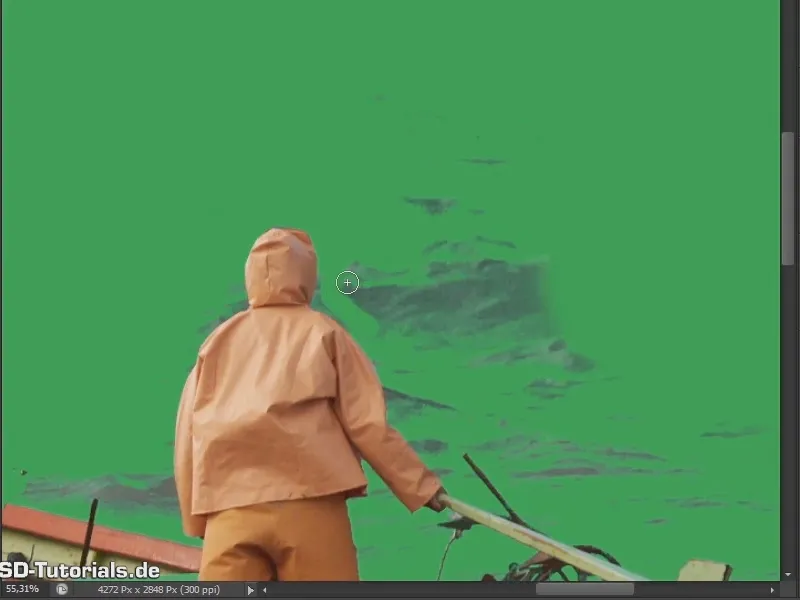
Once again as a hint: You can change the size of the brush by holding down the Alt key + pressing the right mouse button to the right and left and adjust the softness by holding down the Alt key + pressing the right mouse button up and down.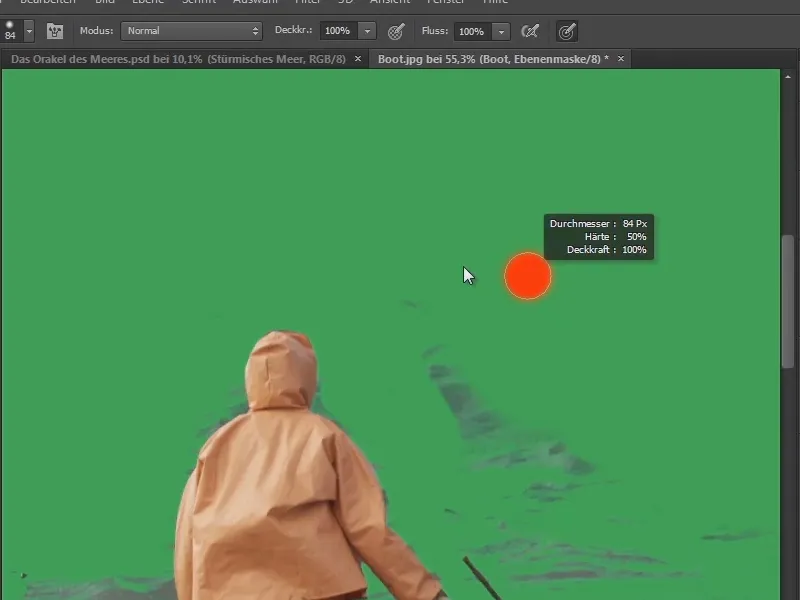
The spray or water that is foamed up here is of course important. You can take some precautions here, because this area will look a bit unattractive later on because it is white, and that will be noticeable. You can take precautions here with a slightly softer brush tip by breaking it up a little and it will be fine.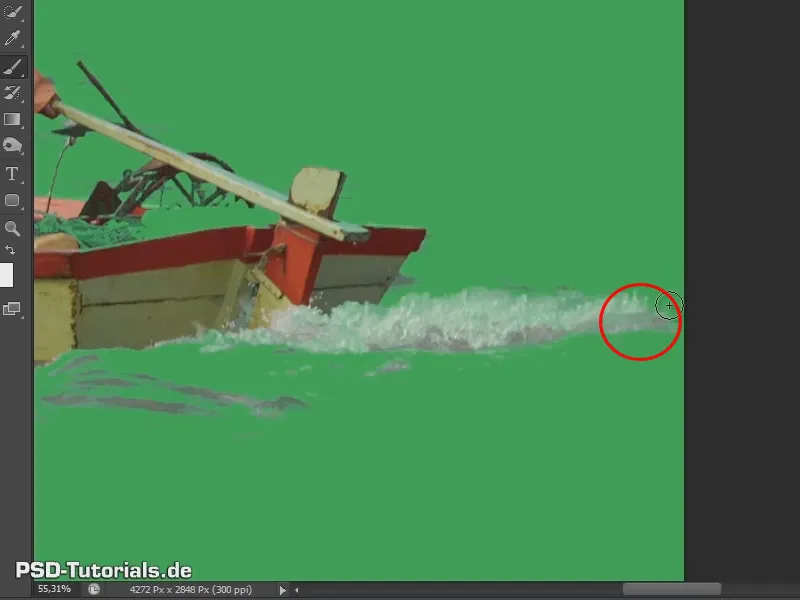
Some people will notice that there are also transparent areas inside the boat. What can you do there?
If you now go back to the layer styles and move this slider to the left as a test, you will see that there are actually areas here that are also blue and which are of course affected.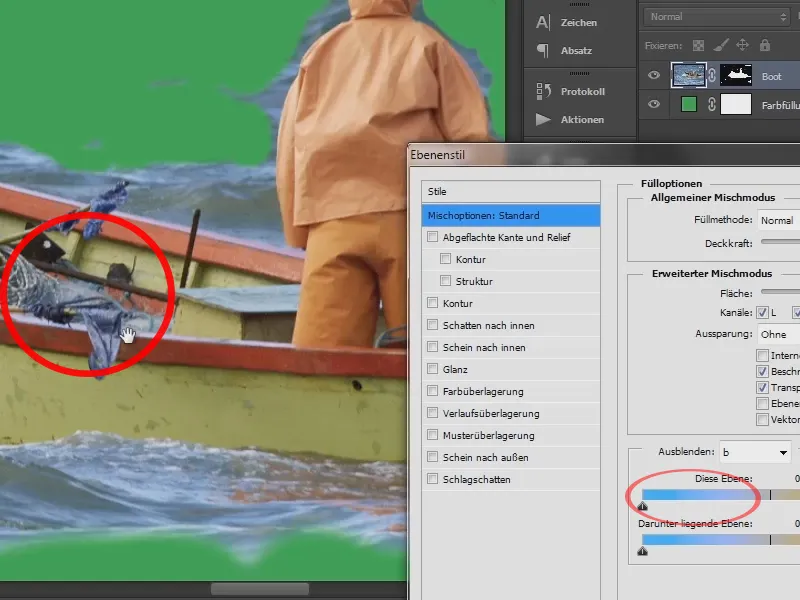
But you can get them back by making a layer copy of the boot layer, i.e. you press the Alt key and drag this layer under itself ...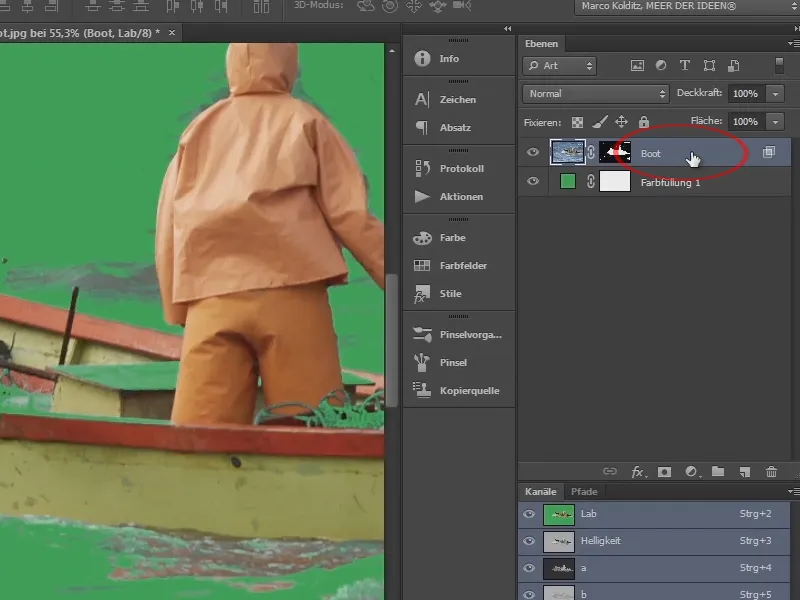
... and go back to the layer styles. There you take the slider and drag it completely to the left.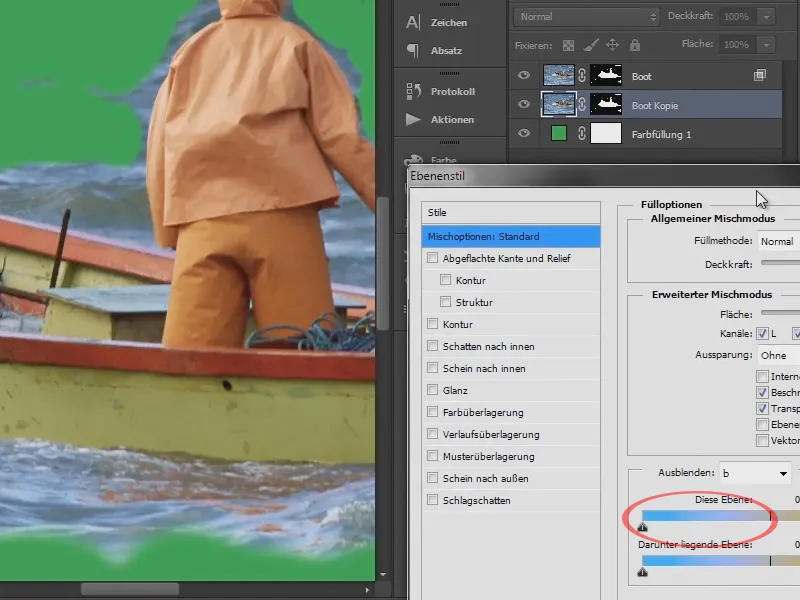
Then select the mask. If the foreground color is black, press Alt+Backspace, for example, or simply delete this mask and create a new one. Invert it with Ctrl+I and use a white brush.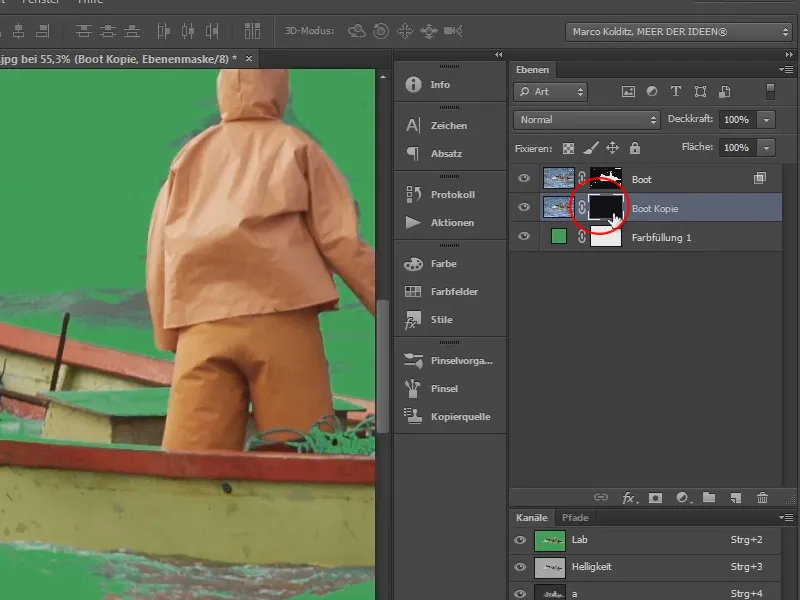
Then simply paint the areas that you have deleted back into the image. The nice thing is that you can actually see where something is missing thanks to the auxiliary layer in green.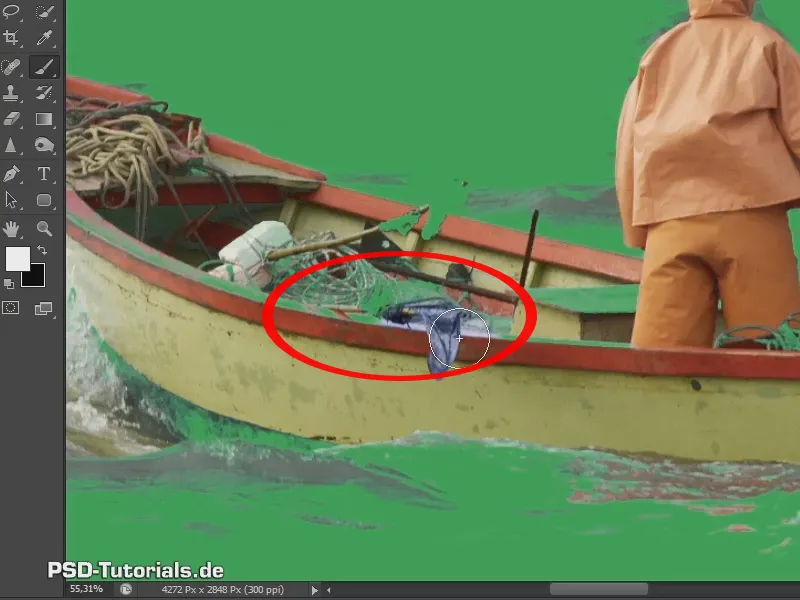
You don't have to work too precisely here either, because these areas have blue values, which means that if you place it on the blue sea later, the blue color of the sea will probably shine through here. In other words, it will probably work itself out again anyway.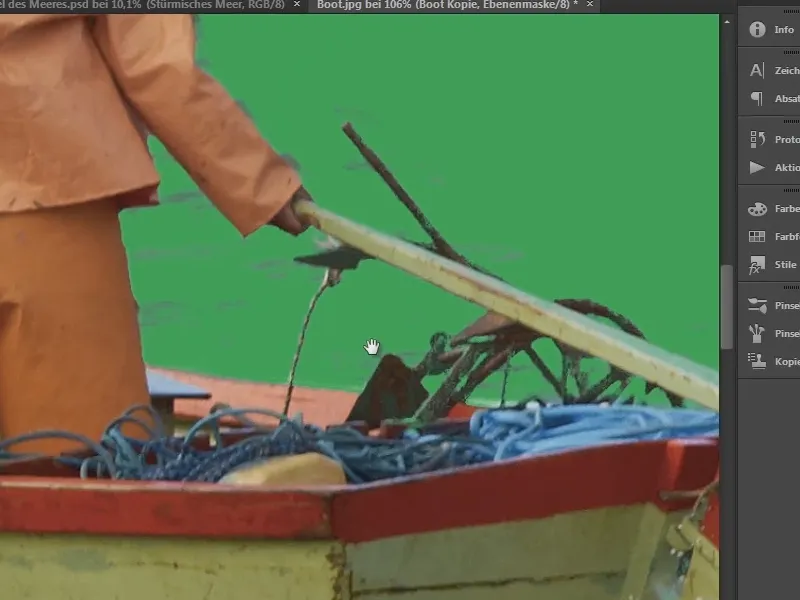
The Stocker with the blue cloth is a bigger problem. There are still a few strings here, but you can get them back like this. Again, you don't have to cut everything out exactly as it will all disappear afterwards.
Perfectionism is a nice thing, but nothing is really perfect. It doesn't have to be, but you should work in such a way that it is efficient.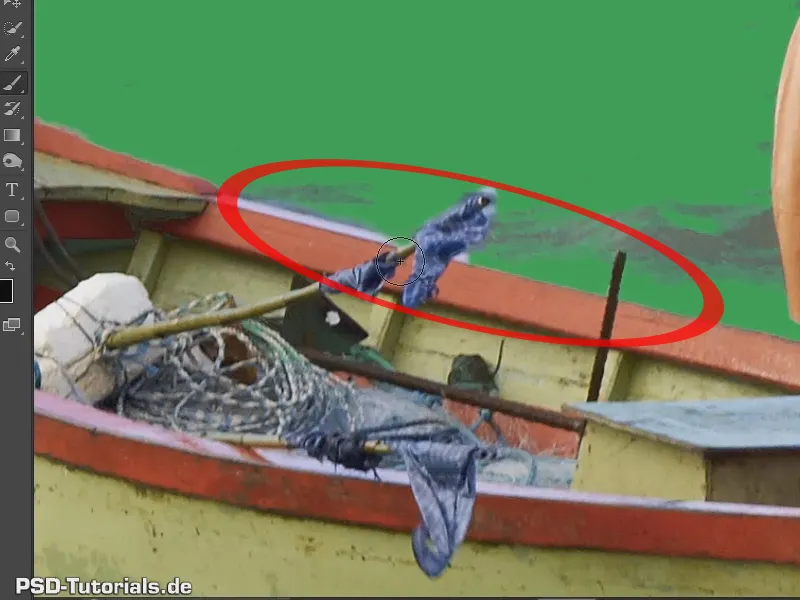
So ... now you've cropped the boat and can simply delete the bottom layer with the green.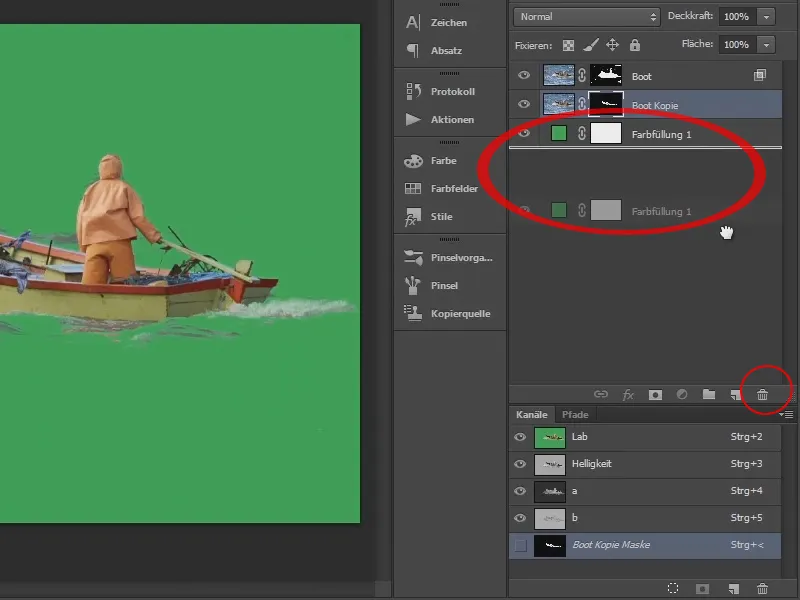
Now you can merge the remaining two layers. To do this, select the top layer, press Shift and then click on the bottom layer.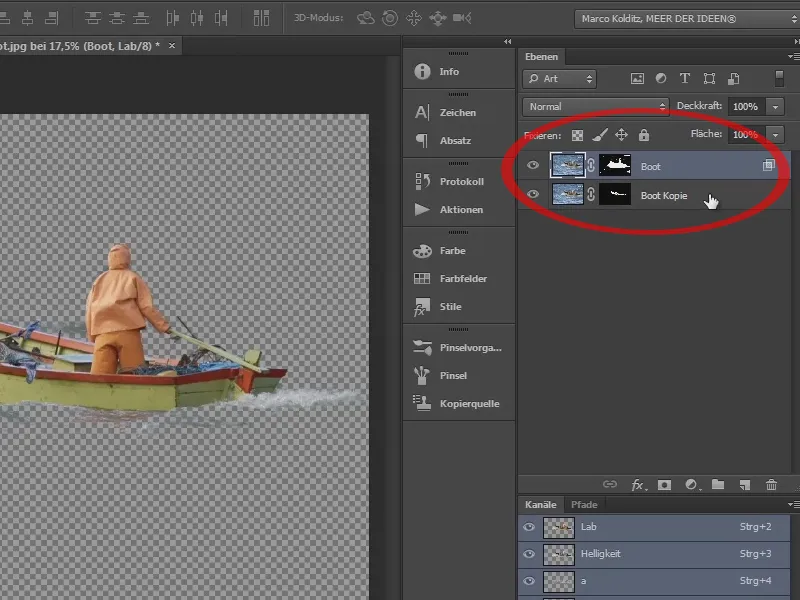
Then press Ctrl+E and you have merged both layers into one and only the boat is left, and this boat ...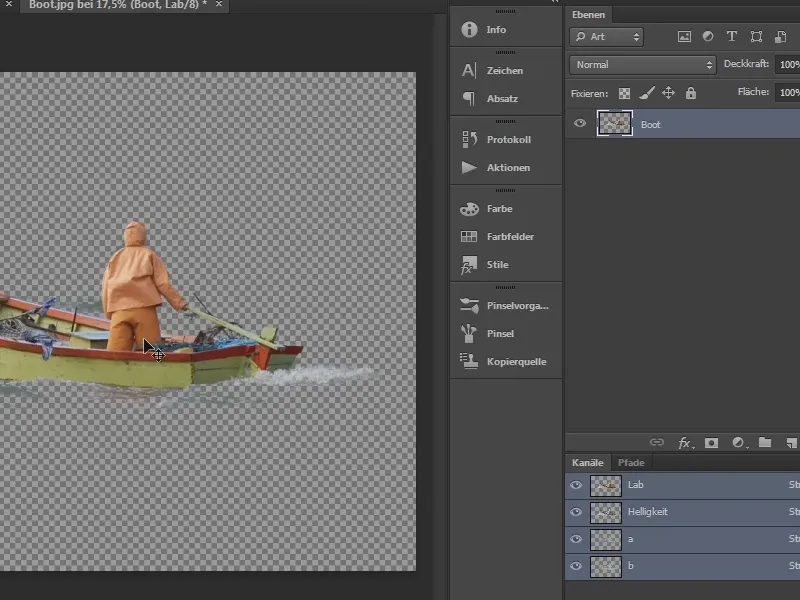
... drag it onto the tab with the sea at the top.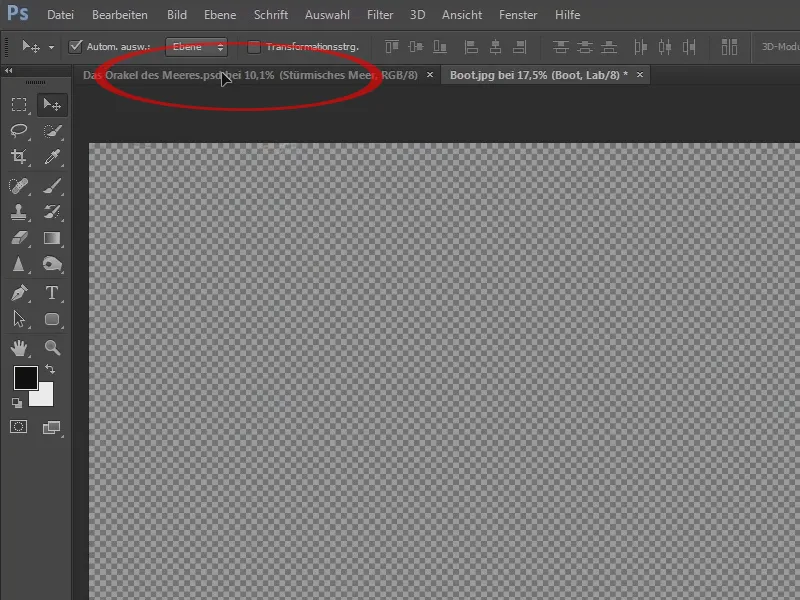
And I've already placed the boat.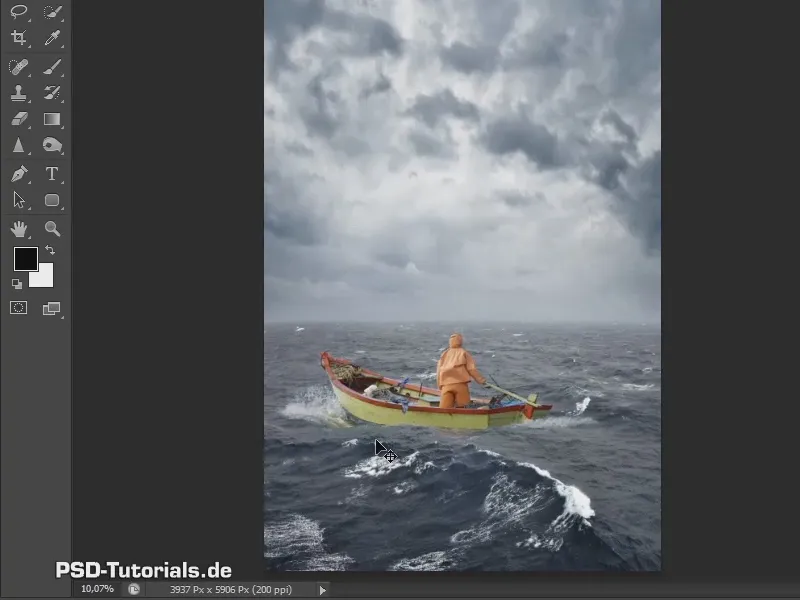
The first thing you should always do with such an action is to convert the image into a Smart Object. As you can see, there is no icon on the boat layer like on the other layers. To do this, right-click on the boat layer in the empty field next to the name and then click on Convert to smart object in the dialog.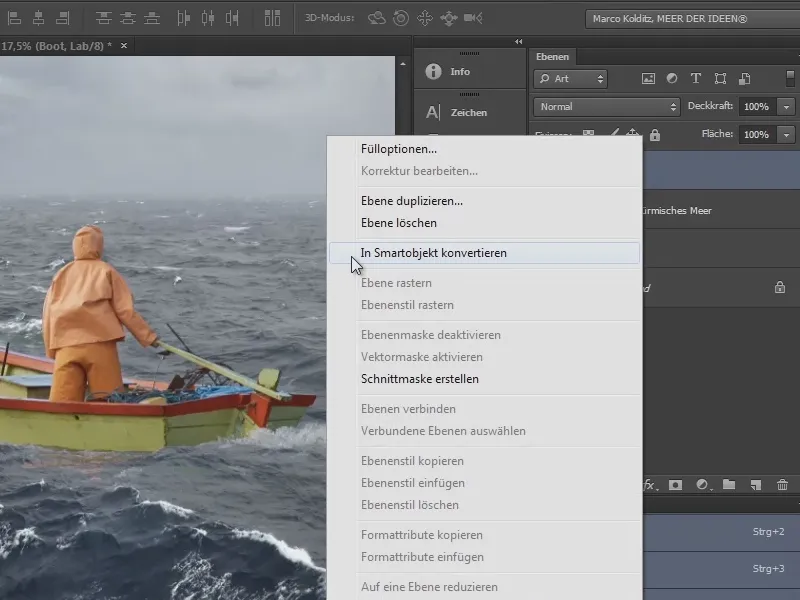
This small icon will then also appear here. By converting to a smart object, you can now freely scale the boat.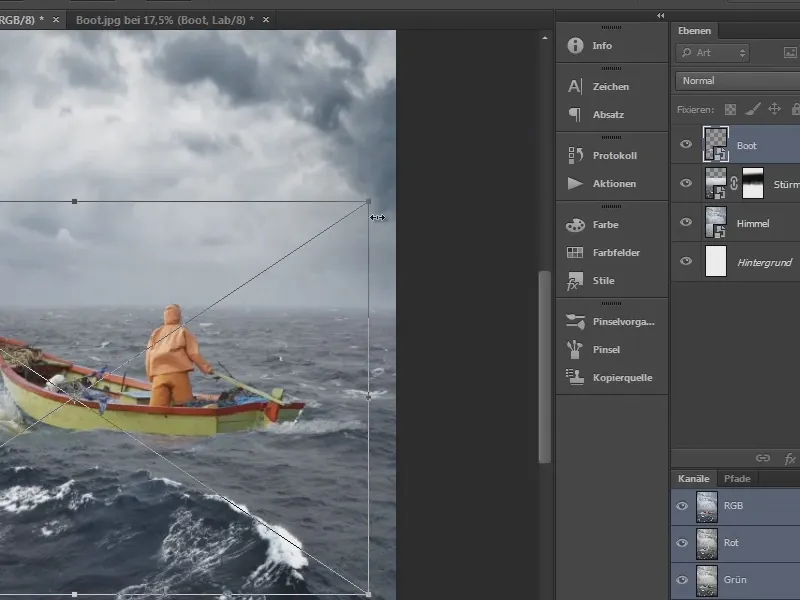
You can adjust this later as you wish.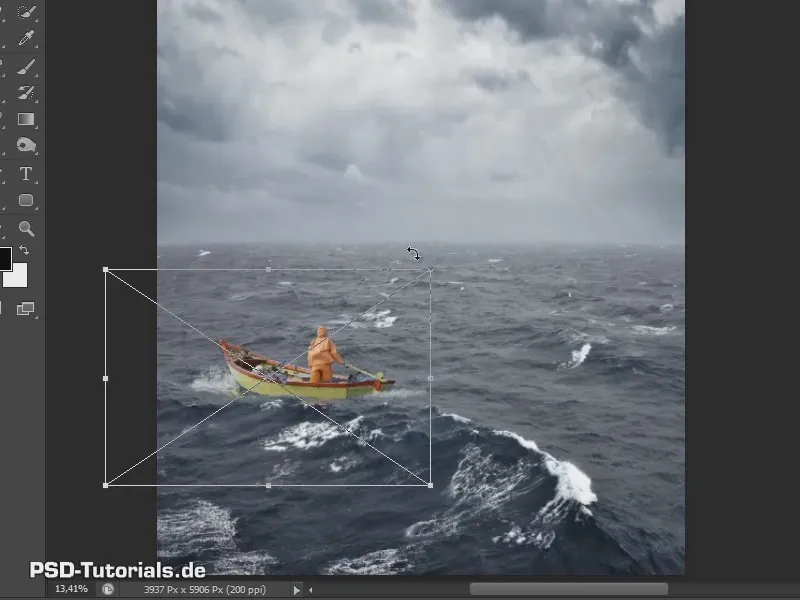
If you zoom in on the image again, you will see that everything is already blurring relatively well with the background. Here and there there is still a bit of green or a bit of hard clipping, but these are all things that will disappear as soon as you adjust the color mood.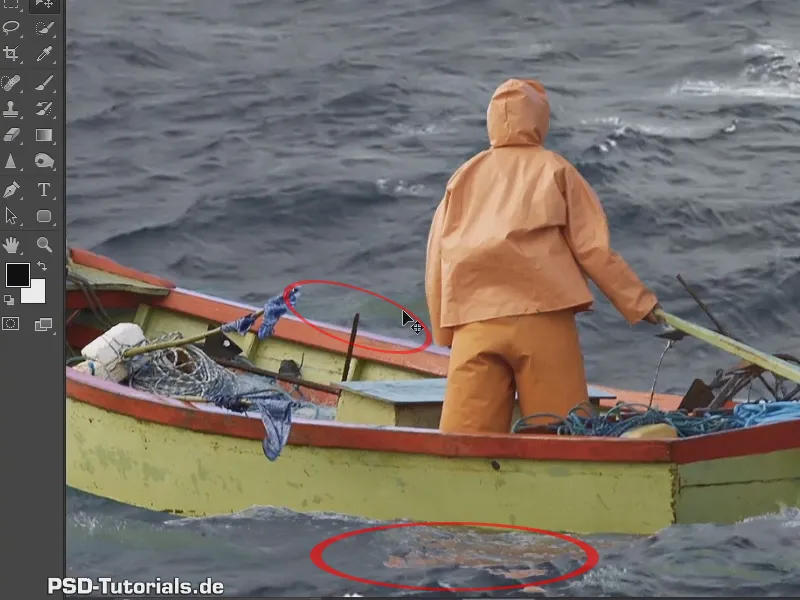
Now you've placed the bosun and it's on to the next step.
