In this tutorial I will show you how you can effectively move objects in Photoshop. Moving objects is a fundamental function in image editing and can help you adjust your images according to your wishes. Whether you want to remove or move a bird from an image, or simply make creative changes, with this guide you will acquire the necessary skills to do so with ease.
Key Takeaways
To move objects in Photoshop, you need the selection tool and the correct layer. Additional tips for correcting any errors are also available. This will enable you to implement your image manipulations professionally.
Step-by-Step Guide
To start moving objects in Photoshop, you need to find the right tool. Look for the selection tool in your toolbar, which is usually located among the selection tools. If it's not visible, you can customize the toolbar. Go to "Edit", then "Toolbar". Drag the selection tool into the main toolbar by clicking and dragging with the left mouse button pressed. Confirm your selection by clicking "Done".
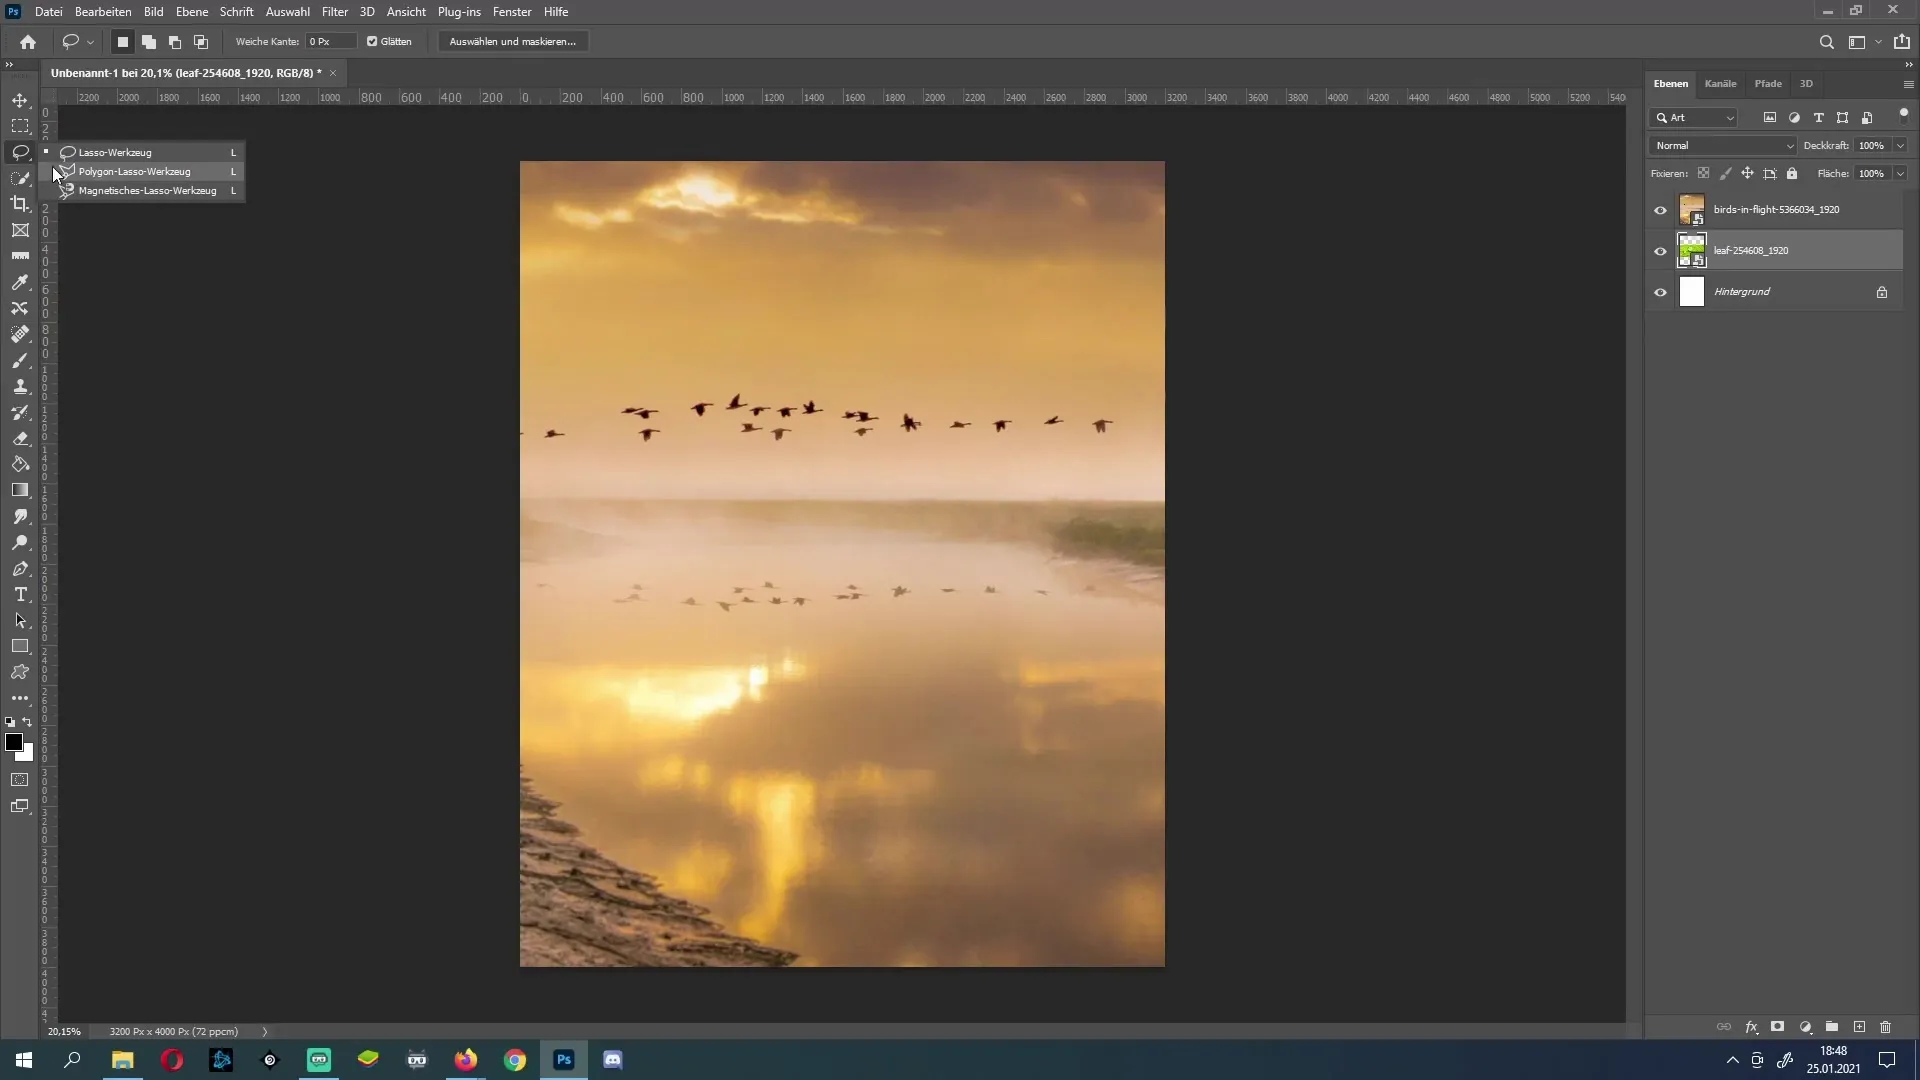
Now that we have the selection tool, we can start moving an object. In our example, we have a bird that we want to move. I select the bird by hovering over it with the selection tool and marking the object. Your selection does not have to be perfect, it is enough to roughly outline the object.
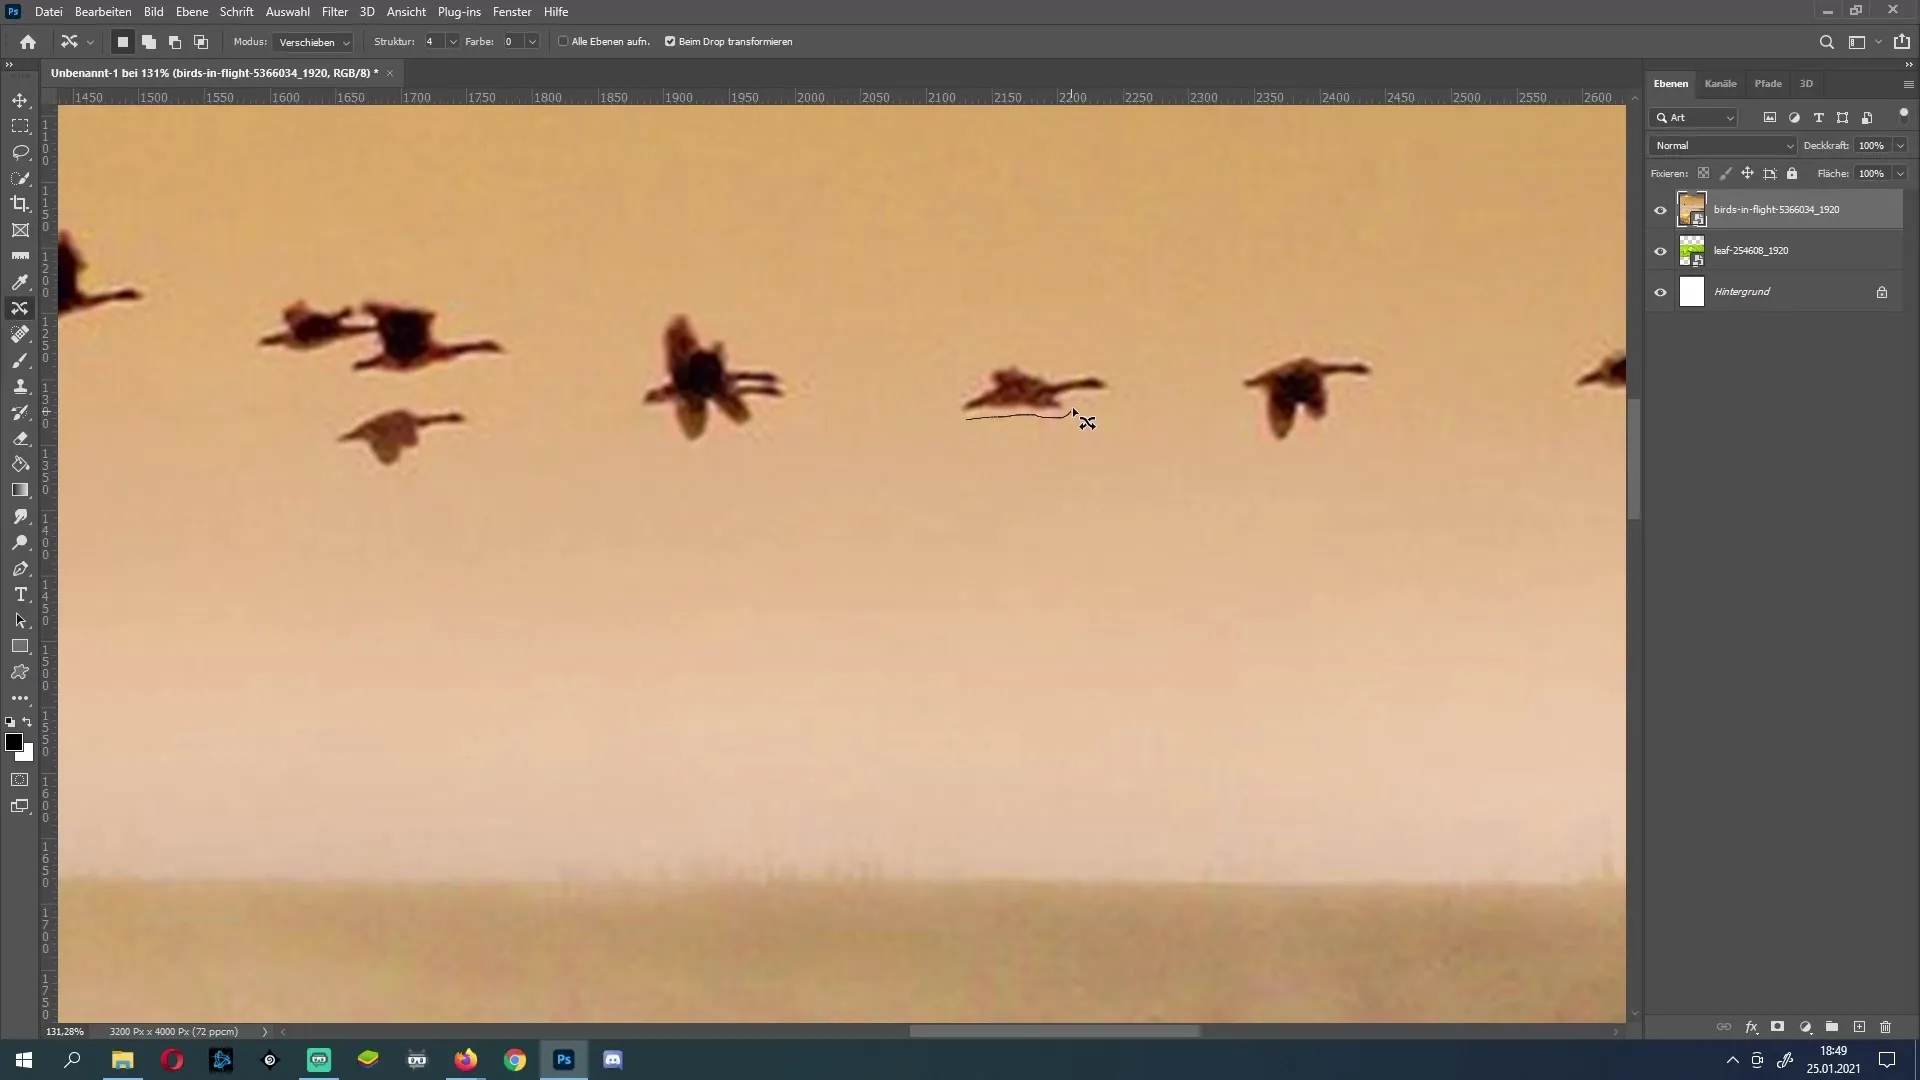
Once the bird is selected, make sure the correct layer is active, otherwise you will not be able to move the object. Hold down the left mouse button while dragging the object to the desired position. You can also rotate the object slightly while moving it to try out different perspectives. Confirm the movement by pressing the Enter key.
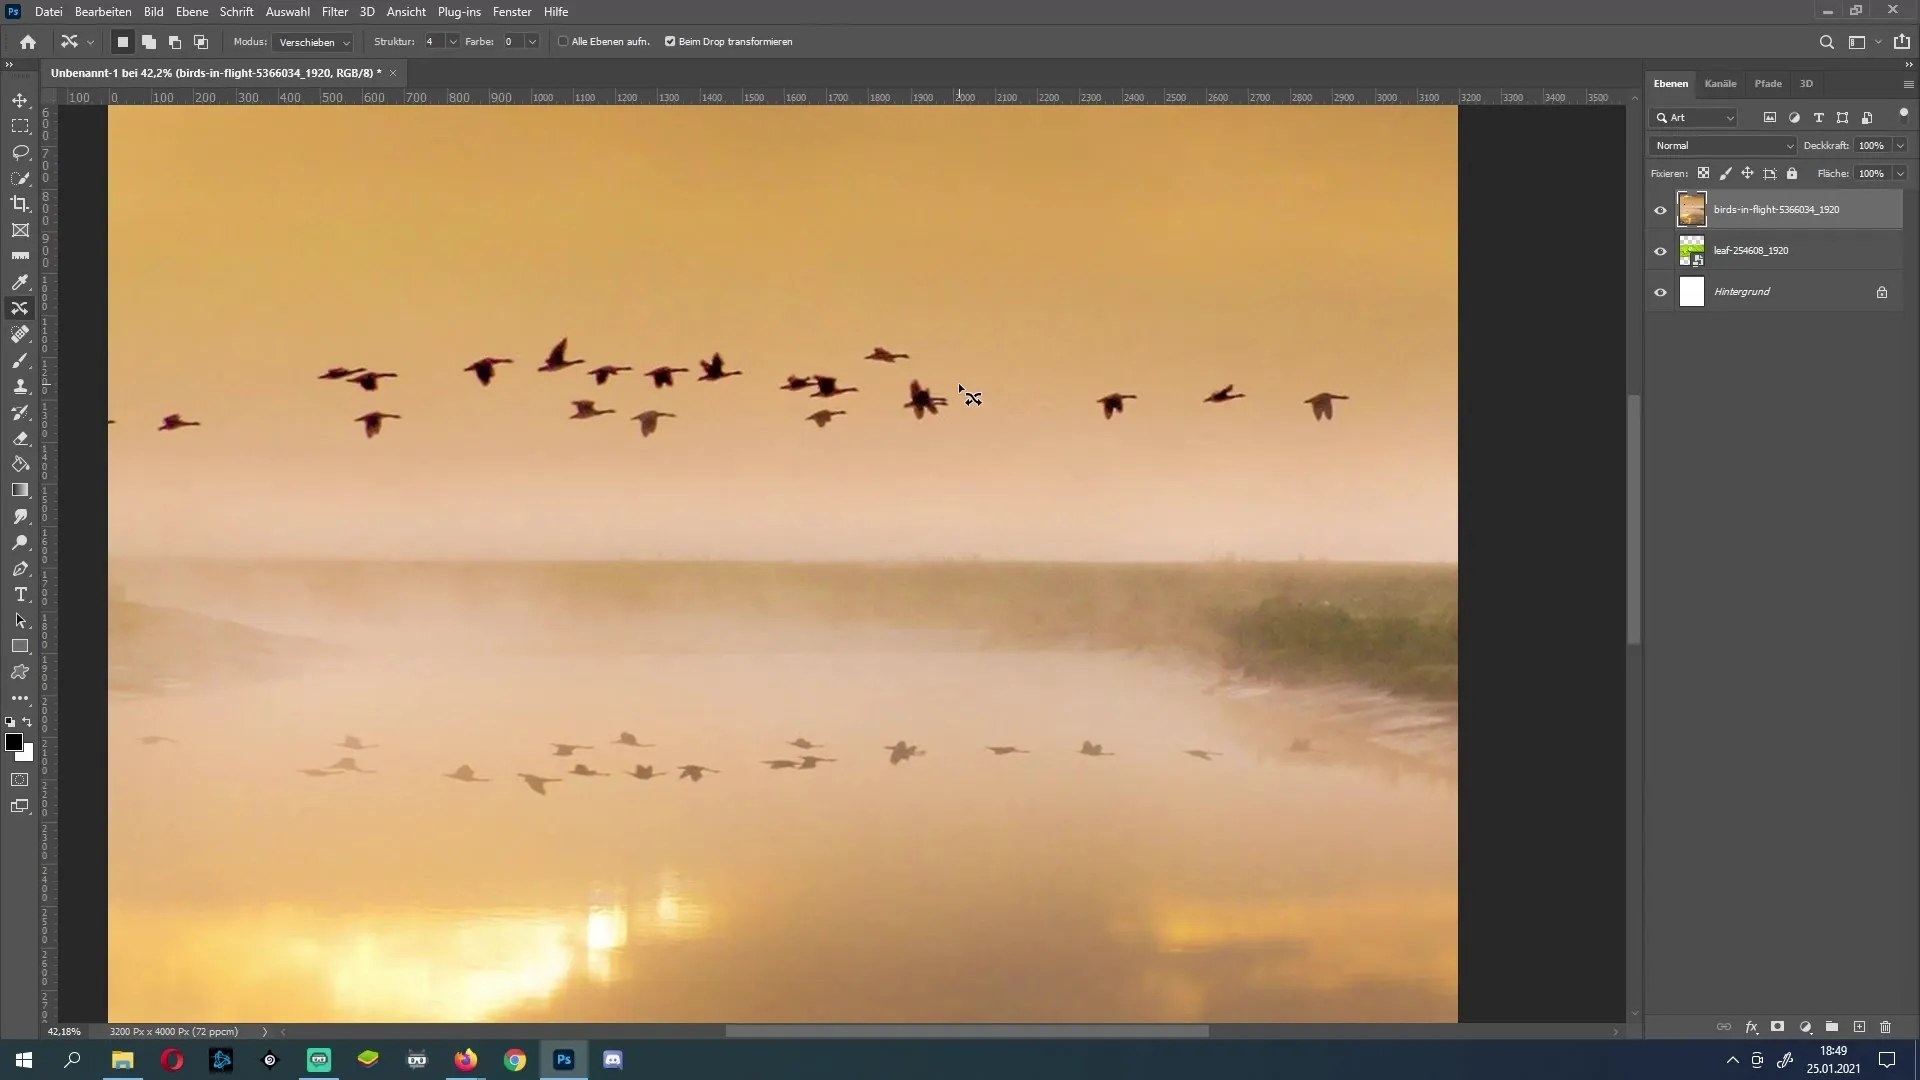
Once you have moved the object, you can deselect it by pressing "Ctrl + D". Your bird is now at its new position.
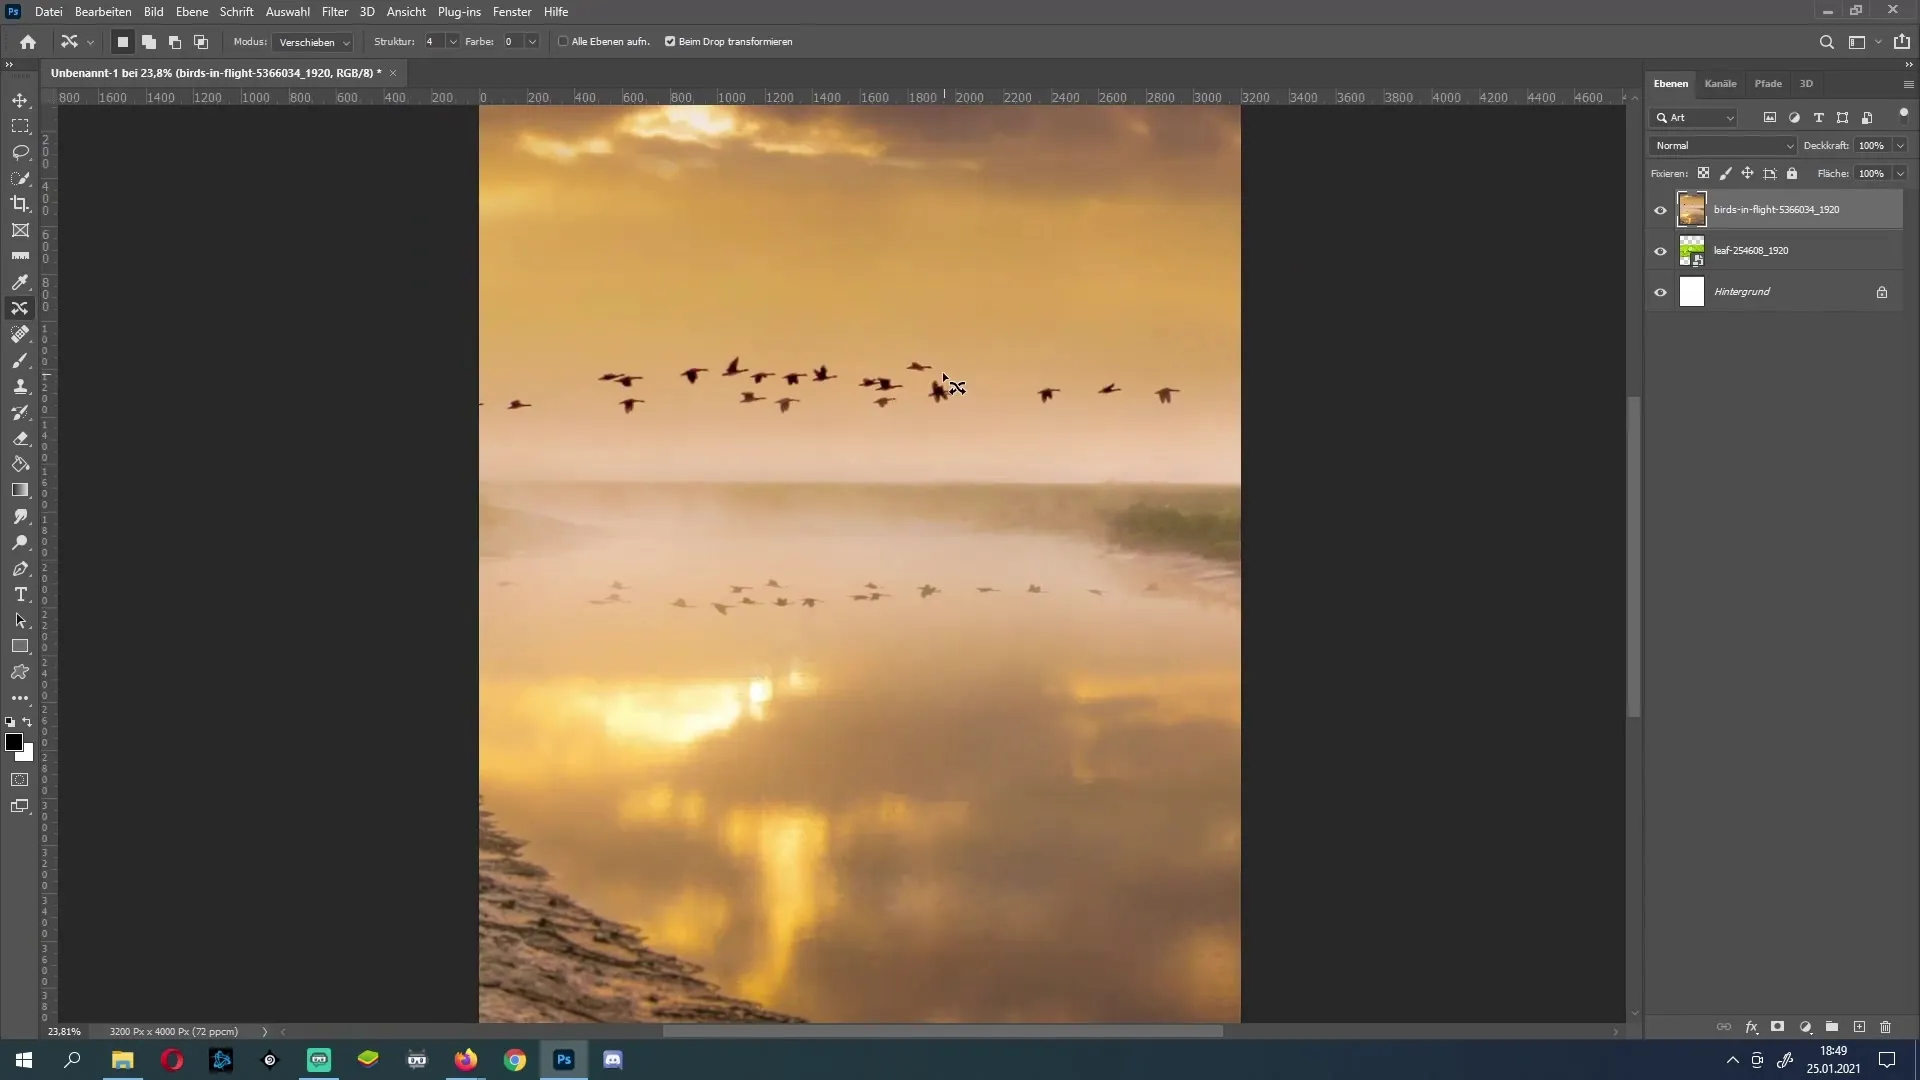
An important point is shadow correction. When moving an object, the associated shadows must also be adjusted to ensure a realistic representation. Take the shadow of the bird and select it using the selection tool. You can then move the shadow using the same method as with the bird.
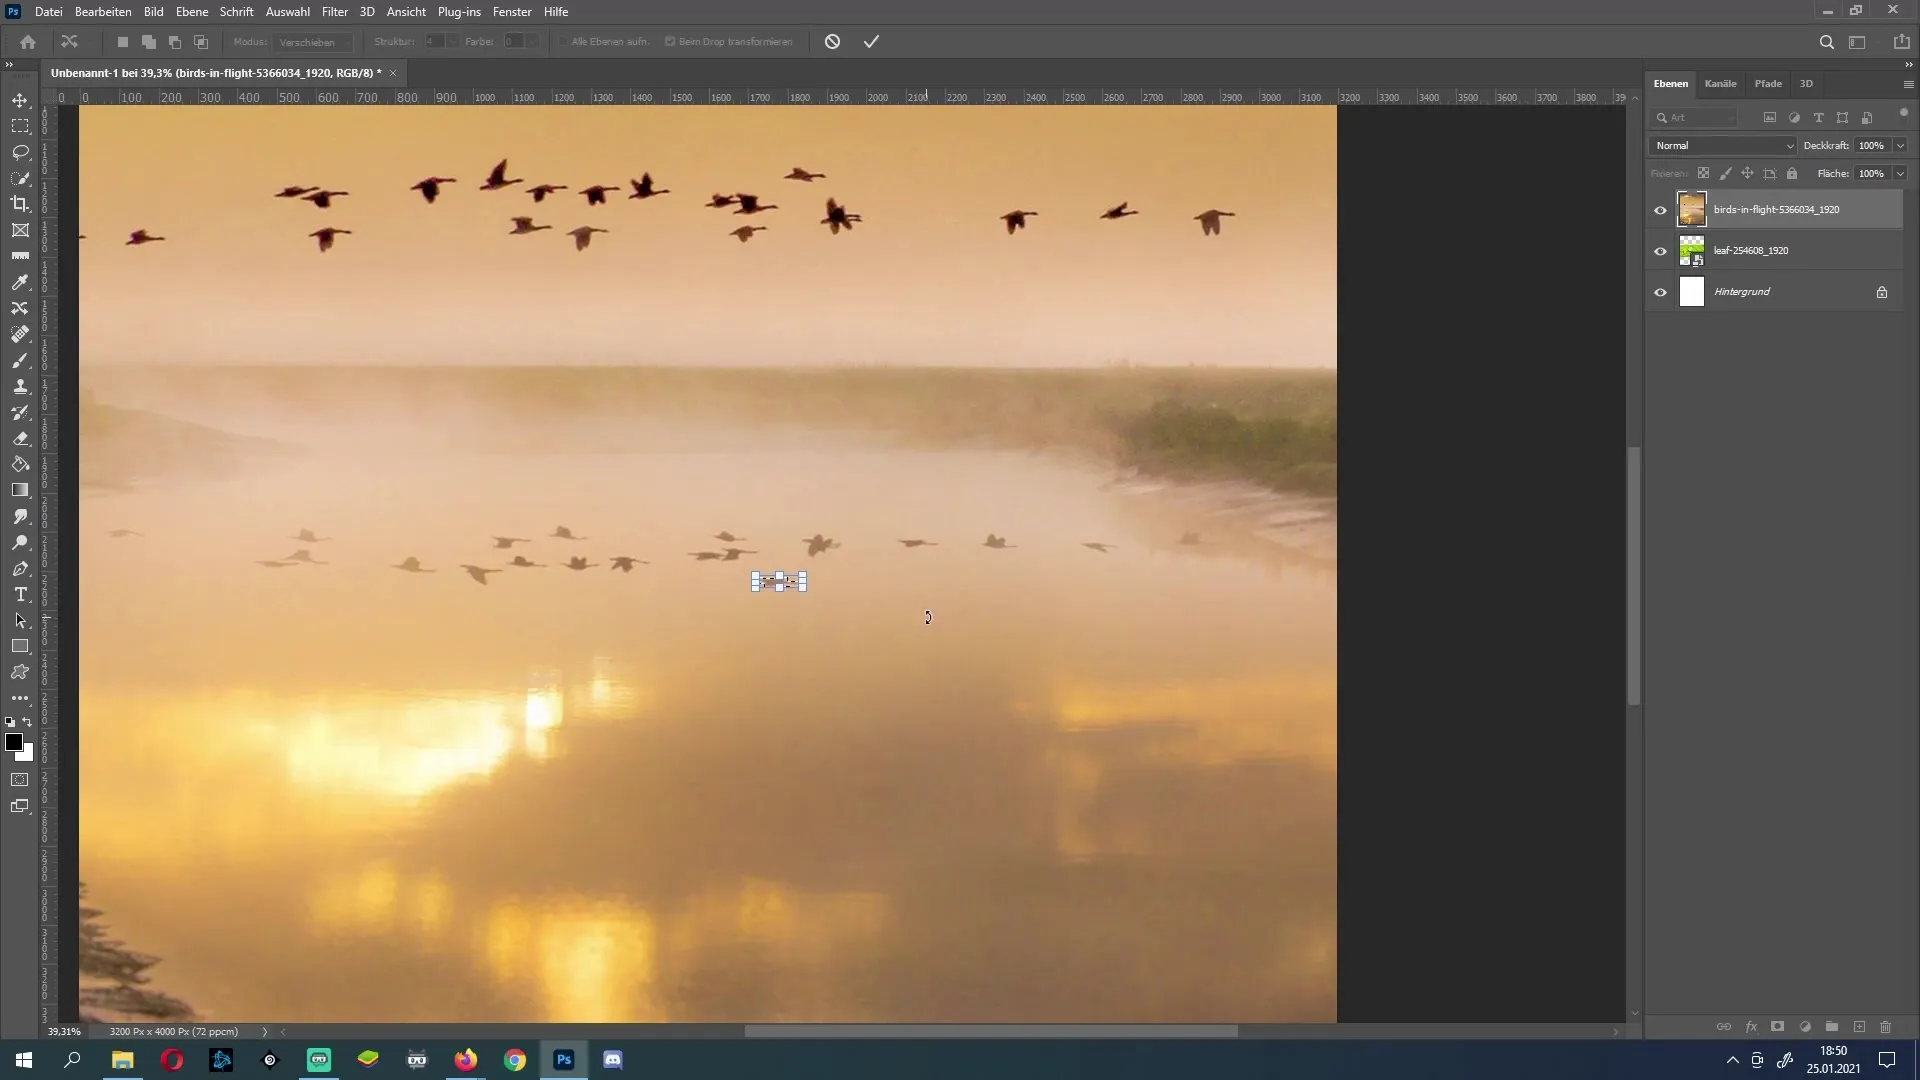
If you find imprecise areas while moving the shadow or the object, zoom in to make more precise adjustments. Use the editing brush to retouch small inaccuracies. Simply brush over the edges to make them smoother.
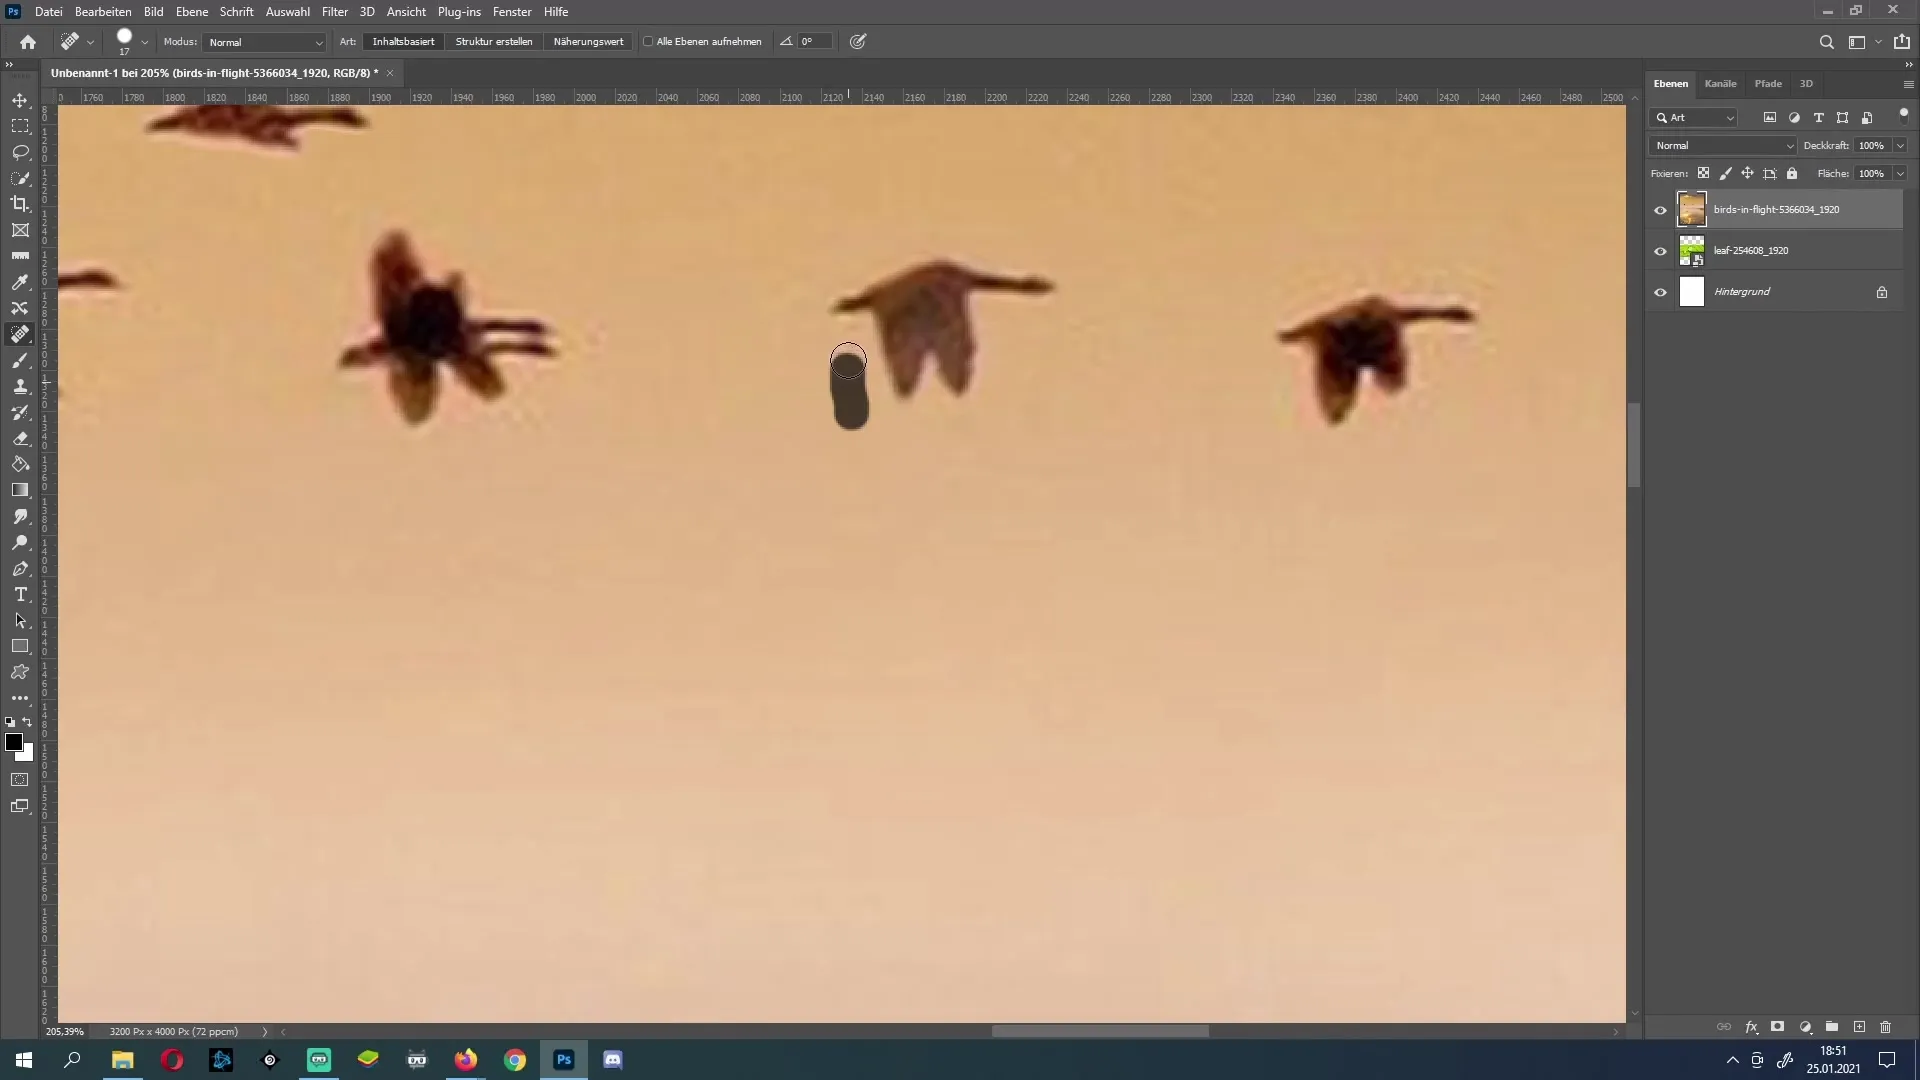
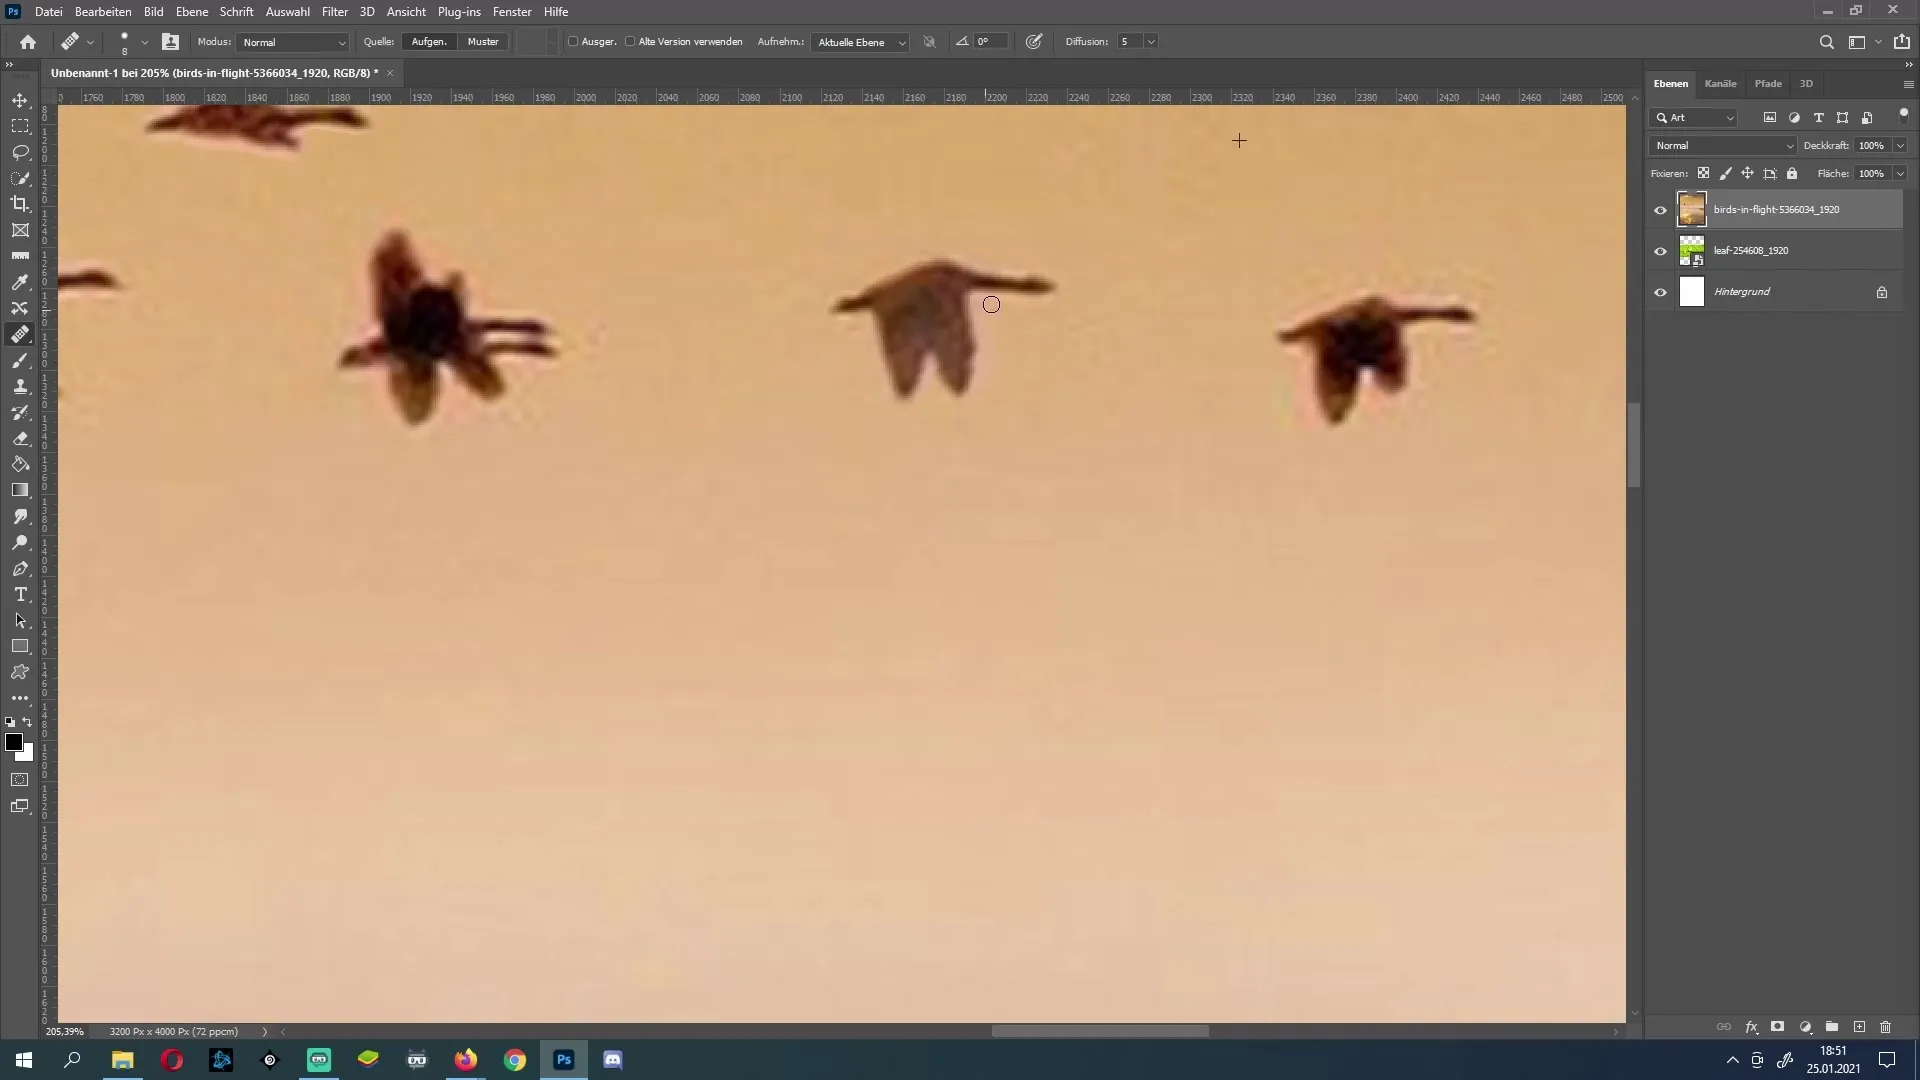
Alternatively, you can also use the healing brush to work on larger or more noticeable areas. Hold down the Alt key, click on a source you want to use, and then drag over the problematic area with the left mouse button. This will seamlessly adjust the image.
For particularly complex cases, I recommend using the patch tool. This allows you to select a specific pixelated area and replace it with another area in your image. To do this, select the area you want to manipulate, and then drag to the area you want to use, while holding down the left mouse button.
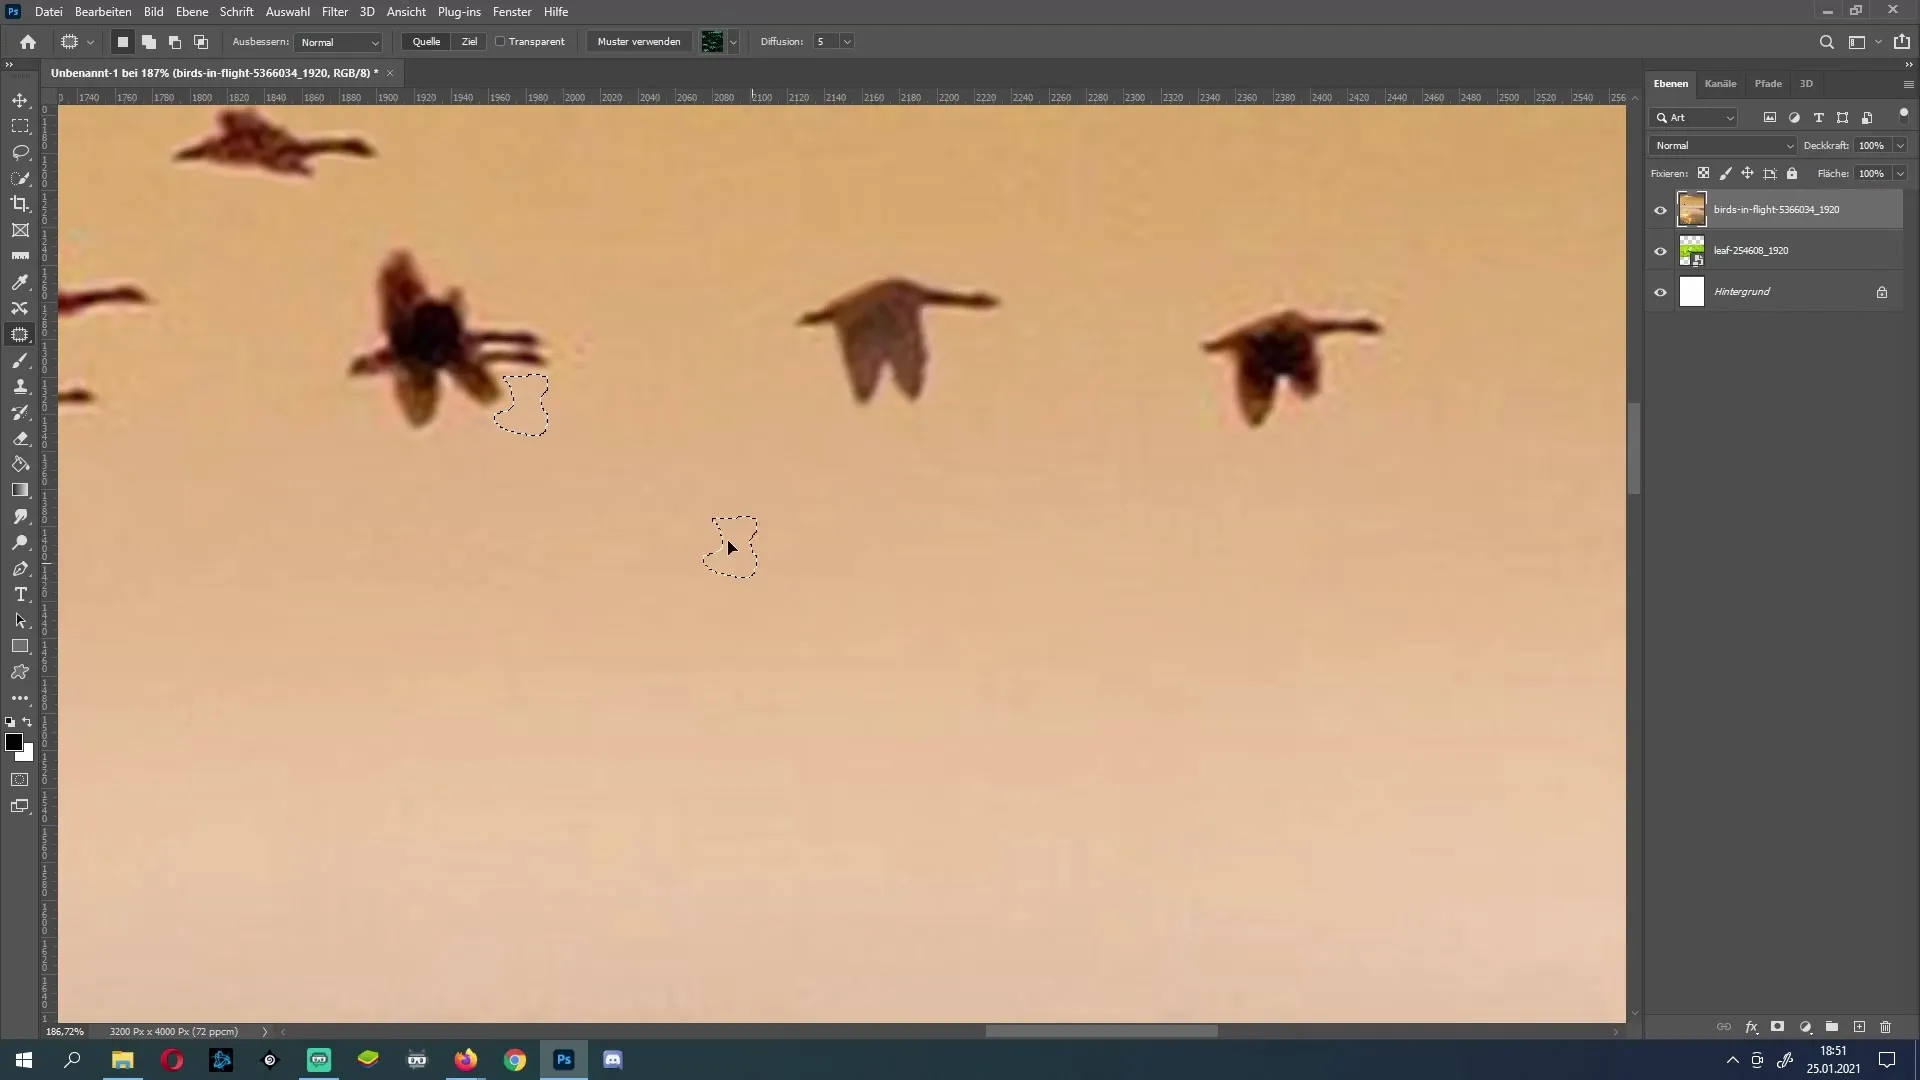
Once you are satisfied with your work, confirm your selection again with "Ctrl + D" to complete the editing process.
Summary
In this guide, you have learned how to move objects in Photoshop using the selection tool. We have also discussed the importance of shadows and the use of retouching tools to make your images even more realistic. With these basic techniques, you can now get creative in your image editing.
Frequently Asked Questions
How do I open the selection tool in Photoshop?You can find the selection tool in the toolbar or customize it via "Edit" -> "Toolbar".
What should I do if the shadow doesn't look good?You should also move the shadow and, if necessary, correct it with the editing brush.
Can I use other tools for retouching?Yes, in addition to the editing brush, you can also use the healing brush and the patch tool for more precise adjustments.


