In this guide I will show you how to realistically insert a person into another image in Photoshop. The main goal is to maintain the coloring of the target image so that the inserted person is harmoniously integrated into the scene. By following the steps below, you will be able to achieve impressive results.
Key Takeaways
- Creating a clean cutout of the person.
- Using adjustment layers to tweak color and brightness.
- Applying clipping masks for precise corrections.
- Fine-tuning the elements for a professional end result.
Step-by-Step Guide
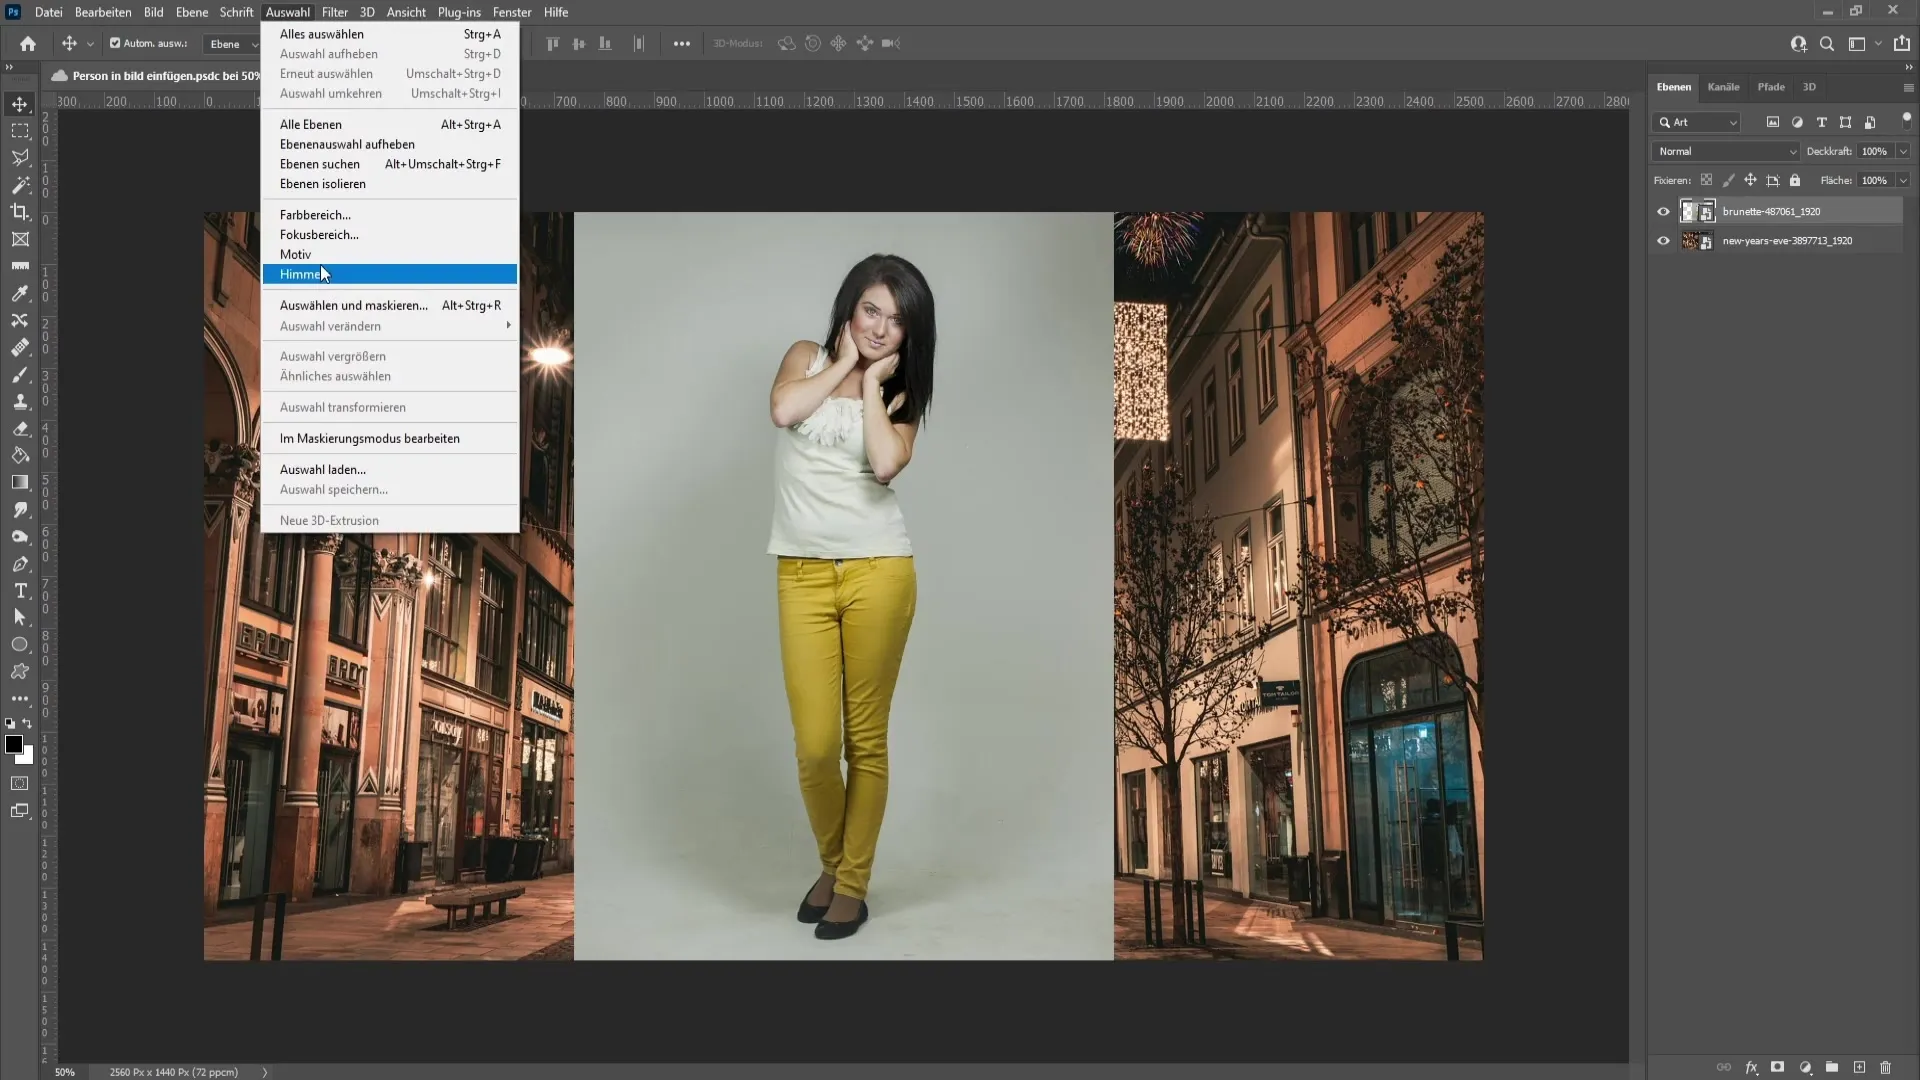
First, you need to cut out the person you want to insert into your image. Go to the Select menu and then Subject. Photoshop will automatically detect and cut out the person.
After selecting, click on Select and Mask to ensure clean and precise edges.
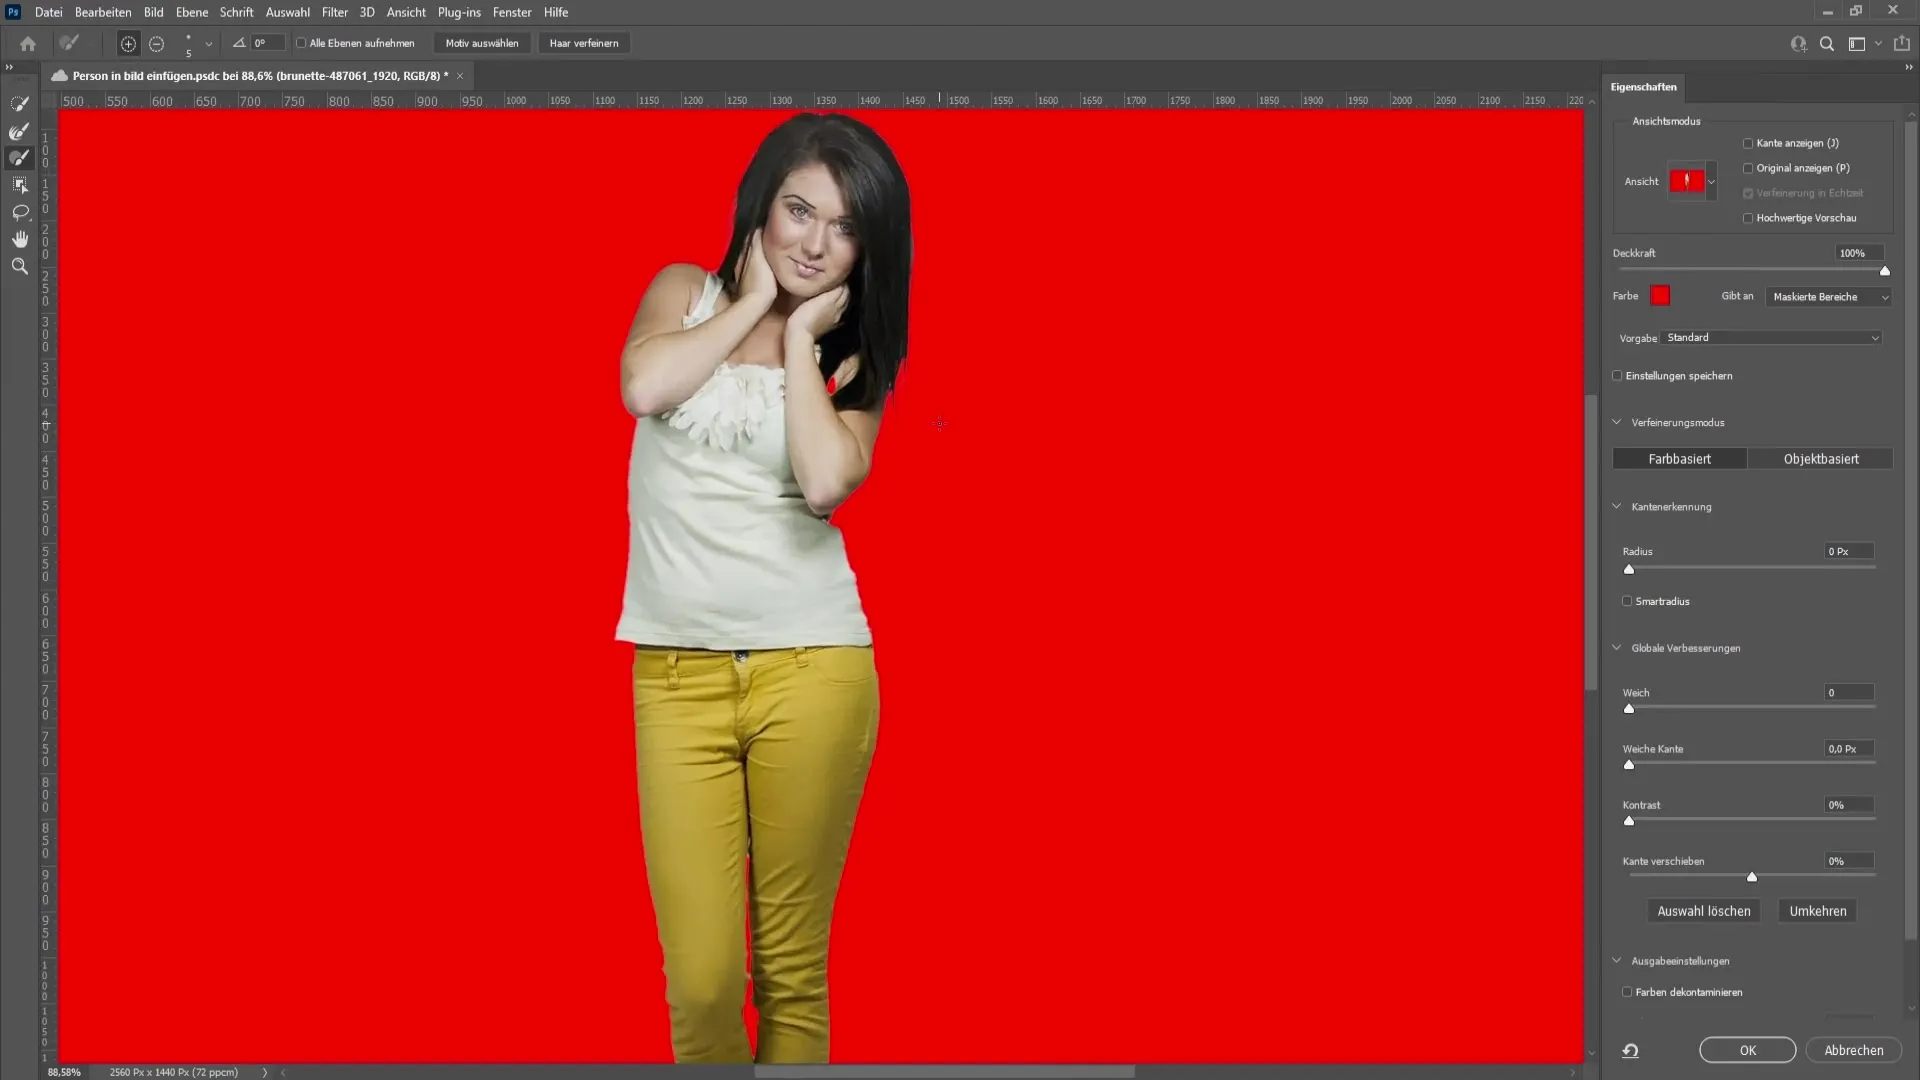
Under the Output section, choose New Layer with Layer Mask. This ensures that the cutout person forms a separate layer.
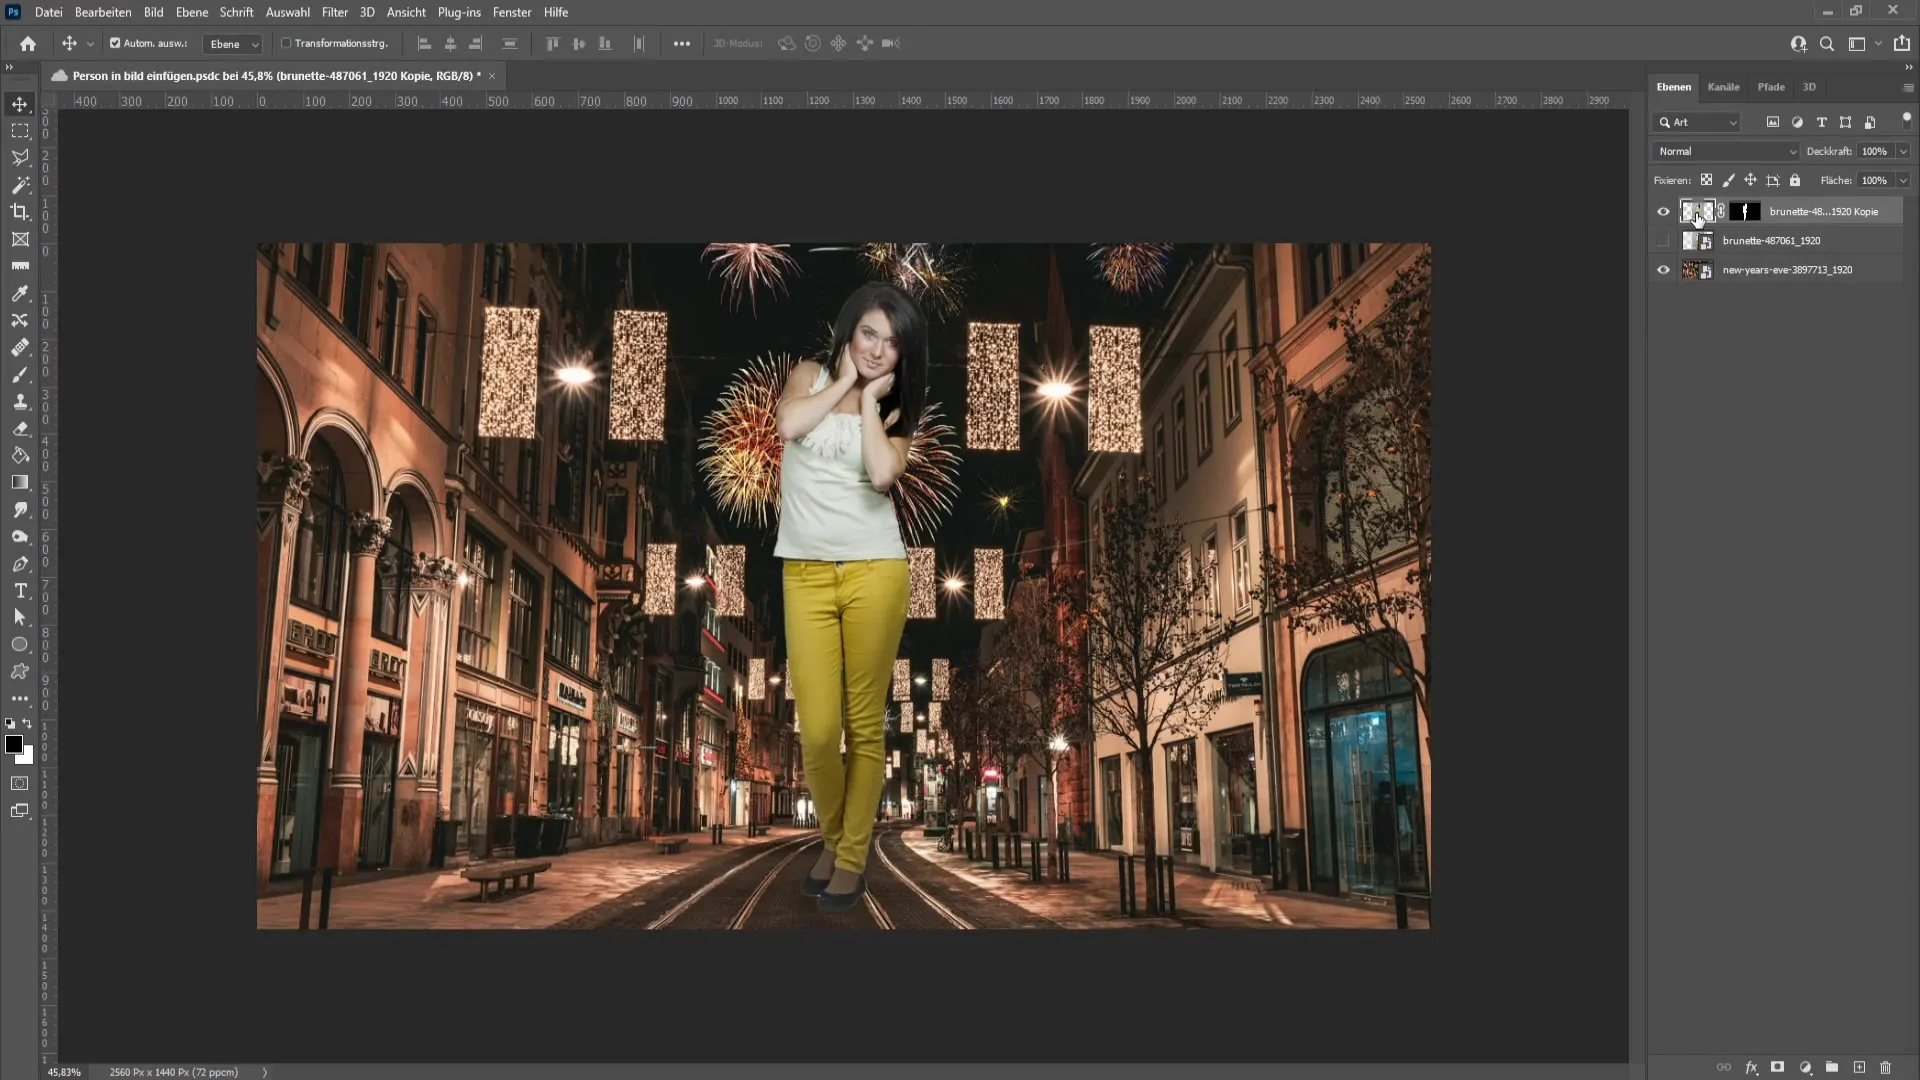
Next, you can adjust the size and position of the inserted person. I recommend placing them slightly off-center to achieve a more appealing composition. To transform the image, press Control and T (or Cmd + T on a Mac). Hold down the Shift key to maintain proportions while scaling.
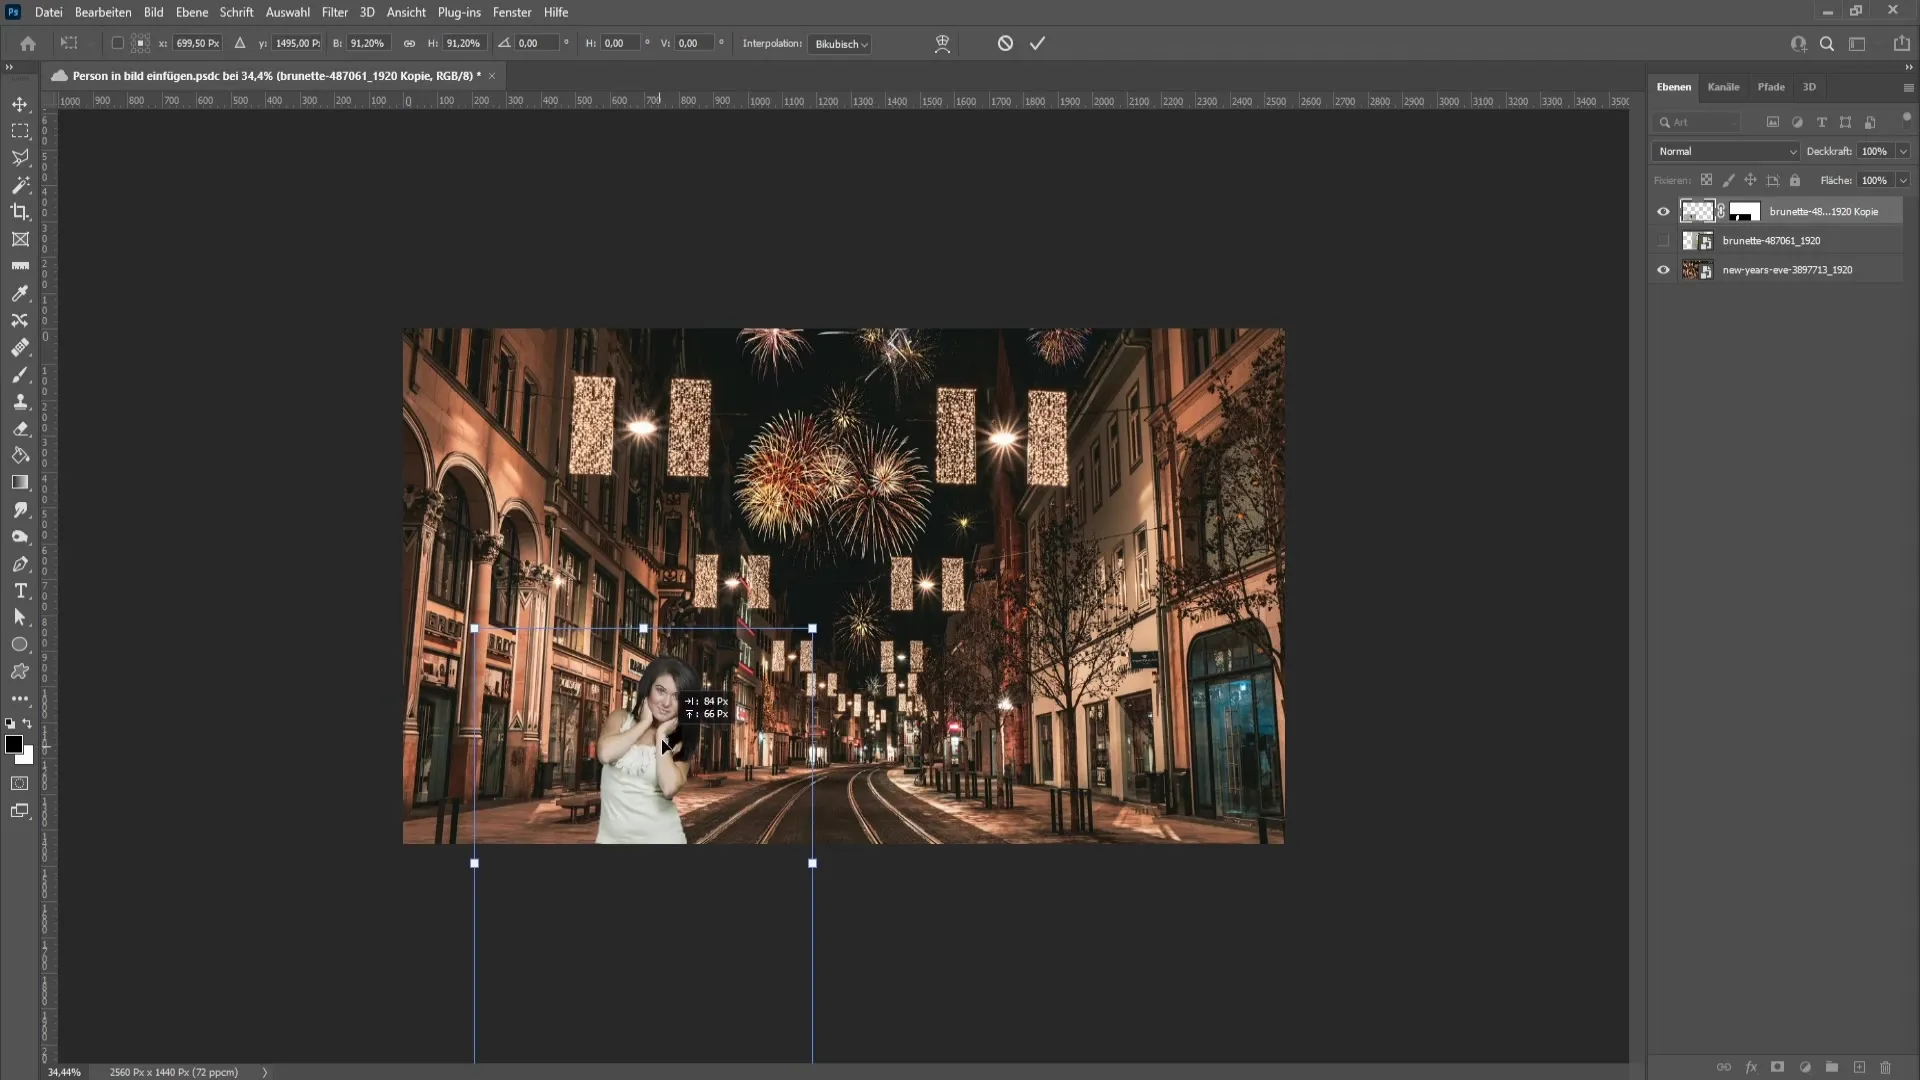
Position the person in the lower corner of your image. Avoid placing them right in the center - this is a general rule in image composition that will help you create appealing images.
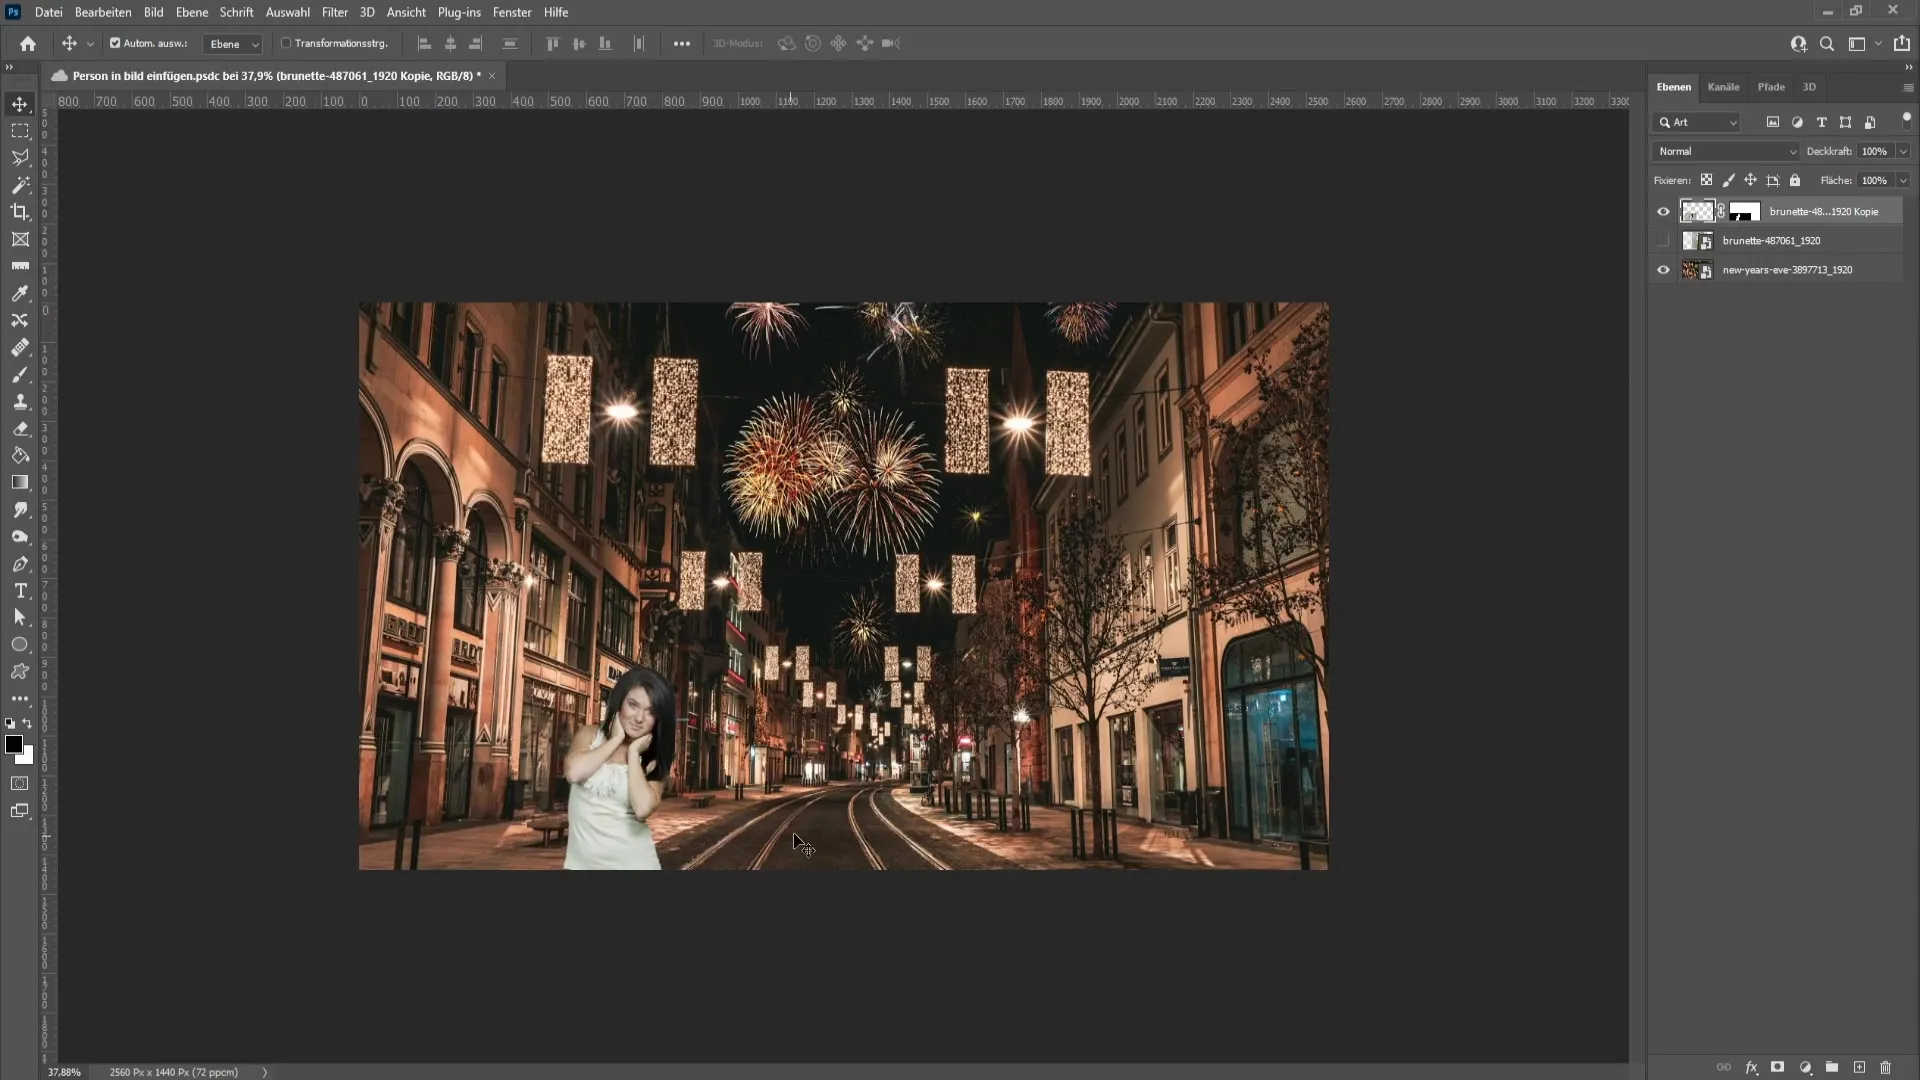
In the next step, you should make adjustments. If the Corrections window is not visible, you can activate it under the Window menu. Select Corrections.
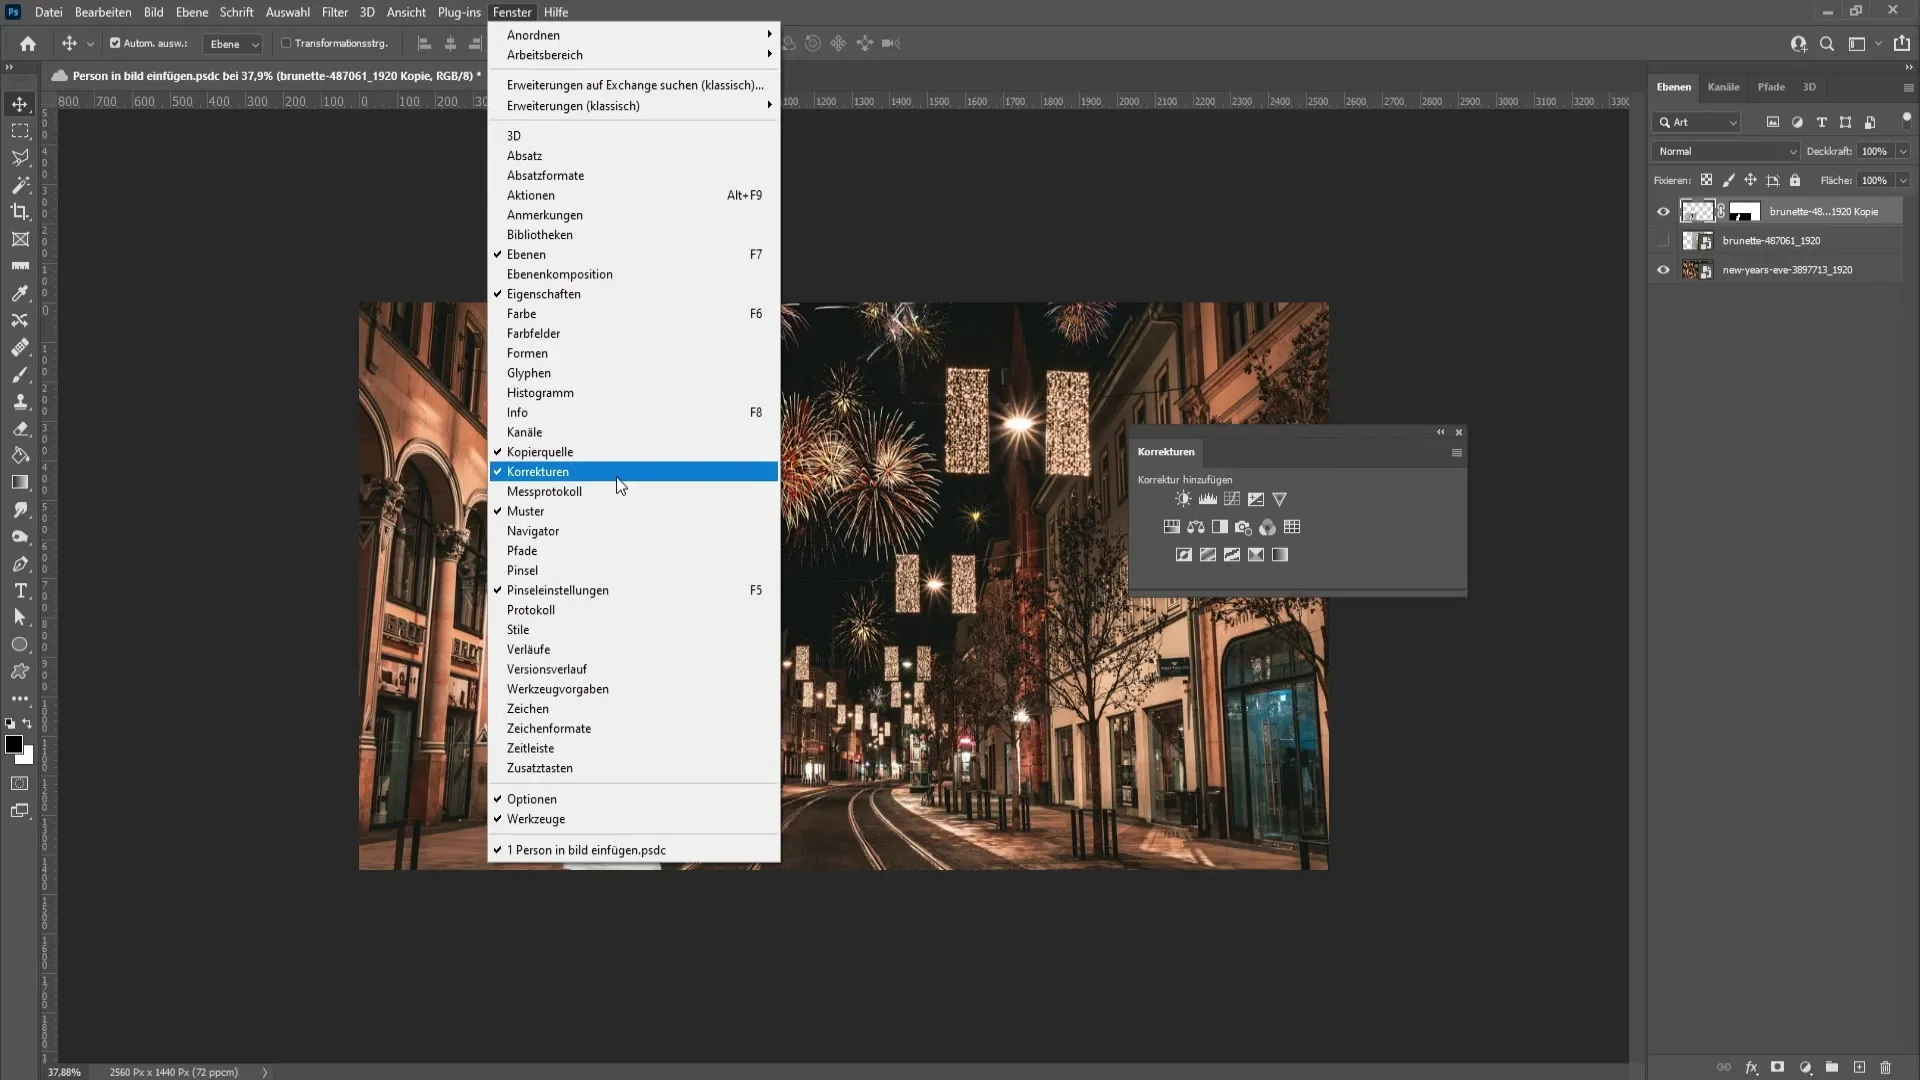
In this window, you will find the Curves. Before making changes, create a Clipping Mask so that the adjustments only affect the underlying layer (your cutout person).
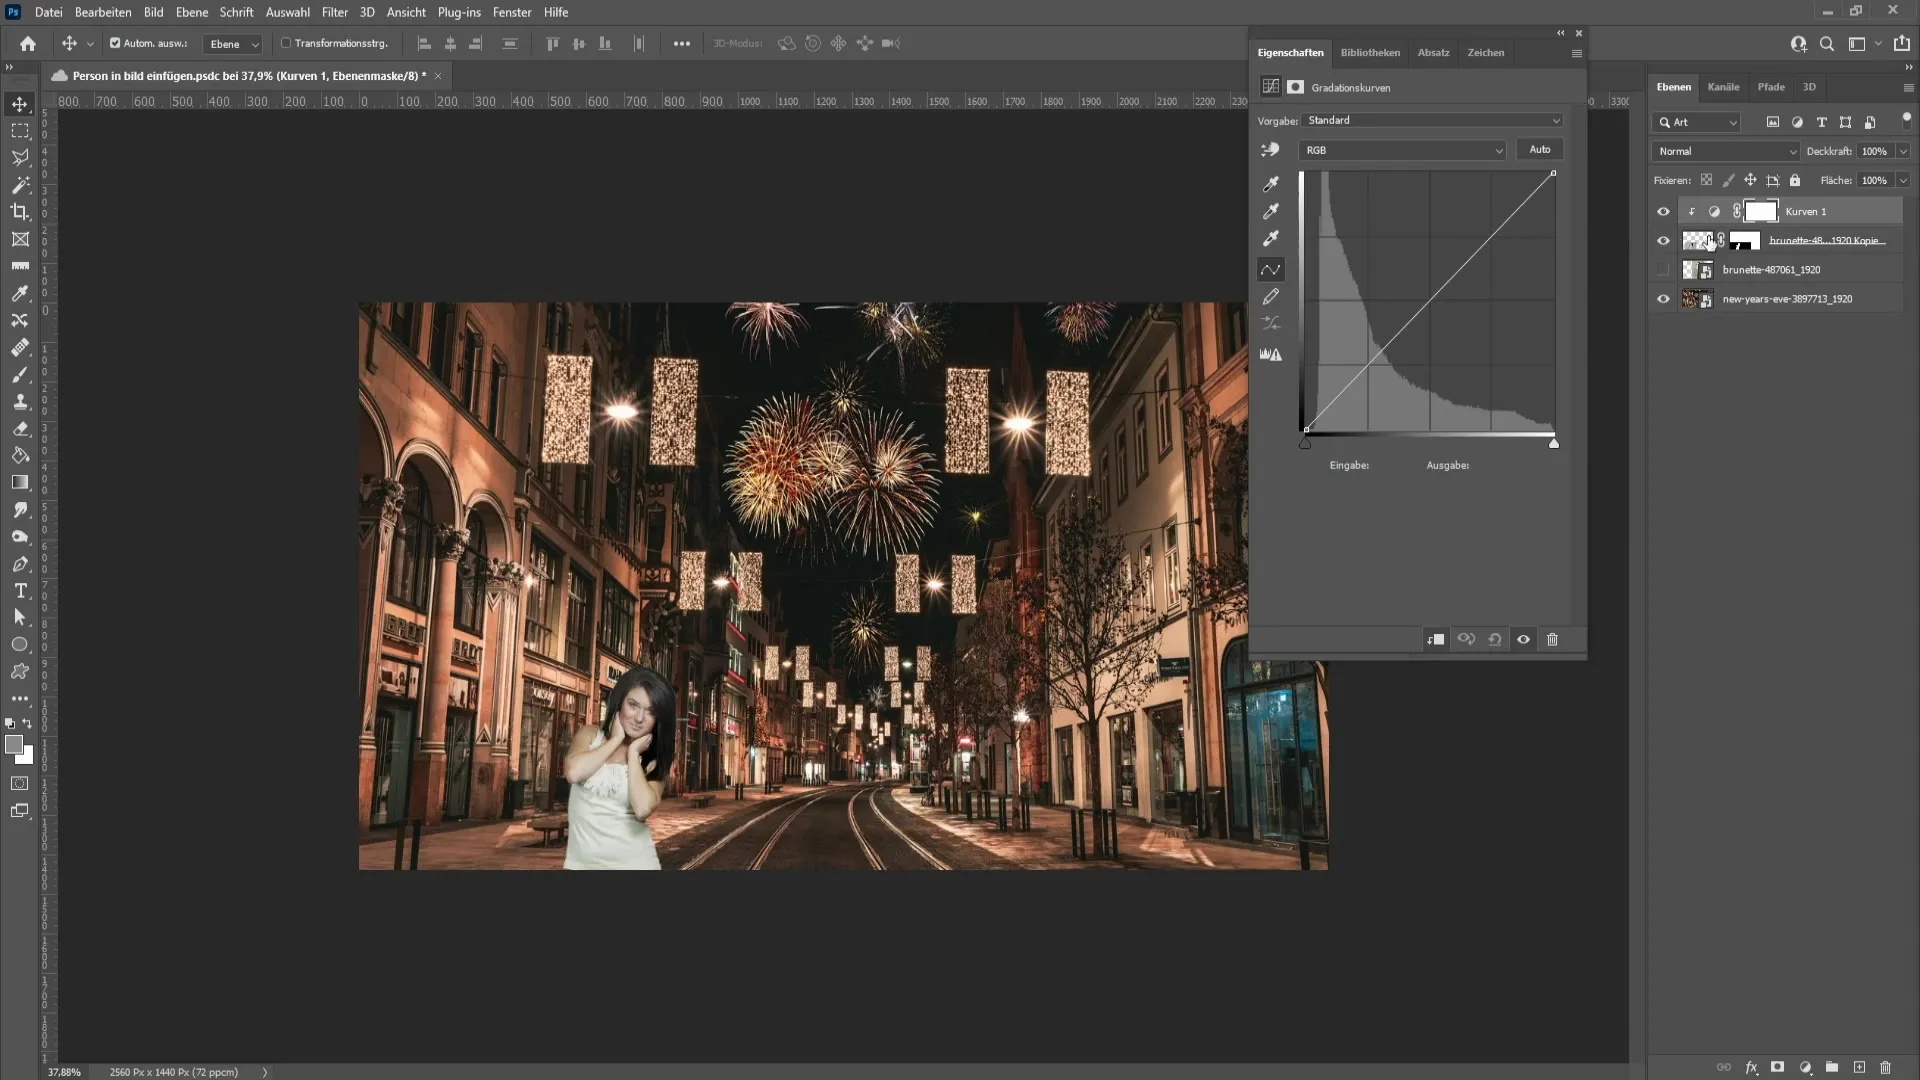
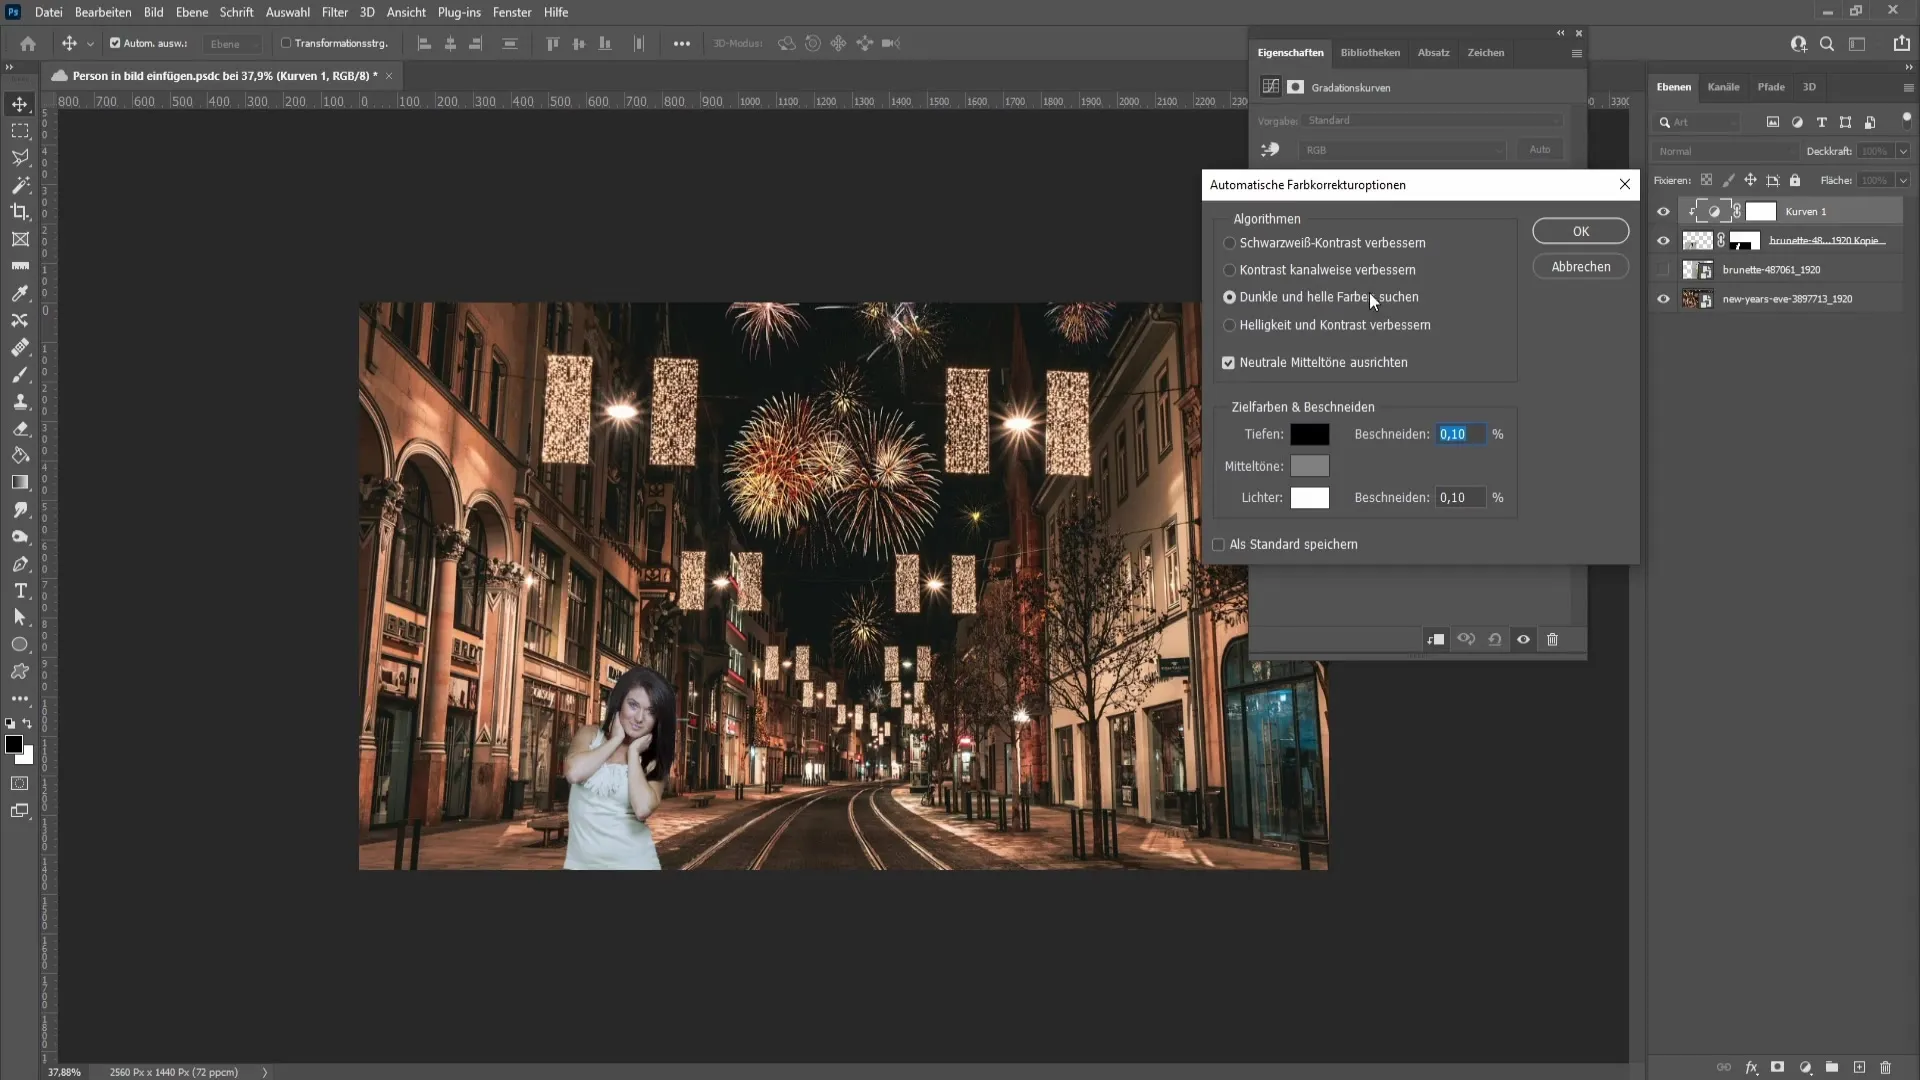
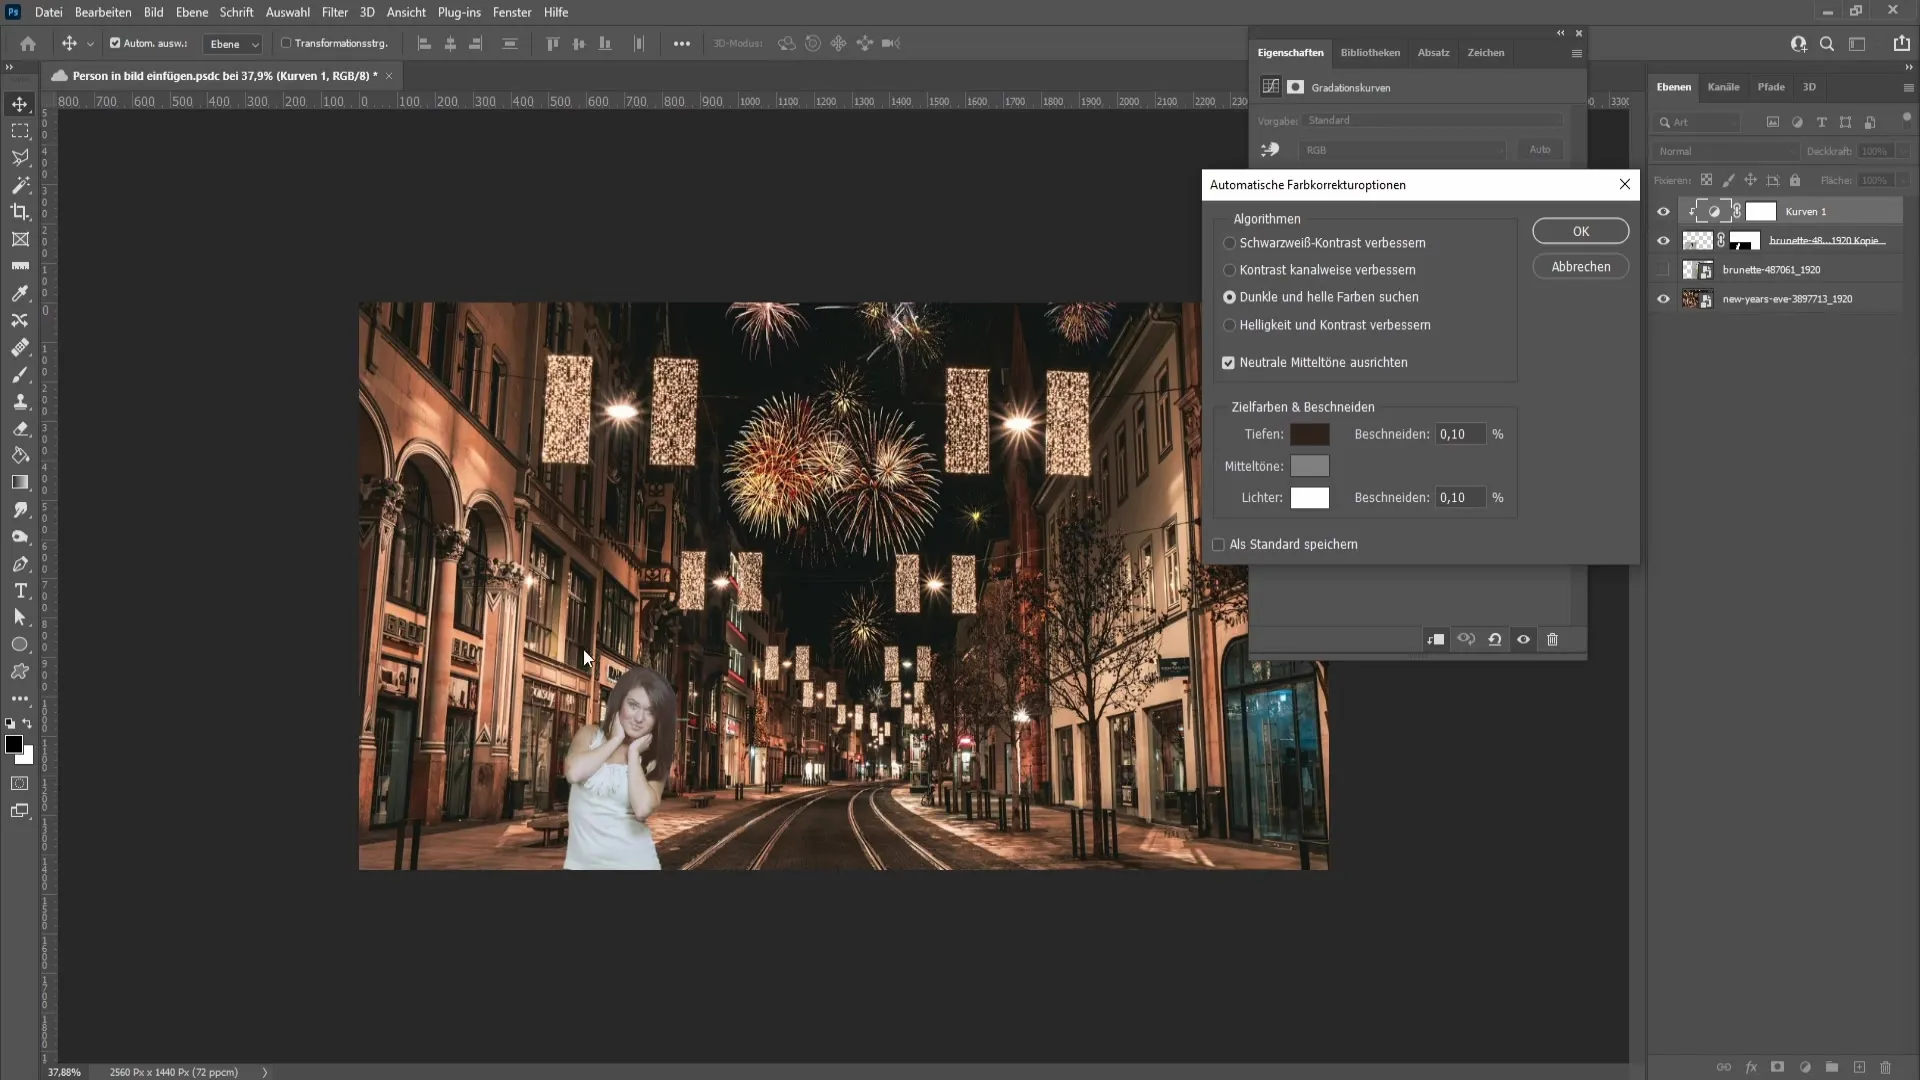
Click on the four lines at the top and then select the Auto options. Here you have the option to choose a dark and a light color. I recommend adjusting the neutral mid-tones to match the scene.
Now it's time for specific color corrections. Click on the Shadows in the Curves to select a dark color that matches your background. In my case, the colors are more dark brown or orange. I use the dropper tool to select a dark color from the surroundings.
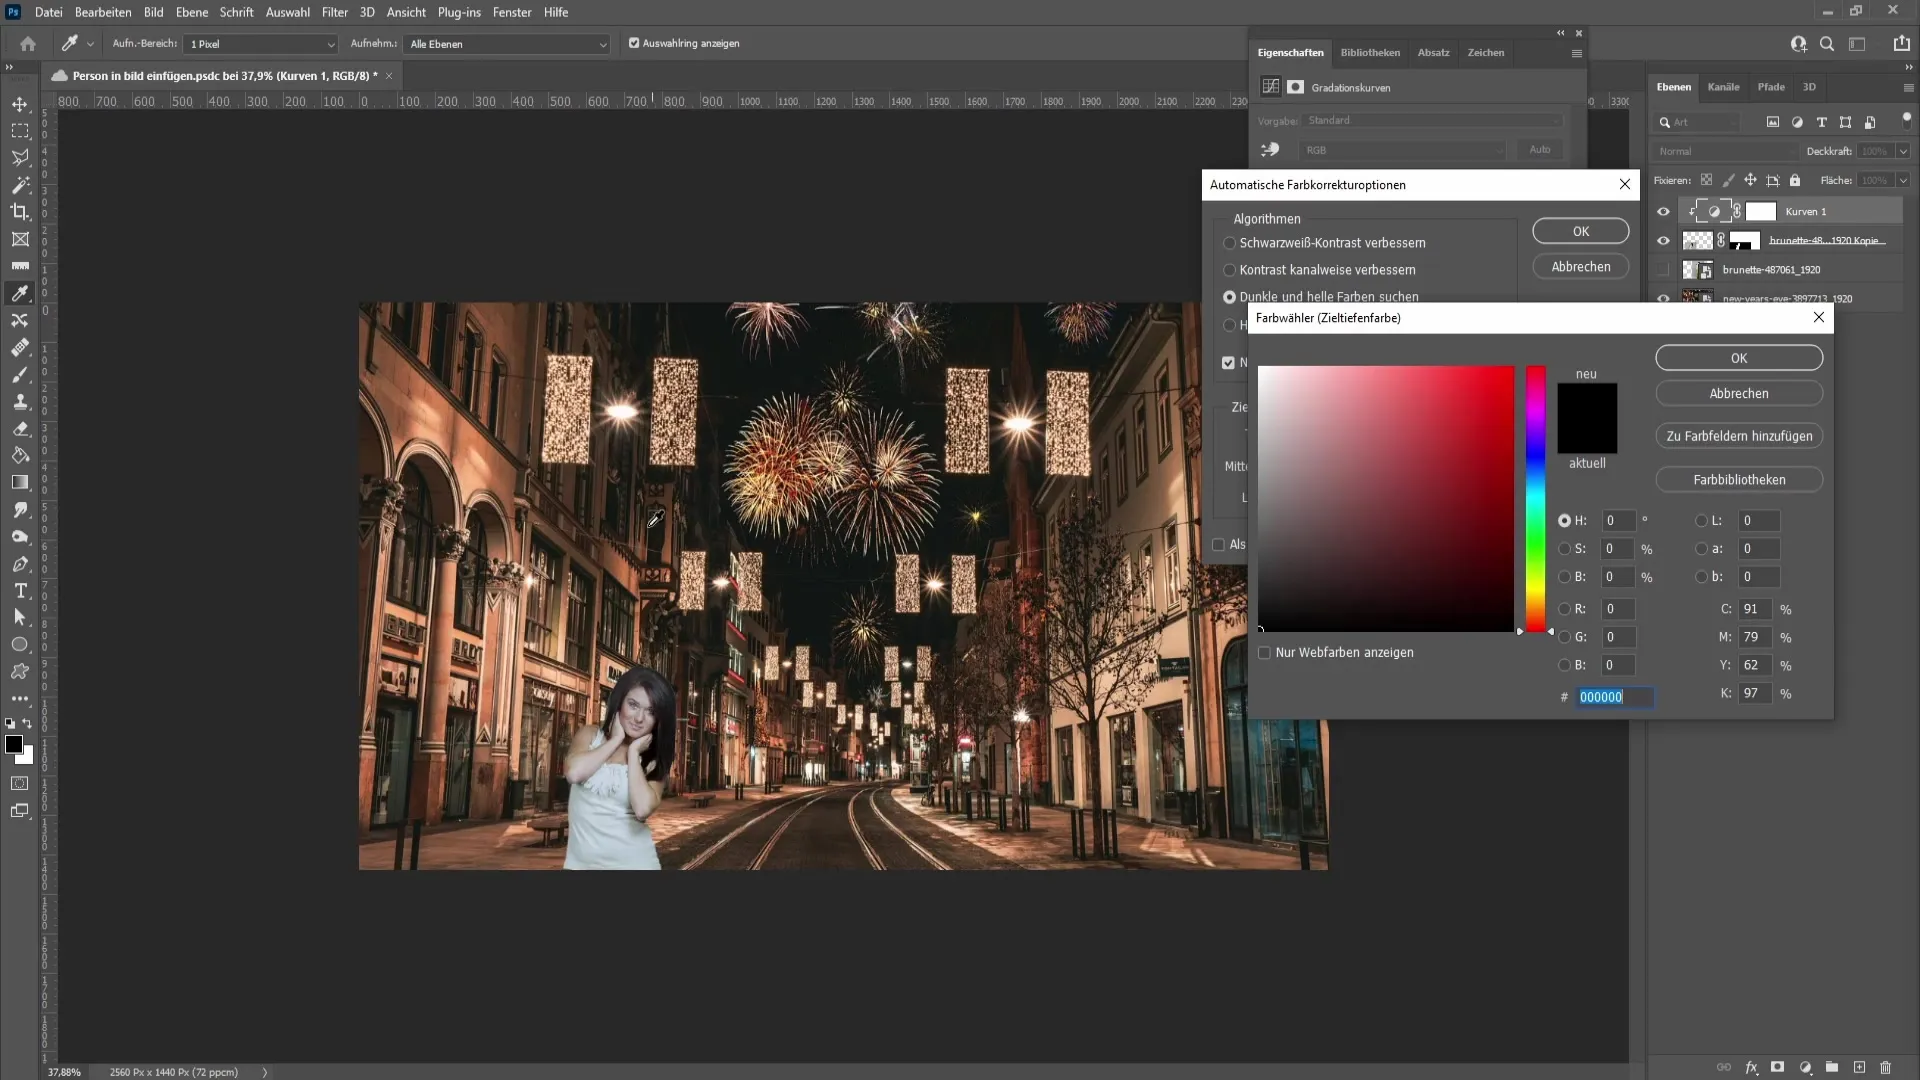
Next, select the Highlights. Choose a light color that harmonizes with the background. Examine the surroundings closely and find a suitable light color to adjust the person's brightness accordingly.
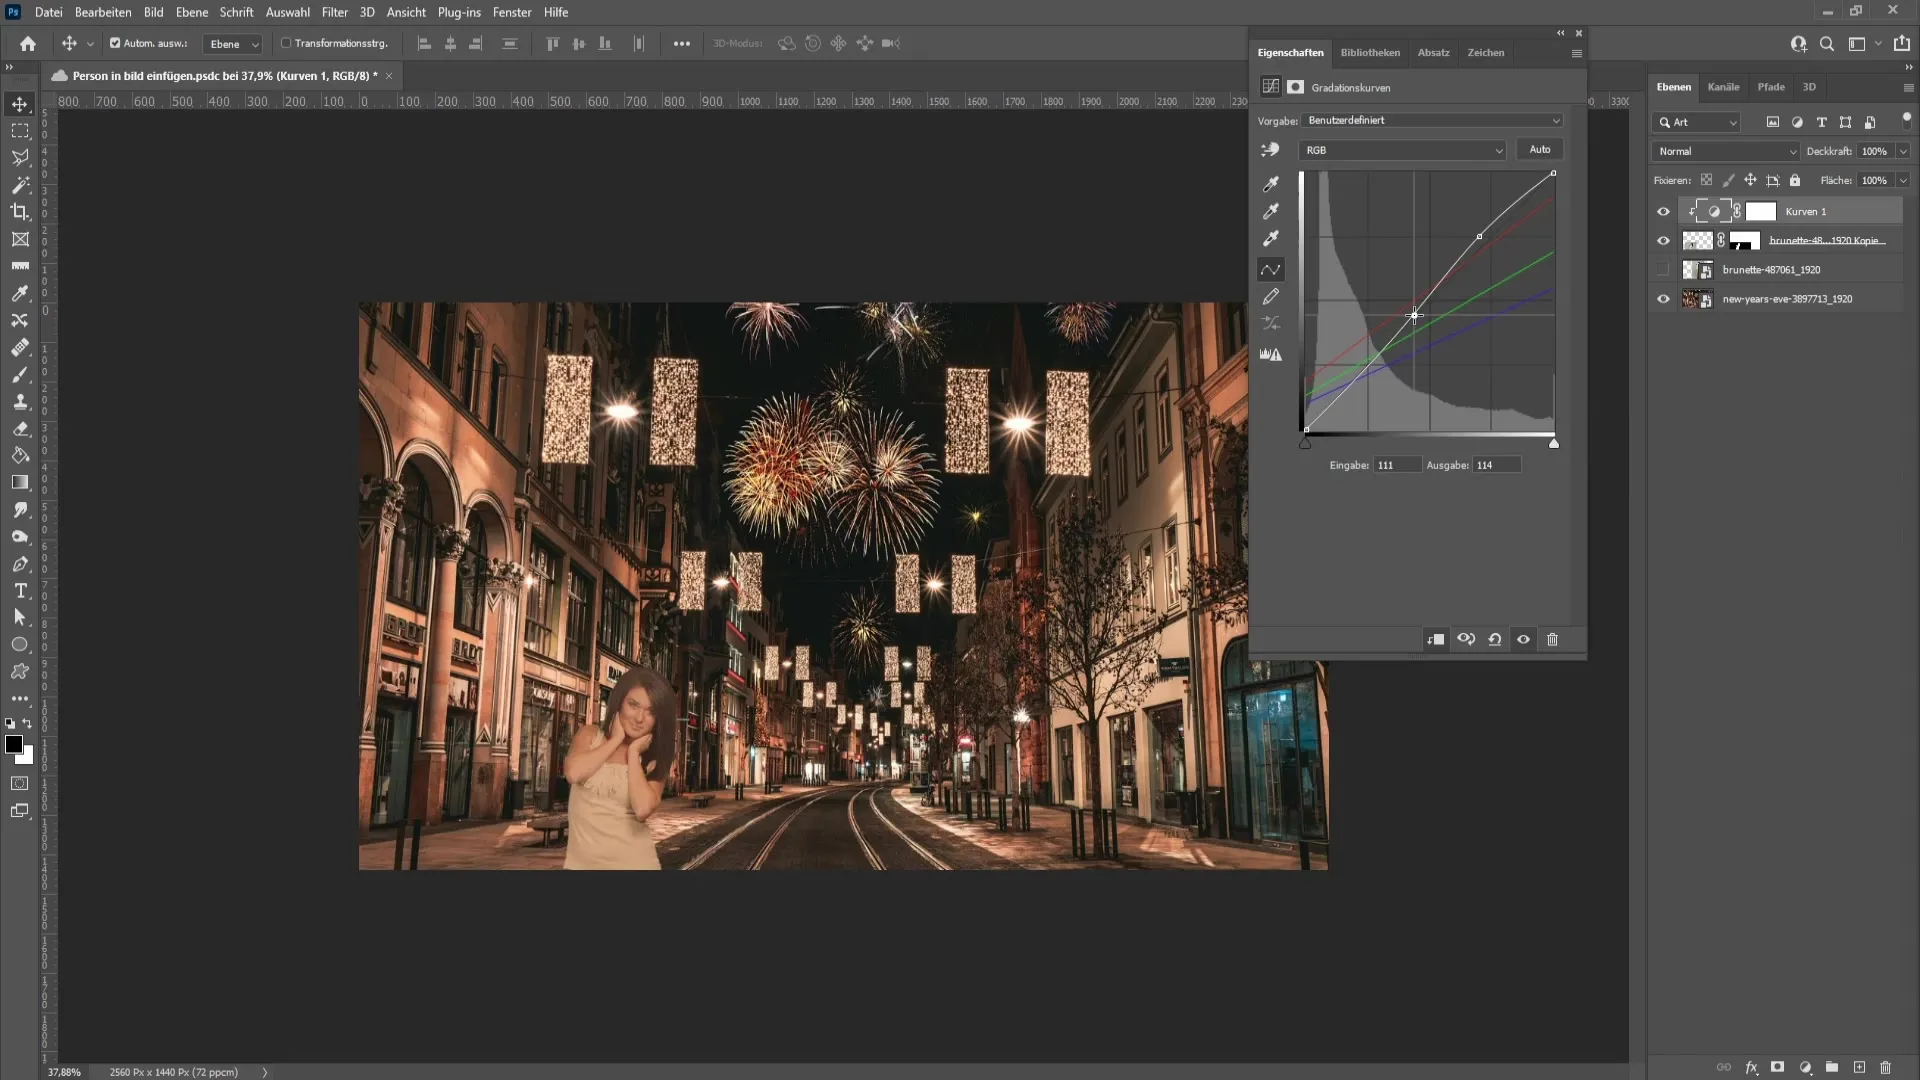
Once you are satisfied with your selections, you can further adjust the corrections in the Curves. You may want a bit more brightness or contrast, so adjust those values carefully.
Make sure to reduce the opacity of the curve to achieve a more natural look. For example, you can set the opacity to about 62%.
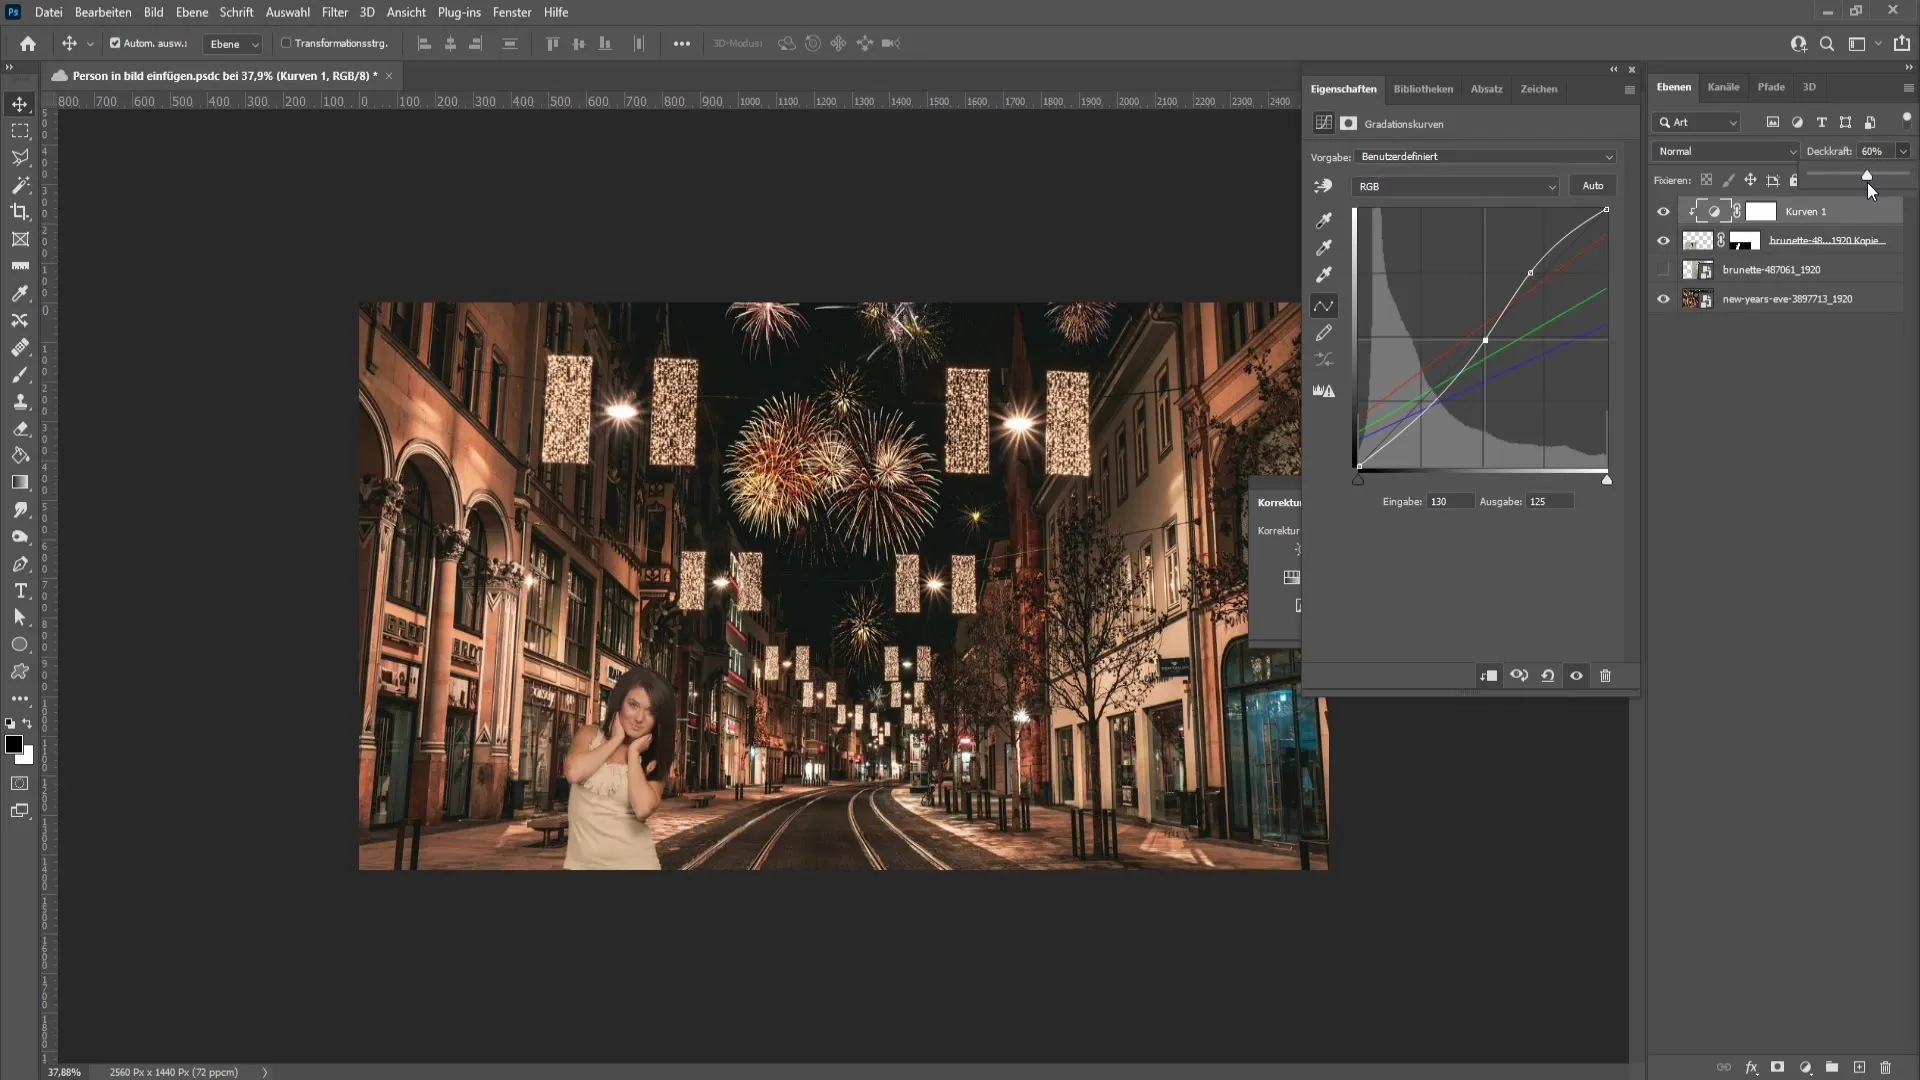
This step will help to eliminate the color differences between the inserted person and the background.
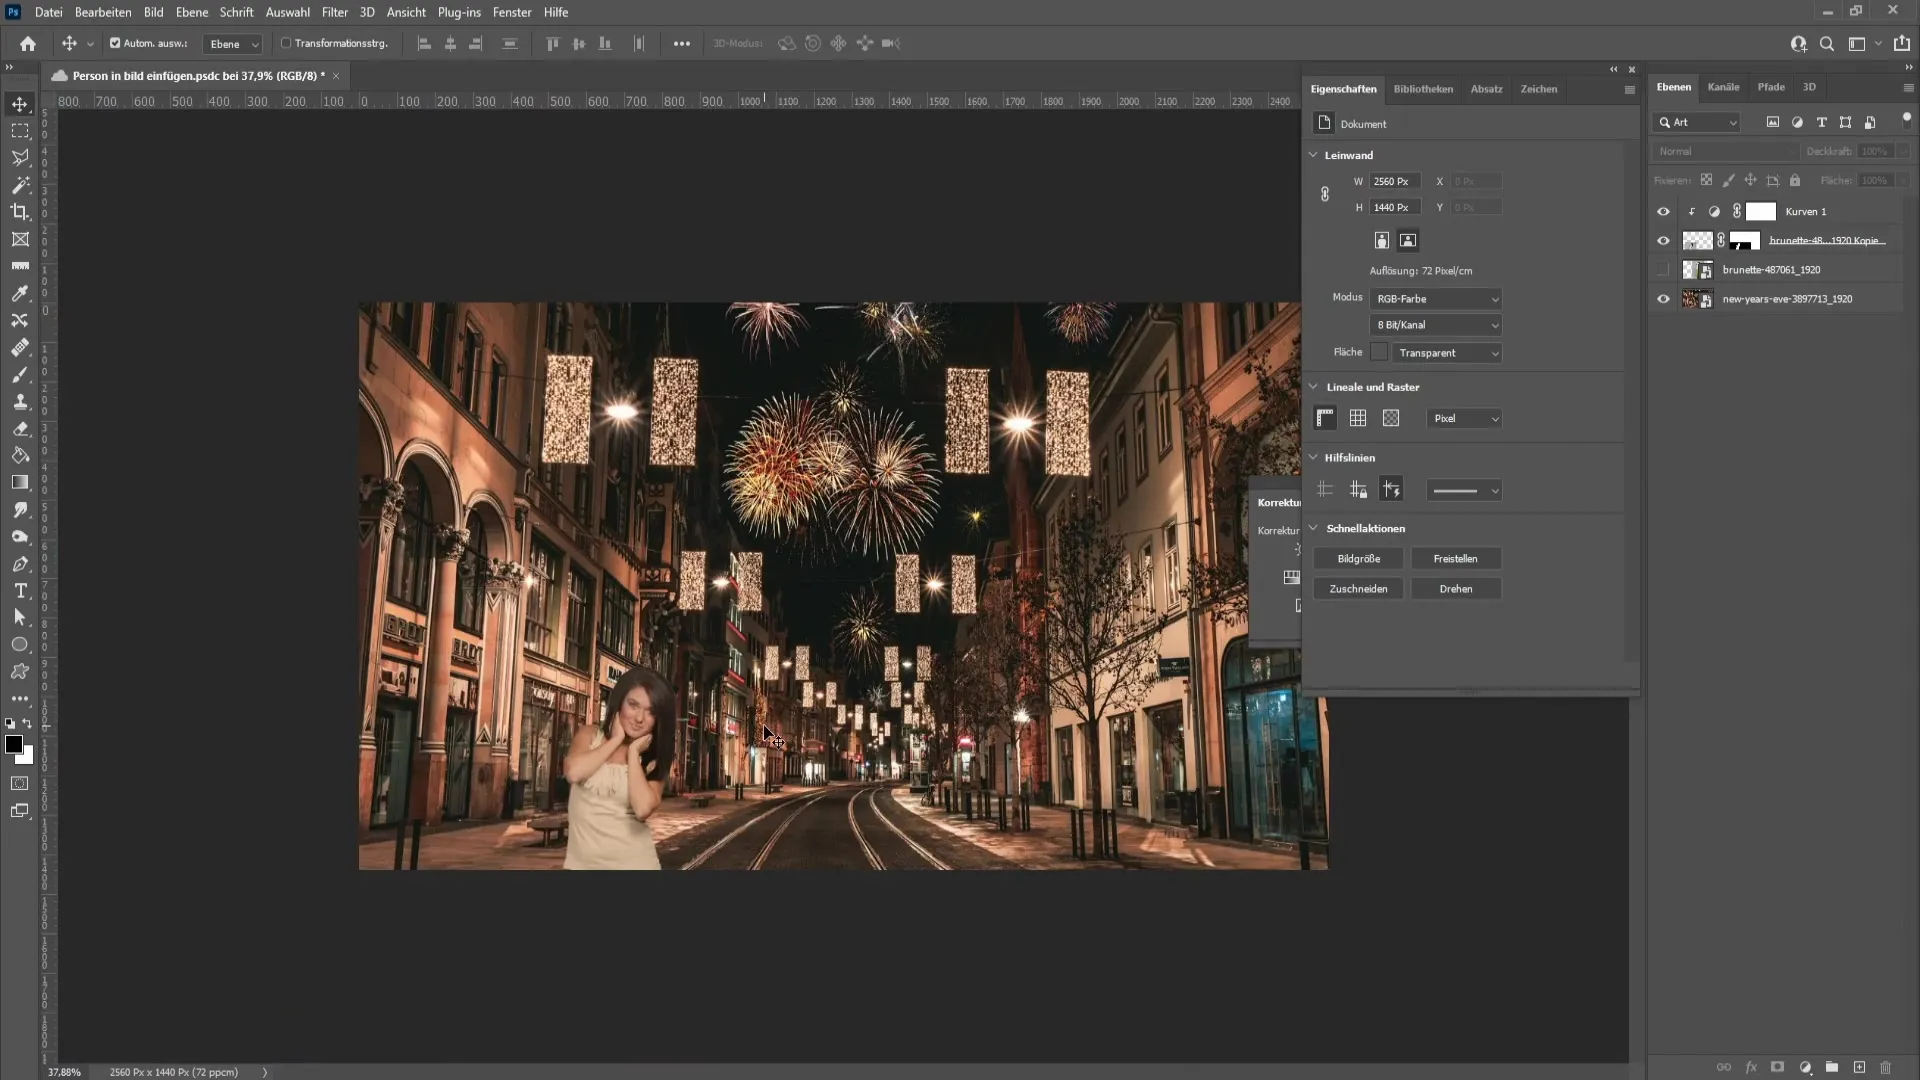
Furthermore, you can add a brightness and contrast adjustment to further refine the look. Also, create a clipping mask here.
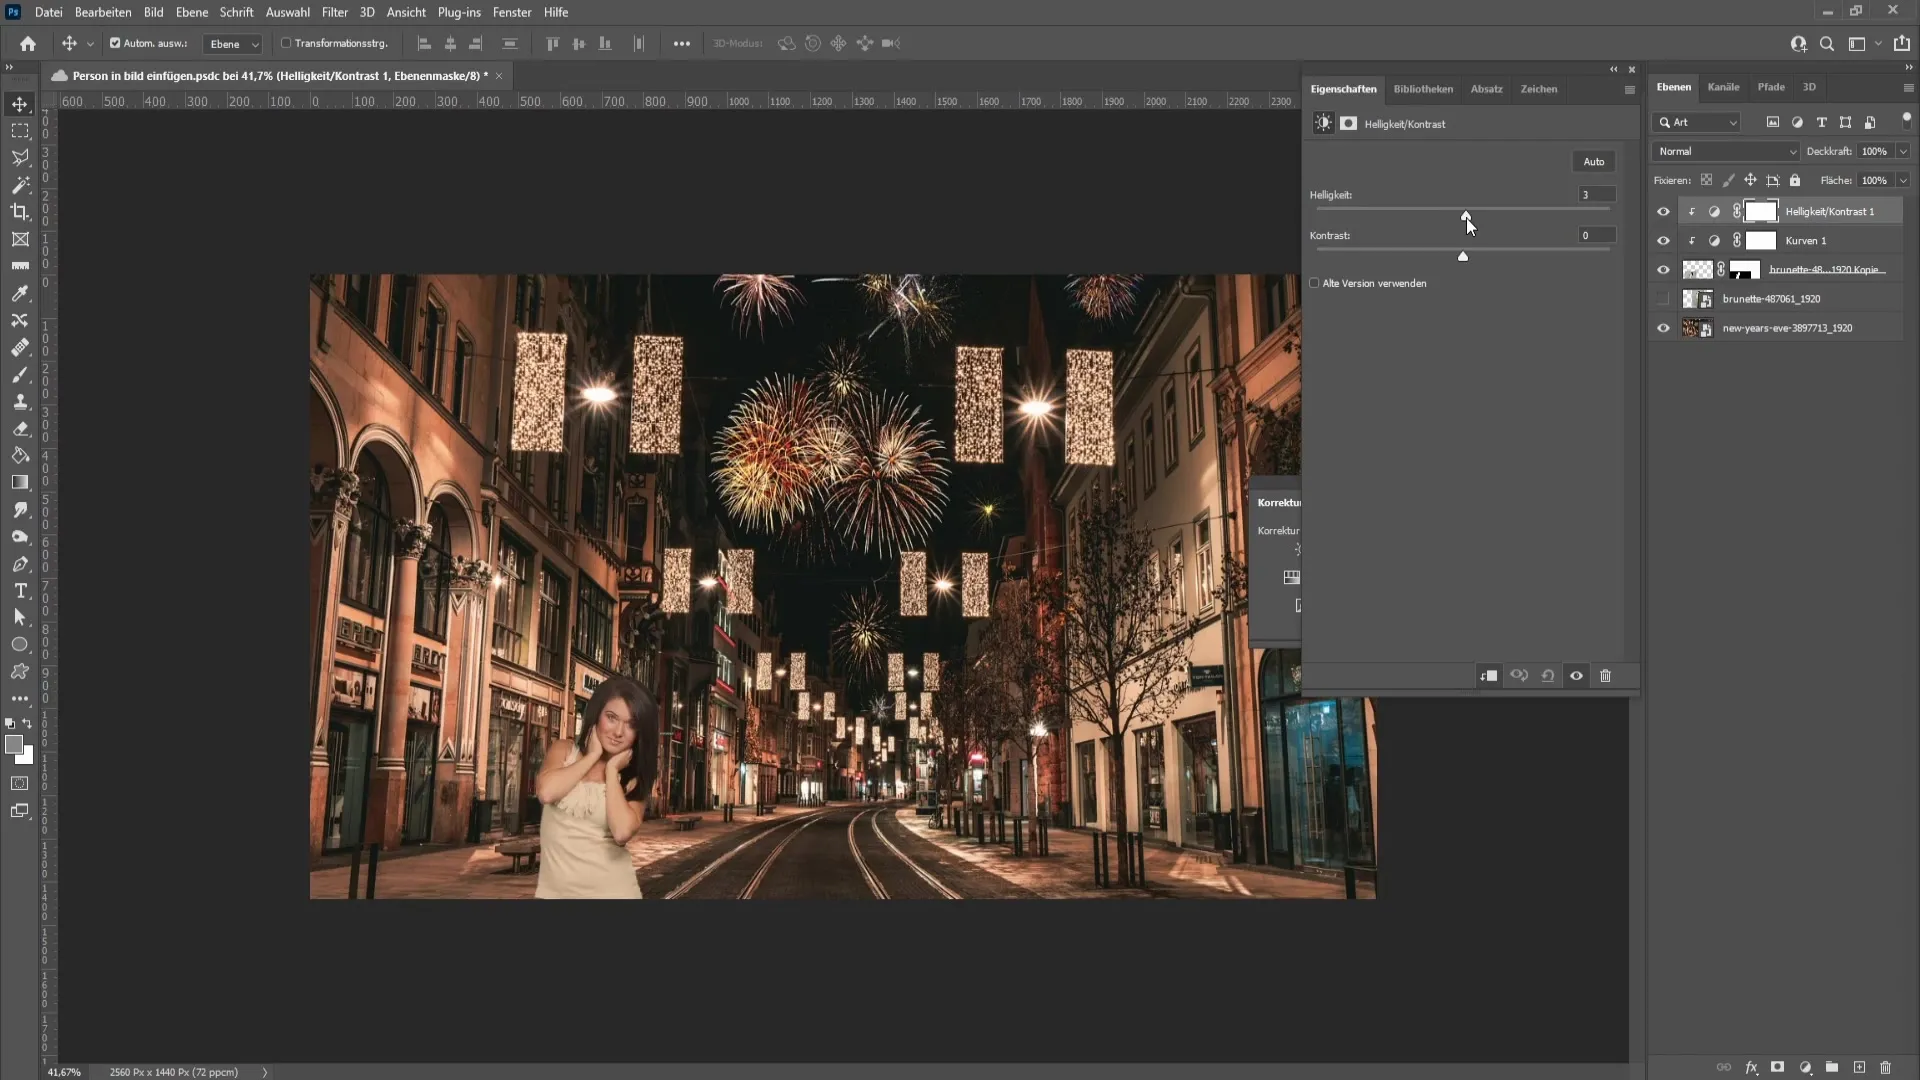
By slightly increasing the brightness and contrast, you can make the inserted person stand out from the background and integrate them into the scene. However, be careful not to overdo it, as it can appear unnatural. A slight increase to about 6 or 7 for brightness, and slightly less for contrast, is a good start.
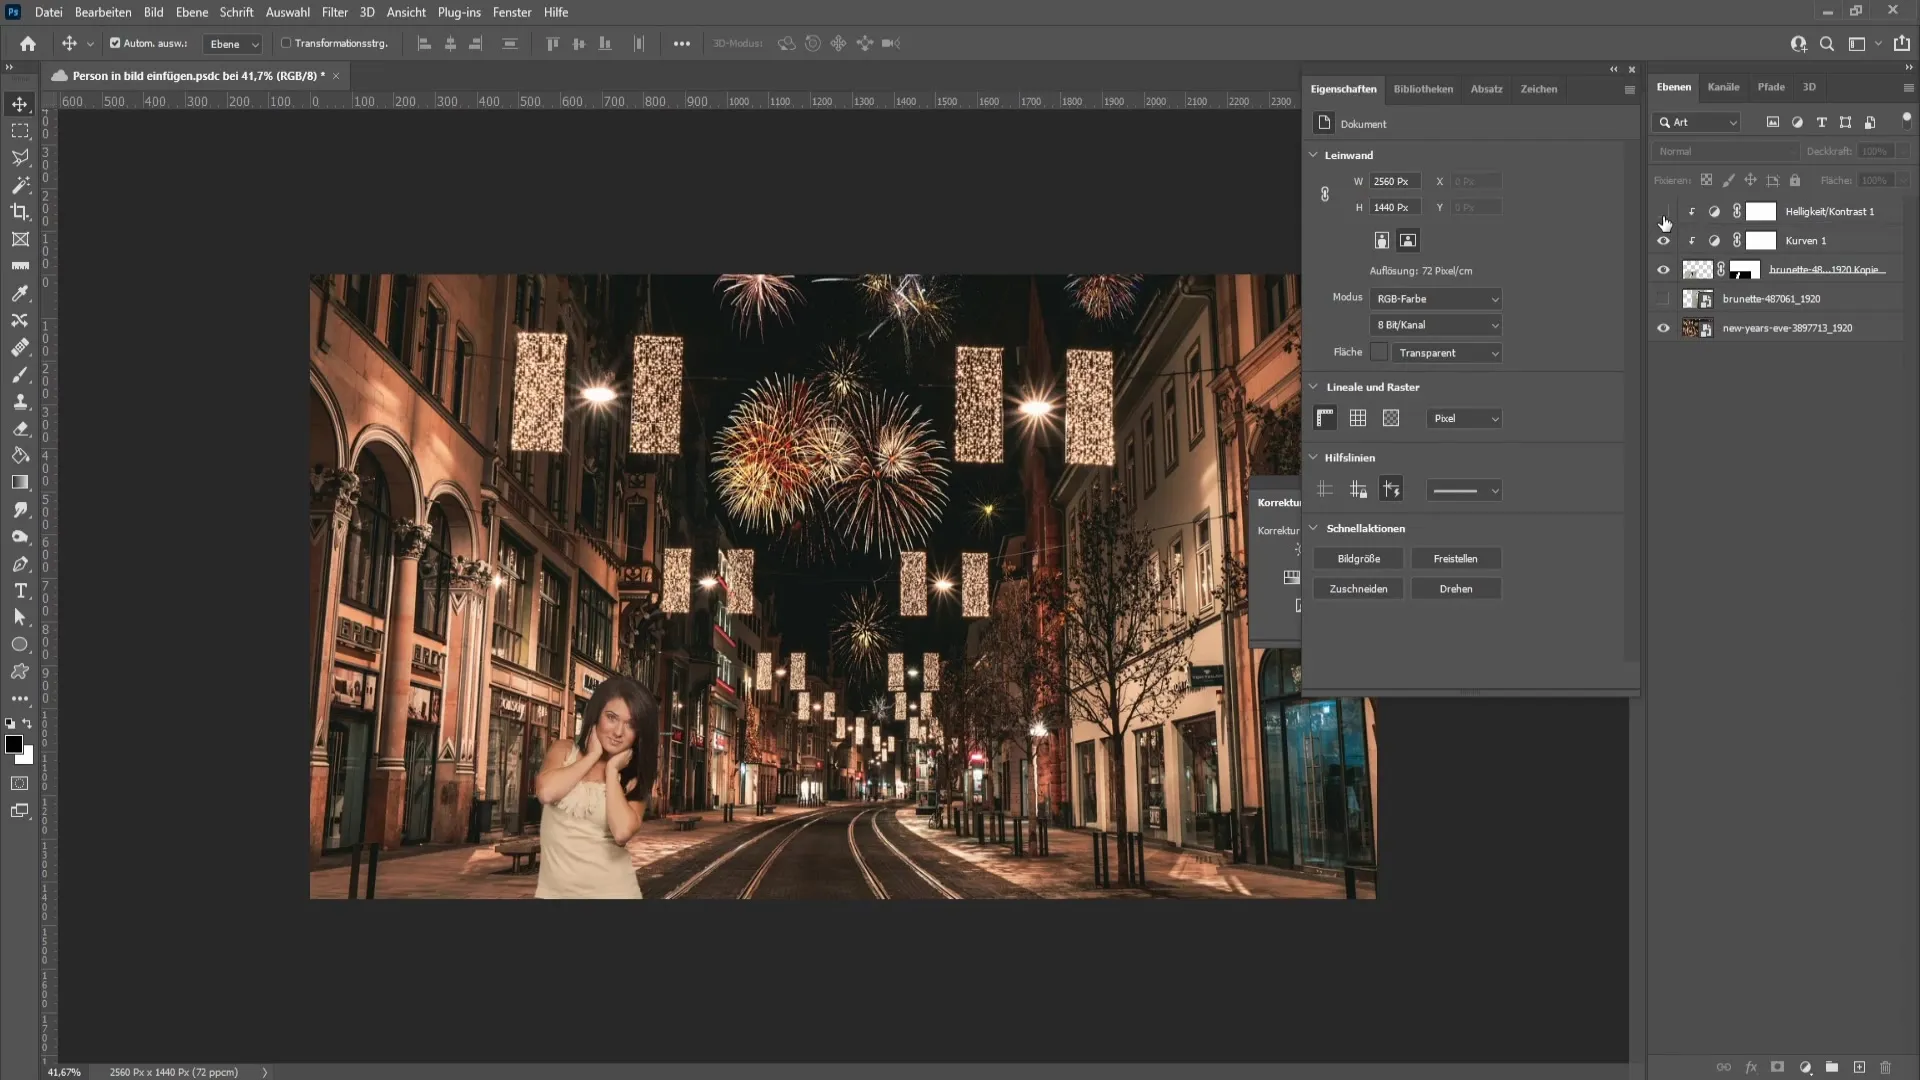
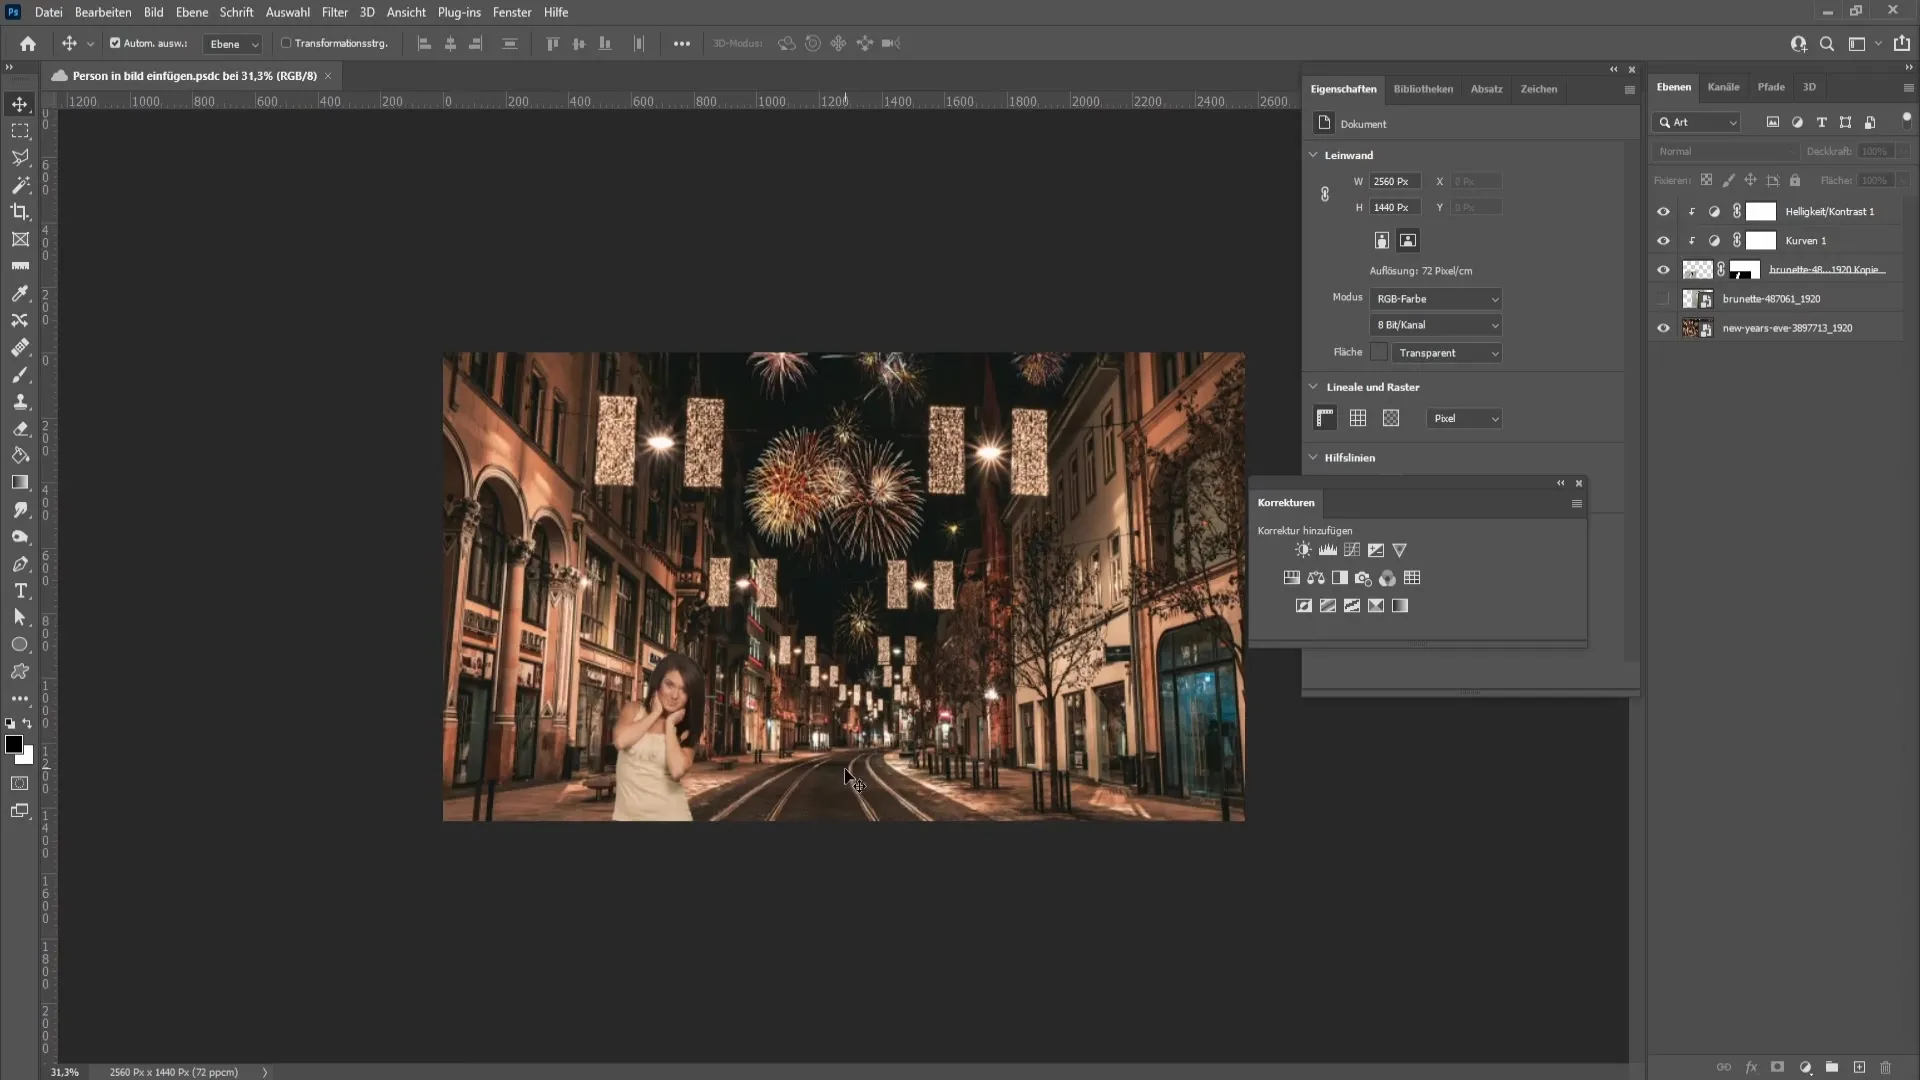
With the right settings, you should soon see how the image appears much more harmonious and the person stands out better.
Summary
In this tutorial, you have learned how to insert a person into an image and adjust hue and brightness to achieve a realistic end result. The steps include selecting the person, applying adjustment layers, and fine-tuning the visual elements to perfect your composition.
Frequently Asked Questions
How can I best make a person cut out in Photoshop?You can use the selection tools in Photoshop to cut out the person. Use the "Subject" feature and then edit the mask to achieve precise results.
What is a clipping mask and what is it used for?A clipping mask allows you to apply adjustments only to the underlying layer without affecting other parts of the image.
How can I adjust the colors to match the image?Use the curves to select dark and light tones from the image and adjust the adjustments to match the inserted person.
What should I consider when placing the person in the image?It is more aesthetically pleasing if the person is not exactly in the center of the image, but slightly offset to create a dynamic composition.
How can I change the opacity of the adjustments?In the properties of the adjustment layers used, you can adjust the opacity to influence the strength of the corrections.


