In this tutorial, I will show you how to change colors and recolor specific areas in Photoshop. You will learn two techniques that allow you to customize and be creative with your graphics and images. Whether you are making minor adjustments or want to make drastic color changes, these steps will help you achieve the desired results.
Main Takeaways
- There are various methods in Photoshop to adjust colors and recolor areas.
- Using layer masks allows for precise adjustments of color changes.
- Choosing the right tools allows you to work in a targeted and effective manner.
Step-by-Step Guide
Introduction to Color Changes
First, open your image in Photoshop. Today, I'm working with an image of yellow pants and a green hat. These examples will help you understand the techniques presented better.
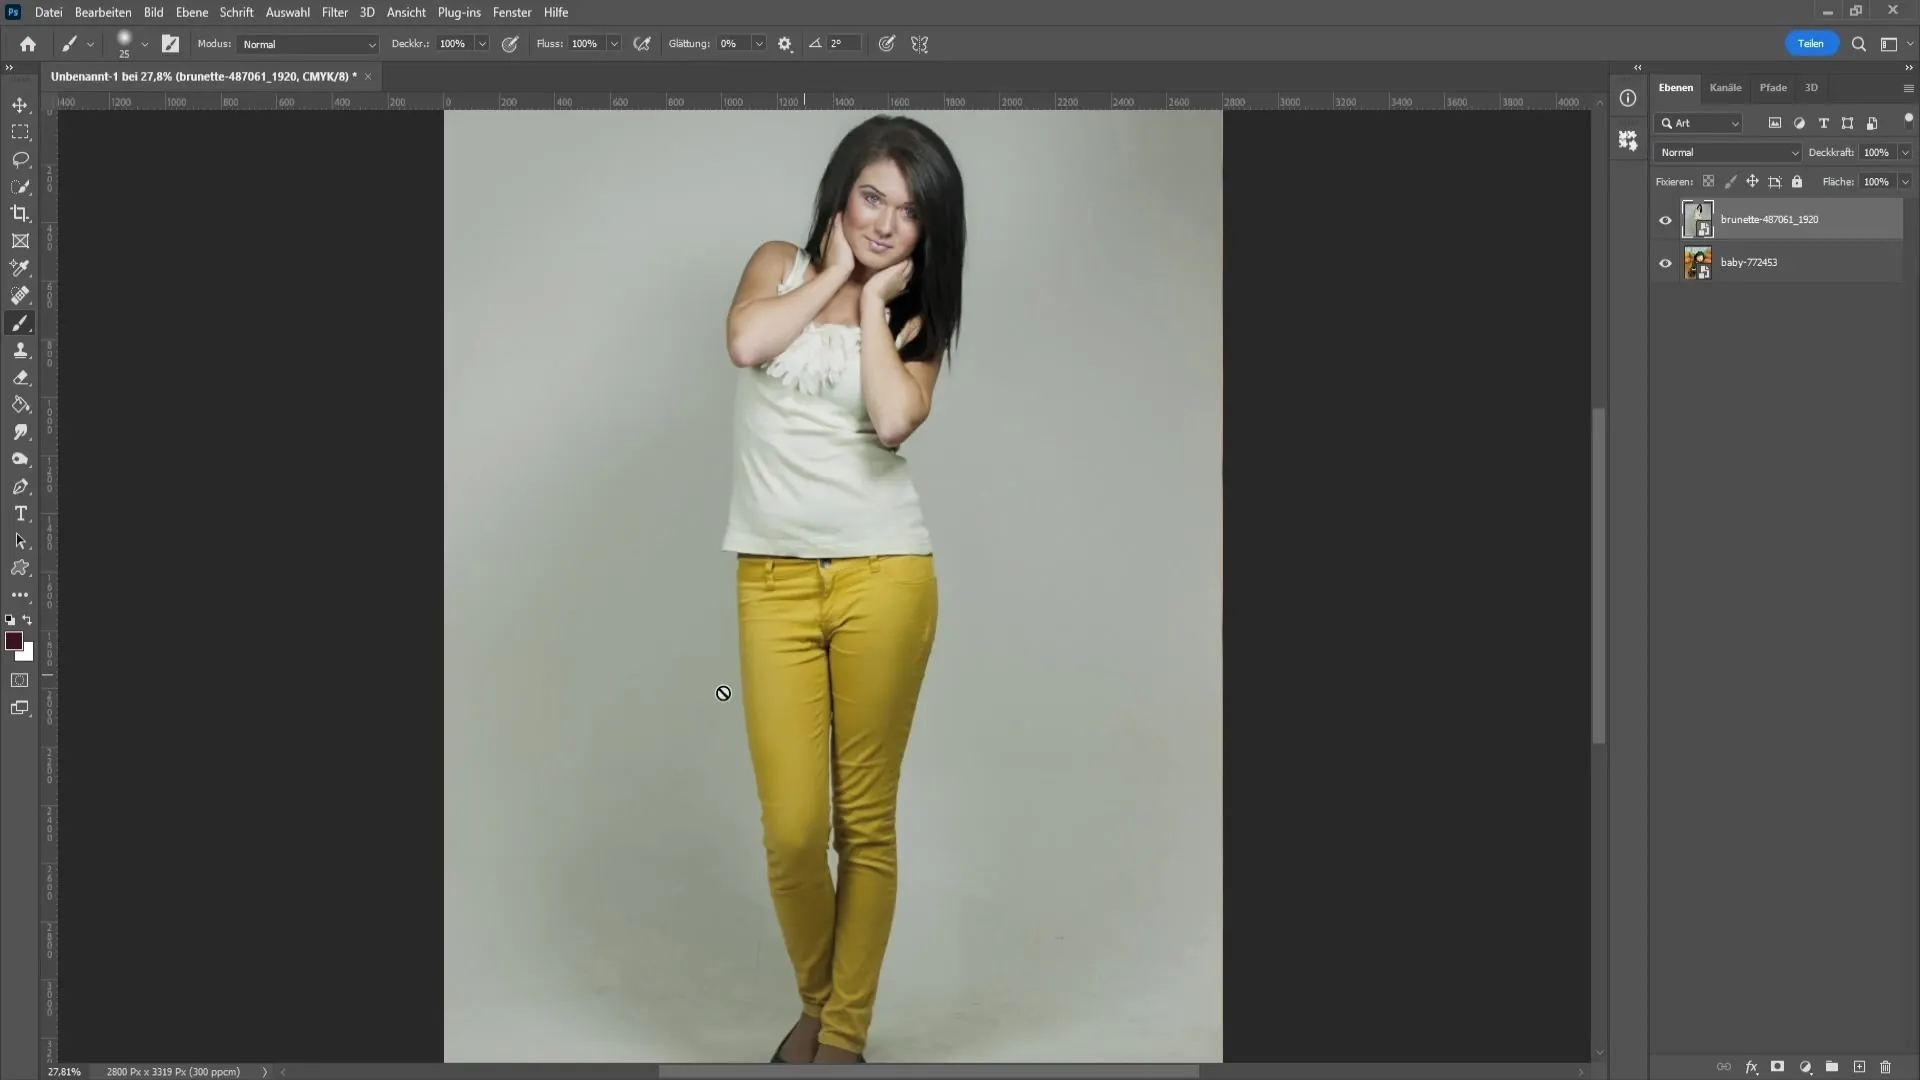
First Method: Using Color Range and Hue/Saturation
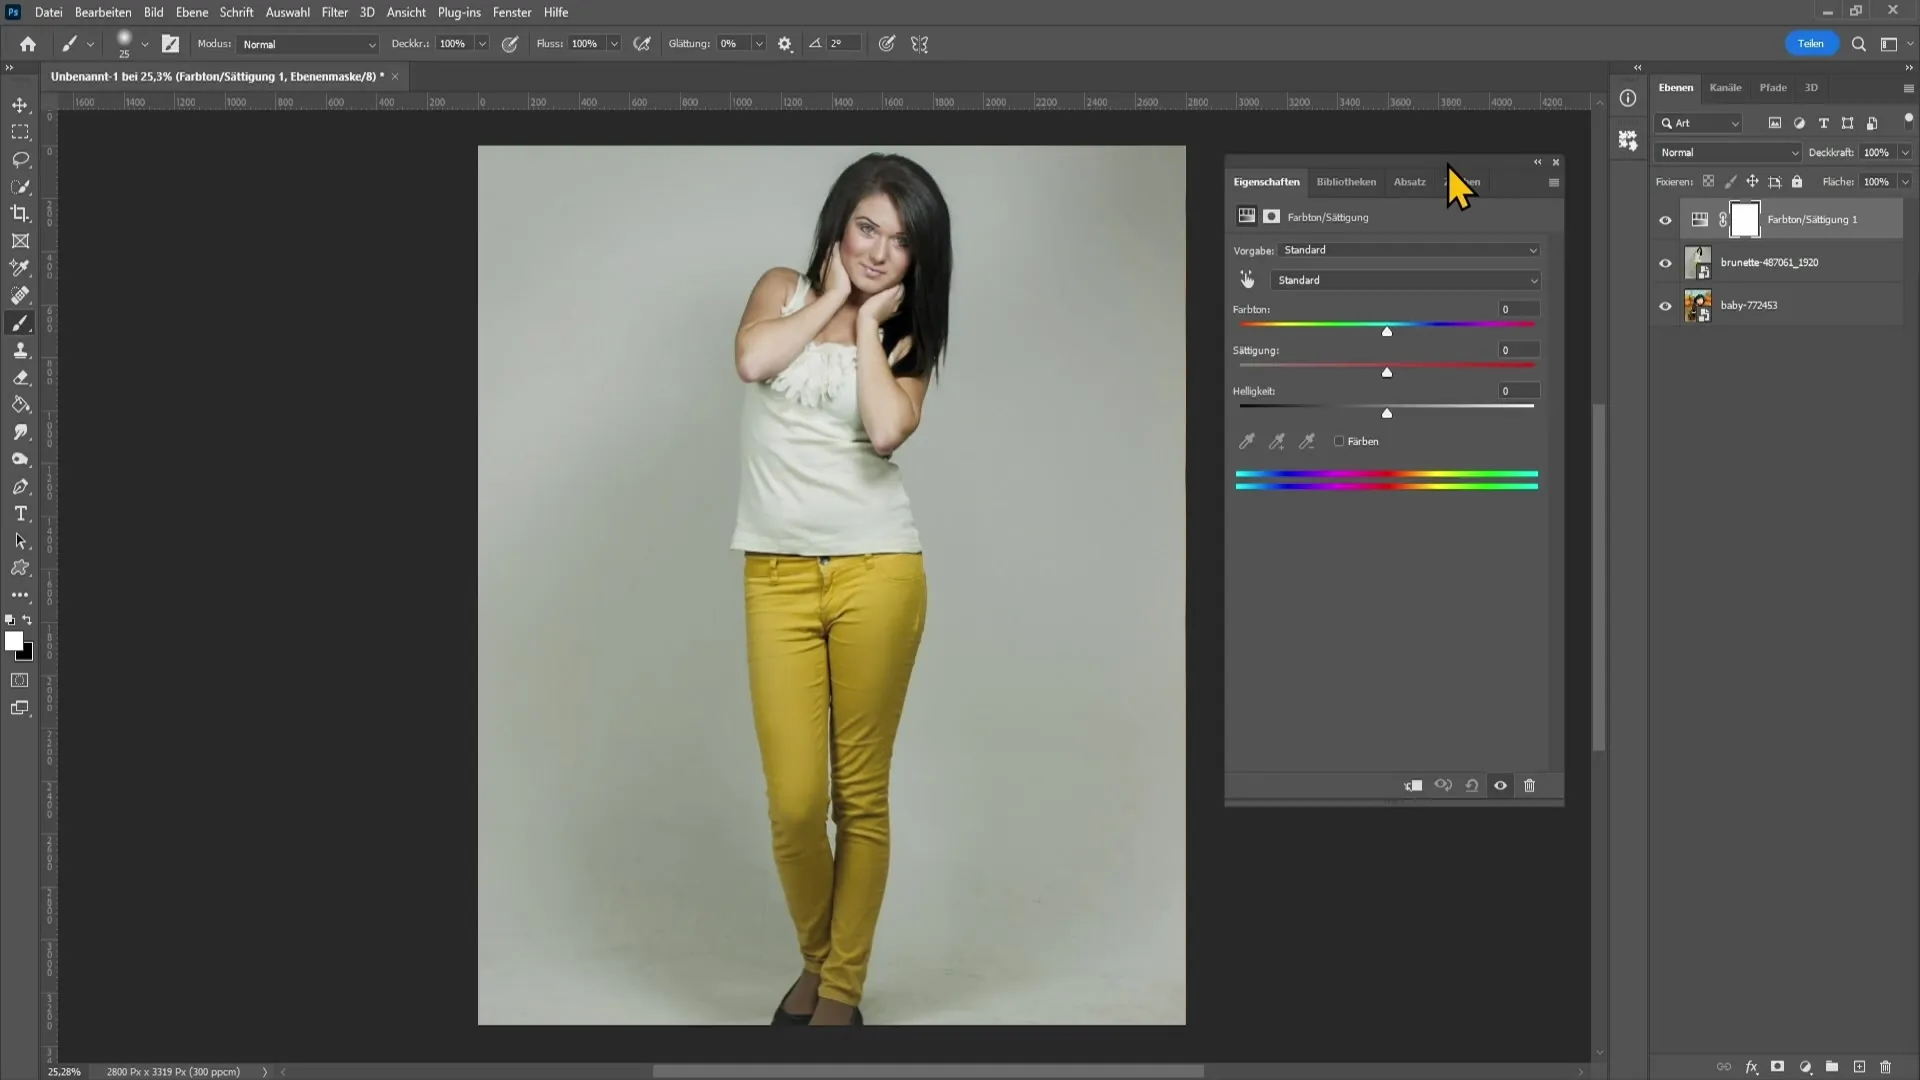
To change a color, go to the adjustments in the bottom right corner. Select the Hue/Saturation adjustment here. This adjustment is extremely versatile as you can select specific color ranges you want to change.
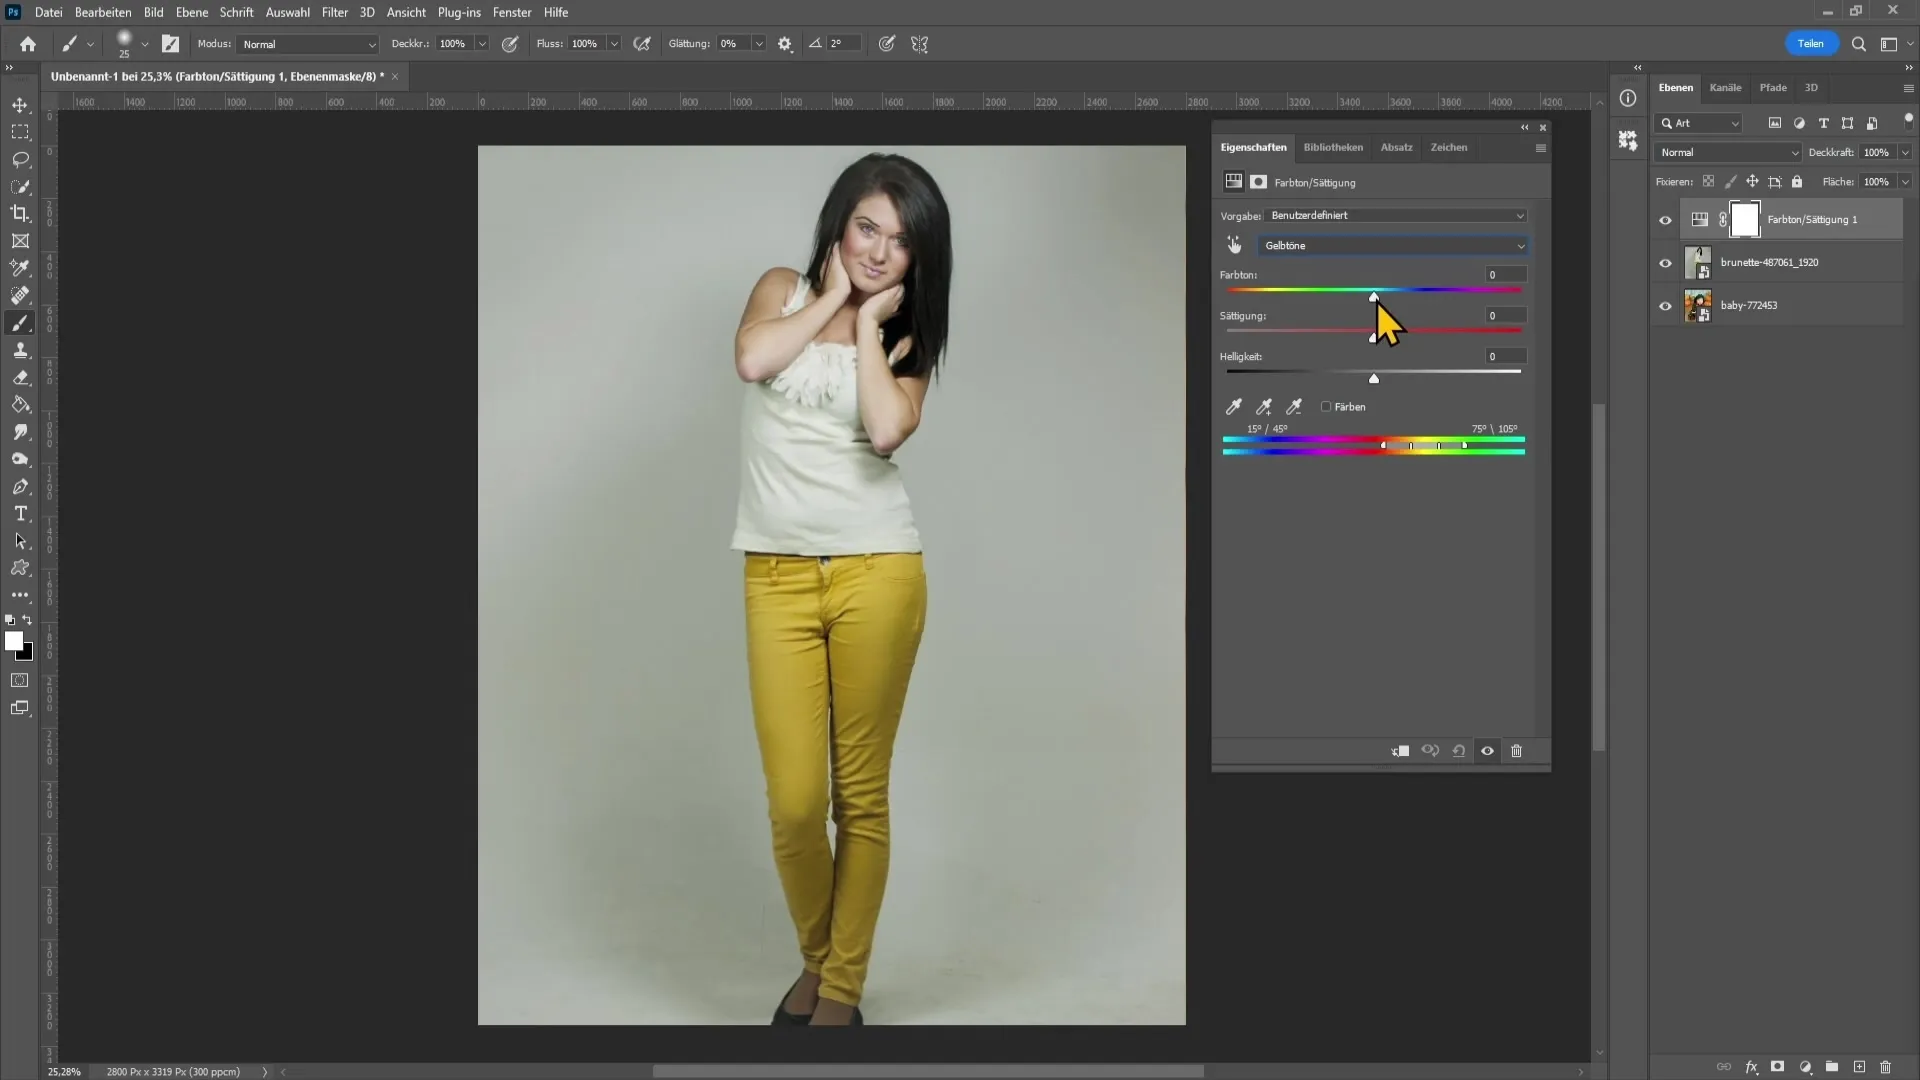
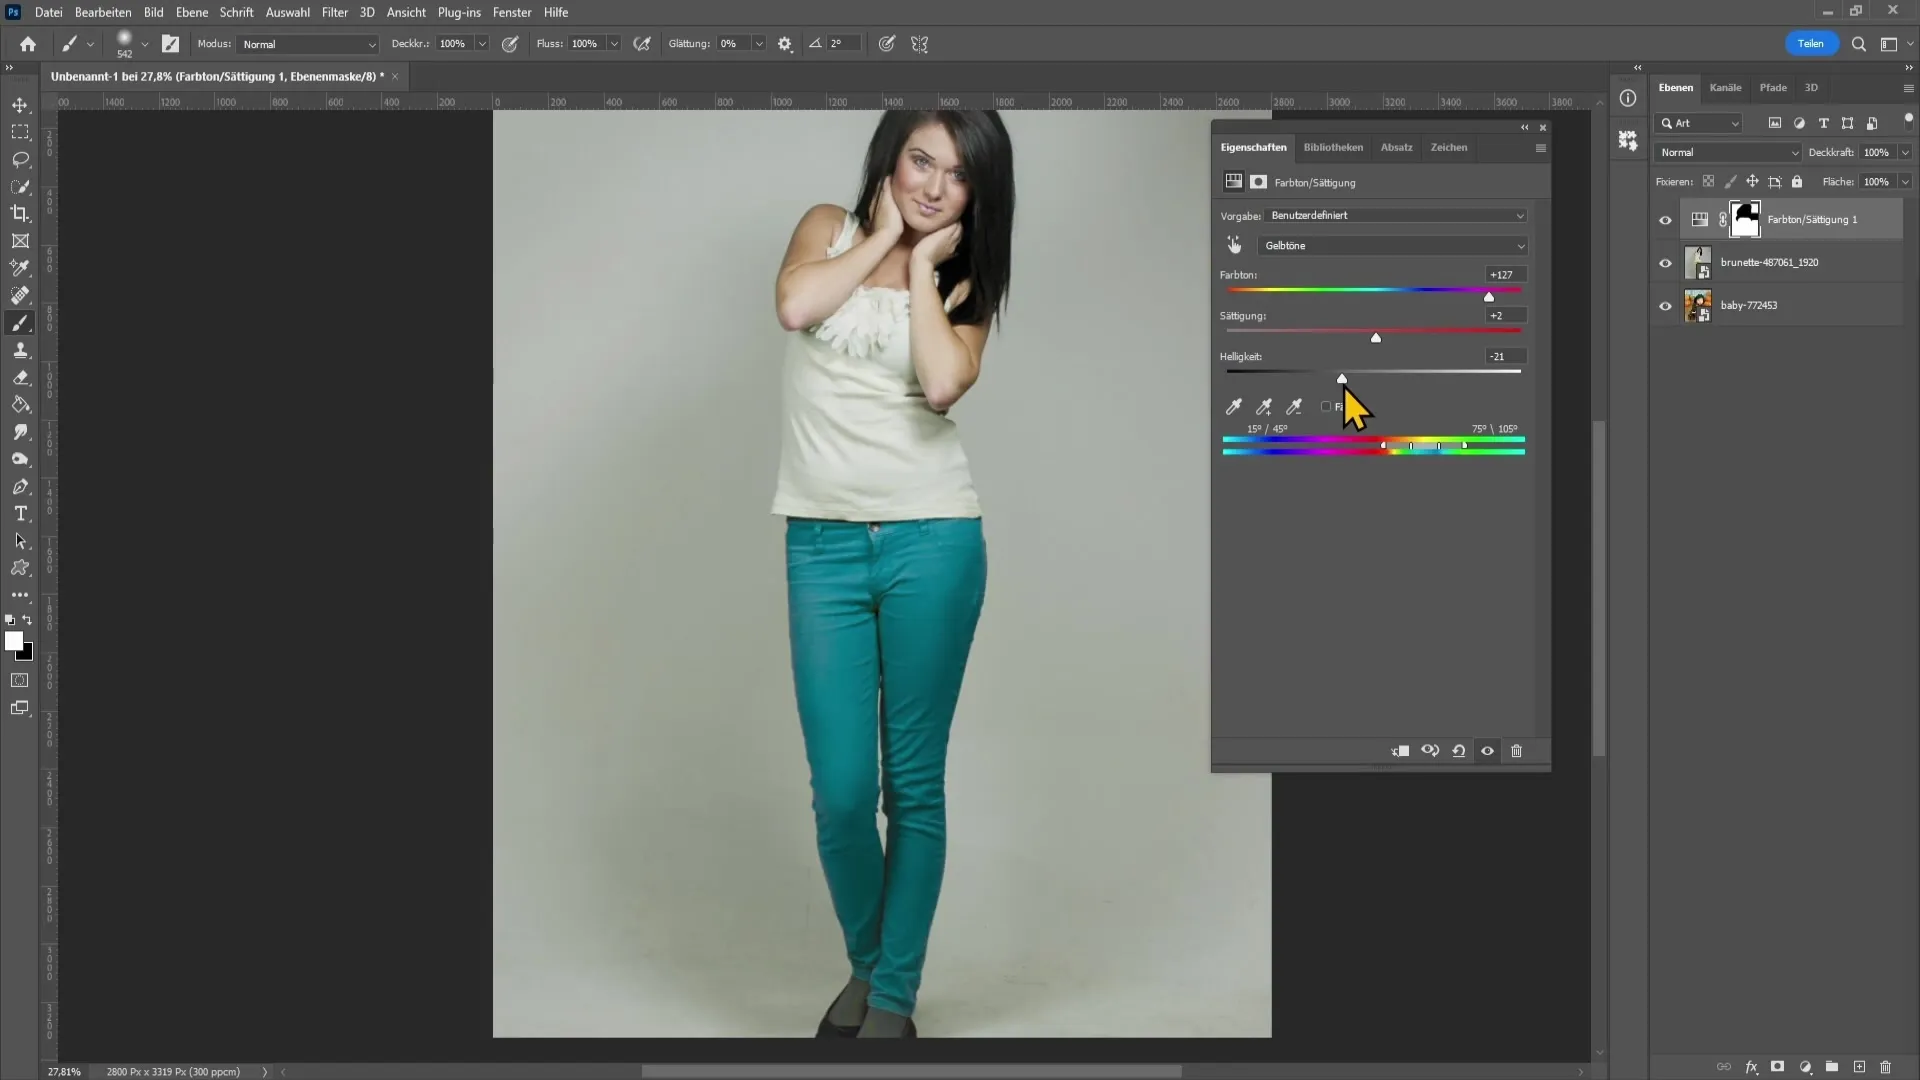
In our example, you want to adjust the yellow tones. Drag the color range slider and observe how the colors of the pants change. However, be careful that other yellowish areas, such as the face or hands, are also affected by this adjustment.
Using Layer Mask for Fine Adjustments
To correct these unintended color changes, you can use a layer mask. Grab a brush with a black foreground color and very low hardness. Carefully paint over the areas you do not want to recolor.
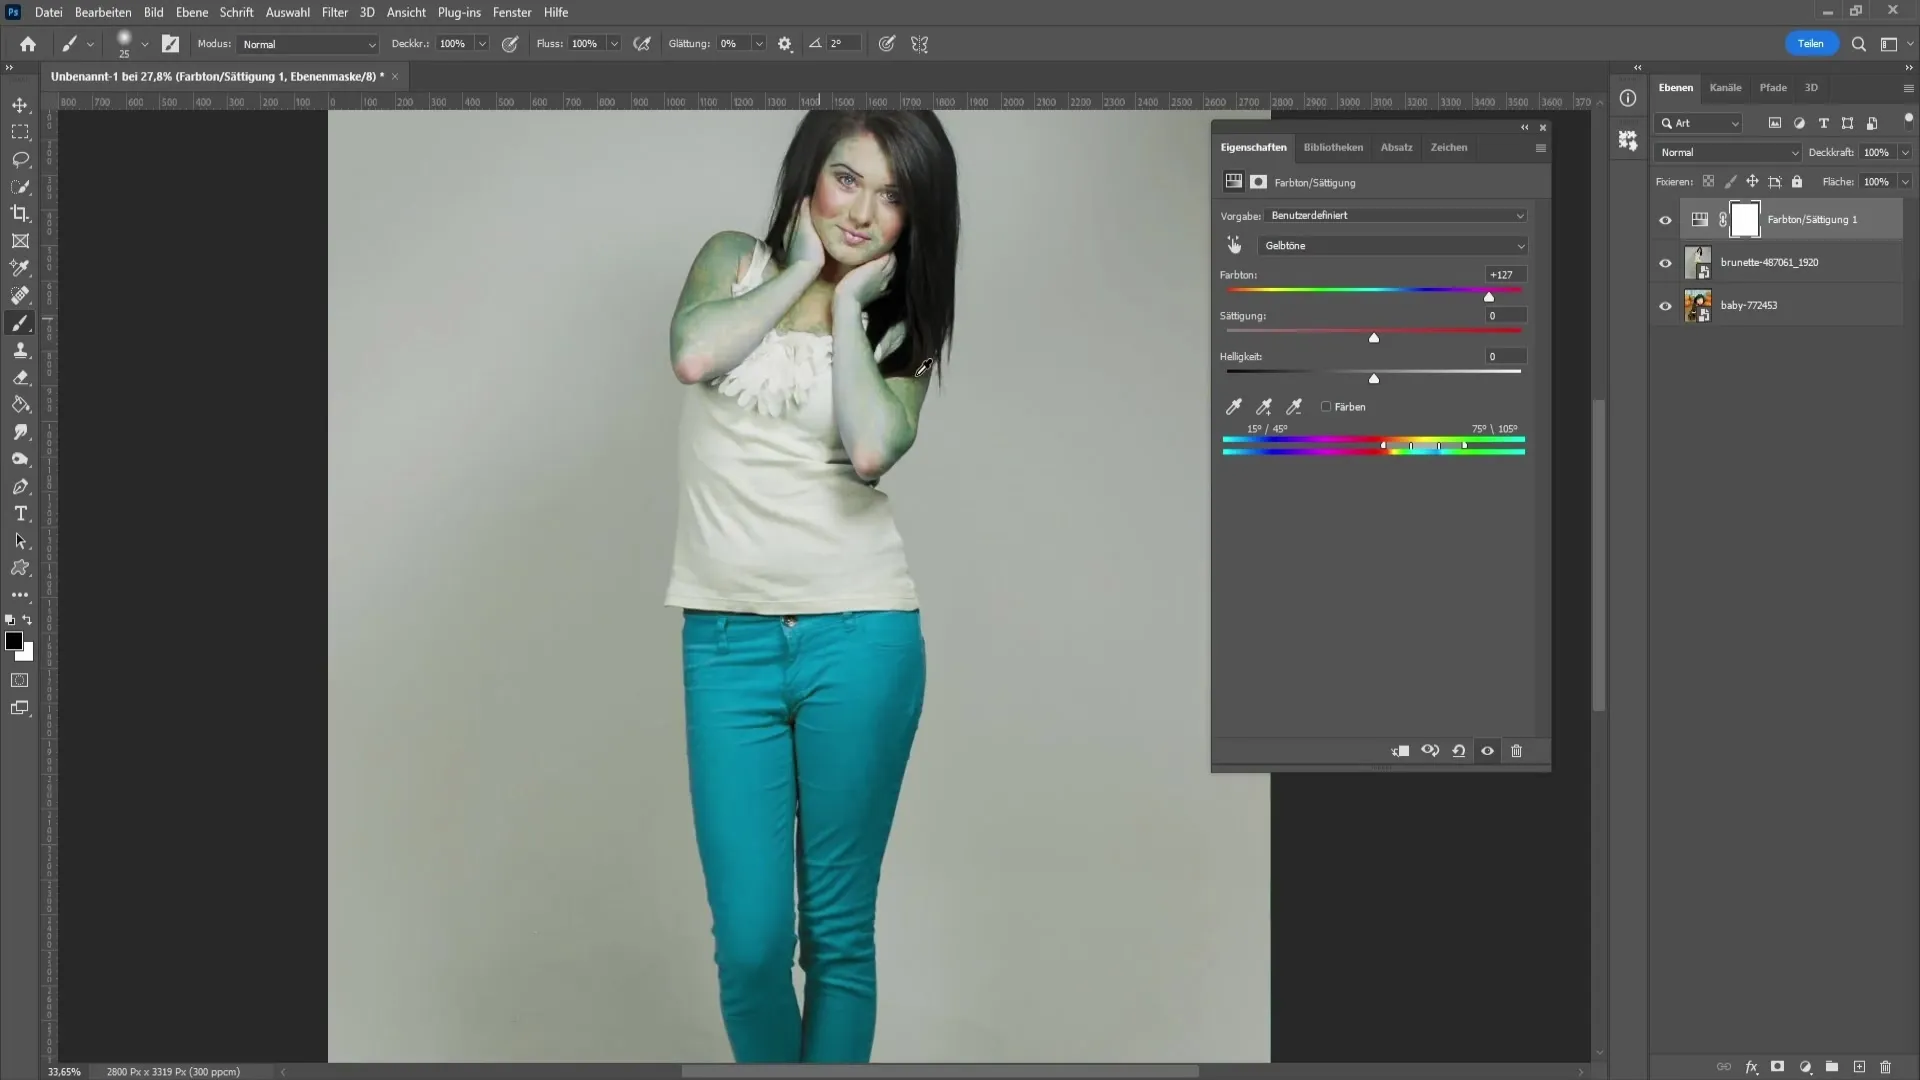
If you accidentally remove too much, simply switch to the white foreground color and paint over again to restore the original color.
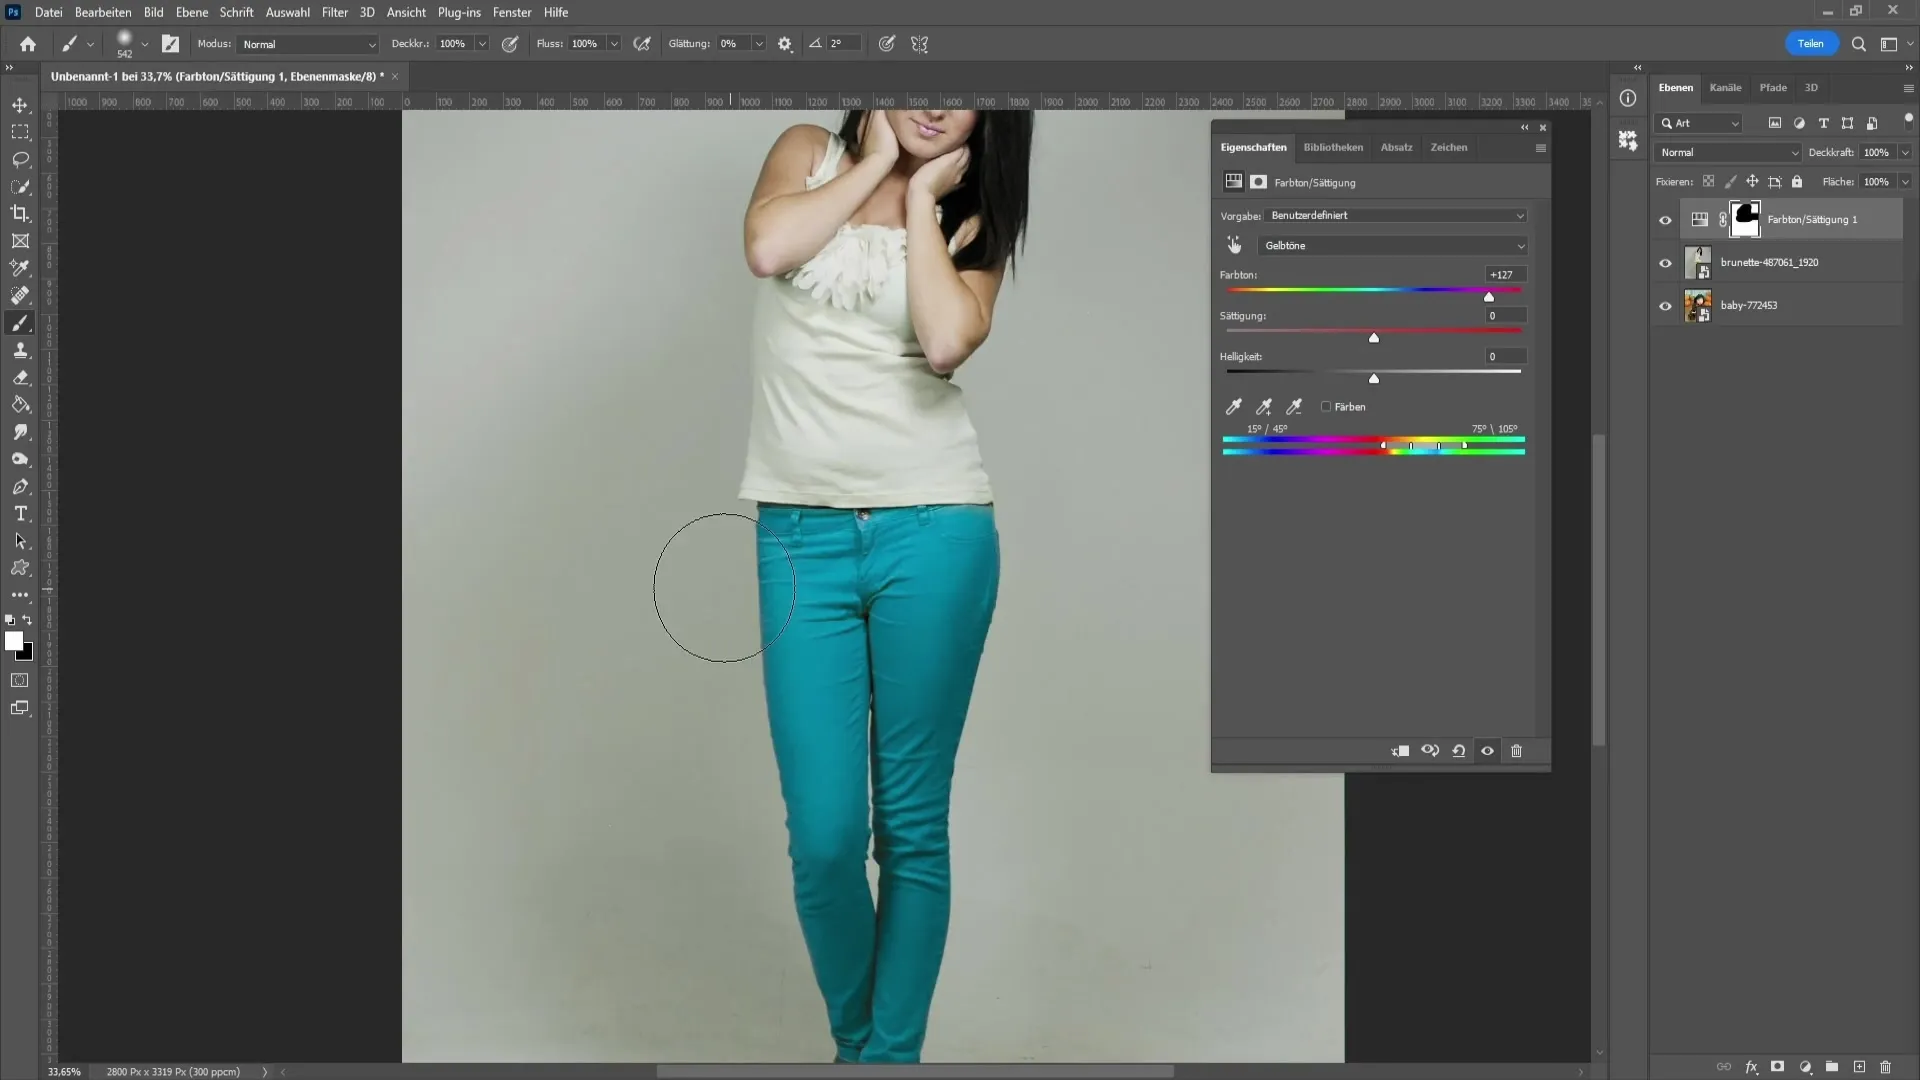
Additionally, you can further adjust the saturation or convert the entire color to grayscale. You have the ability to experiment with different color tones and brightness to achieve a perfect result.
Second Method: Color Changing in Complex Colors
Now, look at the example with the green hat. If you use the same method as above here, you will find that it does not work as well. This is because different color tones are influenced that may not be desired.
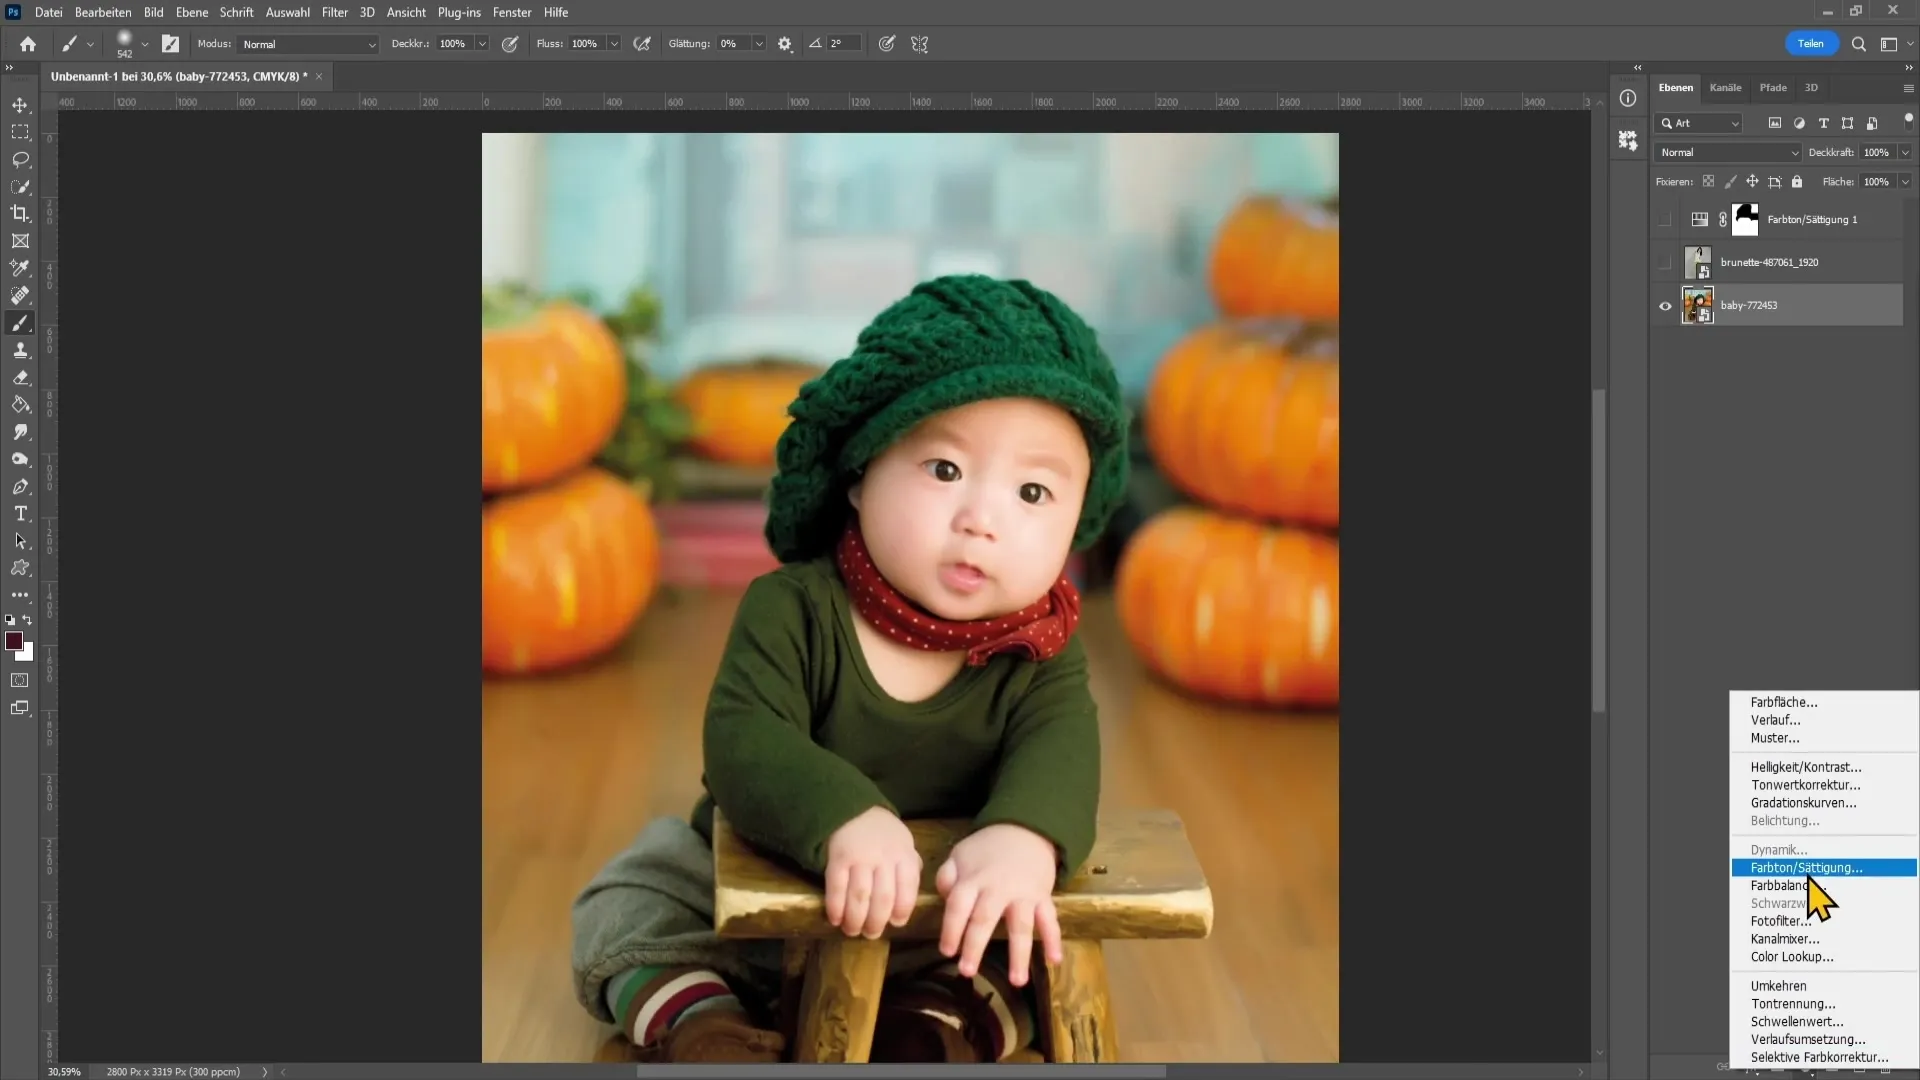
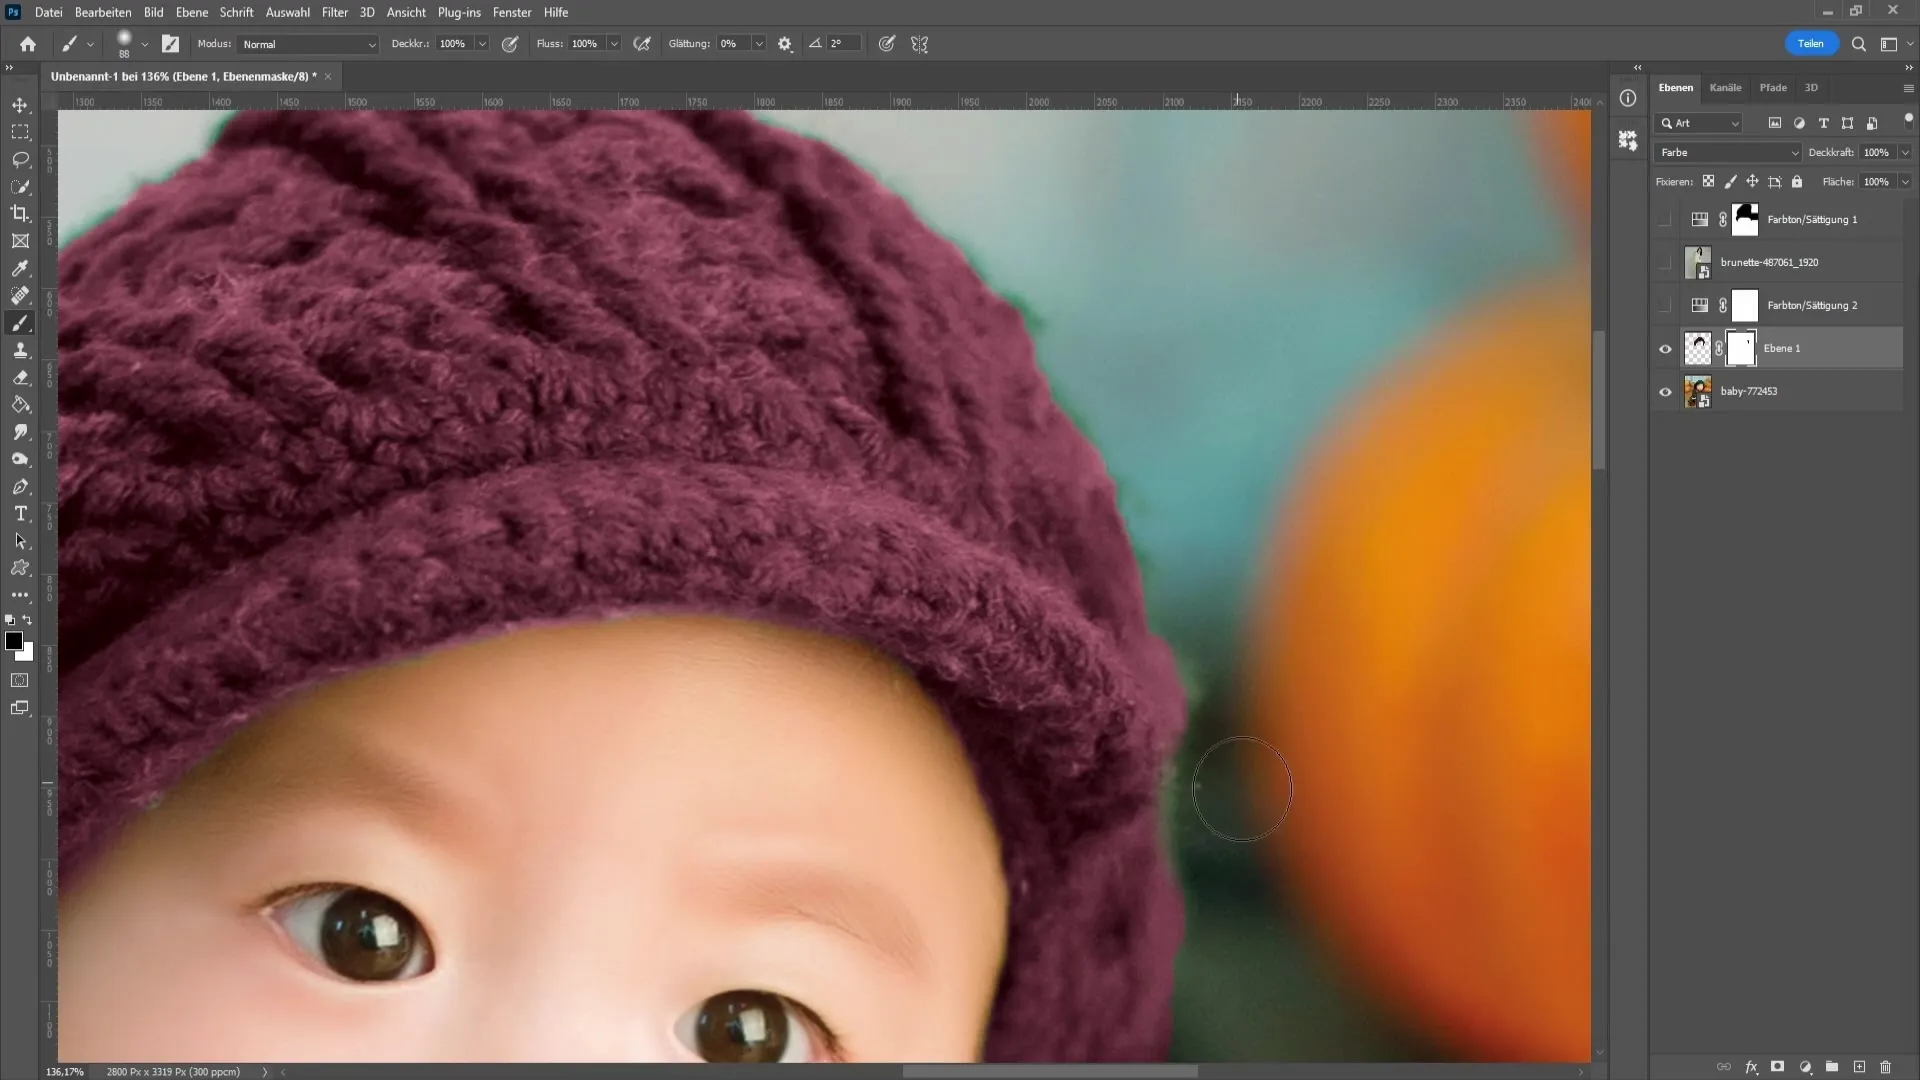
In such cases, I recommend a different approach: Create a new layer and set it to "Color." Choose a color of your choice, for example, a dark red tone for the hat.
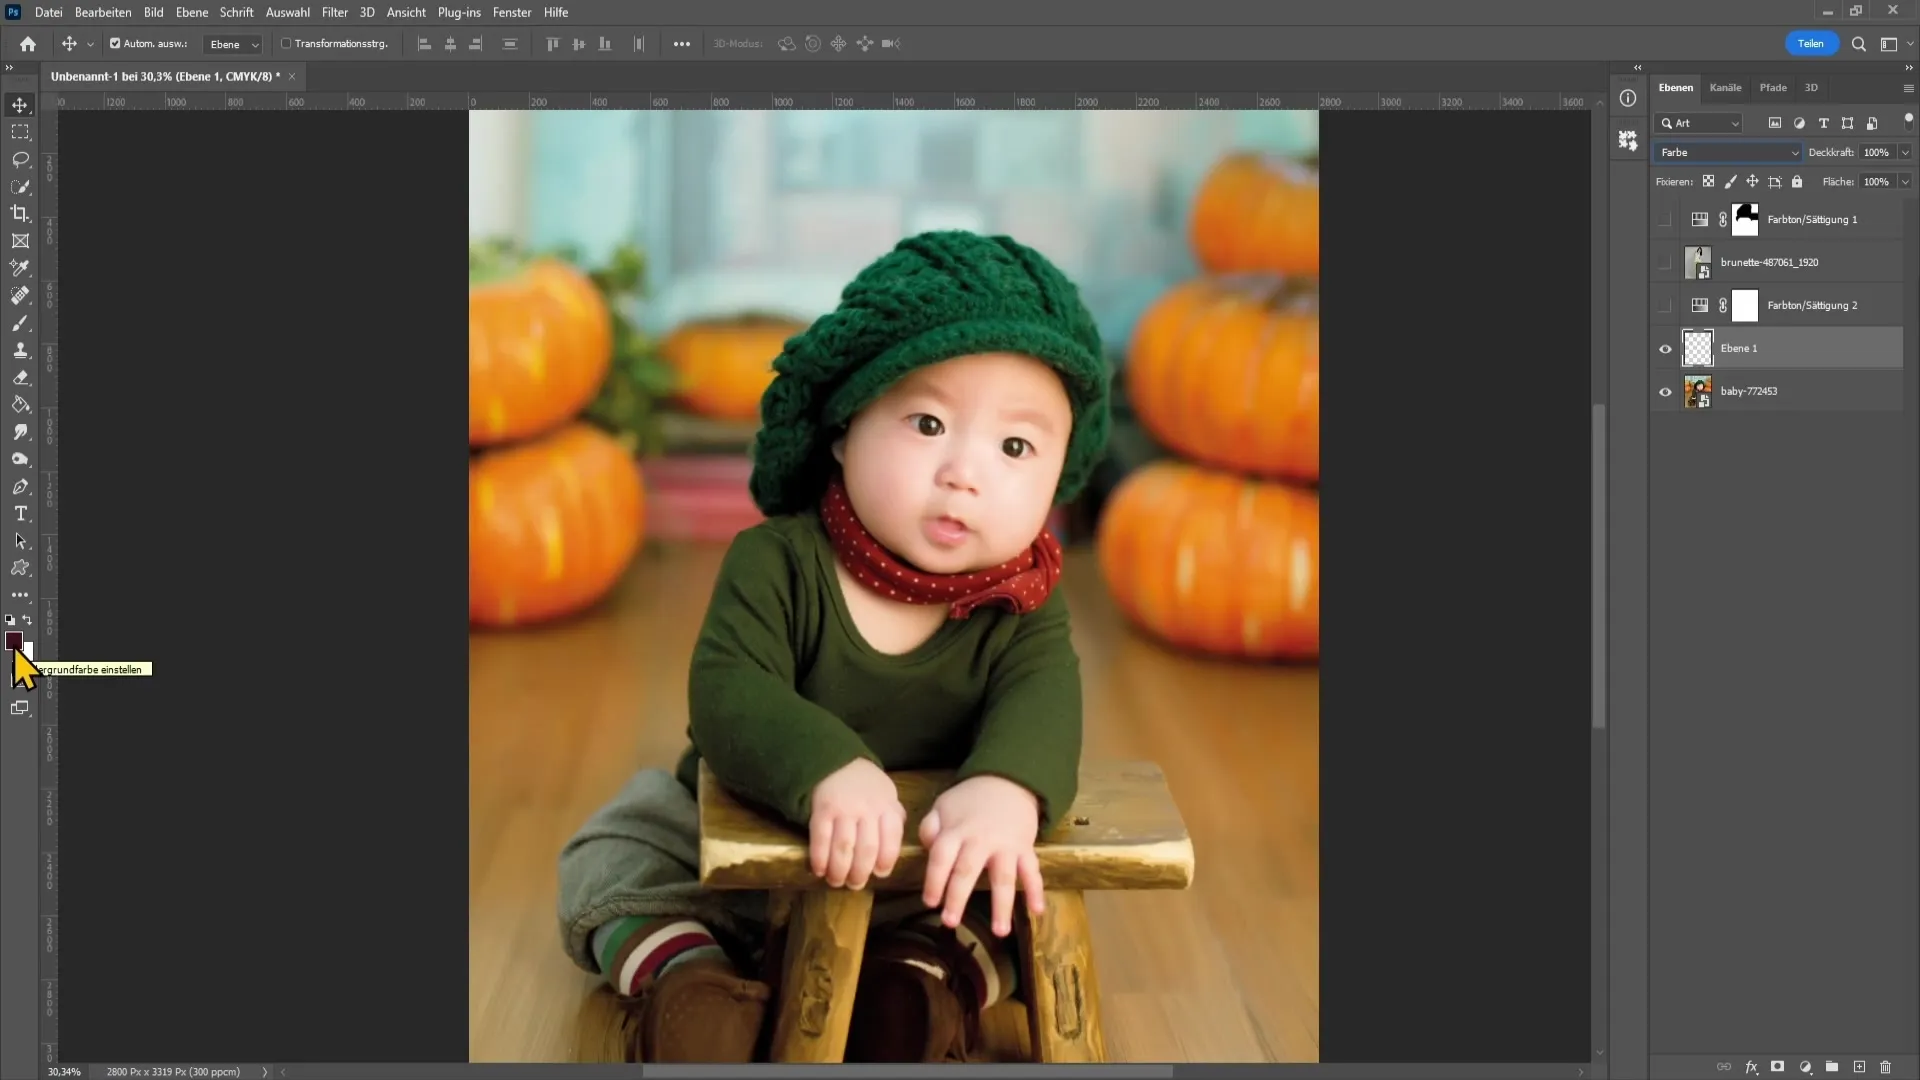
With a brush, you can then color the hat. If you choose too low hardness, the result may be inaccurate, so make sure to select an appropriate hardness for your brush.
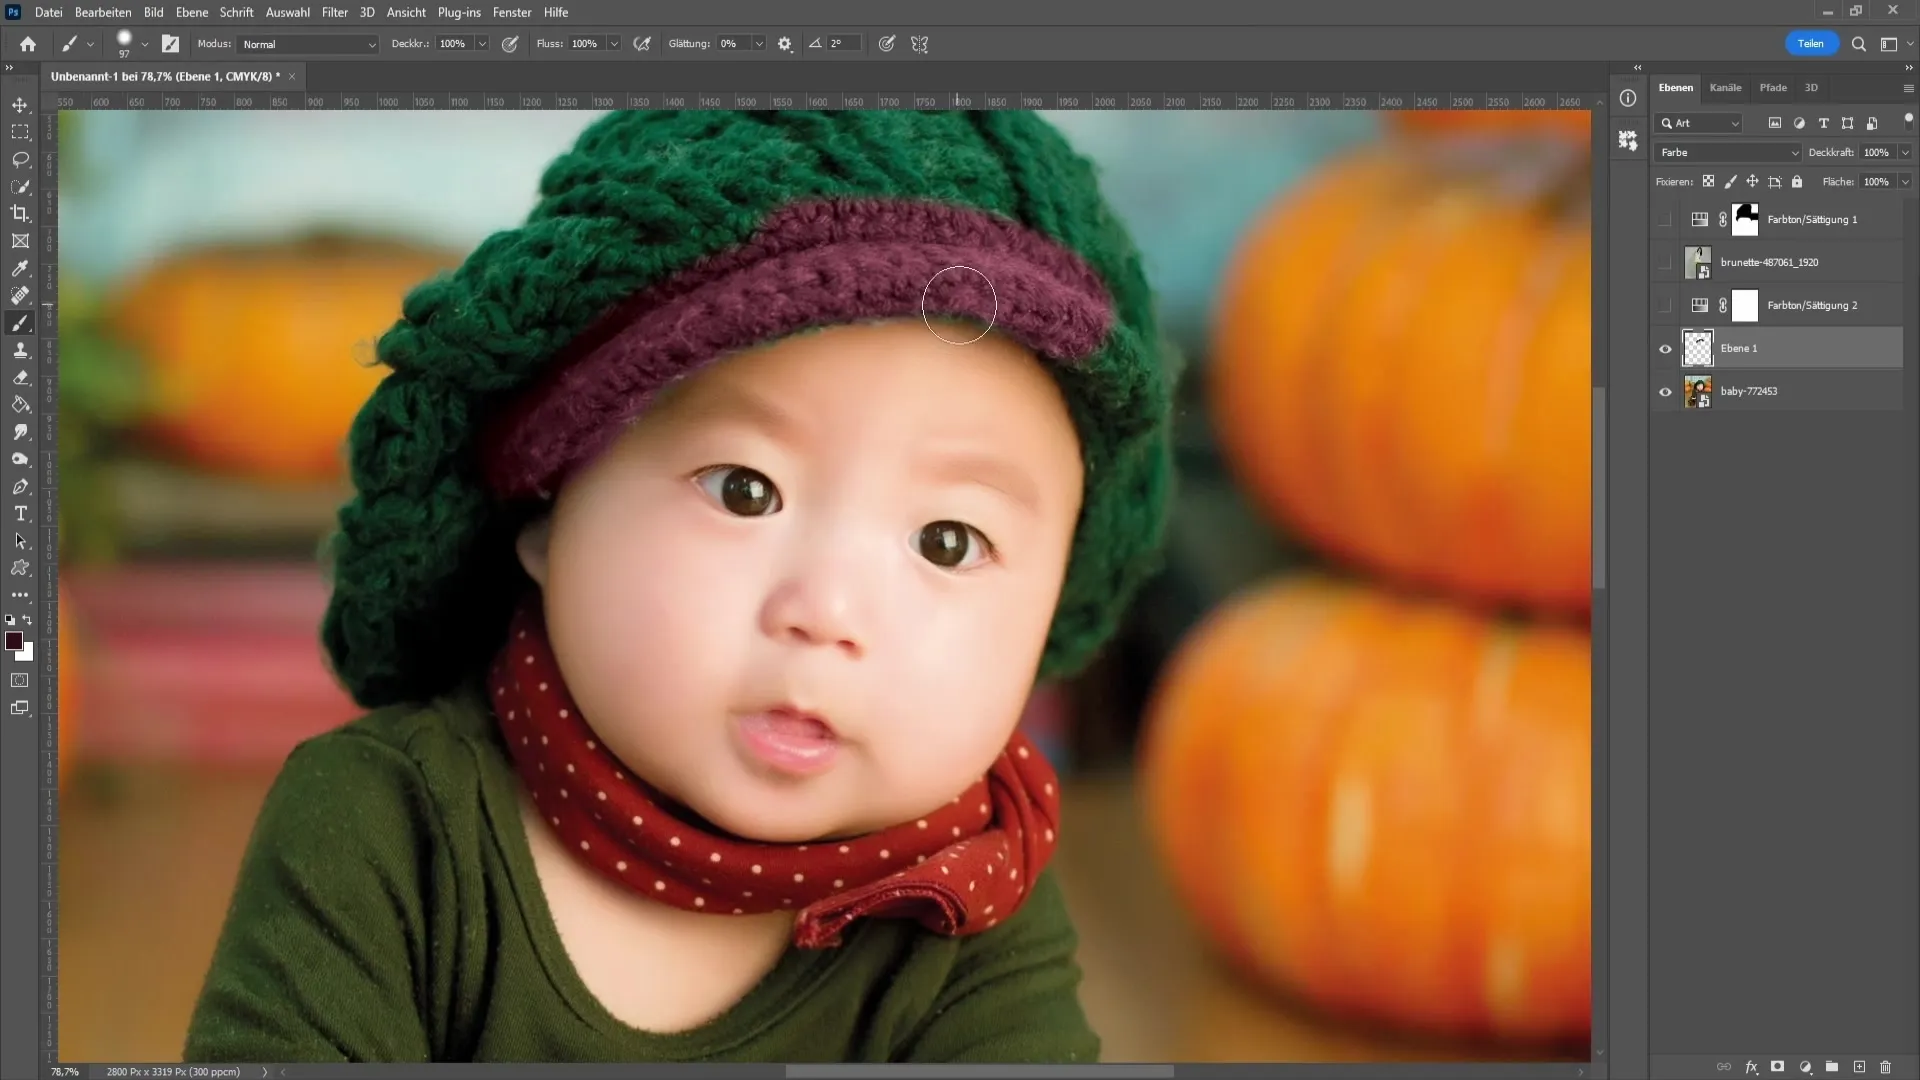
Using Selection
To simplify the color change, you can use the quick selection tool to create a selection around the hat. By holding the Alt key, you can remove areas you do not want to recolor. This technique significantly speeds up the process.
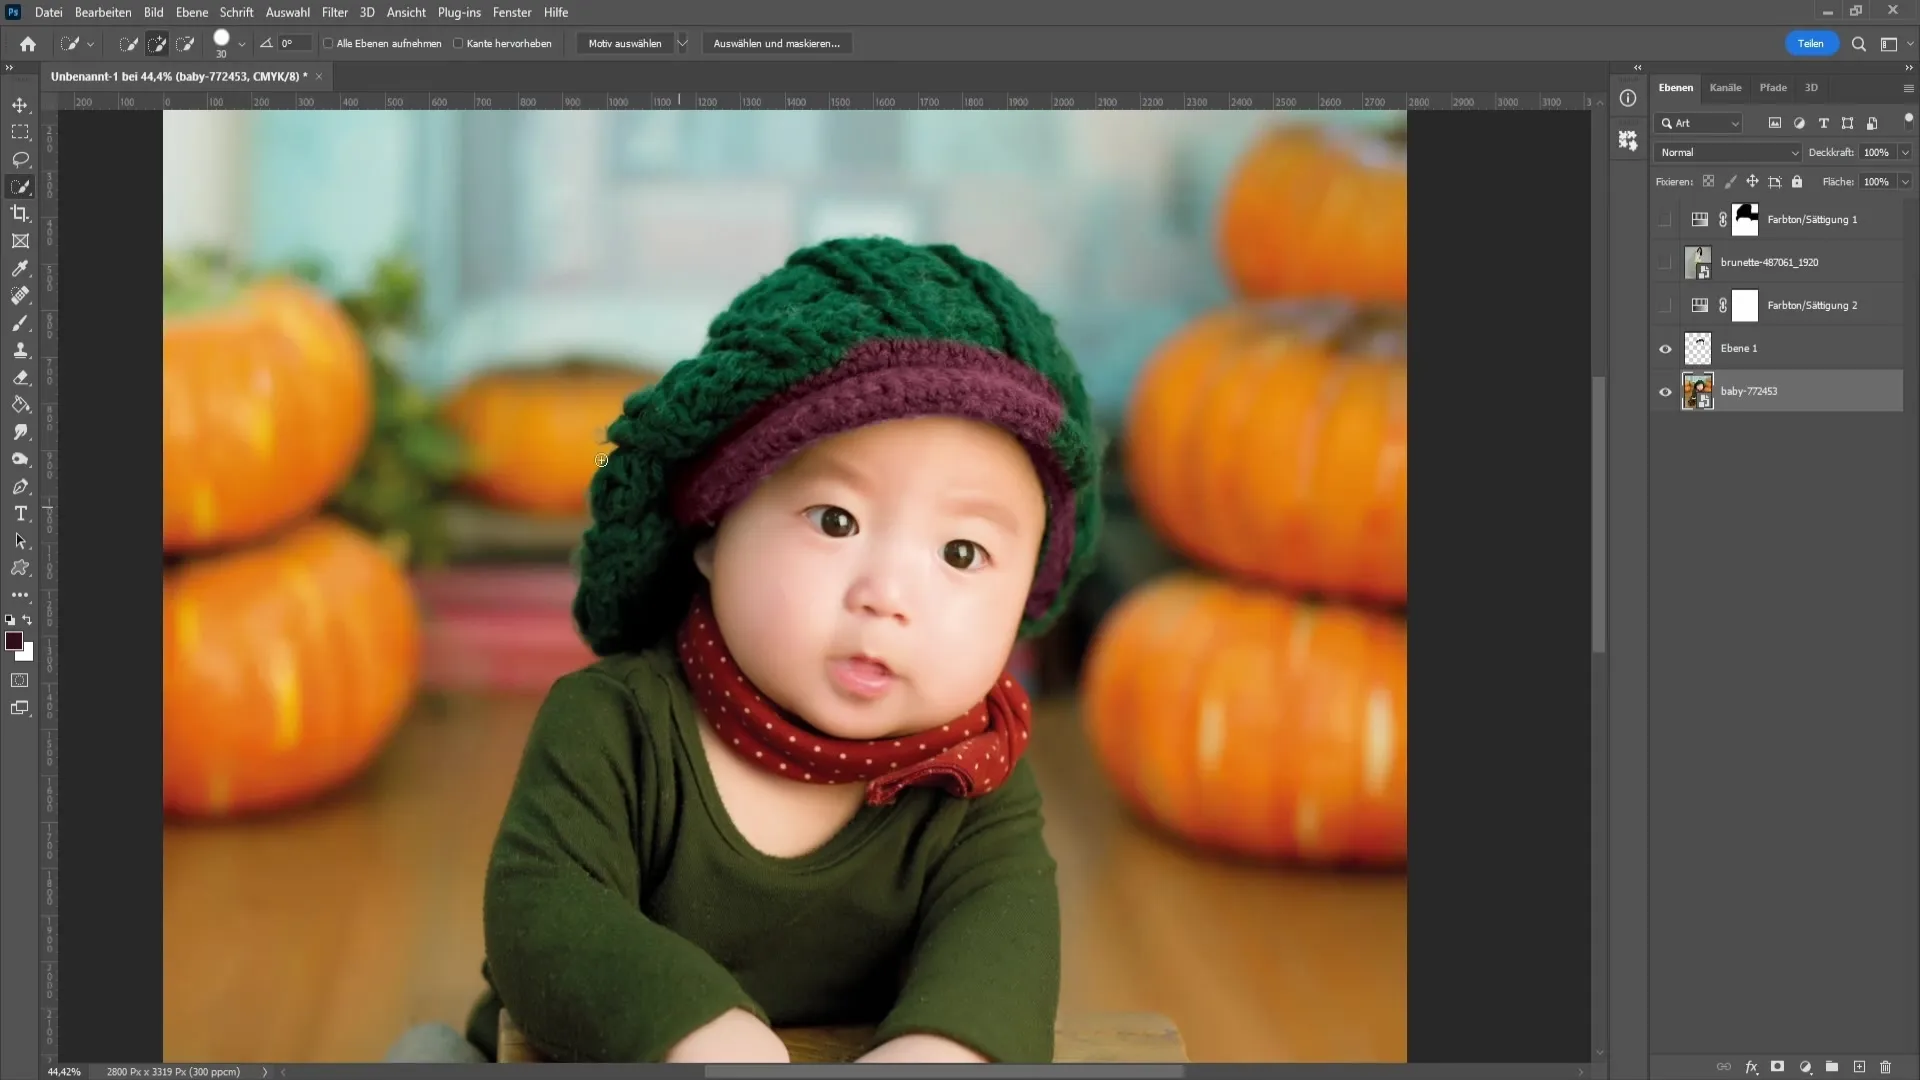
Once you have made your selection, return to the empty layer and paint over it with the brush. Then press Control and D to deselect the selection.
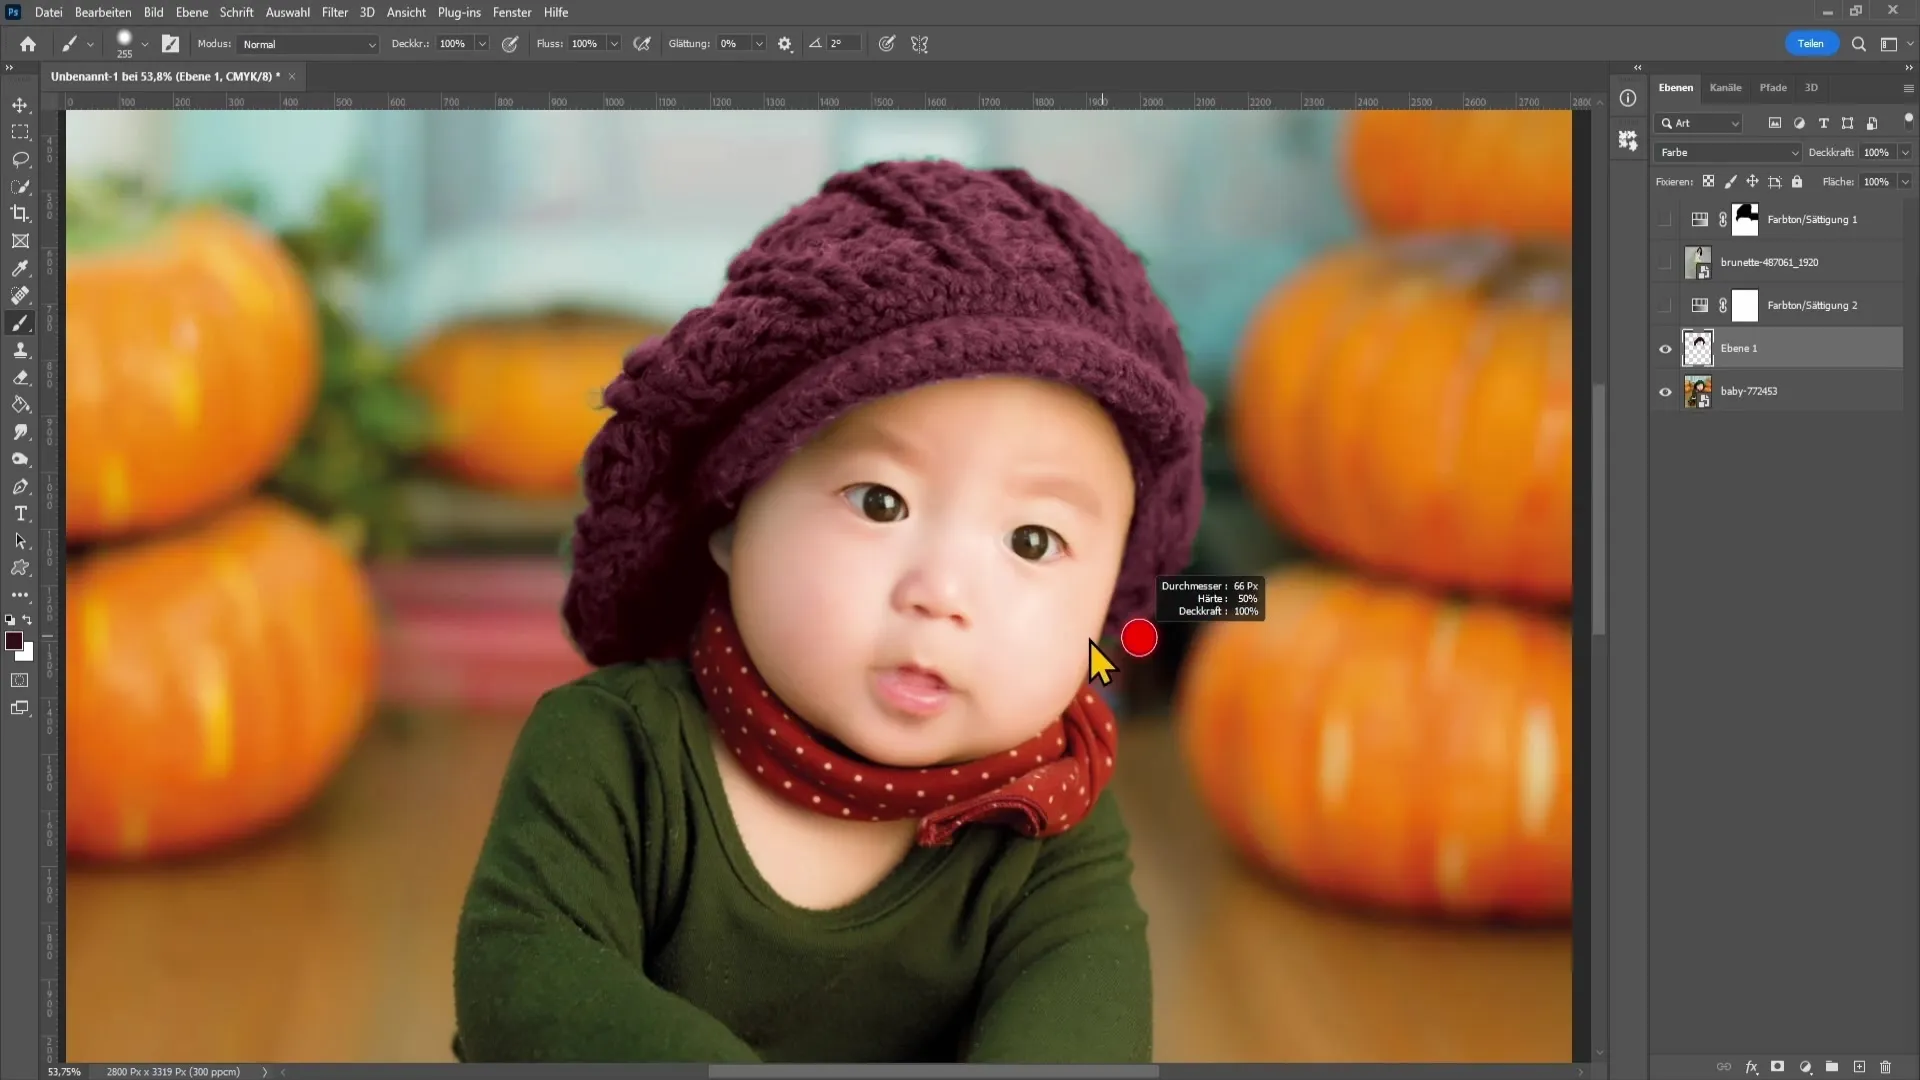
Fine-tuning the Color Change
Now zoom in to optimize small details and ensure that everything looks good. Often, small areas may go beyond the intended range, and it may be necessary to refine them to achieve a pleasing result.
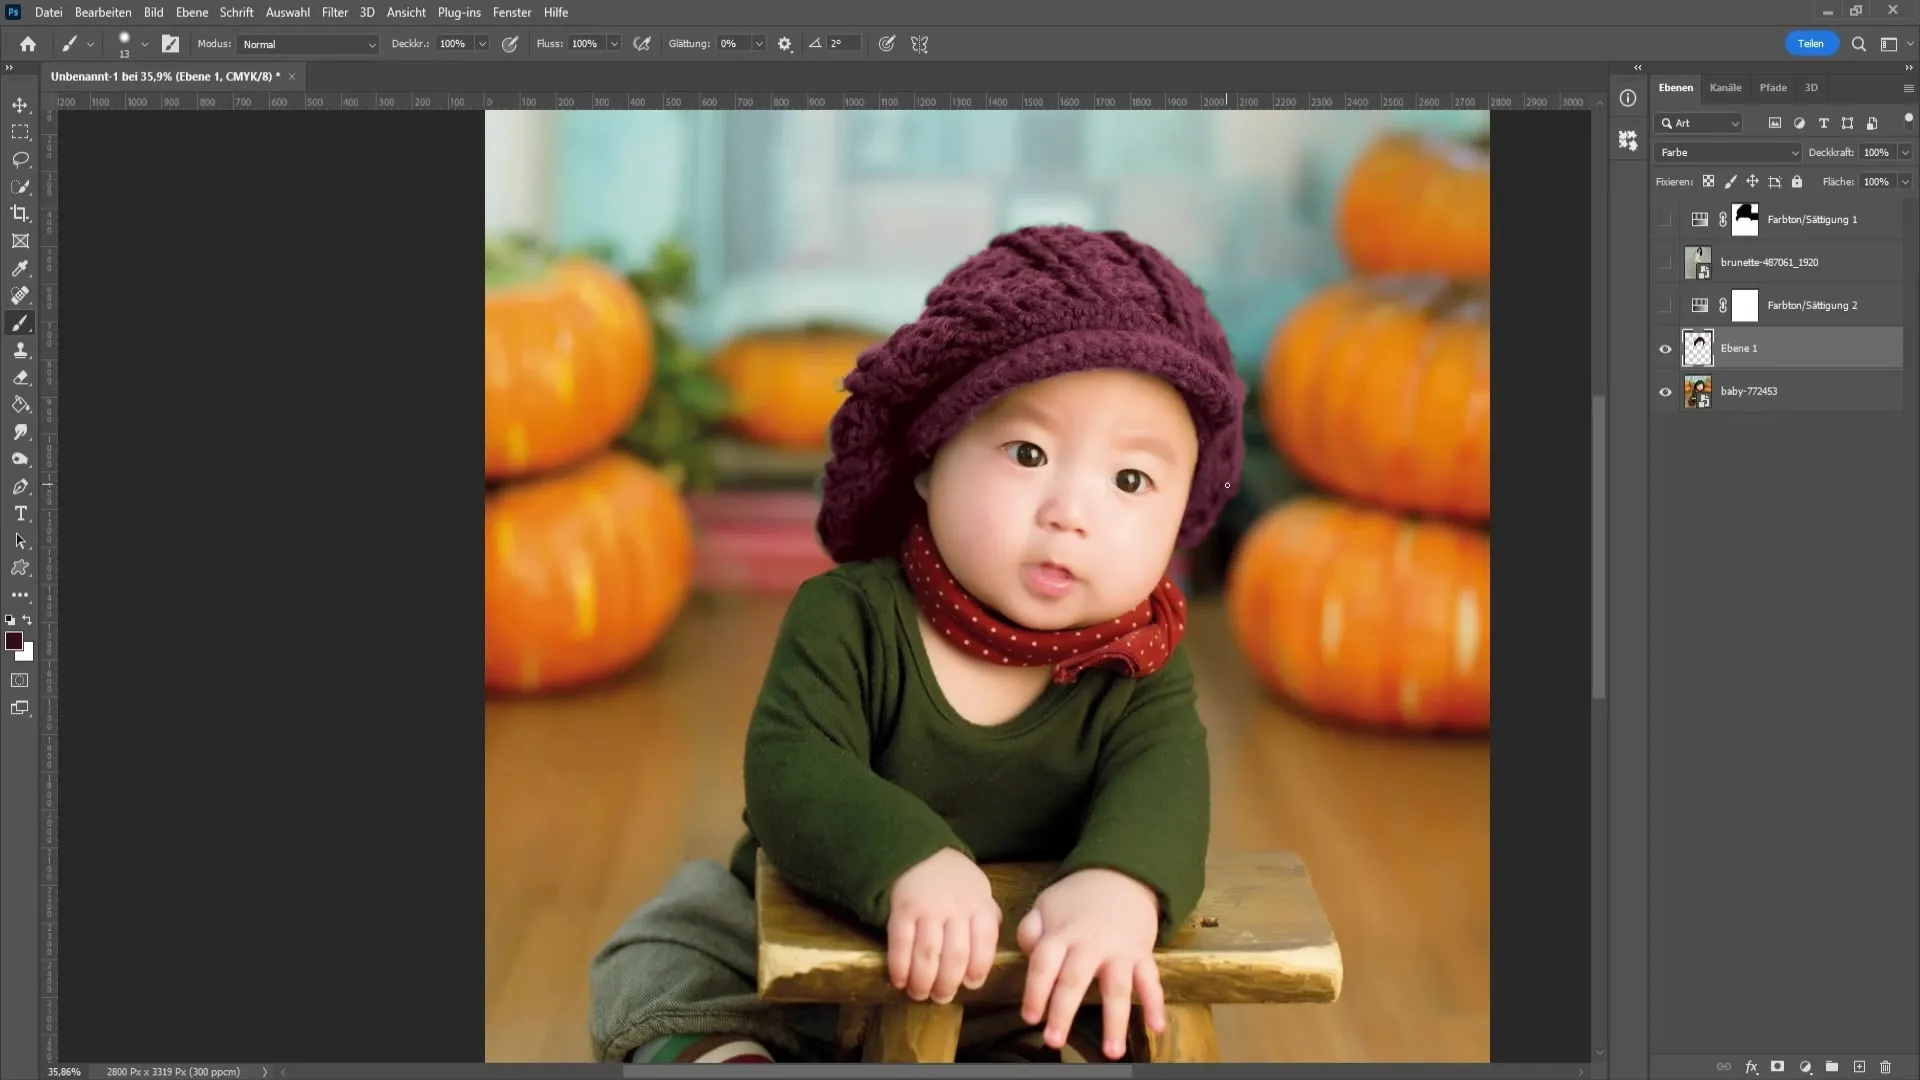
One final consideration is to go back over the colors with a soft-edged brush. This will ensure realistic transitions and avoid harsh edges that may appear unnatural.
Summary
In this tutorial, you have learned how to change colors and adjust specific areas in Photoshop. By using color range and hue/saturation techniques as well as layer masks, you can take control of your color changes. Experiment with different settings and tools to bring your creative ideas to life.
Frequently Asked Questions
How can I increase or decrease the saturation of a color in Photoshop?Select the color you want to change and adjust the saturation slider in the corrections panel.
Can I selectively change a color without affecting other areas?Yes! Use the layer mask to isolate the areas you do not want to change.
What brush hardness should I use?For most color changes, it is recommended to use a medium to high hardness brush to get clean edges, and soft edges for realistic transitions.


