In this tutorial, I'll show you how to create realistic shadows with Adobe Photoshop. Shadows add more depth to your images and make them more lively. Whether you're editing a product photo or working on an artistic project, the right shadow drawing is crucial. I'll guide you step by step through the process to ensure you understand all the techniques. Let's get started!
Main Insights
- A realistic shadow can be achieved using various techniques, including the use of drop shadows and brush tools.
- The hardness and transparency of the shadow play an important role in realism.
- Choosing the right colors is important to place the shadow in the context of the background scene.
Step-by-Step Guide
Adding Drop Shadow
Start with a product image, such as a can. First, hide other groups to focus on our object. The first step is to add a drop shadow. Right-click on the can layer and select "Blending Options." Then go down and activate the "Drop Shadow" option.
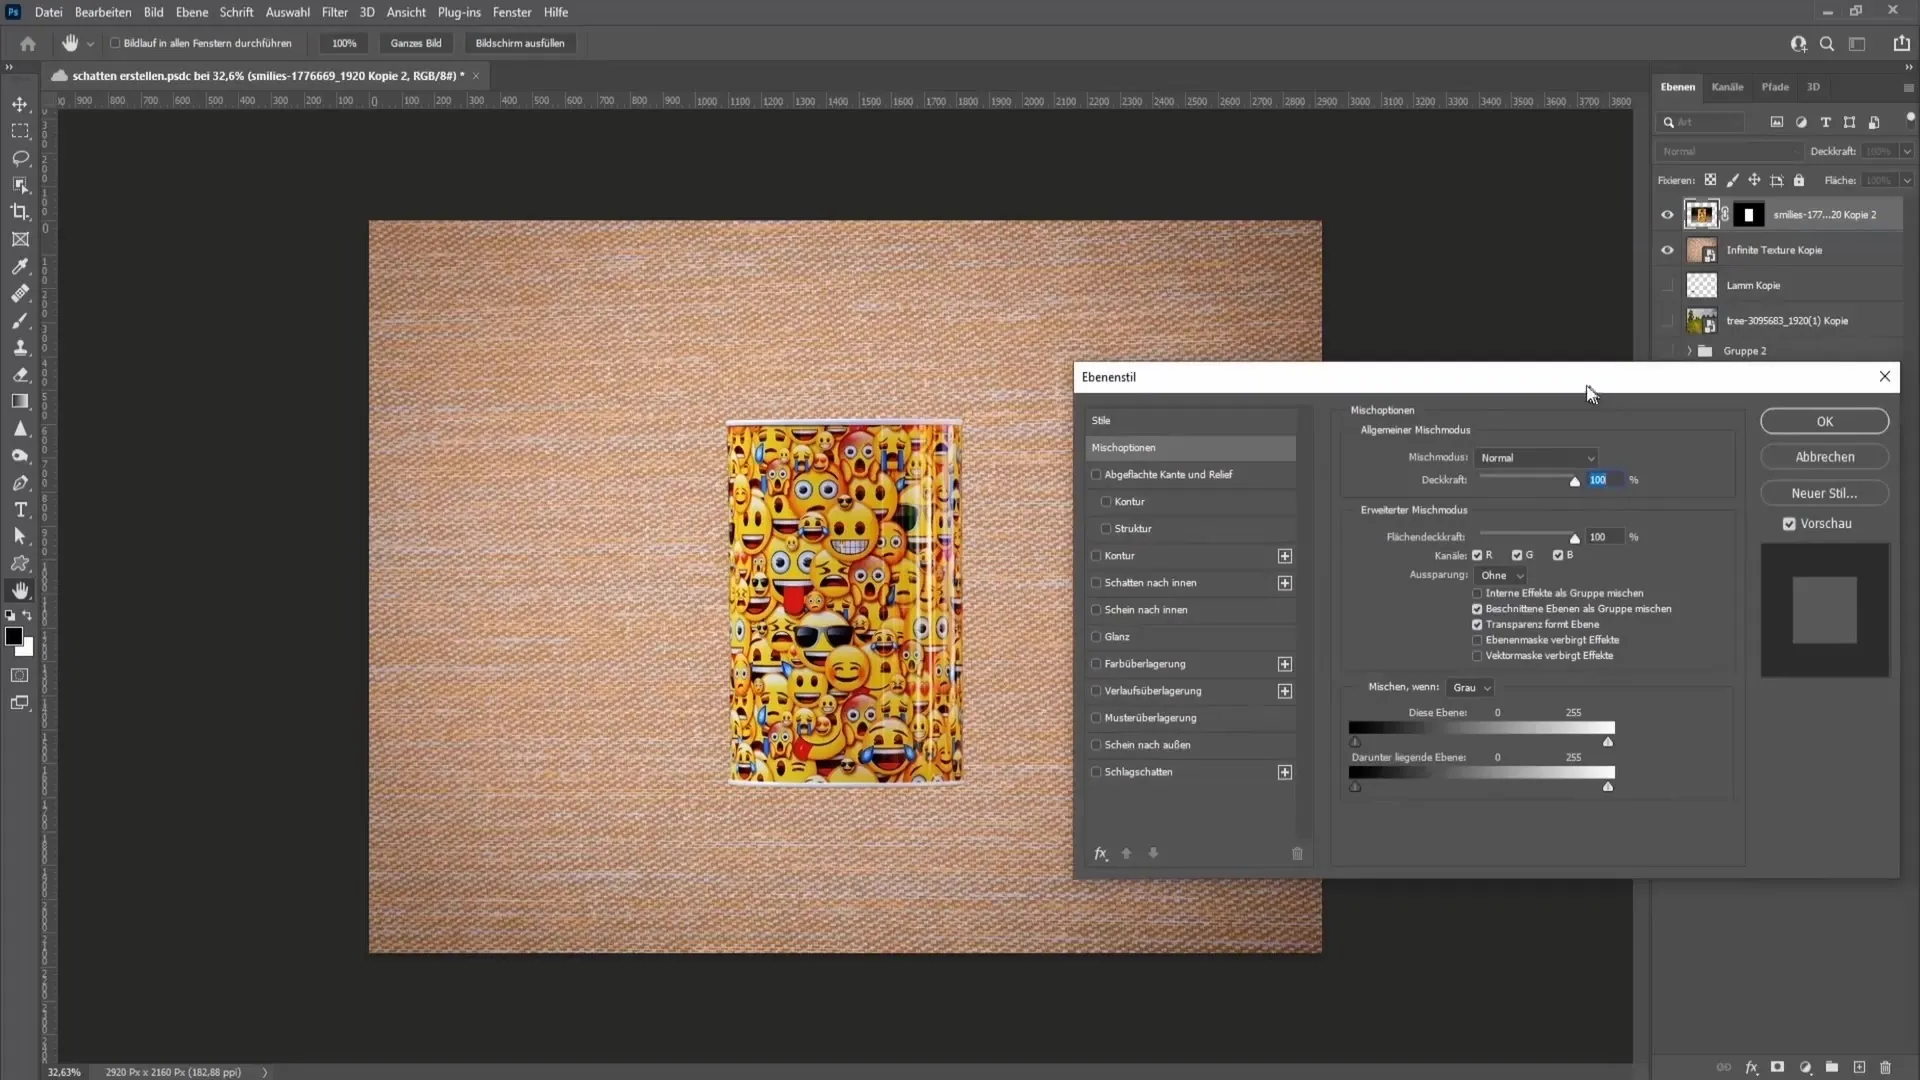
You can experiment with the settings here. I recommend choosing values that do not make the shadow look too strong or too soft. The goal is to create a subtle shadow that highlights the object without being exaggerated.
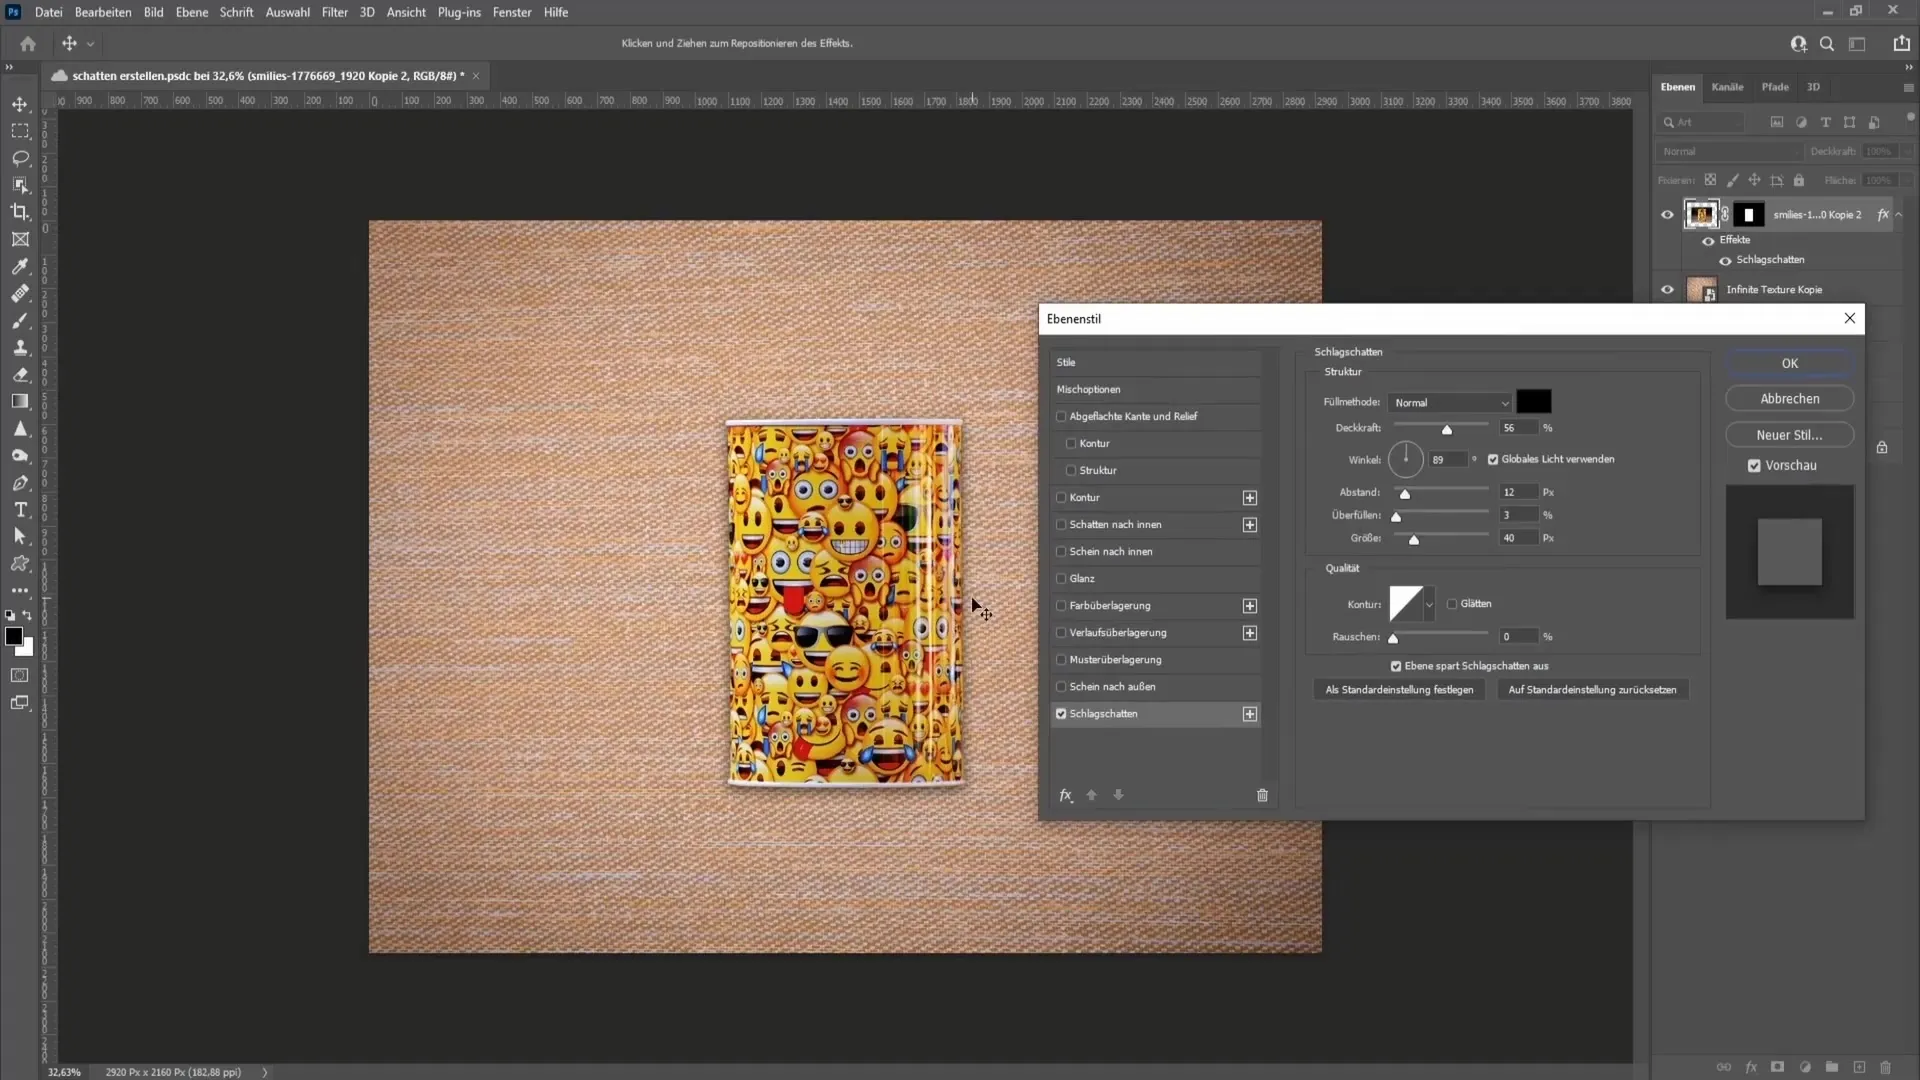
Once you are satisfied with the settings, click "OK." You have now completed the first step in creating a realistic shadow.
Creating Shadow Manually
The second step is to create the shadow manually. To do this, create a new layer. Select the brush tool and set the hardness to 100%. Press and hold the Alt key and right-click to adjust the brush size. Now start roughly sketching a shadow. It is not necessary for the shadow to look perfect; the important thing is that it sensibly simulates the shadow shape of the object.
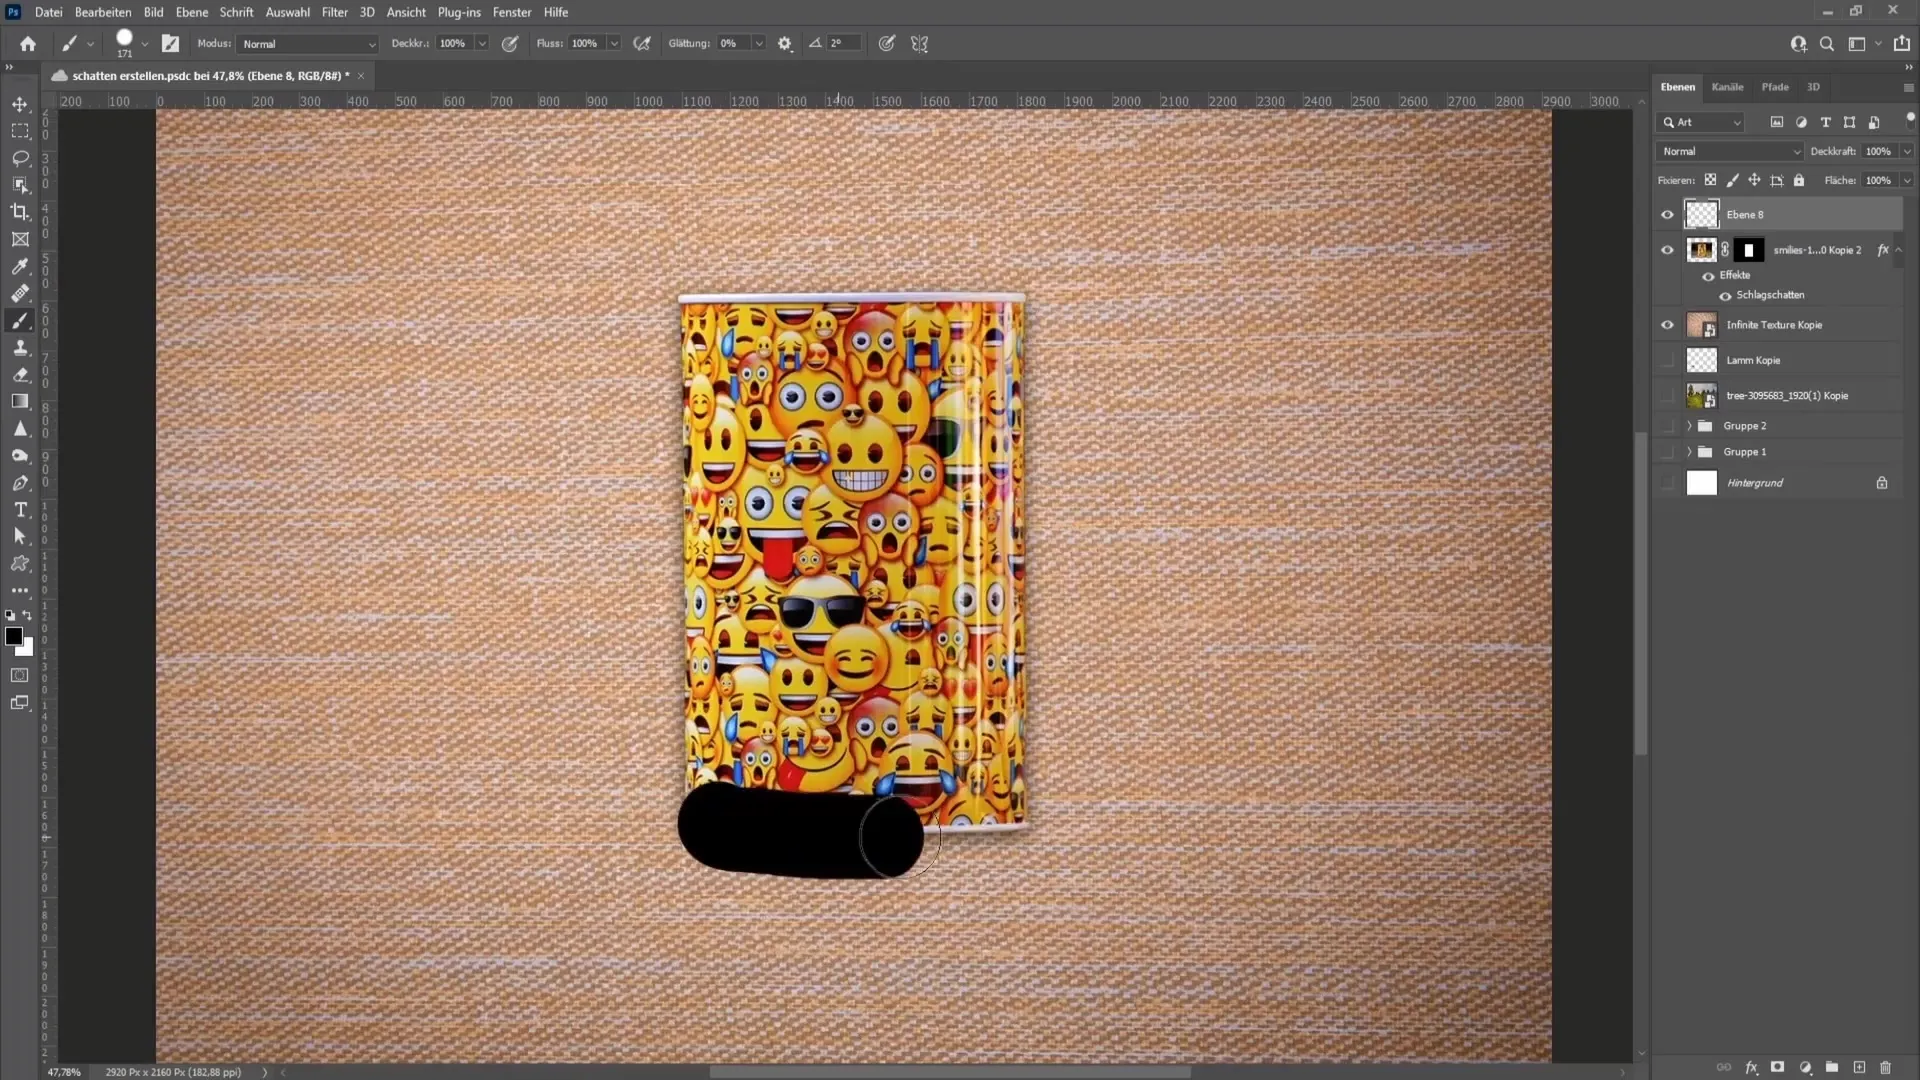
After drawing, convert the drawing into a smart object so that you can still edit the filter afterwards. Go to "Filter" and select "Blur Filters", then "Gaussian Blur." This technique helps you soften the shadow and make it look more natural.
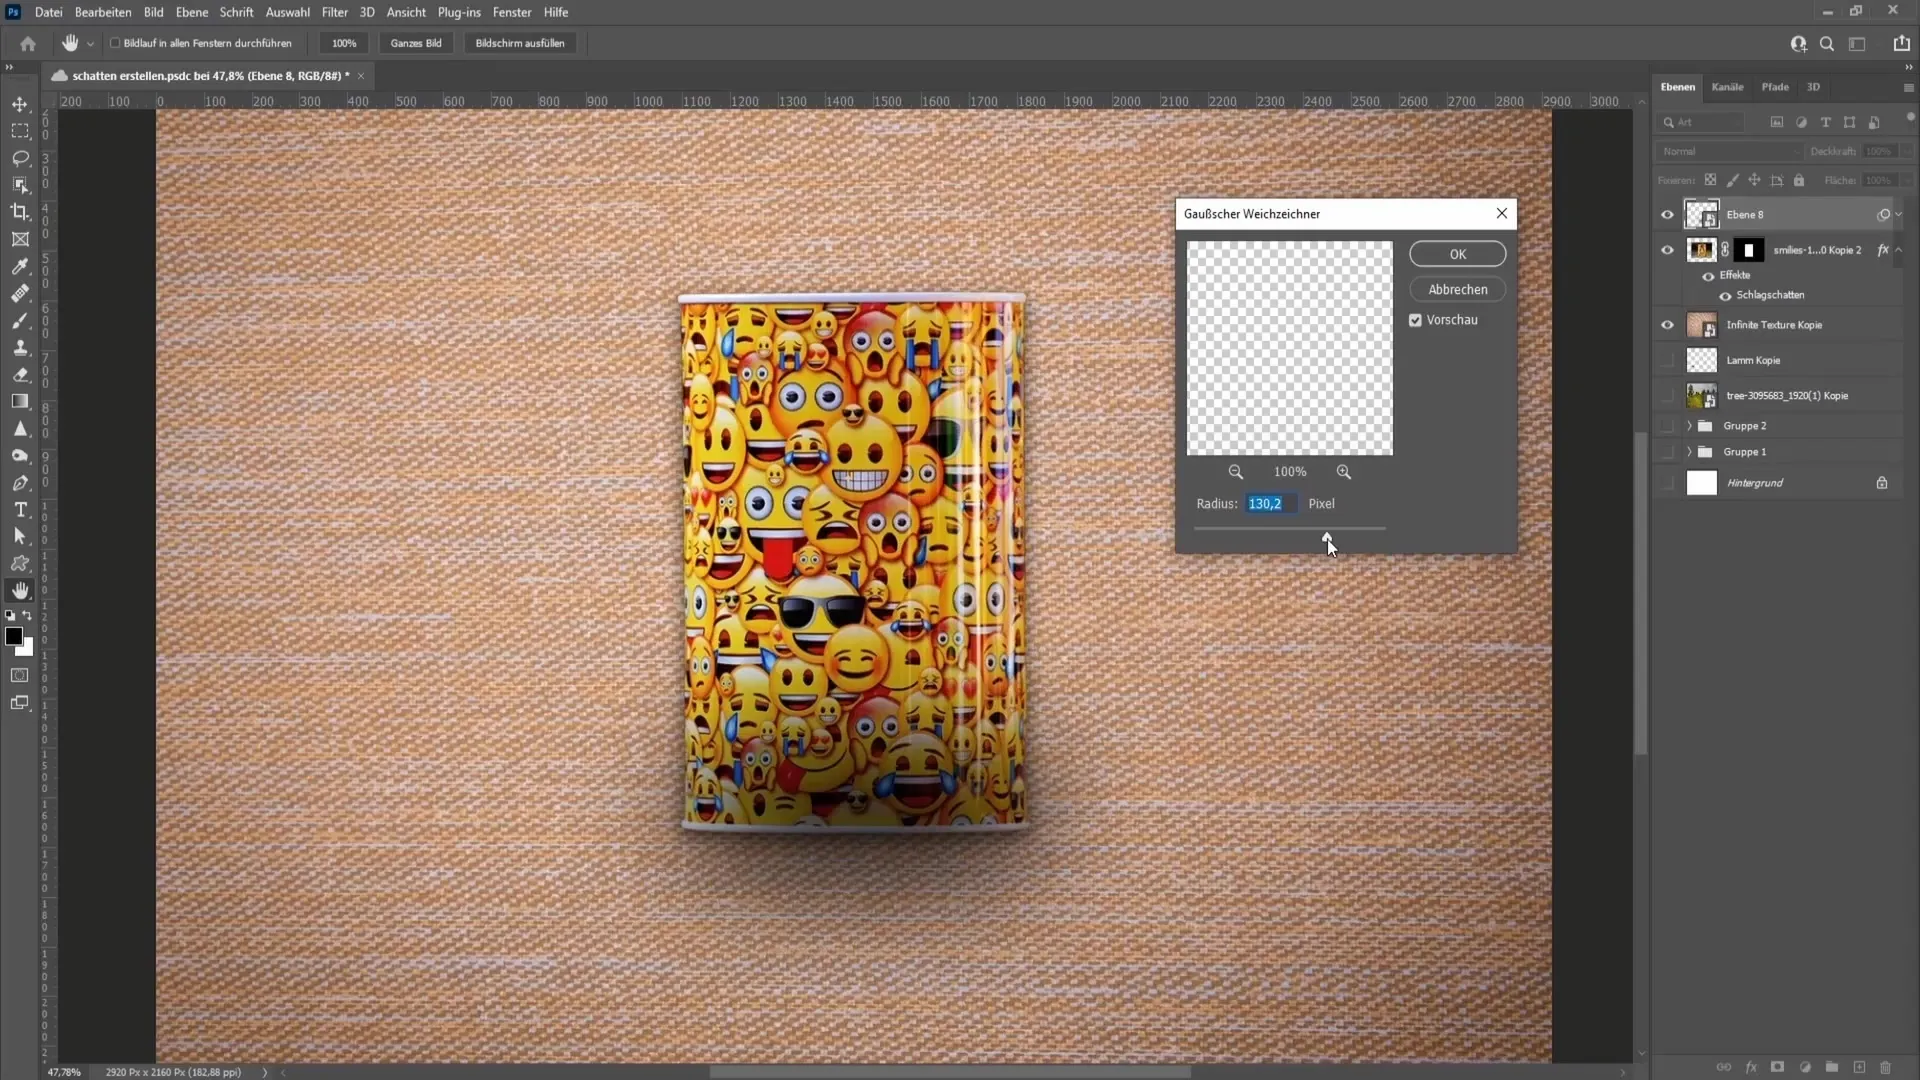
You can always go back to this filter and make adjustments by simply double-clicking the smart object.
Positioning and Adjusting the Shadow
Now it's time to drag the shadow under the object. You can do this by dragging the shadow with the left mouse button pressed. If you're not completely satisfied with the result, you can continue moving the shadow. Using the arrow keys allows for more precise placement.
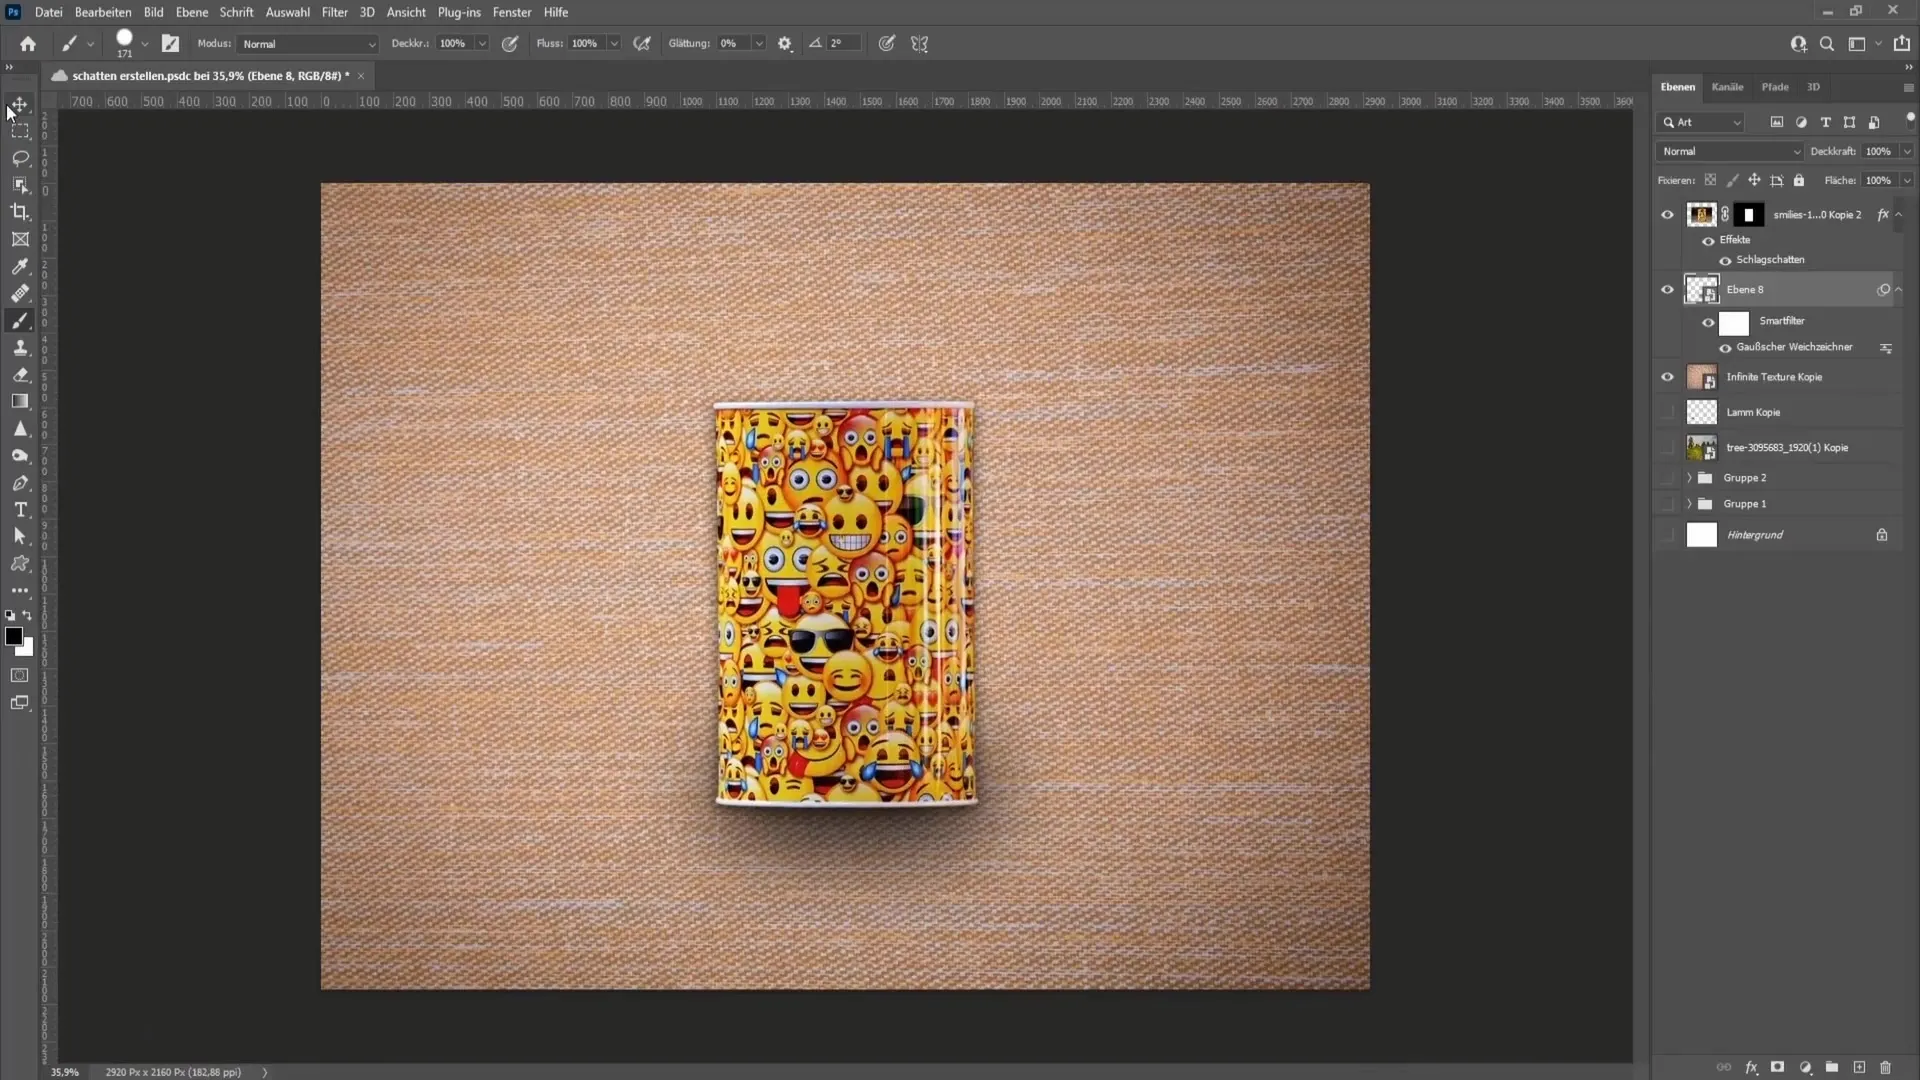
If the shadow appears too far or too large, you can create a mask and remove the unwanted area with black color. Make sure to set the brush hardness to 0% to get softer edges. This gives the shadow a more realistic look.
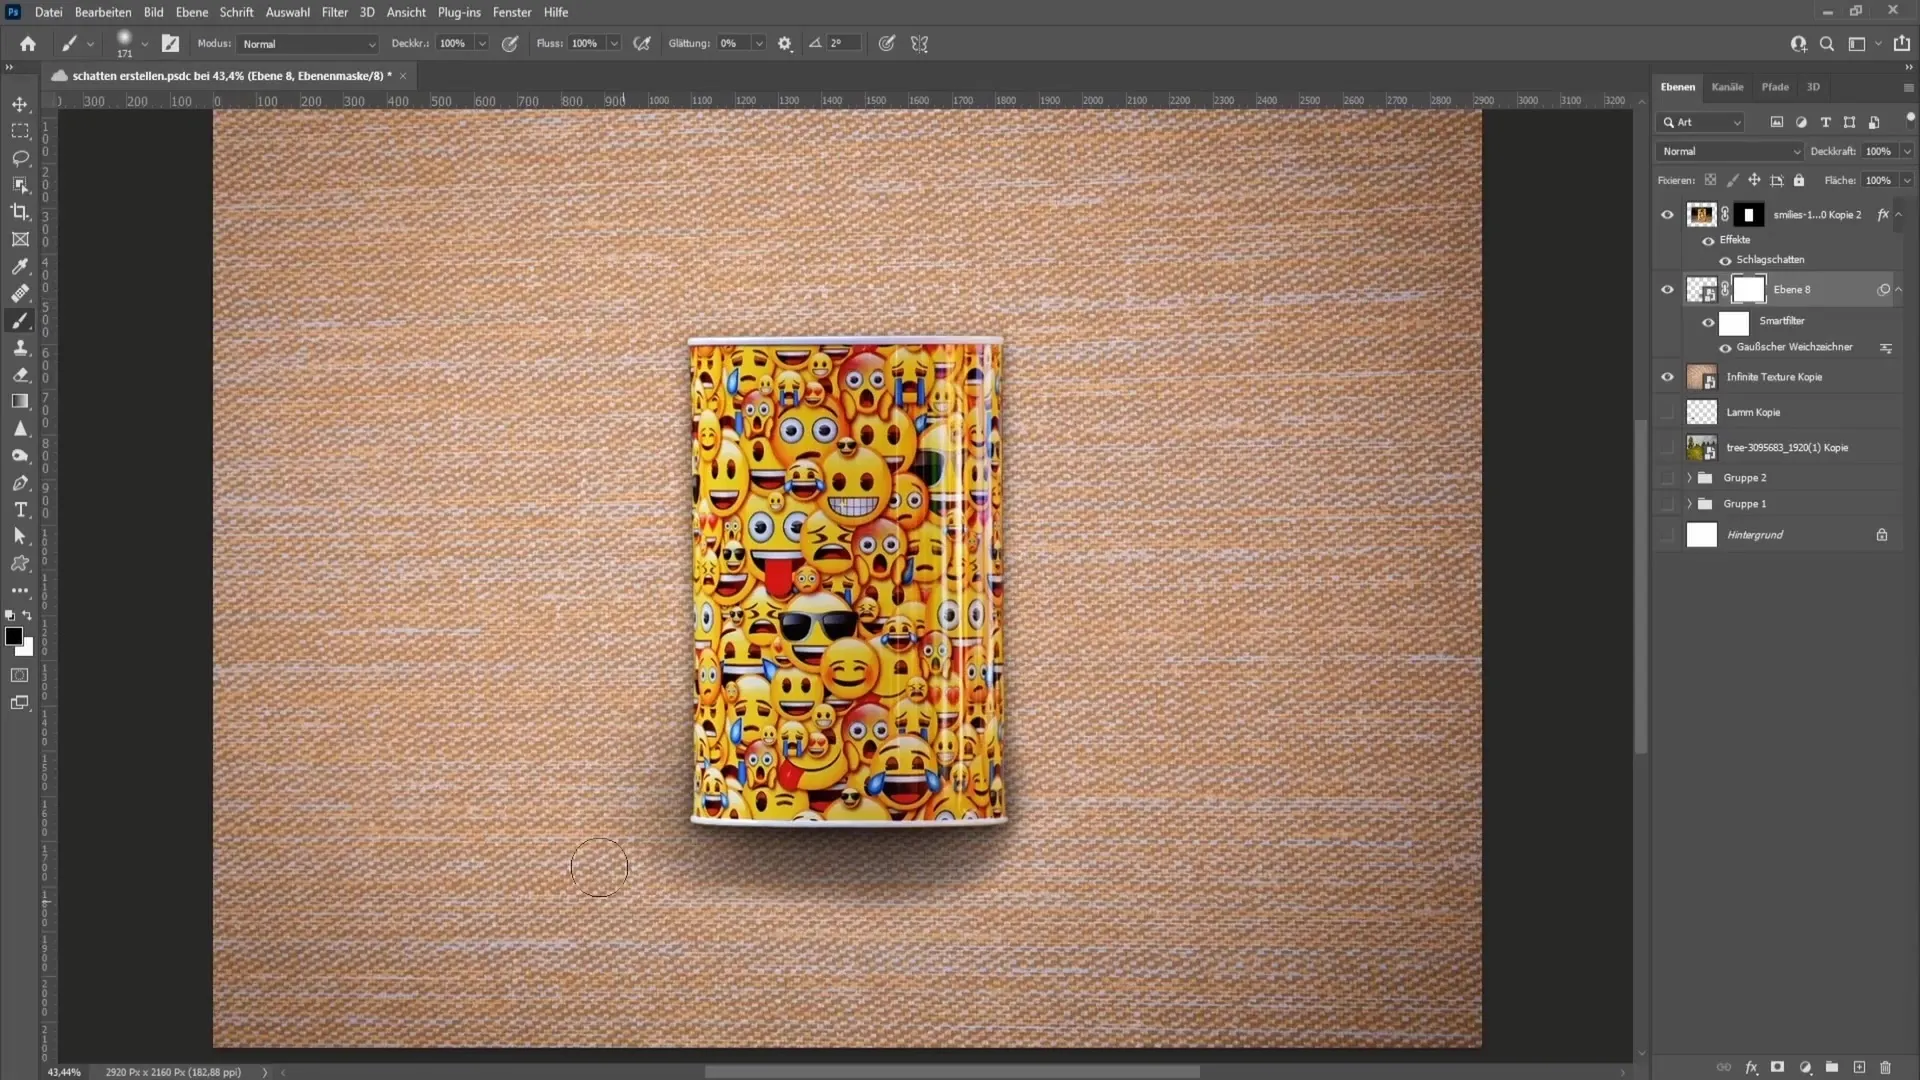
Fine-Tuning the Shadow
If you want to soften the shadow, you can adjust the opacity or go back to Gaussian Blur and set an even softer edge.
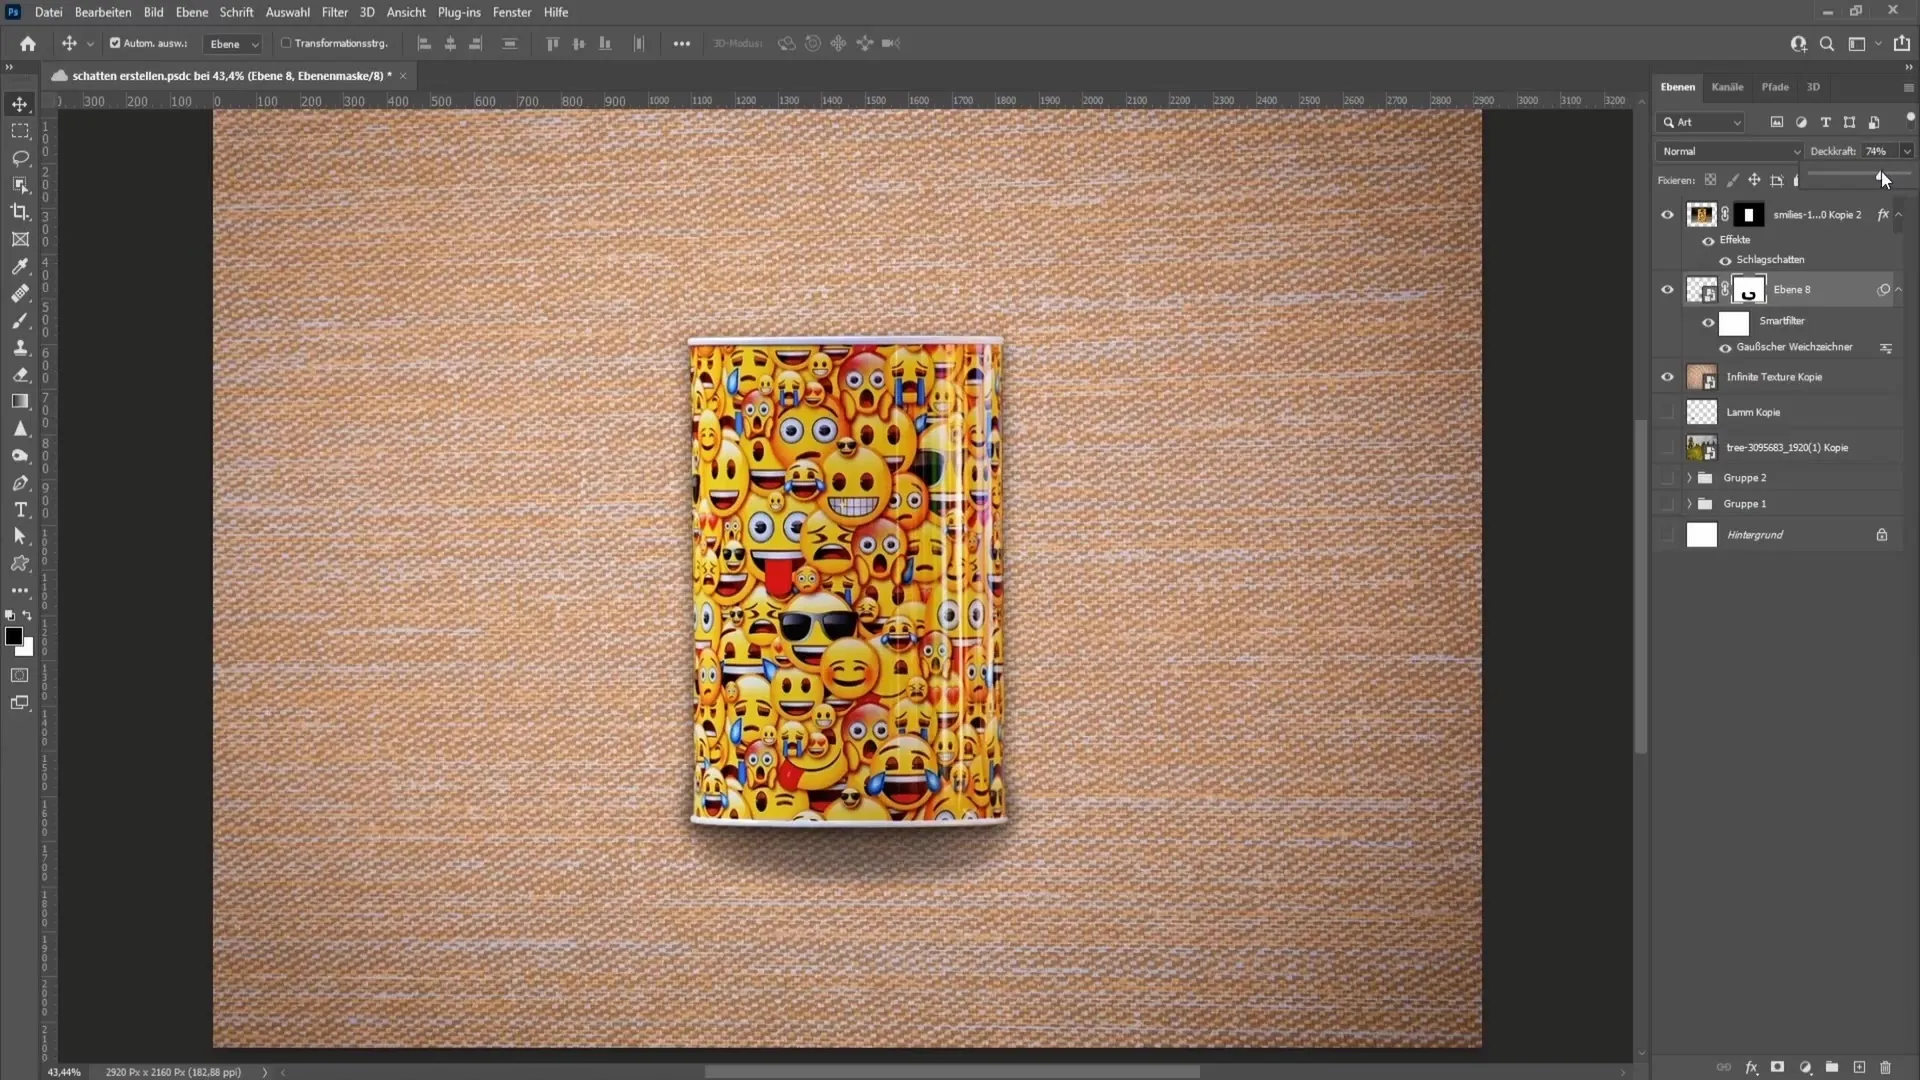
When working with the mask, you can also restore the color by painting over it with a white brush. This way, you can further refine and naturalize the shadow contours.
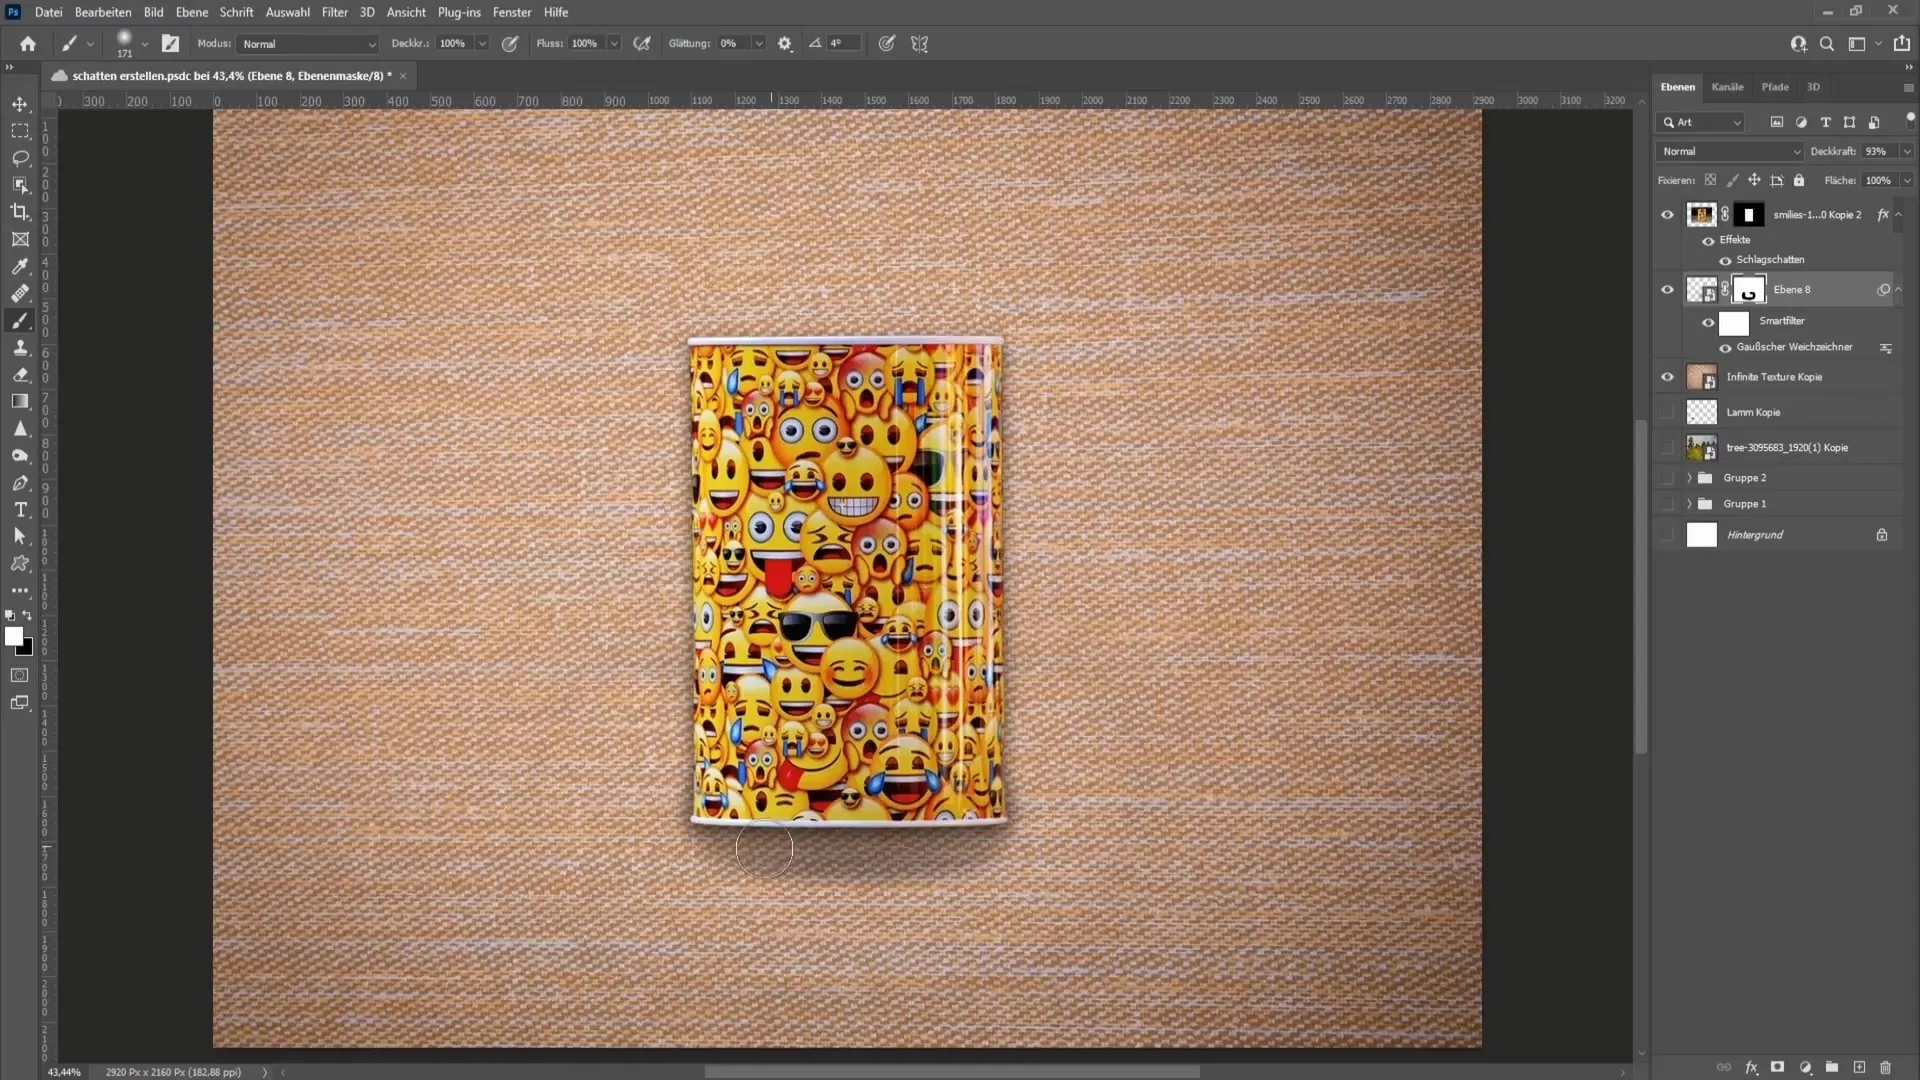
Working with Images and Various Light Sources
Let's now look at another example, such as that of a sheep outdoors. Here it is important to consider the light source. The light appears to be strong and overcast, which means that the shadows are softer and less clear.
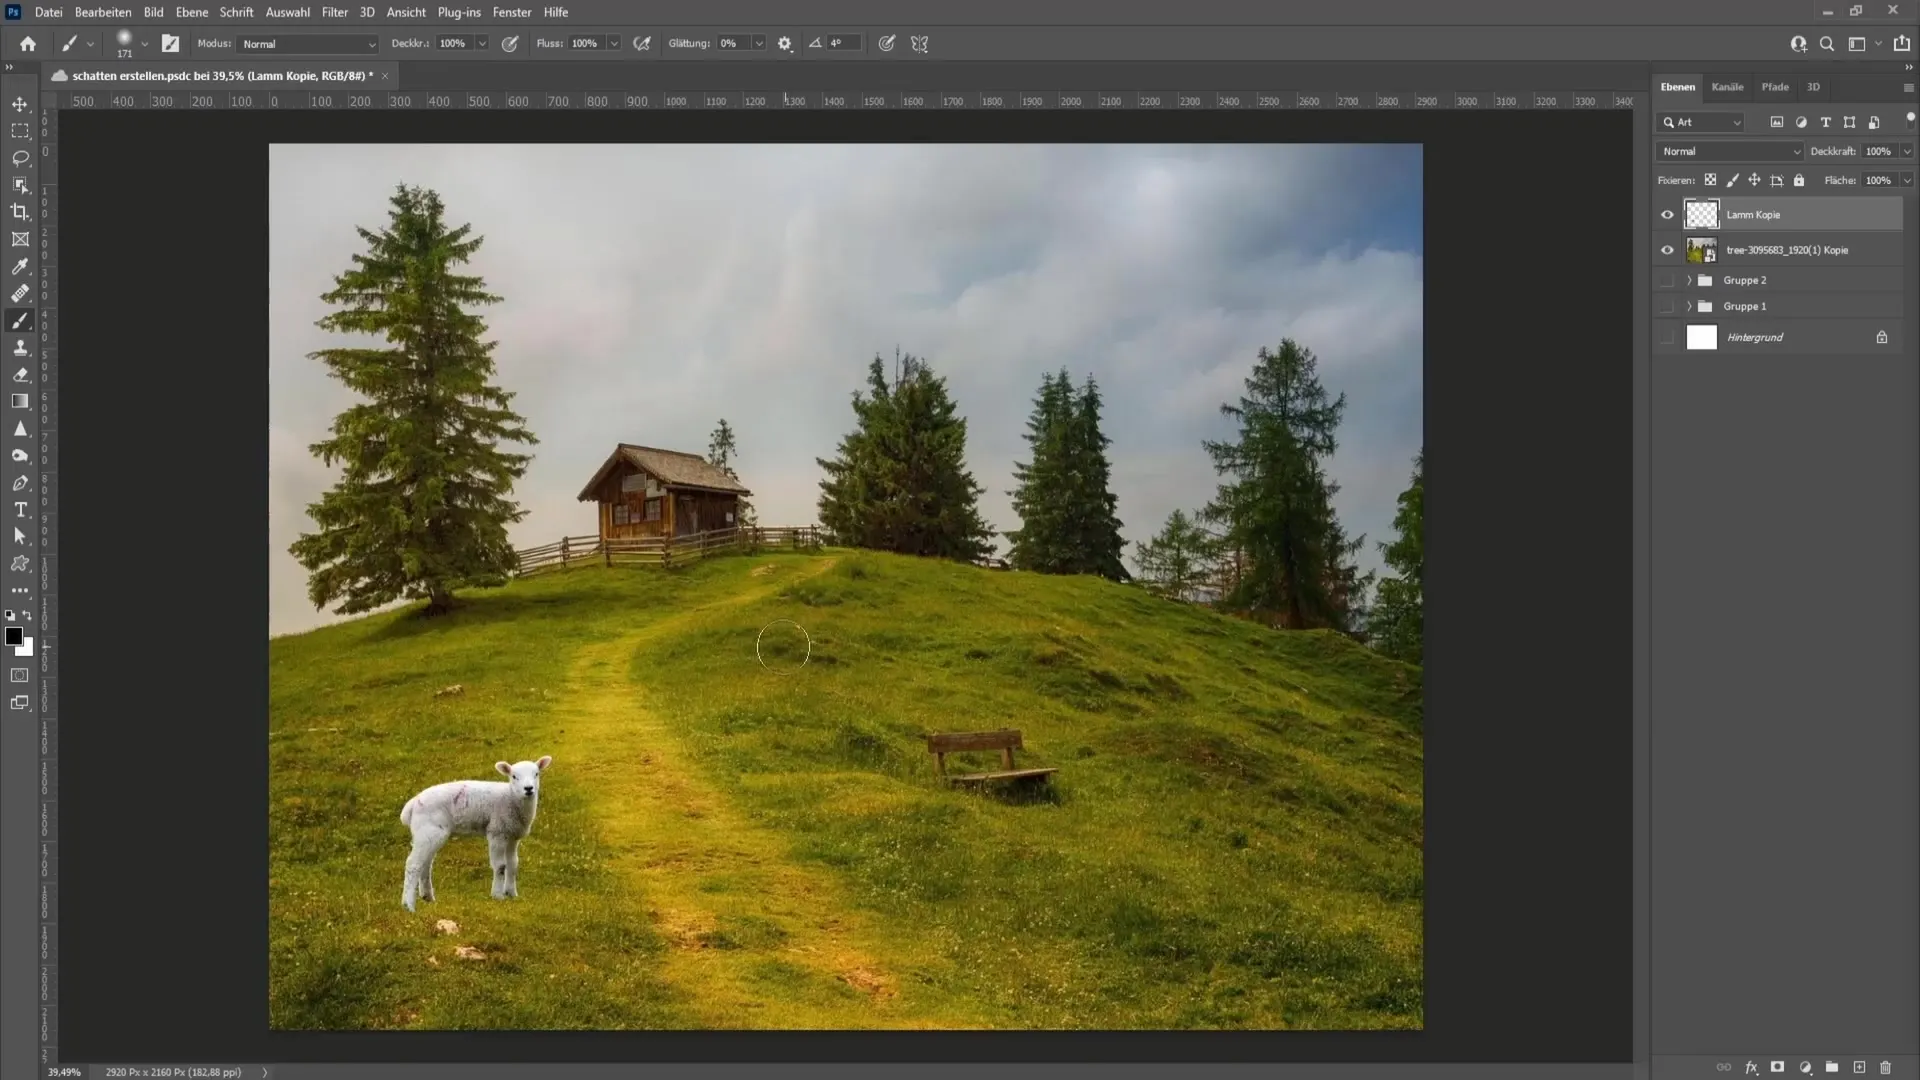
You should adapt the color of the shadow to the environment. Use the dropper to select a dark color that matches the surroundings, for example, a dark green for the shadow cast on a meadow.
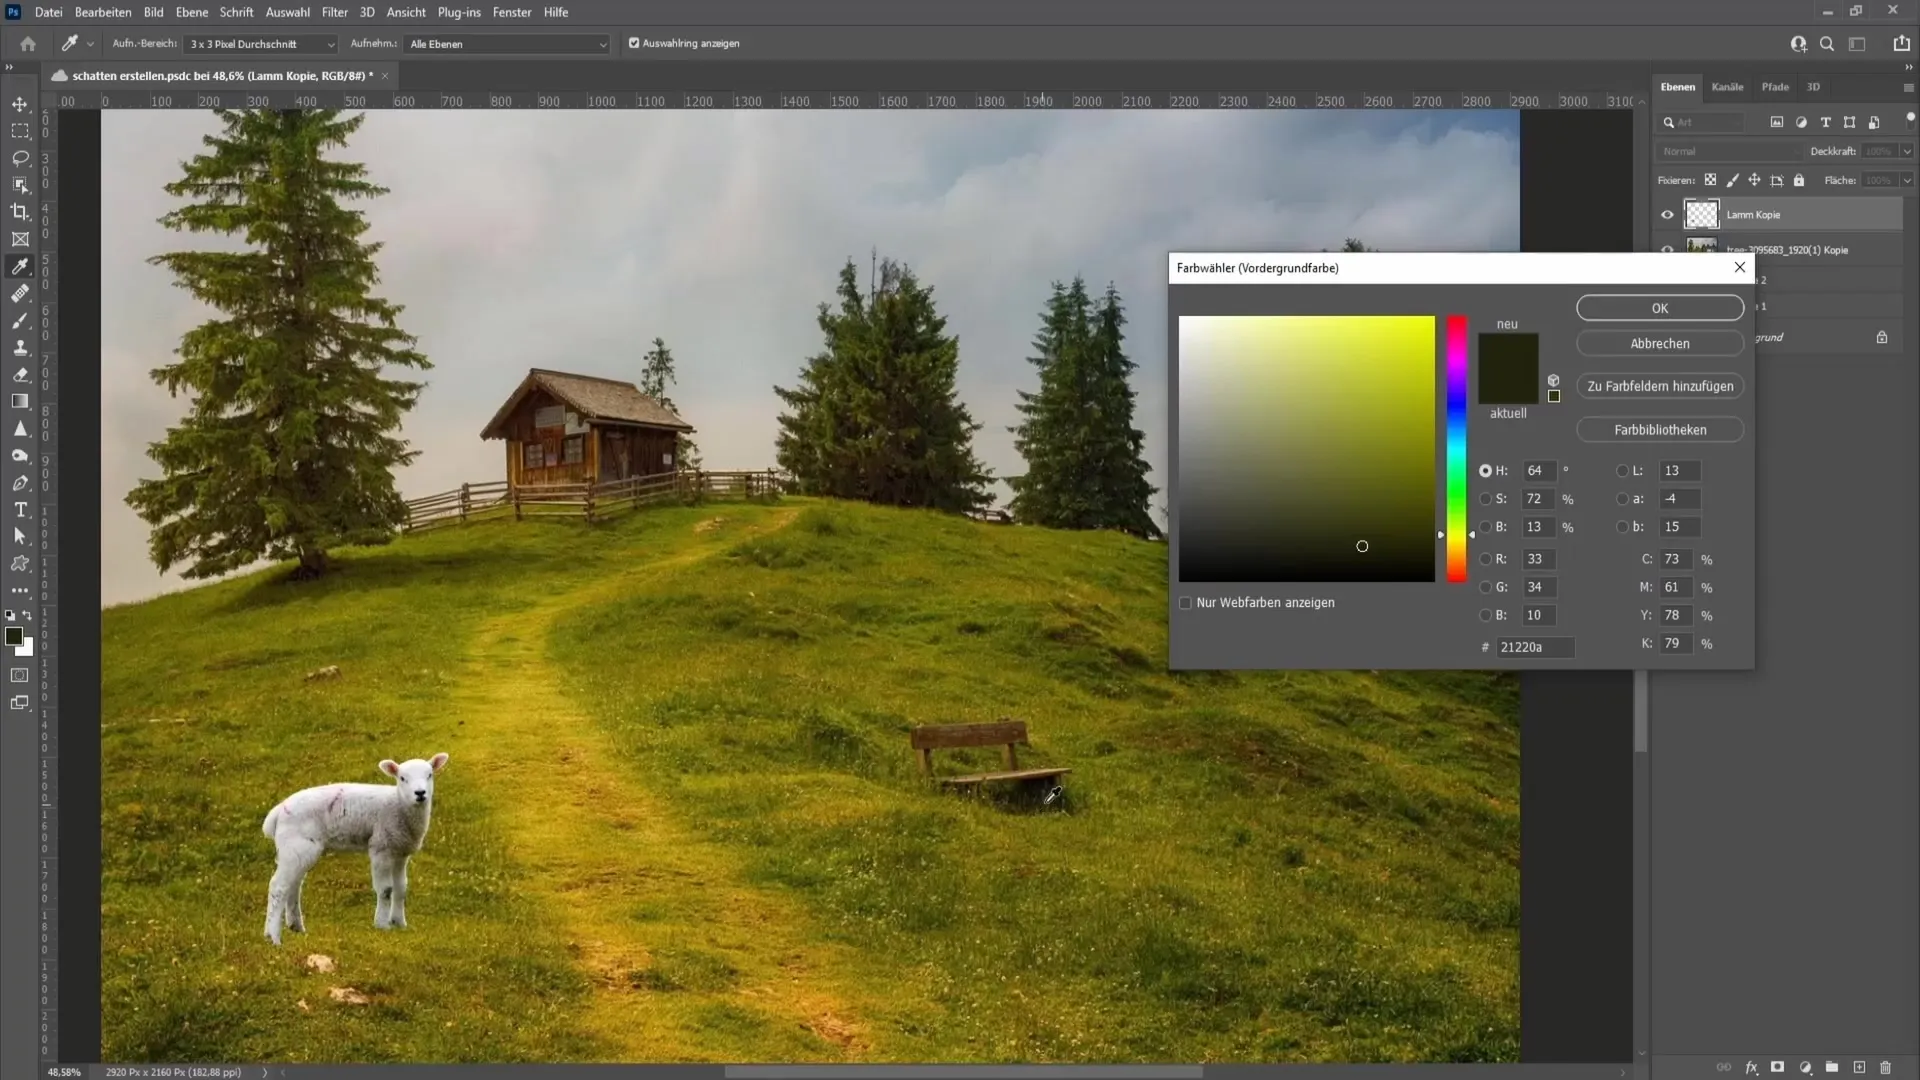
Then create a copy of the object over which you want to draw a shadow. Go back to the shadow layer and select "Fill area" to create the shadow roughly.
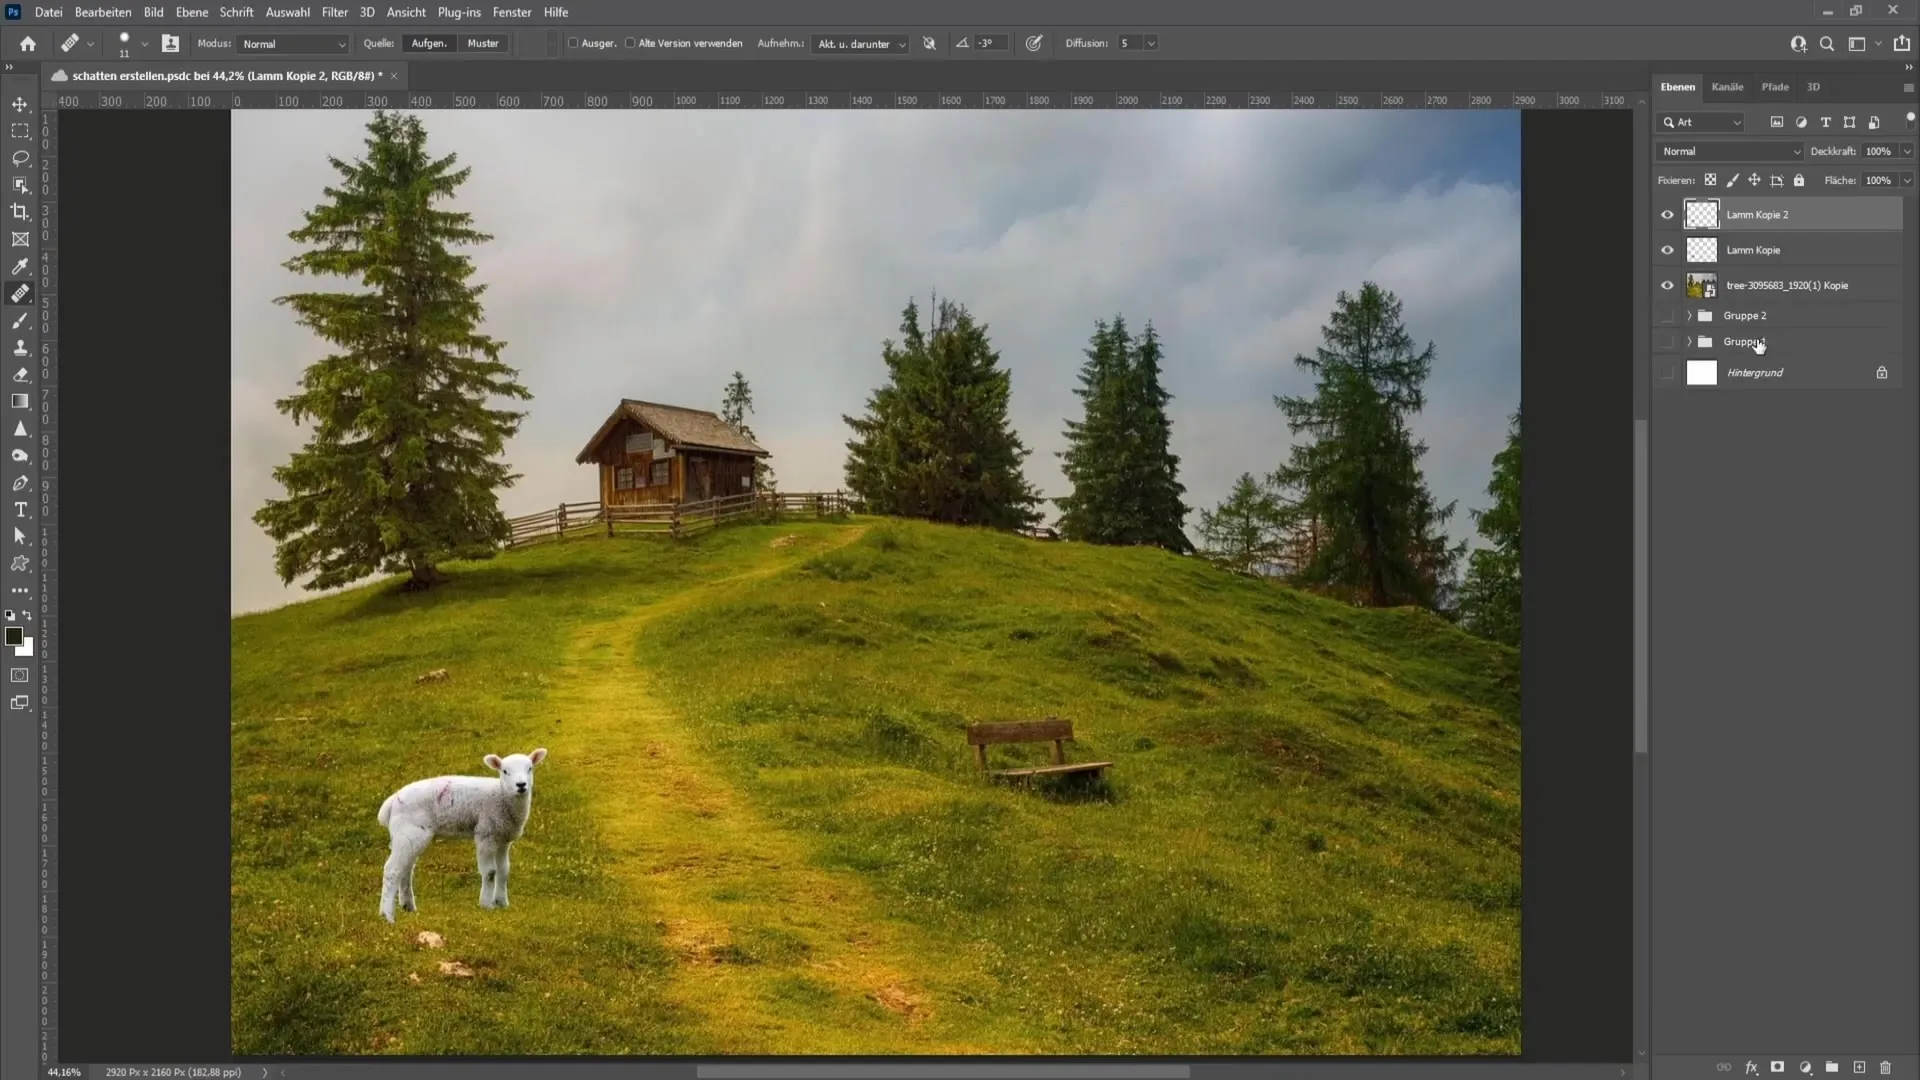
Transformation and Fine-Tuning
Use the Ctrl + T key combination to transform the shadow. Be careful not to distort the proportions too much while adjusting it to the sheep's legs. You can also slightly adjust the height or width to achieve a realistic placement.
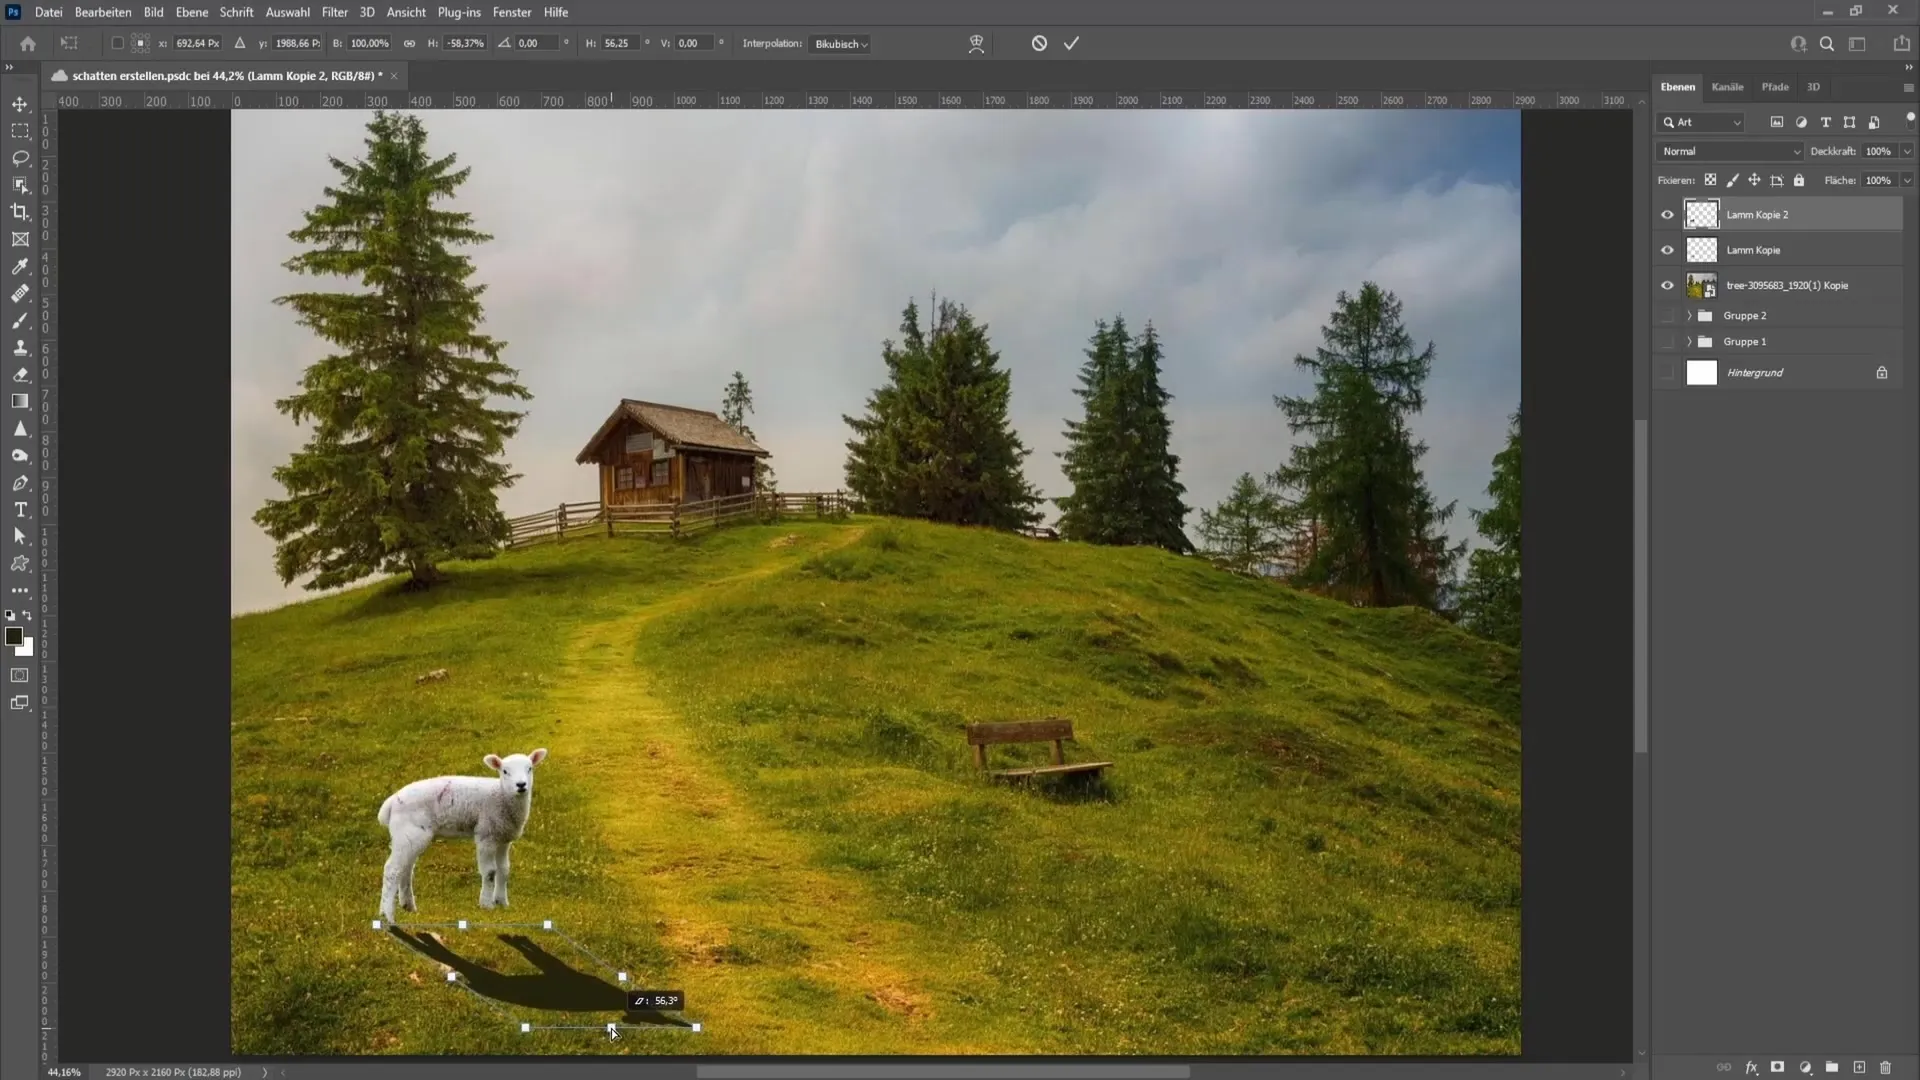
Paint the shadow directly under the object to ensure that the shadow looks realistic and appears under the paws. This makes refining easier.
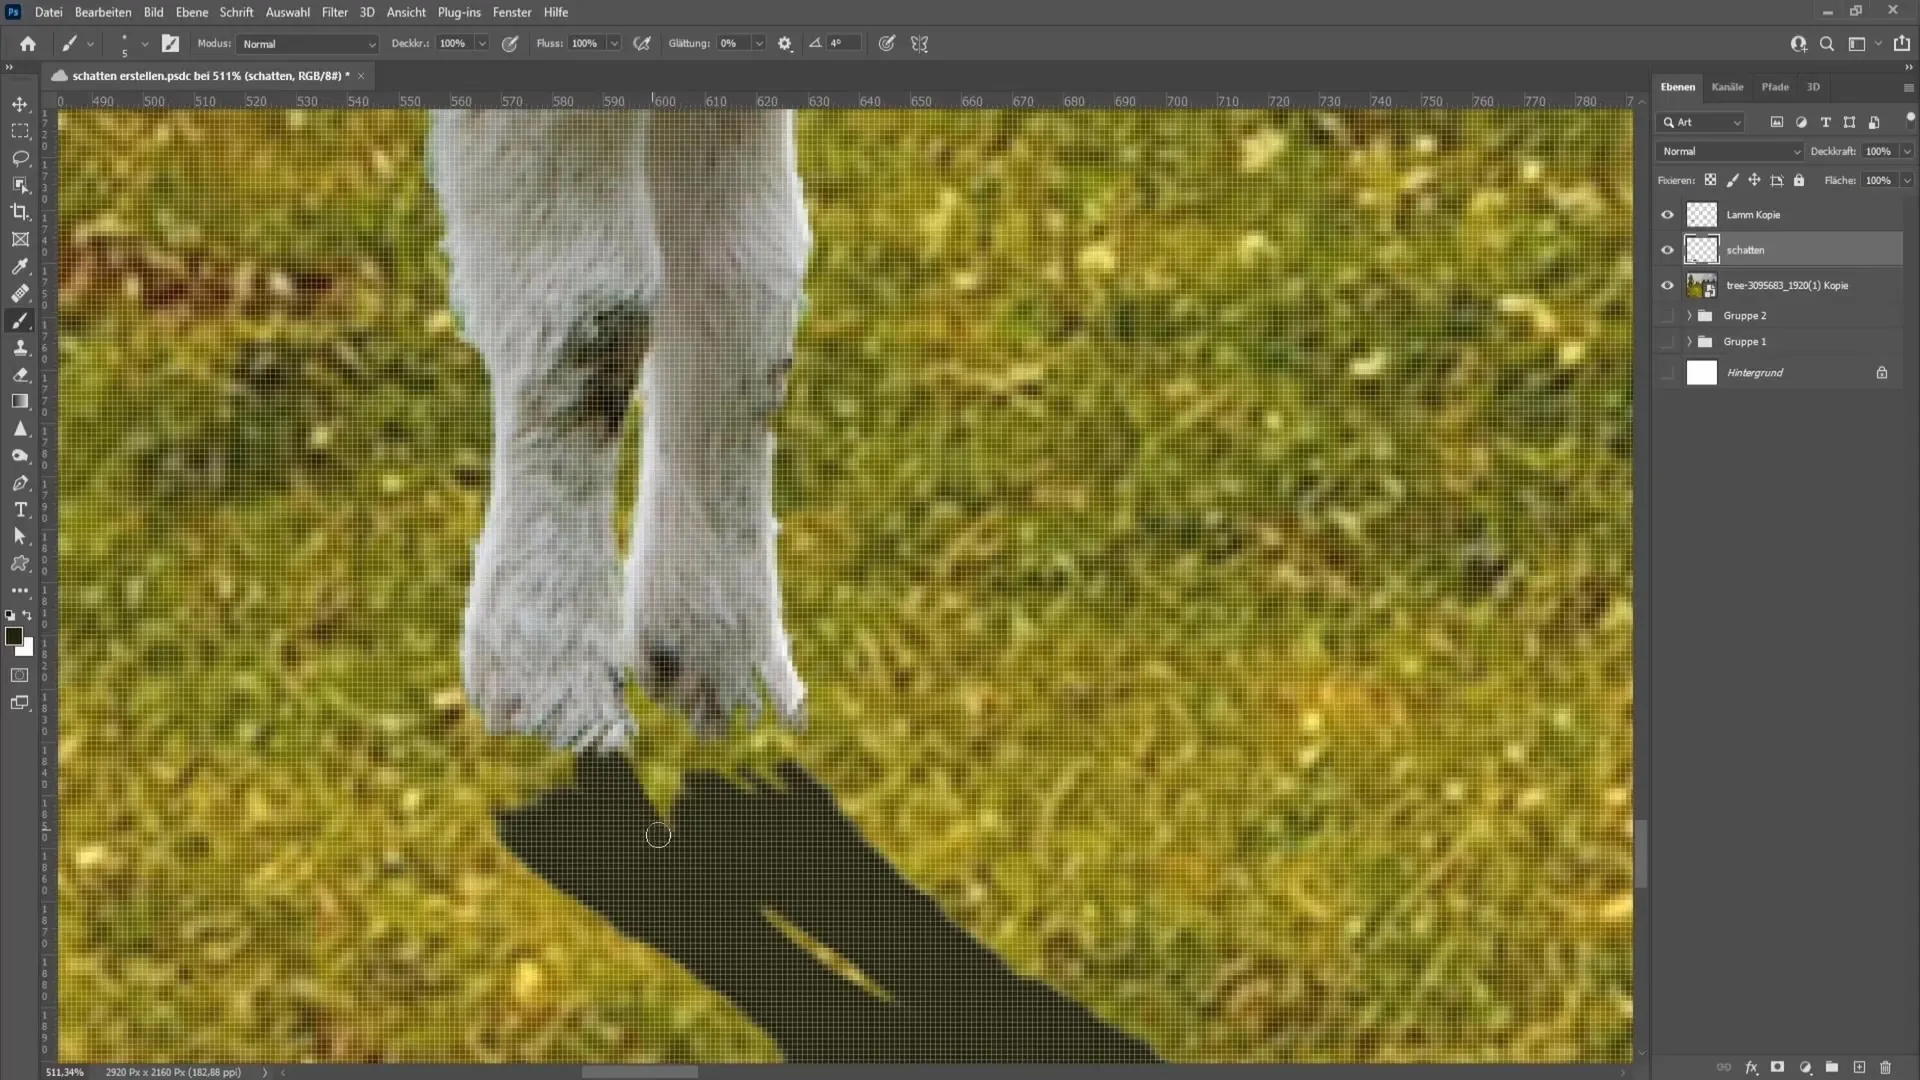
If necessary, darken the shadow slightly and set the layer to "Multiply" to achieve a better adaptation to the surface.
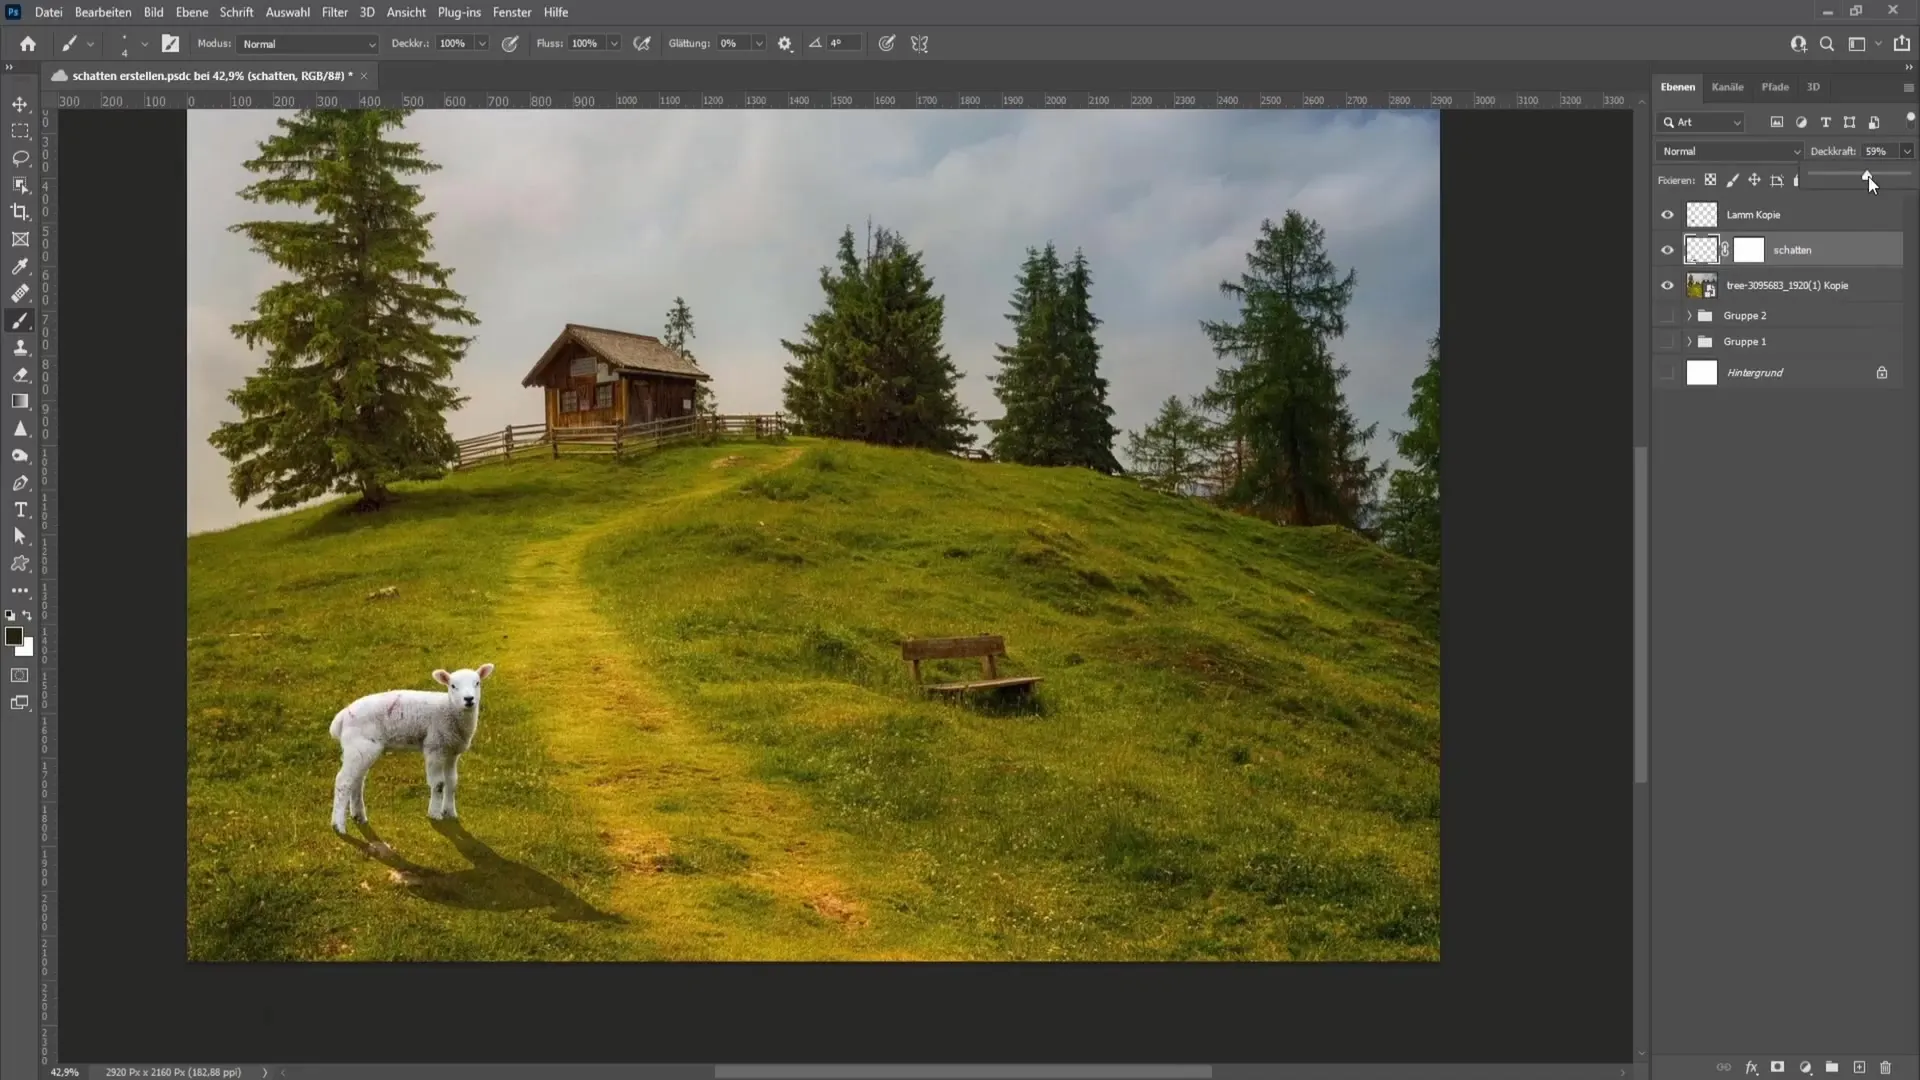
Core Shadows and Final Adjustments
It is advisable to also add a faint core shadow to enhance the depth. Draw a fine core shadow at the sheep's feet, it should not be too pronounced to maintain naturalness.
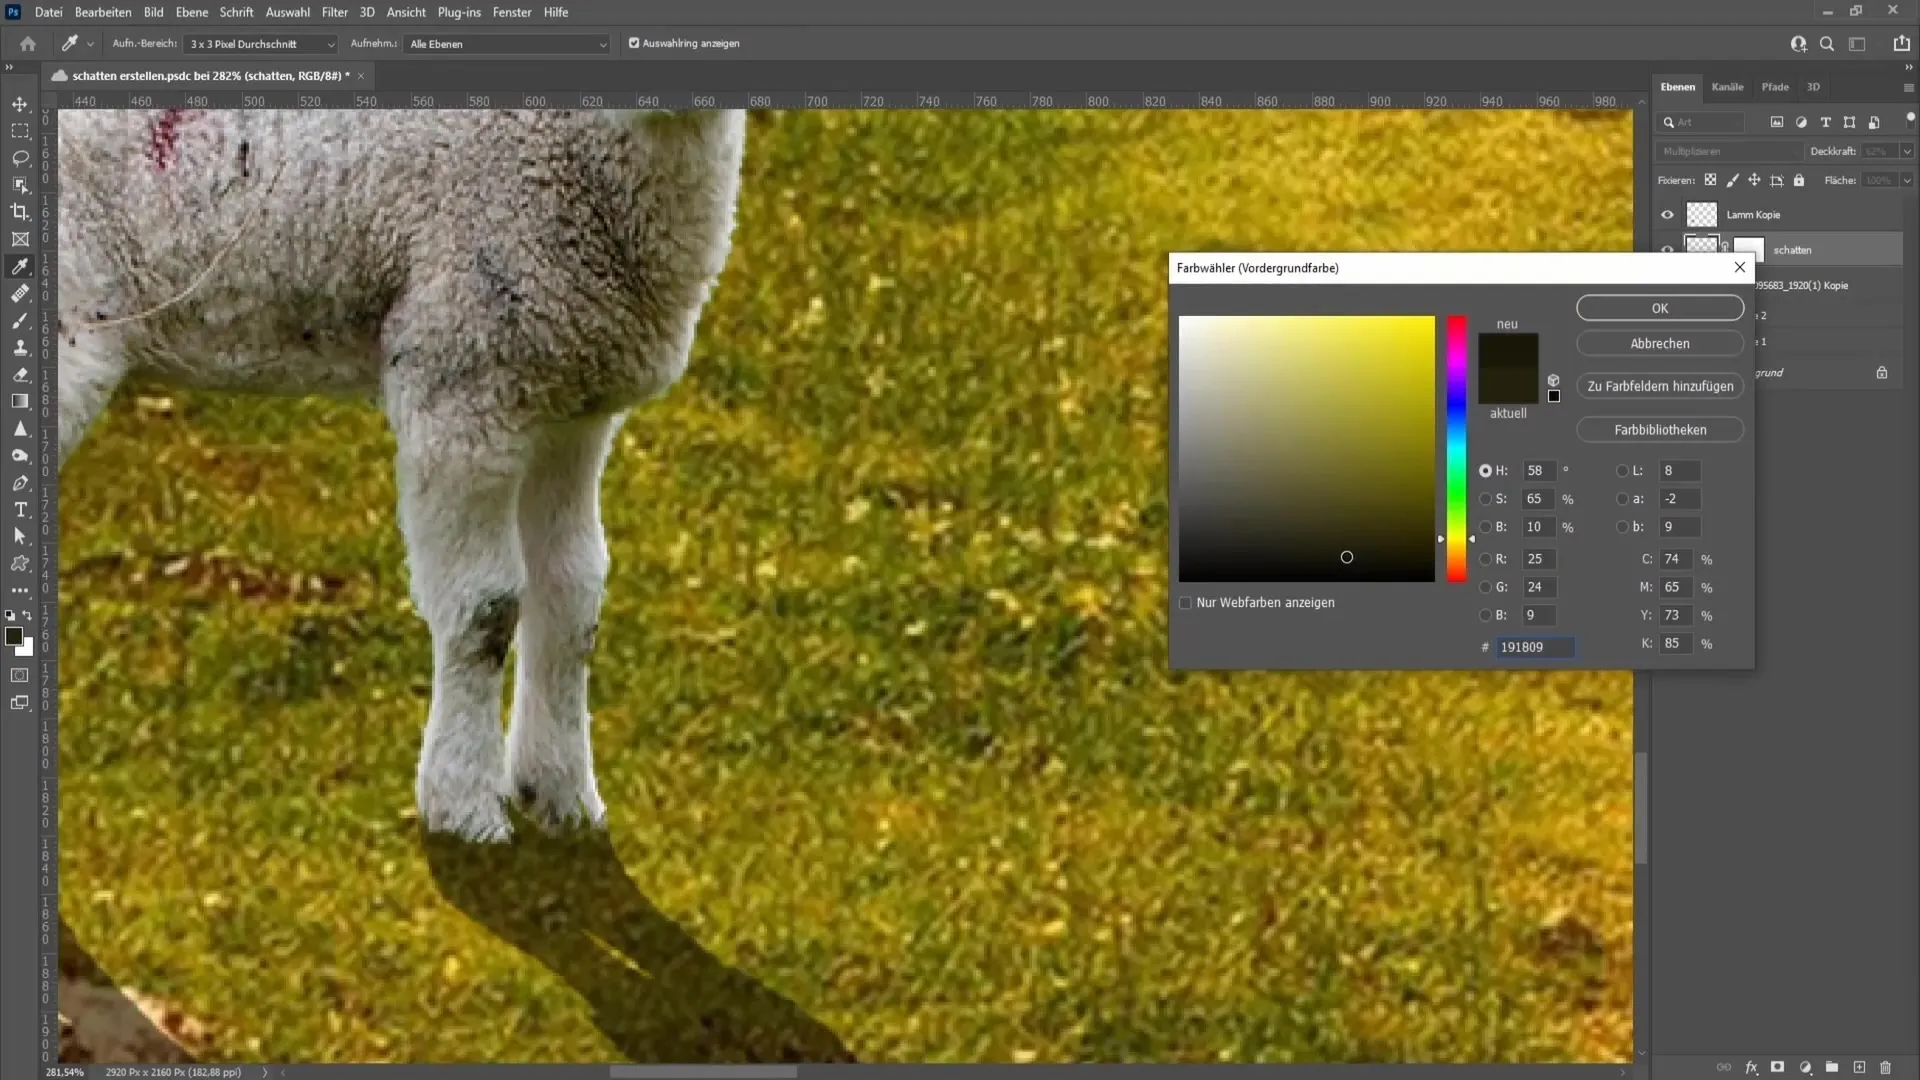
Once you are satisfied with the shadow's geometry, you can use "Multiply" or "Soft Light" again as needed.
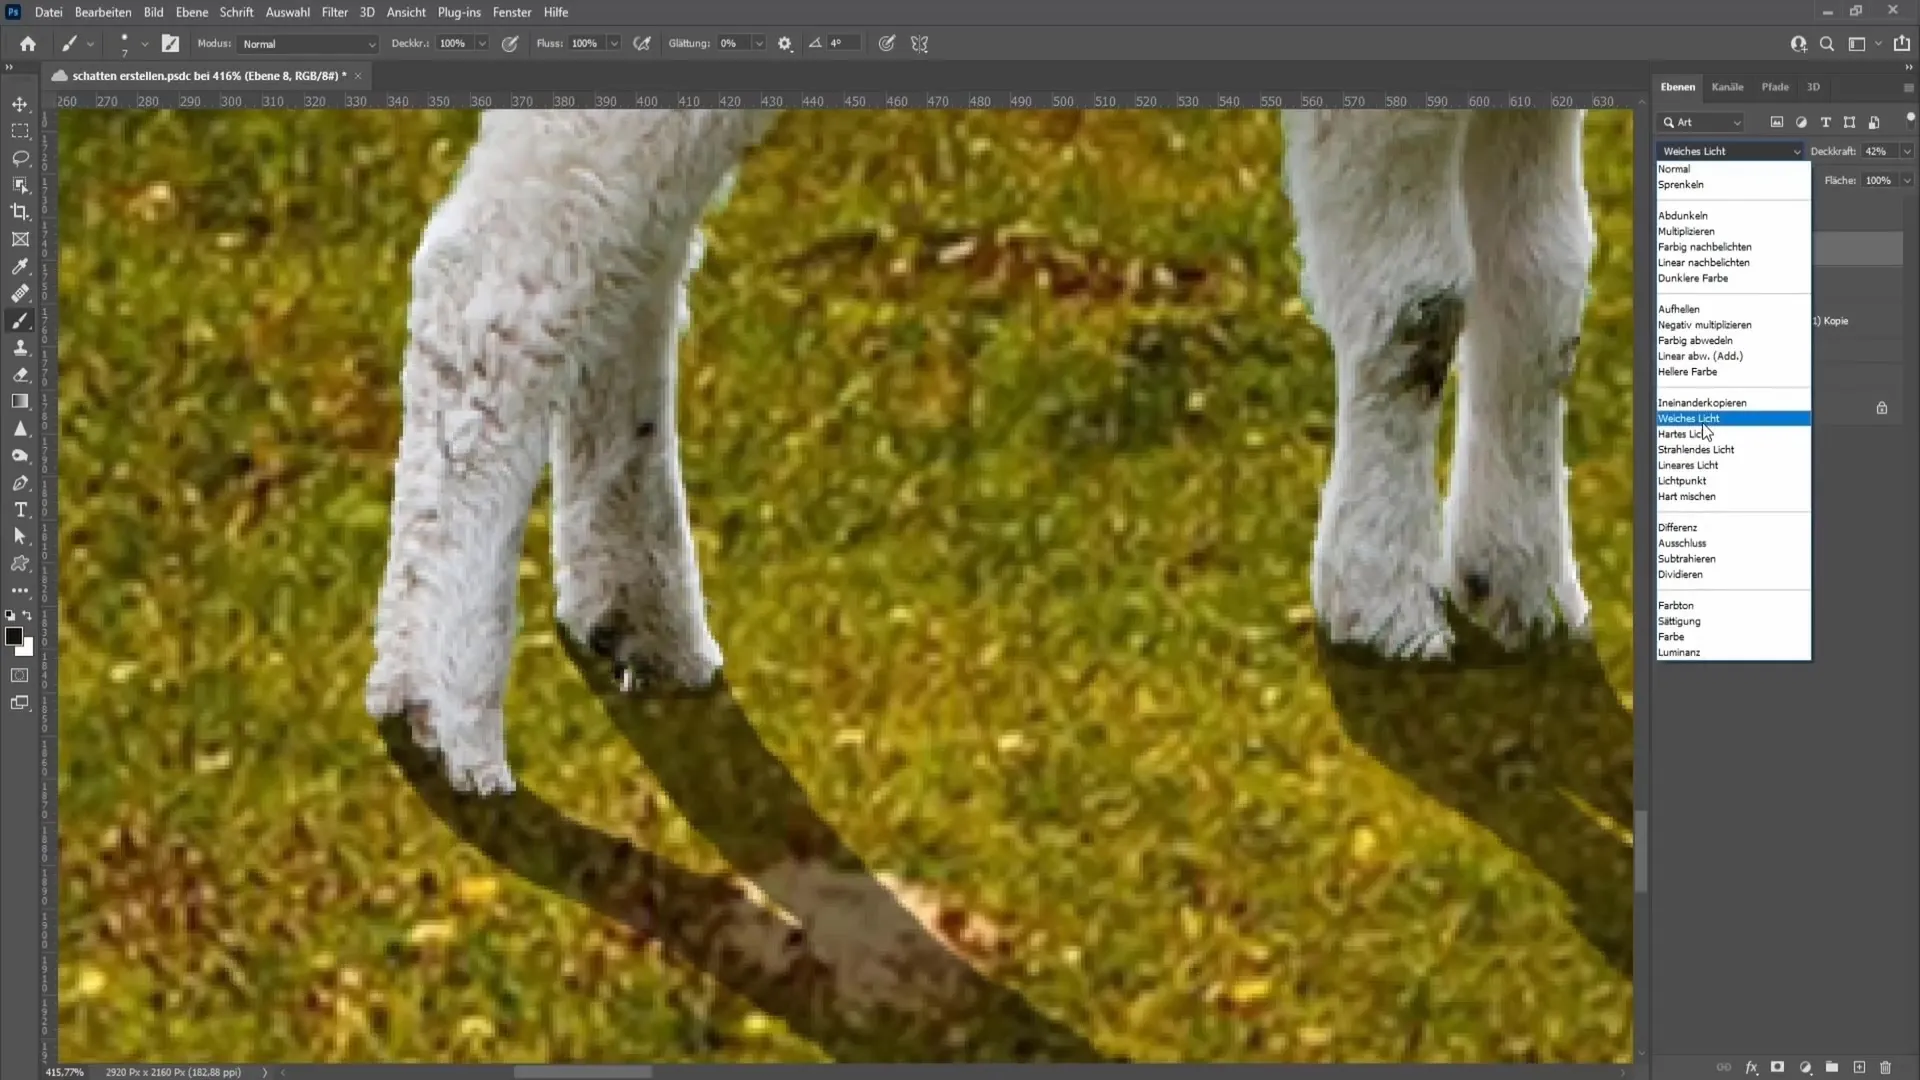
To further refine the shadow effects, you can adjust the shadow mask layer and use the gradient tool to vary the shadow from foreground to background.
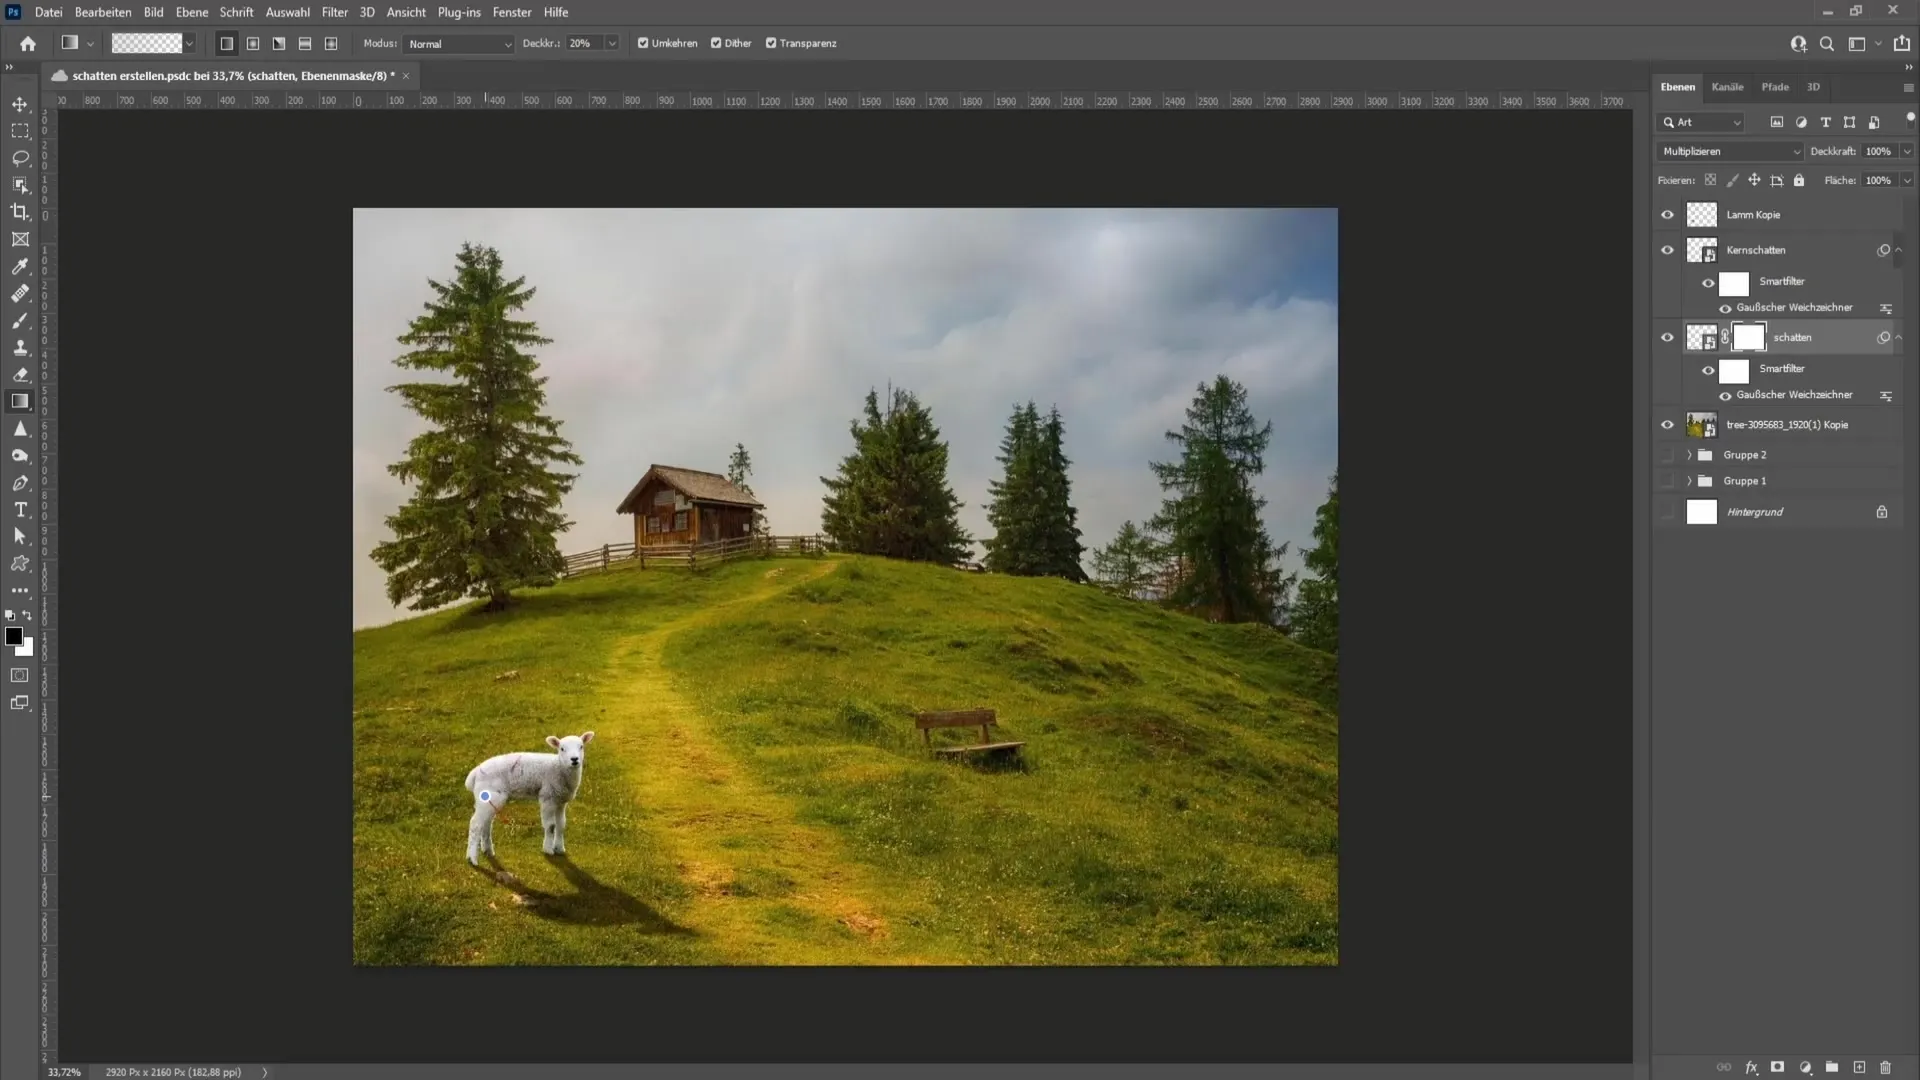
This technique ensures that the shadow looks more realistic and blends harmoniously into the image.
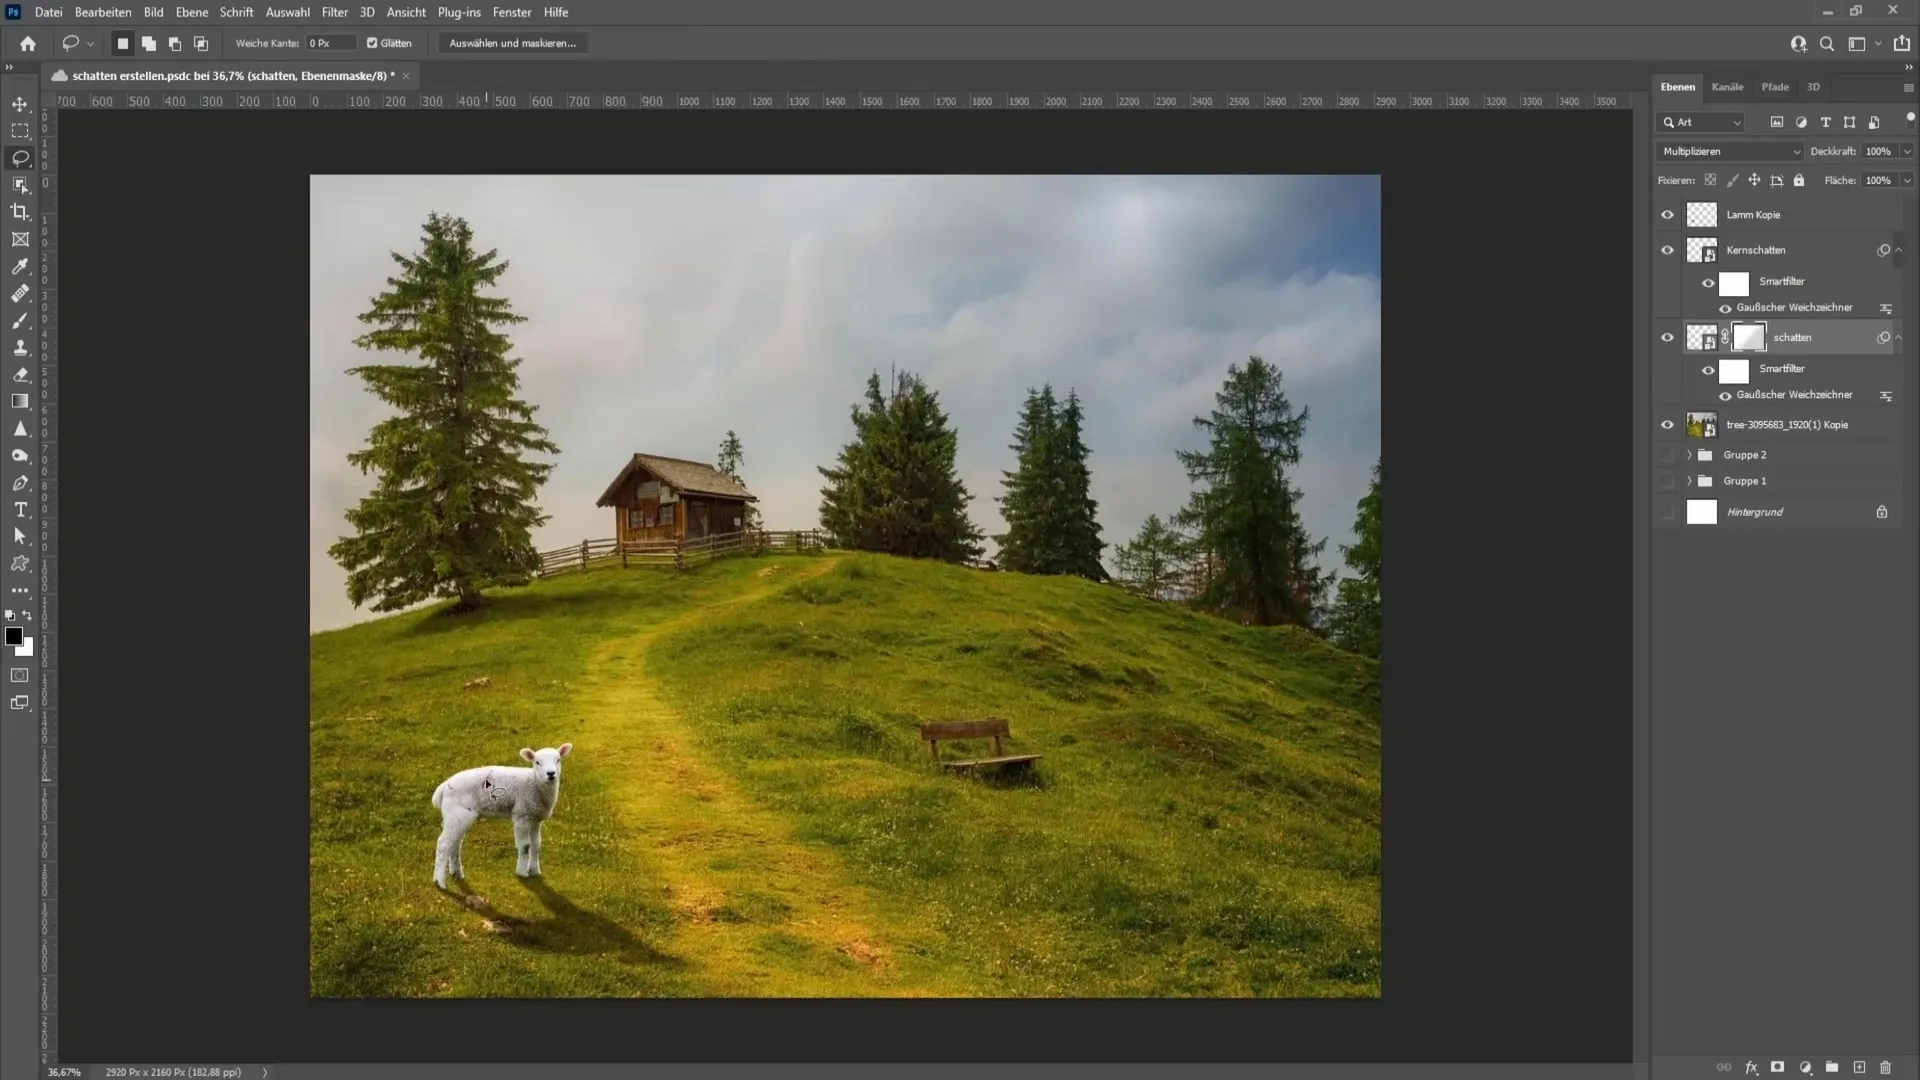
Summary
In this tutorial, you have learned how to create realistic shadows in Photoshop. You now know the process, from applying drop shadows to drawing and refining shadows, to creating core shadows and color themes. With these techniques, you will be able to give your images an extra dimension.
Frequently Asked Questions
How can I change the color of the shadow?Use the dropper to select a matching color from the background and adjust it in the shadow layer.
Can I change the results at any time?Yes, by using Smart Objects, you can adjust your filters anytime.
Is the process of creating shadows always the same?Not necessarily. Depending on the existing light source, the style of shadow drawing can vary.


