Posterization, also known as Banding, can be a frustrating issue in image editing. They often occur in images with large, uniform color areas like skies or water. In this guide, I will show you how to easily and effectively remove these breaks from your images in Photoshop. I will guide you through the entire process and explain the backgrounds and tools you will need for it.
Main Takeaways:
- Posterization generally occurs due to poor image quality or excessive corrections.
- By converting to 16-bit and applying a blur filter, you can eliminate banding.
- Additional techniques such as adding noise or using textures can also help reduce the visibility of banding.
Step-by-Step Guide
Let's start with the first step to understand the causes of posterization and successfully remove them.
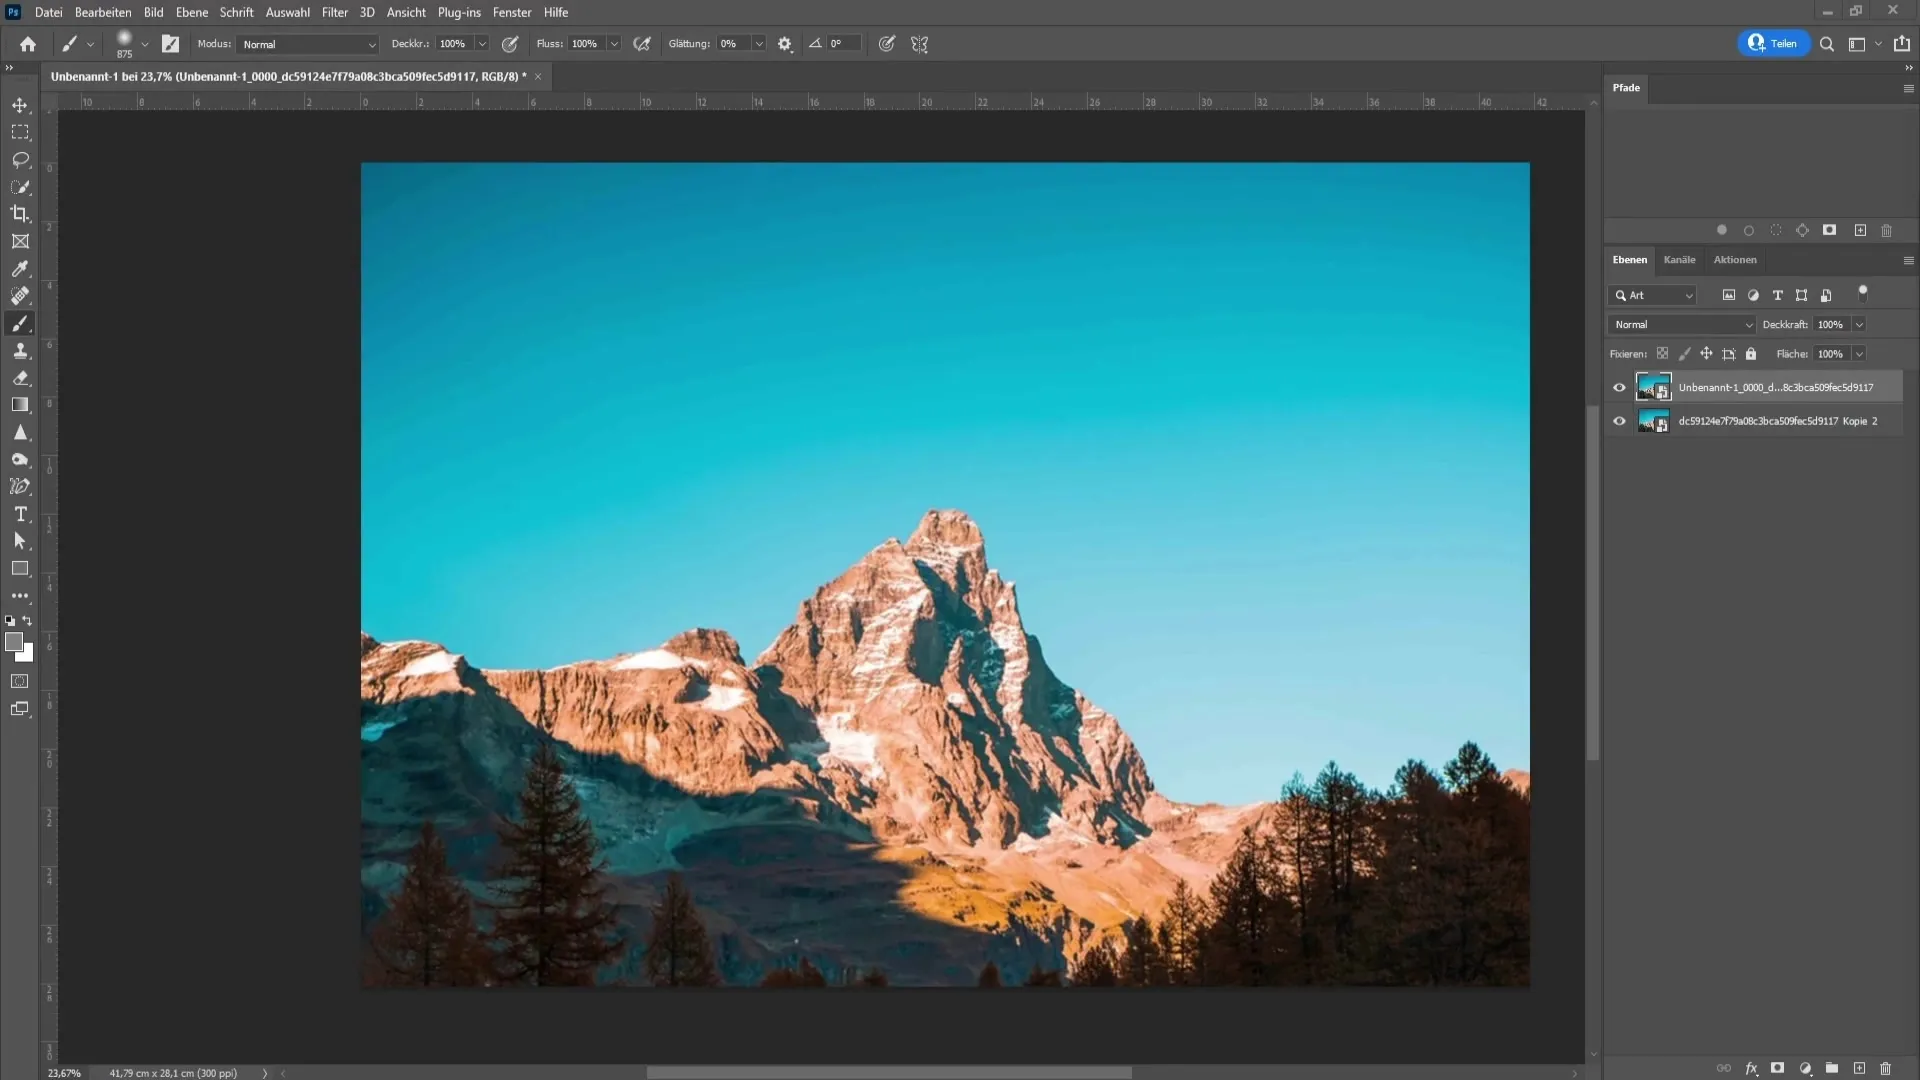
As mentioned earlier, posterization often arises from poor image quality or numerous corrections made in an 8-bit channel. This leads to abrupt color transitions, which become visible as banding. Now, we want to demonstrate how you can simulate such an effect with a low-quality image.
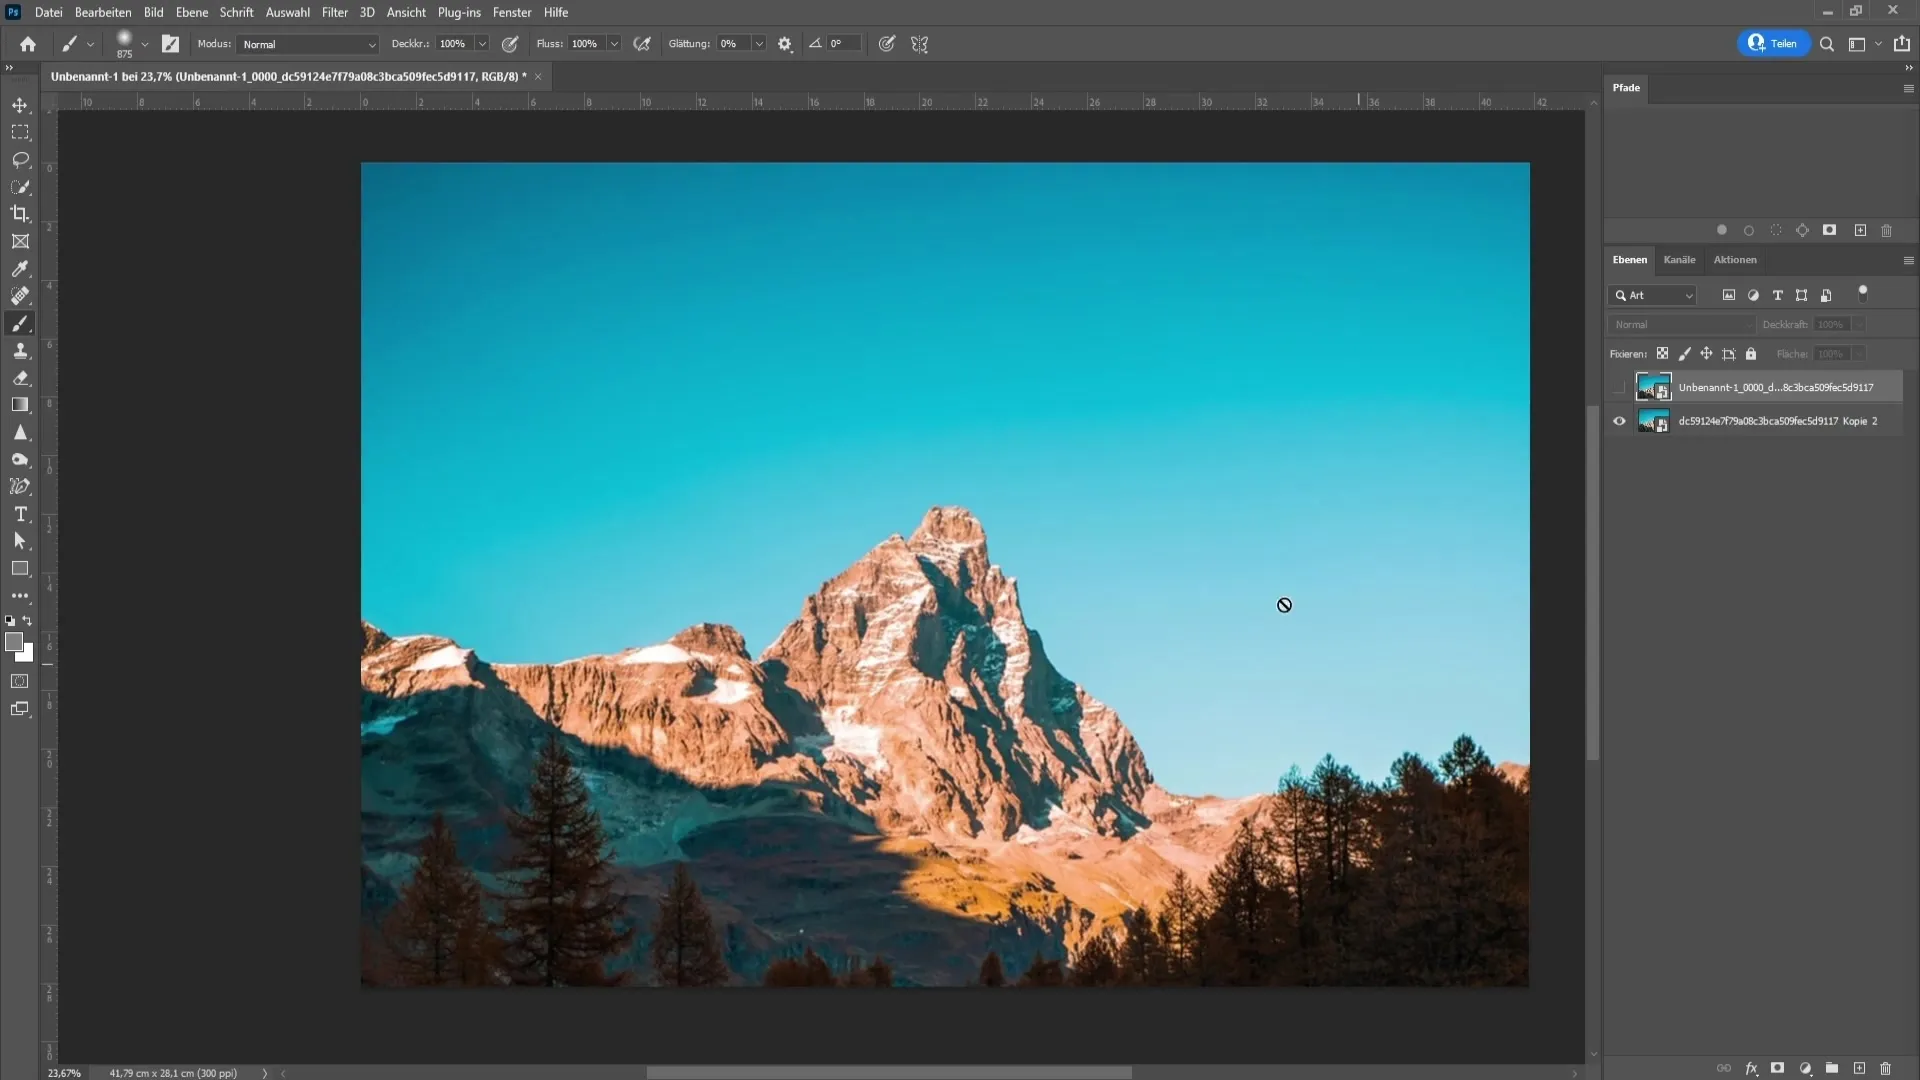
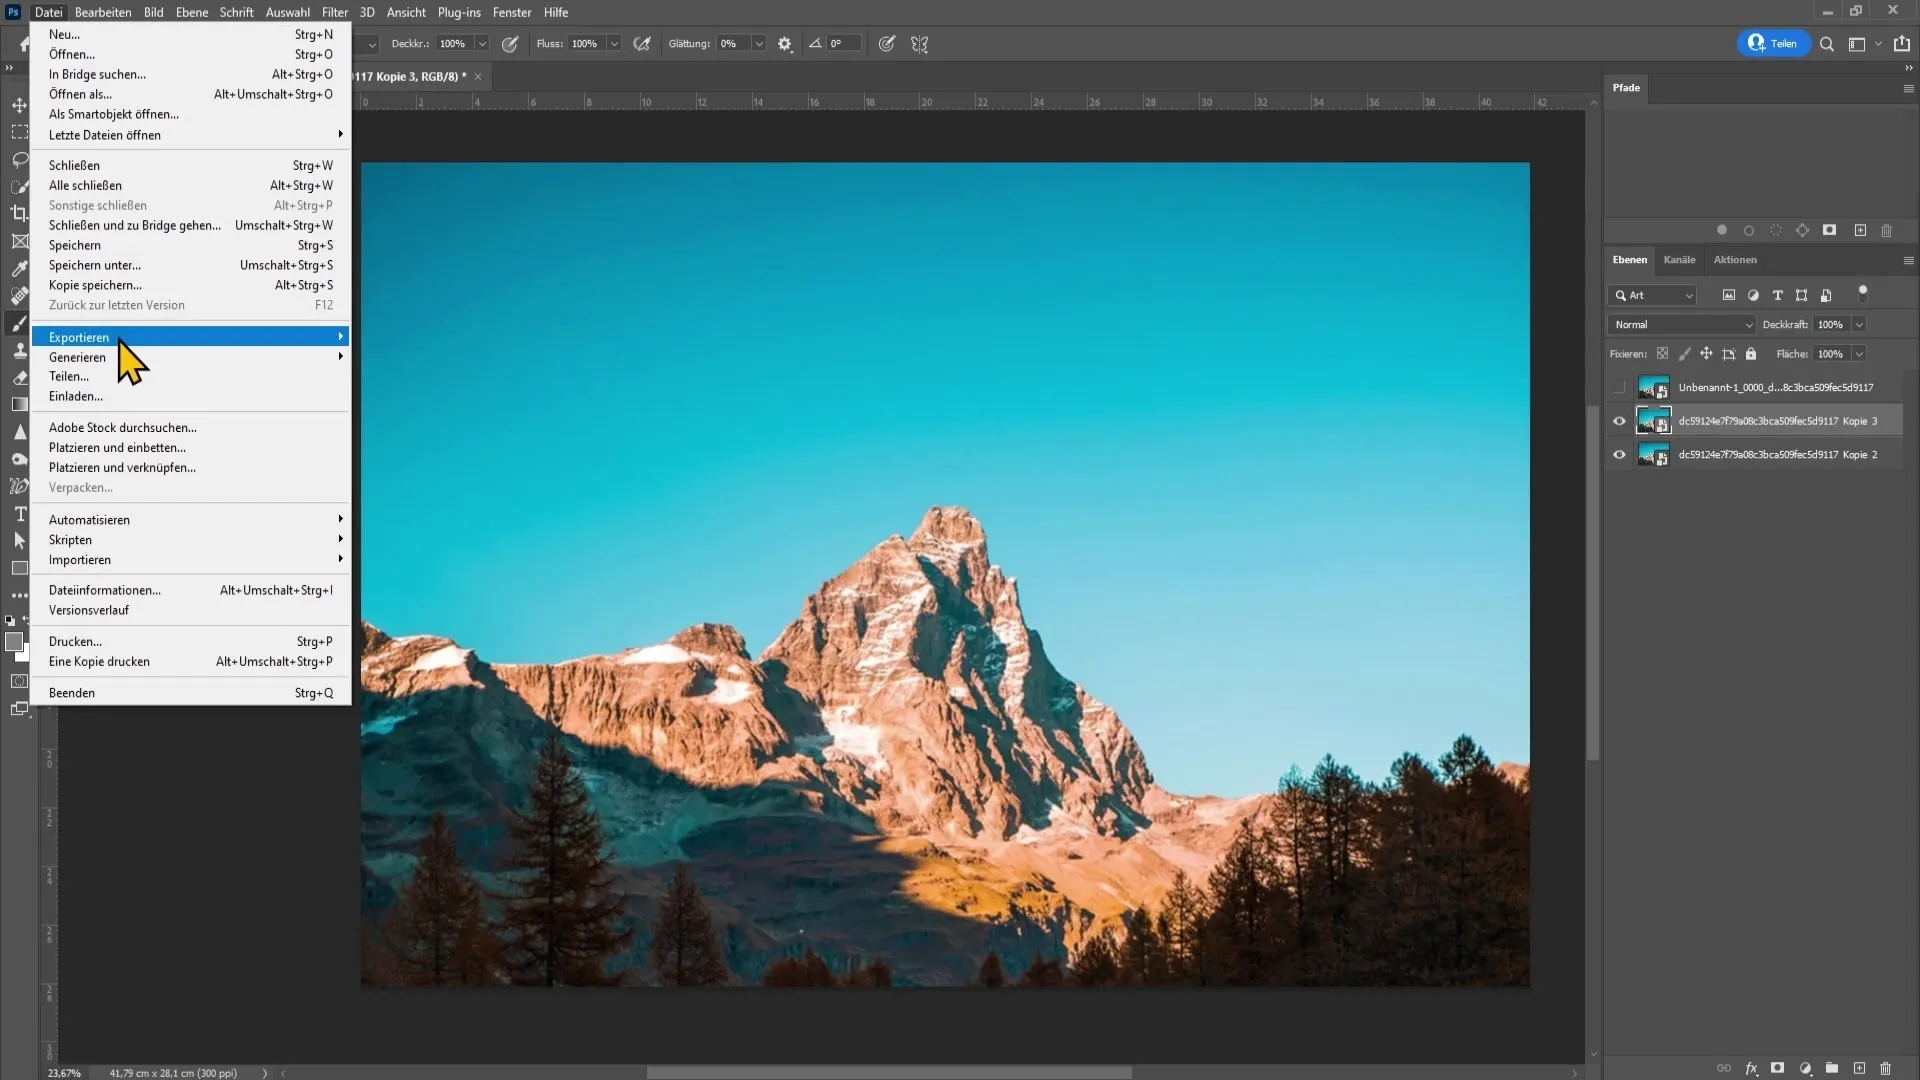
To create a sample image, make a copy of your working layer. Press Ctrl + J to create a new layer. Then navigate to the top left and select "File" then "Export" and then "Layers to Files". Set the file type to JPEG and set the quality to 1. Choose a location to save the image and demonstrate the banding effect.
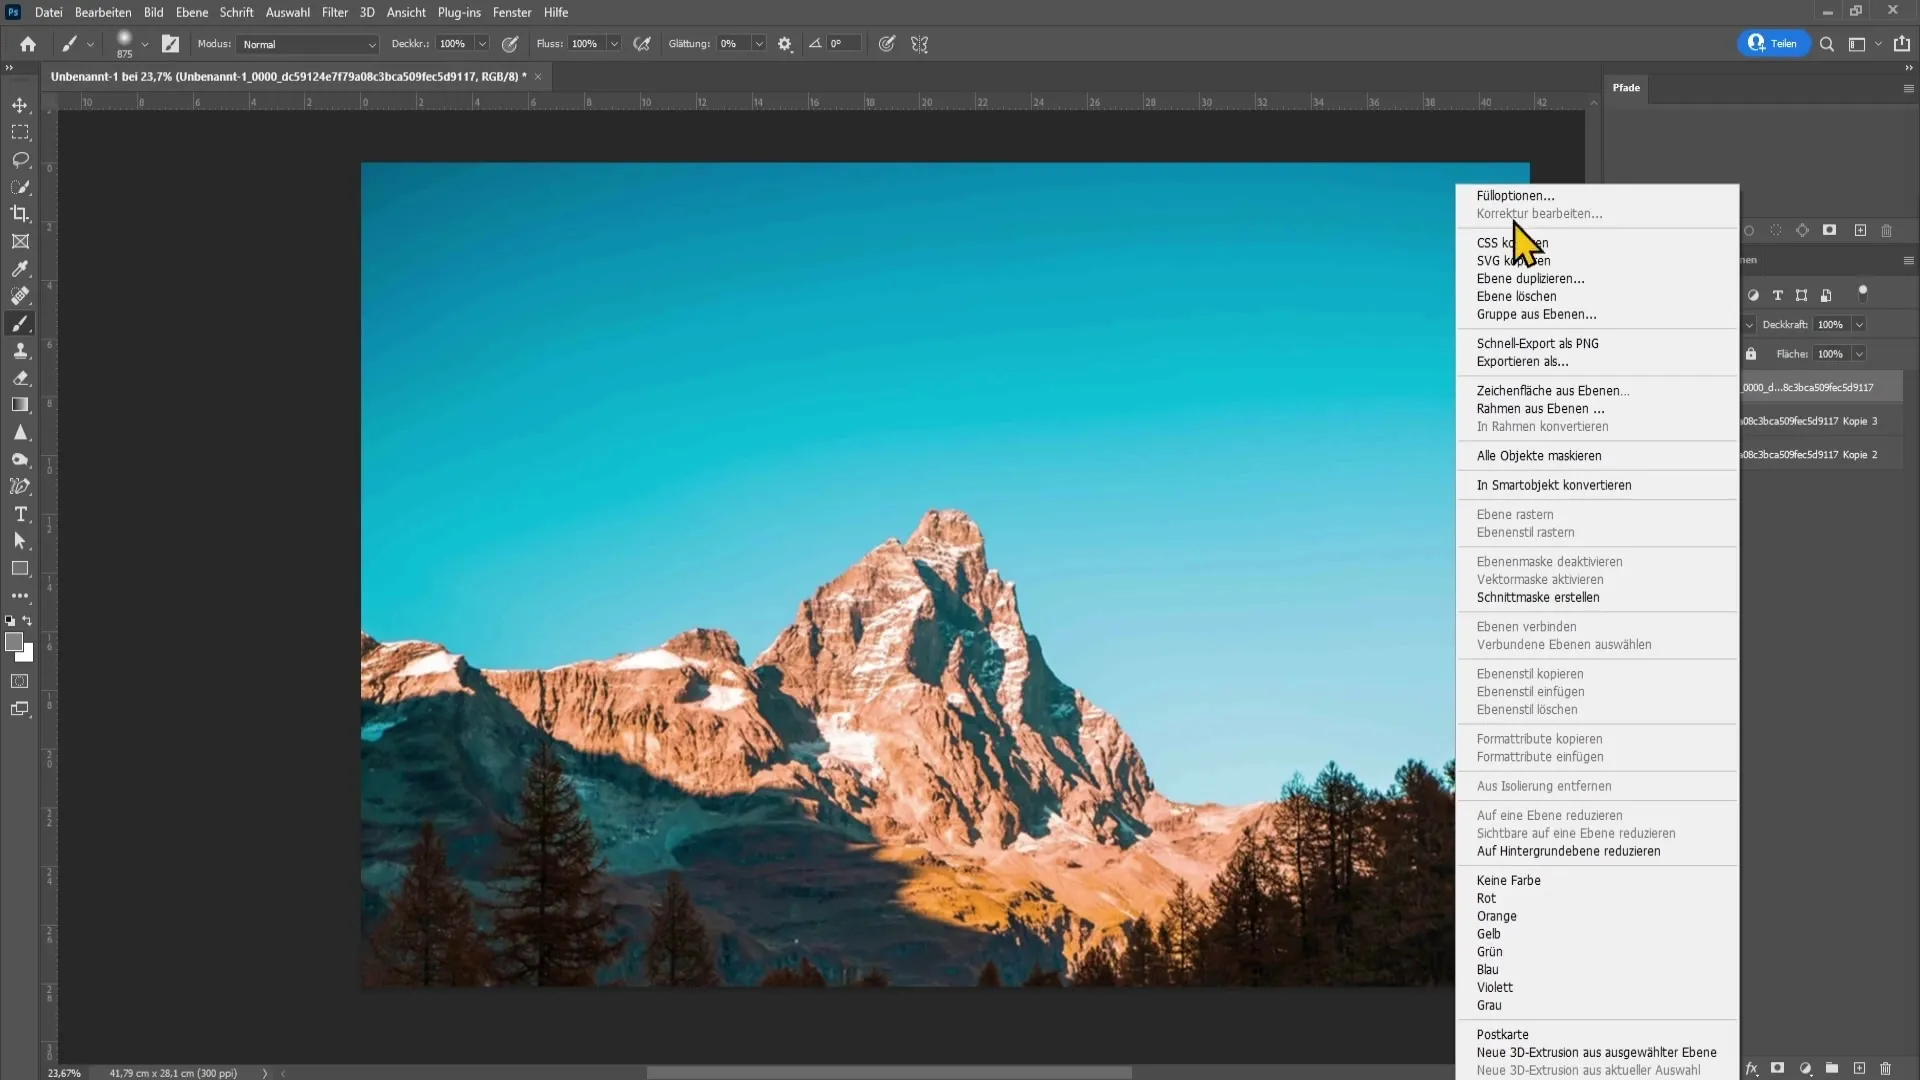
Now, let's look at how you can remove the banding from your image. First, you need to convert the image into a smart object. It's best to right-click on the layer and choose "Convert to Smart Object" to be able to edit changes later.
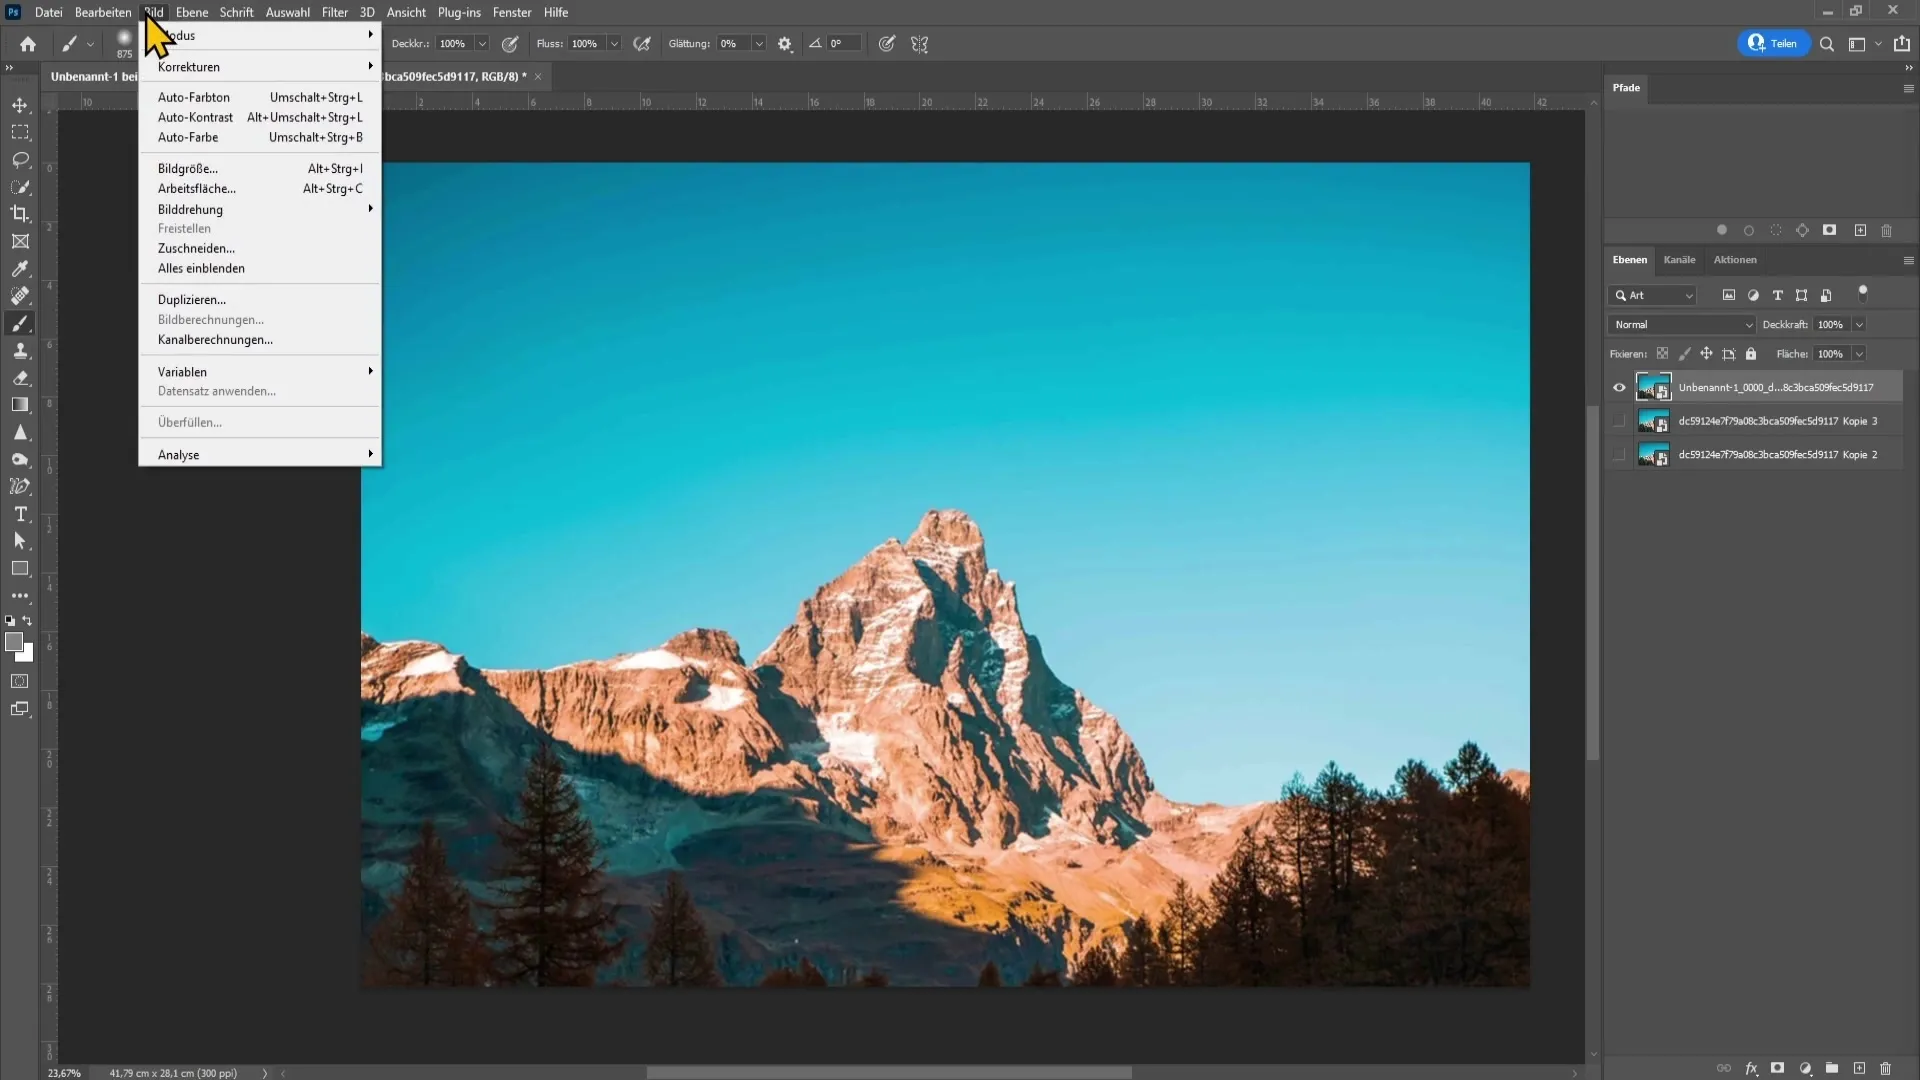
To edit the image more effectively, change the mode to 16-bit. Go to "Image" at the top left and then "Mode". There, select "16 Bits/Channel". This will be useful if you have stronger tonal breaks and want to soften them.
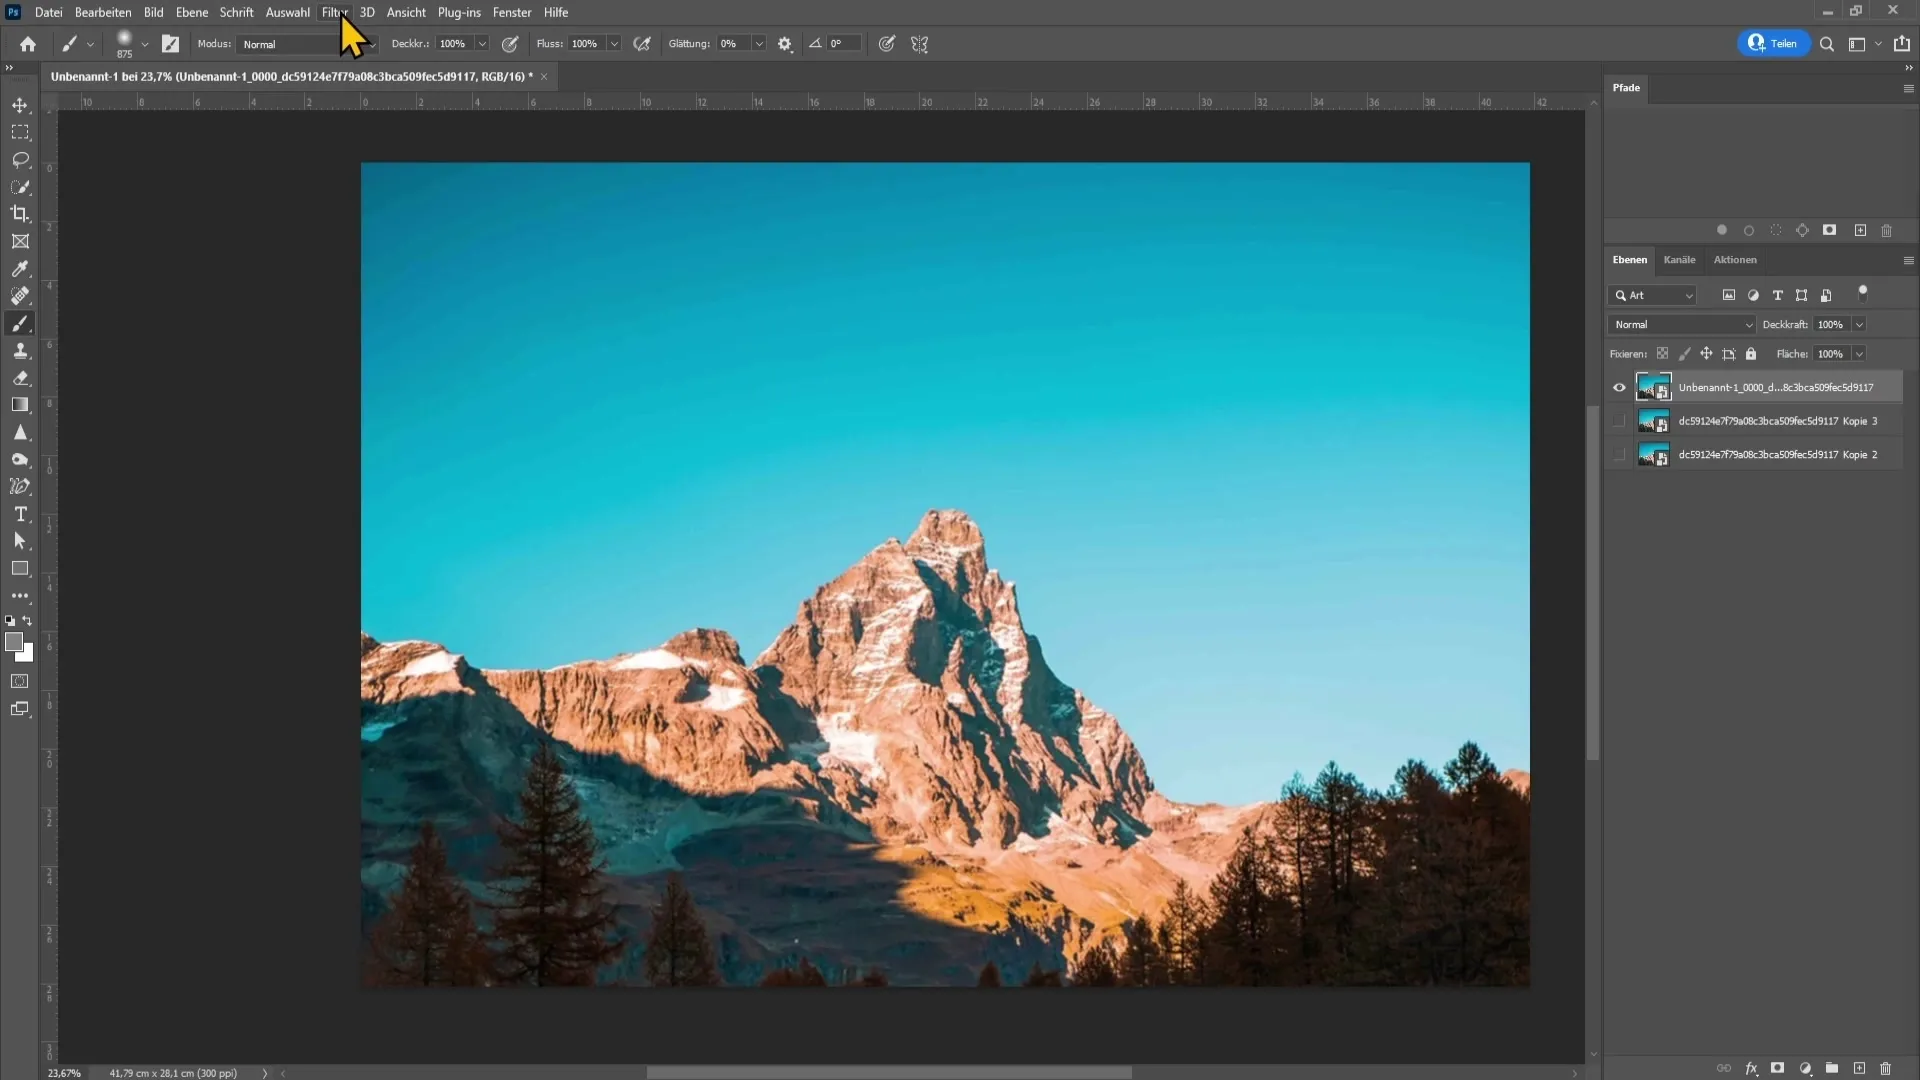
Now, apply a blur filter to smooth out the tonal breaks. Click on "Filter", choose "Blur Filter", and then "Gaussian Blur". Here, you can adjust the radius to determine the strength of the blur.
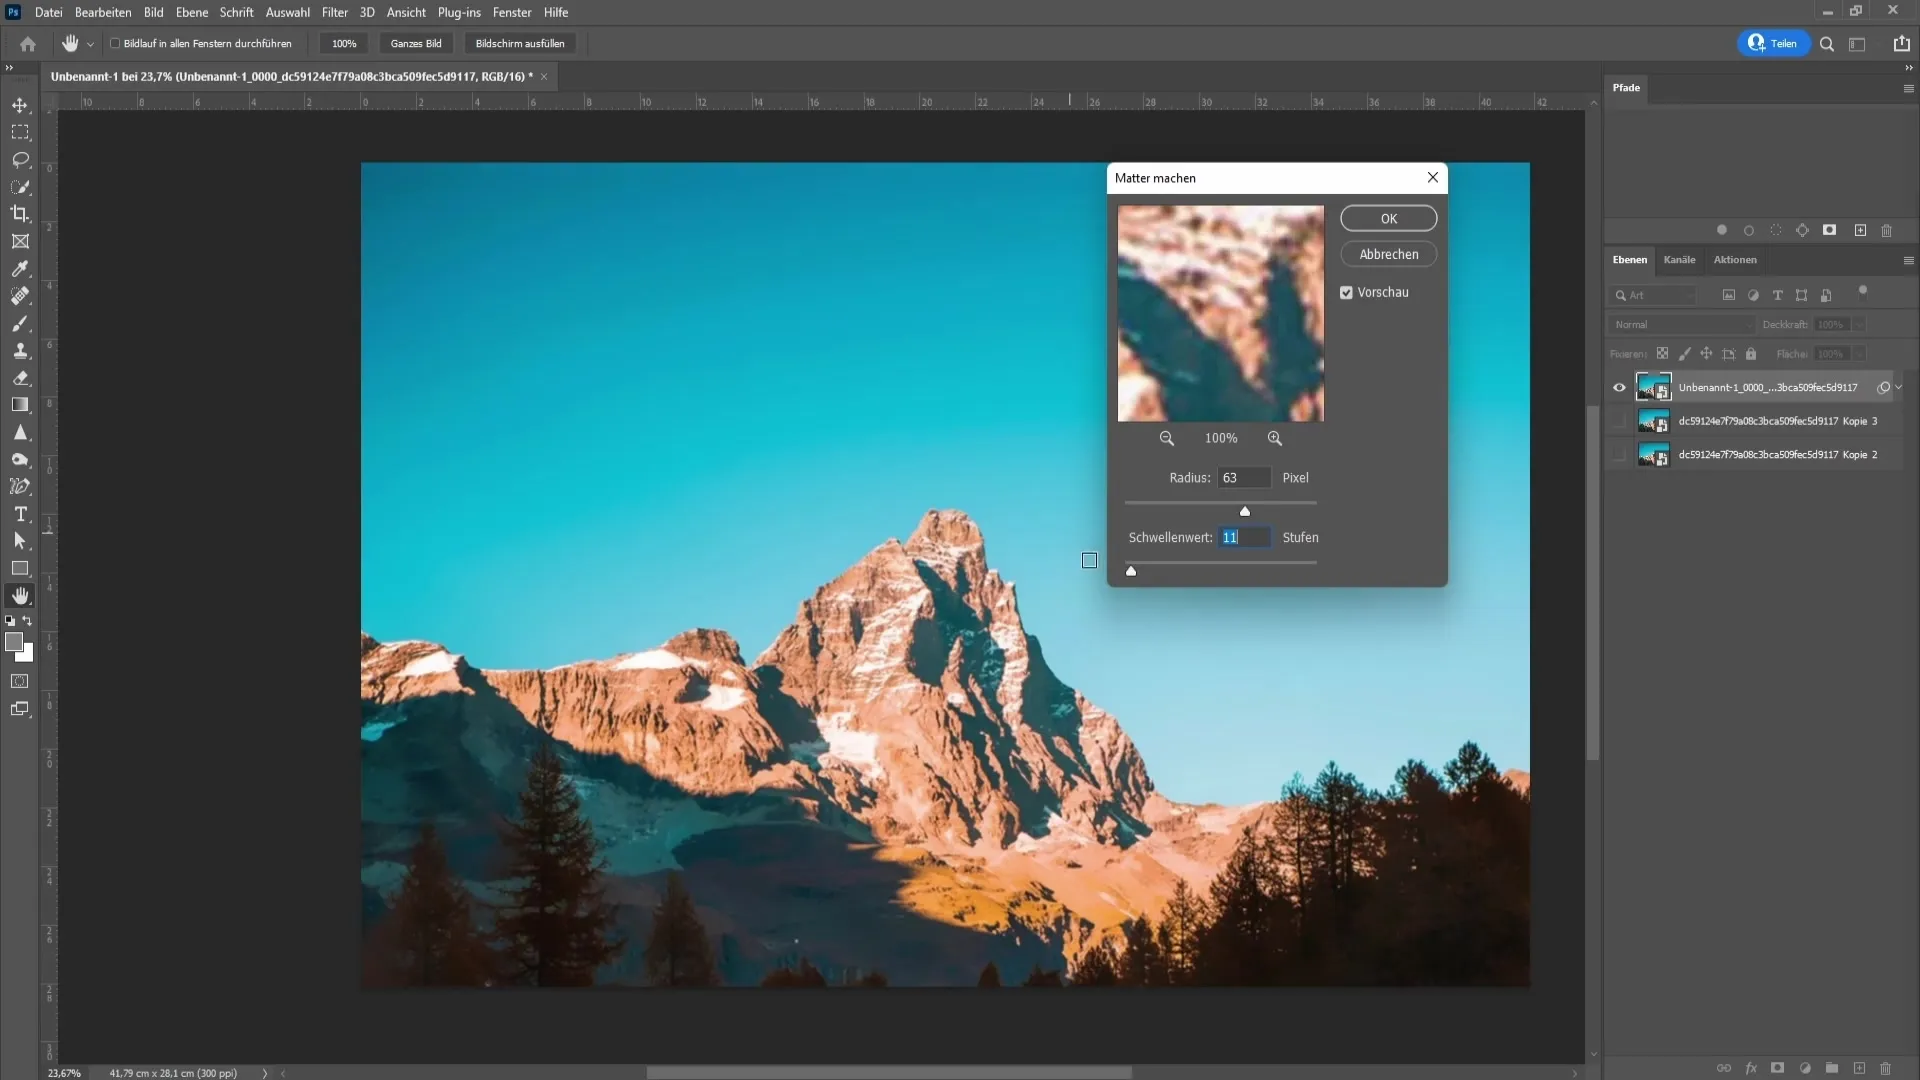
Next, adjust the filter threshold. You can start with a value of around 2. This way, you will notice that hardly any details are lost. Higher values will blur the details more. Experiment with a radius of about 6 and a threshold of about 12 to make the tonal breaks in the sky barely visible.
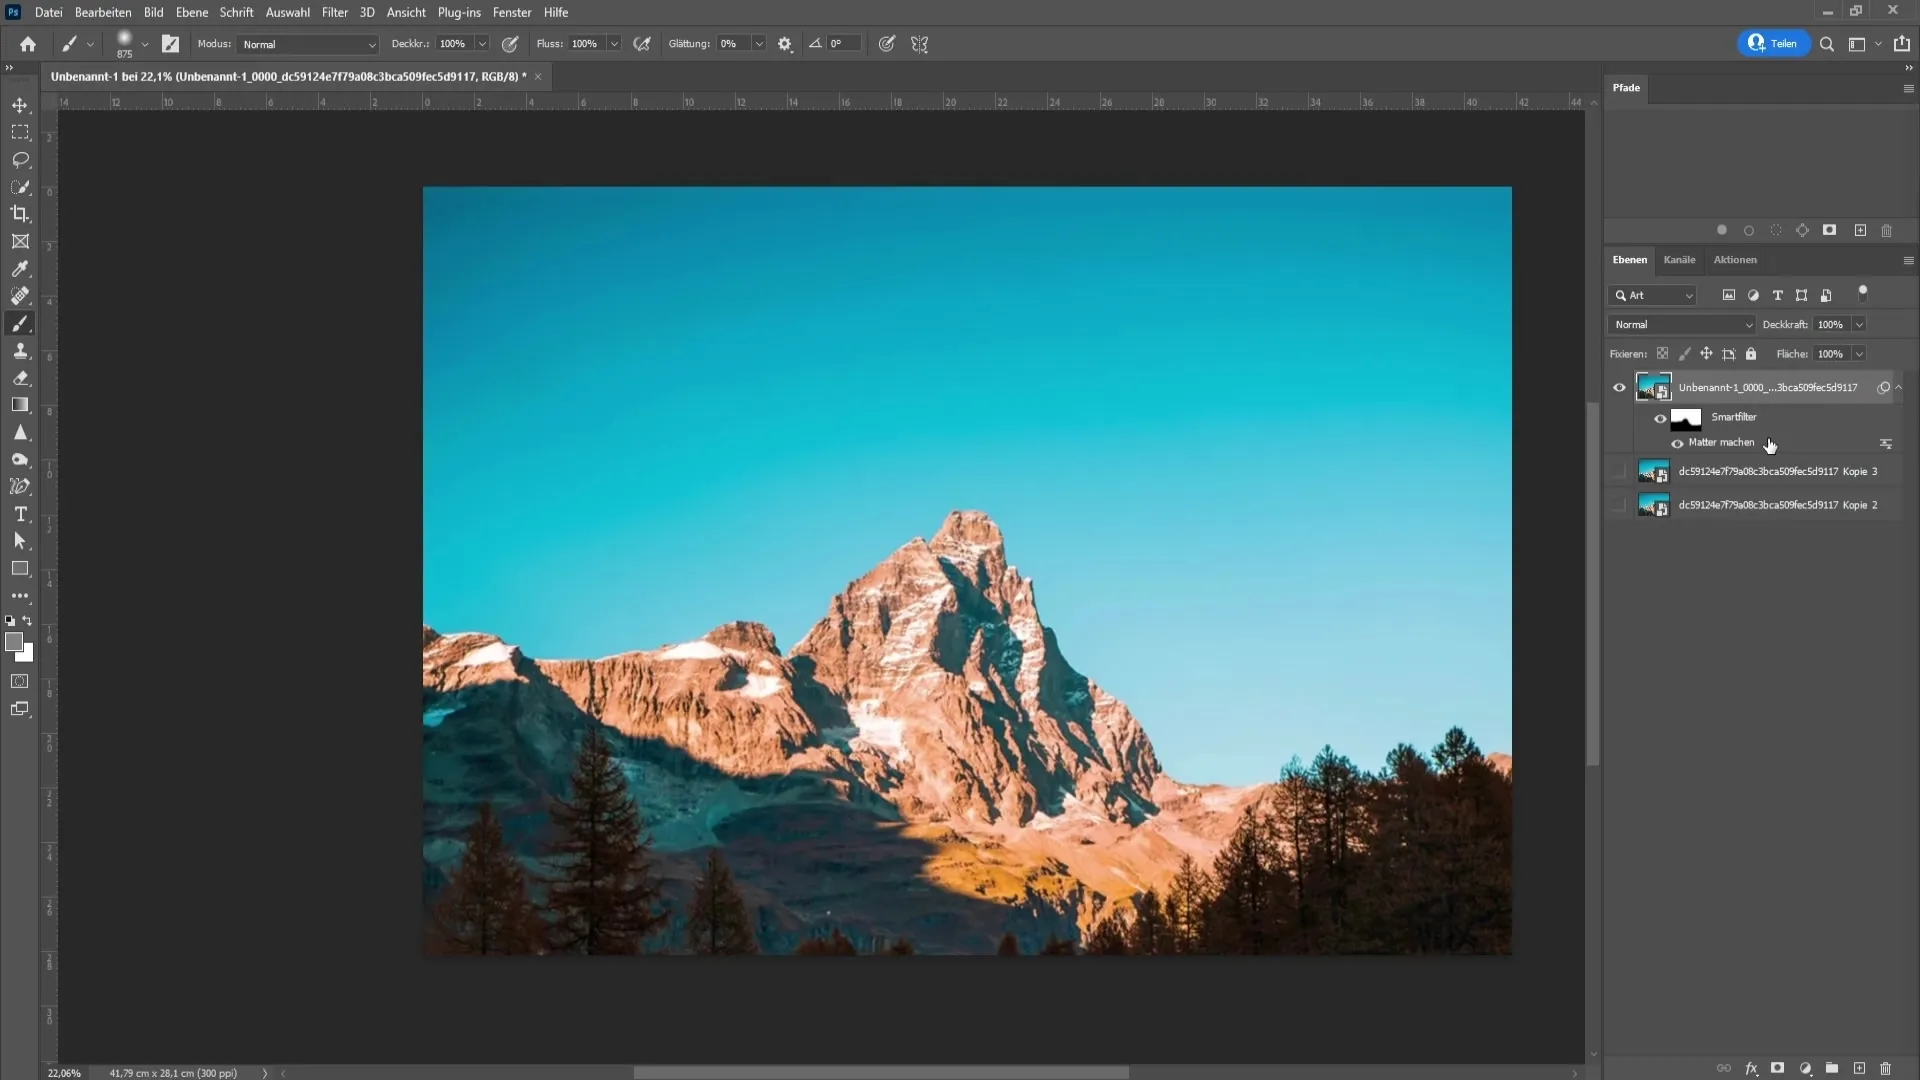
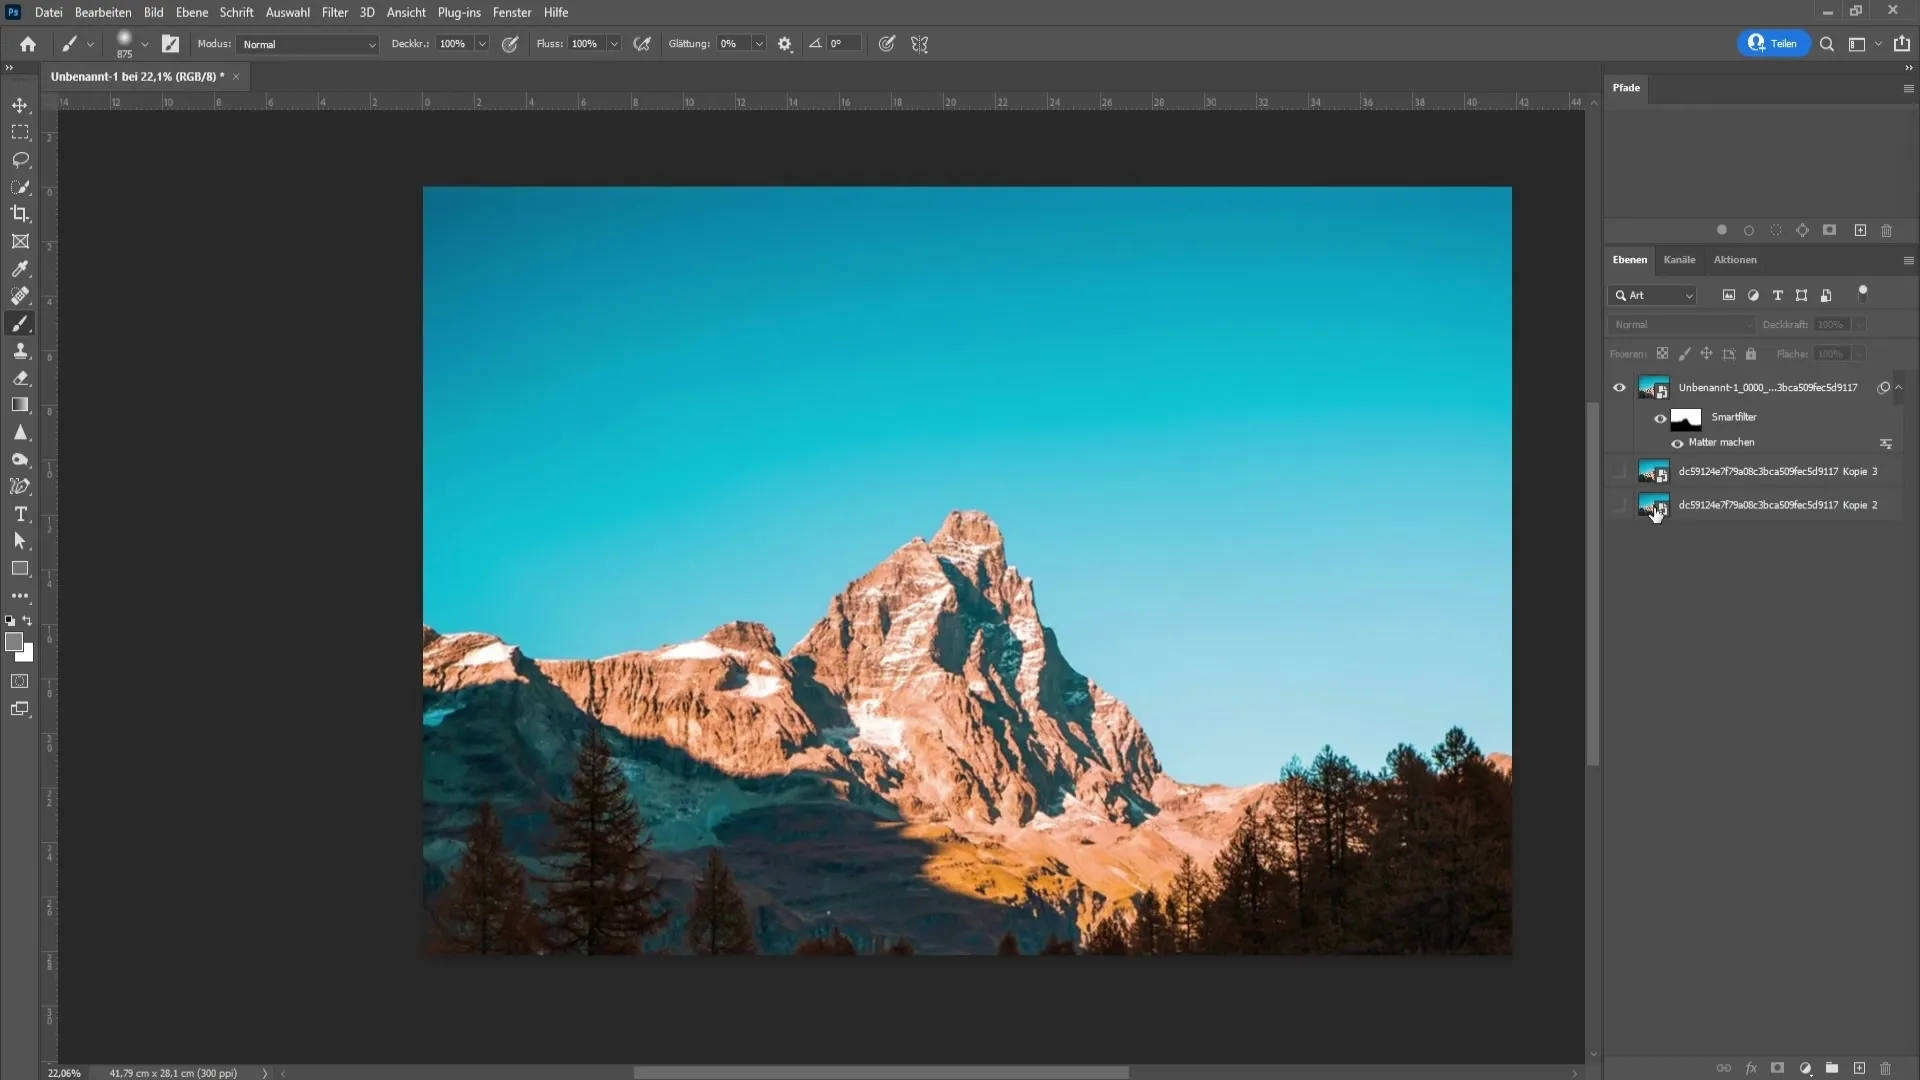
When you see the effect, the sky will appear more uniform. However, there is now a problem: You may have also softened the lower part of the image, which you do not want. Therefore, you need to restore the details of the landscape.
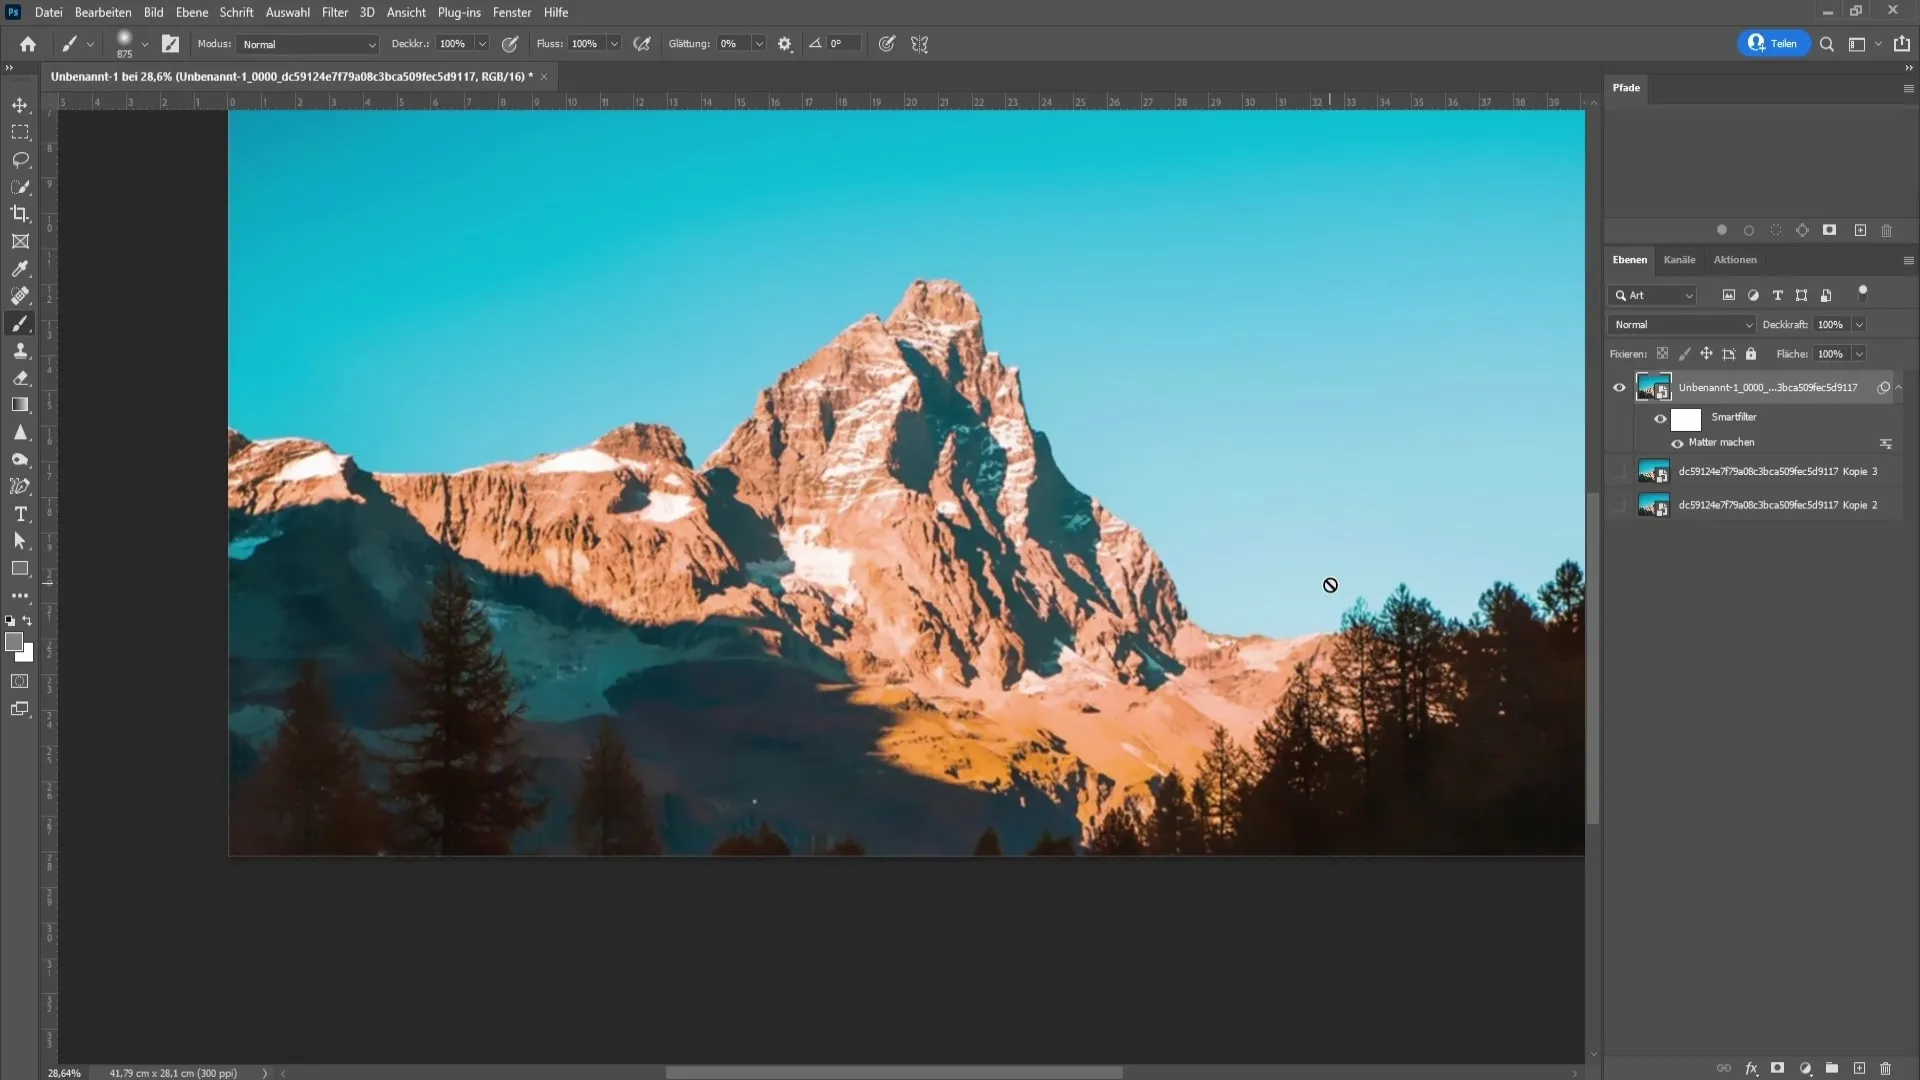
To do this, go to the white mask of the smart filter and select the brush tool. Set the hardness to 0% and press "D", followed by "X" to make the foreground color black. This way, you can paint over the landscape to restore the details.
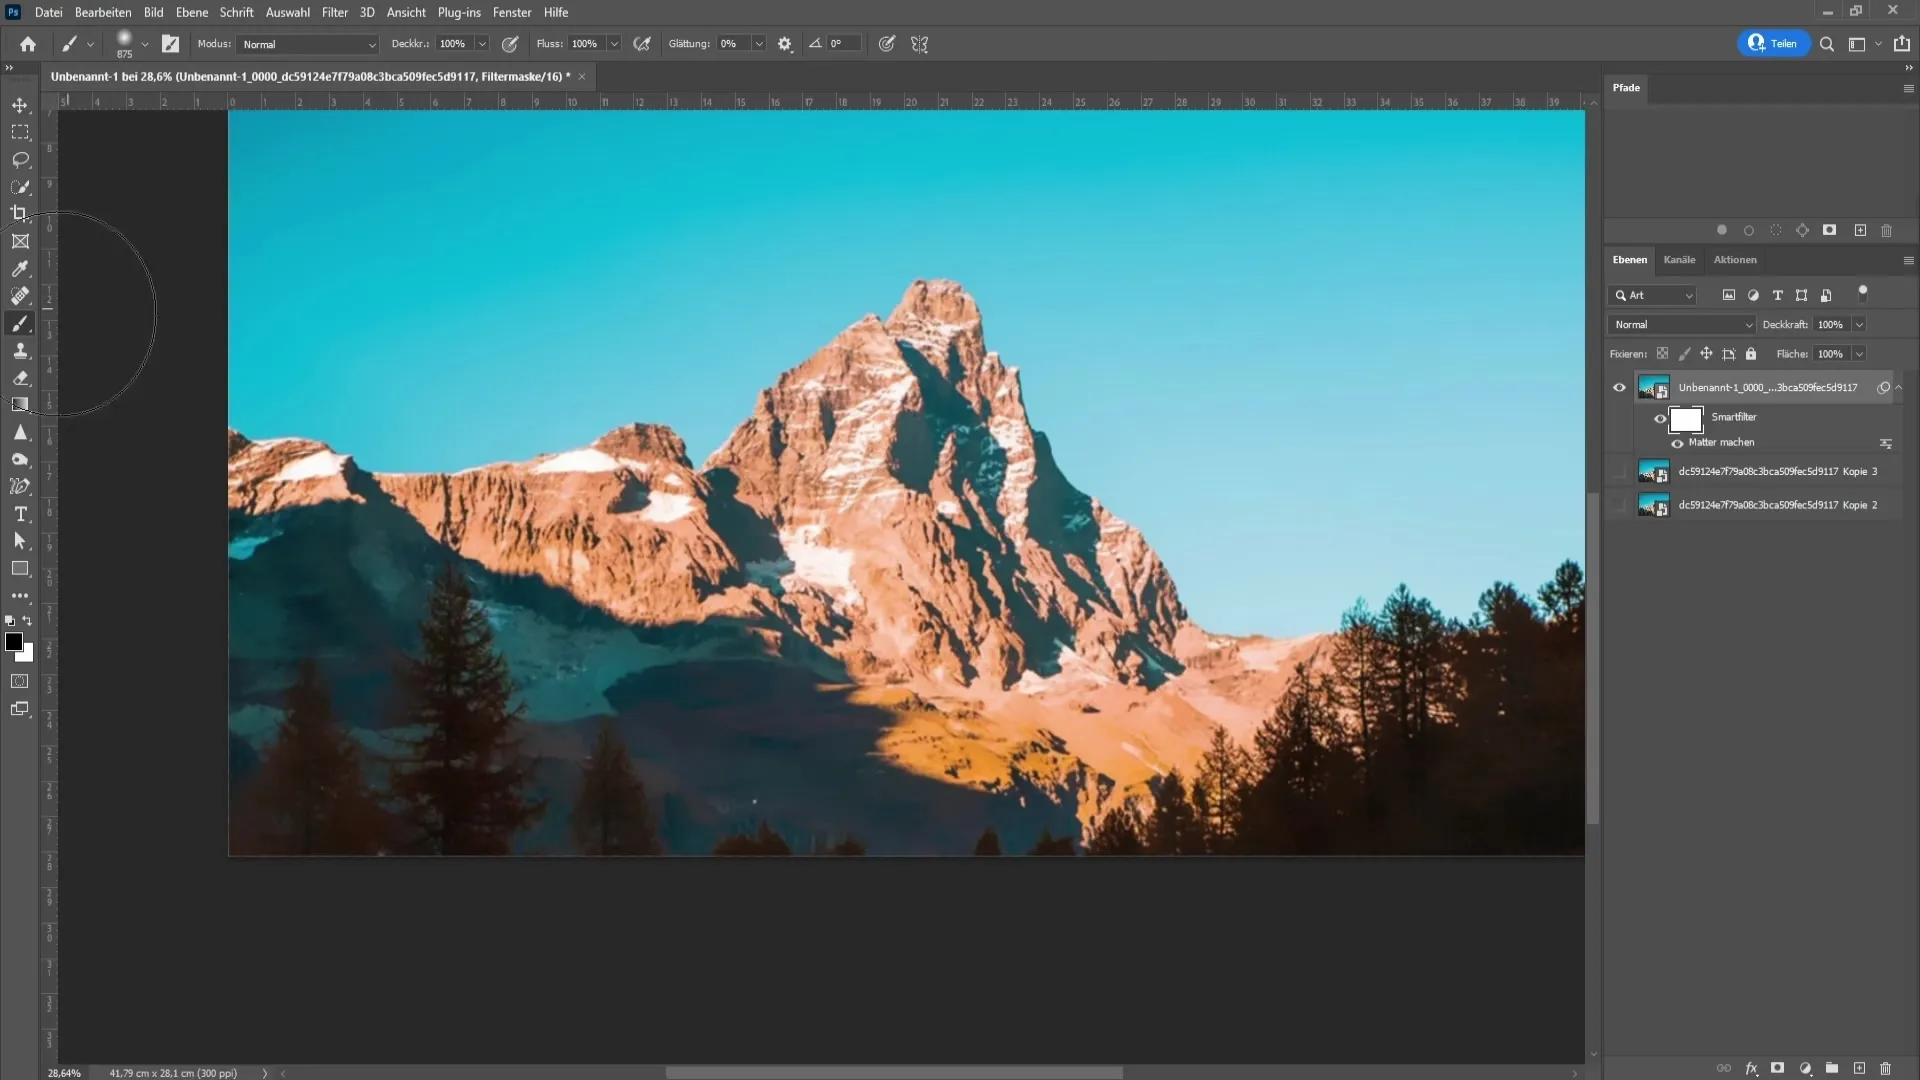
Don't be too picky here; a rough selection will suffice. When you look at the image again from a distance, you will clearly see the difference.
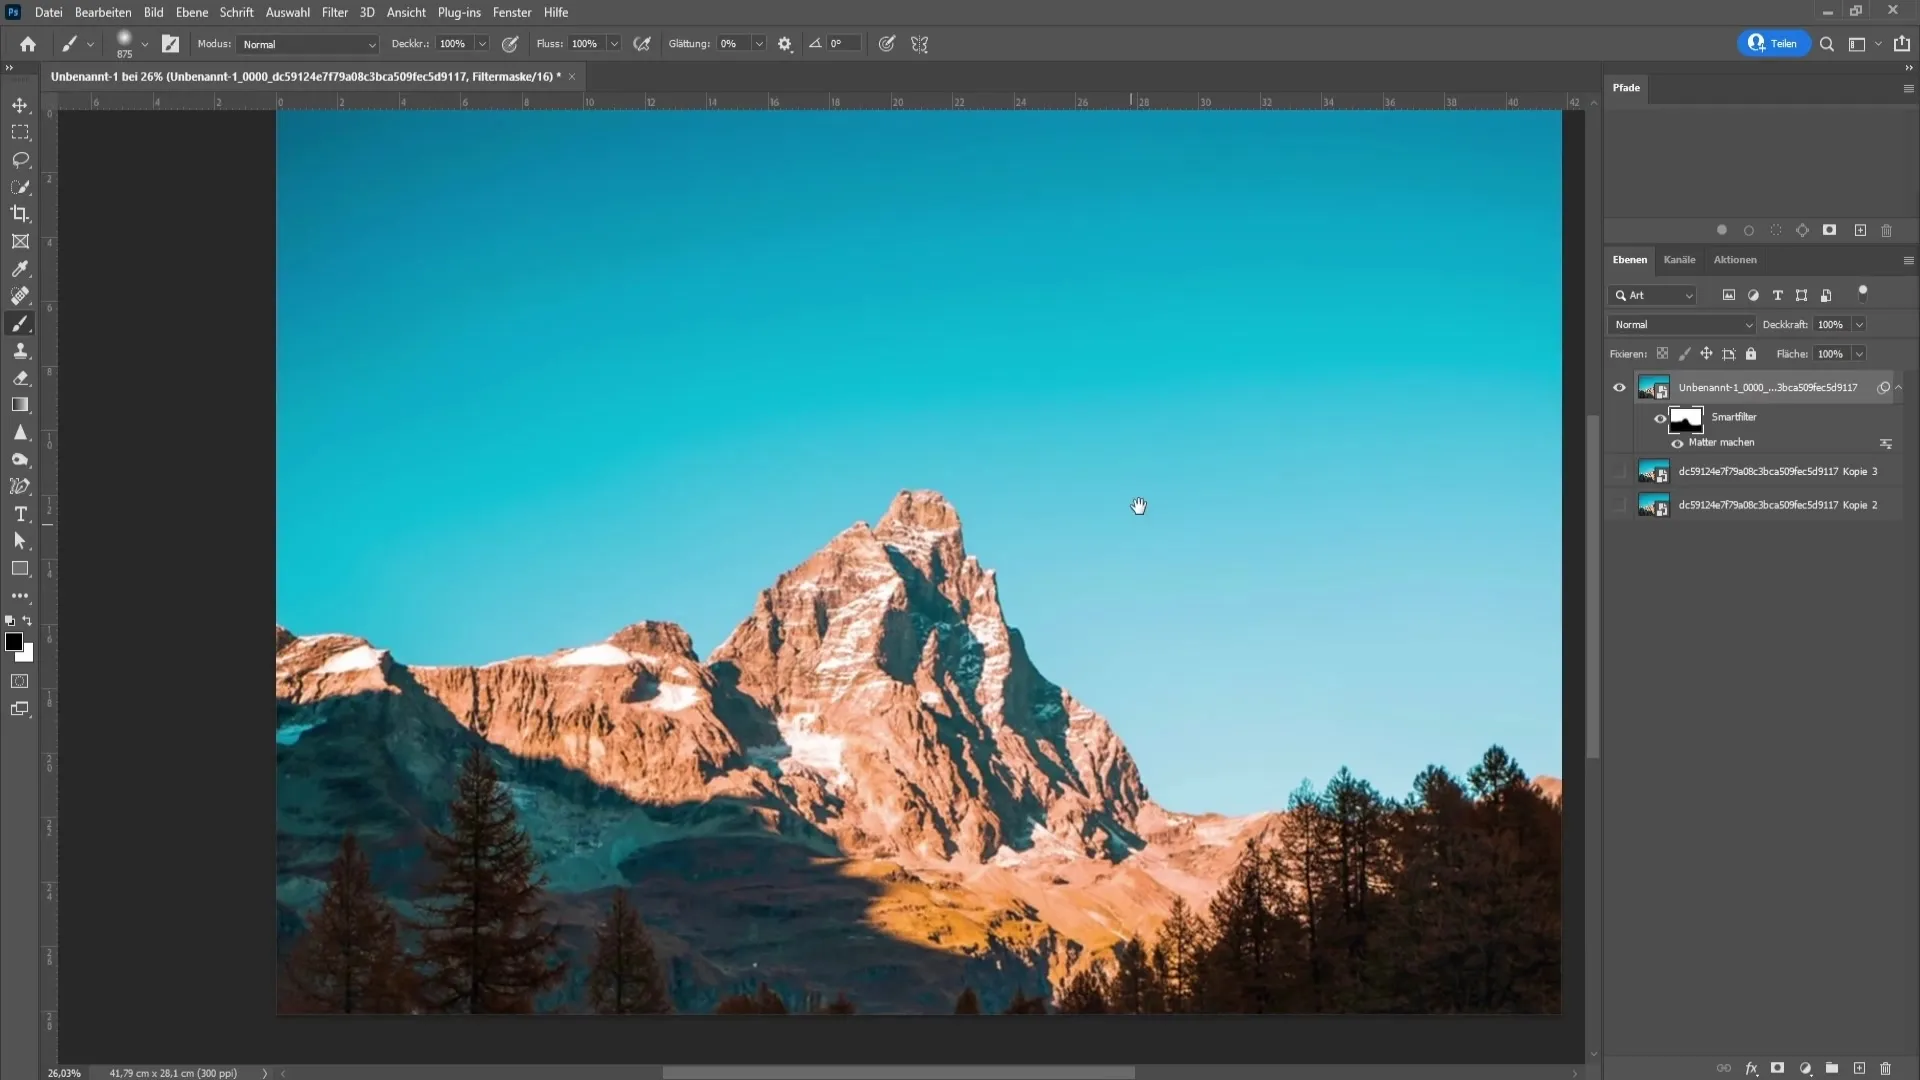
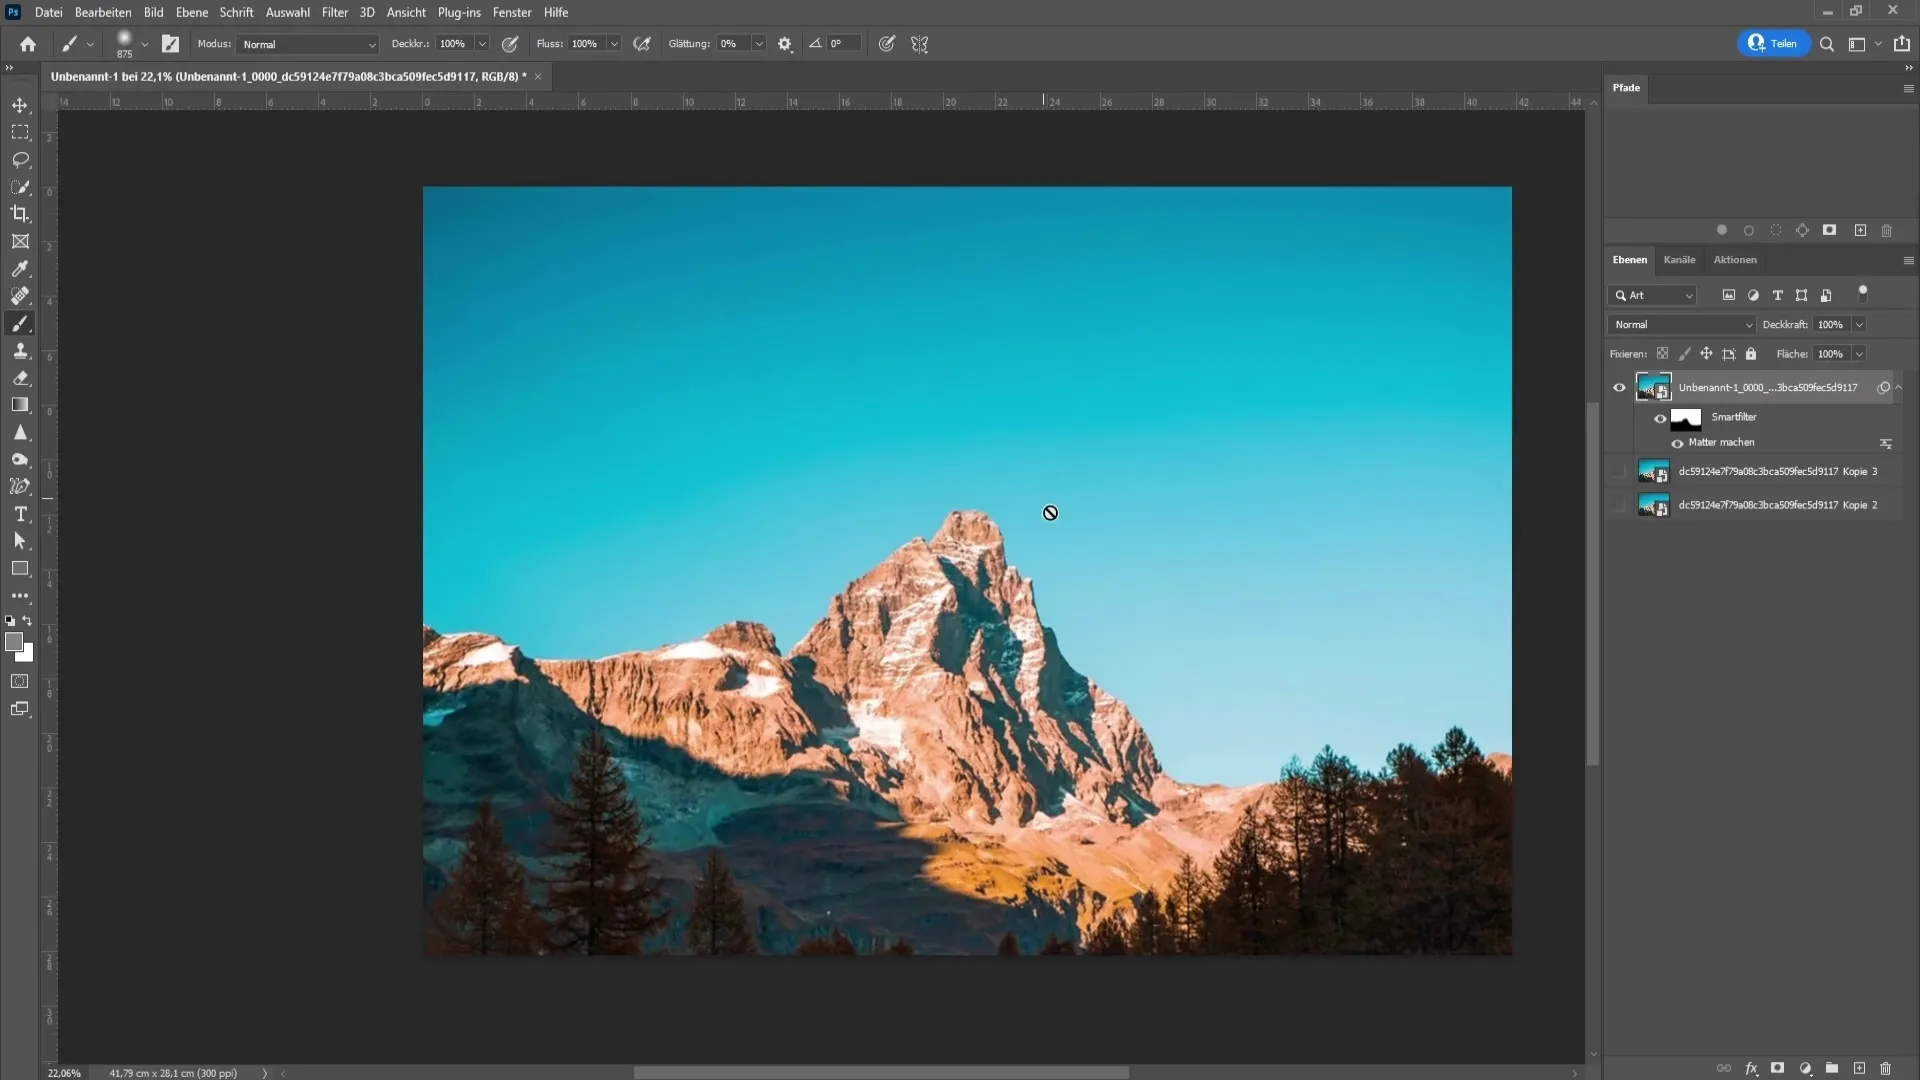
This is an easy way to remove tonal breaks in Photoshop! If you do not achieve the desired results with this method, there are other options you can try.
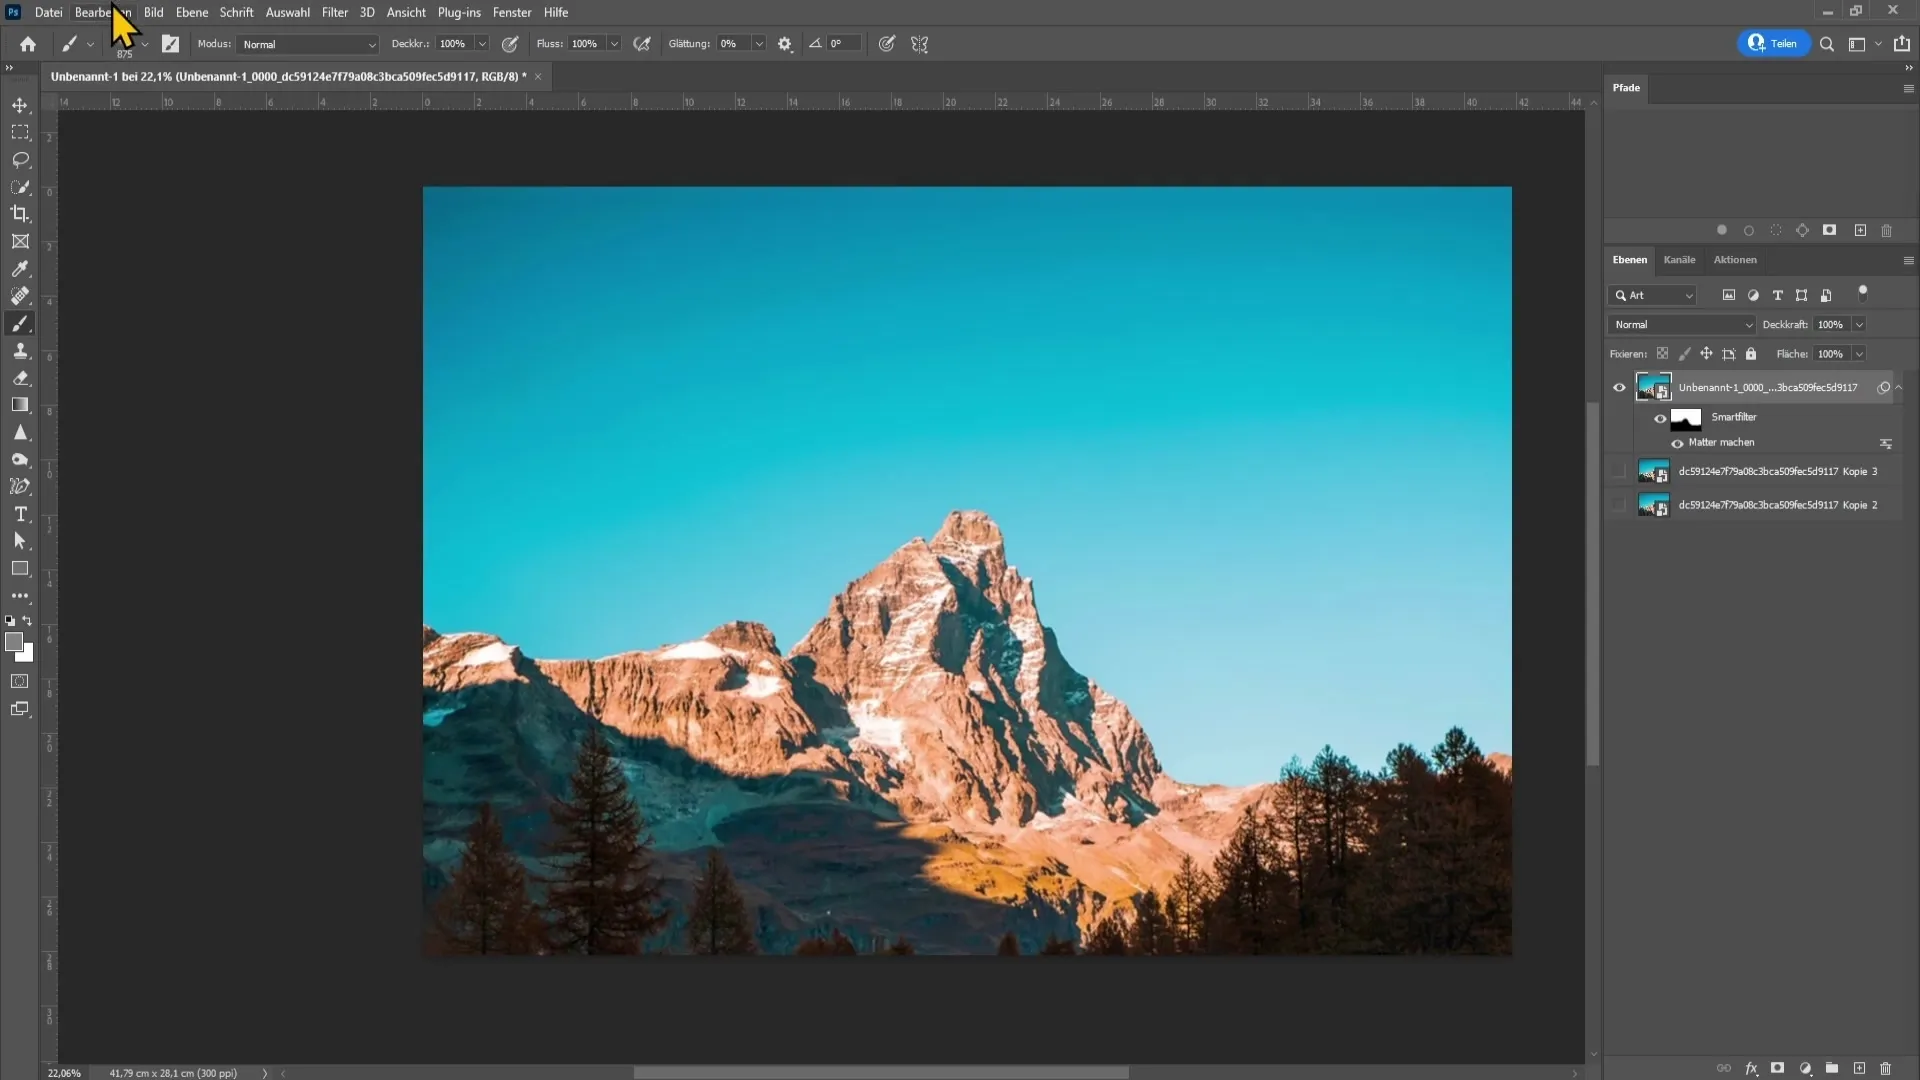
One option is to replace the sky. You can use the "Replace Sky" function which you can find under "Edit". There you choose a different sky to eliminate the banding effect.
However, this method is not suitable for portrait pictures. The filtering method is more appropriate in such cases. If you still have difficulties removing the tonal breaks, create a new empty layer and fill it with 50% gray. Set the blending mode to "Soft Light".
Add noise on this layer by choosing "Filter" > "Noise Filter" > "Add Noise". By adding noise and then blurring it with the Gaussian Blur, you will achieve a film effect, and the tonal breaks will be less visible.
Alternatively, you can also download a texture from the internet. Import it into Photoshop, set the texture layer to "Soft Light", and effectively cover the tonal break.
Summary
In this guide, you have learned what tonal breaks are, how they occur, and what steps you can take to remove them in Photoshop. From using the Gaussian Blur to replacing sky textures, you have many tools at your disposal. Use these techniques to enhance your images and minimize unwanted effects.
Frequently Asked Questions
How do tonal breaks occur?Tonal breaks occur due to poor image quality or excessive color corrections in 8-bit channels.
How can I remove tonal breaks in Photoshop?You can remove them by changing the image mode to 16-bit and applying a Gaussian Blur.
What can I do if the first method does not work?You can insert a new background or sky, or add textures to reduce the effect.
How important is the use of Smart Objects?Smart Objects allow you to apply filters non-destructively, so you can make changes at any time.


