In this tutorial, you will learn how to create a realistic water reflection in Photoshop. Water reflections are not only a beautiful visual effect, but they can also help make your images more vibrant and interesting. Follow each step carefully to achieve an appealing result.
Key Takeaways
- With the right Photoshop tools, you can create a compelling water reflection.
- Applying filters and adjustments can make the reflection appear even more realistic.
- Basic Photoshop knowledge is beneficial for carrying out the steps.
Step-by-Step Guide
Step 1: Select and Prepare Image
To create a water reflection, you first need an image. Drag the image you want to work with into Photoshop. You can adjust the image to portrait orientation as needed. To select the image, drag it onto the workspace.
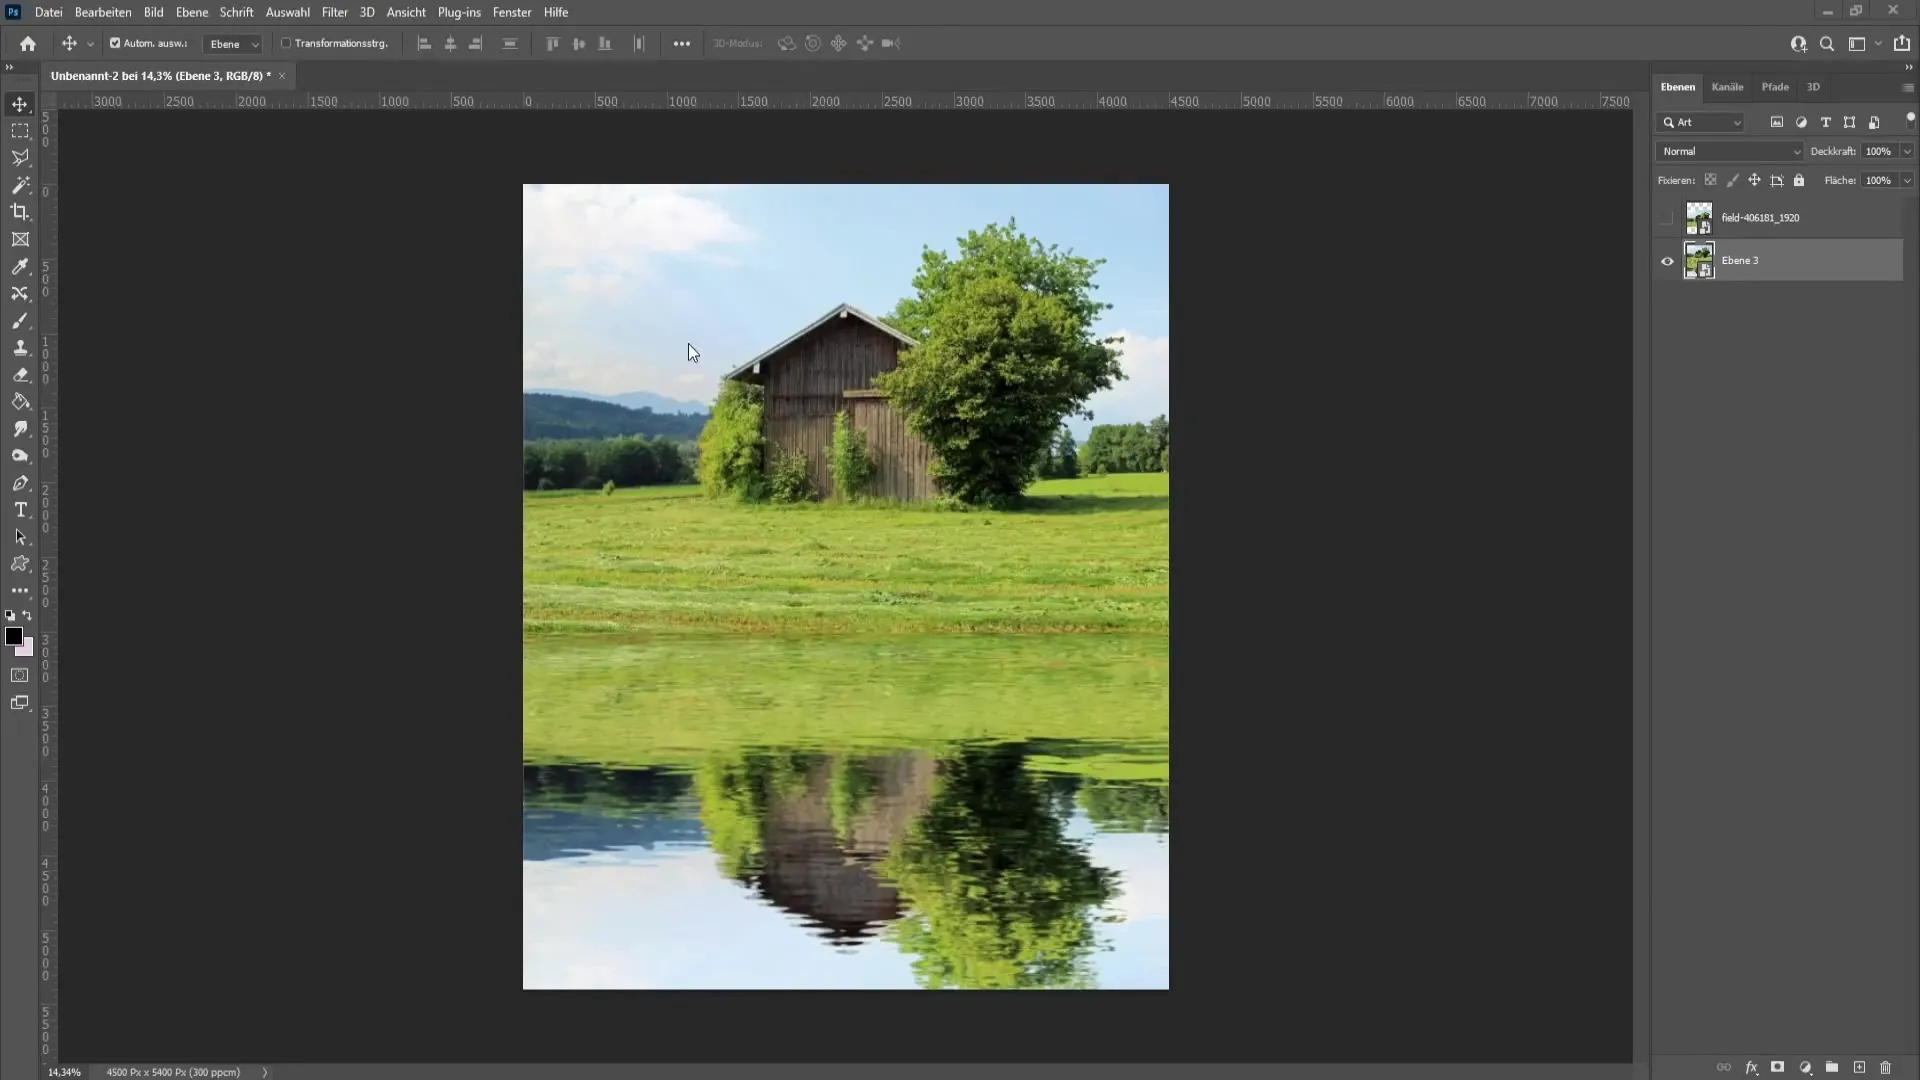
Step 2: Duplicate and Mirror Image
Now it's time to duplicate the image. Press the keys Ctrl + J (on Mac Command + J). Then press Ctrl + T (or Command + T) and right-click on the image to select "flip vertical". You have now created the reflection.
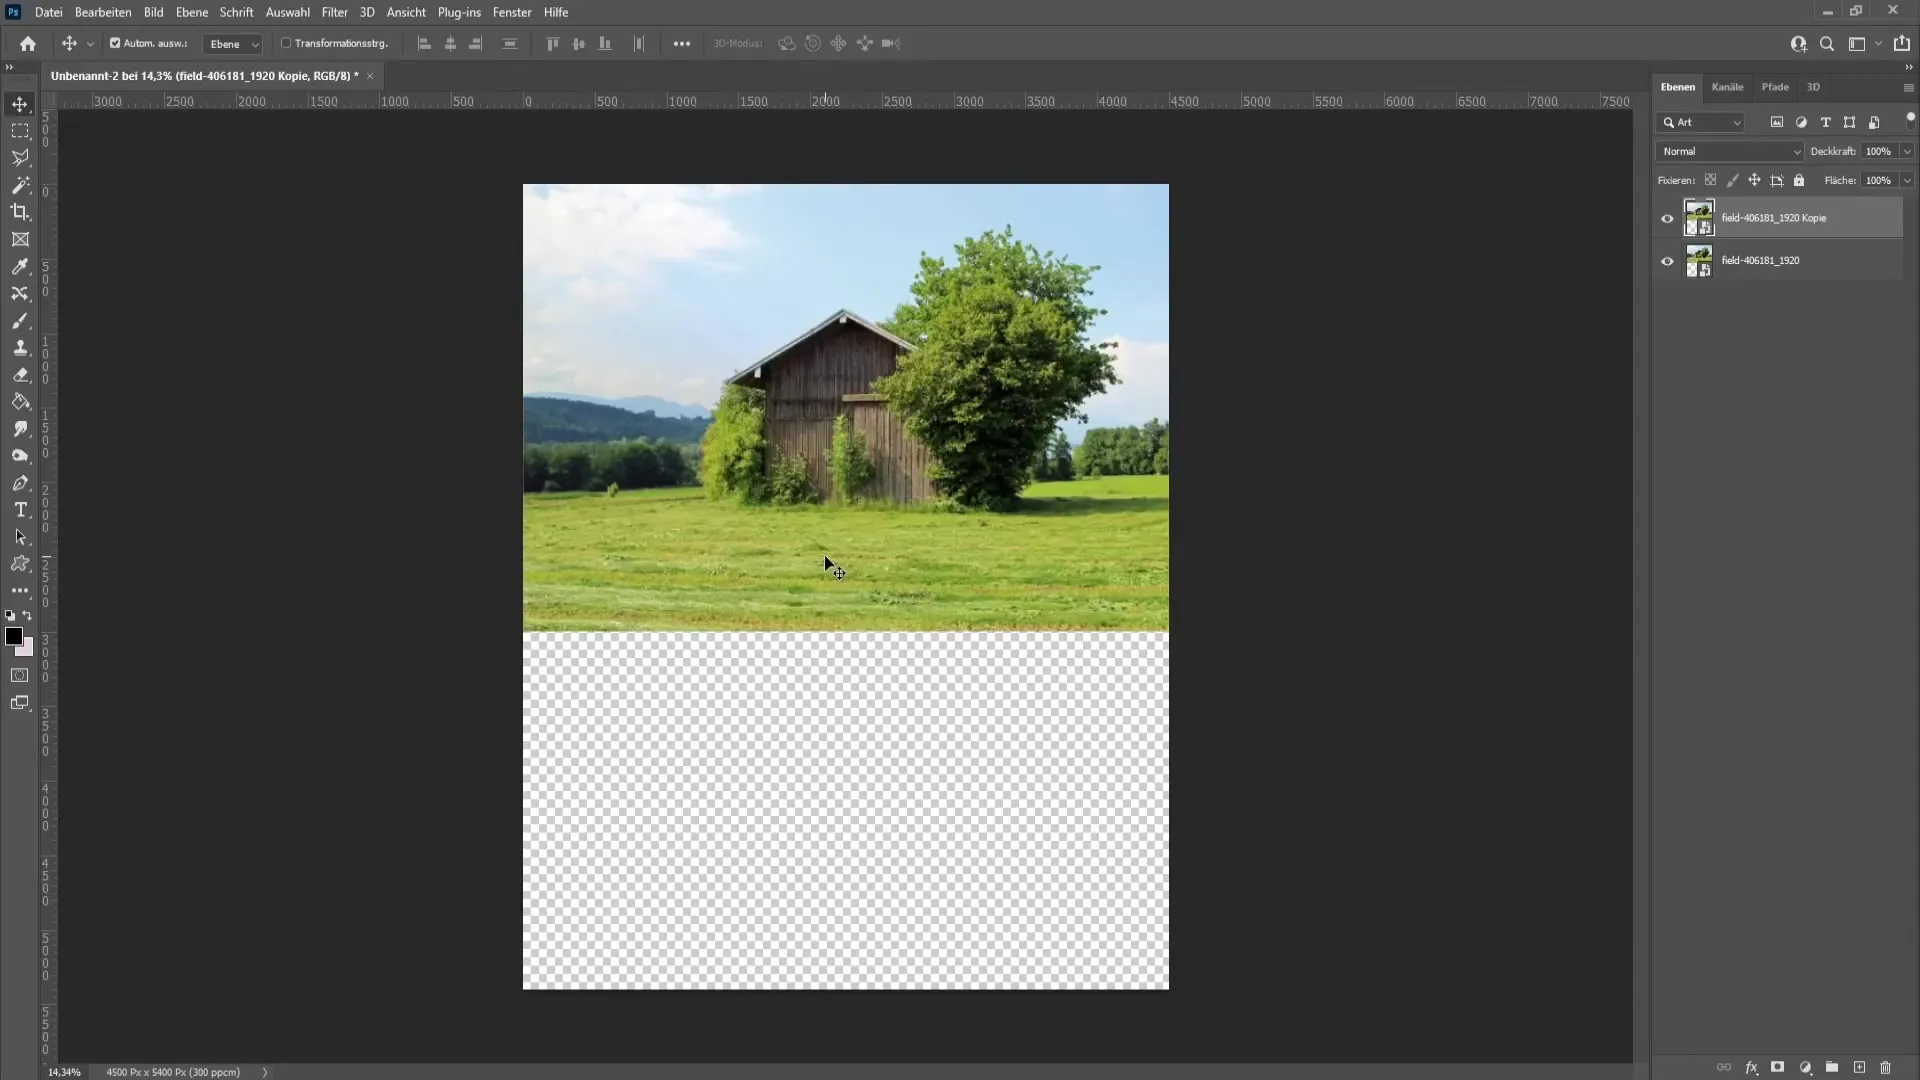
Step 3: Position the Reflection
Drag the mirrored layer downwards so that it aligns edge to edge with the original image. Confirm the position by pressing the Enter key.
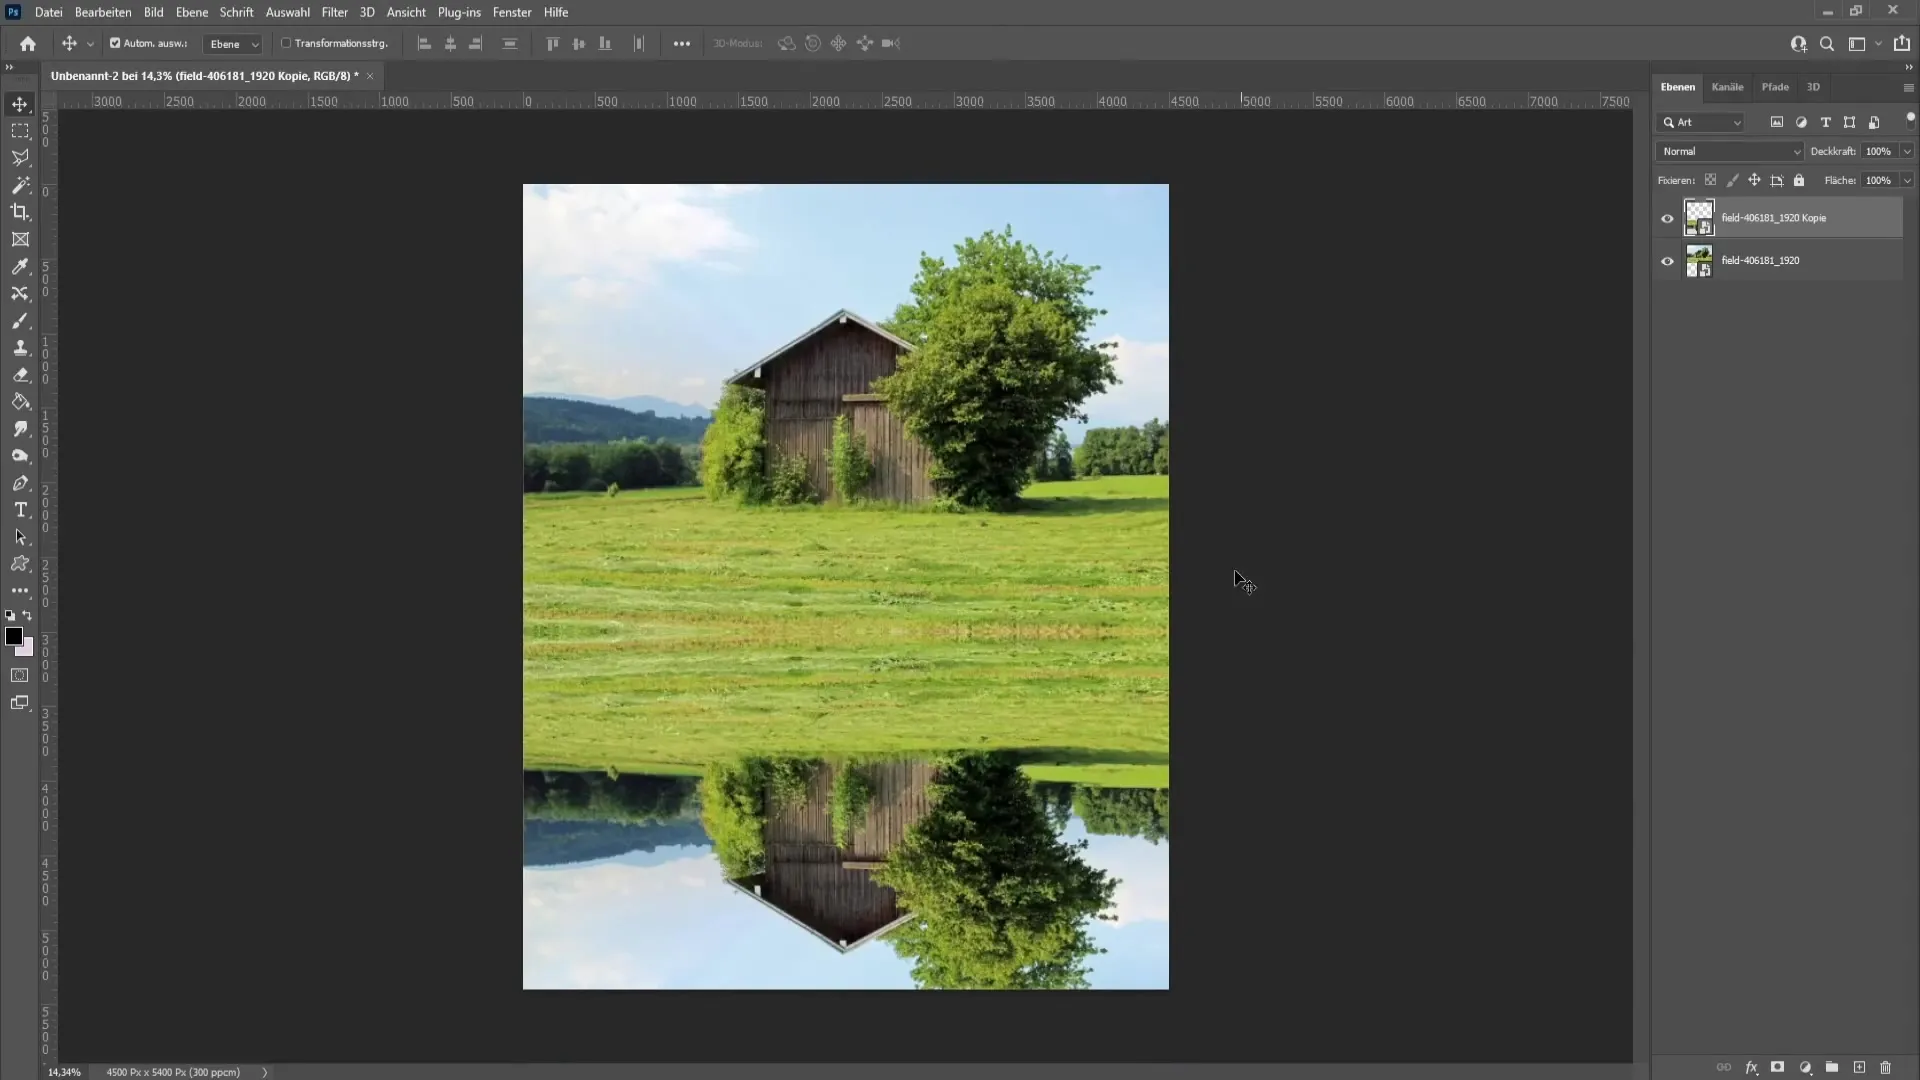
Step 4: Merge the Images
Once you are satisfied with the positioning, you can merge the two images together. Select the underlying layer and move both images up or down as desired to achieve your final composition.
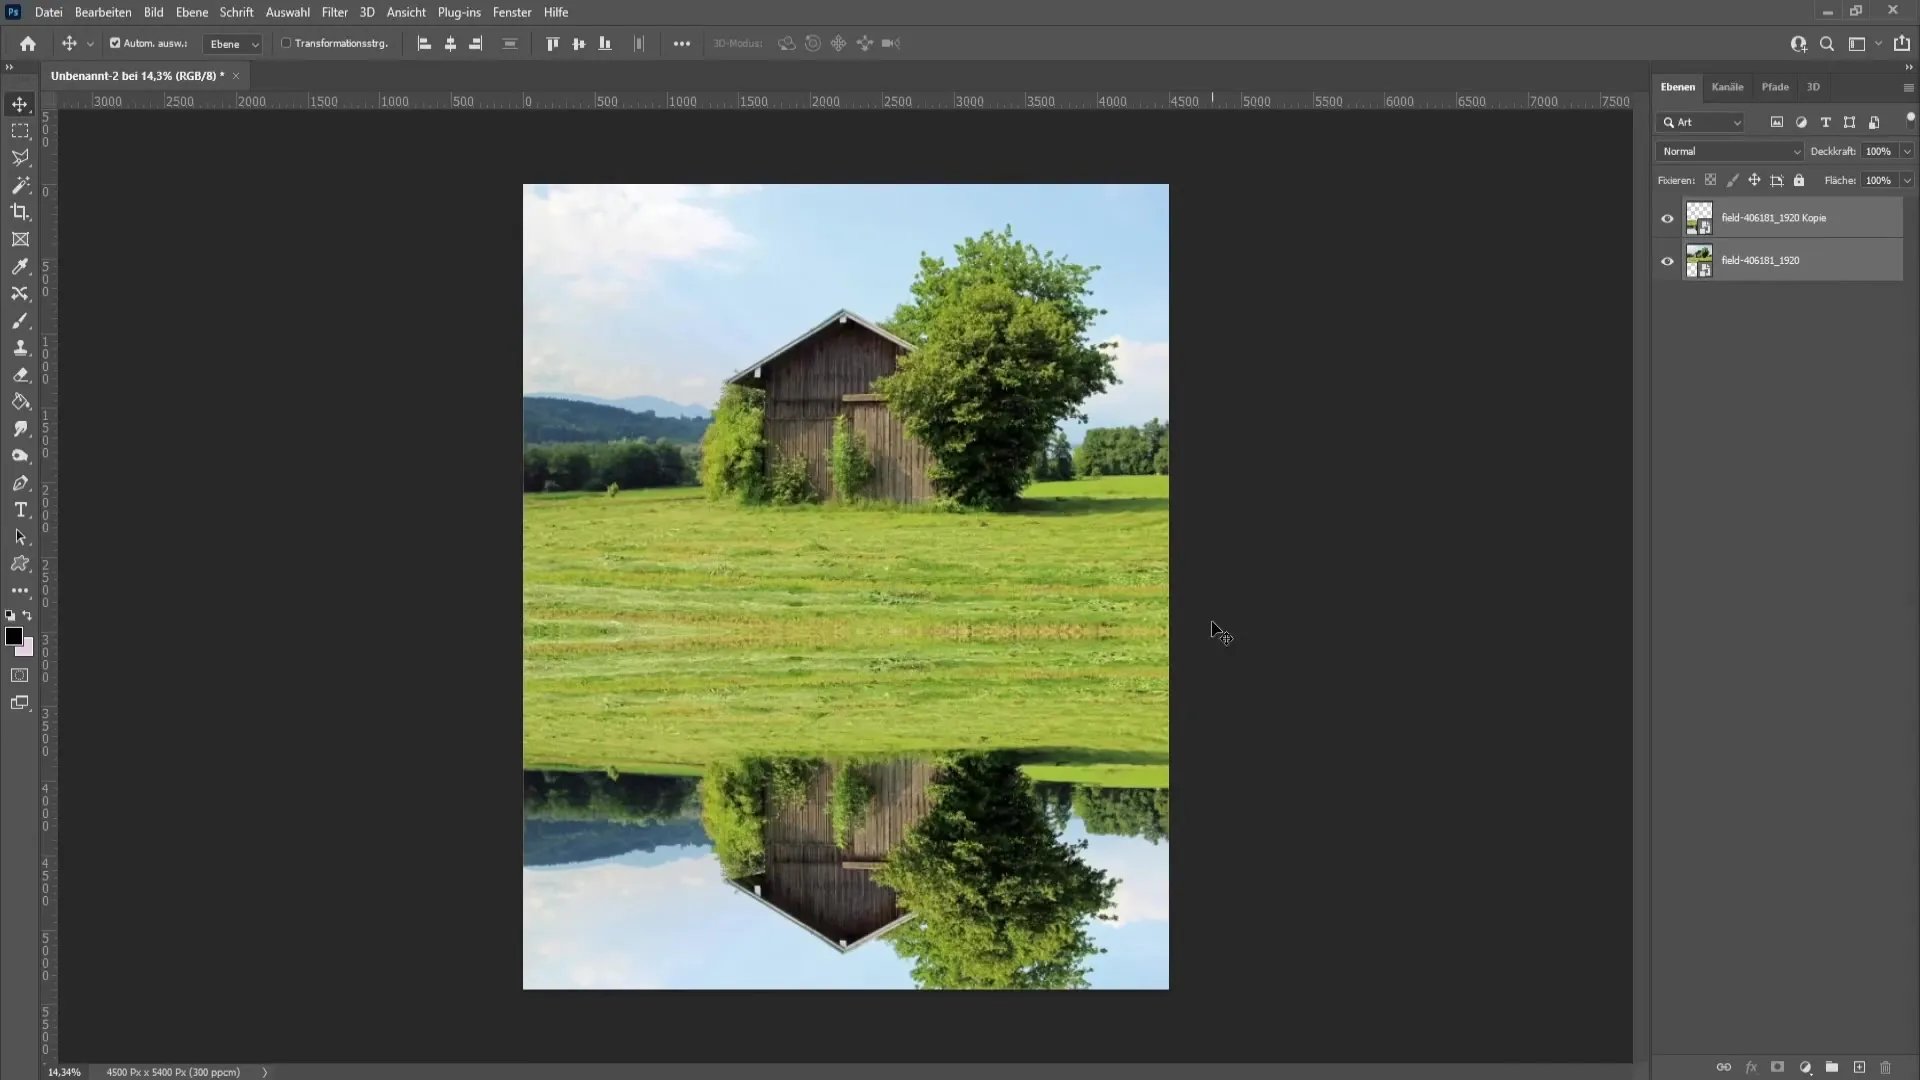
Step 5: Add Motion Blur
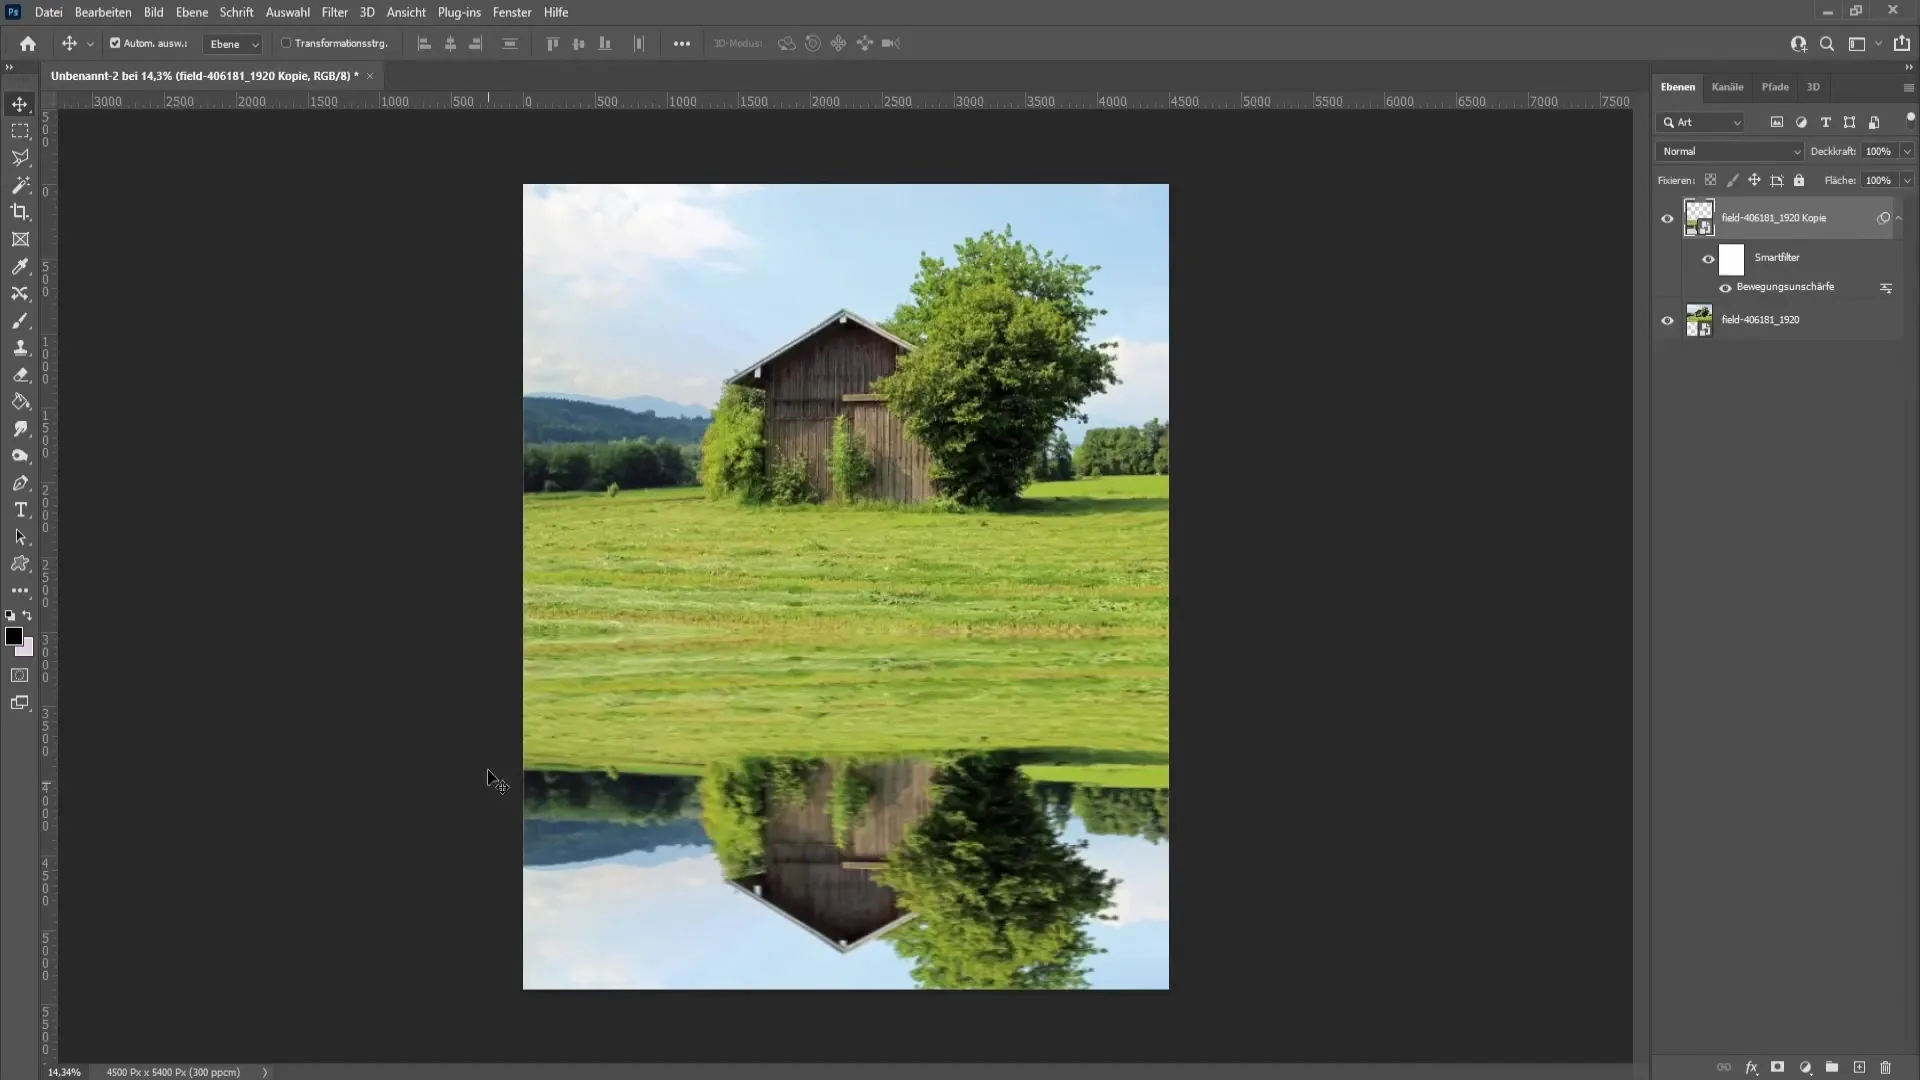
To make the water reflection more realistic, select the mirrored layer and go to the "Filter" menu. Choose "Blur Filters" and then "Motion Blur". Set the angle to 0° and the distance to 30 pixels. Confirm the settings. This blur will create the illusion of a real water reflection.
Step 6: Create Background
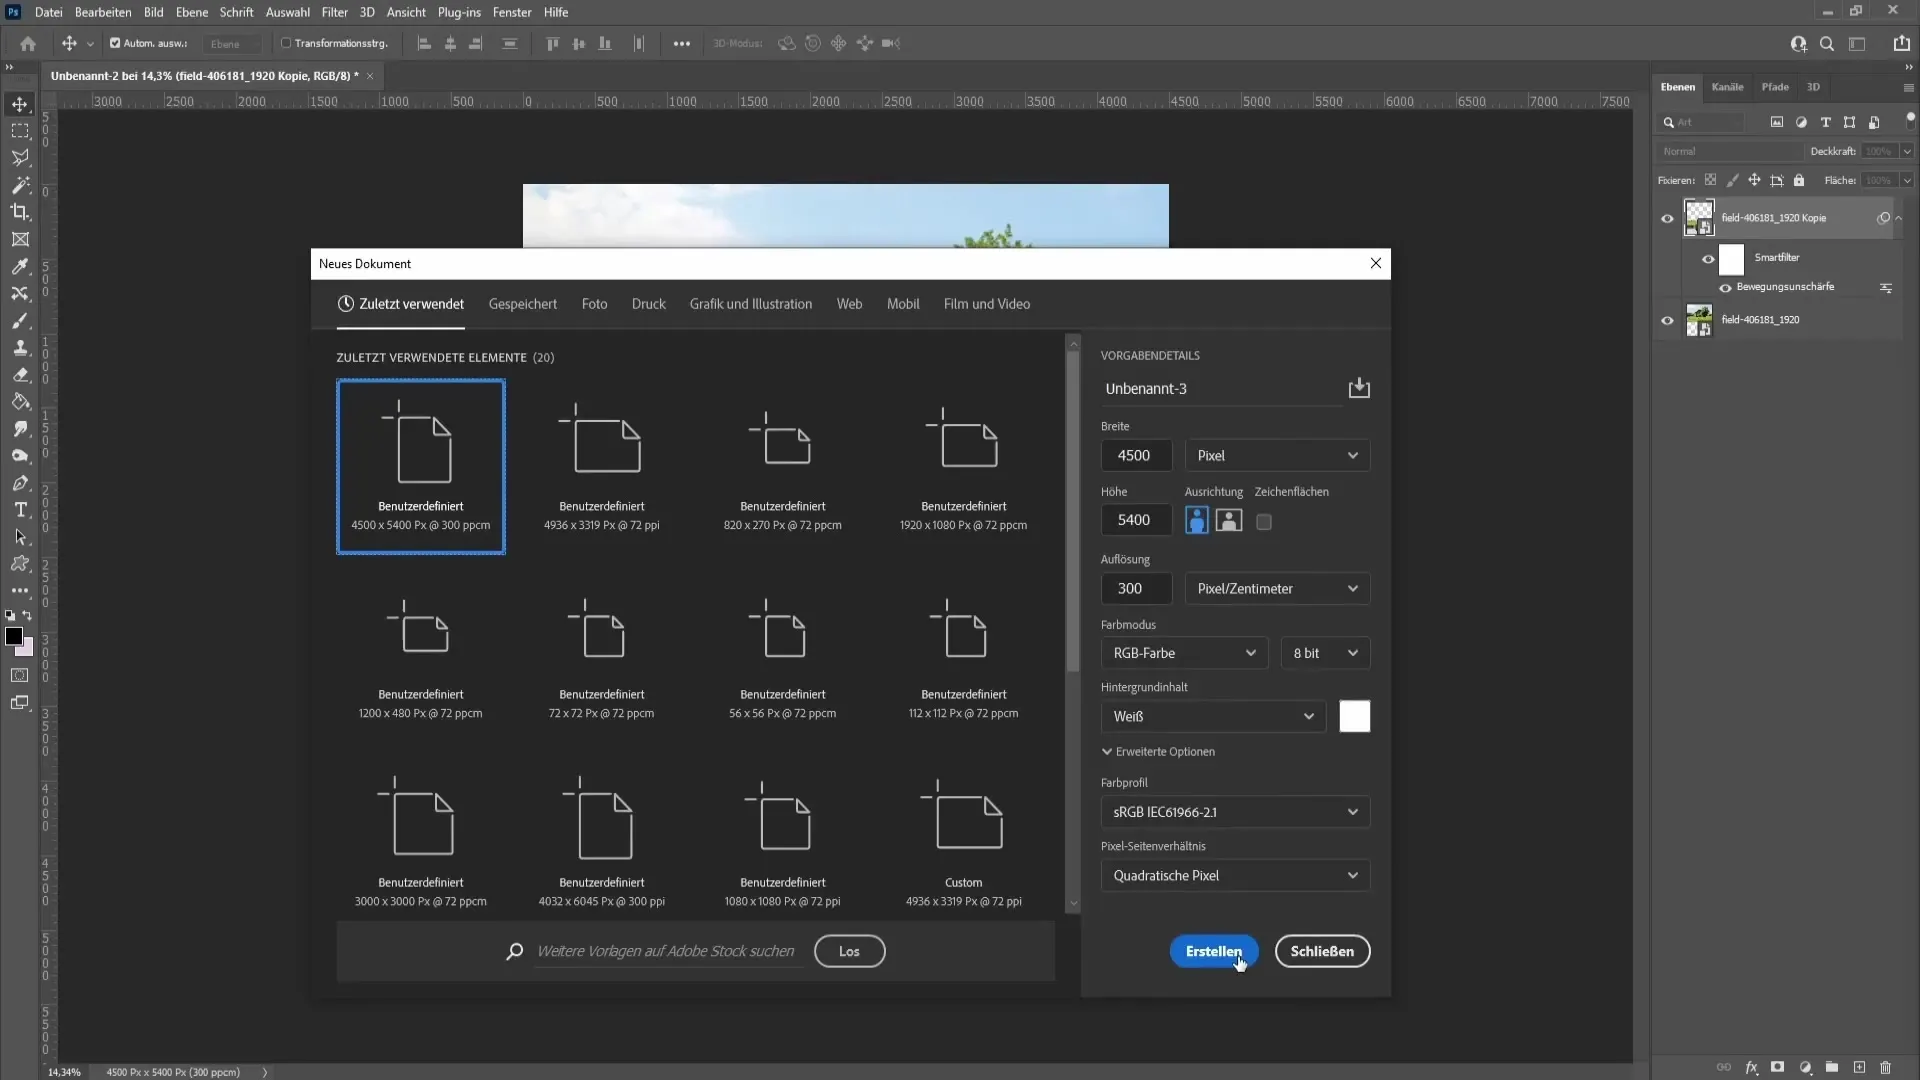
Now create a new file. Go to "File" and choose "New". Make sure to choose a portrait orientation, for example, with dimensions of 4500 x 5400. Fill the new layer with a black foreground color using the paint bucket tool.
Step 7: Add Noise
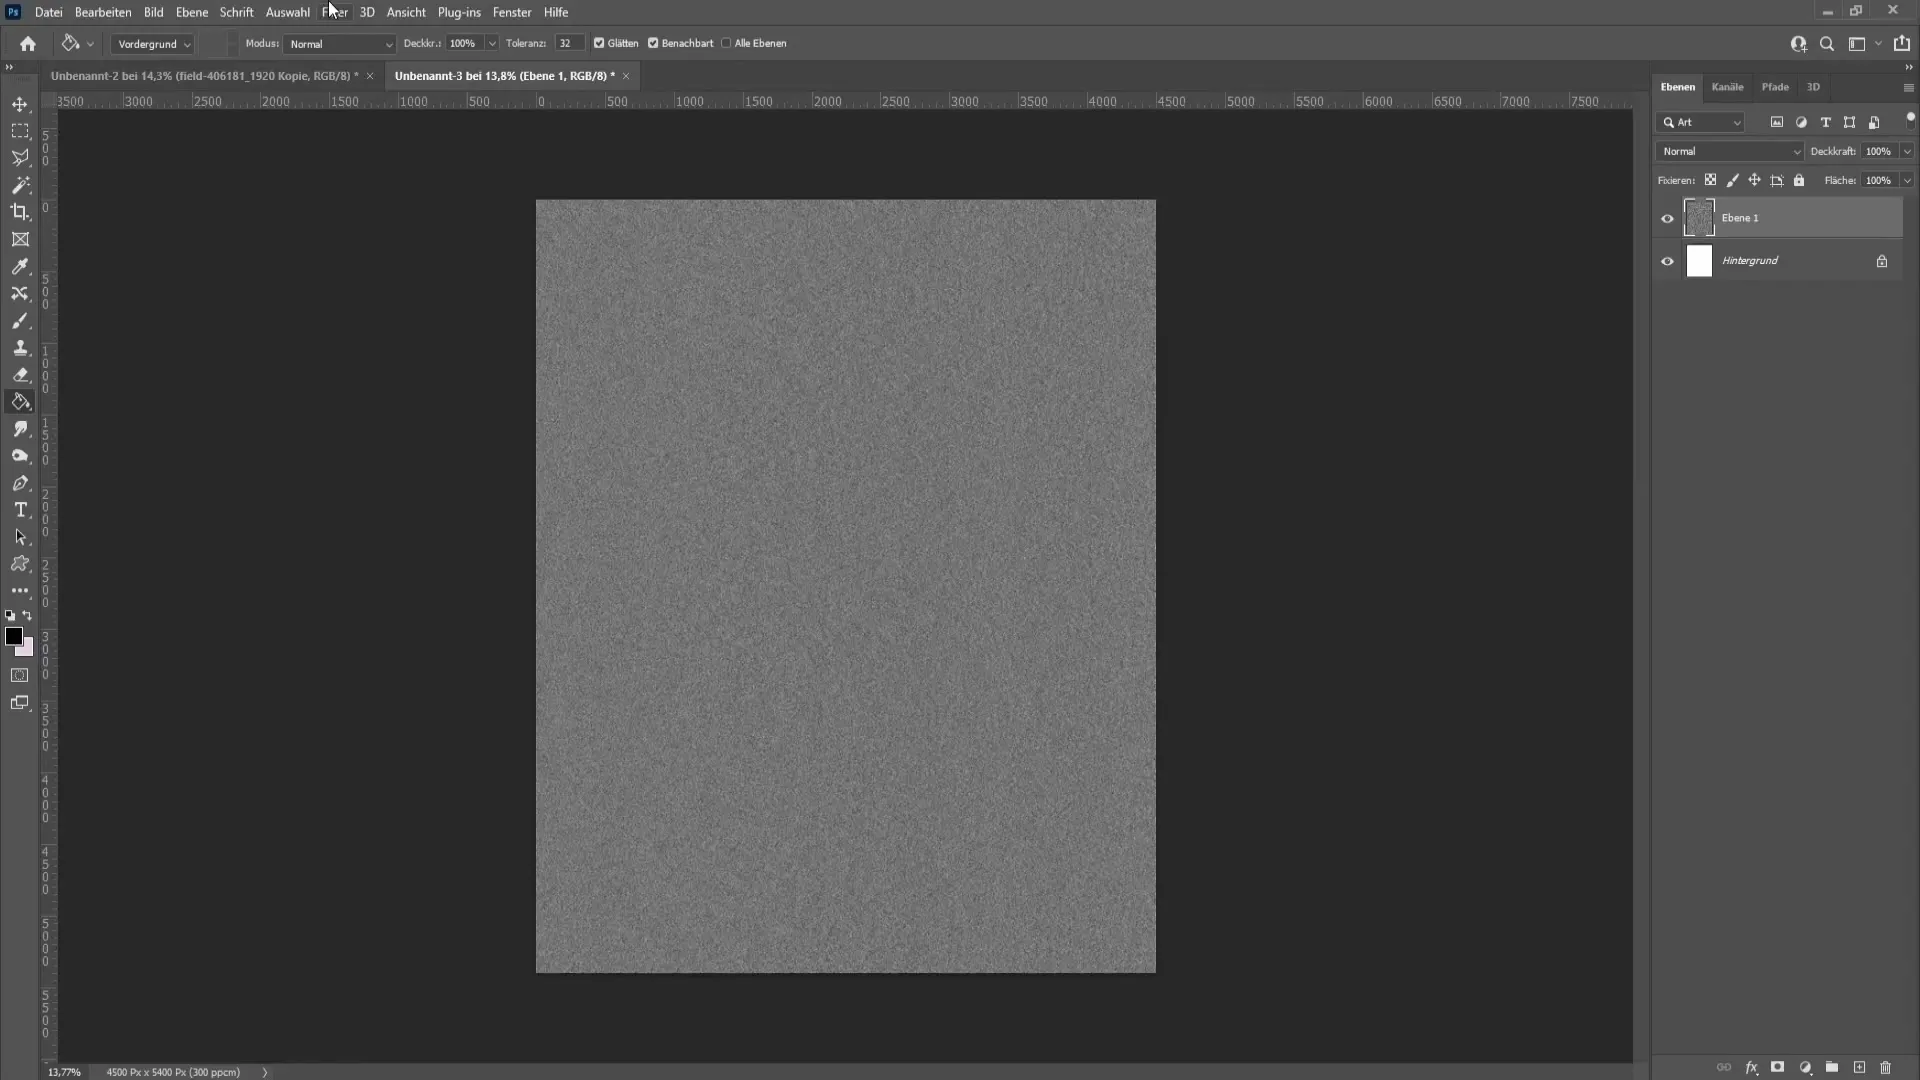
Apply a noise filter now. Go to "Filter", then "Noise Filter", and choose "Add Noise". Set the strength to 400%, choose the options "Gaussian" and "monochromatic". Click on "OK". This adds a textured surface typical of water.
Step 8: Adjust Layers and Filters
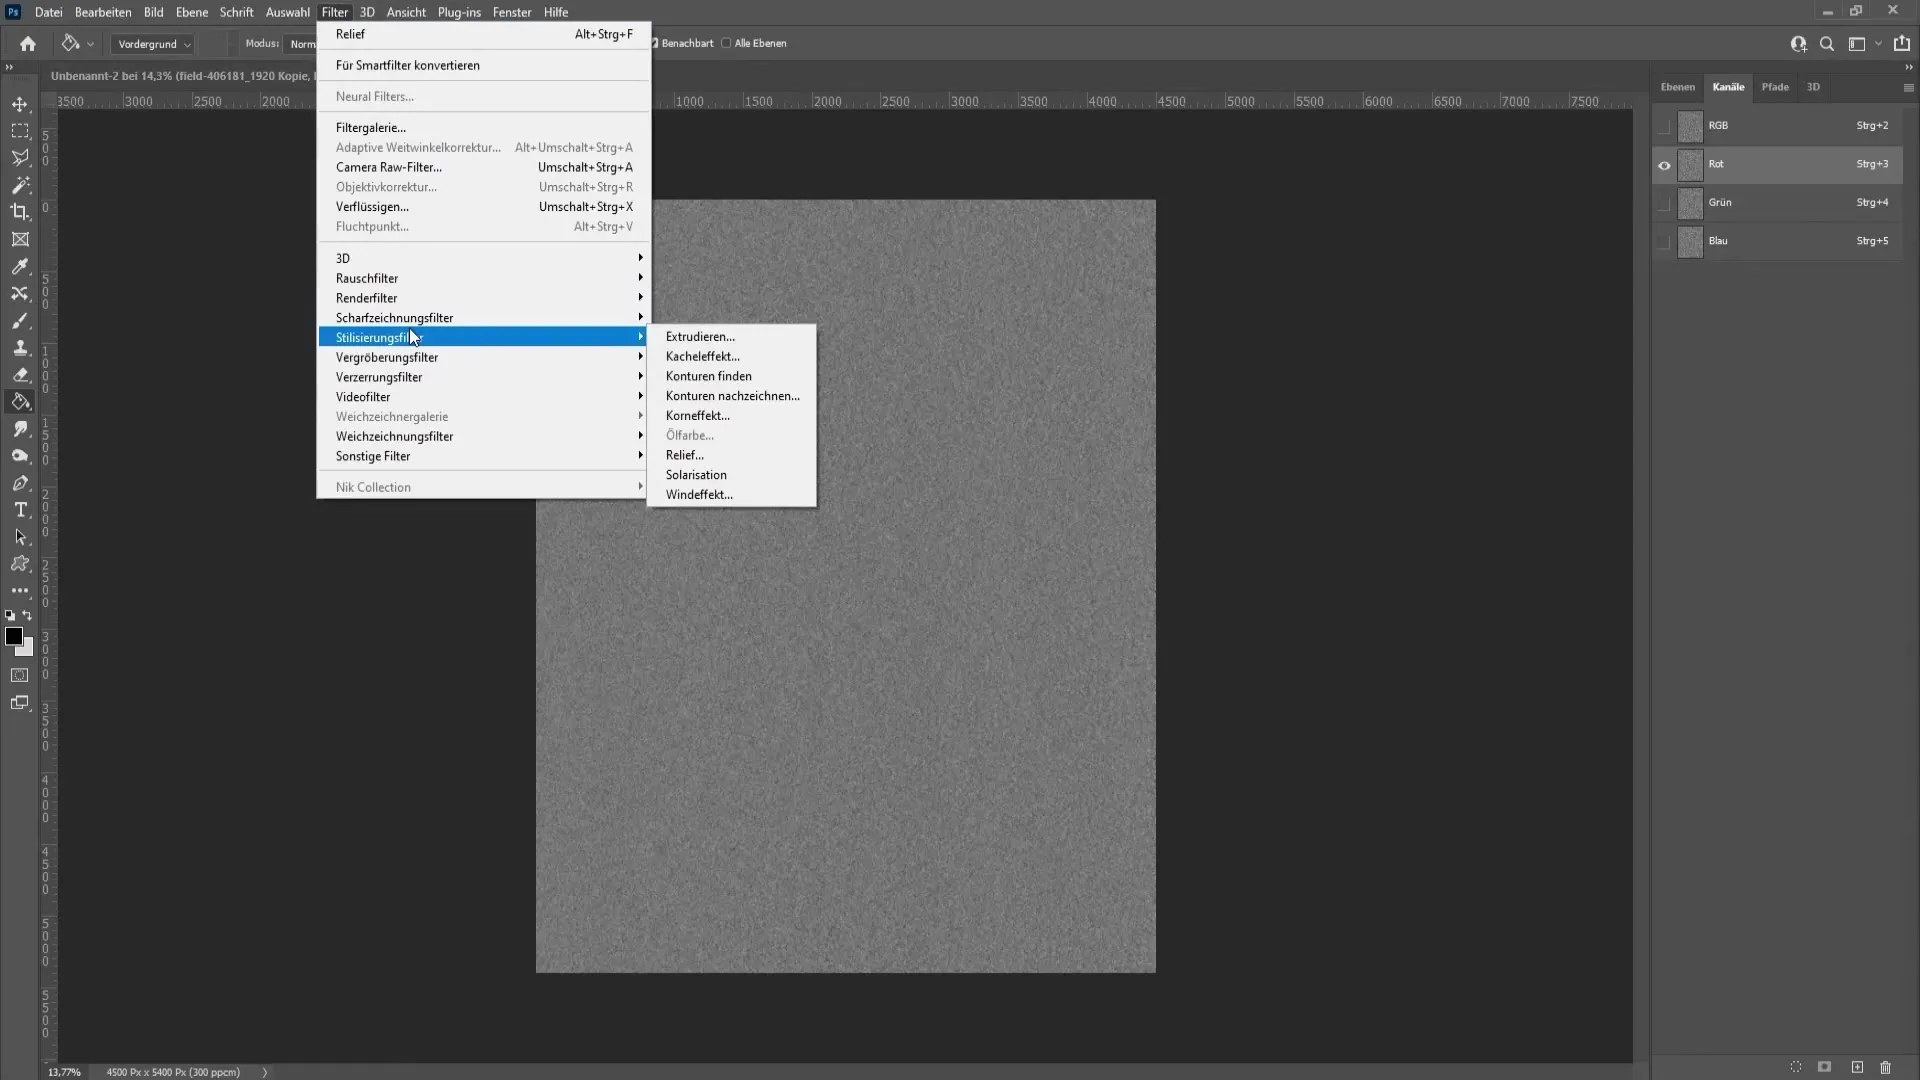
Delete the background layer as it is not needed. Switch to the channels and select the Red Channel. Then go back to the Filters and choose "Stylize Filters" and "Relief". Set the angle to 180°, the height to 2 pixels, and the strength to 500%. Confirm this.
Step 9: Further Color Adjustments
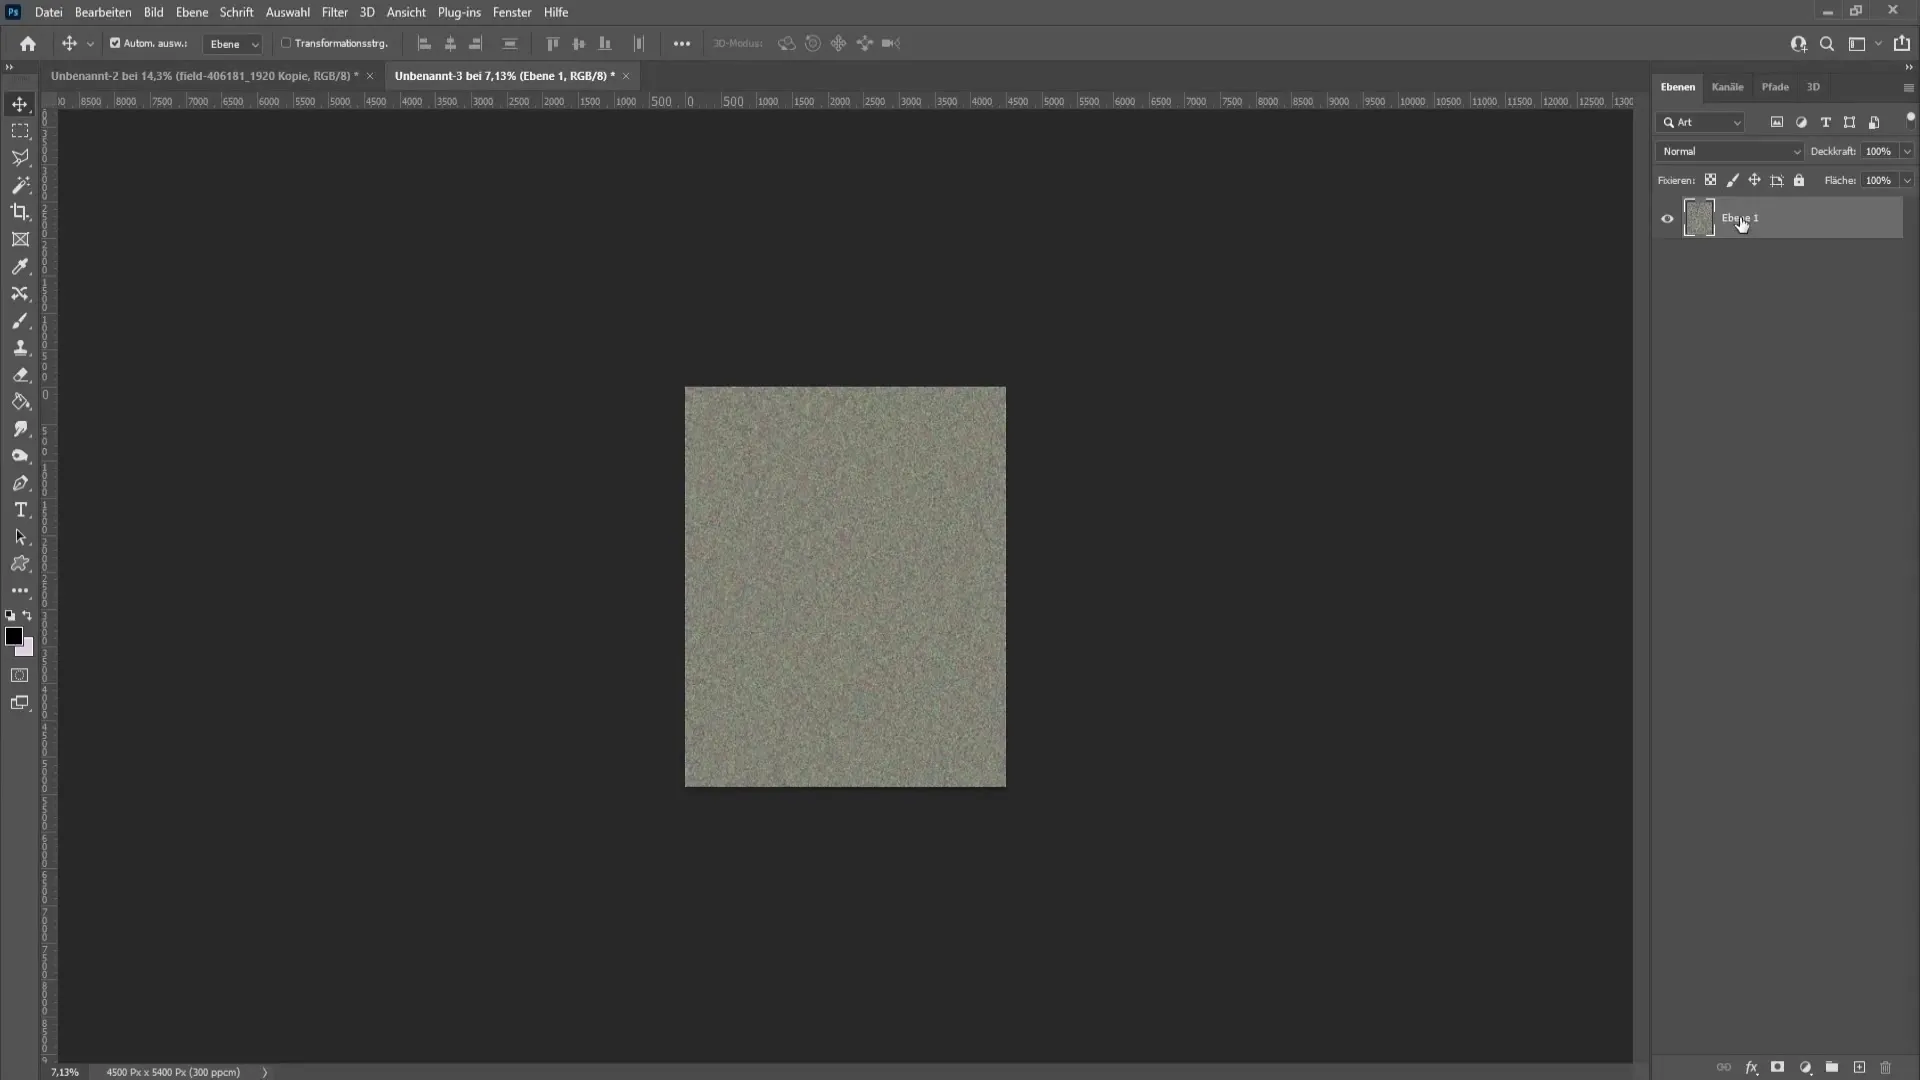
Activate the Green Channel and go back to the Filters to make the same adjustments, this time with an angle of 90°. Save the entire image as RGB before returning to the layers view.
Step 10: Transform and Adjust Image
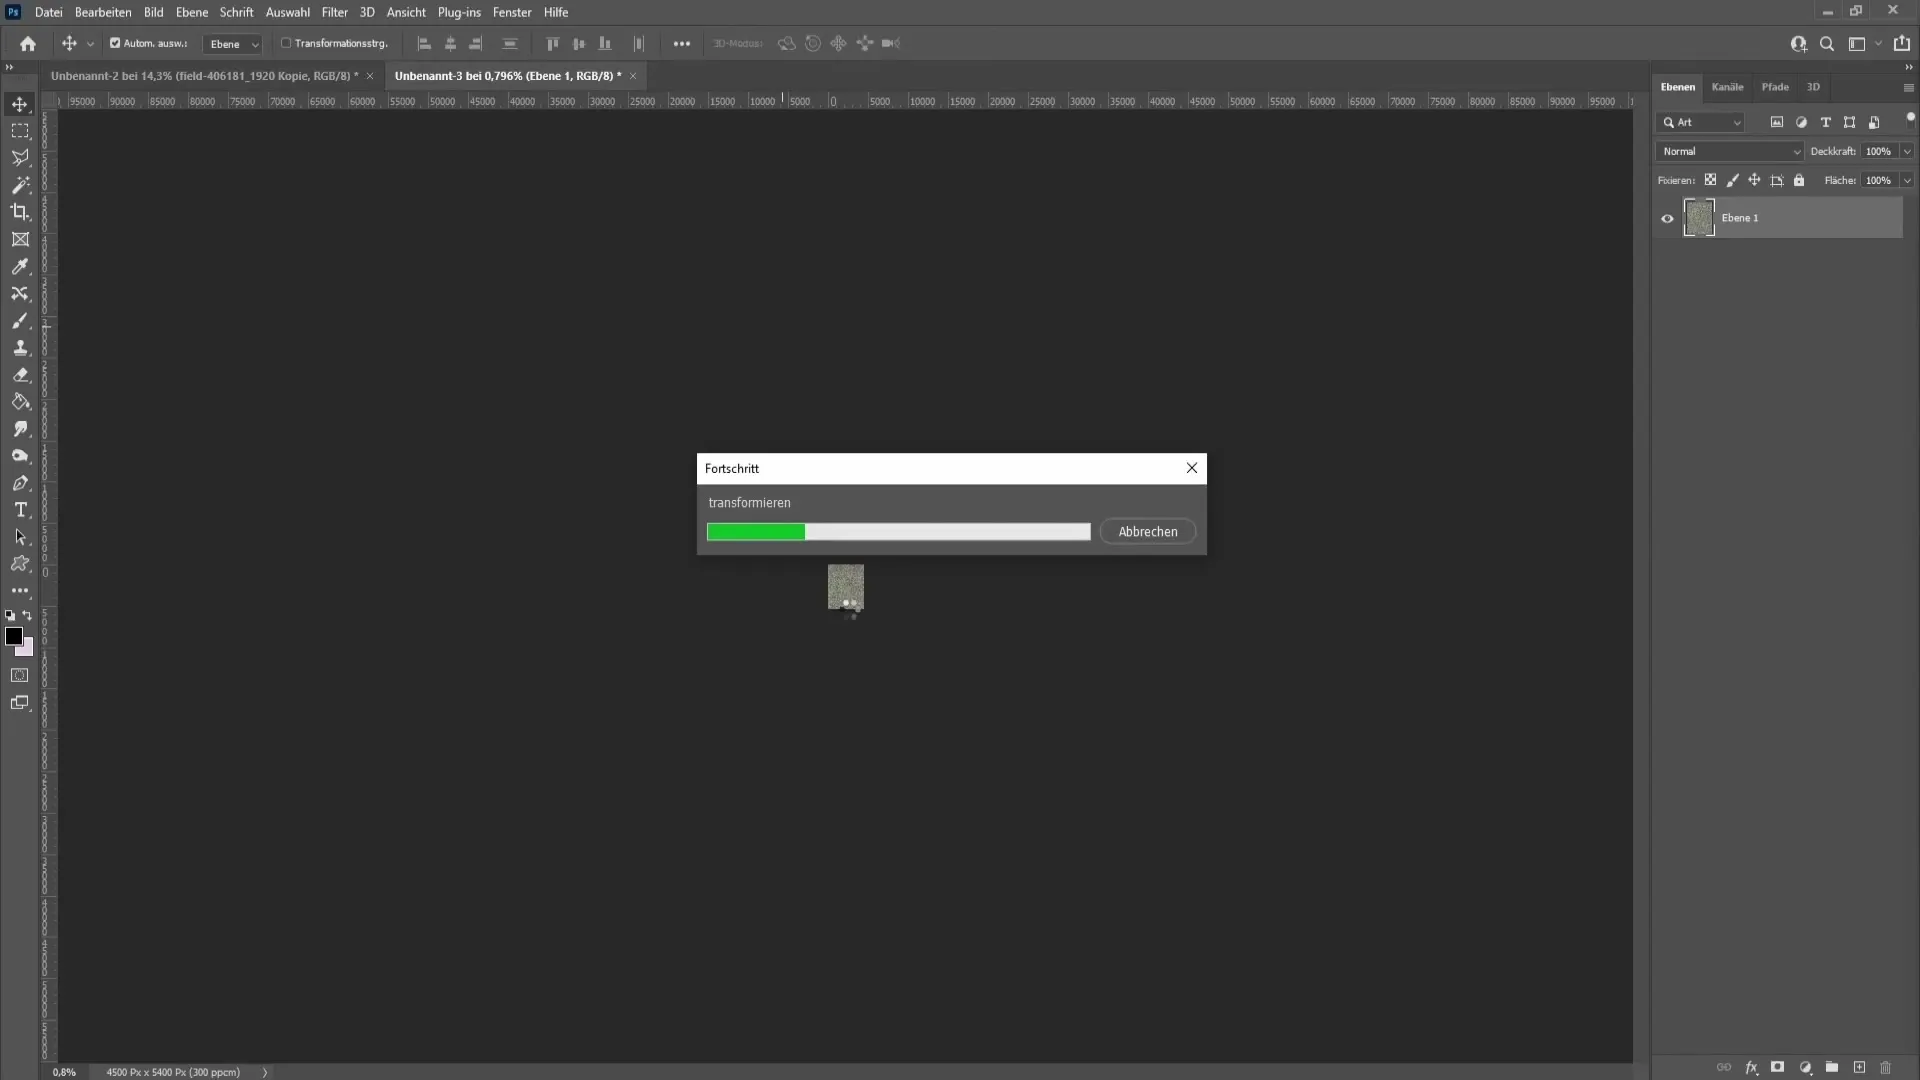
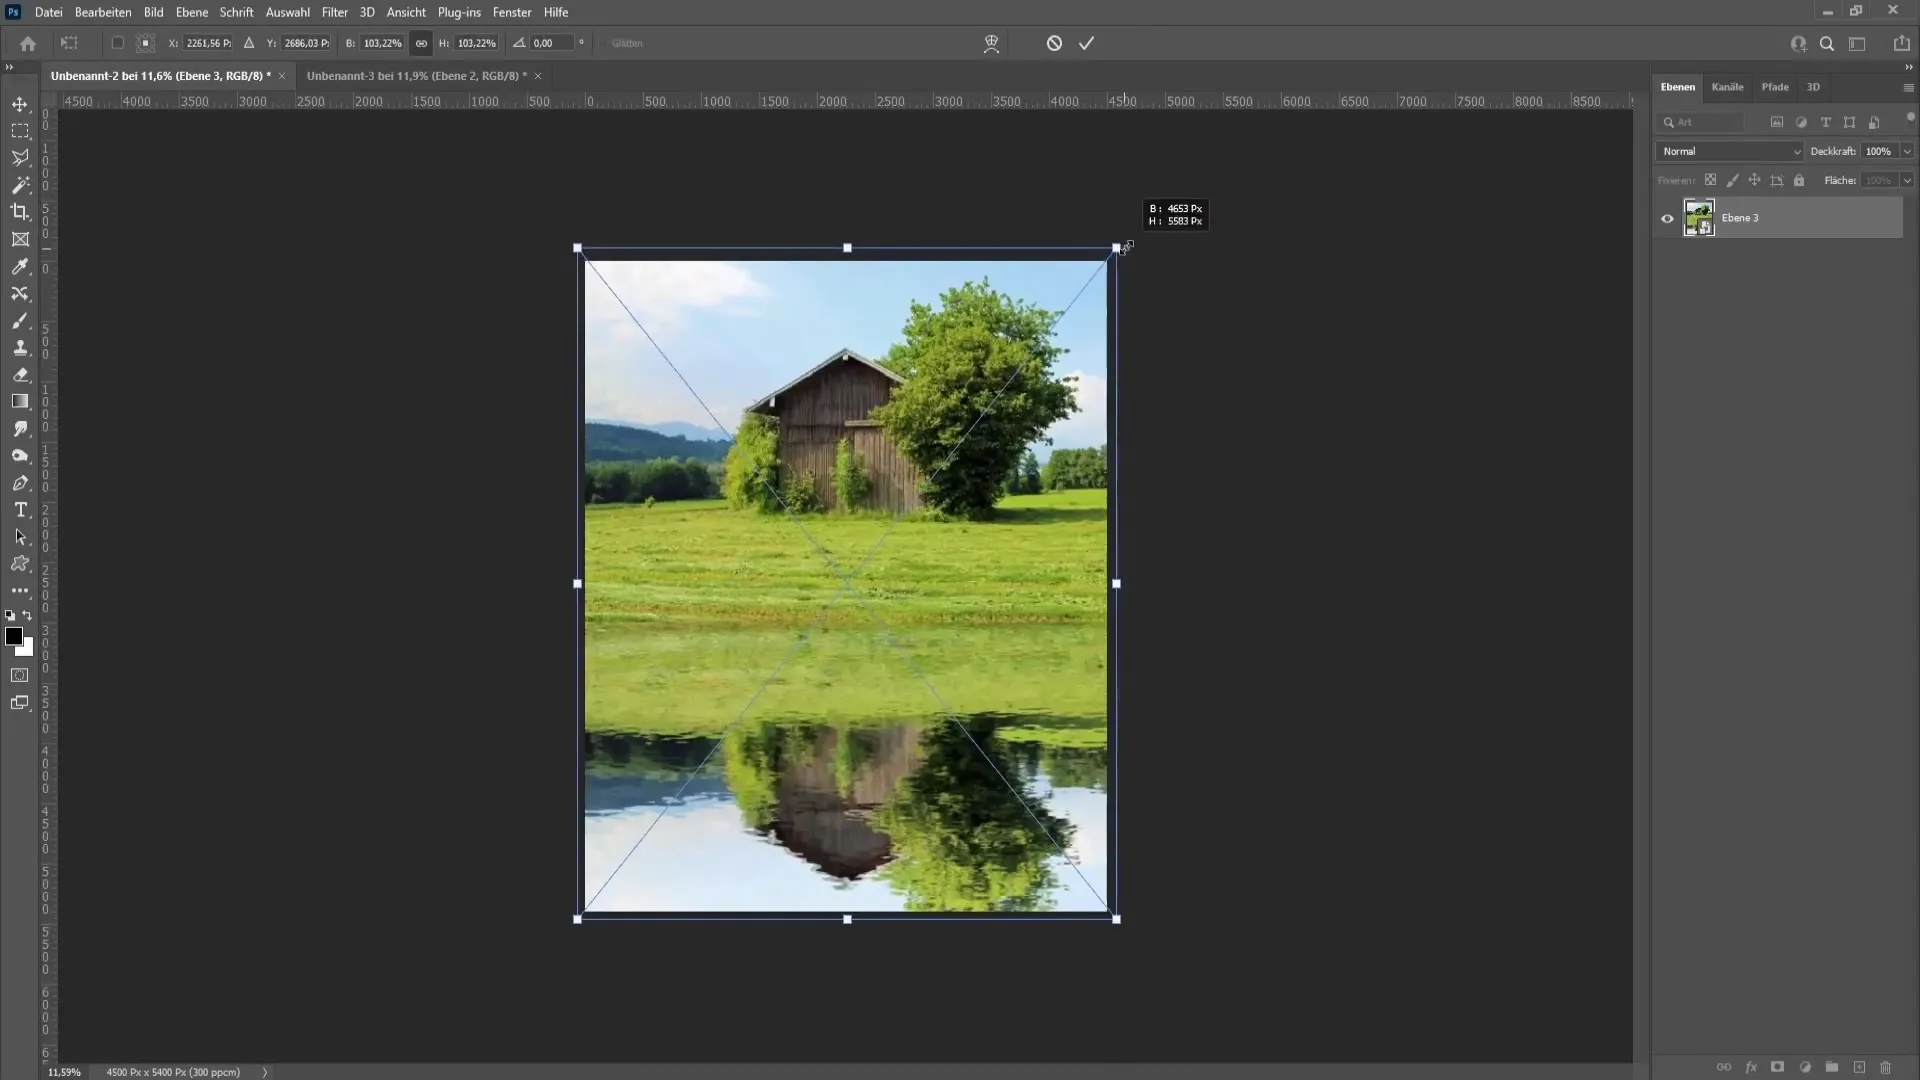
You can perform a perspective transform by pressing Ctrl + T (or Command + T). Drag the corner point to the right to make the reflection wider and more realistic. Then confirm the transformation by pressing the Enter key.
Step 11: Use Selection Tool
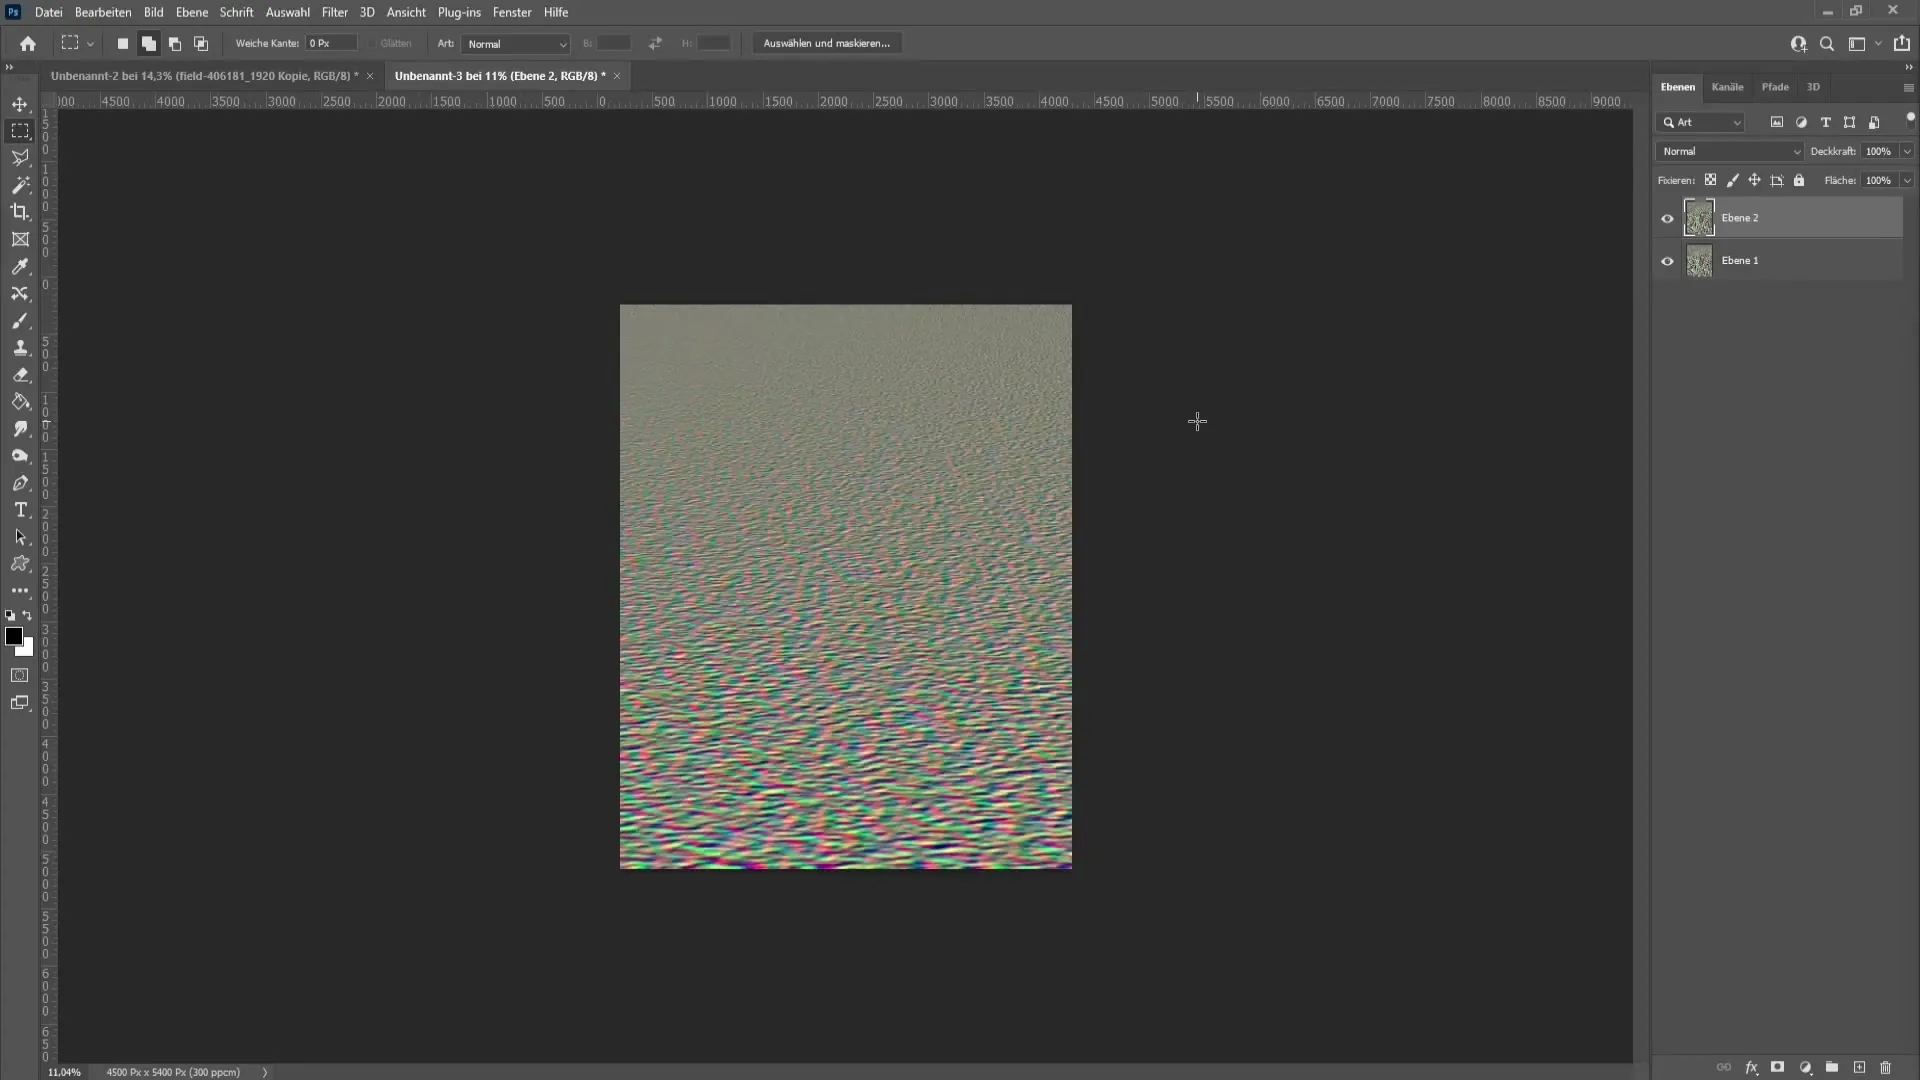
Use the rectangular selection tool with a soft edge of 0 pixels to make a selection at the top corner. Drag this selection to the bottom edge and press Ctrl + J to duplicate the selection.
Step 12: Paste and Scale
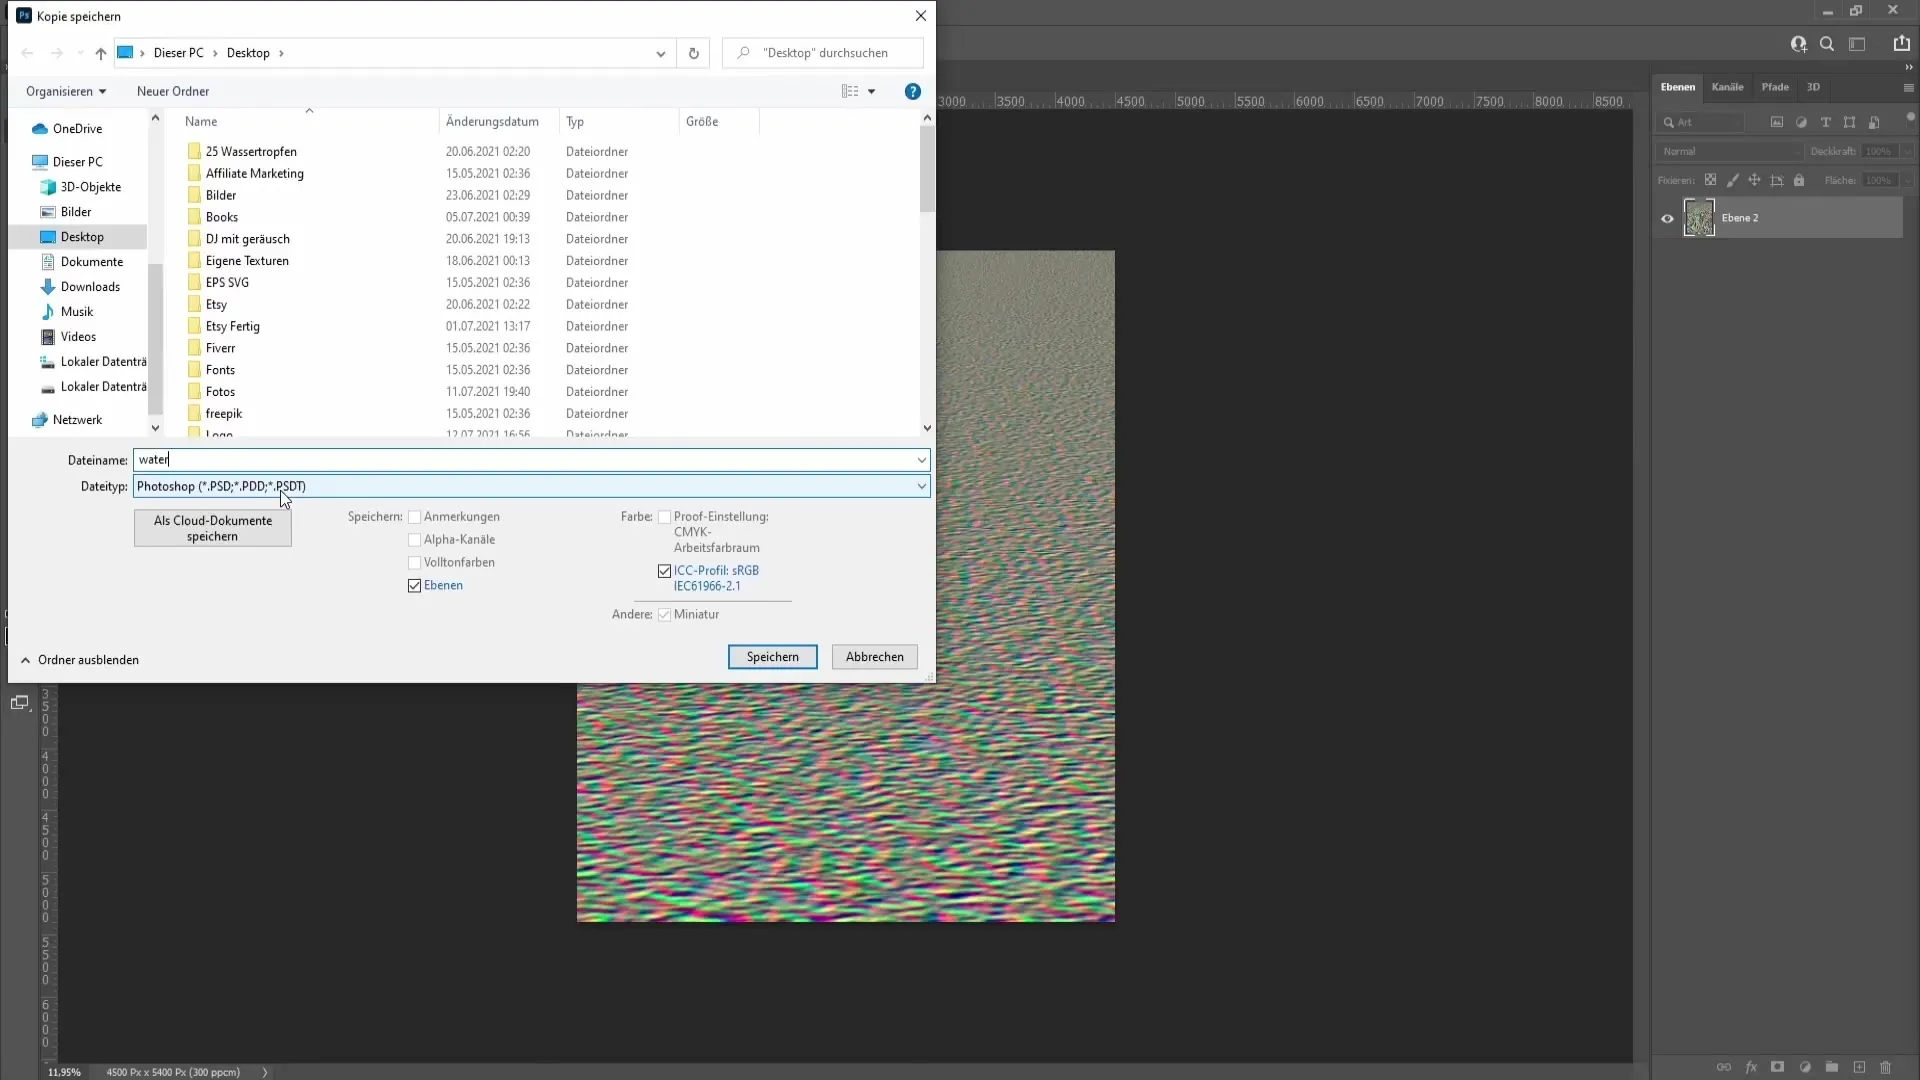
Go to "File" and select "Save As" to save the file as a PSD. Name the file "water" and save it on your computer. Now you need to insert this file into your image by activating the mirrored layer.
Step 13: Apply Displace Filter
To insert the new water file, go back to the filters and choose "Distort" and then "Displace". You can adjust the values for horizontal and vertical scaling to your liking. You can try the default values to see which works best for your image.
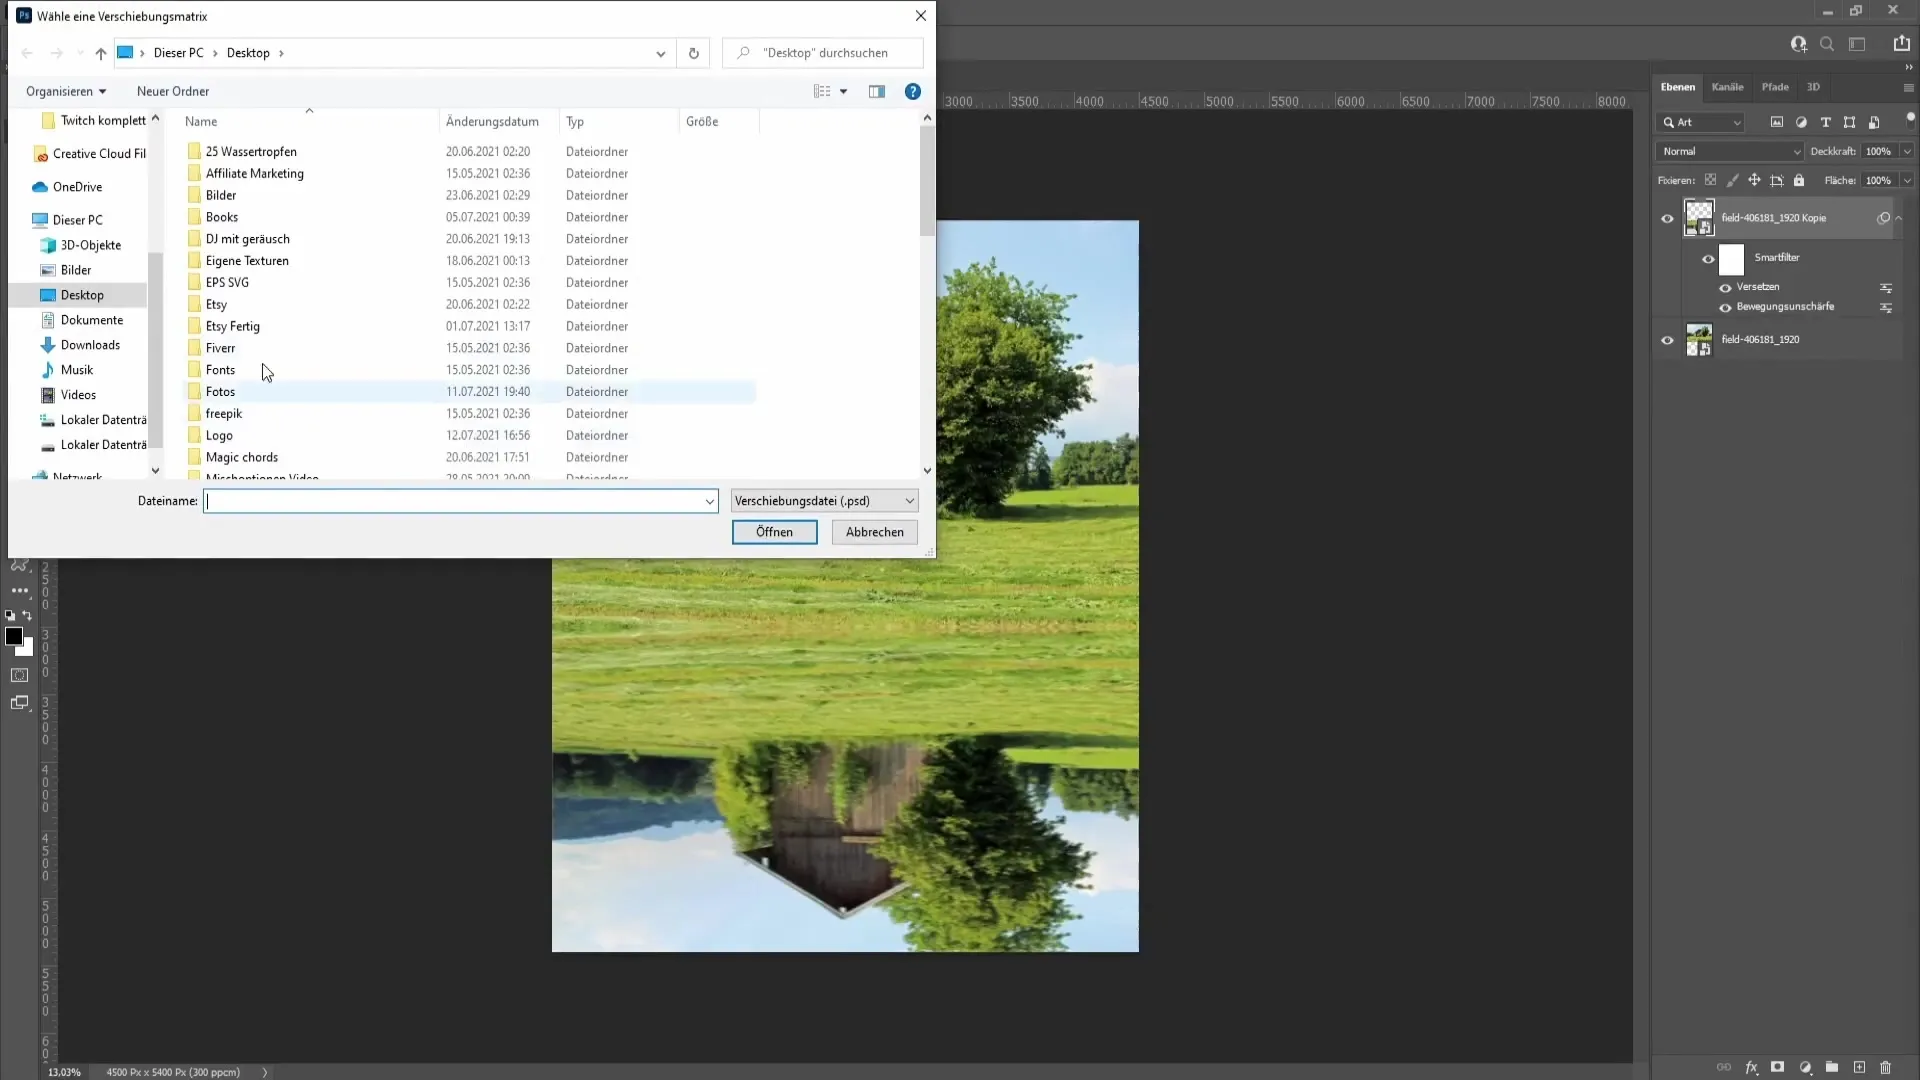
Step 14: Make Final Adjustments
You should drag your new water reflection layer directly below the original layer to ensure a smooth transition. You can also adjust small details by reviewing the layers and filters again to achieve the perfect result.
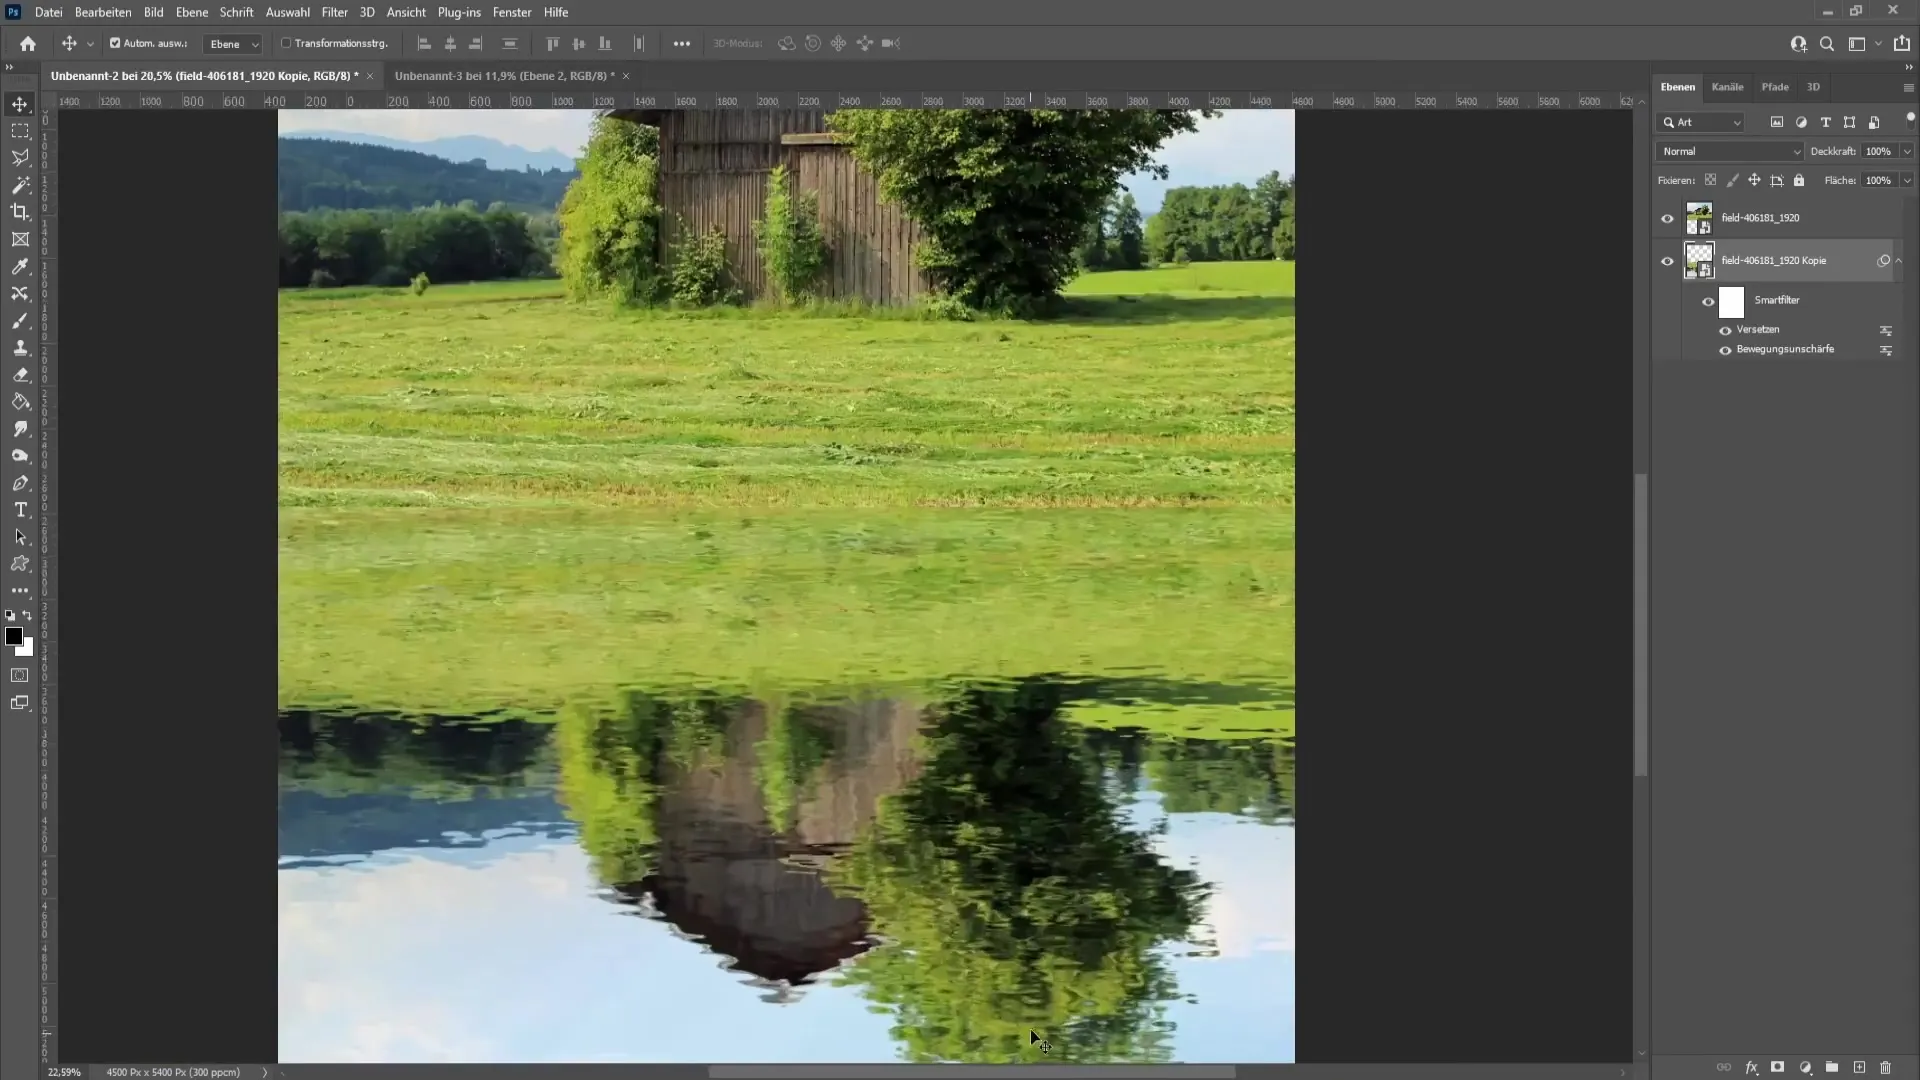
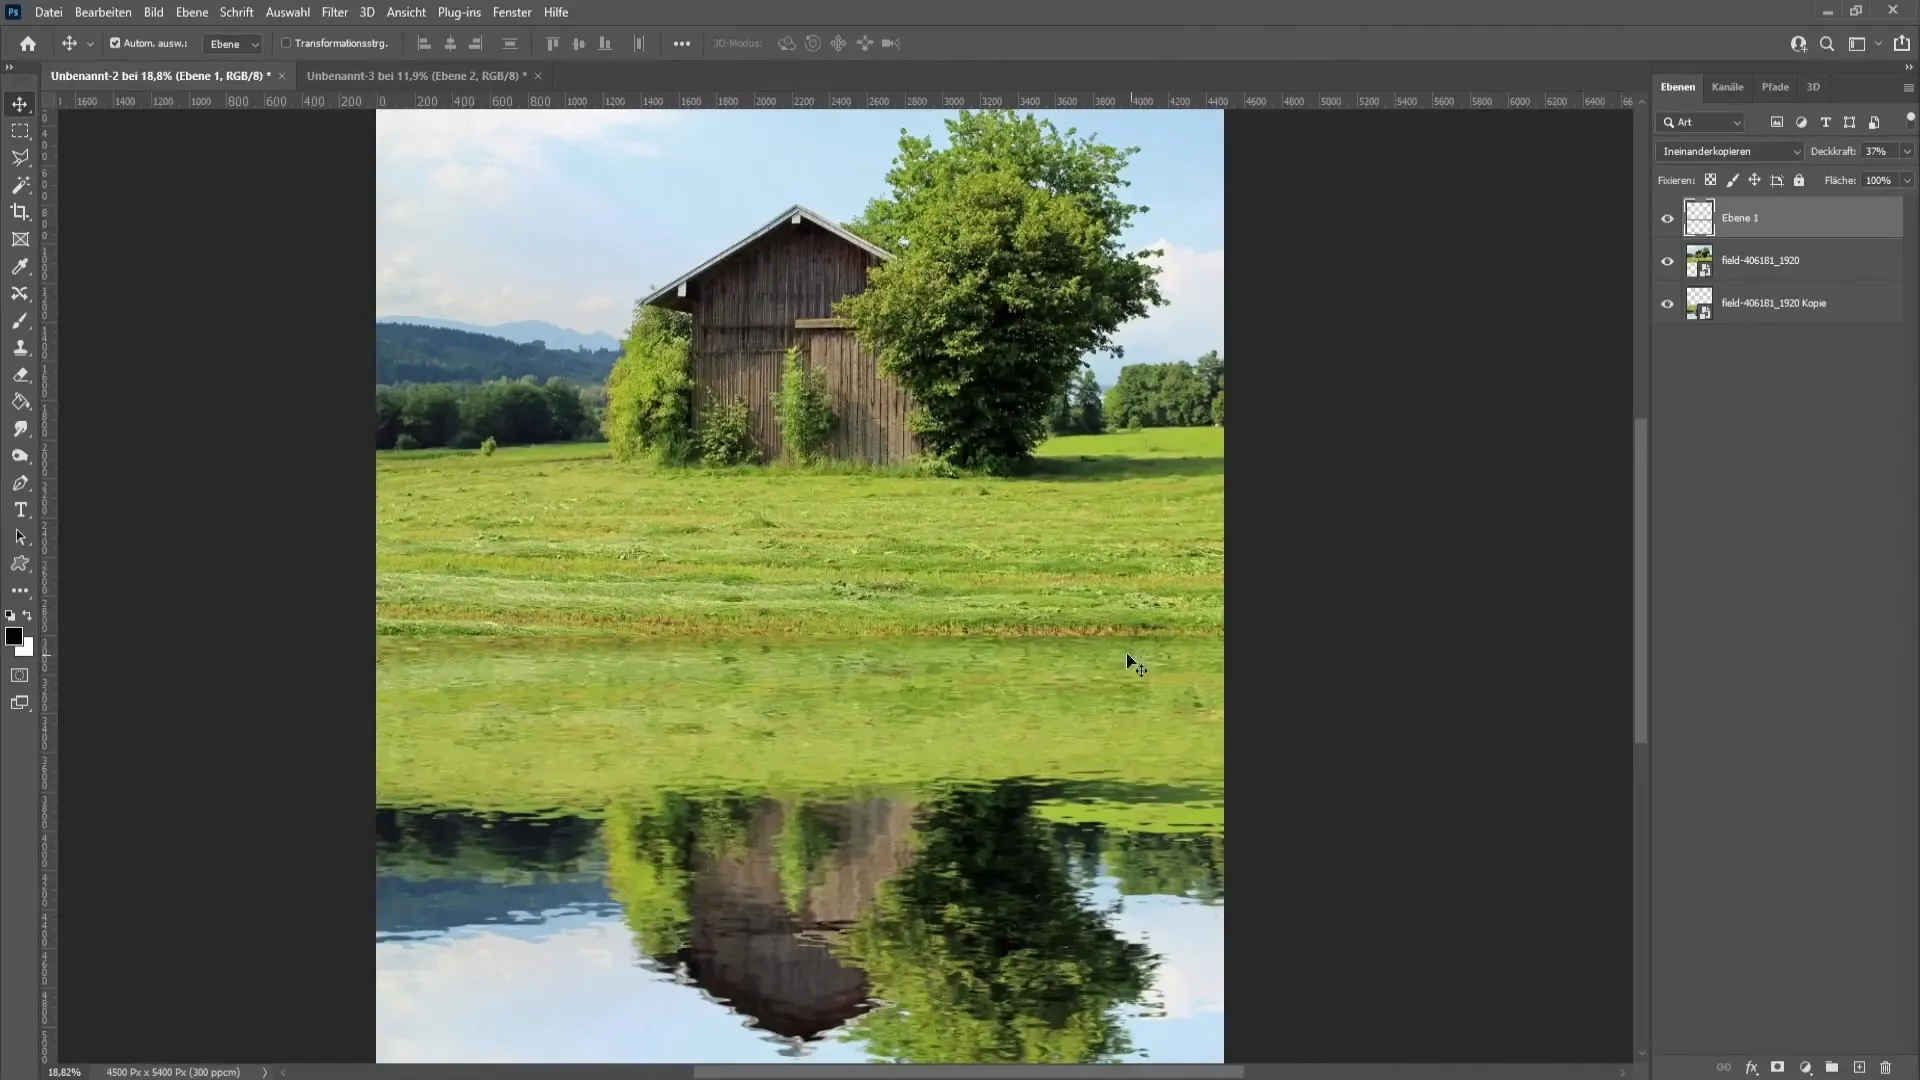
Step 15: Final Touches
You can optimize the transitions of the reflection by creating a new layer and using the rectangular selection tool to set a soft edge of 45 pixels. Fill this selection with the paint bucket. Finally, reduce the opacity of the layer to create a smoother transition.
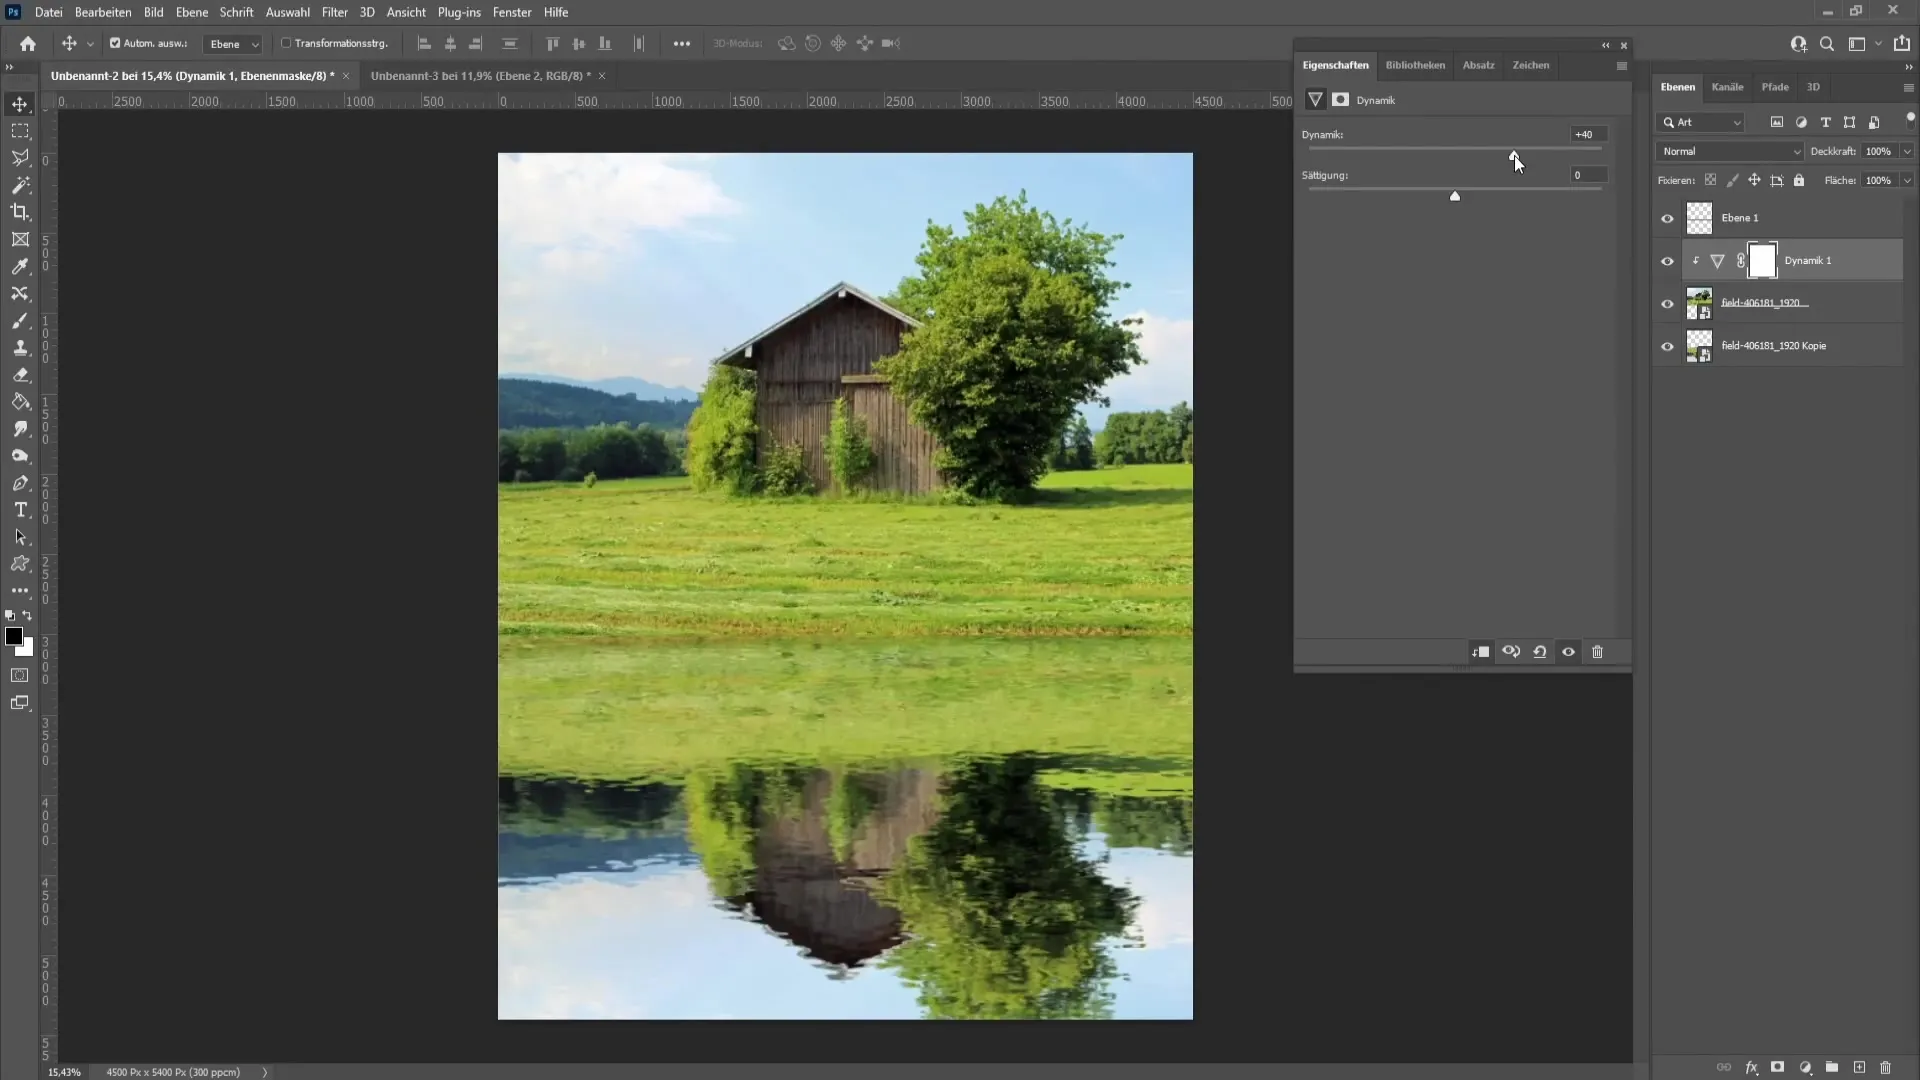
Step 16: Adjust Colors and Dynamics
under "Adjustments" you can adjust the "Dynamics" to make the original image appear more saturated, which makes the water surface more realistic.
Step 17: Final Transformation and Summary
Combine all layers, press Ctrl + Alt + Shift + E, so you can save all changes in a new layer. Convert the last layer into a Smart Object and adjust the size and position to your liking.
Summary
In this tutorial, you have learned how to create an impressive water reflection using Photoshop. From choosing your image to making final adjustments, all steps are explained in detail.
Frequently Asked Questions
How can I adjust the blur?You can adjust the motion blur under the "Blur Filters" at any time to enhance or reduce the desired effect.
How can I save my work?Go to "File" and click on "Save As" to save your edited file as a PSD or in another desired format.
What if I don't achieve the desired results?It can be helpful to vary the filter and image settings to achieve the desired effect. Try different combinations.
What are Smart Objects and why use them?Smart Objects allow for non-destructive editing of images in Photoshop, meaning you can make changes without compromising the original image quality.


