Changing the perspective in Photoshop is an extremely useful technique that can help you transform your images in a whole new way. In this tutorial, you will learn step by step how to easily and effectively adjust the perspective of objects in your images. Whether you want to edit a car, a box, or other objects, this guide will provide you with the necessary tools to achieve impressive results.
Key Insights
- To change the perspective of an object, it is advisable to first convert the object into a Smart Object.
- Masking objects improves the quality of perspective adjustment.
- Using the "perspective warp" function in Photoshop is crucial for precise implementation.
- Different tools like Lasso or Quick Selection can assist in the adjustment.
Step-by-Step Guide
Start by opening Photoshop and uploading your image. For example, if you have an image of a car and an image of a box, you are ready to change the perspective. Make sure to meet specific requirements before you start making adjustments.

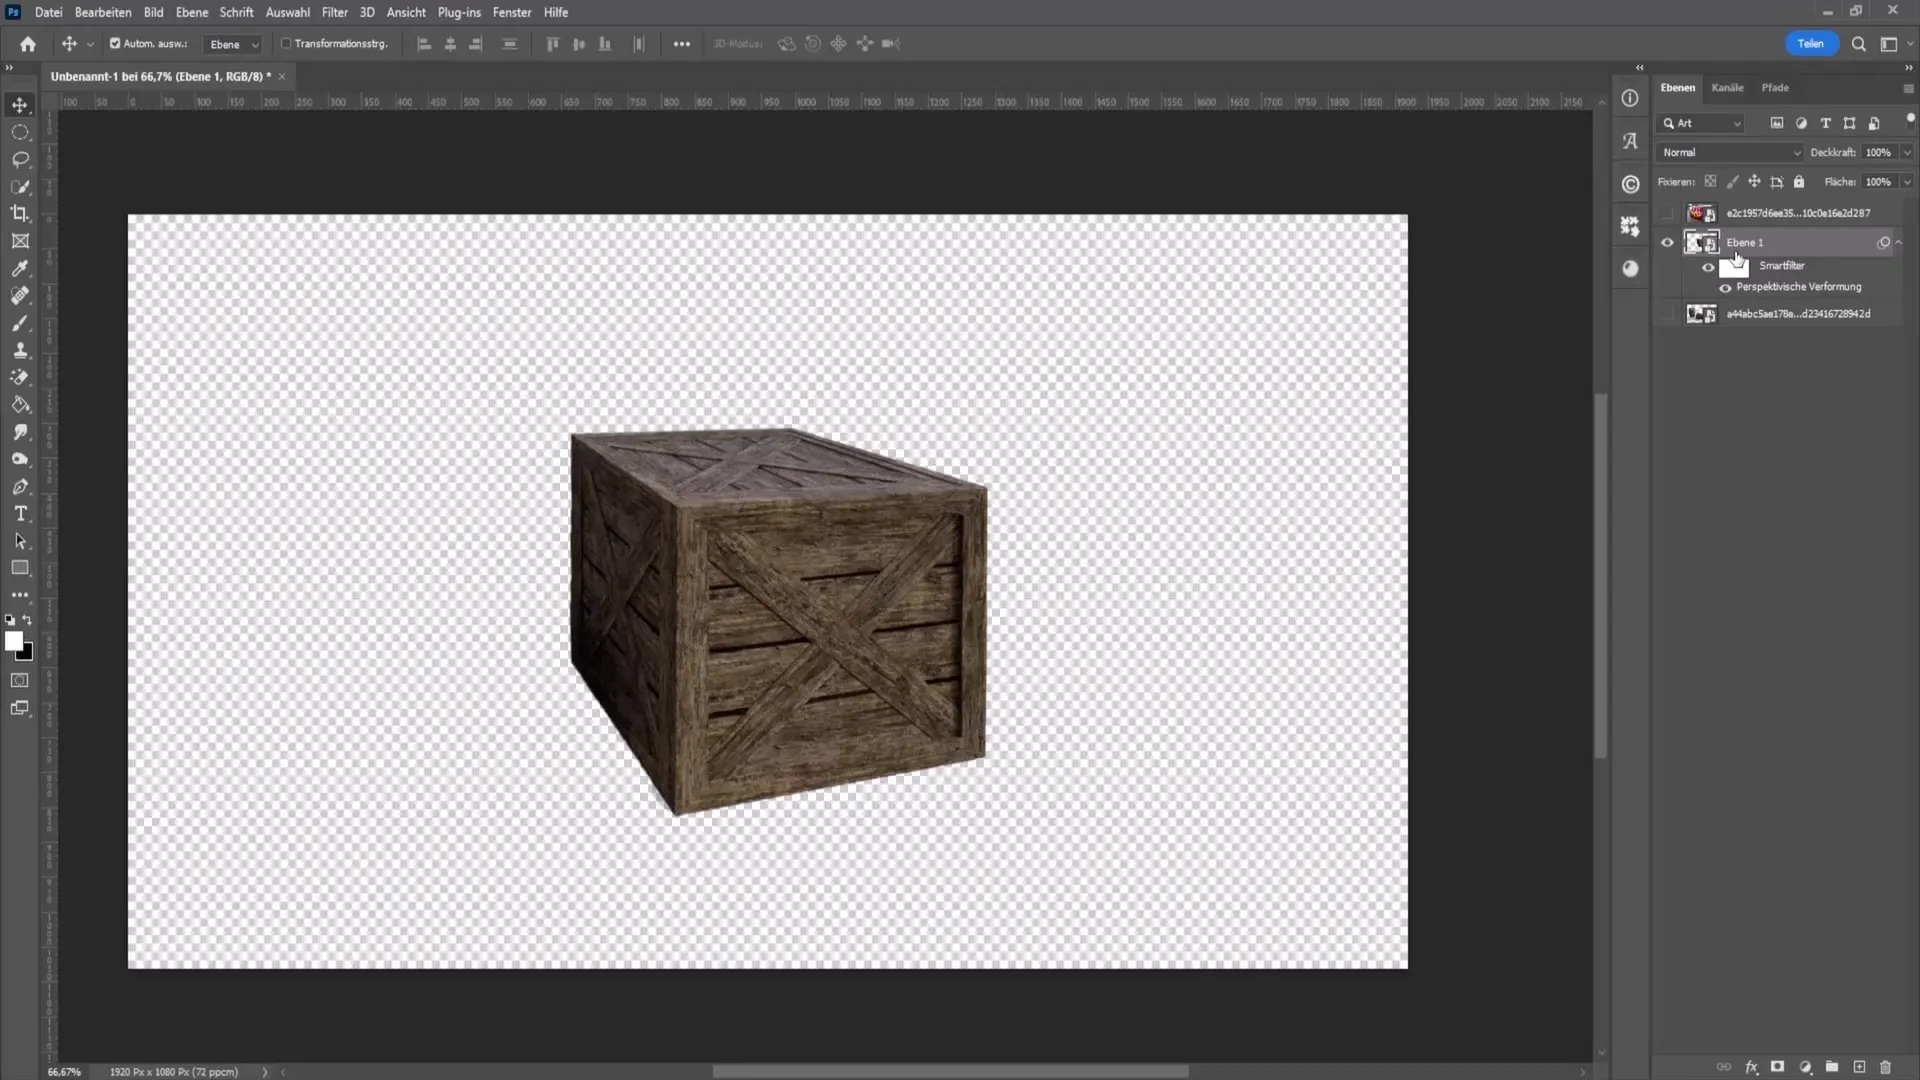
First, make sure that the object you want to work on is converted into a Smart Object. You can do this by right-clicking on the object and choosing the appropriate option. This allows you to work non-destructively, meaning you can always revert to your original image.
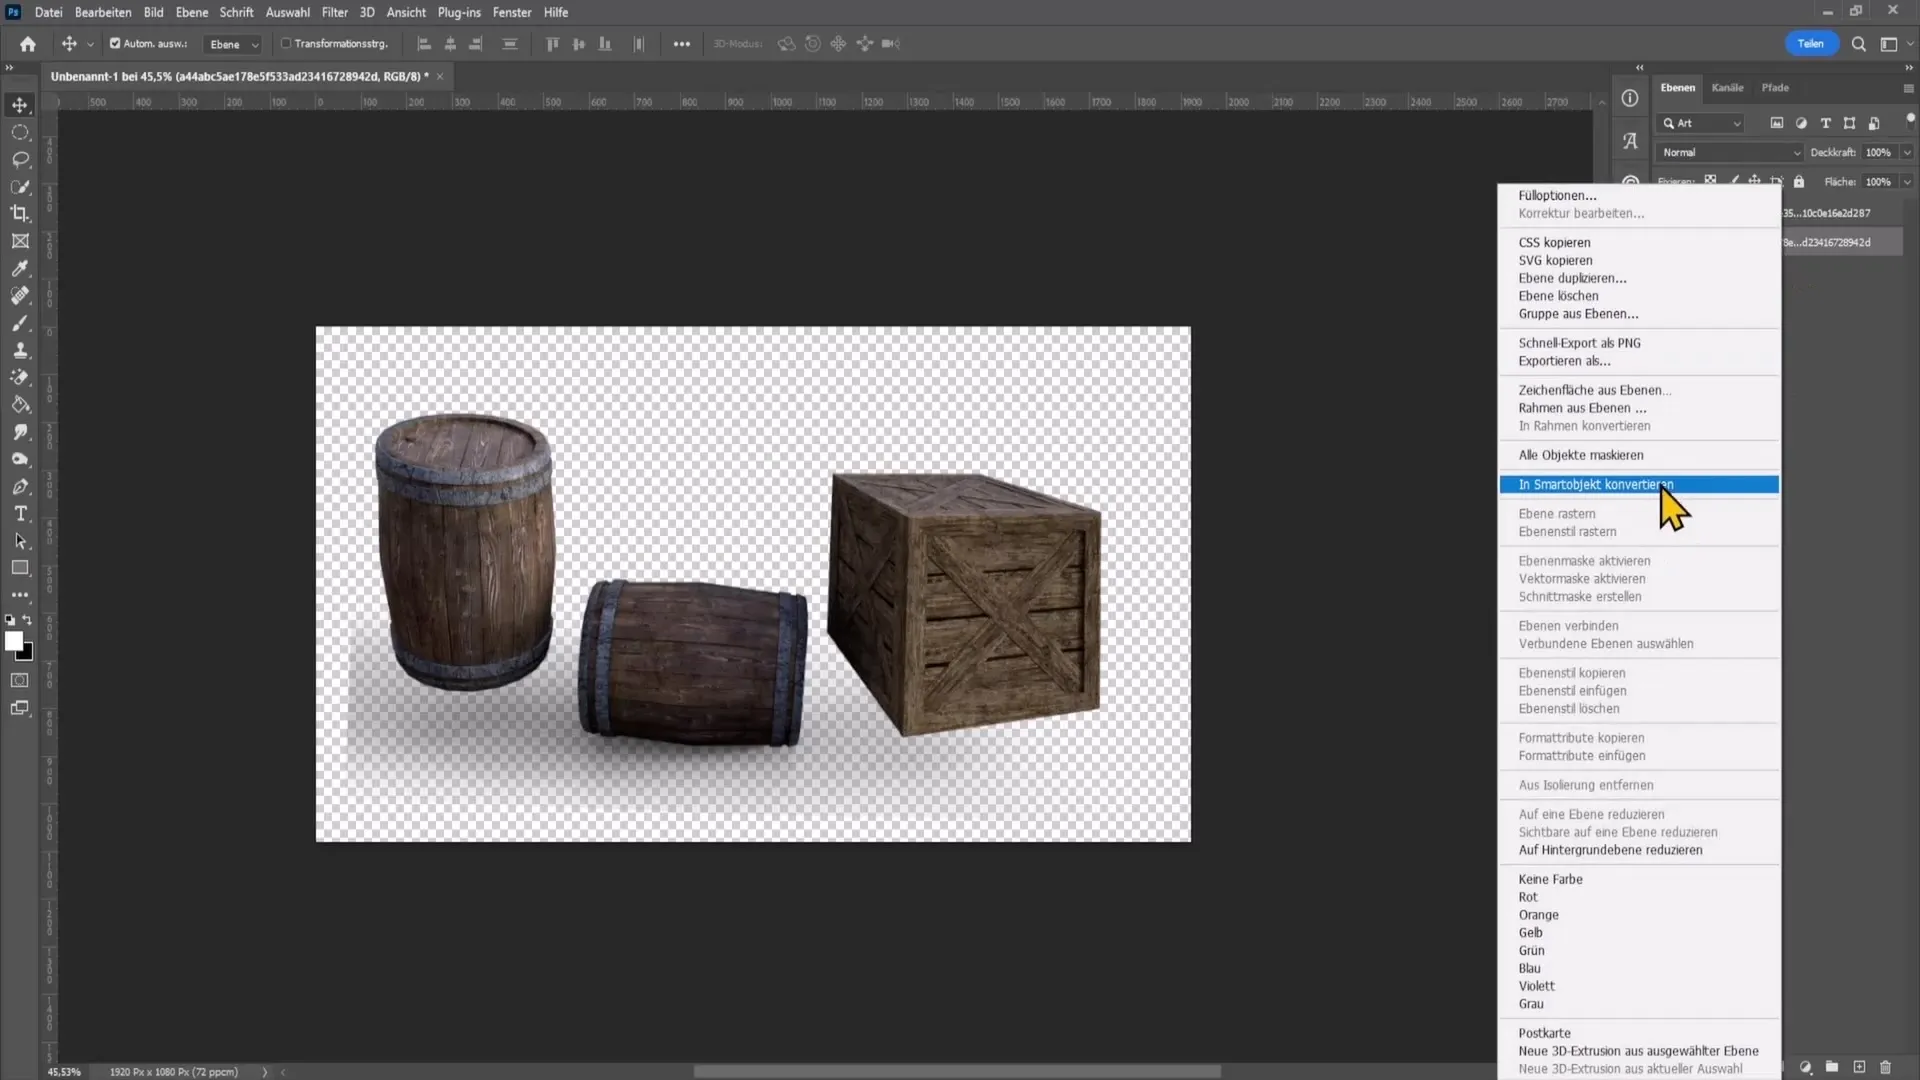
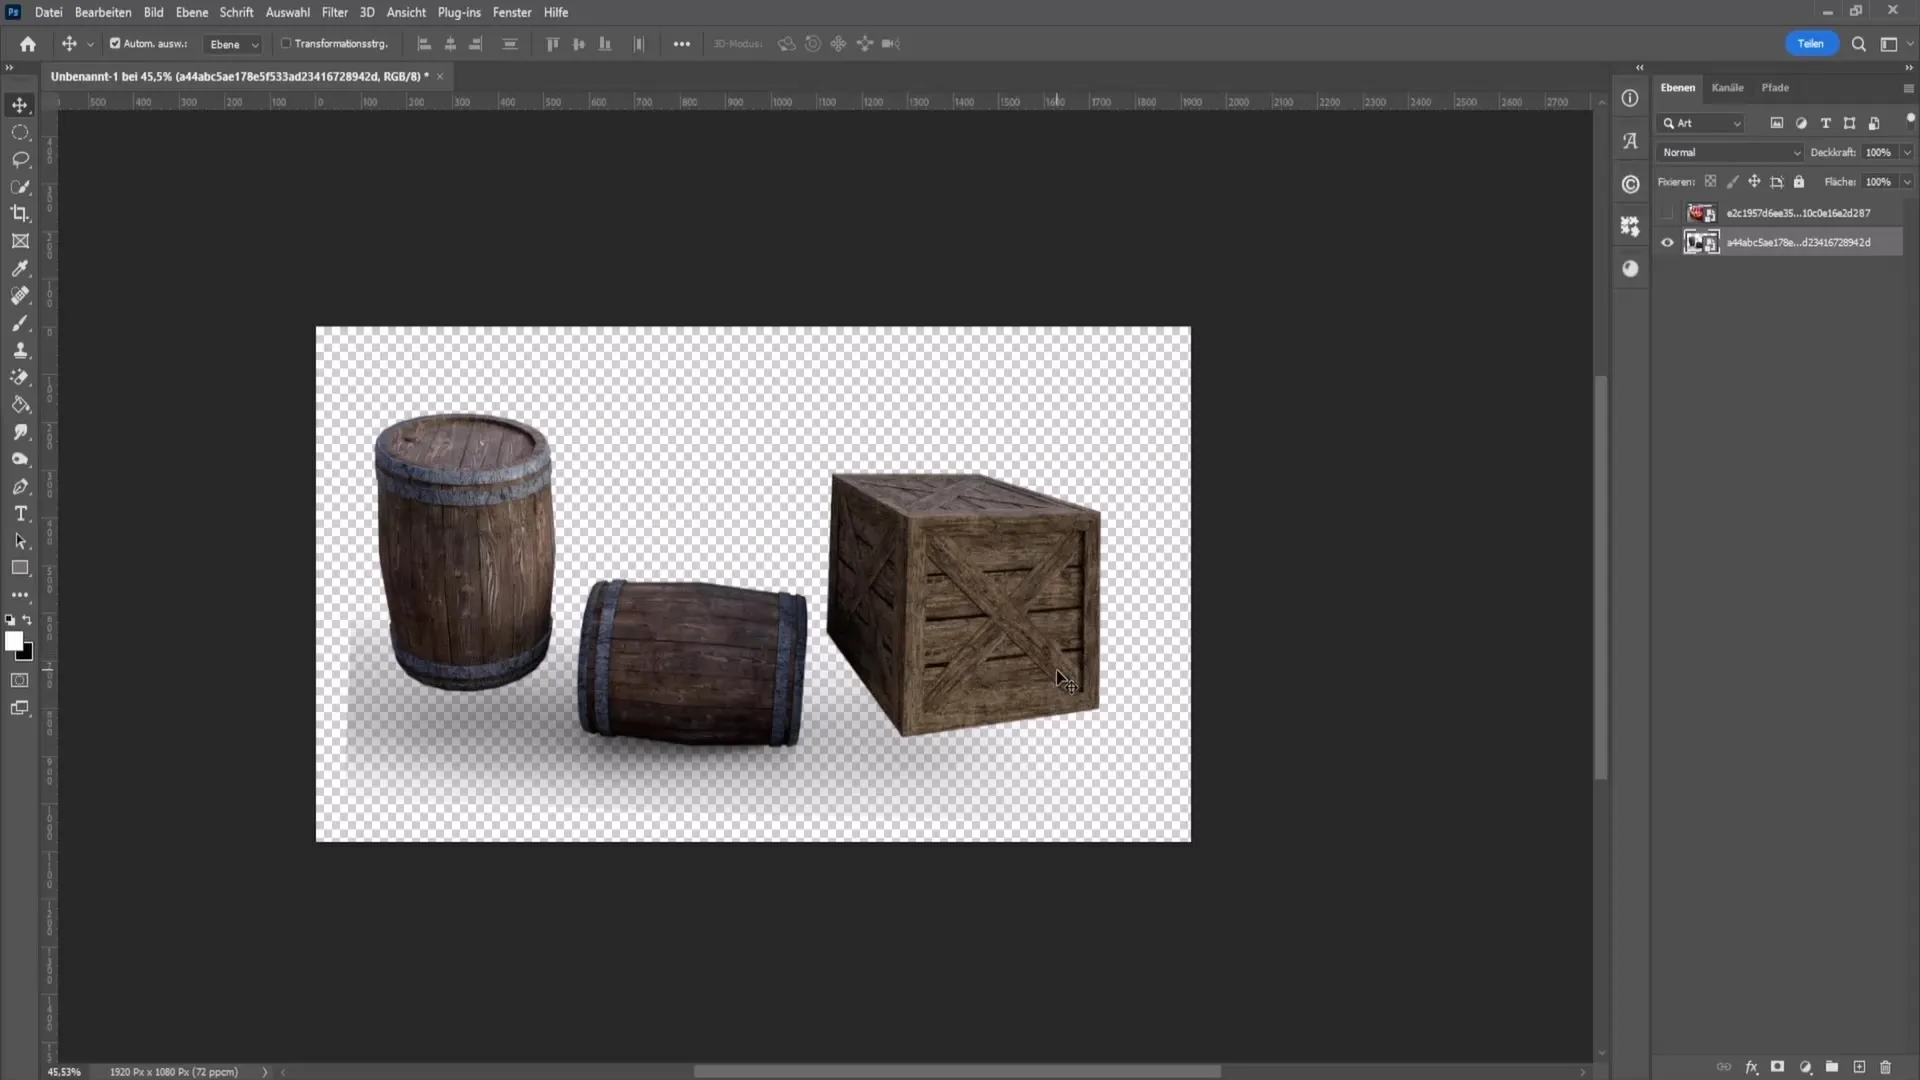
If you are working with an image where the background is distracting or does not fit your desired image, it is advisable to mask the object. In the case of a box, it is useful to use the Quick Selection tool or other selection tools to separate the object from its background.
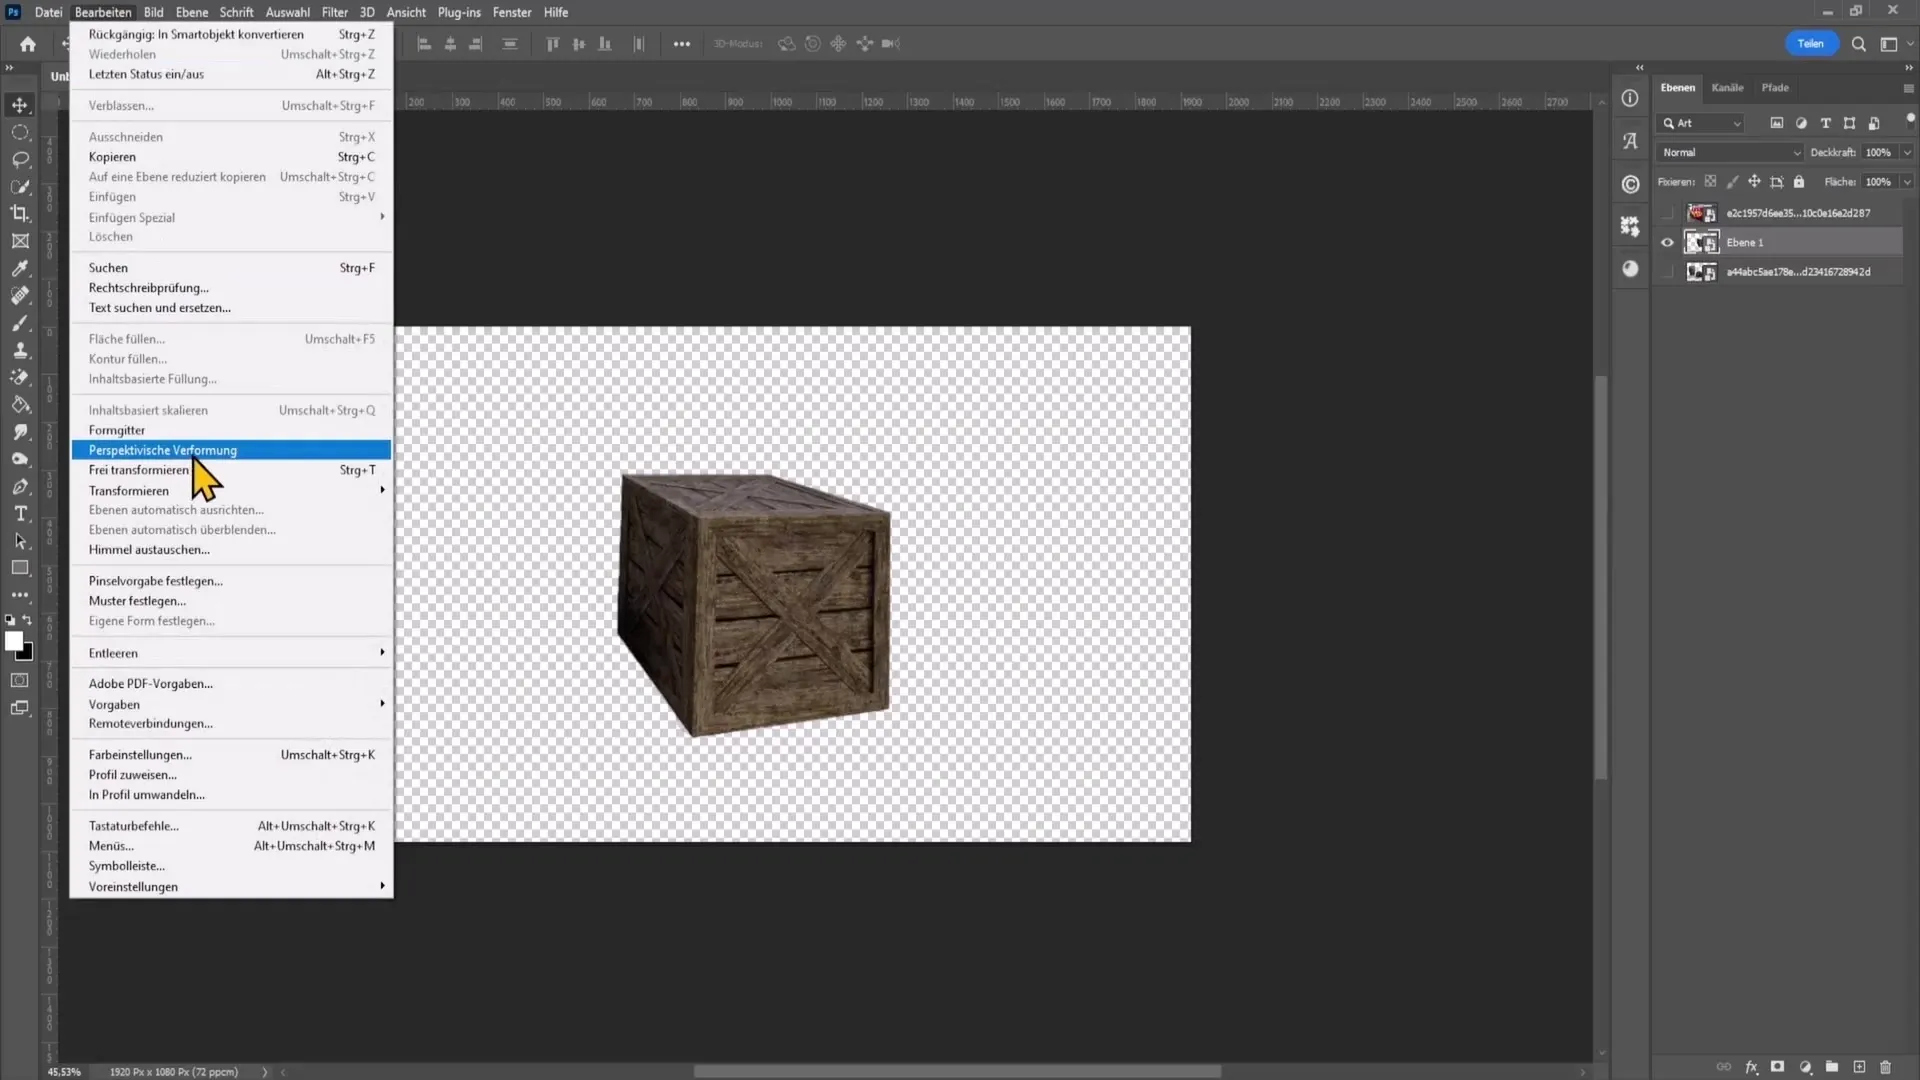
After you have masked the object, convert the layer back into a Smart Object to ensure all changes are non-destructive. Then navigate to "Edit" in the menu bar and select "Perspective Warp." Here, you can draw a rectangle around the object to start adjusting the perspective.
Now it's time to work with the corners of the rectangle. You can move the points to dock at the corners of the object. Using guides can help you make the alignment precise in this process.
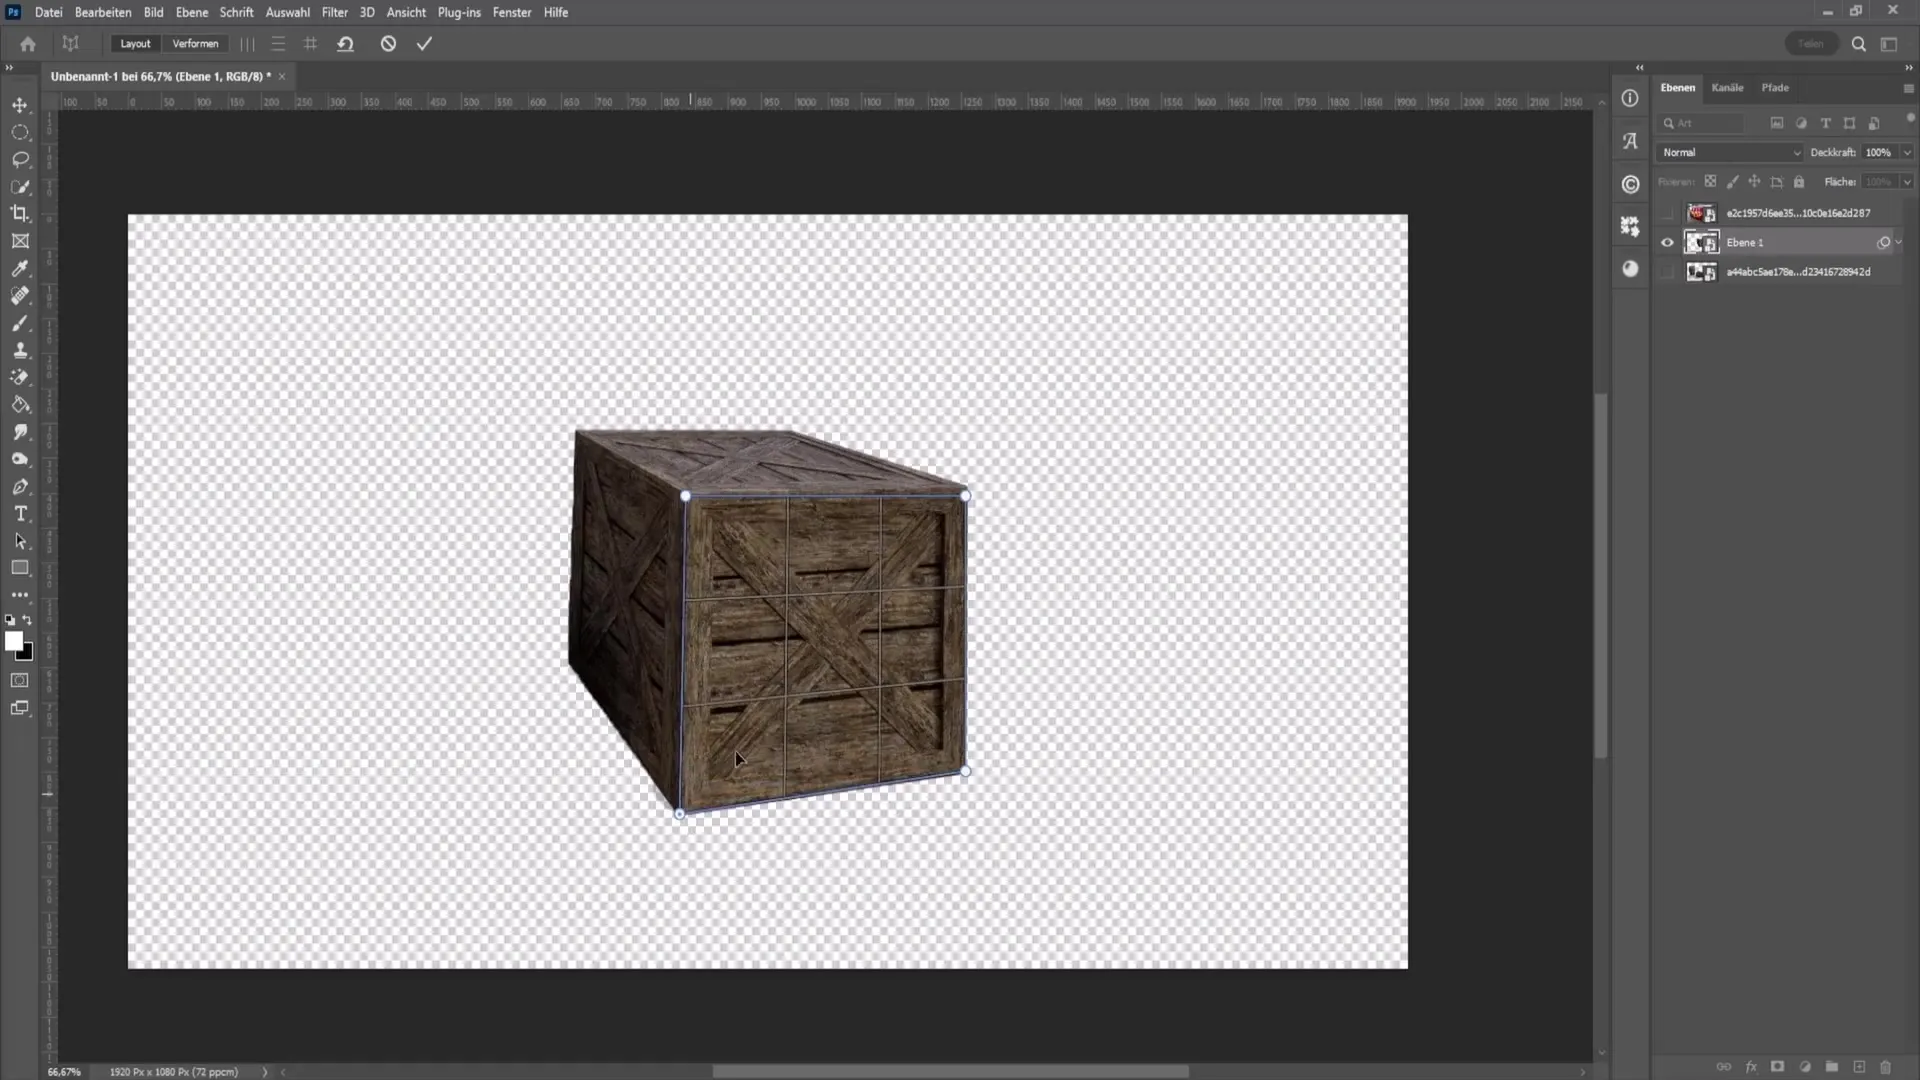
Once the rectangle is in place, adjust it for the top and left sides of the object as well. Make sure the corners dock properly, or the image may appear distorted. After finishing with the top side, you can adjust the left corners.
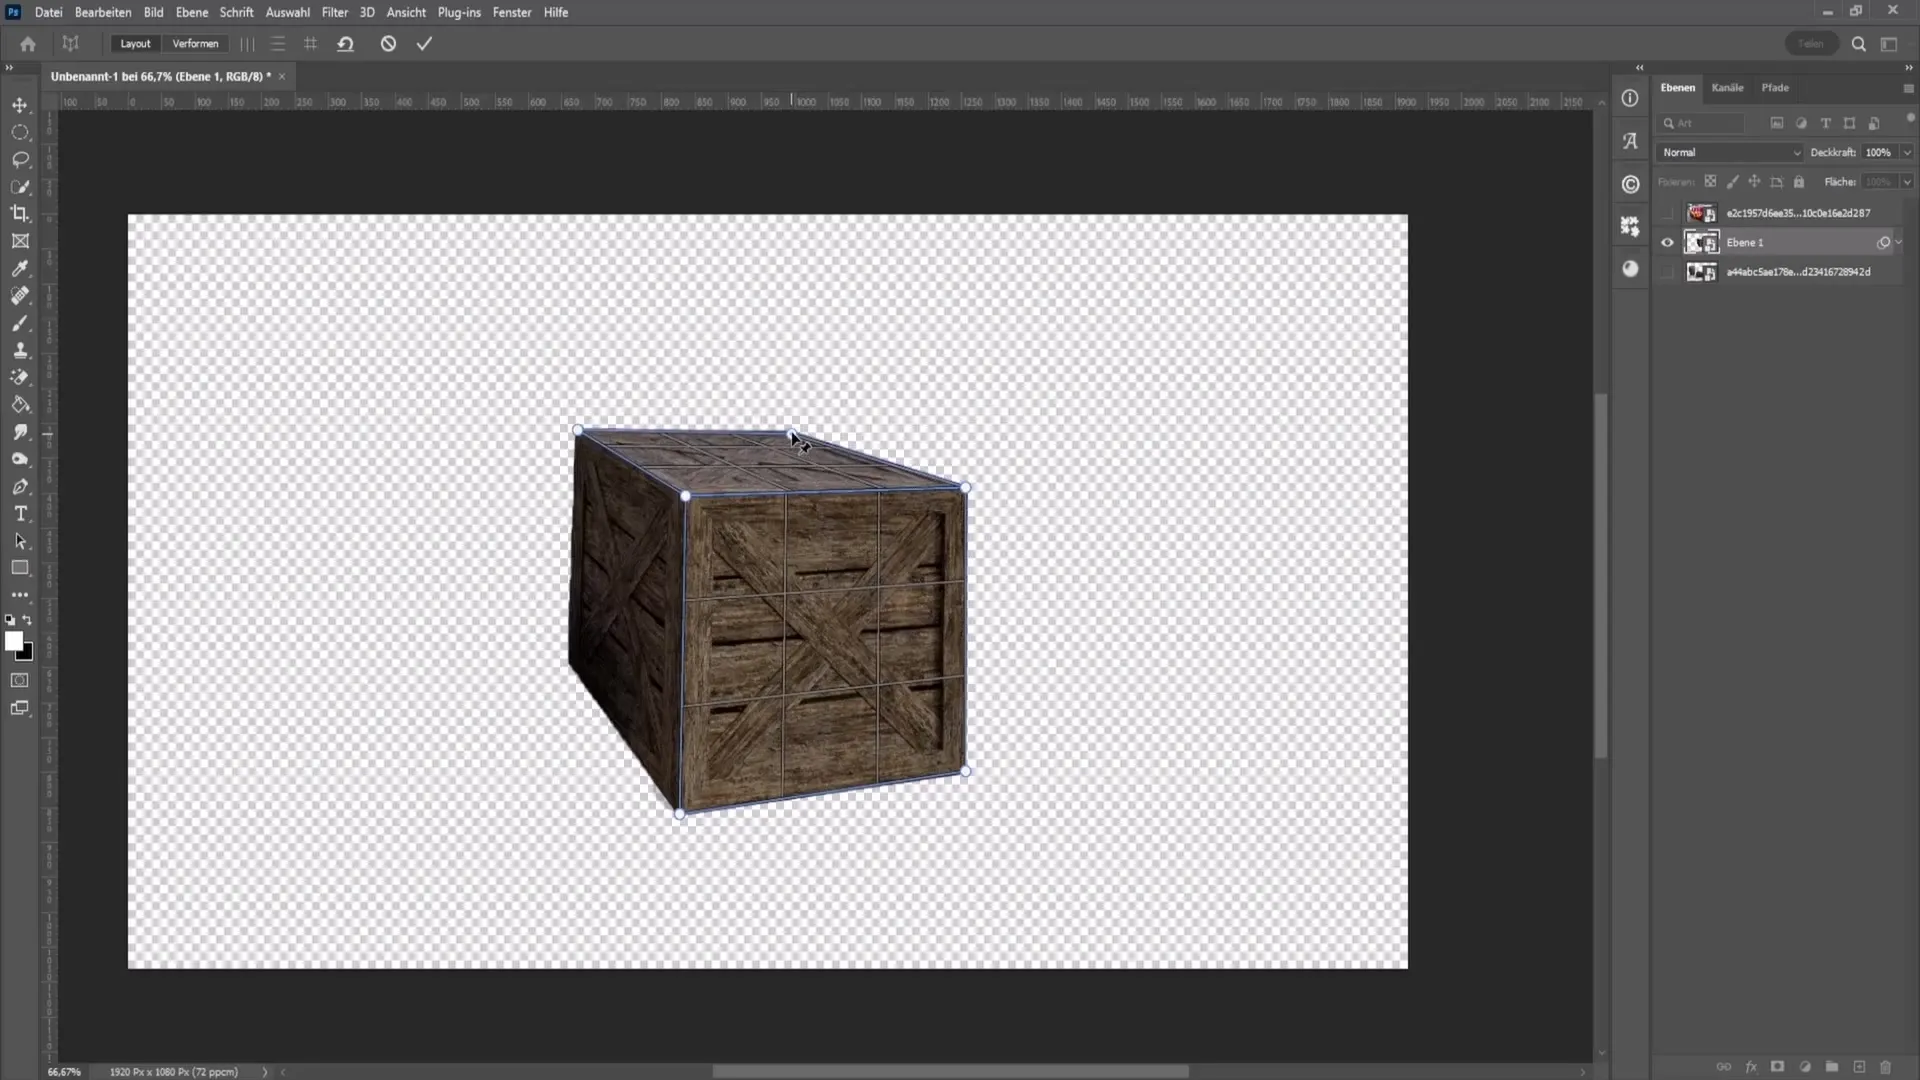
To change the perspective now, select the "shapes" option in the top left. Here, you can further refine the perspective by dragging the points on the line across the image. Hold down the Shift key to move the points simultaneously up and down if you want to adjust the width of the box.
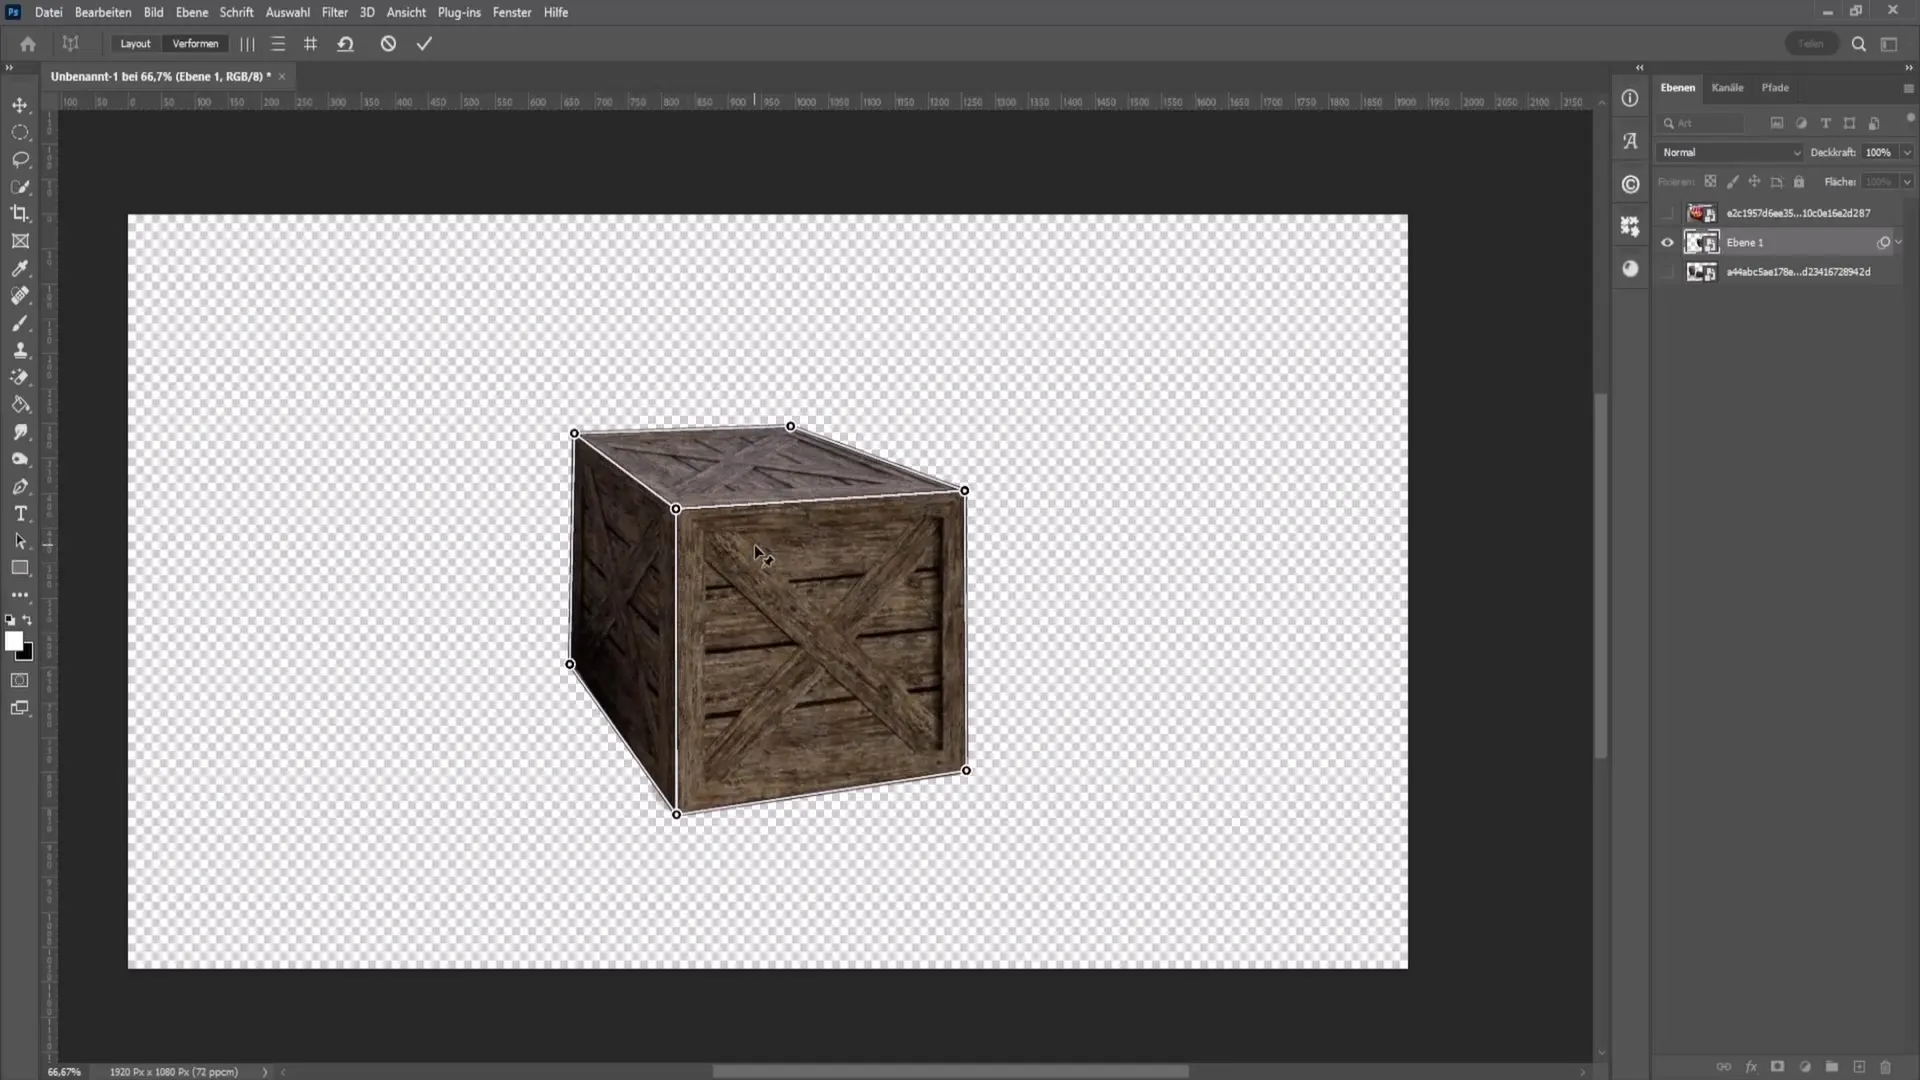
Once you are satisfied with the adjustments made, confirm them by pressing the Enter key. A before-and-after comparison on the right side can help you see your progress.
For the car, you can go through a similar process. Make sure not to work around the car but to draw a rectangle around the car and then adjust it to fit the contours of the car.
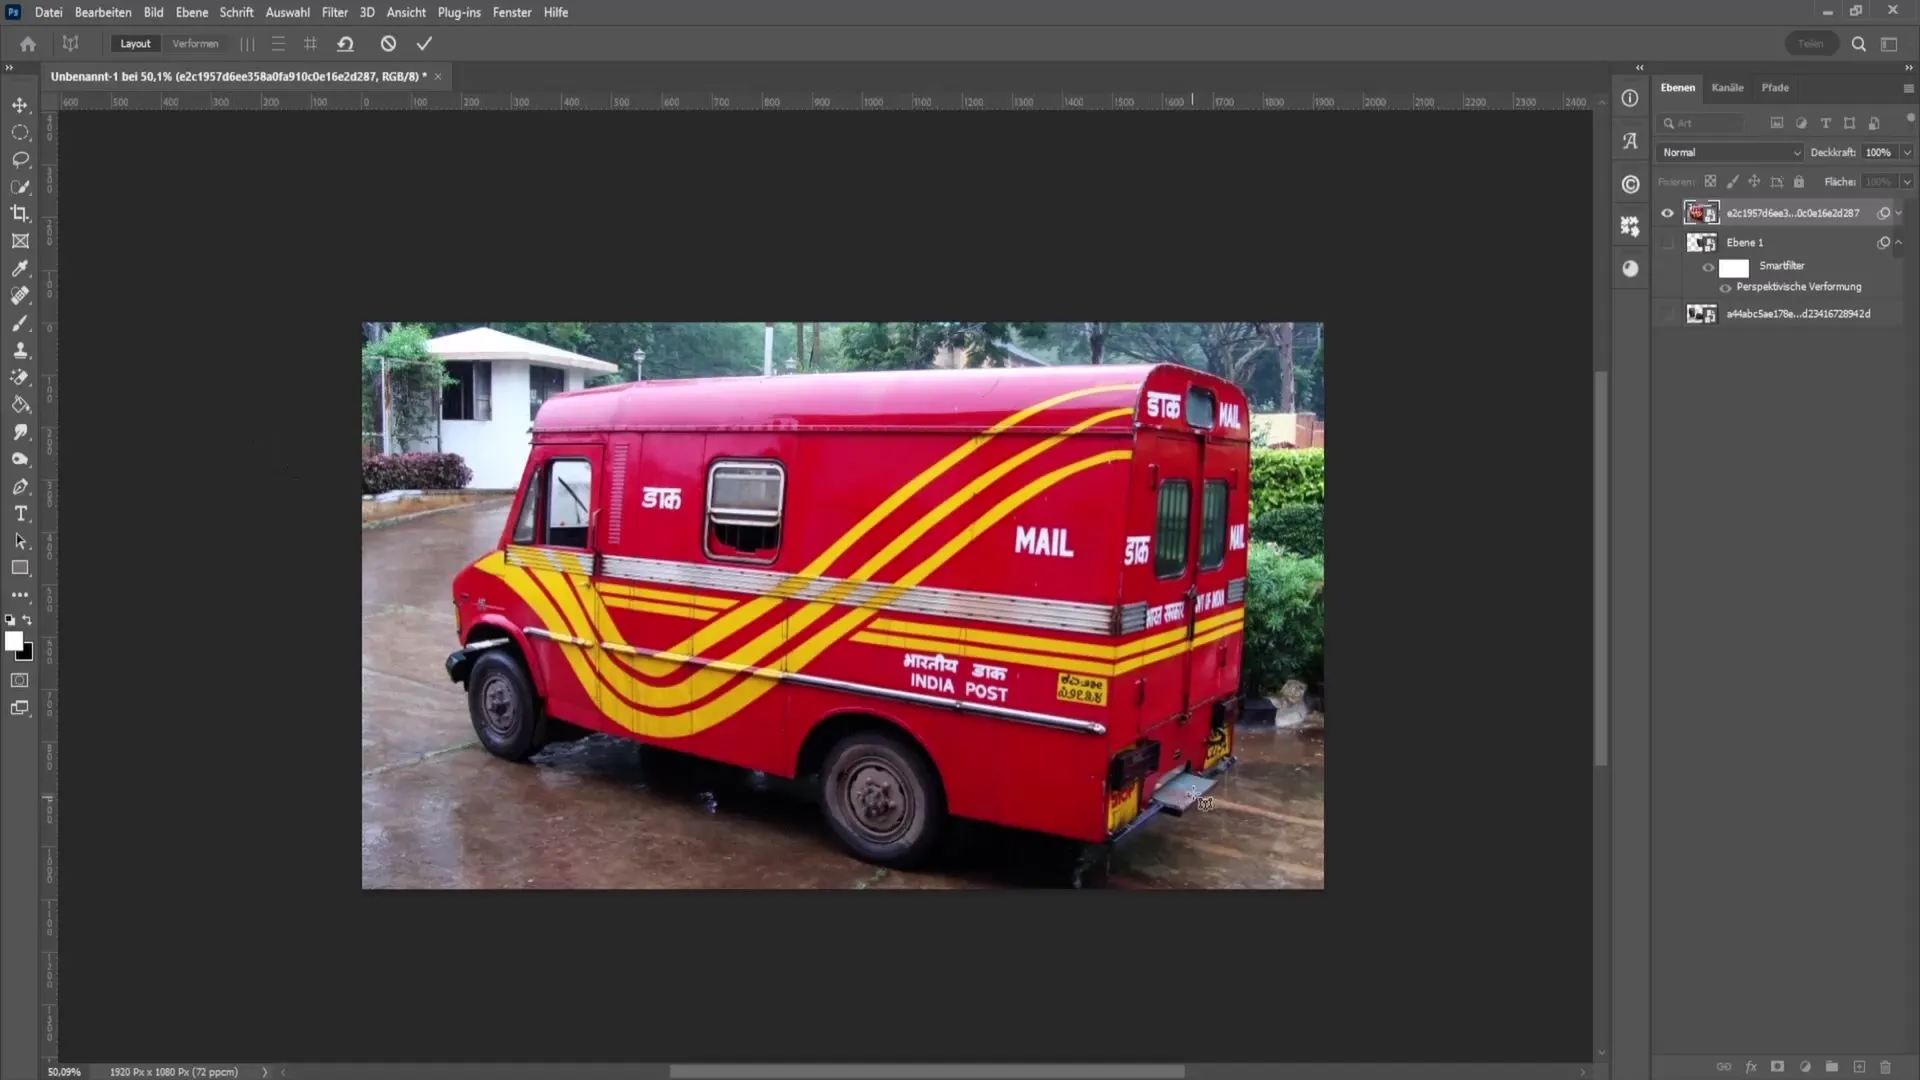
Once you have completed the deformation process here, you can further adjust the perspective. Repeat similar steps as with the box: start with "Shapes" and adjust the points accordingly.
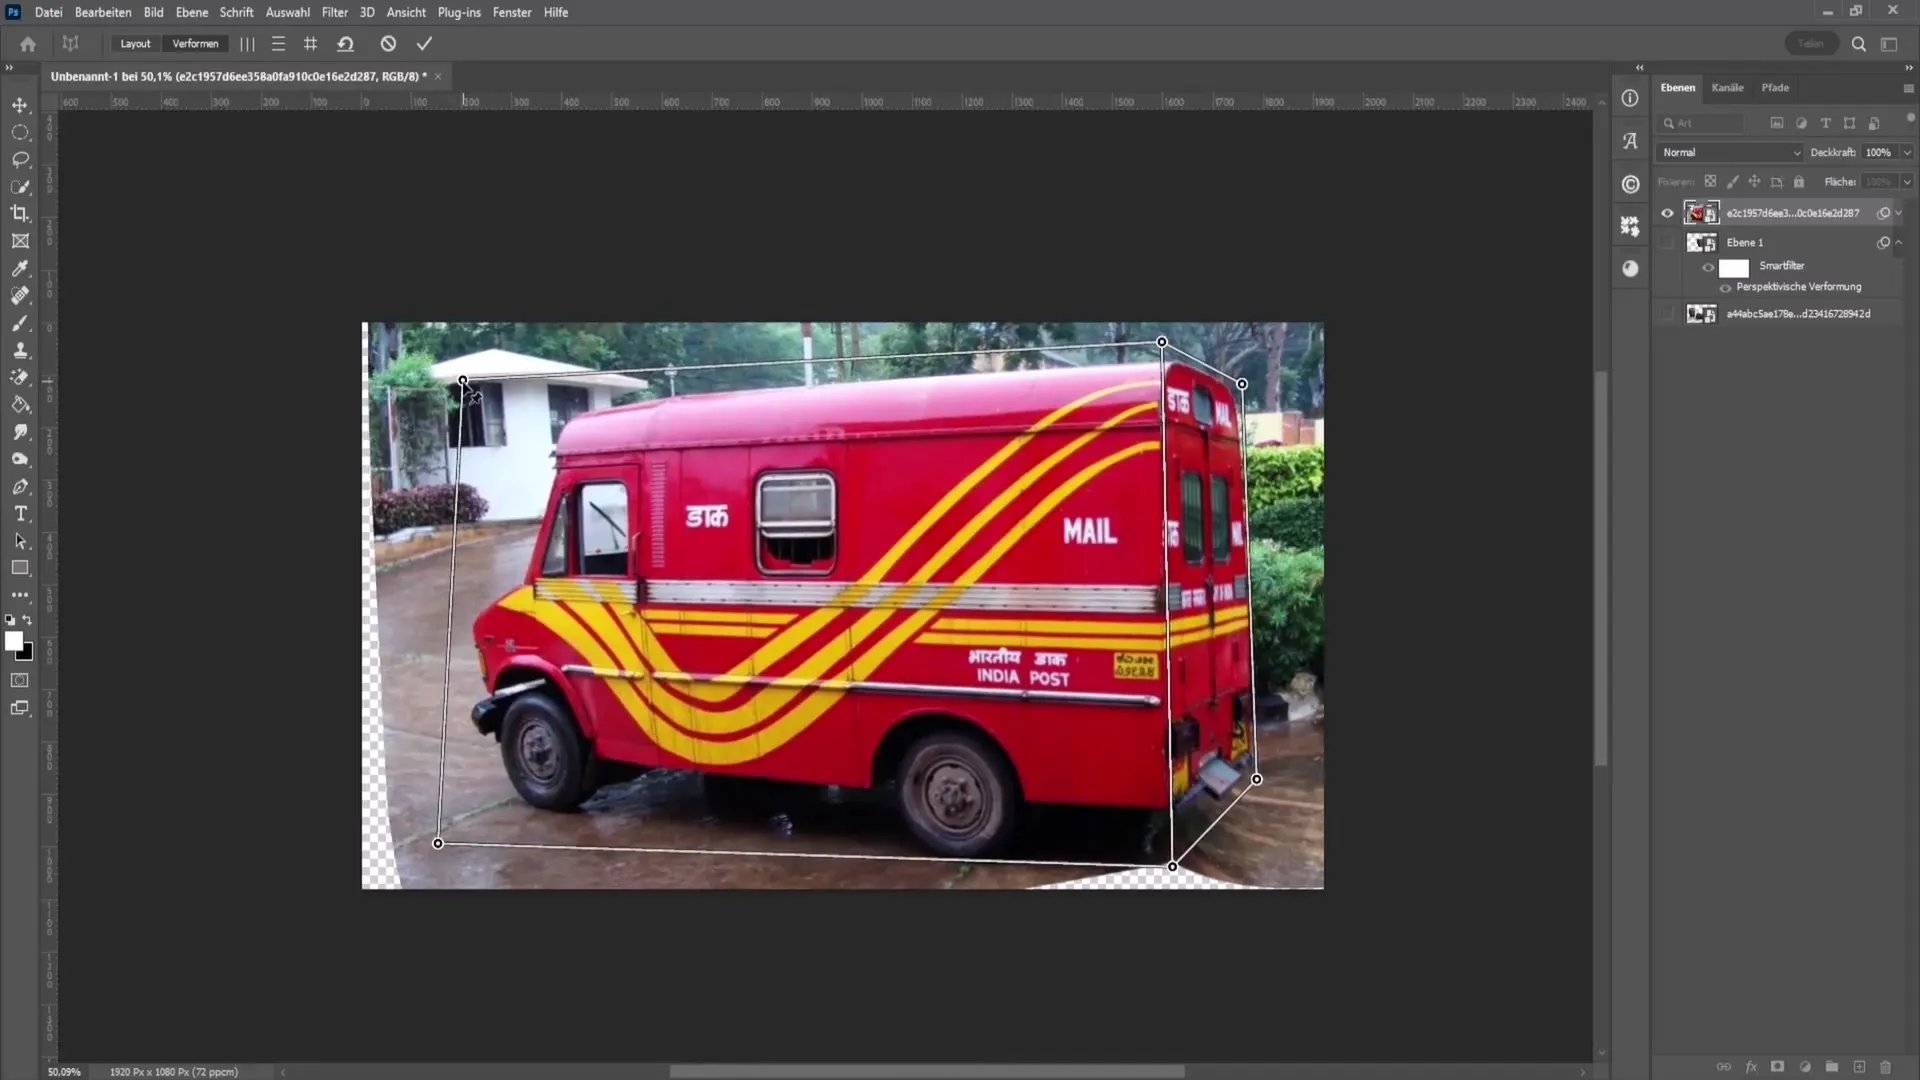
To eliminate unwanted empty areas that arise during deformation, you can use the crop tool. Alternatively, you can also use the lasso tool to select the empty areas, create a new layer, and then apply "Content-Aware Fill" to fill in these areas.
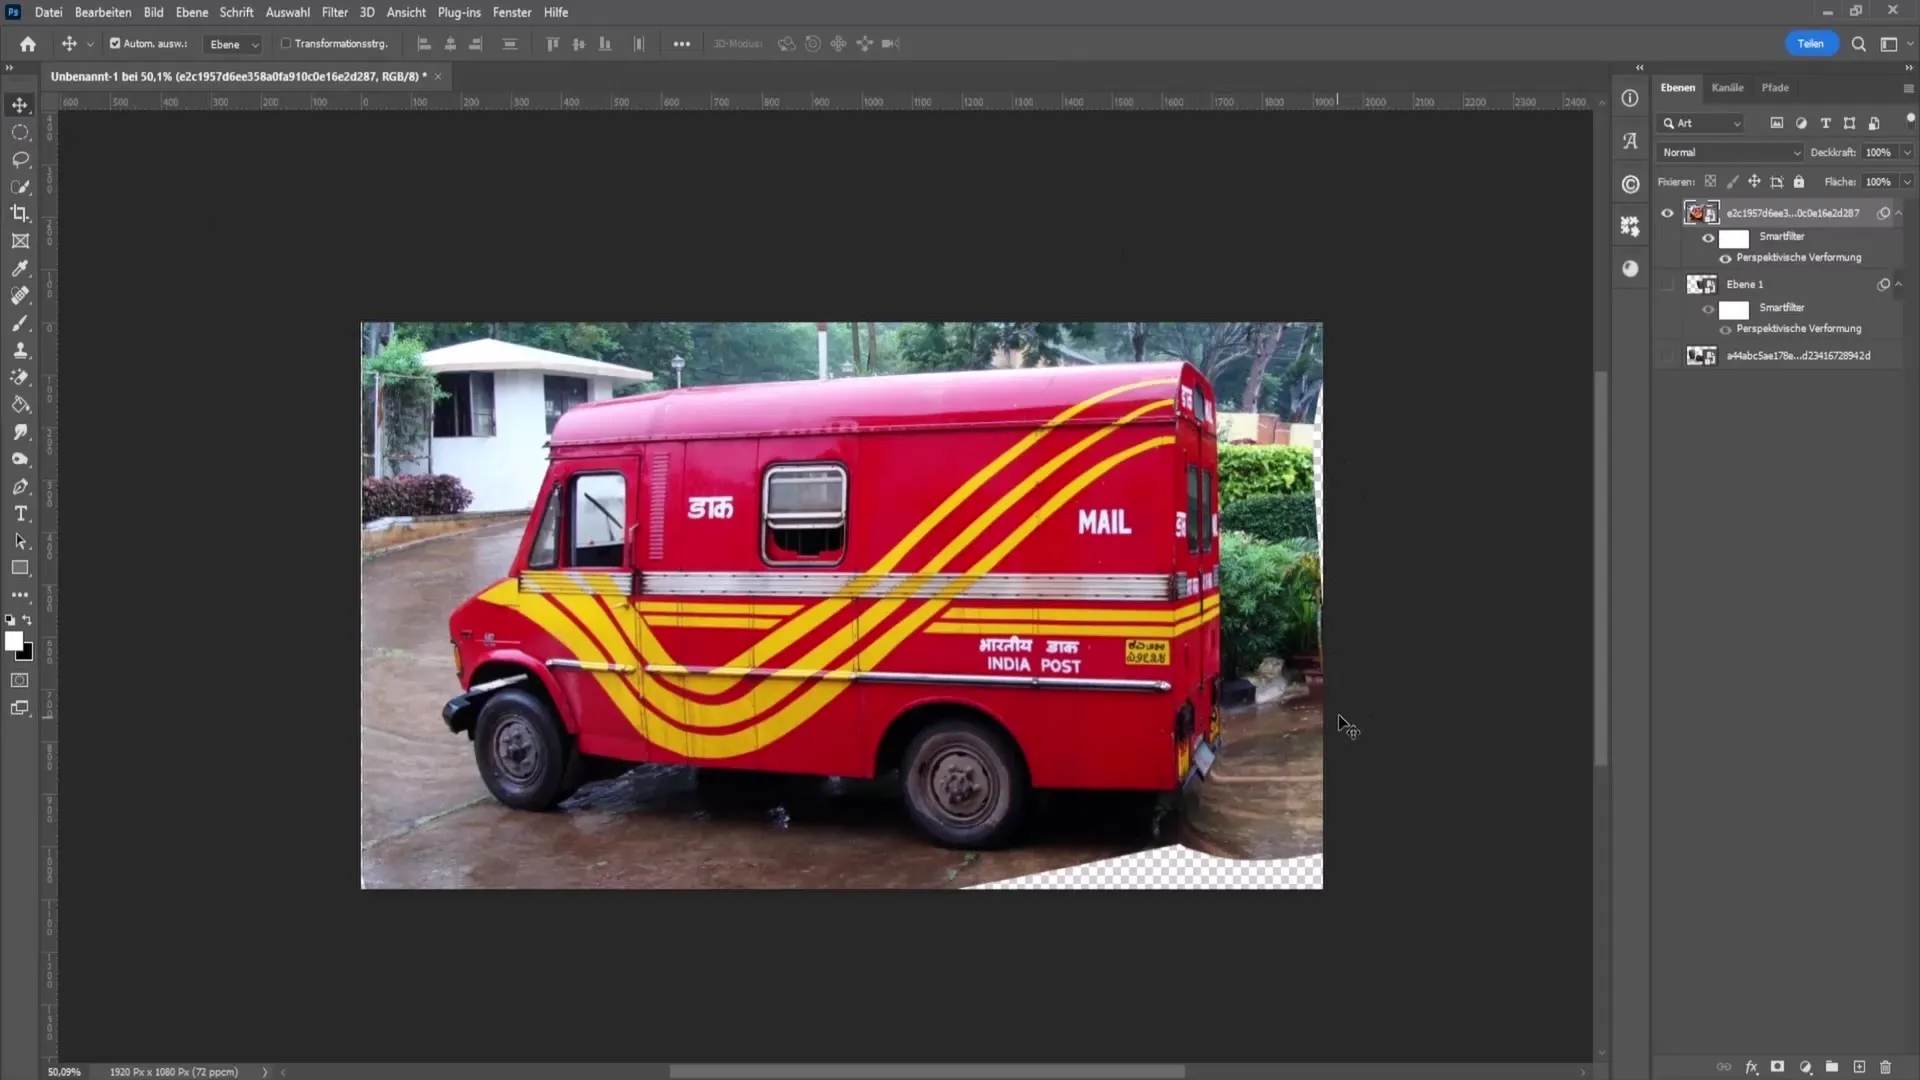
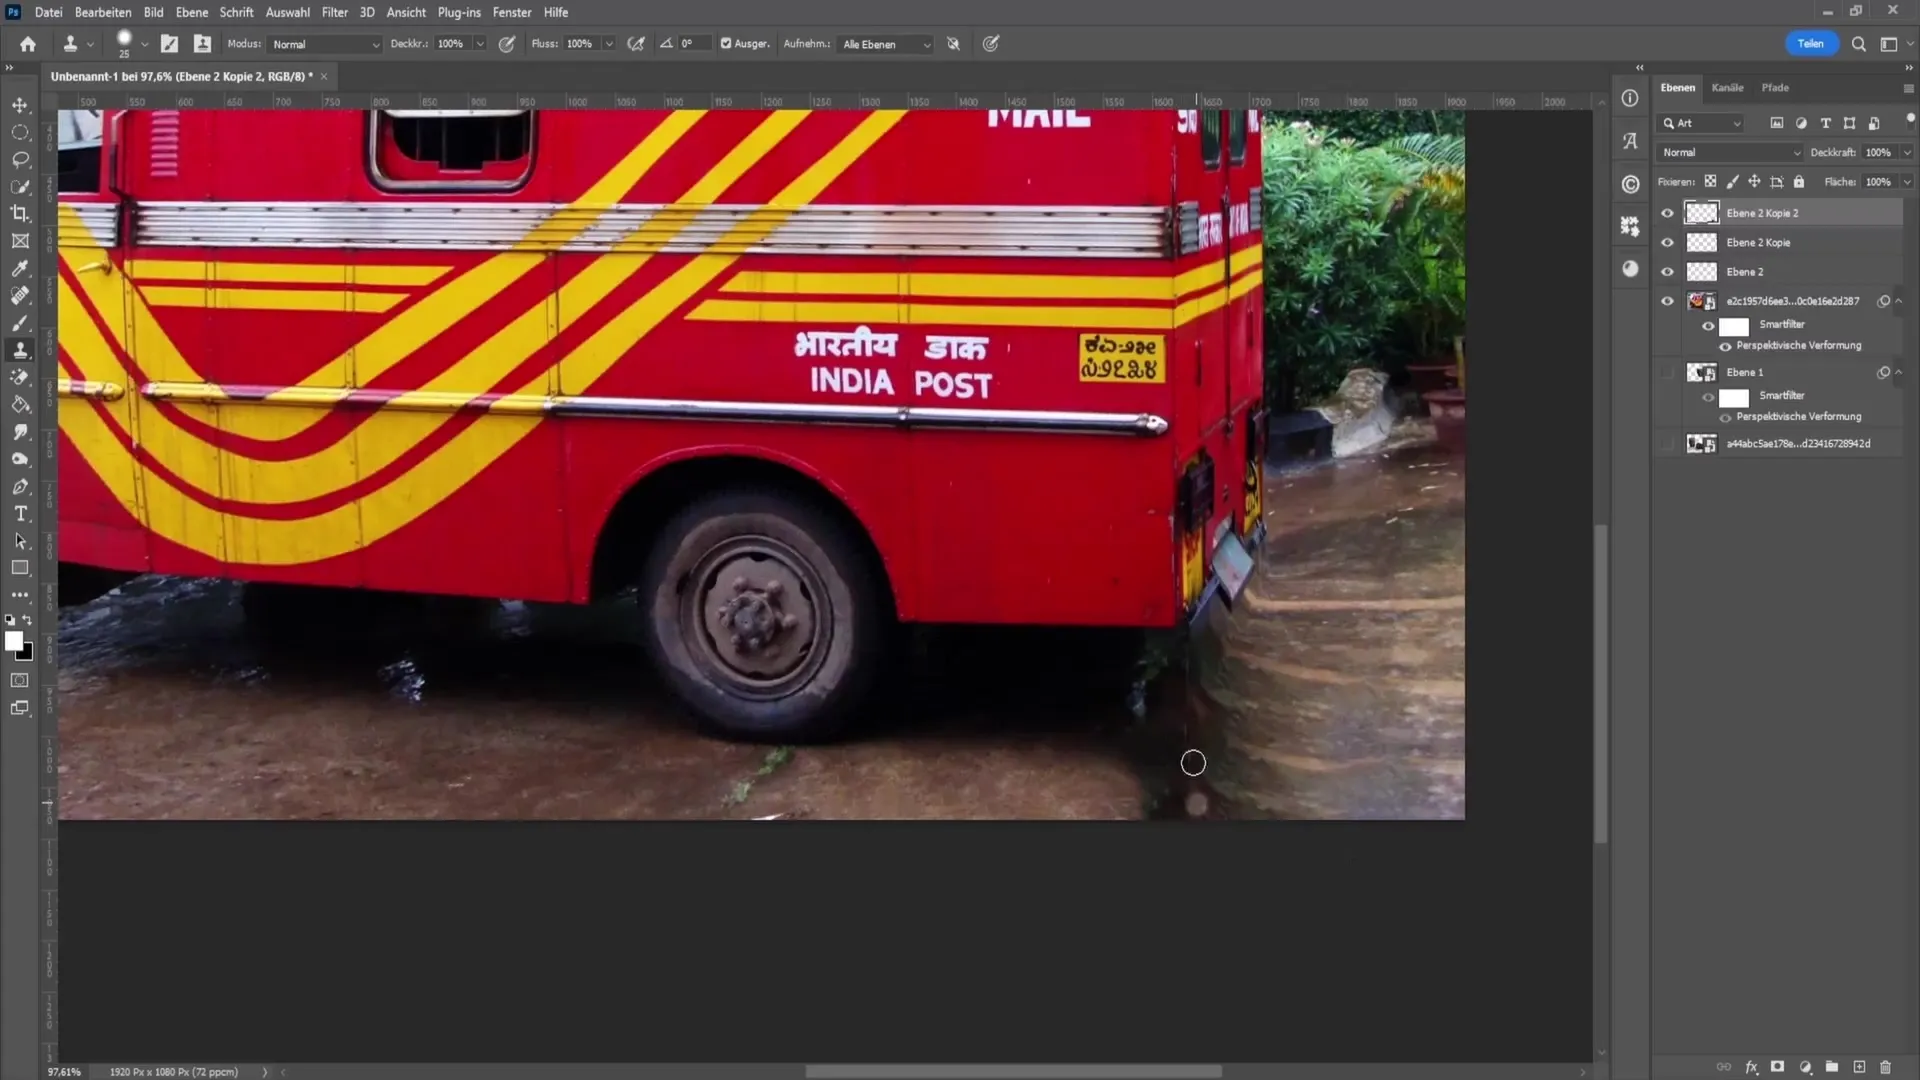
If necessary, you can refine the fillings with the healing brush or the clone stamp to achieve a clean and professional result.
Summary
In this guide, you have learned how to adjust the perspective of images using Photoshop. You have learned the importance of working with smart objects, cutting out objects, and using perspective distortion intentionally. With the right tools and techniques, you are well equipped to customize your images.
Frequently Asked Questions
How do I convert an object into a smart object?Right-click on the layer and choose "Convert to Smart Object".
Why should I cut out objects?Cutting out helps to focus on your main object and remove unwanted backgrounds.
What can I do if I am not satisfied with the perspective?You can always reset the transformation by choosing "Edit" > "Undo" or editing the smart object again.
Could I change the transparency of an object in Photoshop?Yes, this can be done through layer settings or by adding effects to the layer.
How does content-aware fill work?Select the area you want to fill, right-click, and choose "Content-Aware Fill".


