In this tutorial, I'll show you how to shrink the eyes and mouth of an image in Adobe Photoshop. This technique can be used to achieve fun and unusual effects, such as editing portraits or creating creative projects. We will use the Liquify filter to make precise adjustments and achieve the desired changes. Let's dive right into the step-by-step guide.
Main Insights
- With the Liquify filter, you can easily shrink the eyes and mouth.
- The Forward Warp Tool is the main tool for these adjustments.
- You can undo unwanted changes with the Reconstruct Tool.
- Proportions can be adjusted afterwards to achieve the best results.
Step-by-Step Guide
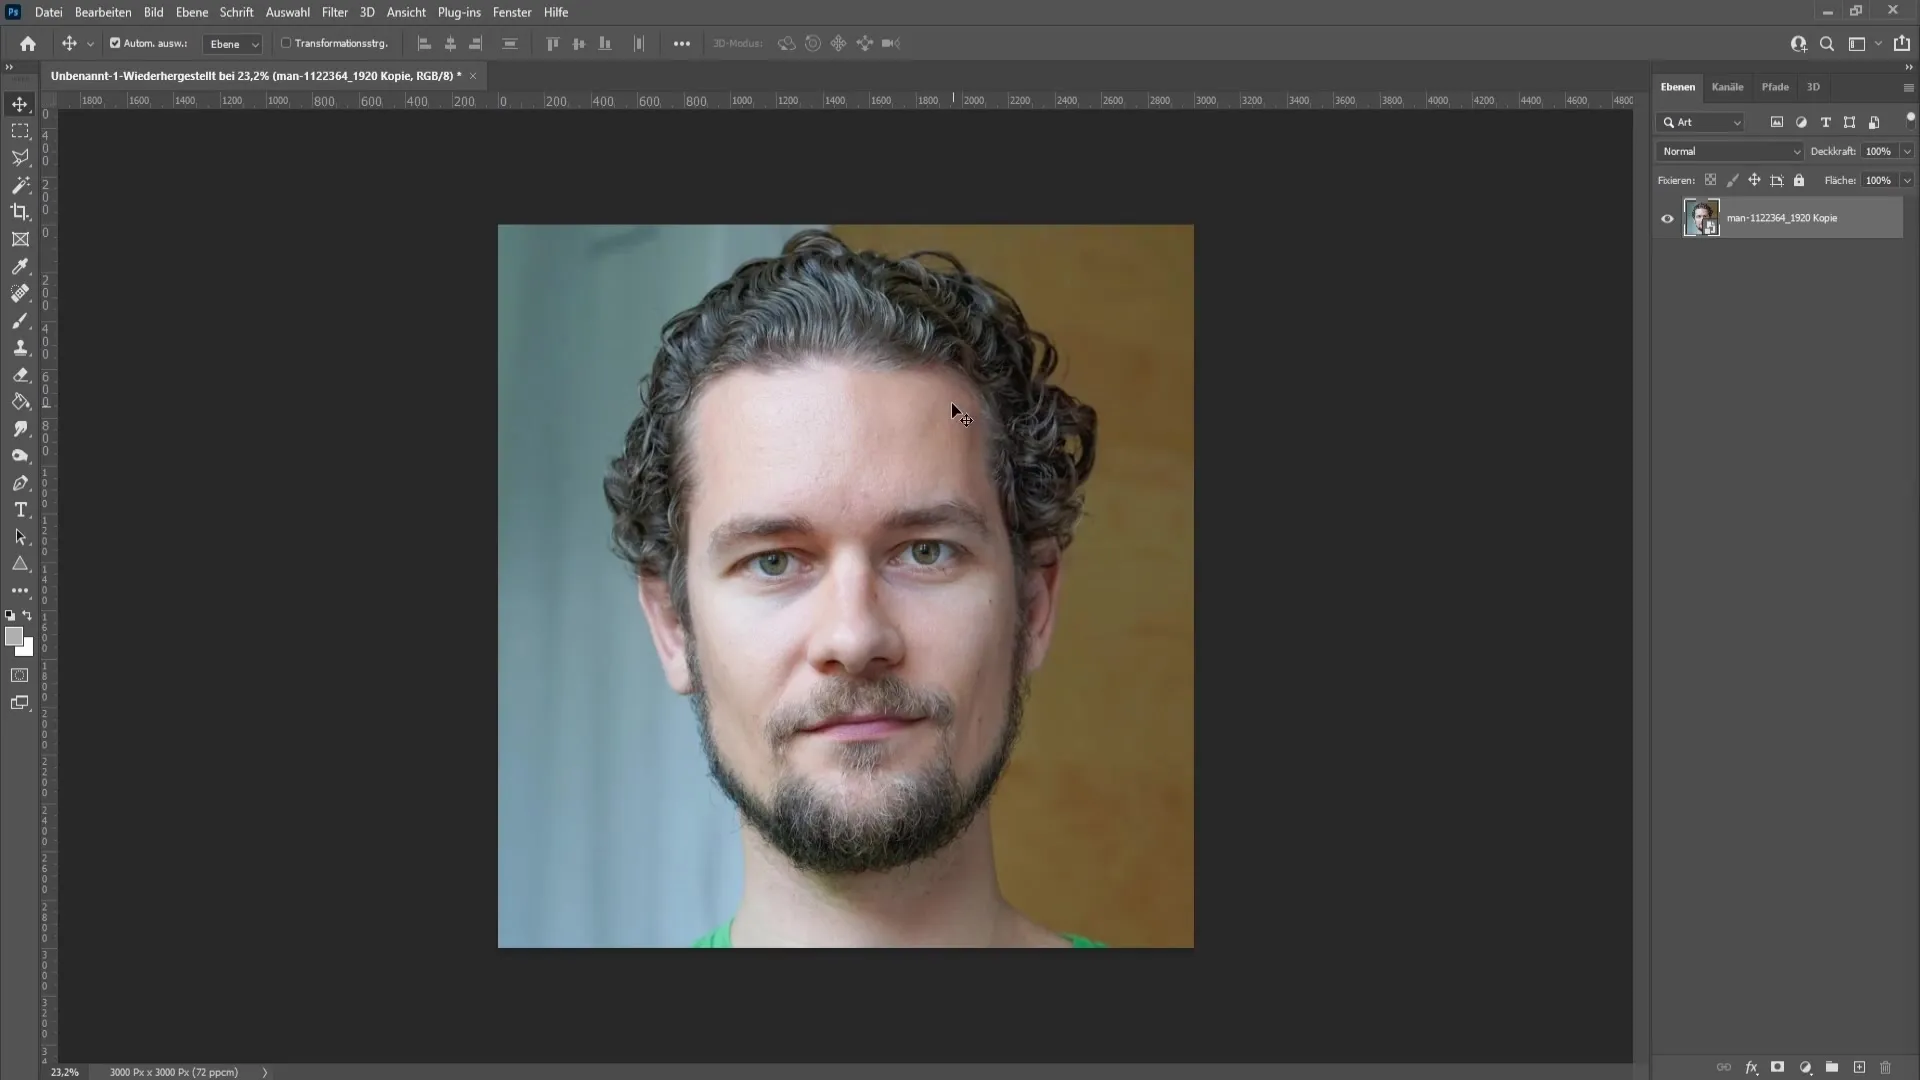
First, open the image you want to edit. Make sure you have a good resolution for precise changes. Once you have opened the image, go to "Filter" and select "Liquify".
In the Liquify filter, you will see the different tools on the left side of the window. Choose the Forward Warp Tool. This allows you to shrink the eyes and mouth. To adjust the brush size, you can hold down the Alt key and simultaneously right-click.
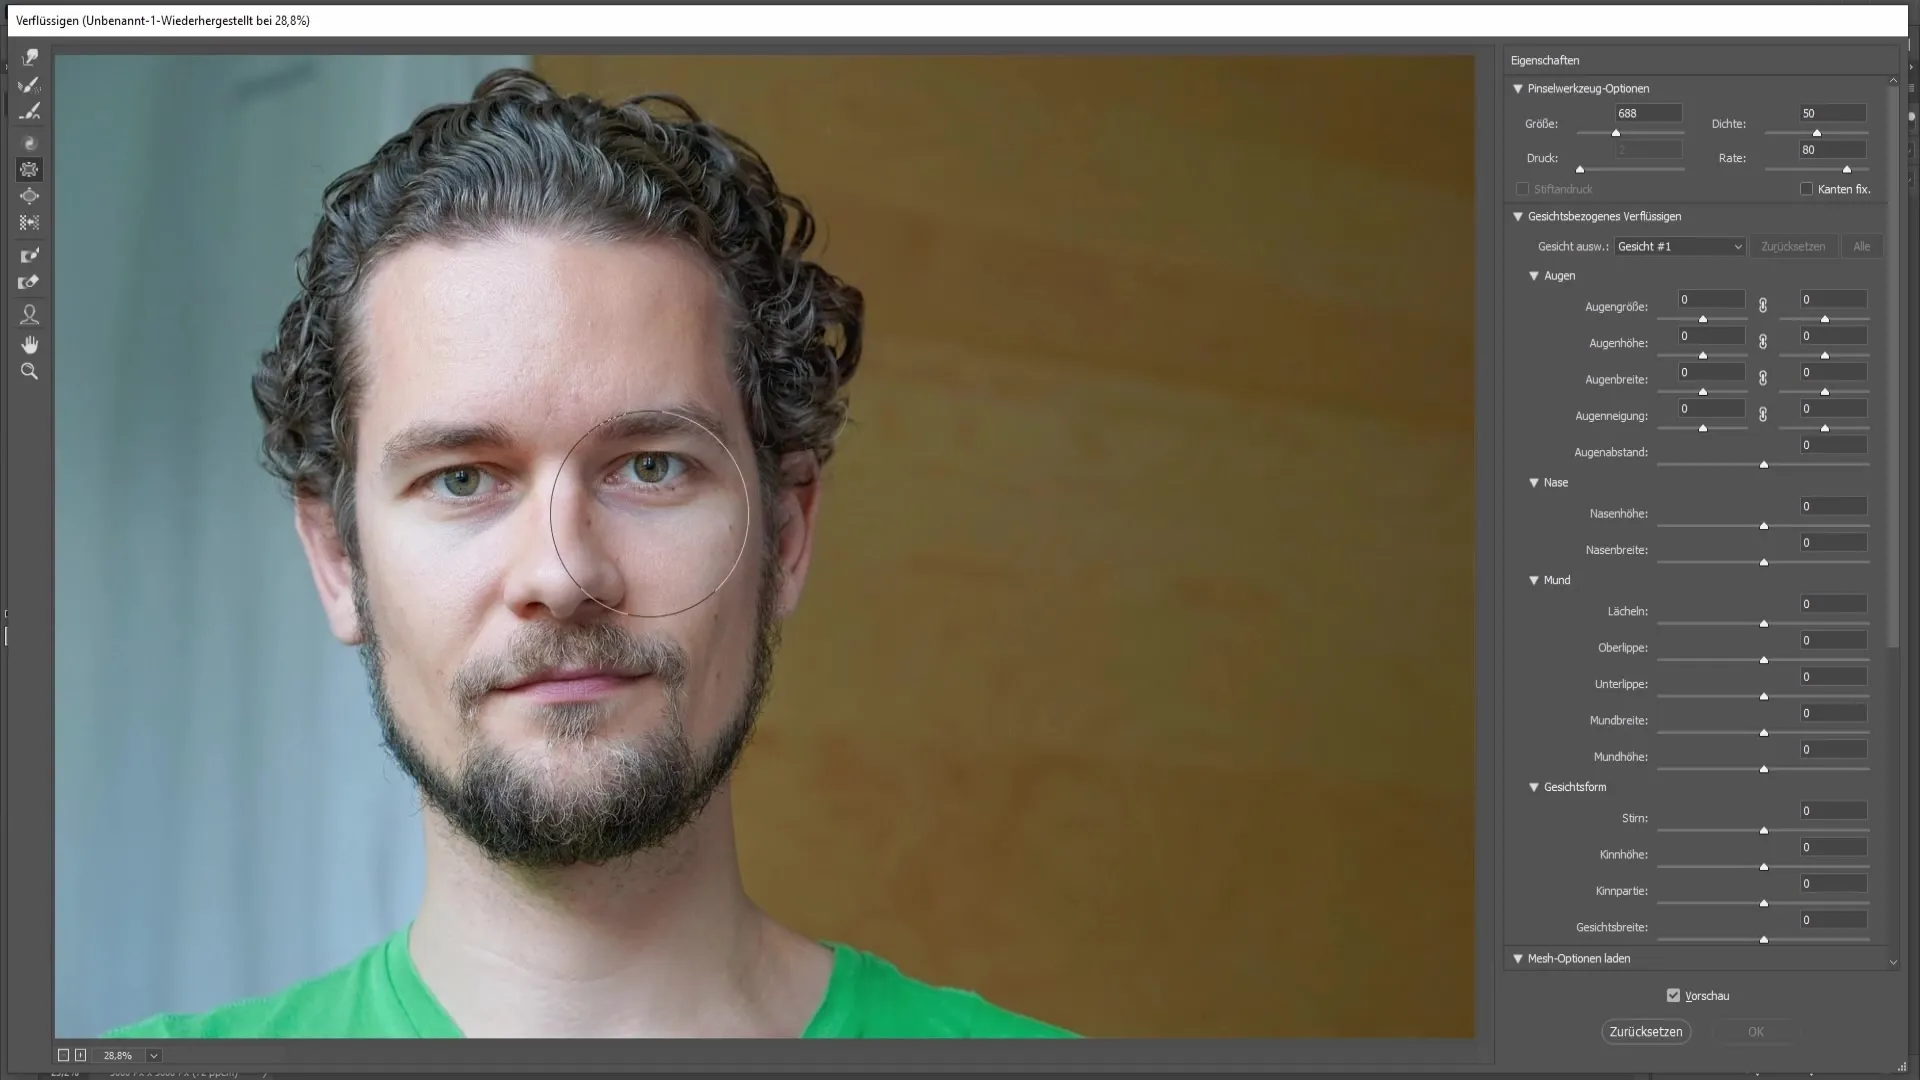
I recommend choosing a brush size that is large enough to extend over the eyebrows and parts of the eye to create a smooth transition. A little tip: Keep the brush slightly away from the nose to avoid widening it as well.
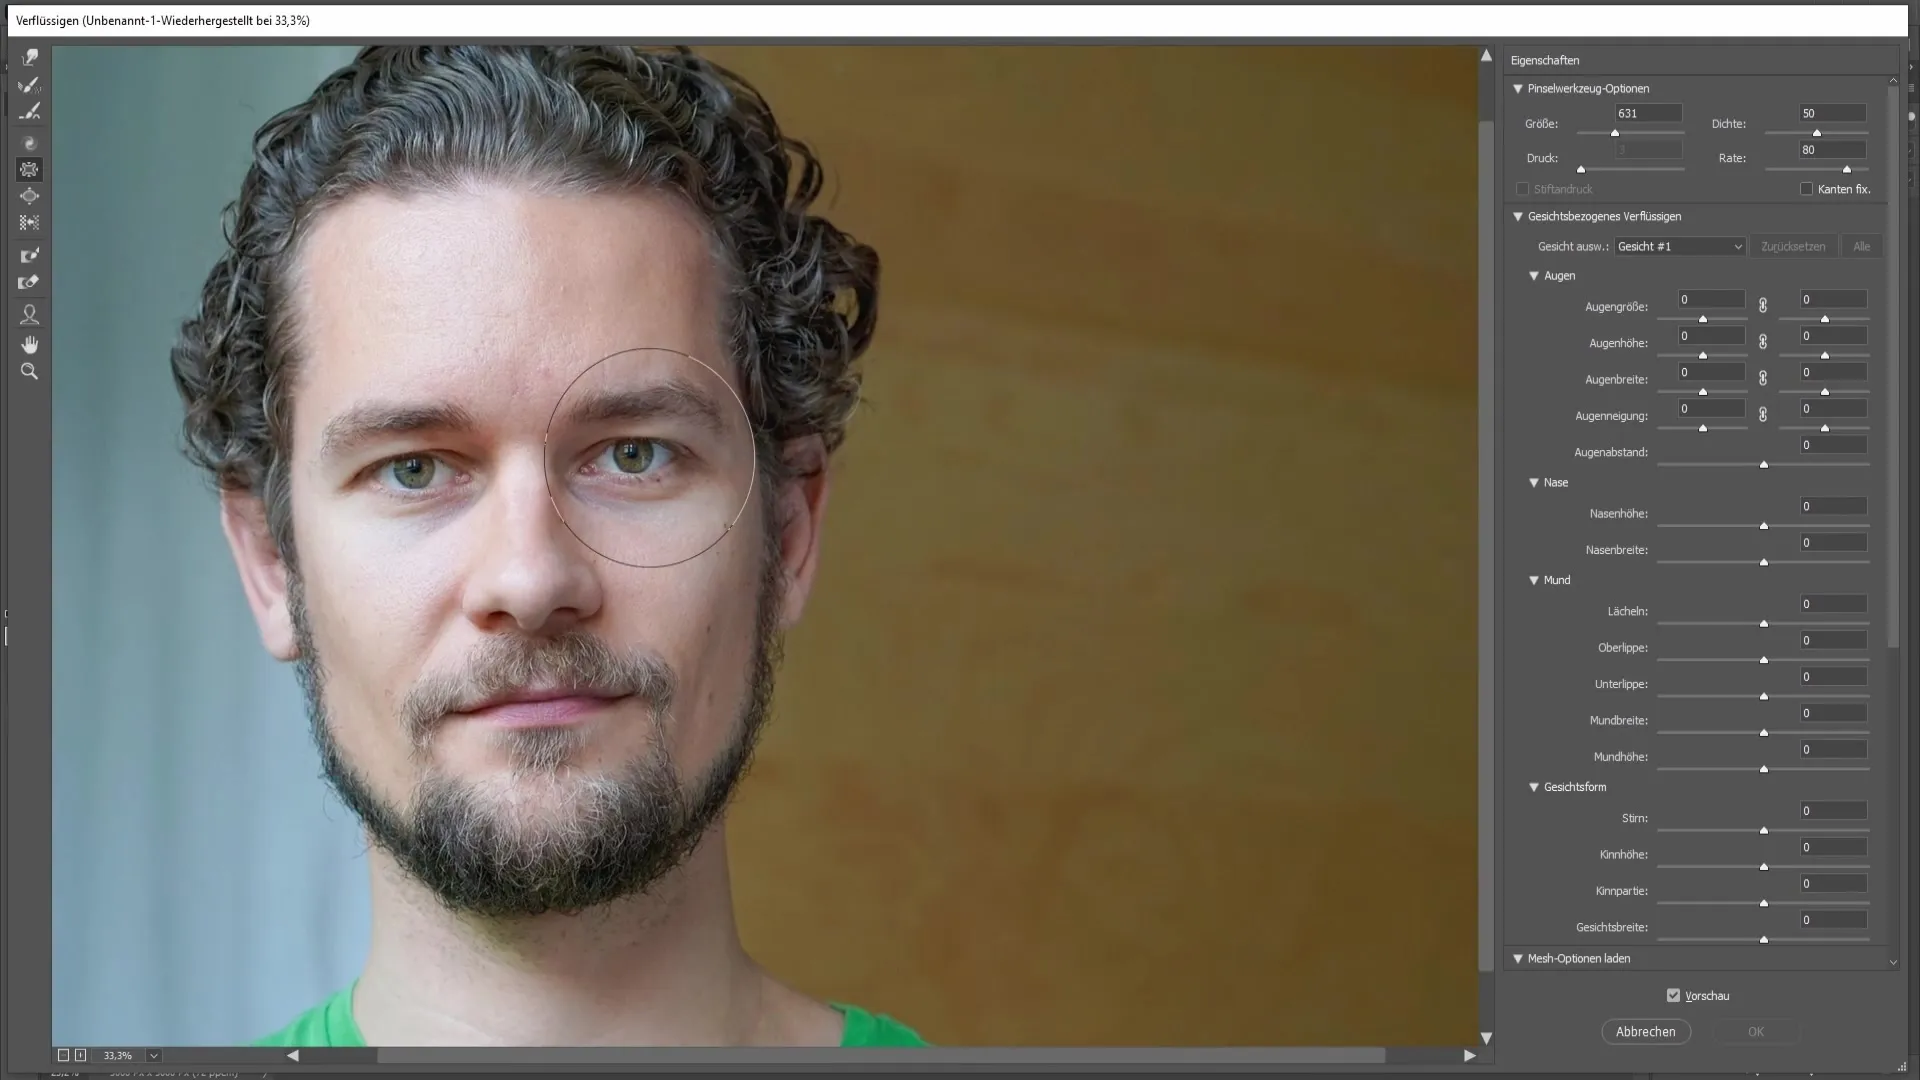
When you are ready, place the brush on the area just next to the eye, but slightly offset to the right of the center. Hold down the left mouse button and drag the mouse towards the ear side to shrink the eye.
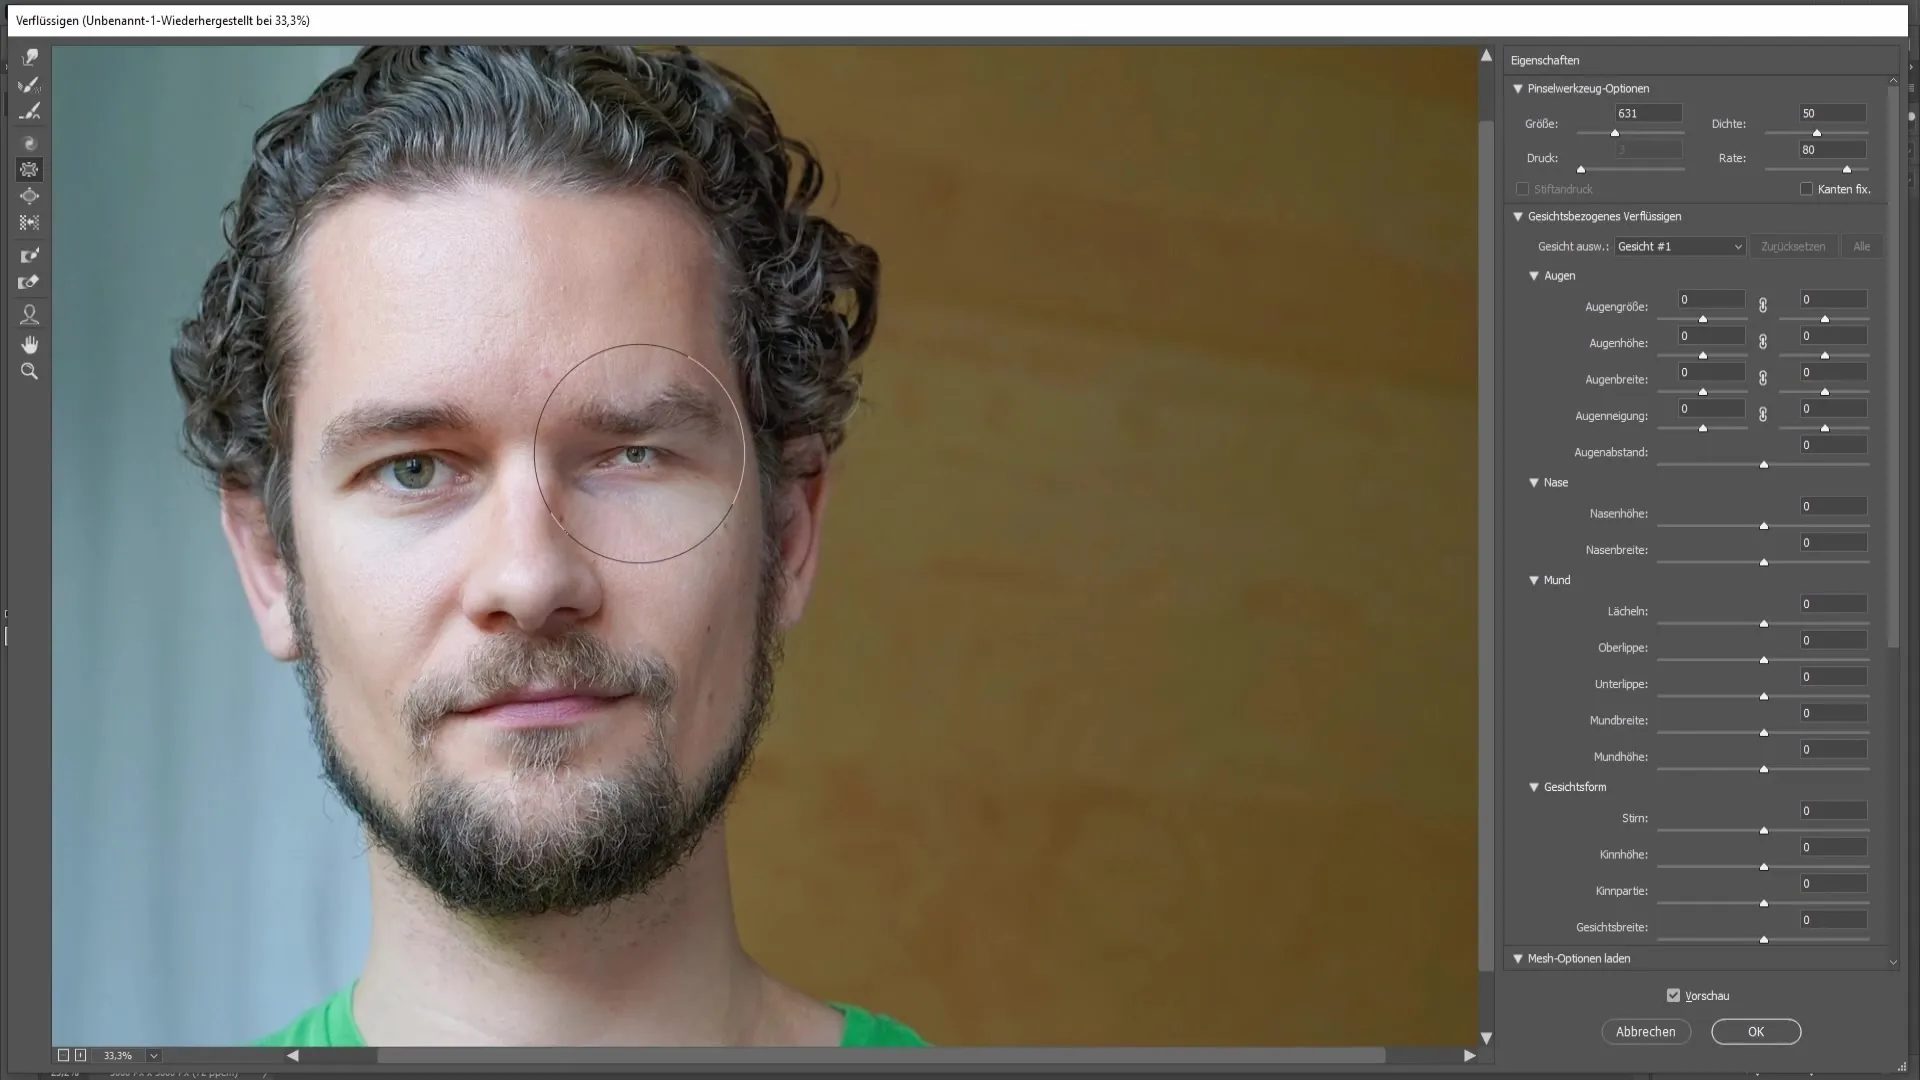
Repeat this step on the other side of the face. Make sure the center of the brush is aimed at the eye but slightly shifted to the left for a harmonious result.
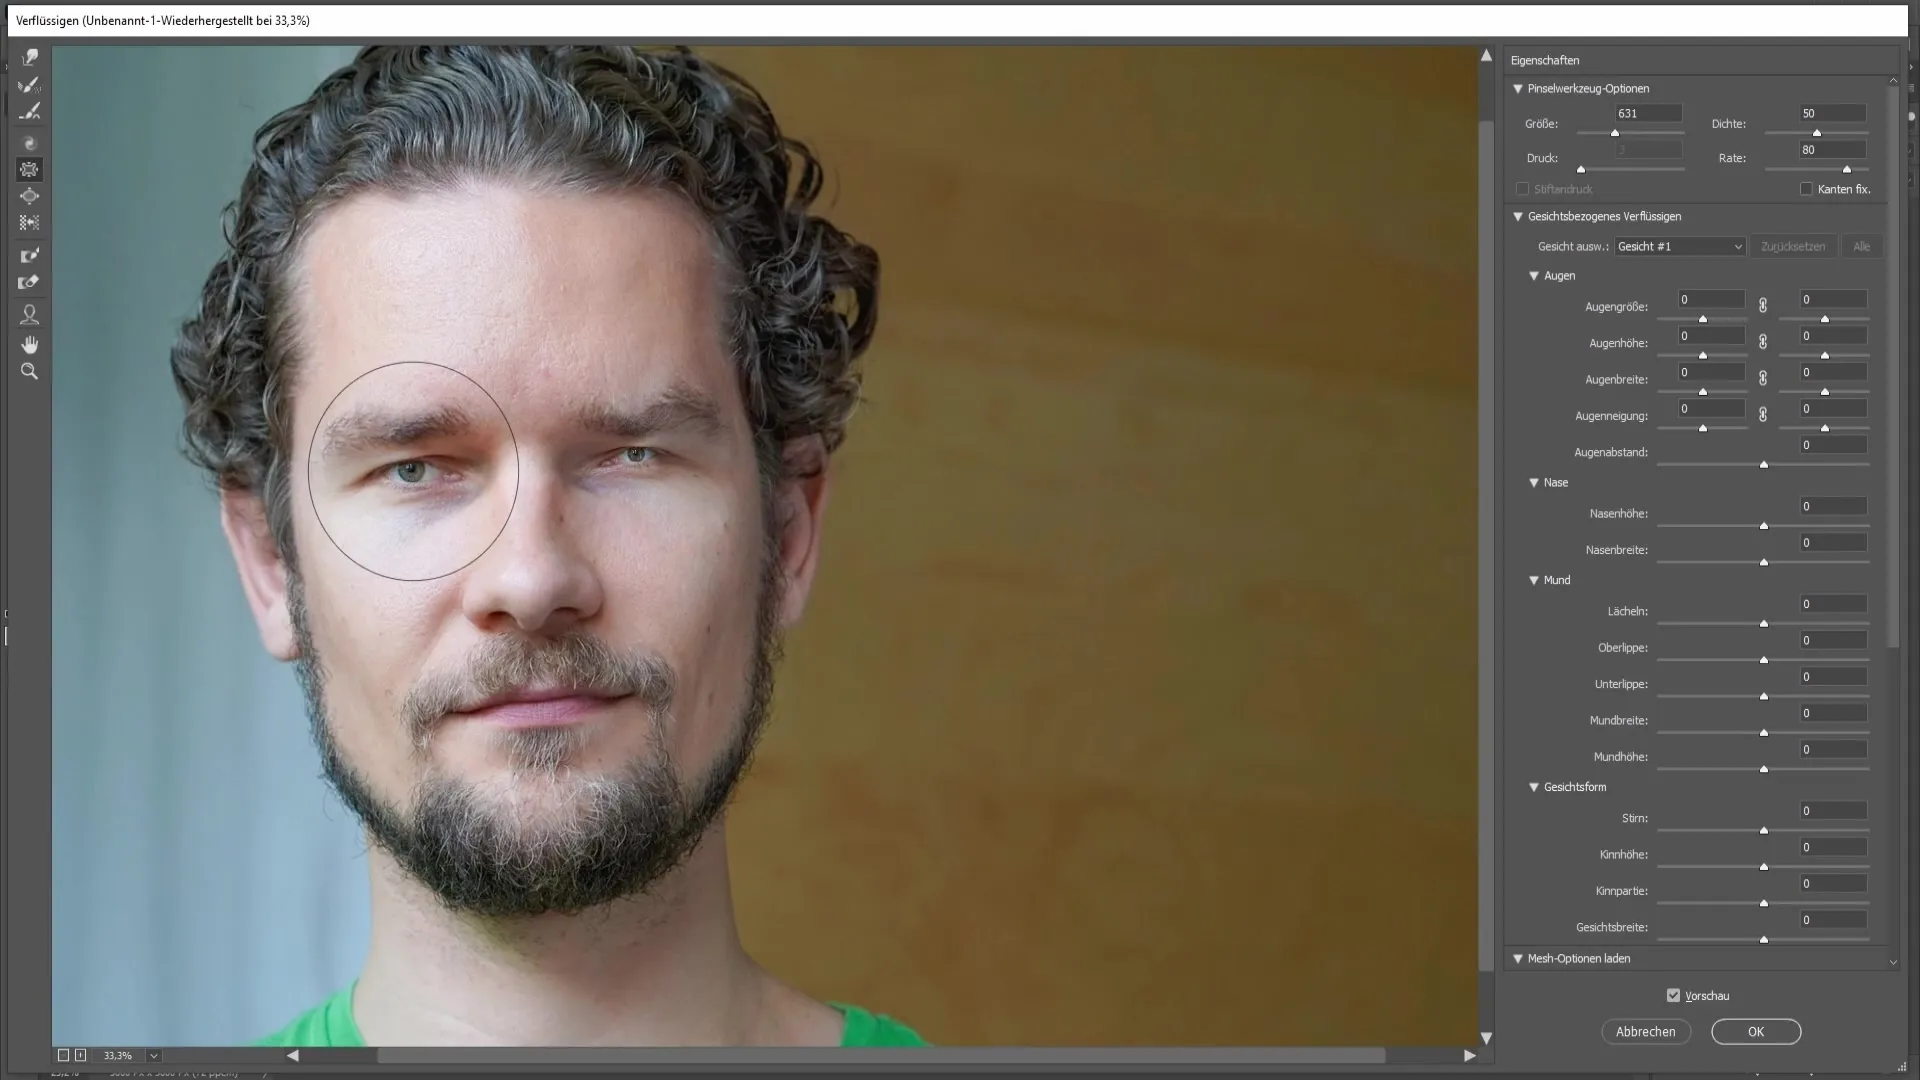
After shrinking the eyes, it's important to redraw the eyebrows as they were also pulled with the Forward Warp Tool. Switch to the Reconstruct Tool, which you can access with the R key.
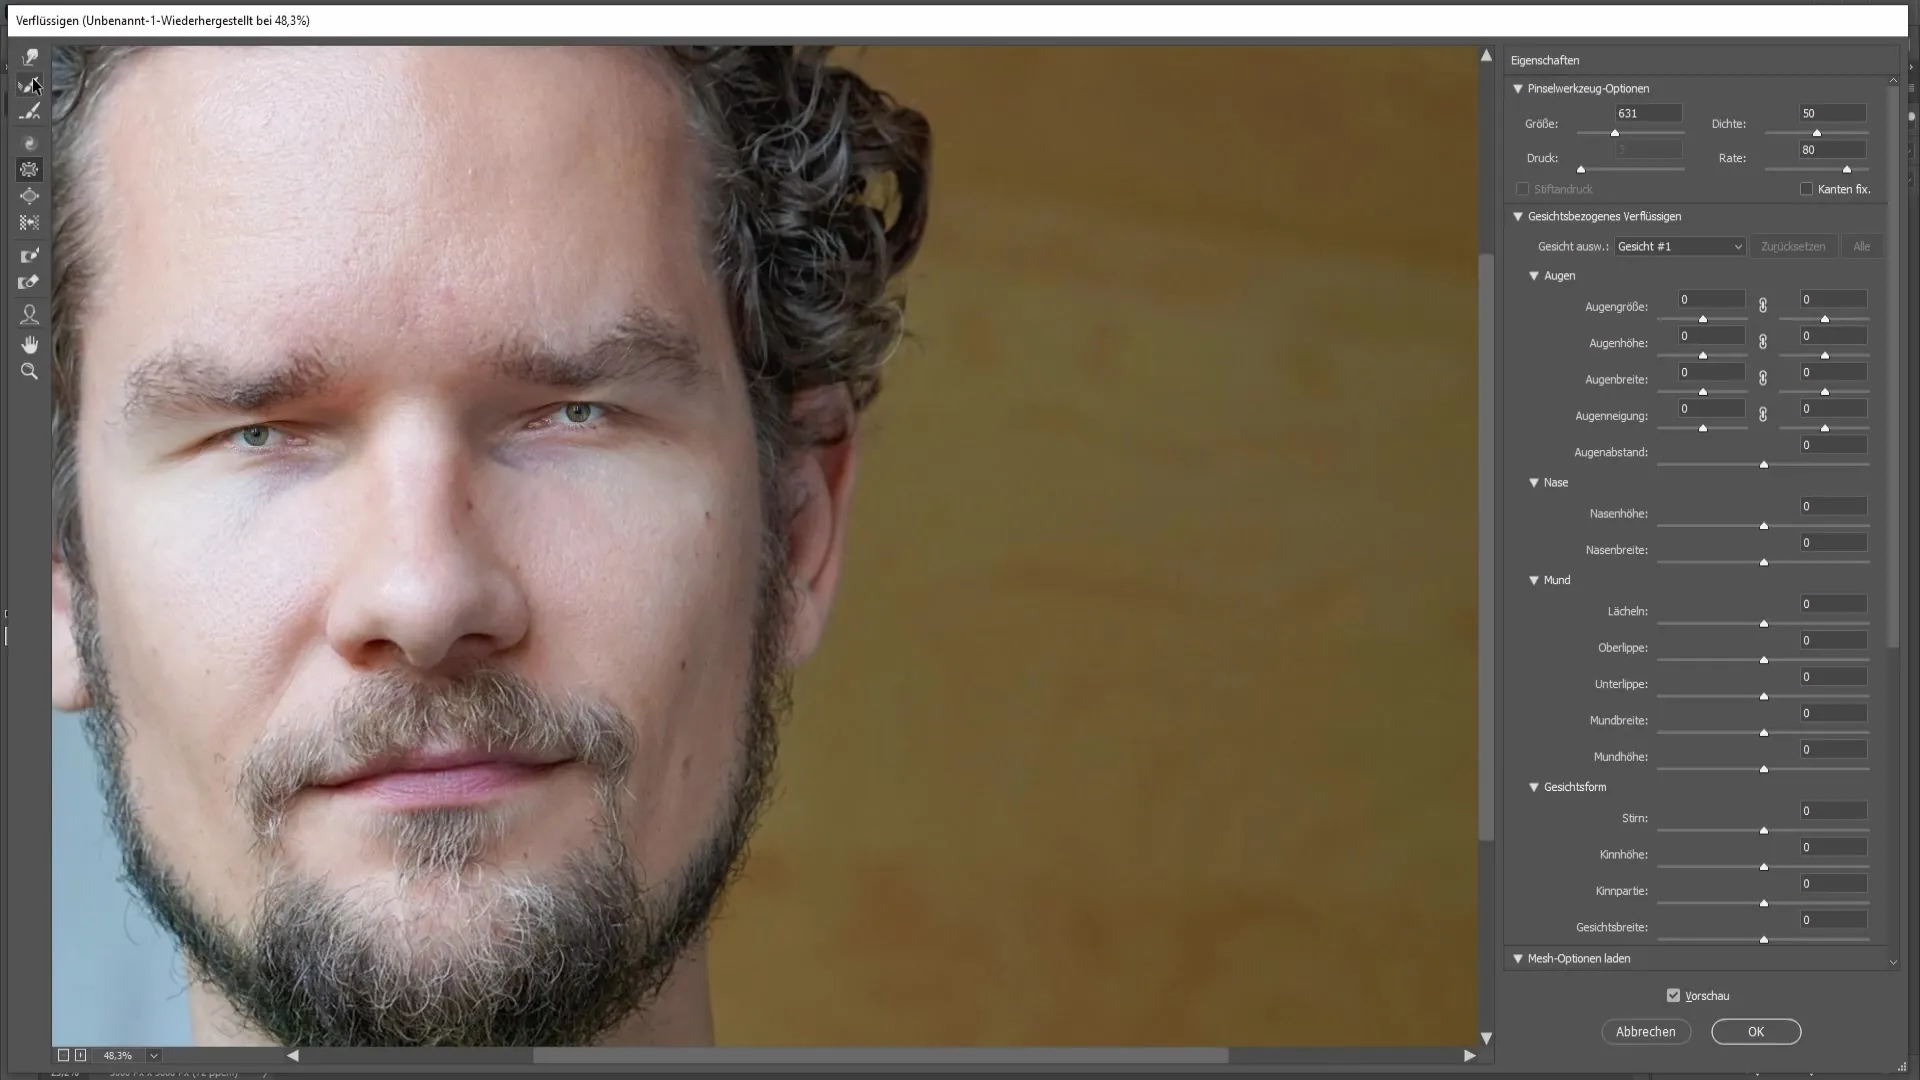
Use a smaller brush to carefully restore the original shape of the eyebrows. Be careful not to pull away too much from the surroundings to achieve a natural result.
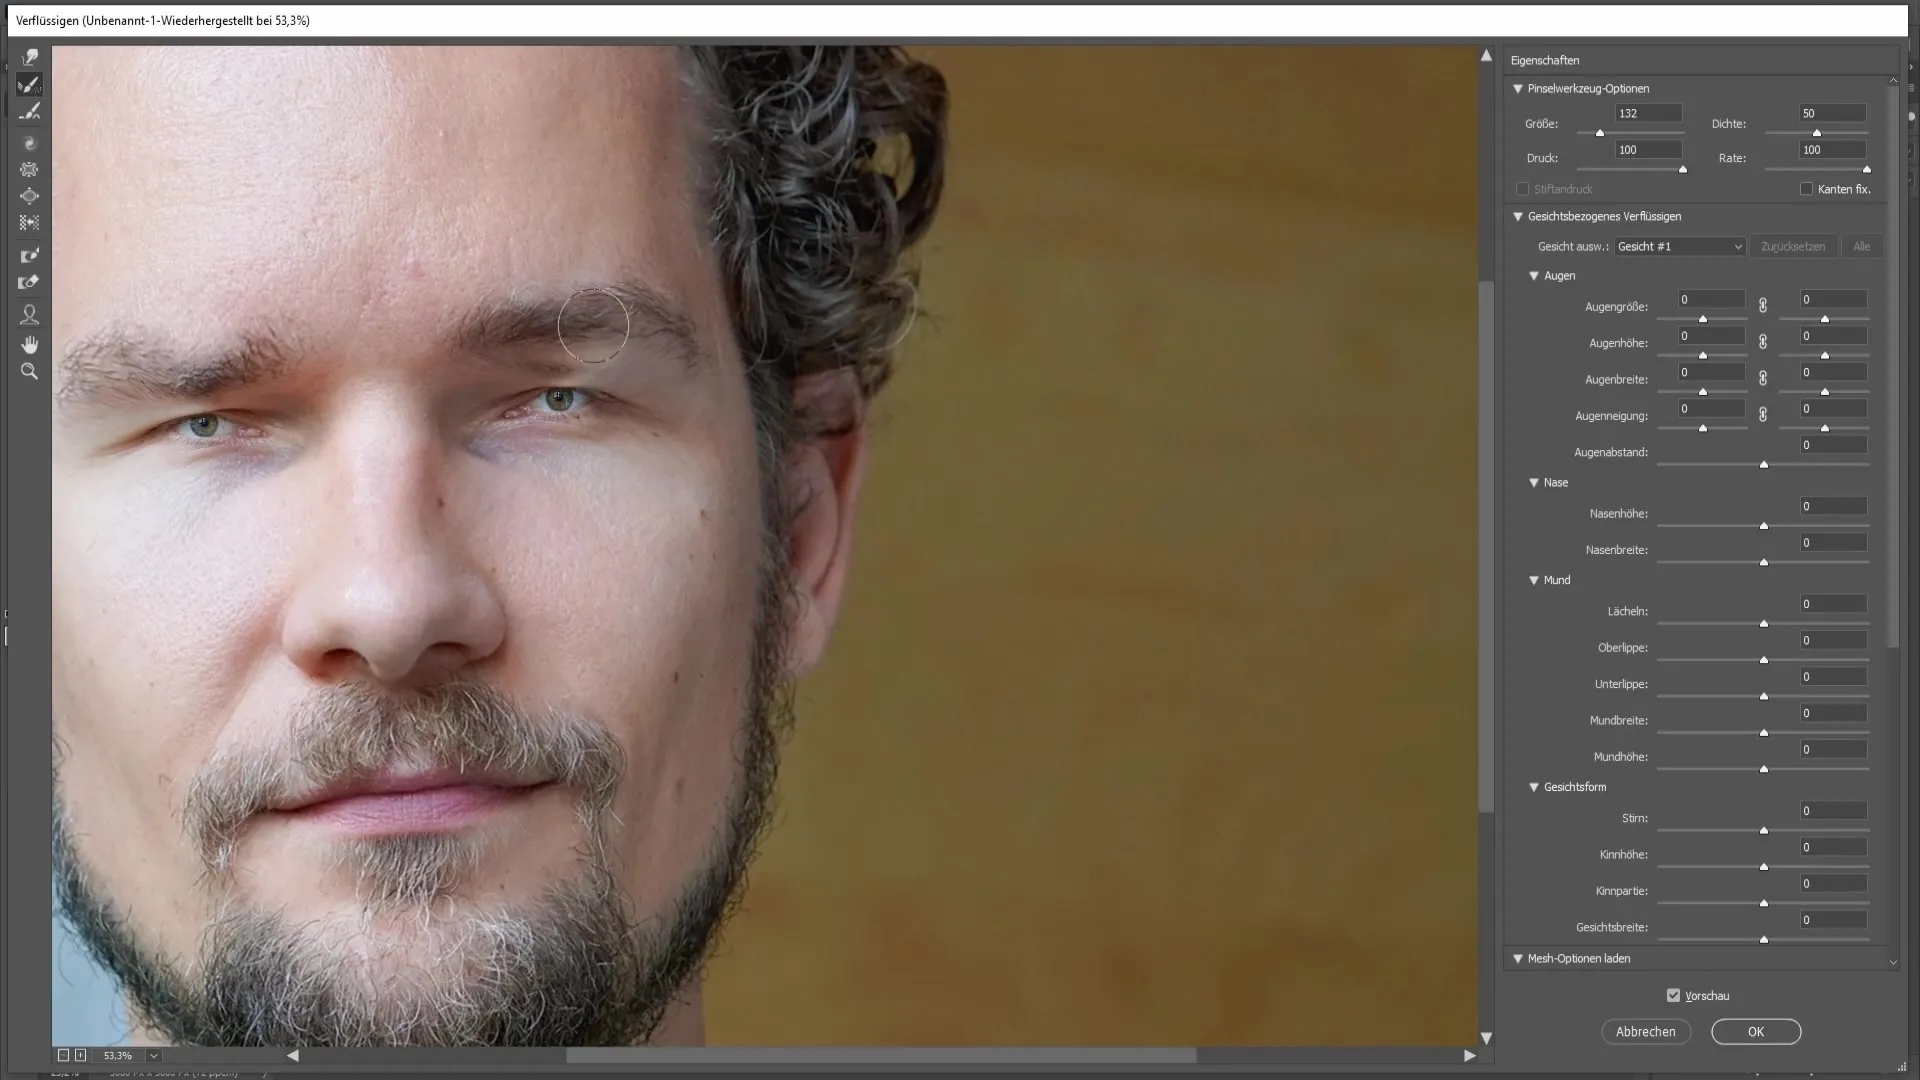
Repeat the same process on the other side. Check the result and ensure that the eyebrows are symmetrical and in the correct position.
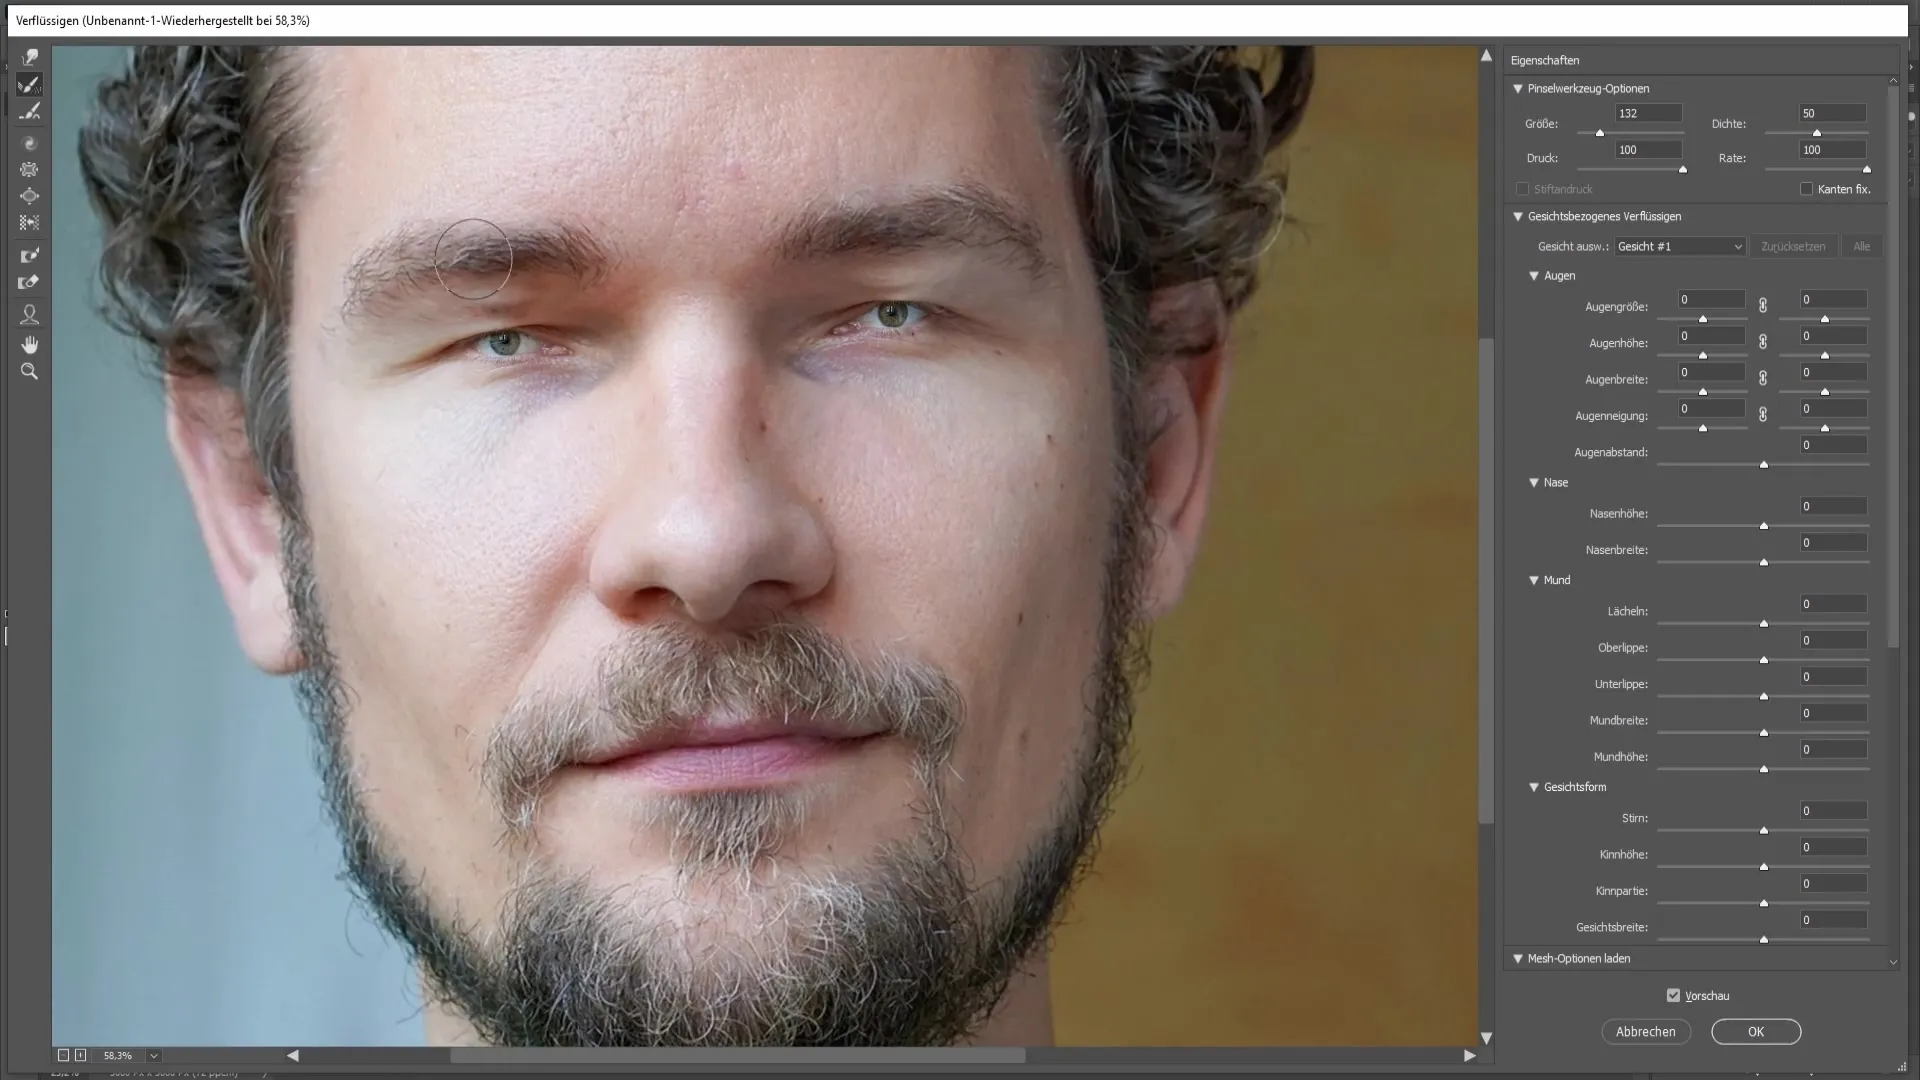
Now let's look at the mouth. Again, choose the Forward Warp Tool and place the brush below the tip of the nose. Make sure not to pull down the tip of the nose itself.
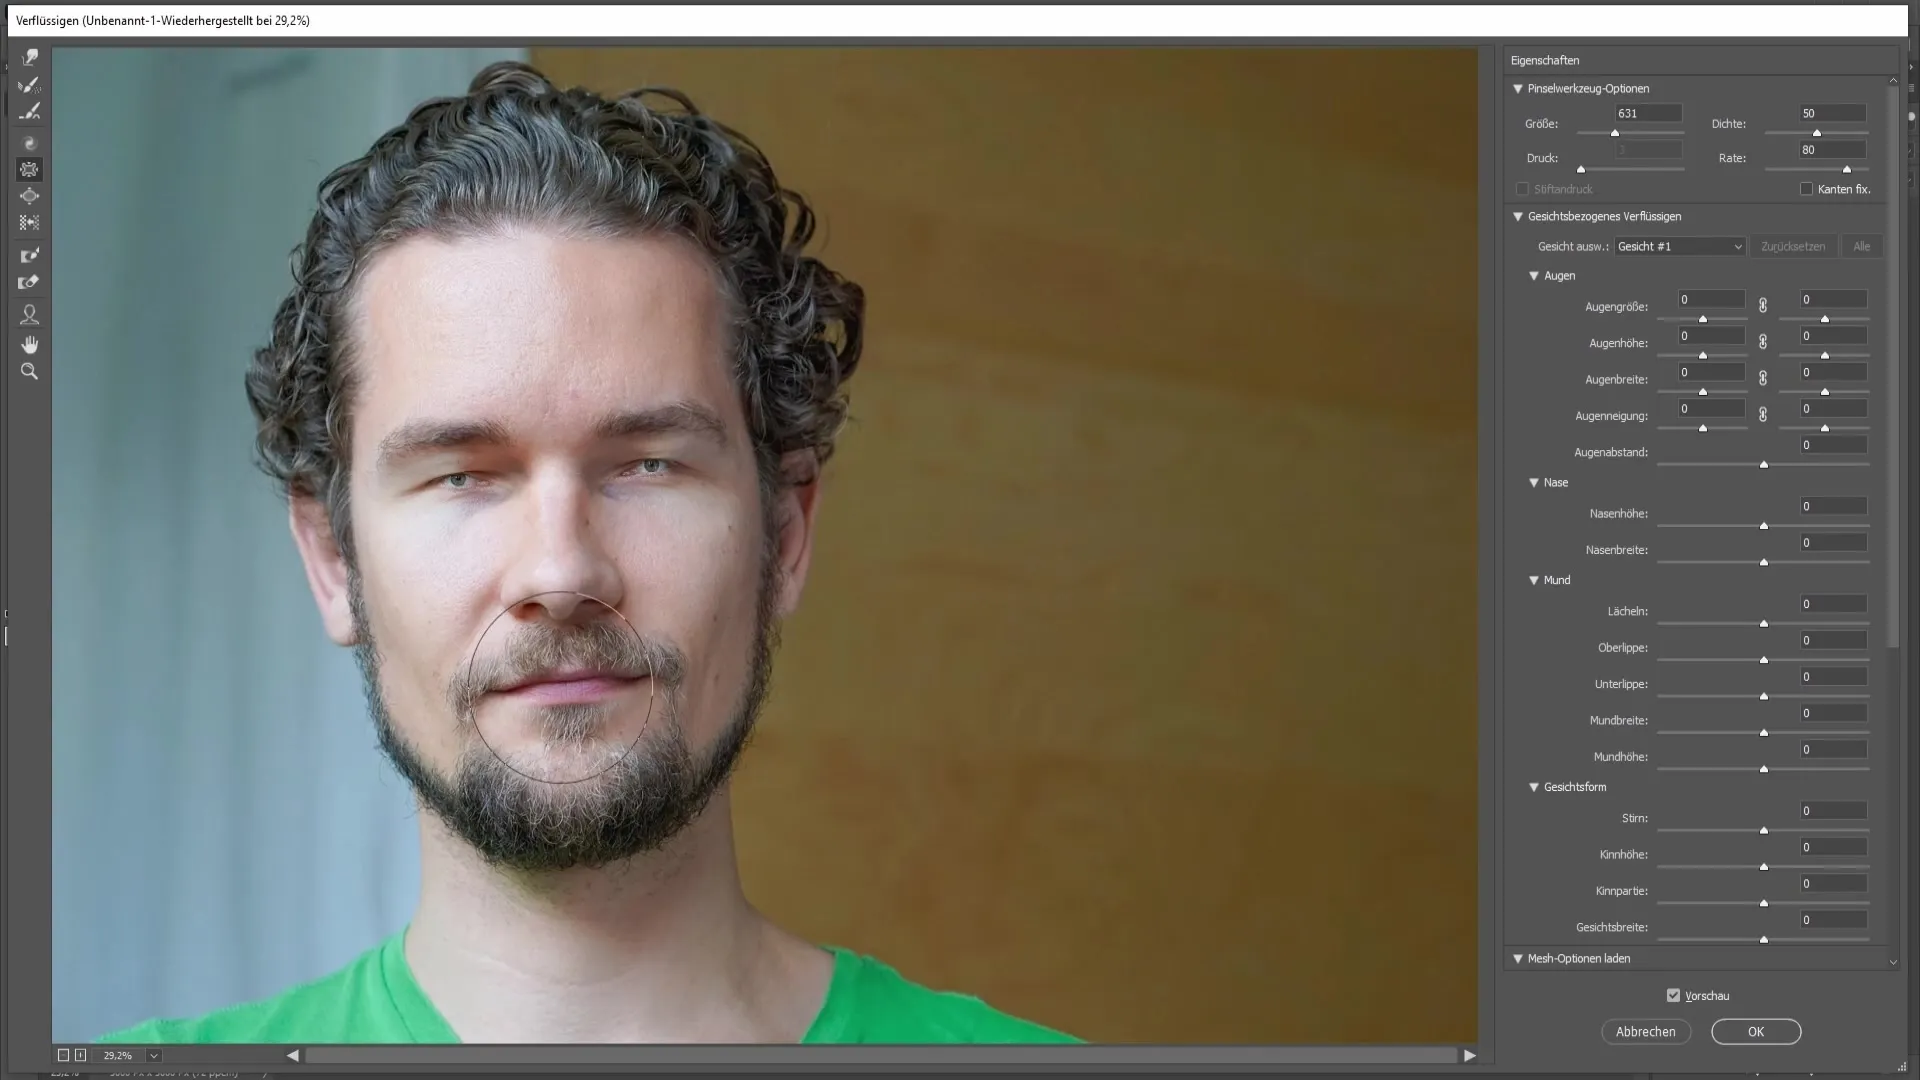
Also hold down the left mouse button here and drag the mouth in the desired direction to shrink it. If you want to achieve a funny effect, you can use the Pucker Tool to slightly inflate the center of the mouth.
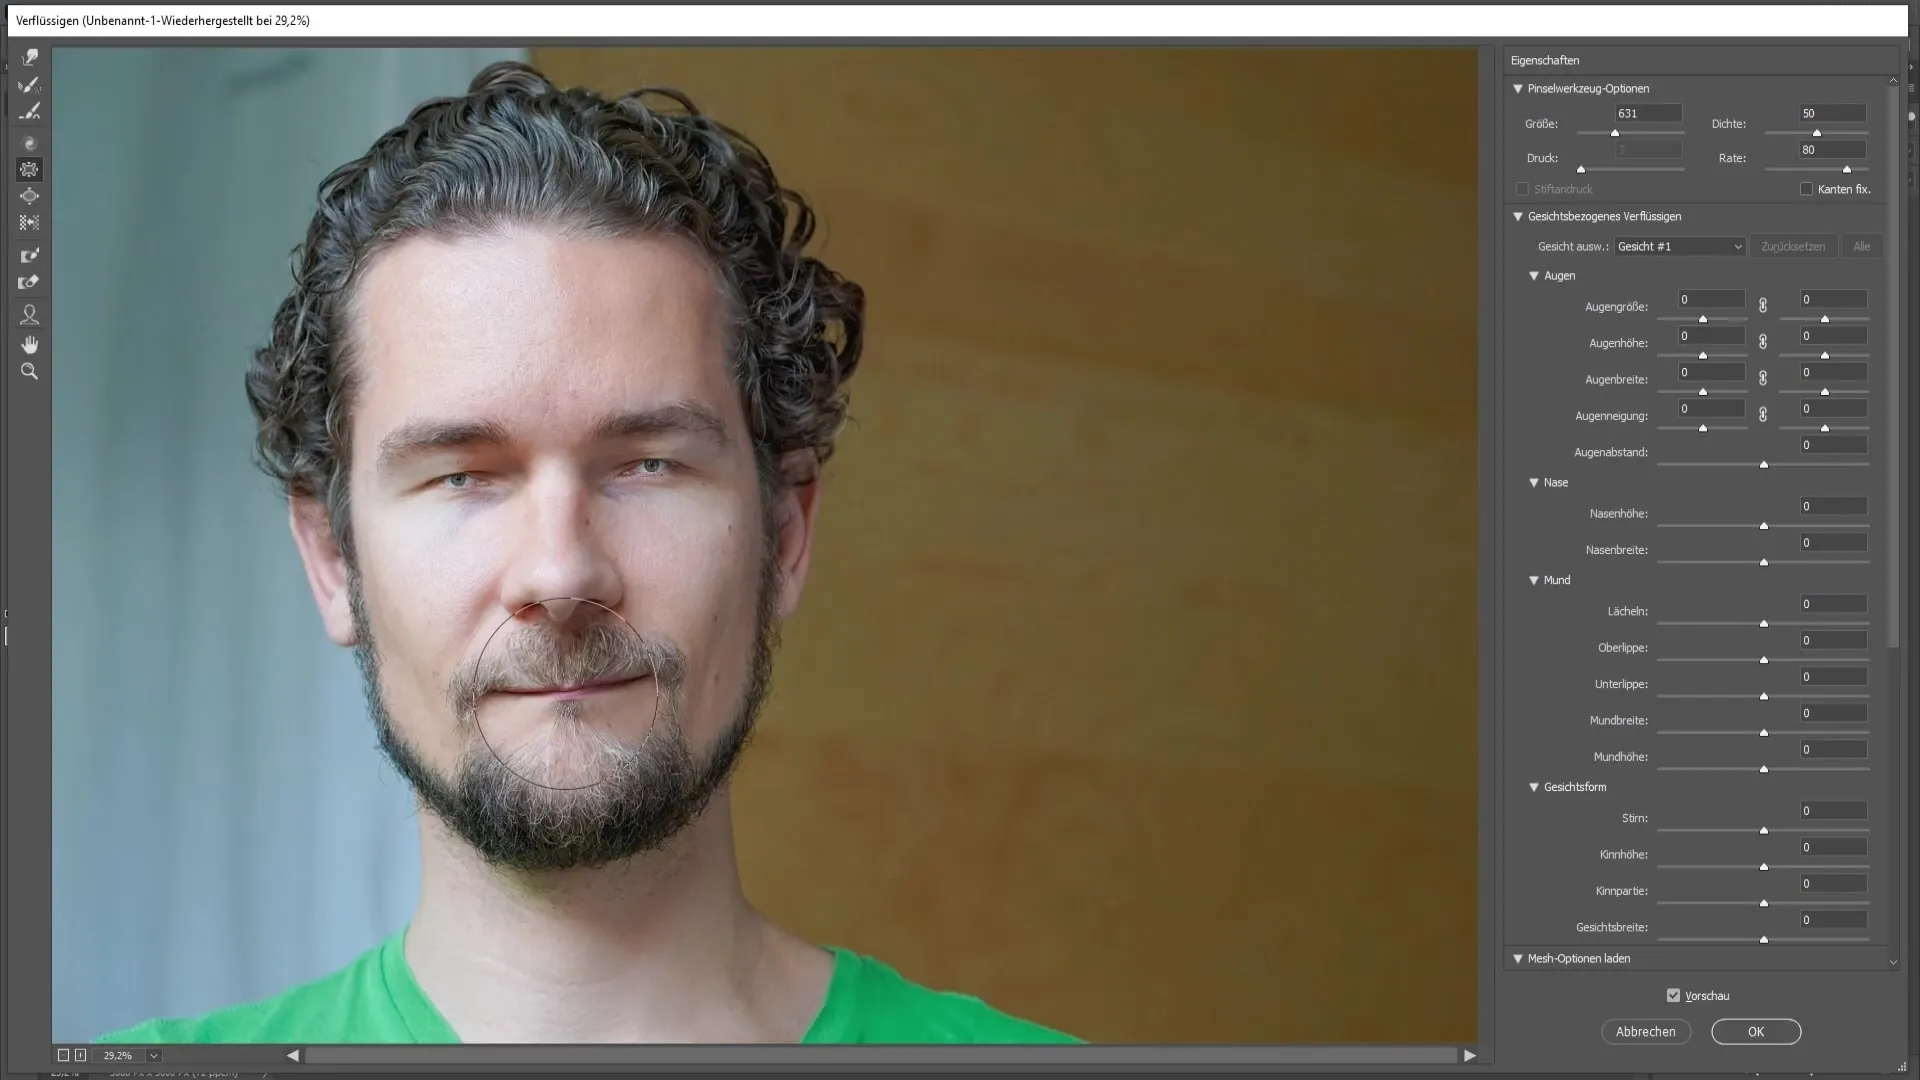
Make sure the mouth doesn't become too narrow. The goal is to achieve an appealing and humorous result. If you're not satisfied with the result, you can use the Reconstruct Tool to go over the edited areas and restore the original shape.
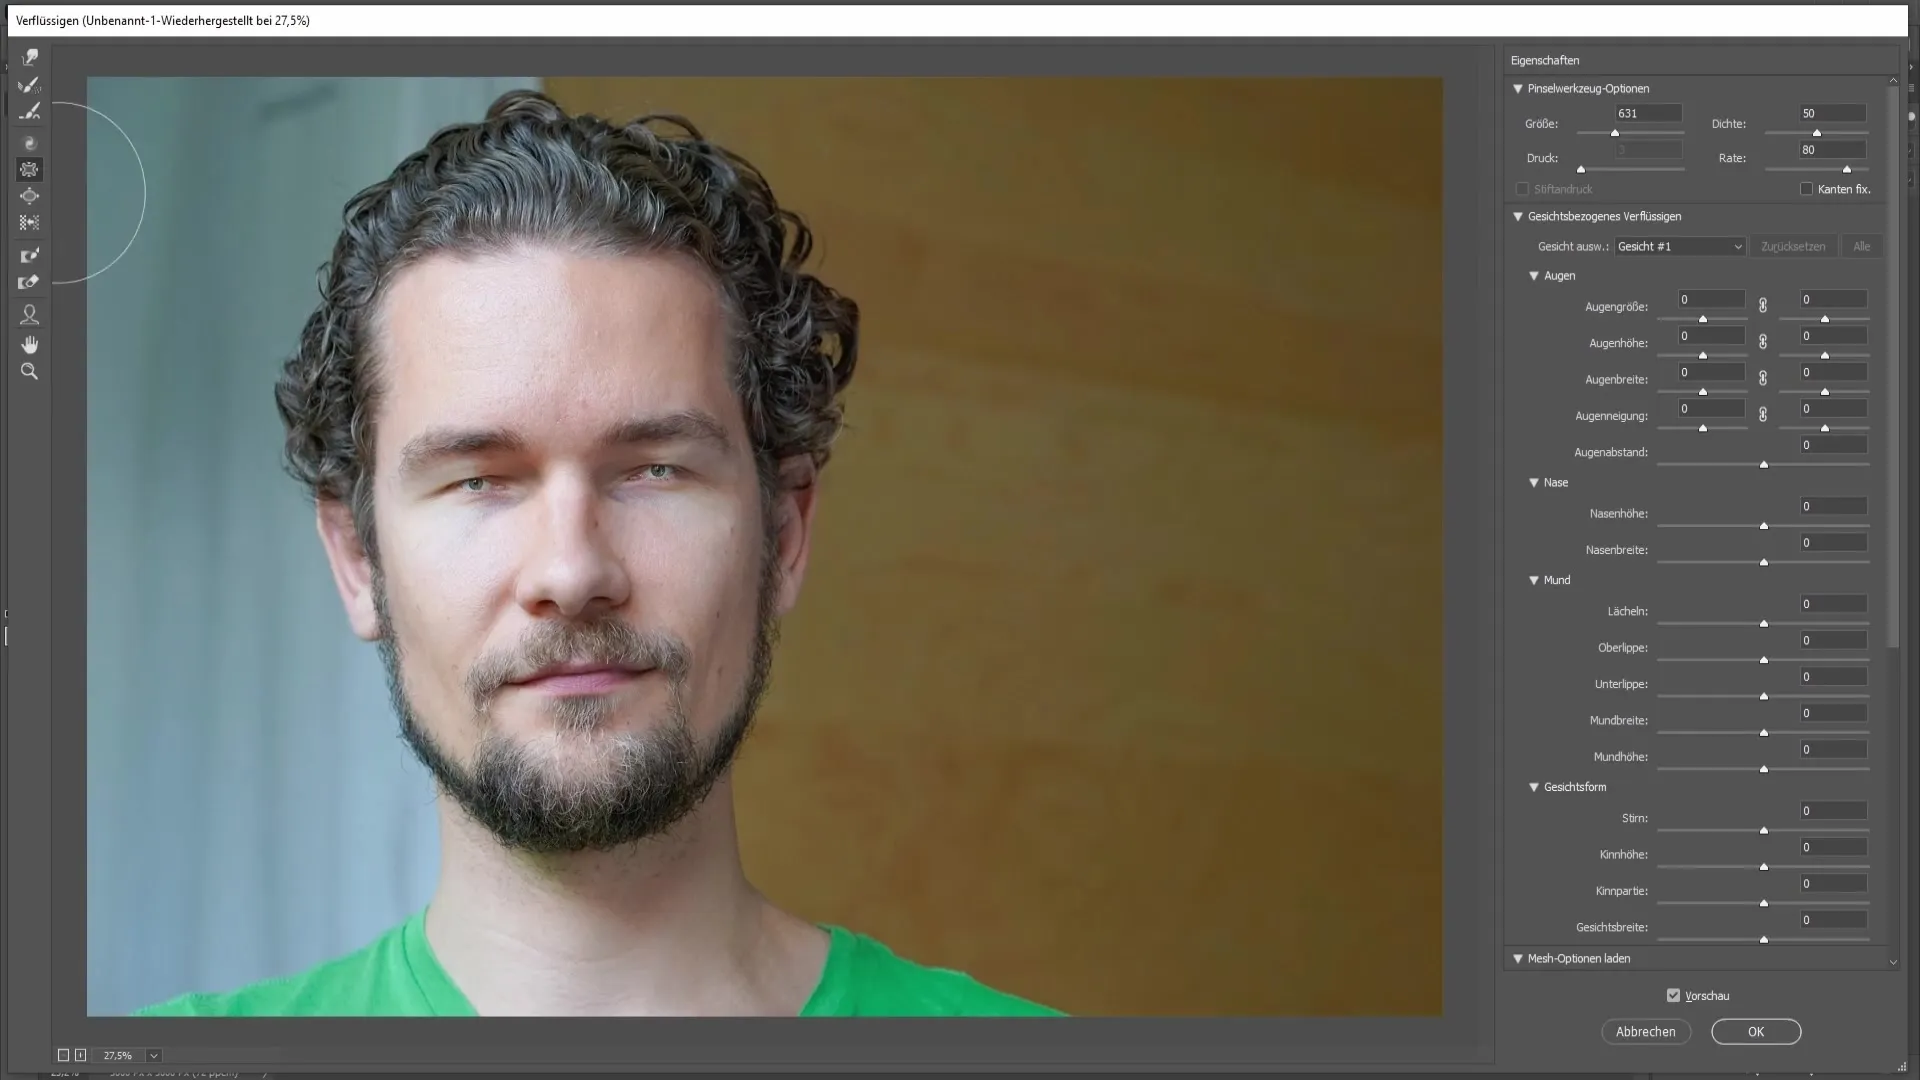
If you are satisfied with the appearance, you can adjust the size of the eyes and mouth additionally. In the right sidebar of the Liquify window, you will find options to change the size of both eyes individually or uniformly.
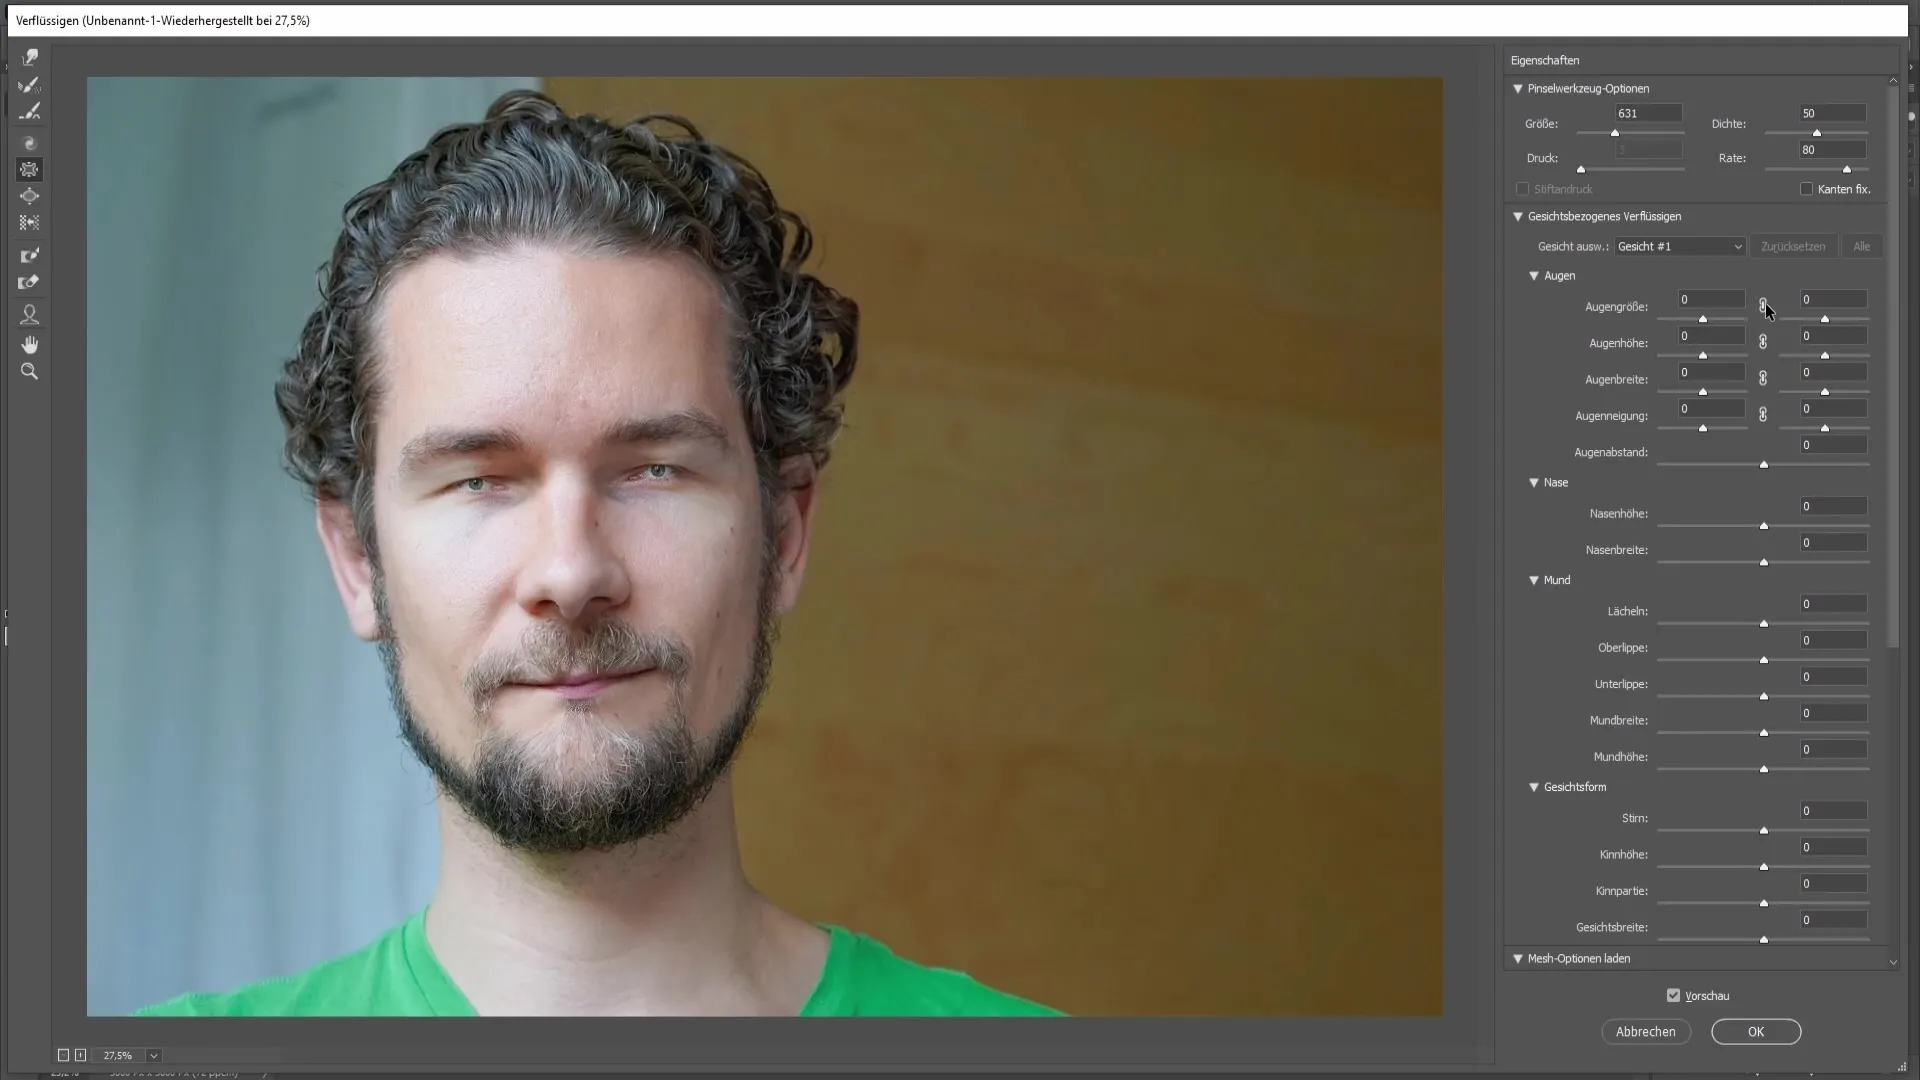
To do this, activate the chain to maintain the proportions. Reduce the height and width of the eyes as well as the size of the mouth as desired. Here you can also make changes to the facial proportions.
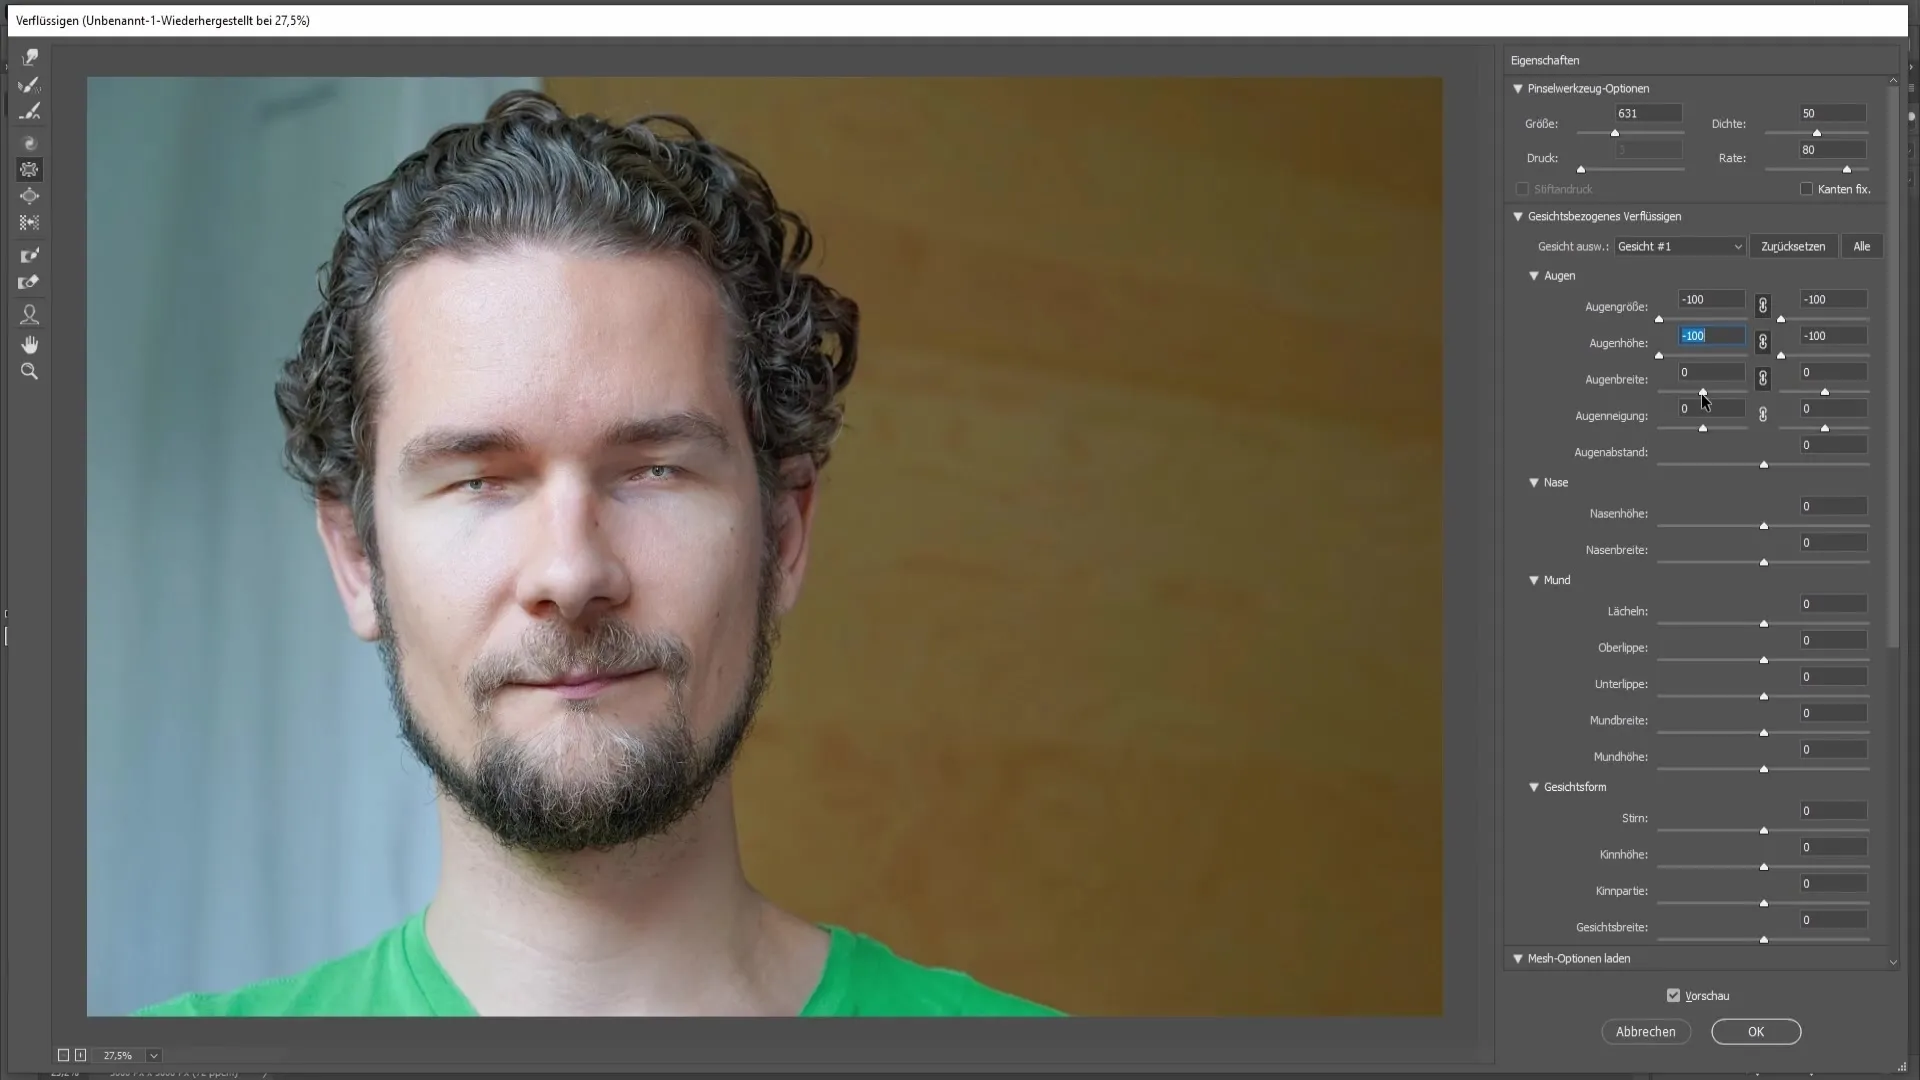
If you are satisfied with your result, click "OK" to apply the changes.
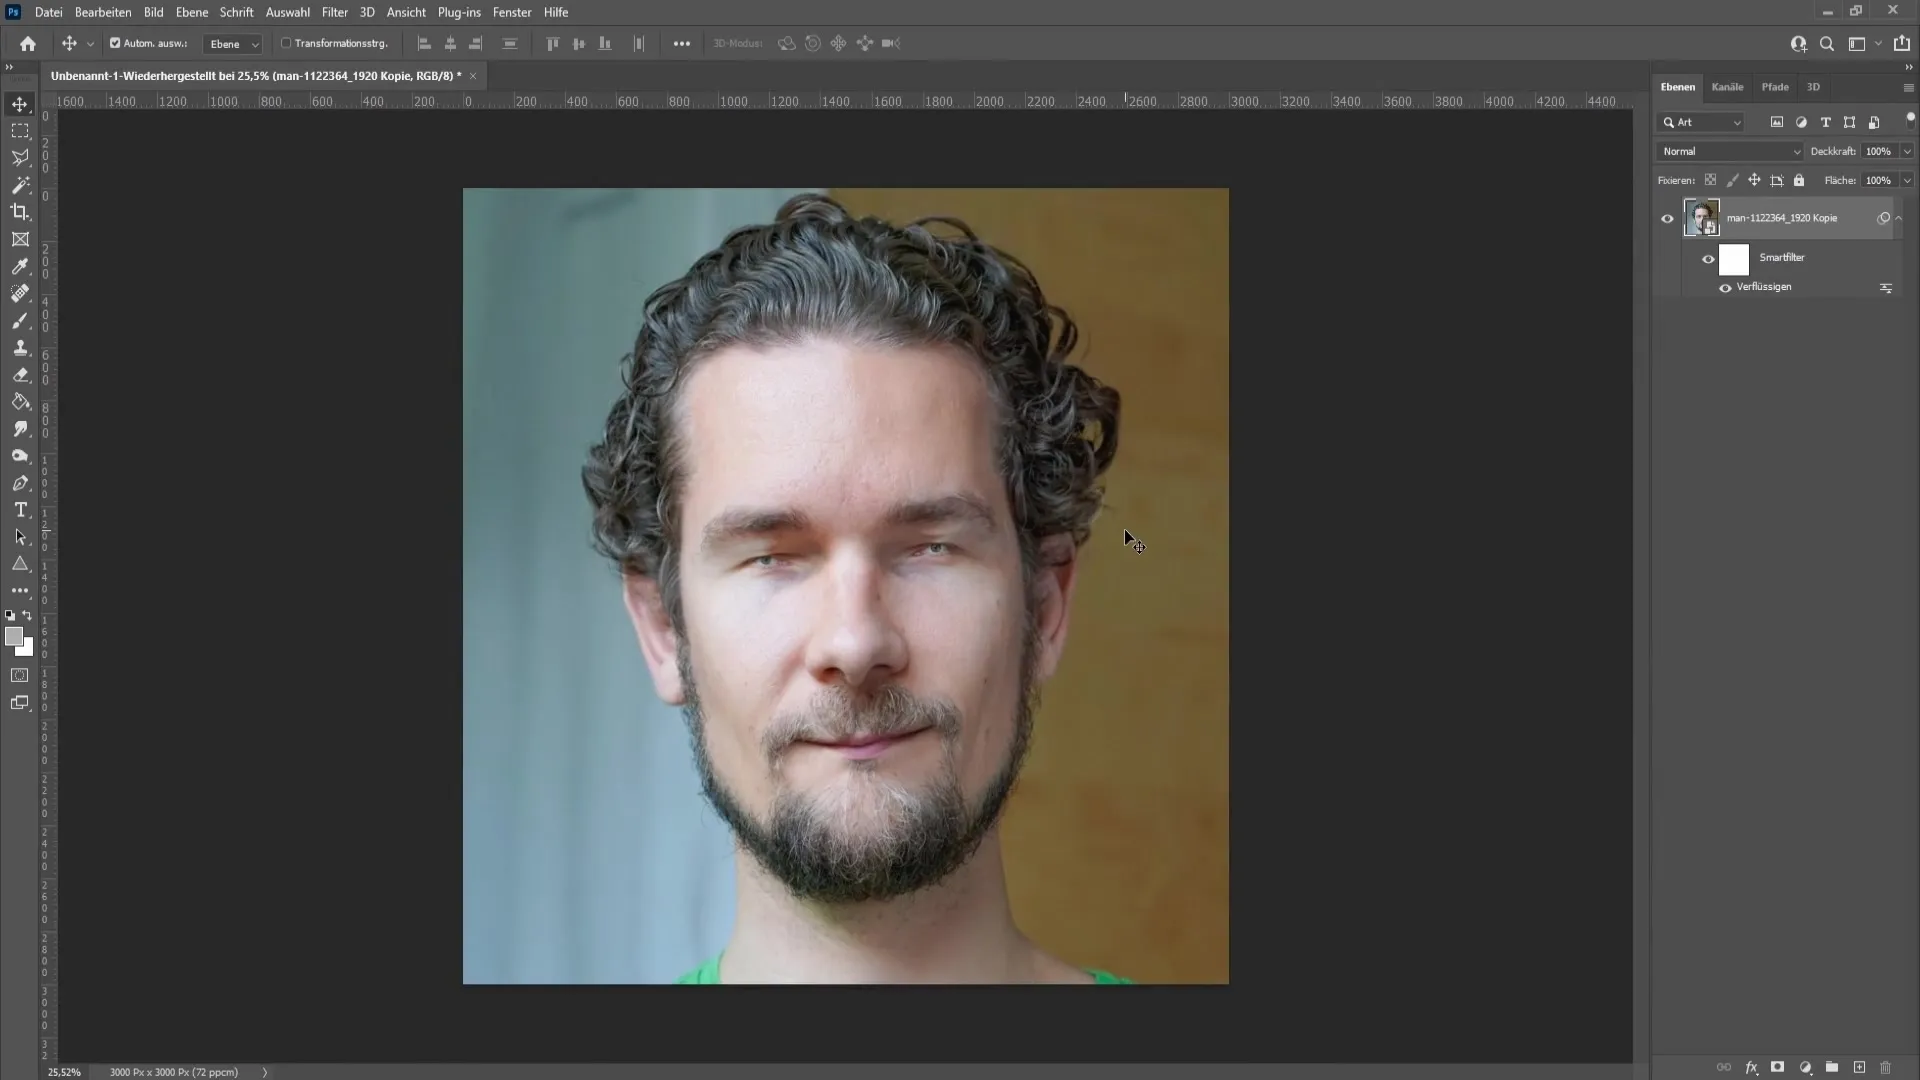
Summary - Tutorial on Shrinking Eyes and Mouth in Photoshop
In this tutorial, you have learned how to shrink the eyes and mouth in Photoshop using the Liquify filter. With the right tools and techniques, you can achieve creative and entertaining effects. Remember to proceed with caution in your adjustments to achieve a harmonious and natural result.
Frequently Asked Questions
How can I adjust the brush size?Hold down the Alt key and right-click to set the brush size.
Can I undo the changes?Yes, use the Reconstruction tool to undo unwanted changes.
How can I find the right proportions?Use the options in the right sidebar of the Liquify filter to adjust the size of the eyes and mouth to your liking.
What if I'm not satisfied with the result?Use the Reconstruction tool to go over the areas and restore the original shape.


