In this tutorial, I'll show you how to open closed eyes in Photoshop or insert eyes from another person realistically. This is particularly useful when you have photos from a shoot where the depicted persons' eyes are not open. With the right techniques, you can open the eyes without it looking unnatural.
Key Takeaways
- Use the Lasso tool to select an area to open a closed eye.
- Mirroring the eyes onto a new layer helps to insert the eyes realistically.
- Using masks and retouching tools is crucial for a seamless transition.
- With the "Liquify" filter, you can further adjust and enlarge the eyes.
Step-by-Step Guide
First, open your Photoshop project and load the image you want to edit the eyes on.
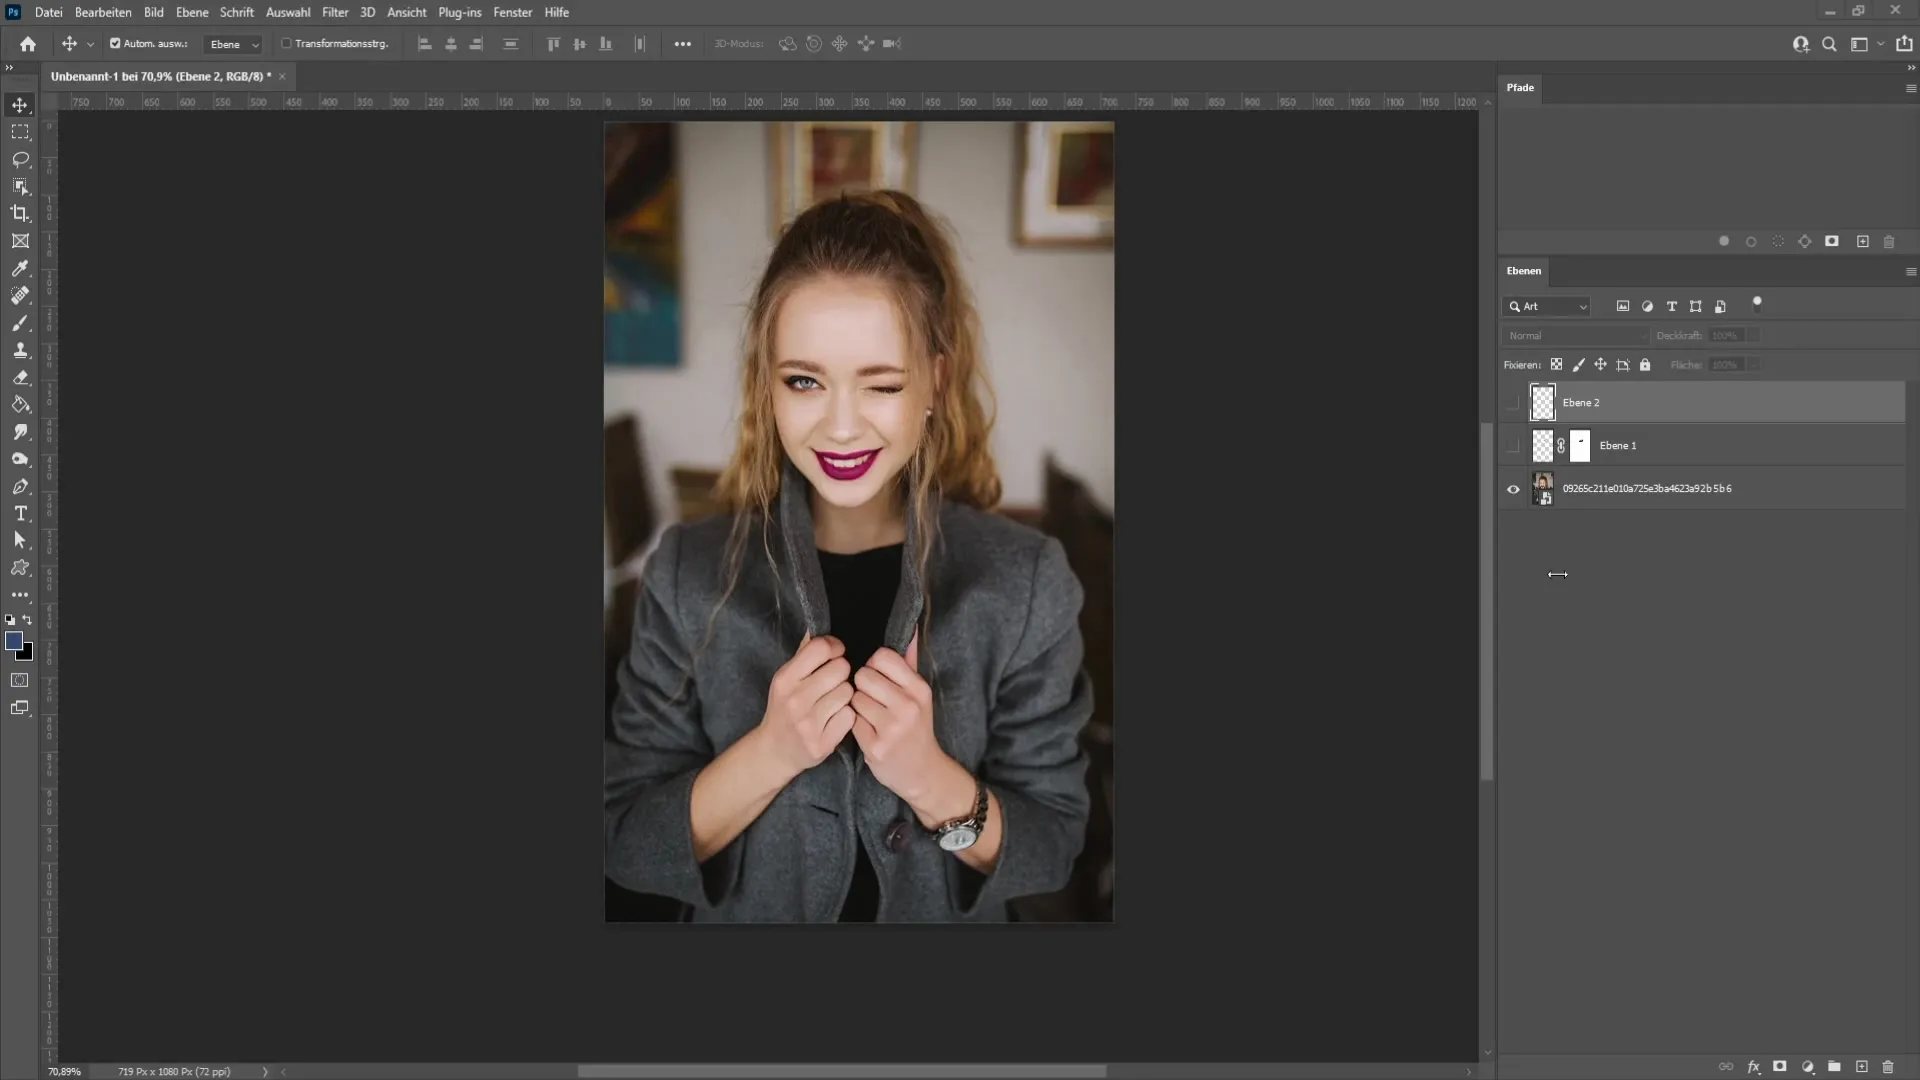
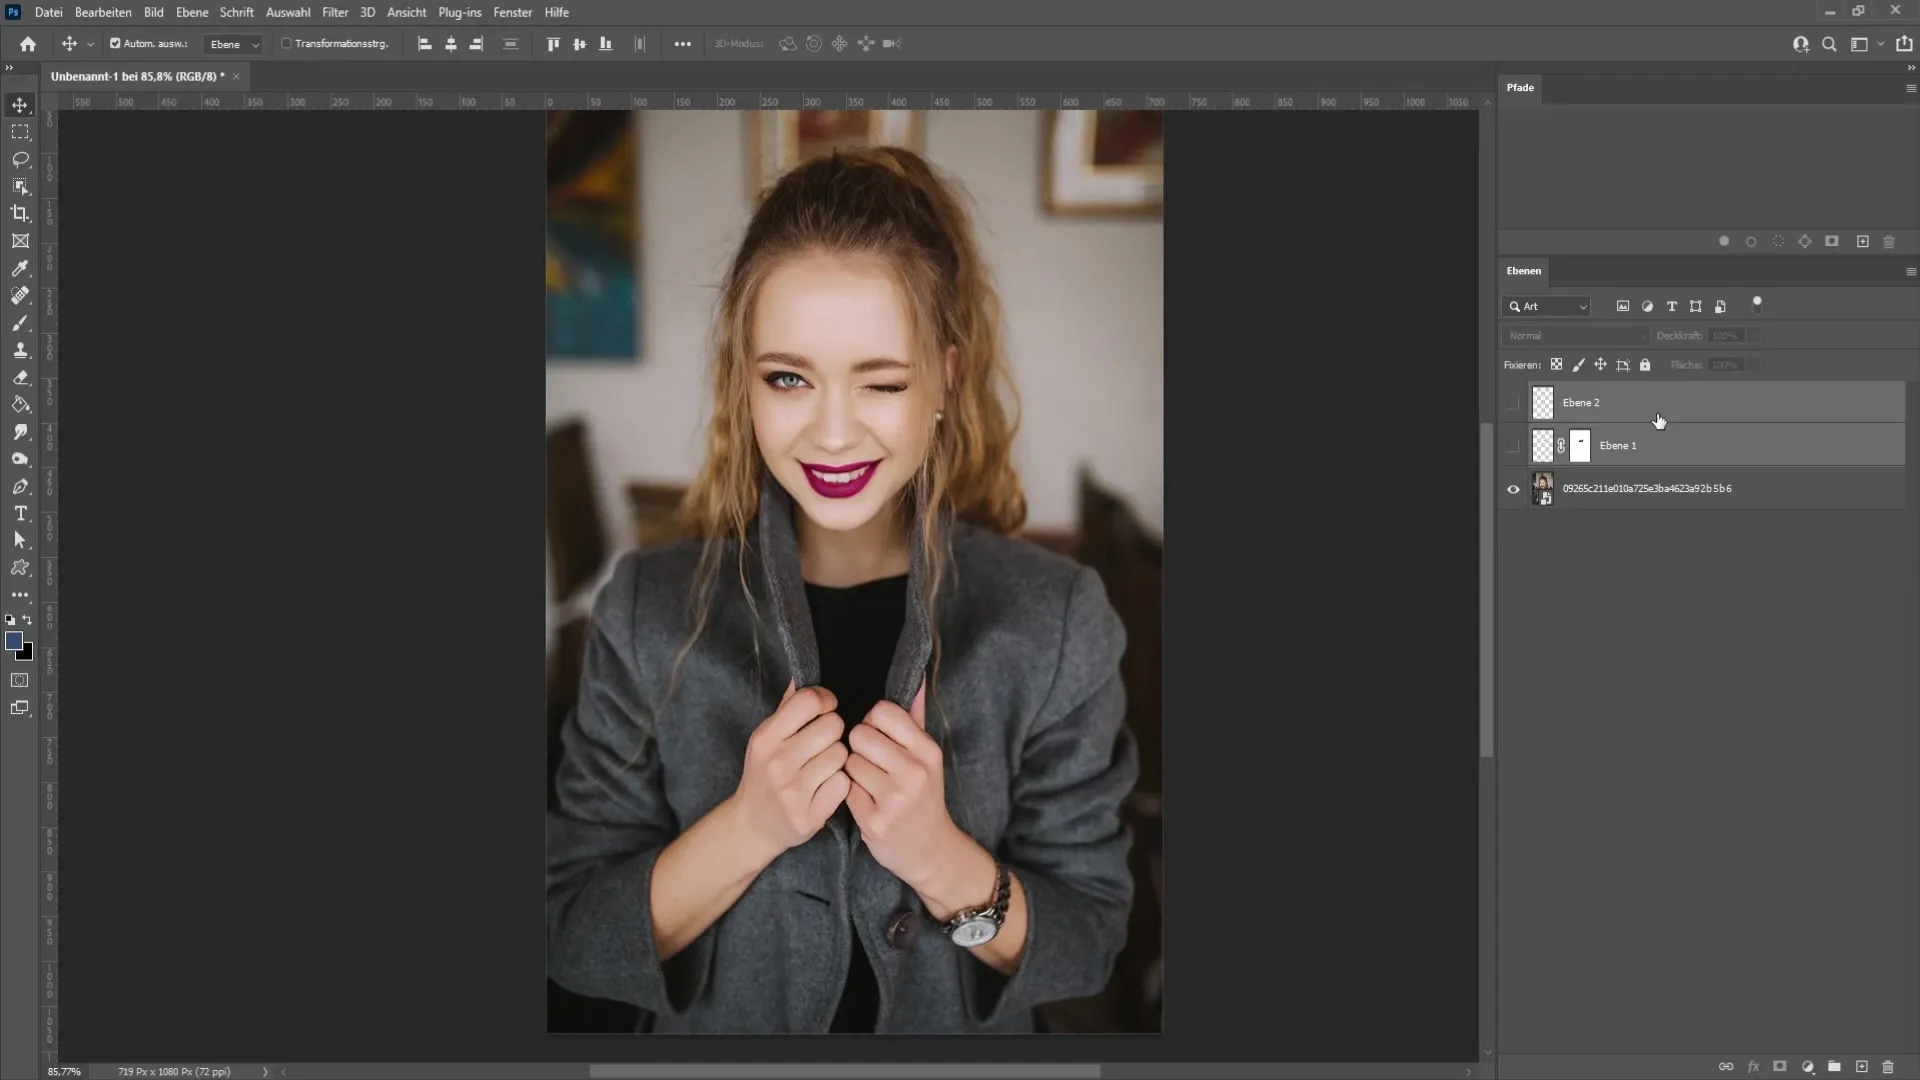
Start by looking at the closed eyes in your image. You will make them realistic by using an open eye from another image that you extract.
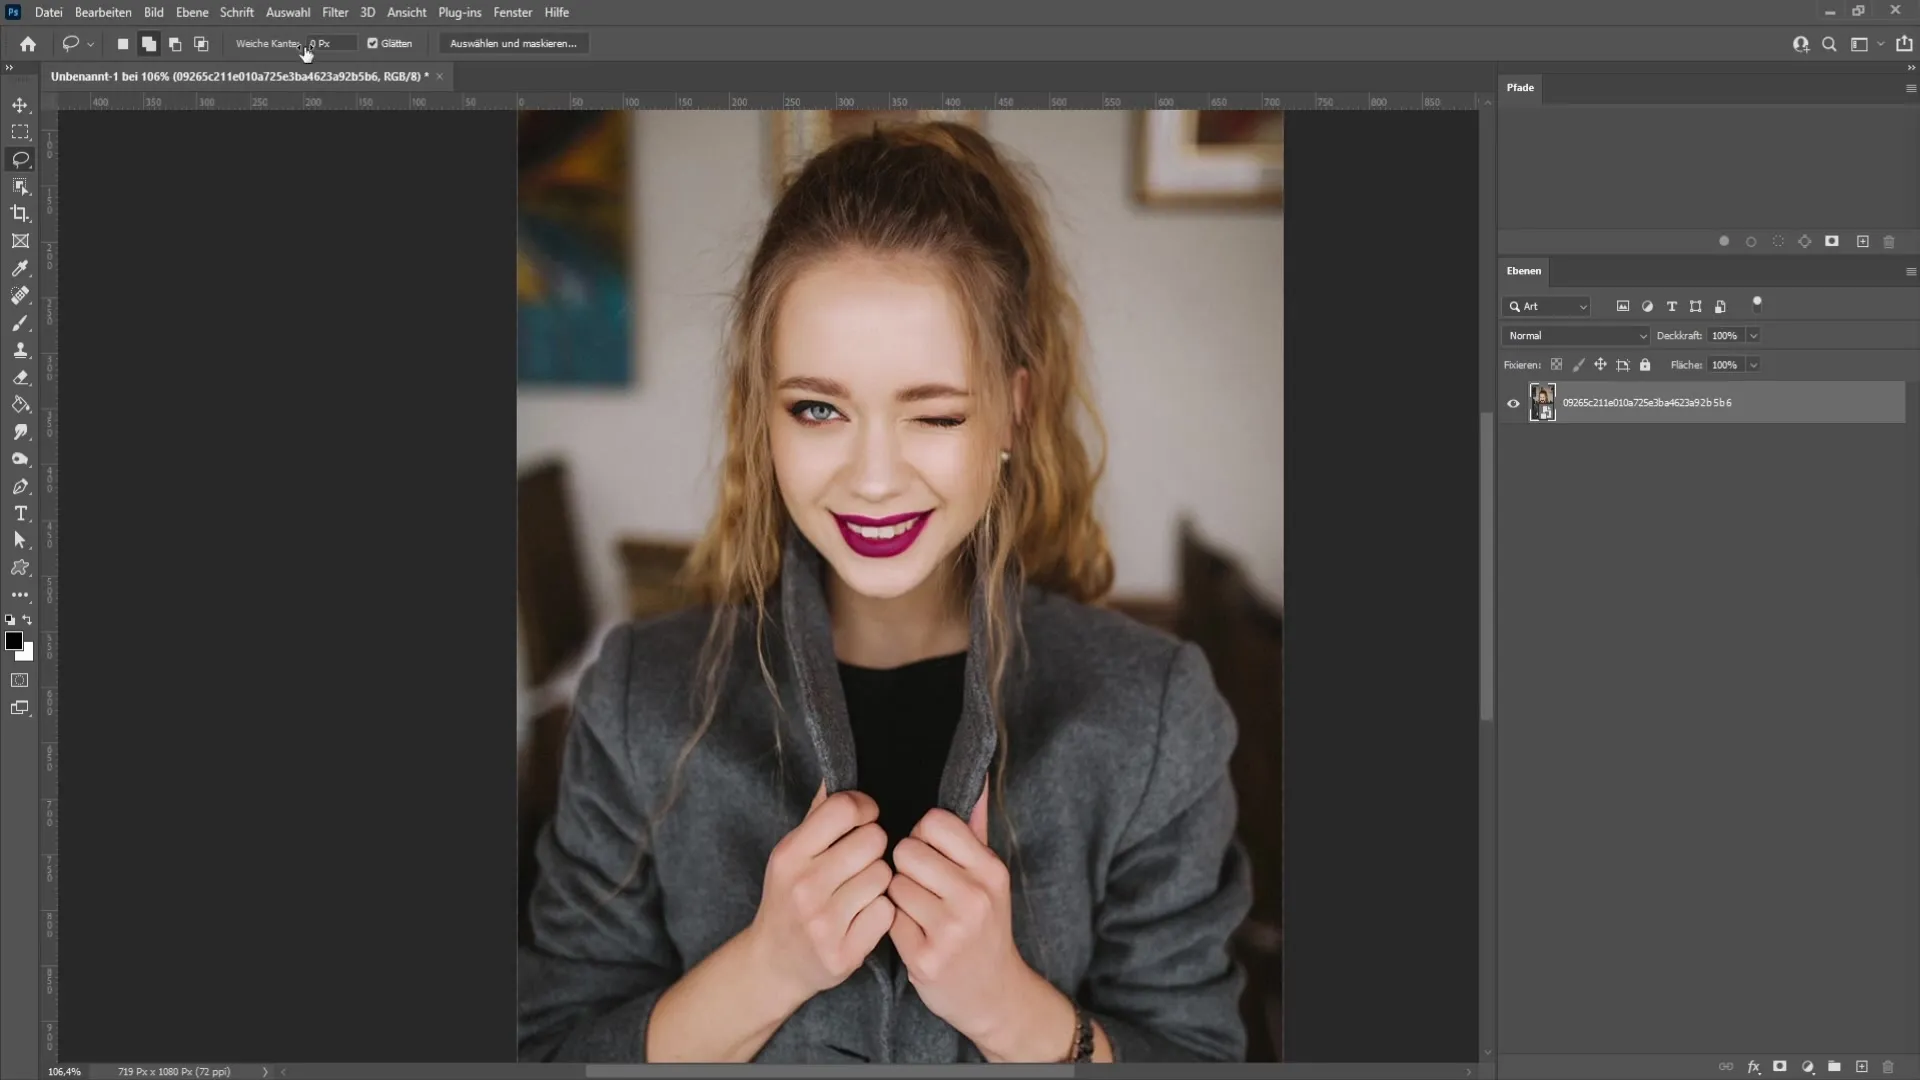
Now, select the Lasso tool from the toolbar on the left side. Make sure the feather is set to 0 pixels for precise work.
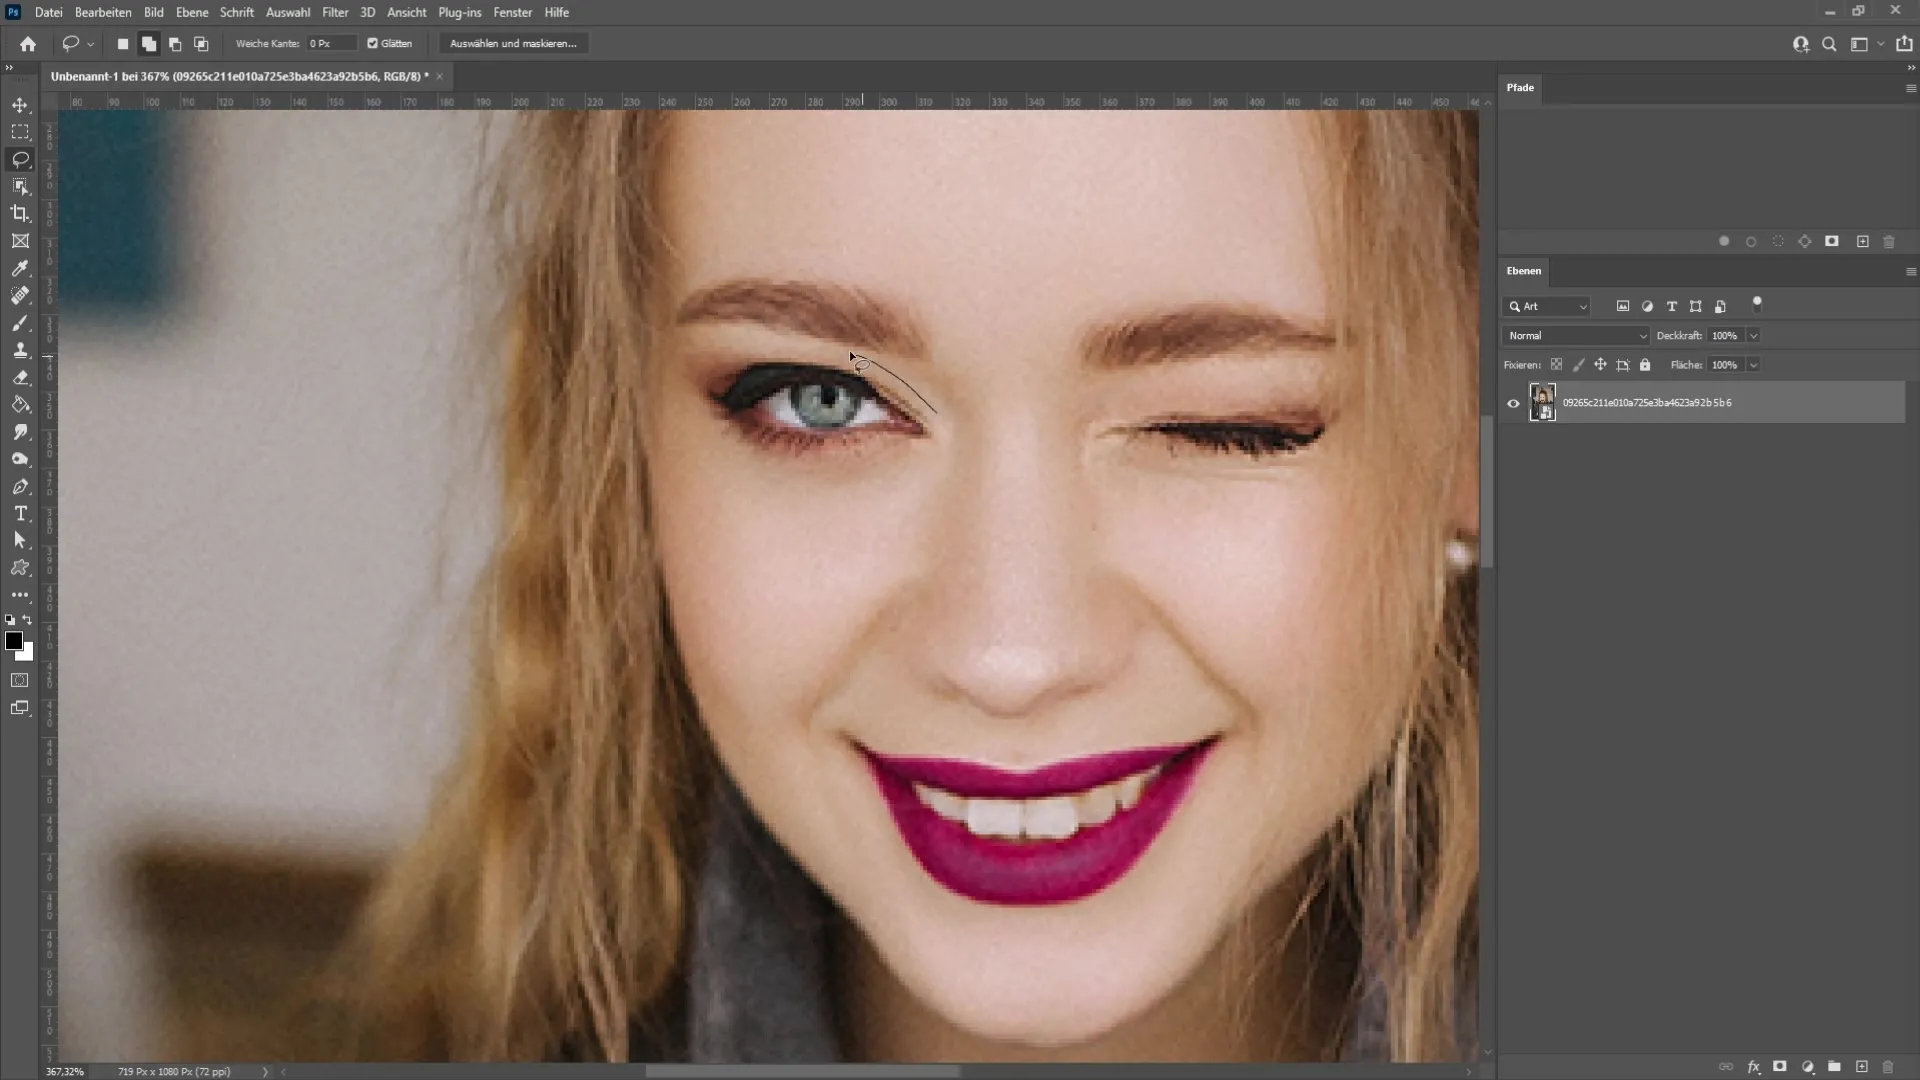
Zoom in on the open eye you want to use and carefully outline it with the Lasso tool. Make sure not to cut off any part of the eye and select a larger area than necessary.
Once you are satisfied with your selection, press the shortcut Ctrl + J (Cmd + J on Mac) to bring the selection to a new layer.
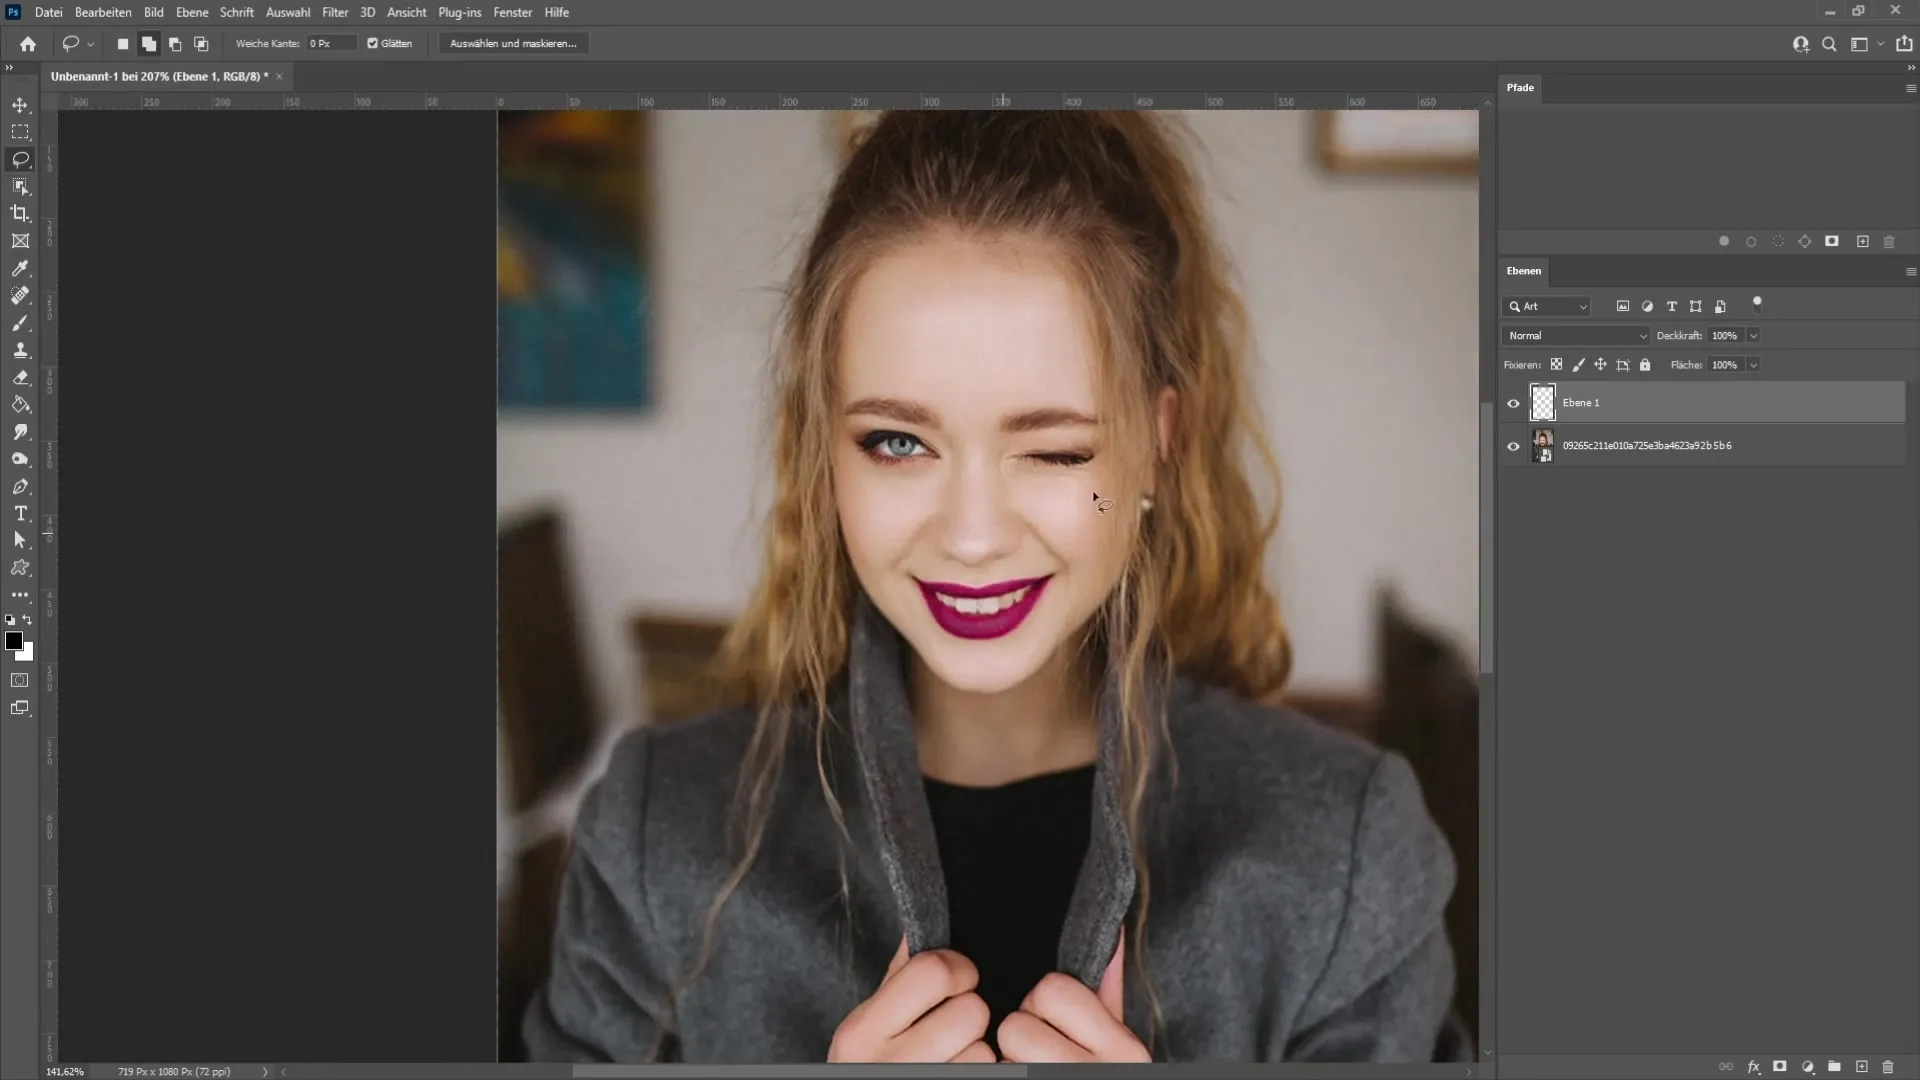
Now is the time to mirror the eye horizontally. Right-click on the new layer and choose "Convert to Smart Object".
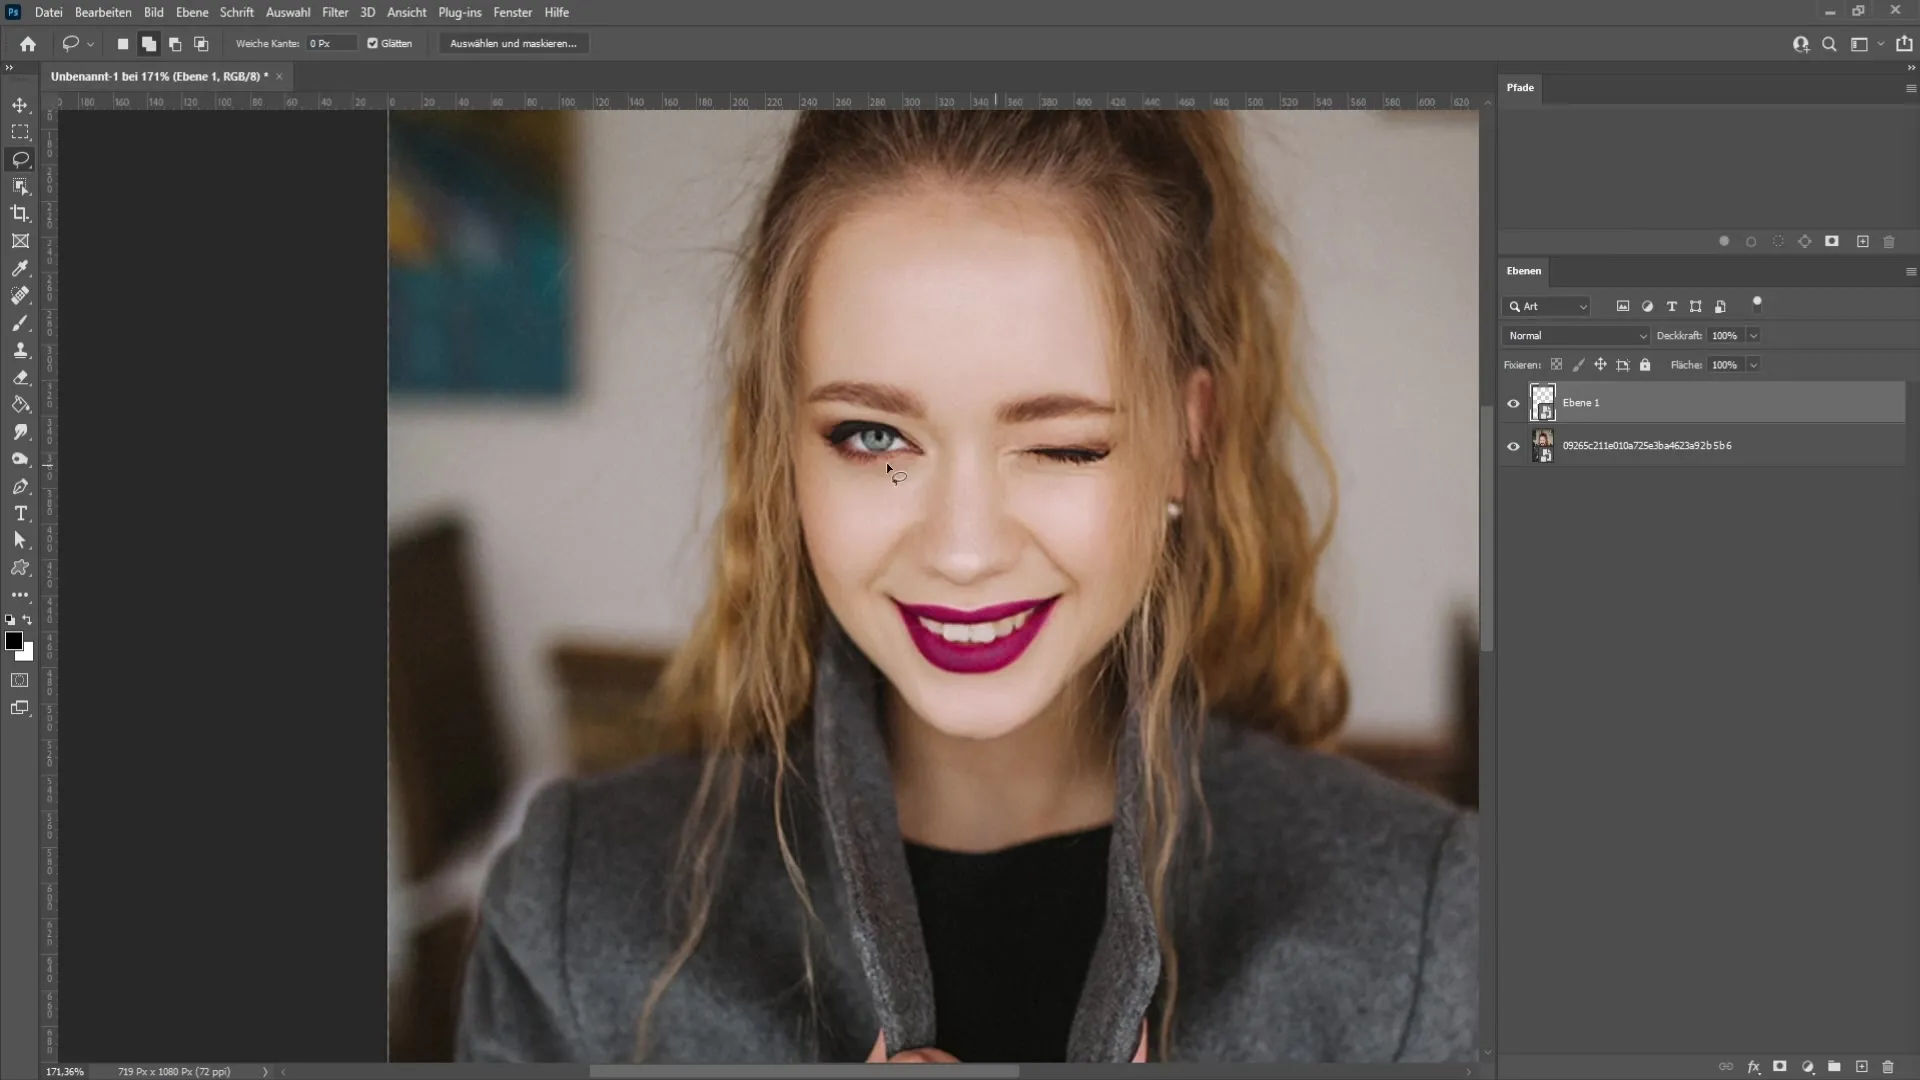
Press Ctrl + T to activate the Transform mode and then select "Flip Horizontal" from the options.
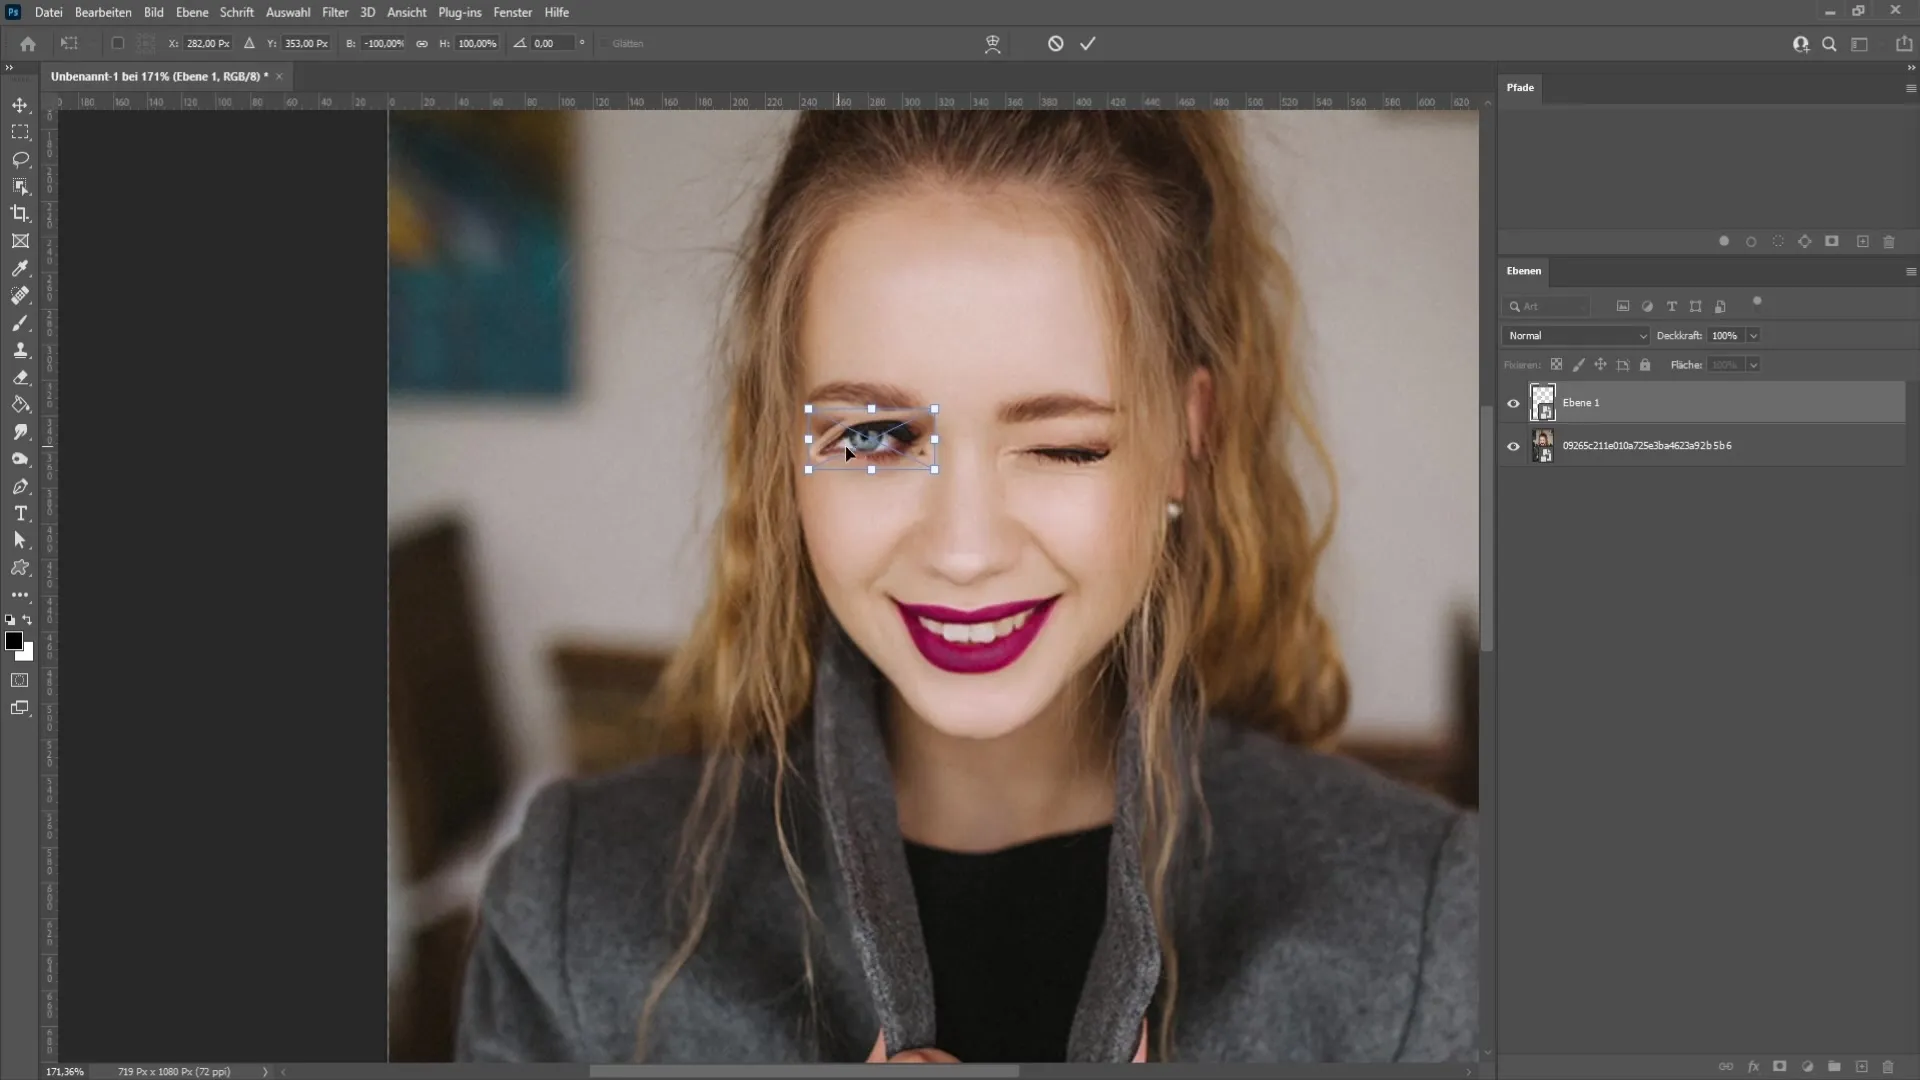
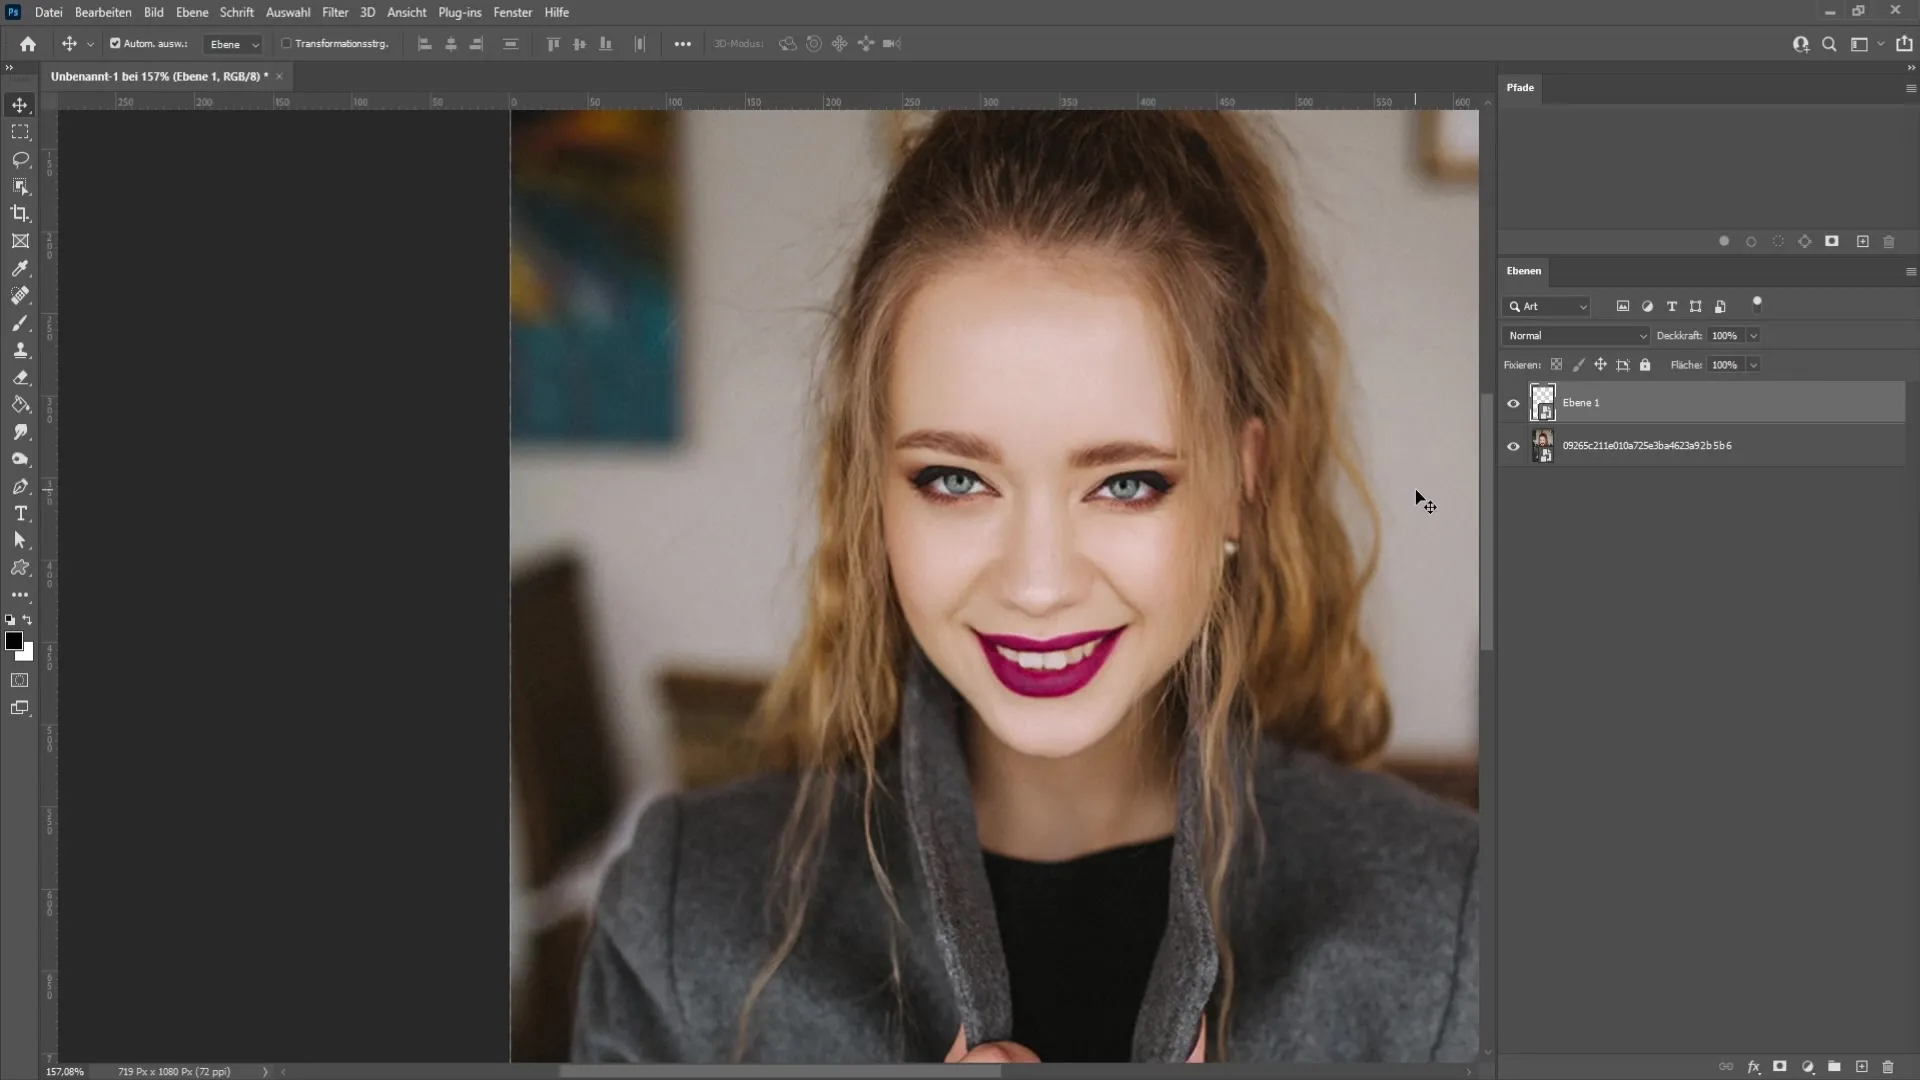
You can now adjust the position of the mirrored eye. Drag the eye to where the closed eye was. A little enlargement can be helpful here.
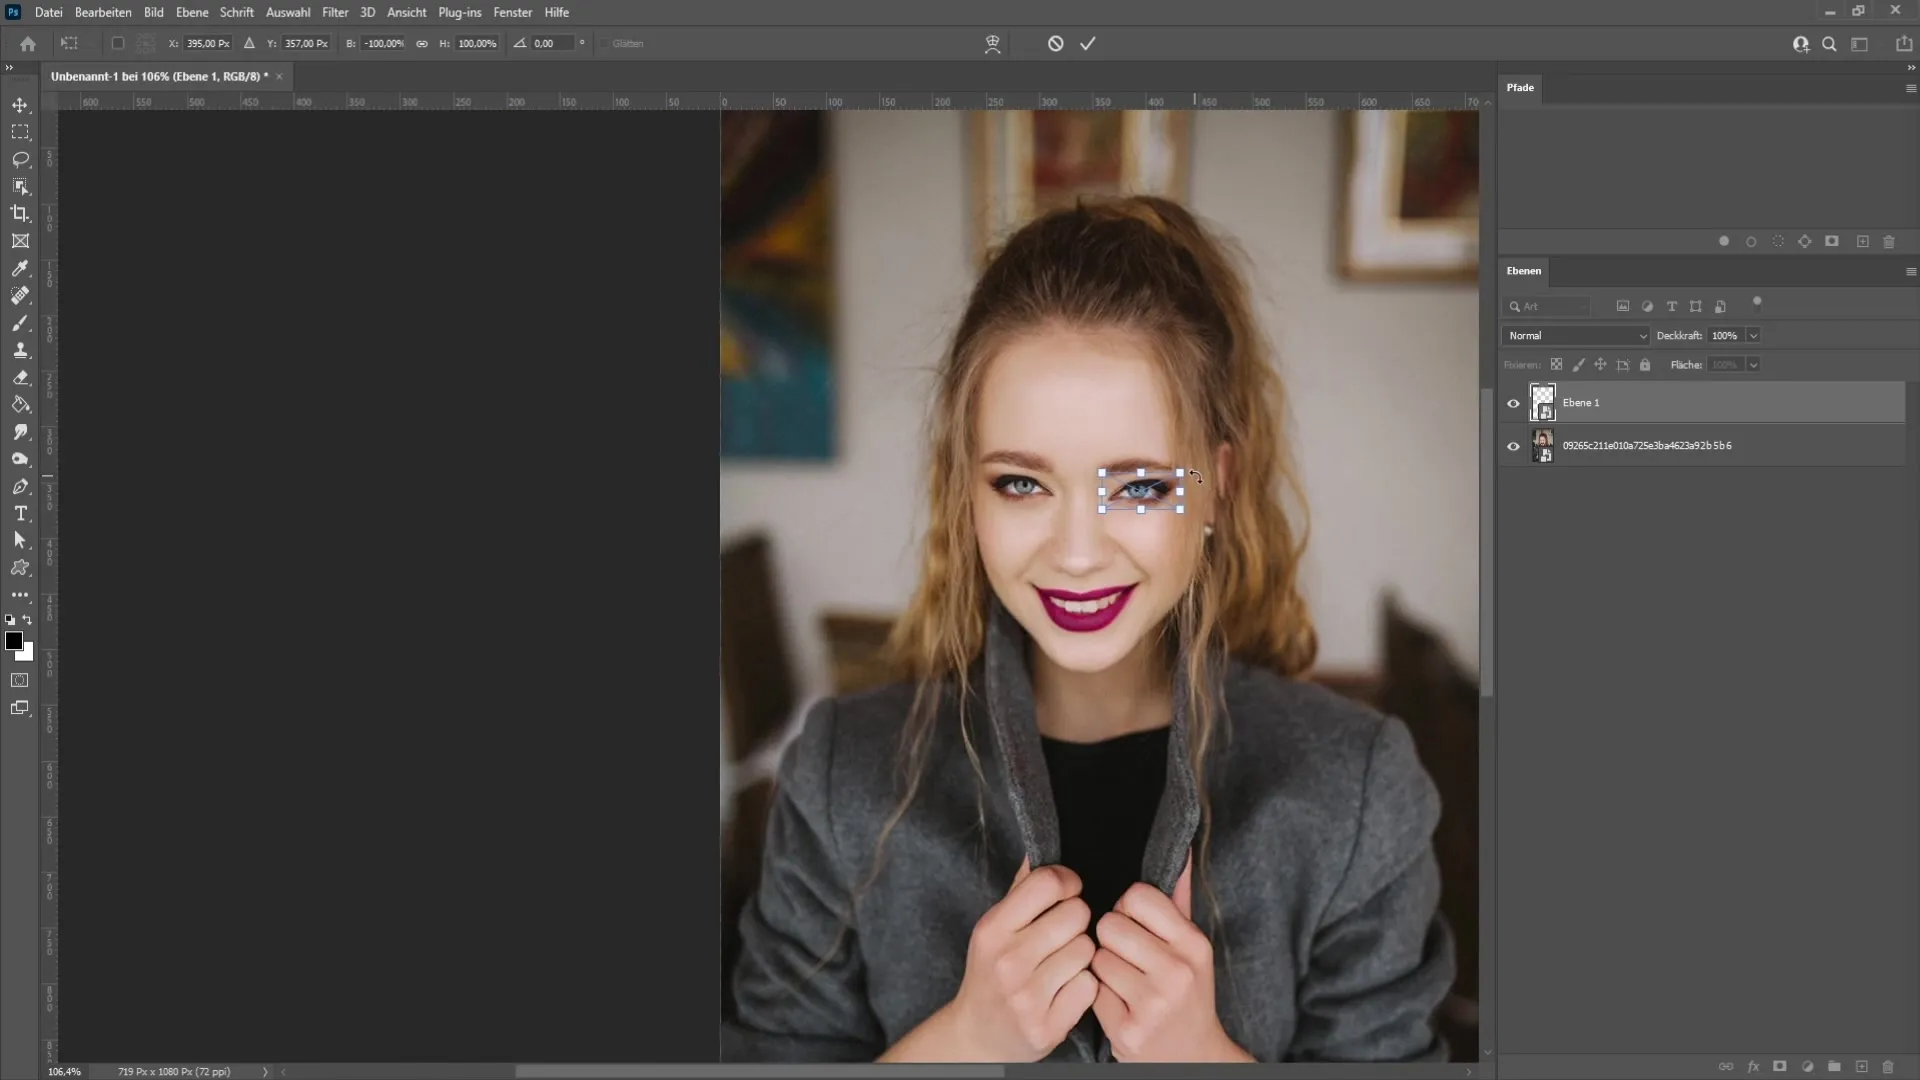
You can grab the eye at the corners to change the tilt or size. Once everything is positioned well, press Enter to confirm the position.
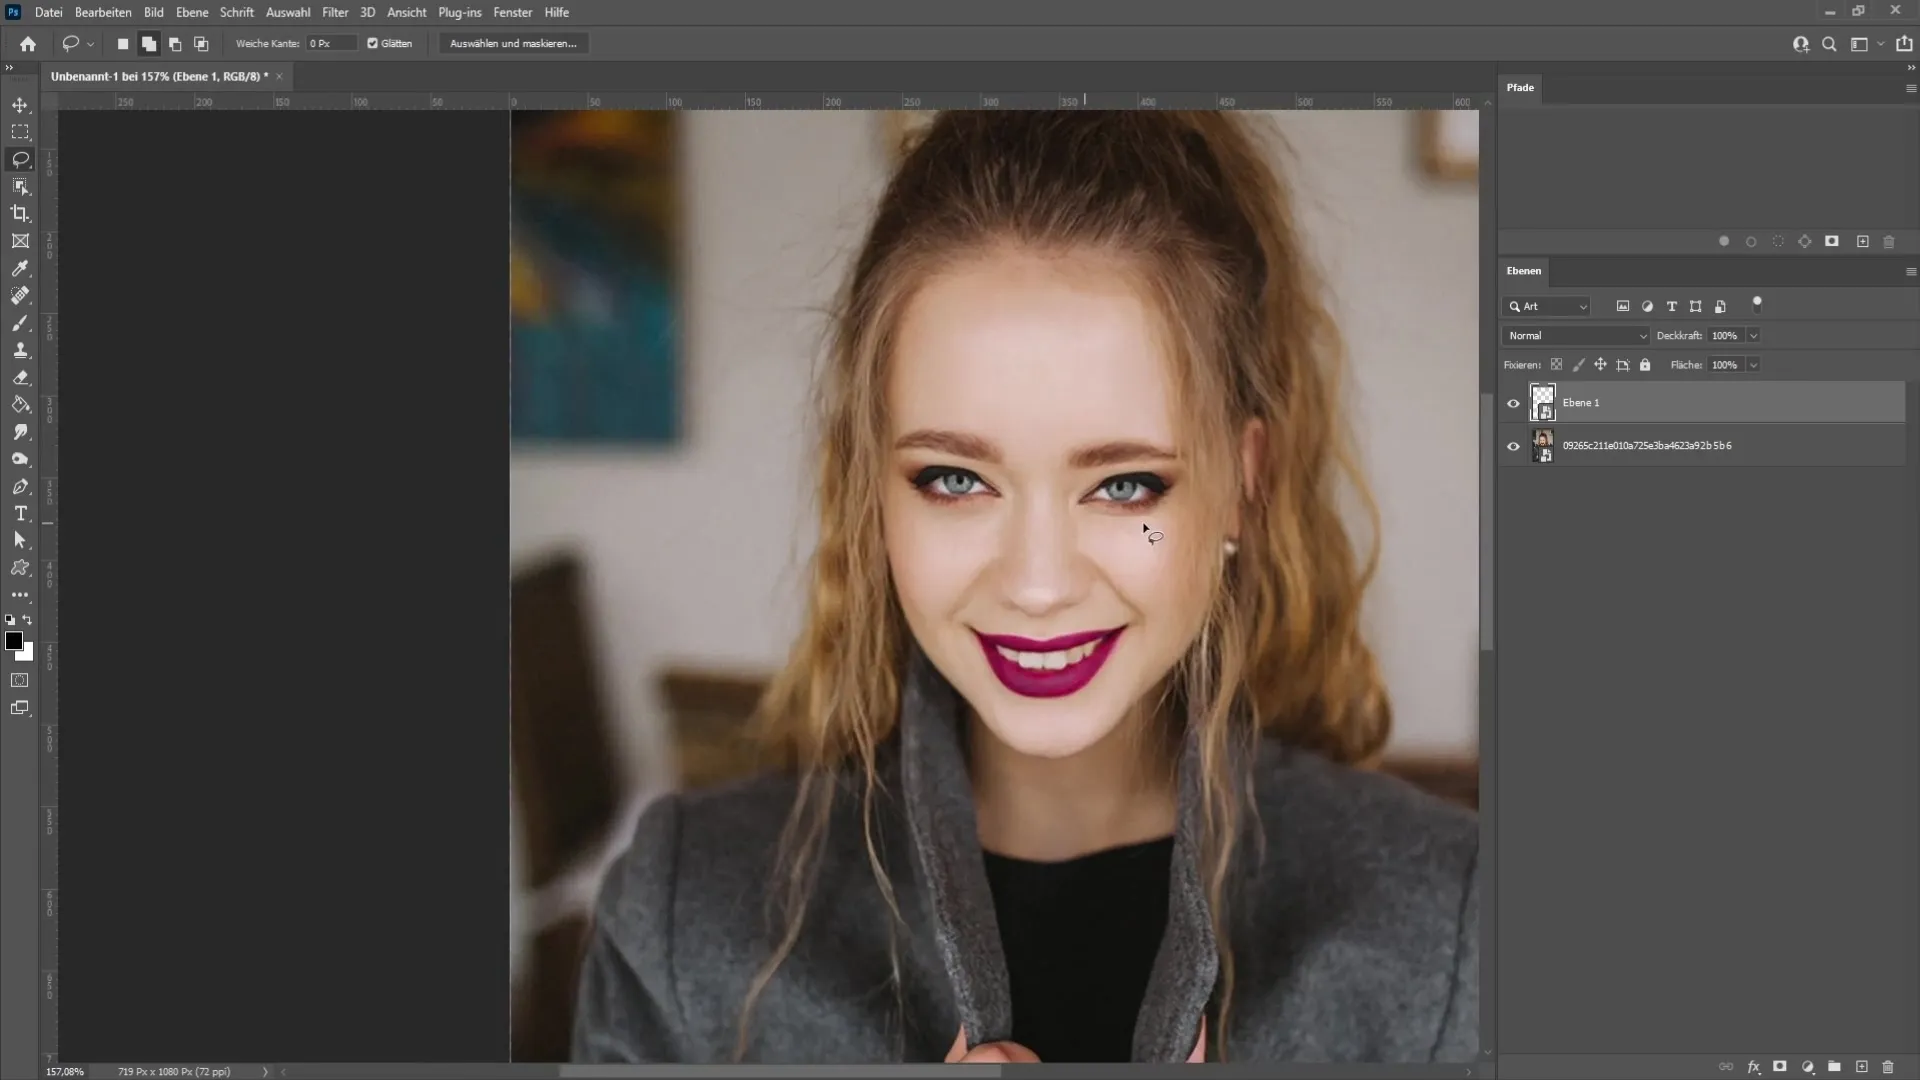
If the eye image doesn't look perfect, select the Move tool and adjust it using the arrow keys for more precise placement.
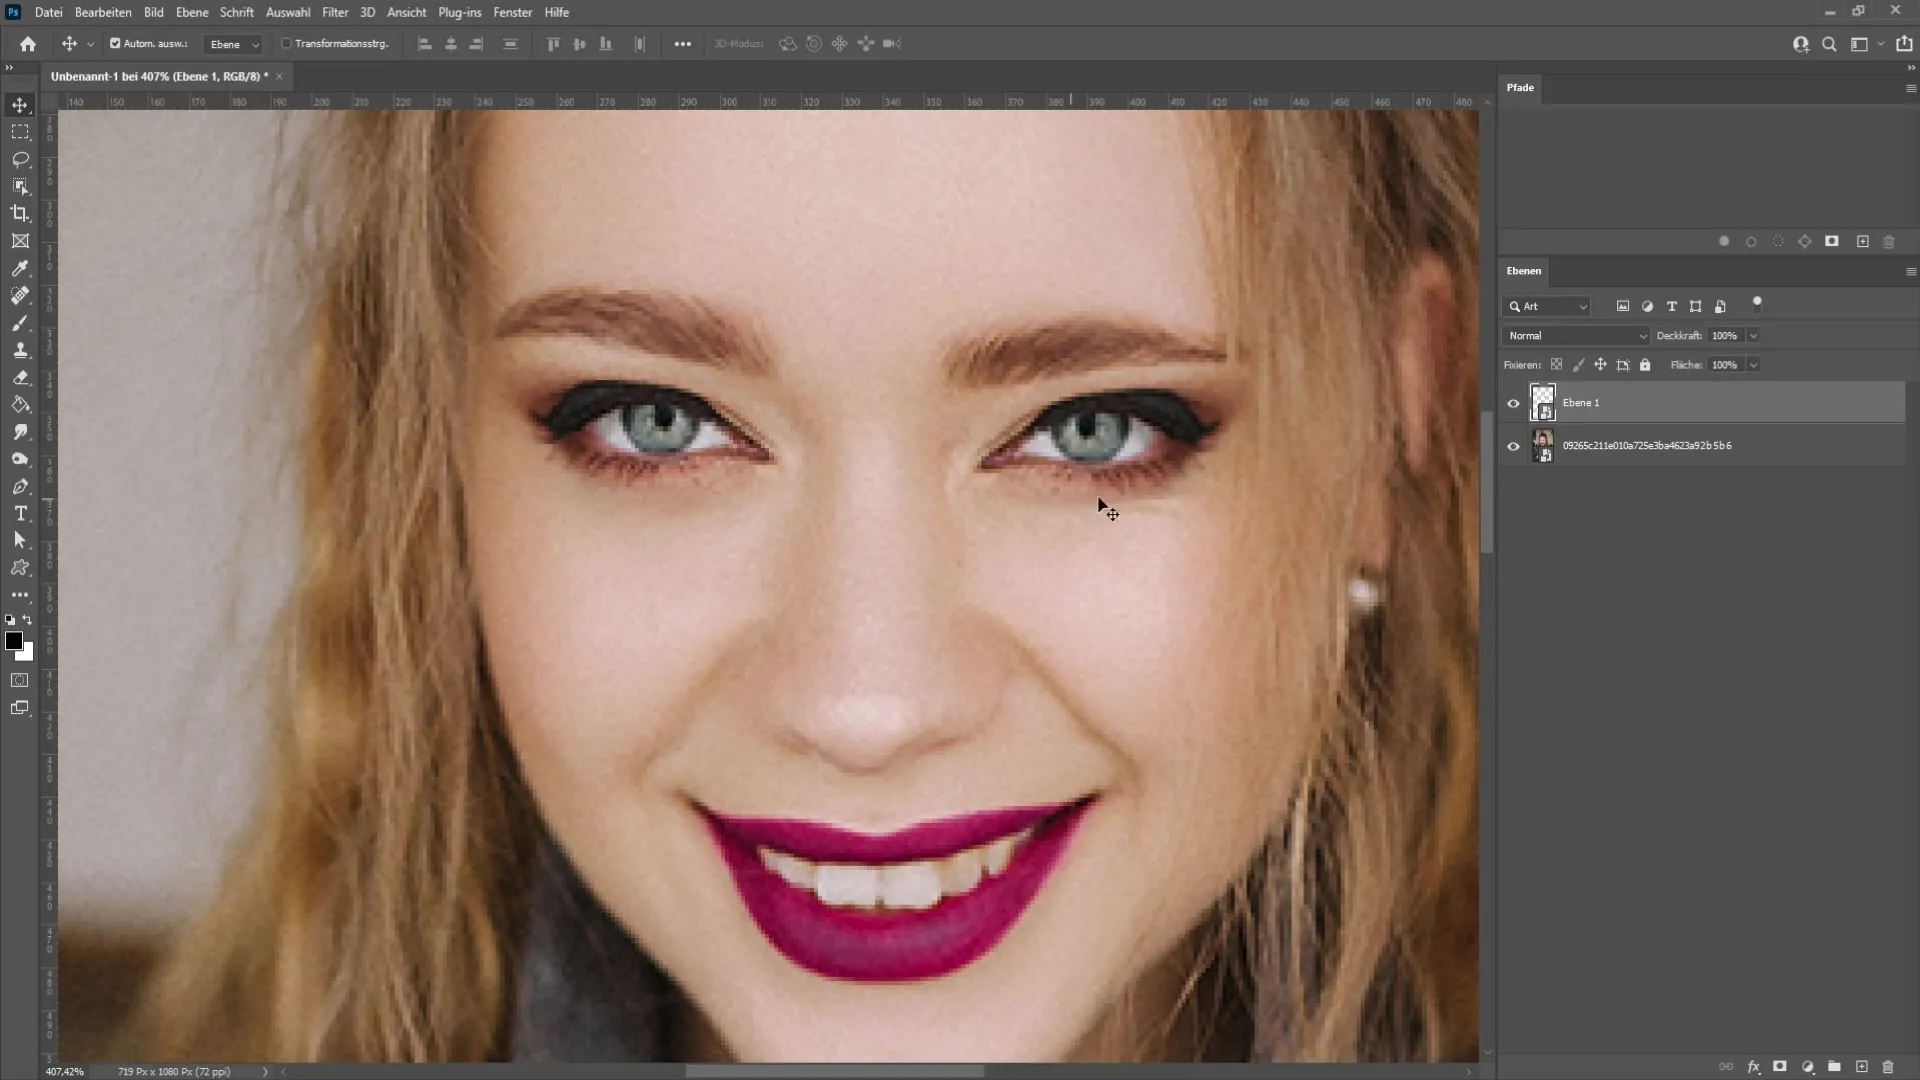
You may notice that the inserted eye still looks unnatural, as it may contain folds or other features of the closed eye. To fix this, we should soften the transition.
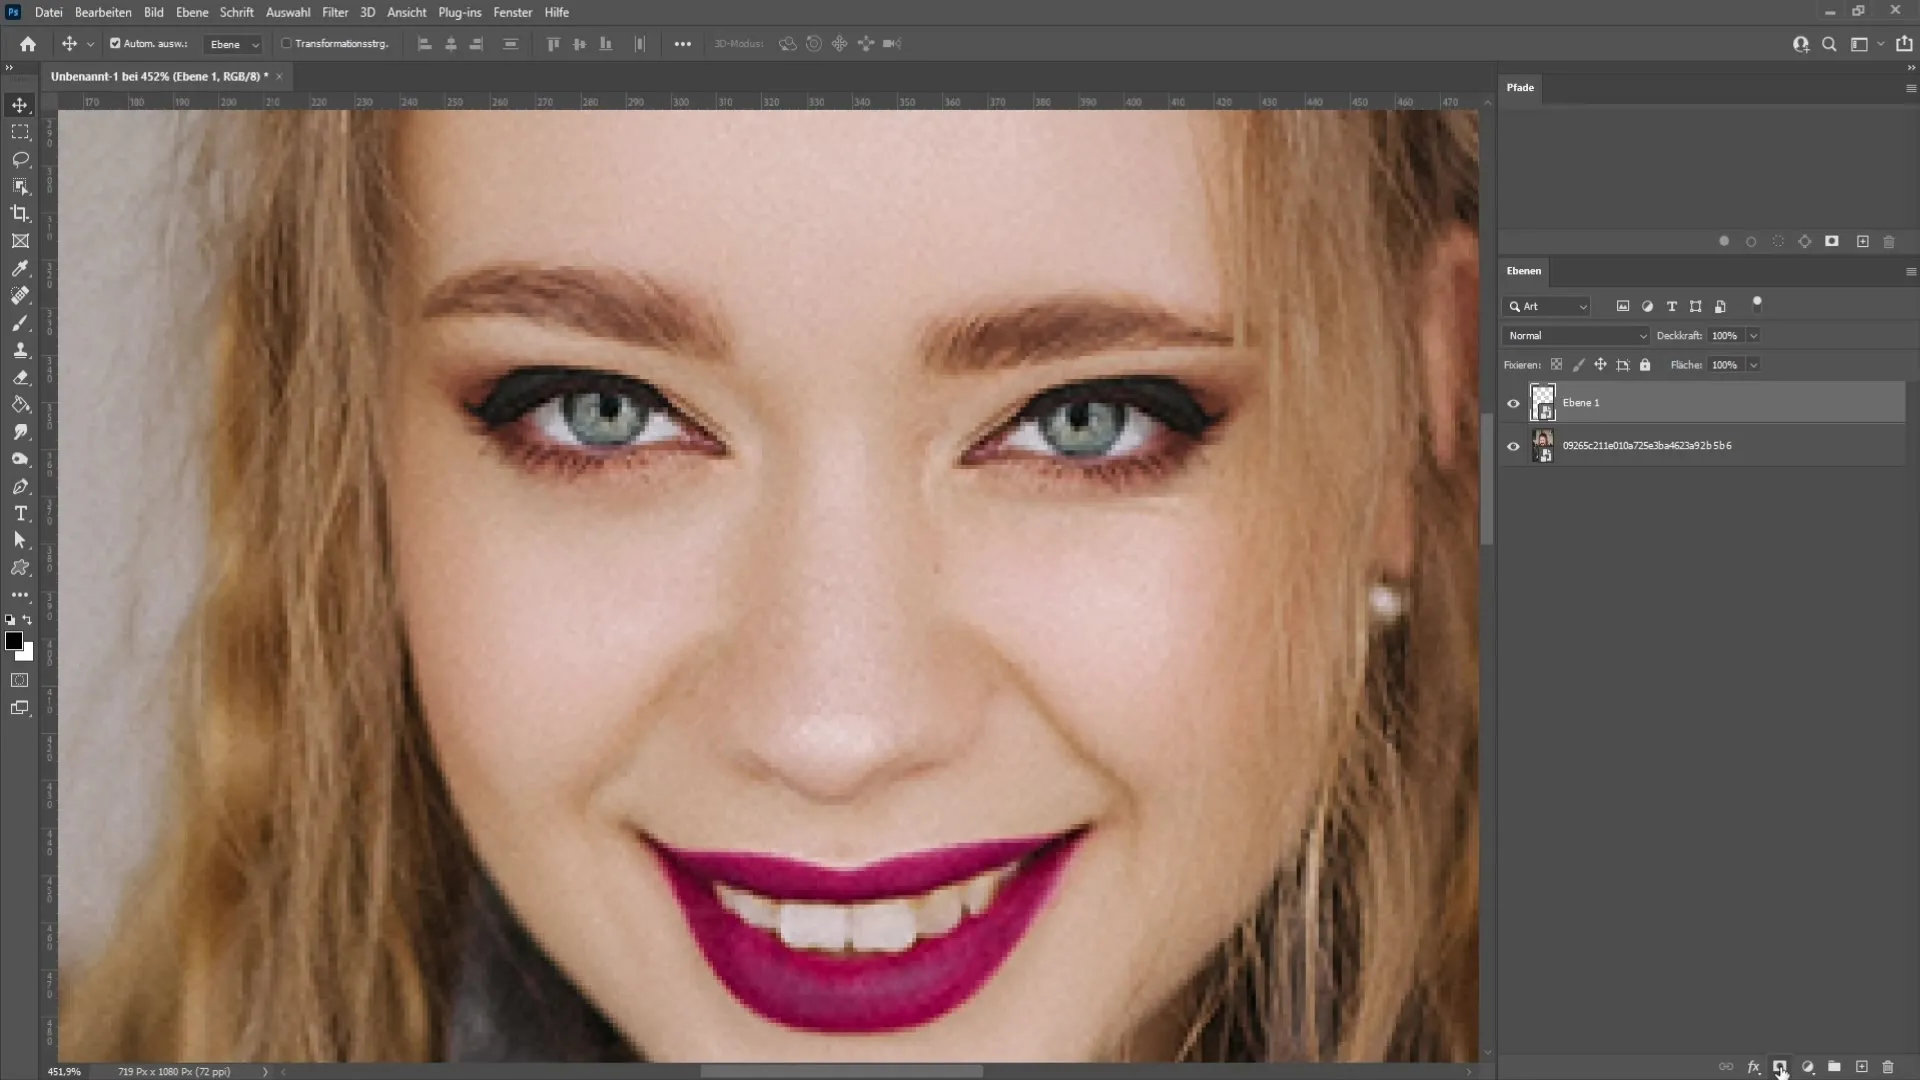
Create a layer mask so that you can work smoother on the edges. To do this, select the mask icon in the lower right corner of the Layers panel.
Go to the brushes now. Press the key D for the standard colors and then the key X to switch to the black color. Make sure the opacity is at 100% and the flow is set to about 20%.
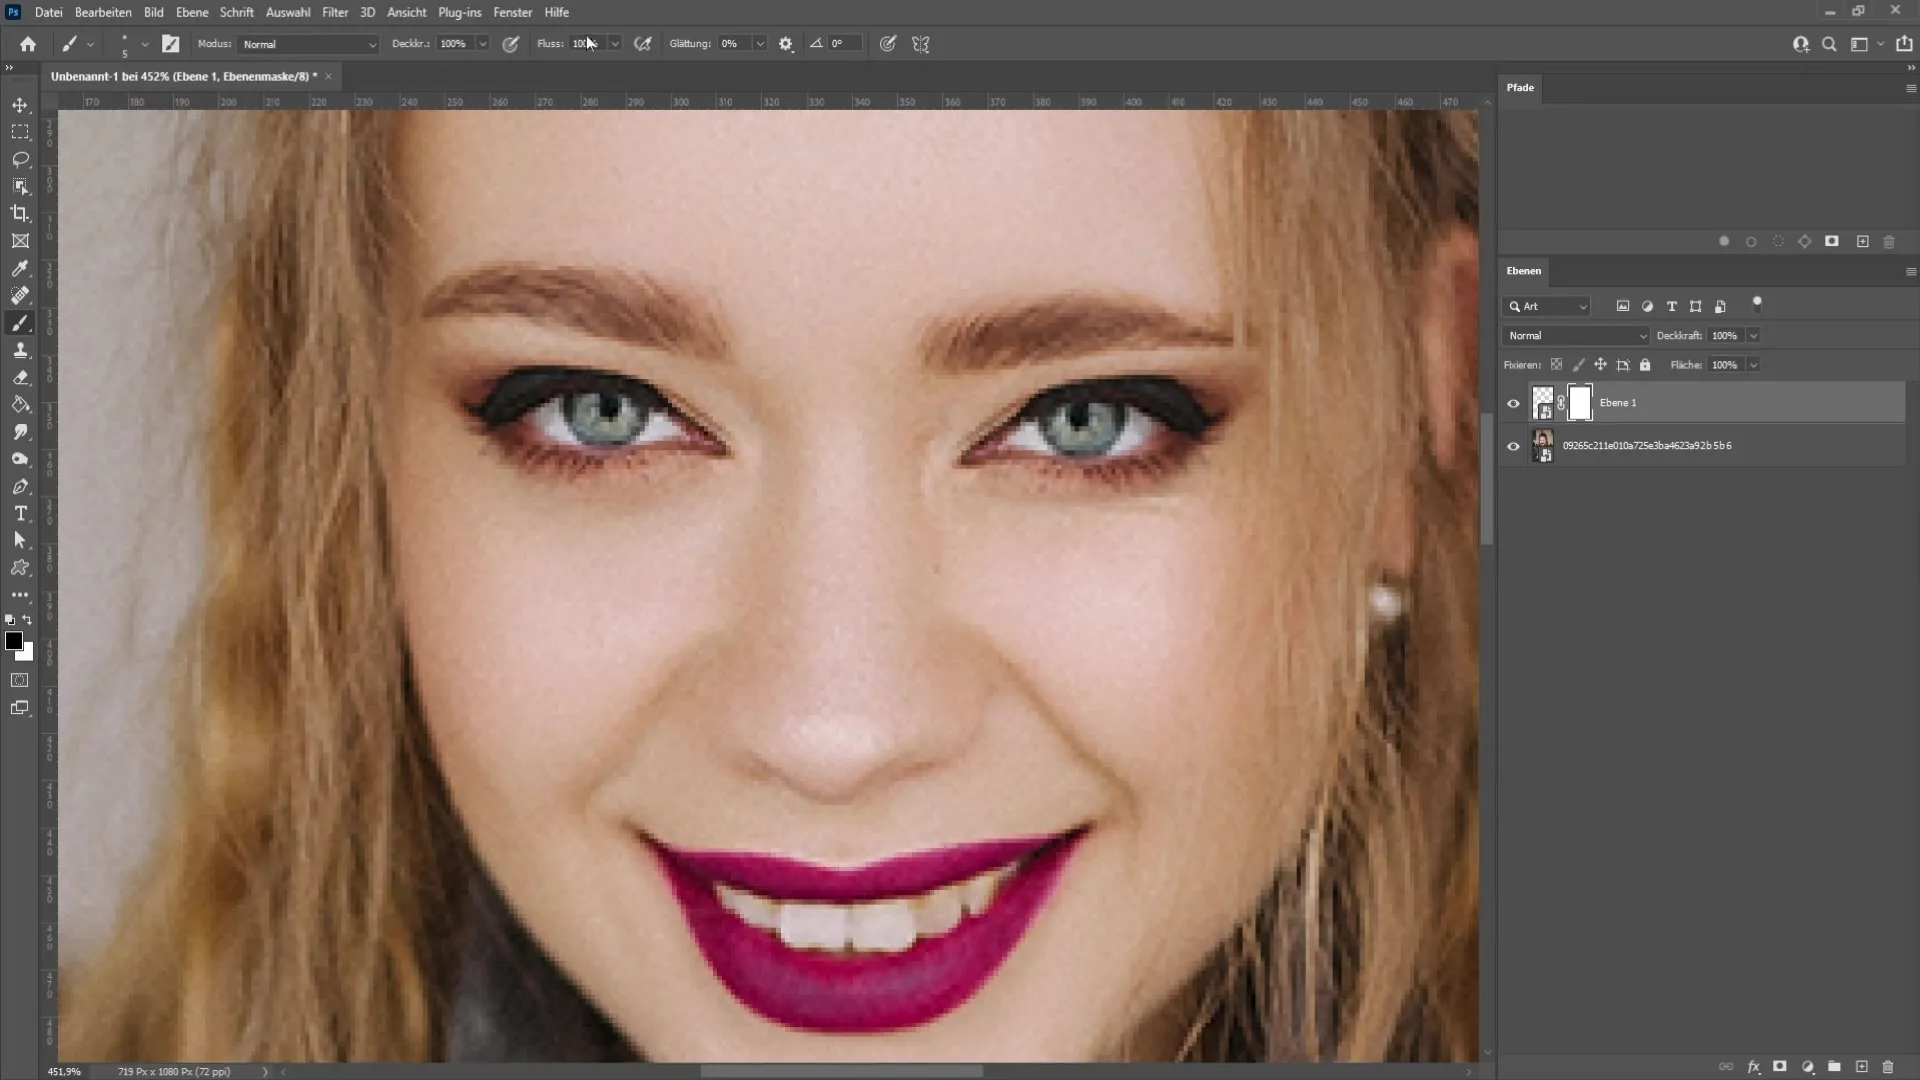
Enlarge your brush with Alt + right mouse button and carefully move along the edges of the eye to optimize the transition and soften the edges.
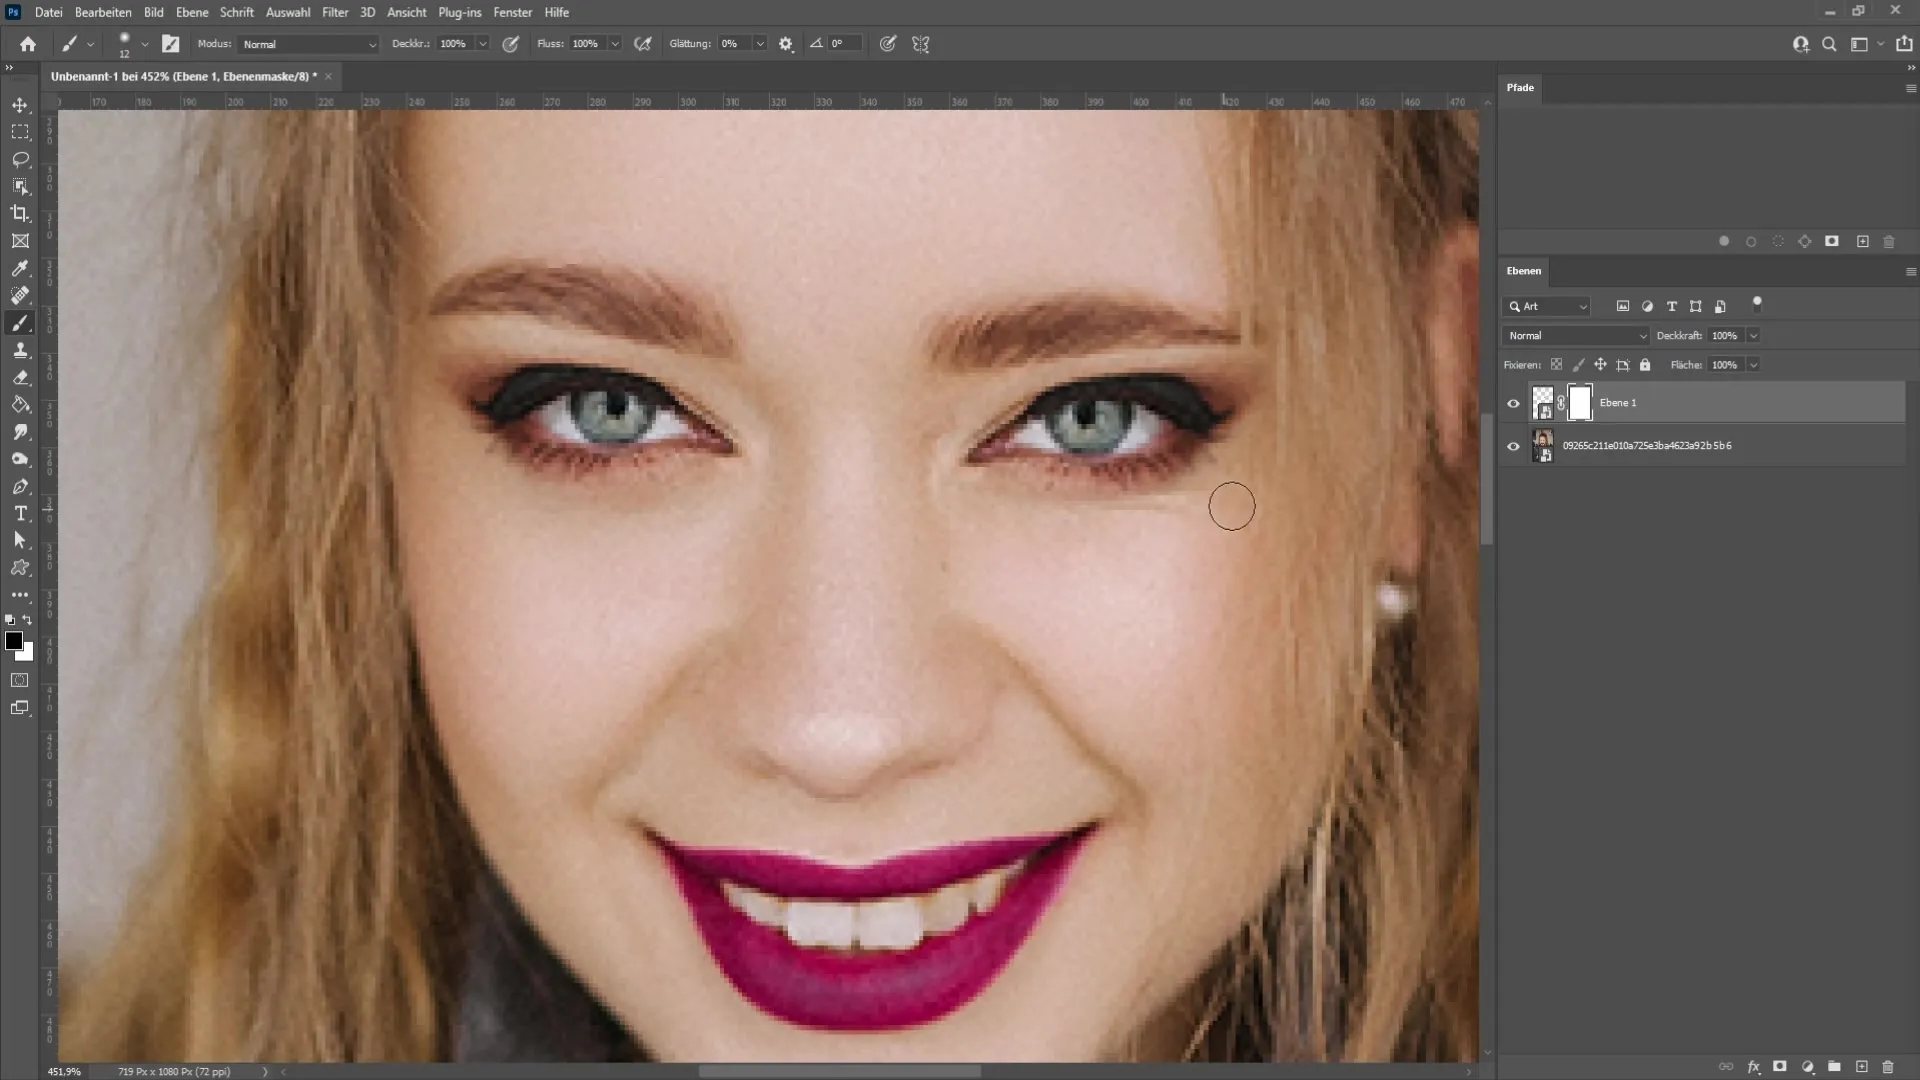
If you have erased too much, you can switch back to the white foreground color and restore the areas you want to keep.
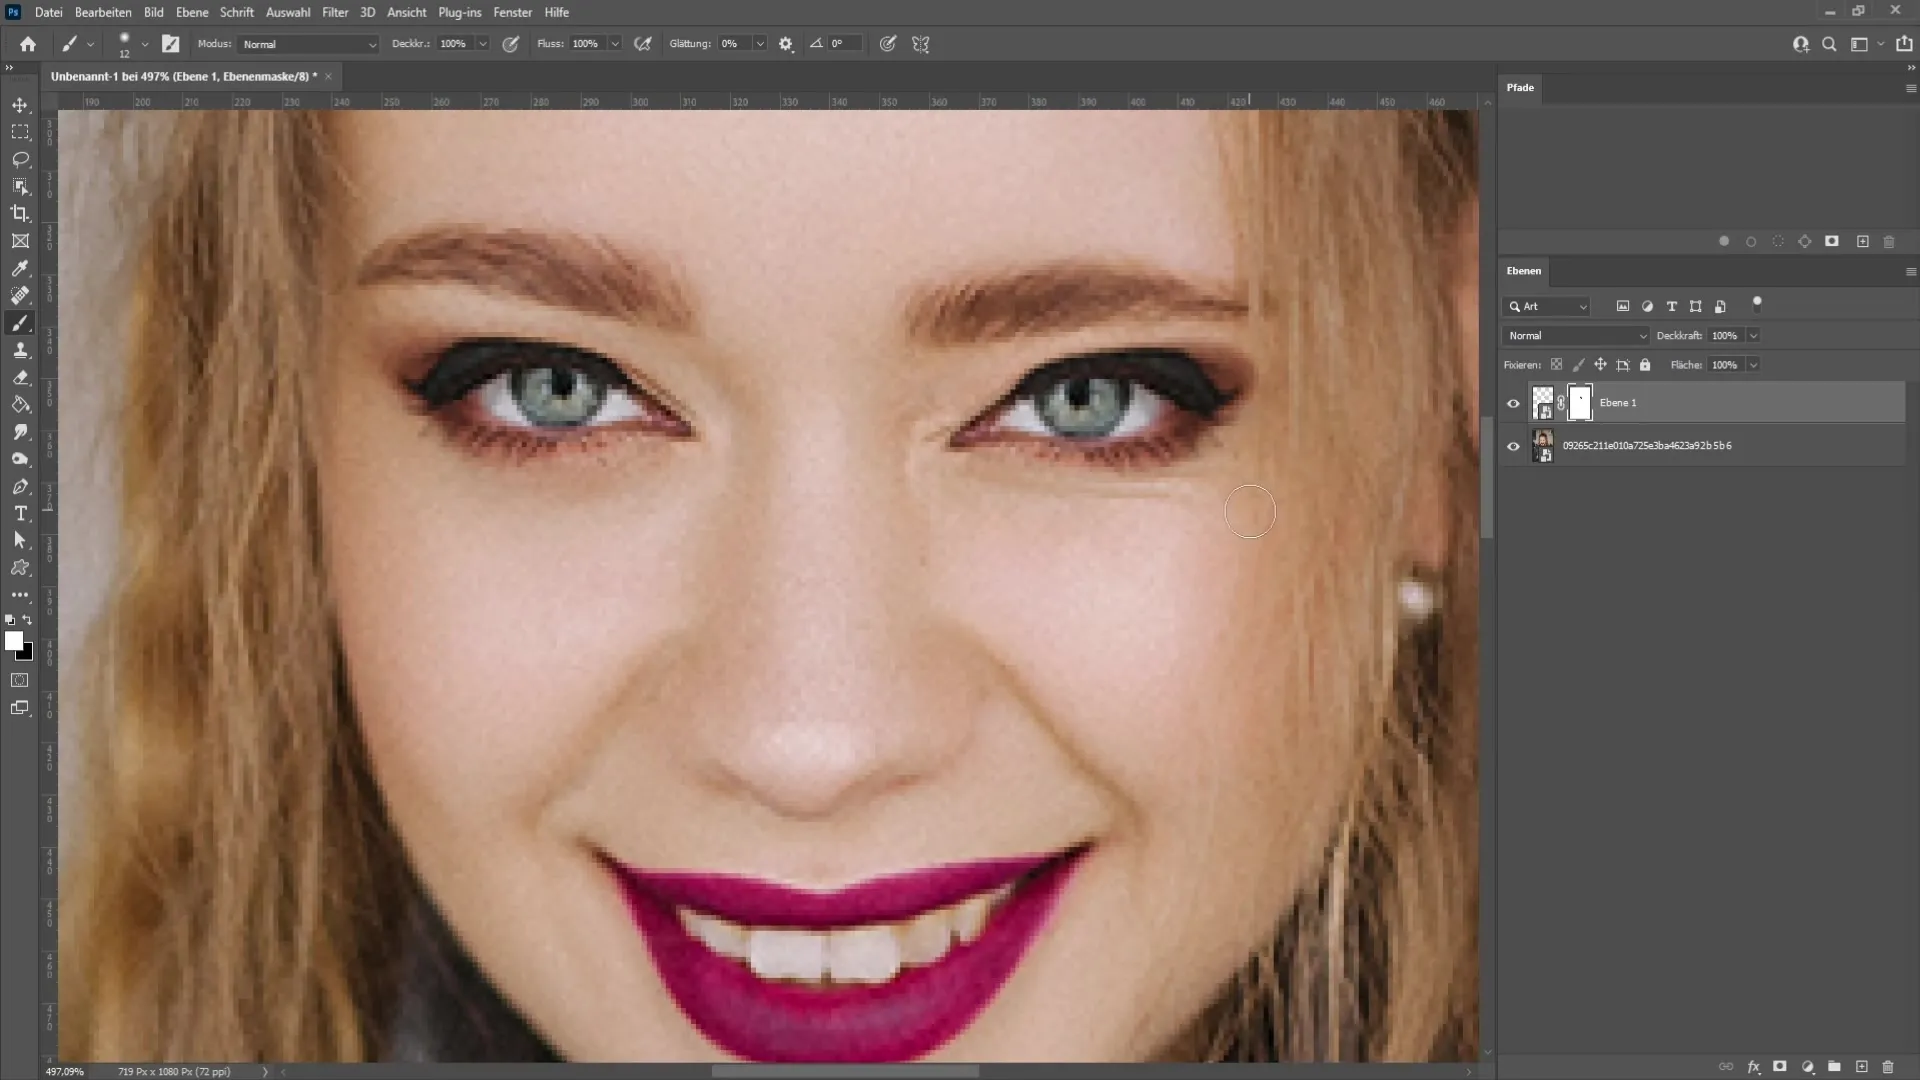
Now let's look at the wrinkles that remain in the inserted eye. Create a new blank layer to retouch the wrinkles.
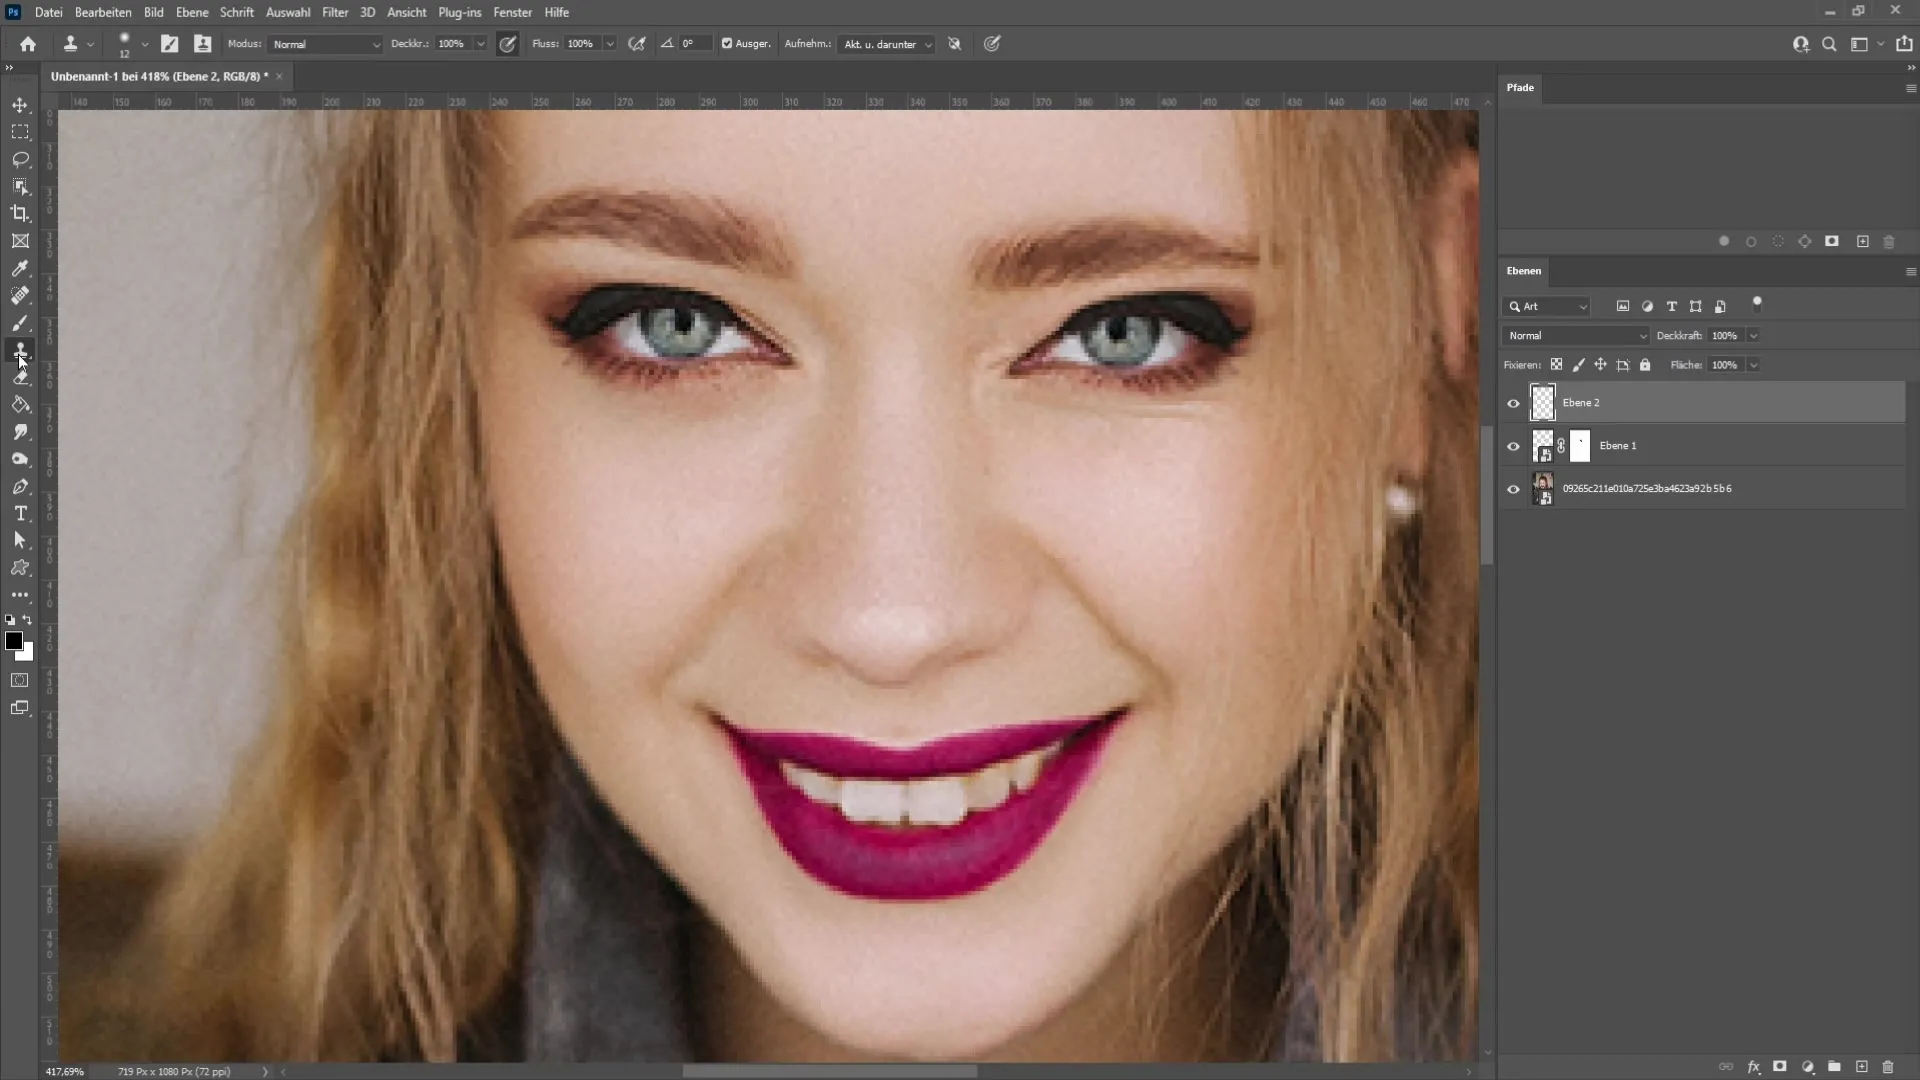
Choose the clone stamp tool from the toolbar. Make sure you select "Current and Below" to take the image information with you.
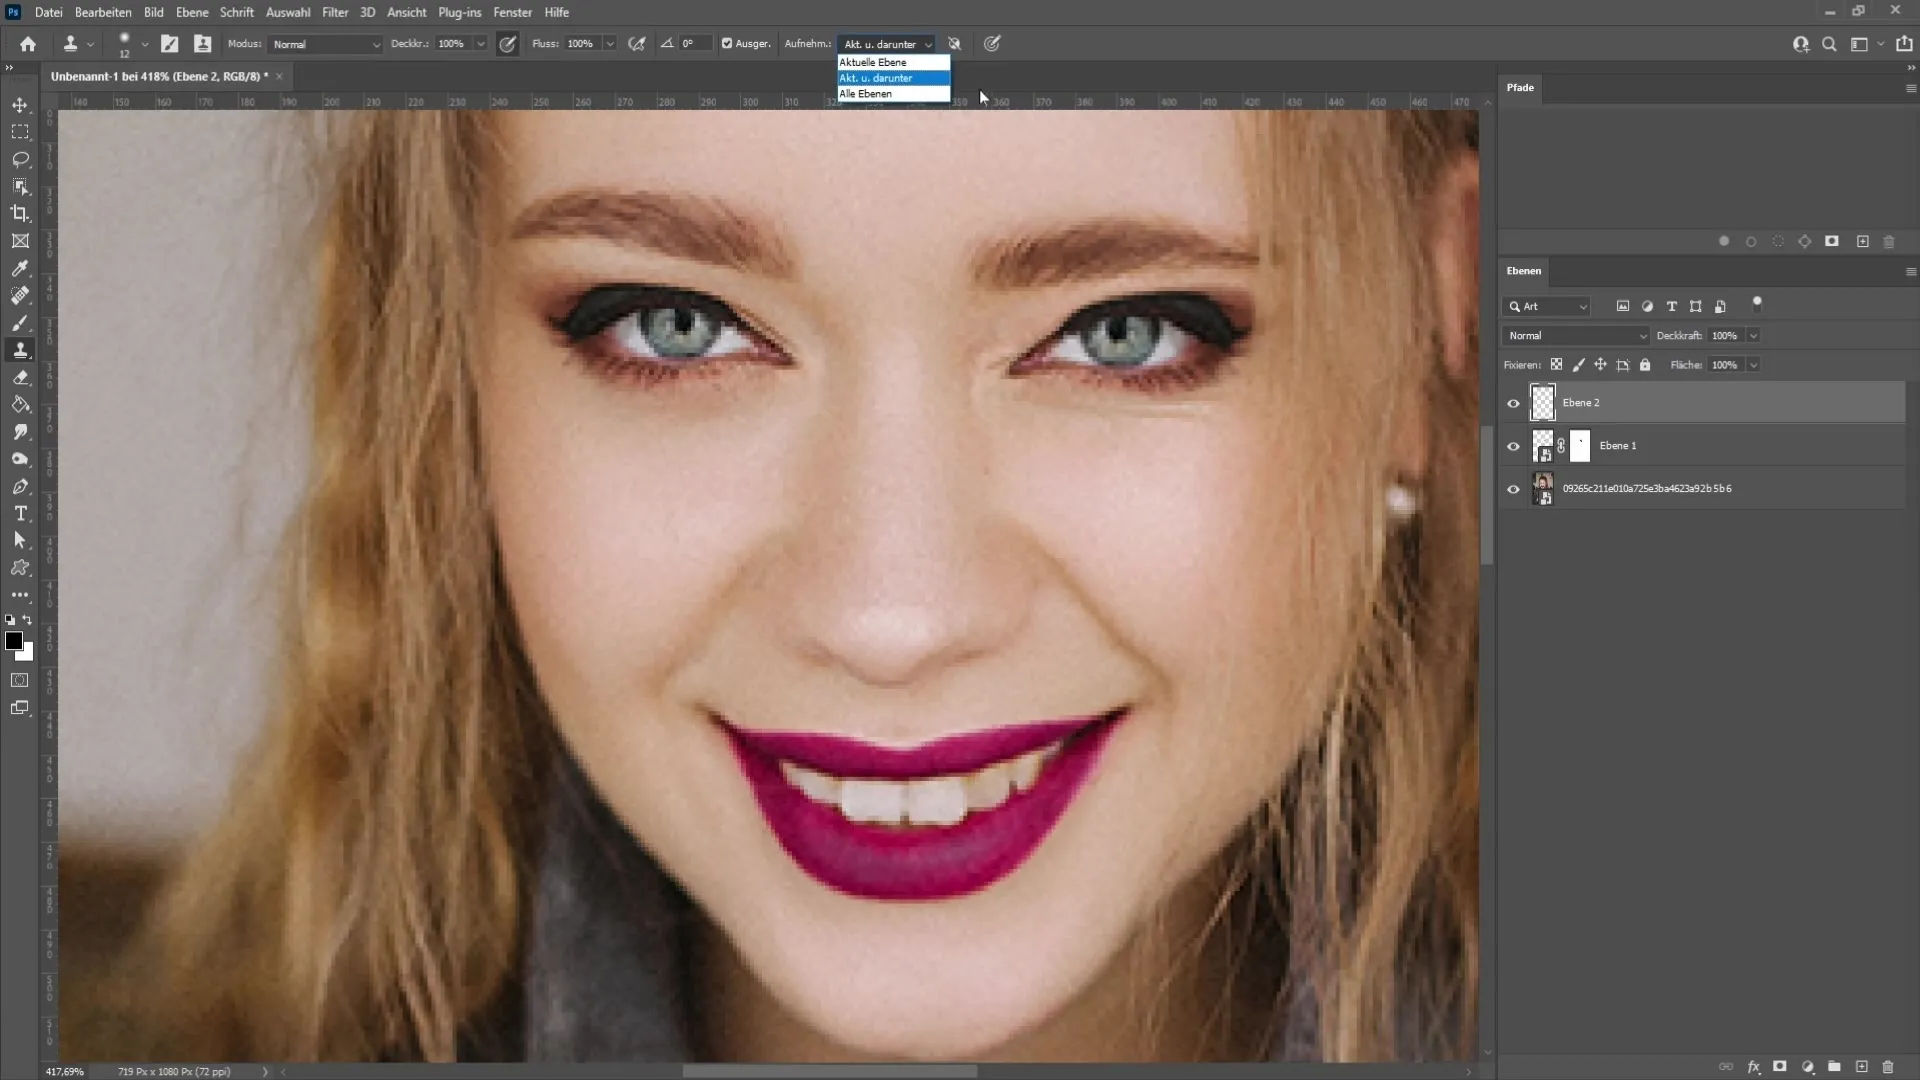
Set the hardness of the stamp to about 5% when you start using the surroundings to retouch the wrinkles gently. Hold down the Alt key to select suitable areas.
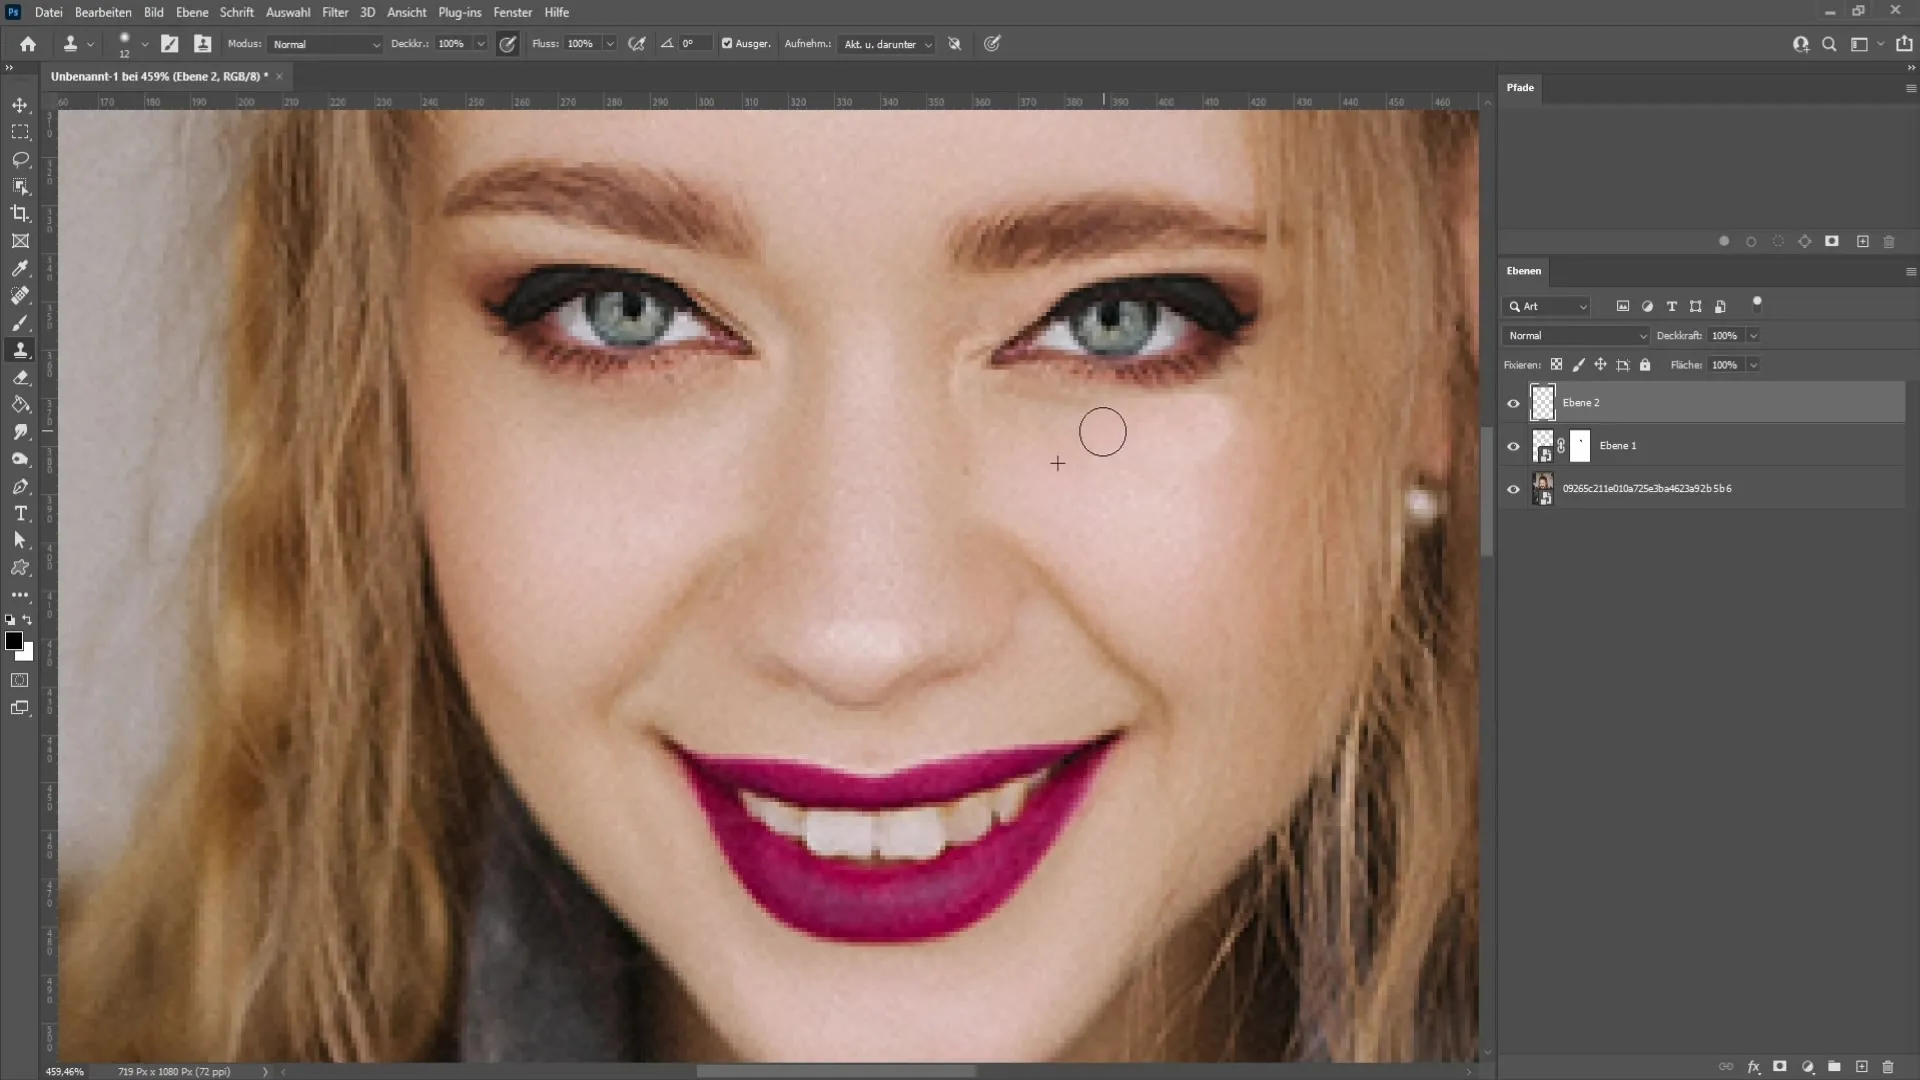
Start moving the stamp over the wrinkles and keep choosing new sources to achieve a natural look.
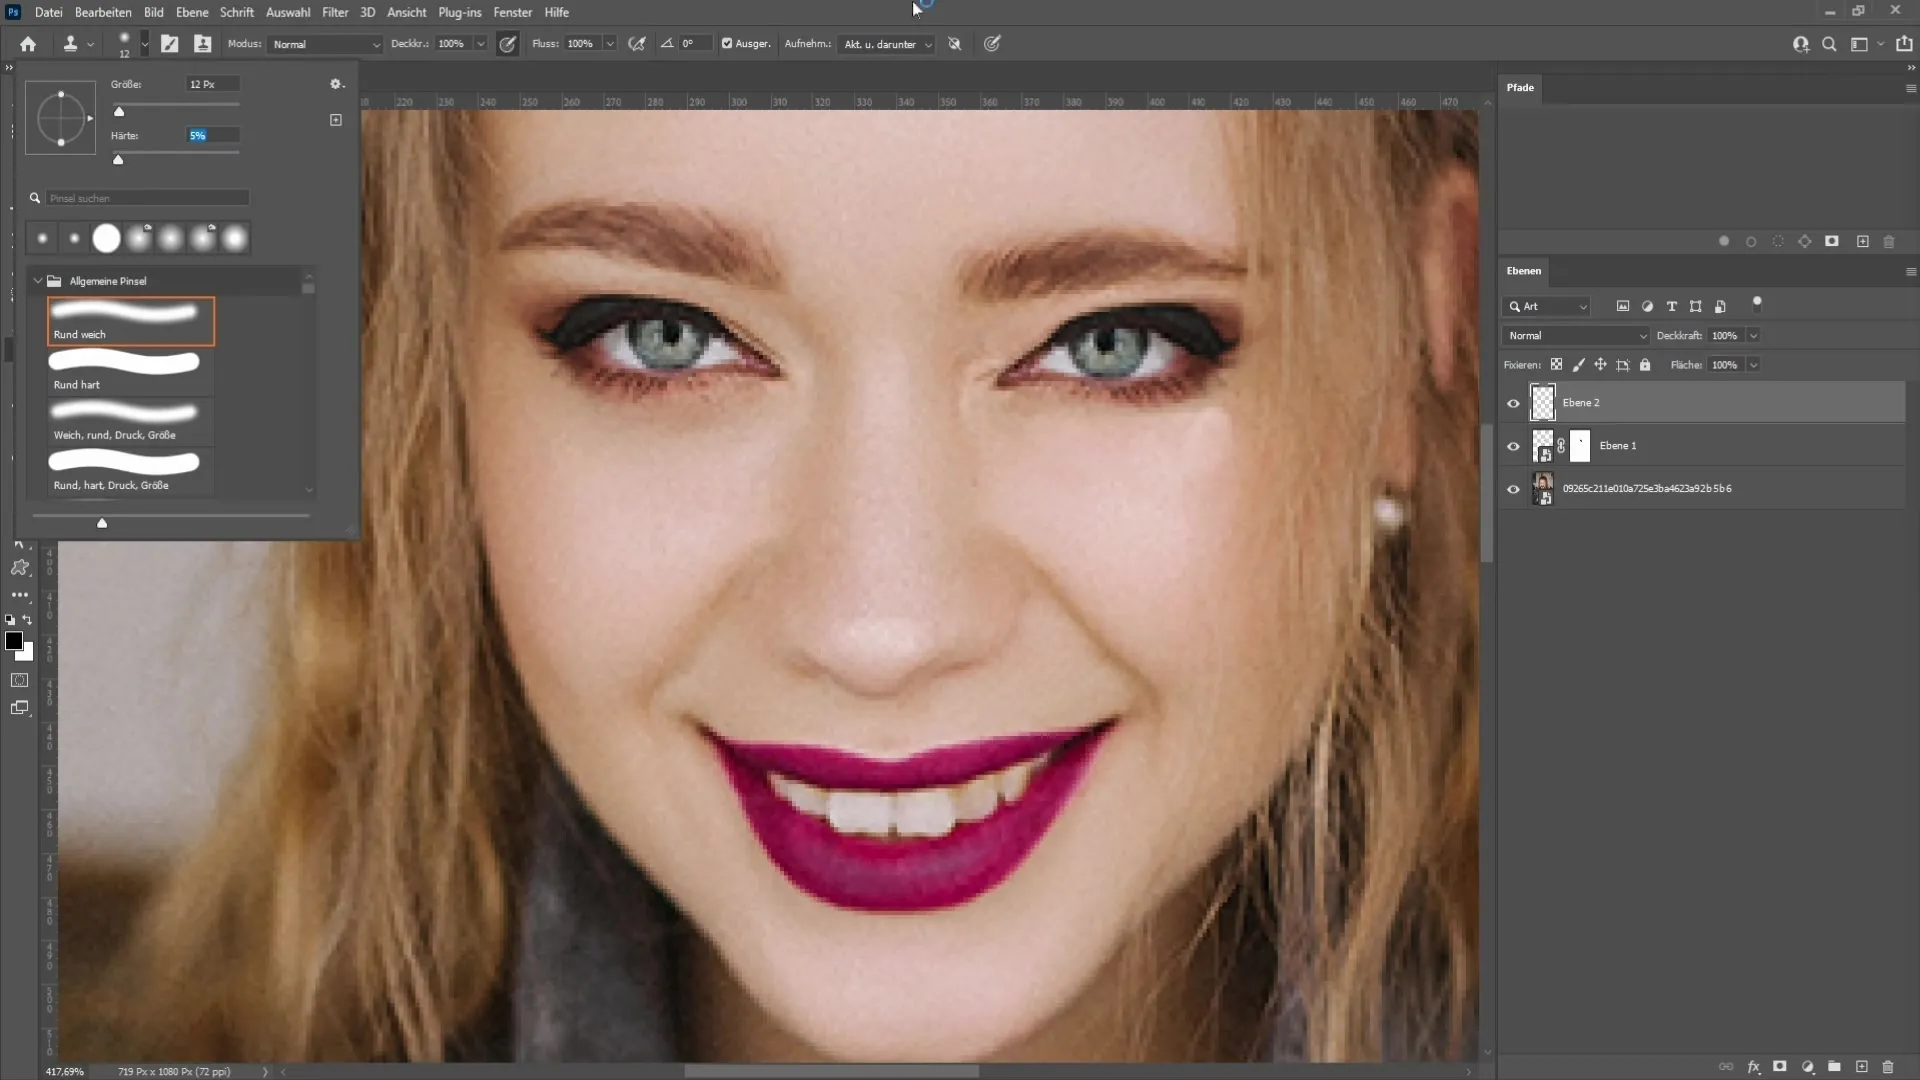
Once you're done retouching, you can slightly open the eyes more or adjust their size. Press Ctrl + Alt + Shift + E to merge all layers together.
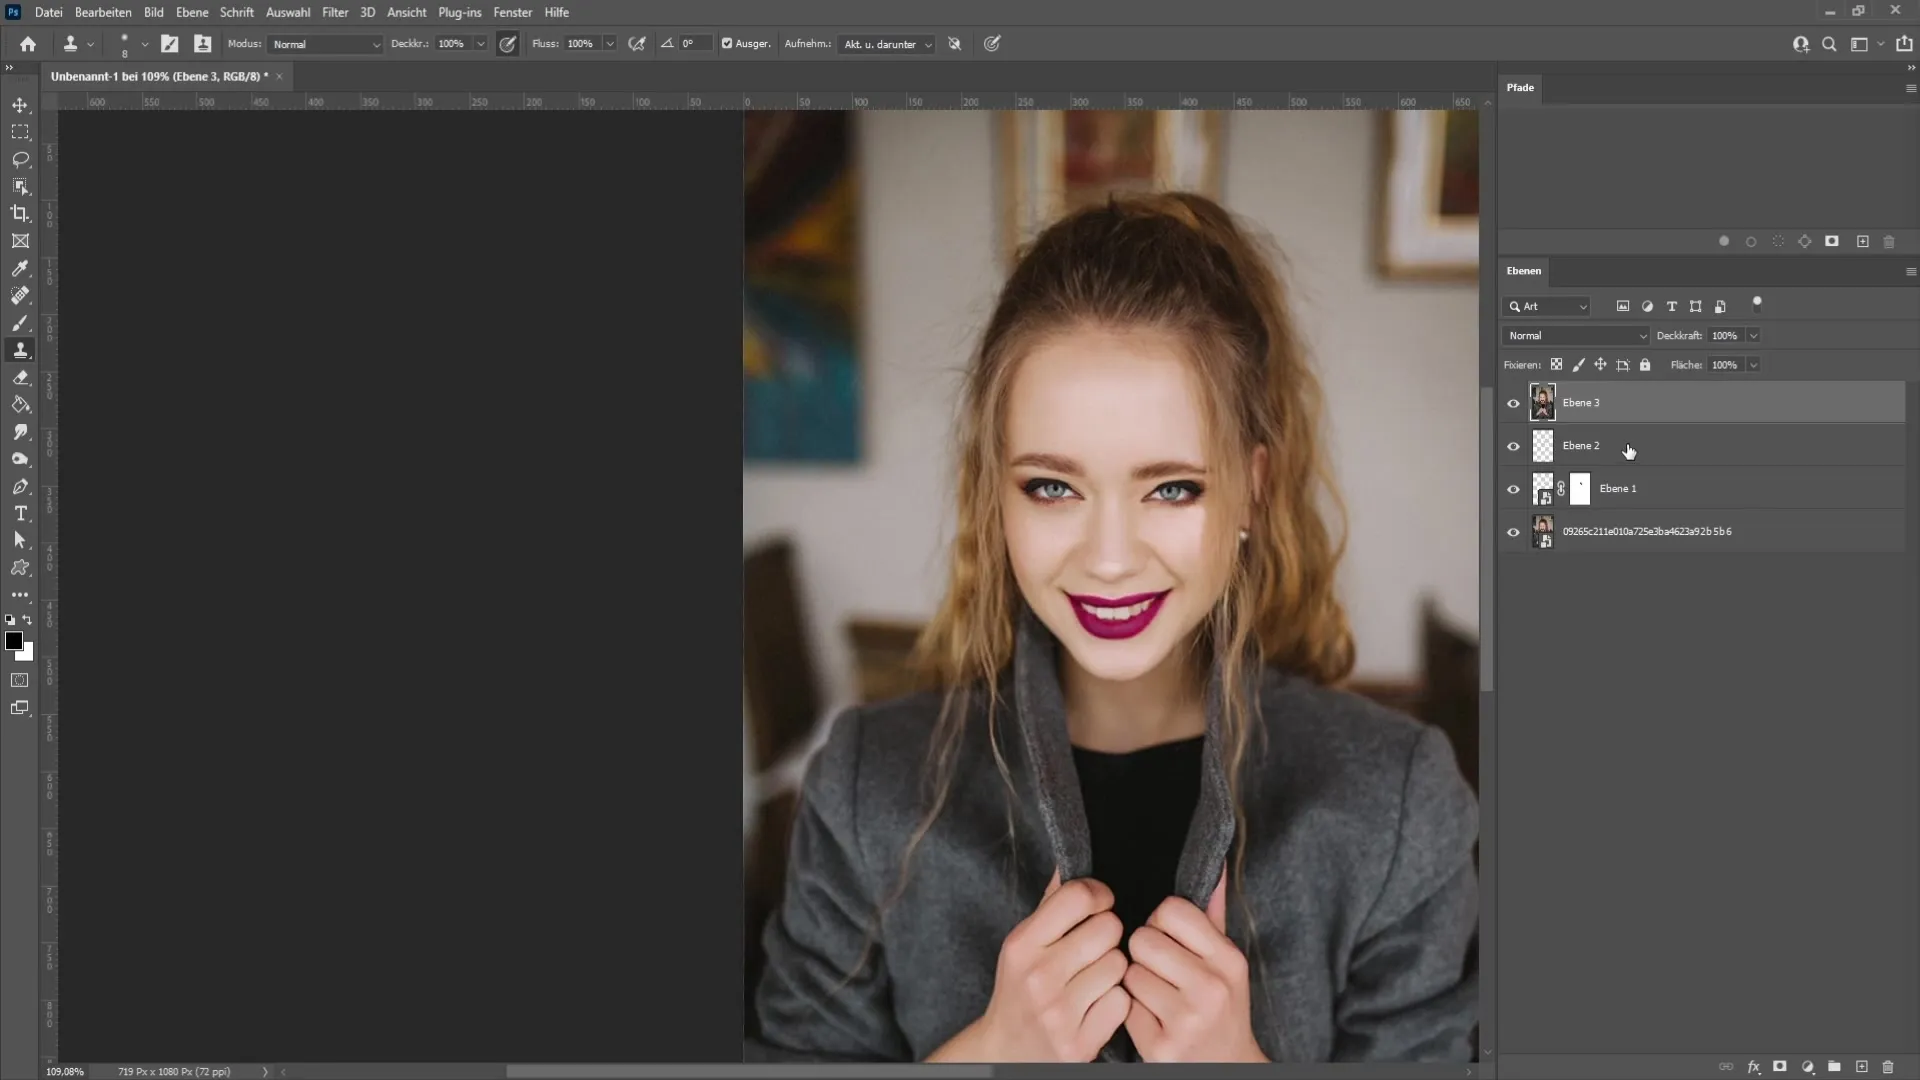
Right-click on the new layer now and convert it back to a smart object. Navigate to "Filter" in the menu and select "Liquify".
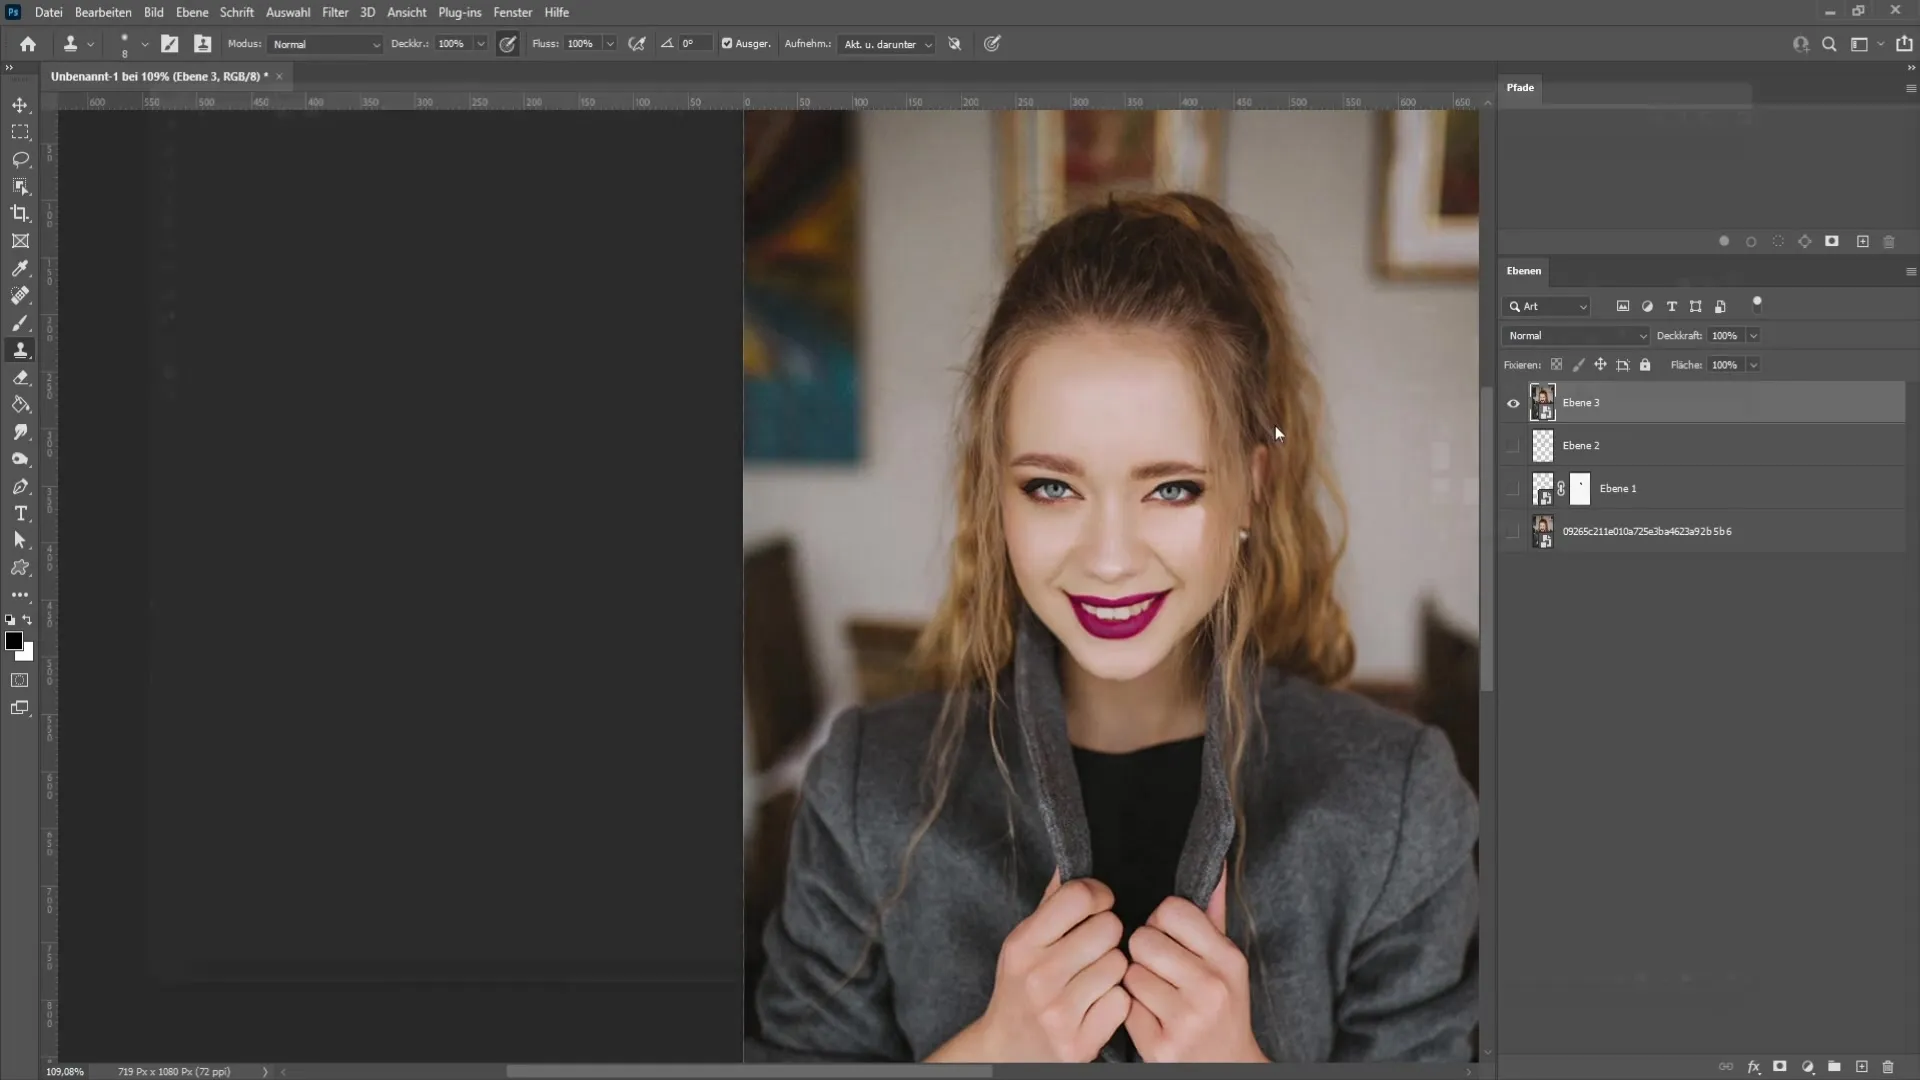
Here you can edit the eyes by adjusting the size or height as needed. Use the preview to see the changes in real-time.
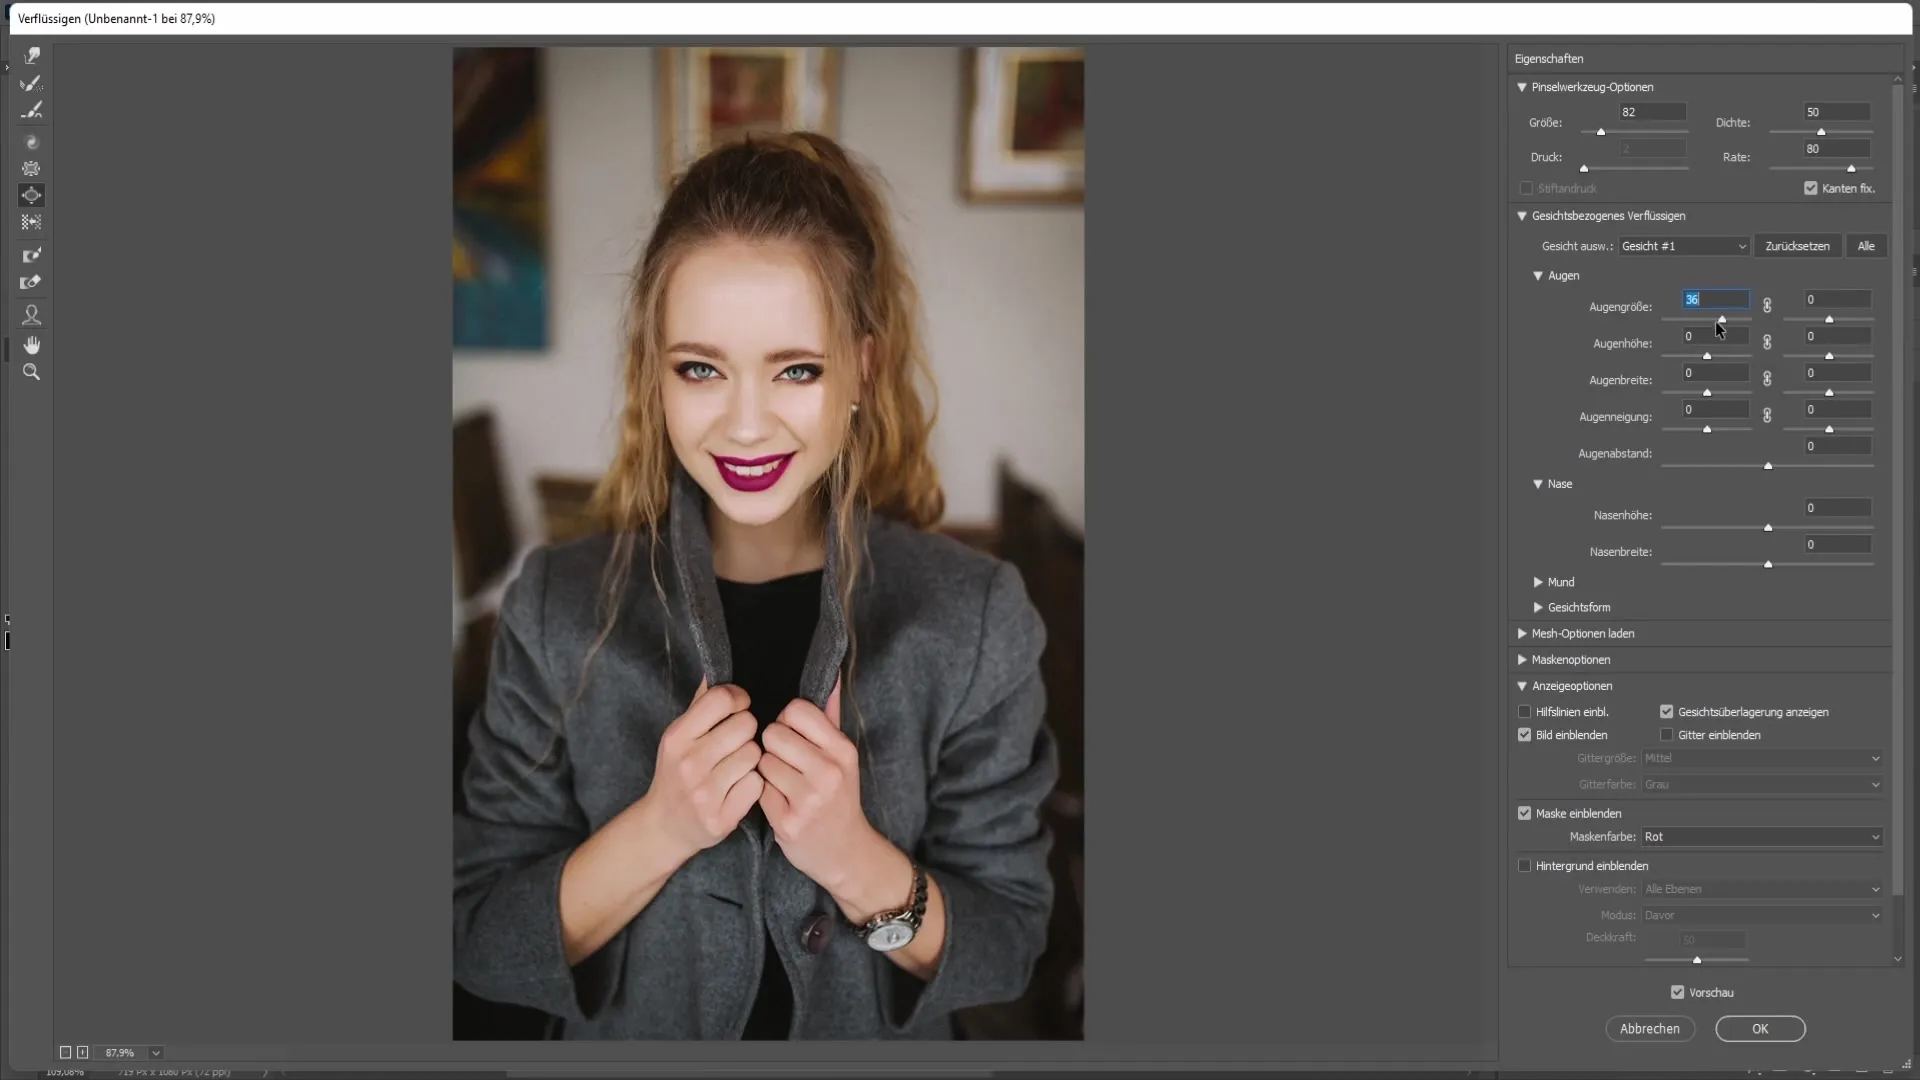
Once you are satisfied with adjusting the eye height and width, click "OK" to confirm the changes.
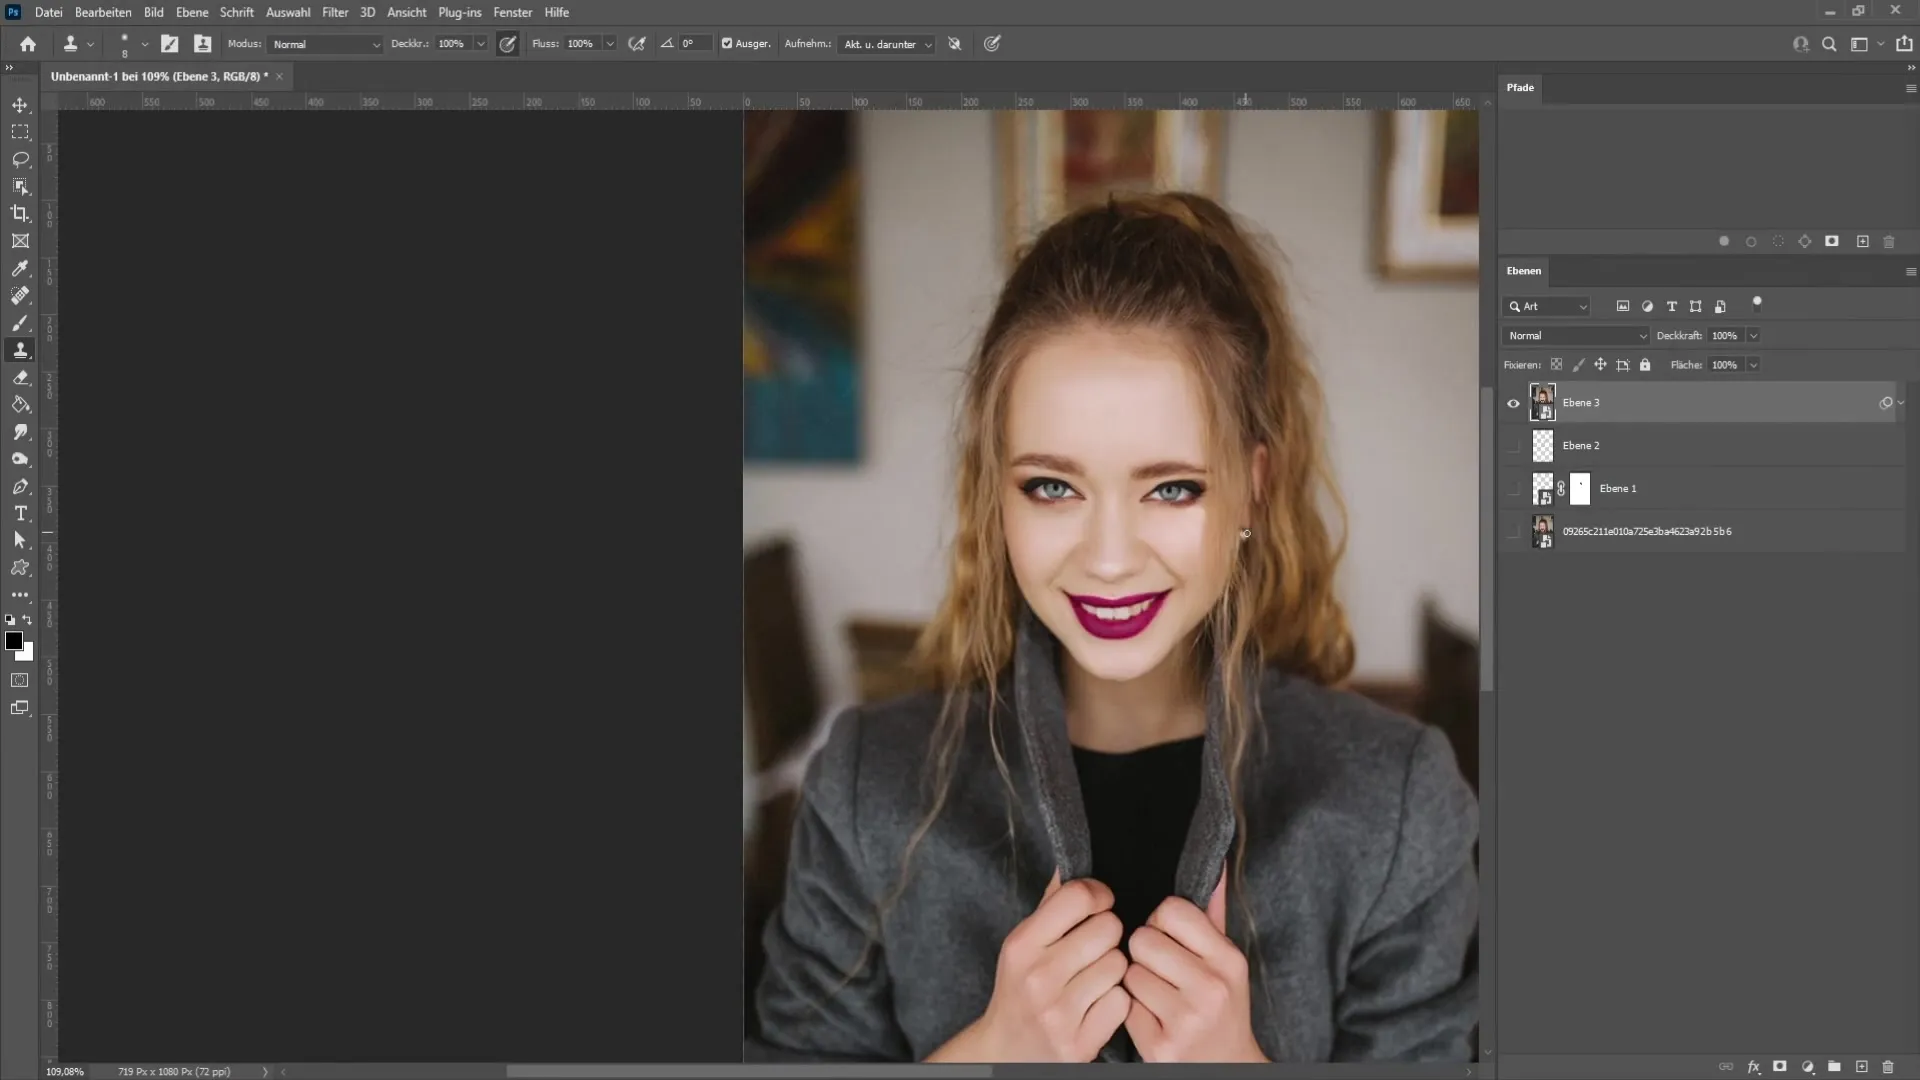
Now you have the technique to open eyes in Photoshop and achieve realistic effects!
Summary
With the steps described here, you are now able to open closed eyes and make realistic adjustments in your images. Remember to be patient when masking and retouching to achieve the best results.
Frequently Asked Questions
How can I insert the eyes of another person?You can take an open eye from another image by cutting it out of the image and pasting it onto a new layer using the lasso tool.
Which tool is best for opening eyes?The lasso tool is ideal for making precise selections of the eyes.
How can I make adjustments to the eye shape?Use the "Liquify" function in the filters to adjust the size and shape of the eyes.
Why do the inserted eyes look unnatural?Make sure the color and light conditions between the layers match and use masks to create softer transitions.


