Dark circles can make the face look tired and stressed. But don't worry! In this guide, I'll show you in detail how you can effectively remove dark circles in Photoshop. With a few simple steps and the right tools, you can look fresher and more awake. Whether you are a beginner or an advanced user, just follow the instructions below, and you will achieve great results.
Key Takeaways
With the right technique and tools in Photoshop, you can easily retouch dark circles to achieve a beautiful, refreshed appearance. This guide focuses on using layers, brushes, and the healing brush to achieve a realistic result.
Step-by-Step Guide
First, open Photoshop and select the image you want to edit. Make sure you are using the latest version of Photoshop to access all features.
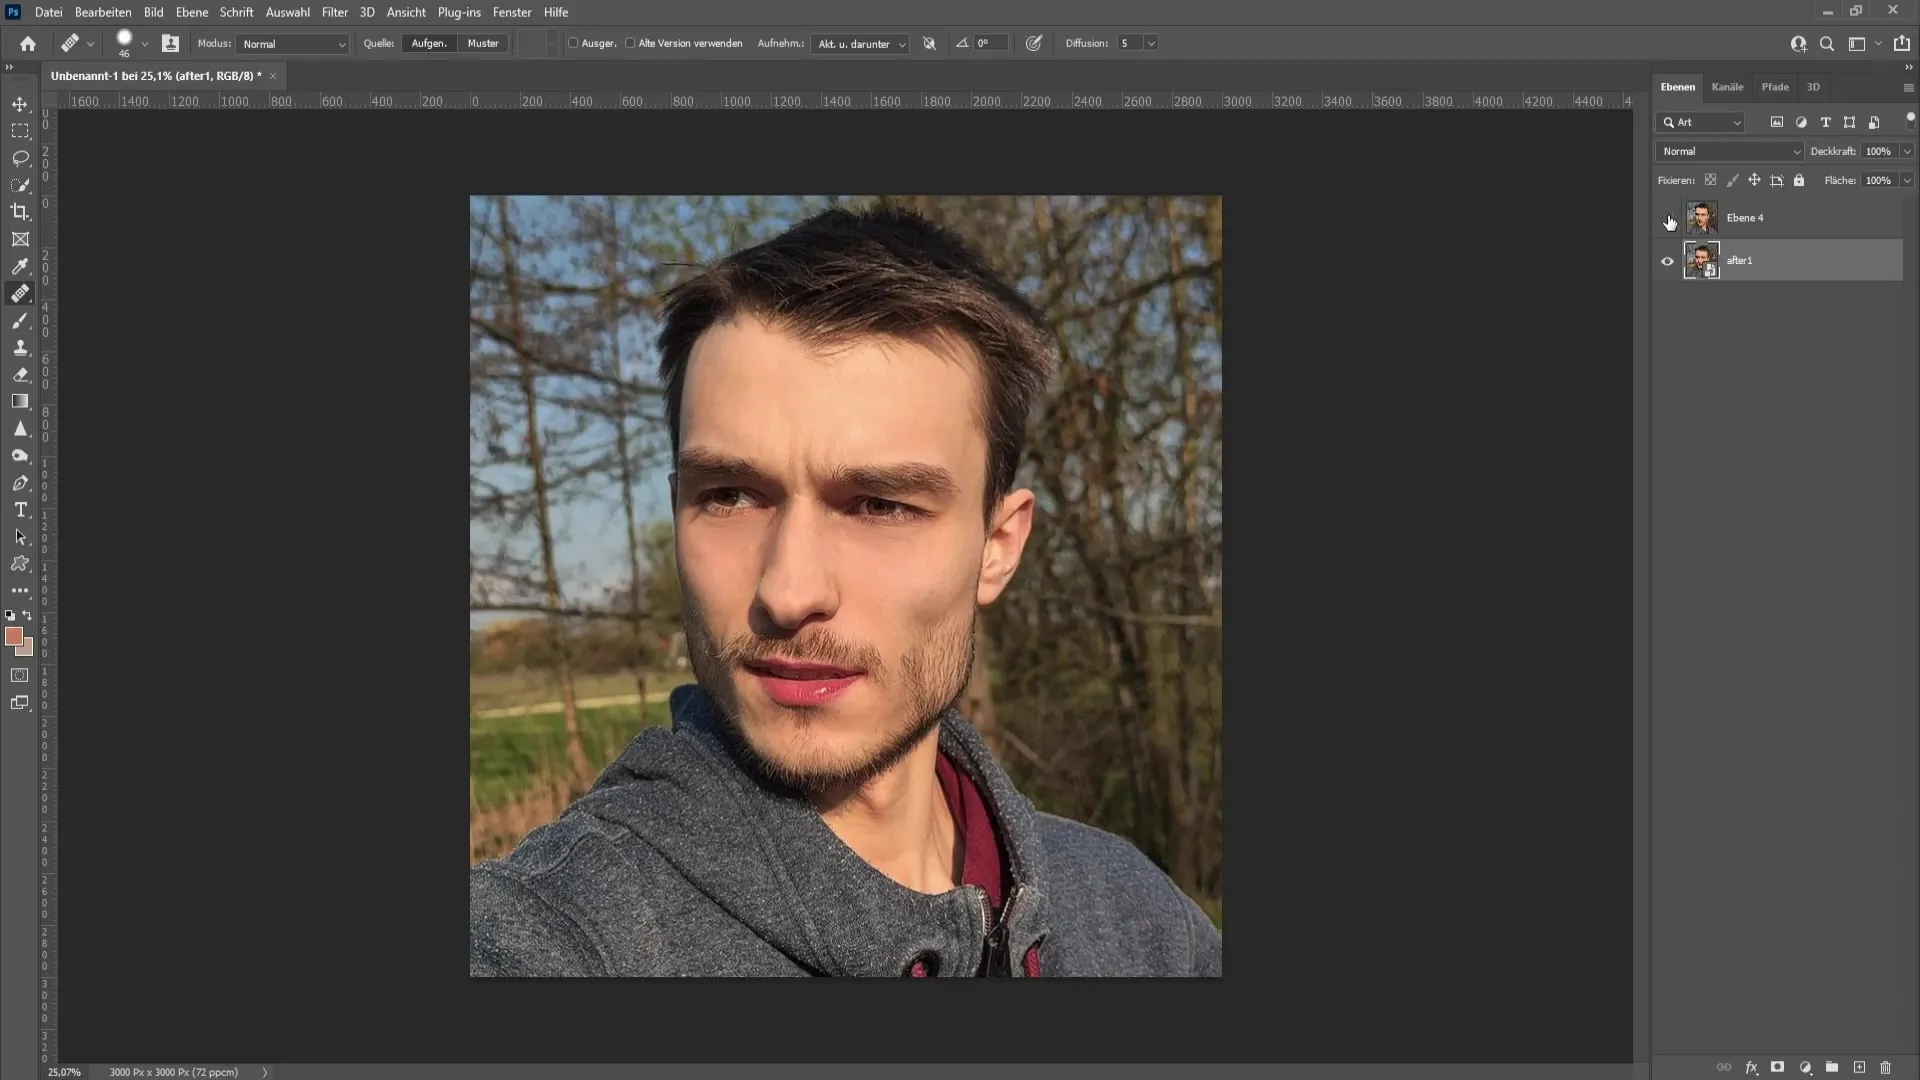
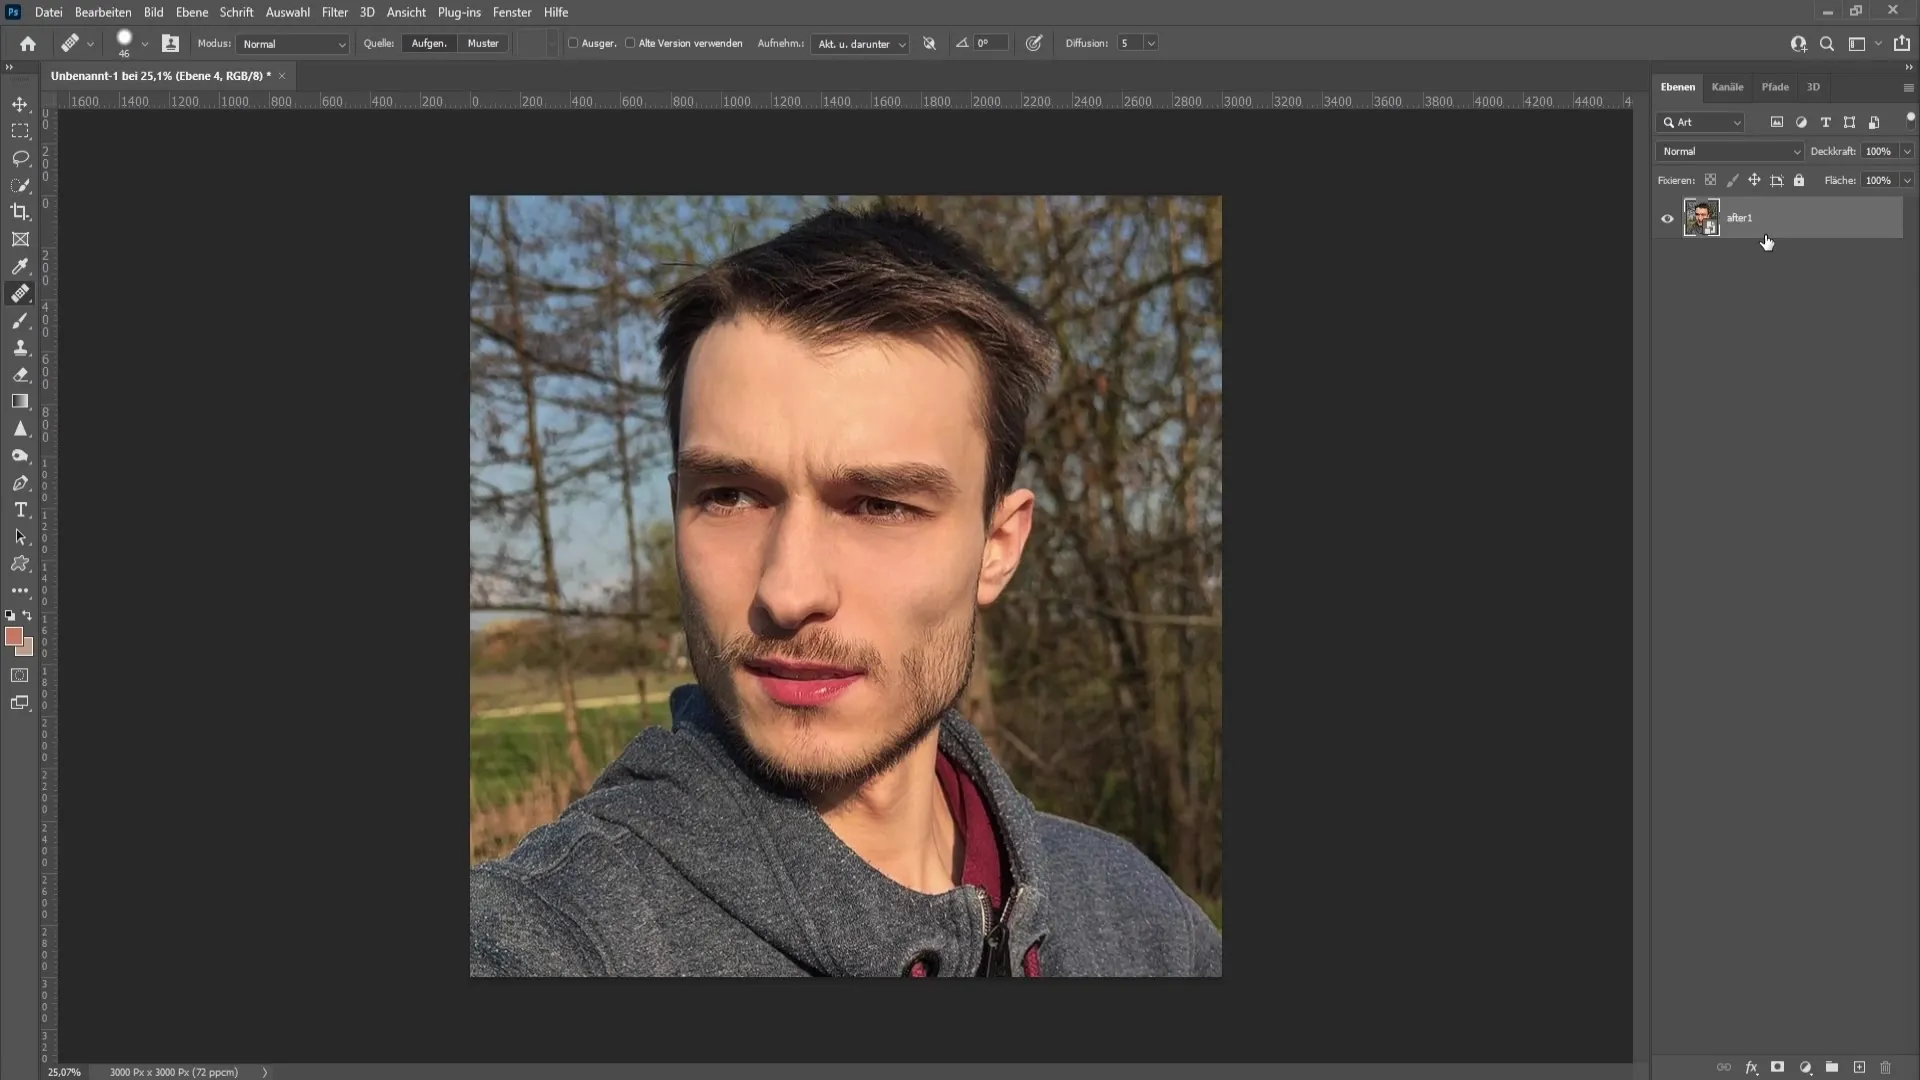
To start editing dark circles, first create a new layer. This is crucial to not apply your changes directly to the original image. Delete the existing layer to ensure you are working on a fresh canvas.
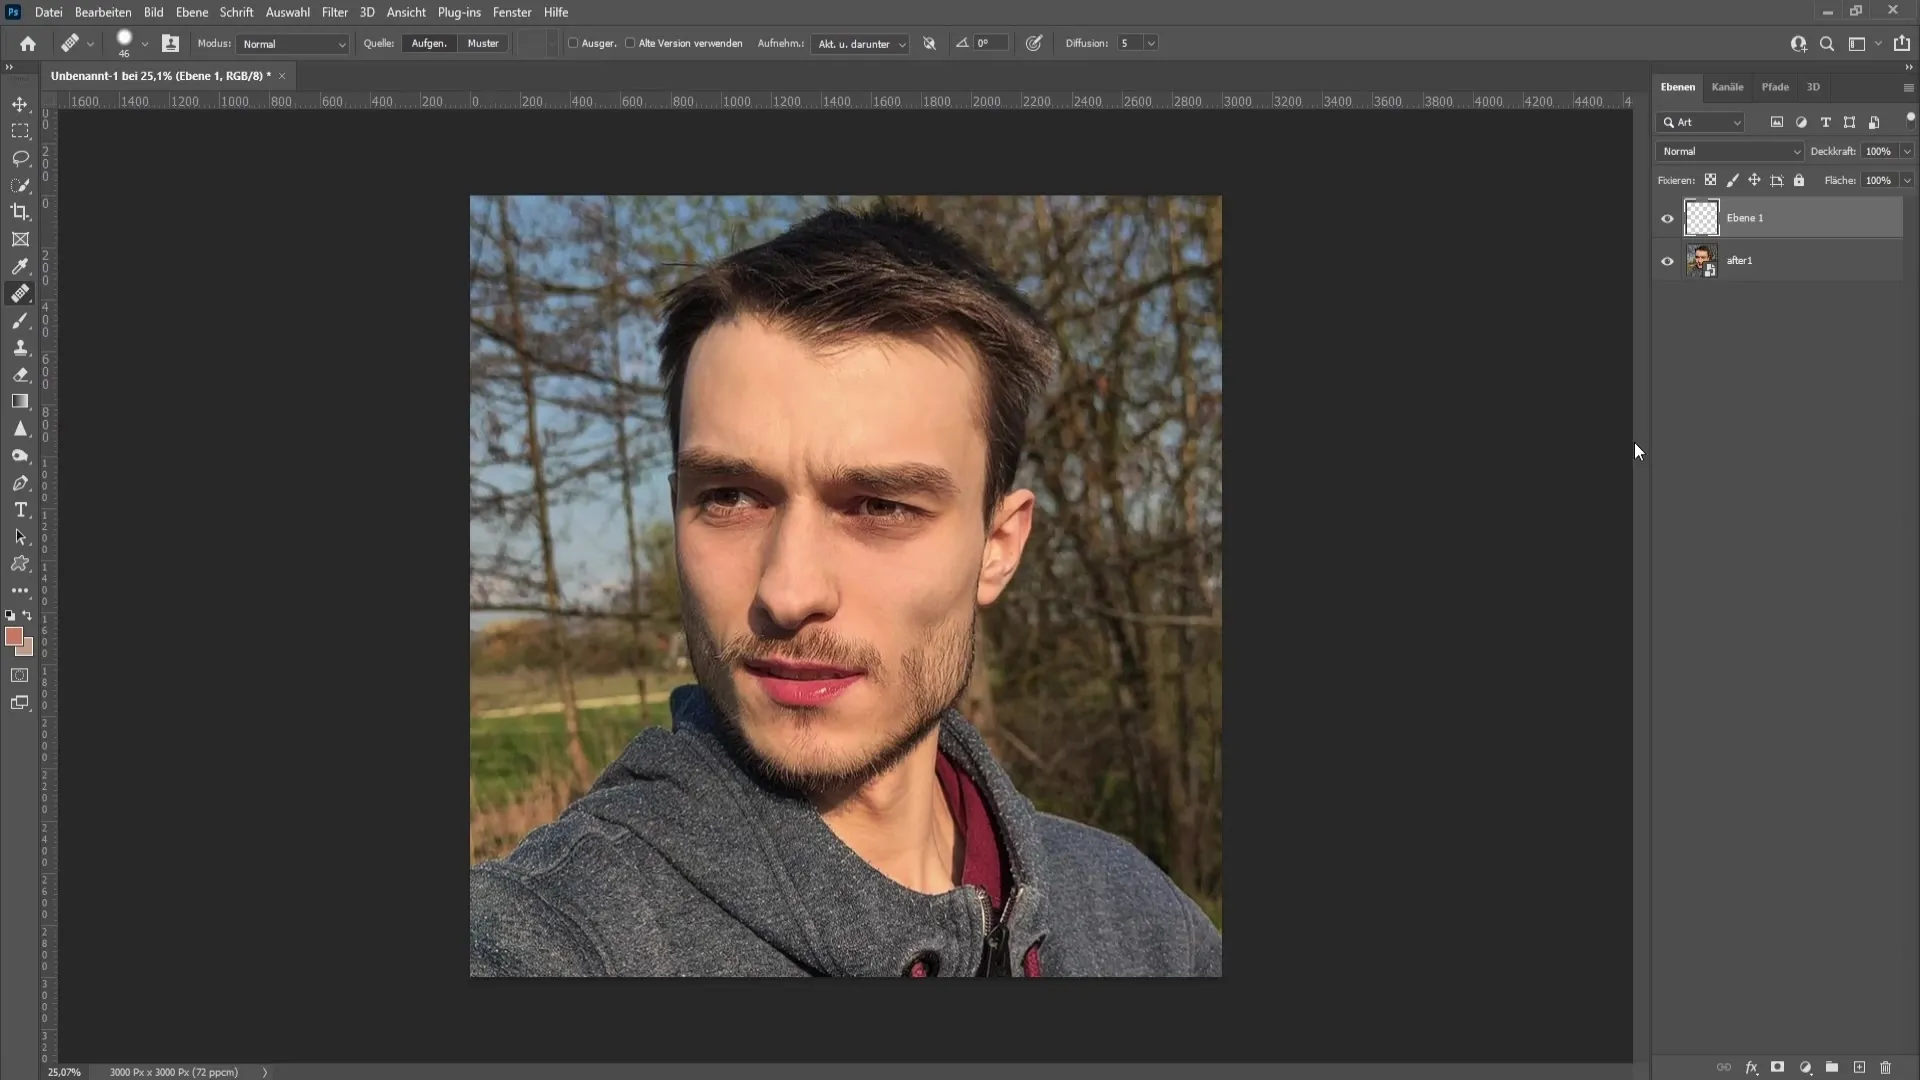
Now, create a new layer by clicking on the corresponding symbol in the layers palette. This will help you make all adjustments cleanly and neatly so that you can always return to your original version.
Grab a brush from the toolbar and zoom in for precise work. By holding the Alt key, select a color range that has a good skin tone and matches the dark circles.
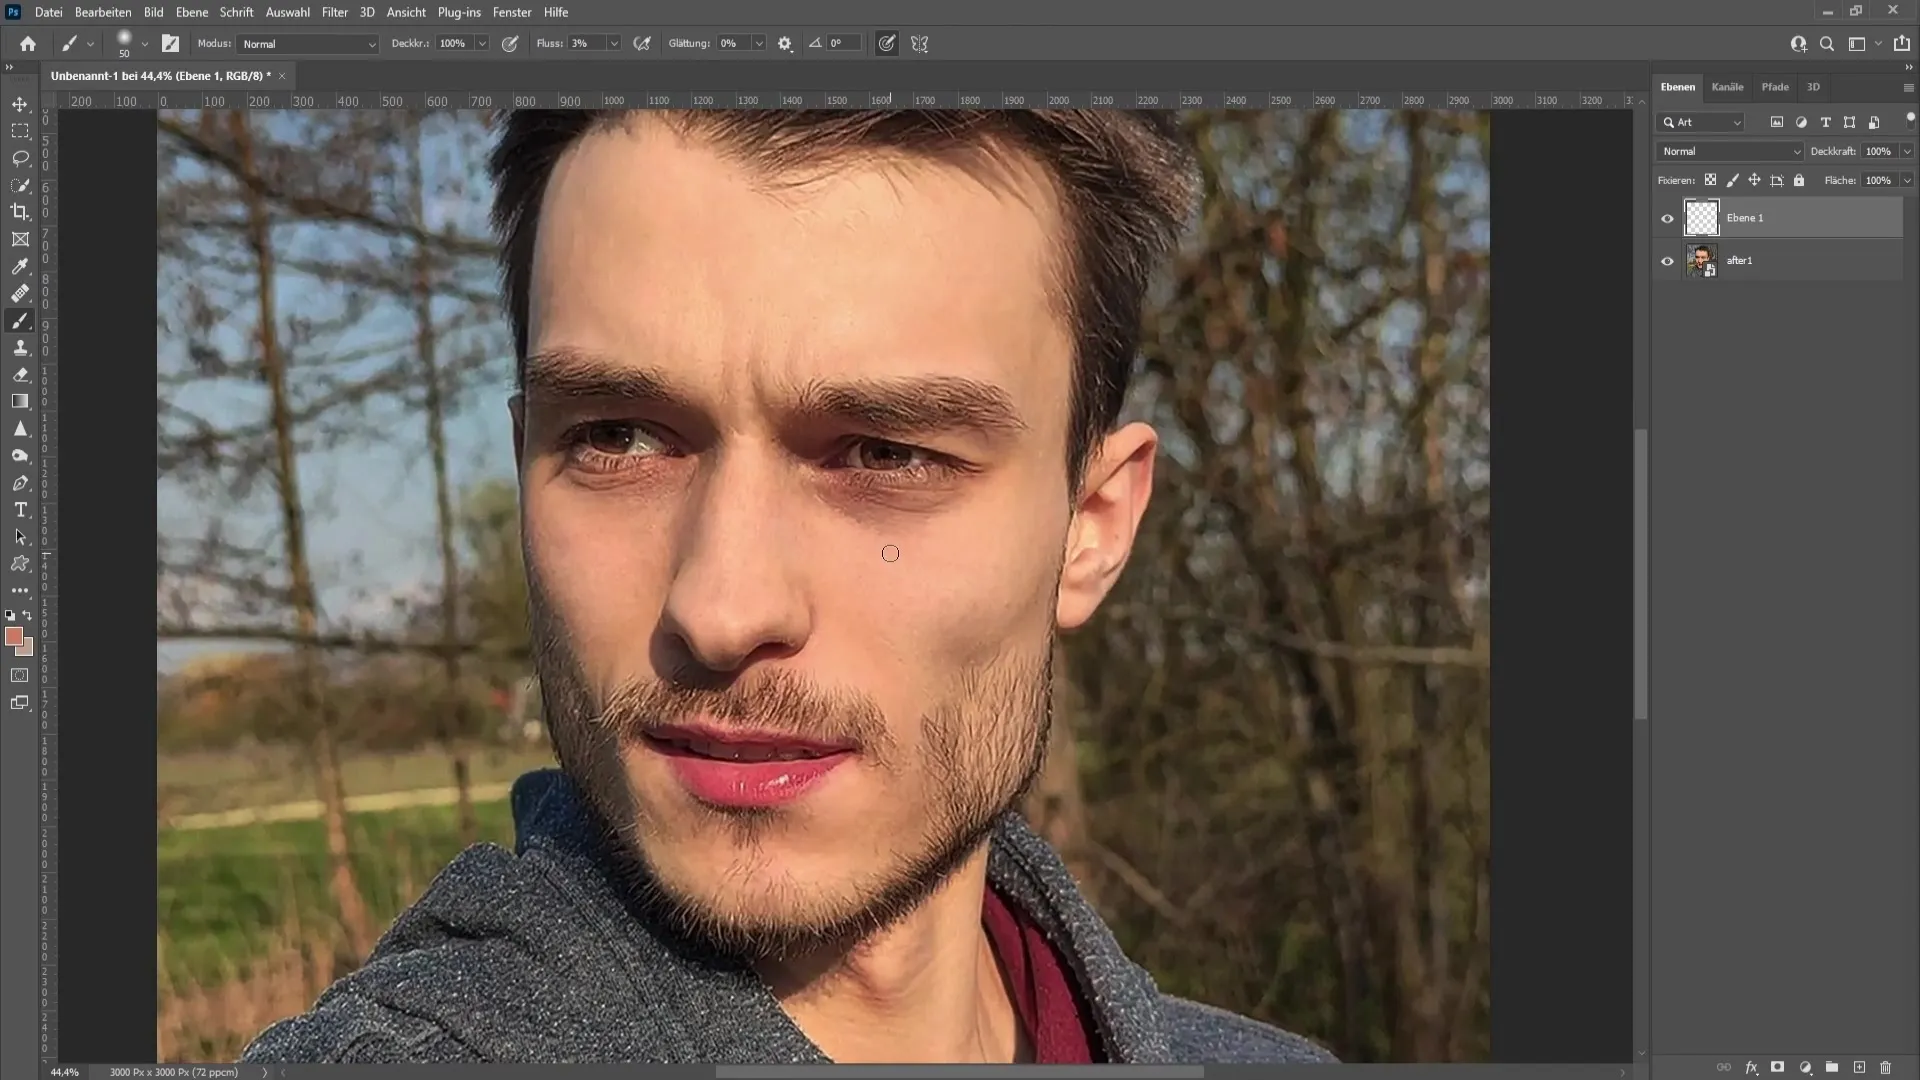
Use a flow of about 2 to 3% and a hardness of 0%. This will give you the flexibility to apply the color gently. Start painting along the dark circles cautiously - you will see the shadows gradually becoming less noticeable.
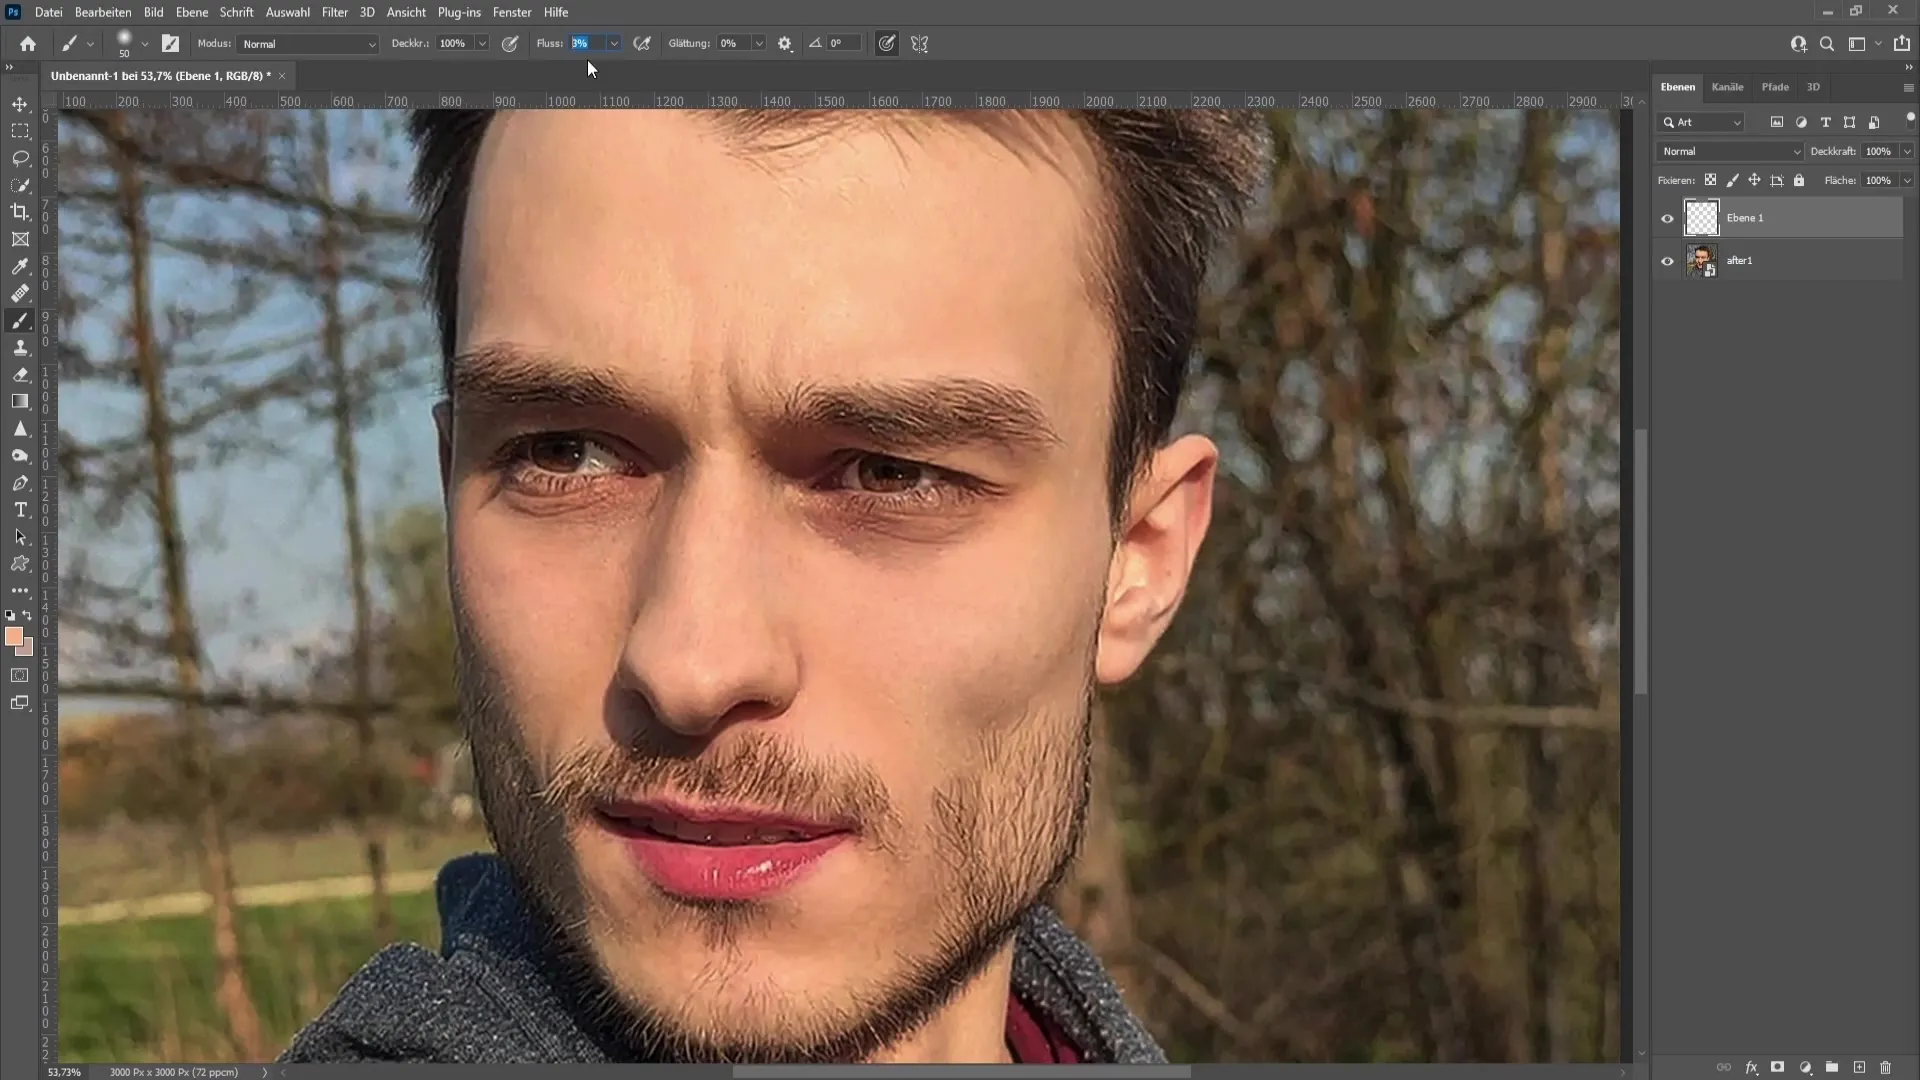
It is important to work evenly and gently to avoid an exaggerated result. On the other side of the face, you can repeat the same process. You will notice the change already, but we are not finished yet.
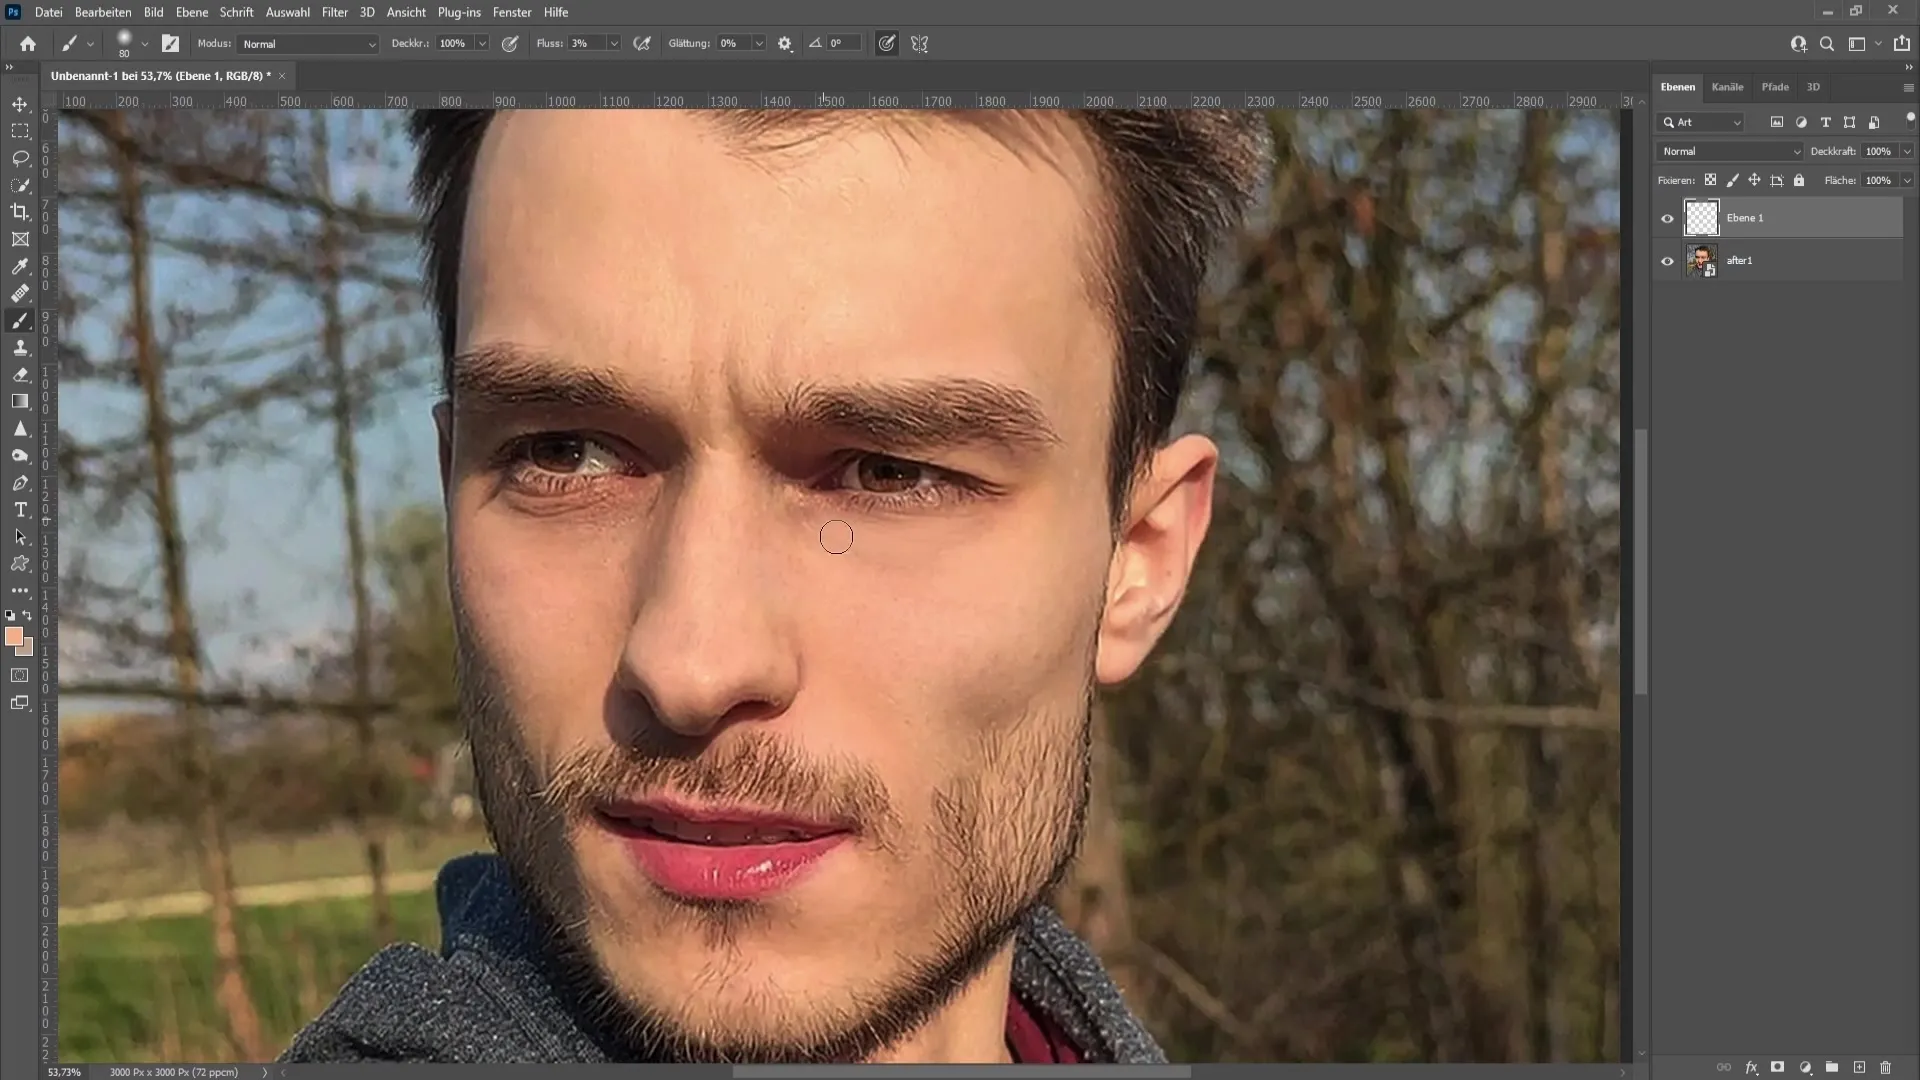
Now, reduce the layer opacity to bring back the underlying texture. Set the opacity to about 61%, and you will notice the image looking more natural.
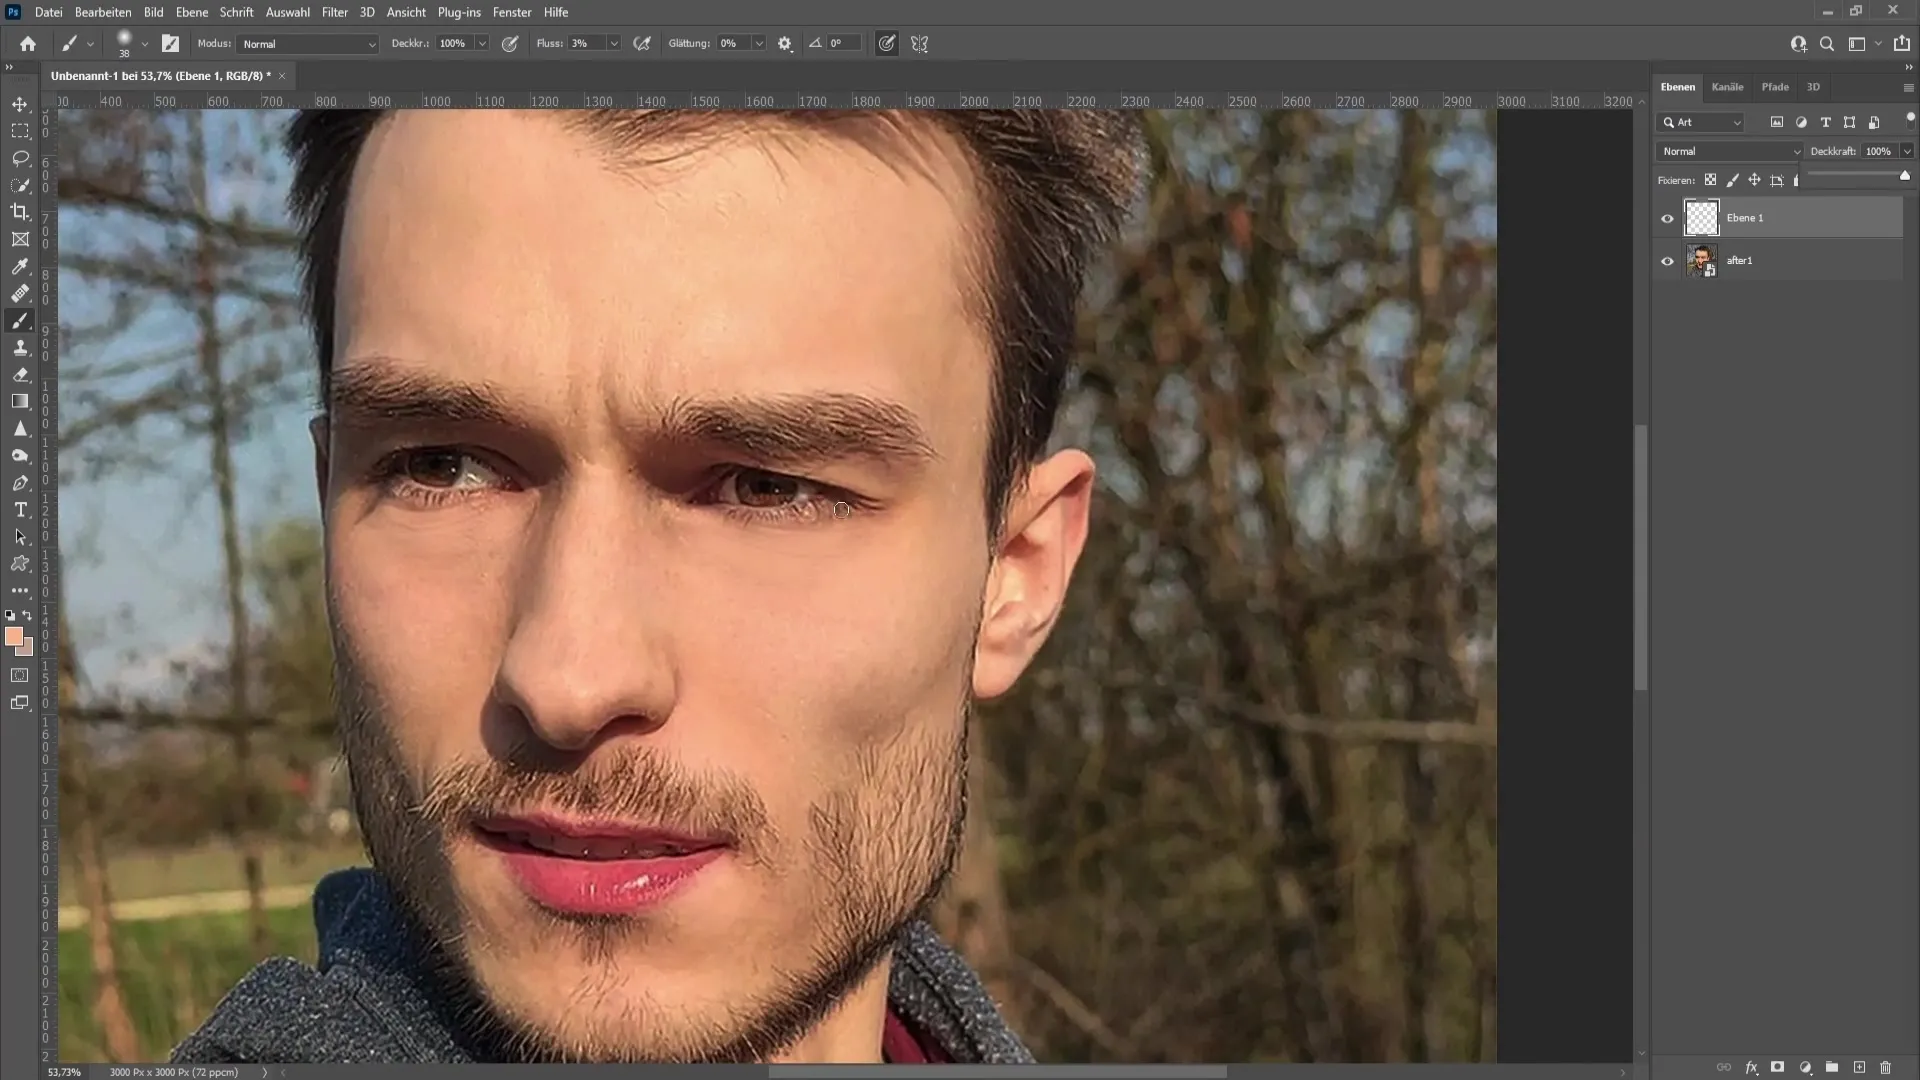
Notice the difference between before and after - it's amazing what you can achieve with these simple adjustments. If you want more softening, you can further lower the opacity.
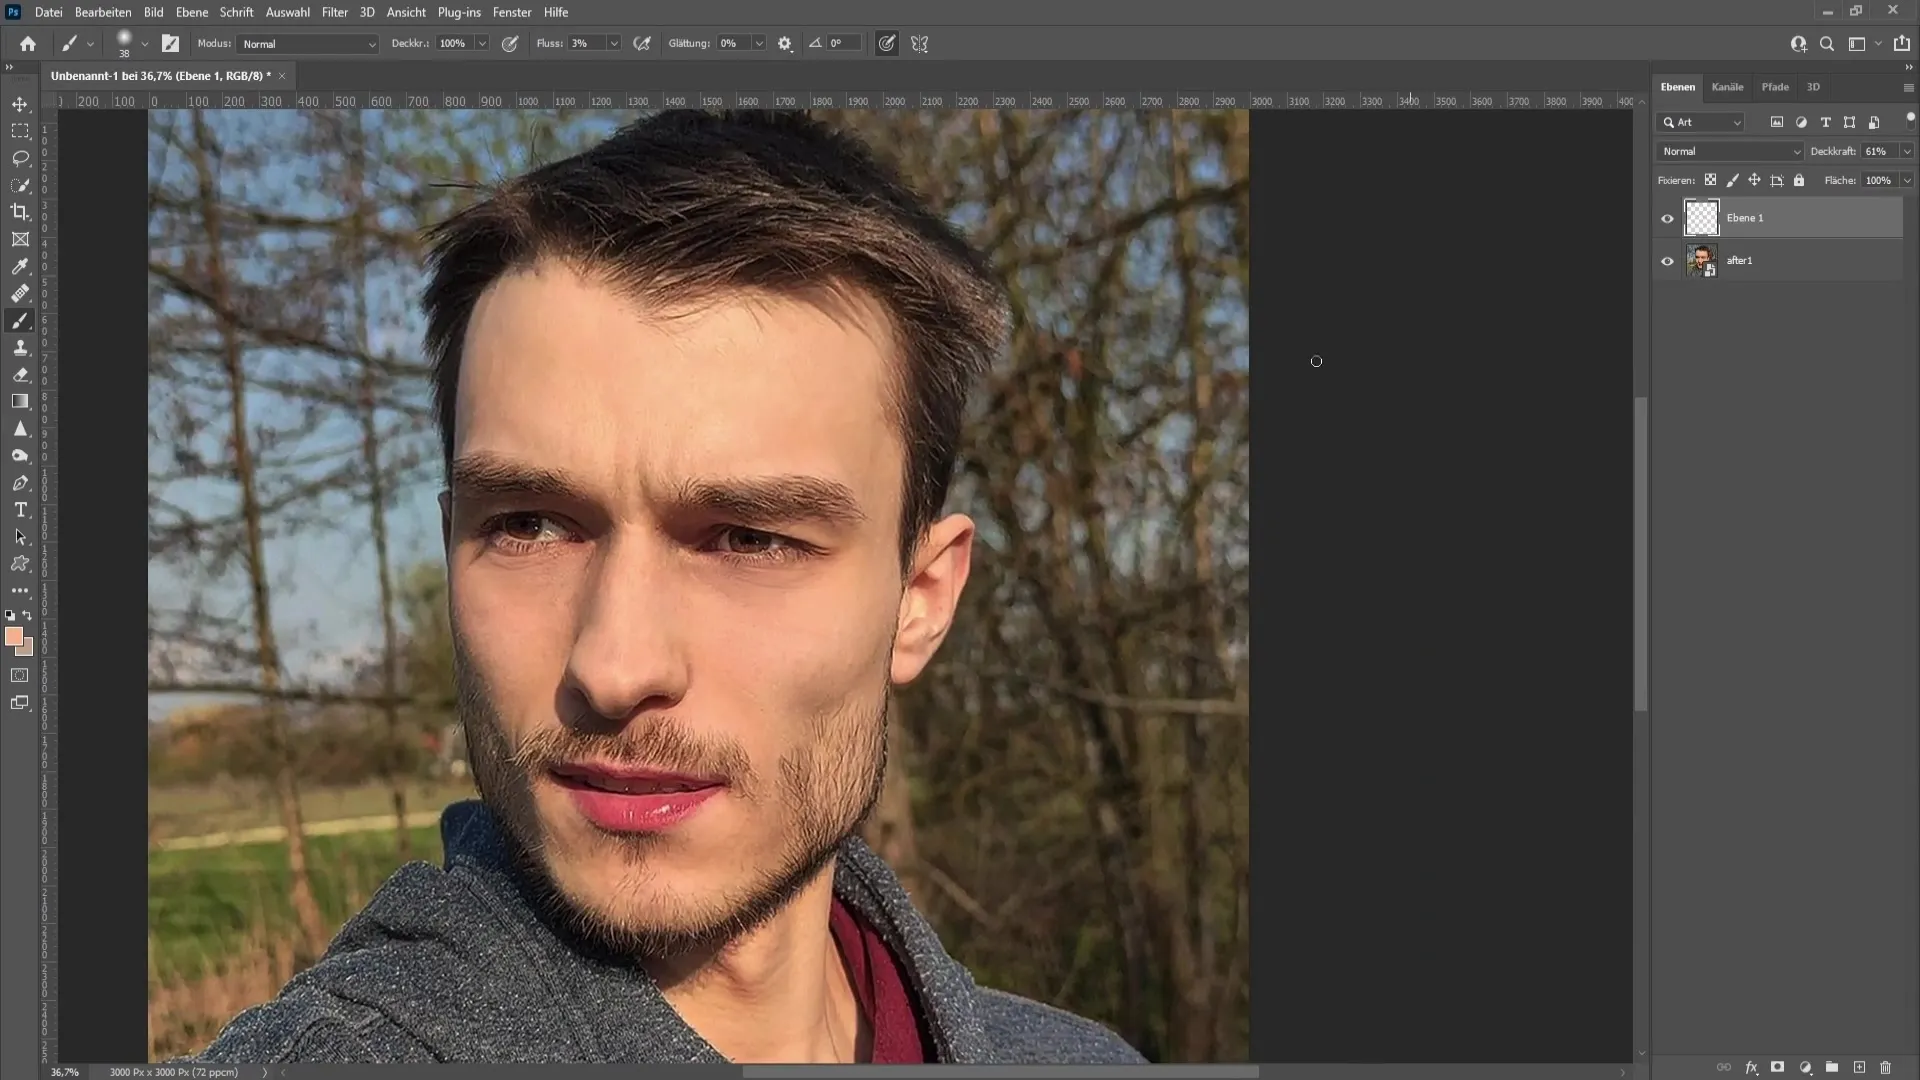
If the colors under your eyes do not quite match, it may be helpful to choose a different color and paint over to blend the areas better. Always make sure to use a skin tone that harmonizes with your skin color.
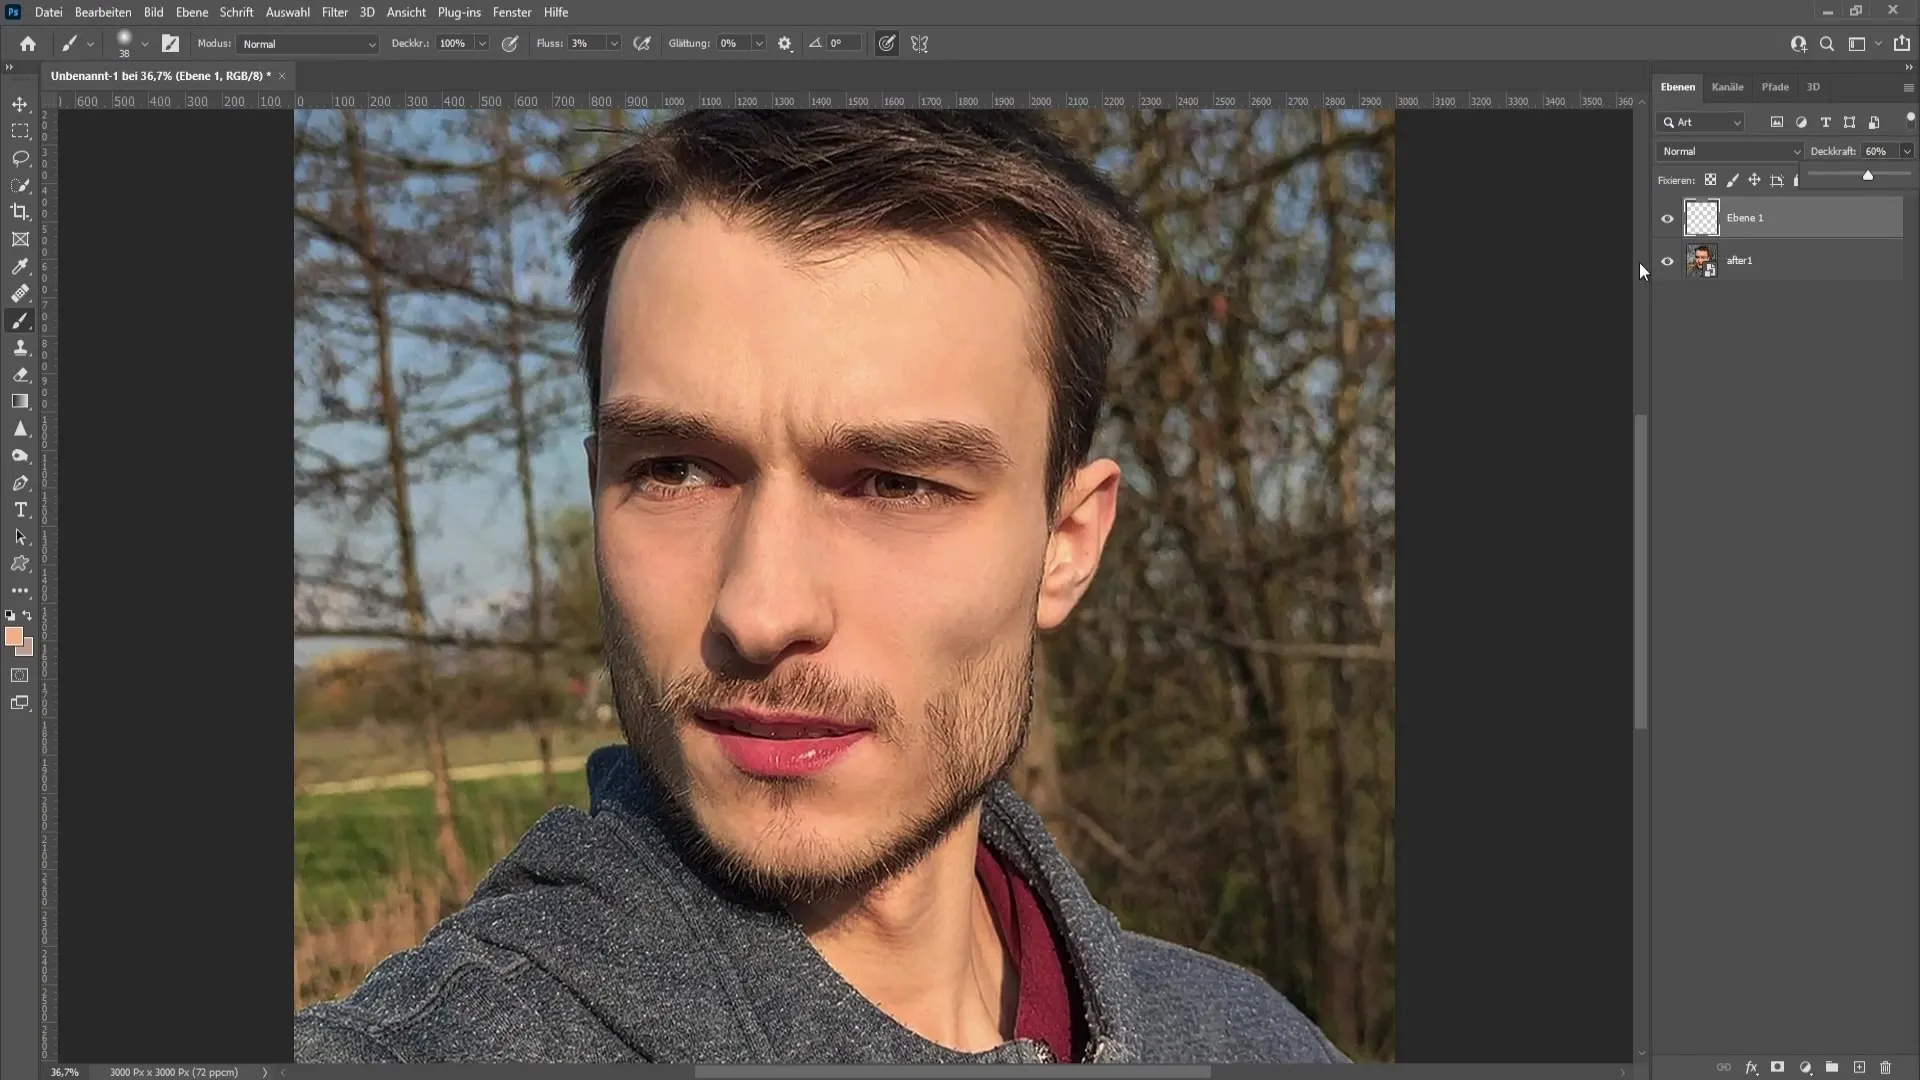
If you want to make more adjustments on the other side, occasionally choose a different color to achieve a realistic result. With the right technique, you can gently fade the circles.
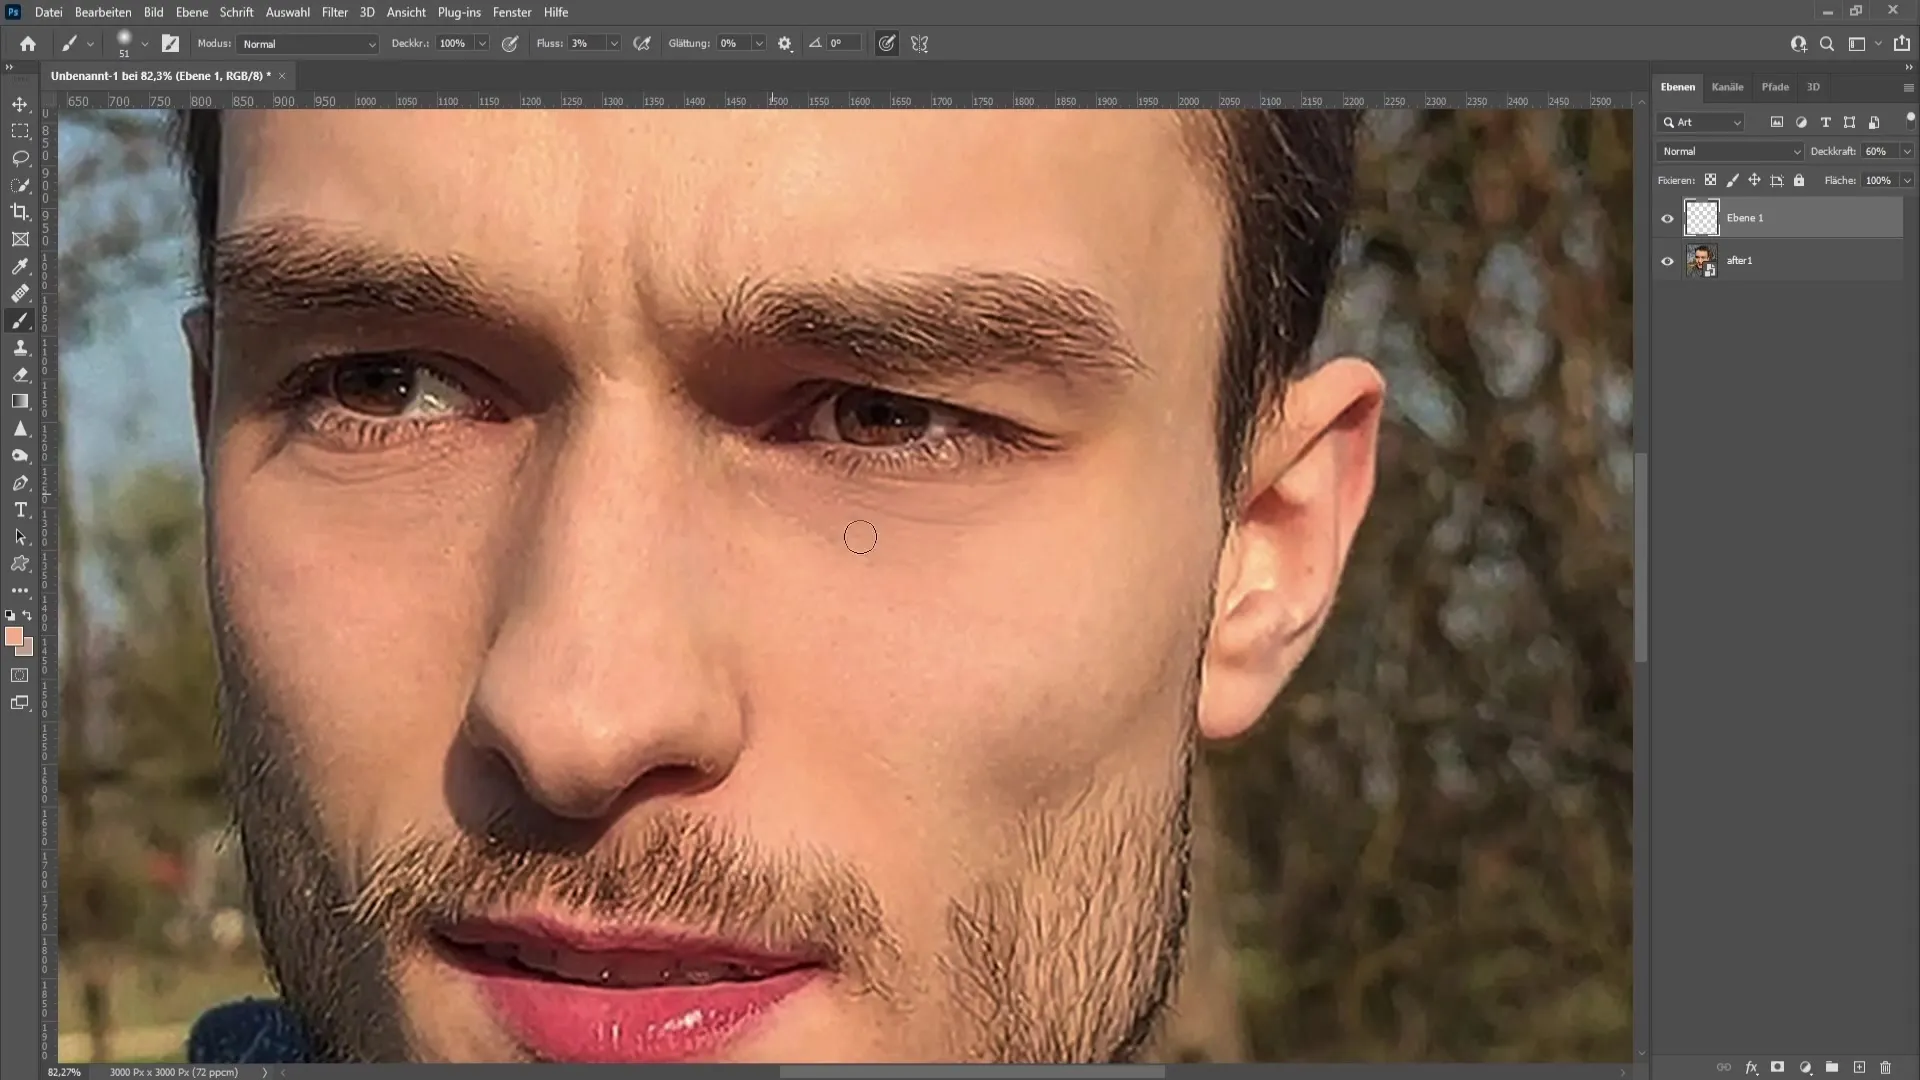
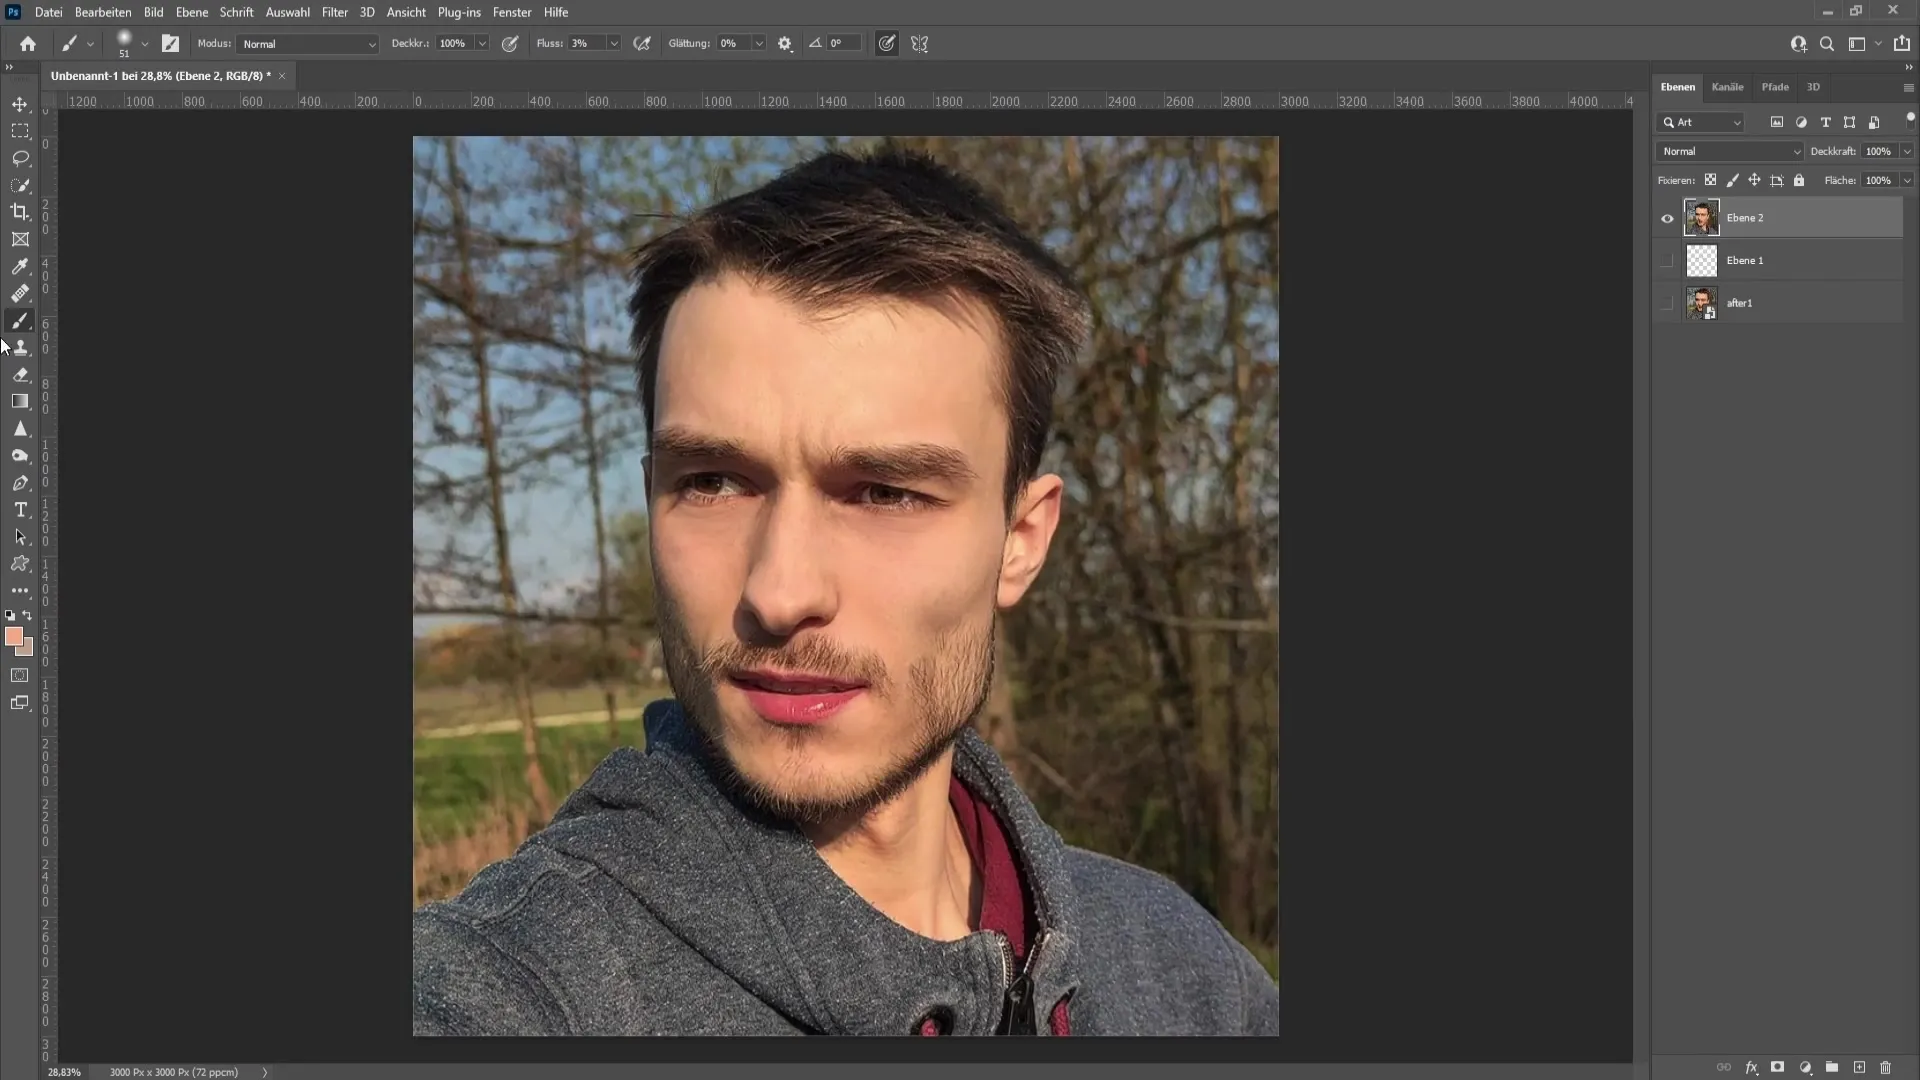
Once the hue is matched, you can merge both edited layers by pressing Shift, Alt, and E simultaneously. Then hide the lower layers to get a clear view of your work.
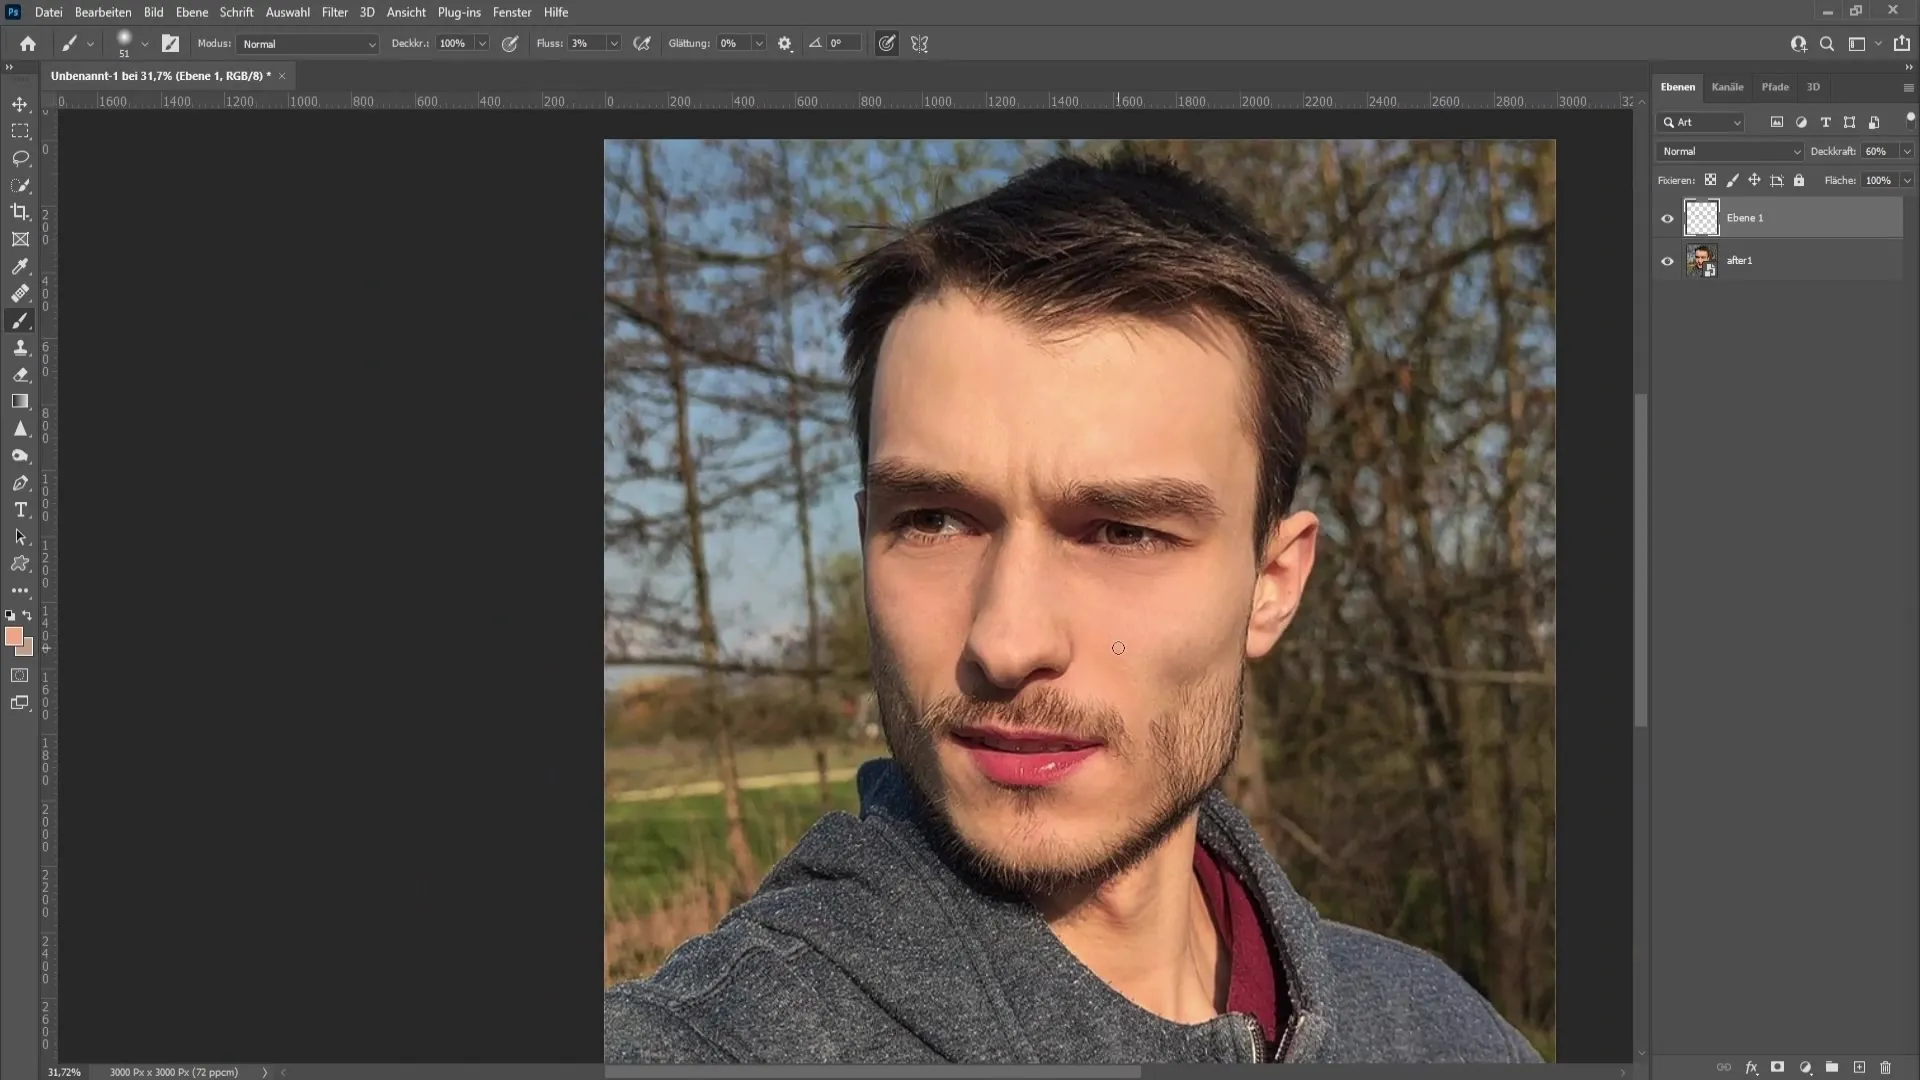
Now is the right time to select the healing brush from the toolbar. Zoom in a bit closer to be able to work on the small details more effectively.
Start by gently retouching the uneven areas with the healing brush. While holding down the Alt key to select a specific spot, your brush will dynamically pick up the desired color and texture.
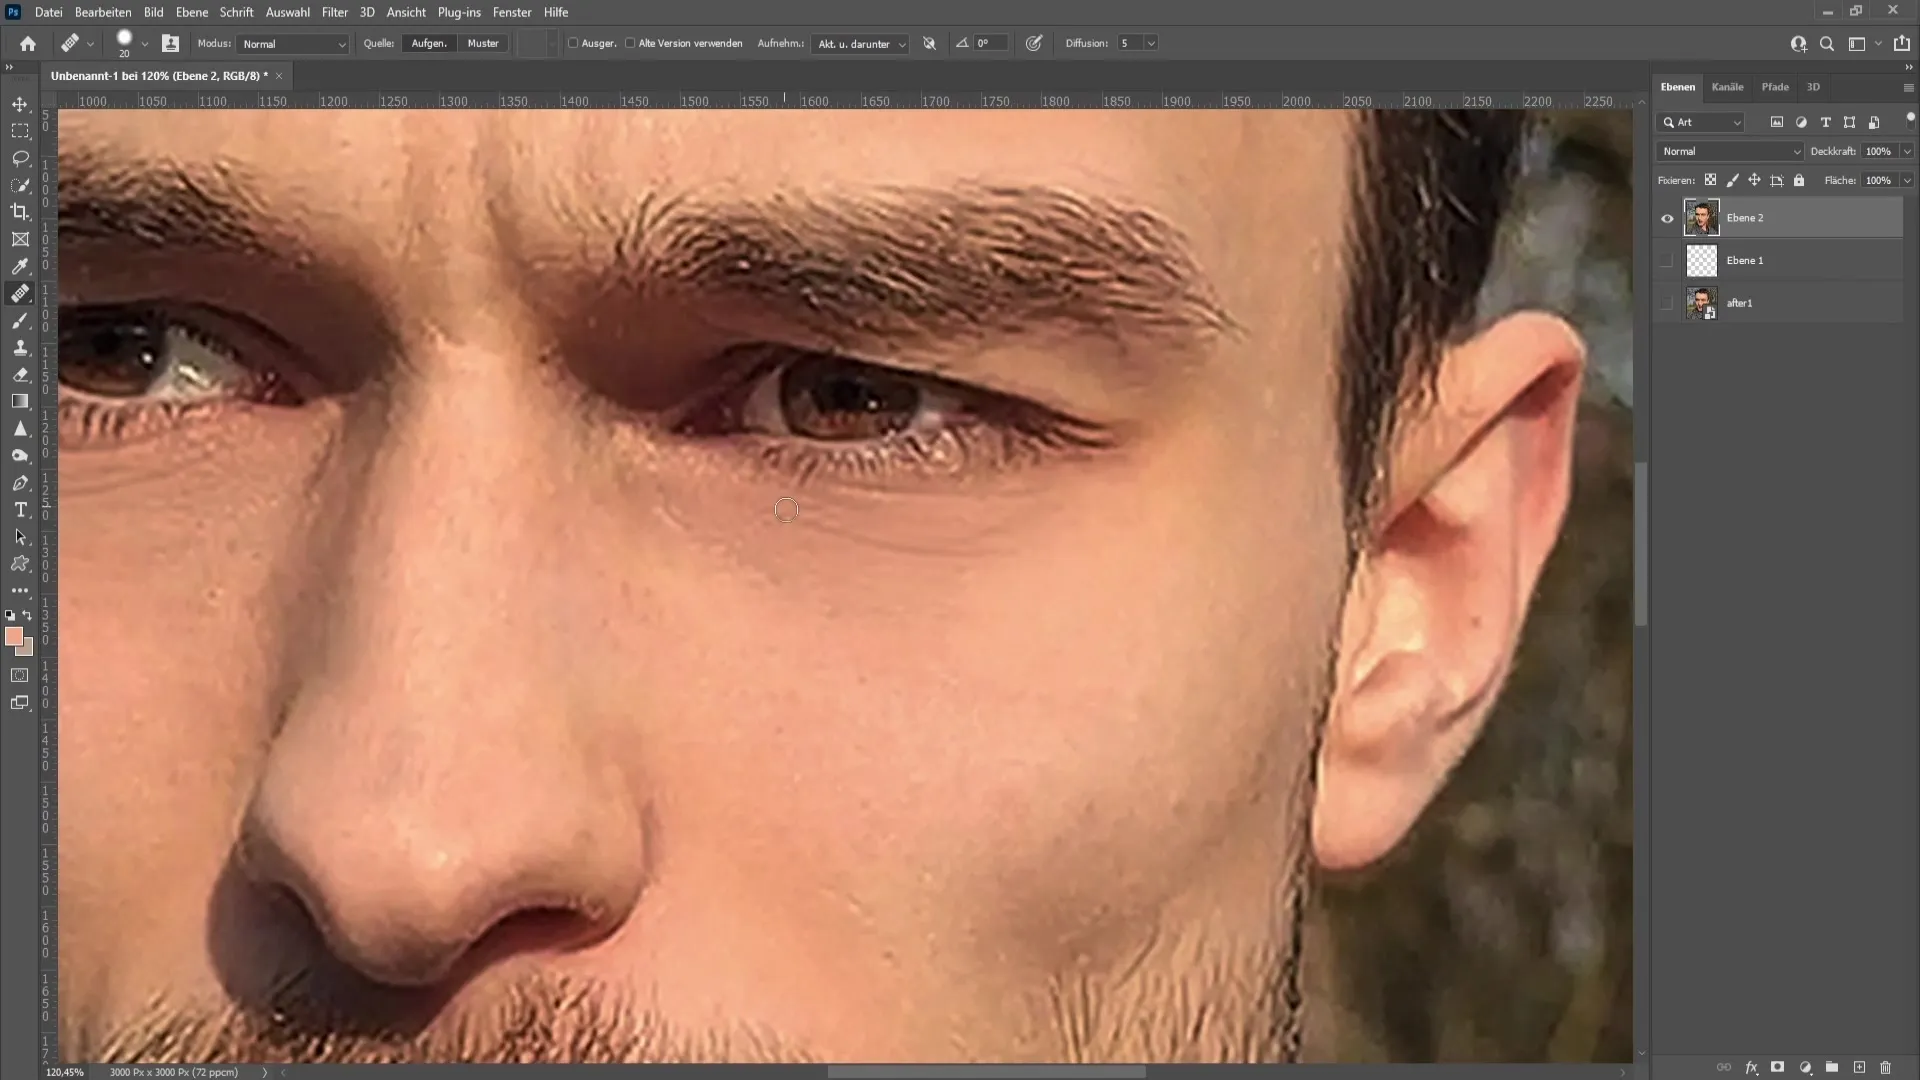
Make sure to set the hardness of the brush to about 71%. This gives you the control you need to work on the critical areas, especially on the fine lines around the eyes.
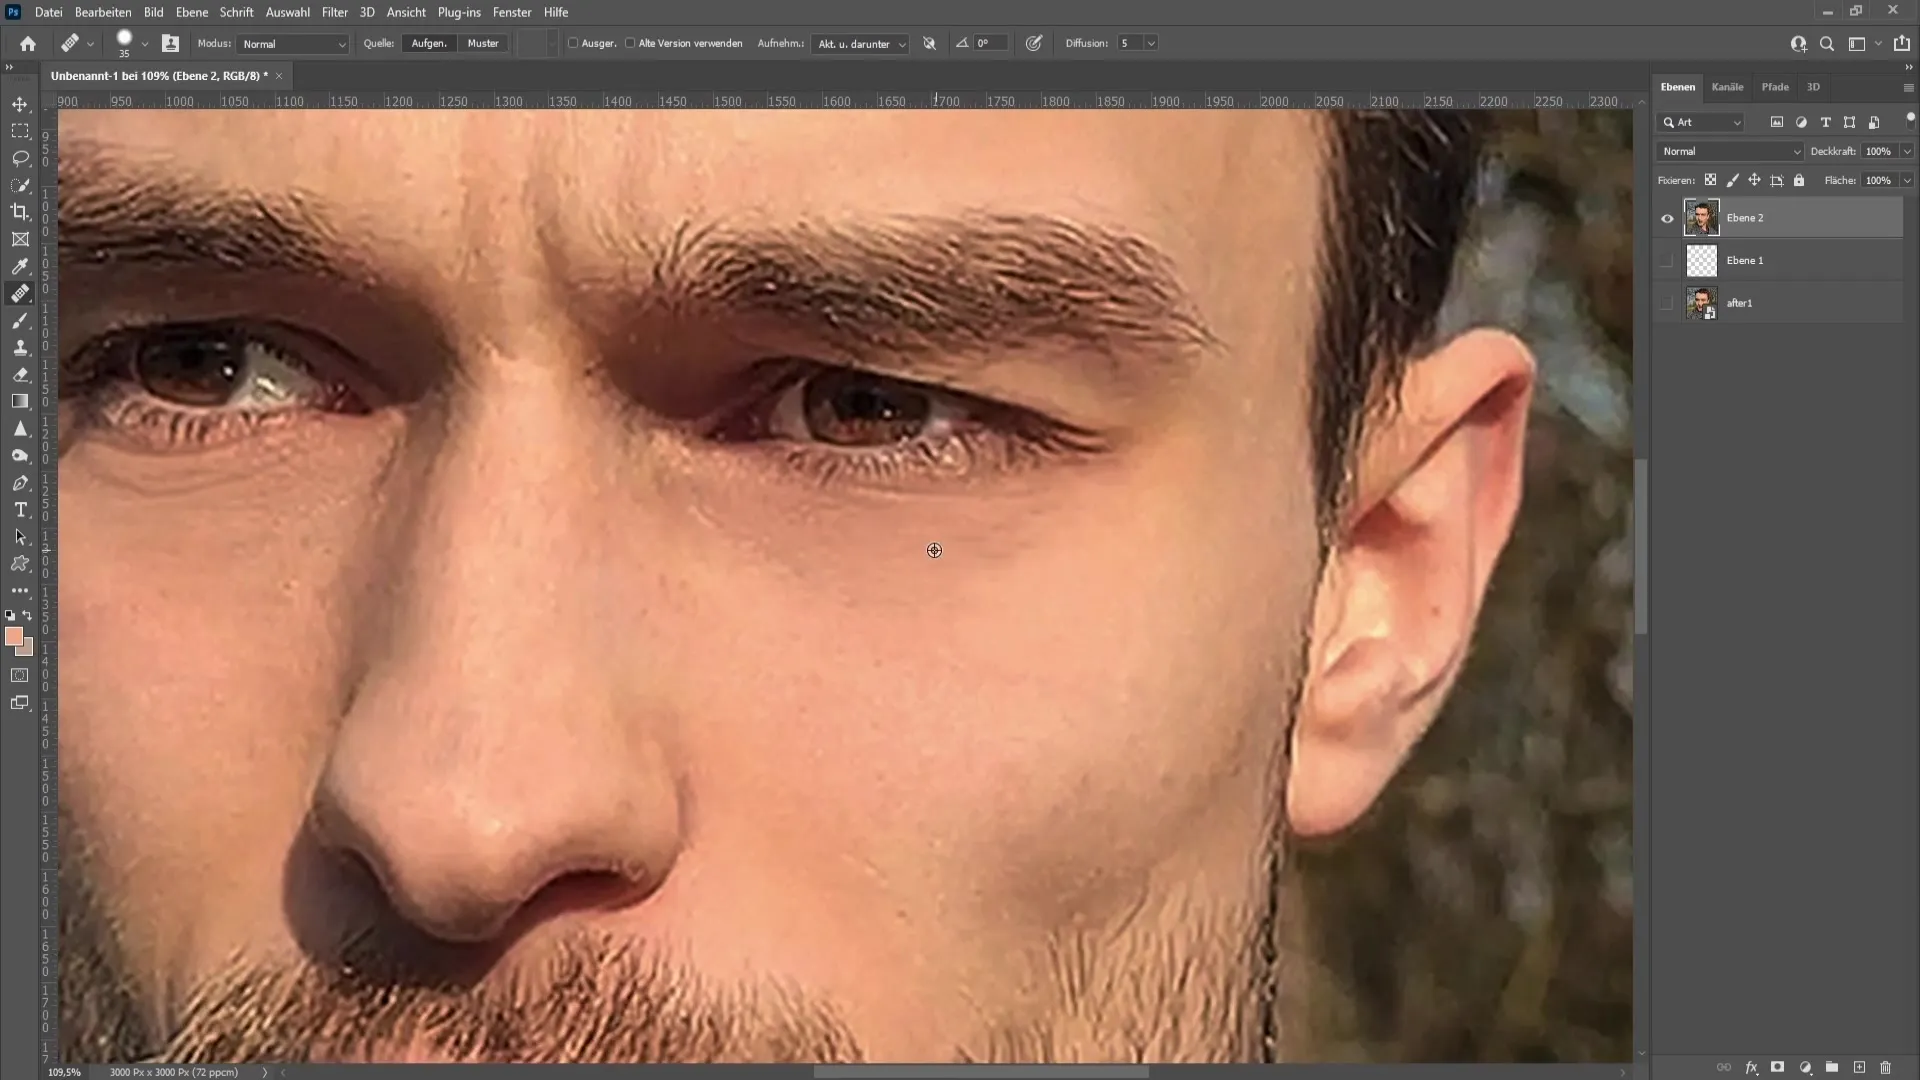
The appearance of the right eye quickly improves. Focus on making gentle movements to minimize the visibility of dark circles while preserving the natural skin structure.
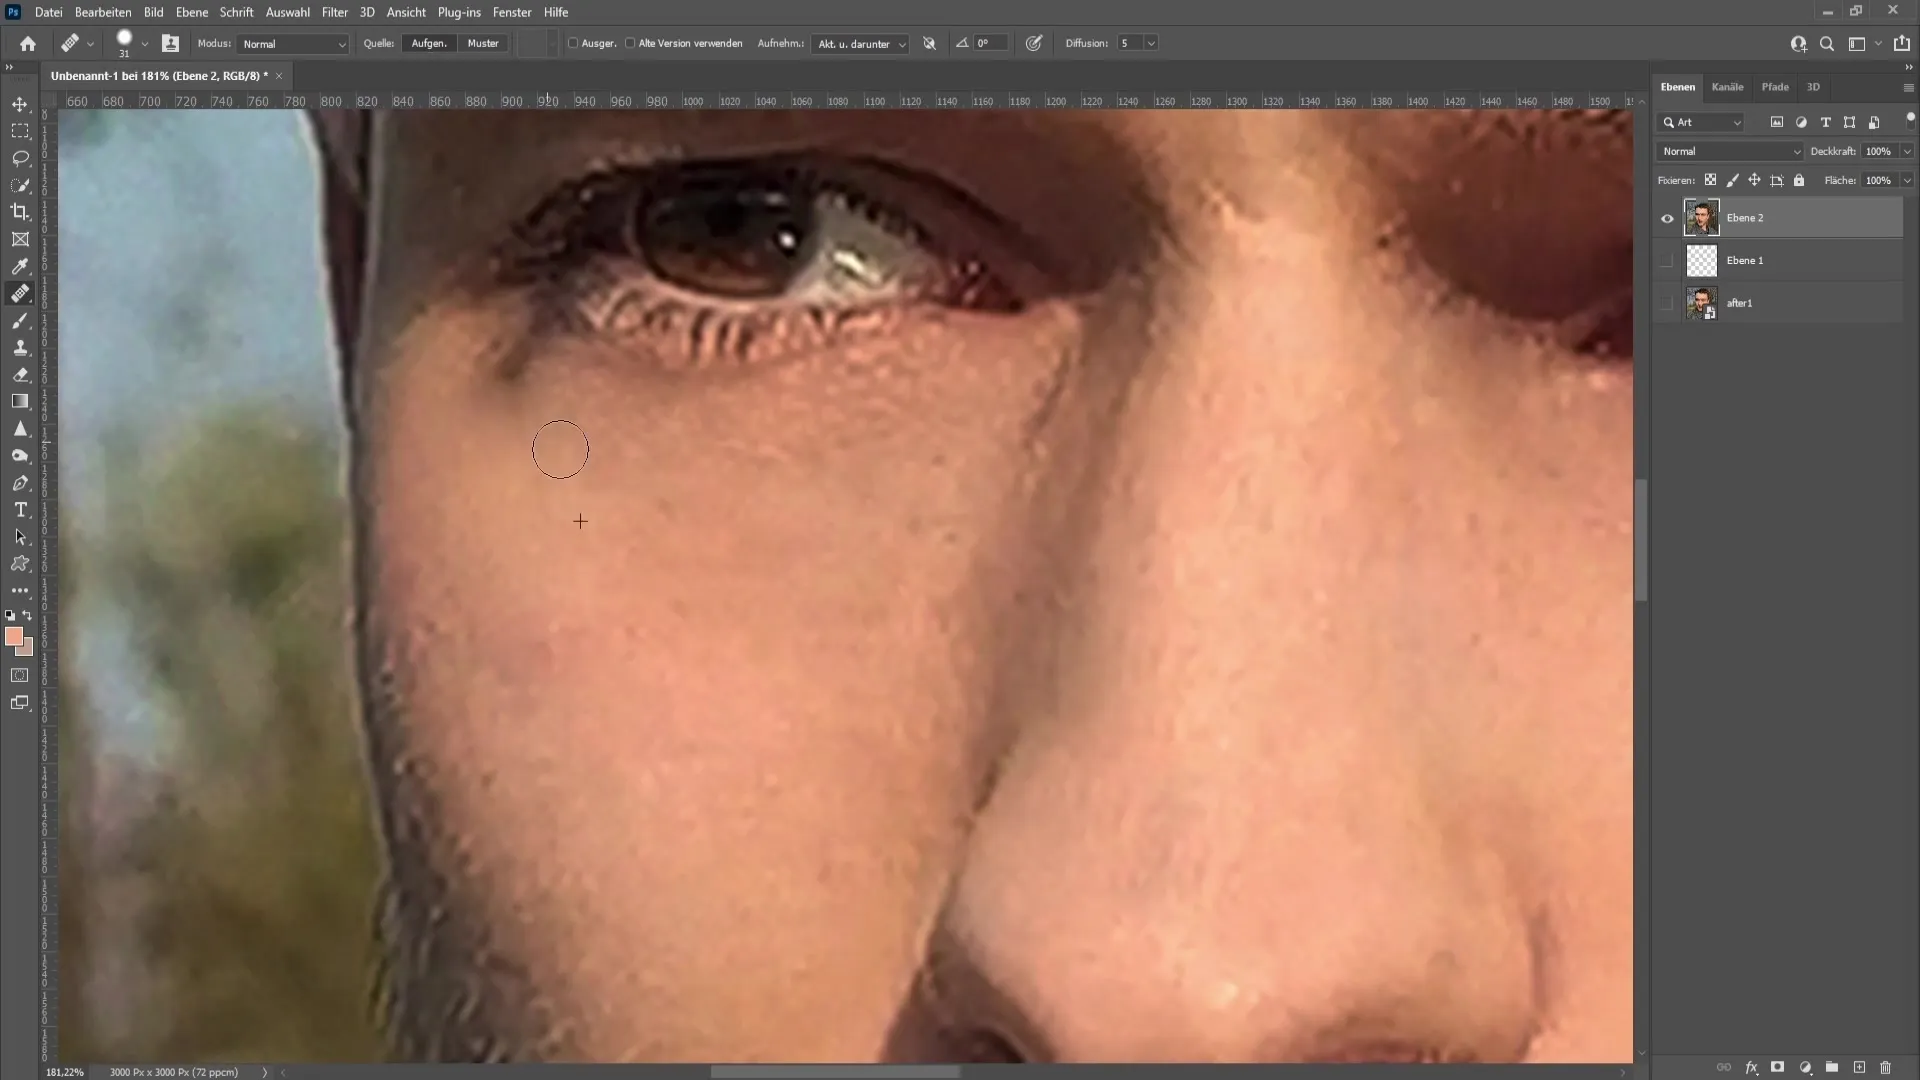
Once you finish with the right eye, apply the same techniques to the left eye. It is important, especially in retouching, to focus on maintaining the original shape of the dark circles for a convincing end result.
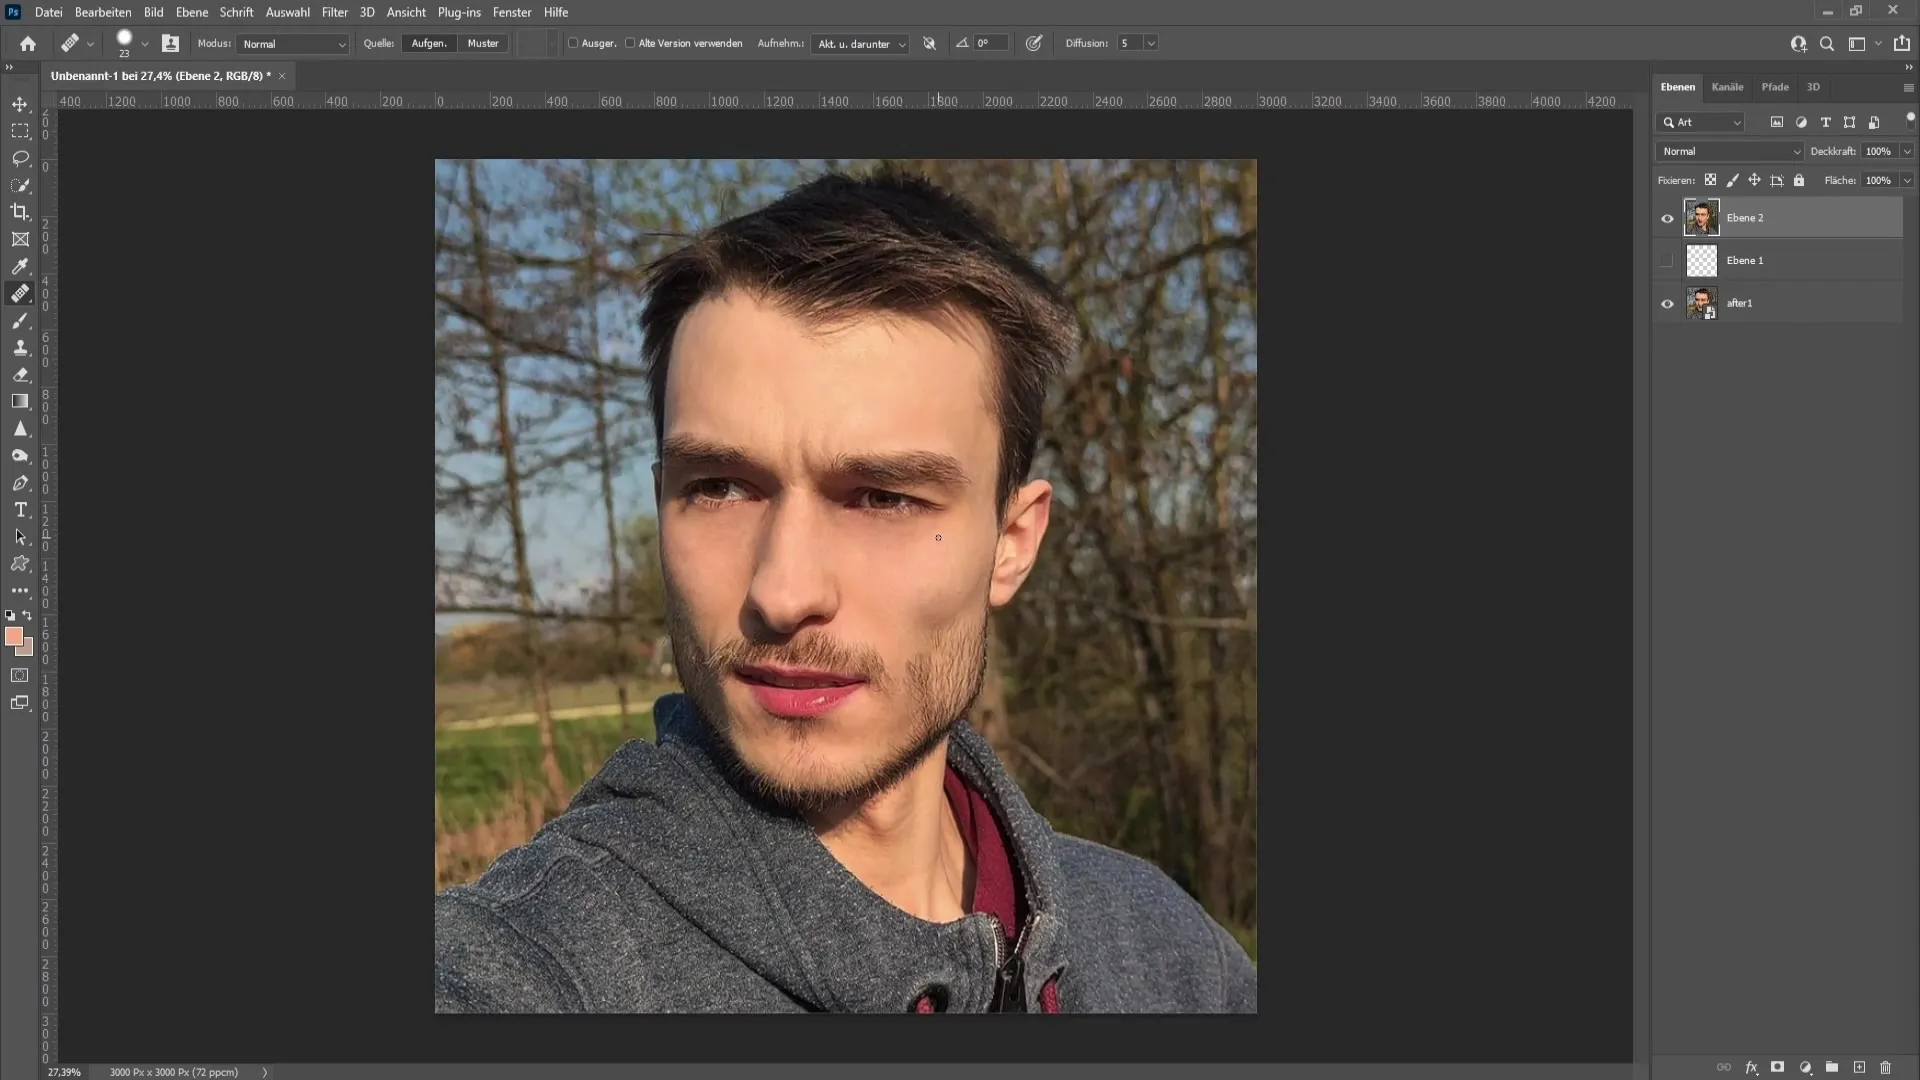
Do not hesitate to delve into the details here as well. Often, the slightest adjustment can have the biggest impact on the overall image.
After completing the retouching, you can once again make a before-and-after comparison. You will be surprised at how much these techniques can achieve.
Summary
In this guide, you have learned how to successfully remove dark circles in Photoshop using various techniques and tools. By creating layers, using the brush and healing brush, you can achieve a fresh and well-rested appearance.
Frequently Asked Questions
How can I choose the right colors for retouching?Choose colors that are close to the natural skin tone to achieve a realistic result.
What is the best flow for brush settings?A flow between 2 and 3% is ideal for creating smooth transitions.
Can I use this technique for other areas of the face?Yes, you can apply similar techniques to other facial areas, such as wrinkles or blemishes.
Will the image remain clear if I reduce the opacity?Yes, reducing the opacity retains the underlying structure, giving the retouch a natural look.


