In this guide, I will show you step by step how to create a realistic tattoo from any image in Photoshop. Tattoos are a wonderful way to express art and individuality, and with the right tools and techniques, you can even create your own designs. Let's get started and take a look at the necessary steps to place a rose as a tattoo on an arm.
Key Takeaways
- You can easily cut out and adjust images.
- Use layer masks to edit details without deleting them permanently.
- Filters can help make the tattoo look realistic.
- With corrections and adjustments, you can make the tattoo more vibrant.
Step-by-Step Guide
Before you start, make sure you have the image you want to use as a tattoo ready. In this example, we are using a rose.
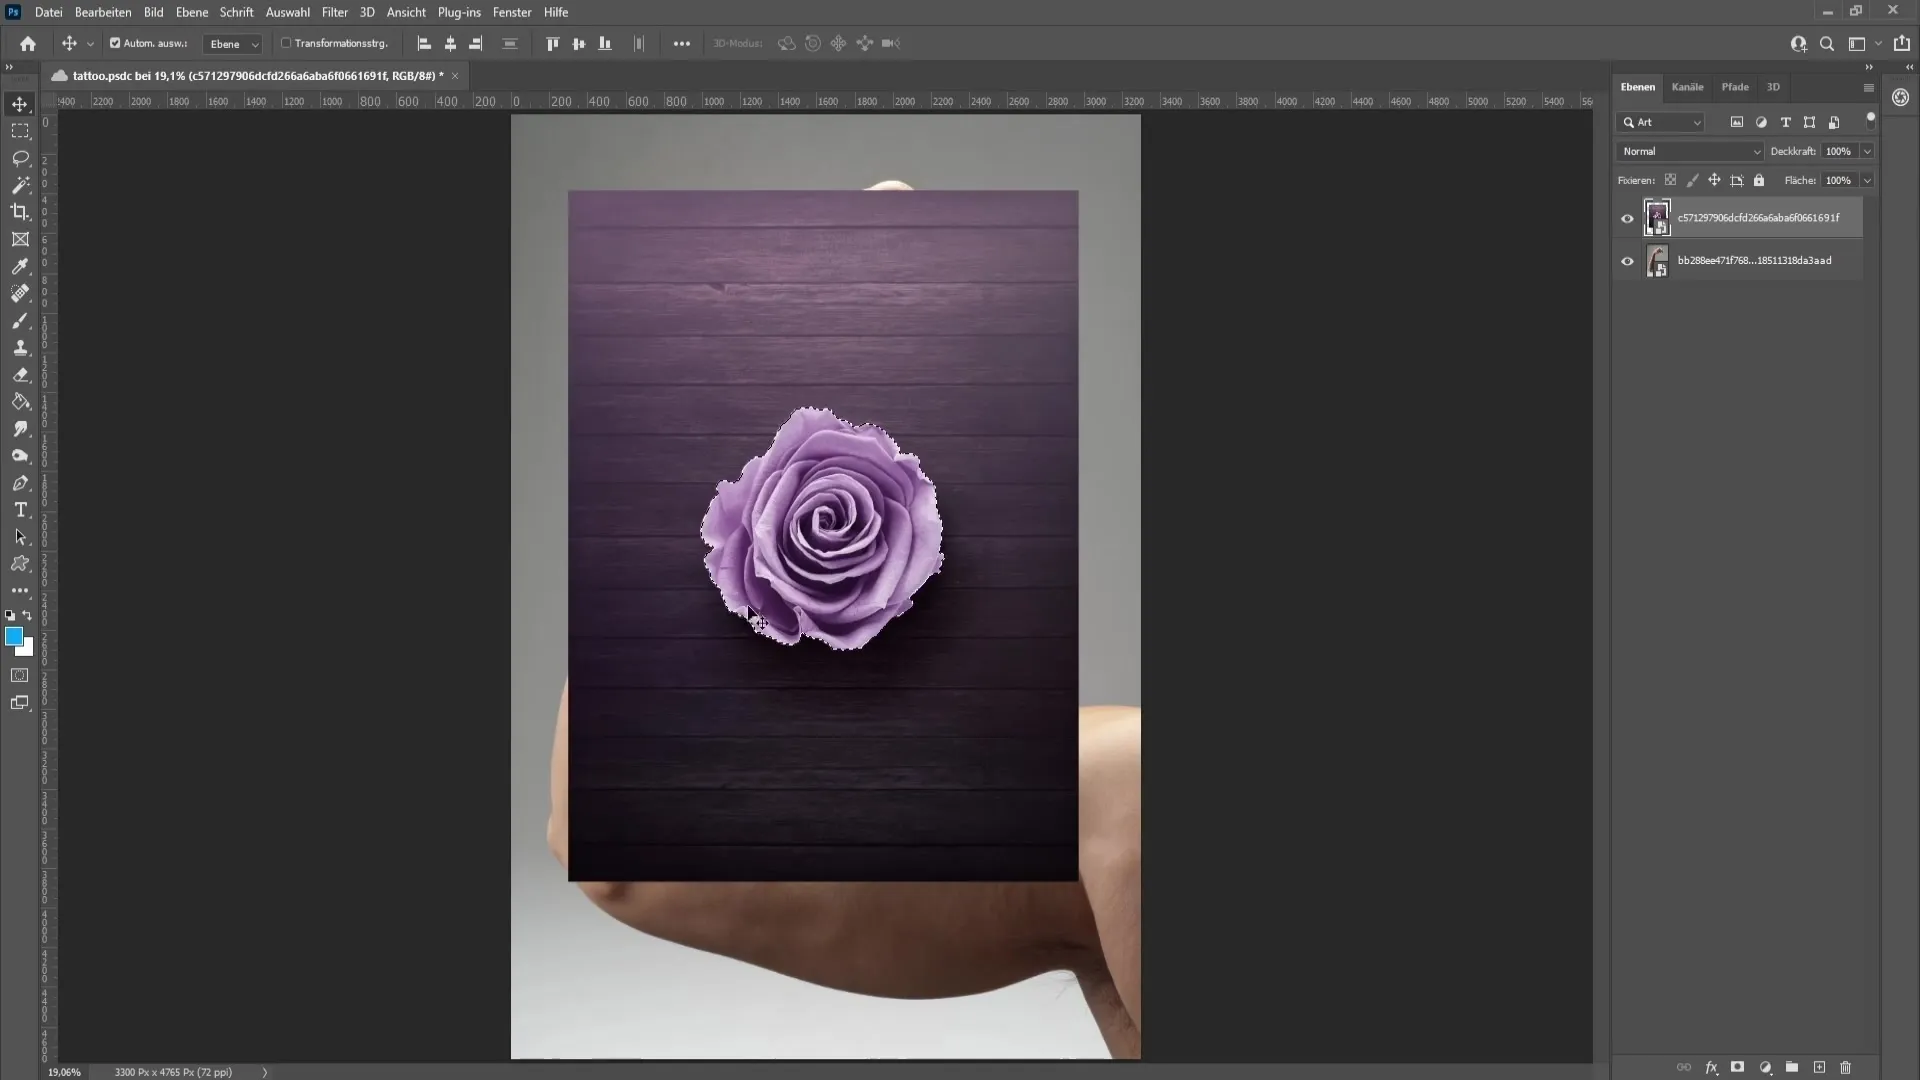
Start by deleting the end result and loading the image of your rose. Now we want to cut out the rose. Go to the rose layer and choose "Select" and then "Select and Mask". This will create a selection of the rose in Photoshop. For the output, choose "New Layer" and click "OK".
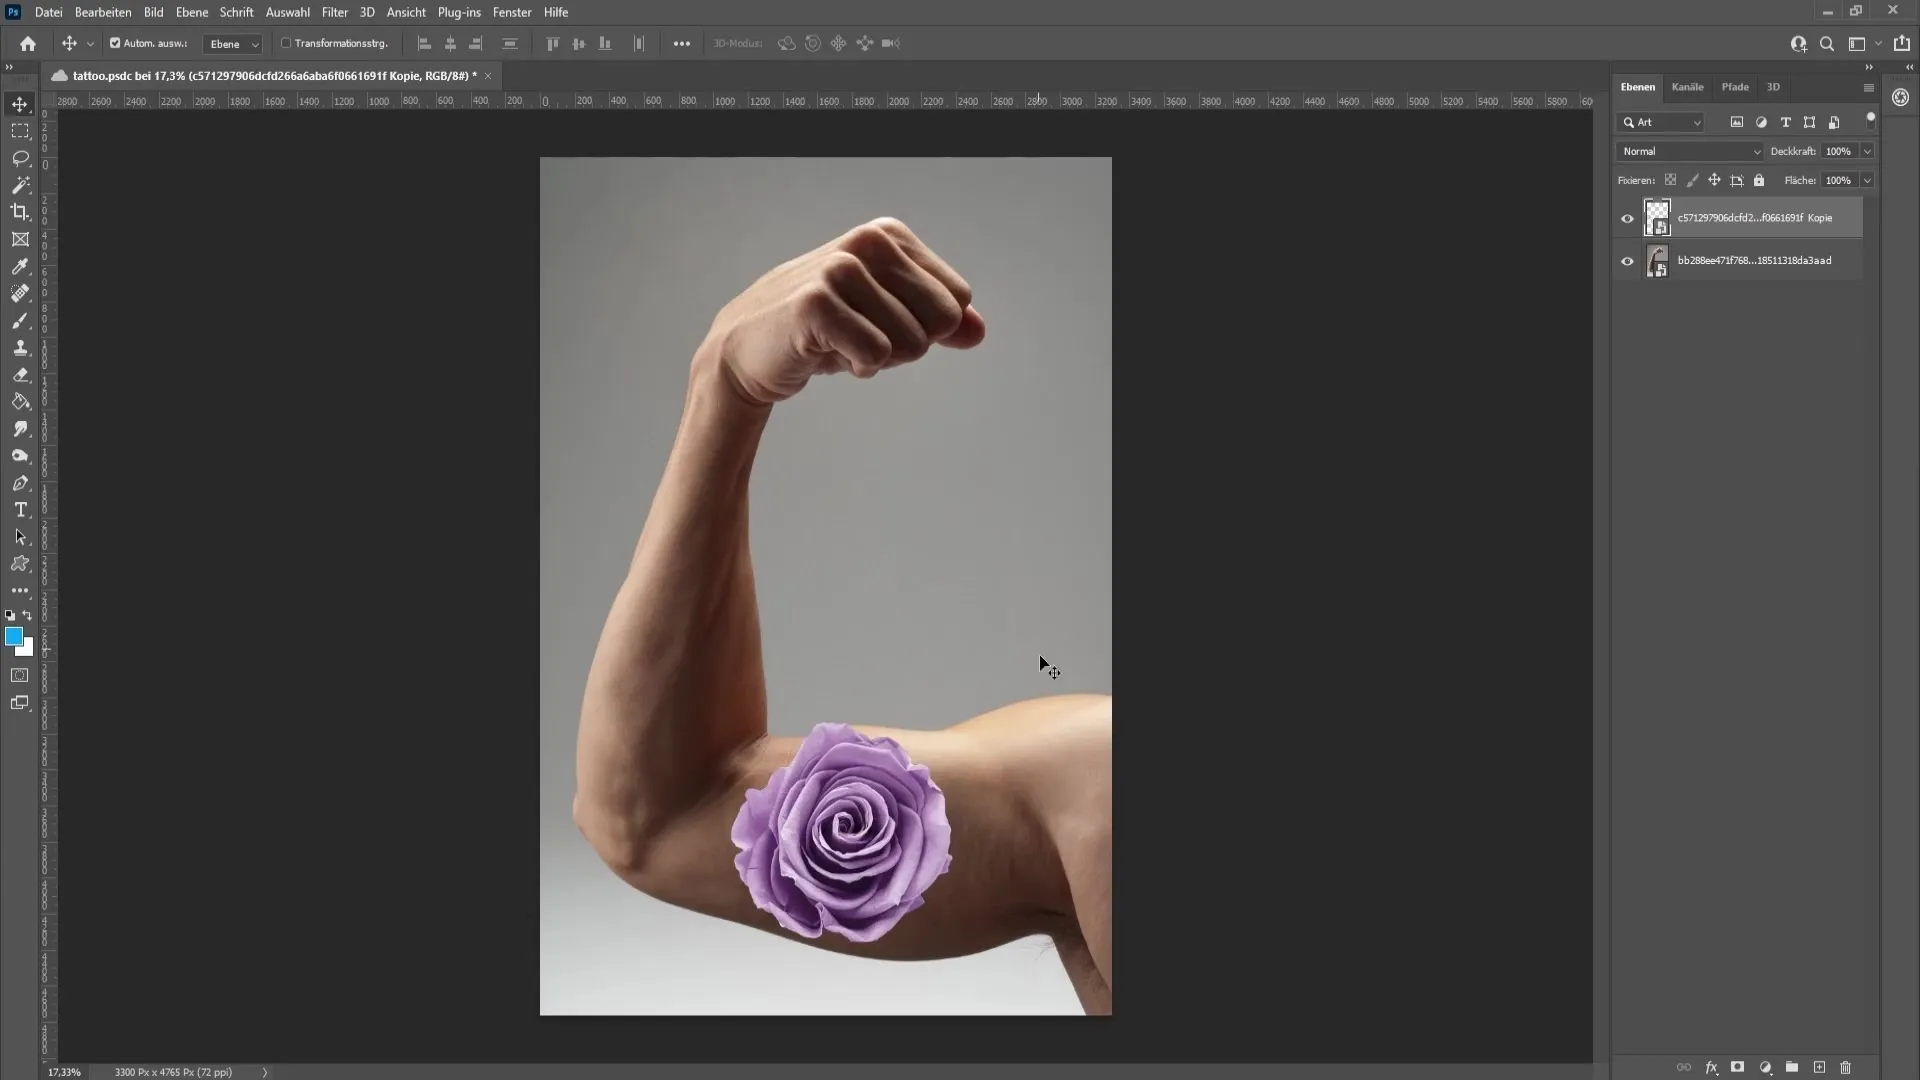
Now you have the rose on a separate layer. Right-click on the layer and choose "Convert to Smart Object". You can now delete the background of the original layer since we only need the rose. Go to the transformation function to place the rose on the arm. To proportionally resize the rose, hold down the Shift key while making it smaller.
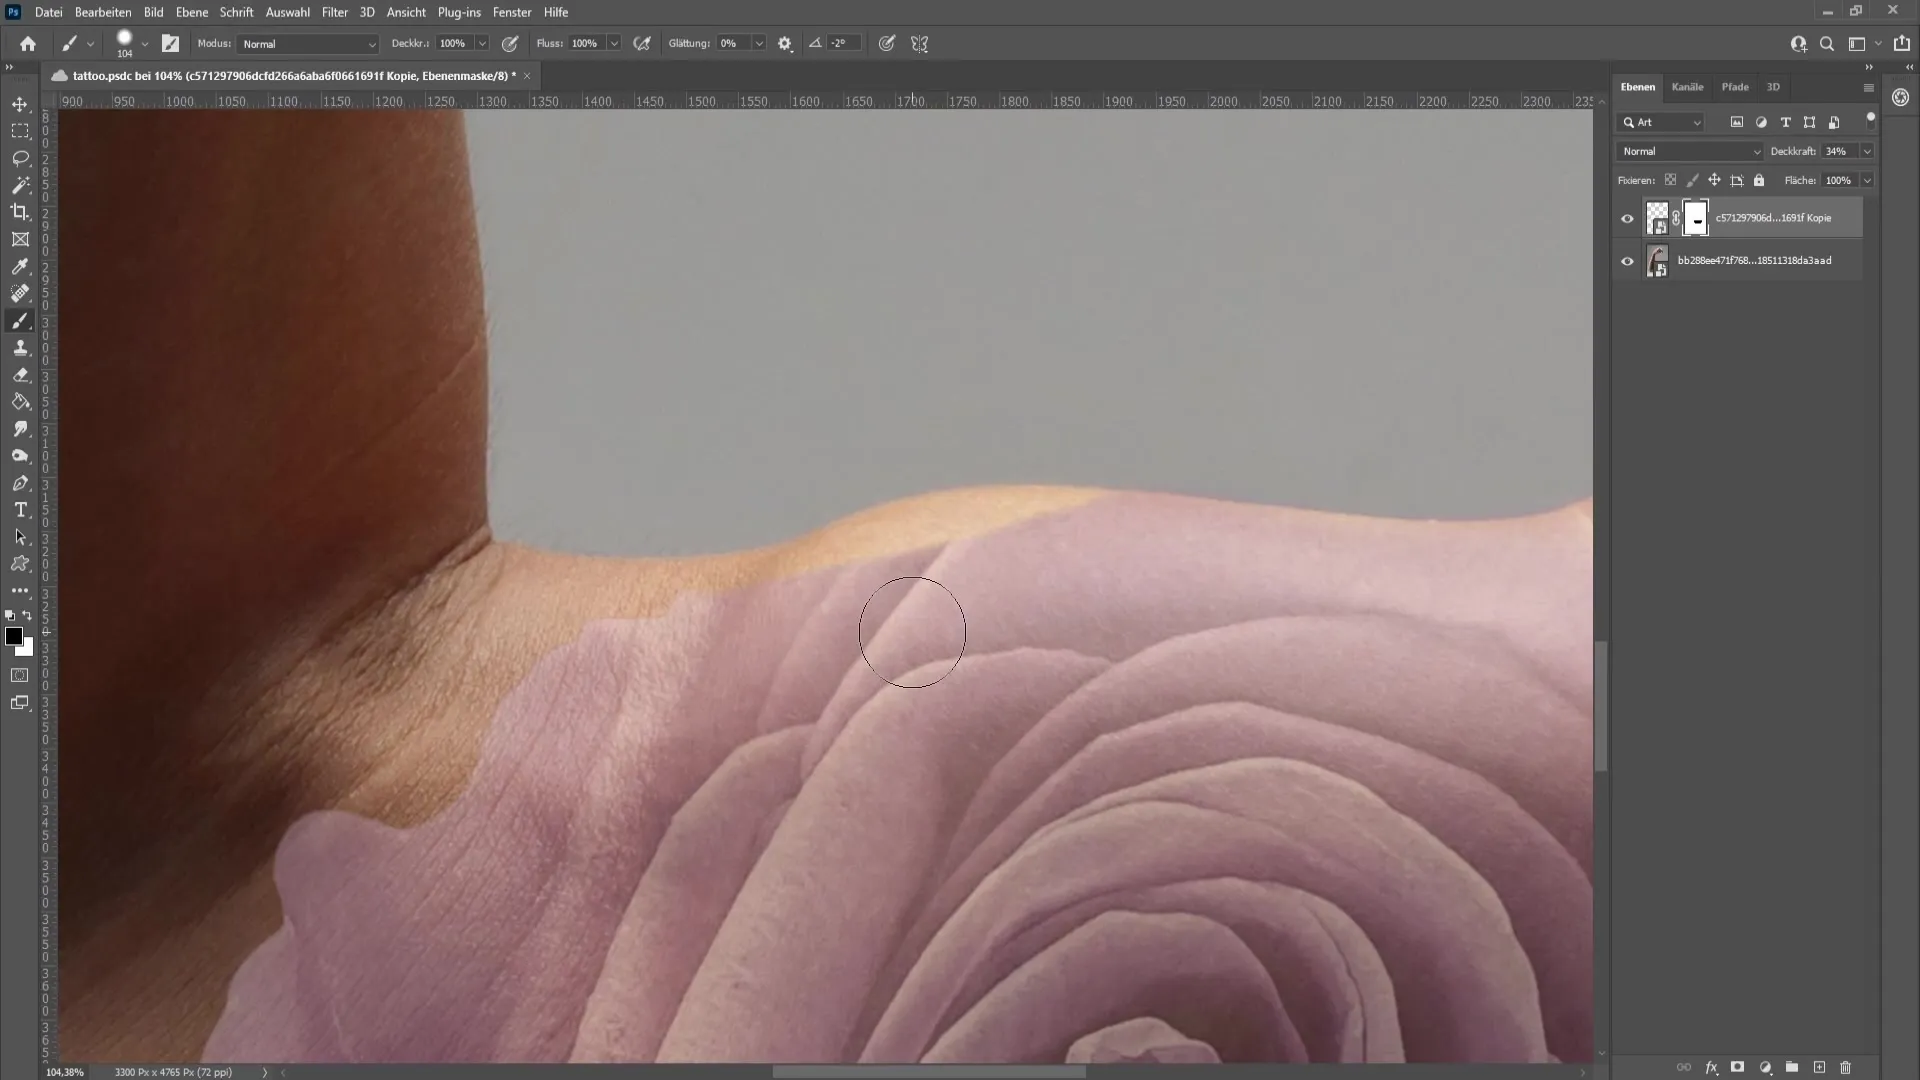
Once the rose is in the right place, you should eliminate the area outside the rose. Click on the layer mask icon. Choose a brush with a black foreground color, set the hardness to about 65%, and the opacity to 100%. Apply the mask and start gently revealing the area of the skin.
If you need to restore too much, simply use the color White to bring back the area. This technique is very valuable as you do not lose the details as you would with an eraser.
Once you are satisfied with the layer mask, you can increase the opacity to 100% and apply a filter. Click on the rose layer, go to "Filter" and then "Camera RAW Filter". Reduce the saturation to -100 to increase the contrast of the rose. Experiment with the exposure, contrast, highlights, and shadows sliders until you are happy with the result.
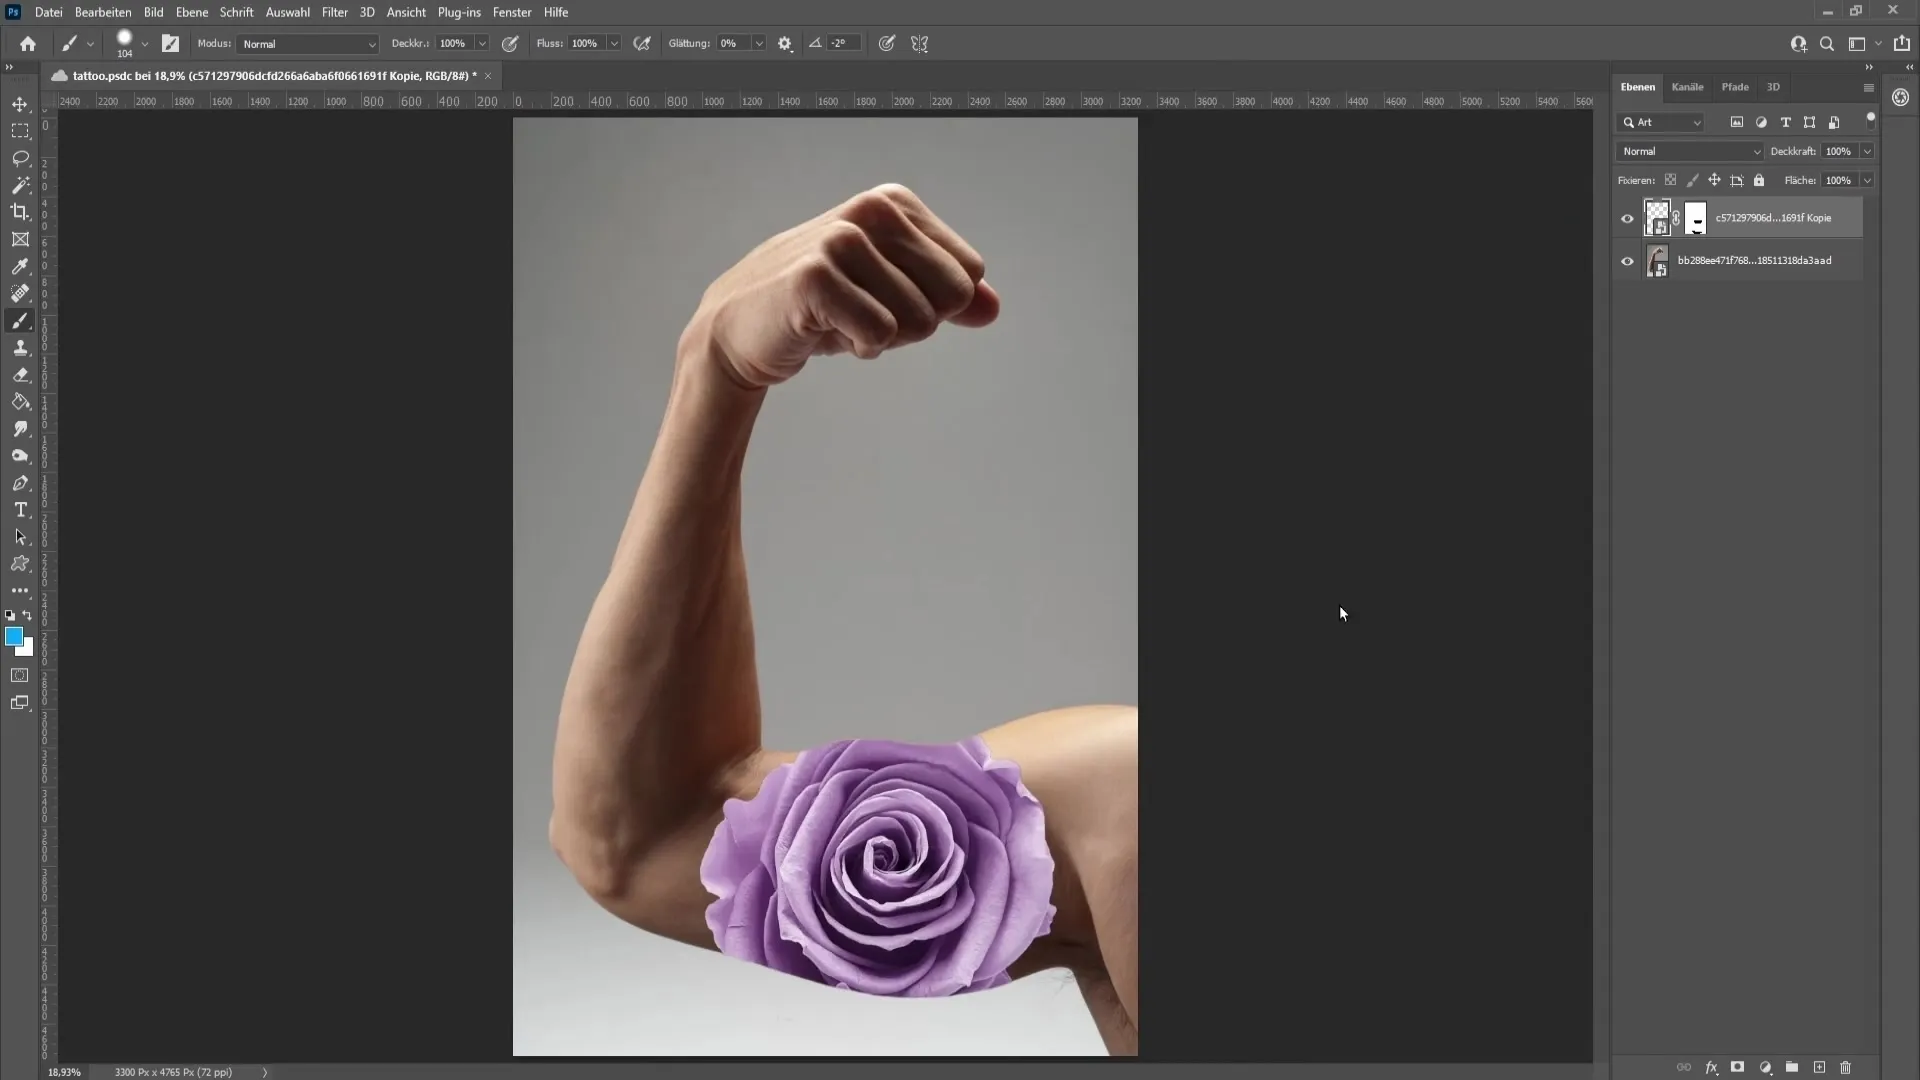
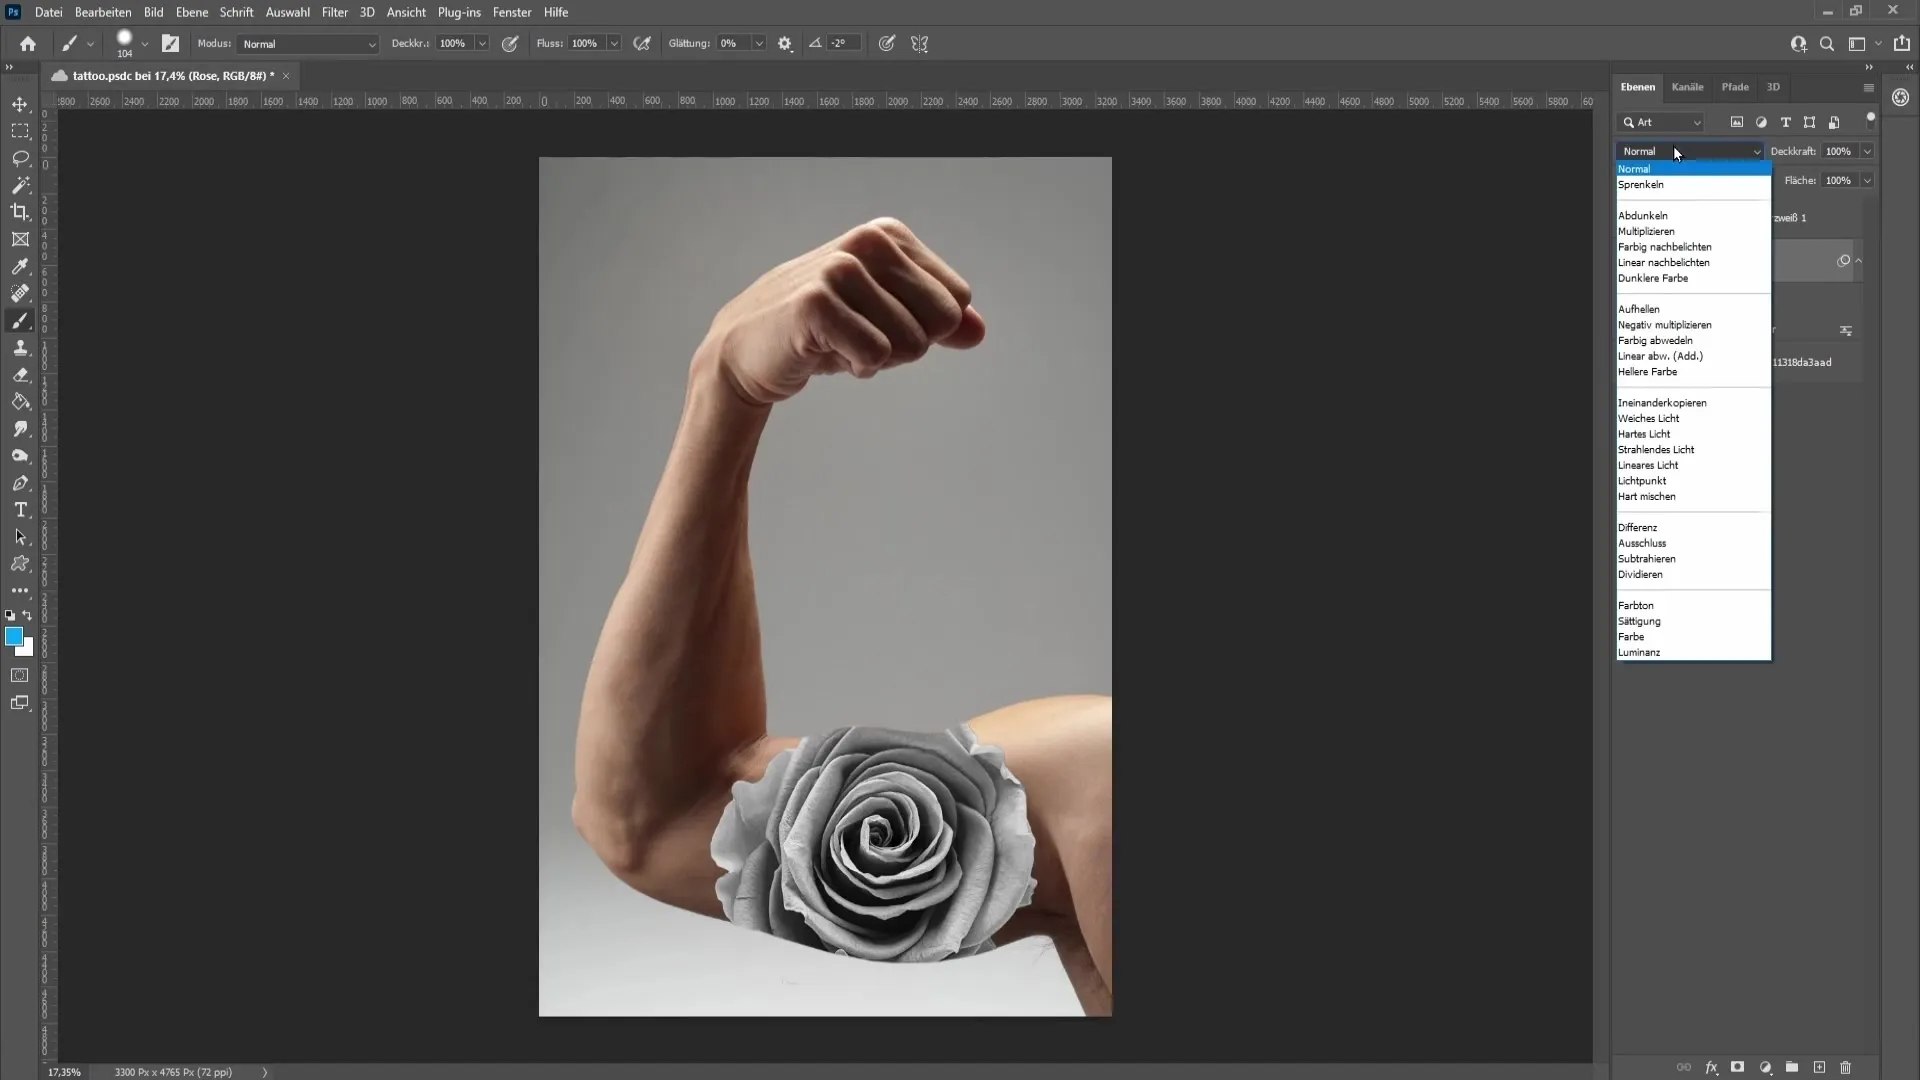
Now you can break the monotony by creating a Black & White adjustment. Click on the Adjustment window and select "Black & White". Make sure the clipping mask is active so that only the rose layer is affected. Click "Auto" to make adjustments automatically.
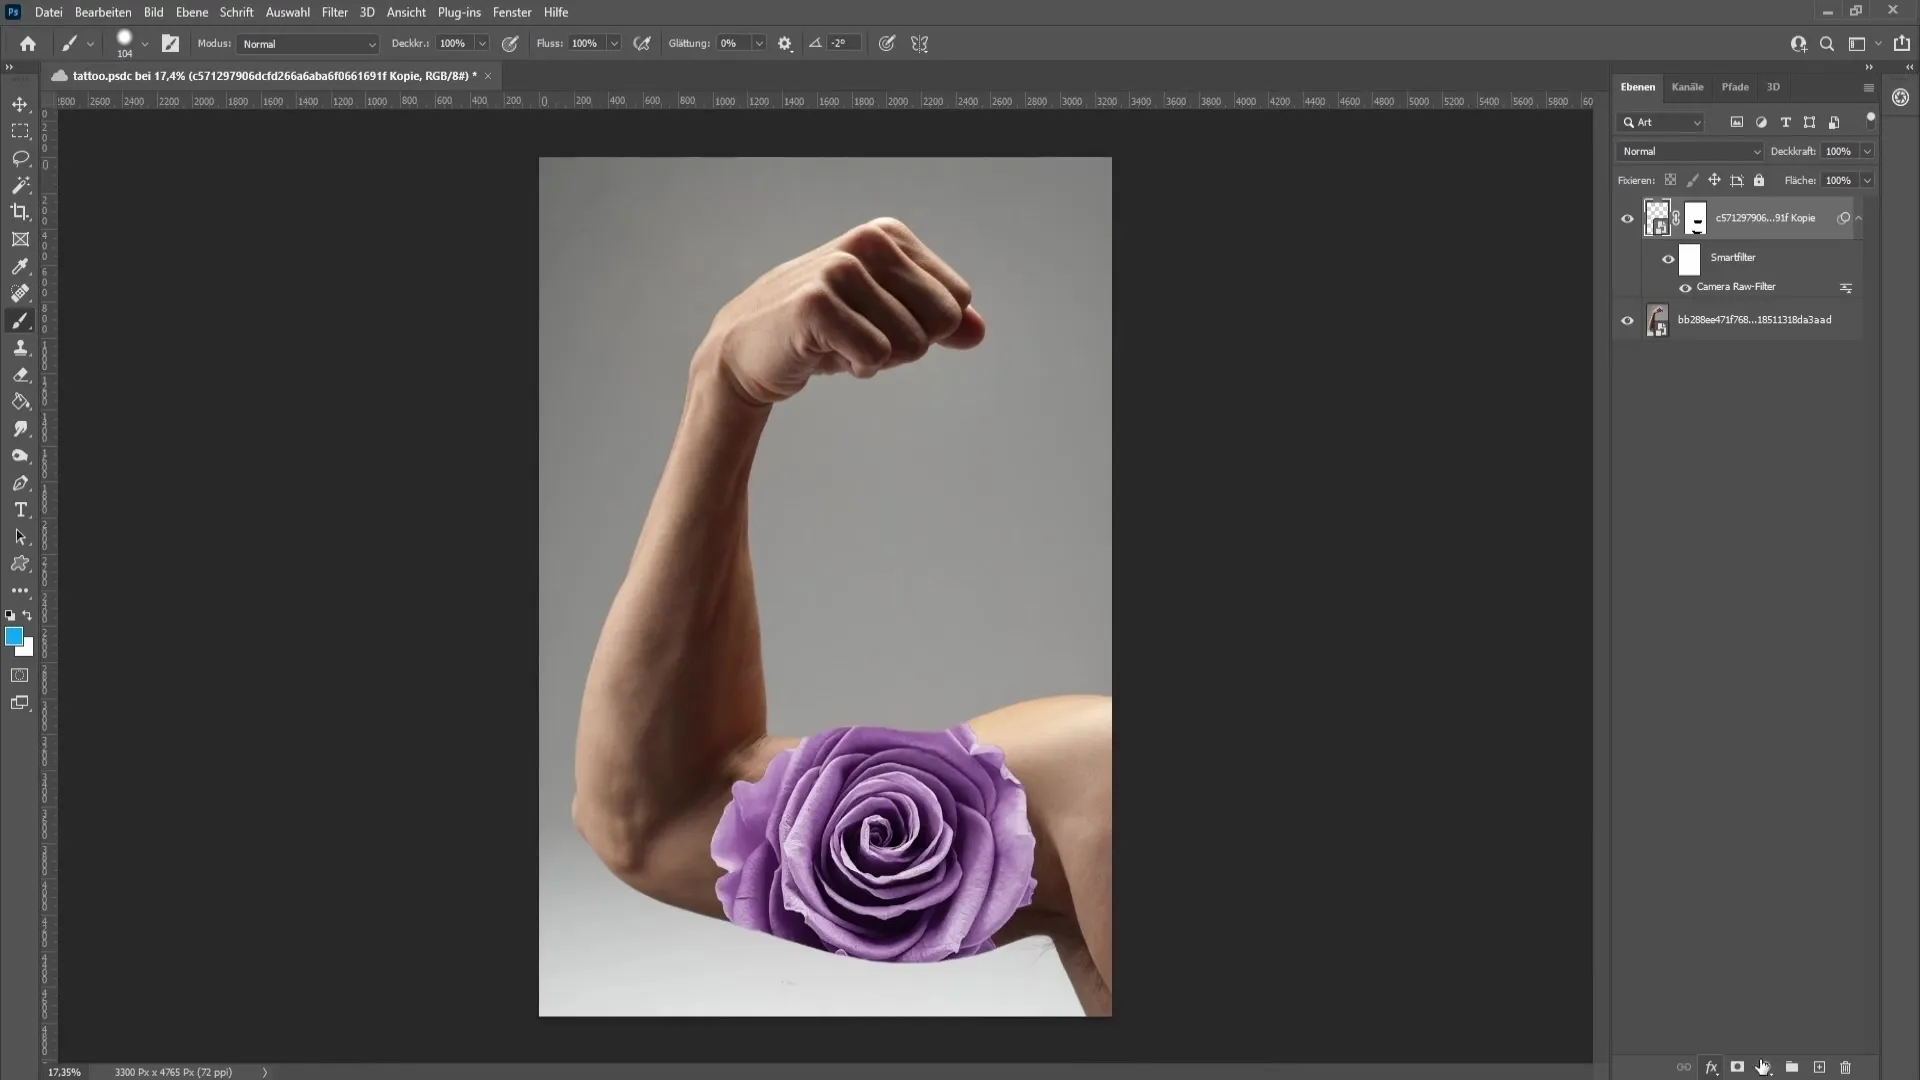
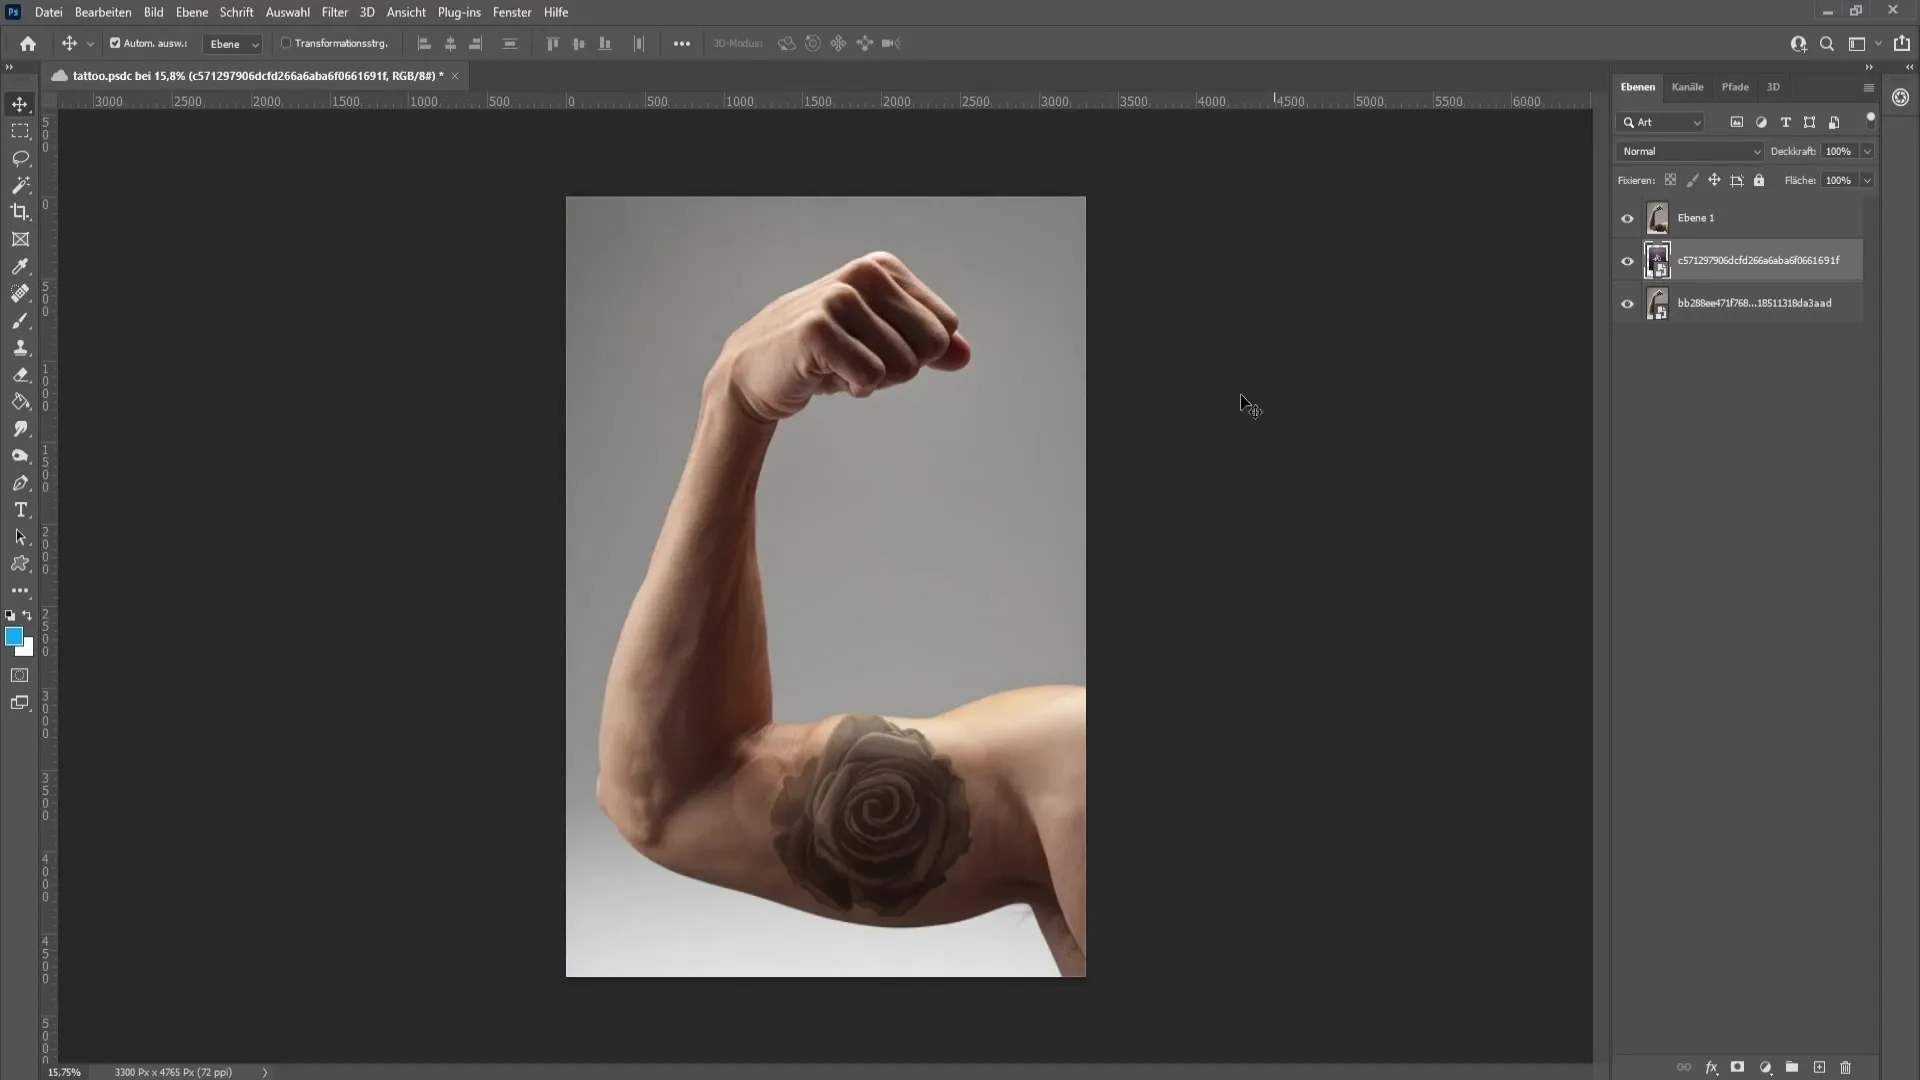
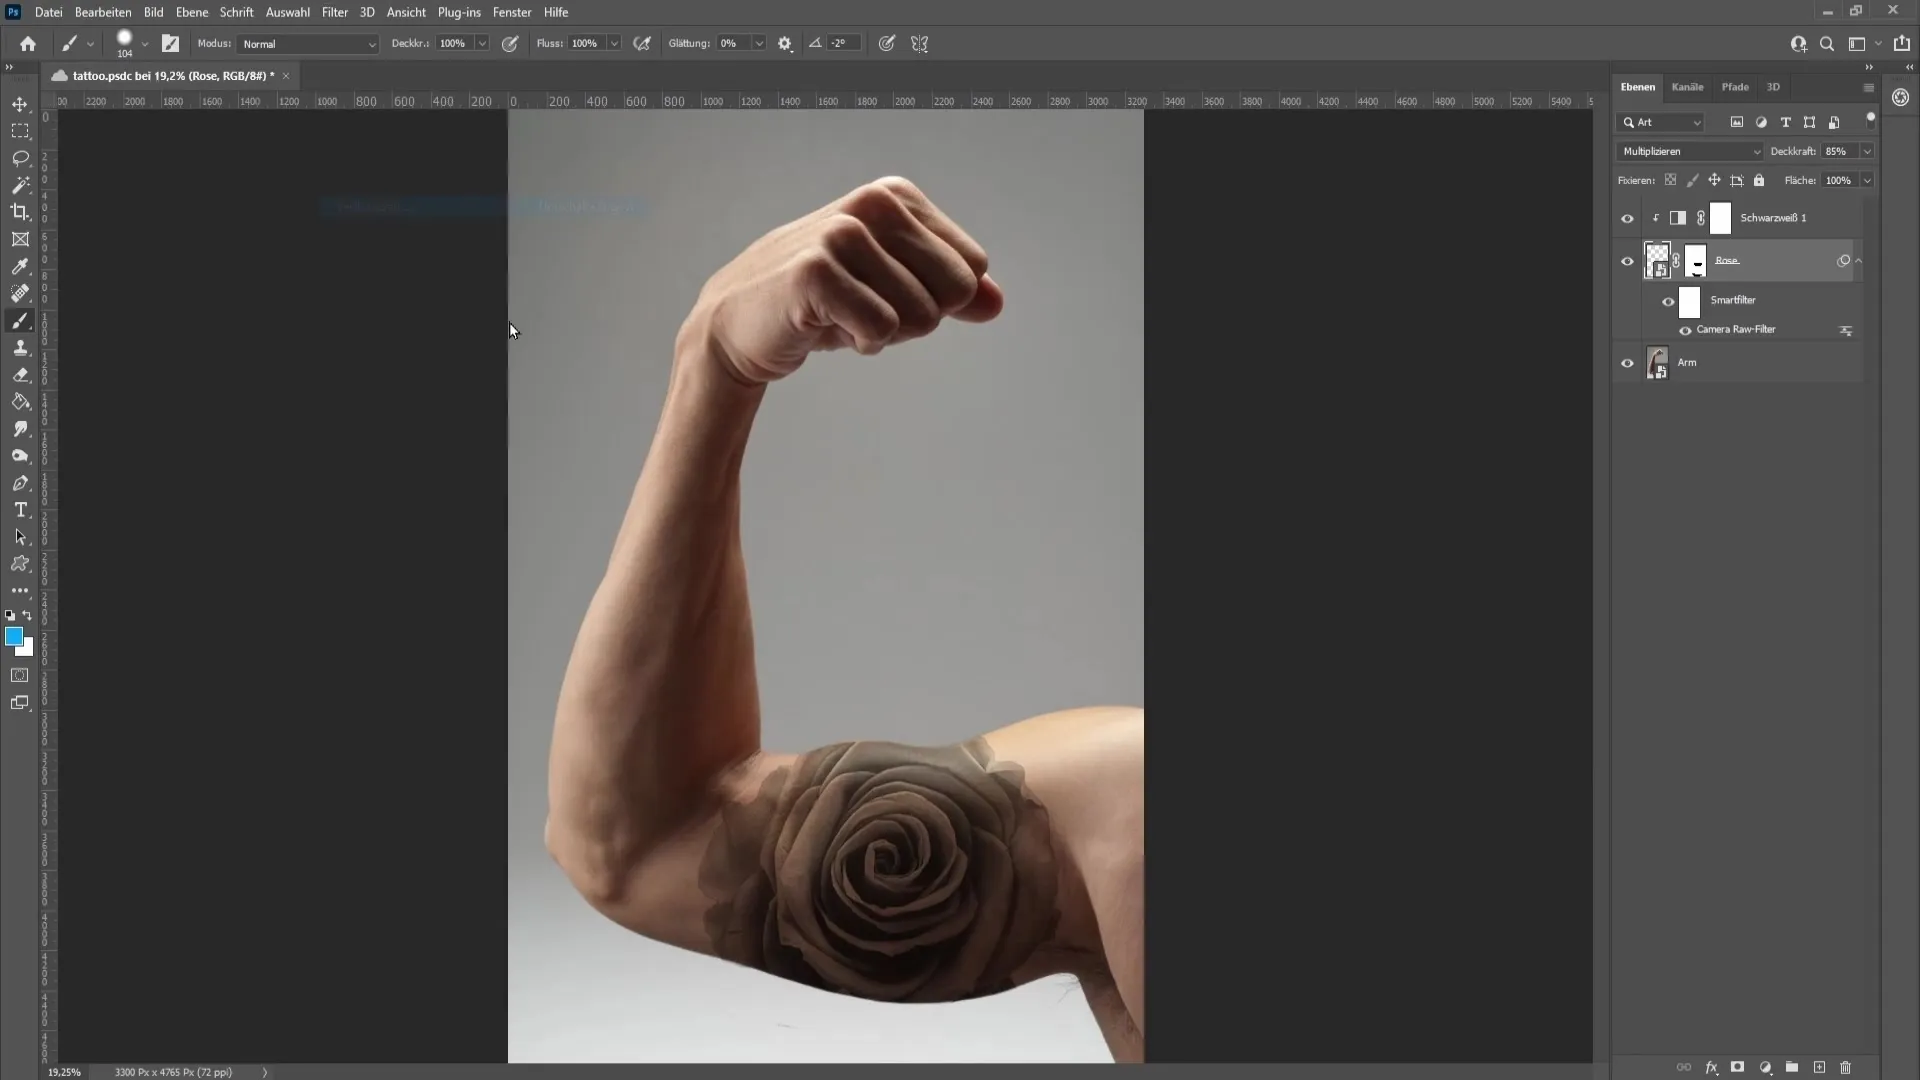
Name this layer as "Rose". Then set this layer to "Multiply" to create the tattoo look. Reduce the opacity slightly to allow the skin texture to show through, increasing the realism.
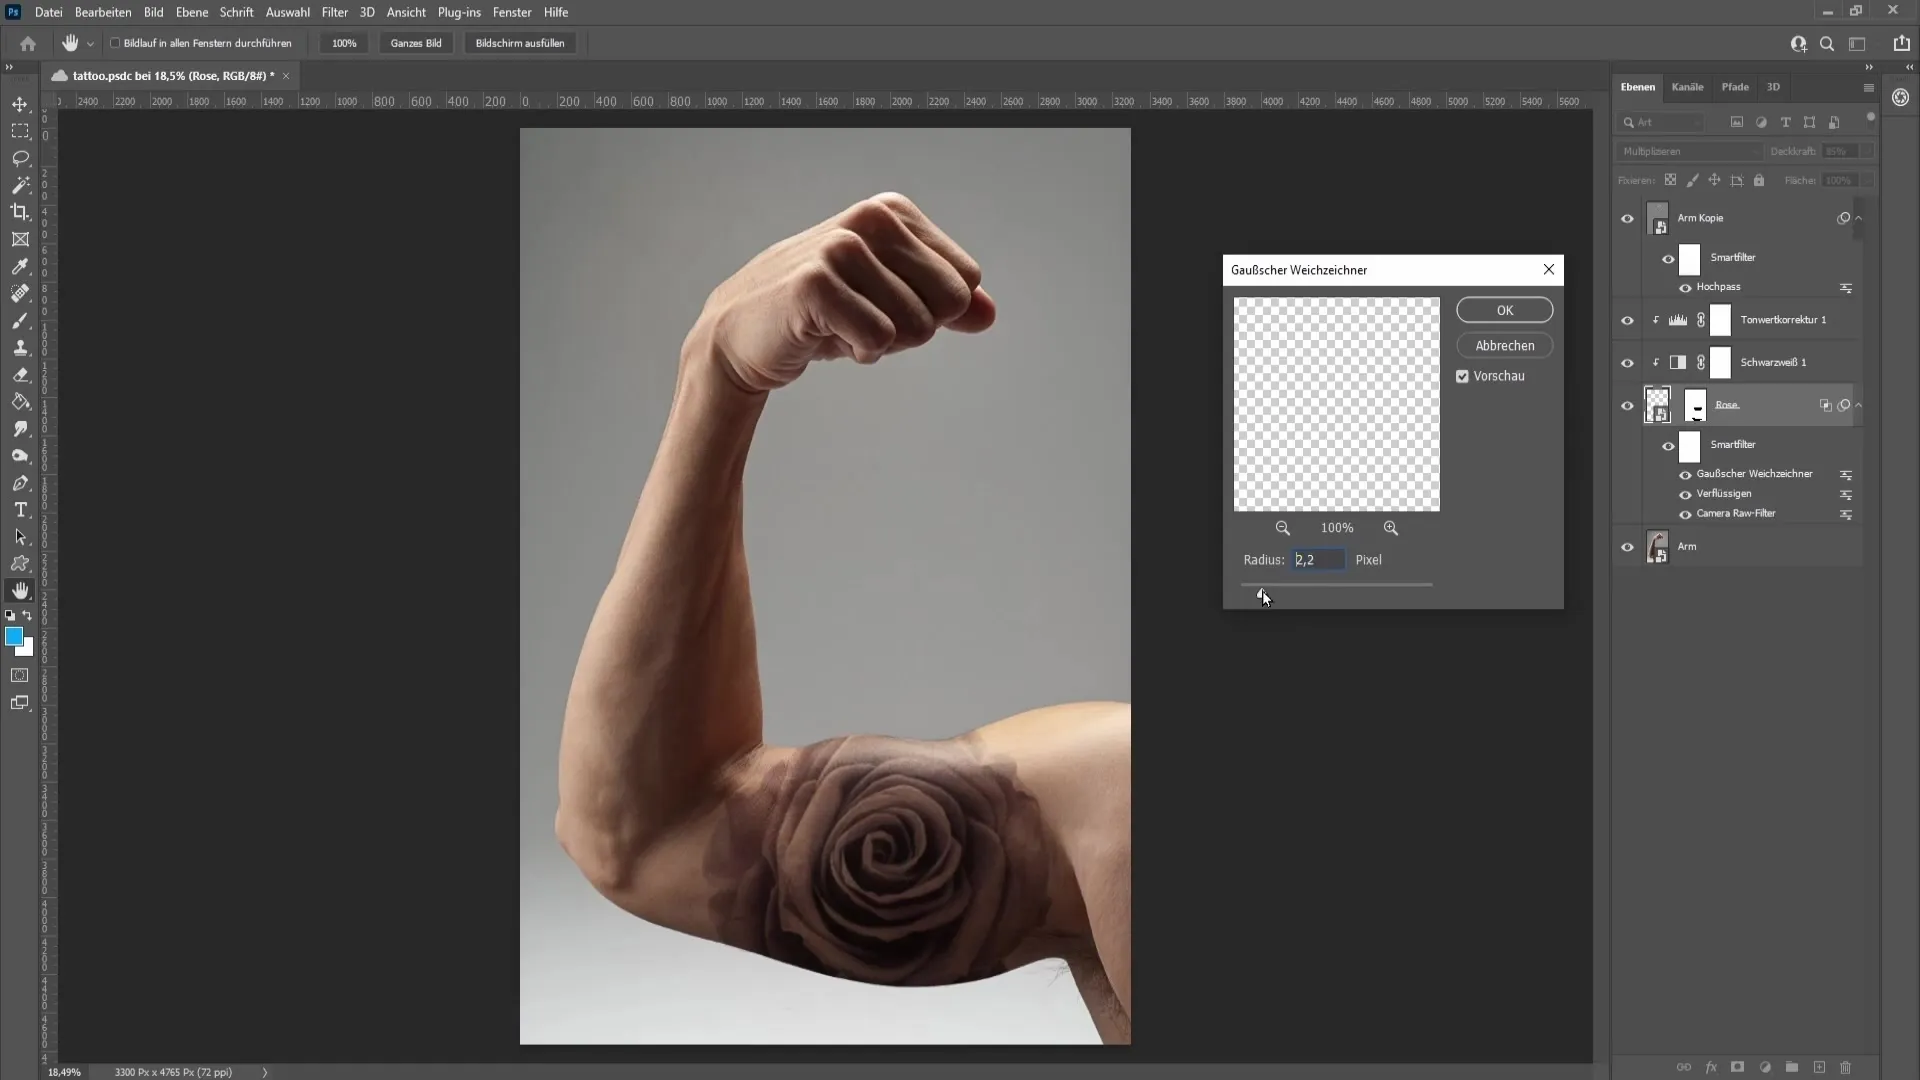
To further adjust the tattoo, you will now adapt the rose to the bicep of the arm. Go to the "Liquify" filter option and adjust the shape of the tattoo using the "Pucker" tool. This will make it more realistic by following the body's contours.
To consider the shine of the arm, go to the fill options of the tattoo layer and play with the blend options to create a semi-shadow.
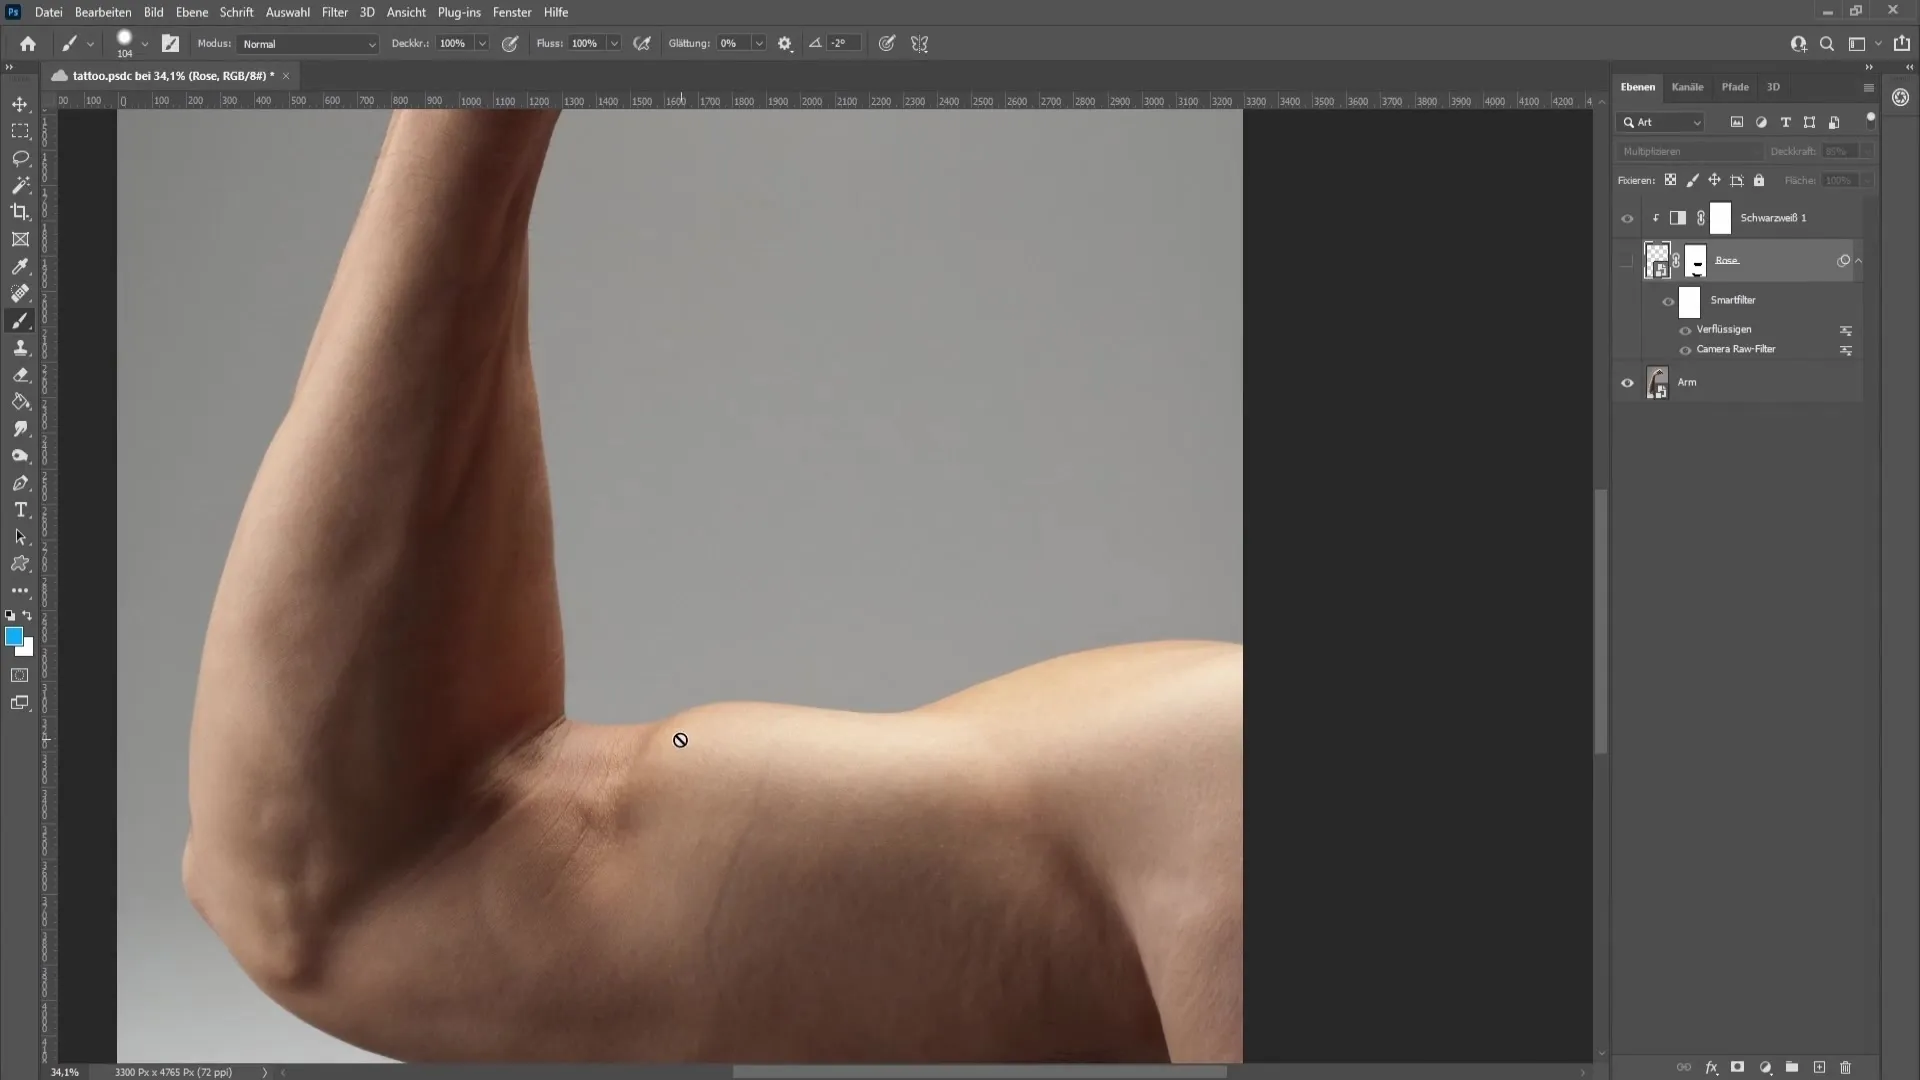
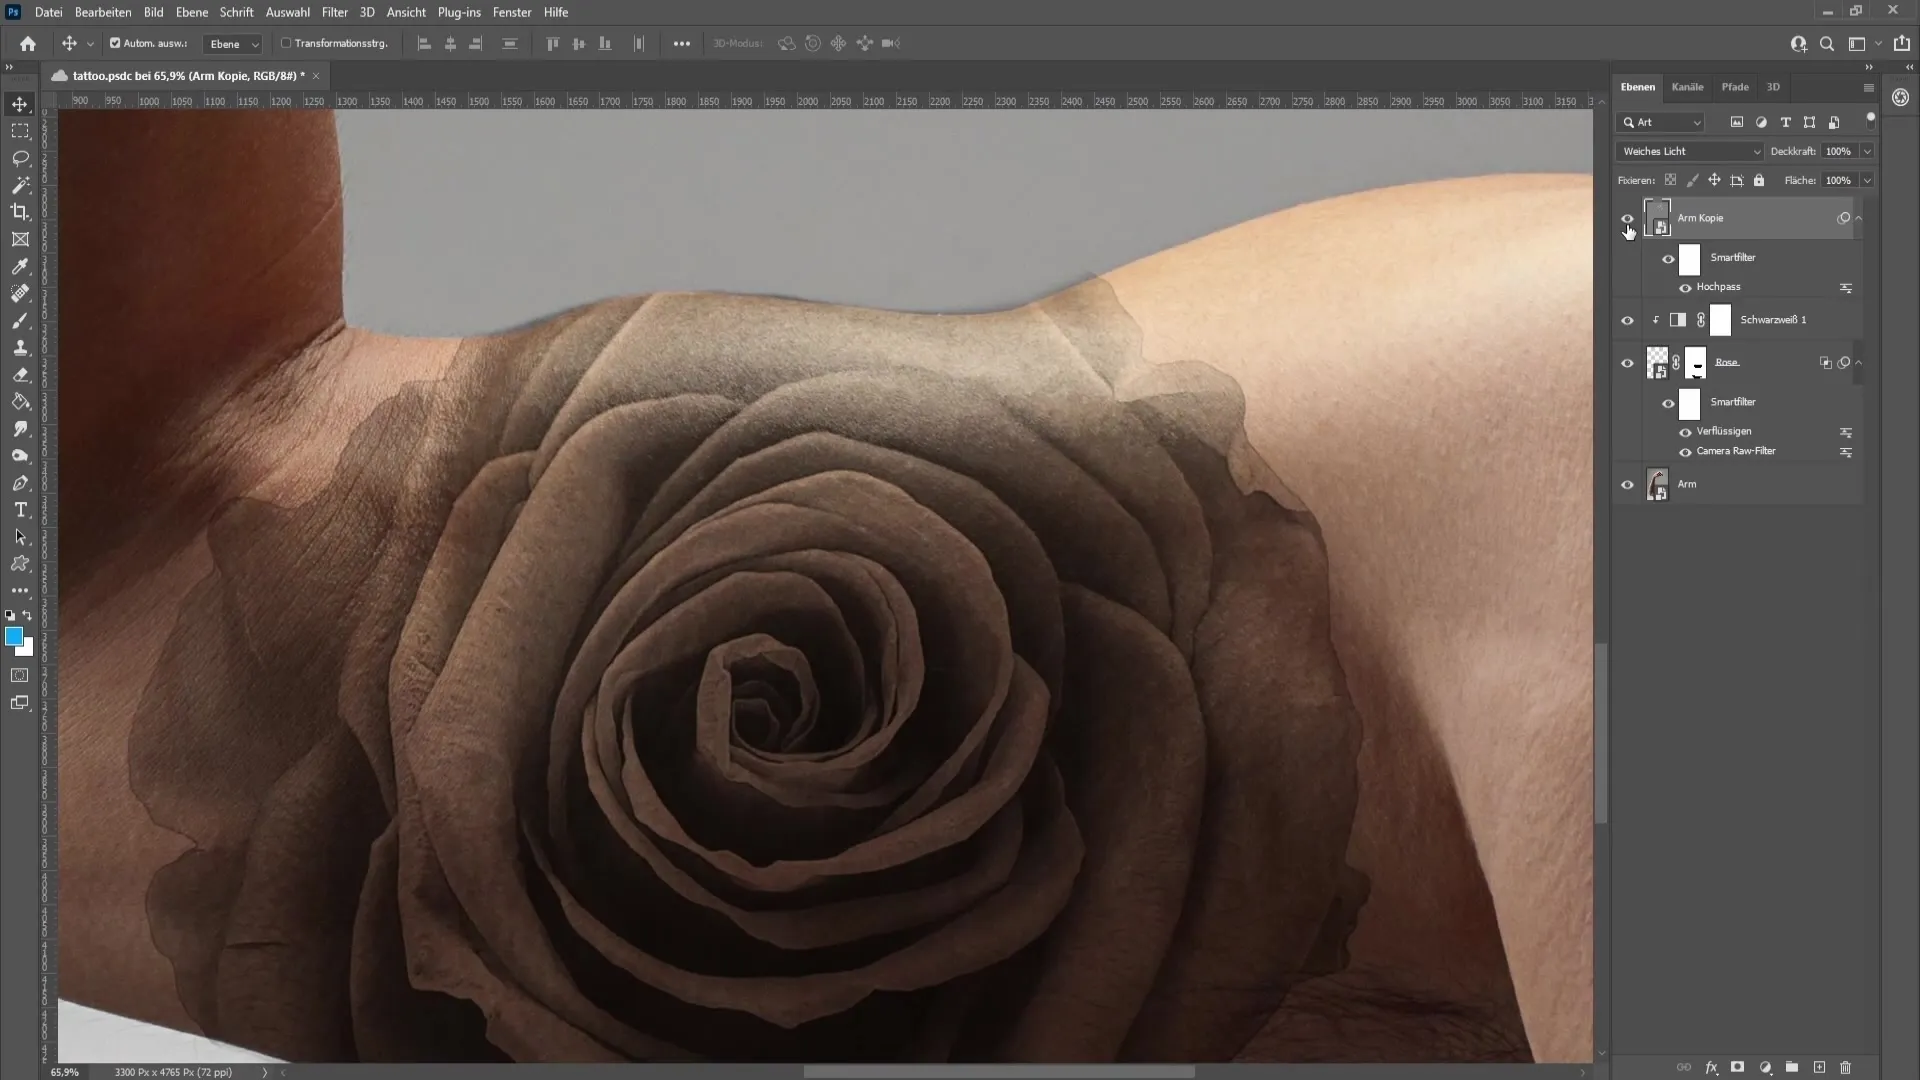
Then you can highlight the skin texture by making a copy from the arm layer and applying the "High Pass" filter. Adjust the value so that the structure becomes visible and choose "Soft Light".
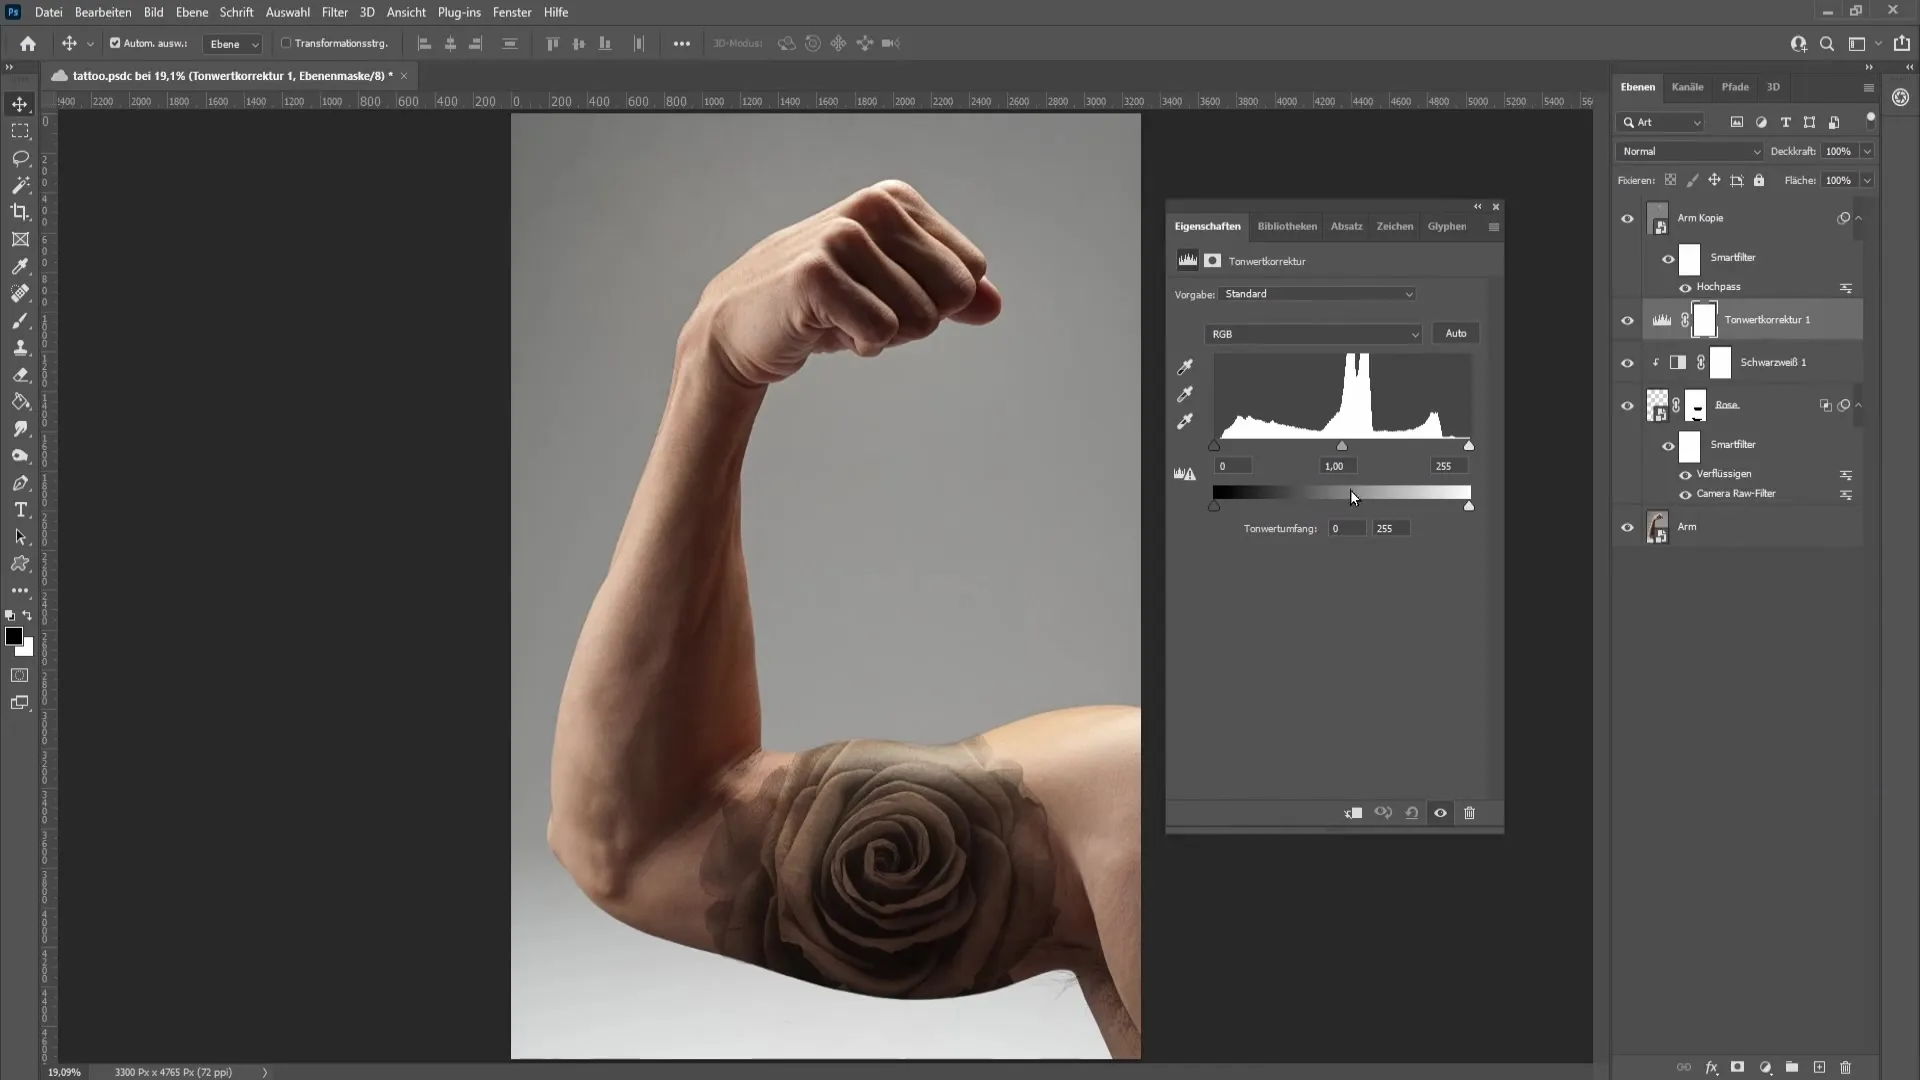
For the finishing touch, go back to the black and white layer and experiment with the tonal correction to bring out more details from the tattoo.
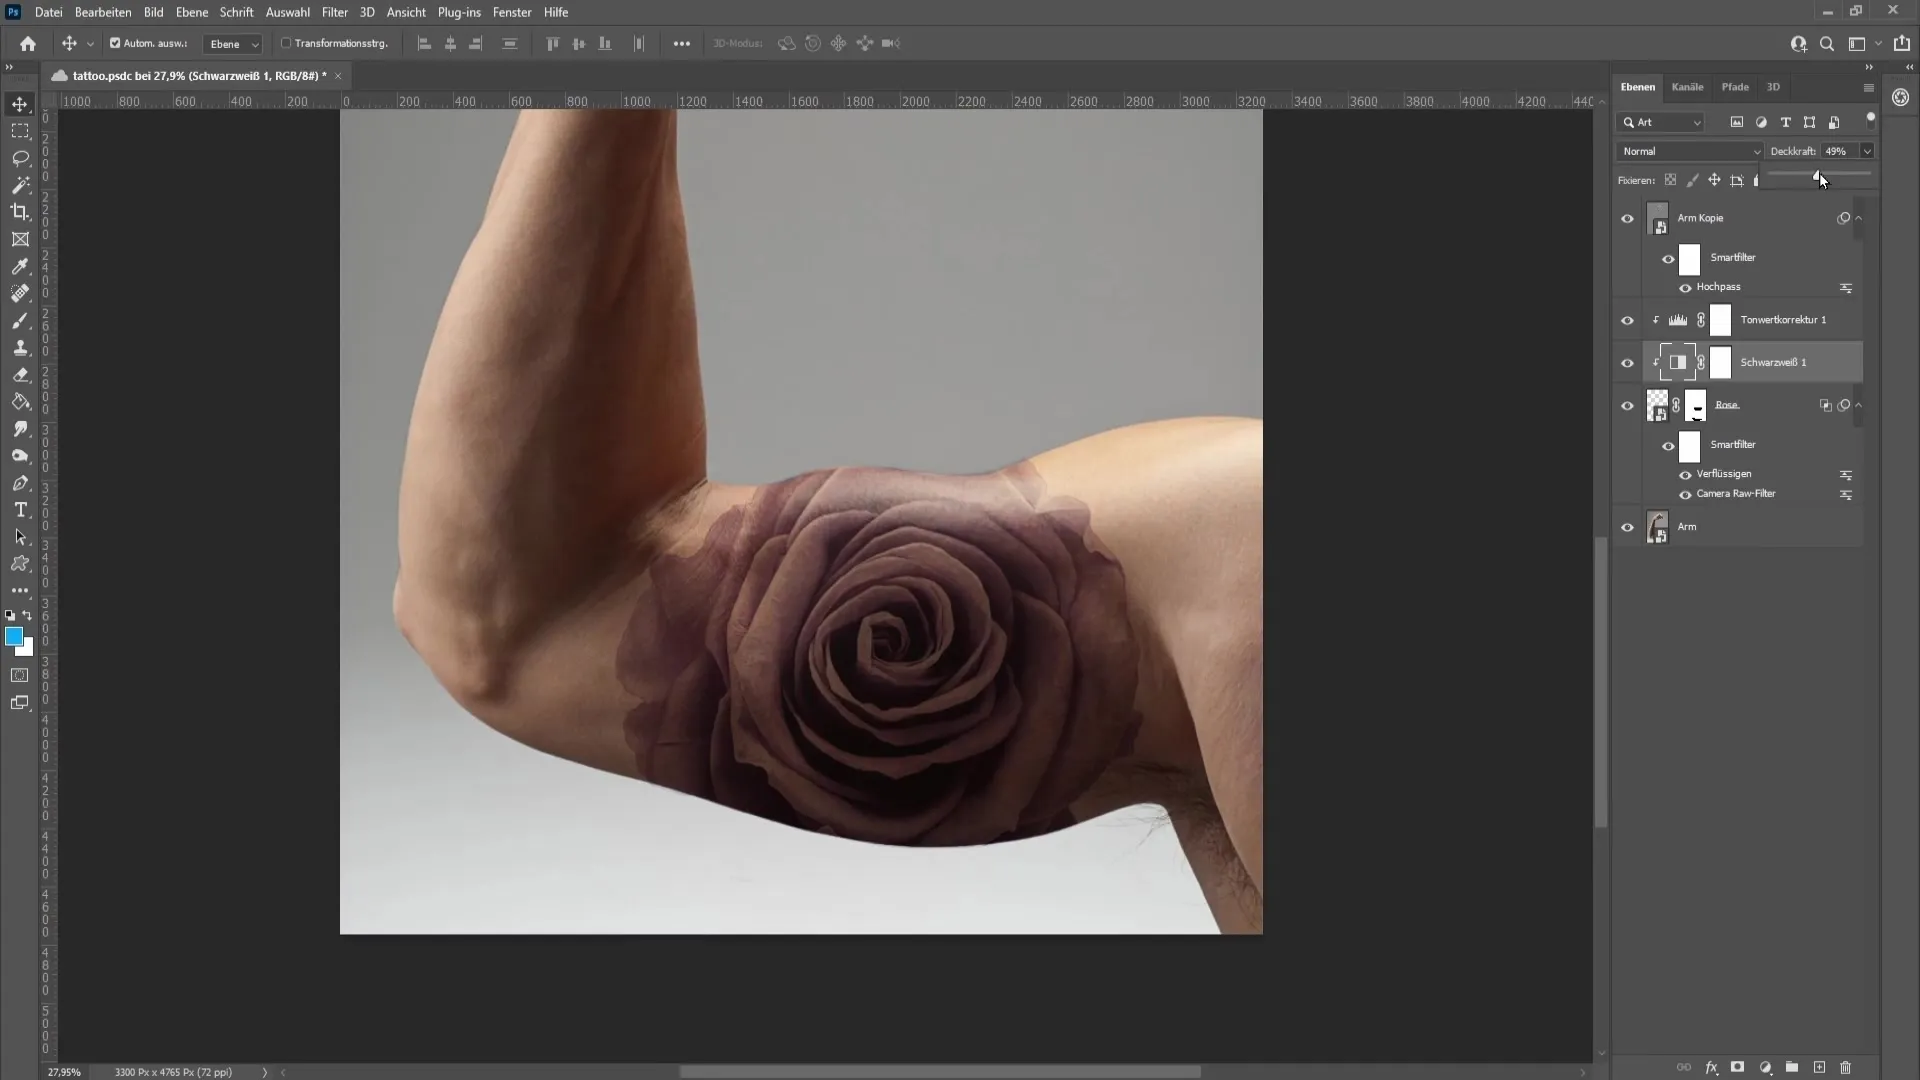
If you wish, you can add some color to the tattoo by reducing the opacity of the black and white correction layer. A value of 70% ensures that the tattoo is not entirely in black and white but remains vivid.
To round off the edges, you can apply a slight Gaussian blur after the final step to refine the tattoo.
Summary
This tutorial has shown you how to create a realistic tattoo step by step in Photoshop. Cutting out, adjusting layers, working with filters, and applying corrections are the key techniques to achieve your desired result.
Frequently Asked Questions
How can I accurately cut out the rose?Use the selection and masking tools in Photoshop to separate the rose from the background.
Which filter should I use to make the tattoo look realistic?Use the Camera RAW filter to adjust saturation and contrast.
What can I do if I have erased too much of the skin?Use the layer mask with white foreground color to restore the original details.
How can I highlight the skin texture in the tattoo?Create a copy of the arm layer and apply the High Pass filter to make the structure visible.
How can I add color to my tattoo?Reduce the opacity of the black and white correction to bring back color and make the tattoo more vivid.


