In this tutorial, I will show you how to enlarge the breasts of a woman in Photoshop using a simple filter. This technique is particularly useful when you want to quickly adjust or edit a photo without completely changing the original image. You only need the "Liquify" filter to make these adjustments. Let's dive into the details and go through the individual steps.
Main Takeaways
To enlarge the breasts in Photoshop, use the Liquify filter and the Bloat tool. Make sure to work evenly to achieve a natural-looking result. Utilize the Reconstruct tool for corrections and keep an eye on the proportions.
Step-by-Step Guide
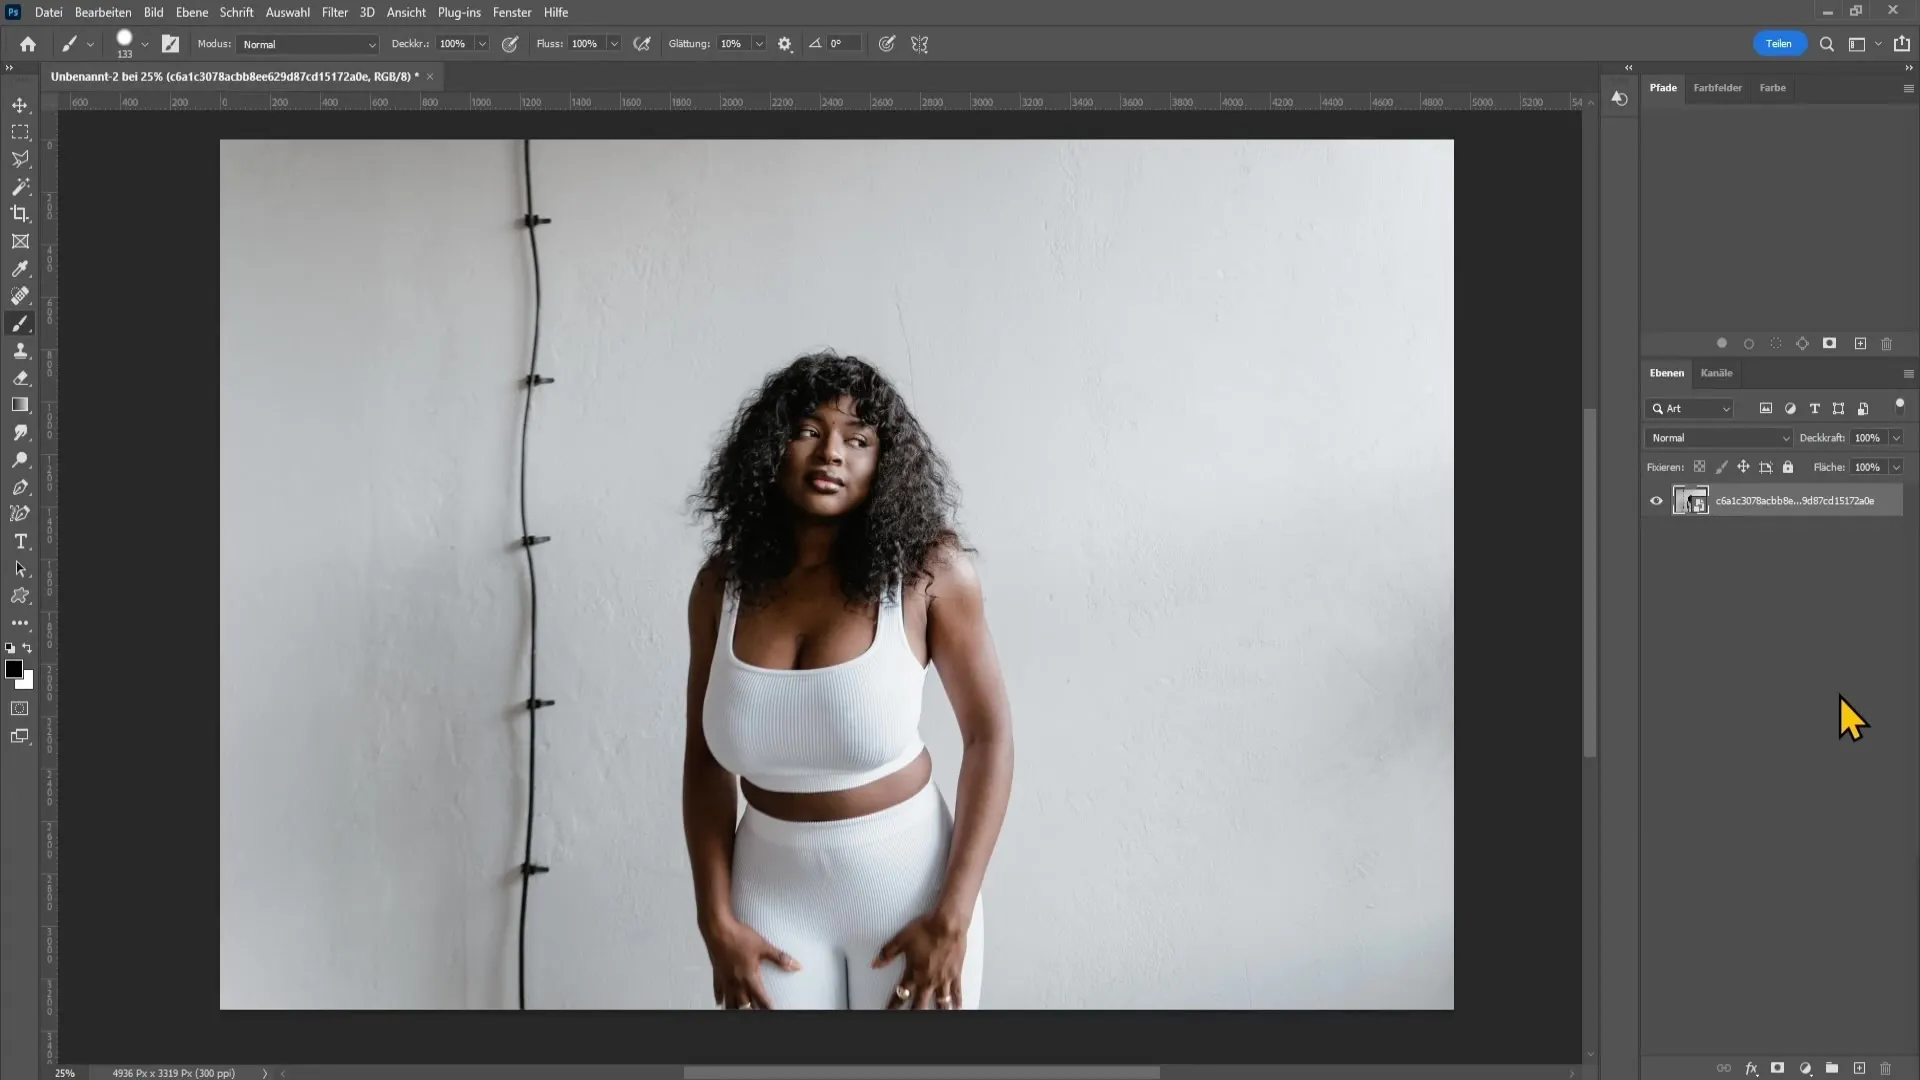
First, open your image in Photoshop.
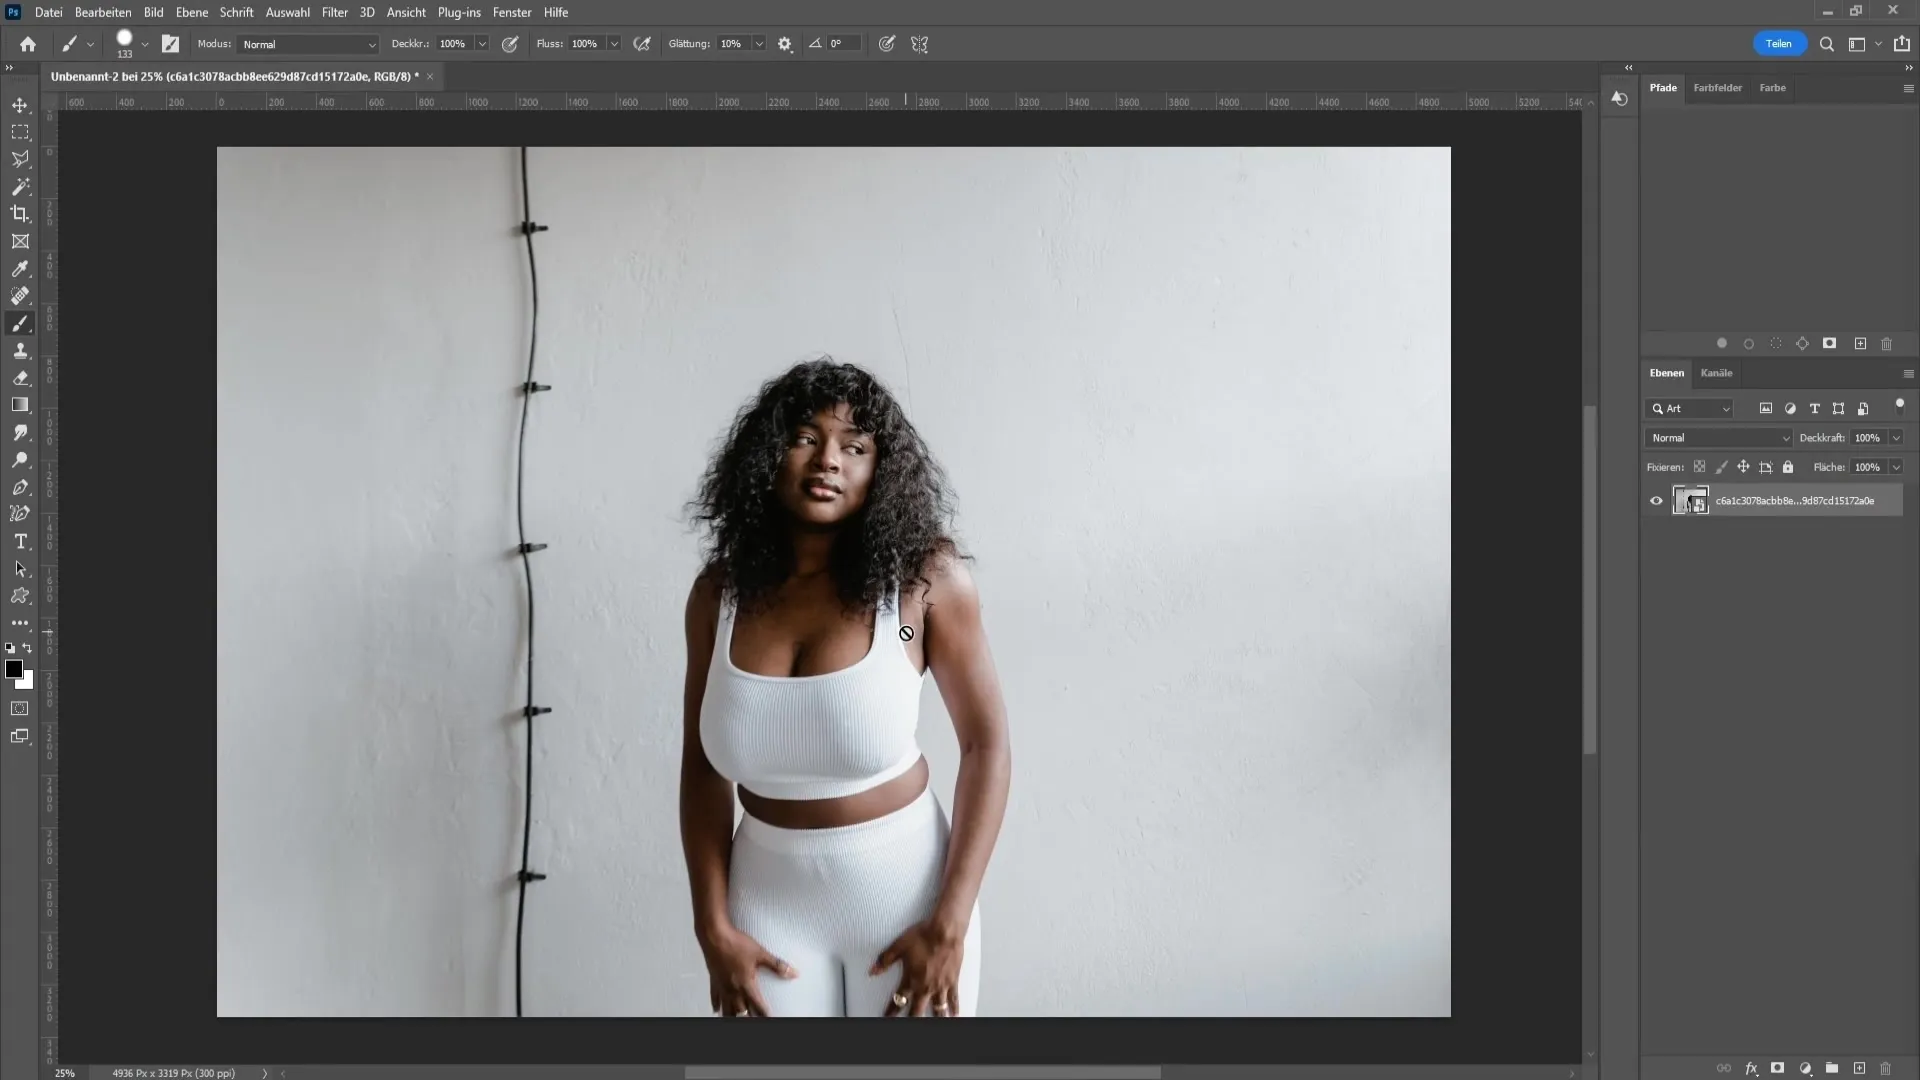
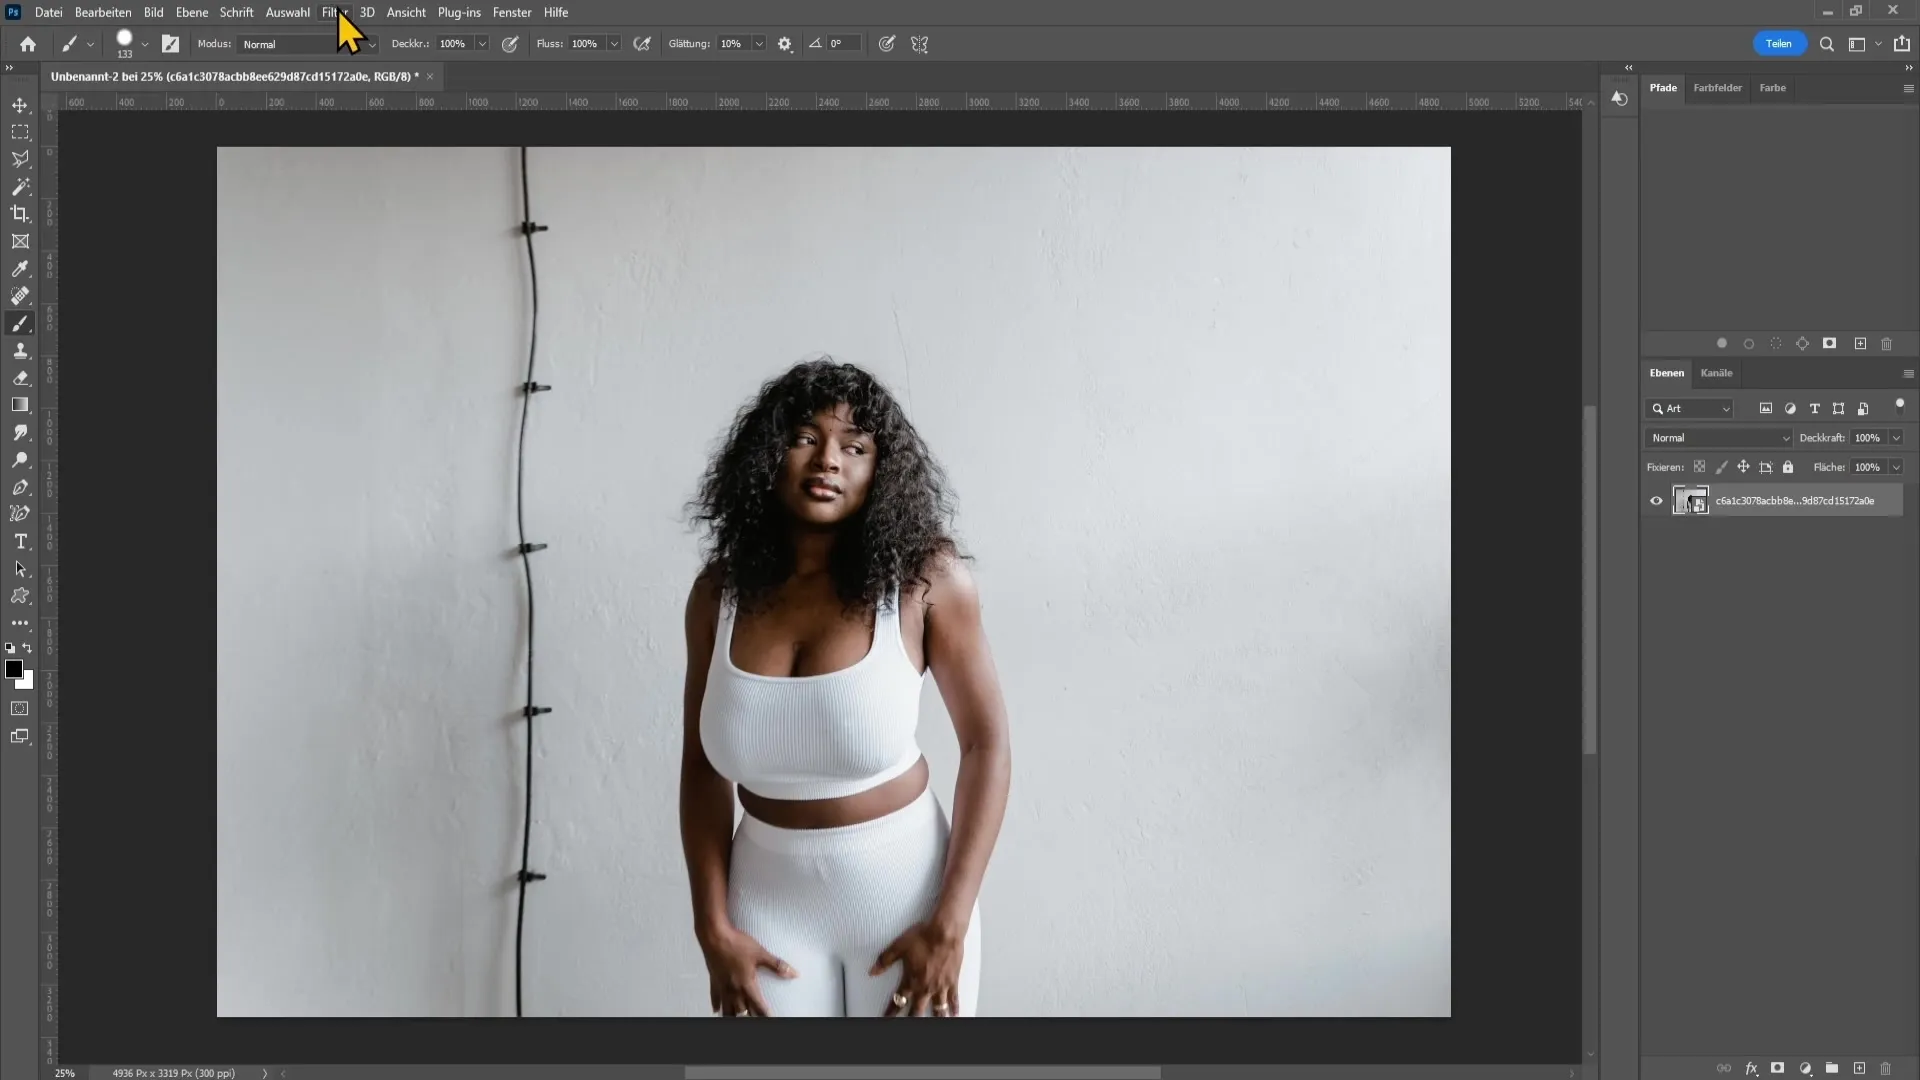
Next, navigate to the menu and select "Filter". From the dropdown menu, choose "Liquify".
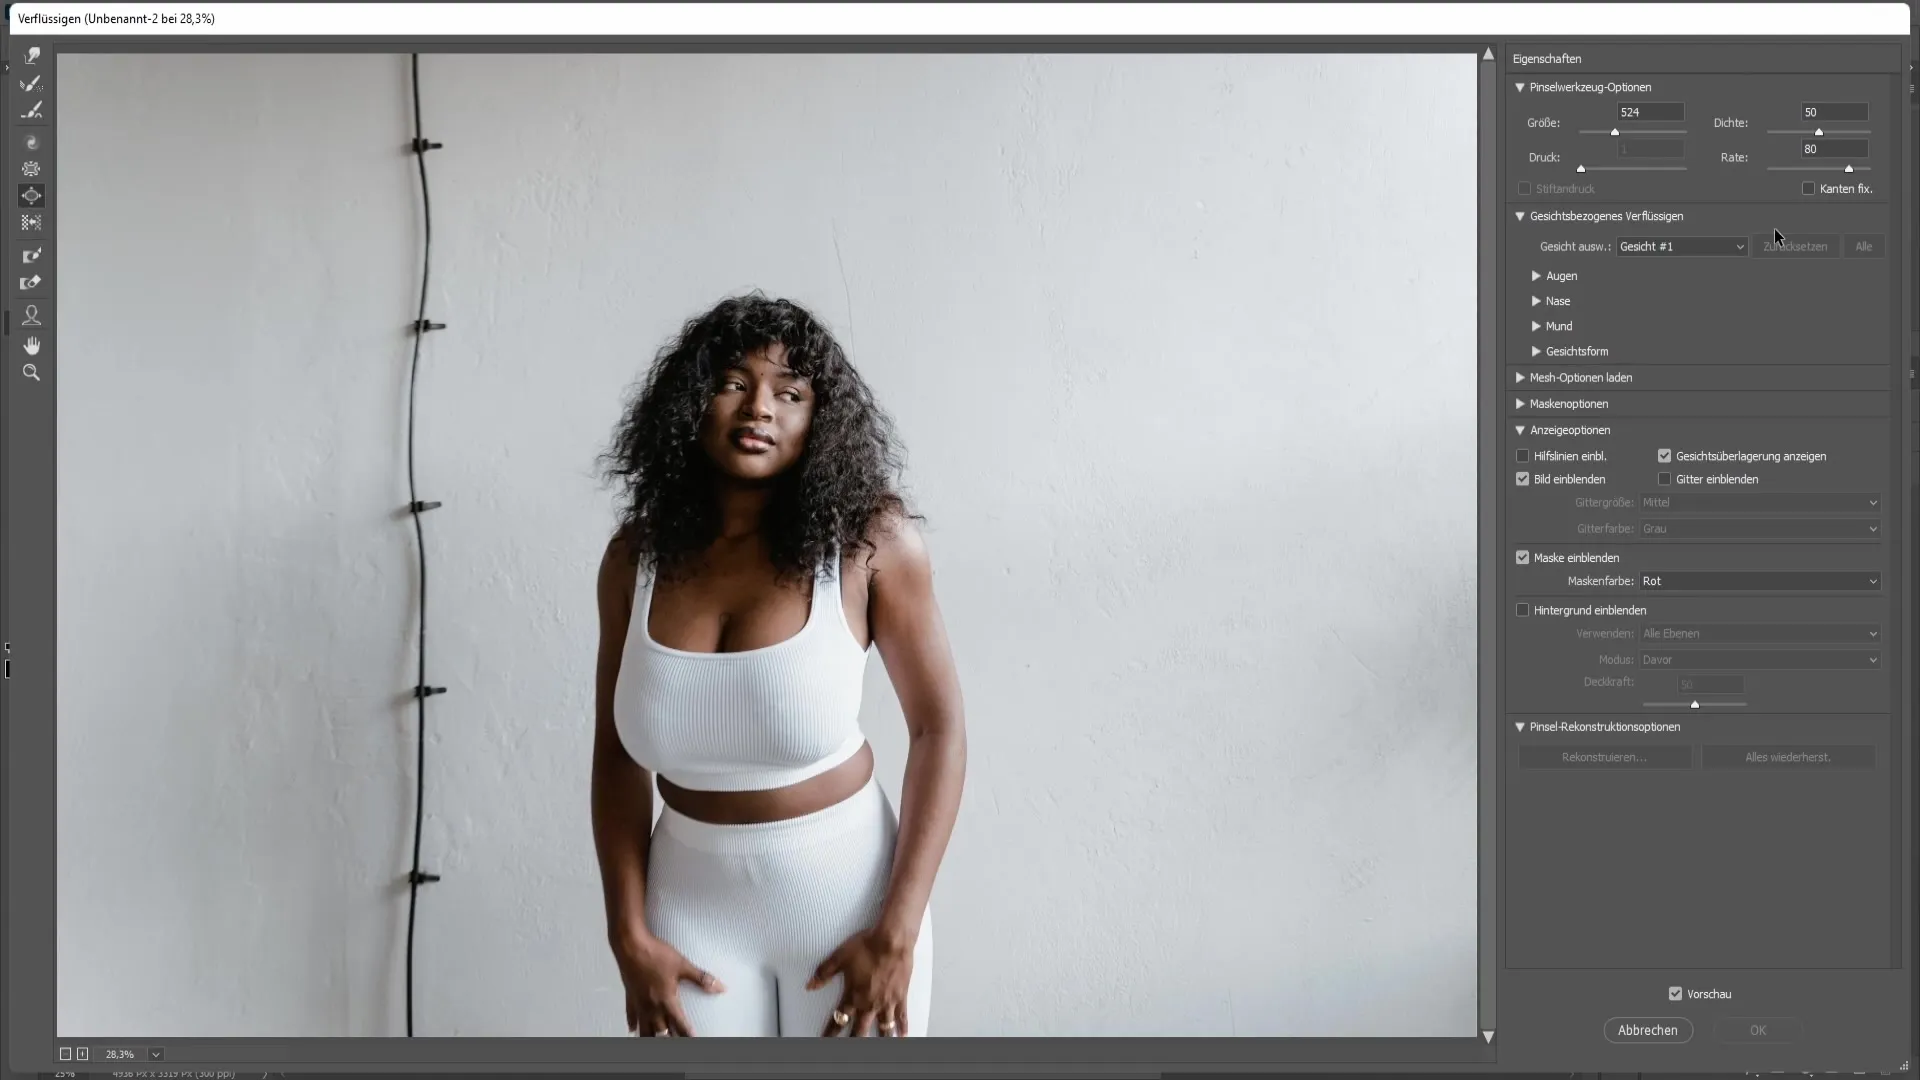
Once in the Liquify window, you will find several tools on the left side. For enlarging the breasts, you will need the Bloat tool. Select this tool.
Now, on the right side, you can adjust the settings for the Bloat tool. Here you can define the size and strength of the brush. I recommend keeping the values at the default settings initially and then adjusting as needed.
To make the changes, zoom into the image slightly. While doing so, press and hold the left mouse button and move over the breast to enlarge it.
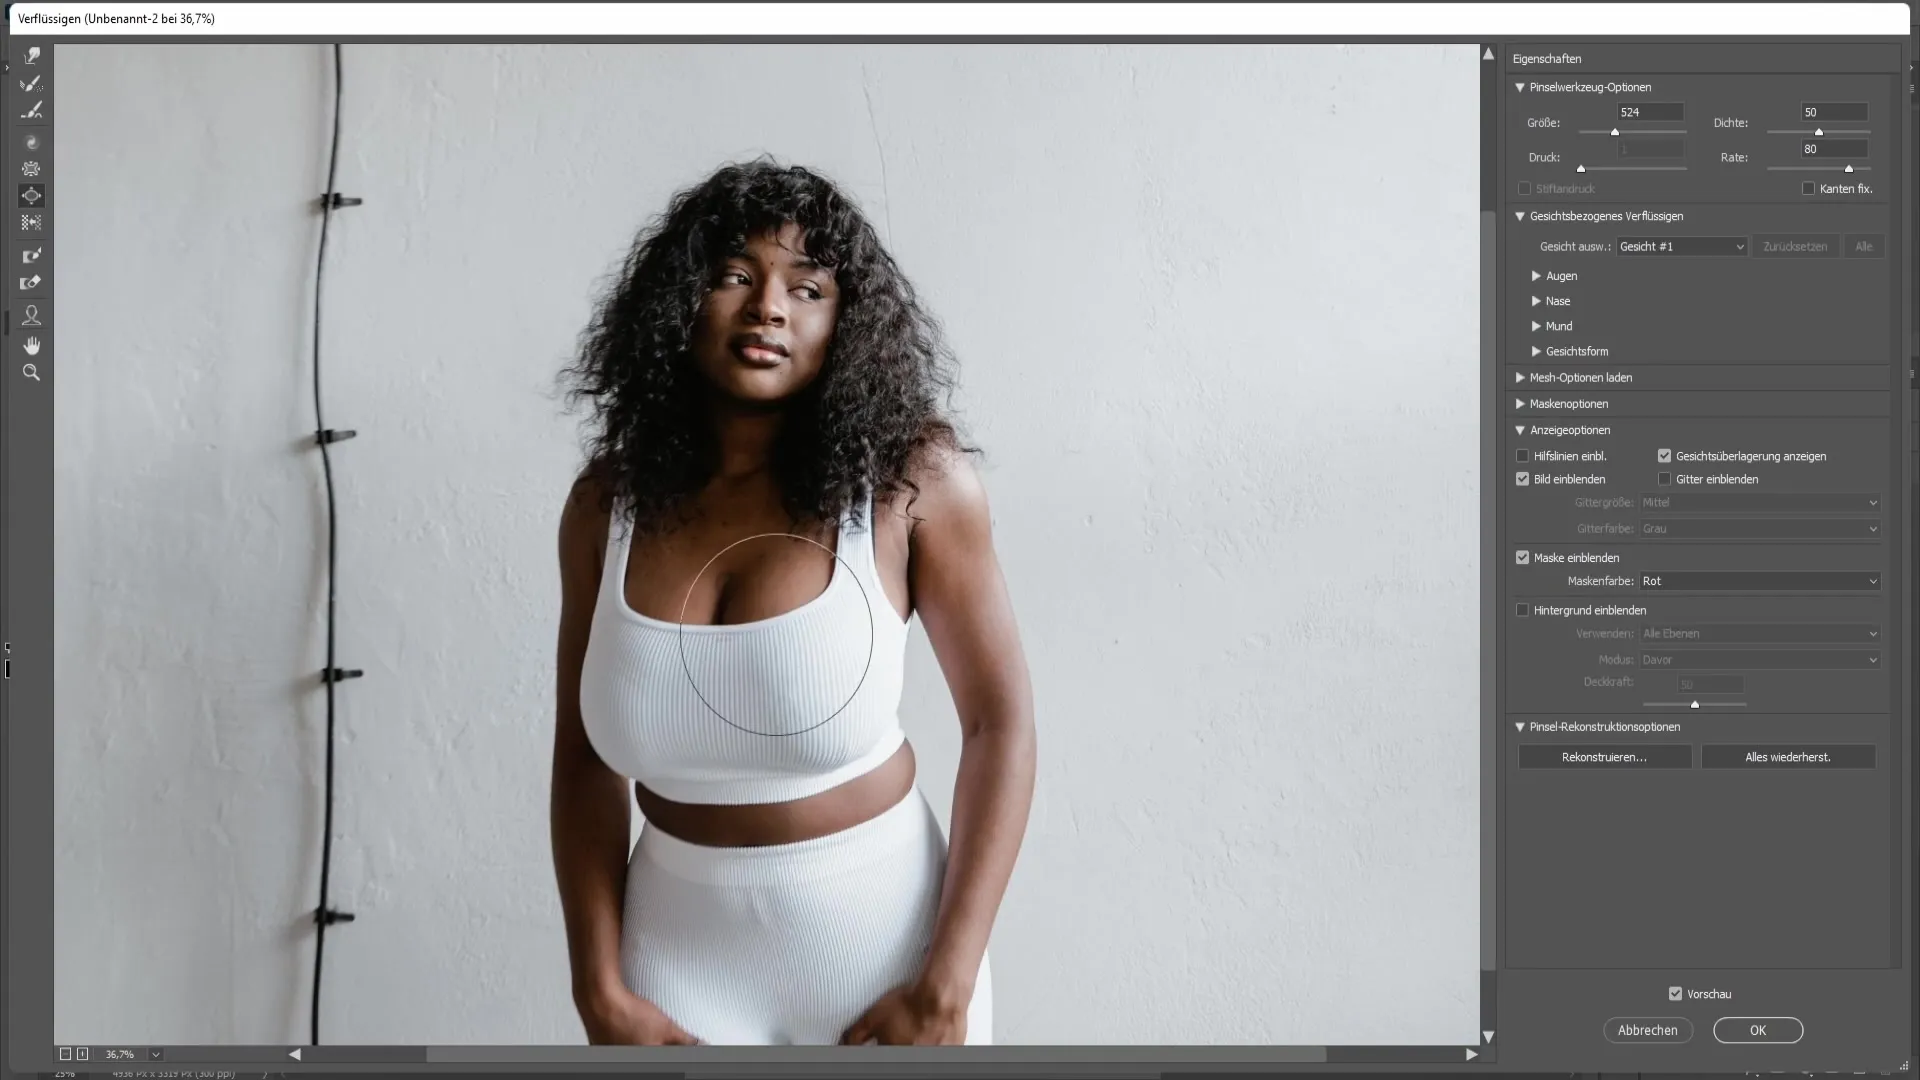
When working with the brush, it is important to adjust its size accordingly. If the brush is too large, it may unintentionally enlarge other areas of the image as well. Make sure the brush is tailored to the breast alone.
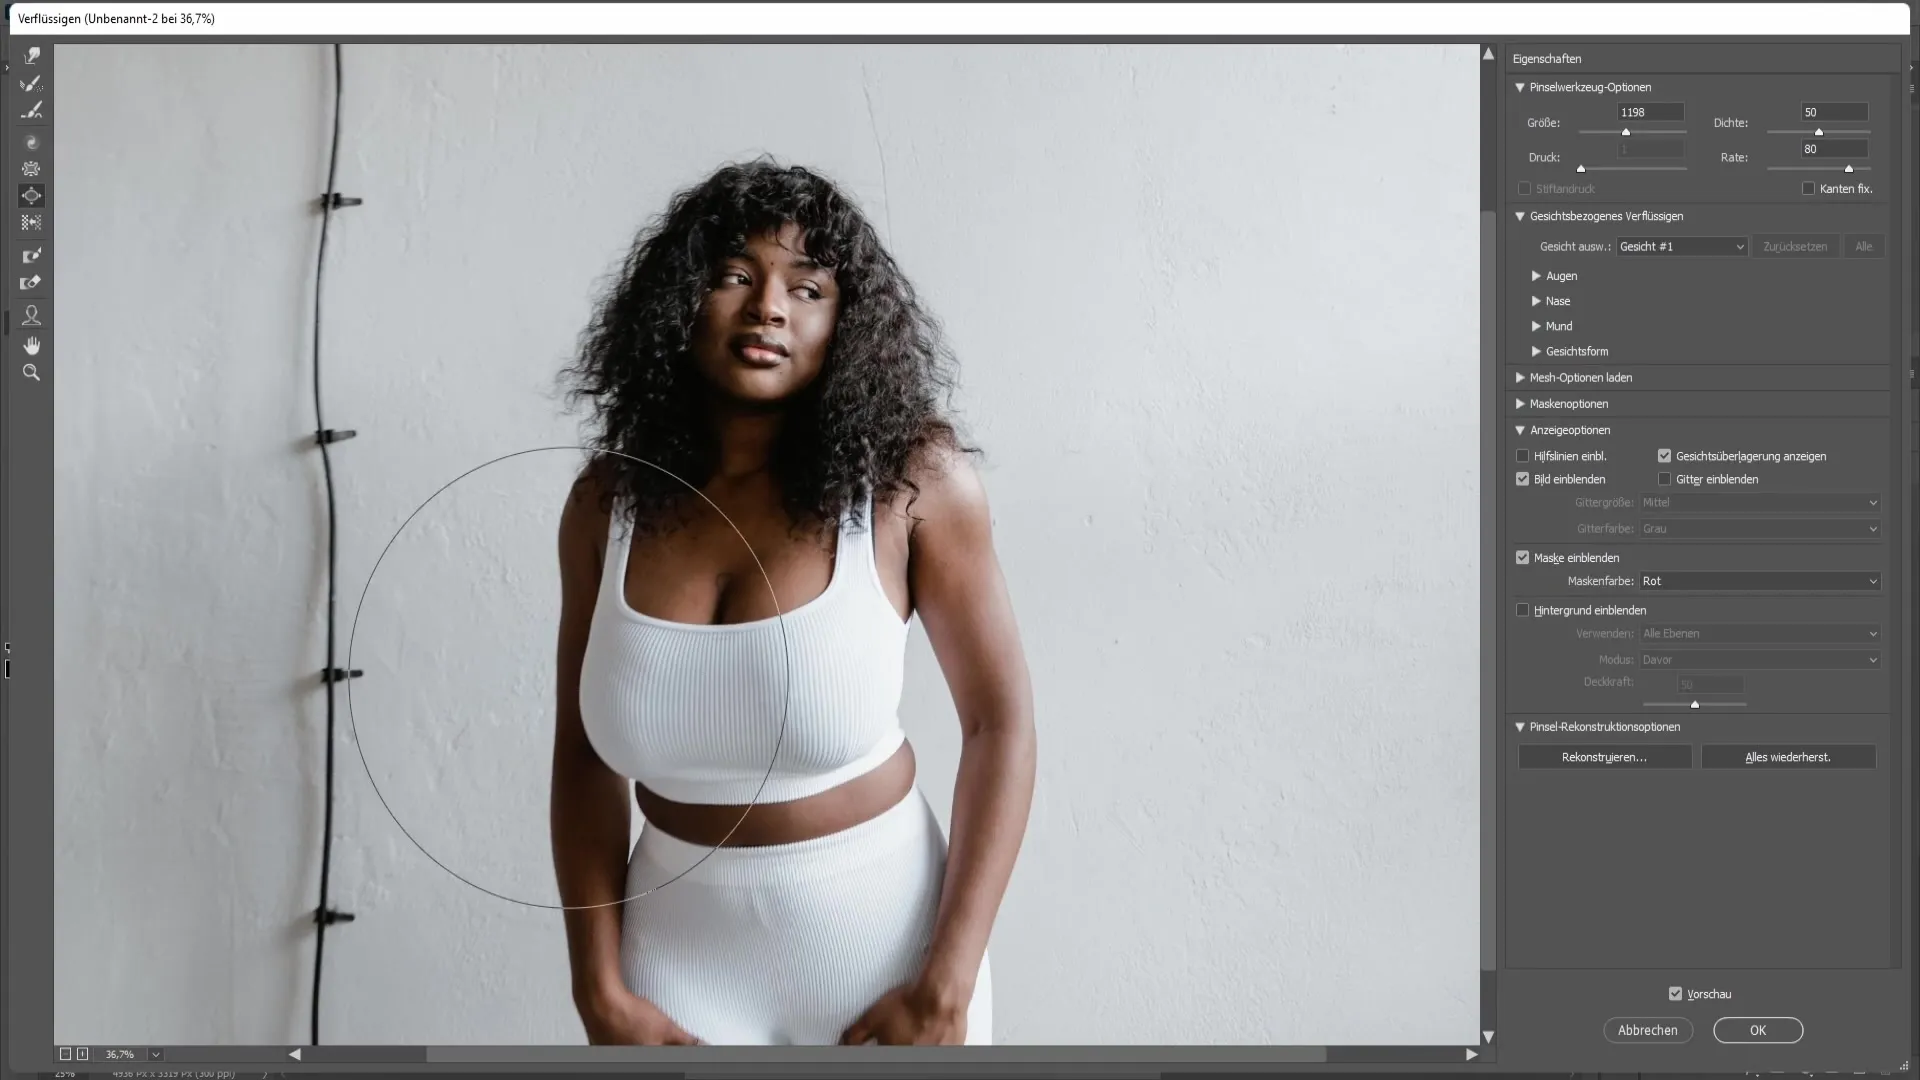
Work carefully and release the left mouse button regularly to control the changes. Ensure to enlarge the breasts evenly to maintain a natural look in the image.
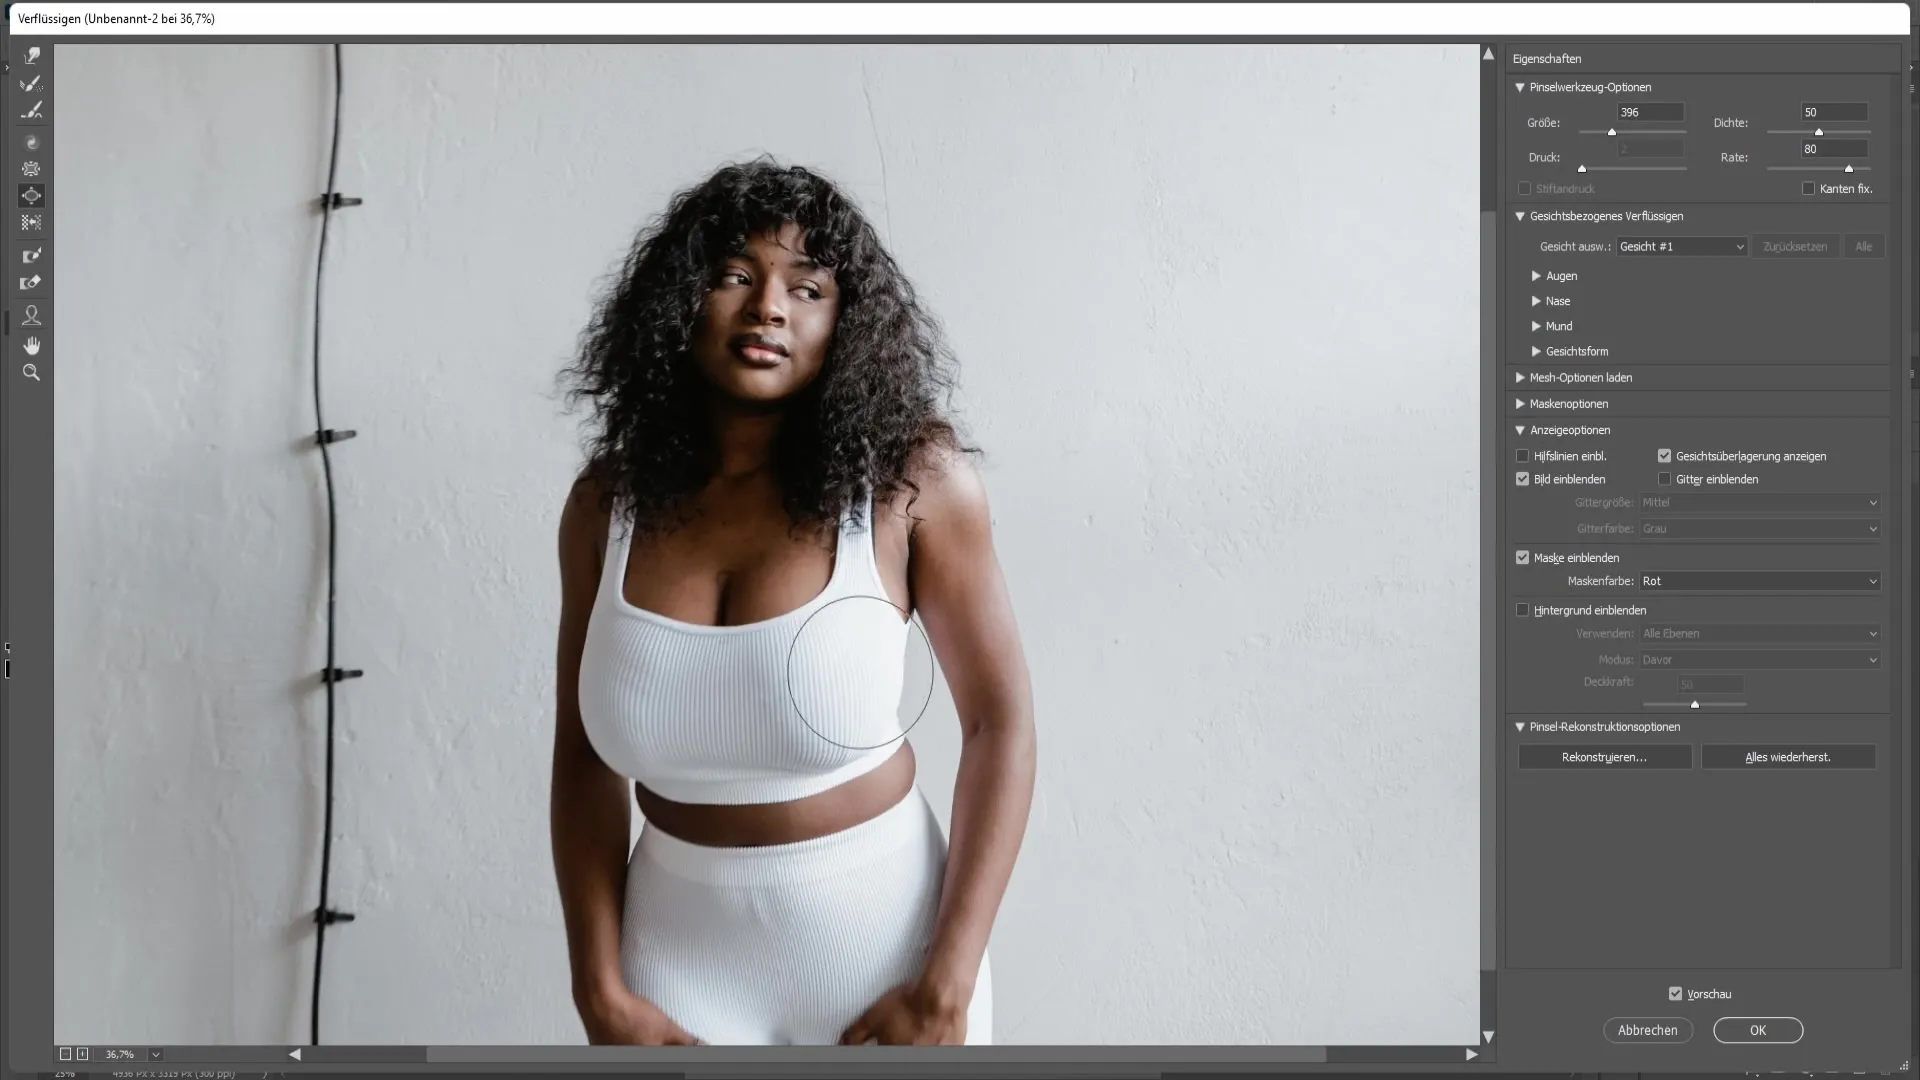
When enlarging one breast, proceed to the next step: Check if the right breast is the same size as the left. Inconsistencies can make the result appear unnatural.
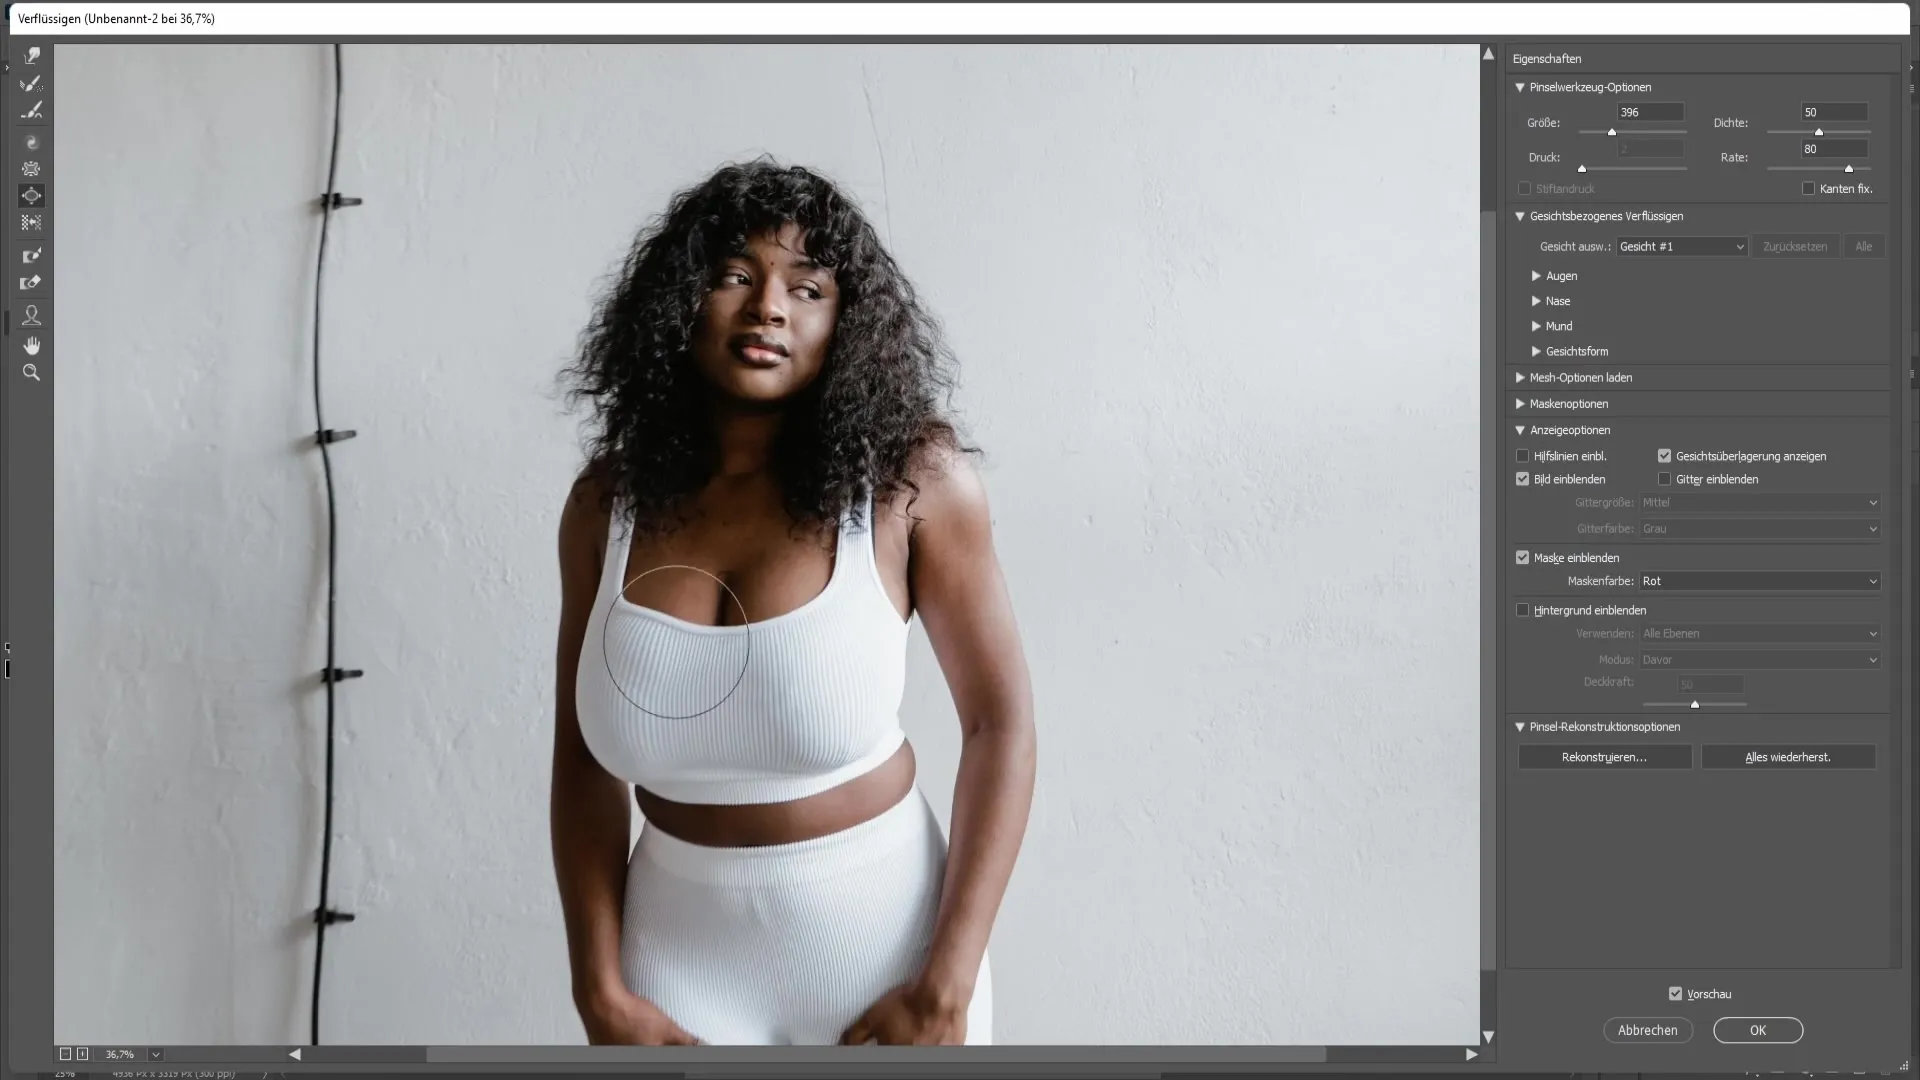
After enlarging, you may need to adjust some areas of the image. For example, if parts that you did not modify are unintentionally affected, you can use the Reconstruct tool. Select it at the top left in the tool area.
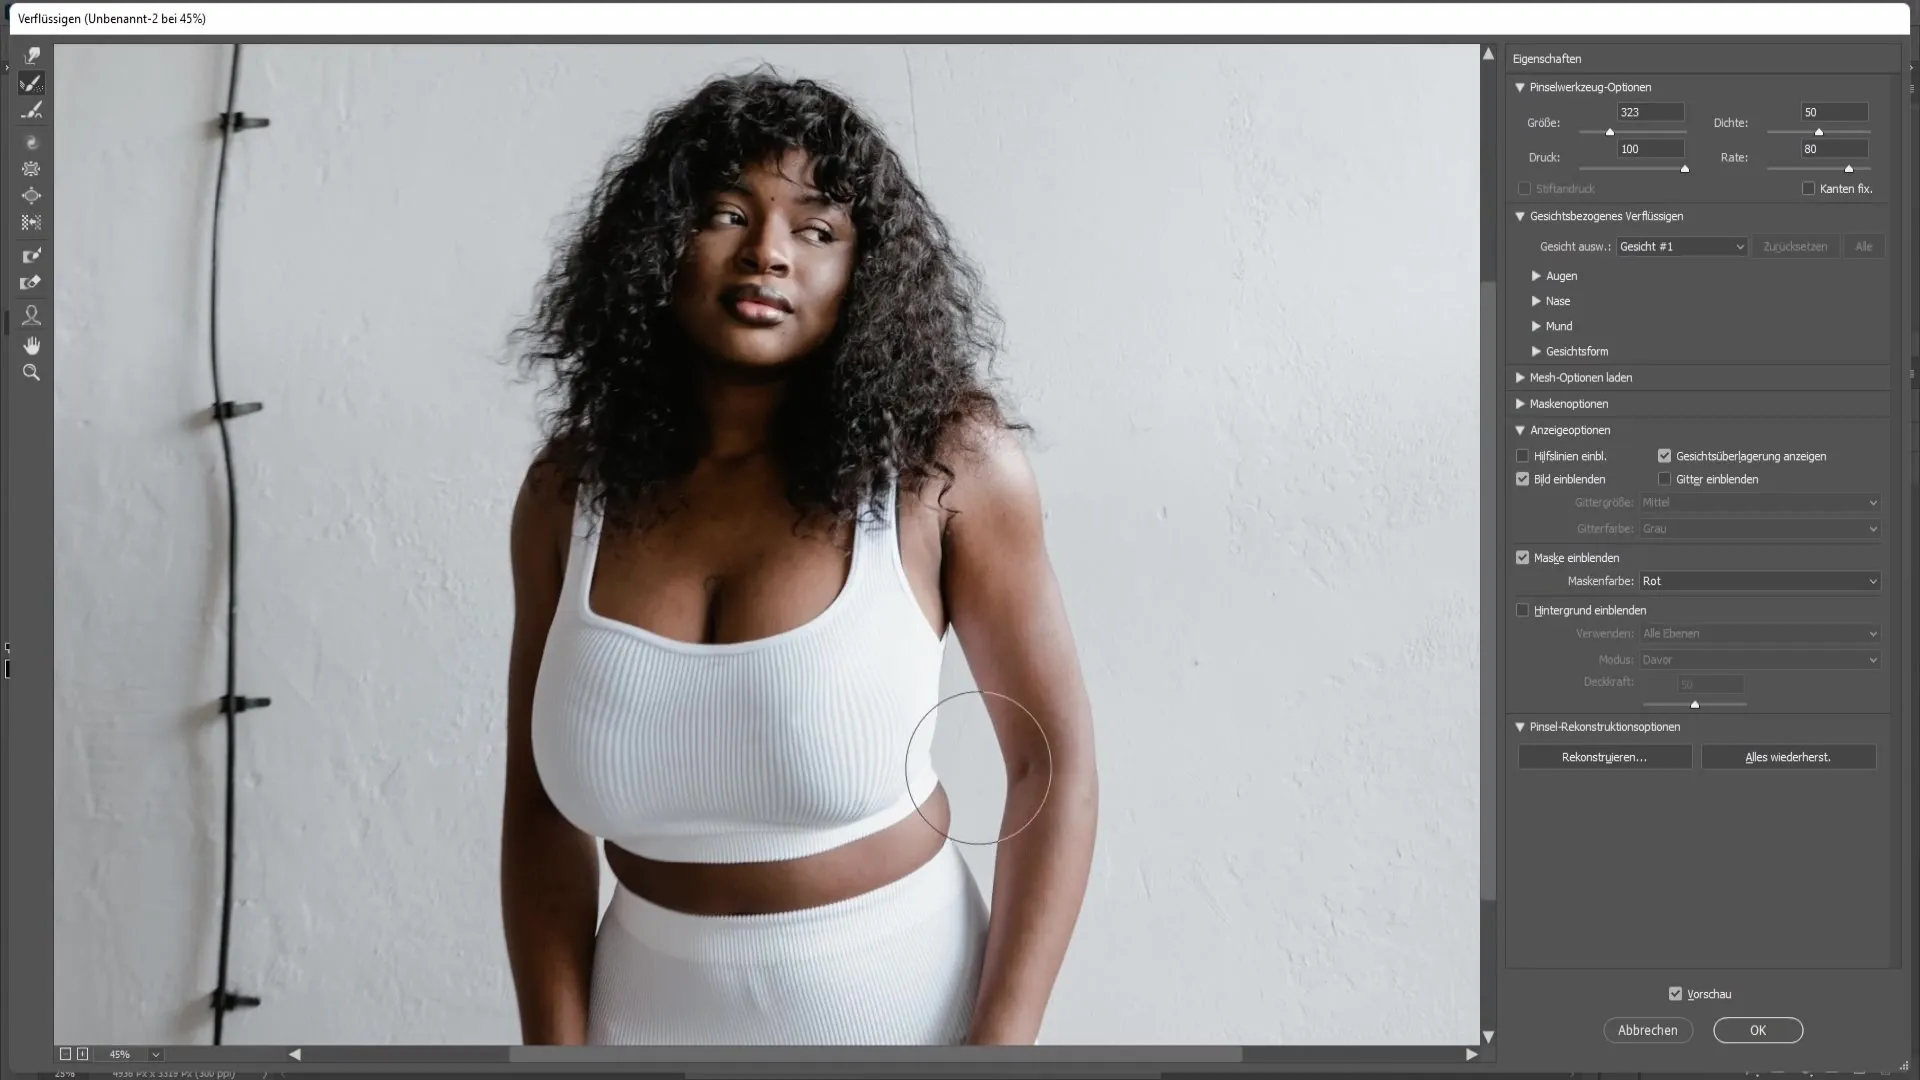
Carefully move over the areas you want to restore. Ensure you do this gently. It may require some practice but can be quickly mastered with patience.
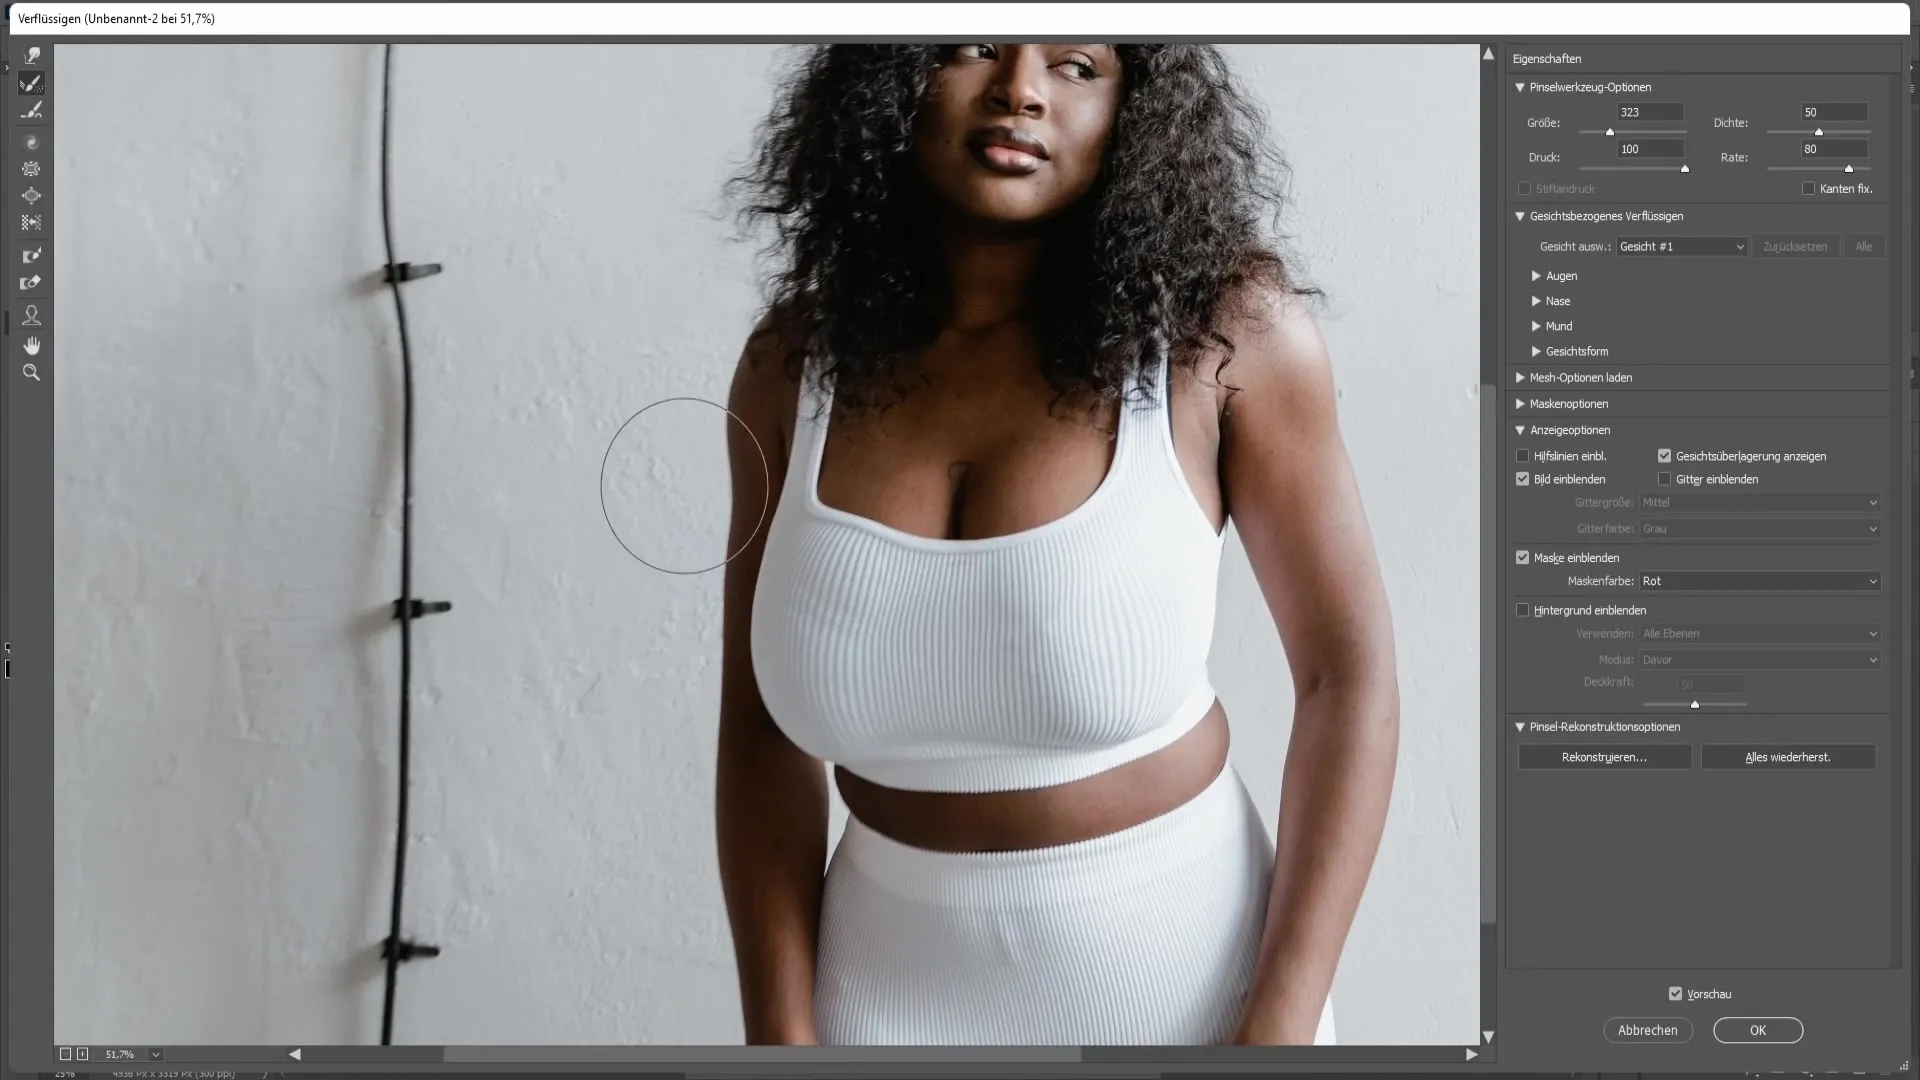
To ensure all corrections look good, activate the preview of the changes by clicking on the Preview button in the lower right corner.
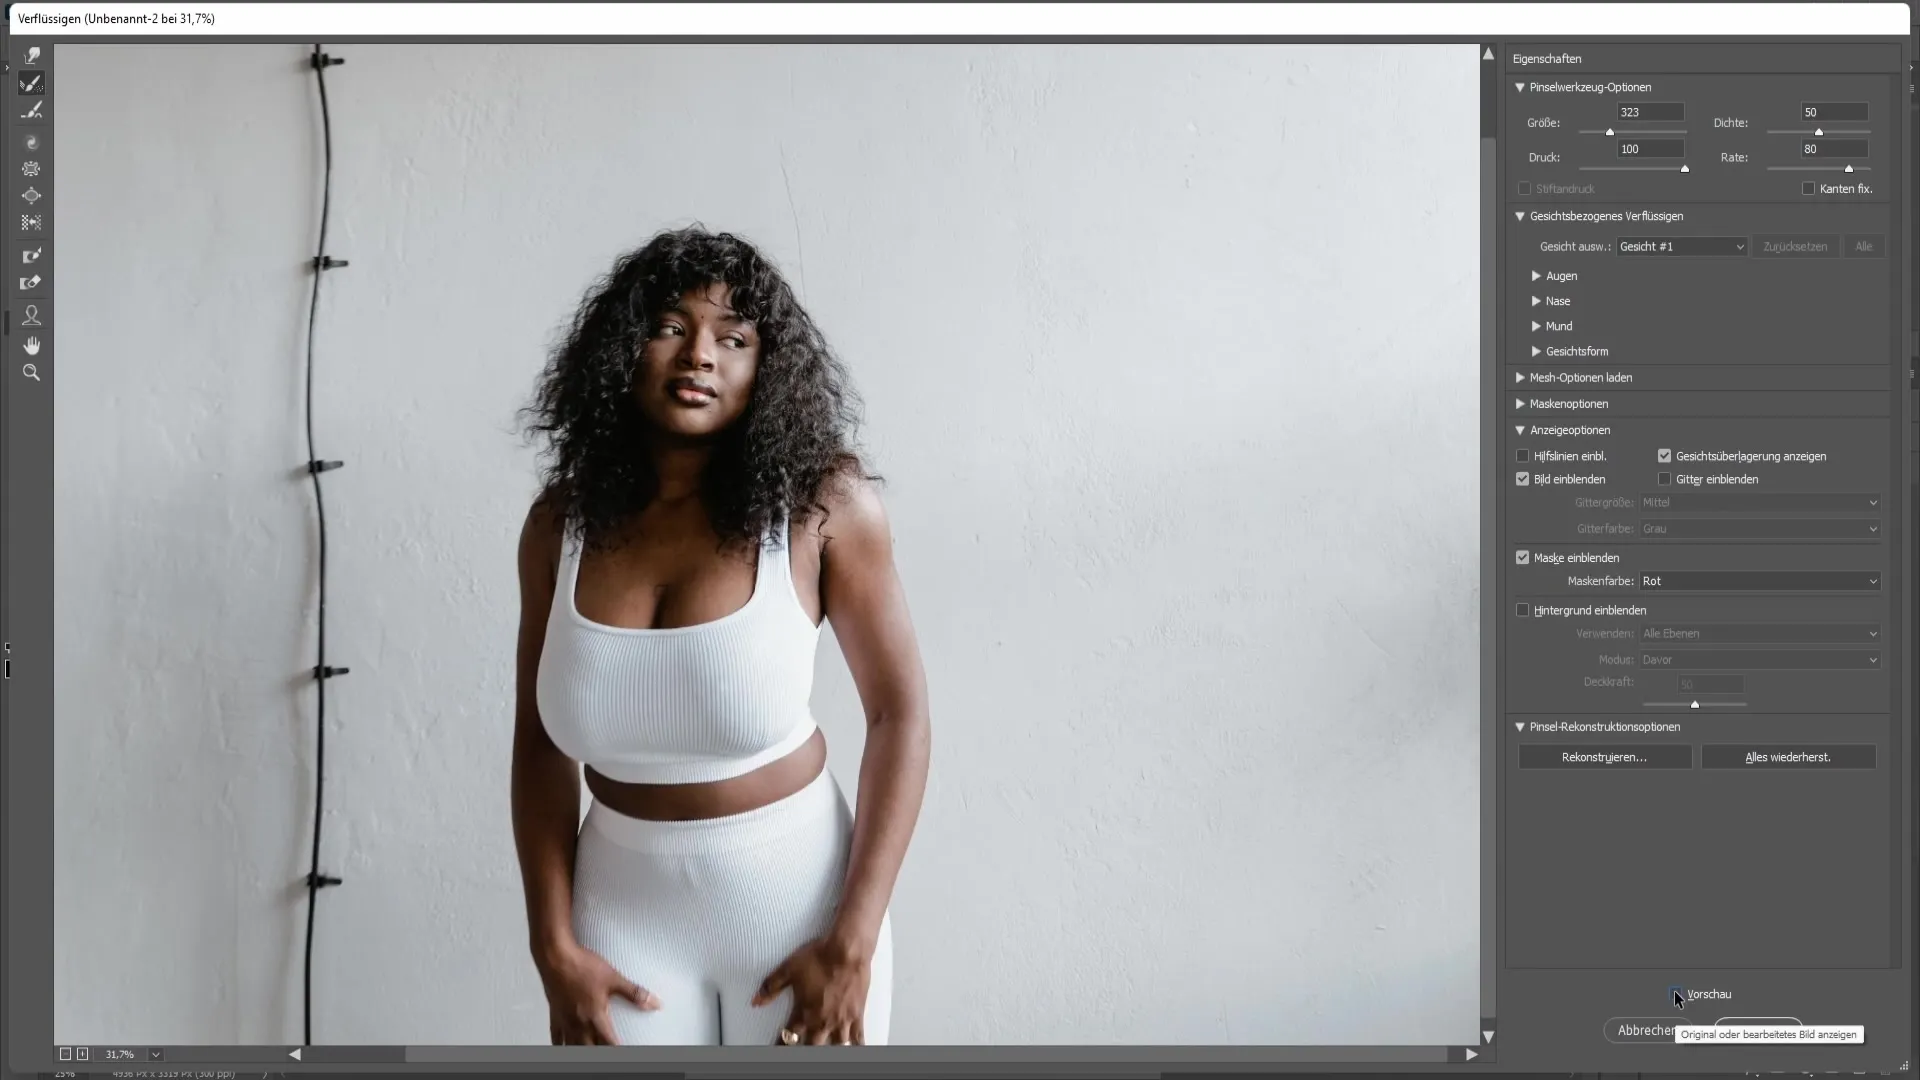
Once you are satisfied with your work, confirm the changes by clicking "OK".
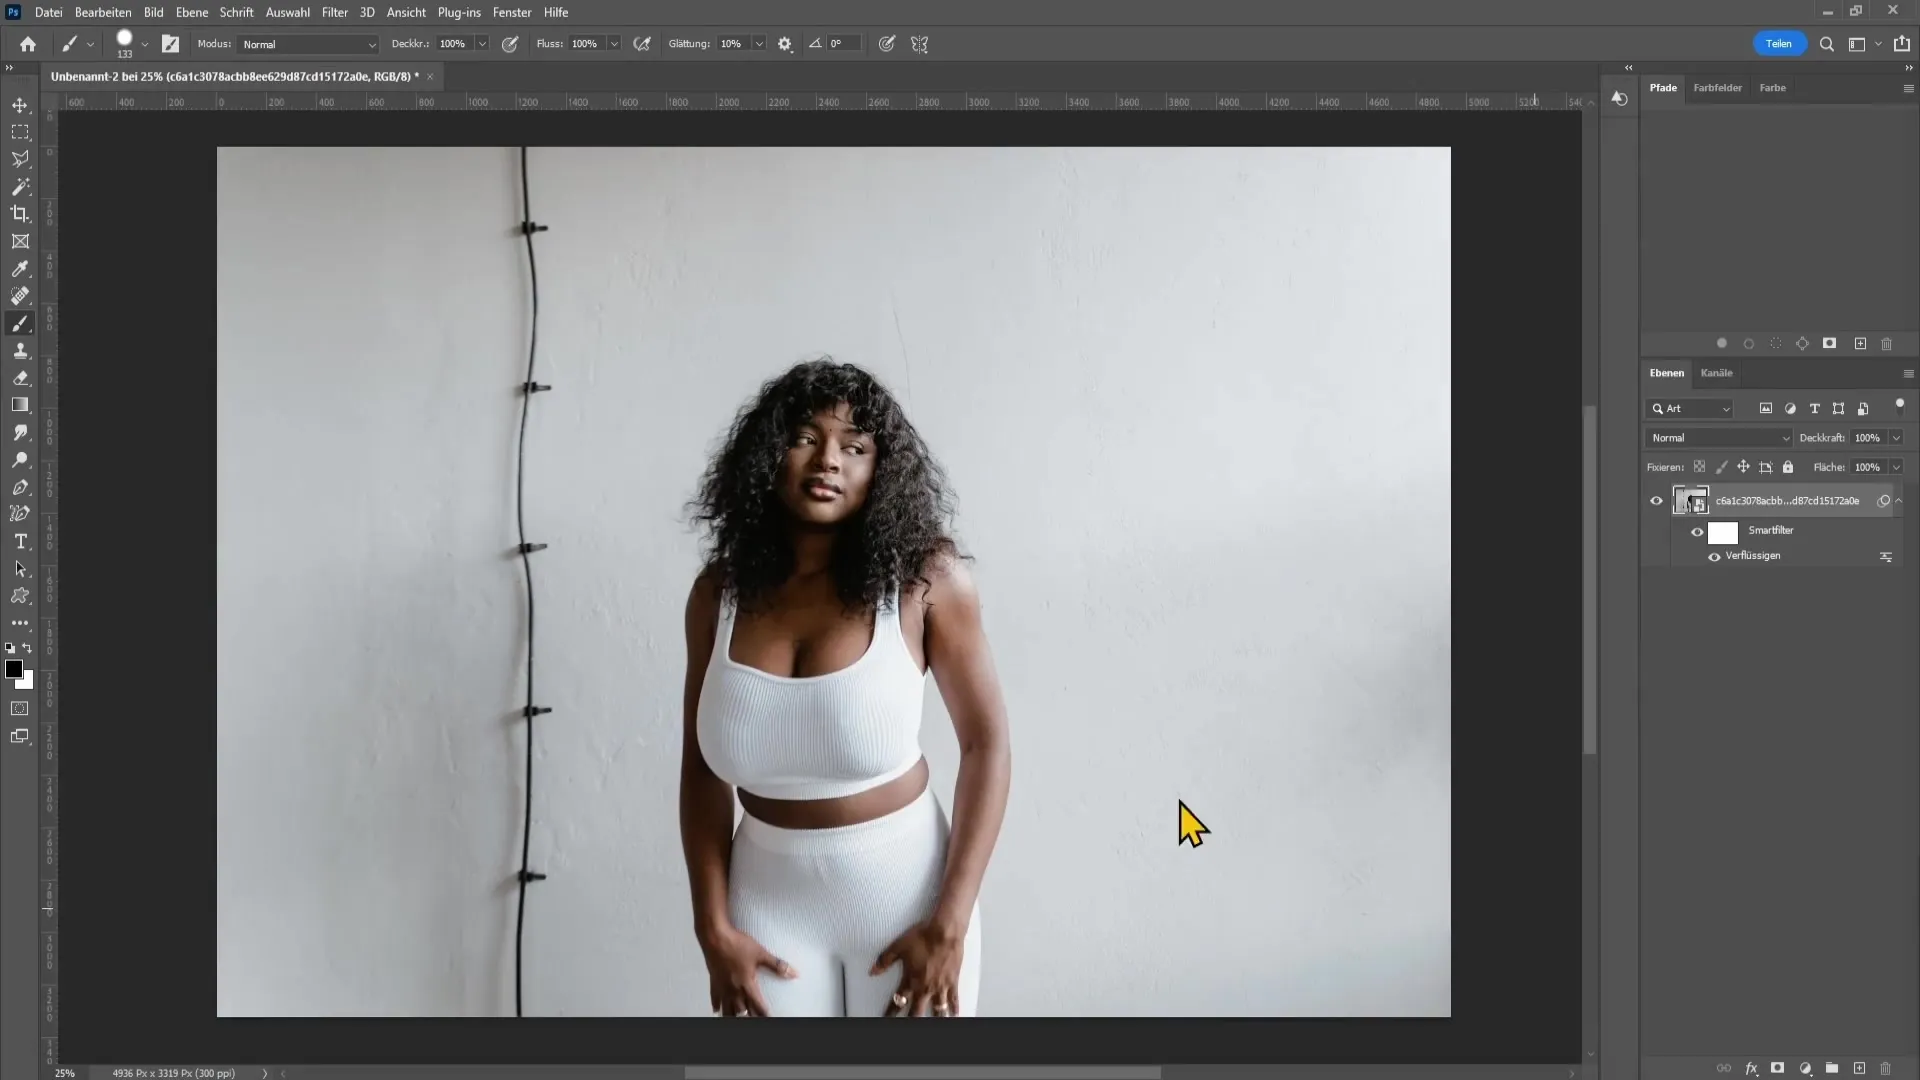
Summary
In this tutorial, you have learned how to enlarge a woman's breasts in Photoshop. By using the Liquify filter and the Bloat tool, you can make the desired adjustments quickly and efficiently. Remember to find a balance to achieve a more natural result and always review your changes.
Frequently Asked Questions
How do I save the edited image in Photoshop?To save the edited image, go to "File" and select "Save As".
Can I undo the changes?Yes, you can readjust the changes in the Liquify filter as long as the window is open.
Do I need to make the changes evenly?Yes, to achieve a natural result, the enlargement should be done evenly on both sides.
Is this technique applicable to other body parts?Yes, the concept can also be used for other body parts by using the corresponding tools in the Liquify filter.


