In this tutorial, you will learn step by step how to create your own photo collage with Photoshop. Whether you want to capture memories of your last vacation or simply want to be creative - with these techniques, you are well equipped to design an appealing collage. I will also give you tips on how to choose the images so they fit well together.
Main Takeaways
- Choose the correct settings for creating the document.
- Use guides to arrange the images evenly.
- Insert images by drag & drop and transform if needed.
- Adjust the background to give the collage the final touch.
- Export the collage for printing.
Step-by-Step Guide
First, you need to create a new document in Photoshop, specifically for your collage. Go to the left side and click on "create new". Here you can set the print settings. Assuming you want to print your collage, choose A4 under "size" and make sure the width and height are not altered. Additionally, a resolution of 300 dpi is optimal for printing. Choose CMYK as the color mode if the collage is to be printed. When you're done, click on "create".

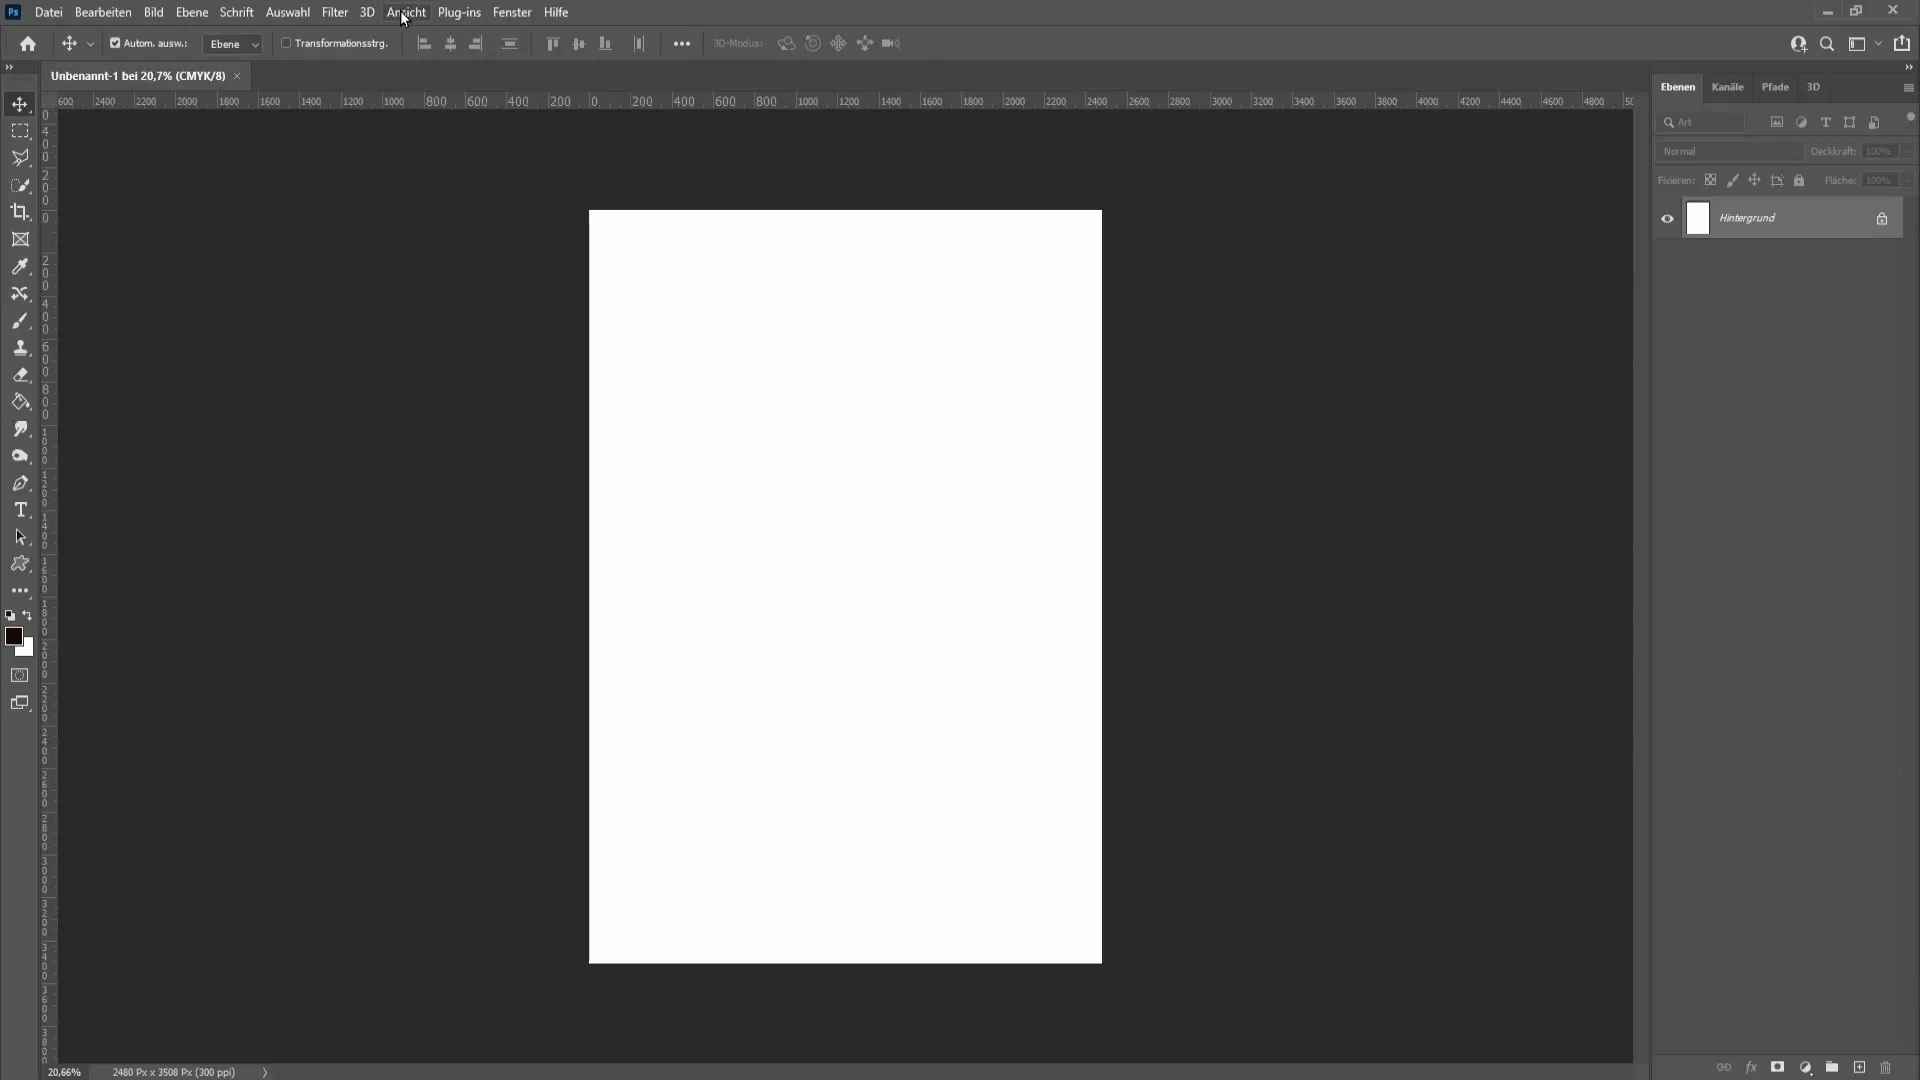
To assist you with the layout, you can create a guides layout. Go to "View", select "New Guides Layout". Here you can adjust the values to create the layout for your collage. These guides will help you arrange the images neatly later on. Click "OK" when you are satisfied.
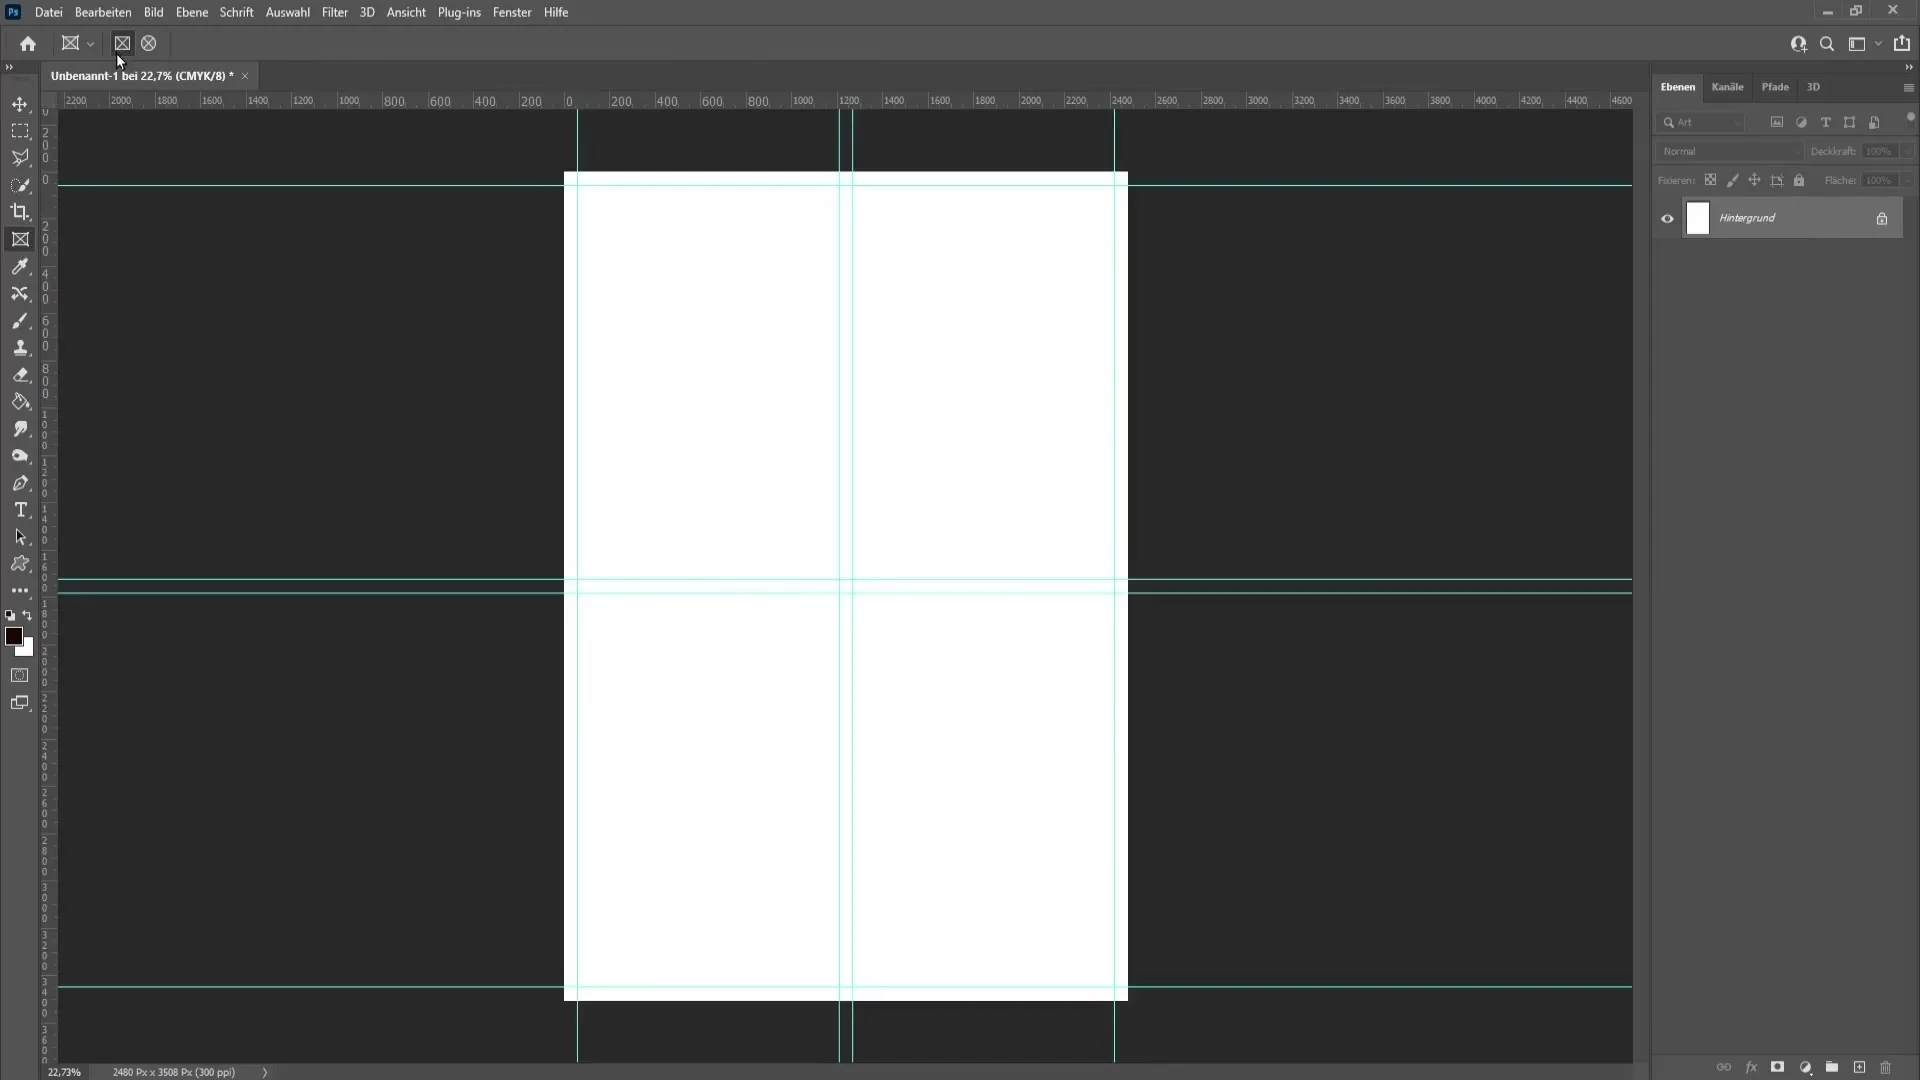
Next, you need the frame tool, which you can find on the left in the toolbar. Make sure the first symbol is selected and drag out a frame from a corner point. The guides will help you align it correctly. Repeat this step to create several frames for your images. You can also choose round frames if you wish, but in this tutorial, we are working with rectangular frames.
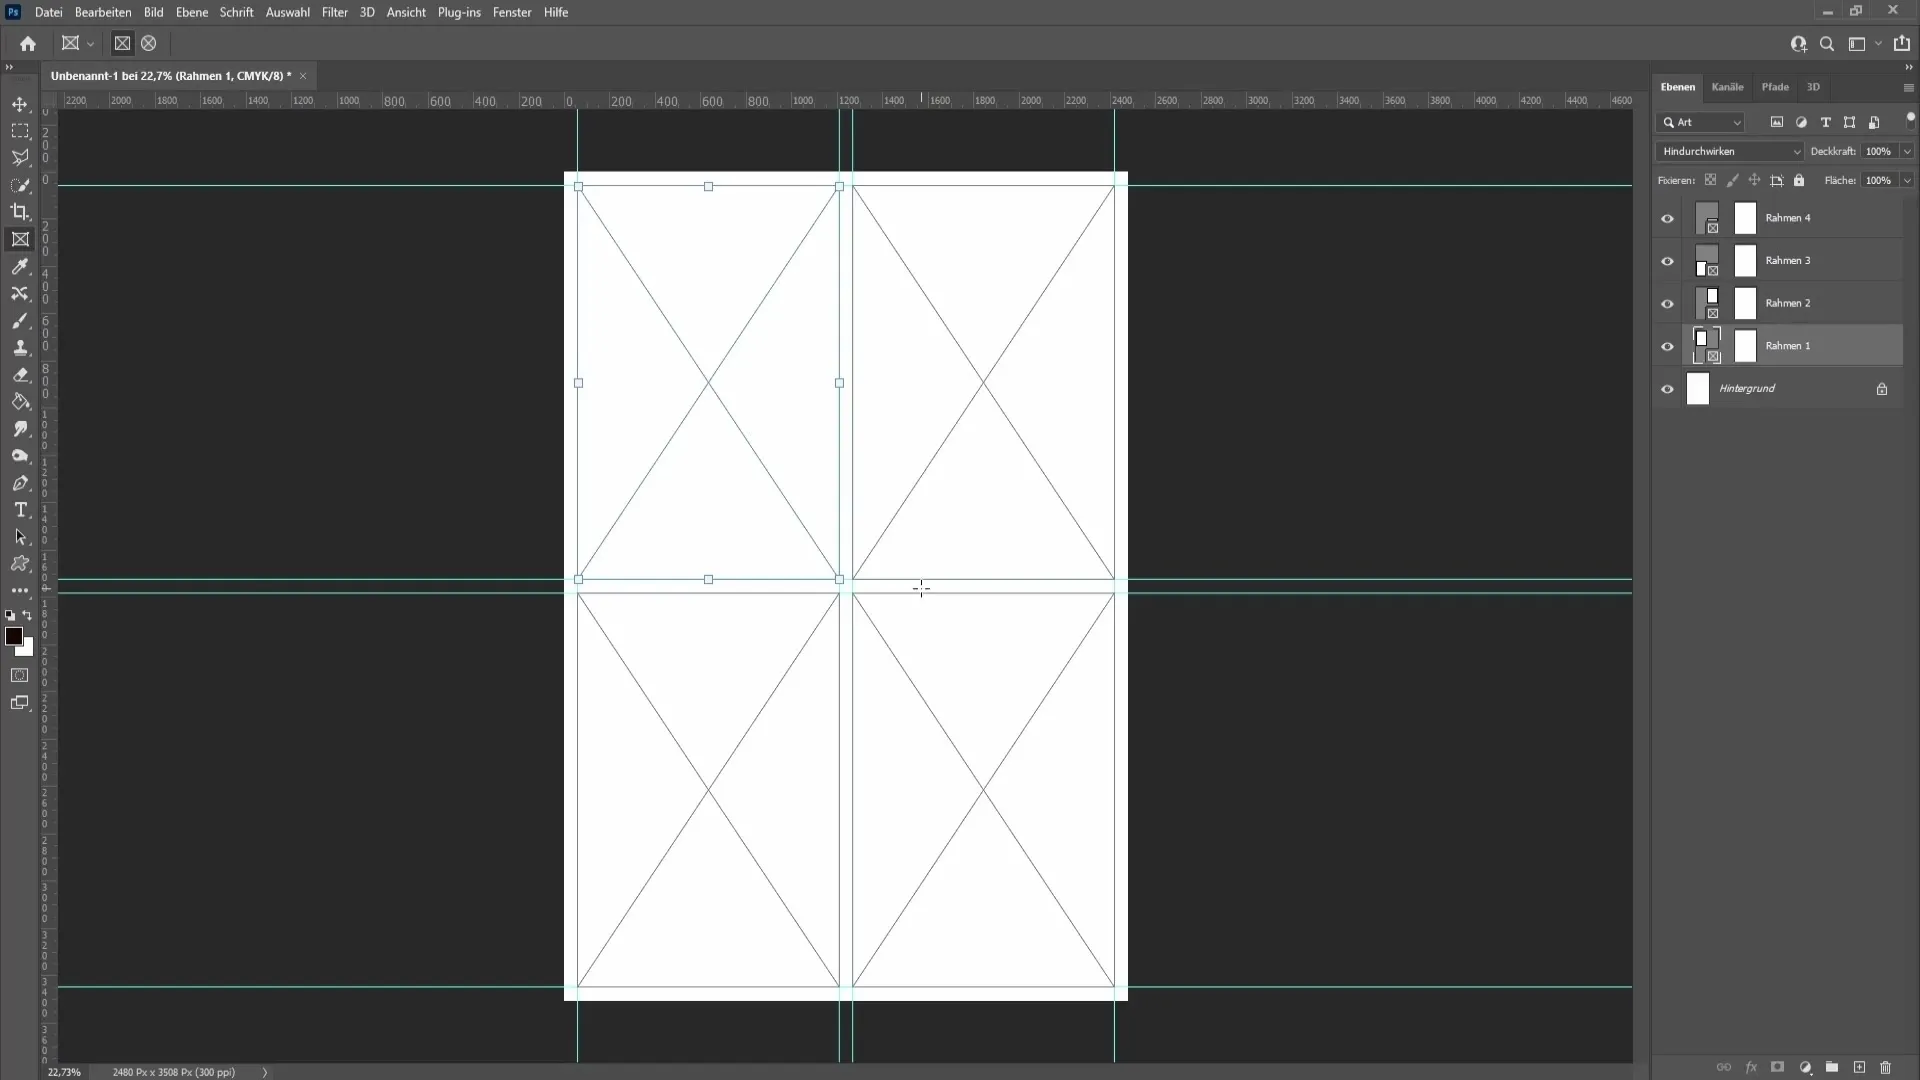
Now, the question is how a good collage can look. Make sure to use images that thematically fit together. For example, you could select images from spring displaying vibrant green colors. An interesting idea is to create a collage with the four seasons. You can place a spring image above, a summer image to the left, a fall image bottom left, and a winter image bottom right. In this tutorial, I will use nature images to demonstrate it to you.
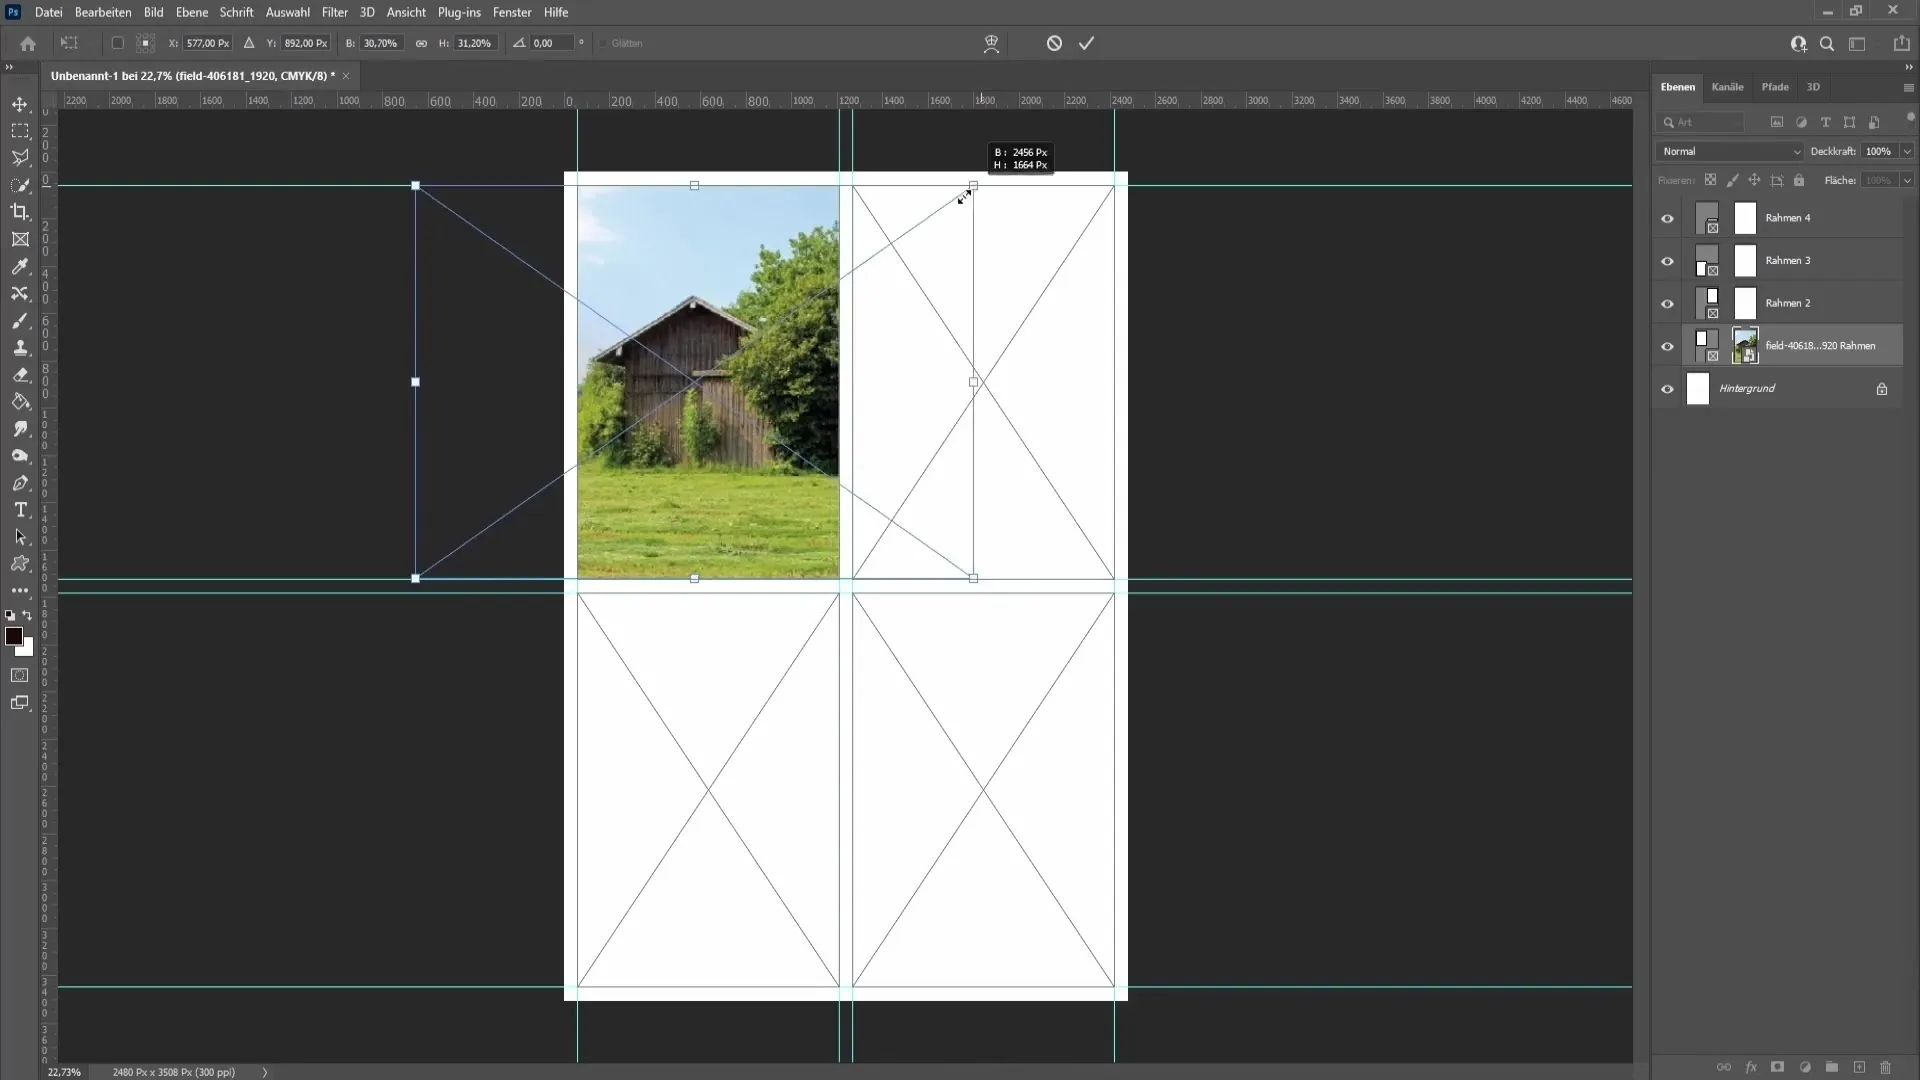
Simply drag and drop an image into the corresponding frame. You will see that the image is inserted automatically, and you can adjust it as you like. To transform the image, press the "Ctrl" (or "Cmd" on Mac) and "T" keys. Hold the Shift key to ensure you resize the image proportionally, and confirm the adjustments with the Enter key.
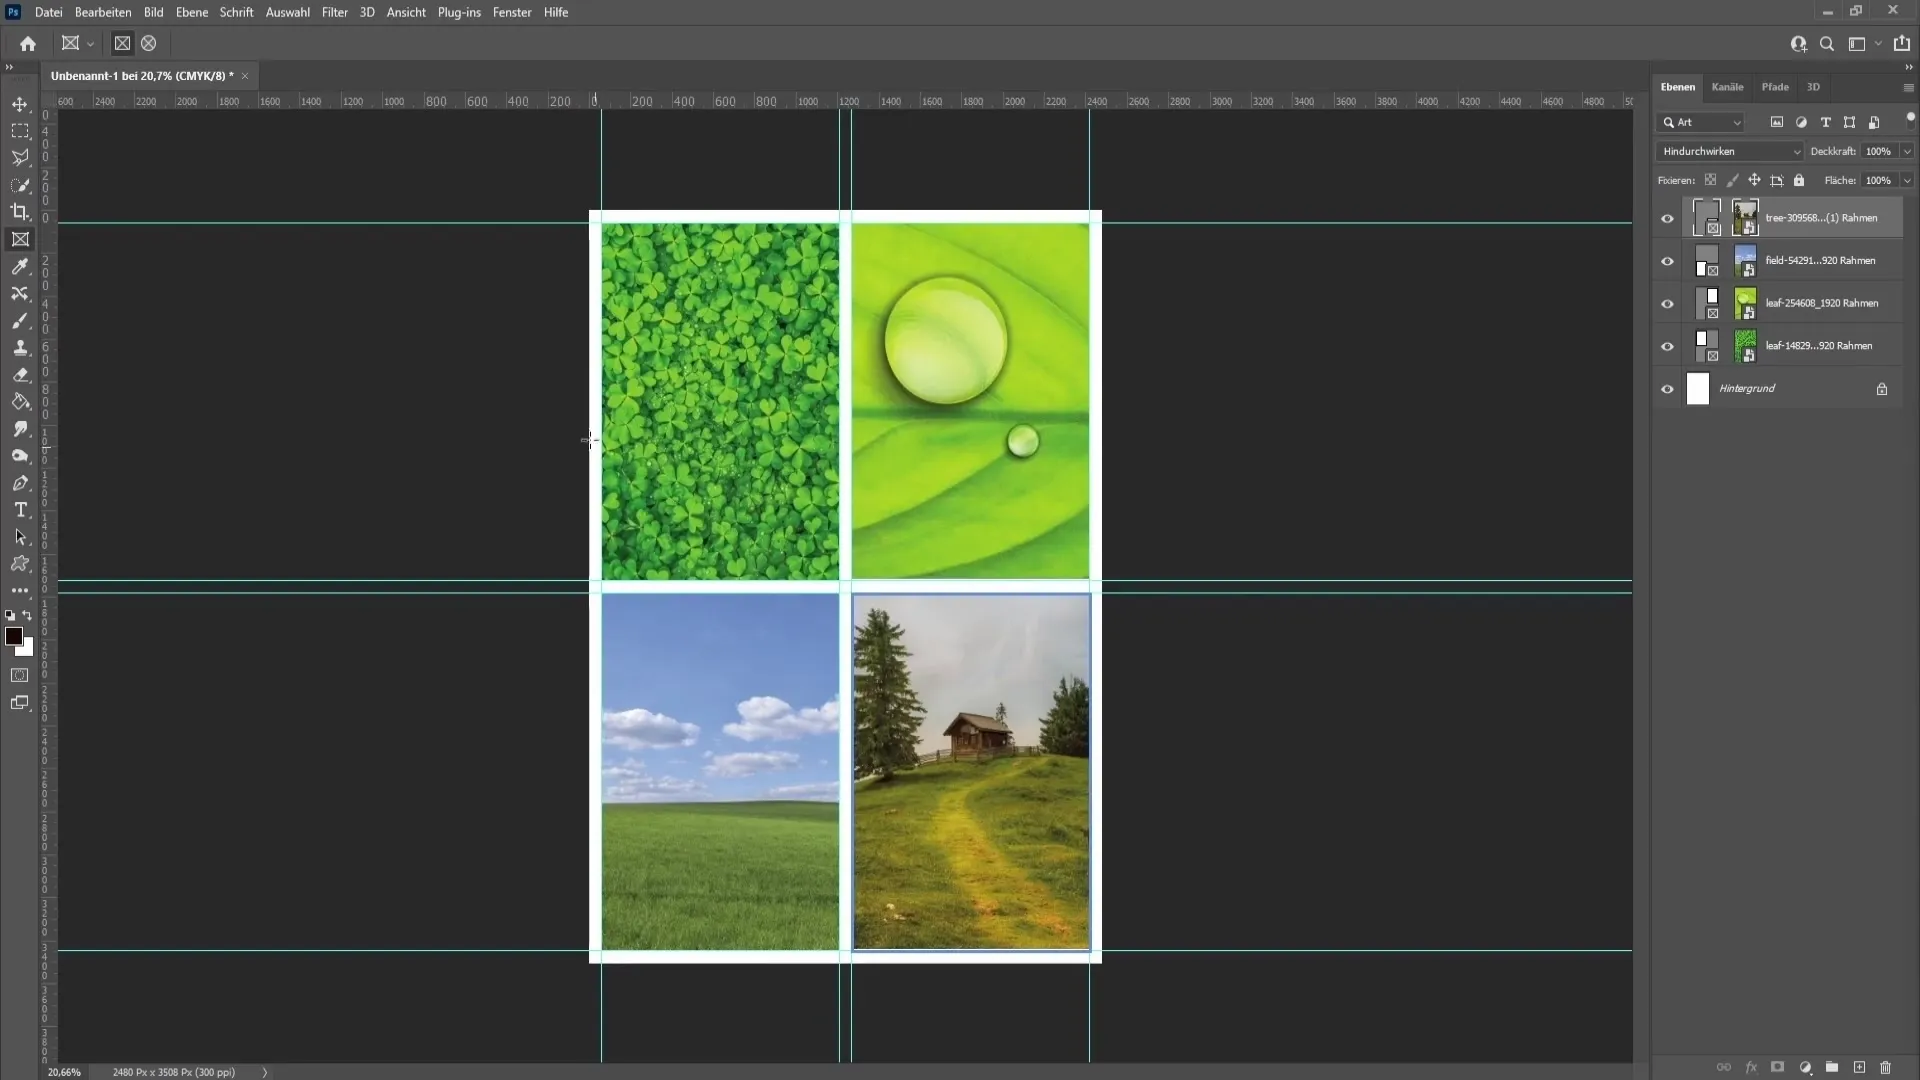
Once you are done with the first image, repeat this process with the remaining images. Make sure the images fit well together to achieve a harmonious overall picture. If you want to replace an image, simply drag the new image into the frame and readjust it.
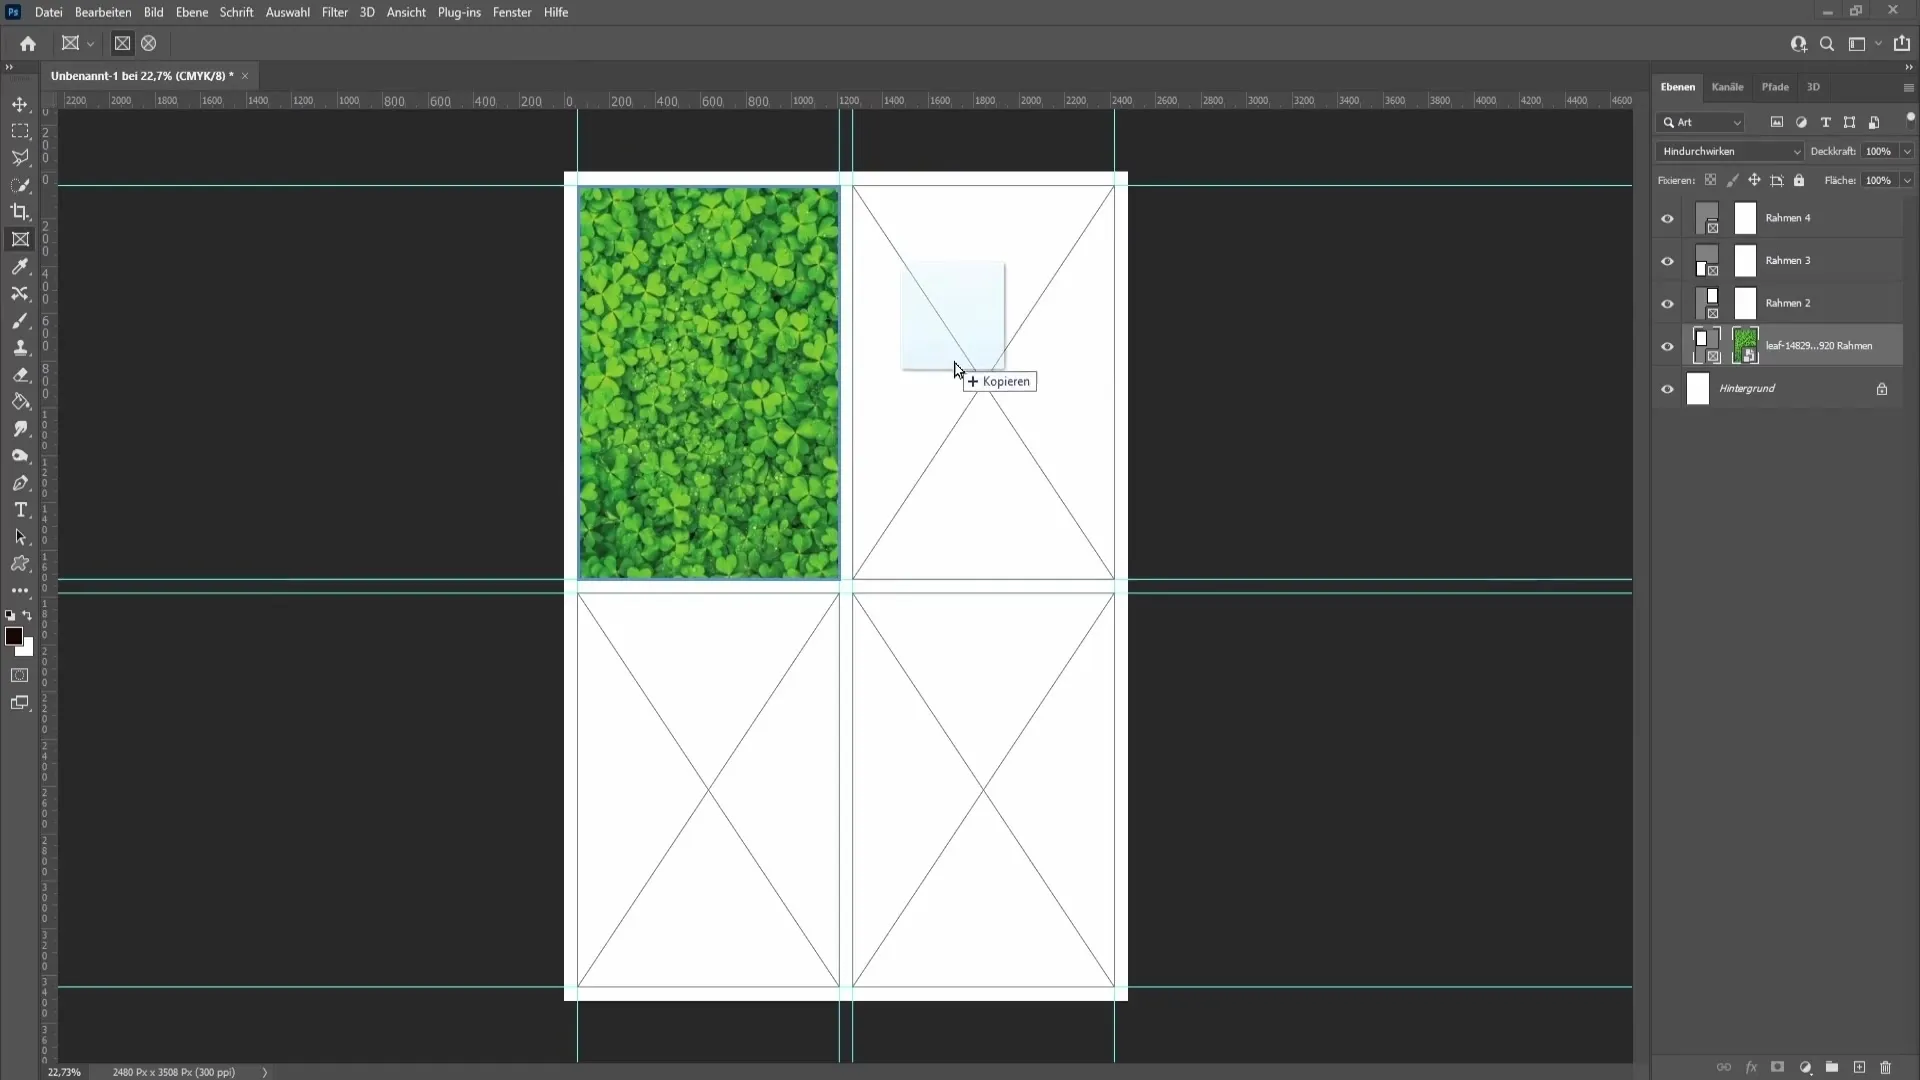
When you are satisfied with your collage, it's time to delete the guides. Go to "View" again and select "Clear Workspace Guides".
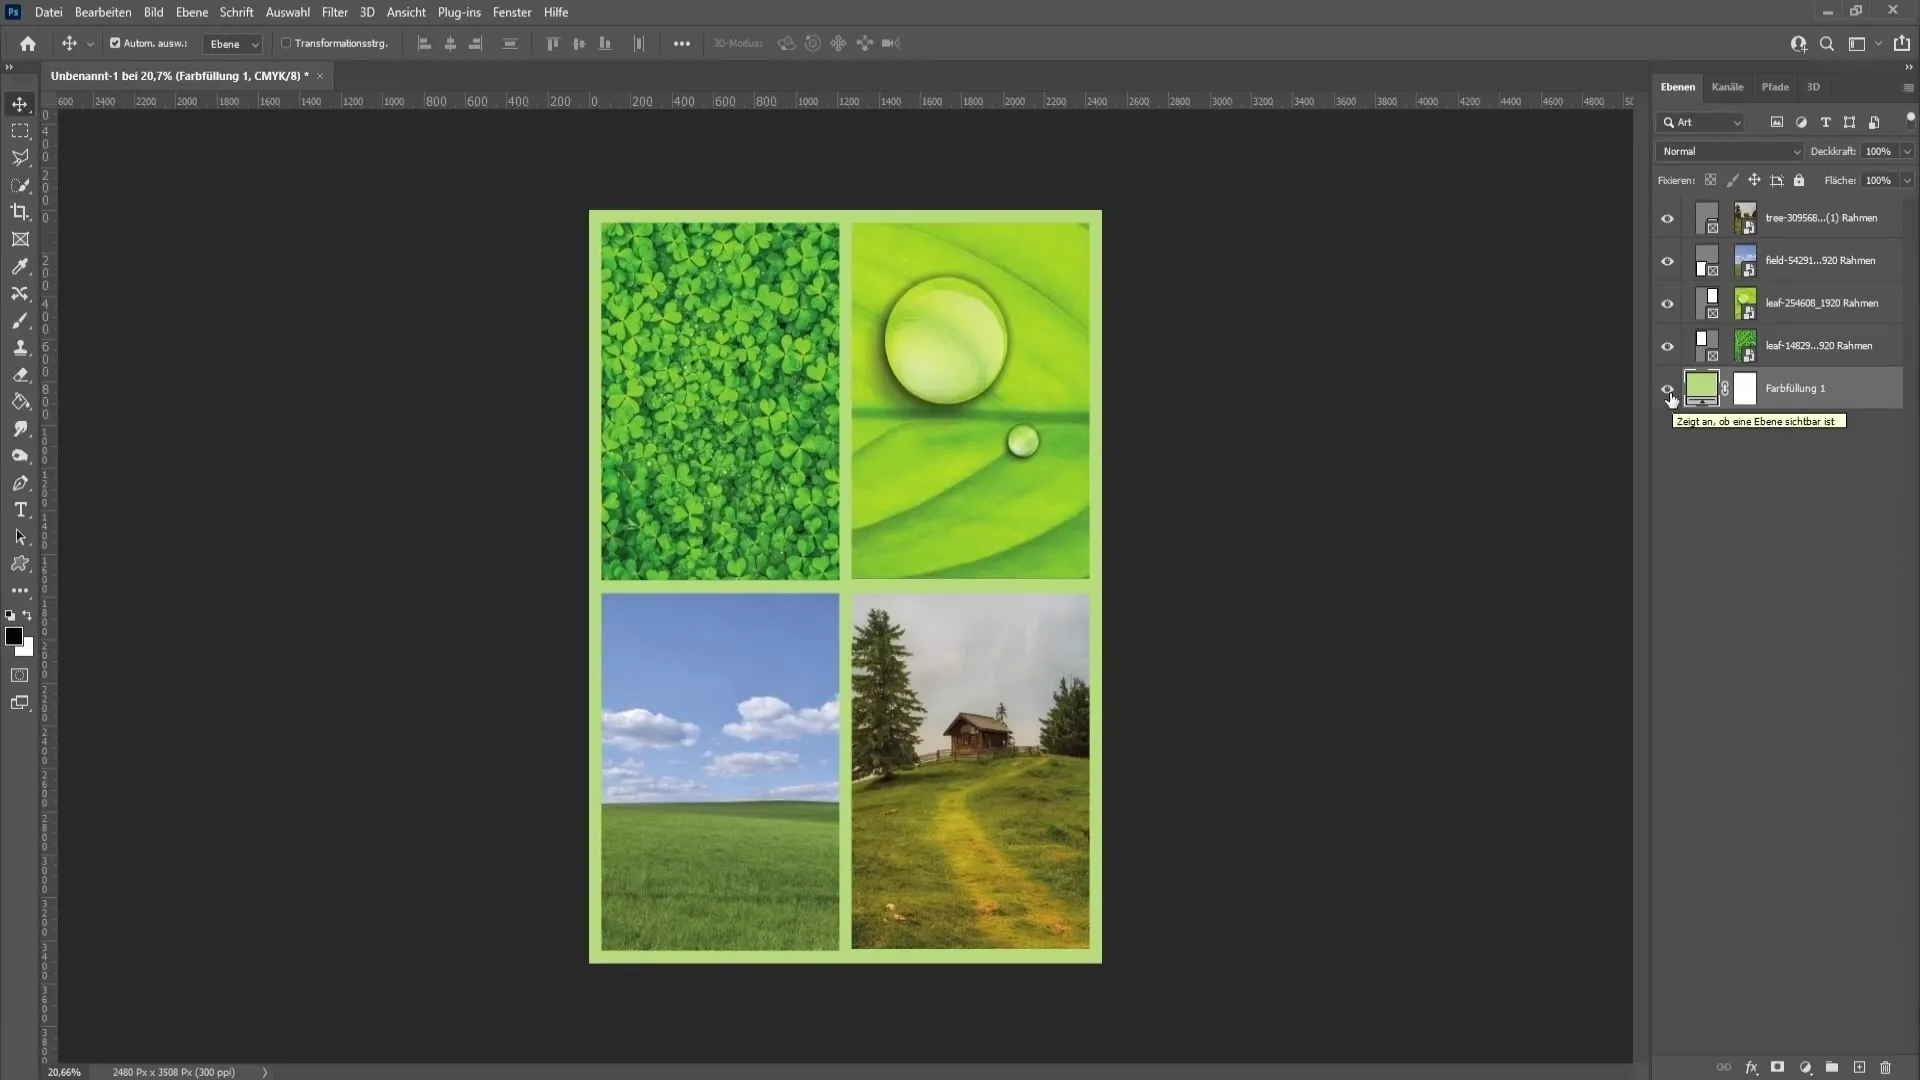
Now you can adjust the background. You can delete the background layer and choose a solid color to add a different hue. Alternatively, you can search for textures on the internet and insert them into your background to give the collage more depth. Simply drag the texture into Photoshop and adjust it as before.
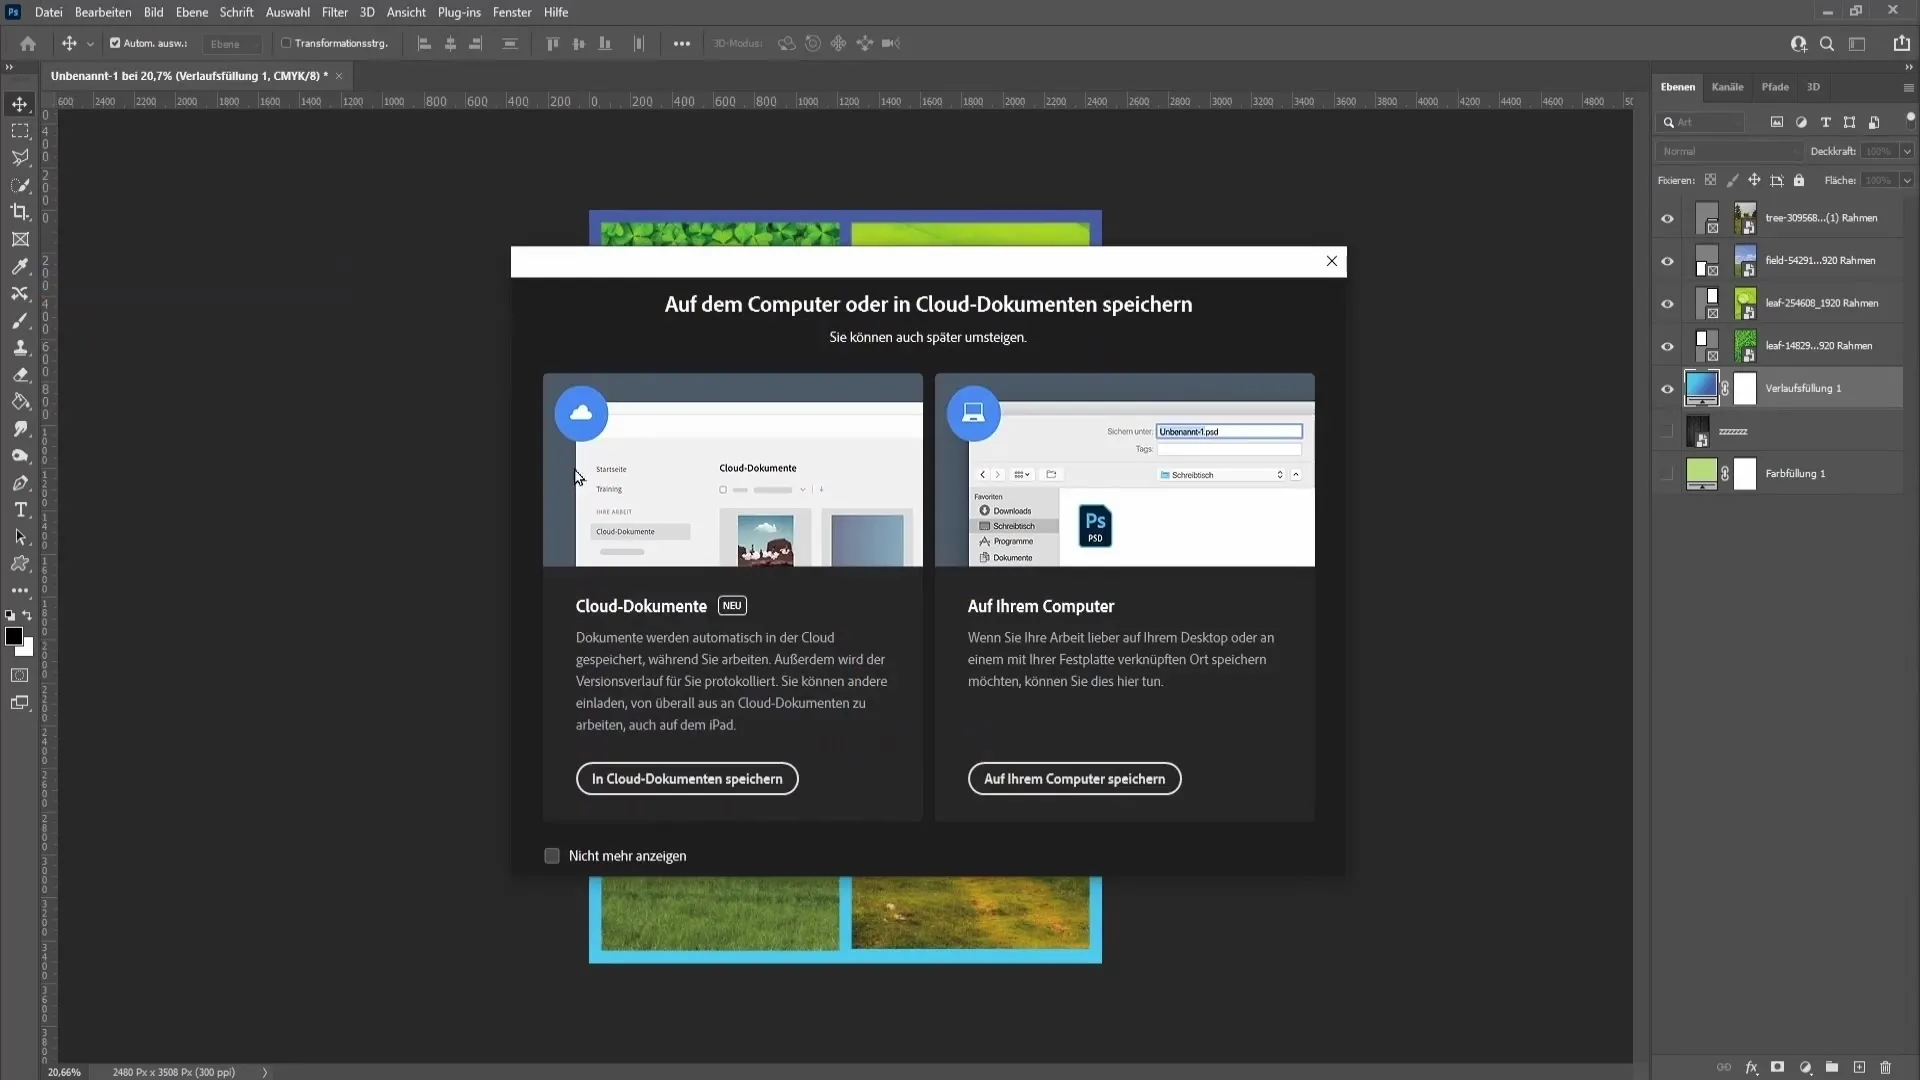
If you are satisfied with the design and colors, the last step is to export your collage. Go to "File", select "Save As" and choose PDF as the file type. Give a name to your file and save it on your computer. Photoshop will notify you that the PDF may not be compatible with older versions of Photoshop - just click "Yes".
Summary
In this guide, you have learned how to create an appealing photo collage with Photoshop. Starting from the right document layout, inserting the images, adjusting the background, and exporting for printing - you are now well equipped.
Frequently Asked Questions
What should be the resolution for a print collage?The ideal resolution is 300 dpi.
What can I do if I no longer want to see the guides?You can remove the guides by going to "View" > "Clear Guides".
Can I still edit the images in the collage after inserting them?Yes, you can transform and adjust the images at any time.
How do I save the collage for printing?Go to "File" > "Save As" and choose the PDF file type.
Does choosing CMYK or RGB make a difference?Yes, CMYK is recommended if you want to print the collage. RGB is better for digital display.


