In this tutorial, I will show you a method to realistically exchange a face. We will use various techniques in Photoshop to ensure that the new face is seamlessly integrated into the original head. This step-by-step guide will provide you with all the necessary tools and tips to apply this technique yourself.
Main Takeaways
- Masking mode is an effective method for isolating a face.
- Adjusting layers and adjustments ensures a harmonious result.
- Working with brush and mask facilitates the outlining of transitions.
Step-by-Step Guide
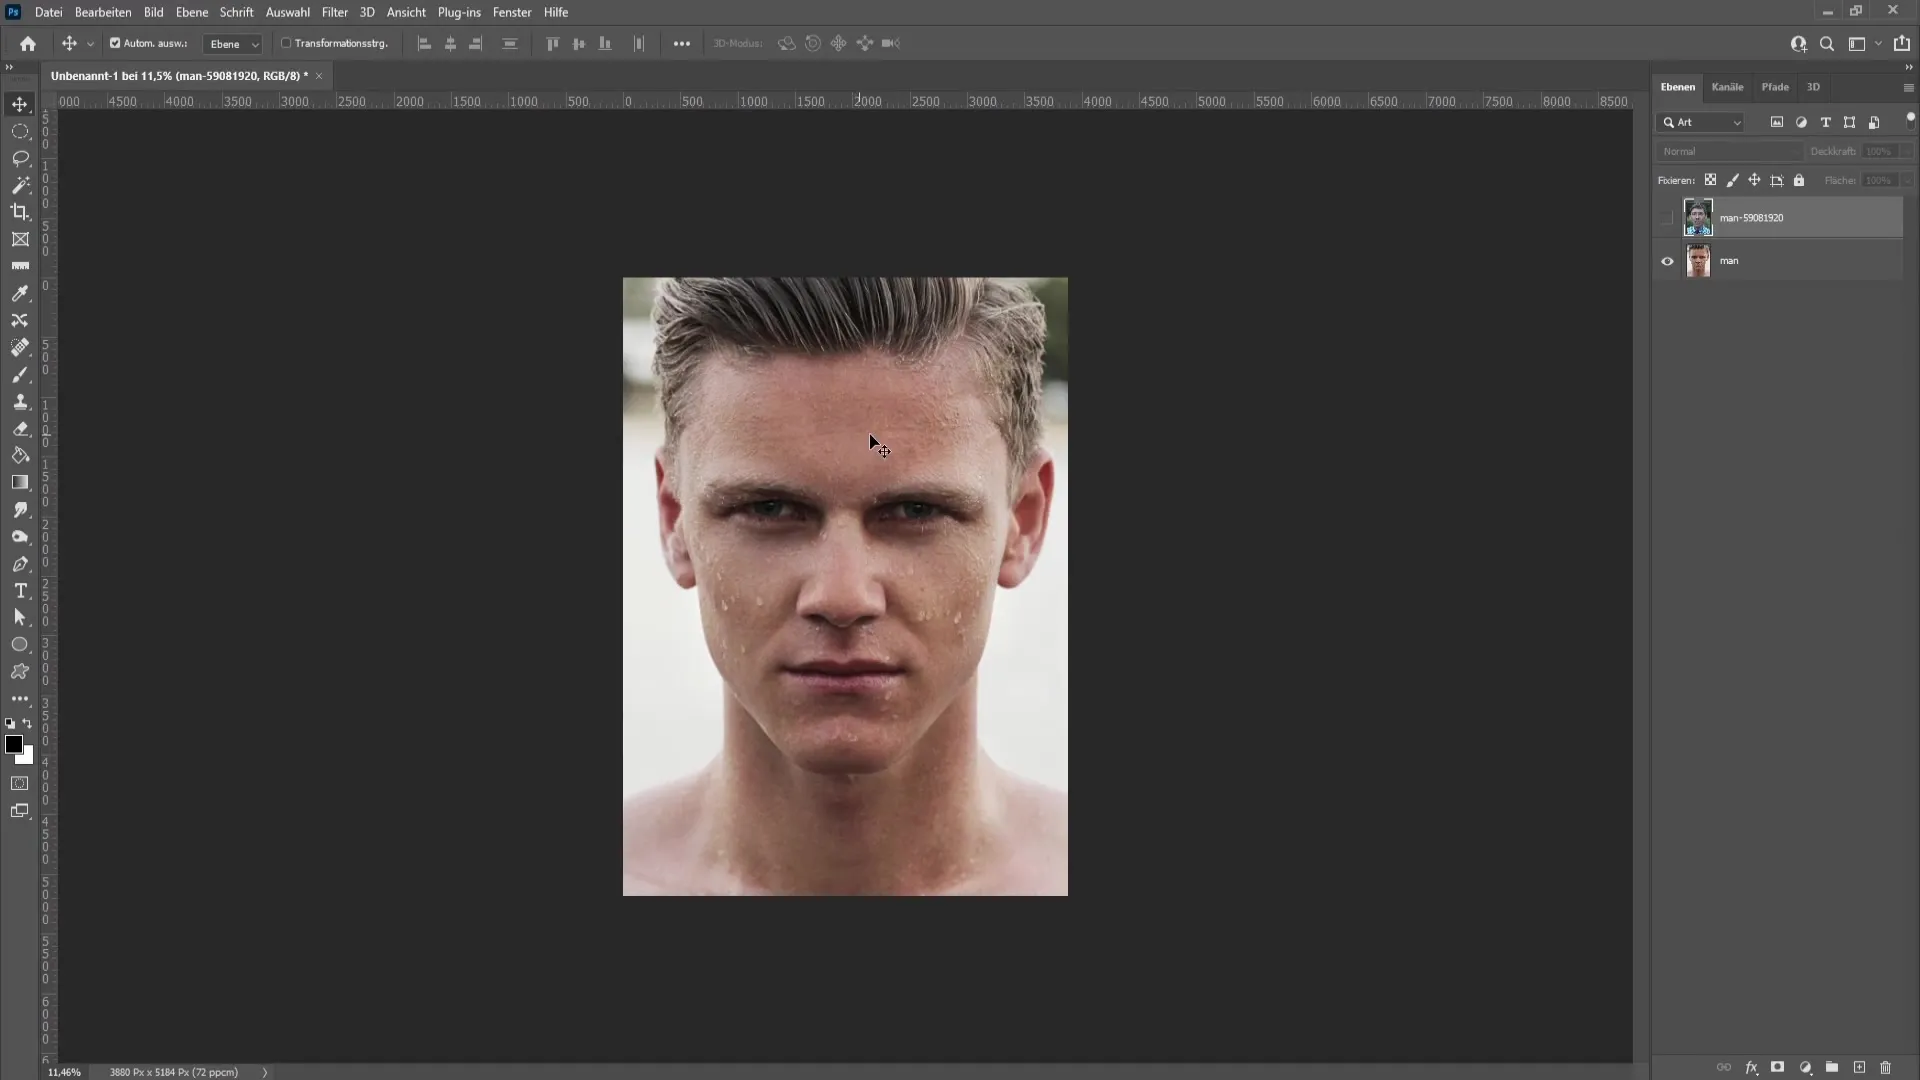
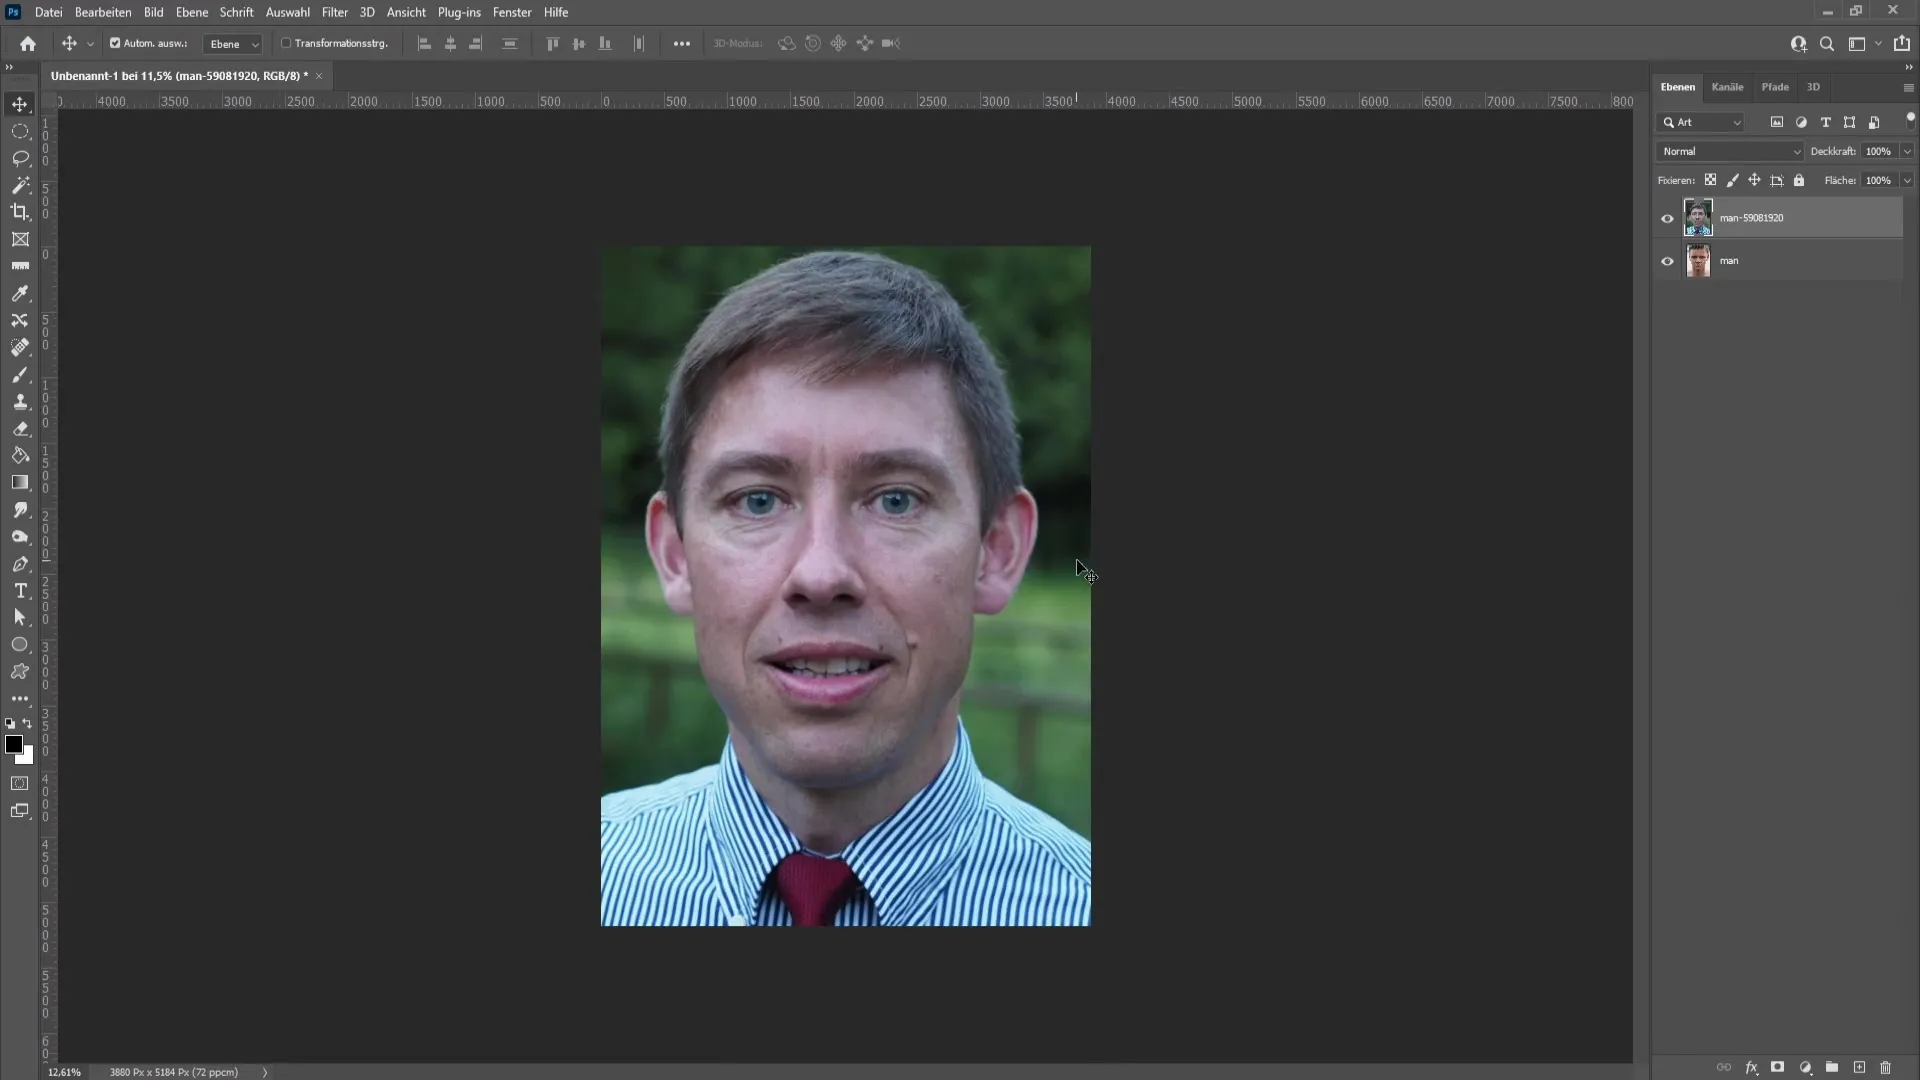
First, we will start by isolating the face. You will need the original image with the face and the new image you want to insert.
Step 1: Activate Masking Mode To activate the masking mode, double-click on the layer with the face. This allows you to select the areas you want to isolate. Go to the function "Hide selected areas" and choose the desired color coverage. Keep the opacity at around 50% to better see what you are doing.
Step 2: Adjust Brush Now select the brush. Set the brush hardness to 0% to soften the edges while isolating the face. Be careful to carefully isolate the mouth, nose, eyes, and eyebrows with the brush. Paint generously around the edges to avoid having harsh edges later that would make the result look unnatural.
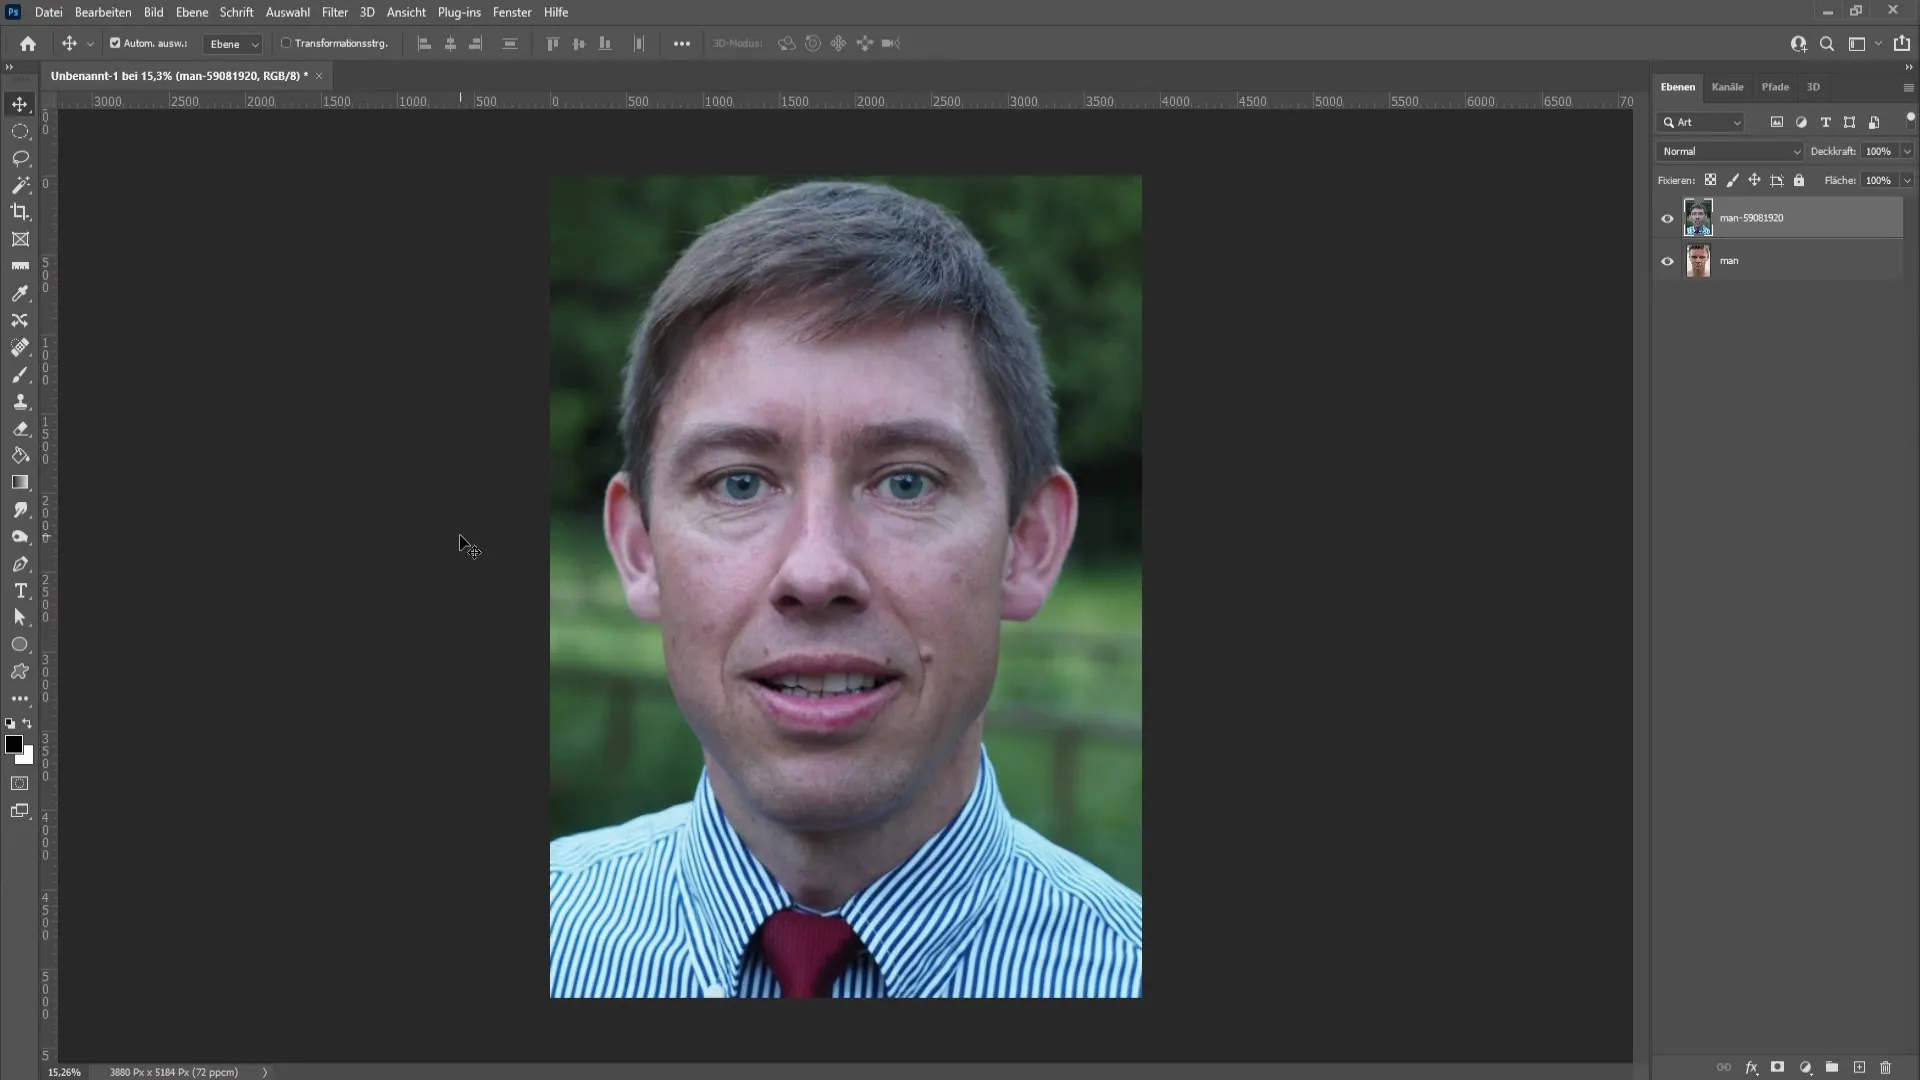
Step 3: Refine Selection After isolating the face, press 'Q' to activate the selection. Now you can further refine the selection by transforming the face with the selection tool. Right-click and choose "Transform selection" to resize the selection until it fits well on the new head.
Step 4: Copy and Paste Face Now press 'Ctrl + C' to copy the isolated face. Use 'Ctrl + V' to paste the face on a new layer. This new layer now displays your isolated face.
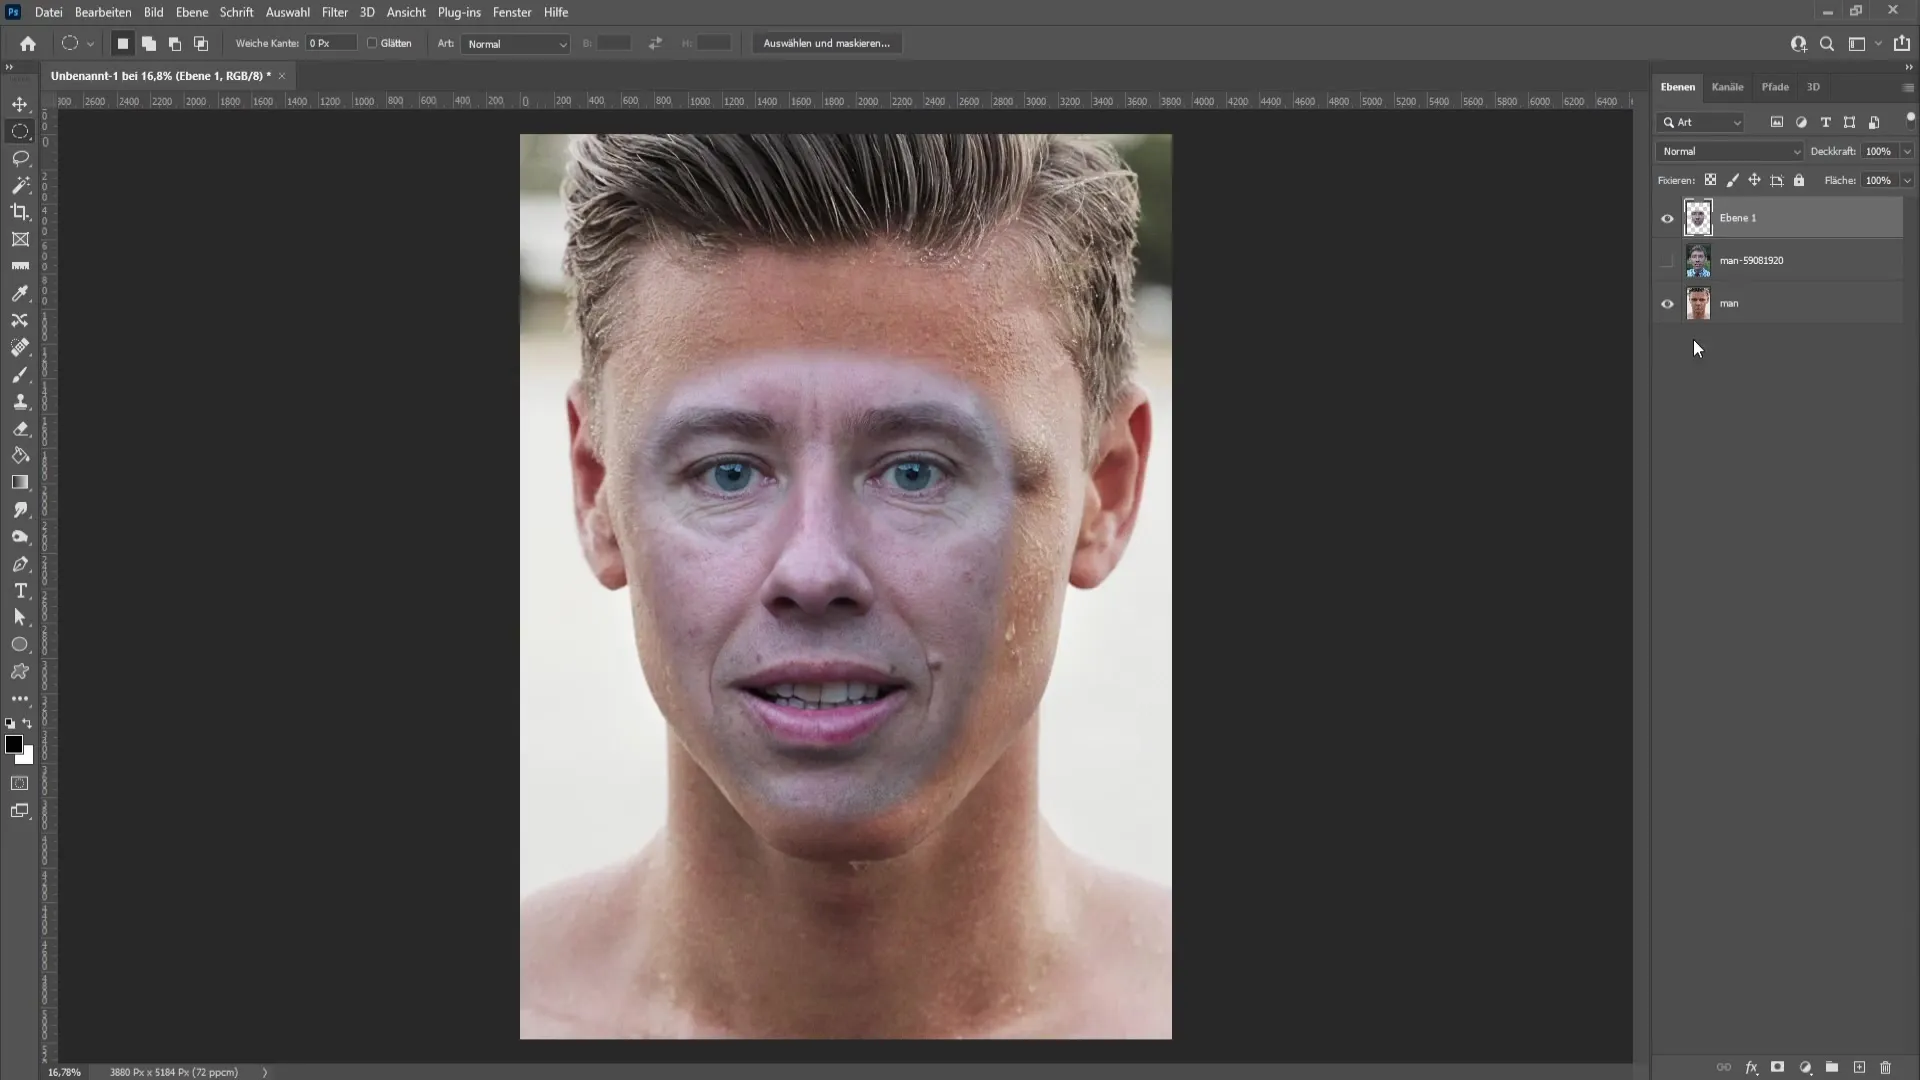
Step 5: Adjust Opacity To better visualize the placement of the face, reduce the opacity of this new layer. This way, you can determine precise positions for the eyes and mouth. Make sure not to reduce too much, or you won't see the face anymore.
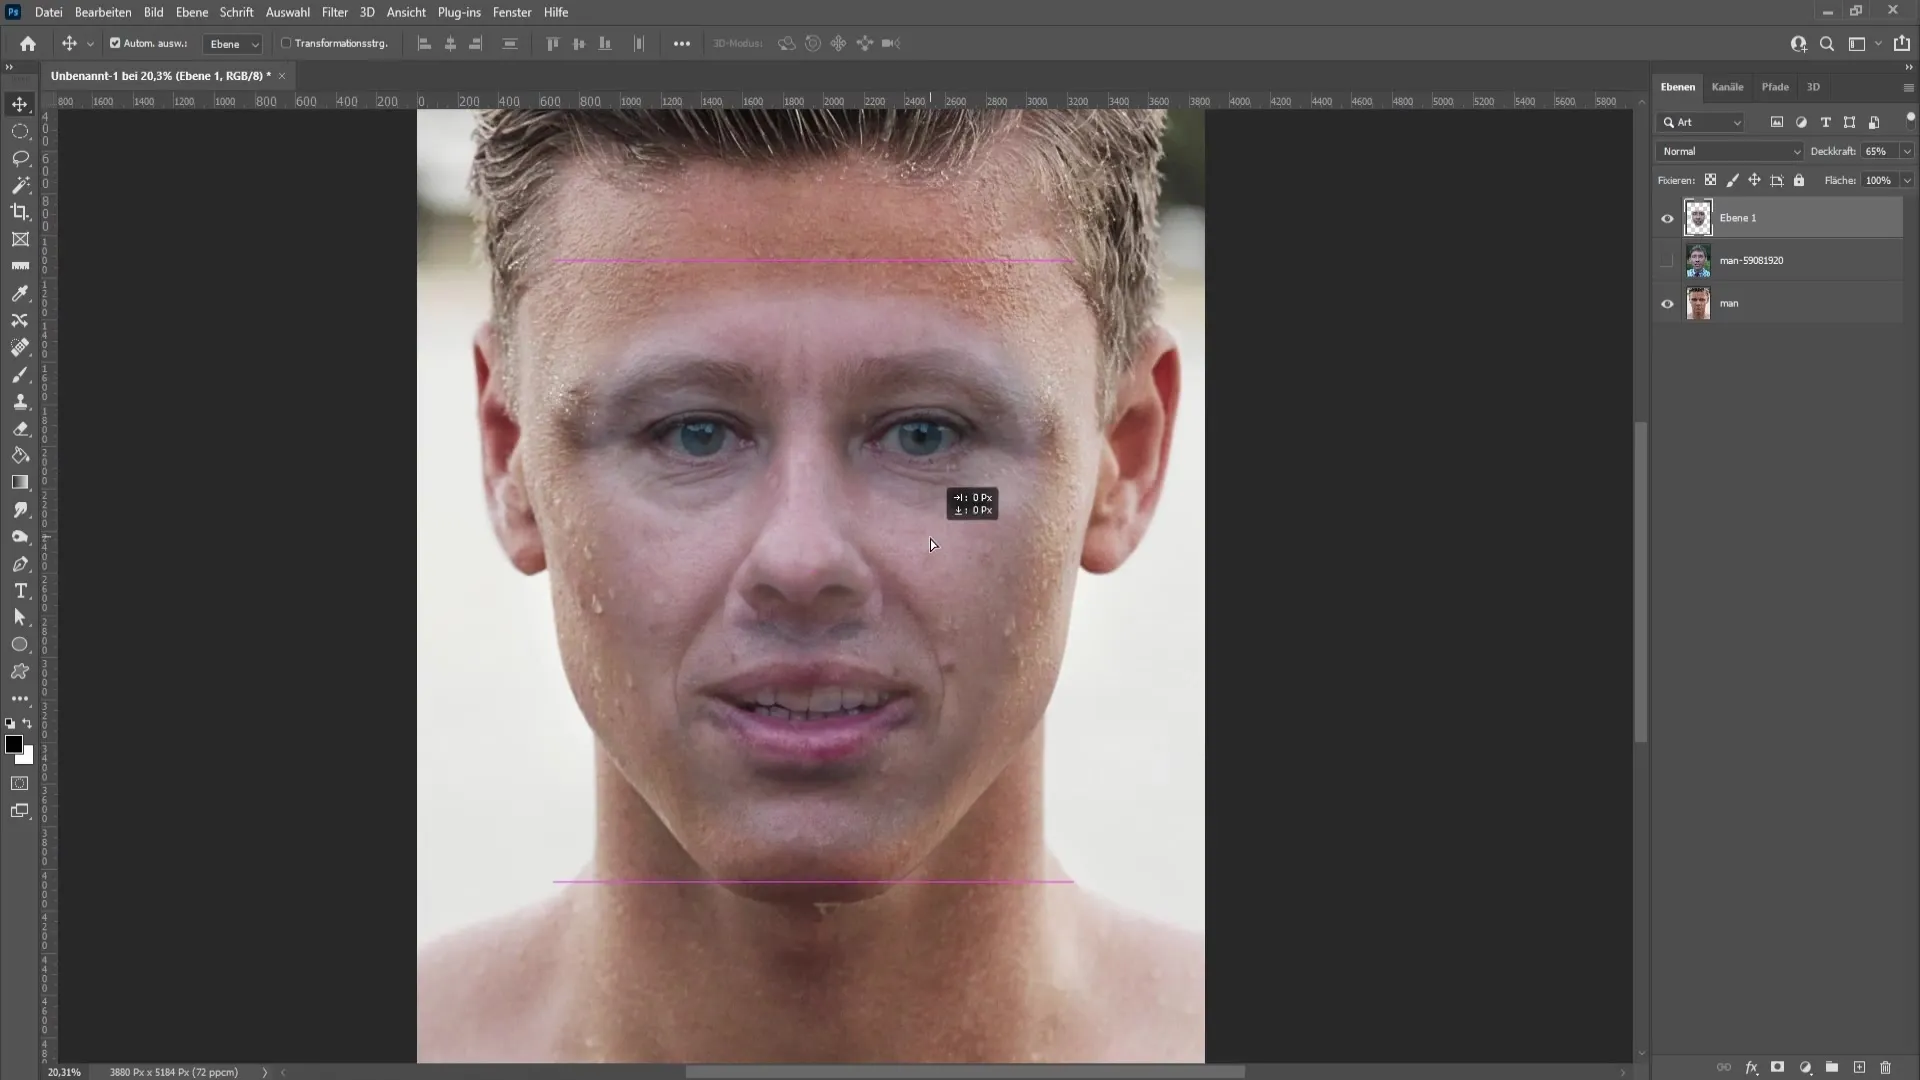
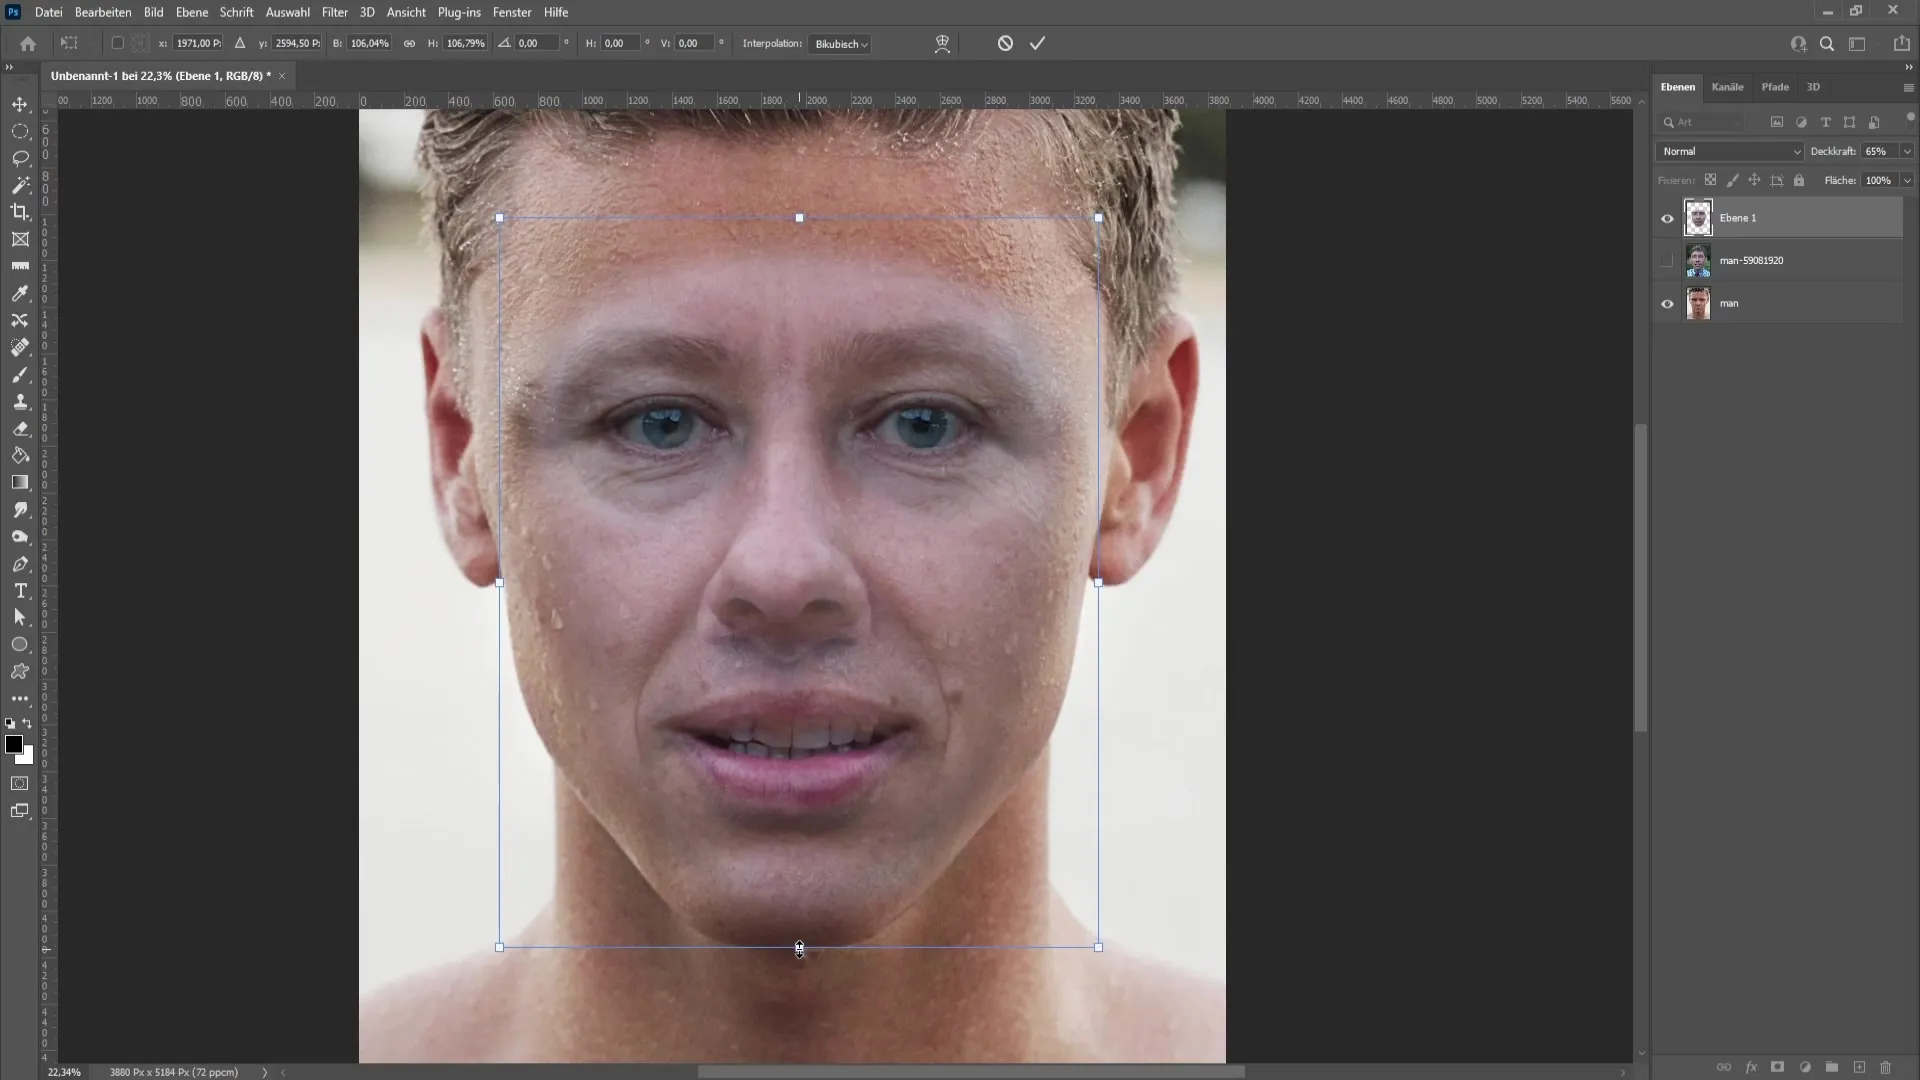
Step 6: Transform the Face Using the 'Ctrl + T' shortcut, you can transform the new face. Hold down the 'Shift' key to maintain proportions while enlarging or reducing the face. You can adjust the position until the eyes, nose, and mouth align well.
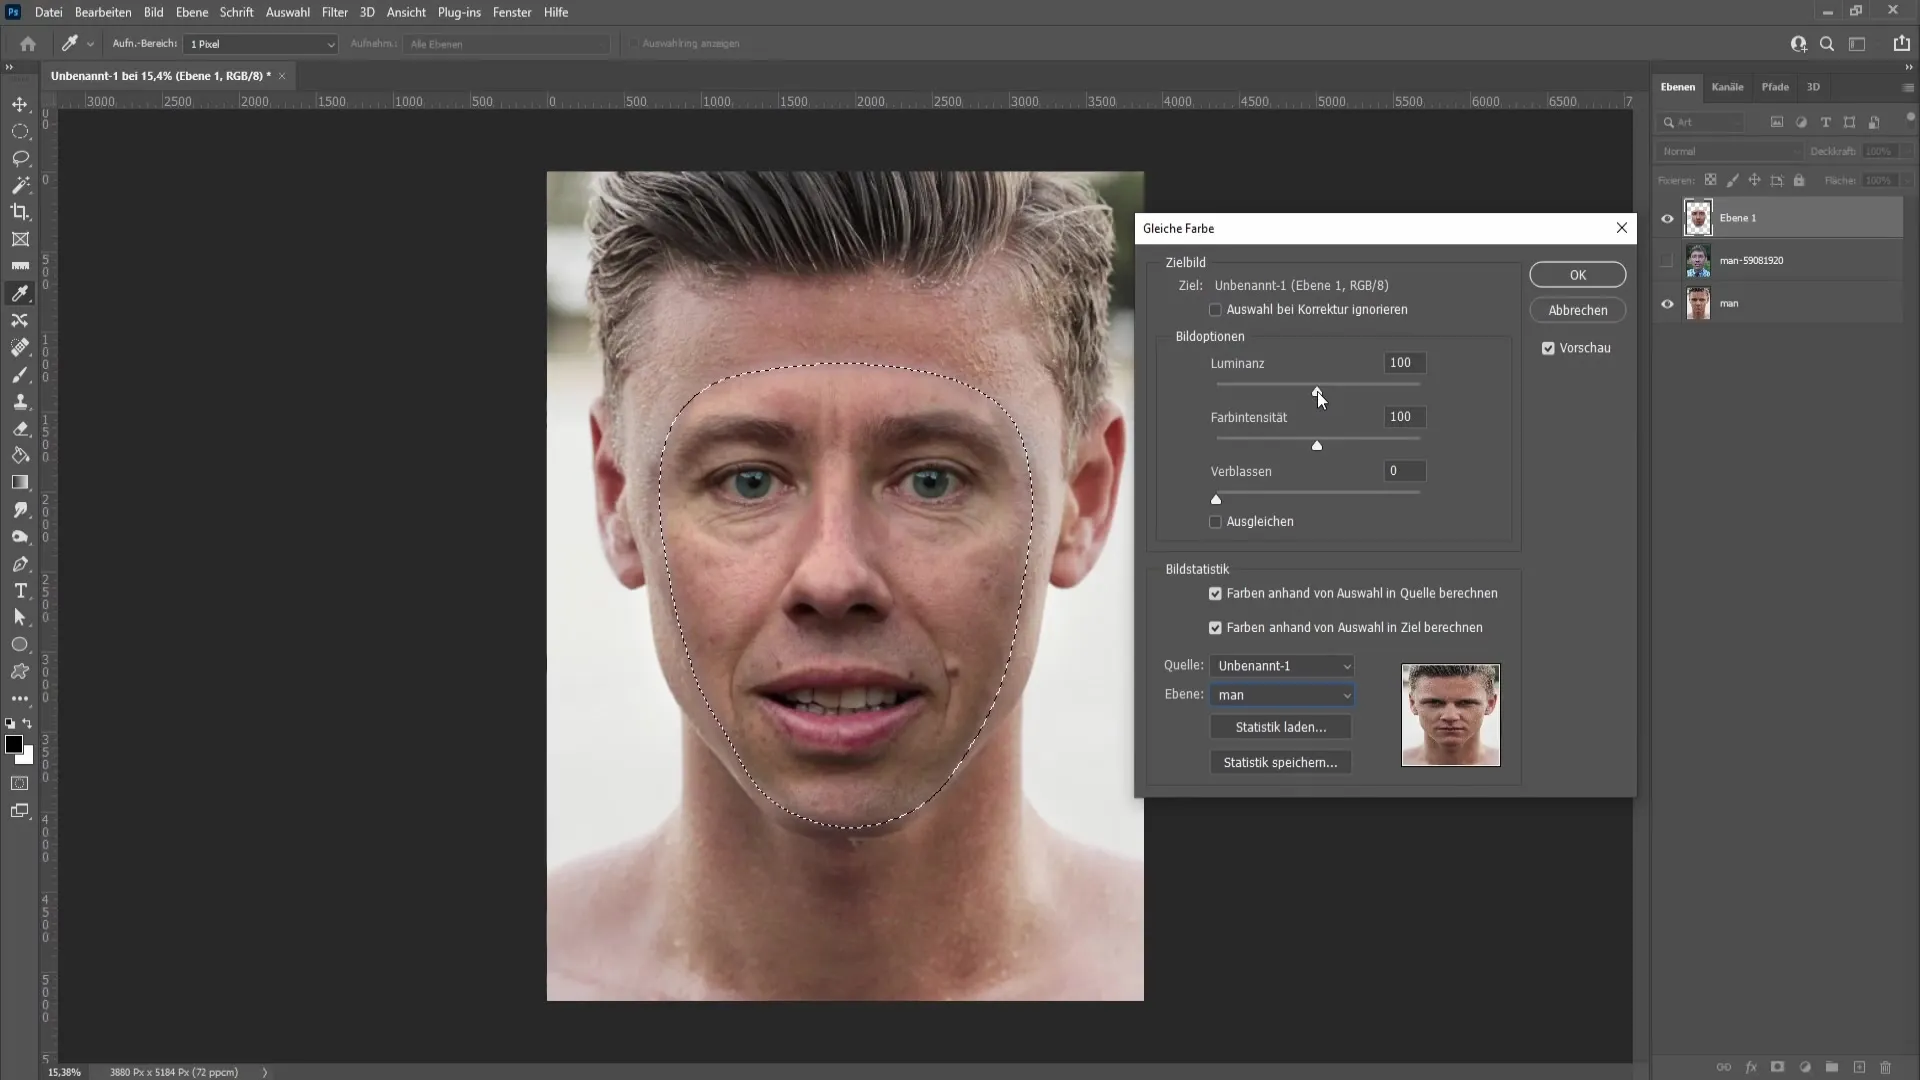
Step 7: Color Matching Now that the face is in the right place, select the layer and go to "Image > Adjustments > Match Color". Then choose the source of your main image to match colors. Make sure to adjust the intensity and sliders in color correction to achieve a harmonious overall picture.
Step 8: Refine Transitions To create soft transitions, apply a mask over the face and use a soft brush to refine areas like the forehead or the sides of the face. This will facilitate the seamless integration of the new face.
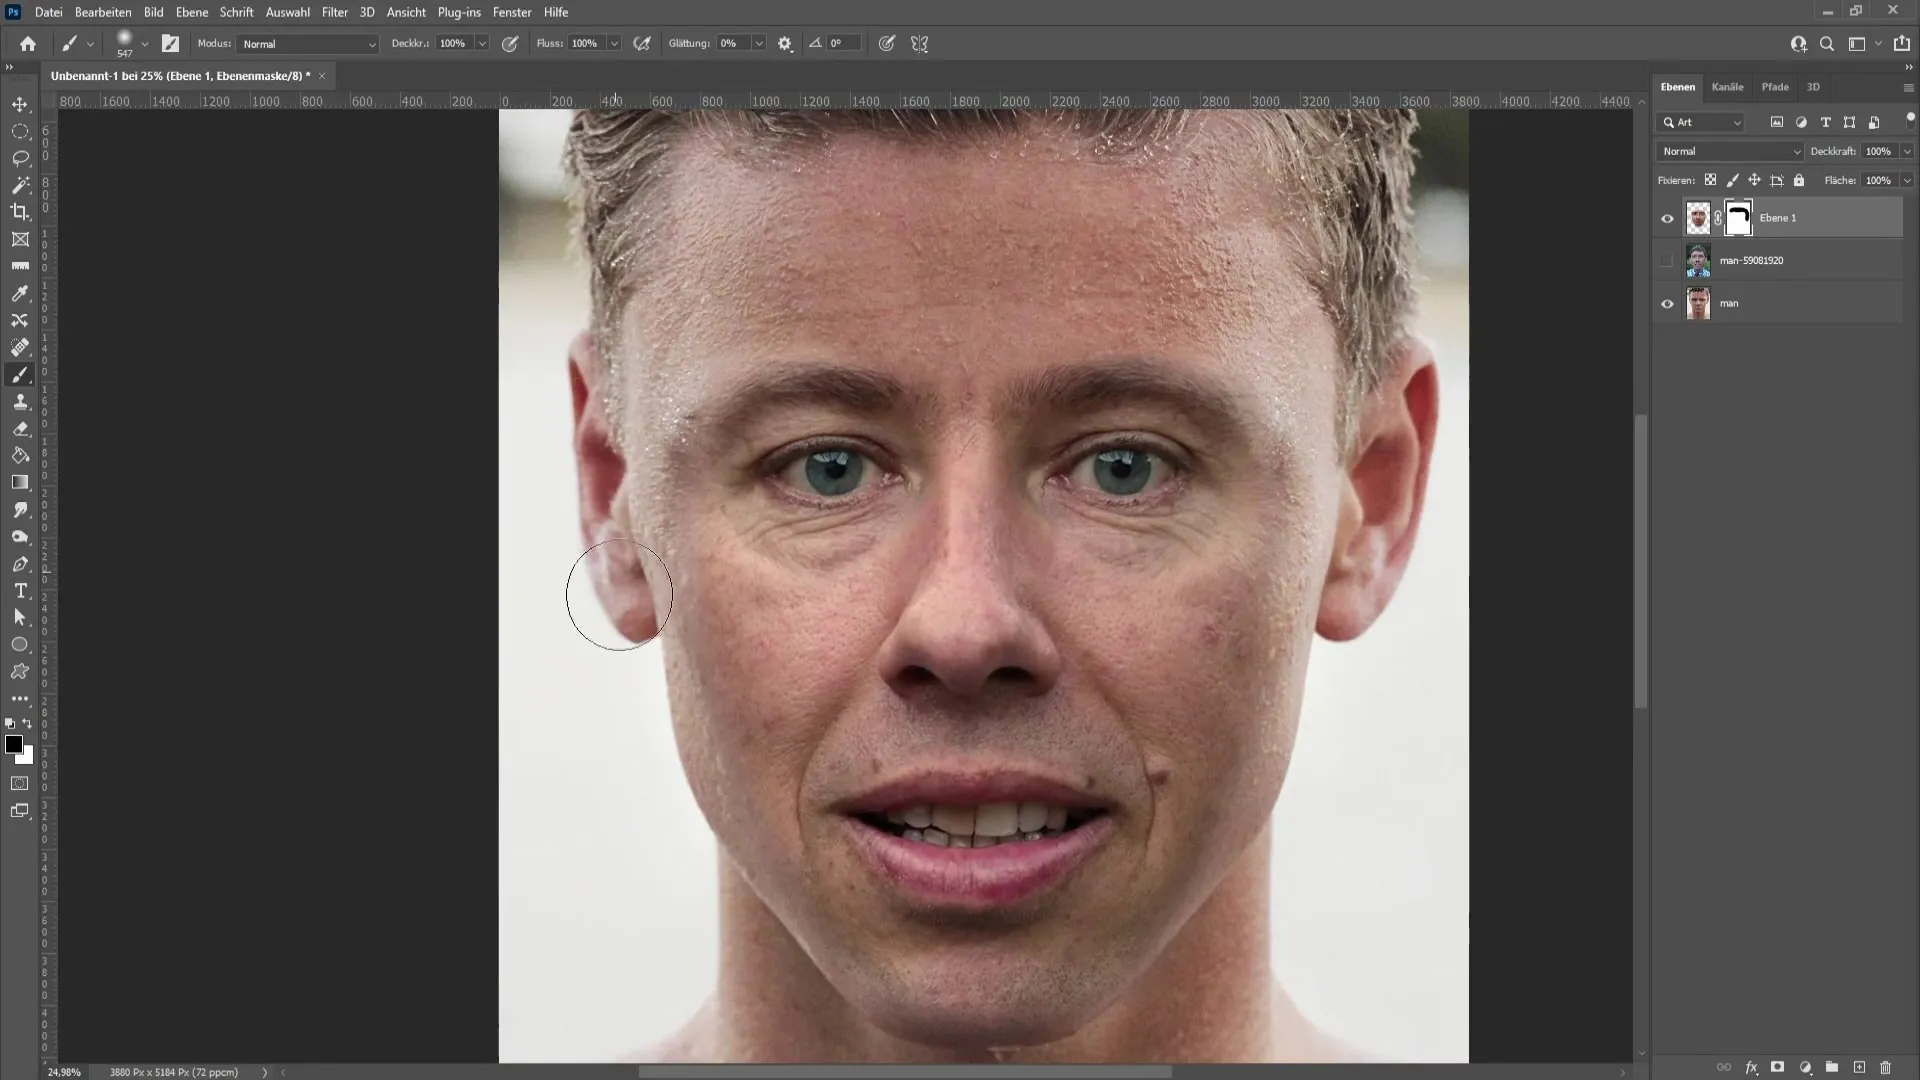
Step 9: Additional Adjustments Once you are done with color matching, you can make further adjustments to ensure the face looks natural. This may include adjusting lighting conditions and color balance. Utilize the correction function to subtly change lighting conditions and optimize color shades.
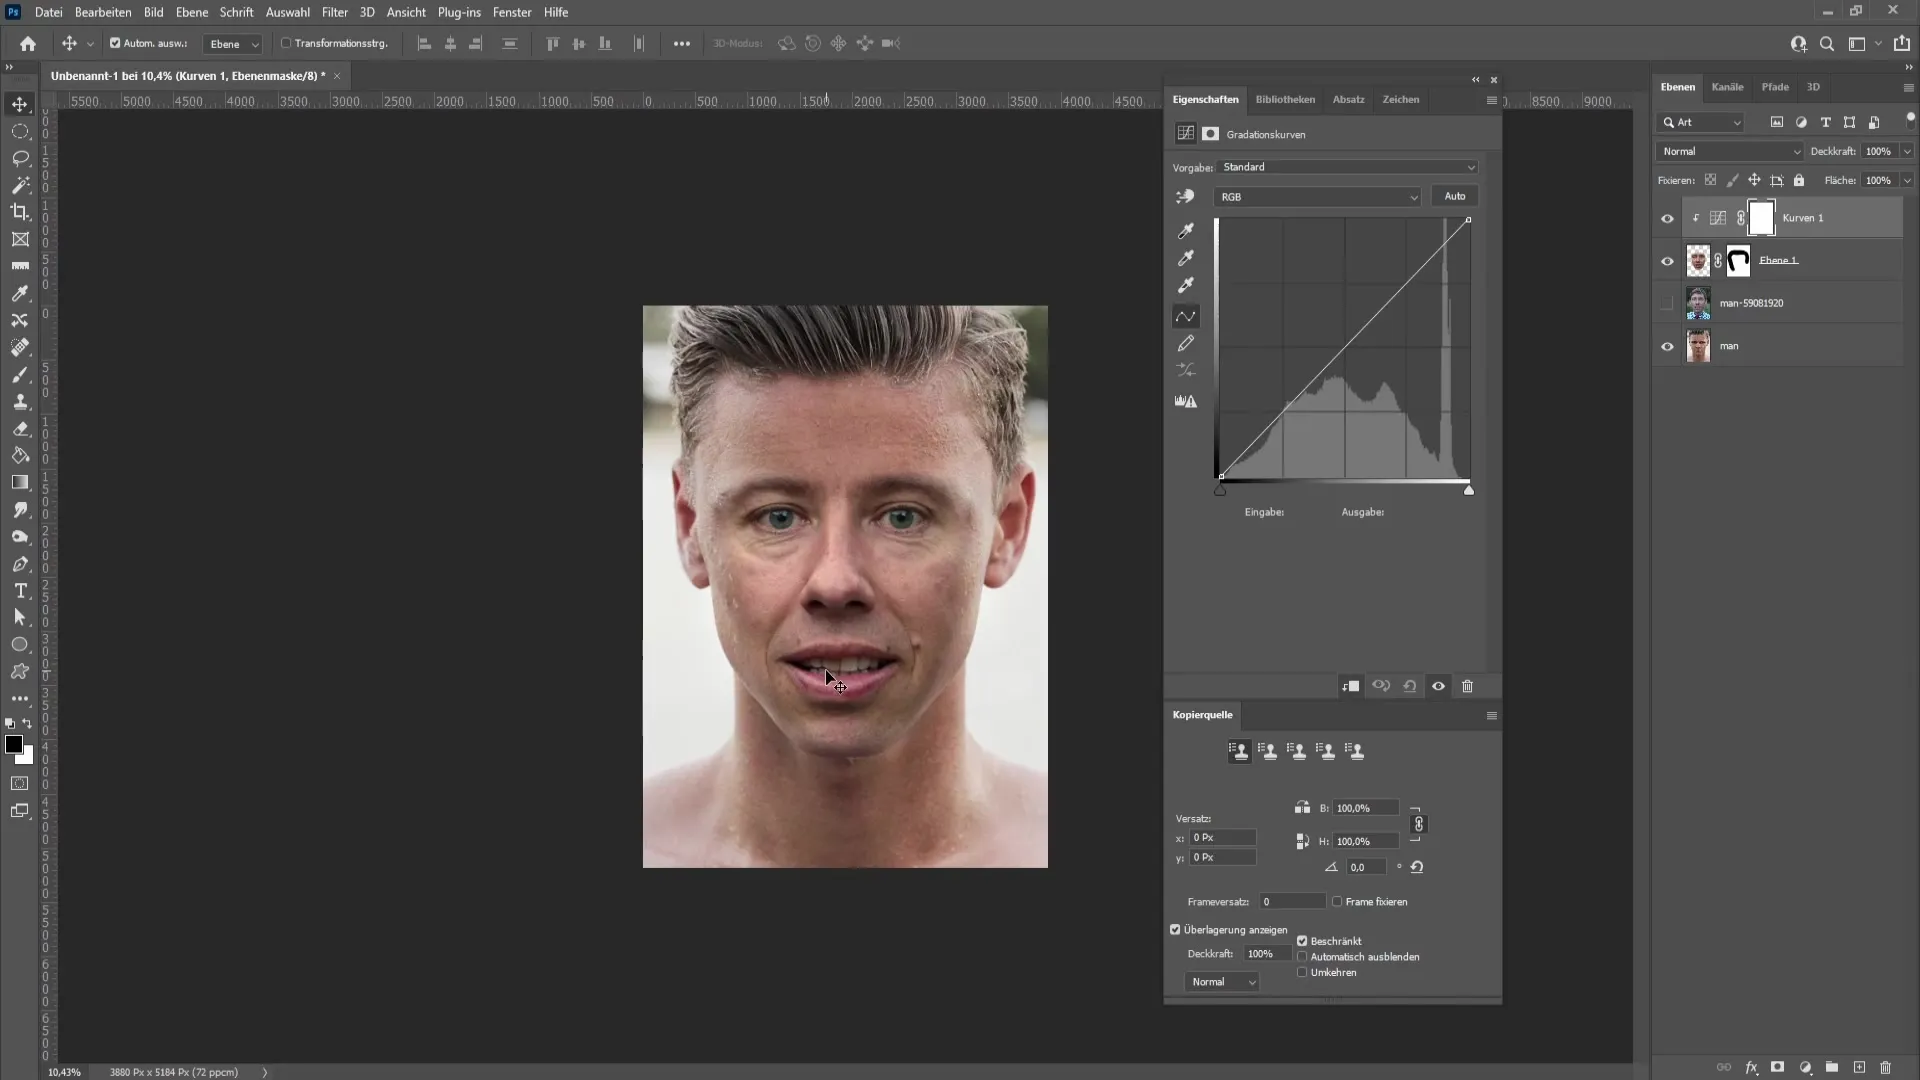
Step 10: Final Adjustment If everything looks good, you can make the final minor adjustments to ensure that everything is accurately positioned. Make sure to align the face, possibly rotate it slightly again with 'Ctrl + T'.
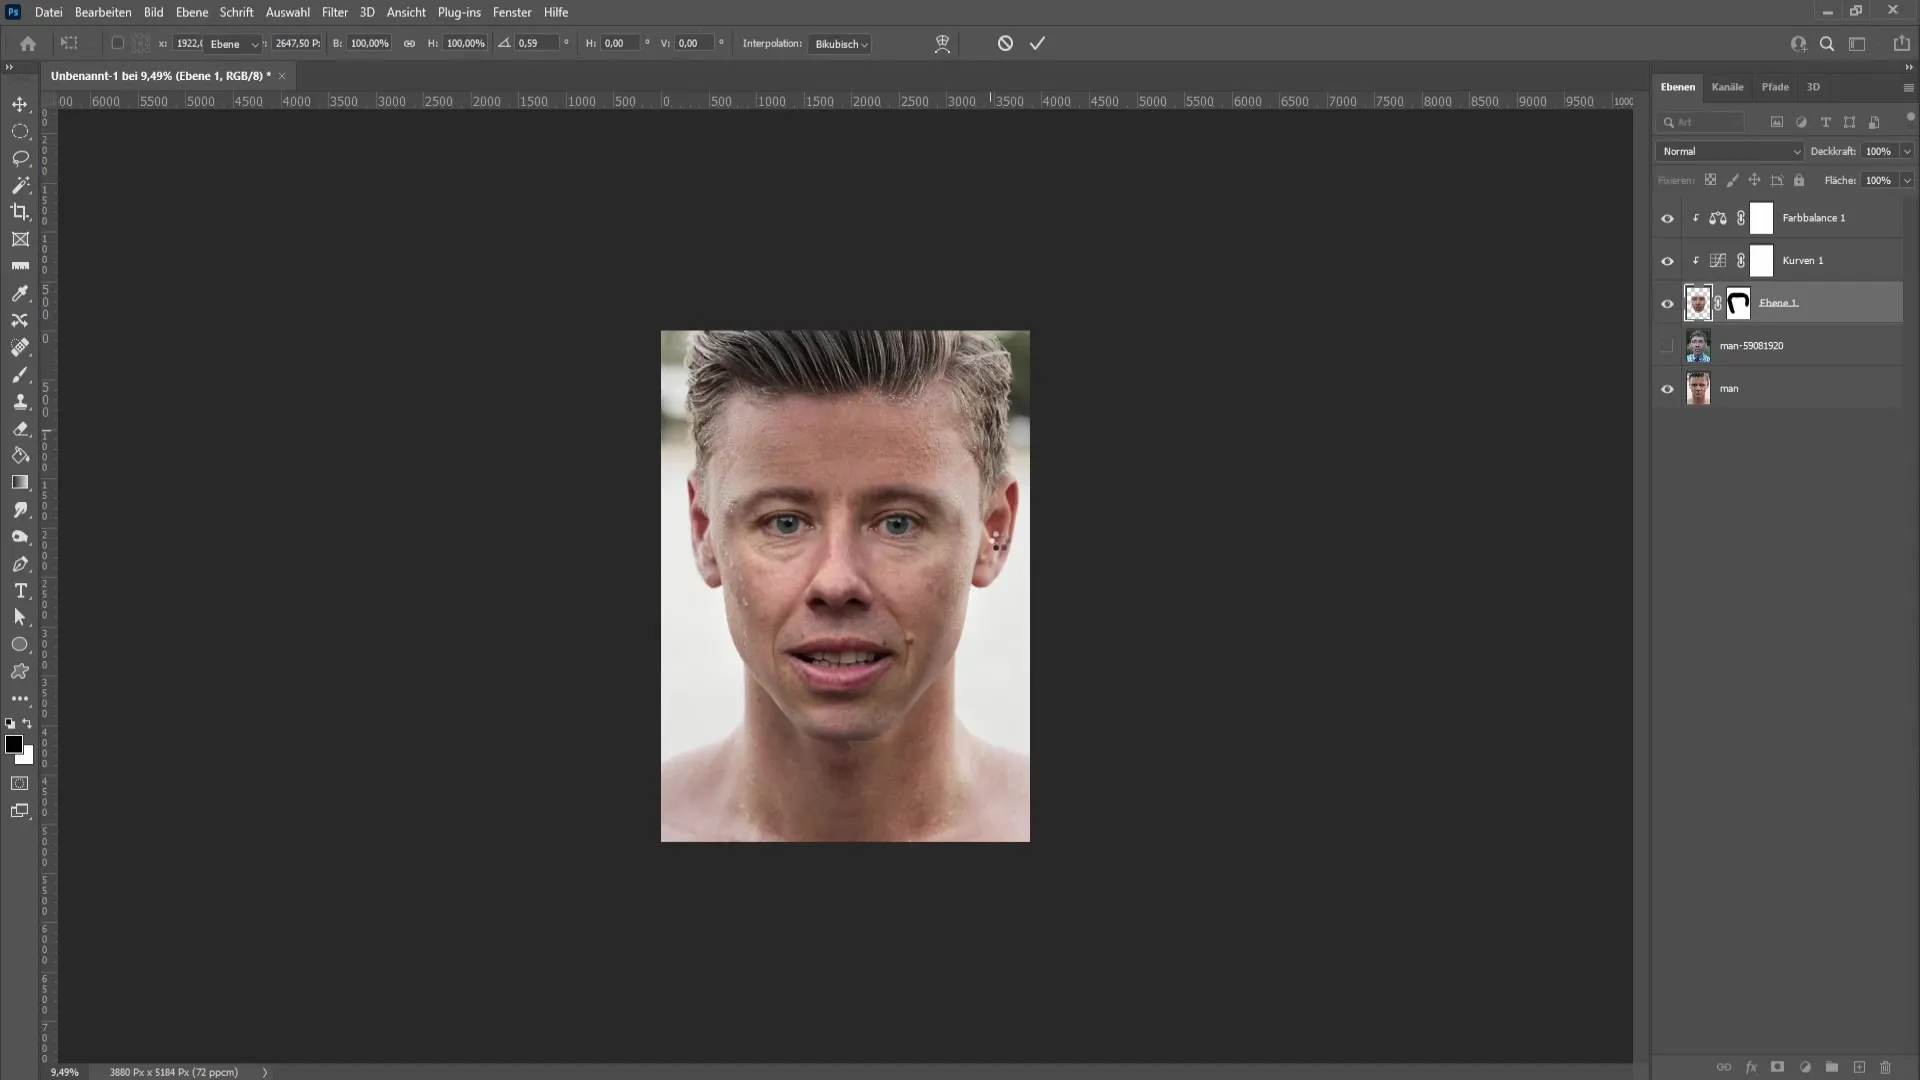
Summary
In this tutorial, you have learned how to replace a face in Photoshop using the masking mode, brush tools, and various corrections. With these steps, you can customize images to suit your needs in the future.
Frequently Asked Questions
How can I make the edges softer?Use a brush with low hardness and gently paint over the edges.
What should I do if the colors don't match?Use the "Match Color" function in the image corrections to adjust the colors.
Can I use other tools as well?Yes, you can also use the Lasso tool, but the masking mode usually provides better results.


