In this tutorial, I will show you how you can quickly replace a face in Photoshop. In just one minute – or even in a few seconds if you're quick – you can achieve impressive results with the right technique. You only need some basic knowledge in Photoshop and some practice. Let's get started!
Main Points to Remember
- The Lasso tool is essential for selecting precise areas.
- Adjusting the opacity makes placing the new face easier.
- Using the "Auto-Blend Layers" command can create realistic transitions.
- Retouching and fine-tuning are essential to perfect the final result.
Step-by-Step Guide
To replace a face, follow these steps:
Start by opening the image of the person from whom you want to extract the face in Photoshop. To select the face effectively, you need the Lasso tool. Click on the Lasso tool in the top left corner of your toolbox, and ensure that the Feather is set to 0 pixels. This step ensures that the edges of your selection will later appear sharper and clearer.
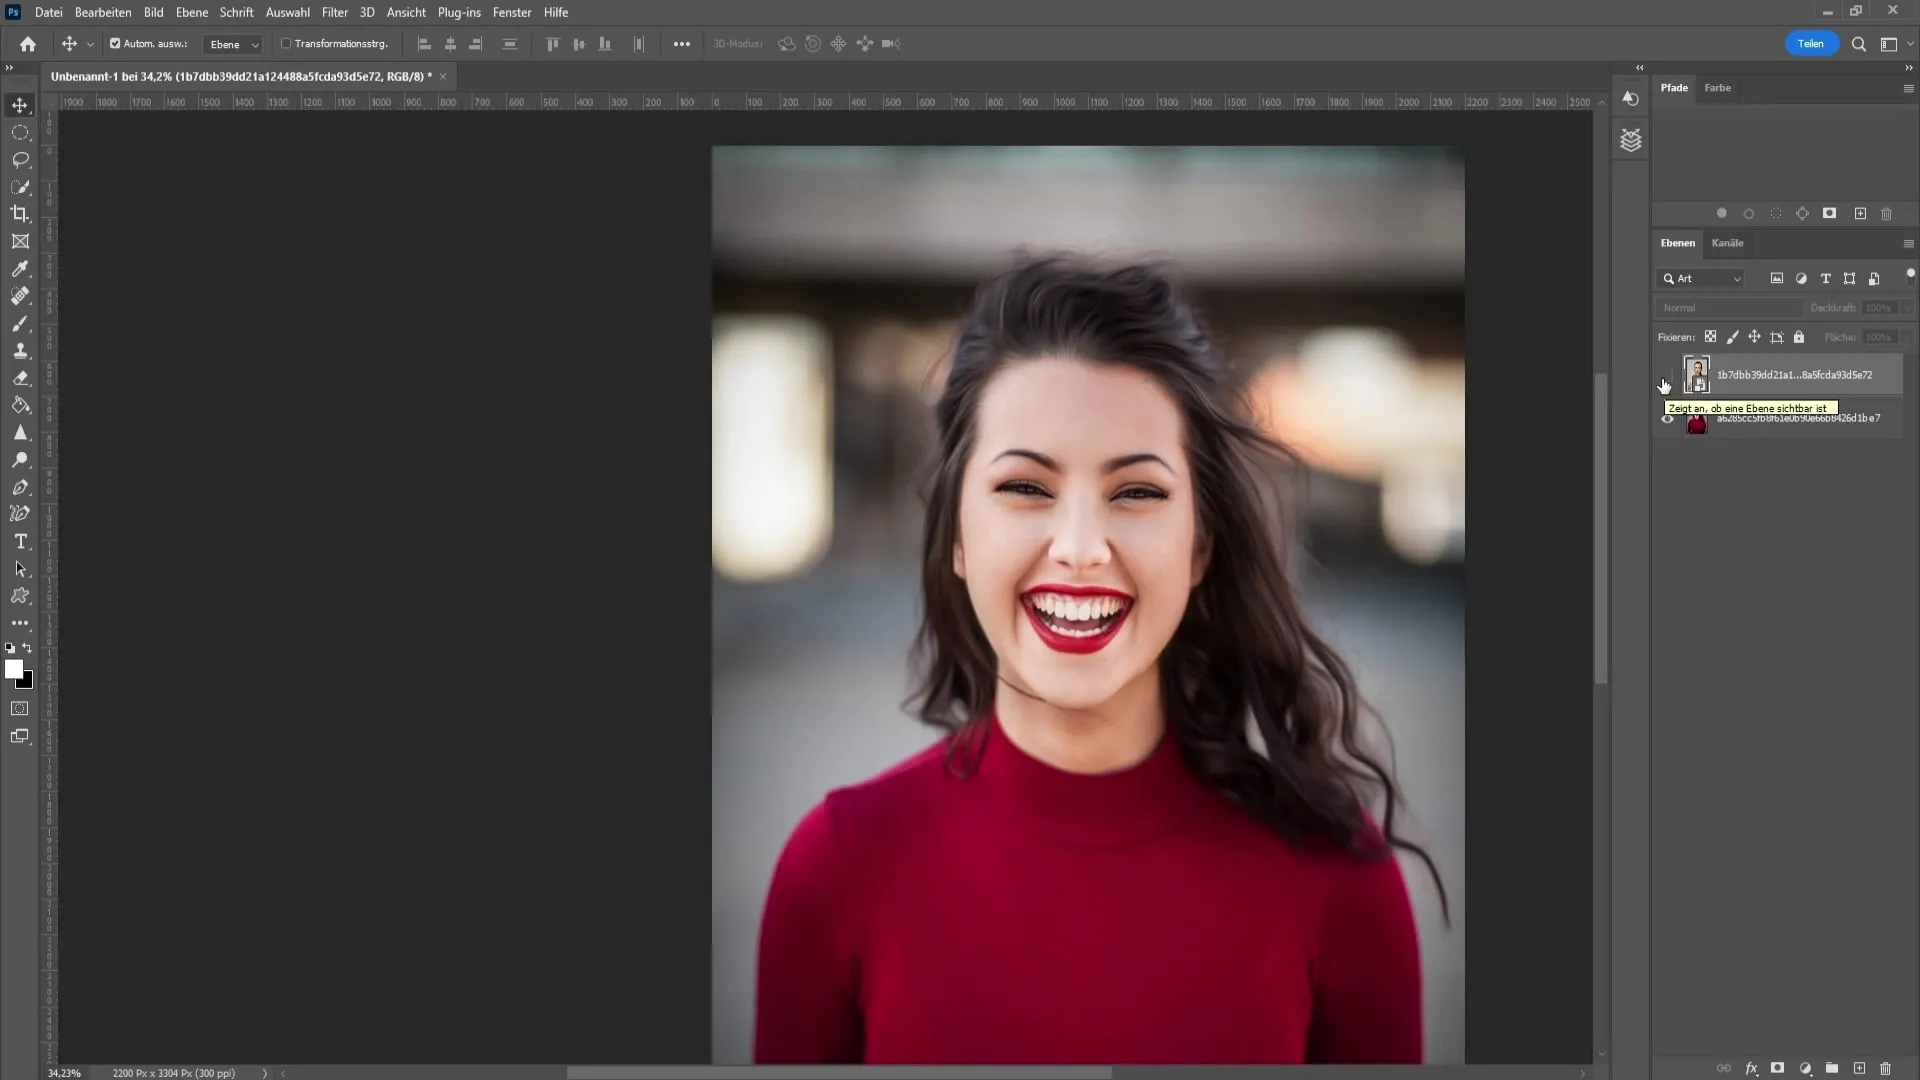
Carefully select the area of the face that you want to transfer. It is advisable to select the eyebrows and mouth but maintain some distance to ensure a precise selection. A good selection could include the eyebrows and mouth, leaving enough room for adjustments.
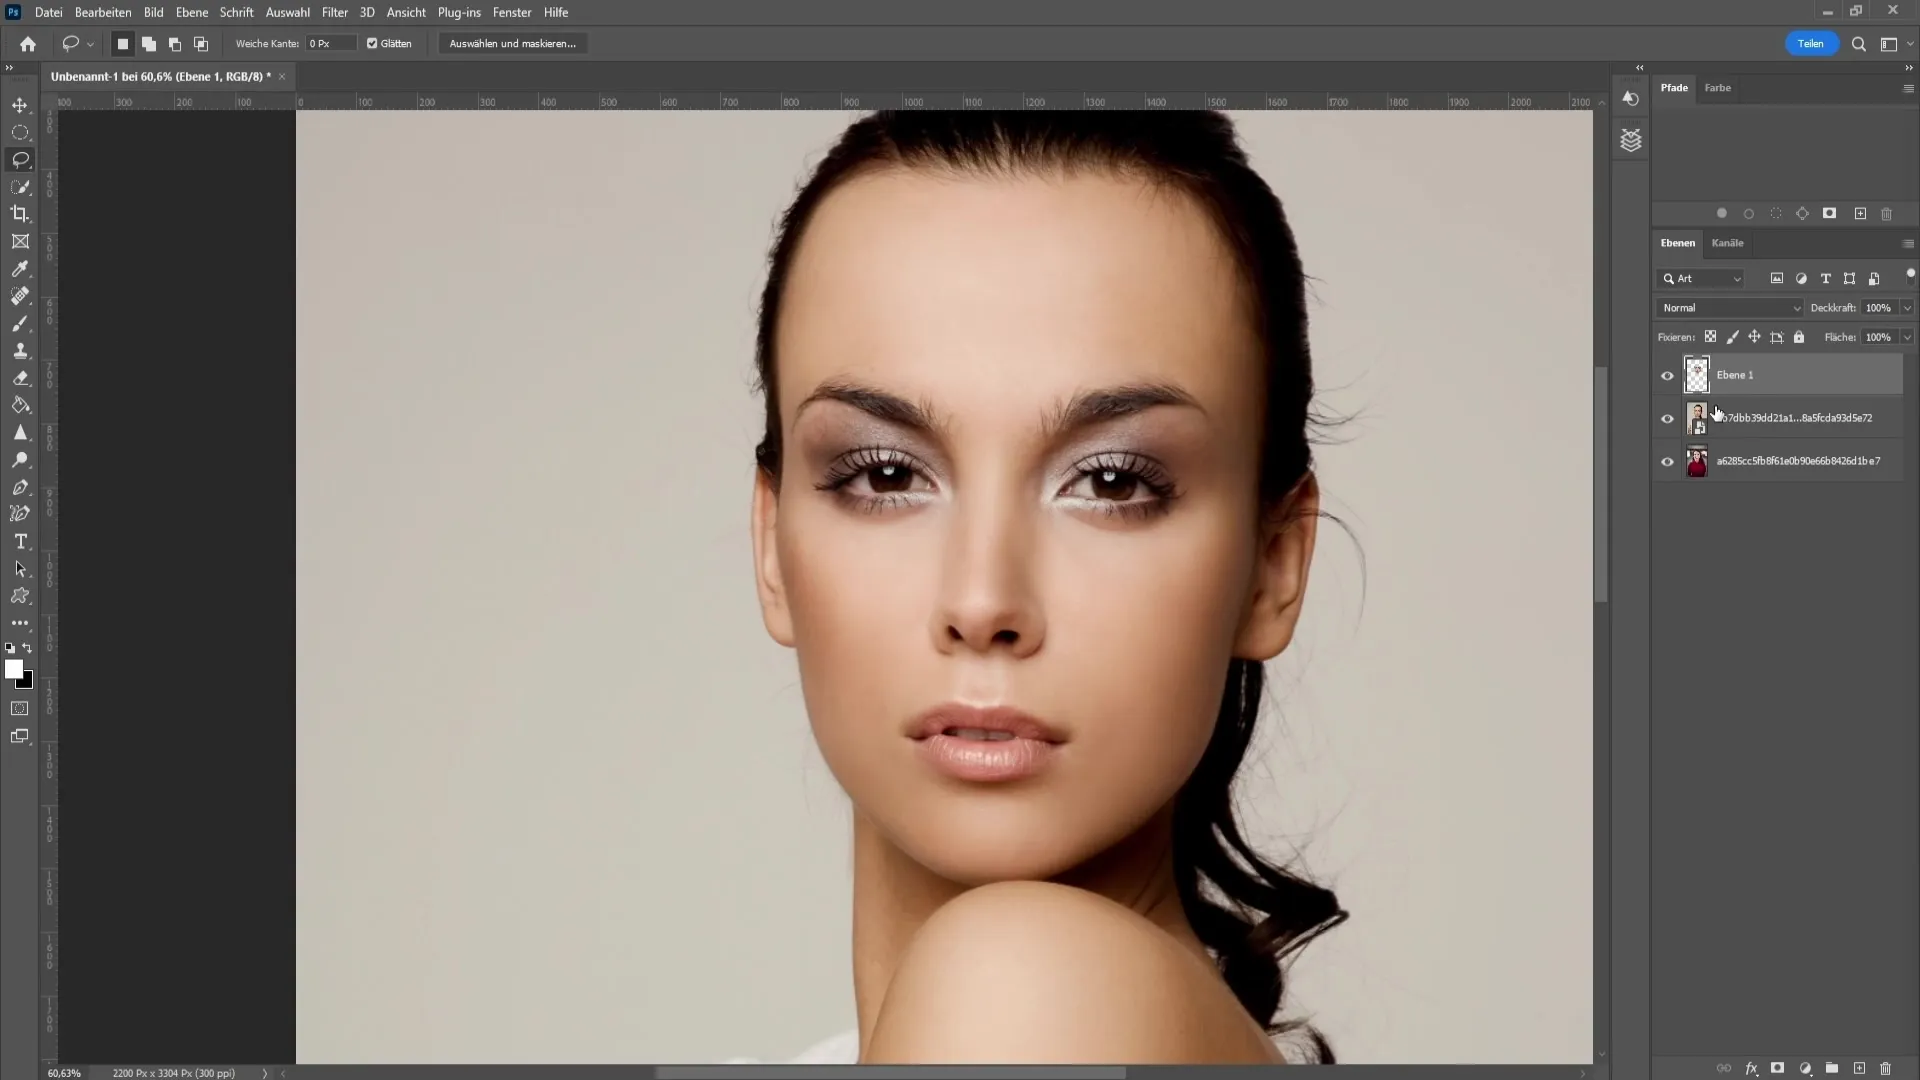
After making the selection, press Control + J on your keyboard. This will copy the selection to a new, empty layer. Then, hide the image of the person from whom the face was taken to only reveal the face that you will soon move.
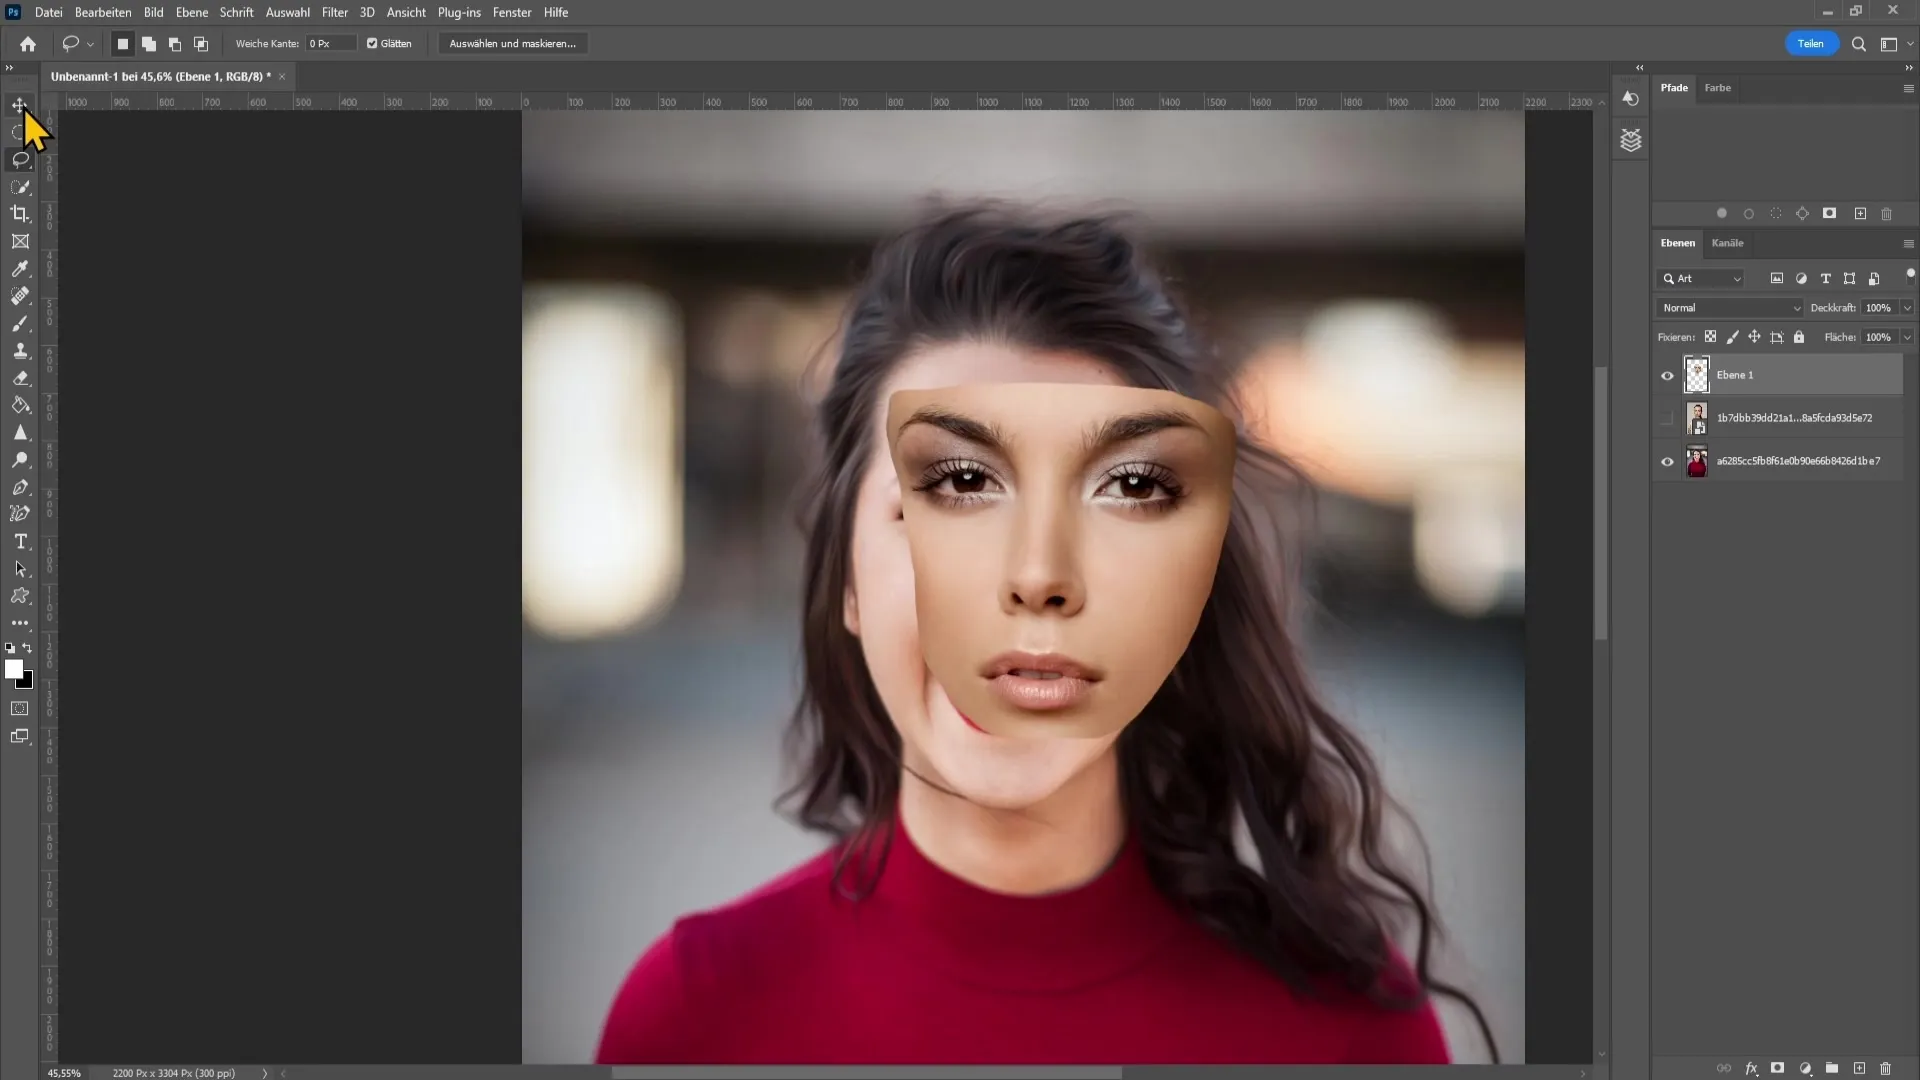
Now you need to bring the cut-out face to the other image. To make this easier, lower the opacity of the face layer so that you can see more easily how the face needs to be positioned. Ensure that the mouth and eyes are well aligned.
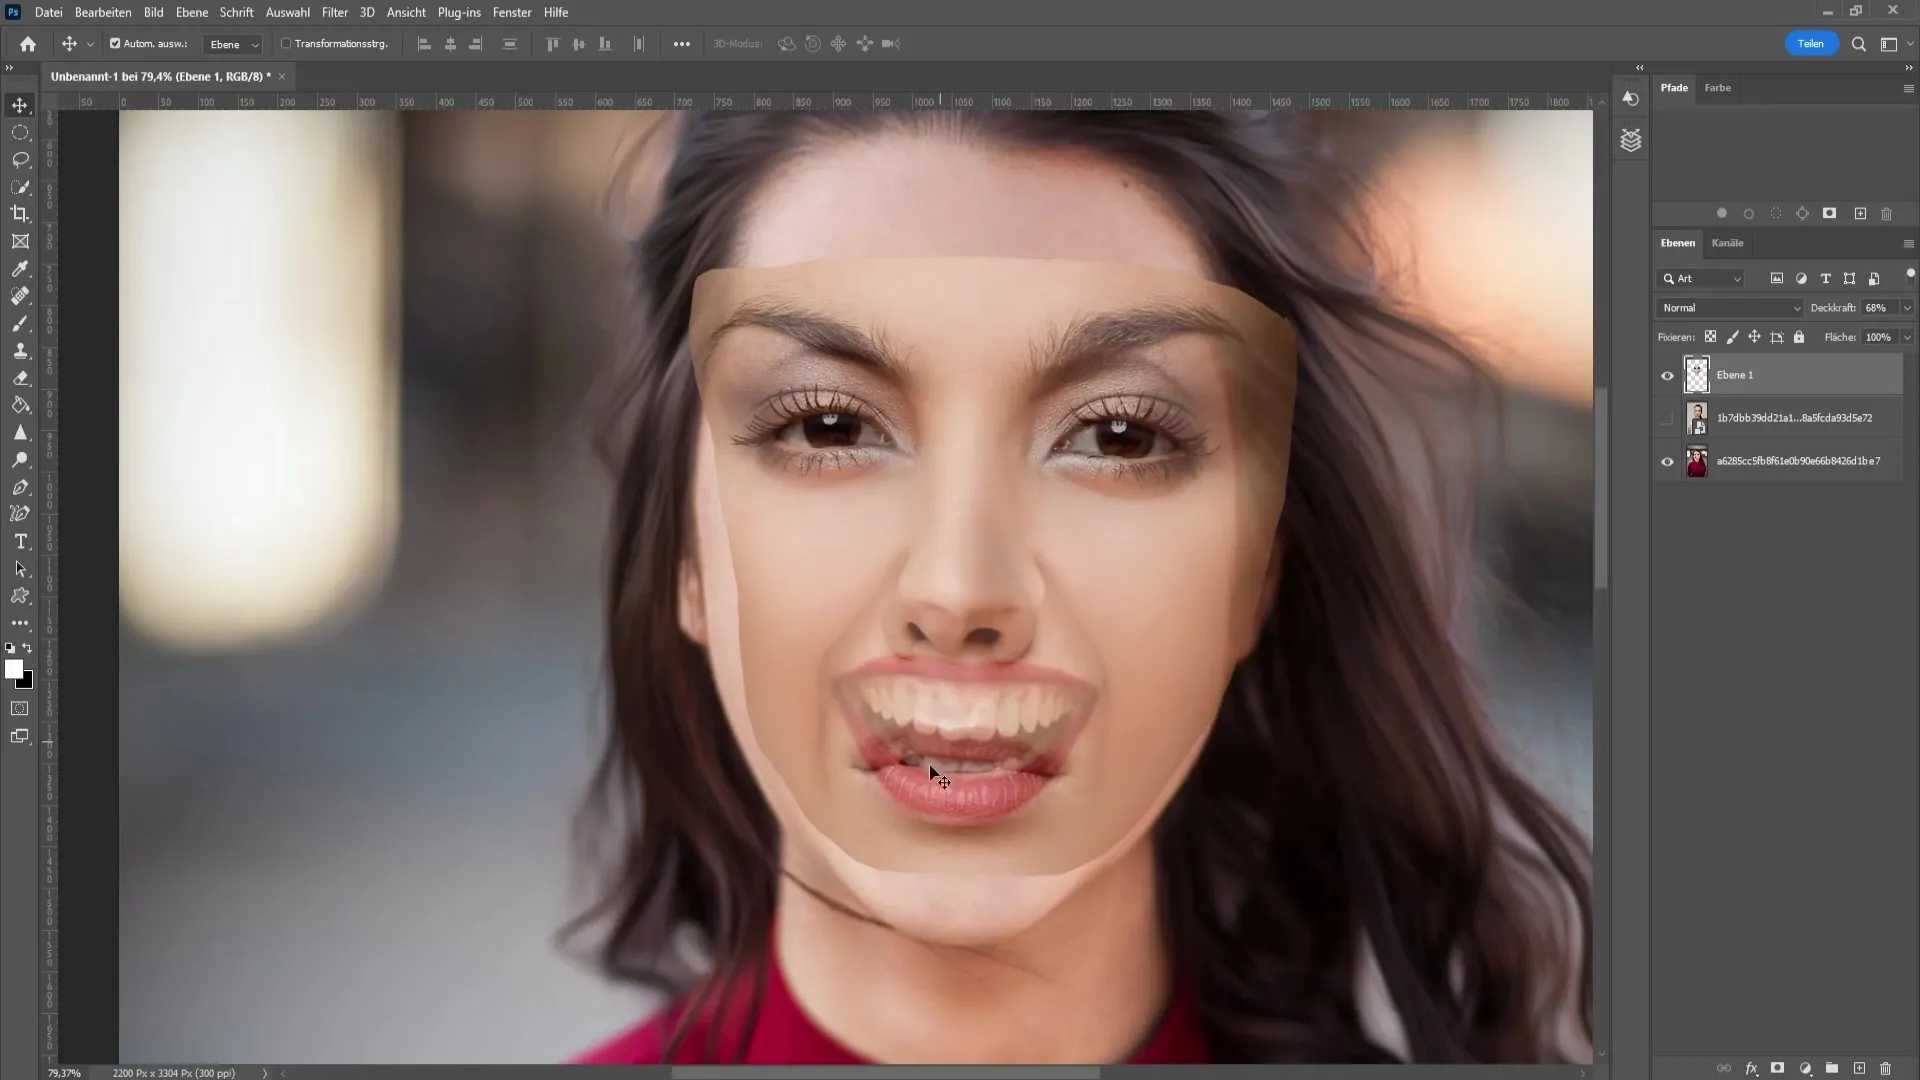
If you want to resize the face, you can do so by pressing Control + T. This opens the Transform tool, allowing you to adjust the size of the face. Ensure that the proportions are correct and confirm your changes by hitting the Enter key.
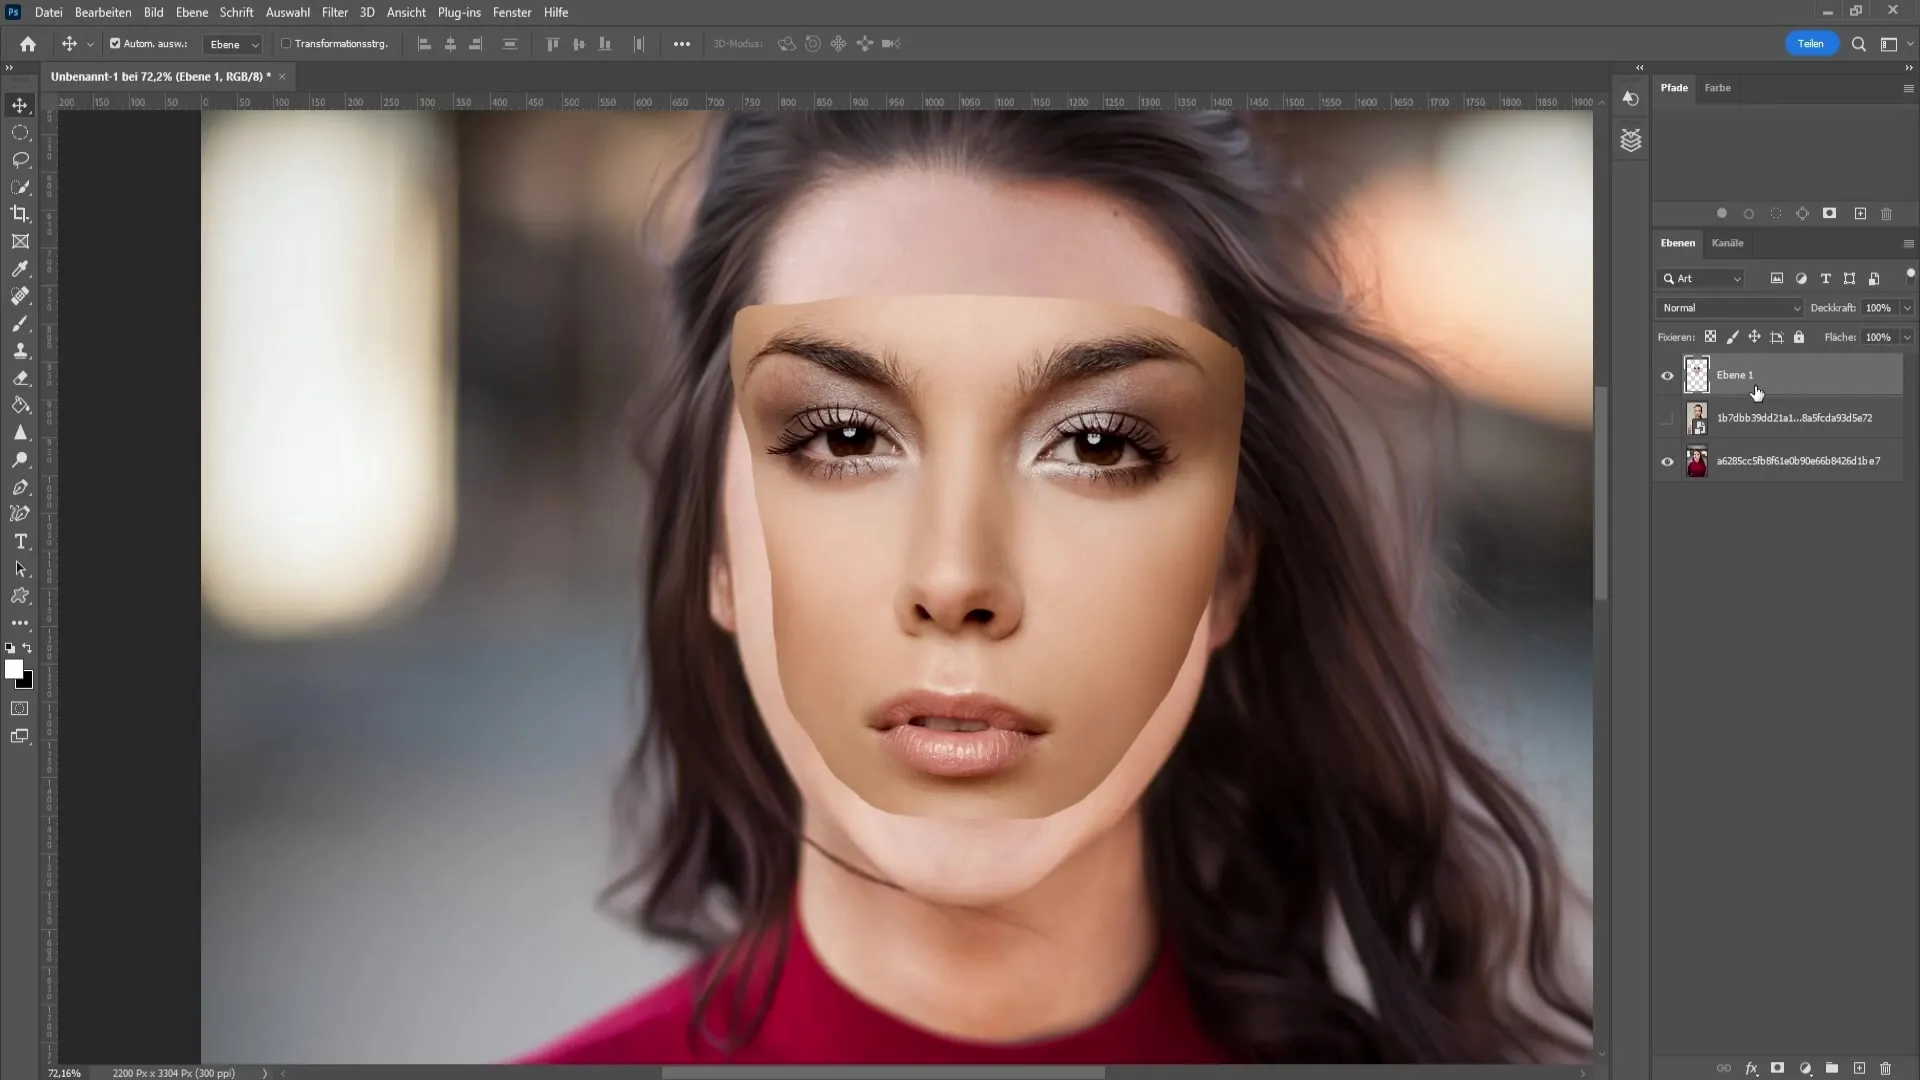
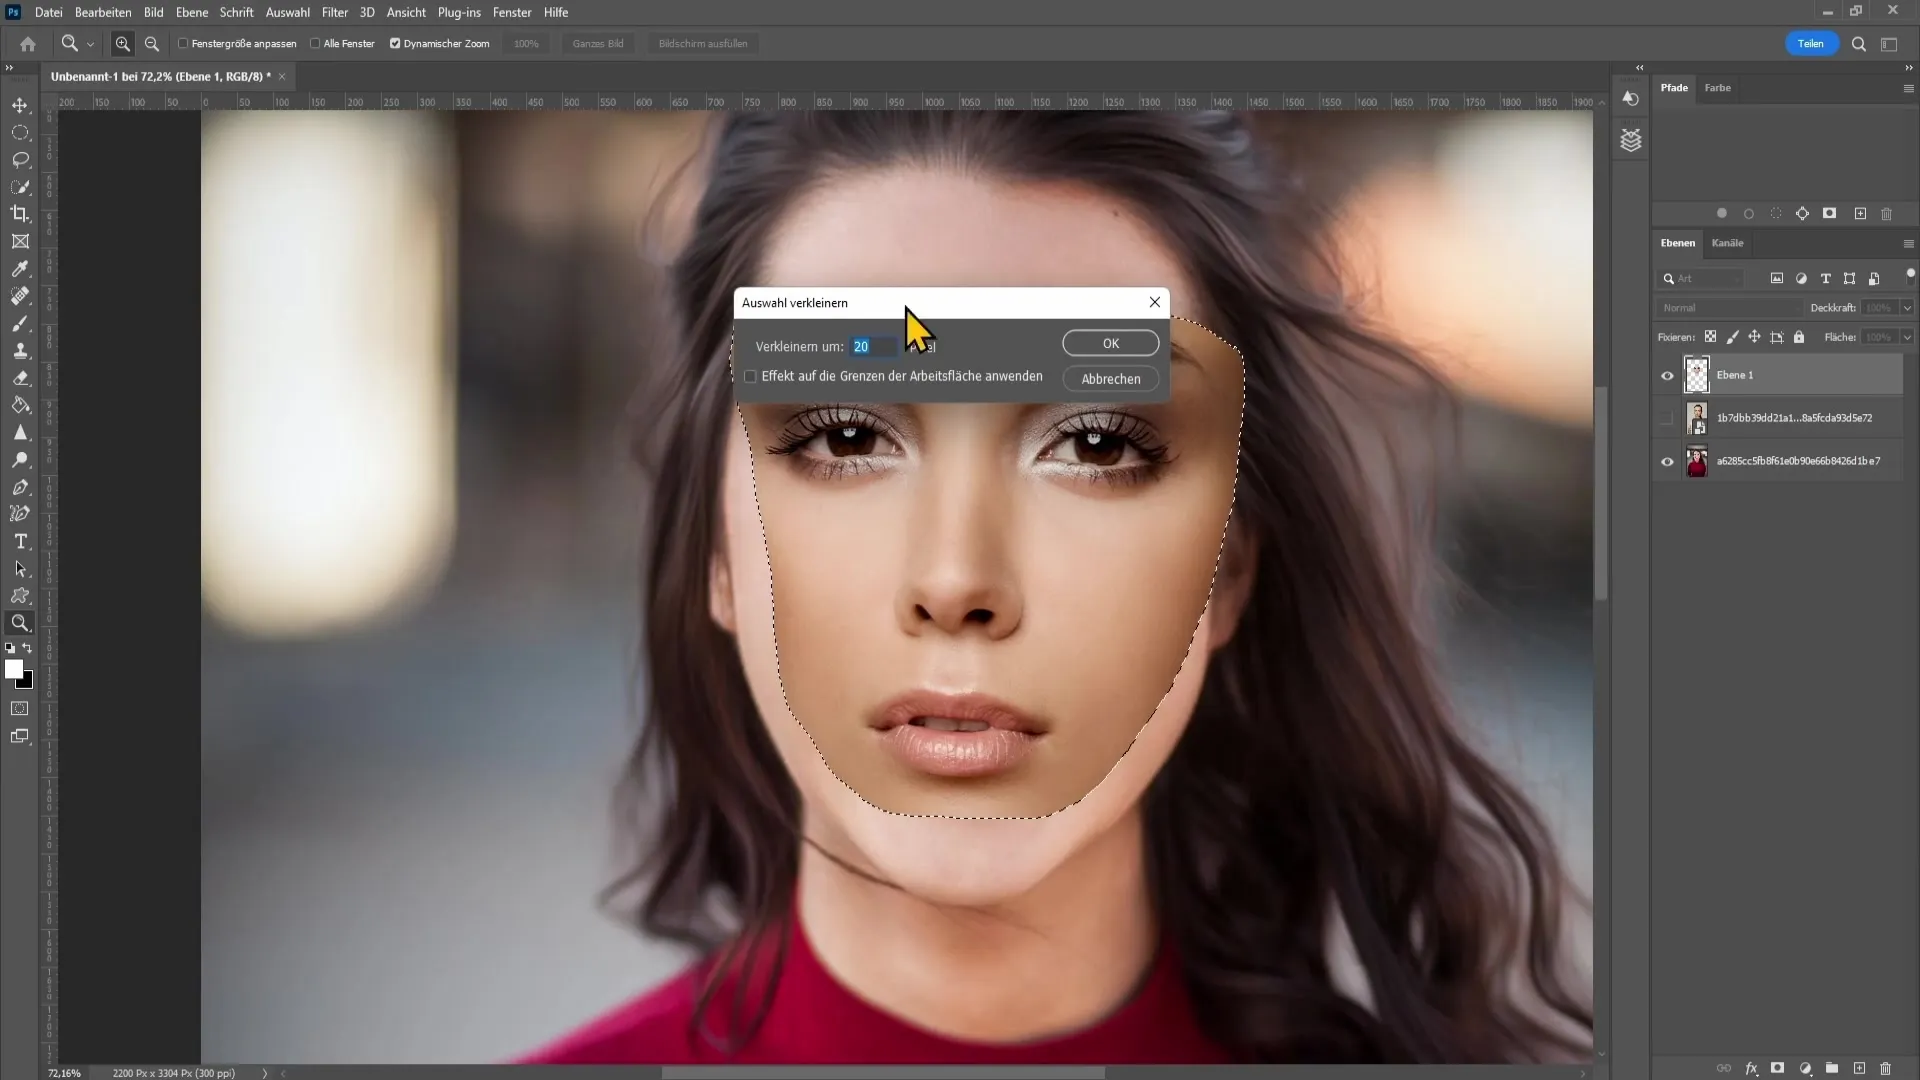
Once the face is correctly positioned, you can increase the opacity again to better observe the changes. Hold down the Control key and click on the thumbnail of the face layer. Go to Select and choose Modify Selection, then Contract. Set the value to 20 pixels and click OK.
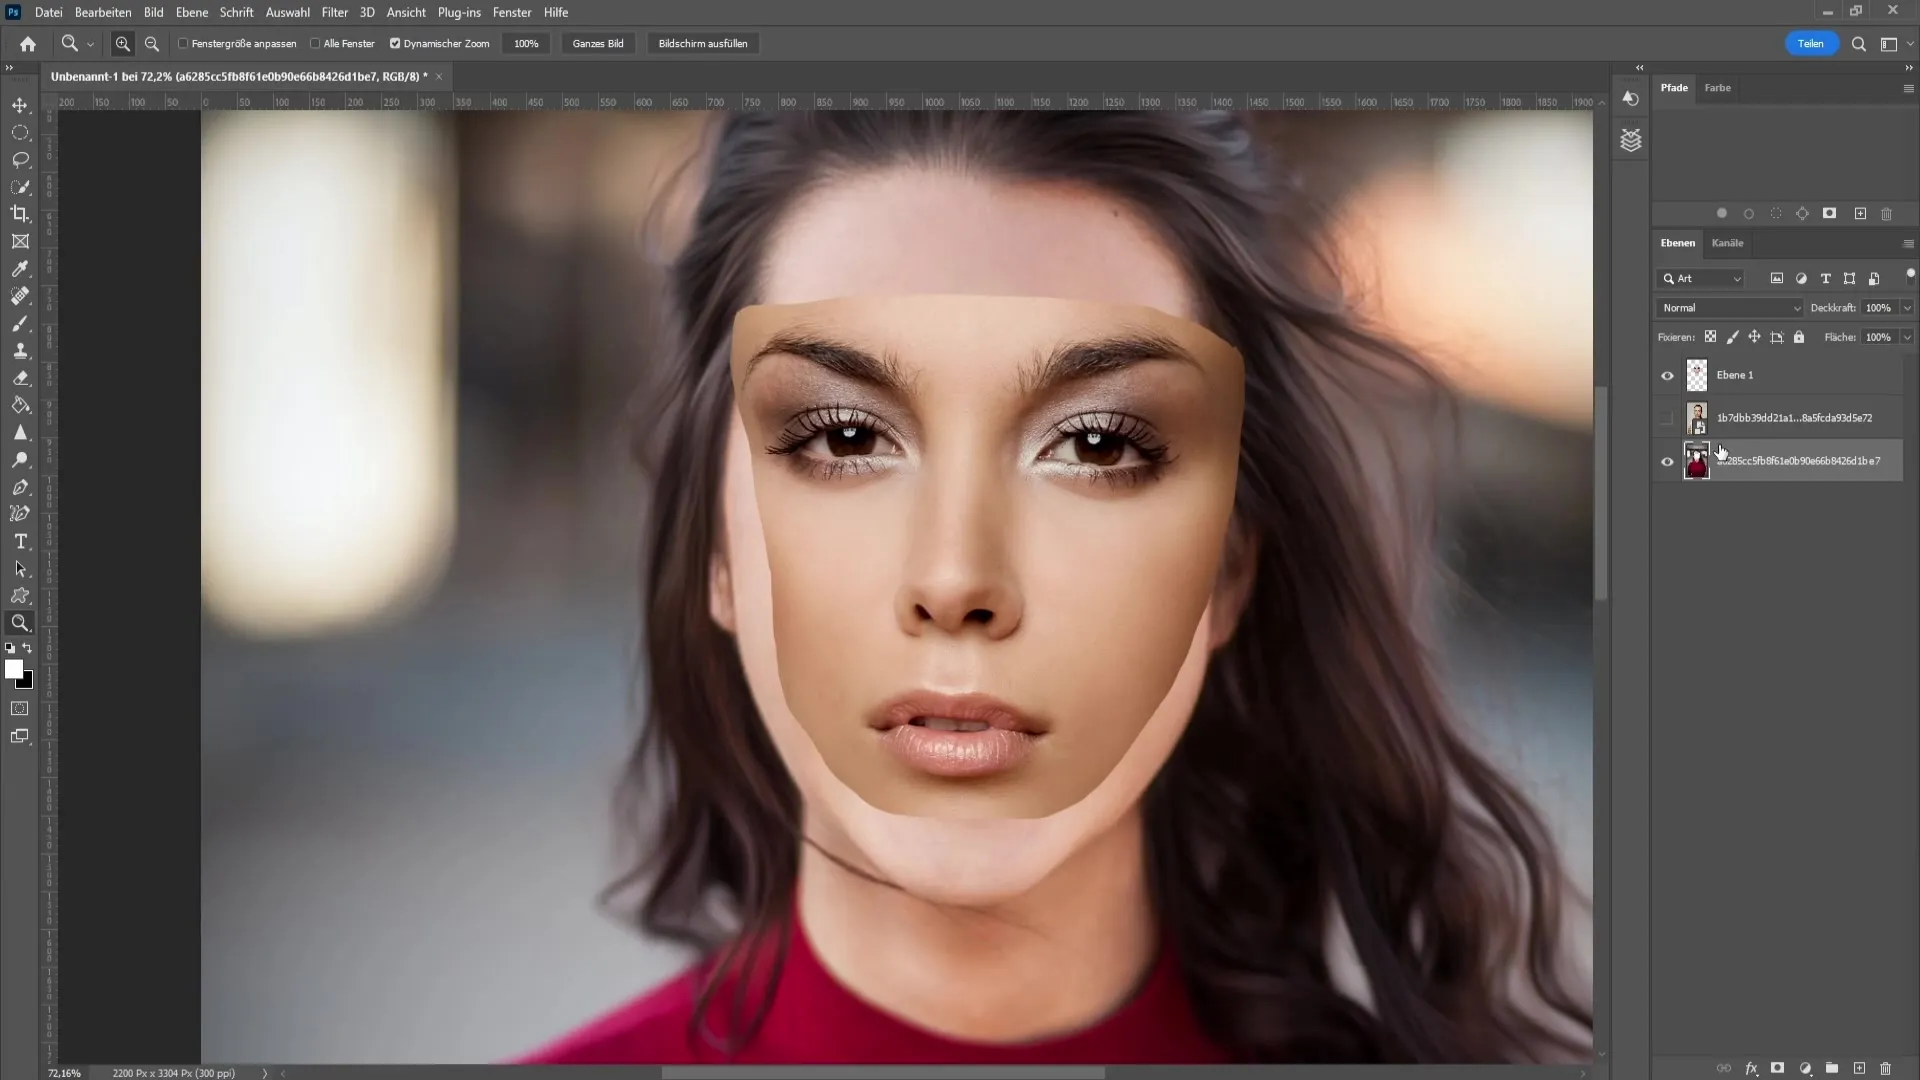
Now, select the underlying layer and right-click to Rasterize if you haven't already done so. Then, press the Delete key to remove the selection. This will help you further adjust the shape of the face and remove unwanted areas.
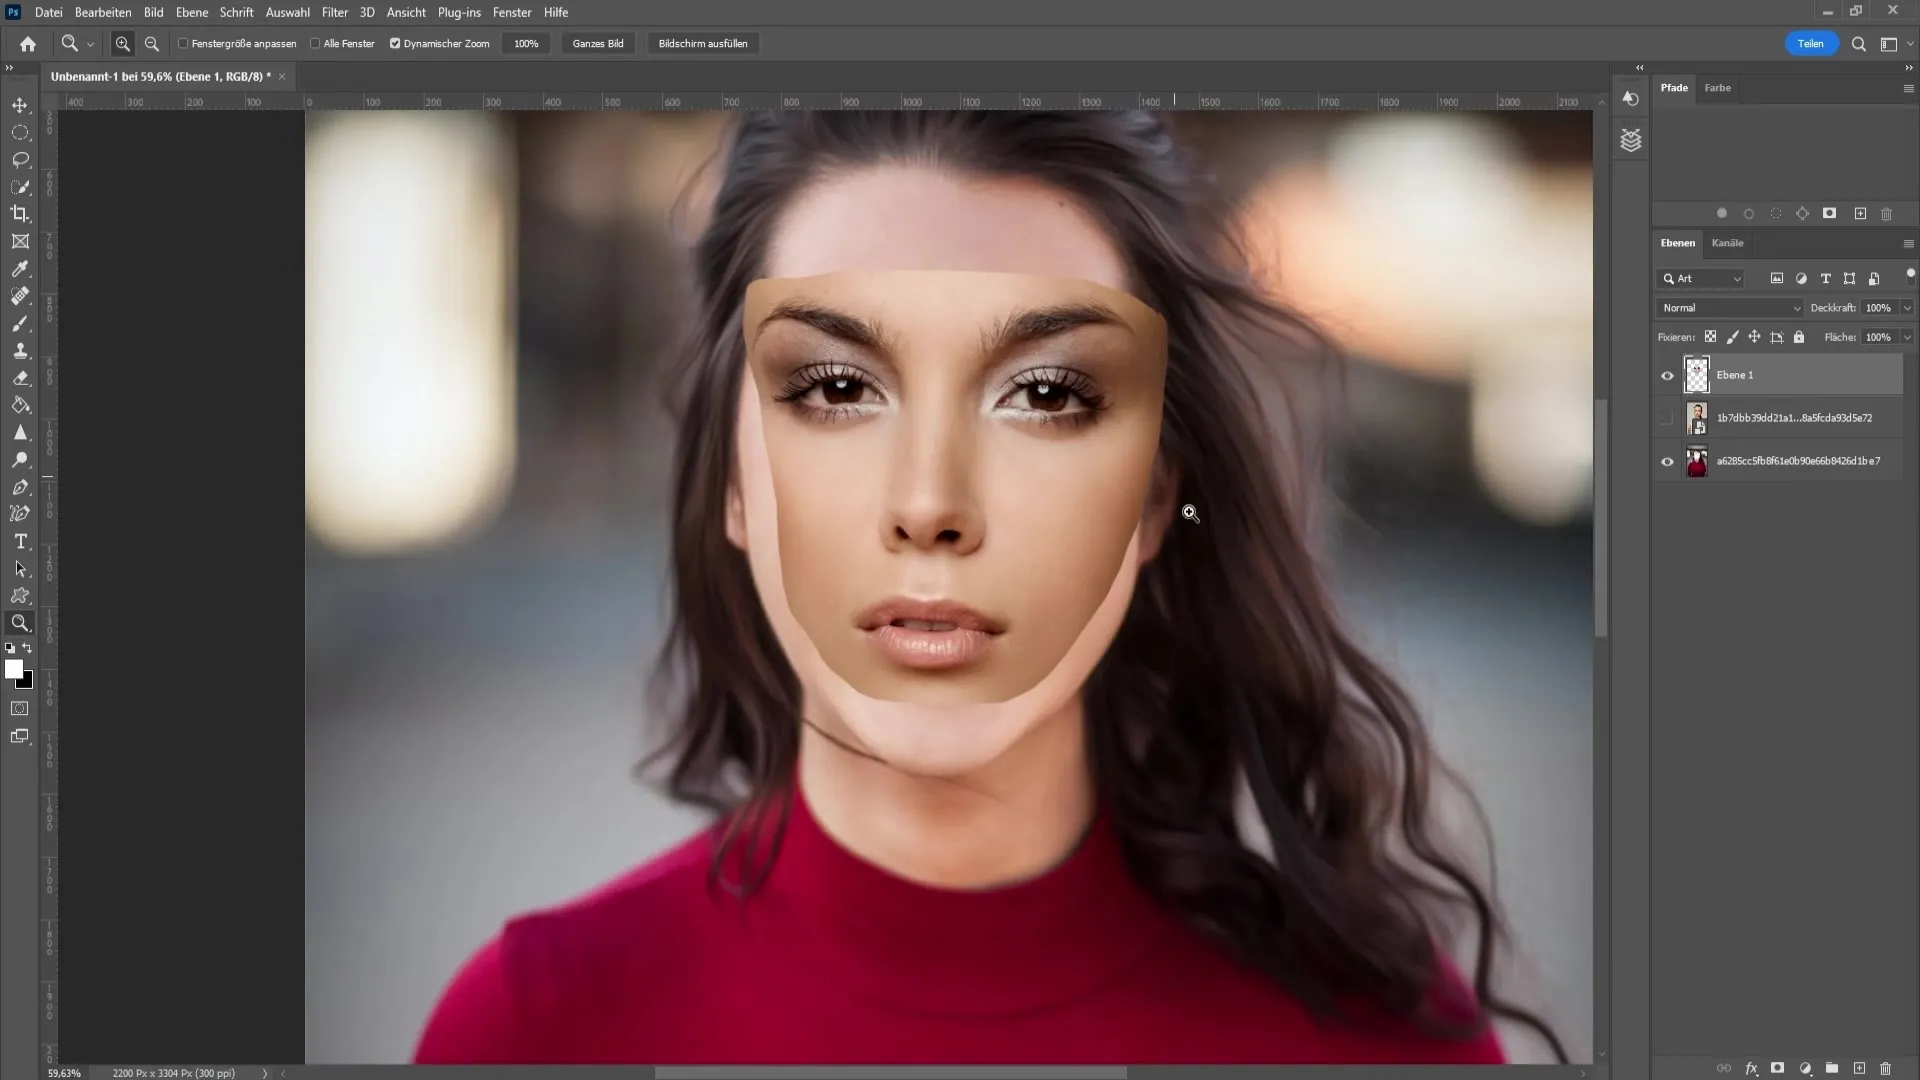
Ensure that in this selection, you do not accidentally retain parts of the lips or eyebrows. It may be beneficial to take a few steps back and transform the face again to ensure everything fits well.
After this step, the face is already well placed, but we now need to ensure that both layers are properly selected. Hold down the Control key and select the underlying layer so that you have both the face and the person with the cutout face in the selection. Then, go to Edit and choose Auto-Blend Layers.
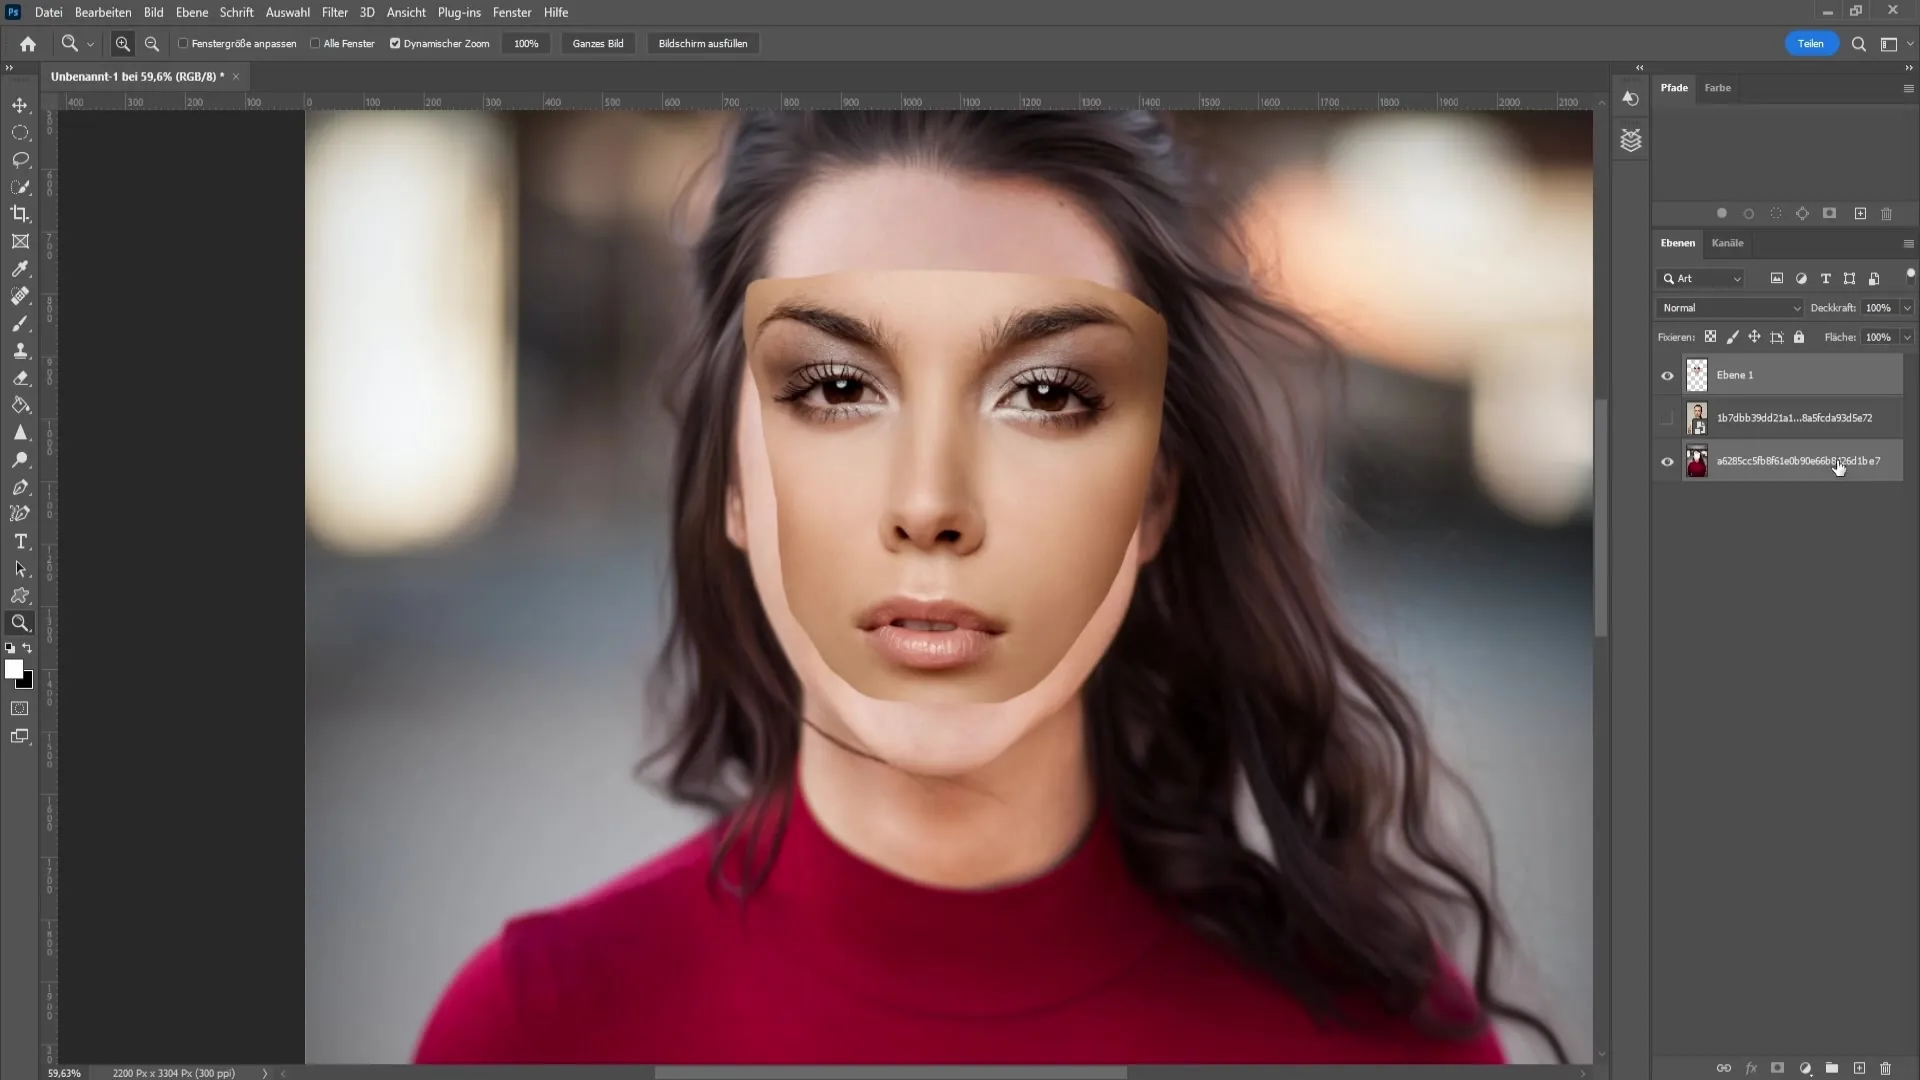
Simply click OK, and Photoshop will automatically make the necessary adjustments so that the face is seamlessly inserted. Check the result; if you are not satisfied, you can go back and easily adjust or rotate the face by using Control + T again.
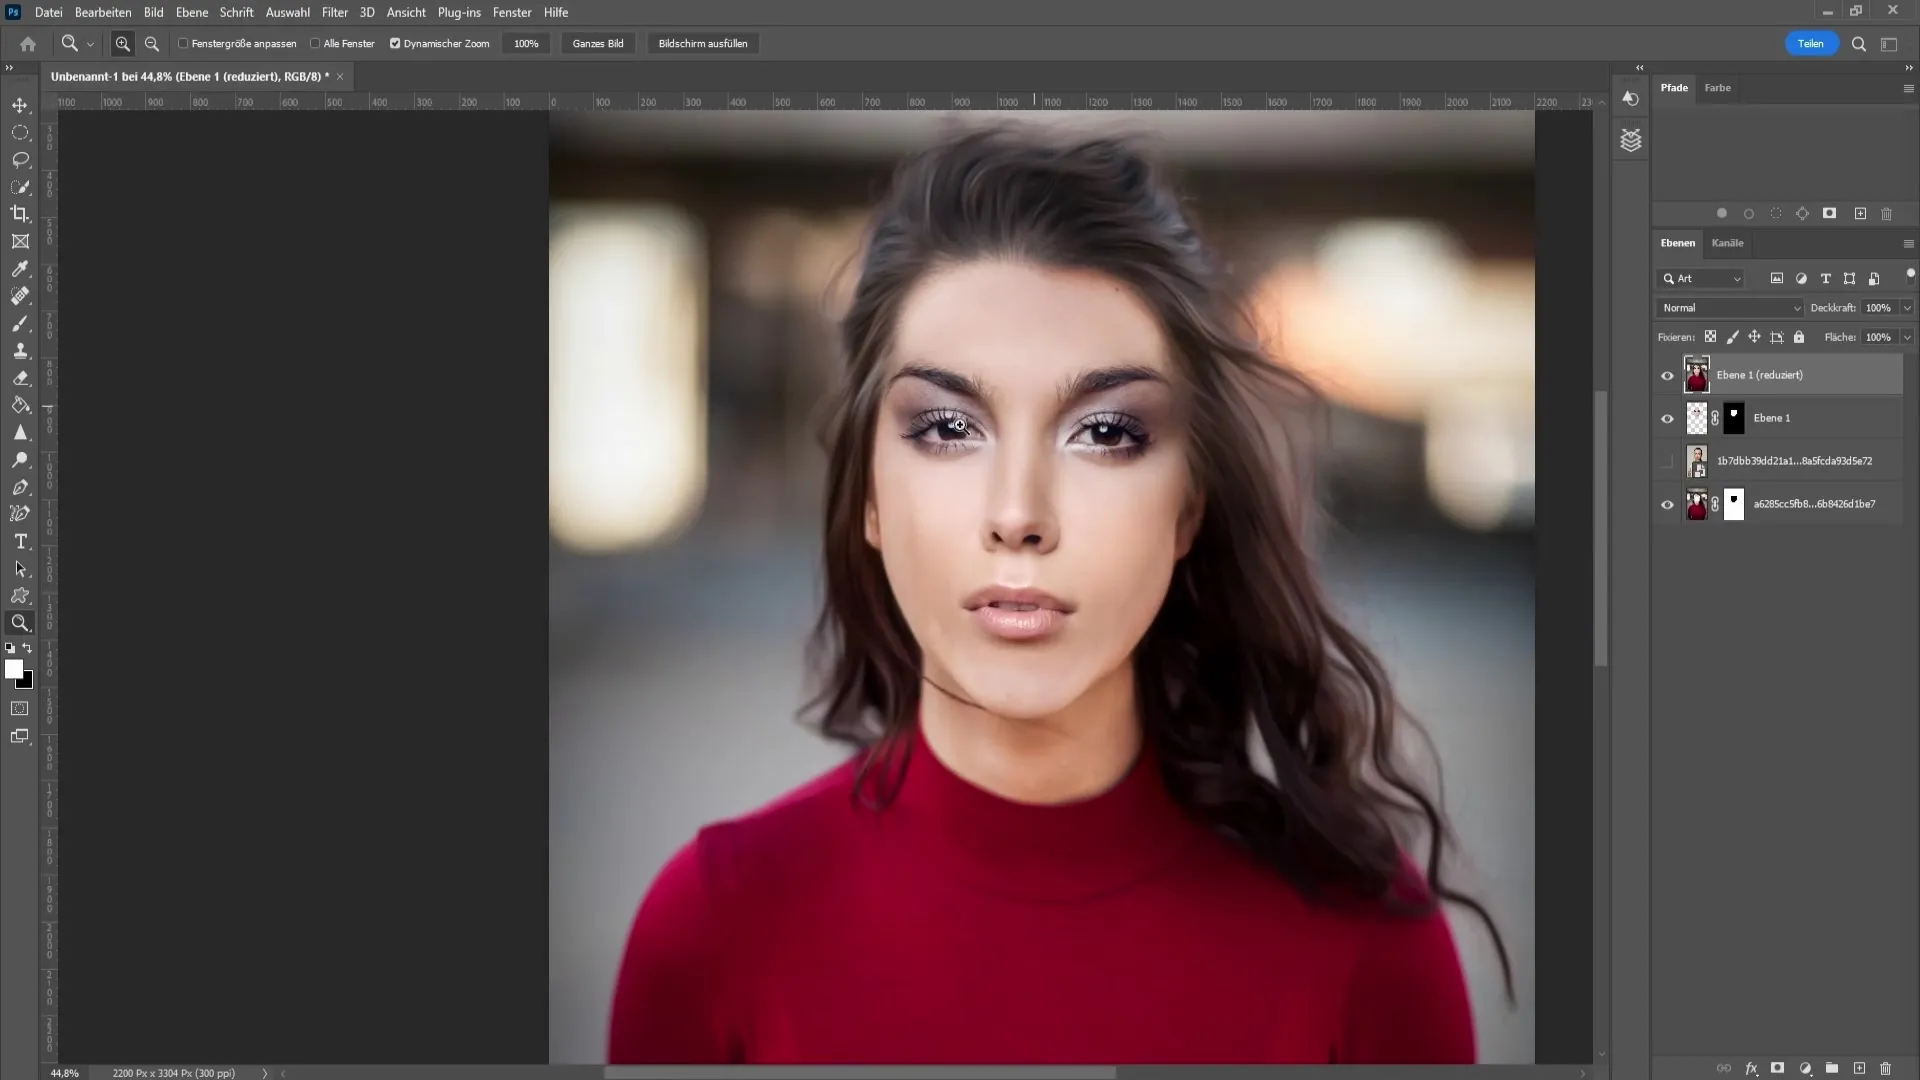
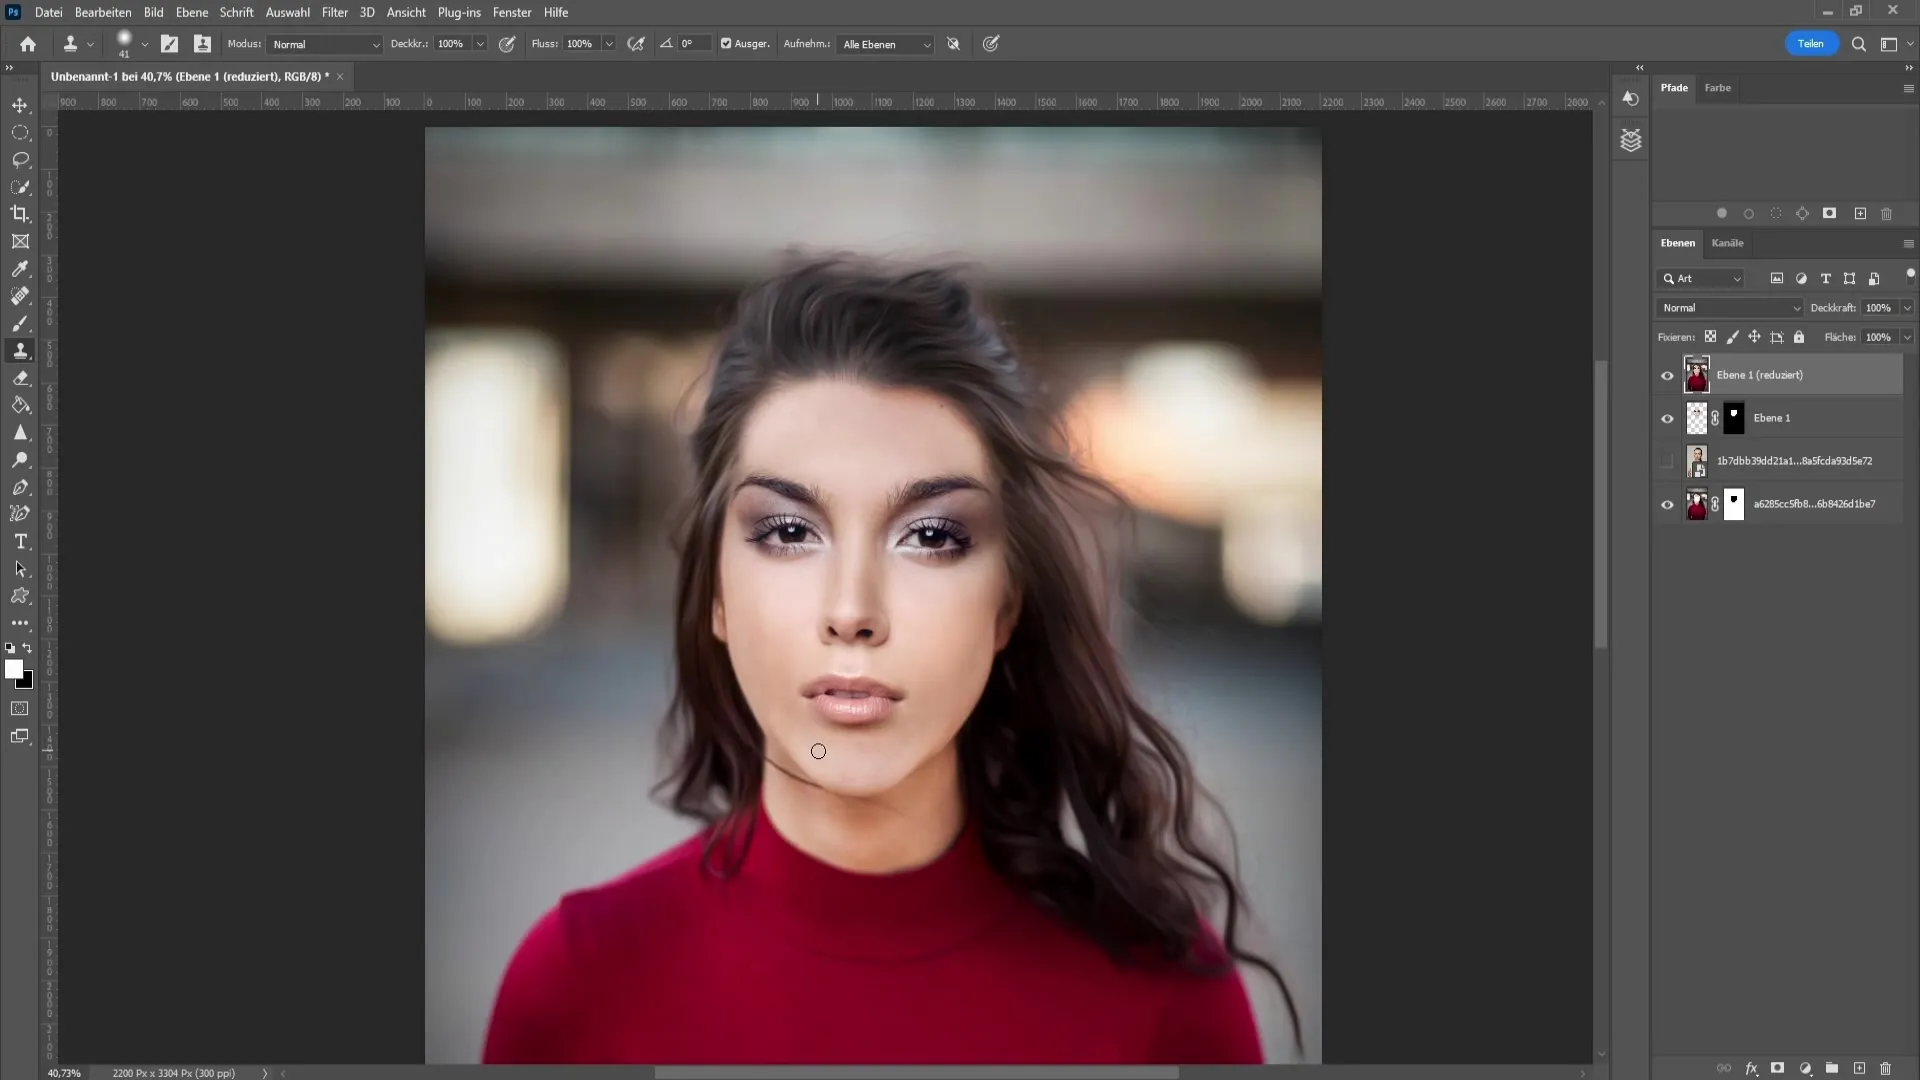
Now it's important that the face looks good and the transitions appear natural. If you notice minor inconsistencies, you can easily correct them using the Spot Healing Brush or the Clone Stamp. Select the area you want to improve and work carefully to make the transitions smoother.
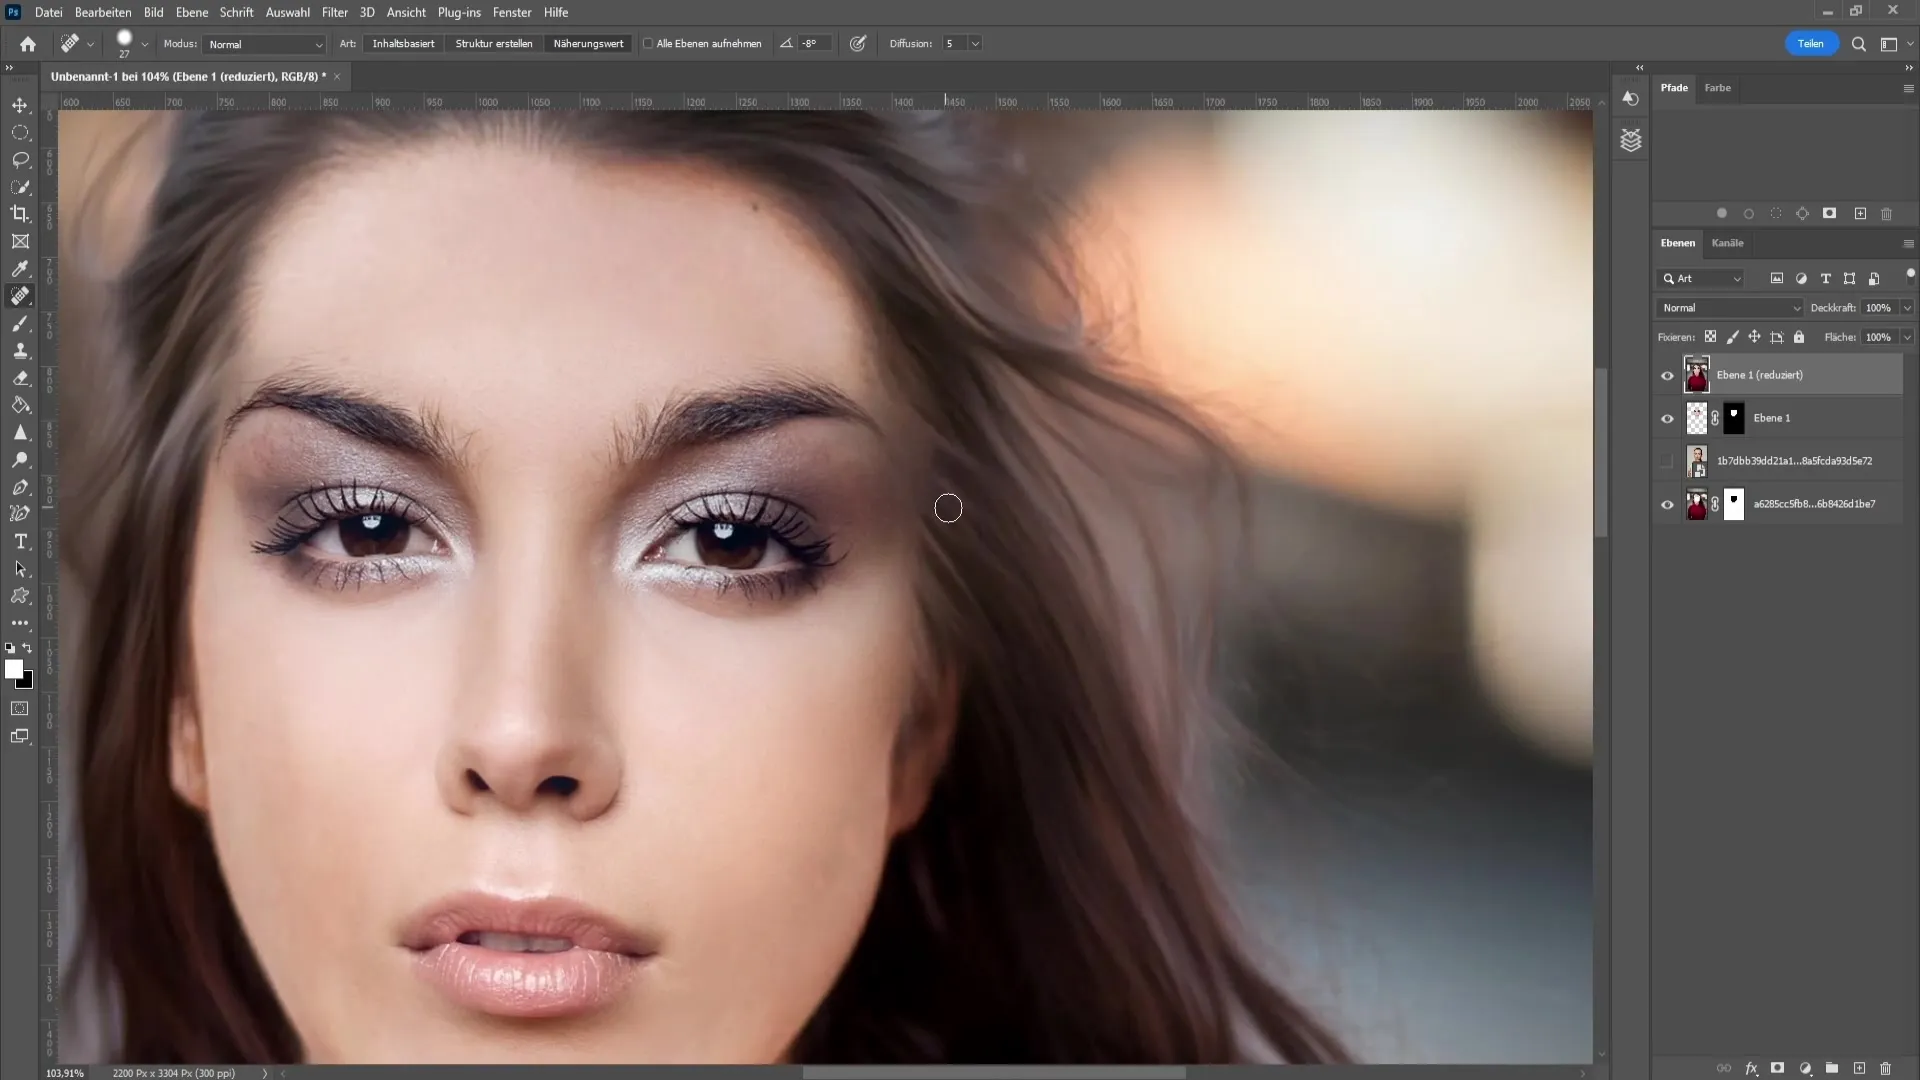
Depending on your preference, you can work on the hair or other details to achieve a perfect result. If you are in a good flow, you may find that the whole process actually only takes a minute!
Summary
In this tutorial, you have learned how to successfully swap faces using basic tools in Photoshop. With deliberate steps and some practice, you can achieve impressive results in no time.
Frequently Asked Questions
How do I select the right area for the face?Make sure to select the eyebrows and the mouth, but keep enough distance to enable a more precise selection.
How can I resize the face?Use the shortcut Control + T to open the transformation options and adjust the size.
What do I do if the result doesn't look good?You can blend the layers automatically and retouch the transitions with the Spot Healing Brush or the Clone Stamp as needed.
The face looks unnatural. What now?Check the alignment and adjust the rotation of the face to achieve a more harmonious integration.


