In this tutorial, I will show you how to create googly eyes in Photoshop in a simple way. Googly eyes can be used in various projects, whether for humorous images, graphics, or creative designs. To get the most out of these techniques, you will get to know Photoshop tools that allow you to edit the eyes in a unique way. Let's start the fun!
Main Takeaways
- Turn your image into a Smart Object for flexible editing.
- Use the Liquify filter and Pucker tool to enlarge the iris.
- Work precisely to achieve an appealing result.
Step-by-Step Guide
First, you should open your image in Photoshop. It is advisable to convert the image into a Smart Object so that you can make changes at any time without damaging the original file. Go to "Layer" > "Convert to Smart Object" and prepare your image.
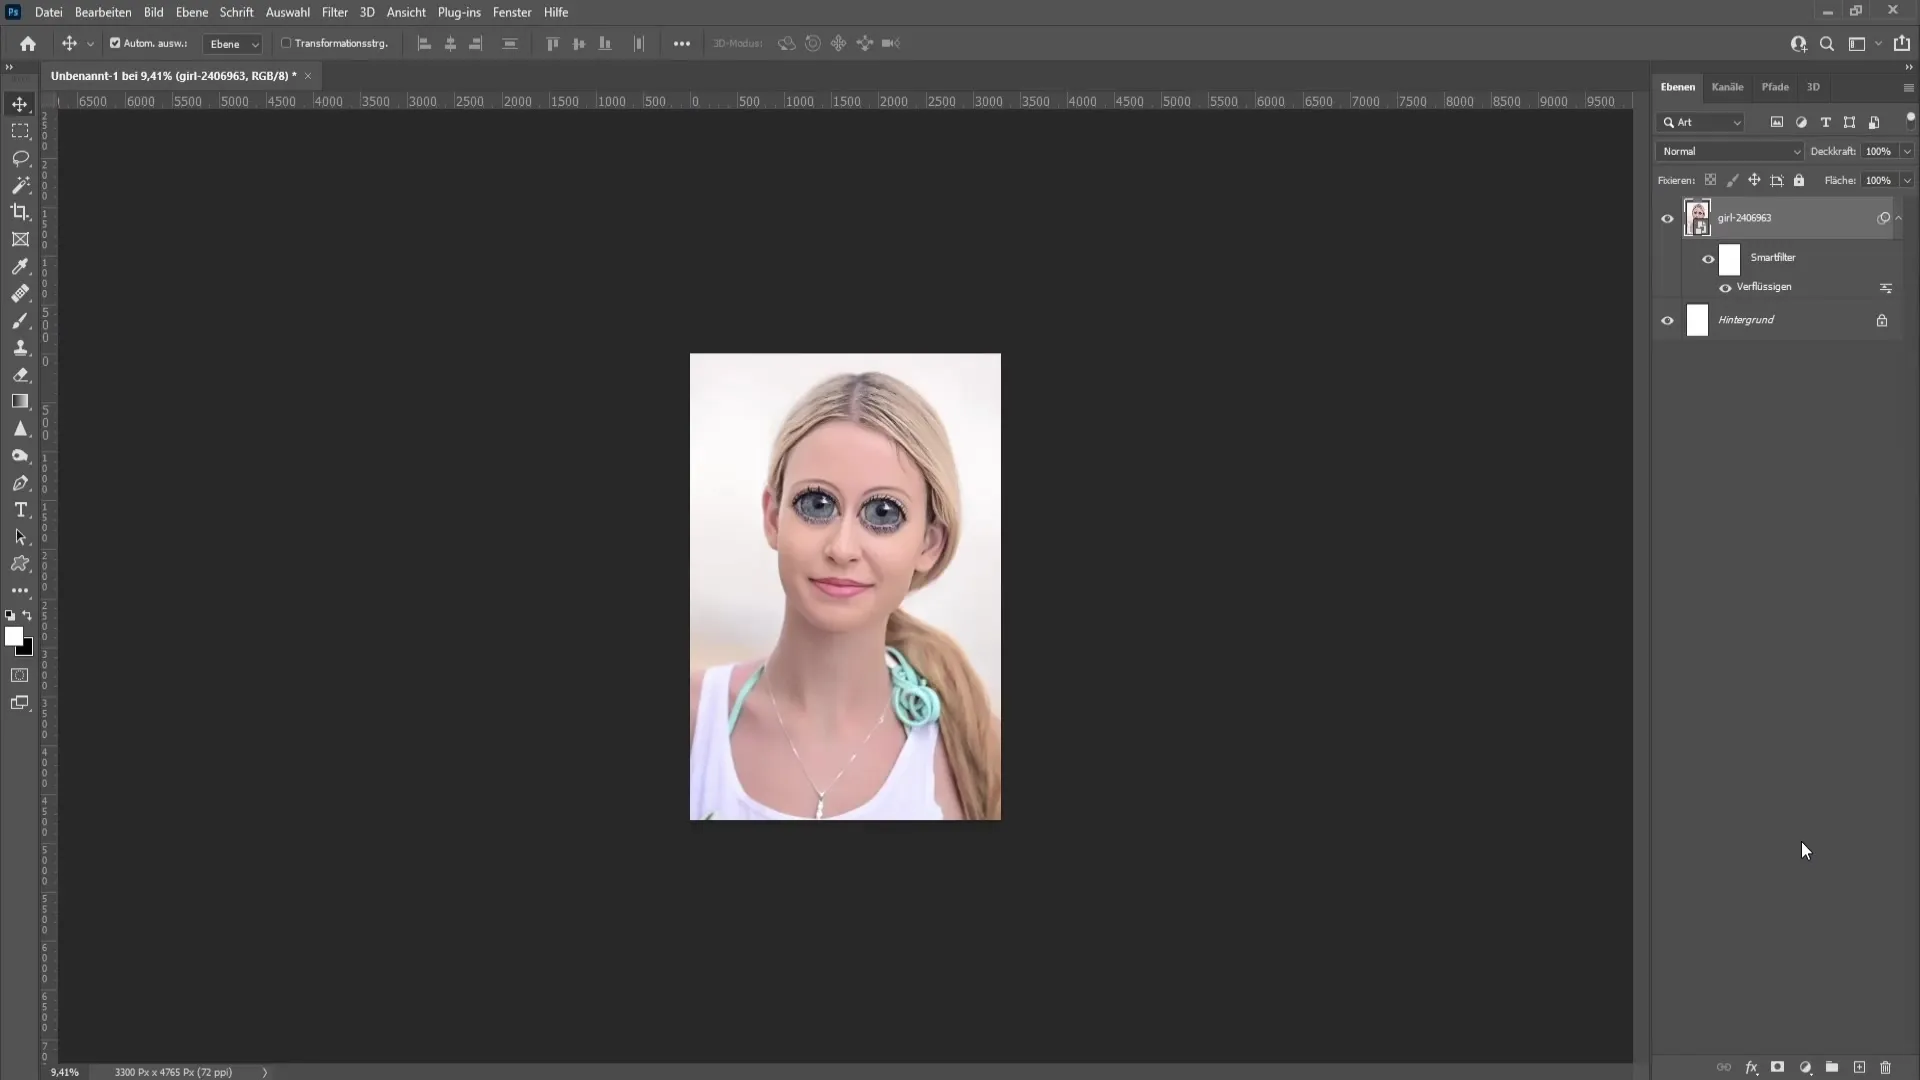
Now you will access the Liquify filter. Go to "Filter" and then "Liquify". Here, you will find the necessary tools to create your googly eyes. You can choose the Pucker tool, which helps enlarge the eyes. You can use the shortcut B to quickly access this tool.
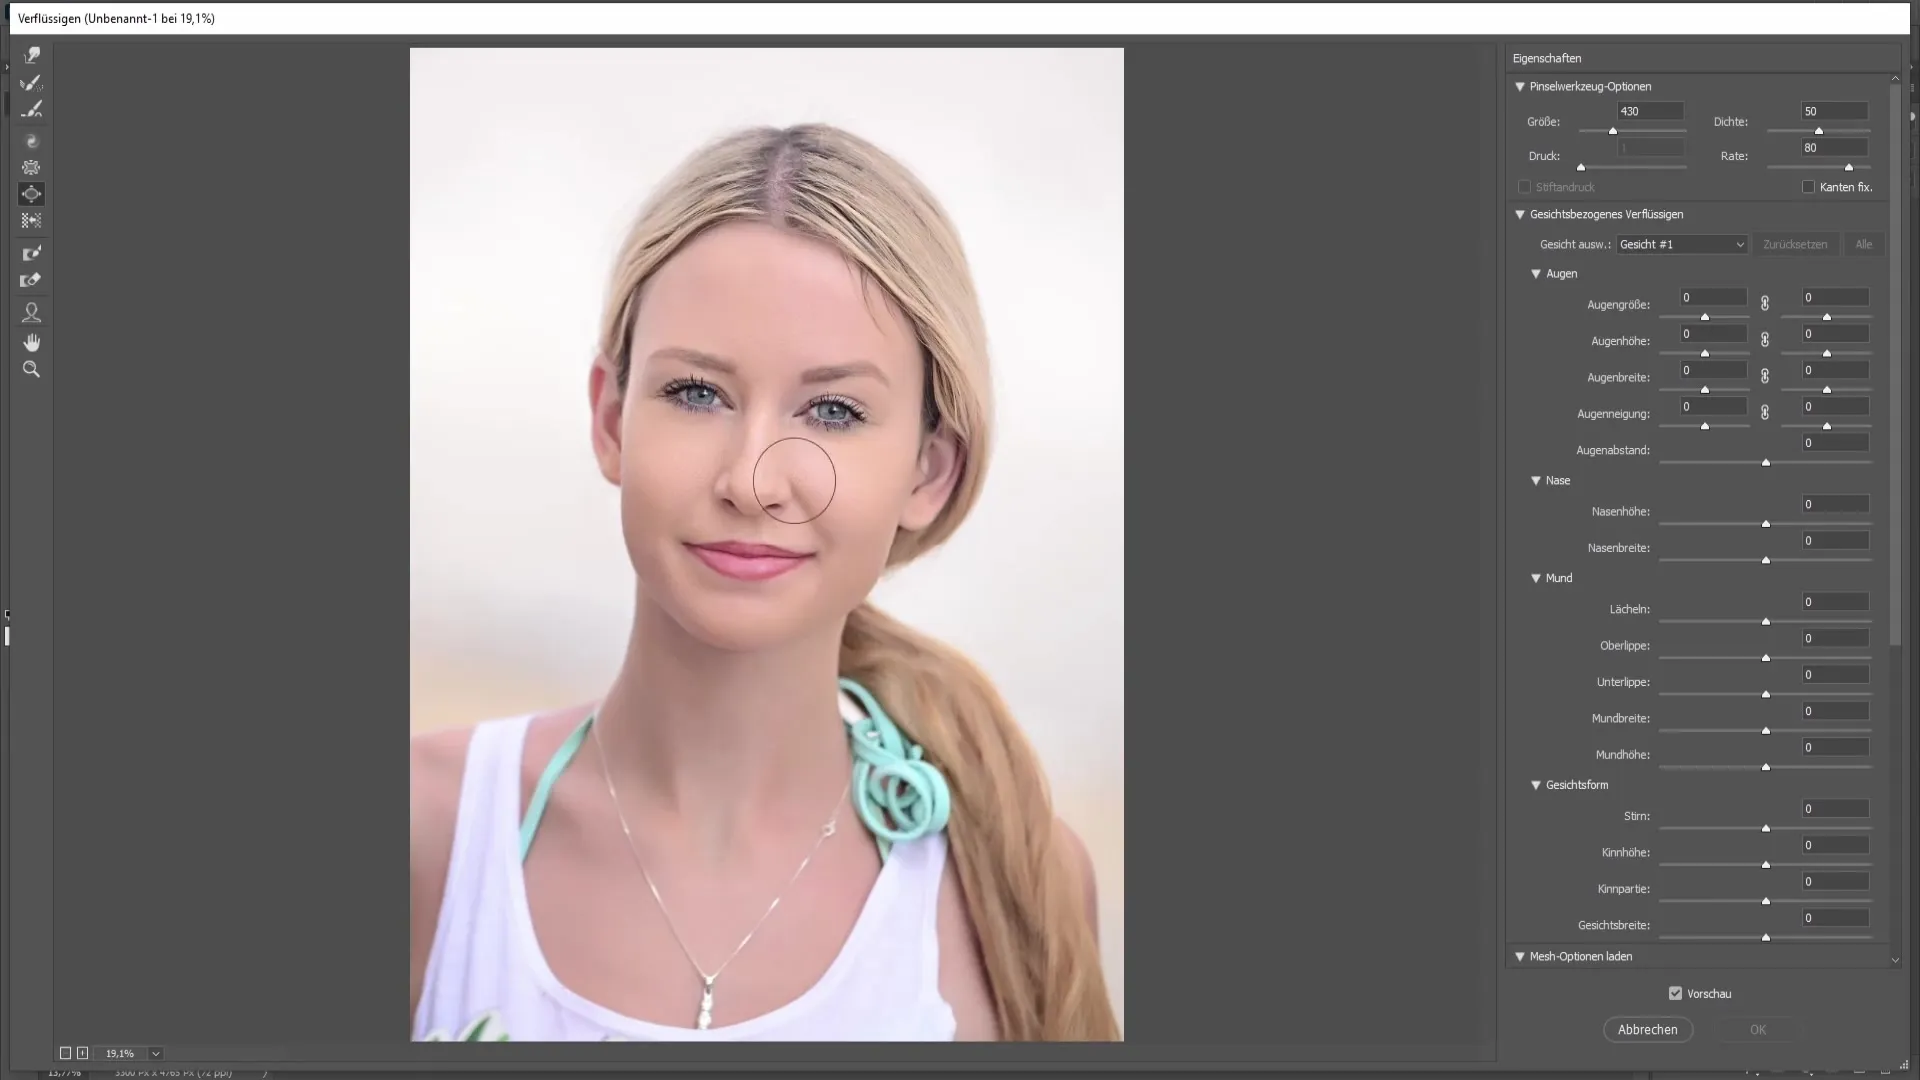
After selecting the Pucker tool, hold down the Alt key and the right mouse button to adjust the brush size. Set the brush size to be about the size of your eyes before starting to enlarge the iris.
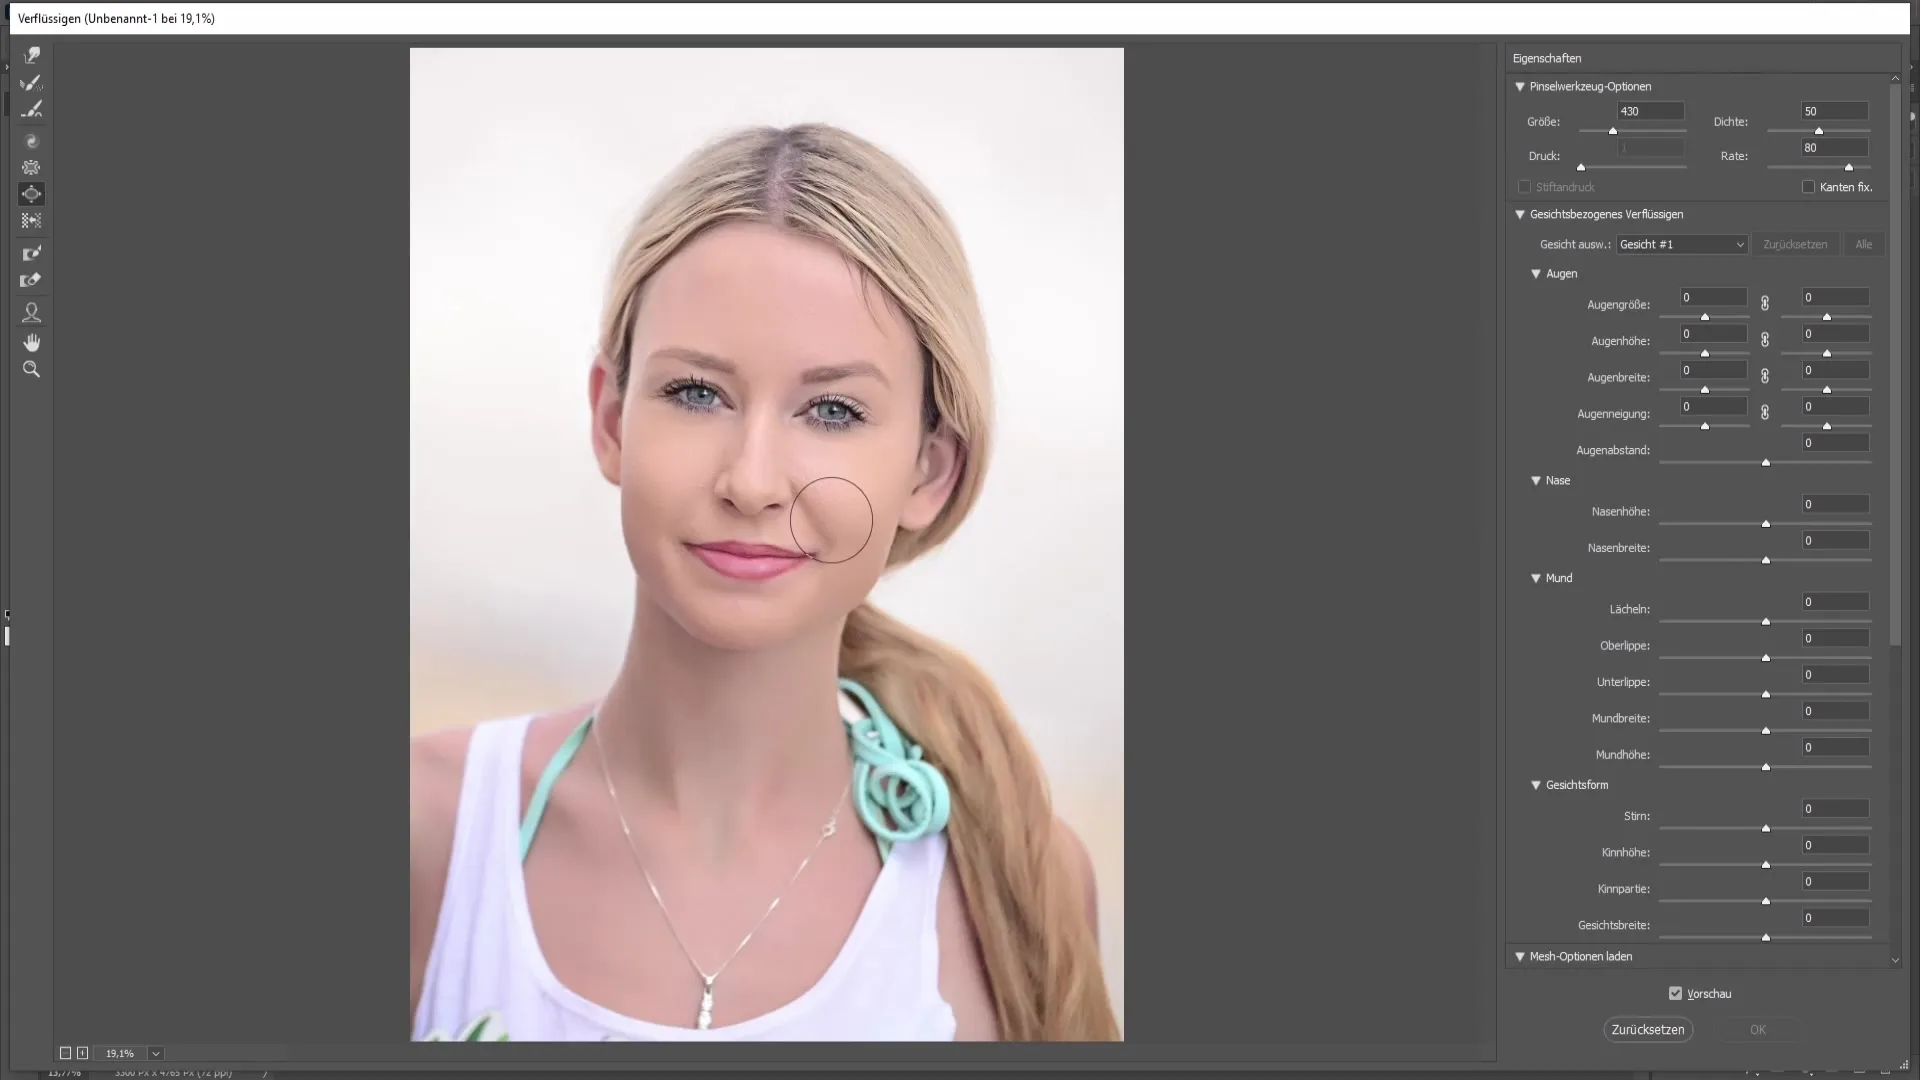
Now it's time to enlarge the iris. Find the center of the black iris and click with the left mouse button while using the Pucker tool. If you feel like you're not exactly in the center, you can easily move your brush tool to adjust the position. It is important that the black dot in the iris is exactly in the center of the brush.
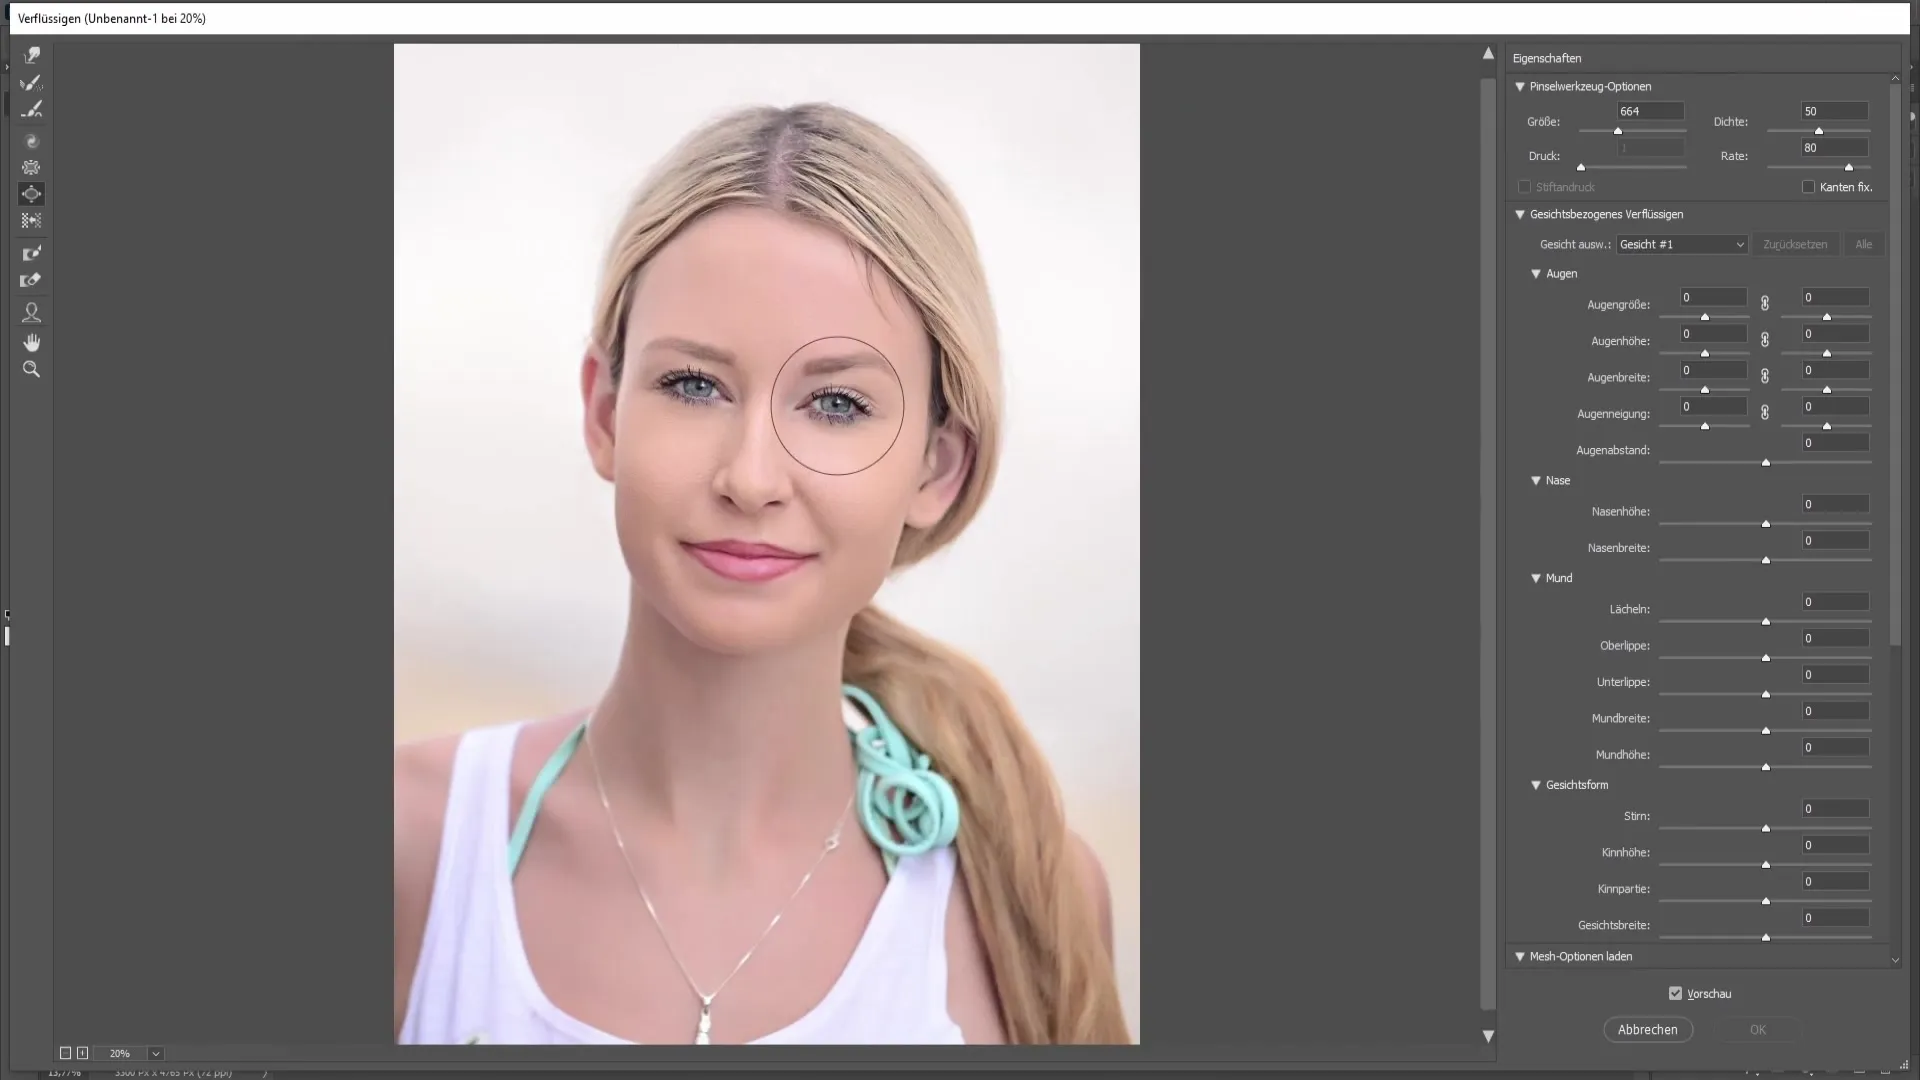
While applying the enlarging effect, be careful, especially at the sides. If you are not in the right position and continue to enlarge, the iris could be pushed to the side, which is not the desired result. Therefore, ensure that the iris remains in the right position at all times.
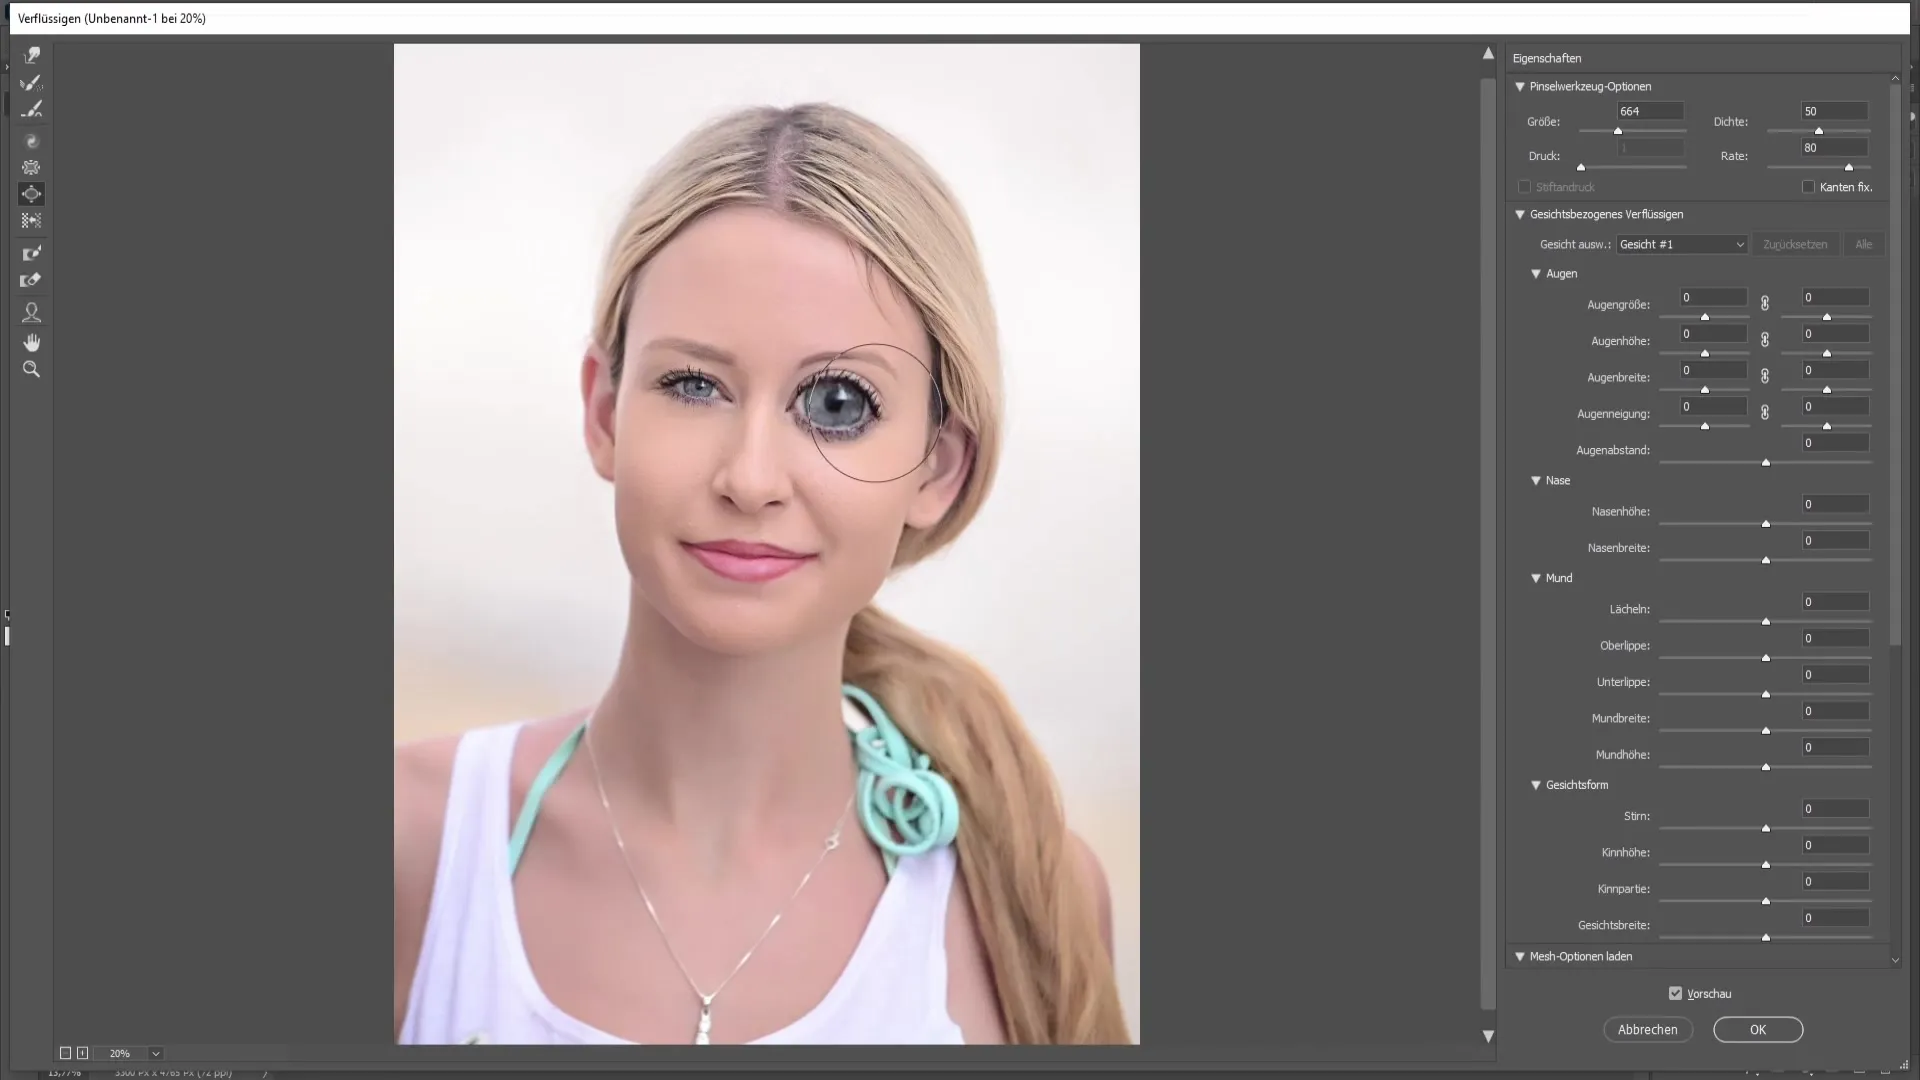
If you wish to edit the other side, simply go back to the center and repeat the process while holding down the left mouse button. To achieve a uniform enlargement, you should inflate both eyes to the same degree.
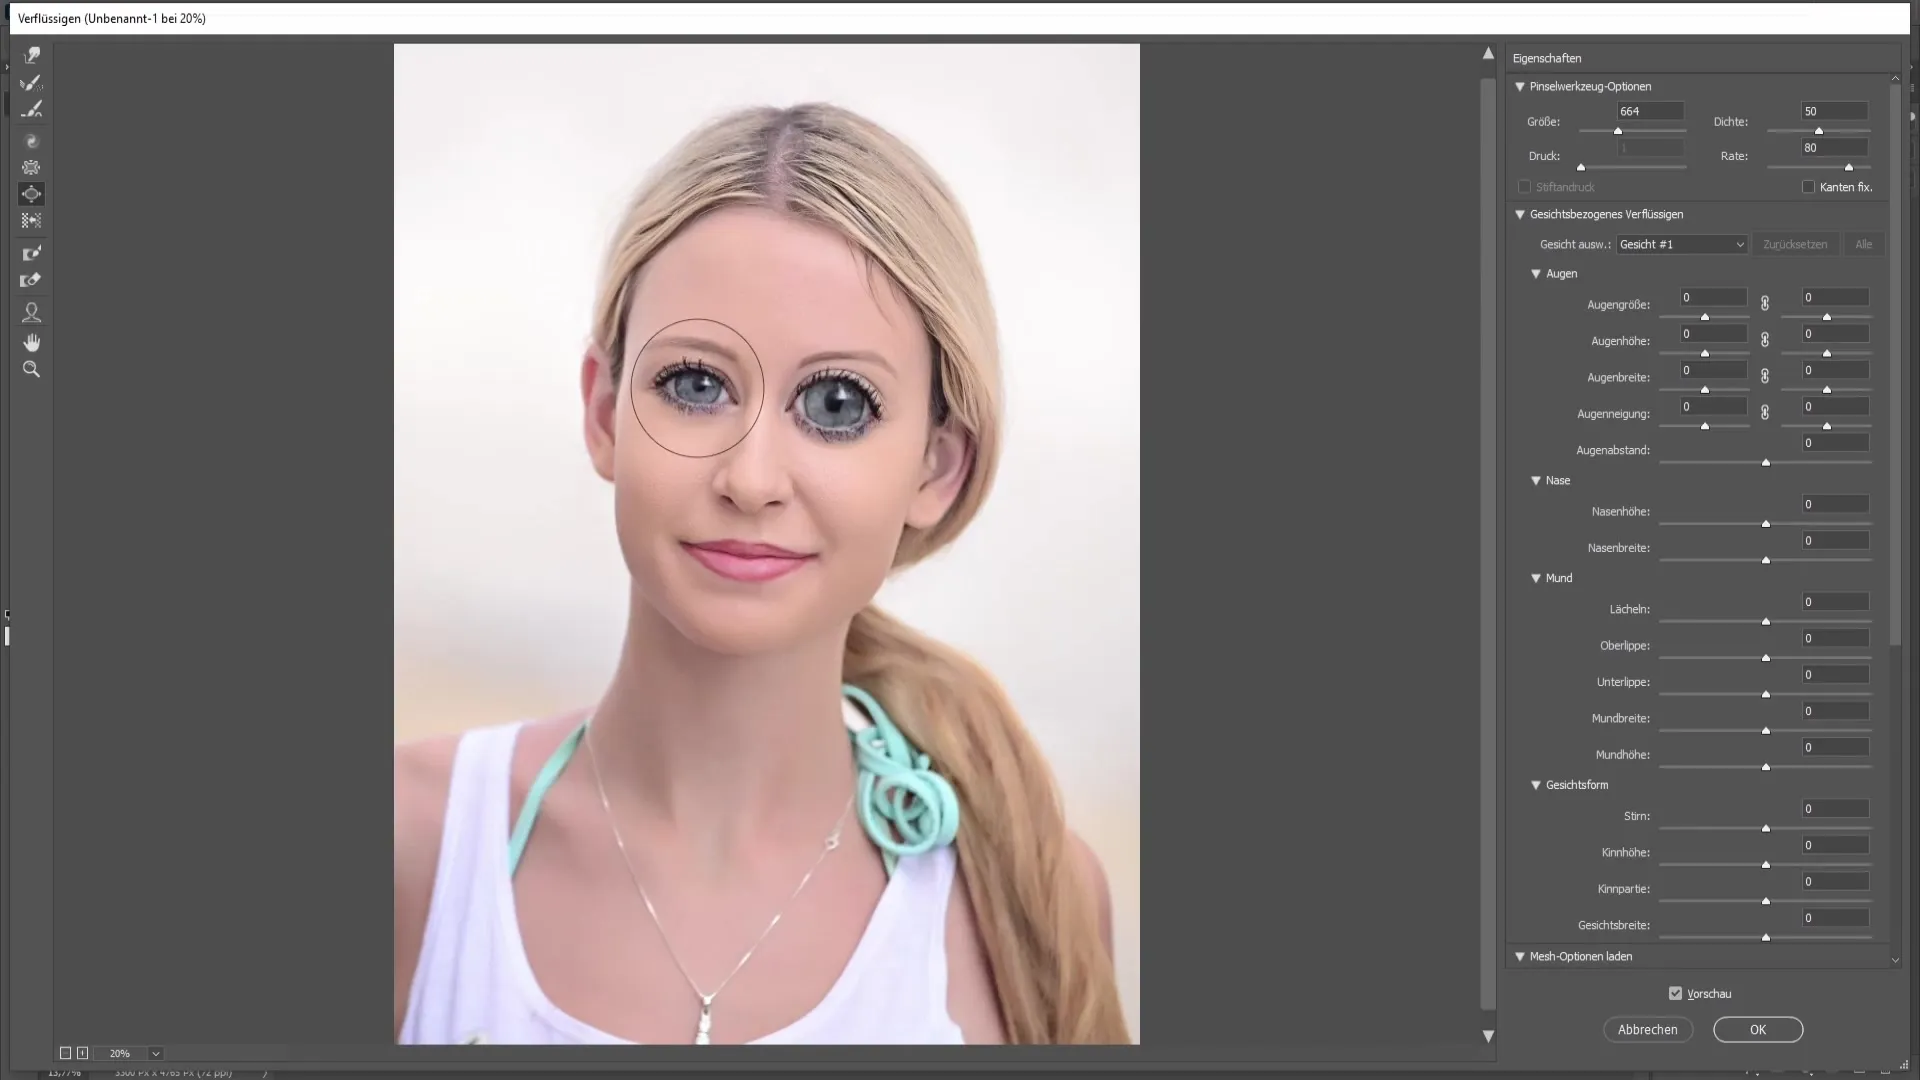
If you realize you've made a mistake, you can undo the last action with Ctrl + Z. Alternatively, you can also use the Reconstruct tool by clicking on it and hovering over the flawed area to reset the edited spot.
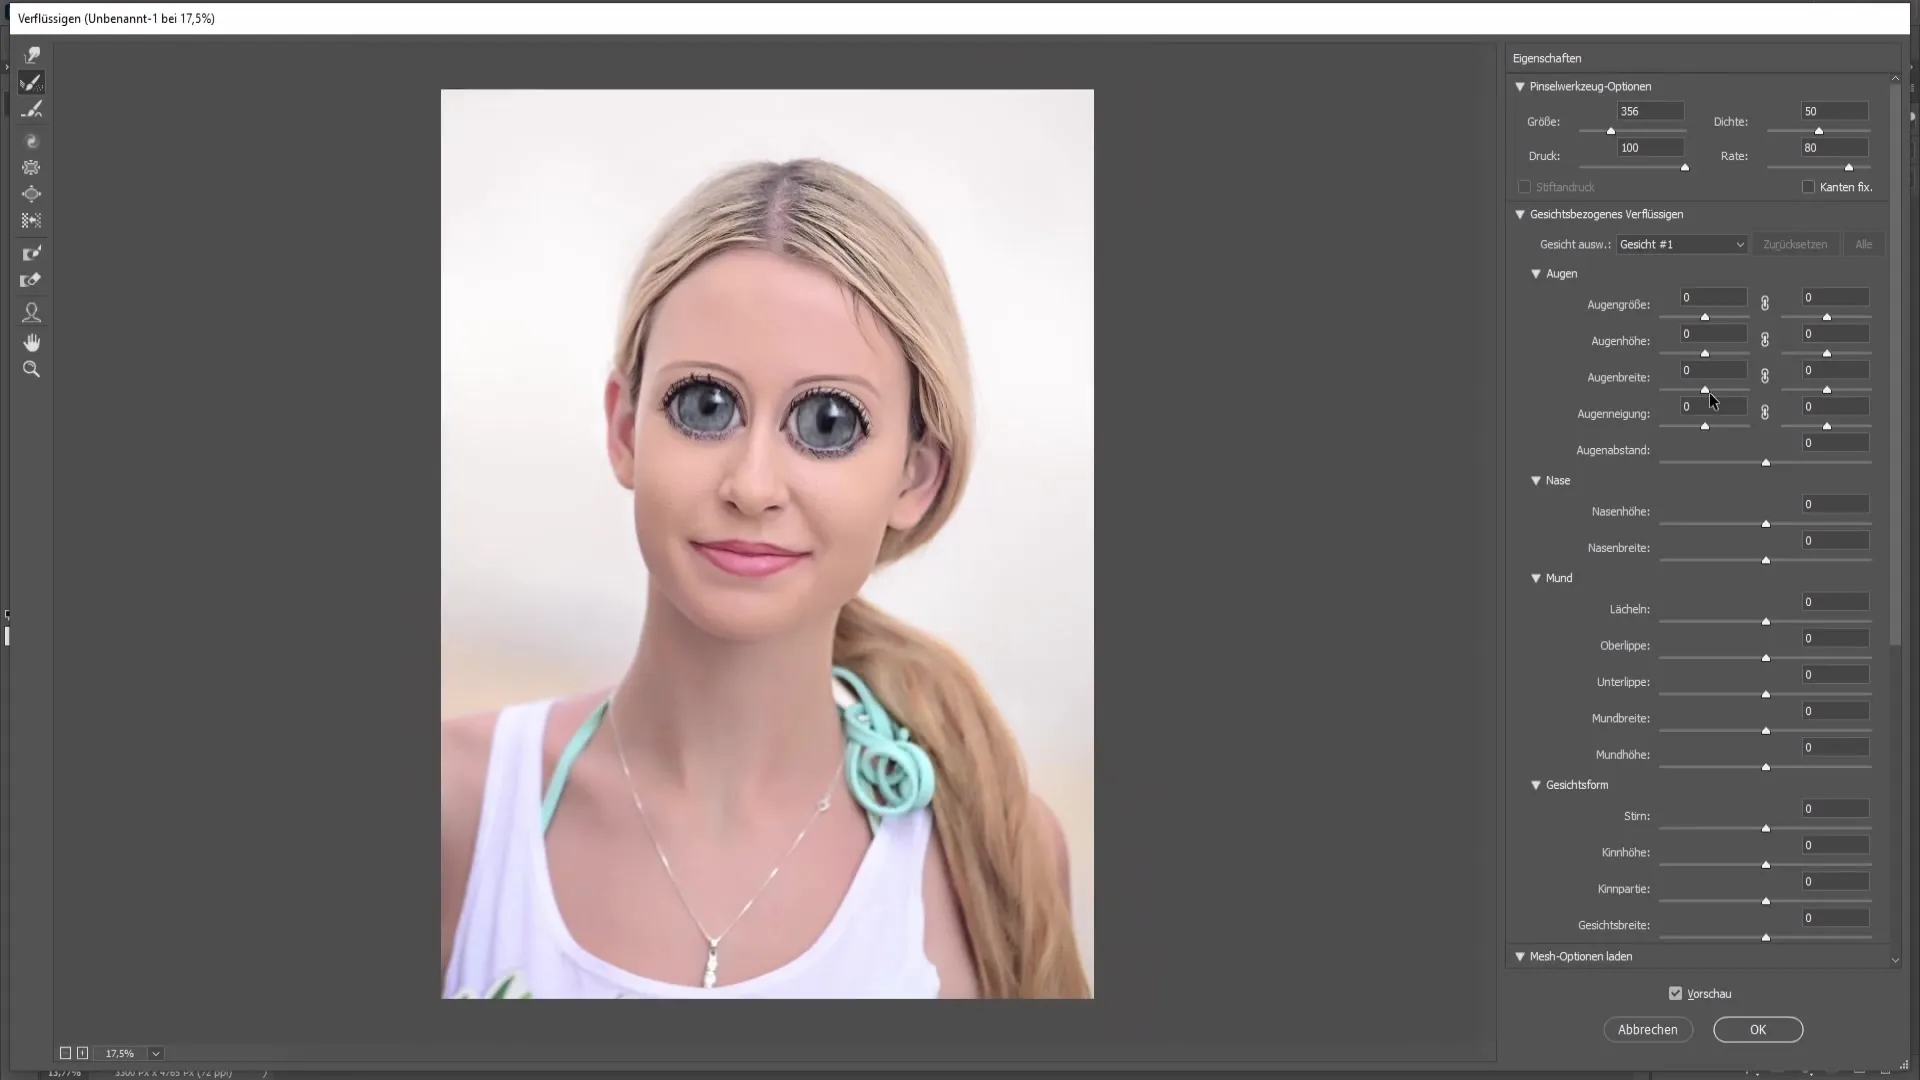
In the right sidebar, you will also find the option to edit the eyes afterwards. If you want to change the size of the eyes, you can use the "Liquify" filter with the chain symbol for this purpose. This applies the eye enlargement to both eyes simultaneously.
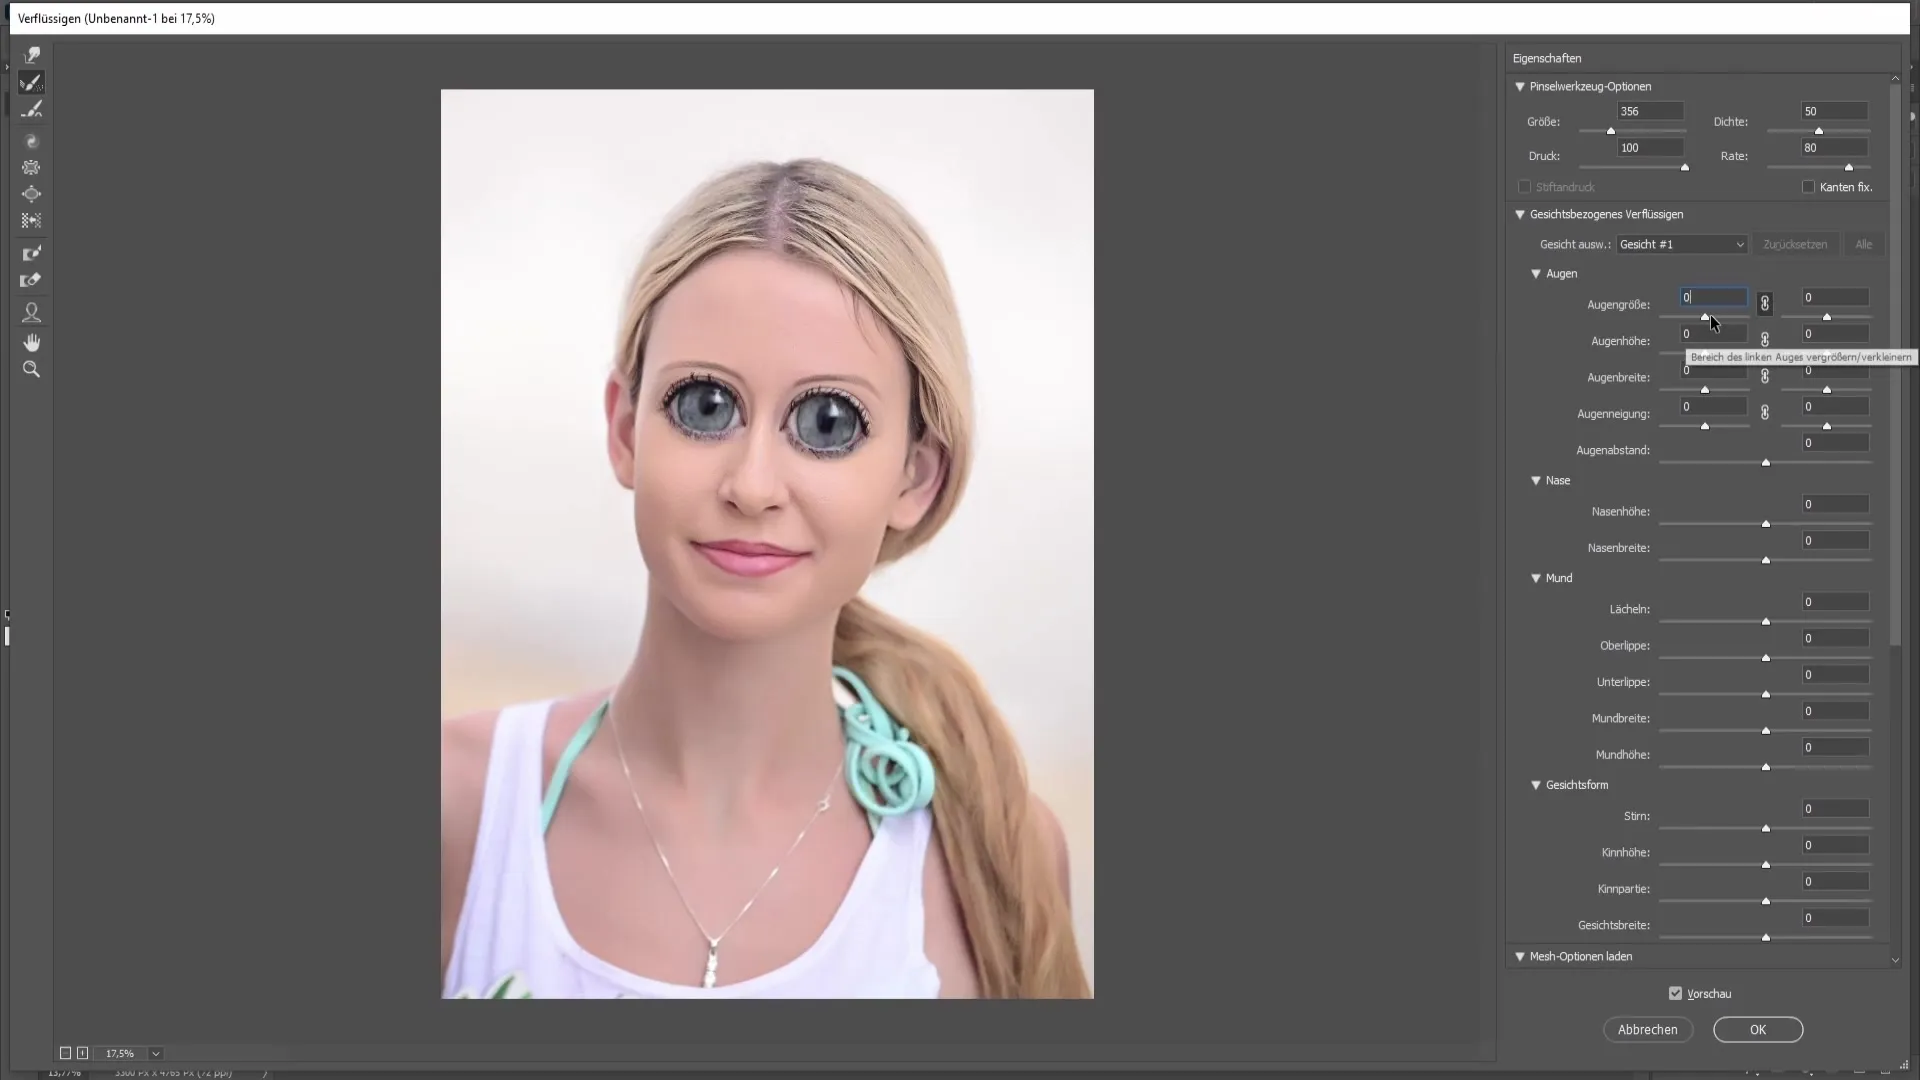
Now you can experiment with the eye height, width, and tilt to achieve the perfect result. Adjustments in these areas are intuitive and easy, you will see how the eyes come to life immensely.
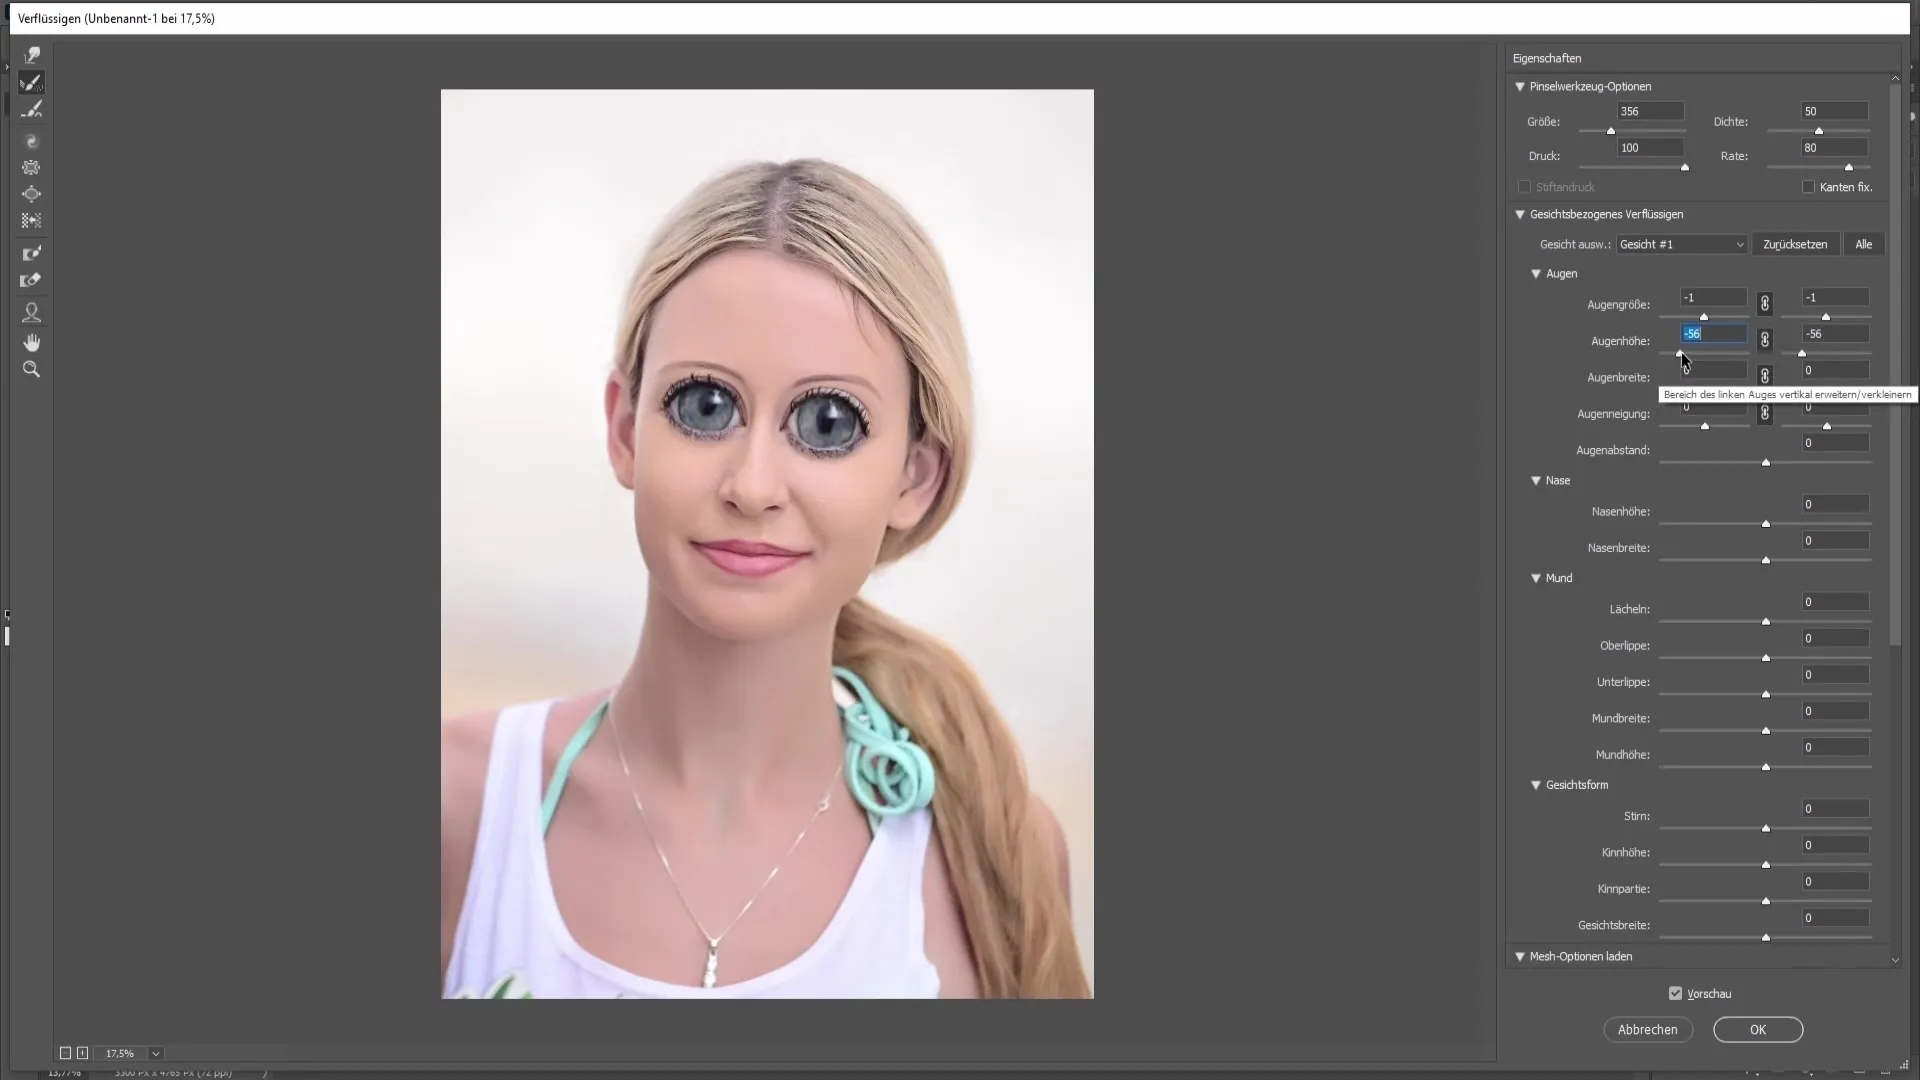
If you are satisfied with the result, simply press "OK" to save your changes. You can now either show or hide the googly eyes in your image and return at any time to make adjustments by double-clicking on the Smart Object layer. This is one of the great advantages that this approach offers.
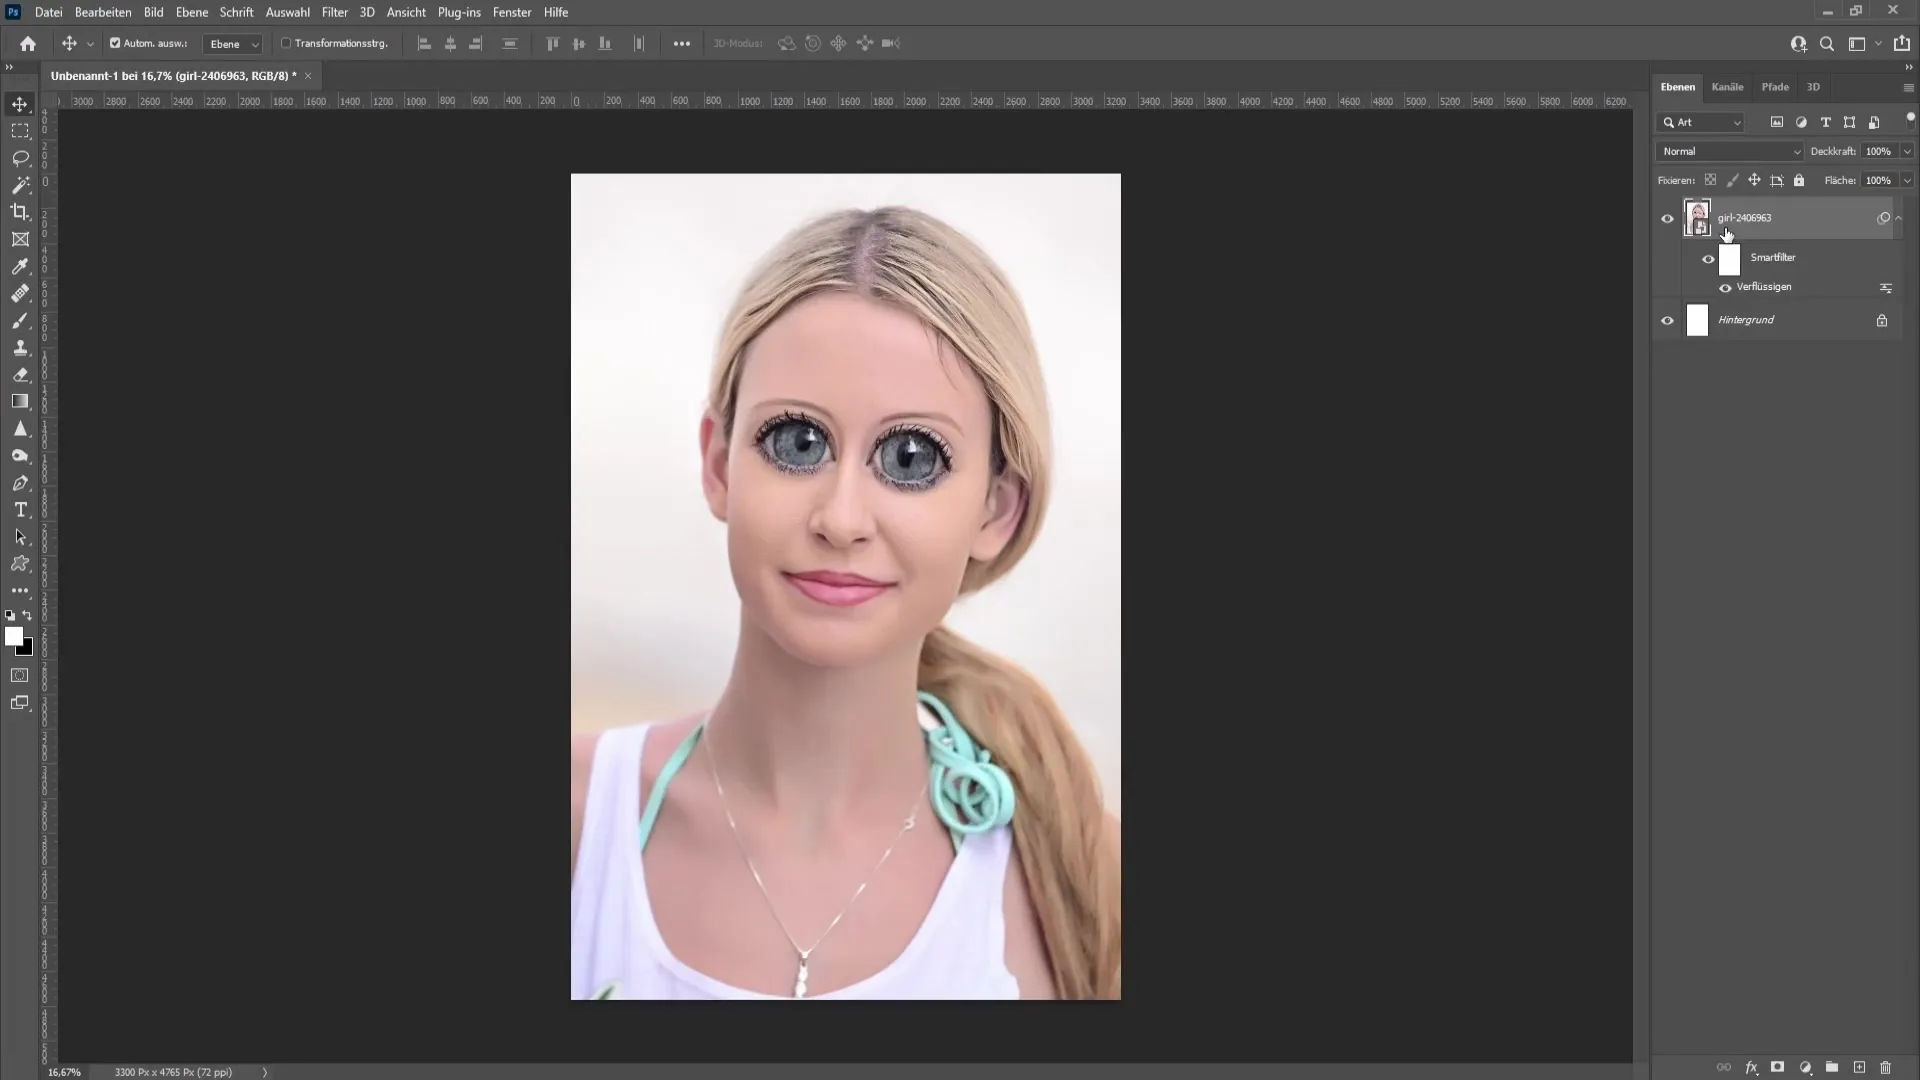
You have successfully created googly eyes in Photoshop, just as you imagined.
Summary
In this tutorial, you learned how to create googly eyes in Photoshop. By using the Liquify filter and the Bloat tool, you have the opportunity to create creative and humorous designs.
Frequently Asked Questions
How do I convert an image into a Smart Object?Go to "Layer" > "Convert to Smart Object".
What is the shortcut for the Bloat tool?The shortcut for the Bloat tool is B.
Can I undo my changes later?Yes, you can use Ctrl + Z or the Reconstruct tool.
How can I enlarge the eyes simultaneously?Activate the chain icon in the Liquify filter to edit both eyes simultaneously.
Why should I use a Smart Object?A Smart Object allows you to make non-destructive changes and edit them at any time.


