In this tutorial, I will show you how to create an HDR image with Adobe Photoshop. HDR stands for High Dynamic Range and allows you to create impressive landscape images with a wide range of contrasts and colors. With a little practice and the right techniques, you can turn simple shots into breathtaking images. Let's get started!
Main Takeaways
- HDR images offer better contrast values.
- At least three shots with different exposures are needed.
- Ideally, the images should be taken with a tripod to avoid blurring.
- Photoshop has built-in functions to create and optimize HDR images.
Step-by-Step Guide
Before you start, make sure you have at least three images: one heavily overexposed, one normally exposed, and one underexposed. It's better to create these with a tripod to avoid blurring, even though Photoshop has some leeway to compensate for this. When you're ready, start Photoshop and follow these steps.
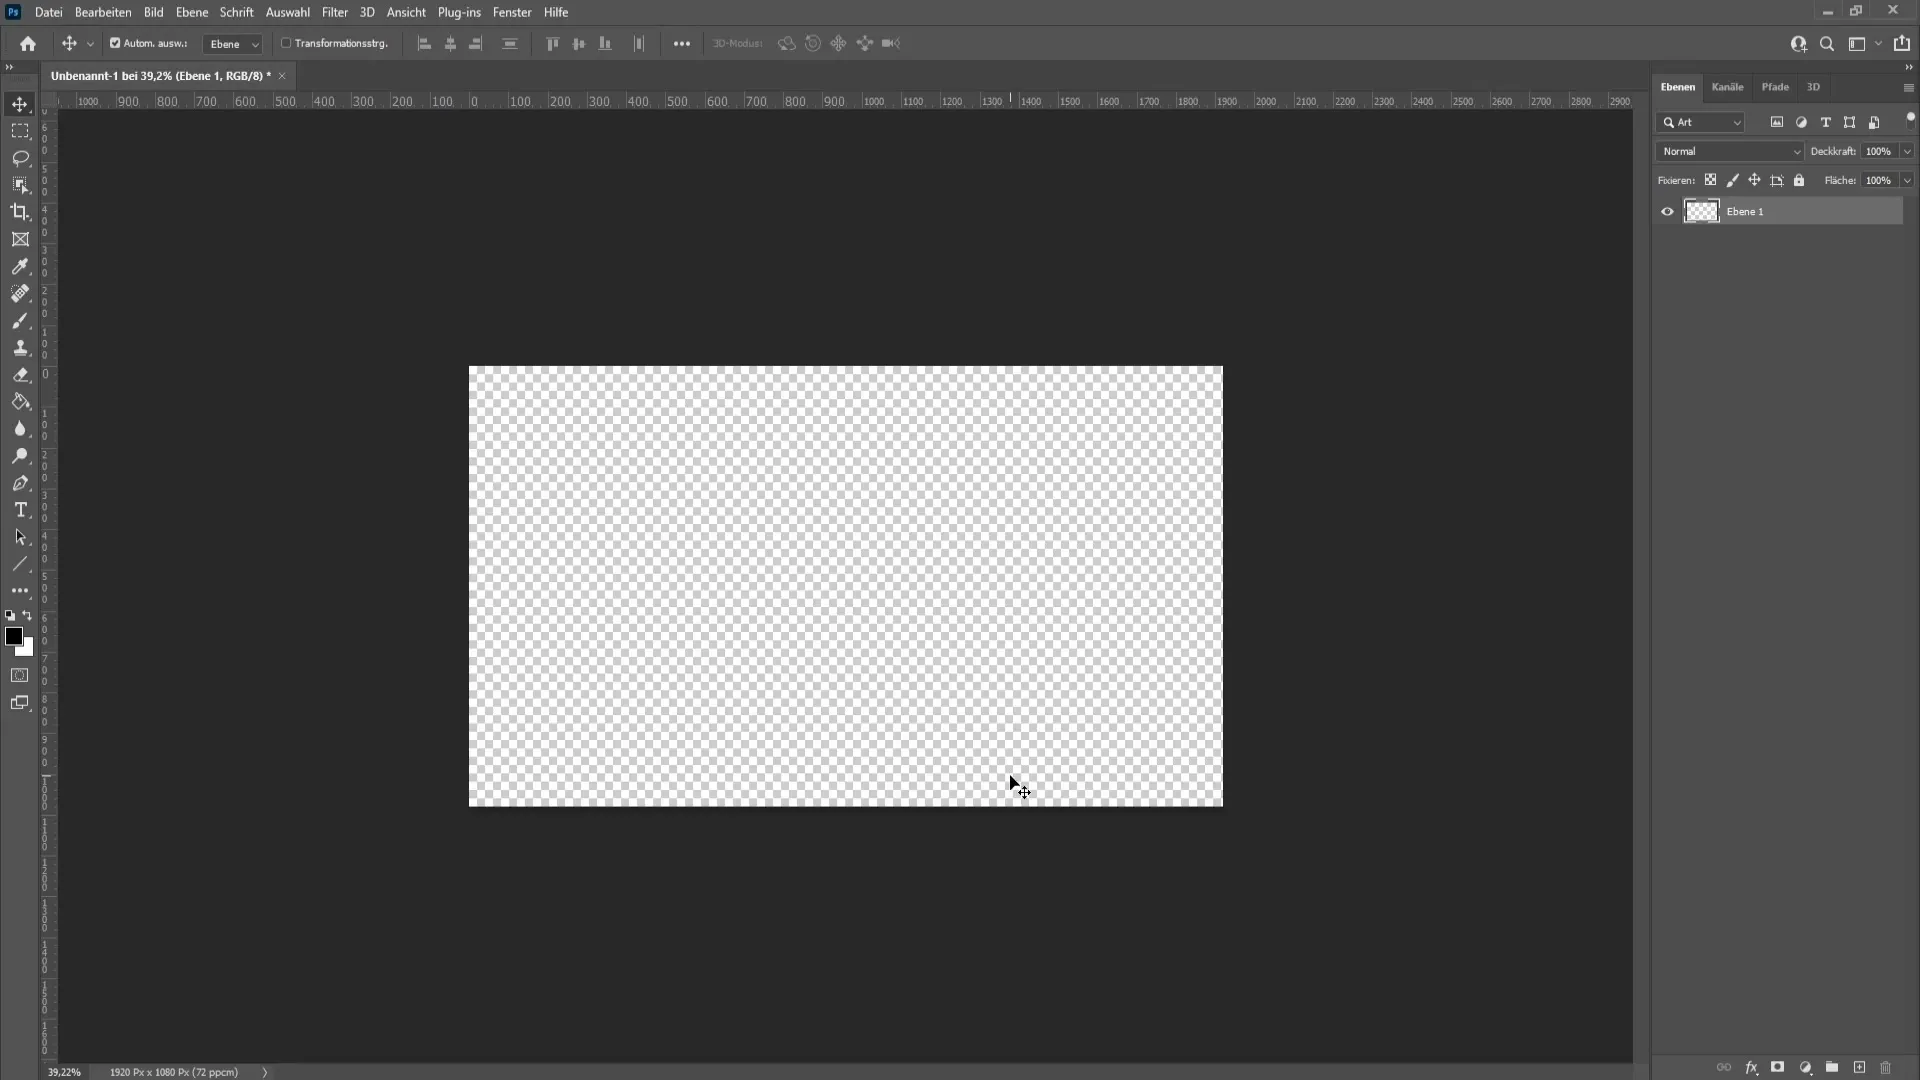
First, open Photoshop and go to "File" in the top menu bar. There, select "Automate" and then "Merge to HDR Pro." This will start the process of processing your images into an HDR image.
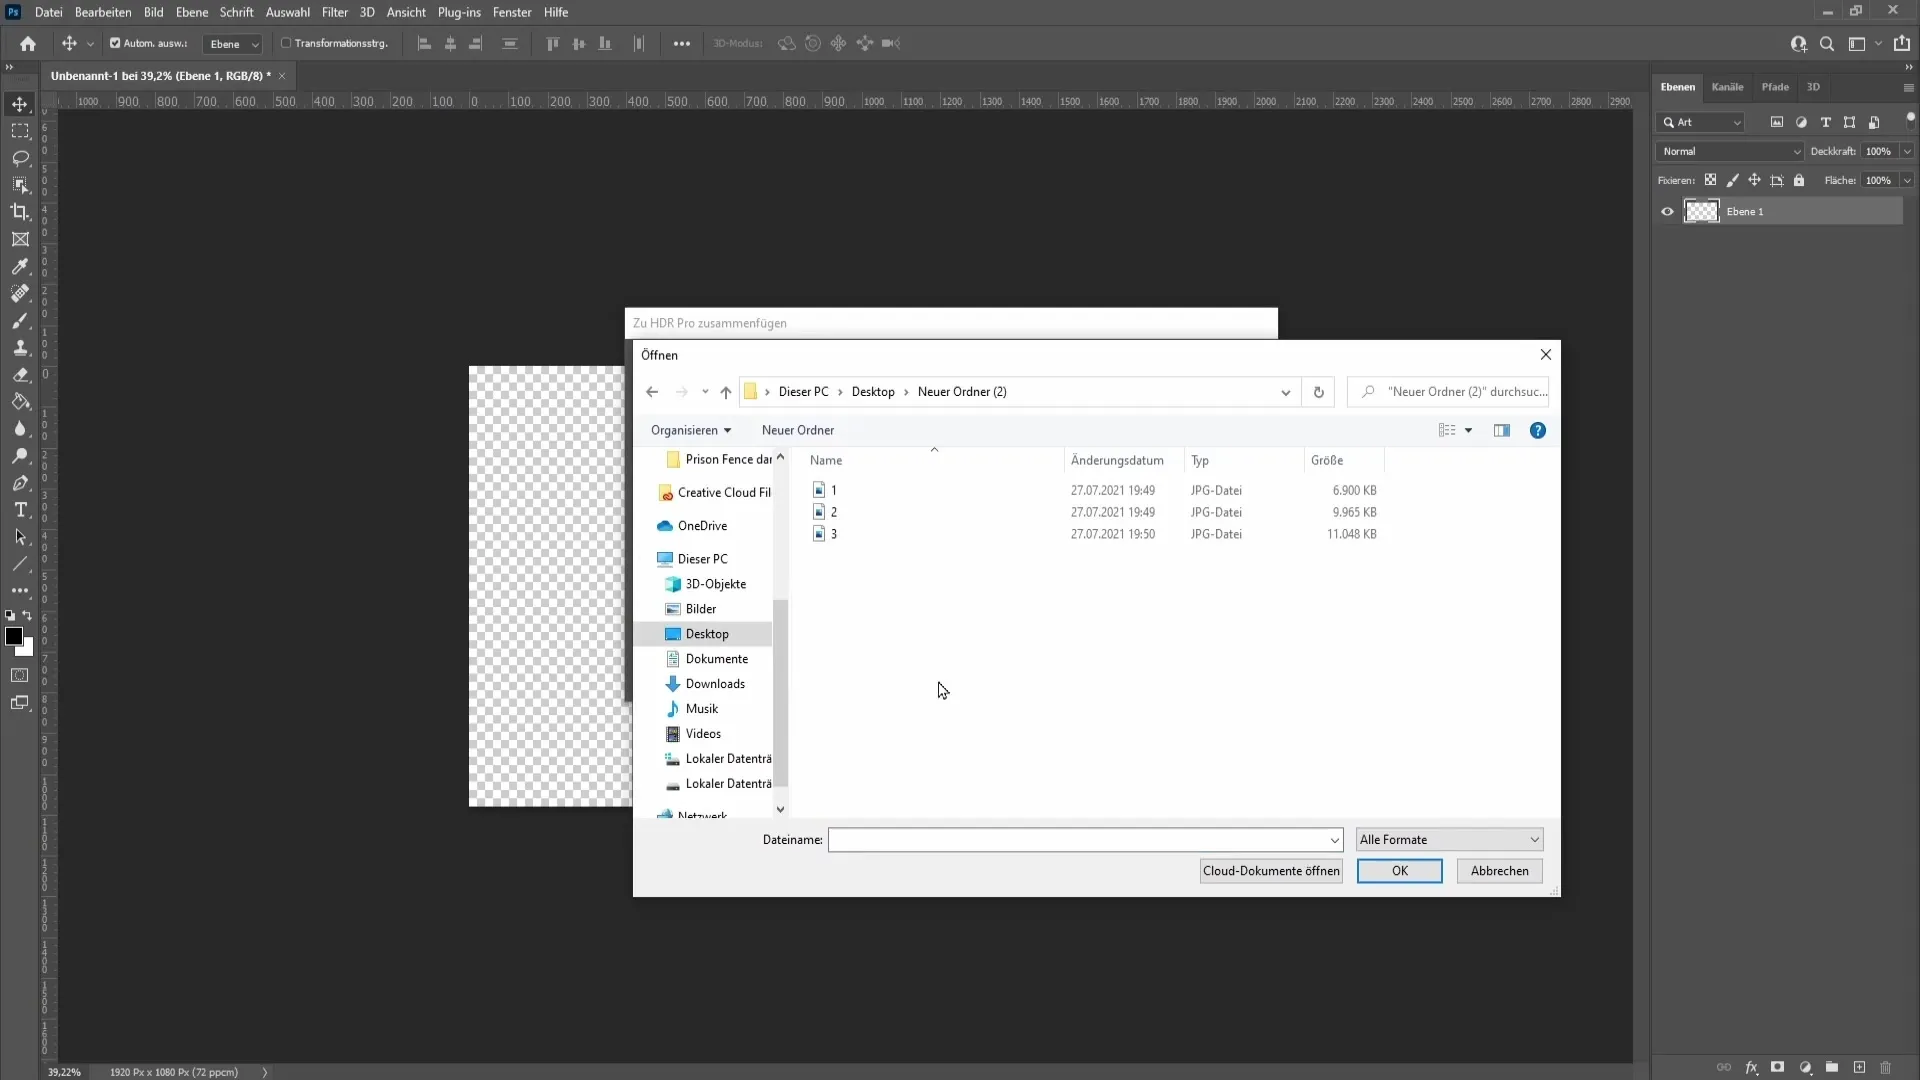
Now you need to select your images. Click on "Browse" and choose the folder where you saved your images. In my case, the folder is simply named "new folder 2." Select all three images and click "OK."
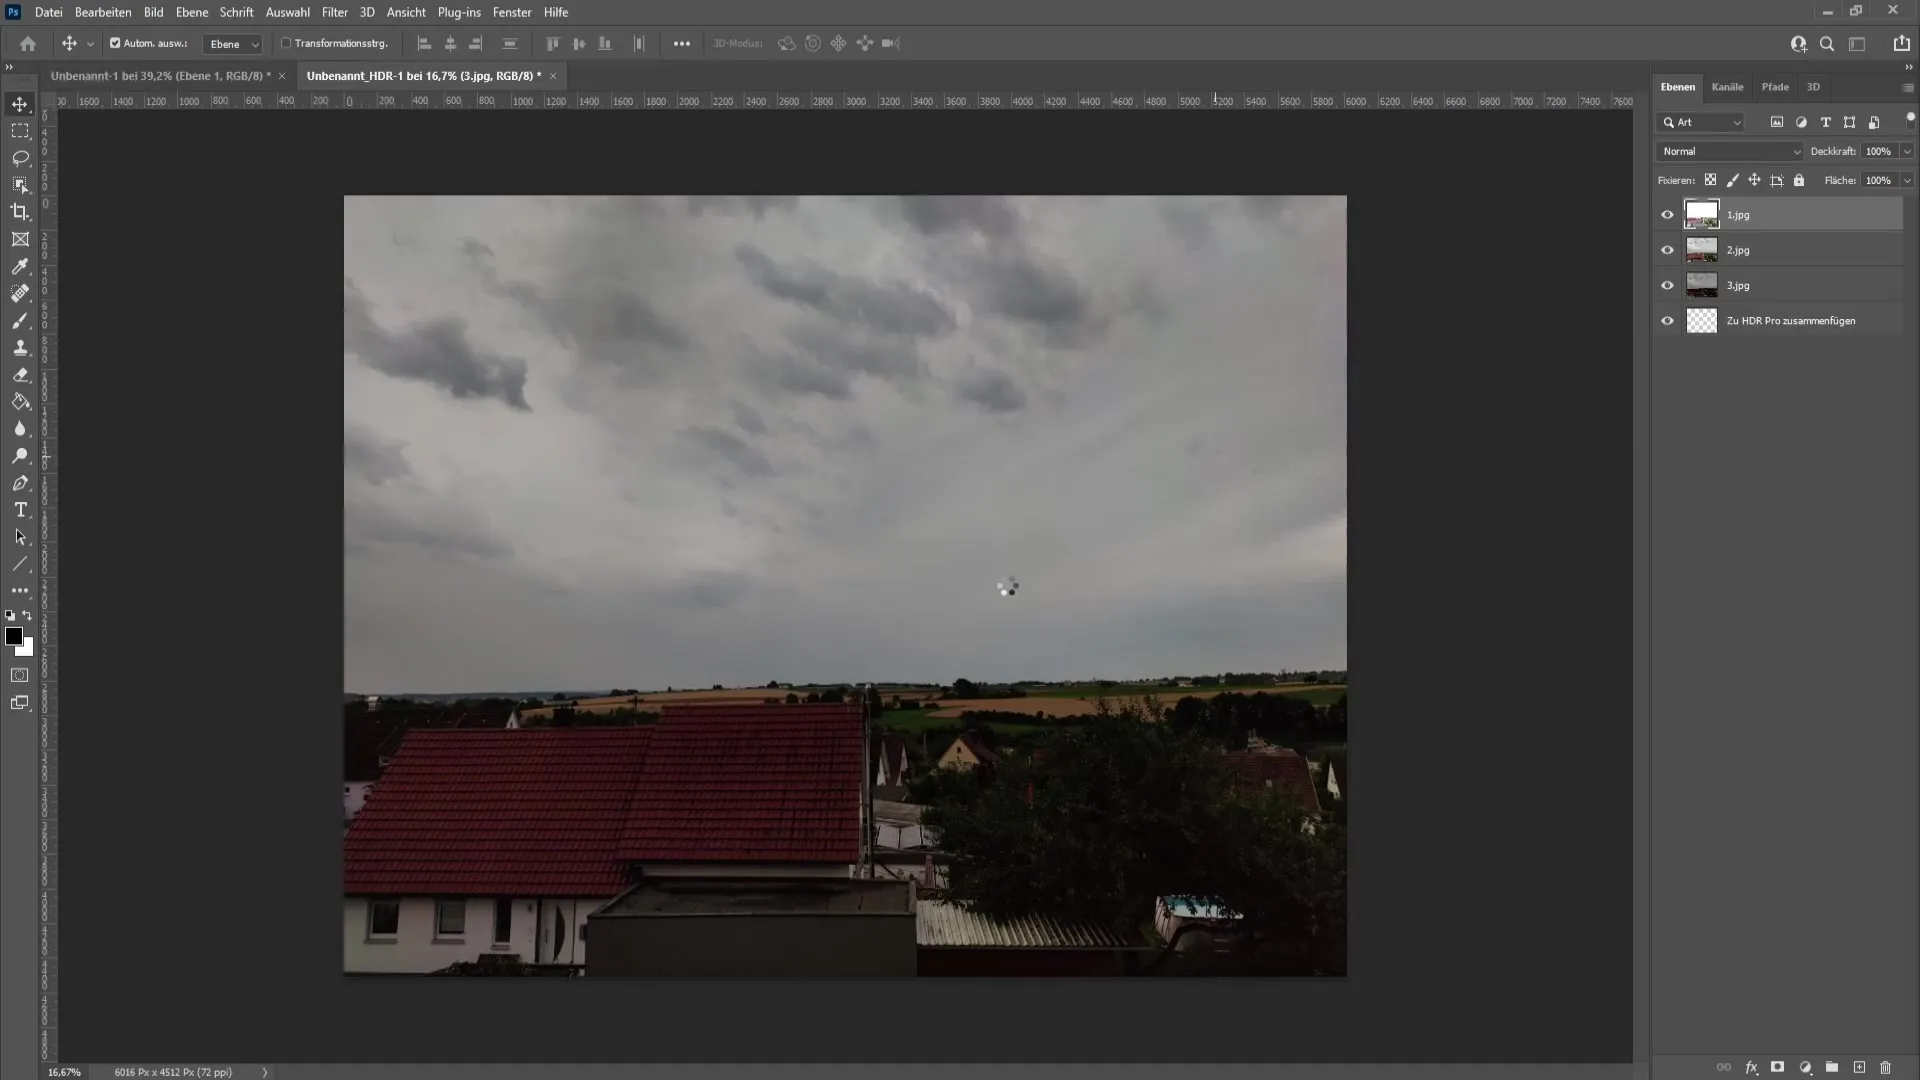
Photoshop will now take some time to process and combine the images. Once this is done, you can start editing. I recommend checking the box for "Remove Ghosts" to prevent multiple instances of motions from people or animals in the image.
In the next step, you can select a preset provided by Photoshop. Click in the "Presets" area and choose between different styles like "Monochrome," "Artistic," or "City Twilight." I recommend leaving it on "Standard" to achieve the best results.
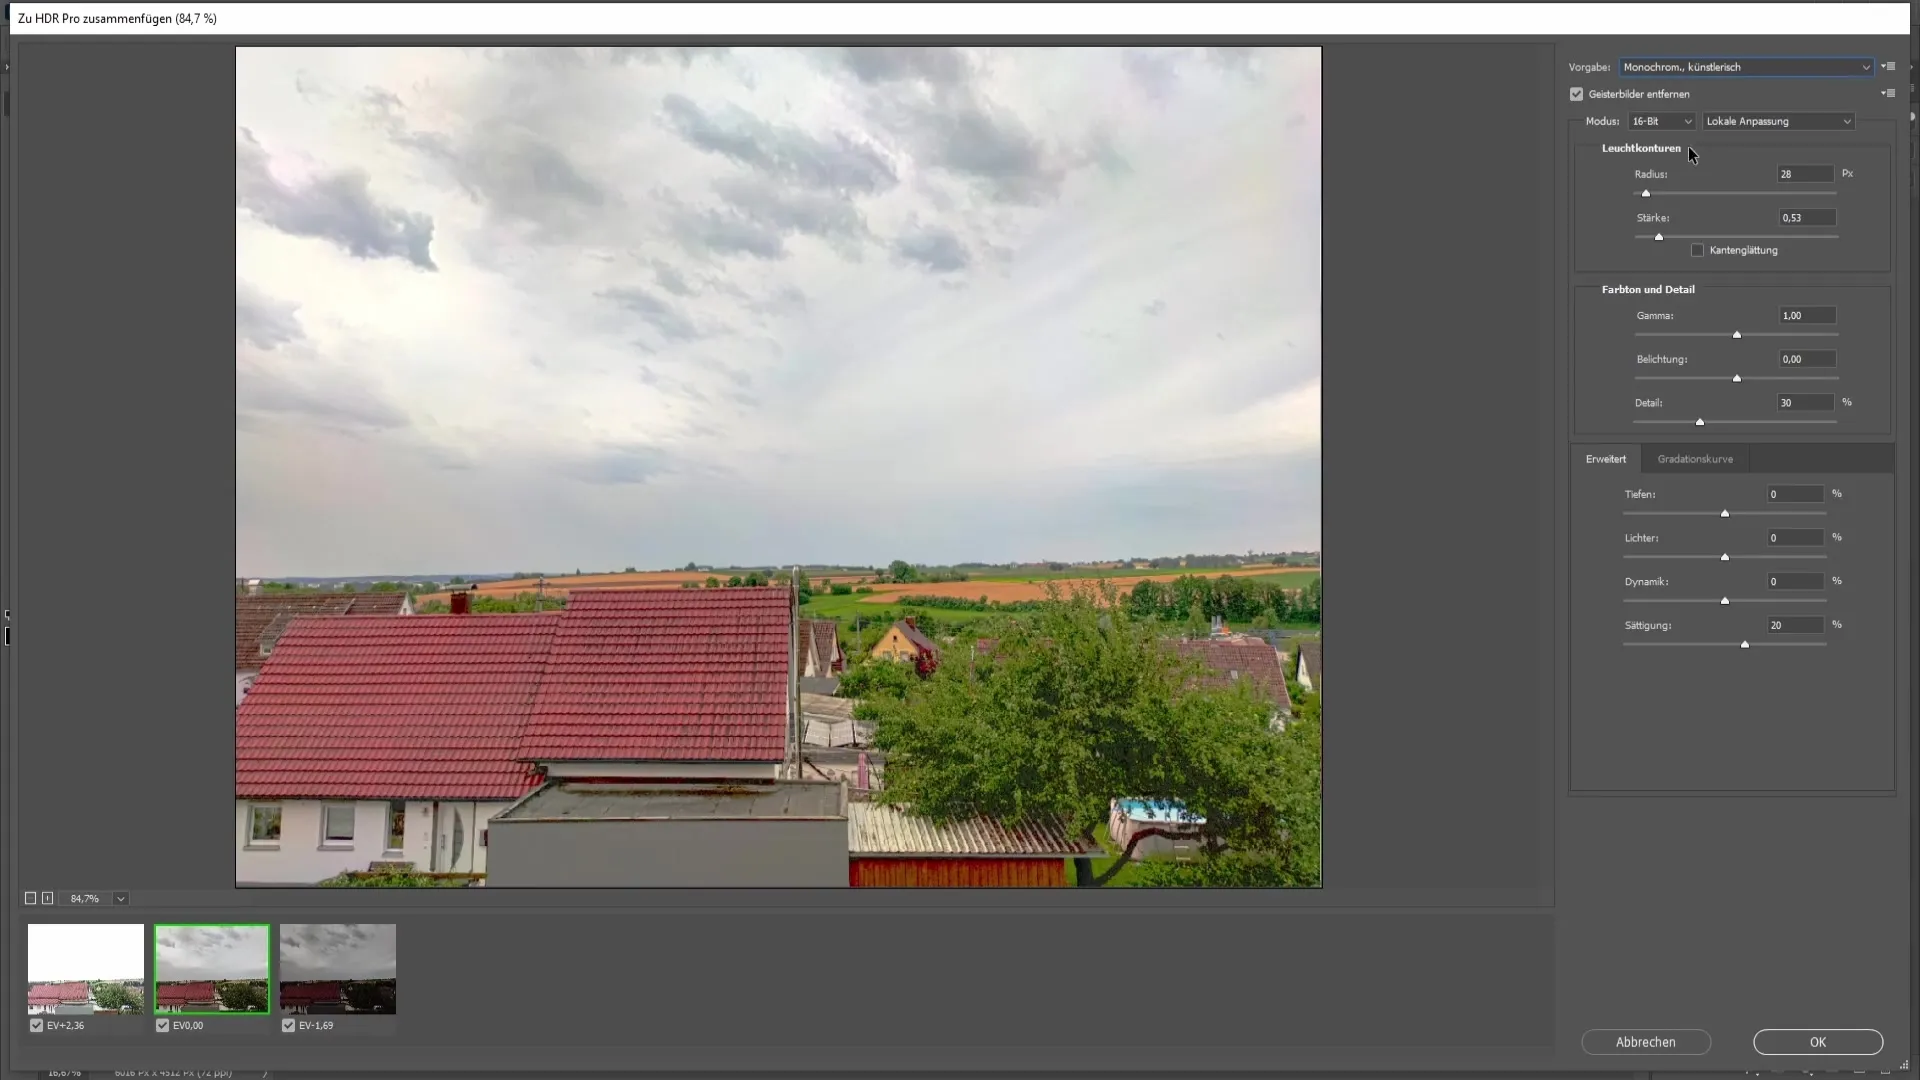
You should set the settings for "Remove Ghosts" mode to 16-bit. You can experiment a bit with the lower sliders to see what you like best.
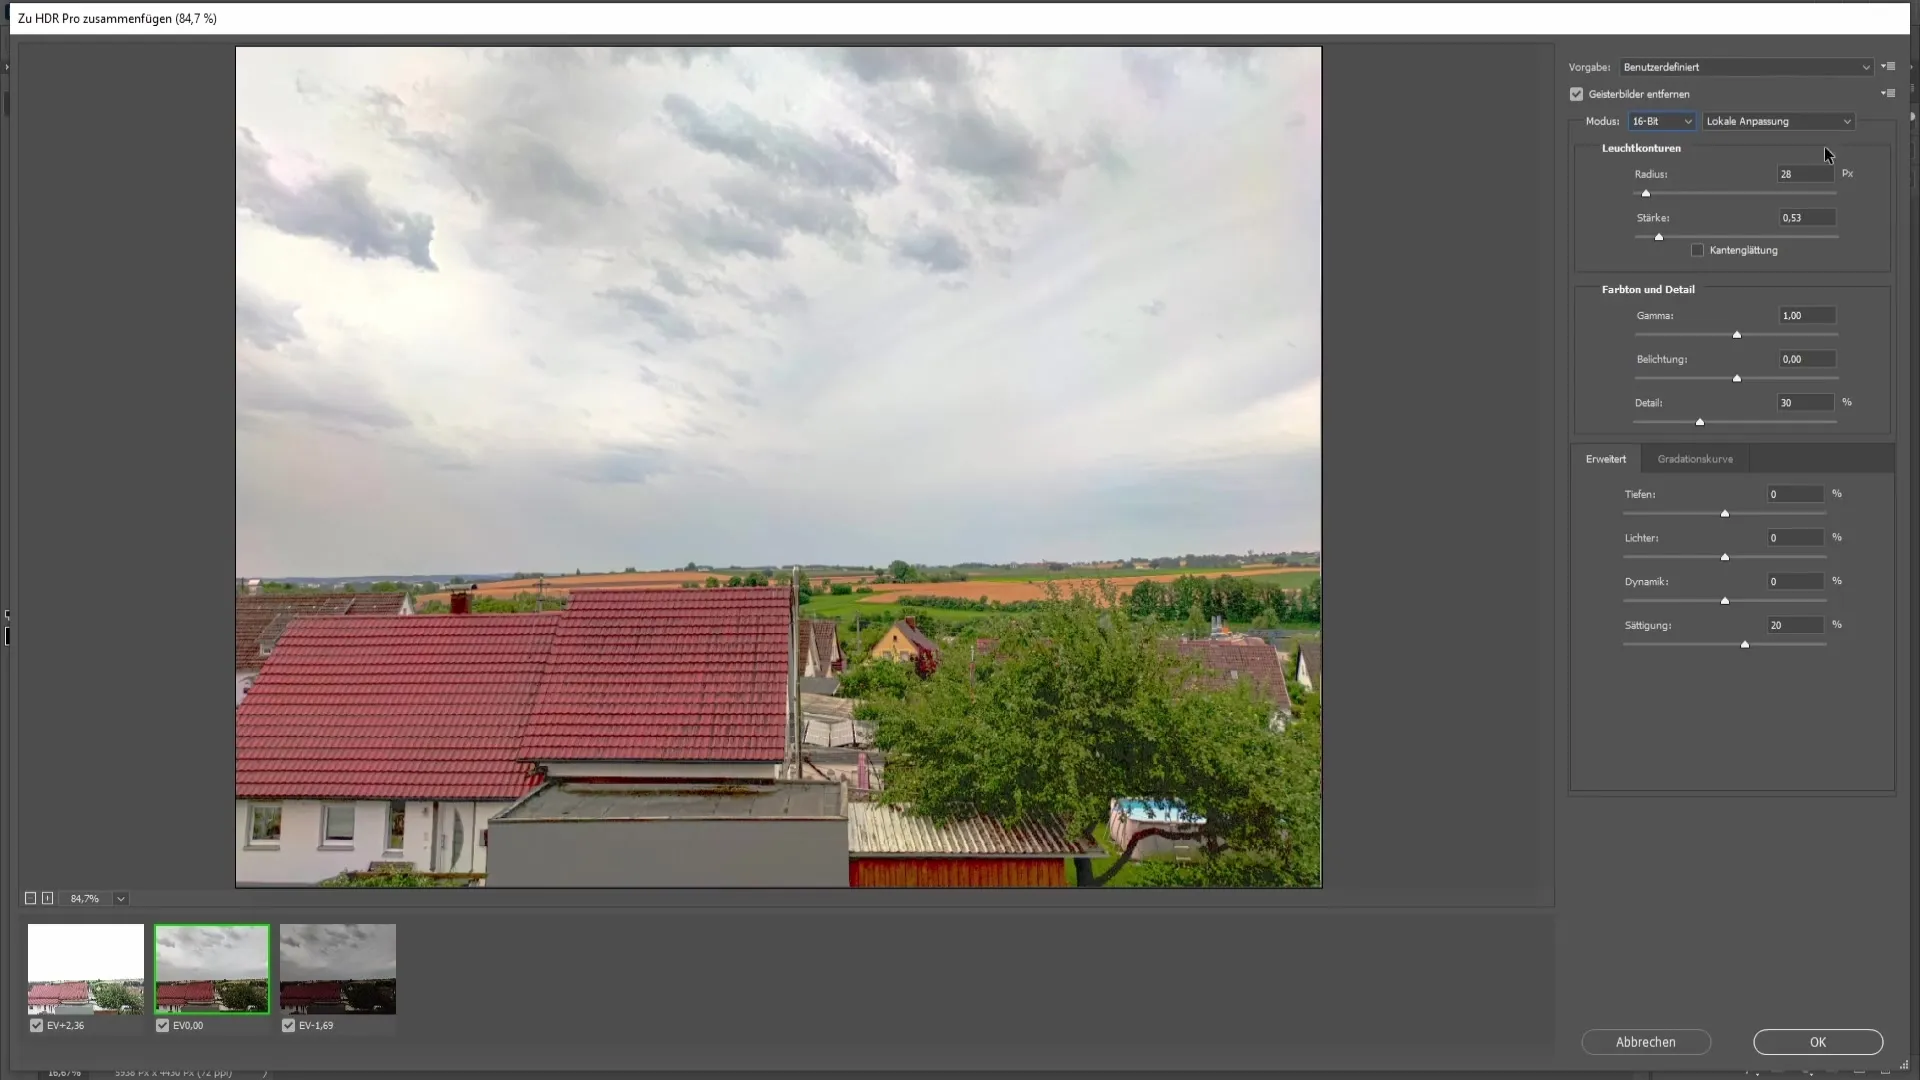
Before proceeding, it's helpful to play around with the sliders a bit. As a rule of thumb, make sure not to choose too high values as this can make the image look unnatural.
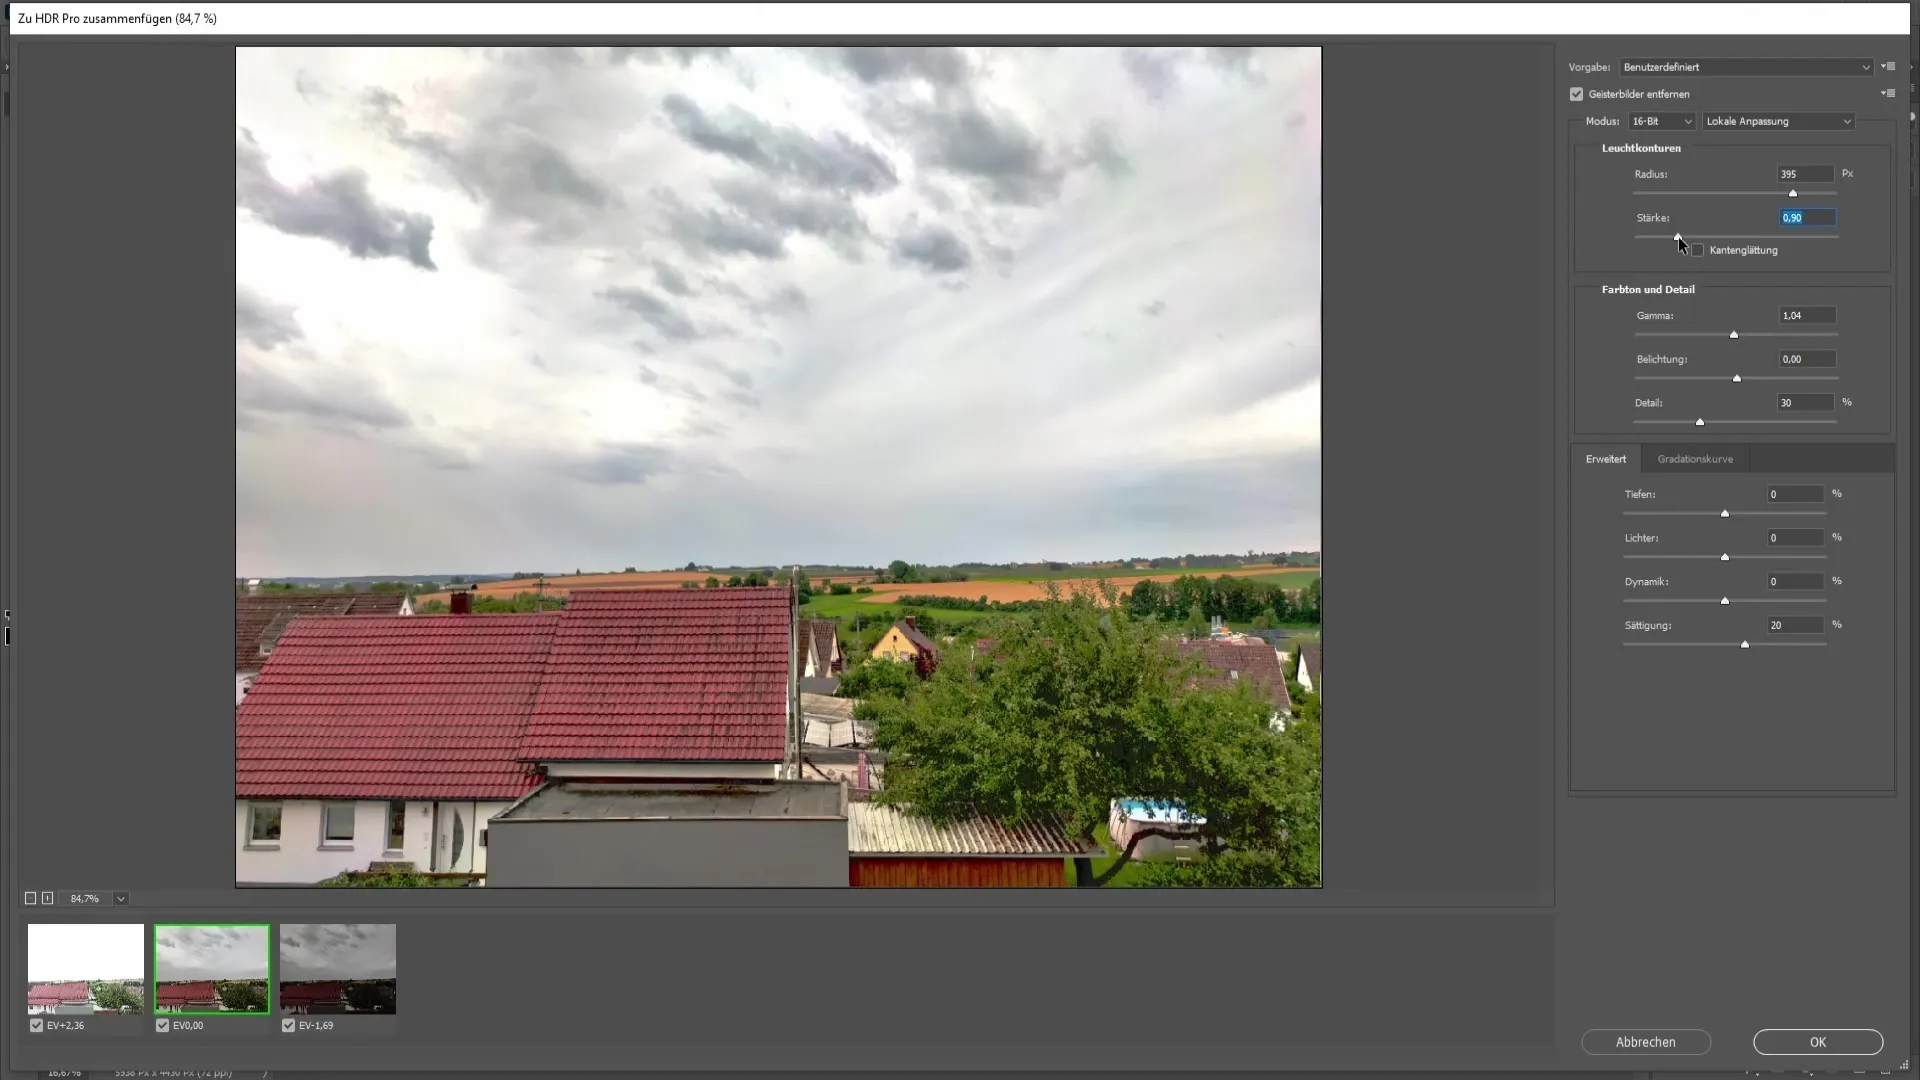
I recommend setting the strength to about 0.9. This value ensures that the editing remains subtle. Also, be cautious with the gamma values; around 1.15 is a good starting point to adjust the exposure of the image.
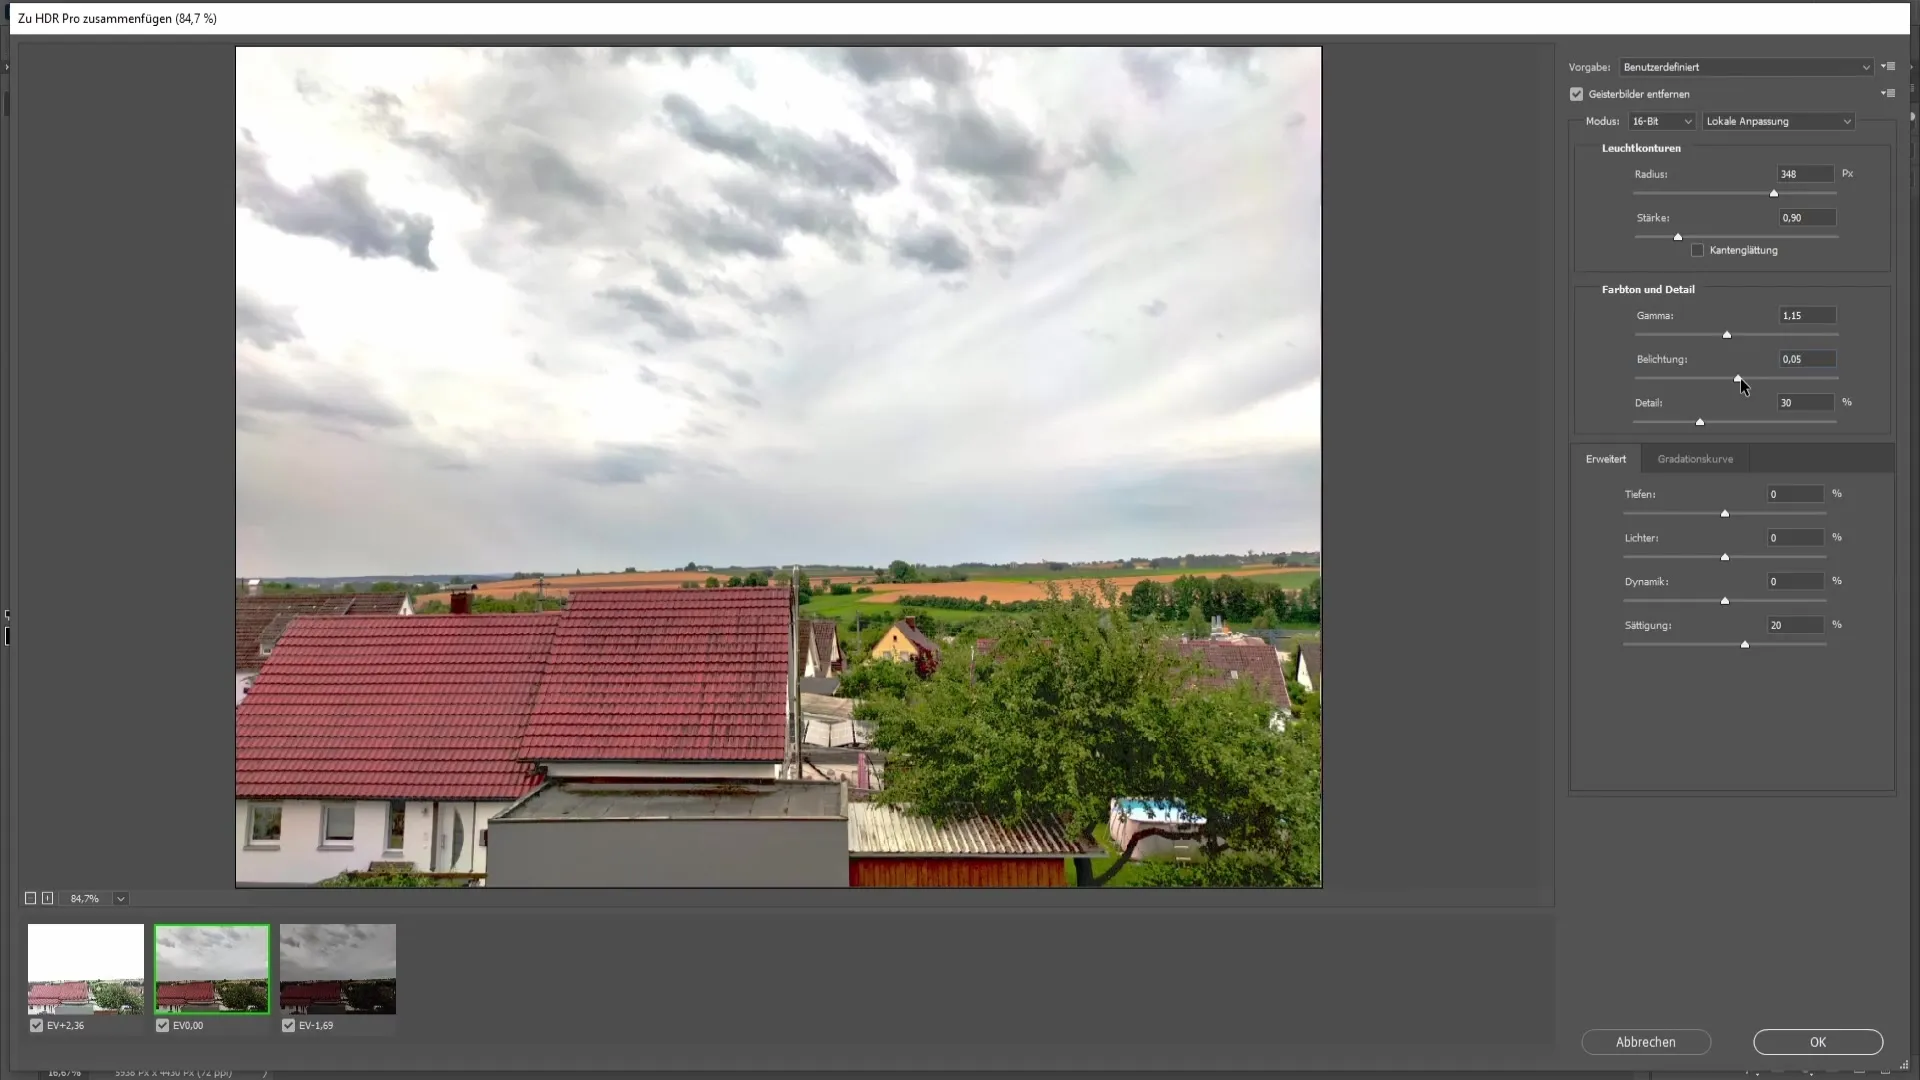
If you want to work on the visibility of details, you can use the detail sliders. Here too, it's important not to overdo it. A value around 74 can work well to make details visible without overwhelming the image.
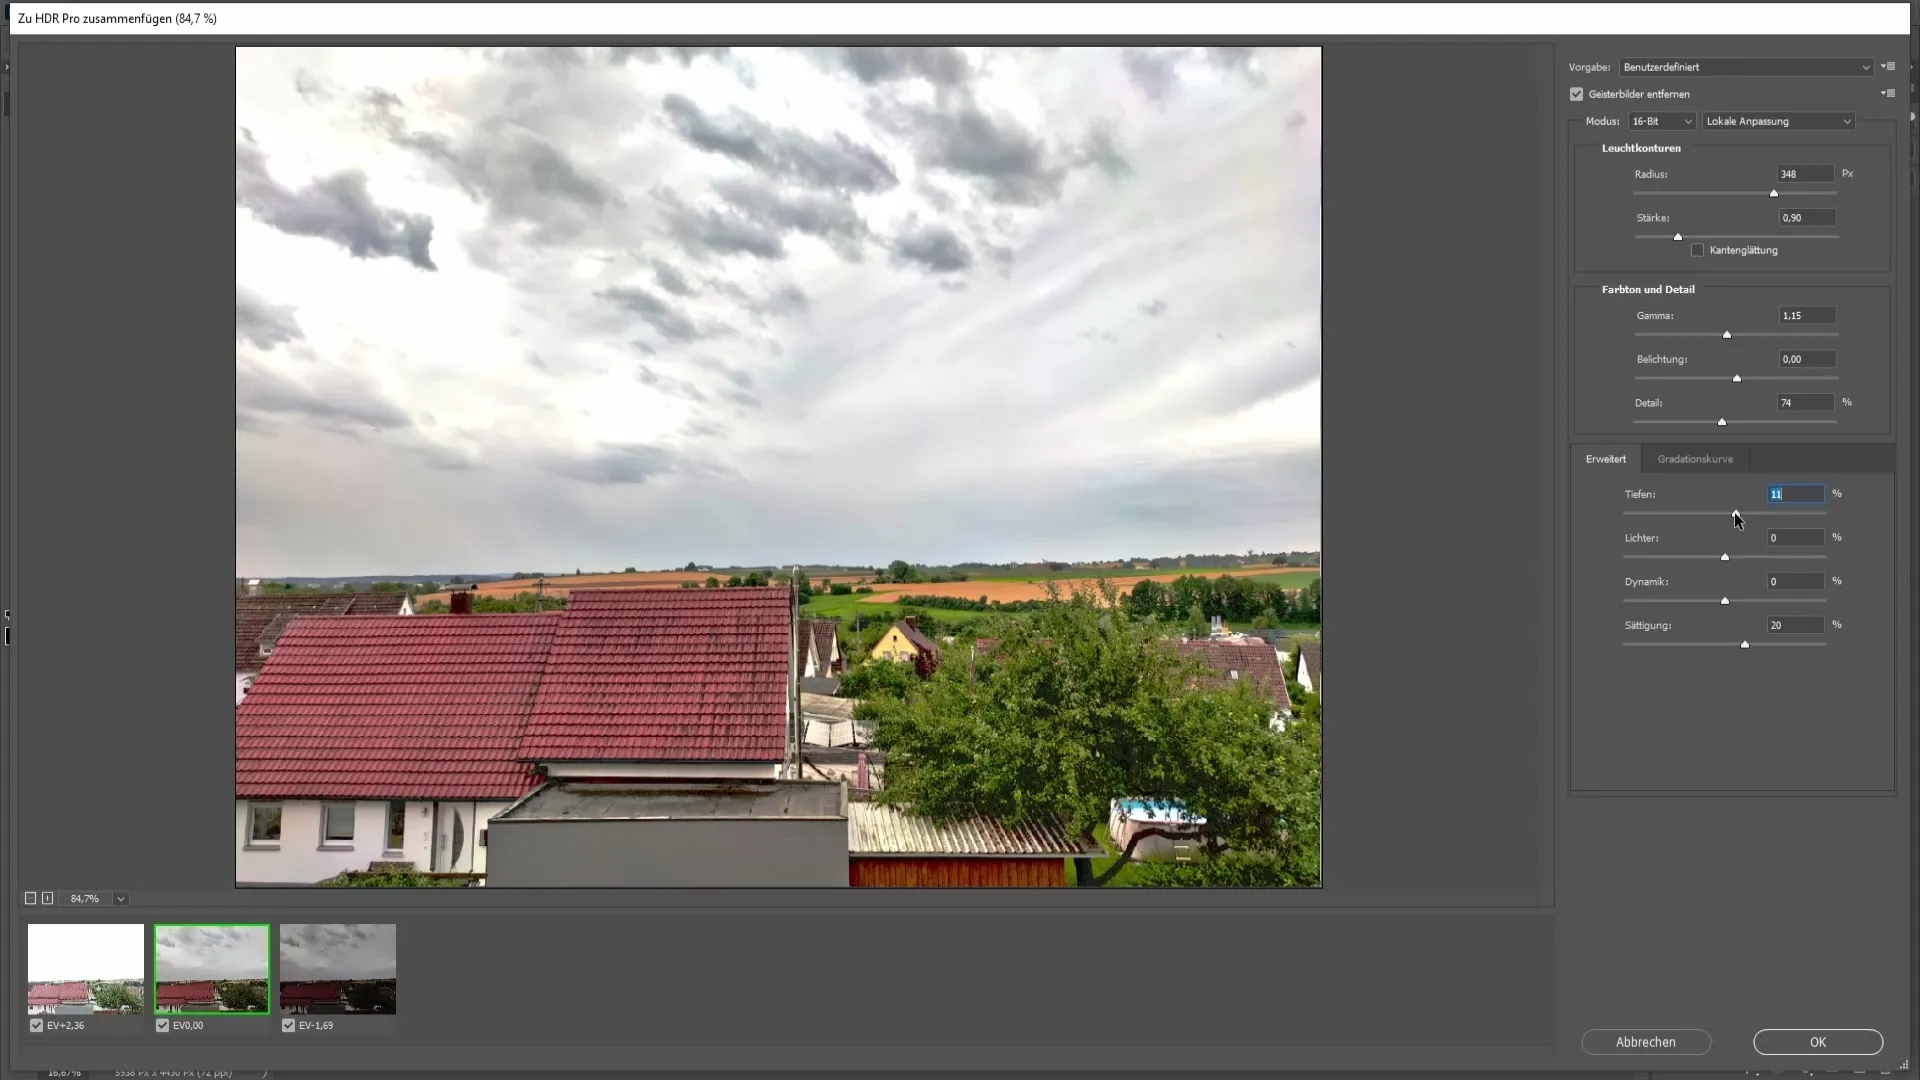
For shadows and highlights, it's recommended to examine the image closely and make small adjustments if necessary. A darker sky can often create a more dramatic effect, so play around with the values here as well.
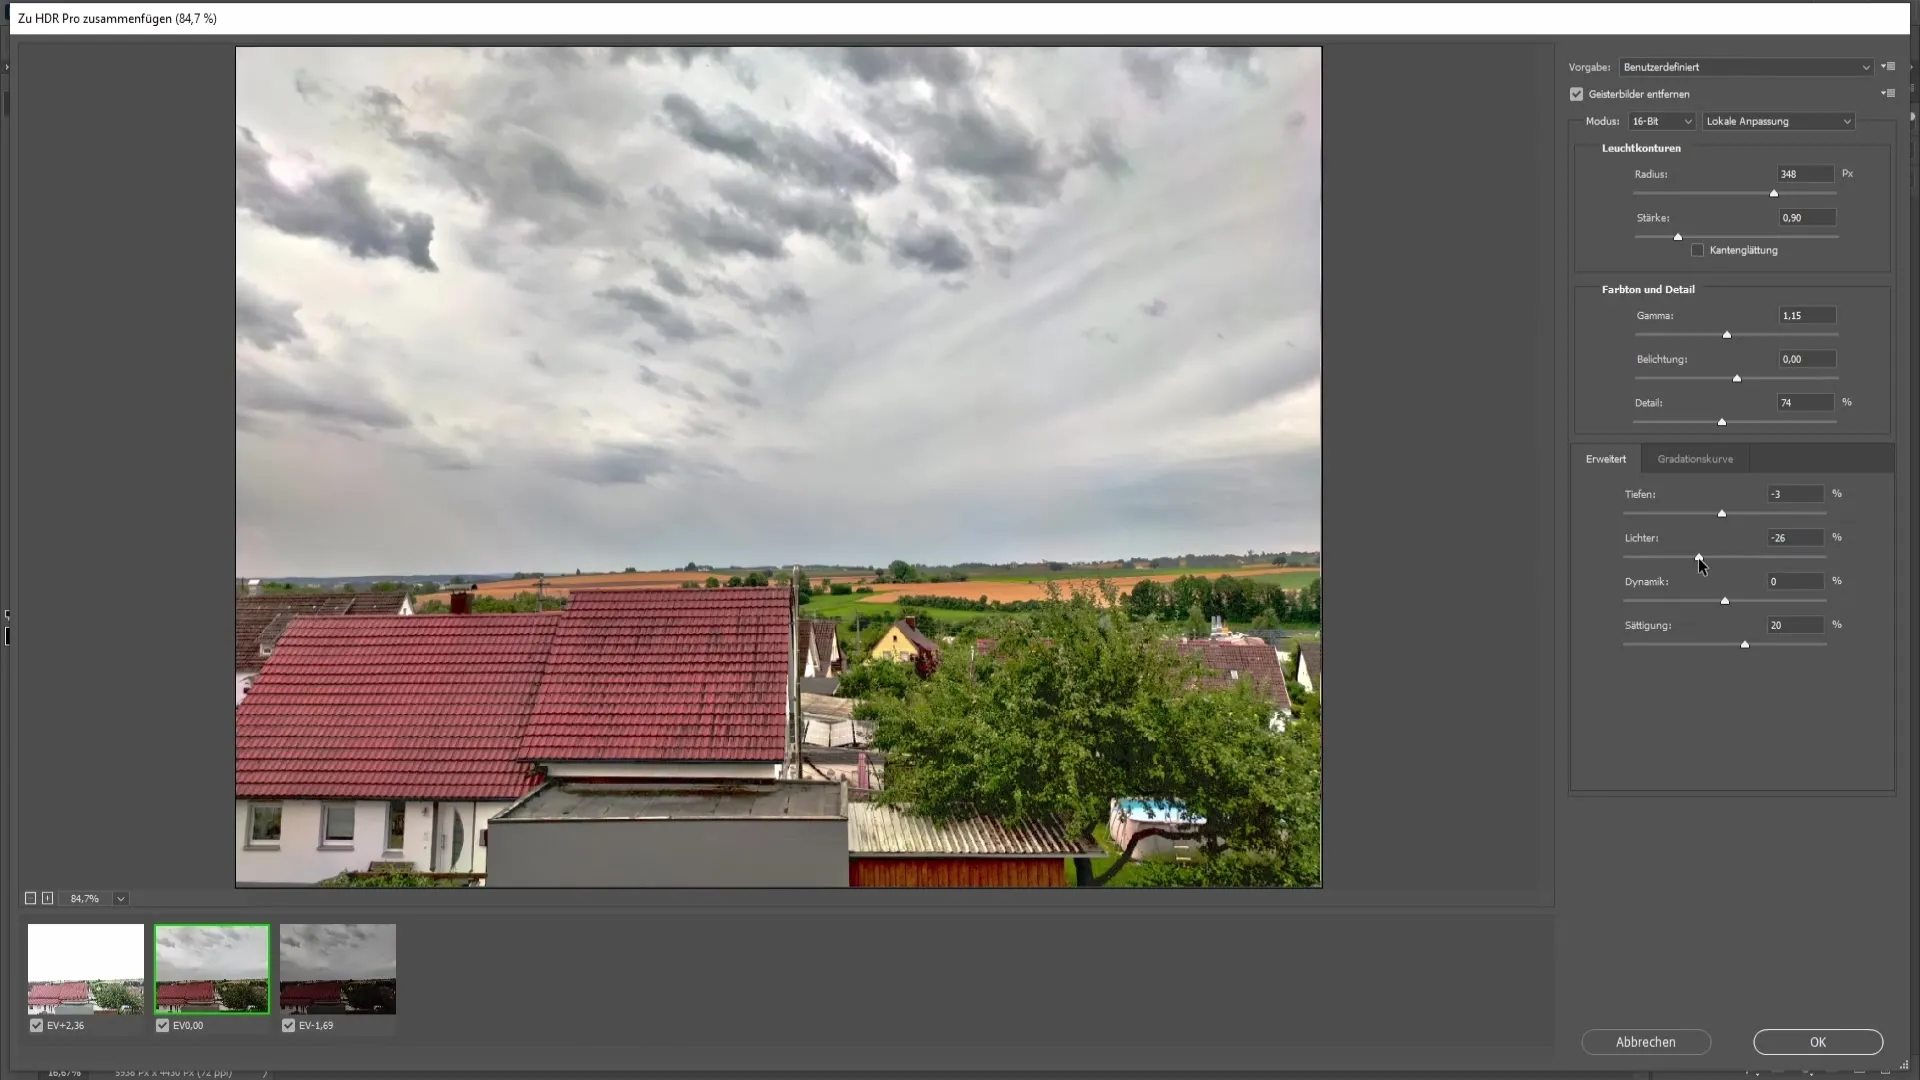
Increasing the saturation slightly can make the colors in your HDR image more vibrant. Again, be cautious to prevent the colors from looking oversaturated.
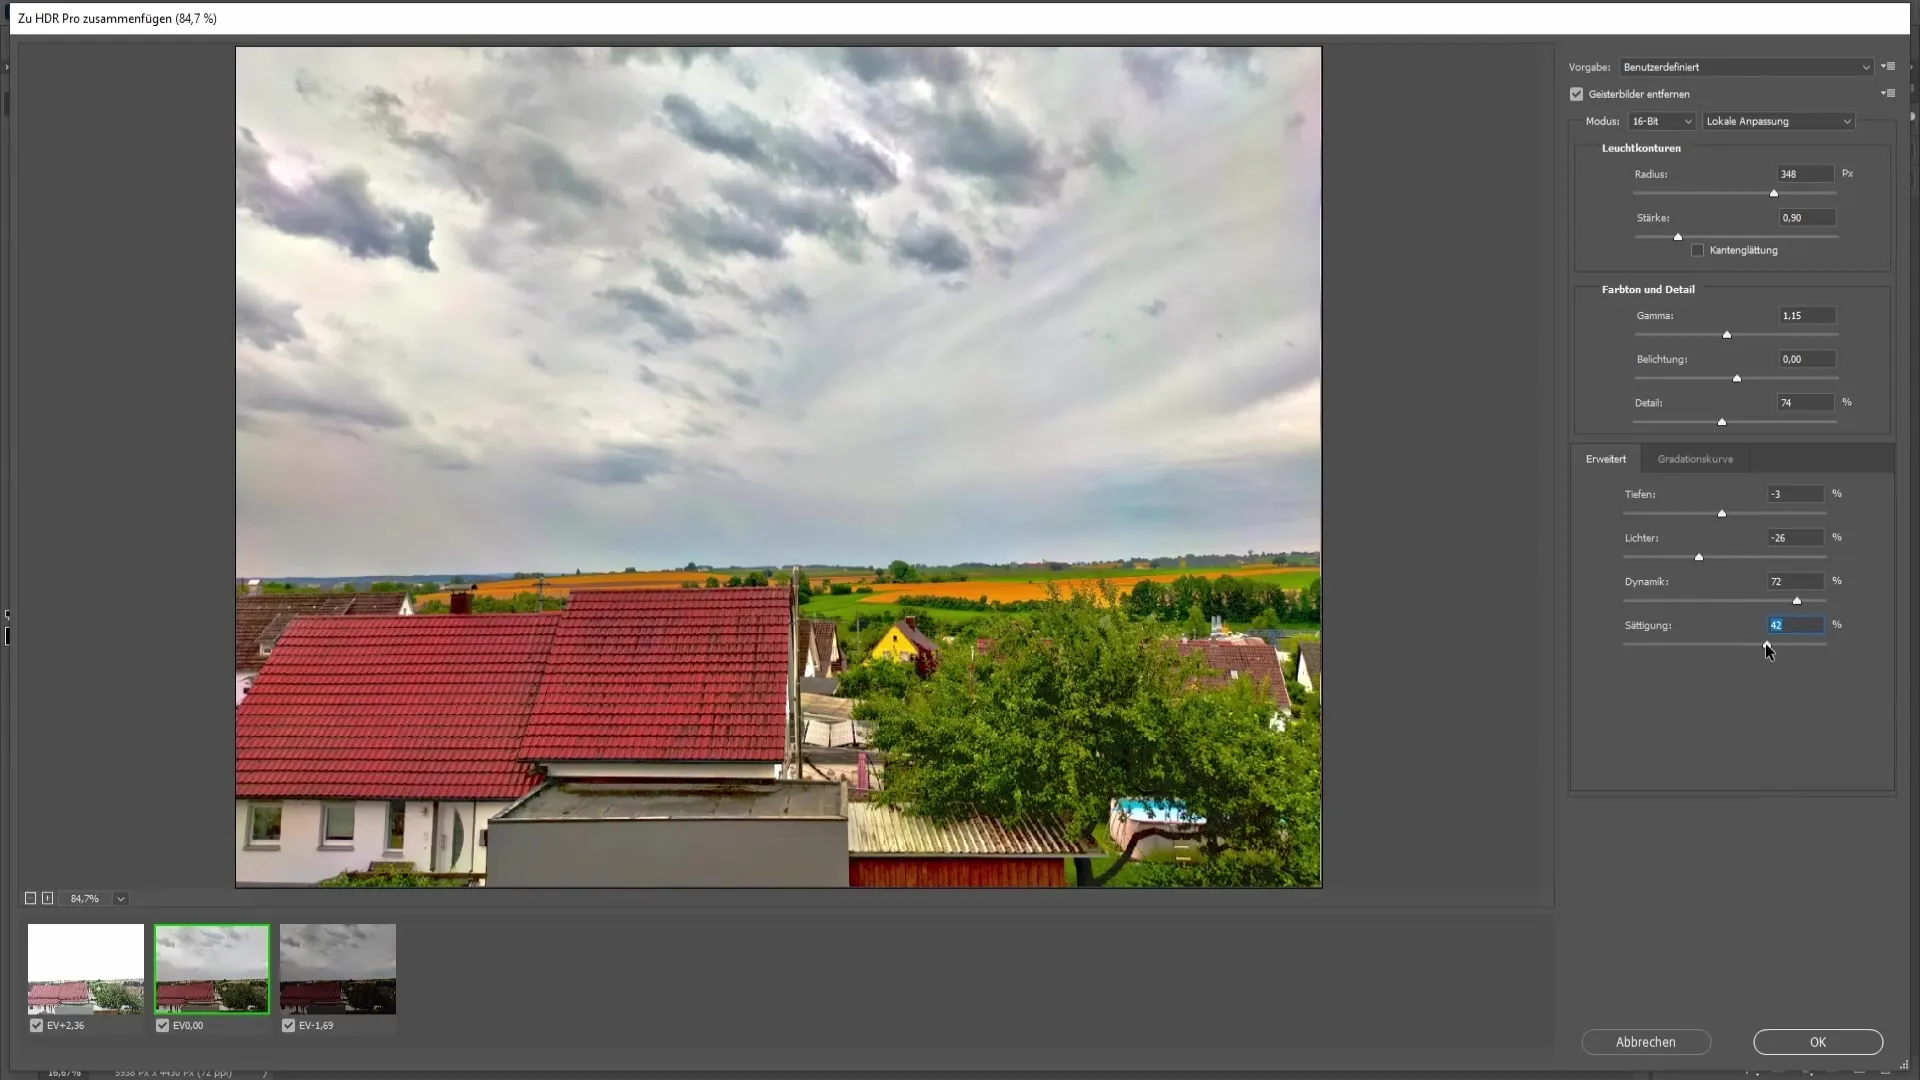
If you are satisfied with the settings, click on "OK". Photoshop will now implement your changes and create the final HDR image.
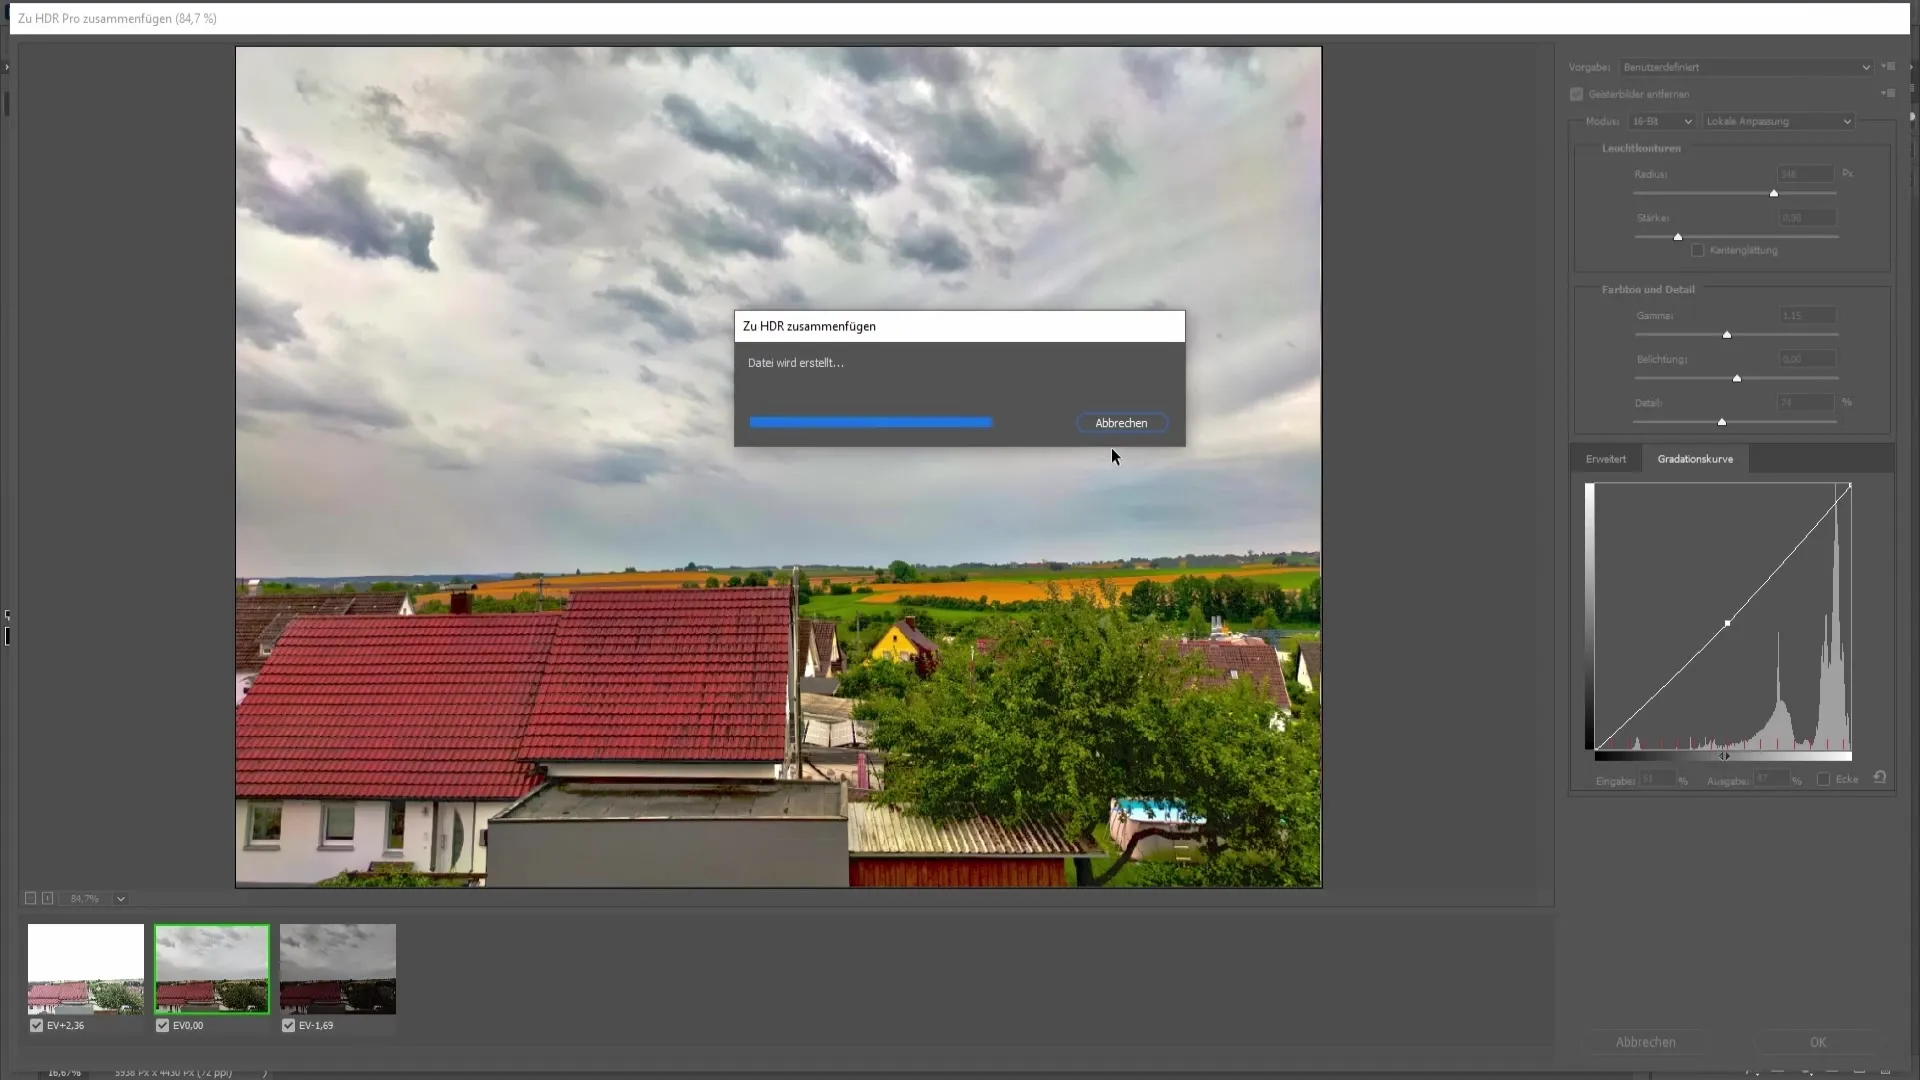
If you notice that your image still contains some color casts, no problem! You have the option to replace the sky. Click on "Edit" and select "Replace Sky". Photoshop automatically recognizes the sky in your image and replaces it with a new one.
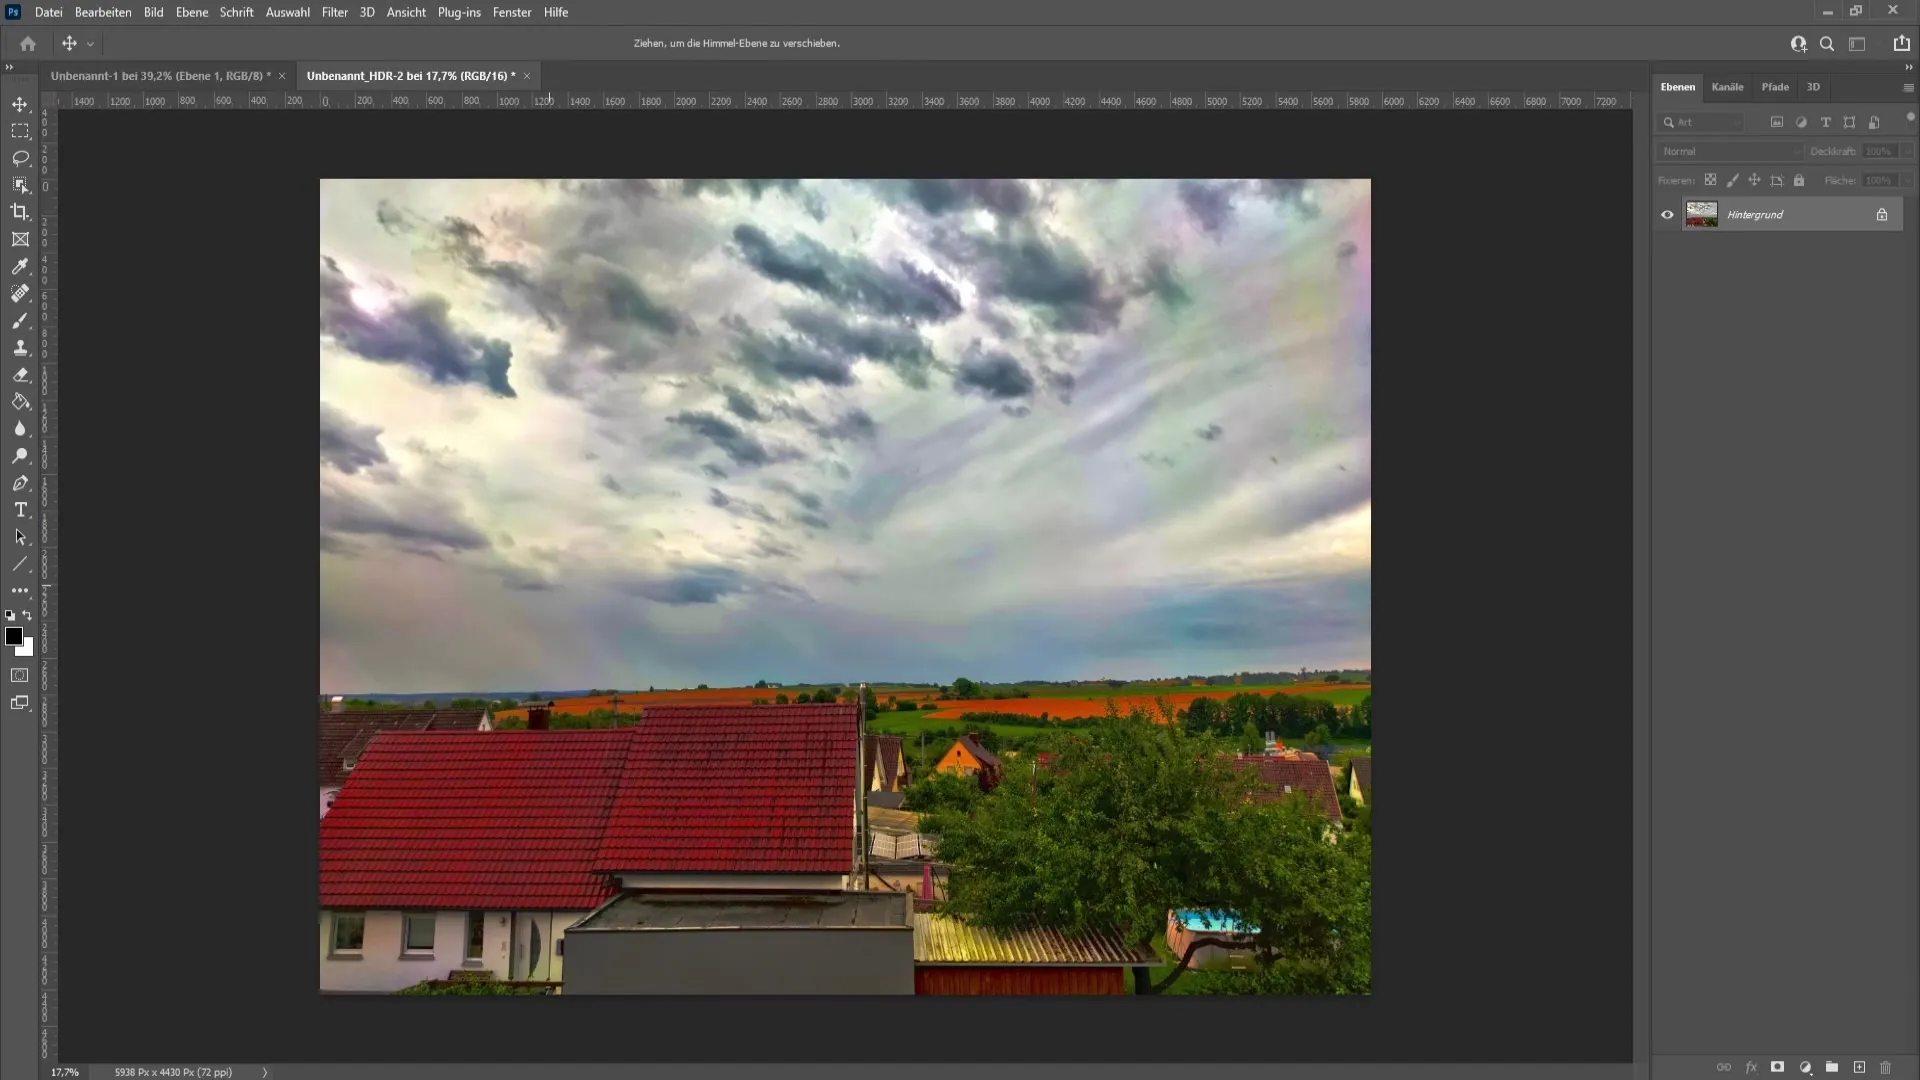
And there you have created your HDR image! The result should now look much better and offer the more intense colors and contrasts that characterize HDR images.
Summary
In this tutorial, you have learned how to create an HDR image in Photoshop. This technique requires three photos with different exposure settings, which are merged and edited in an appealing way. With a little practice, you will be able to create impressive HDR images.
Frequently Asked Questions
What is HDR?HDR stands for High Dynamic Range and enhances the contrast and colors in images.
What exposure settings are necessary?You need at least three images: heavily overexposed, normally exposed, and underexposed.
Can I create HDR images without a tripod?Yes, it is possible, but a tripod helps to avoid shaky images and achieve better results.
What software do I need for creation?To create HDR images, you need Adobe Photoshop, which provides the necessary functions.
What can I do if the colors in the image look unattractive?You can replace the sky or adjust the colors and contrasts in Photoshop.


