A well-designed Instagram grid can significantly increase engagement and aesthetic appeal of your profile. In this guide, I will show you step by step how to create an Instagram grid consisting of multiple images that looks super appealing. With Photoshop, you can achieve this in no time, so you don't have to worry about the correct image sizes anymore.
Main Insights
- An Instagram grid consists of multiple images that together form a large image.
- The standard size for Instagram images is 1080 x 1080 pixels.
- To create a 3x3 grid, you need a total size of 3240 x 3240 pixels.
- The Slice tool in Photoshop allows you to quickly and efficiently cut out and export images.
Step-by-Step Guide
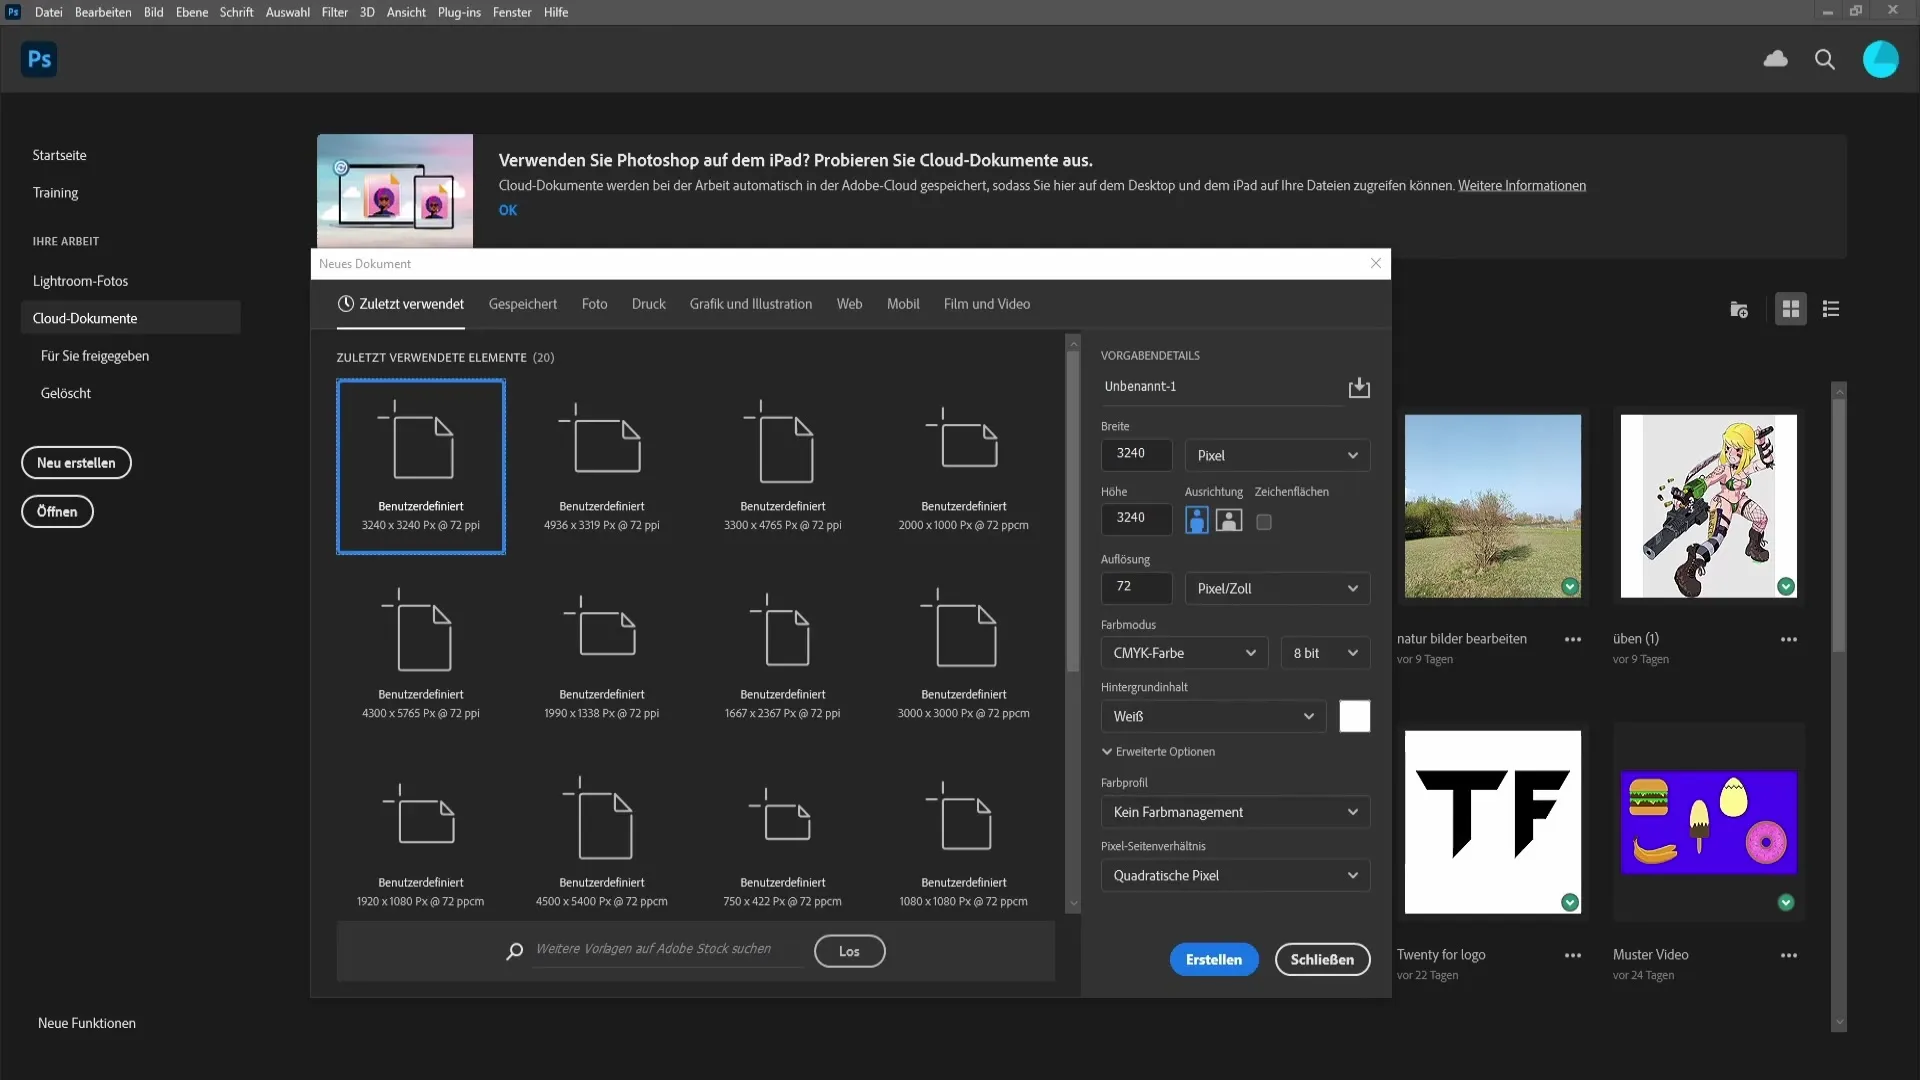
First, you need to decide how you want to design your grid. The standard format for an Instagram image is 1080 x 1080 pixels. However, you can choose whether you want to create a 3x3 grid (three images in height and three in width). In this case, you need to calculate the total size: 1080 pixels times 3 gives a width and height of 3240 pixels.
If you only want to create a row of images, you should also set the width to 3240 pixels and leave the height at 1080 pixels. Now, let's choose a 3x3 grid, and I go to "Create New Document." There I set the dimensions to 3240 x 3240 pixels.
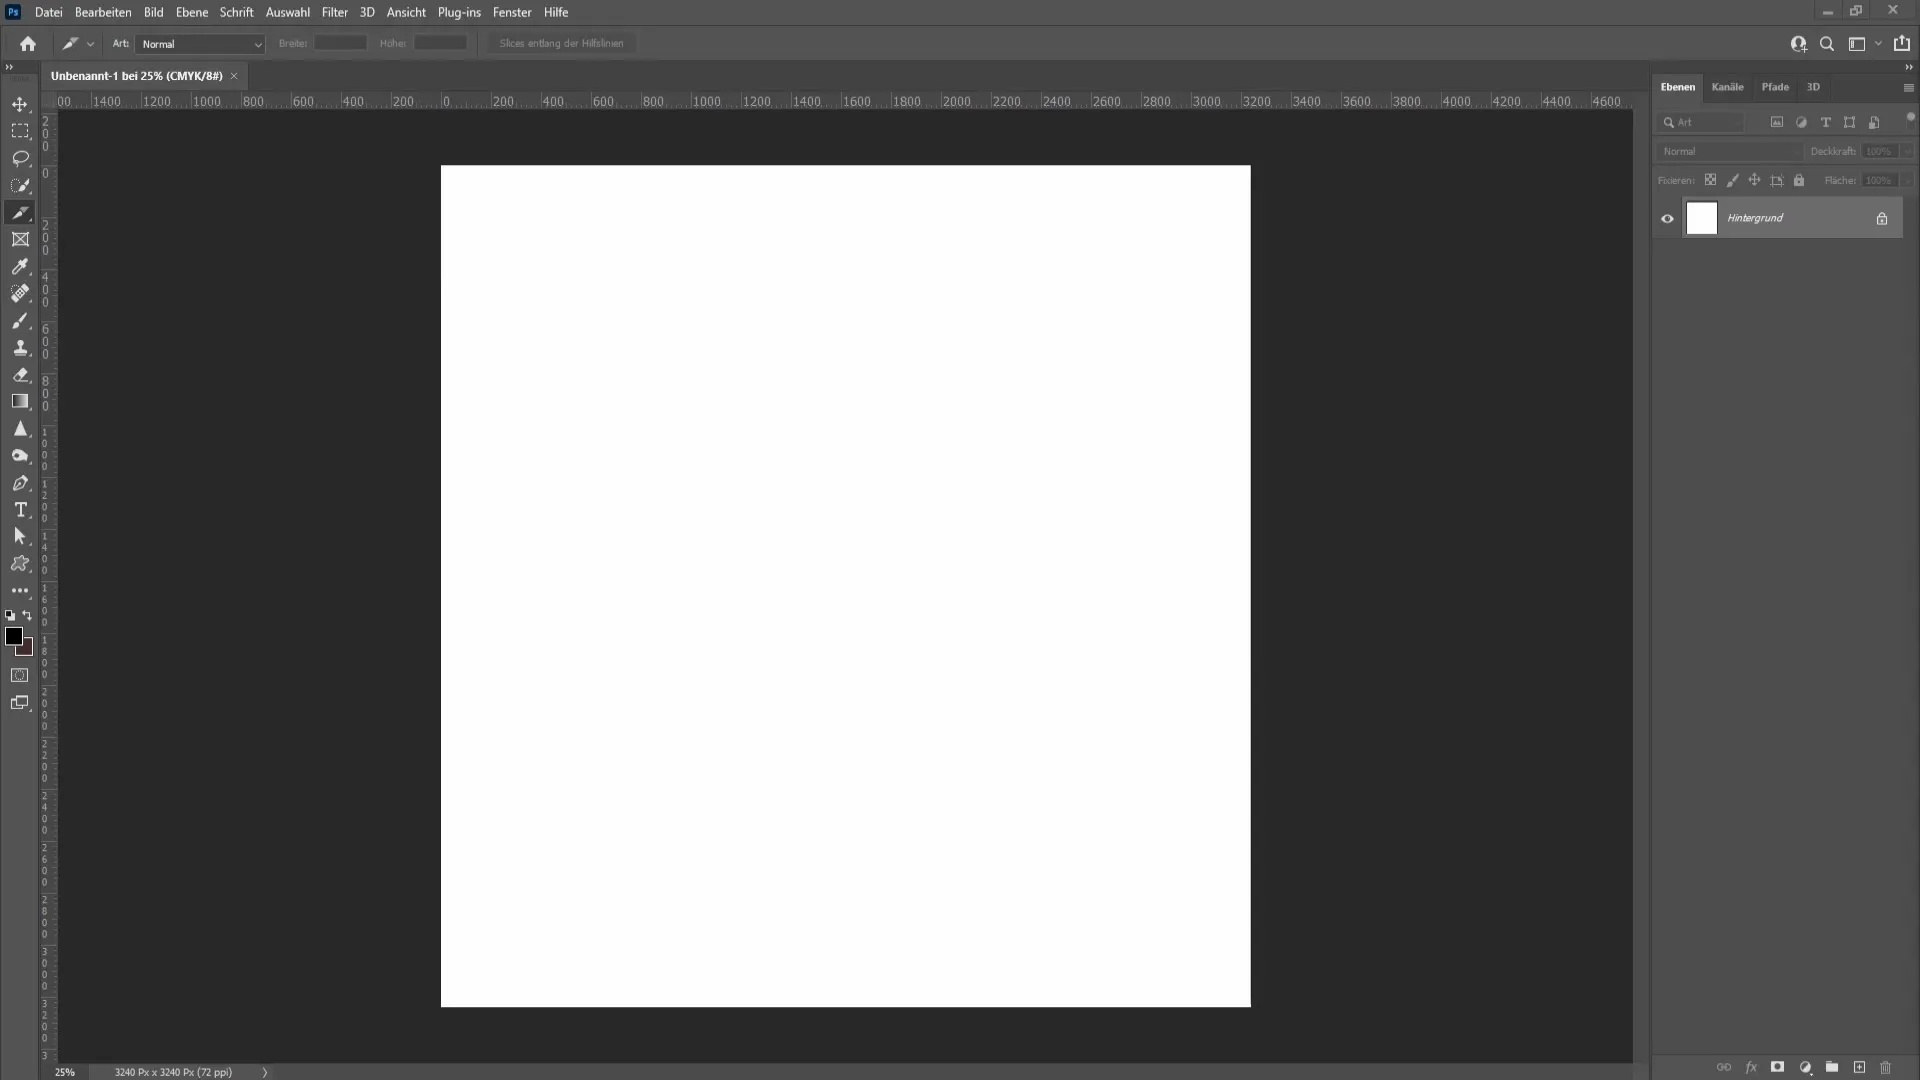
After creating the template, drag an image from your computer into the document. You can choose any image, but I choose one from the beach. With the Shift key pressed, you can proportionally scale the image to fit perfectly into the document.
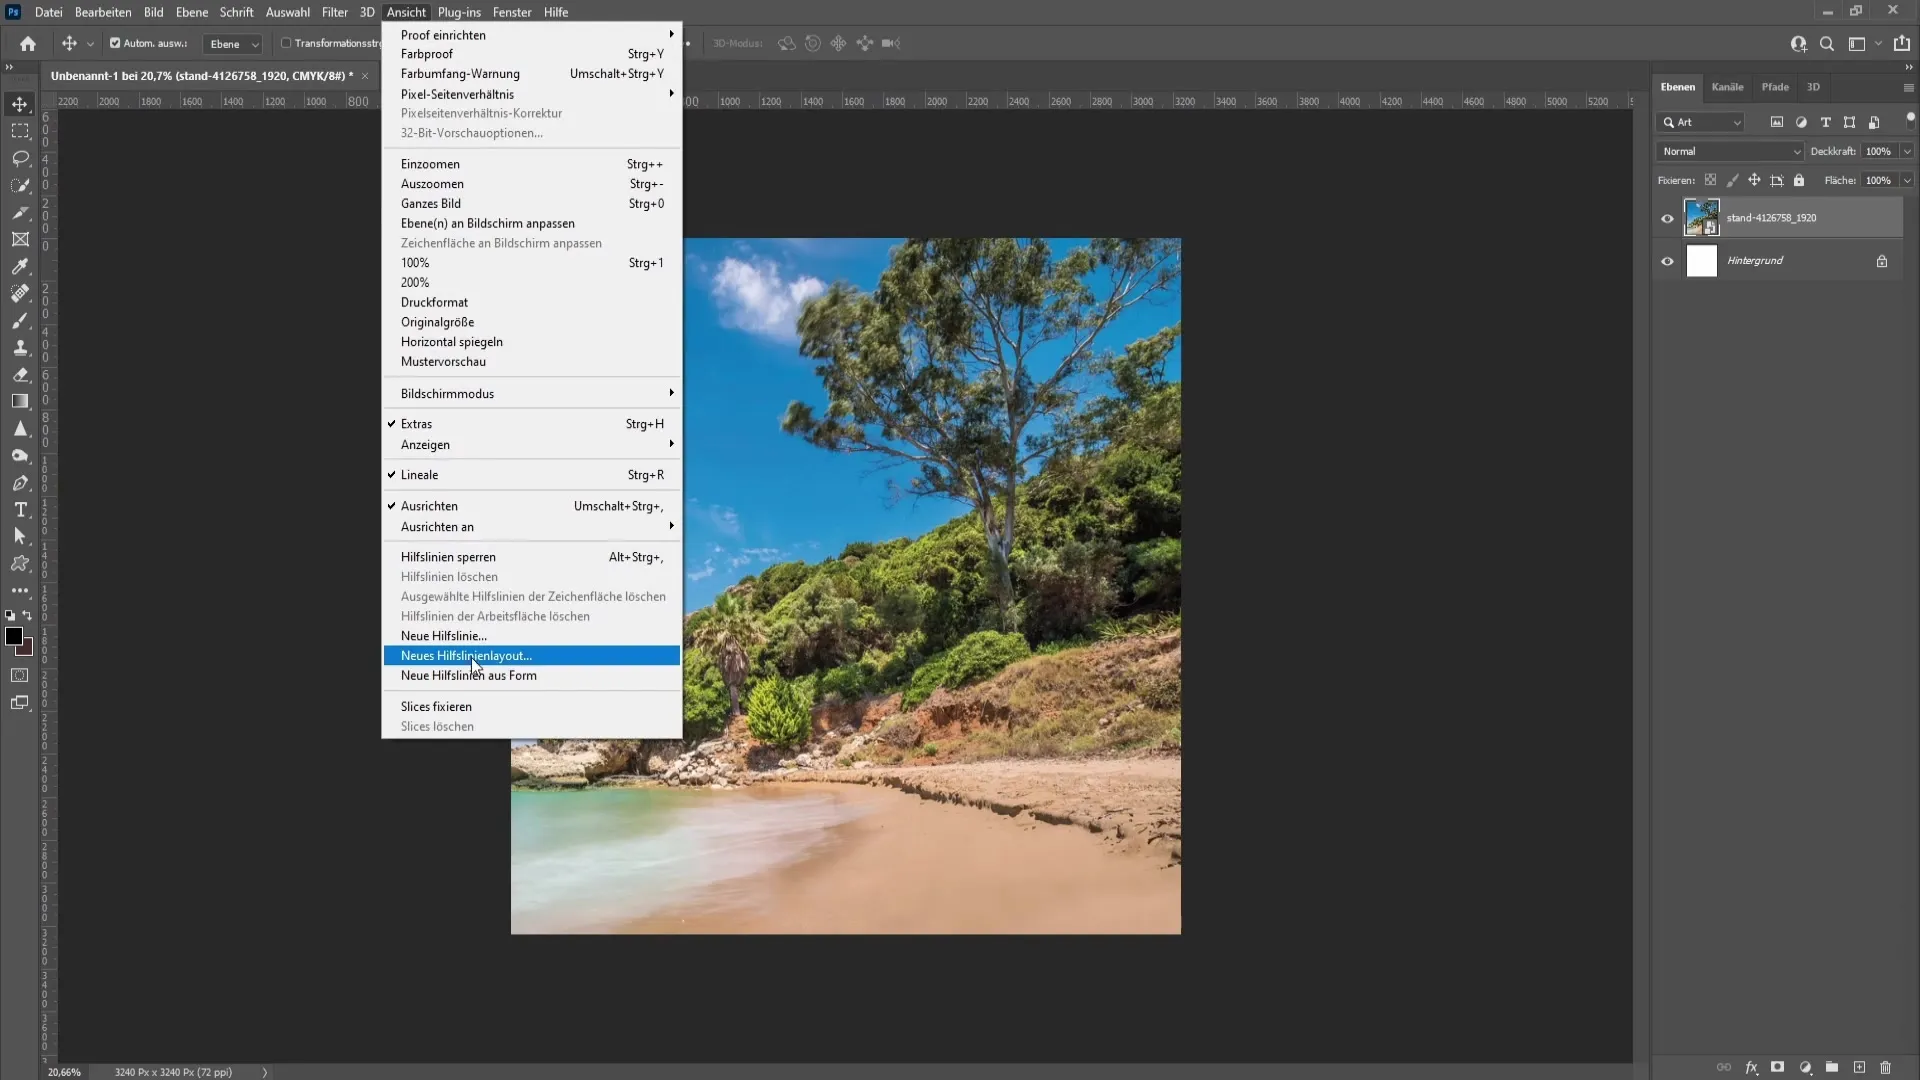
Once you have adjusted the image correctly, it's a good idea to create a grid layout. Go to "View" and select "New Guides." Make sure to set the number of horizontal and vertical lines to three in each direction and confirm your selection.
Now you need the Slice tool. You can find this tool in the tool panel, which is usually on the left side of the screen. Click on the Slice tool to activate it.
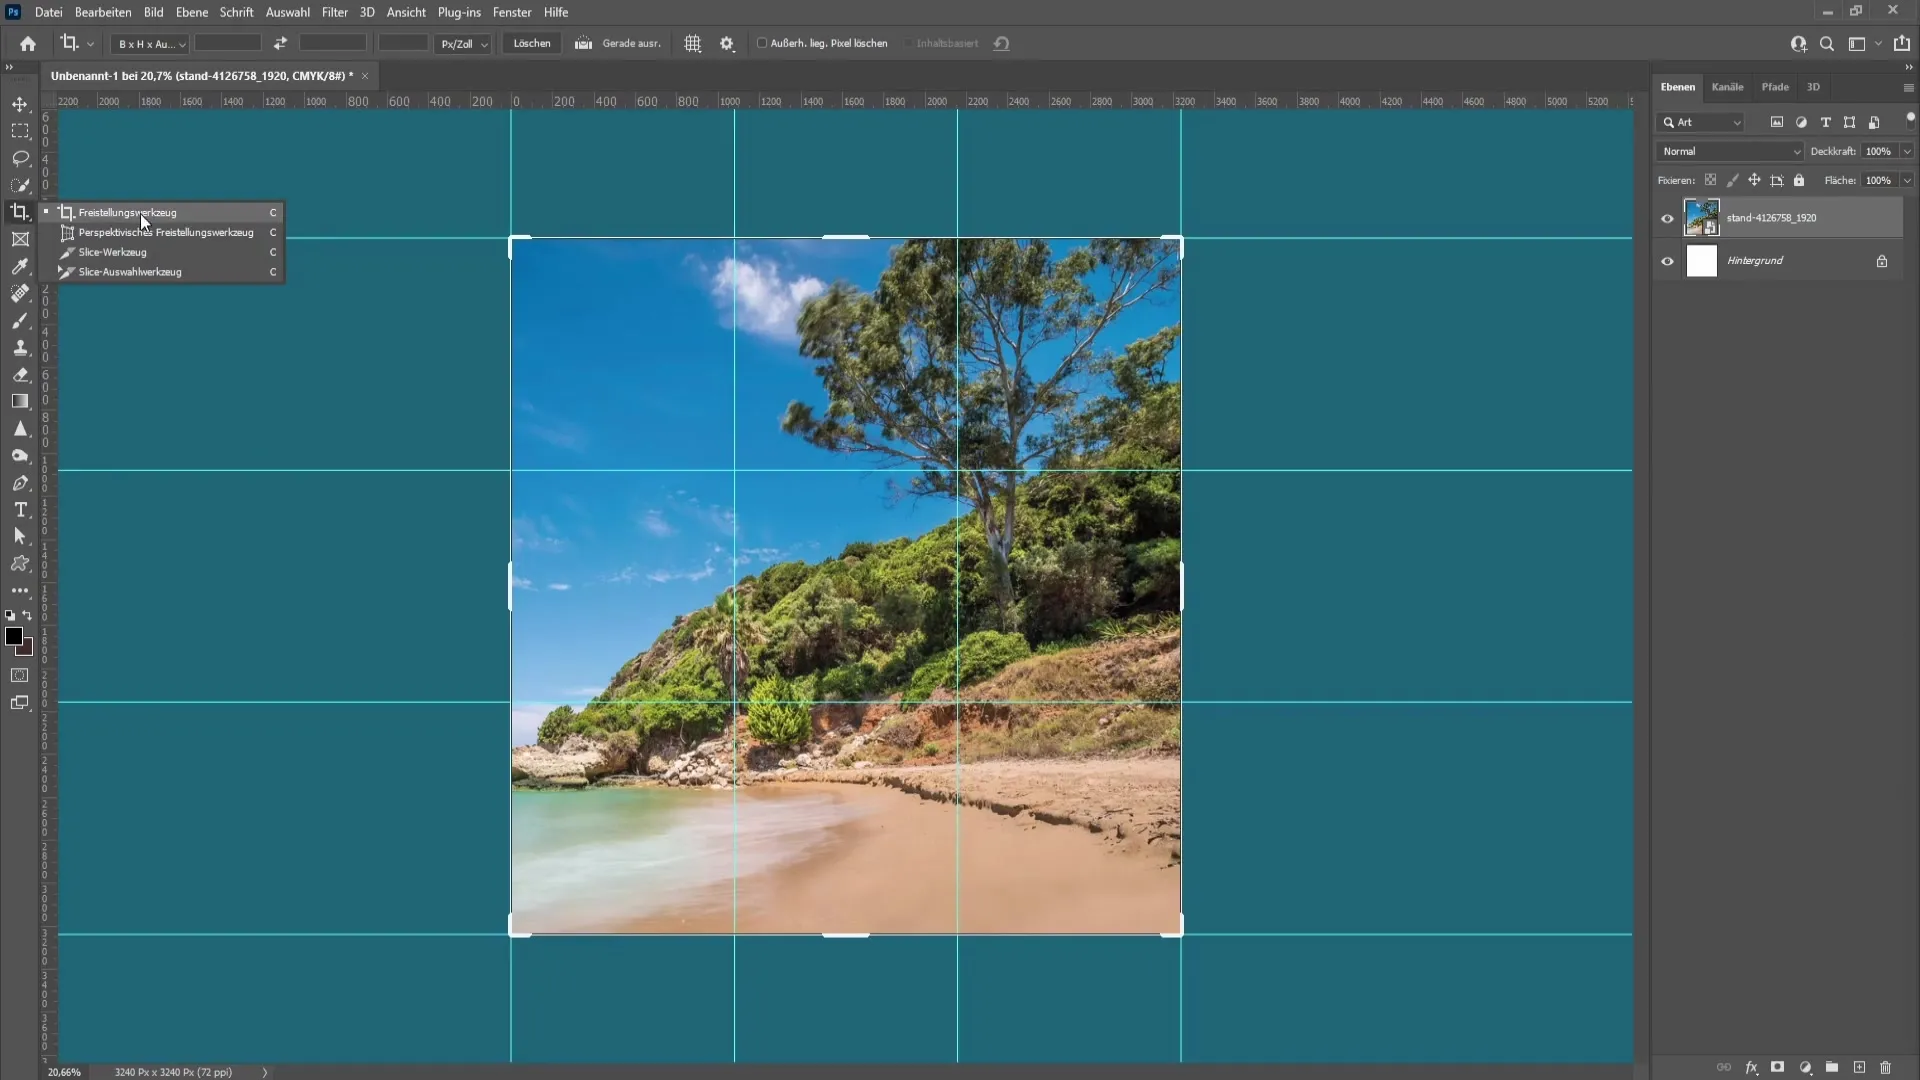
With the Slice tool, you can now click along the guides to create your slices. Photoshop will do this automatically for you by defining the areas you want to extract.
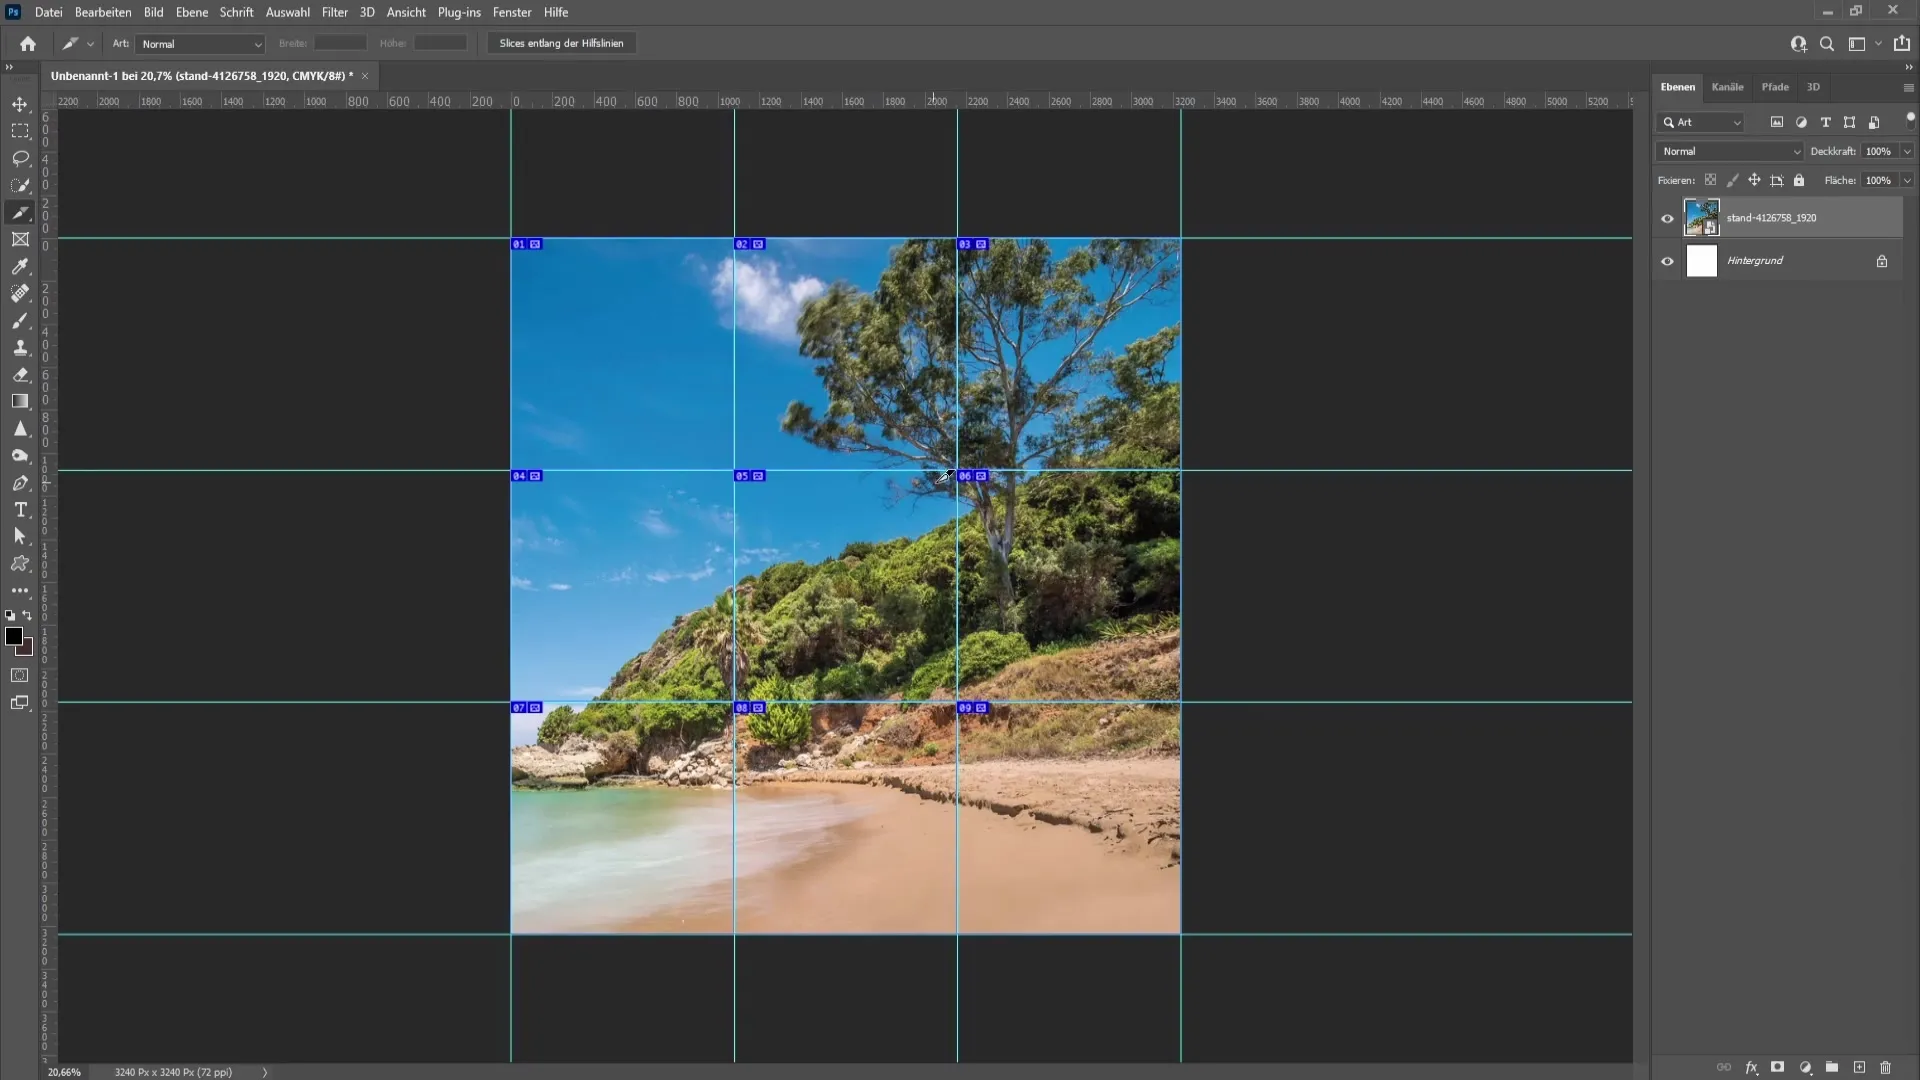
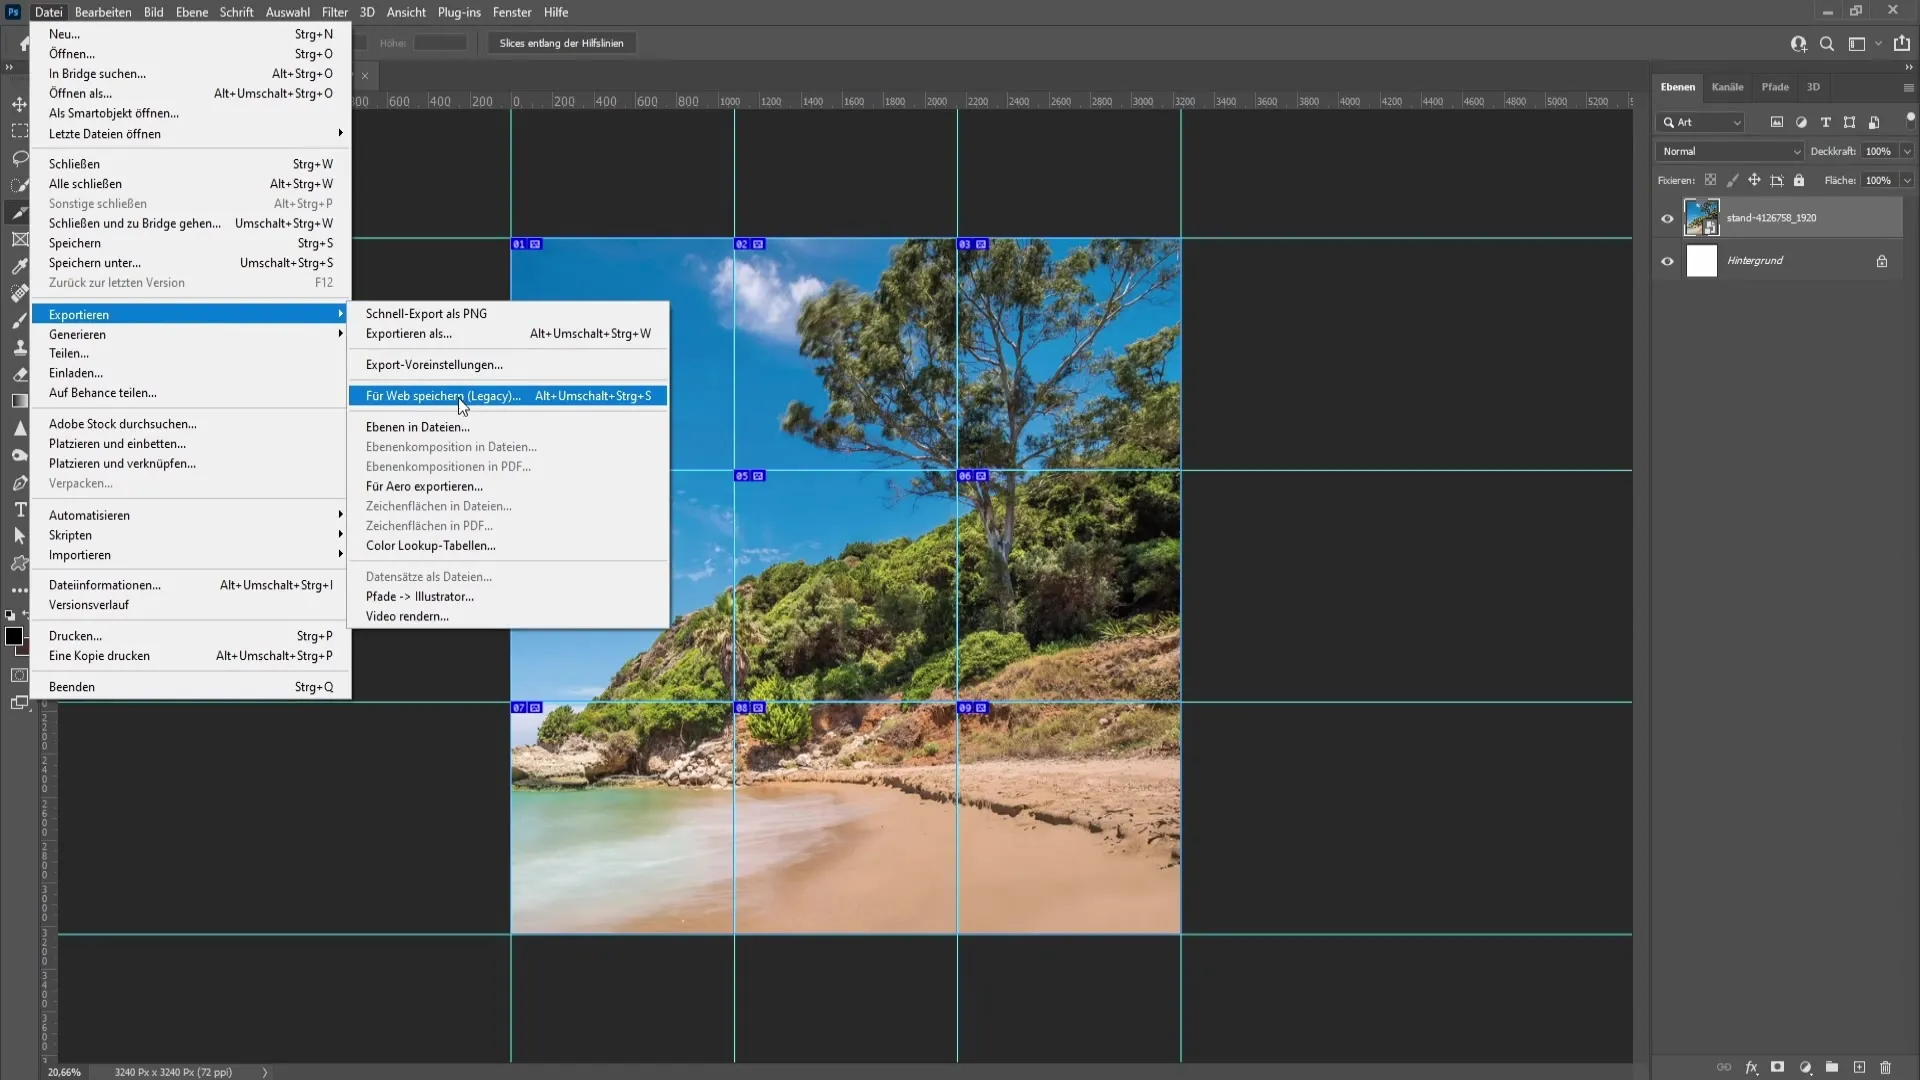
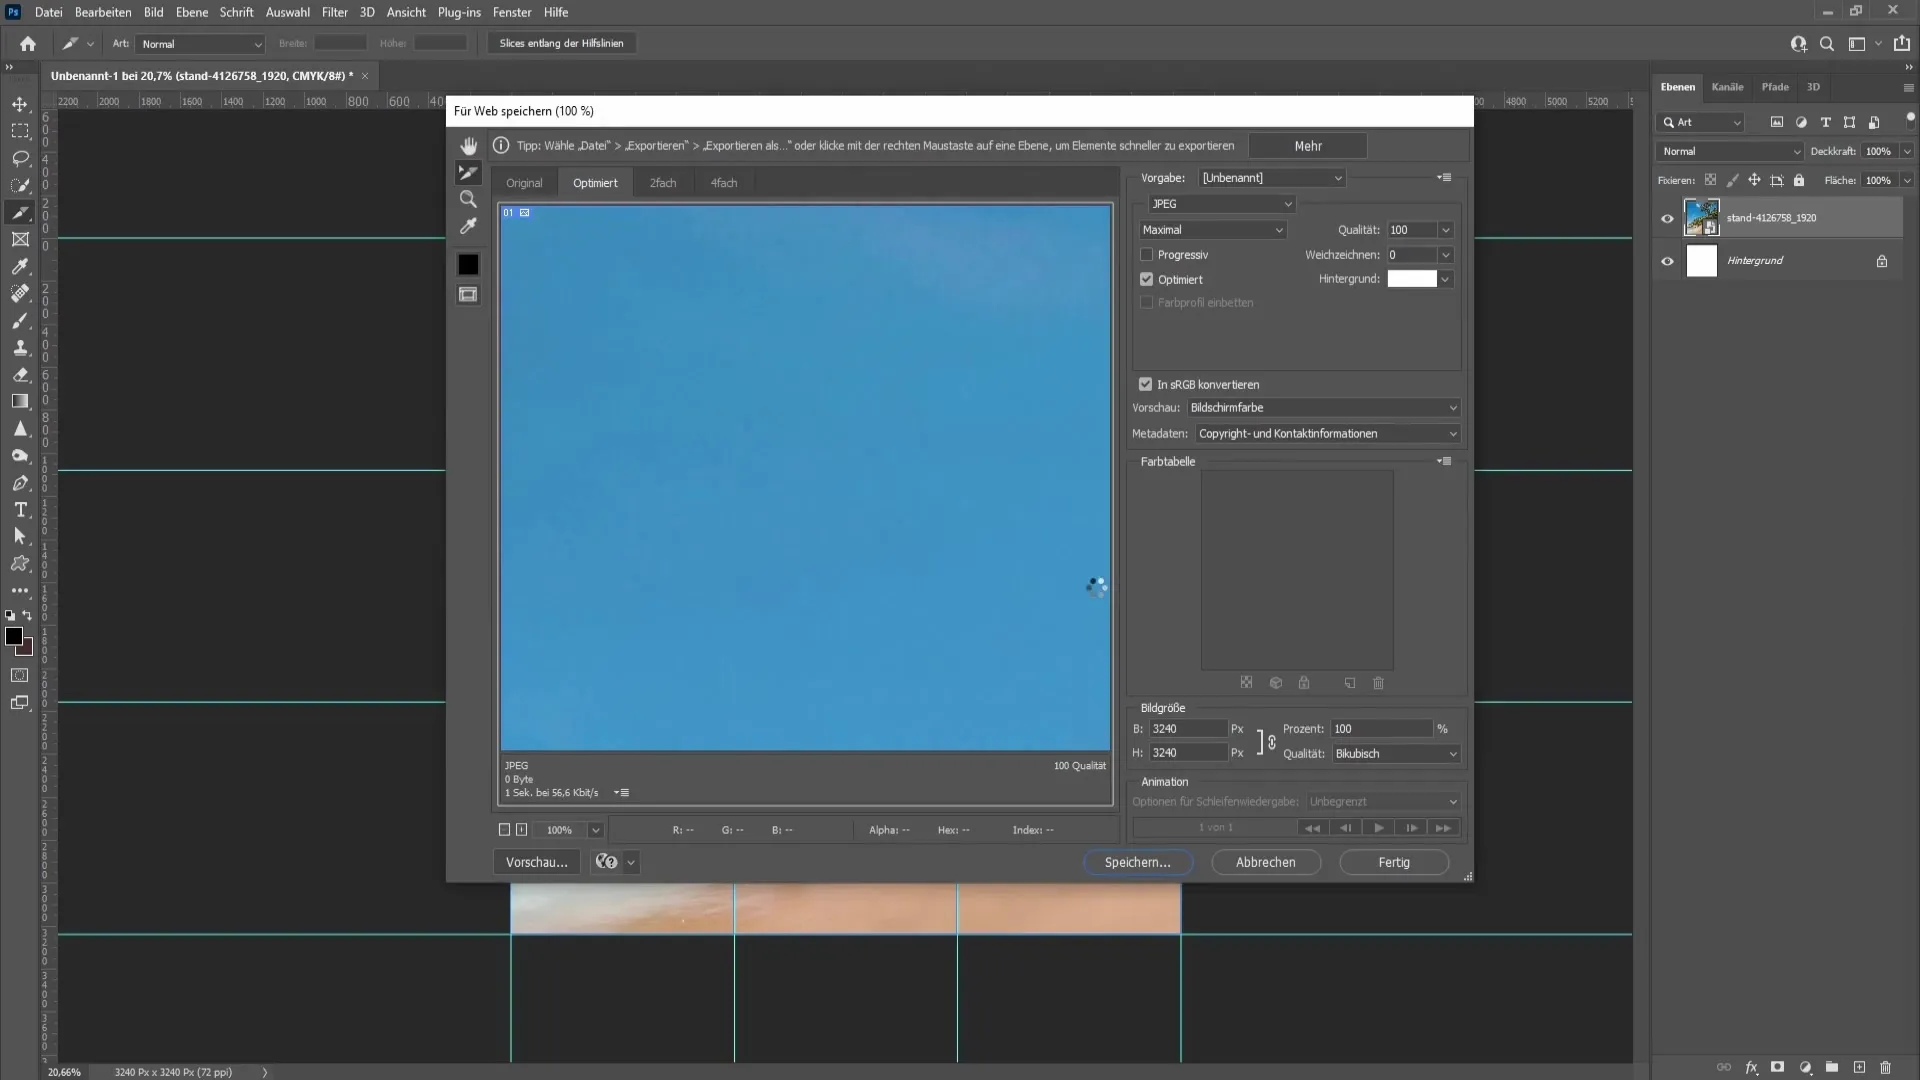
Once you have created the slices, you can easily export them. Go to "File" and choose "Save for Web Export." Make sure the format is set to JPEG and the quality is set to 100 percent.
Now you just need to select the location to save them – I recommend saving them on the desktop or in a specific folder. This way, you have quick access to the newly created images.
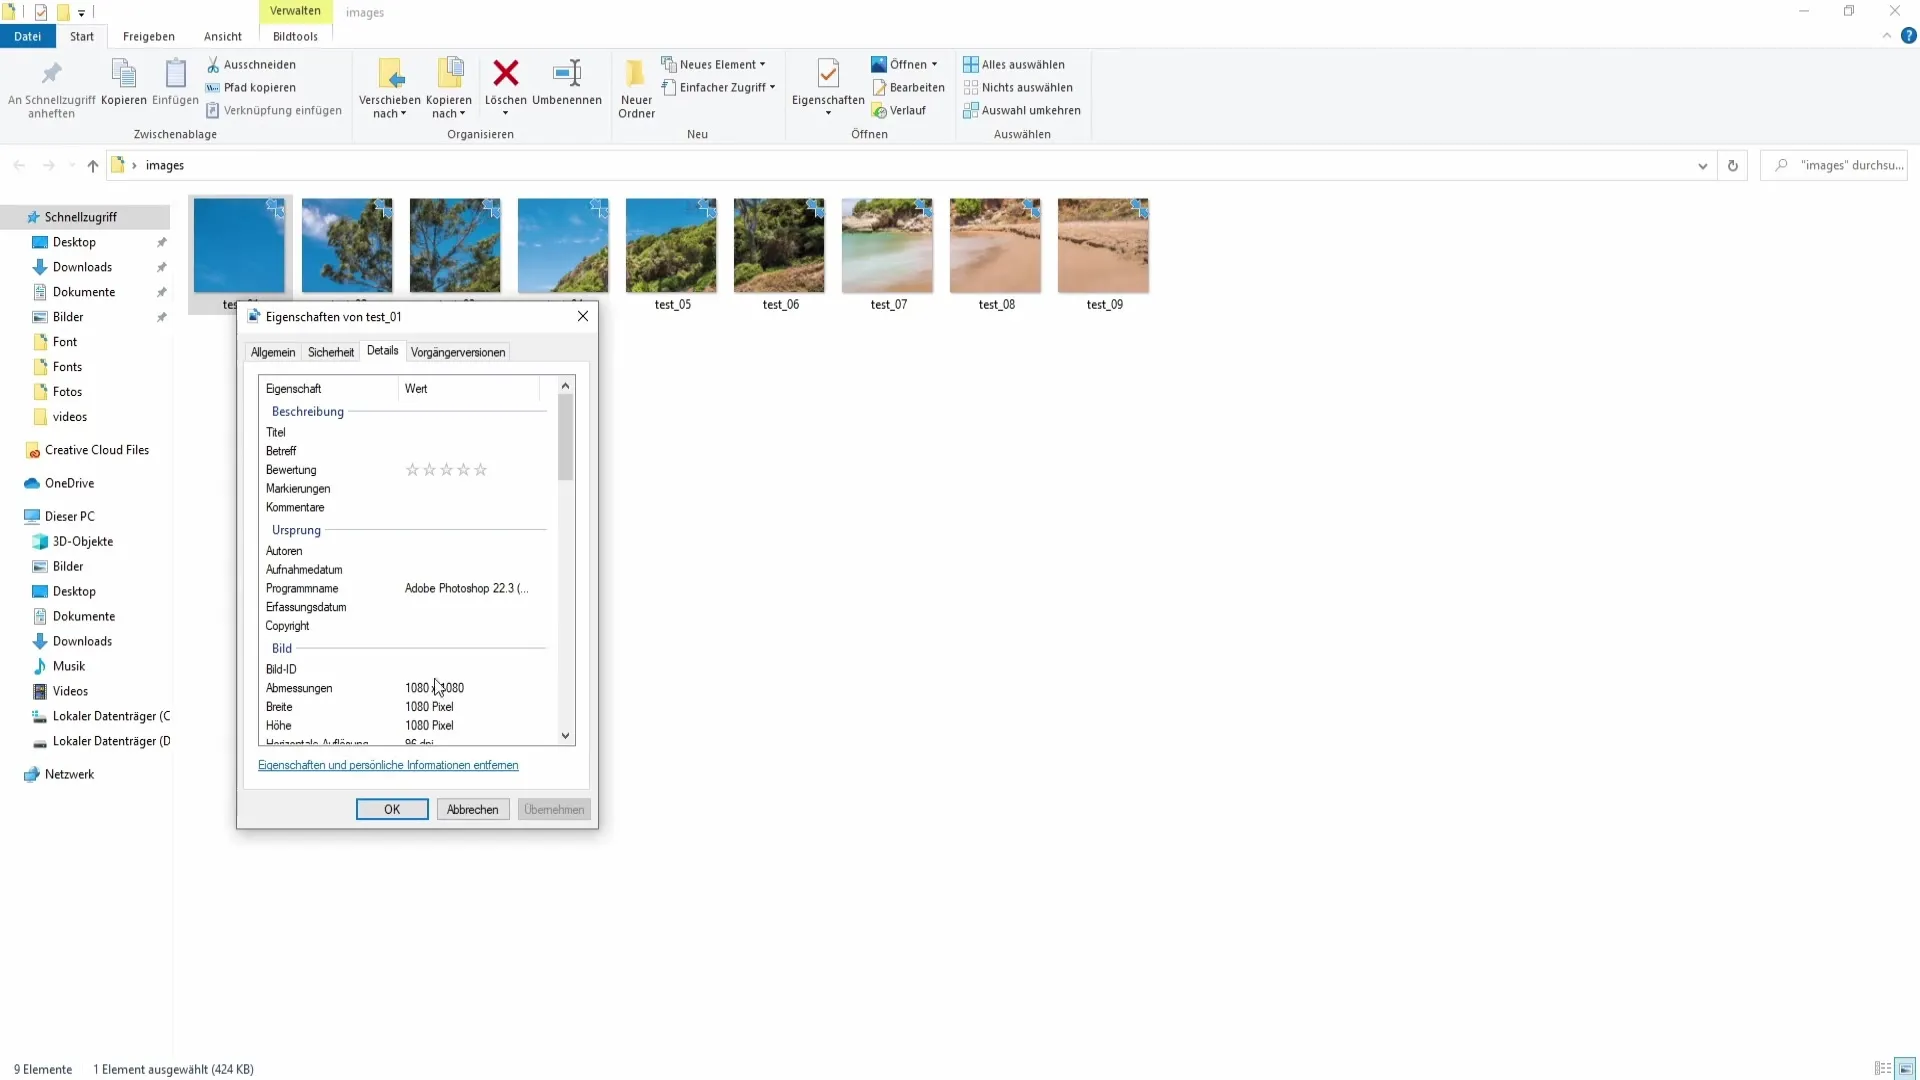
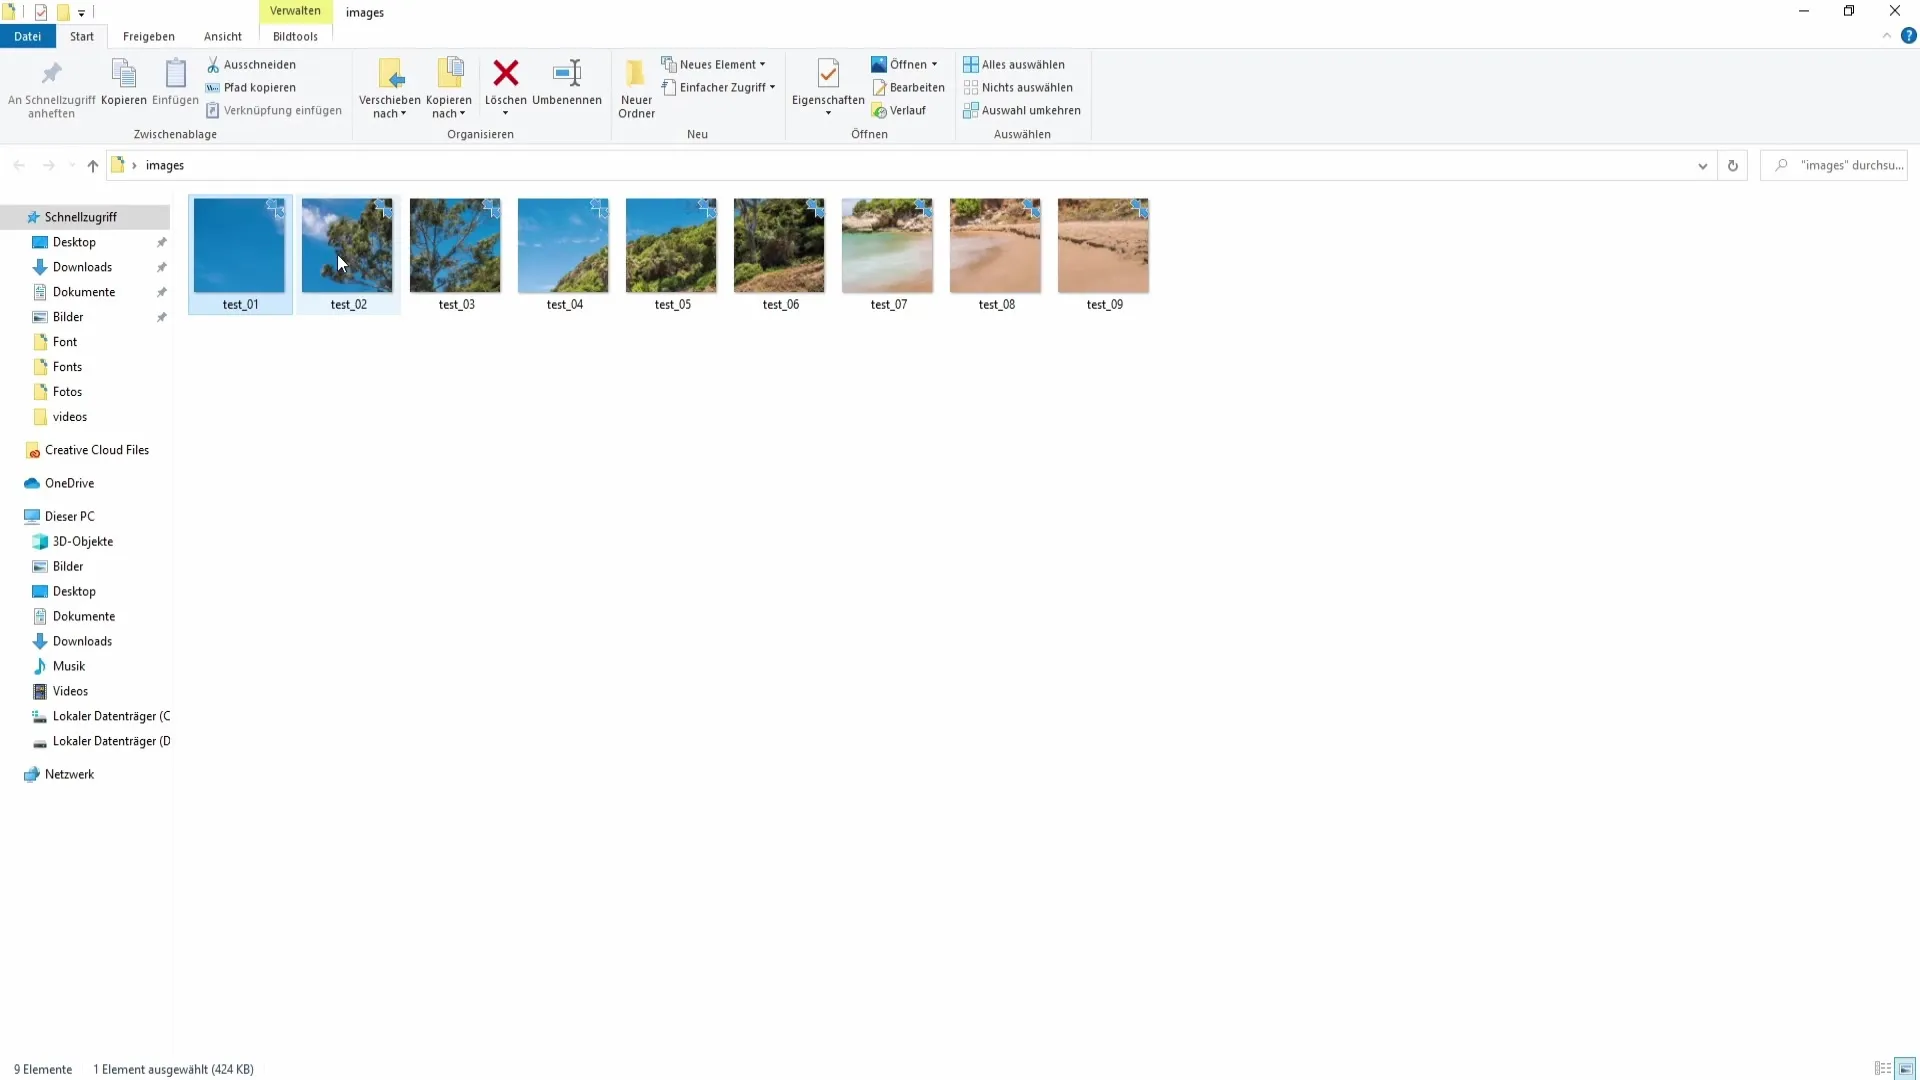
Once you have saved the images, open the folder, and you should find all the exported images there. Checking the dimensions will show that each image now has the perfect size of 1080 x 1080 pixels, making them ideal for Instagram.
Now you can upload the images in the correct order on Instagram. Start with the top left image, followed by the top middle and top right images, and then work your way down row by row.
Summary
In this tutorial, you have learned how to create an Instagram grid in Photoshop consisting of multiple images. From the right dimensions to exporting the slices, you have followed everything step by step. This way, you can design your Instagram profile attractively and draw the attention of your followers to you.
Frequently Asked Questions
How large should the images for an Instagram grid be?The images should have a size of 1080 x 1080 pixels.
Can I create only a row of images?Yes, you can also create only a row with 3240 x 1080 pixels.
What tool do I need to cut out the images?The Slice tool is used to cut out the images along the guides.
How do I export the images for Instagram?Go to "File" > "Save for Web" and make sure the format is JPEG and the quality is set to 100%.
What is the ideal number of images in the grid?A commonly used format is a 3x3 grid, which includes a total of nine images.


