In this tutorial, I will show you how to replace a head in Photoshop. This technique is particularly useful when you want to make slight changes or enhancements to a portrait. We will not only focus on cutting out the head, but also on adjusting the exposure and color for a harmonious overall image. Let's get started right away!
Main Findings
- Make sure the head and body are in the correct position and lighting relative to each other.
- Use the lasso tool to cut out the head and the rest of the image.
- Color and brightness adjustments are crucial for a realistic result.
- Layer masks are useful for hiding or restoring parts of the image.
Step-by-Step Guide
To replace a head in Photoshop, follow these steps:
Step 1: Image Selection and Head Preparation
First, select the image you want to insert the new head into. In our case, we already have an image that we will use. You should ensure that the head you want to insert is facing directly forward. Make sure the lighting conditions and exposure are similar to achieve a seamless result.
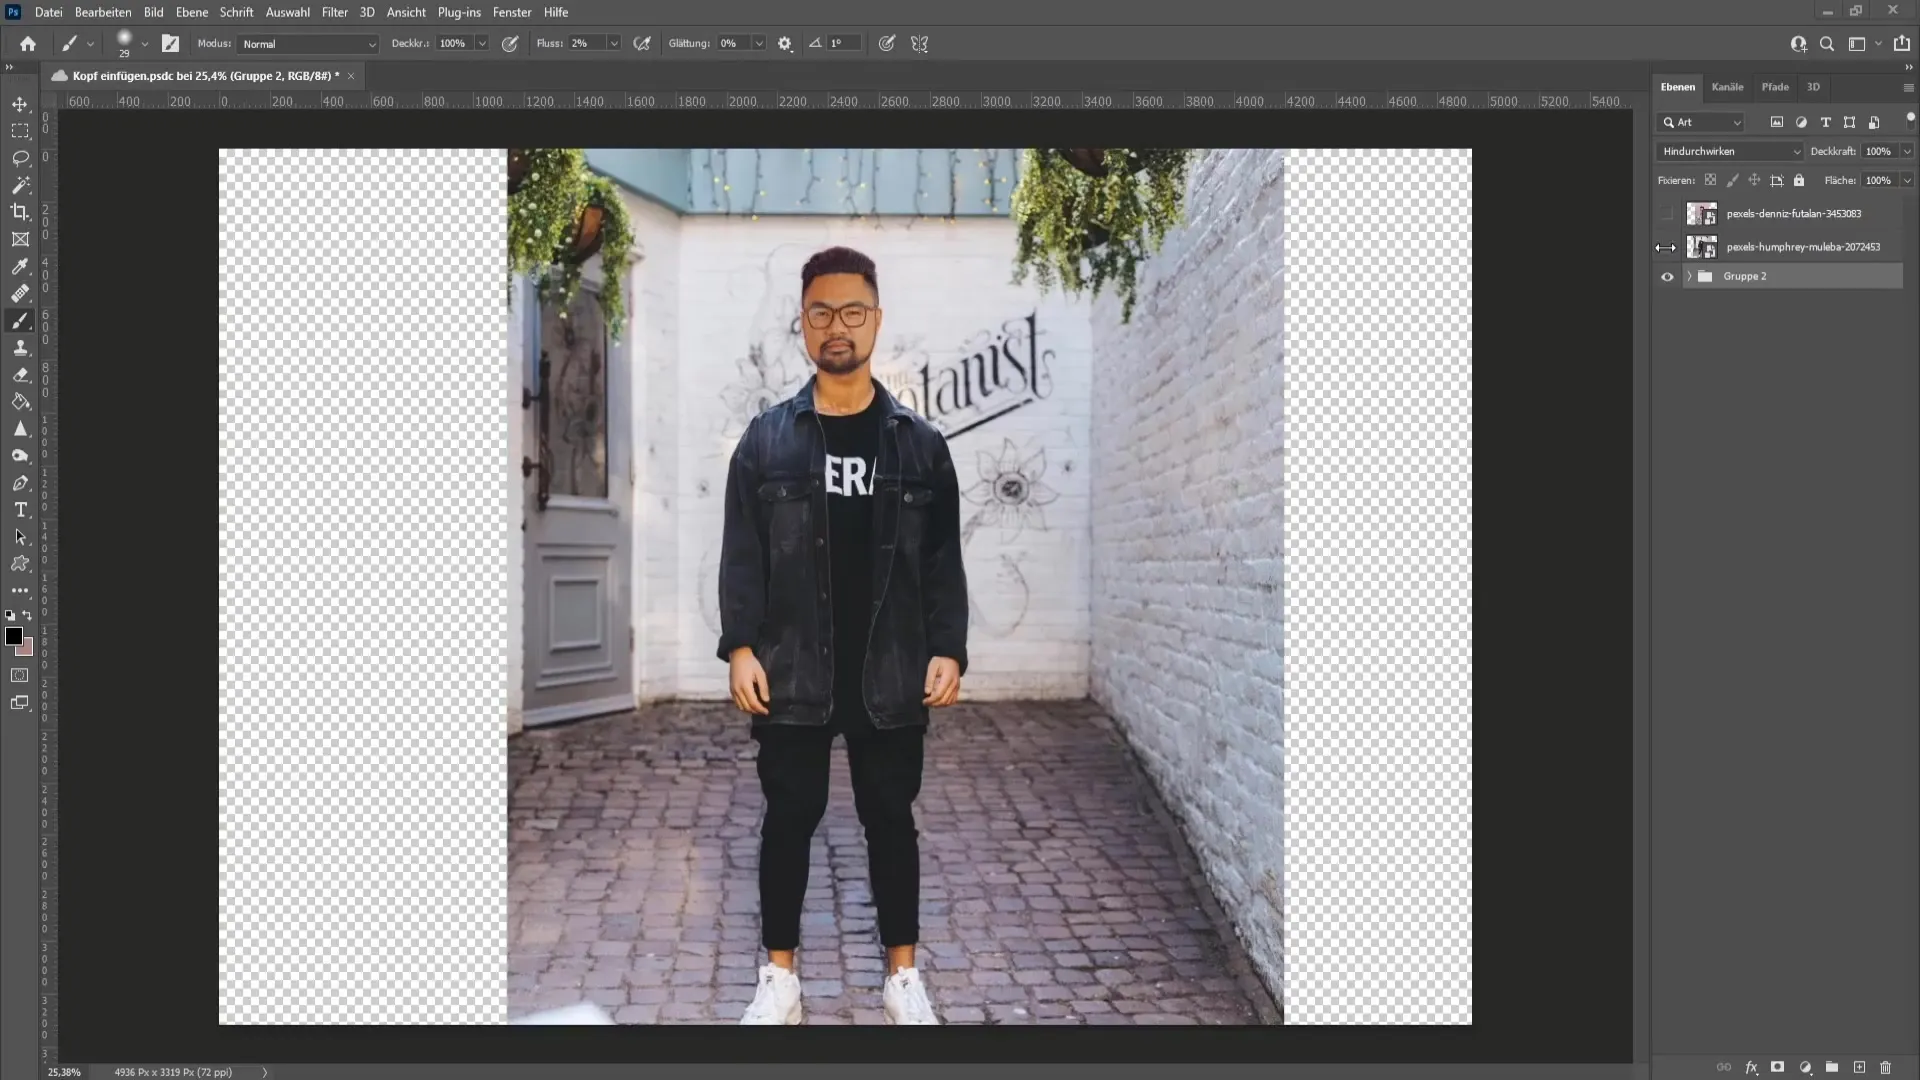
Step 2: Cut Out the Head
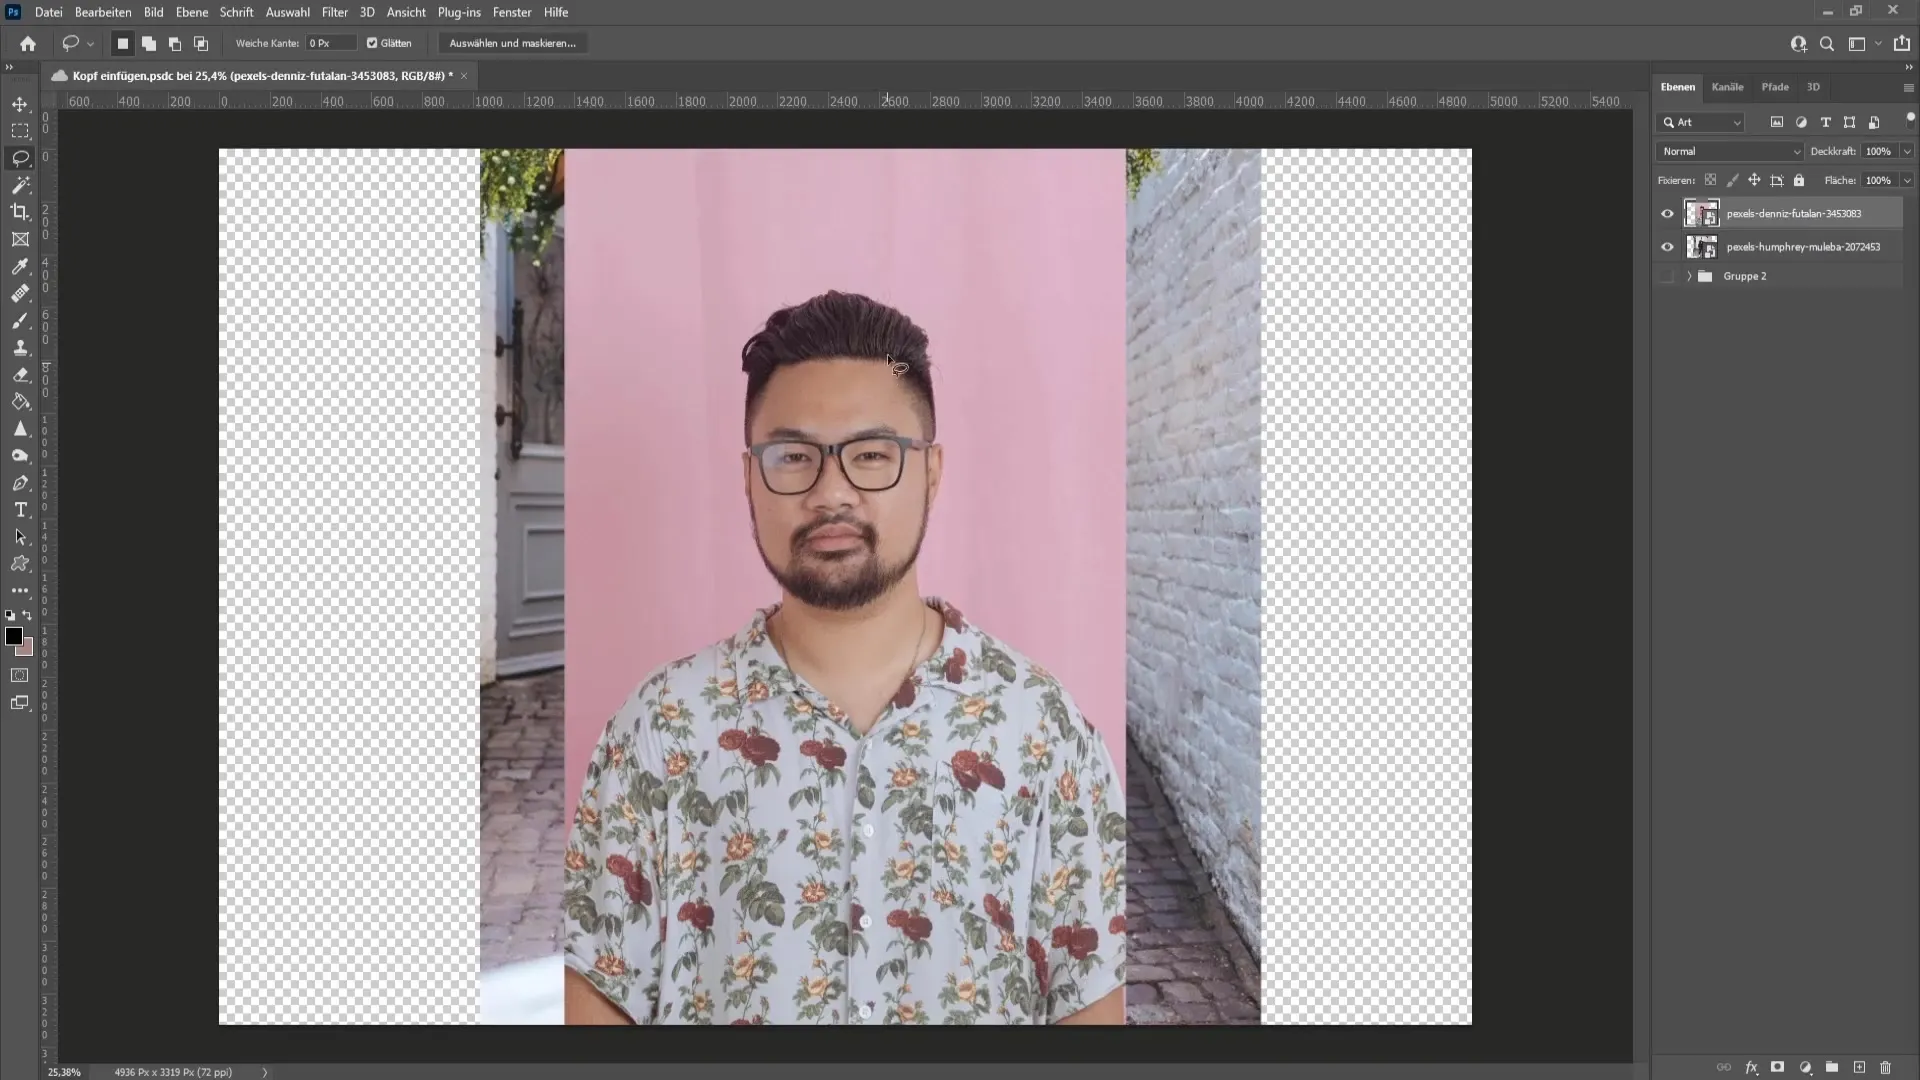
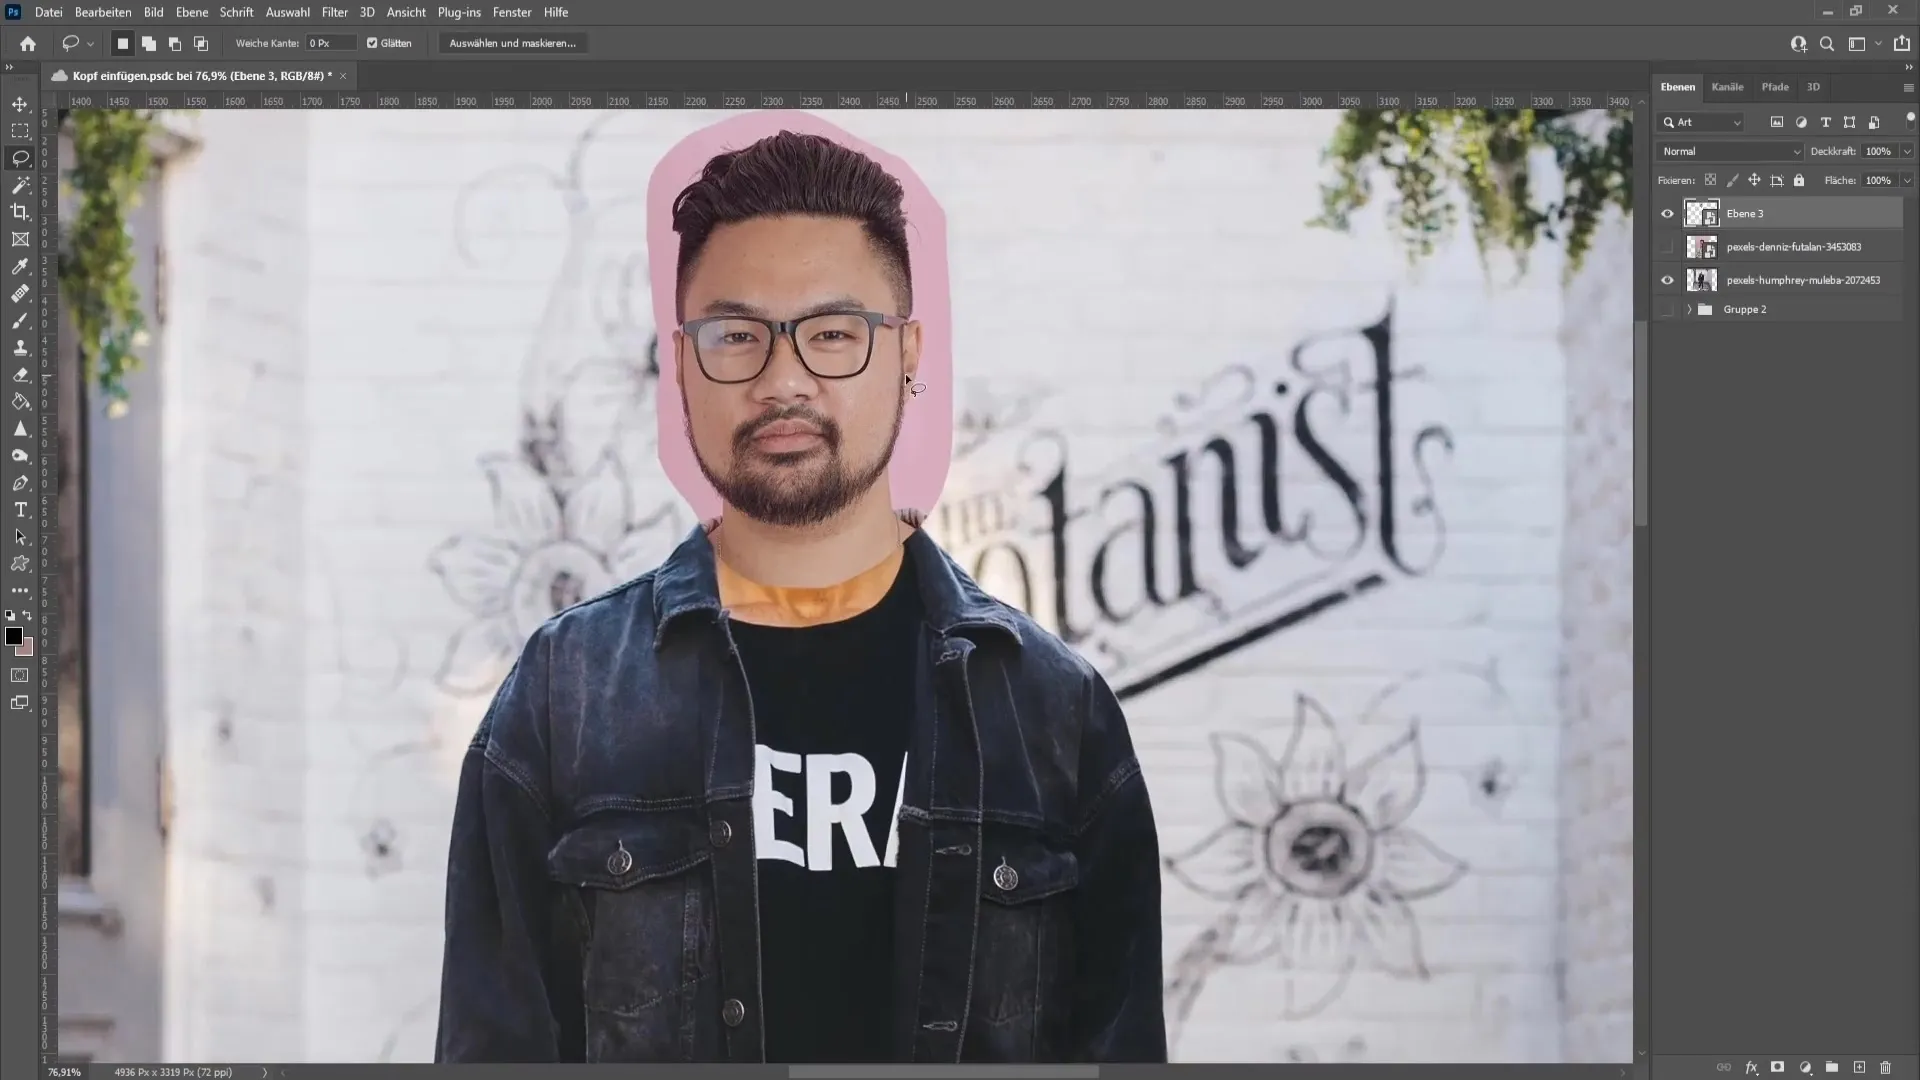
To cut out the head, click on the image layer. Then select the lasso tool. Make a rough selection around the head and part of the neck. Press Ctrl + J to copy the head to a new layer.
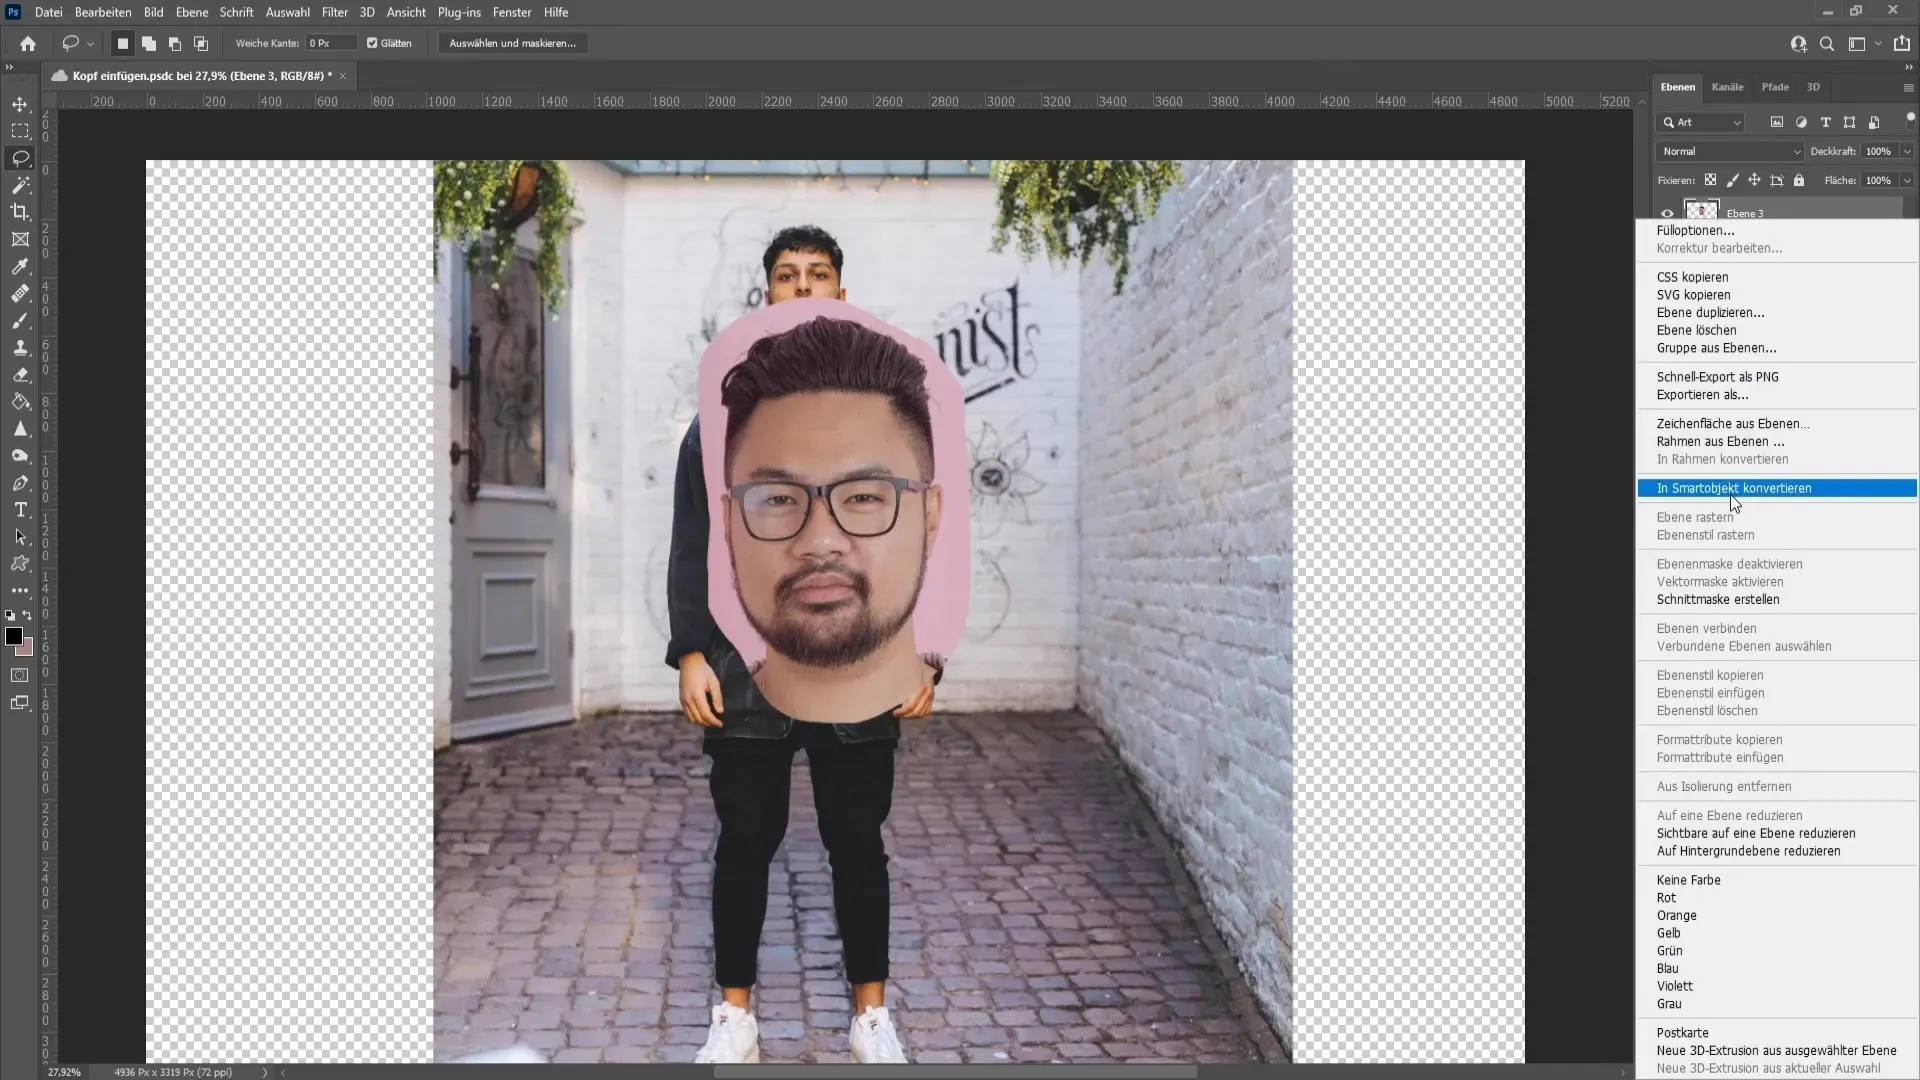
Right-click on the new layer and choose "Convert to Smart Object." This allows you to transform the head without any loss of quality.
Step 3: Scale and Position the Head
Press Ctrl + T to transform the head and adjust the size to match the original head. It doesn't have to be perfect yet, as you can further adjust the position and size later on.
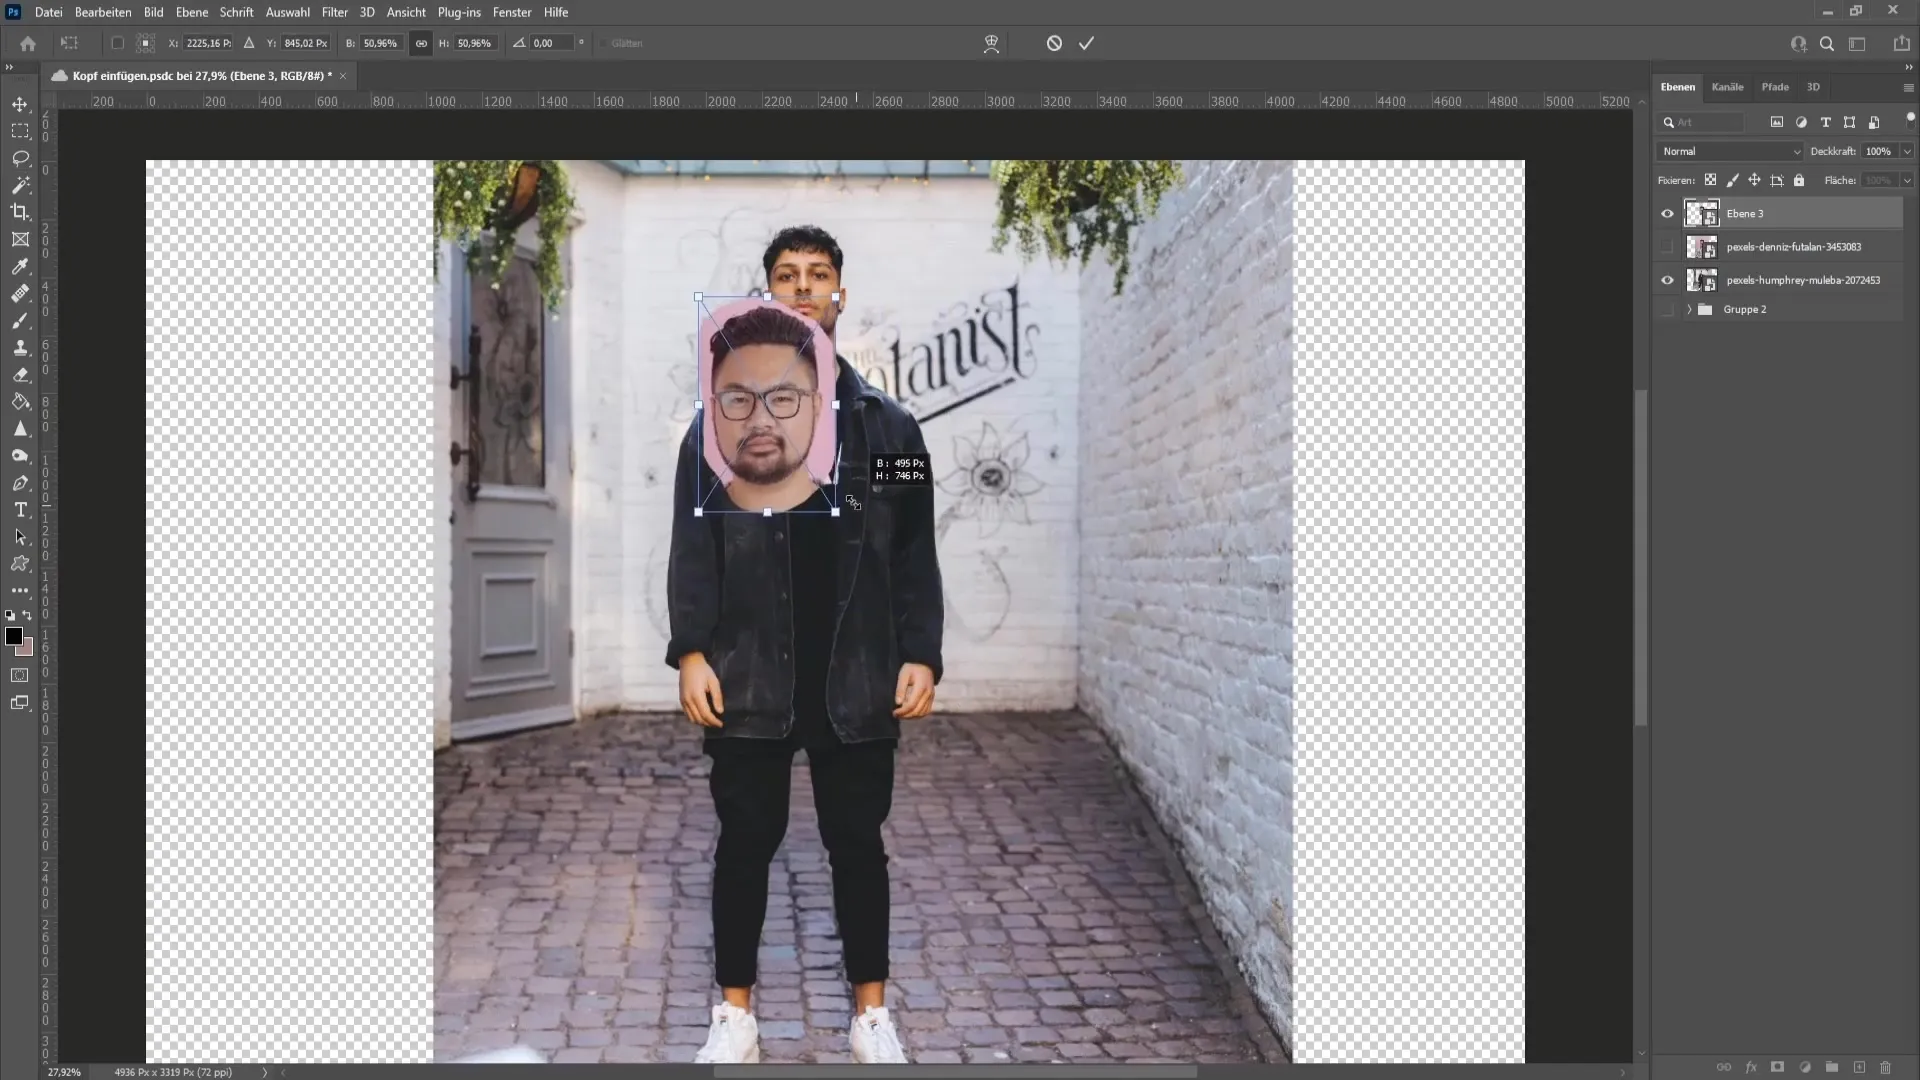
Confirm the transformation by pressing Enter.
Step 4: Copy and Prepare the Body
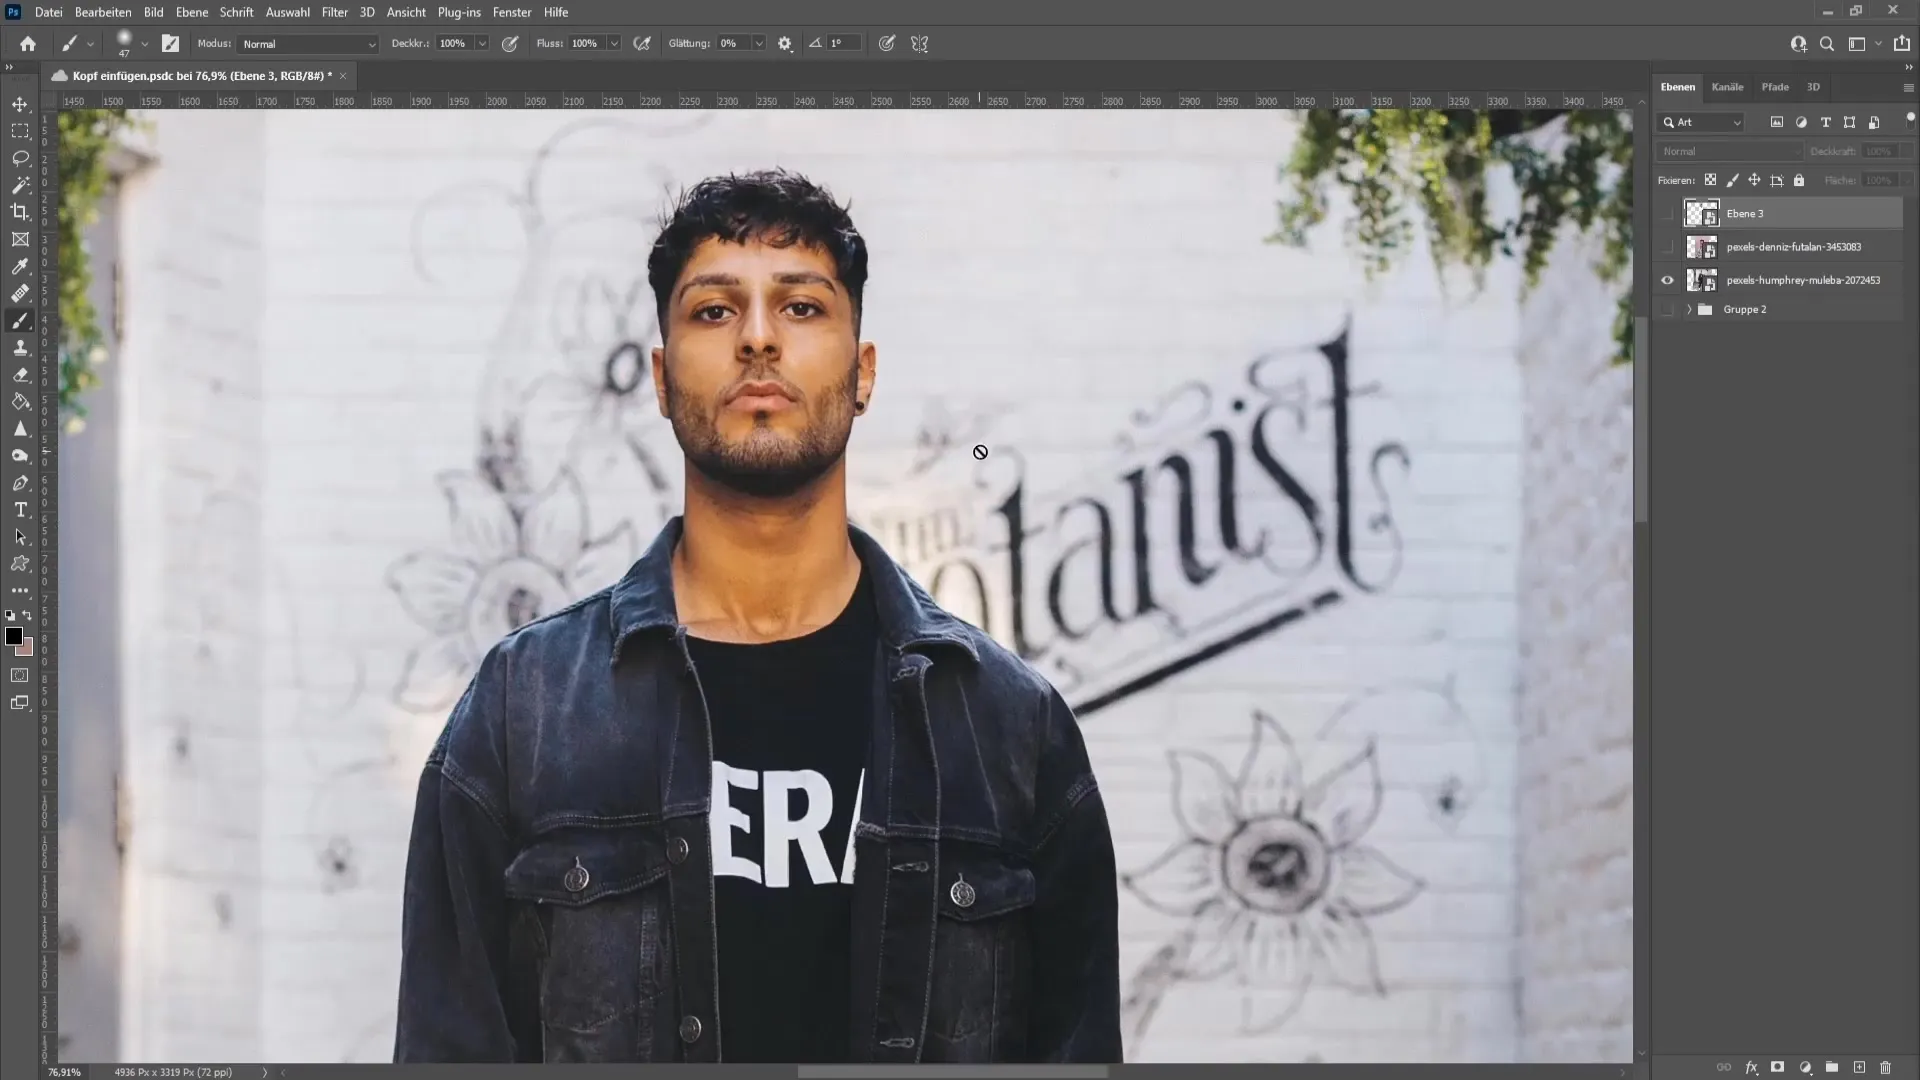
Now select the layer of the body where the head will be inserted. Right-click on it and choose "Rasterize." Use the lasso tool again to roughly go around the old head and click on "Content-Aware Fill" to remove the old head.
Step 5: Create a Layer Mask
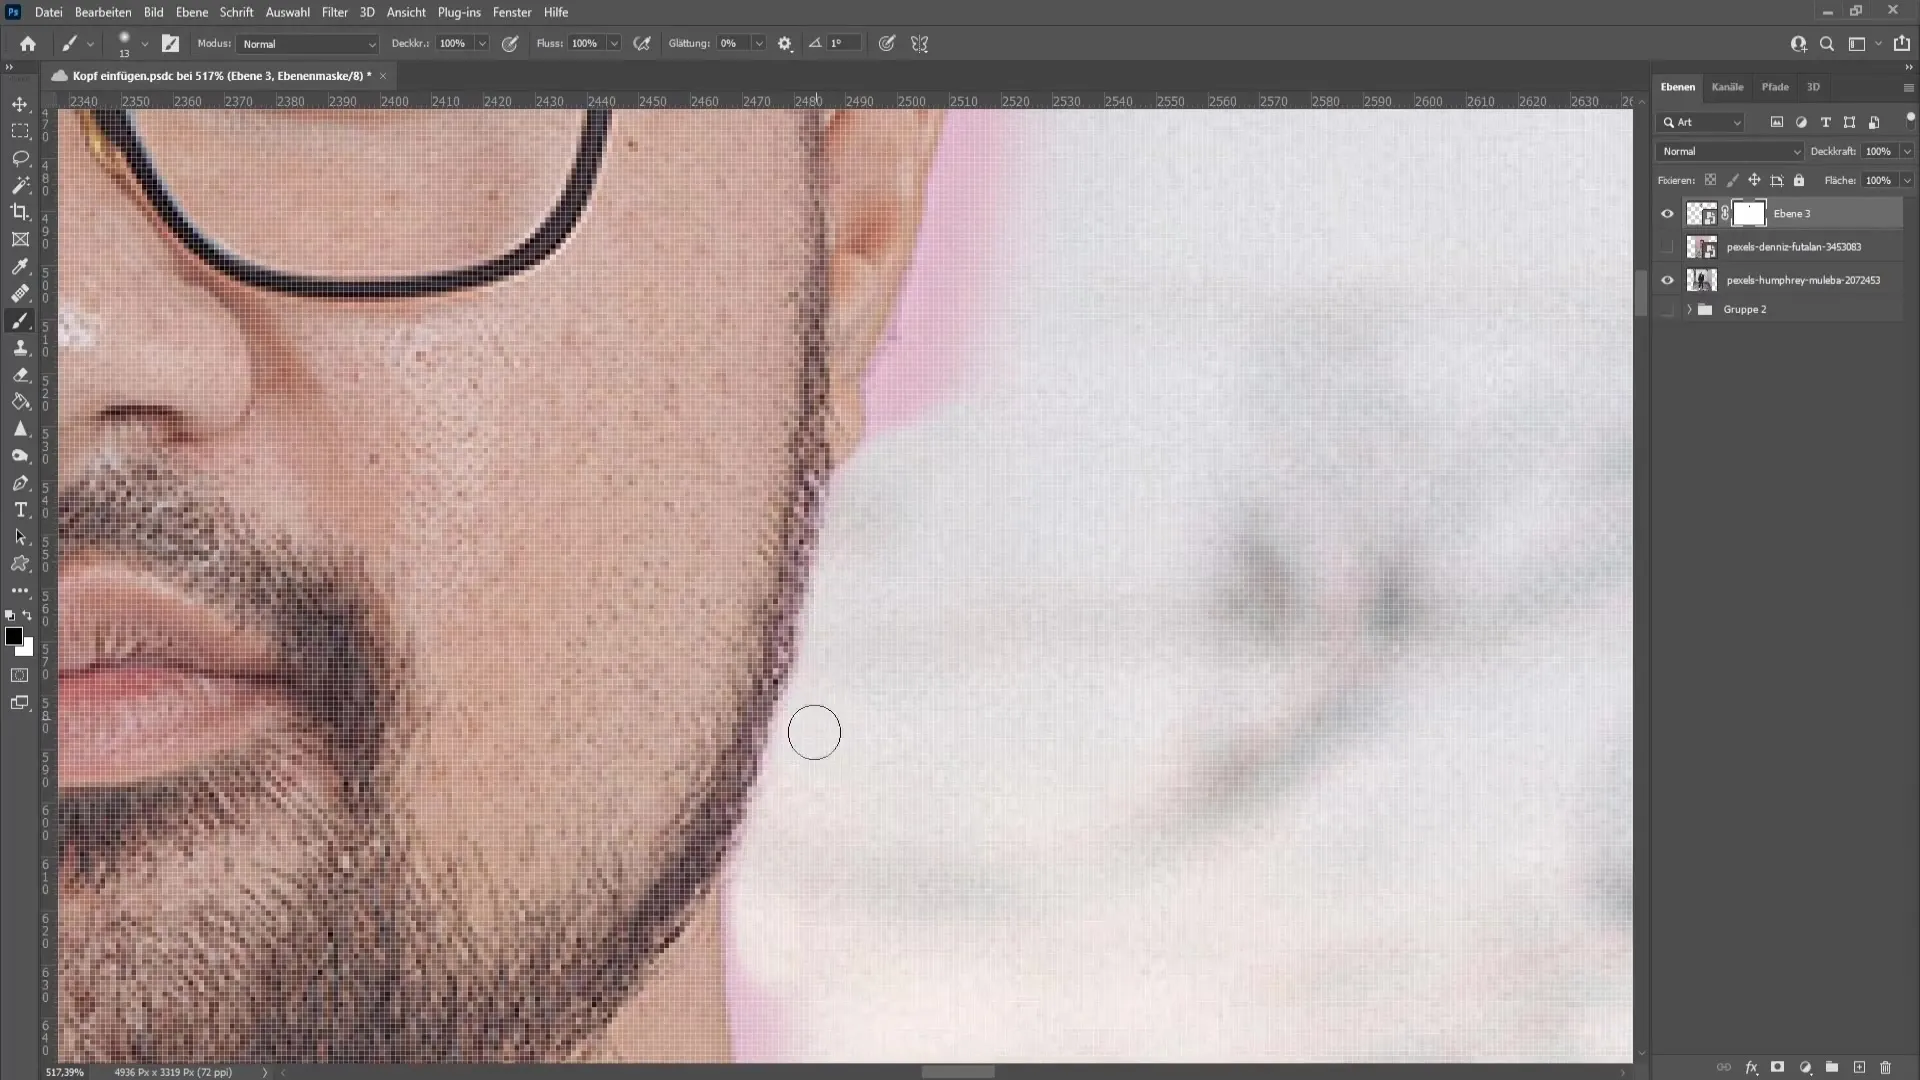
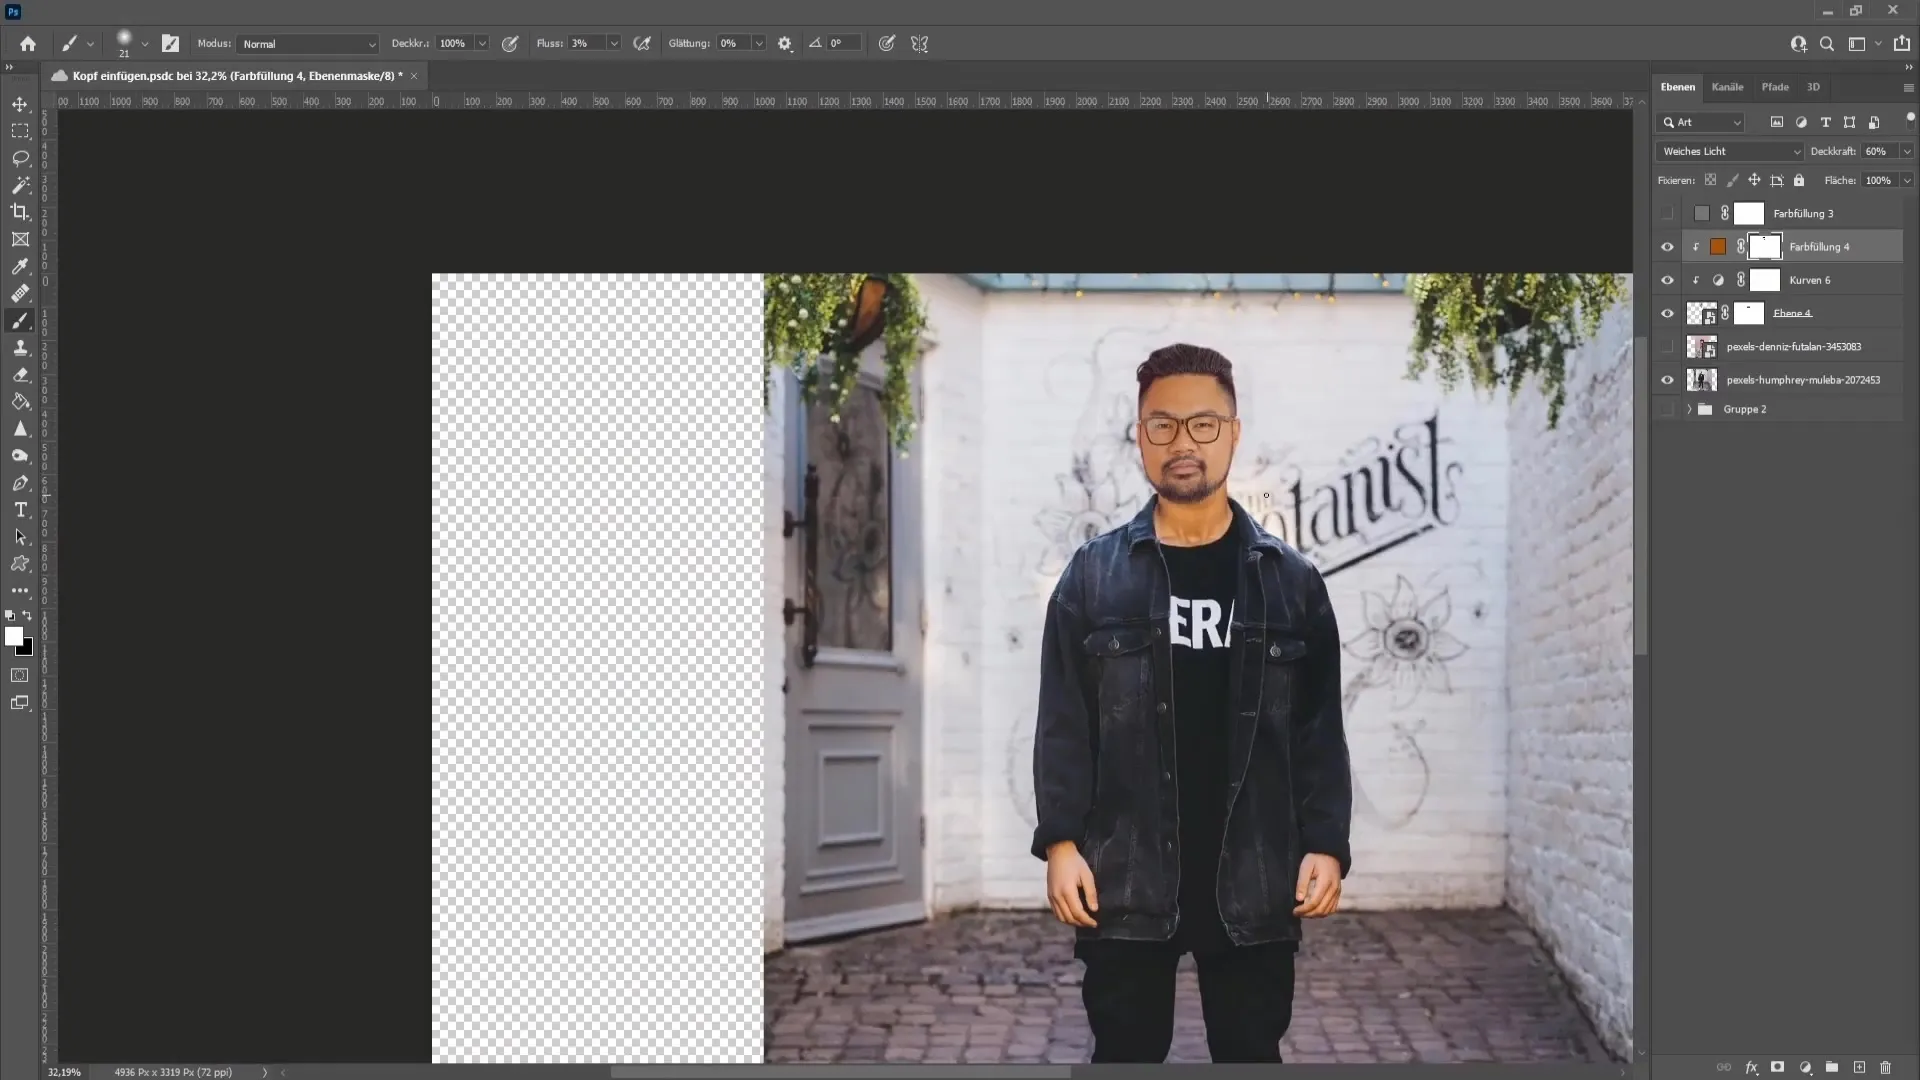
Now create a layer mask. Using a black foreground color and a brush with 0% hardness, cut out the head. If you accidentally remove too much, switch to a white color and paint it back in.
Step 6: Adjust Hair and Color
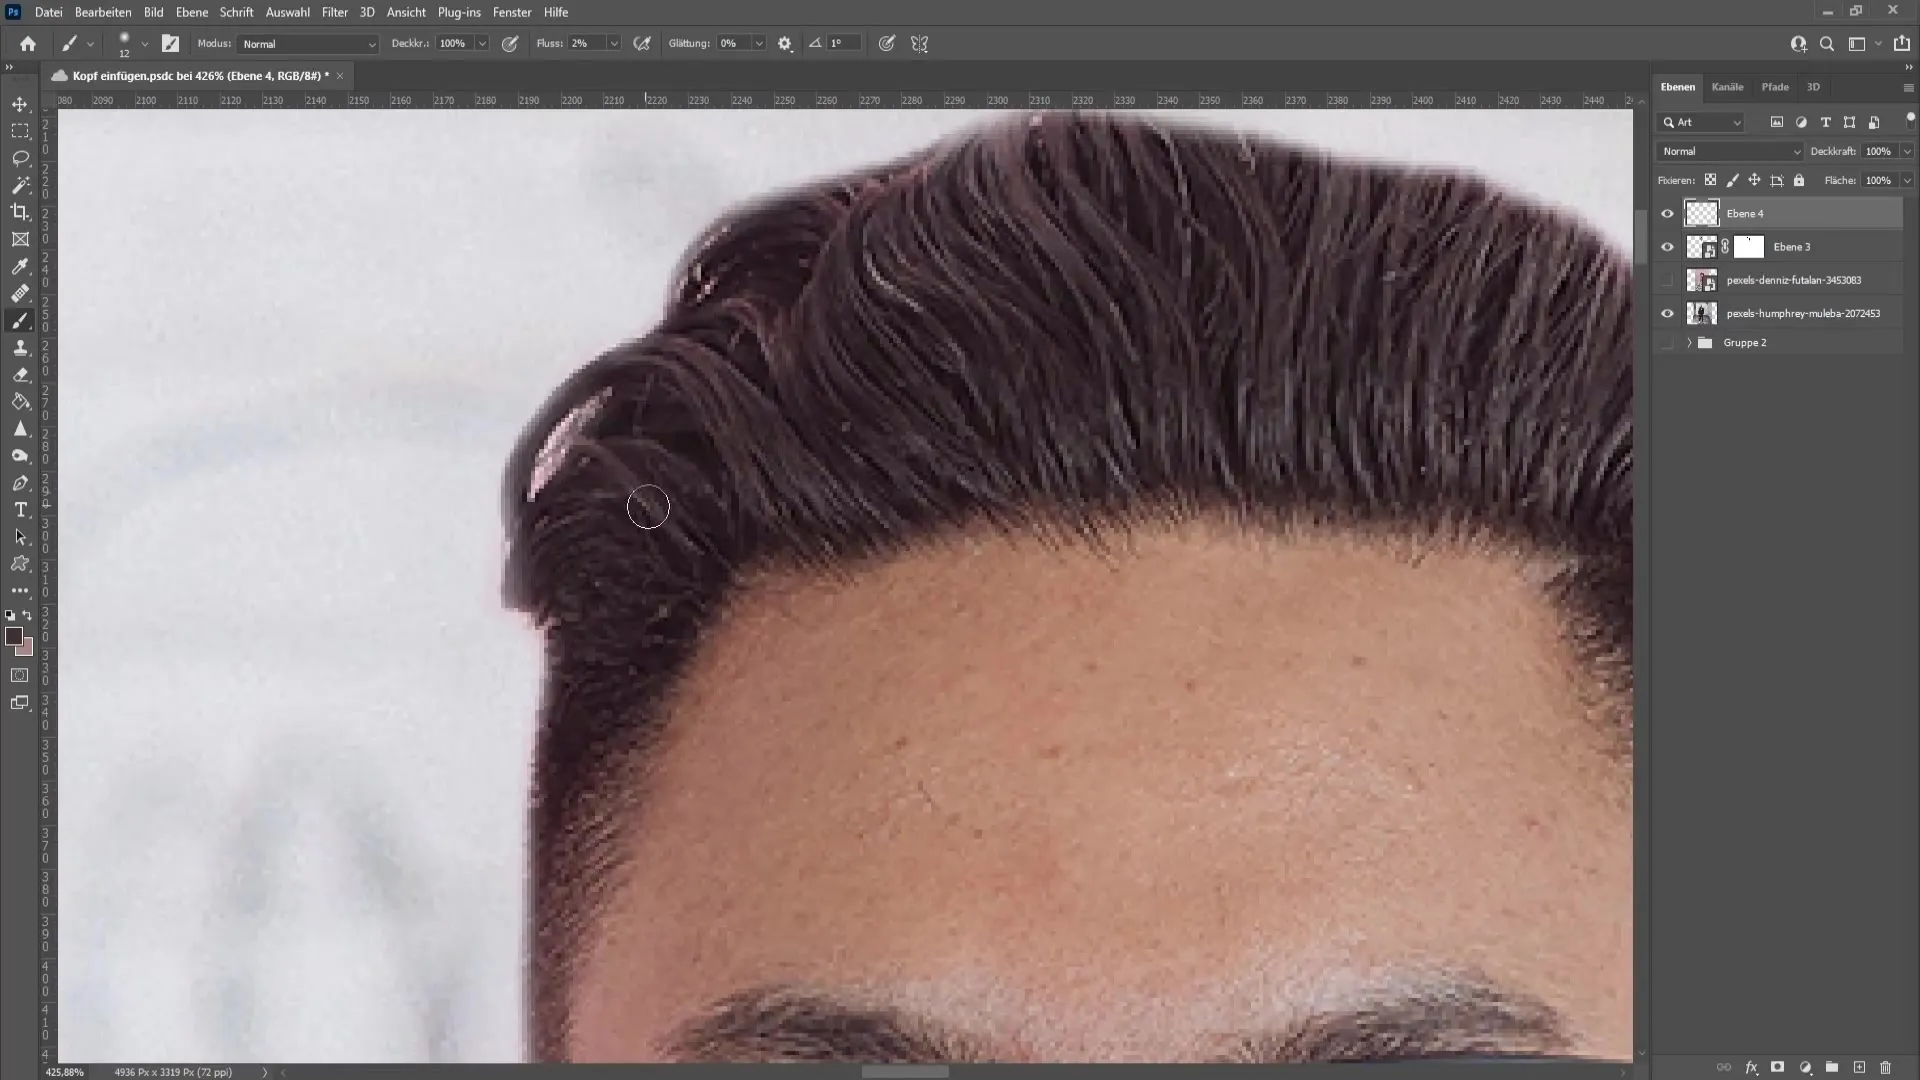
To enhance the hair color, create a new layer. Select a color range from the hair using the Alt key and work with a flow of 2-3% to gently bring back color. Ensure the adjustments are subtle to not distort the overall image.
Step 7: Align Head and Body
Once you are satisfied with the appearance of the head, go back to the mask and work on the transitions between the head and body. Reduce the flow to create smoother transitions.
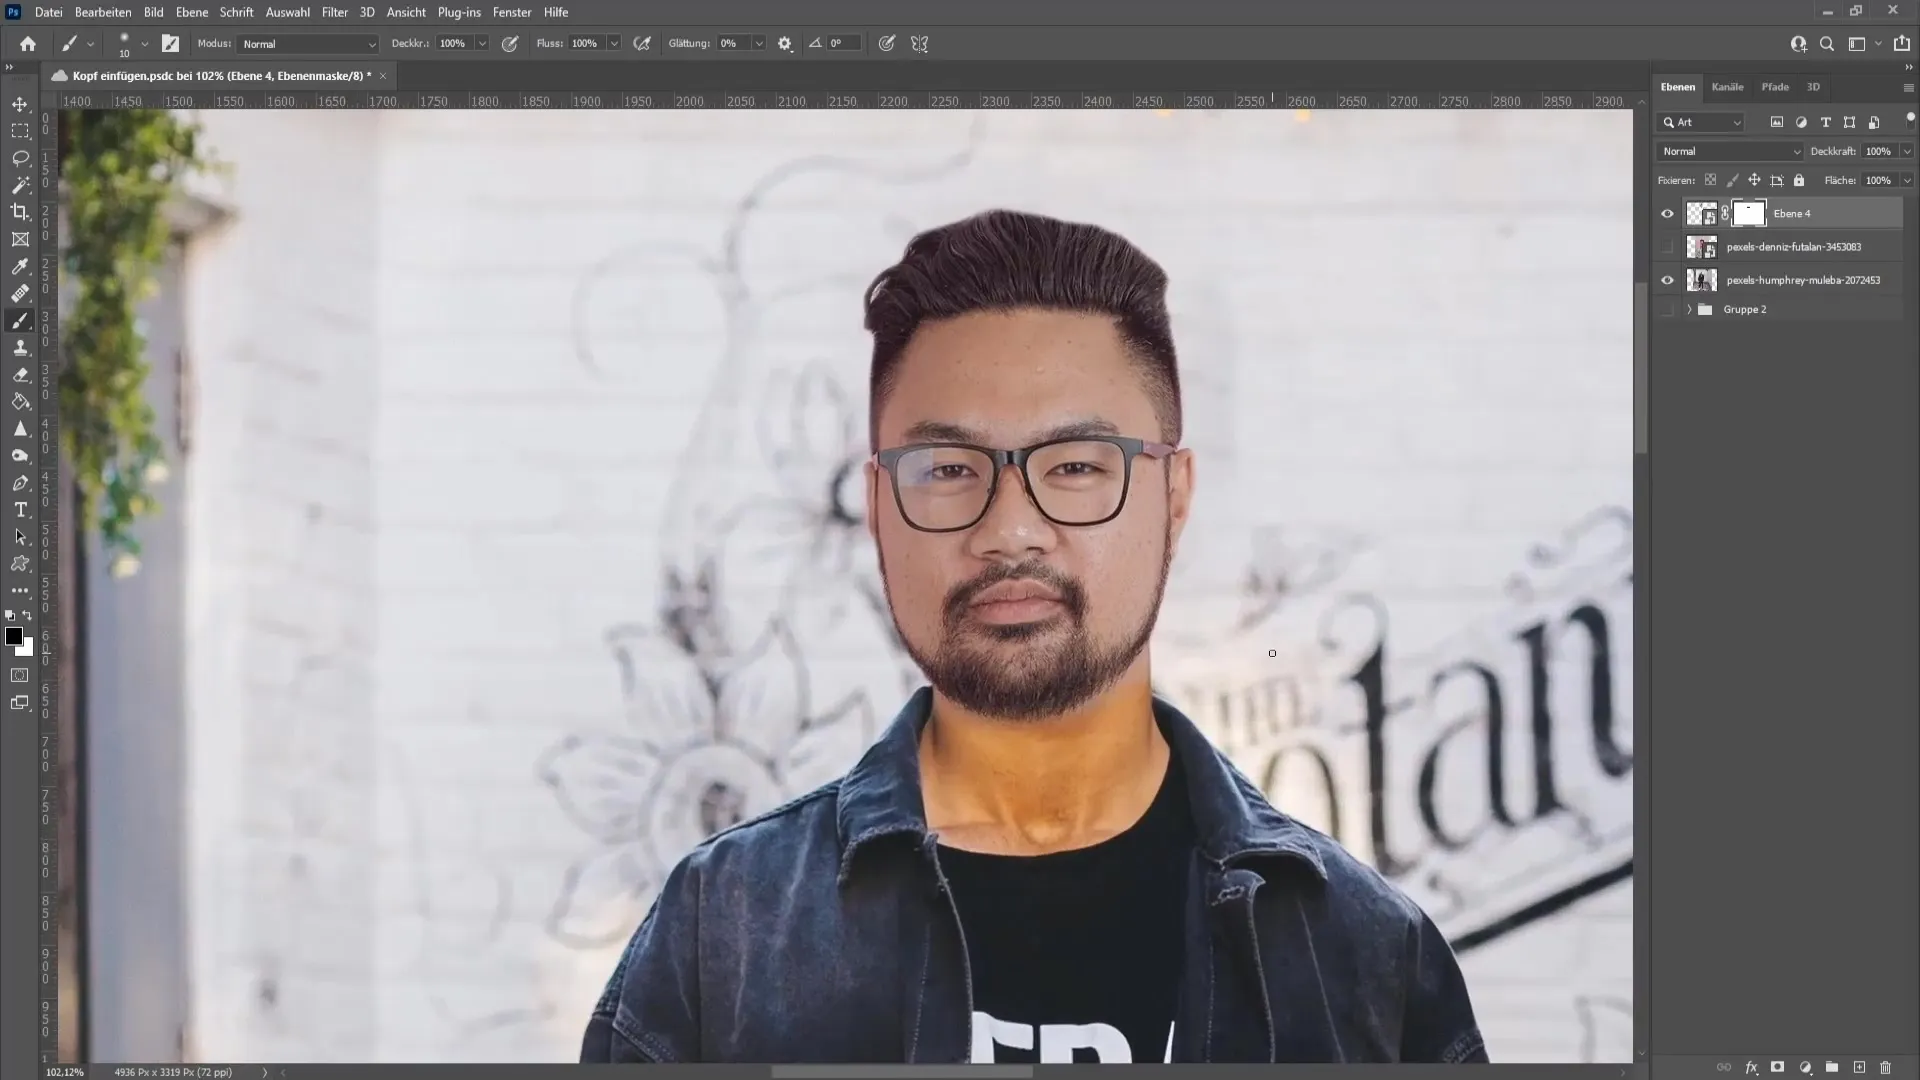
Step 8: Adjusting brightness and color
Open the curves adjustment via the adjustment menu to adjust the brightness of the head. You can apply the change directly to the head layer by creating a clipping mask.
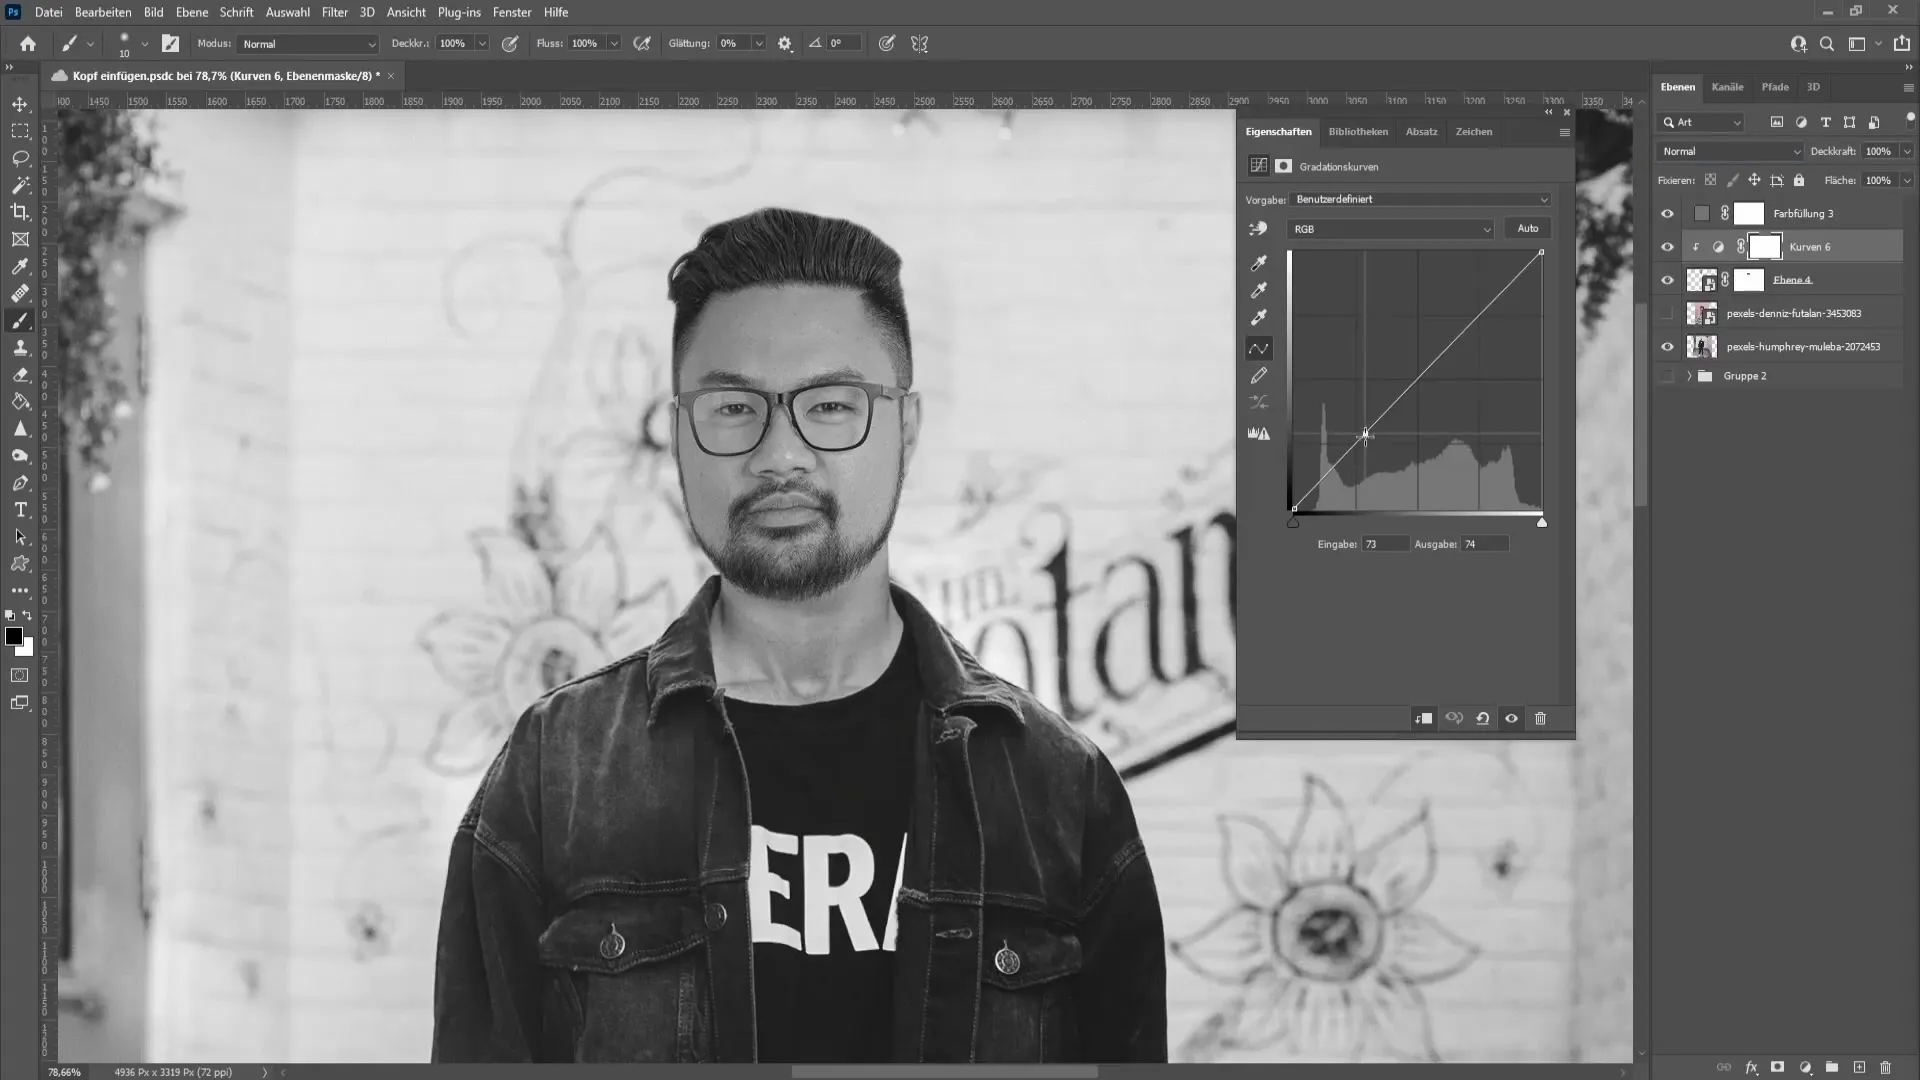
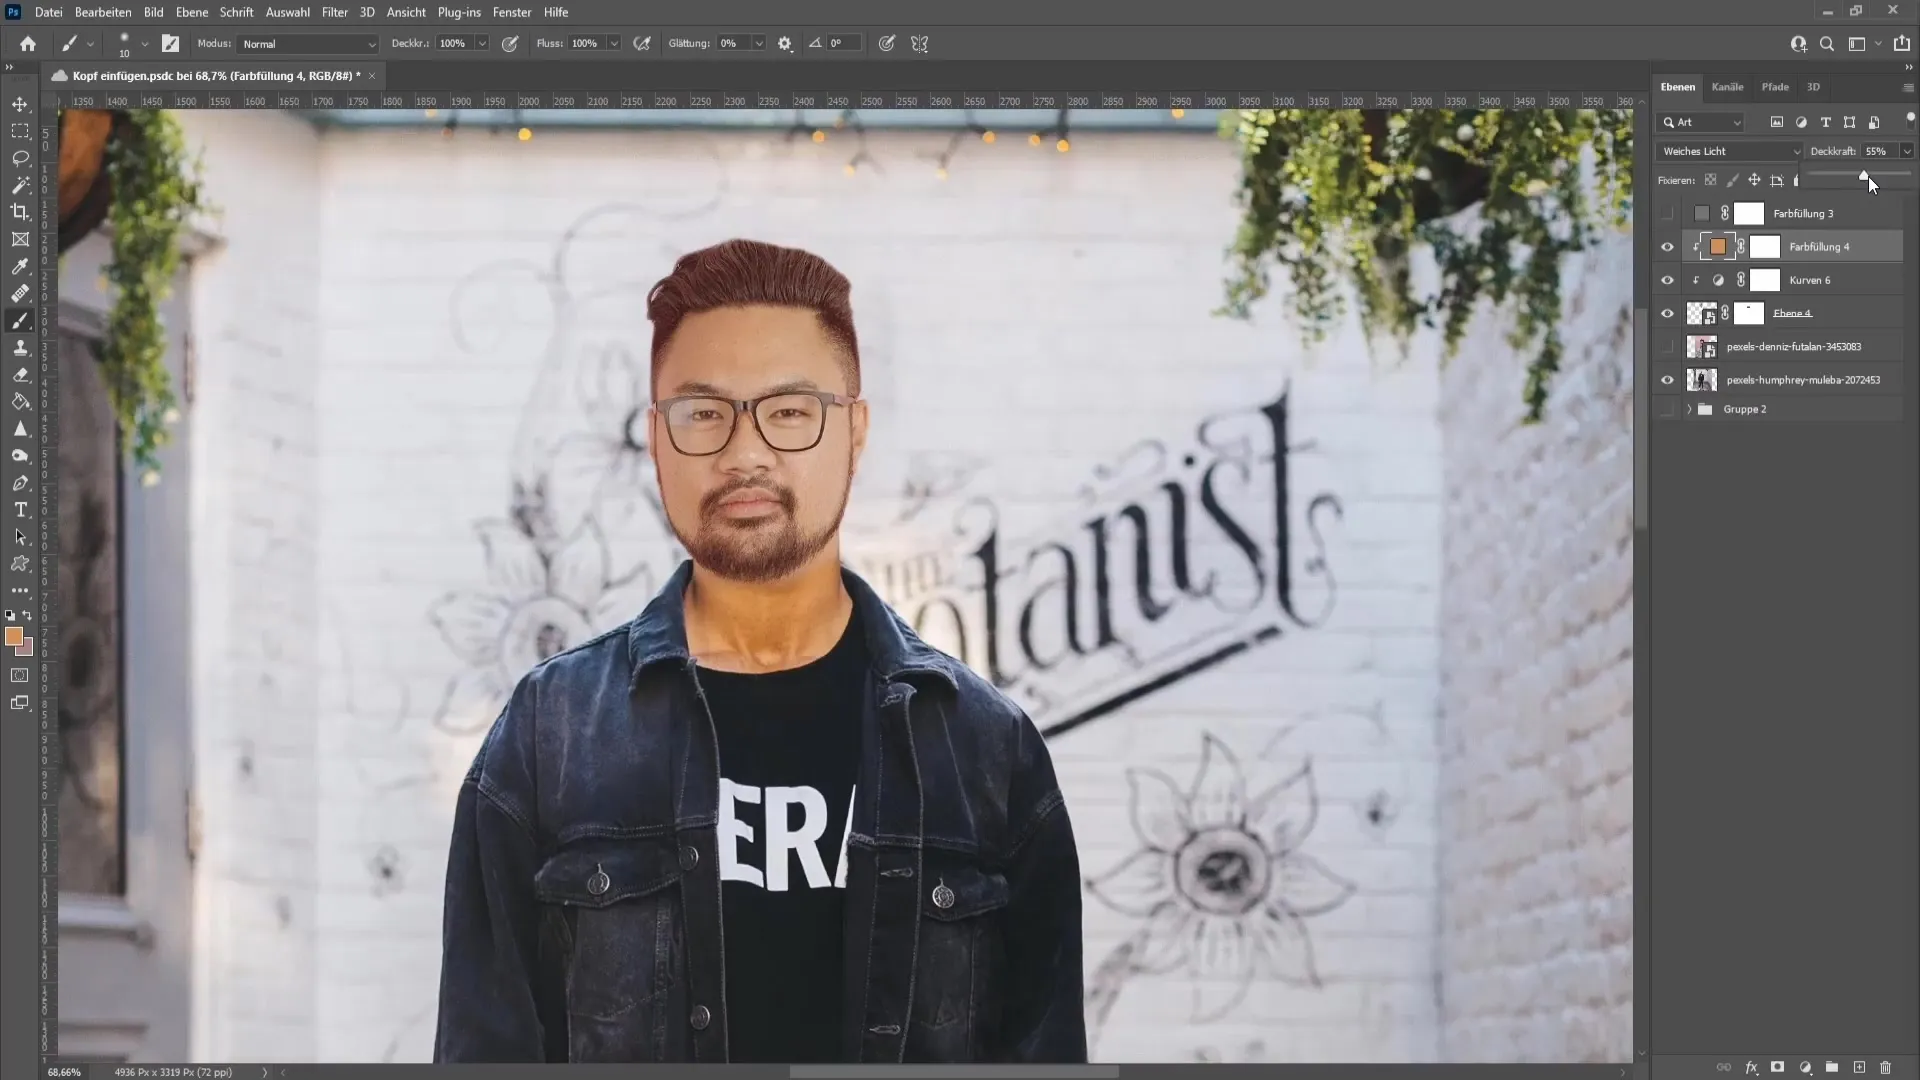
Step 9: Hue adjustments
Create a new color fill, go to "Hue" and choose a color that matches the neck. Set the blend mode to "Soft Light" and adjust the opacity to make the image appear more harmonious.
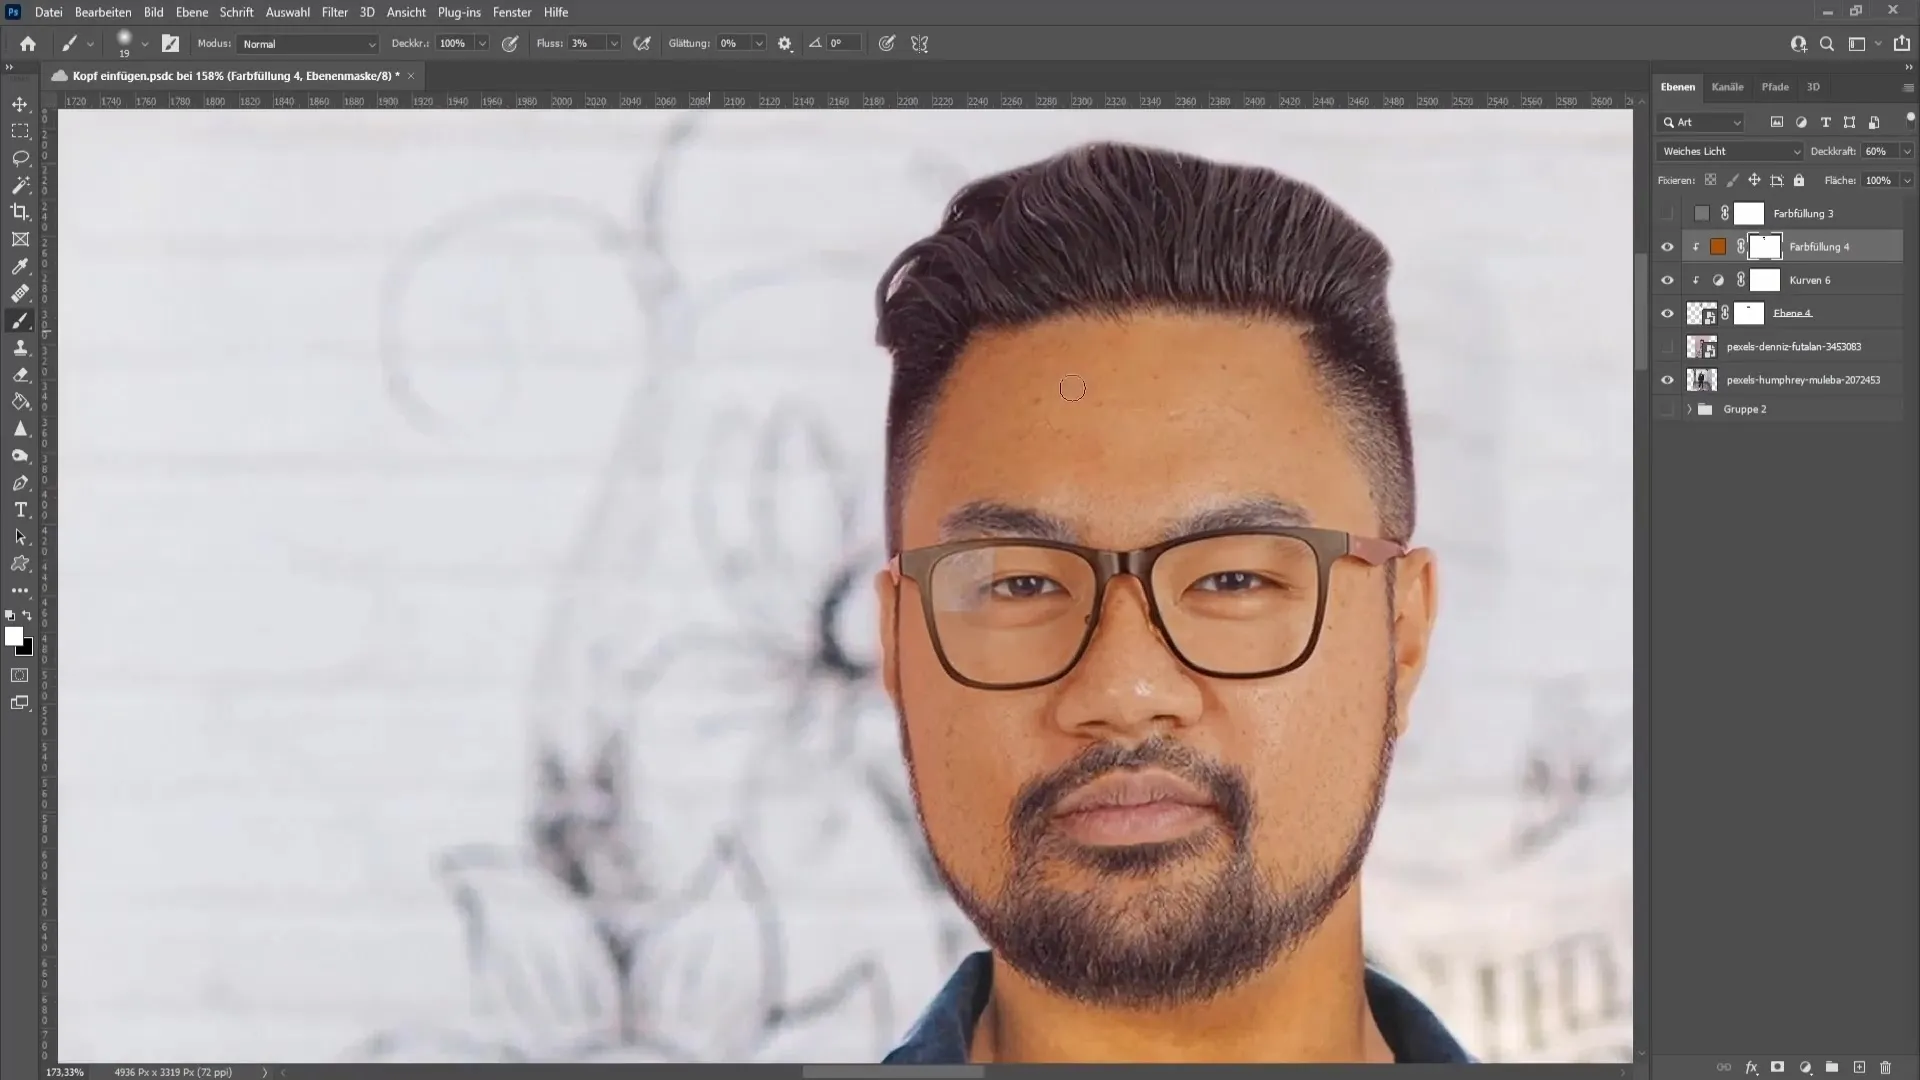
Step 10: Refine details
To make the final adjustments, use the brush tool to refine areas such as hair, eyes, and lips. Additionally, you can work with a lower opacity to make the transitions even smoother.
Summary
In this tutorial, you learned how to replace a head in Photoshop, from selecting the image to cutting it out and adjusting color and brightness. With the right techniques and a keen eye for detail, you can achieve an impressive result.
Frequently Asked Questions
What do I need to replace a head in Photoshop?You need Adobe Photoshop and images from which you want to replace a head.
How important are the lighting conditions?The lighting conditions are crucial to achieving a realistic result. Make sure that light and shadows are similar.
Can I use the technique for other body parts as well?Yes, the method can generally be applied to other body parts, but it may require additional adjustments.
How can I improve the quality of the end result?Pay attention to fine details, work with layer masks, and use color adjustments to create a harmonious overall image.


