In this guide, I'll show you step by step how you can edit a portrait in Photoshop in a way that the depicted person looks years younger. This technique can be particularly useful if you want to retouch old photos or simply enhance the facial image of a model. We will use various tools and filters to achieve a convincing result.
Main Takeaways
- Use the smart filter to be able to edit the image afterwards.
- Use the brush with adjusted hardness for smooth transitions.
- The clone stamp is helpful for adjusting colors and textures evenly.
- You can easily fix minor errors in the image with repair tools.
Step-by-Step Guide
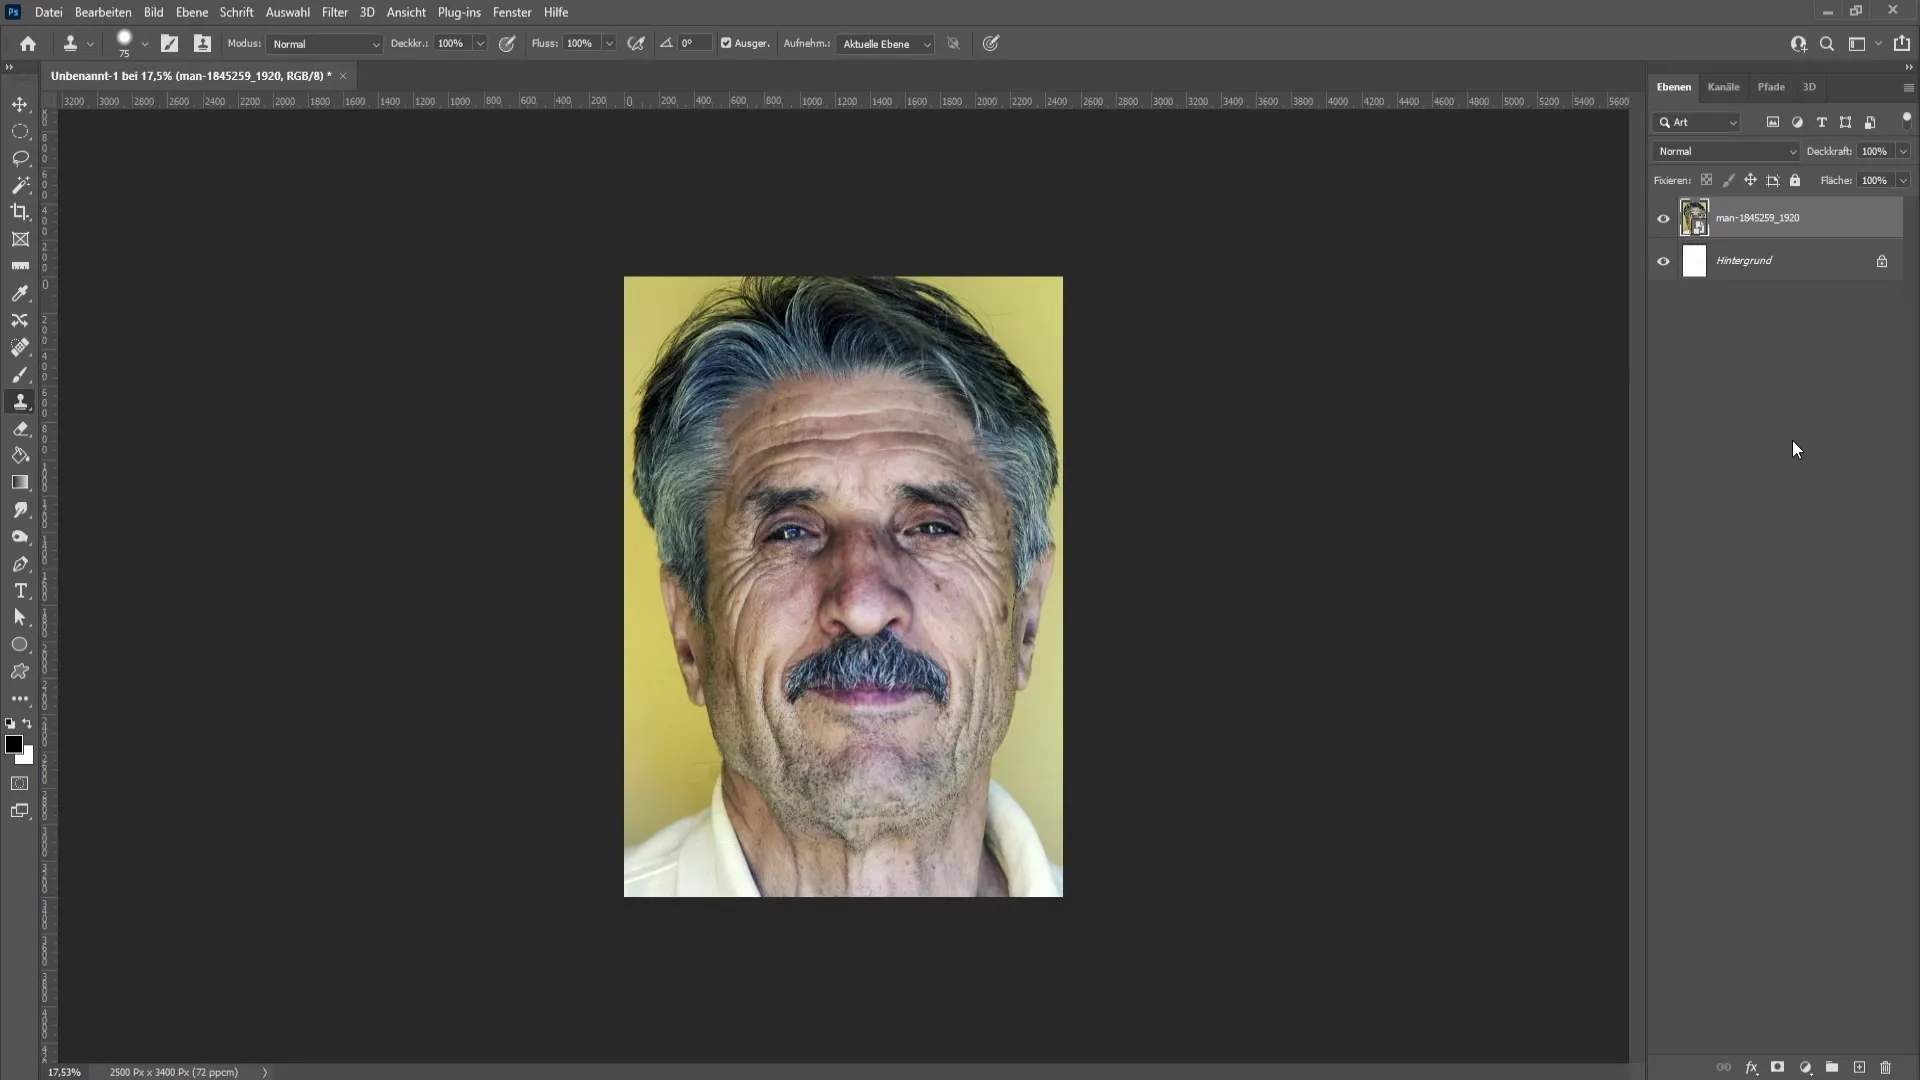
First, open your image in Photoshop. Make sure you are using the correct adjustment layer to avoid making irreversible changes.

To make the image more flexible, I recommend converting the layer to a "Smart Object." You can do this by right-clicking on the layer and selecting "Convert to Smart Object." Alternatively, you can also check this through the interface in the lower right corner.

A Smart Object allows you to edit and adjust filters at any time. Typically, when you import an image, it is already converted to a Smart Object, so you don't need to take any additional steps.
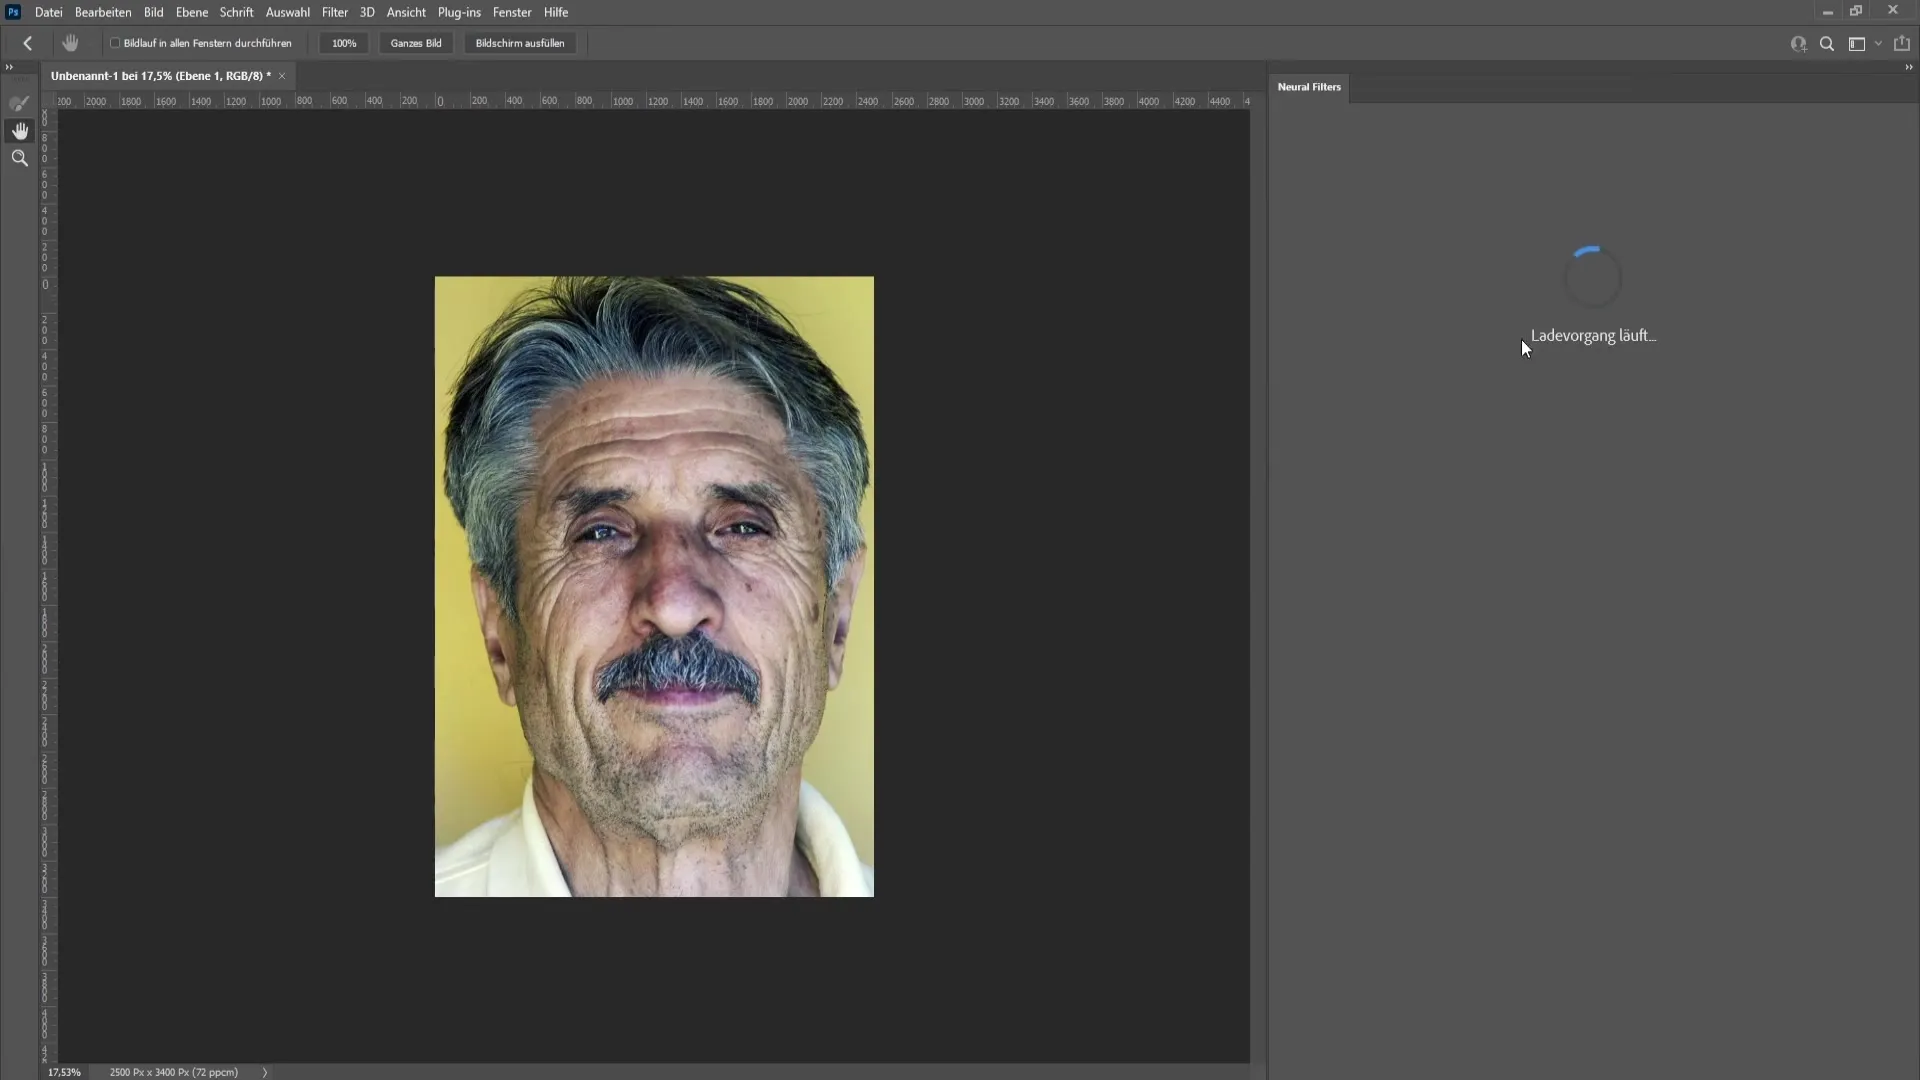
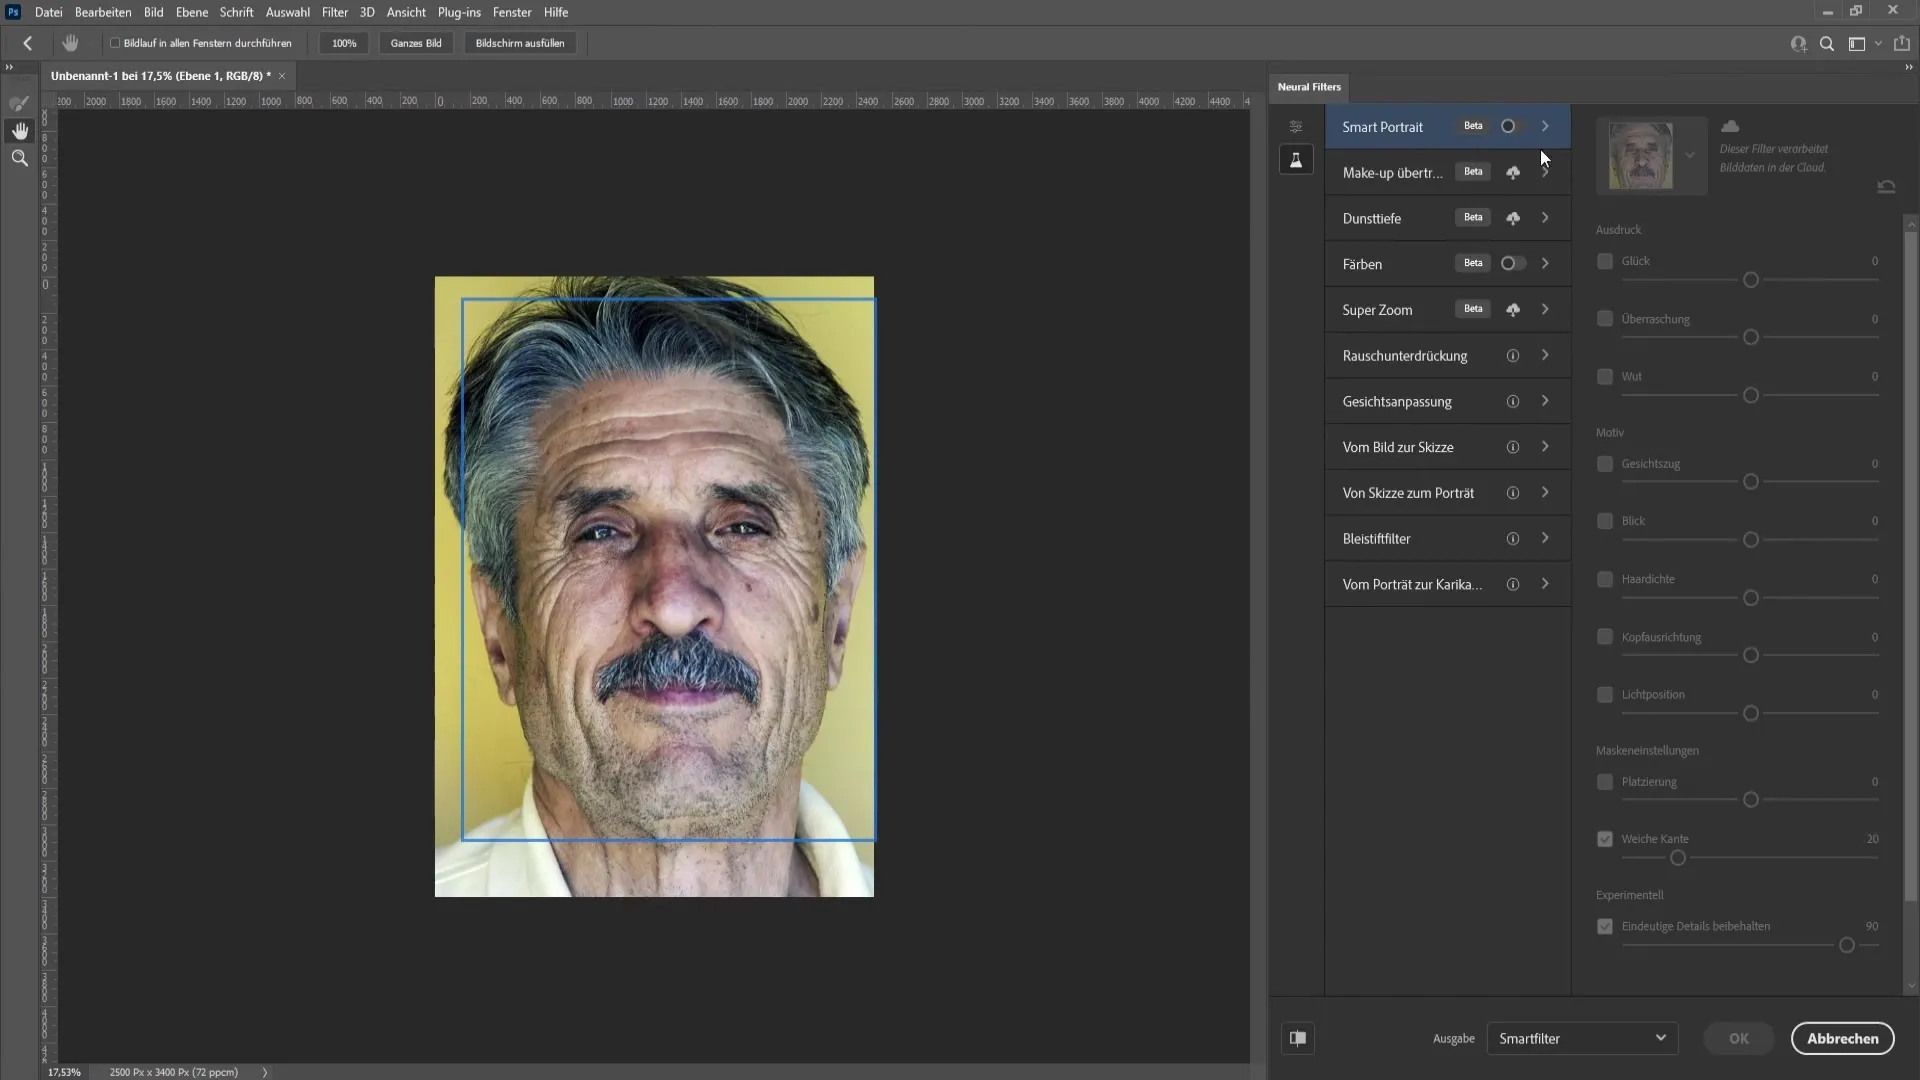
Now the actual rejuvenation process begins. Go to "Filter" and choose "Neural Filters." A new window will open where you will see various filter options. Choose "Smart Portrait" and download the filter pack if you haven't done so already. Simply click on the cloud icon to start the download.
Once the download is complete, activate the filter. Under "Subject," you will find the slider for "Facial Features." Move this slider all the way to the left to make the person appear younger. Photoshop will calculate for a short while. This process typically only takes a few seconds.
When you see the result, you will notice that the person now looks significantly younger - perhaps around 20 years younger. Click "OK" to apply the changes. If you zoom into the image, you may still see some impurities that we will now work on refining.
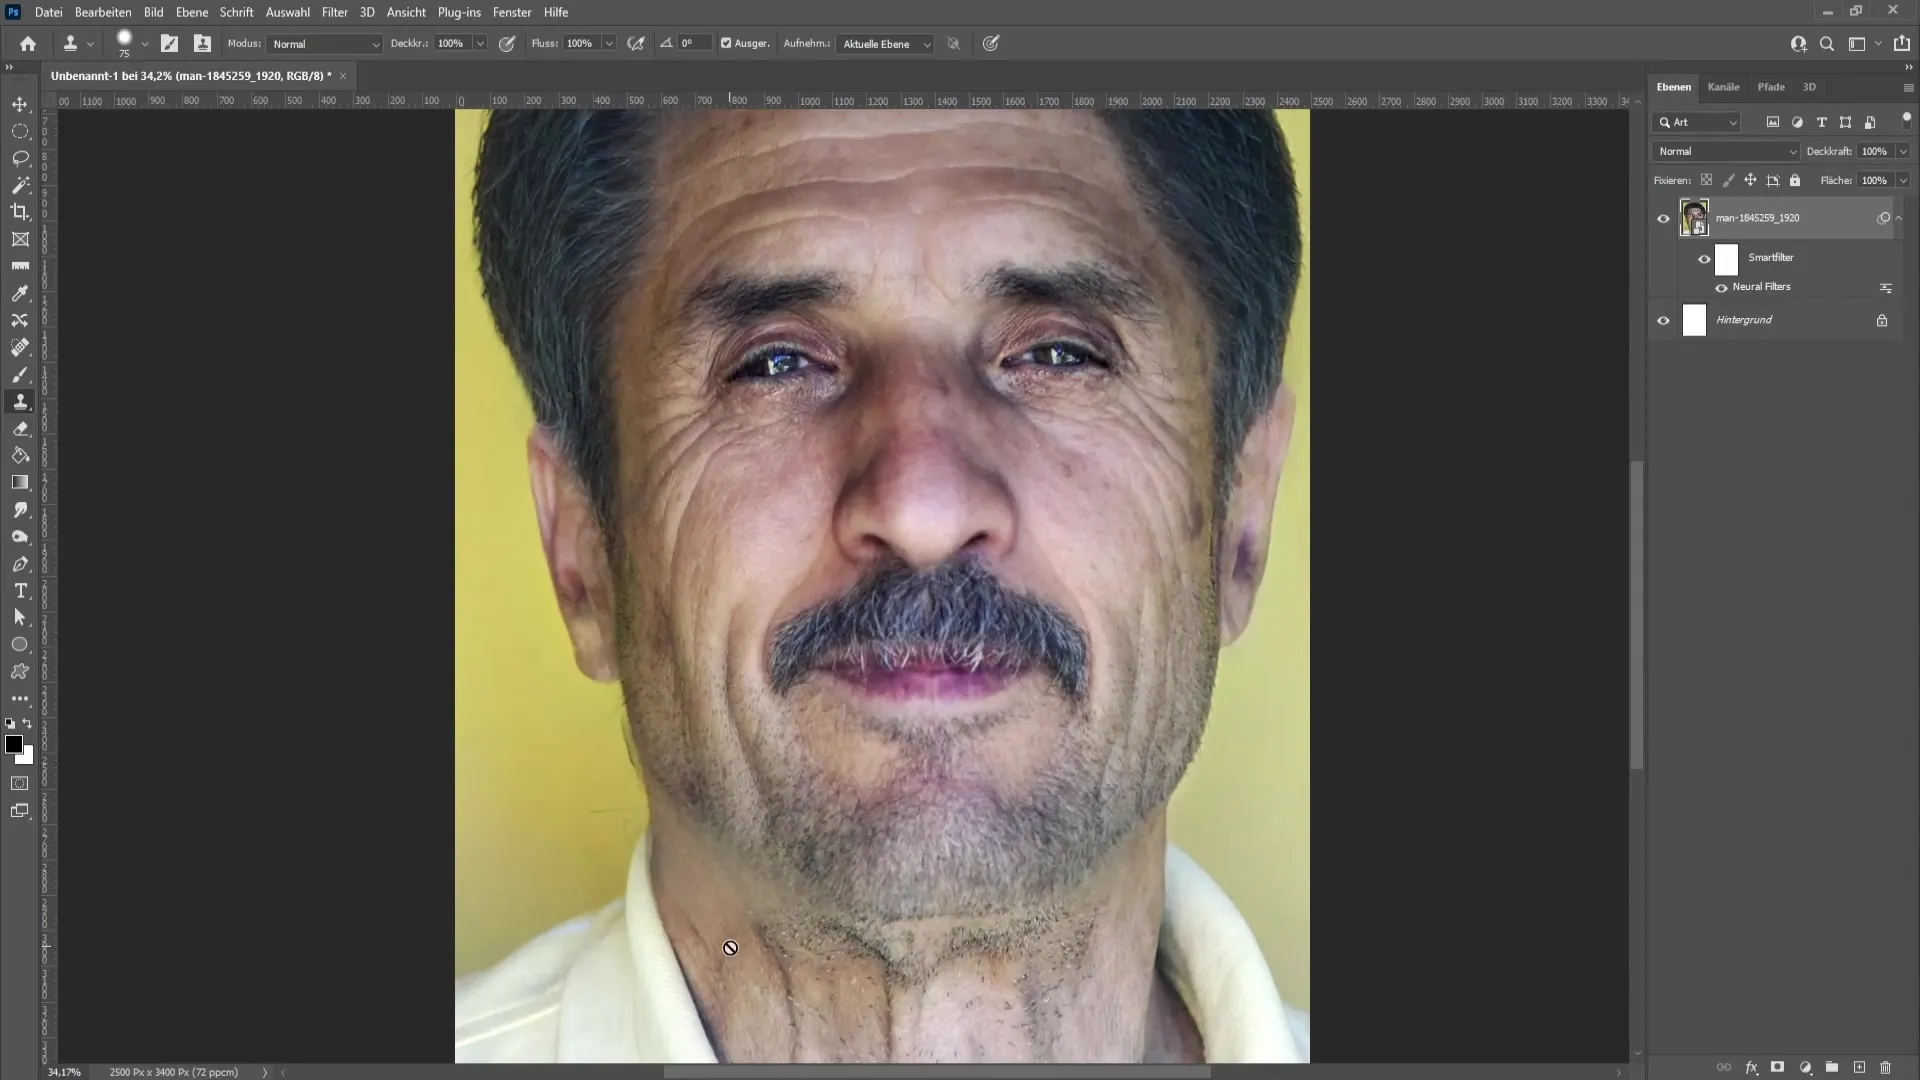
To do this, we will use the already activated mask of the smart filter. Choose a black color and switch to the brush tool. Set the brush hardness to 0% so that you can achieve soft transitions. You will see that the transitions blend smoothly into the image.
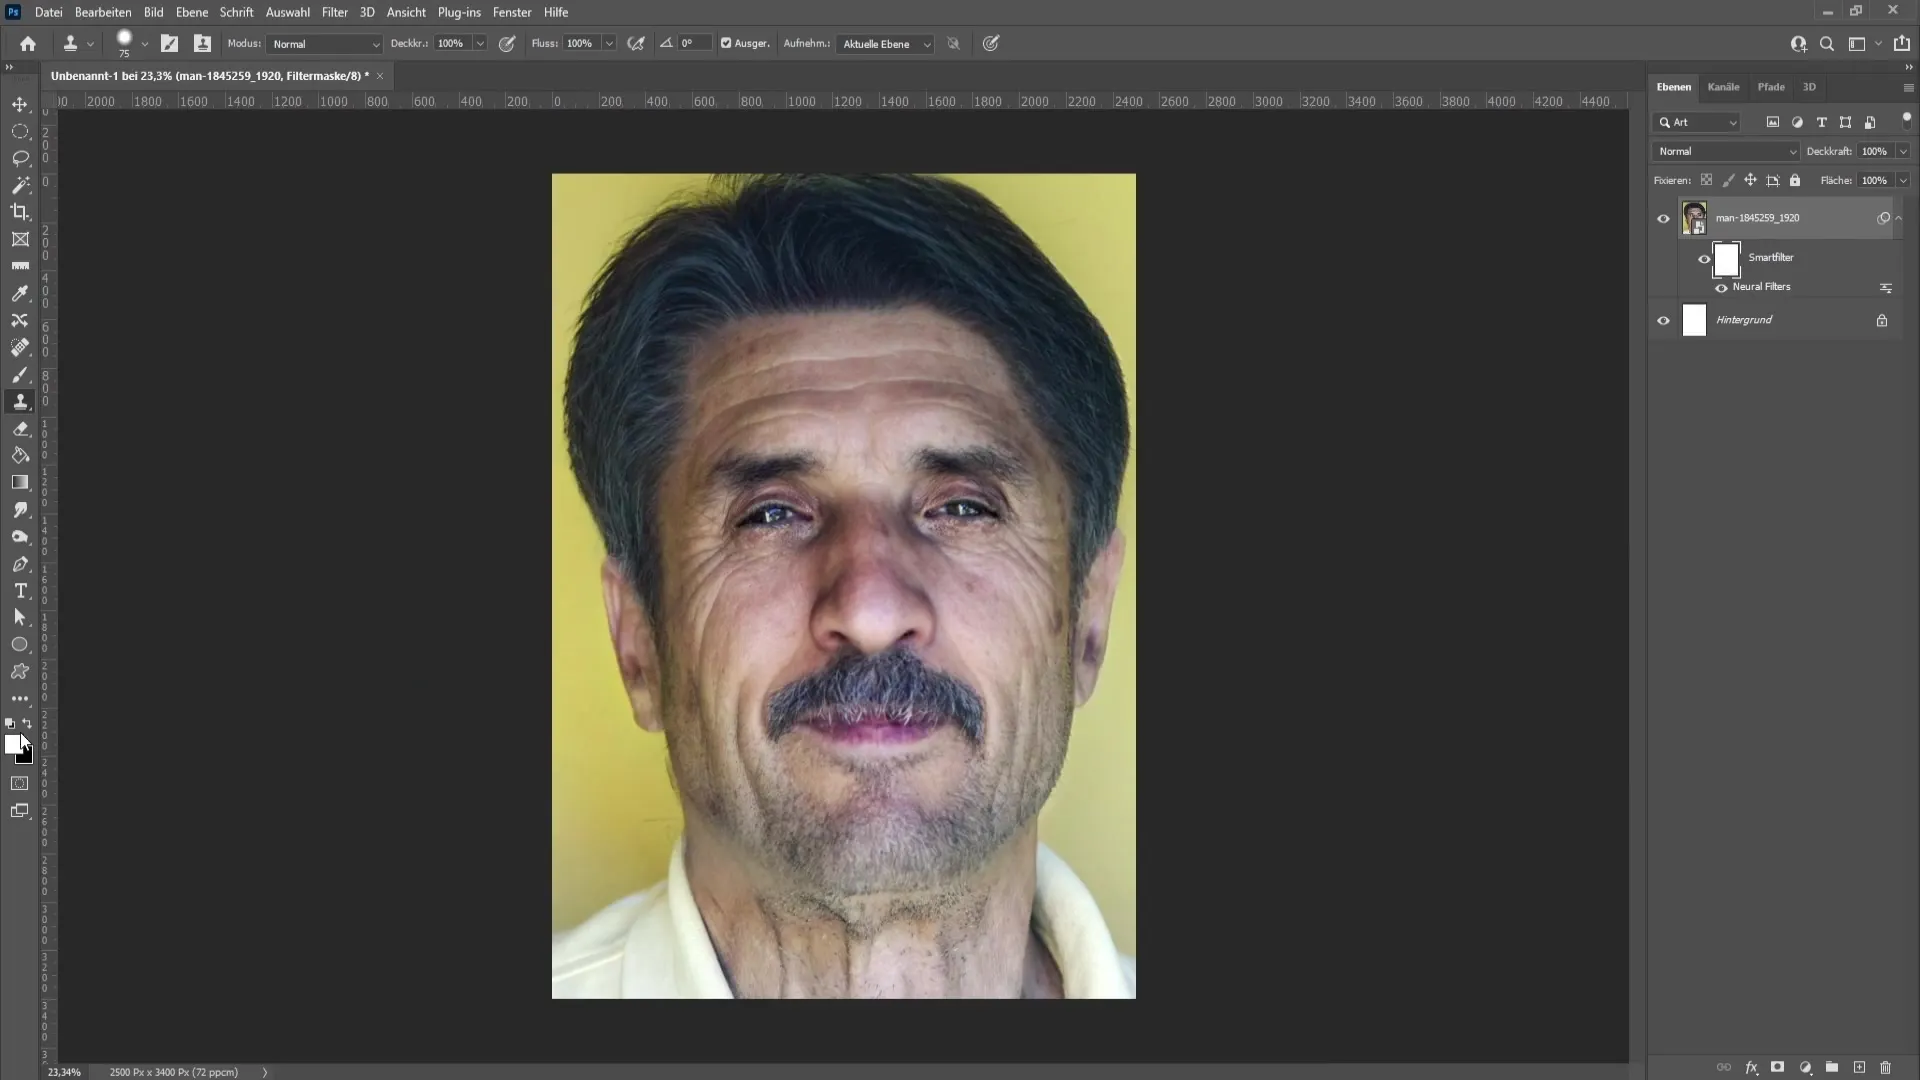
Start brushing over the areas where you want to minimize unwanted effects. The result looks unnatural with a brush hardness of 100%, so keep the hardness low to allow for softer transitions.
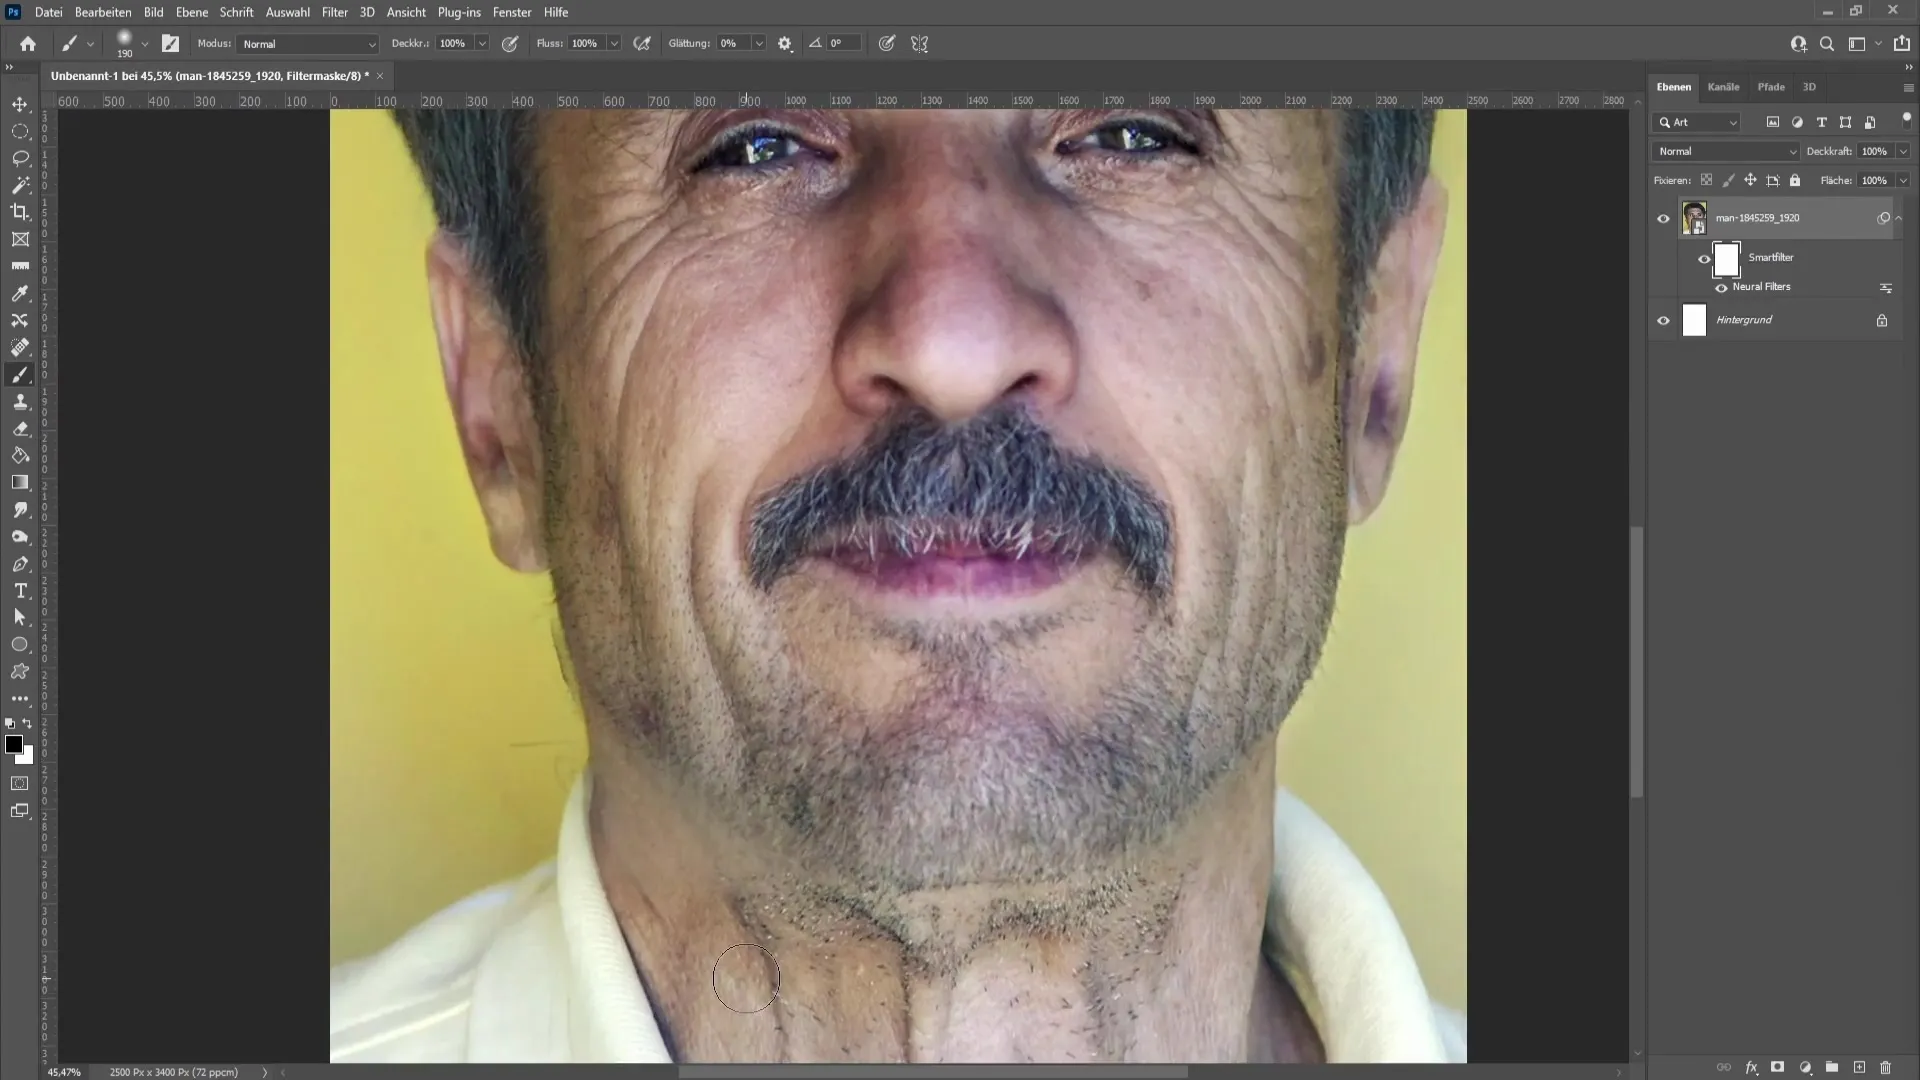
If you continue like this until the transitions are completely blended, you will achieve a visibly minor difference. Be sure to also carefully edit the edges. At this point, it is important to be patient and work step by step.
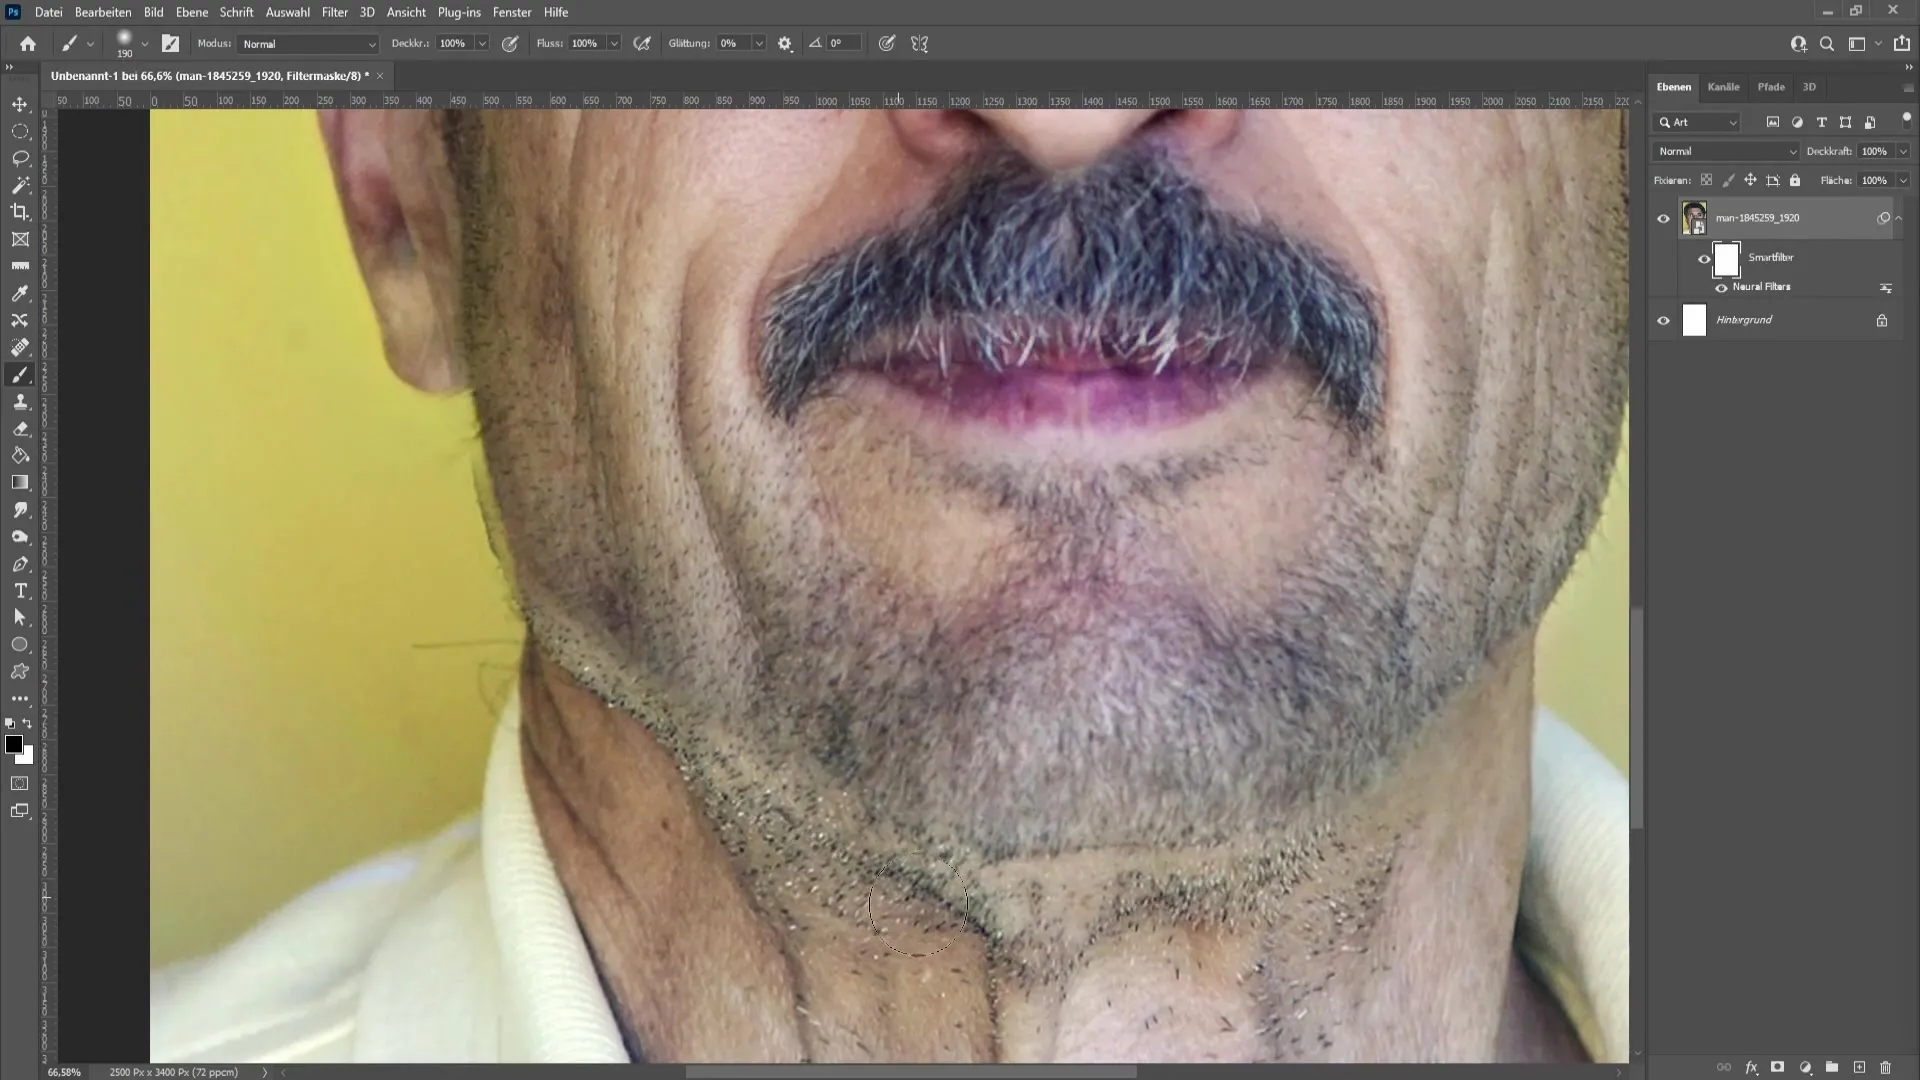
Next, we need to adjust the colors of the image. We rasterize the layer by right-clicking on it and selecting "Rasterize Layer." This allows us to make further adjustments.
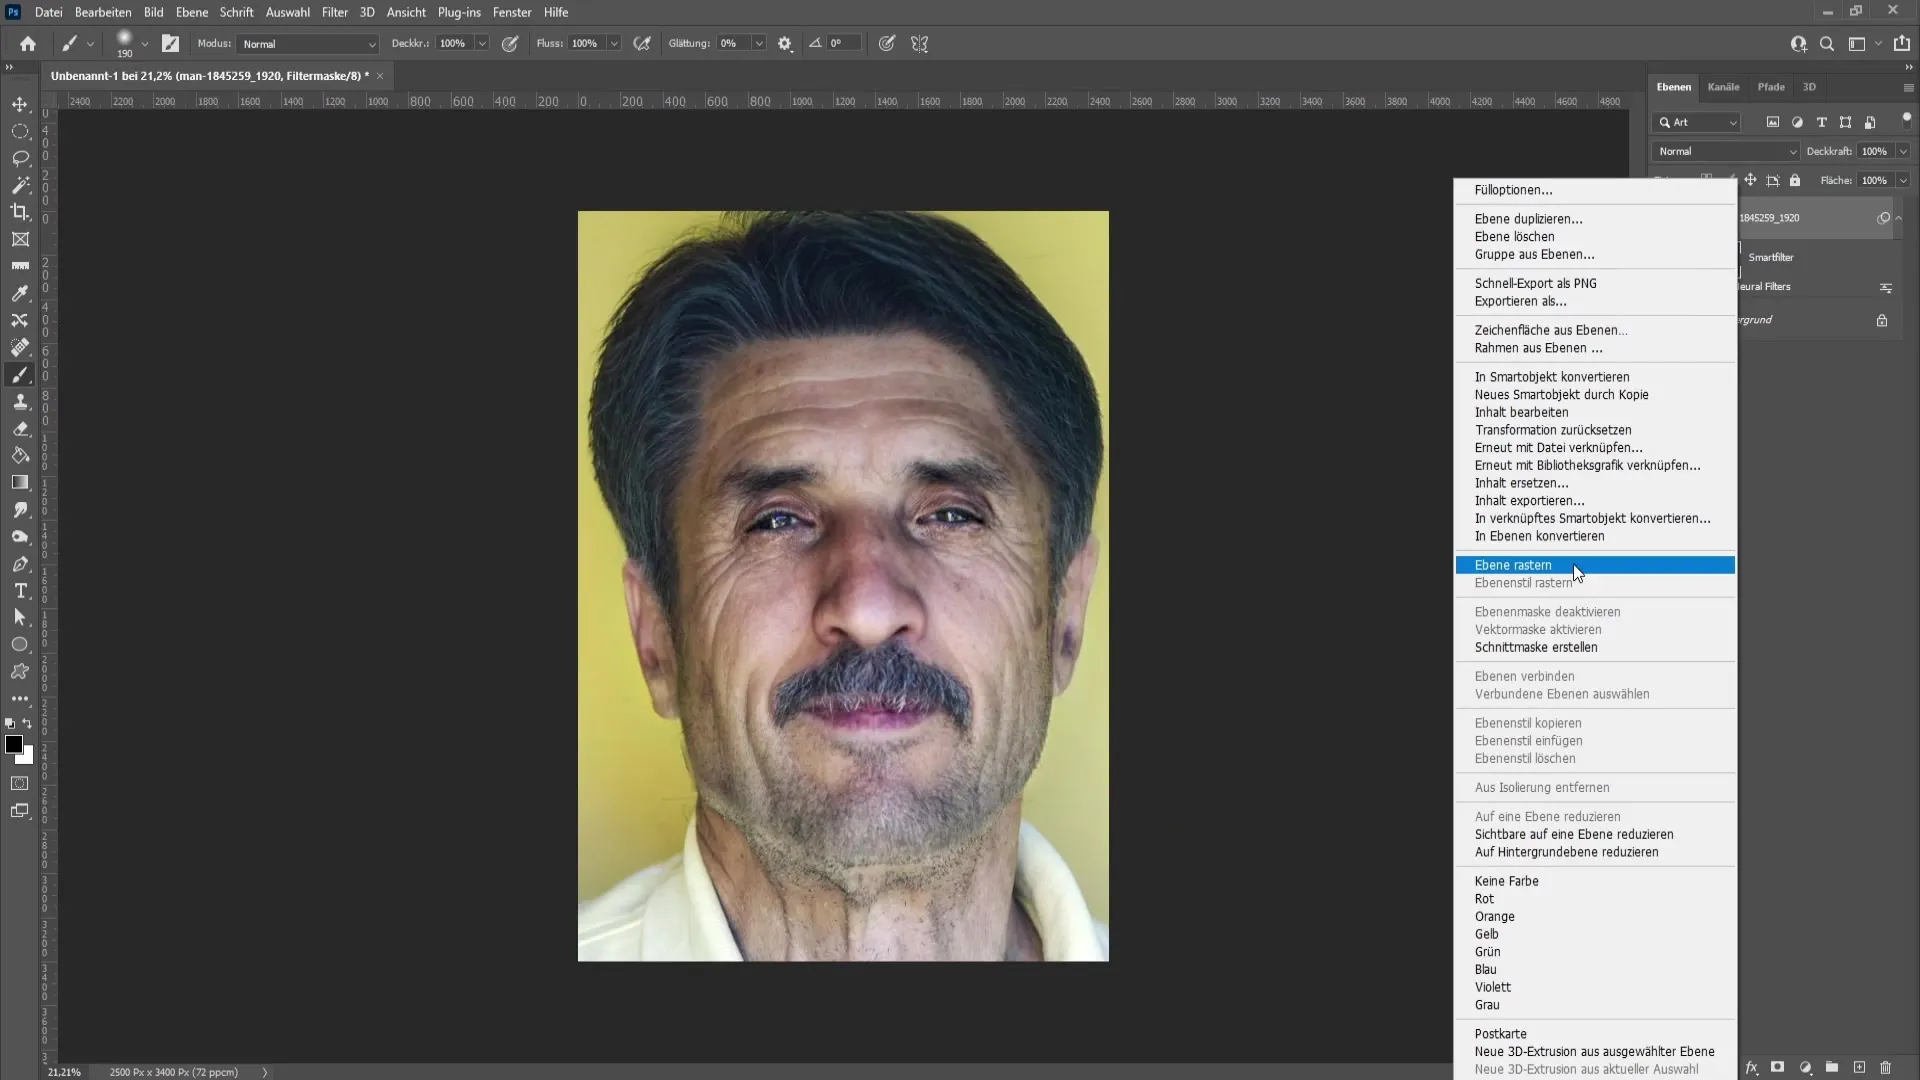
I will now use the cloning stamp. Set the hardness to 61% and hold down the 'ALT' key while selecting an area you want to copy. Then gently brush this area into the desired areas of the image. This way, you can create smoother transitions and achieve a harmonious overall image.
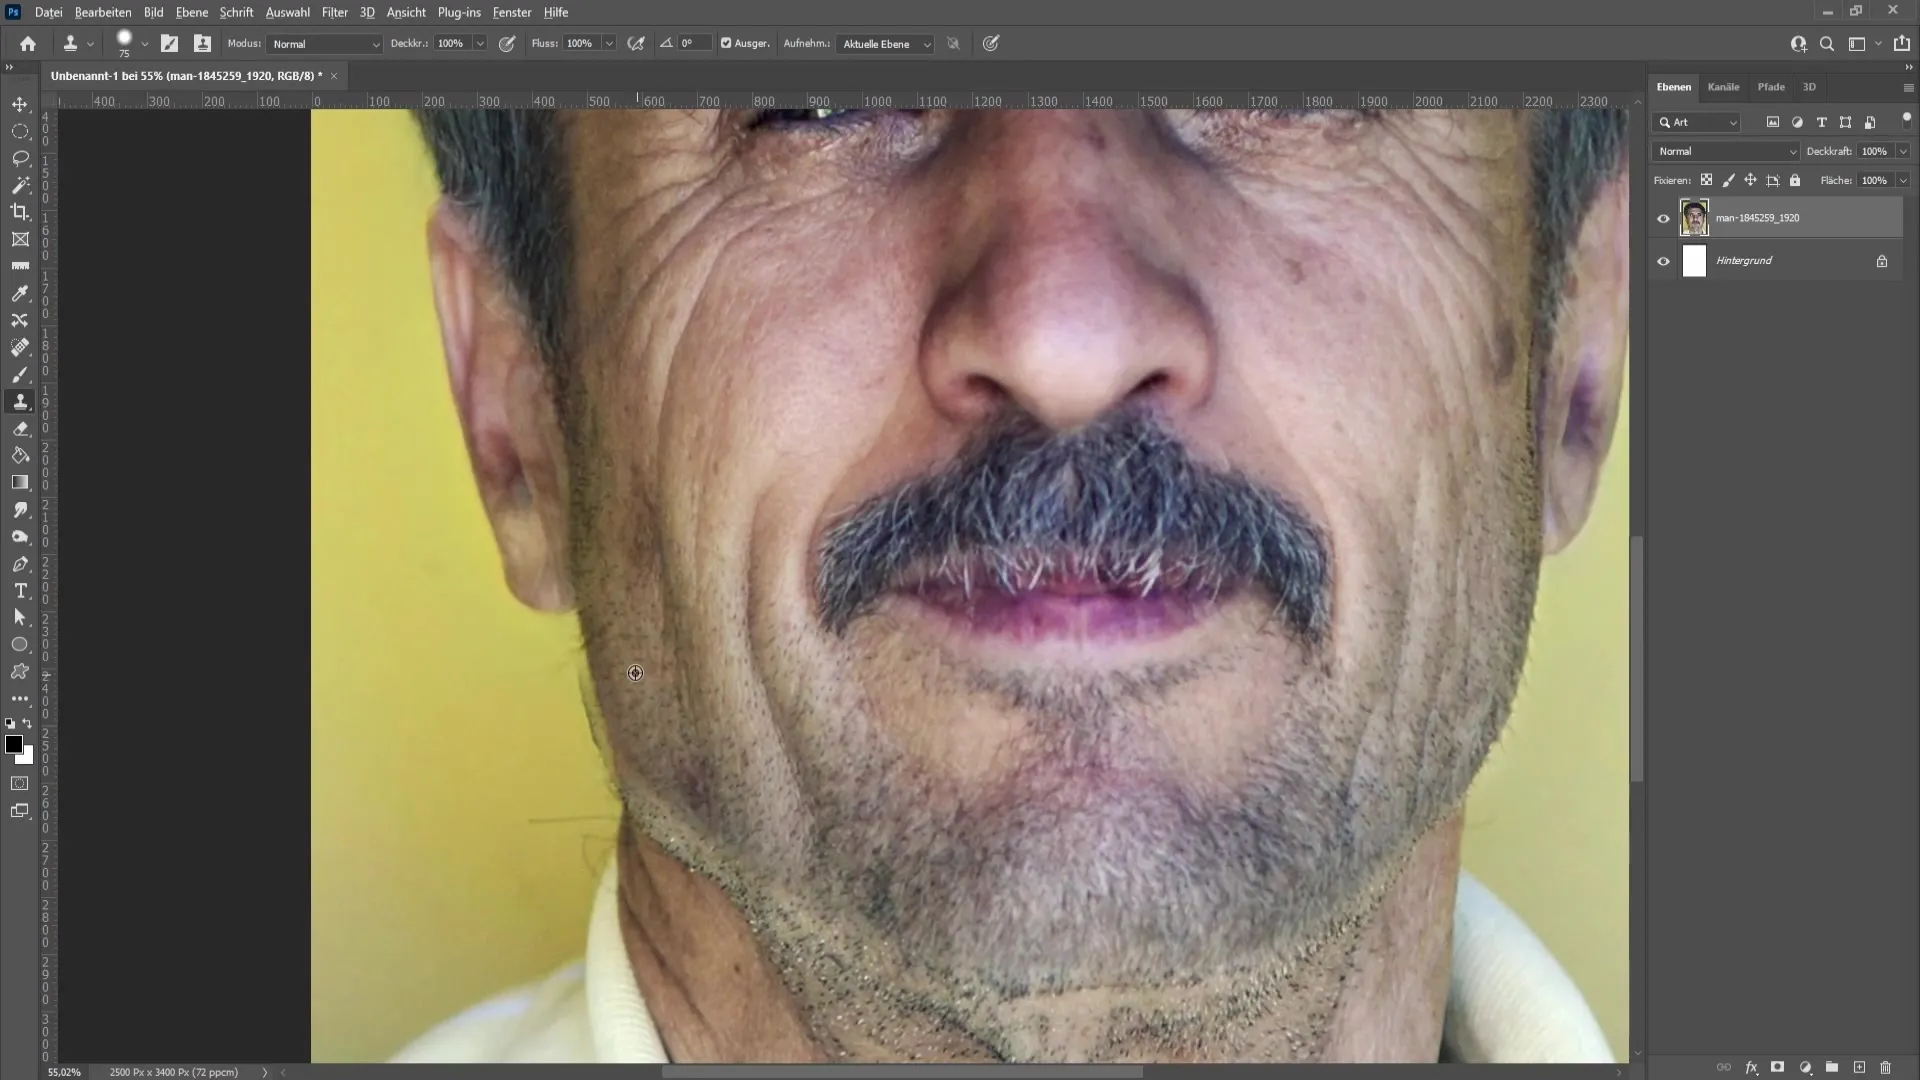
By following these steps, you will soon make great progress in retouching. Make sure to select as natural neighboring areas as possible to ensure seamless integration.
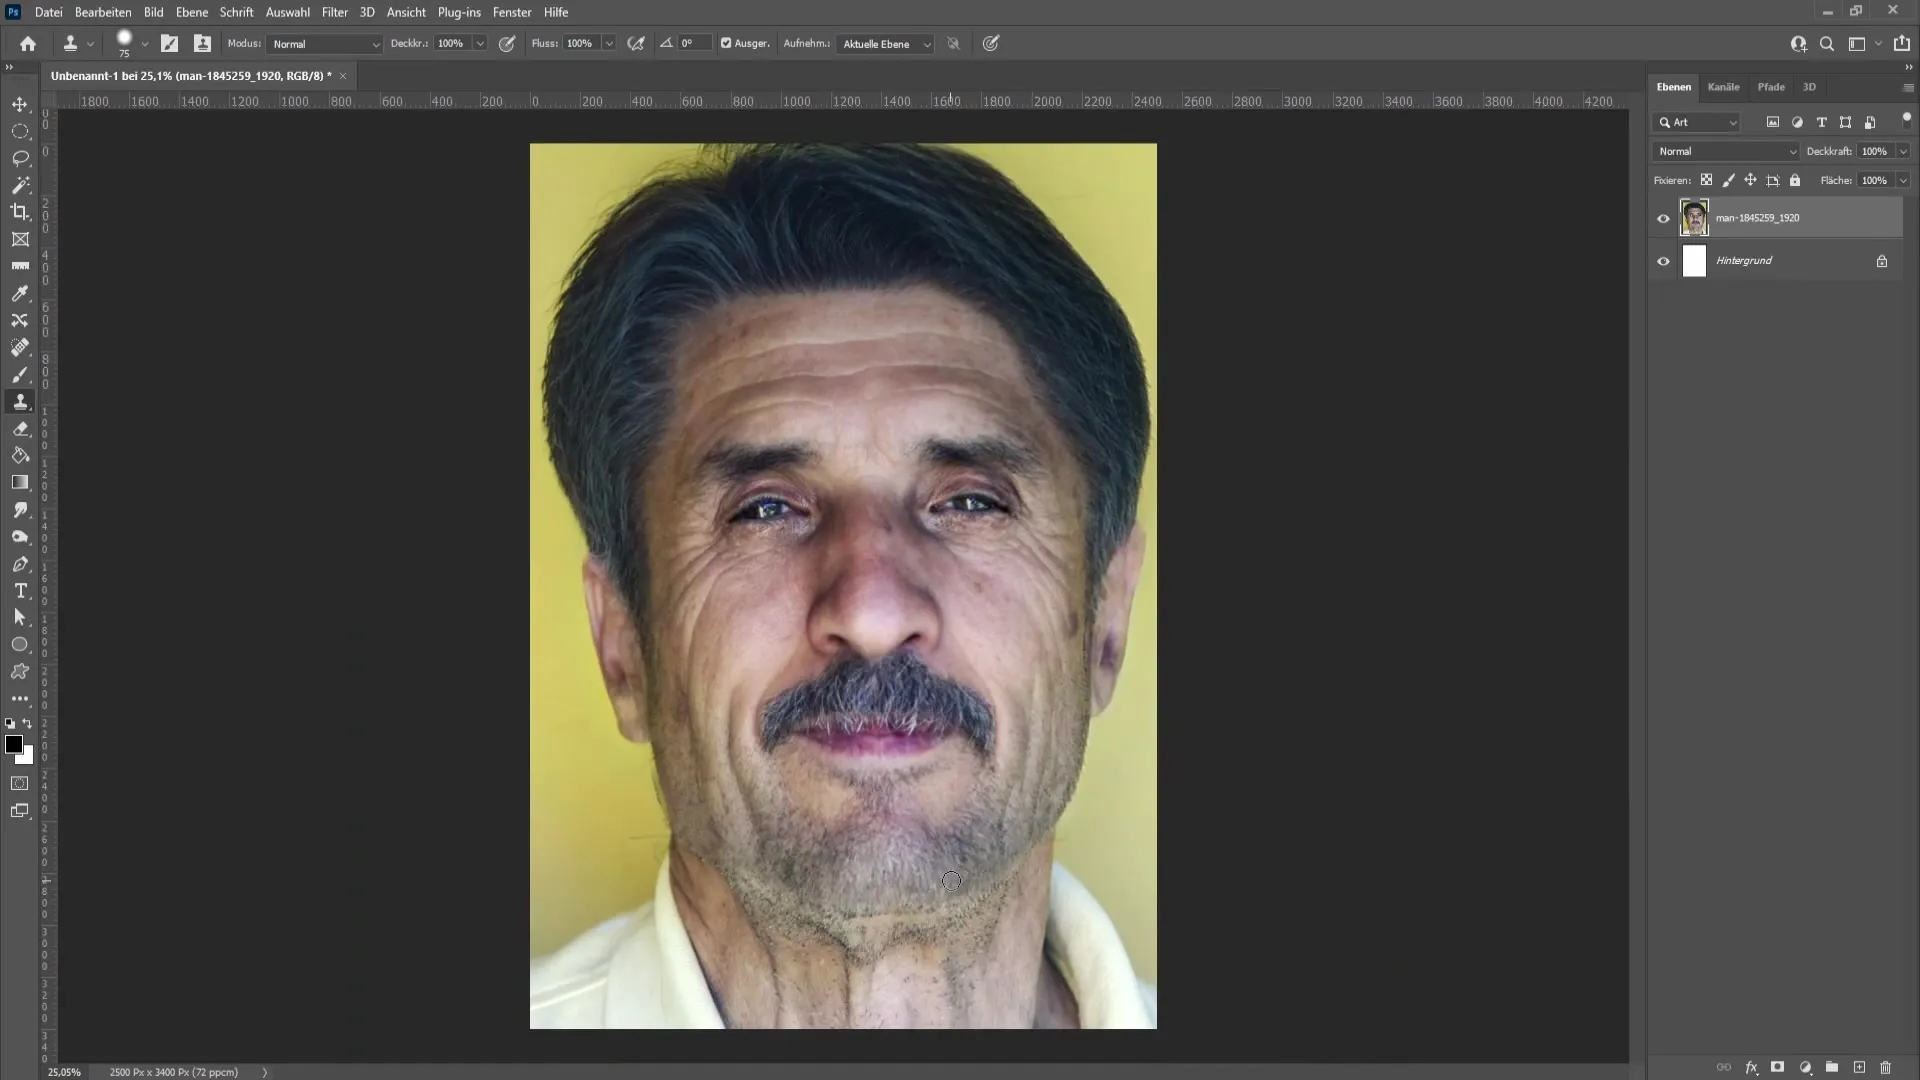
You can continue working with the cloning stamp to improve areas that do not match well in color. Work becomes easier when you continuously select new areas and blend them into the edited area.
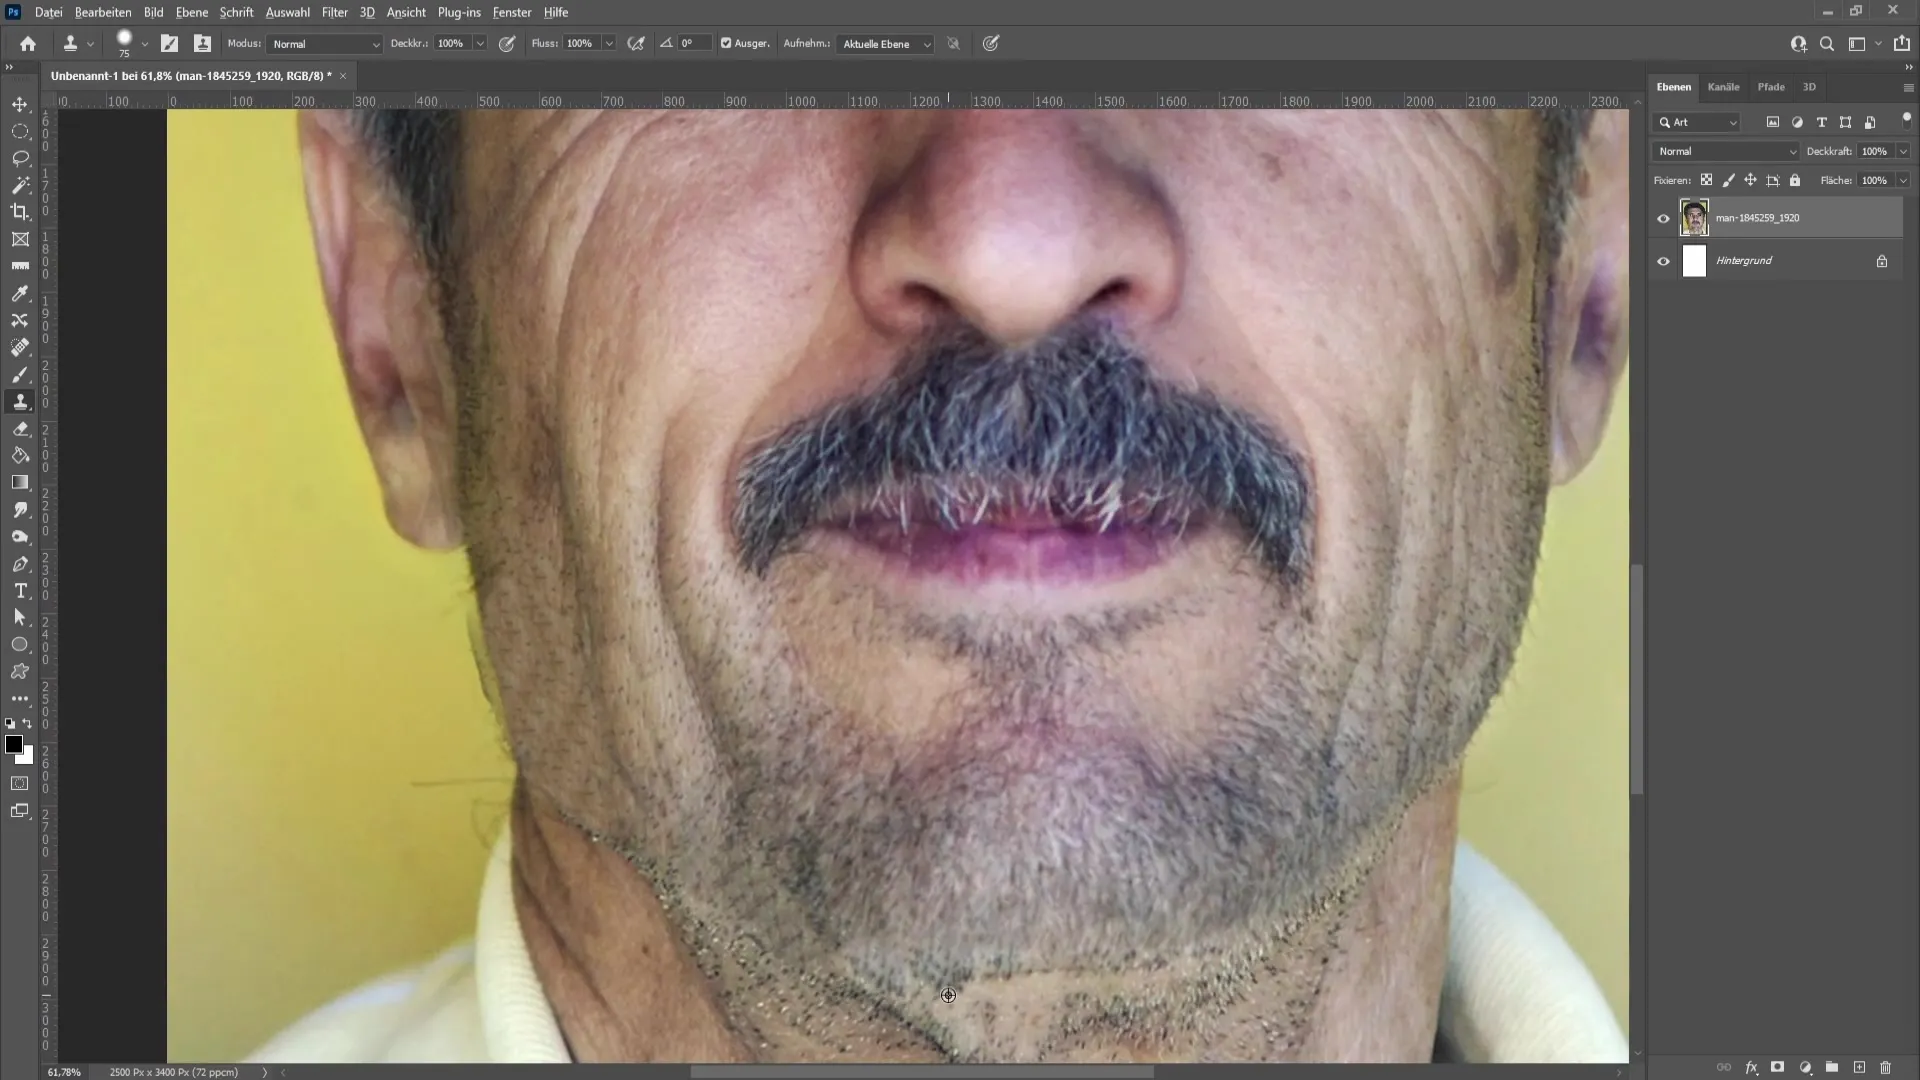
Now, we will correct some minor flaws. Keep using the cloning stamp to fix the last imperfections and perfect the image.
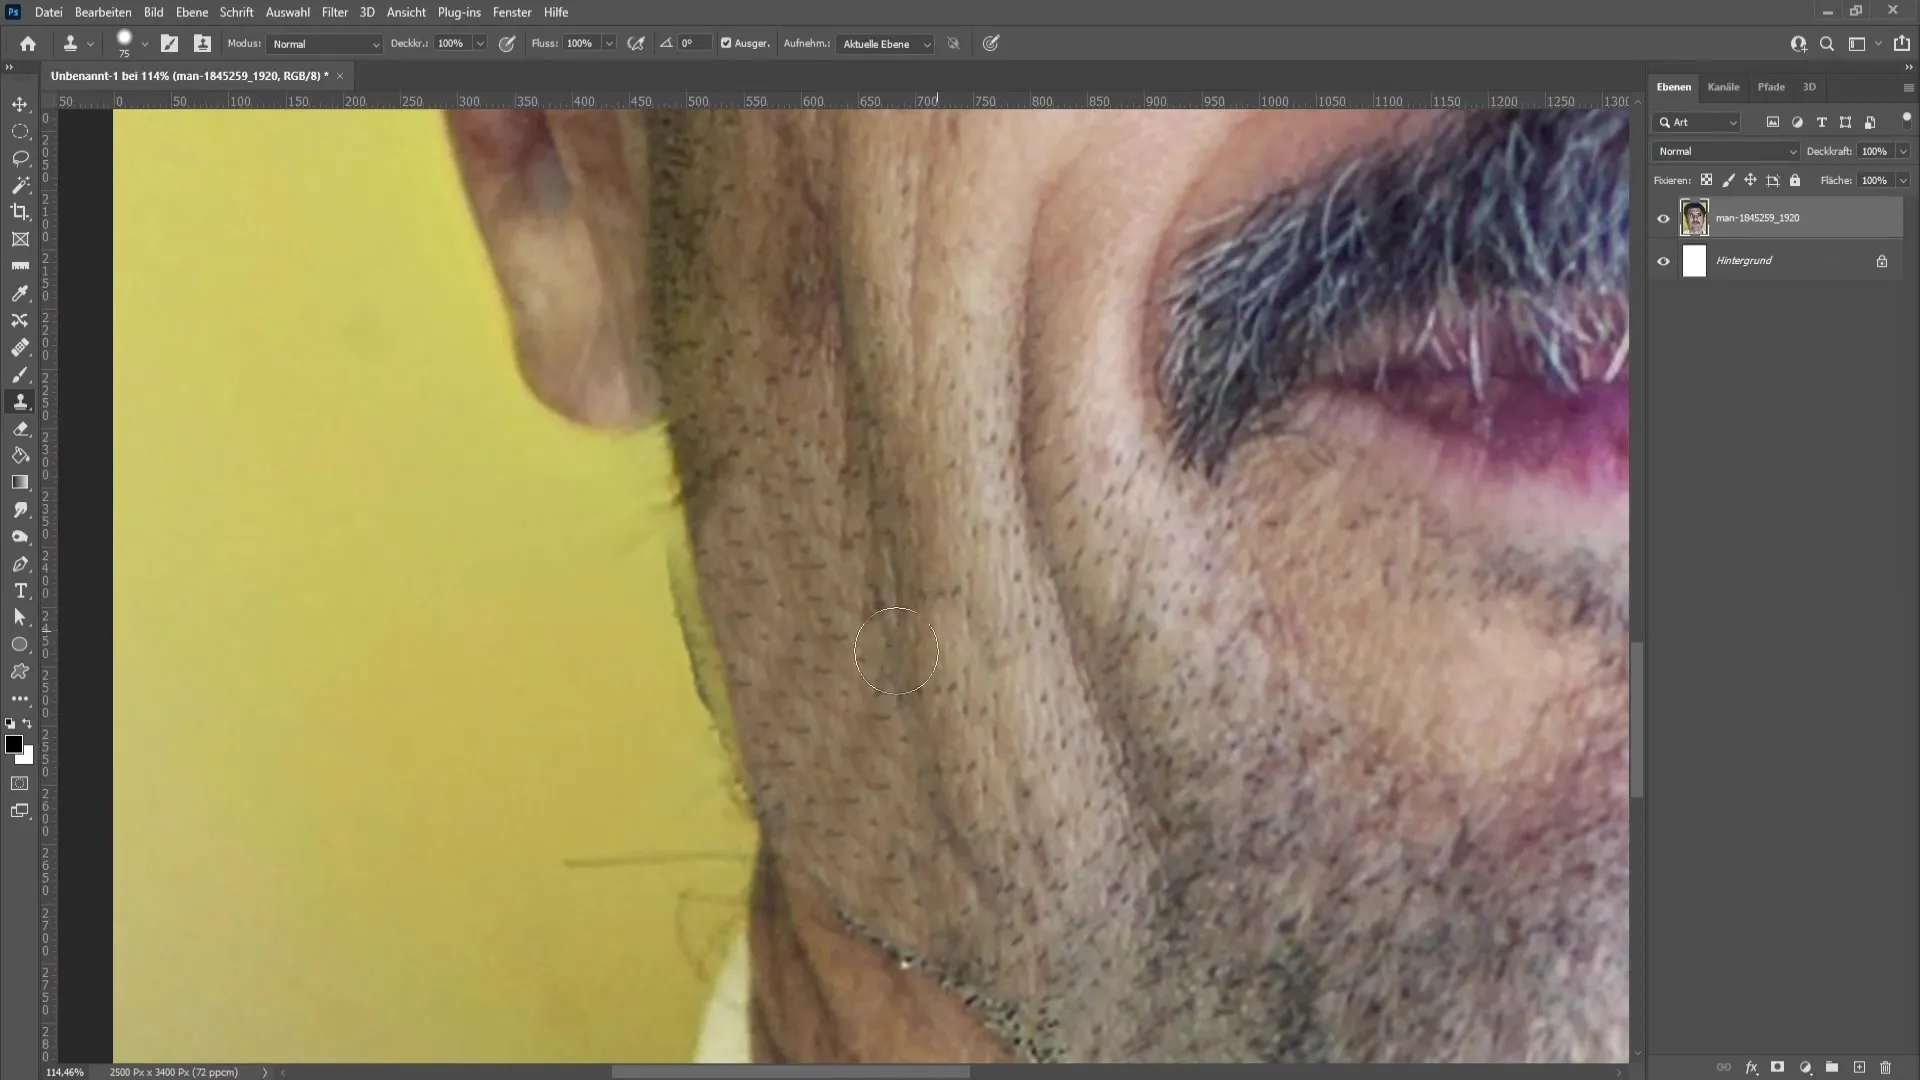
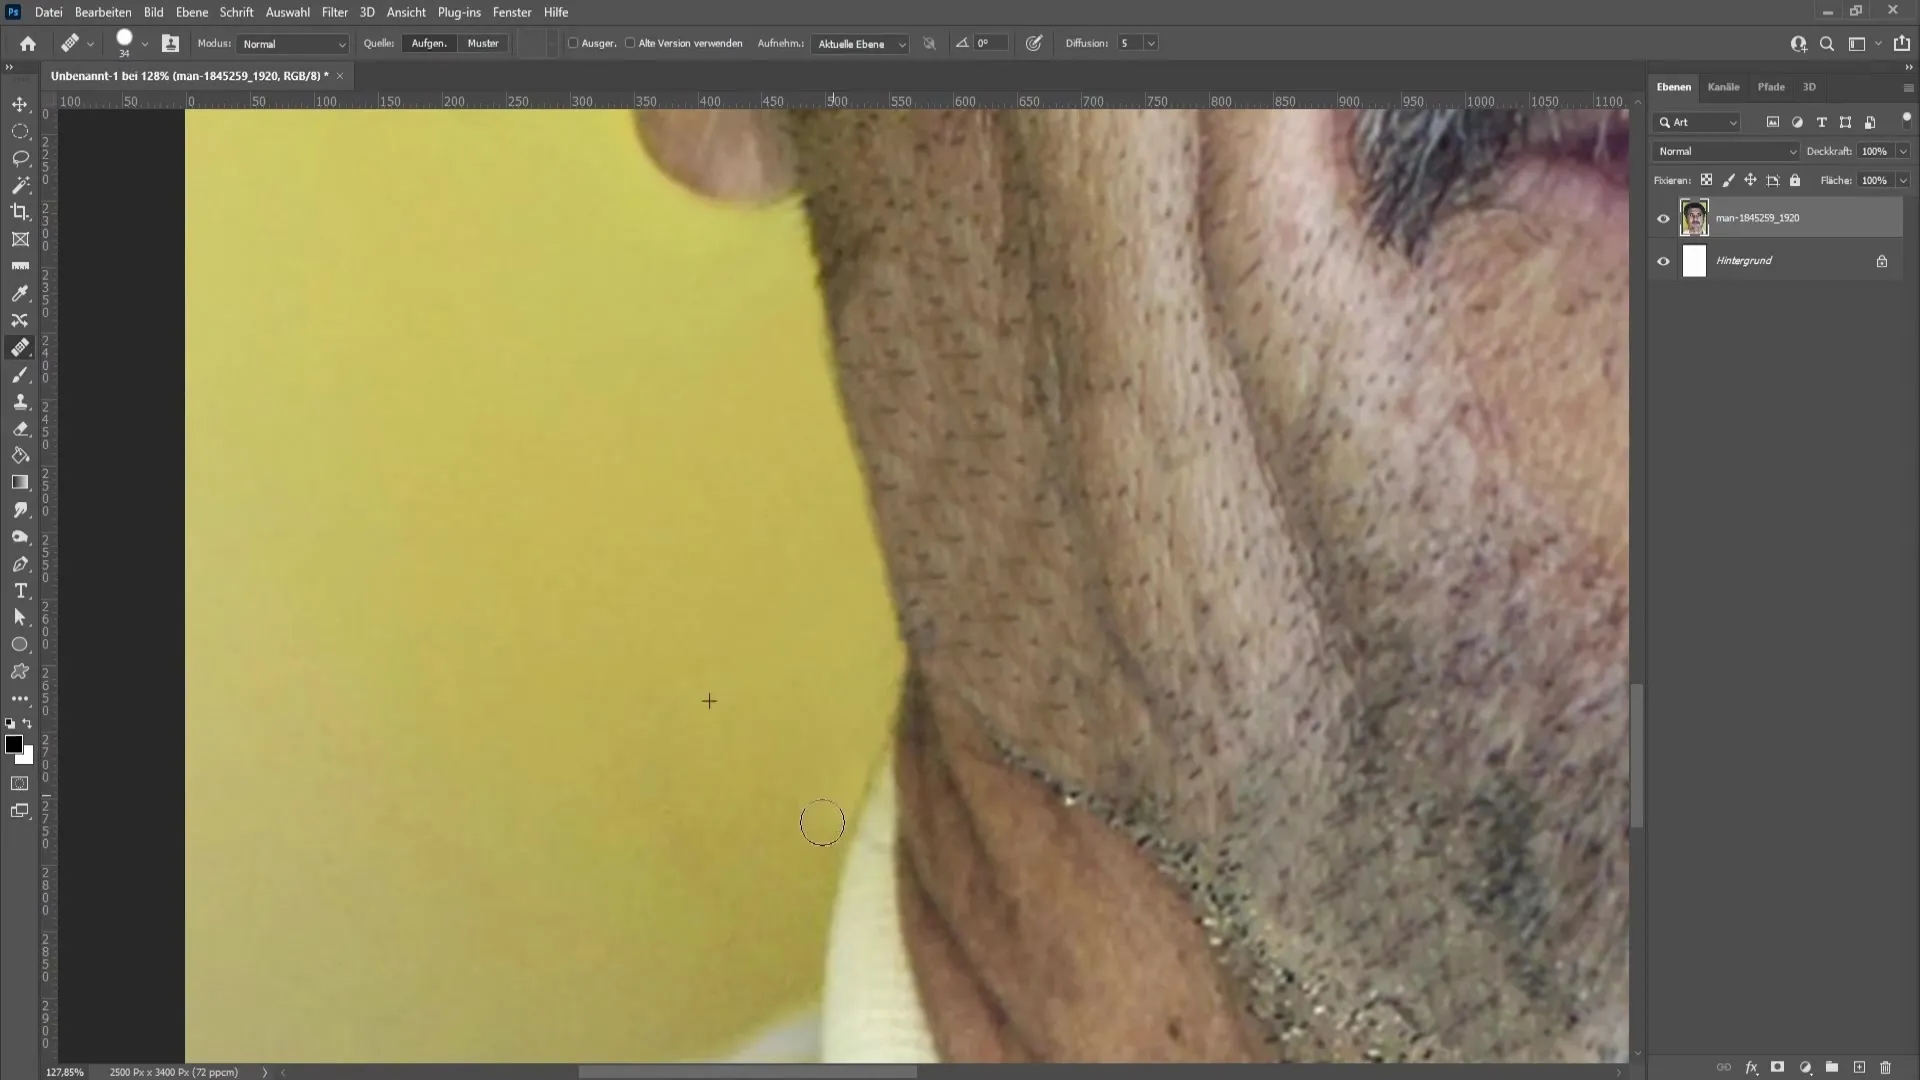
To work on particularly fine patterns, you can use the healing tool. With this tool, simply select a clean area and drag it over the area to be repaired.
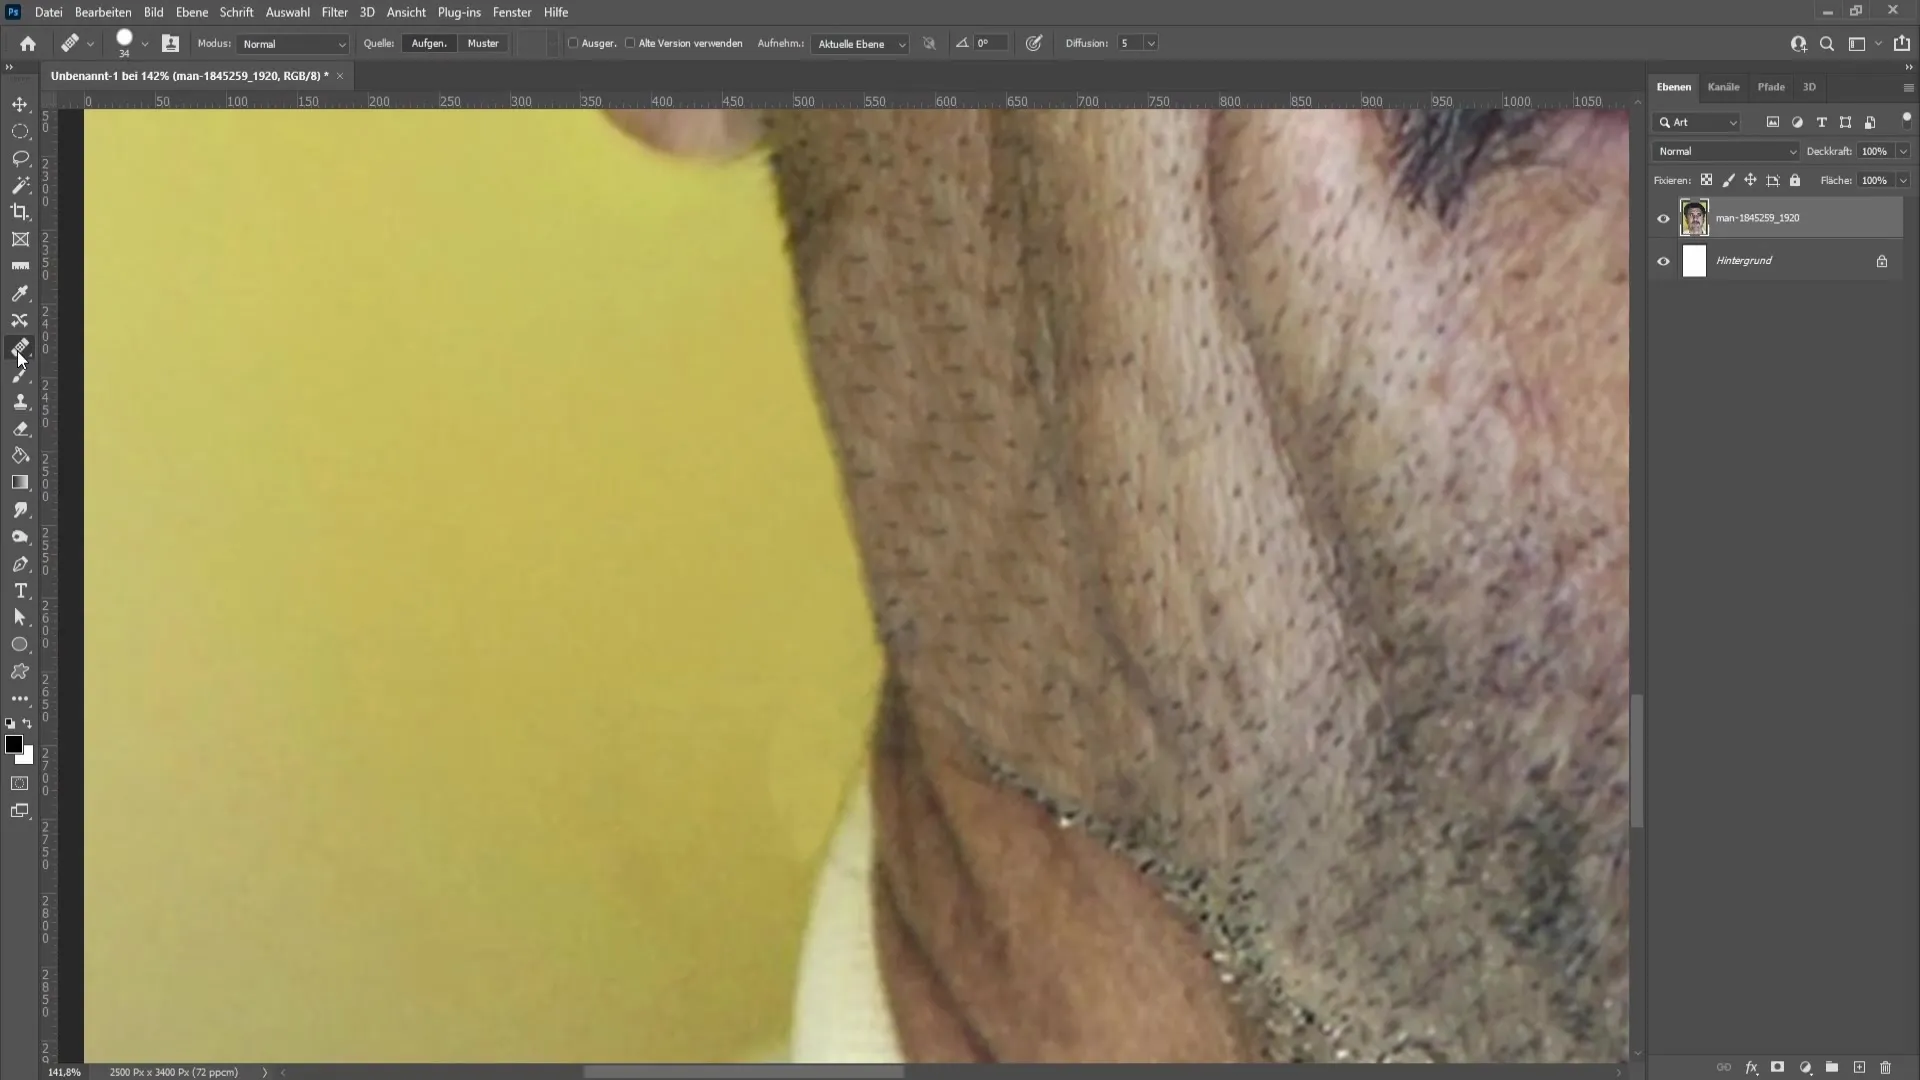
The principle remains the same: select a starting point with the 'ALT' key and brush in the changes. This way, you can easily touch up the image.
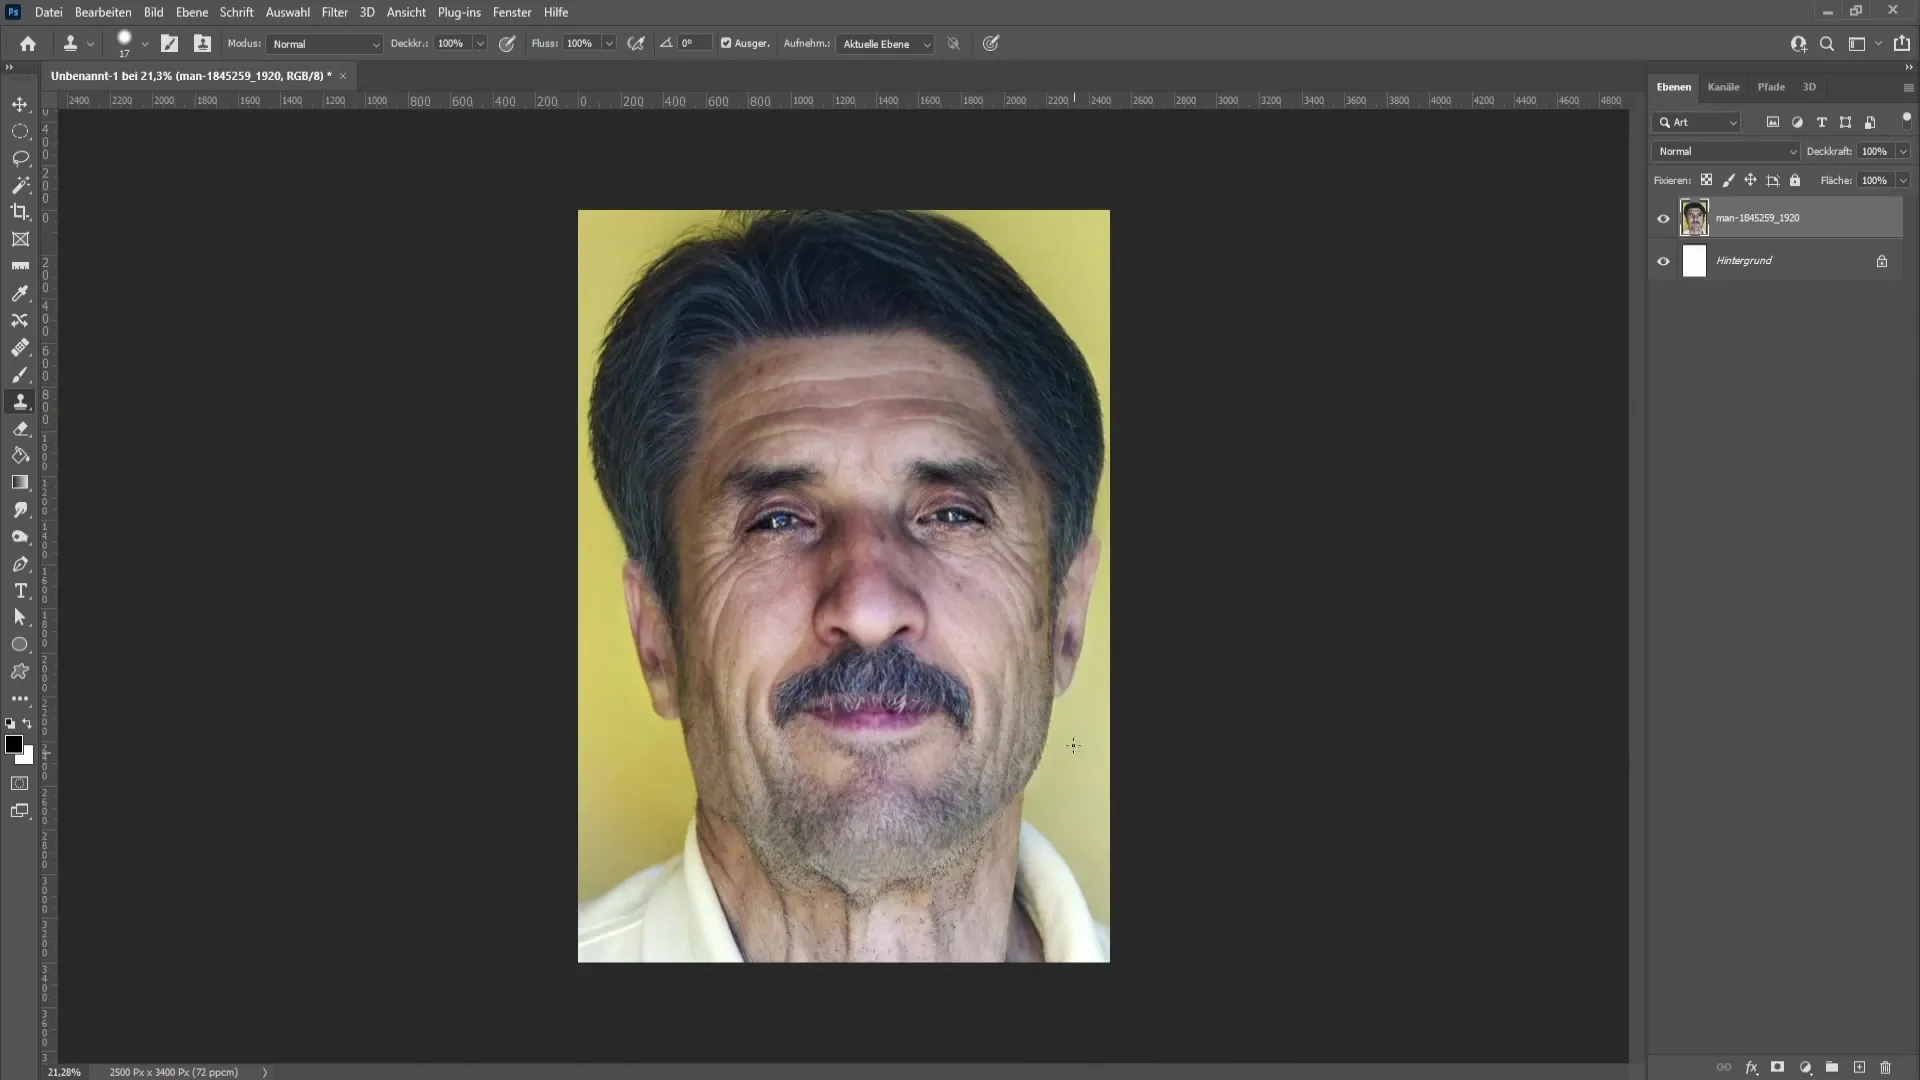
If you have followed all the steps properly, you will already see a significantly improved image. The result is impressive and greatly enhances the appearance of the person depicted.
Summary
In this tutorial, you have learned how to make a person in an image appear years younger using various Photoshop techniques. We have explored the benefits of Smart Objects, Neural Filters, and brush techniques to achieve compelling results.
Frequently Asked Questions
What is a Smart Object in Photoshop?A Smart Object allows you to apply filters and effects without losing image quality and edit them later.
How do I download the Smart Portrait Filter?Go to "Filter" > "Neural Filters" and click on the cloud icon to download the filter.
How can I achieve smooth transitions?Set the brush hardness to 0% to create soft transitions and brush over the areas you want to edit.
Why is the cloning stamp tool important?The cloning stamp helps you transfer colors and textures from one area to another evenly.
How can I improve damage or imperfections in the image?Use the Healing Brush Tool to gently repair unwanted areas.


