In this tutorial I will show you effective techniques for enlarging and defining muscles in Photoshop. These methods can be used to realistically increase the appearance of muscle mass and enhance images of fitness models or athletes. Let's dive right in and go through the steps to achieve impressive results.
Main Takeaways
- Make sure your image is saved as a Smart Object to allow for future adjustments.
- Use the Camera RAW Filter for basic adjustments to the image quality.
- Utilize various techniques to enlarge and define muscles through inflating and targeted editing.
- Ensure the end result remains realistic; do not overdo the adjustments.
Step-by-Step Guide
First, you will reset any existing reductions and adjustments in Photoshop. Group all finished layers together to start with a clean workspace.

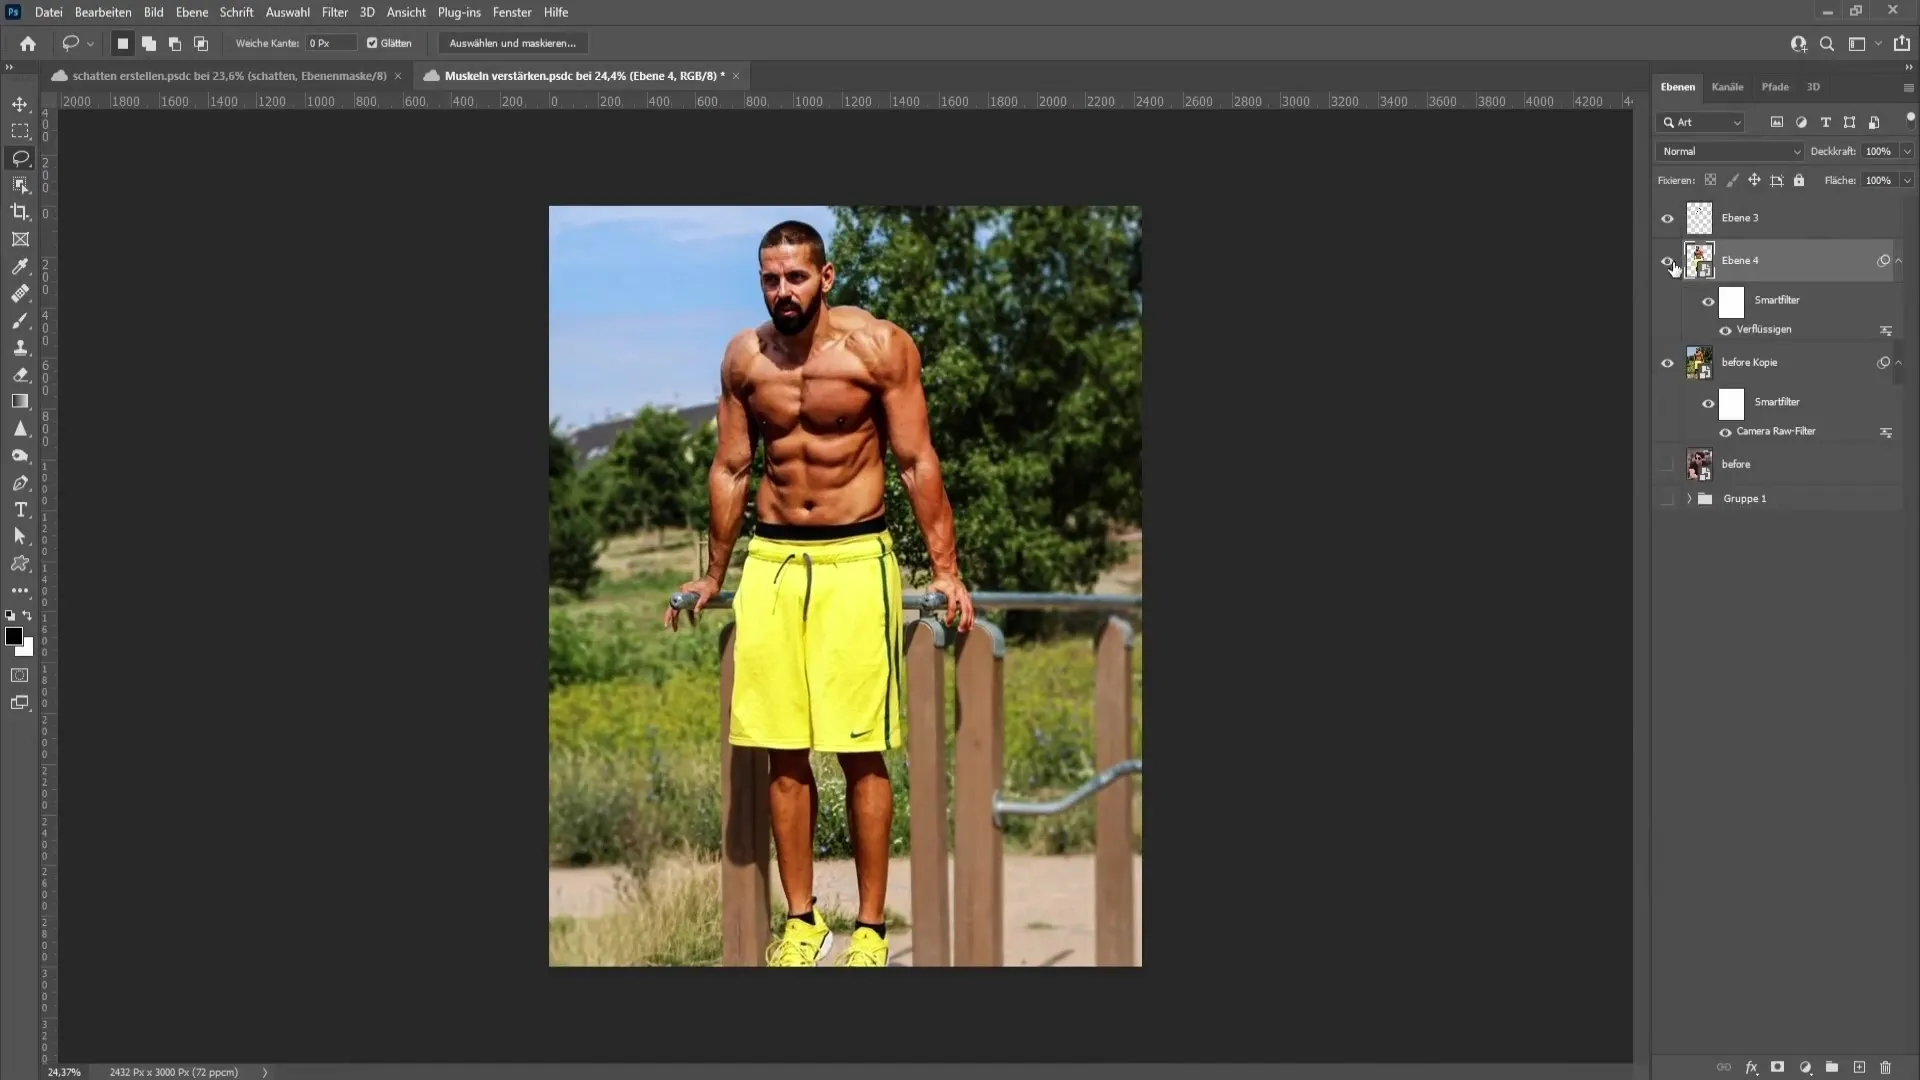
The first step is to ensure that your current image is a Smart Object. You can recognize this by a small symbol in the lower right corner. If the image is not a Smart Object, you can change that by right-clicking on it and selecting "Convert to Smart Object."
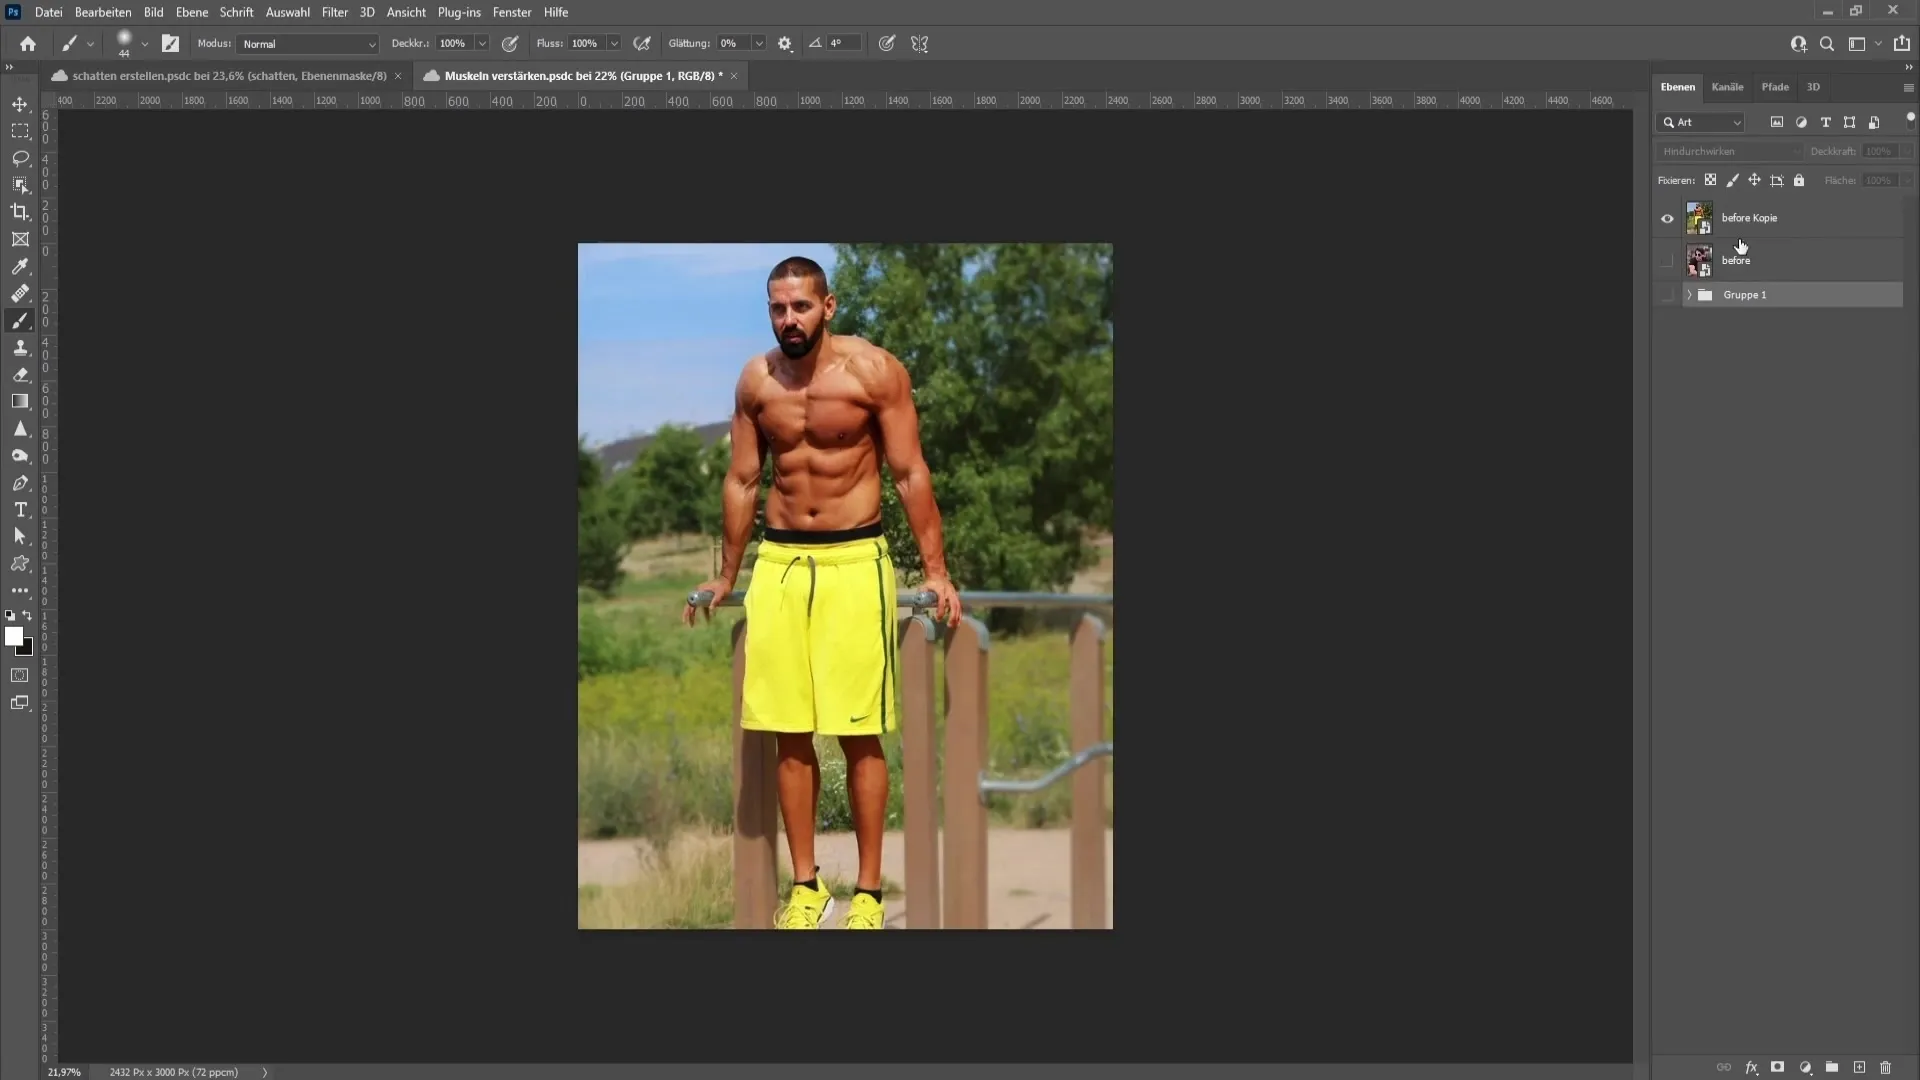
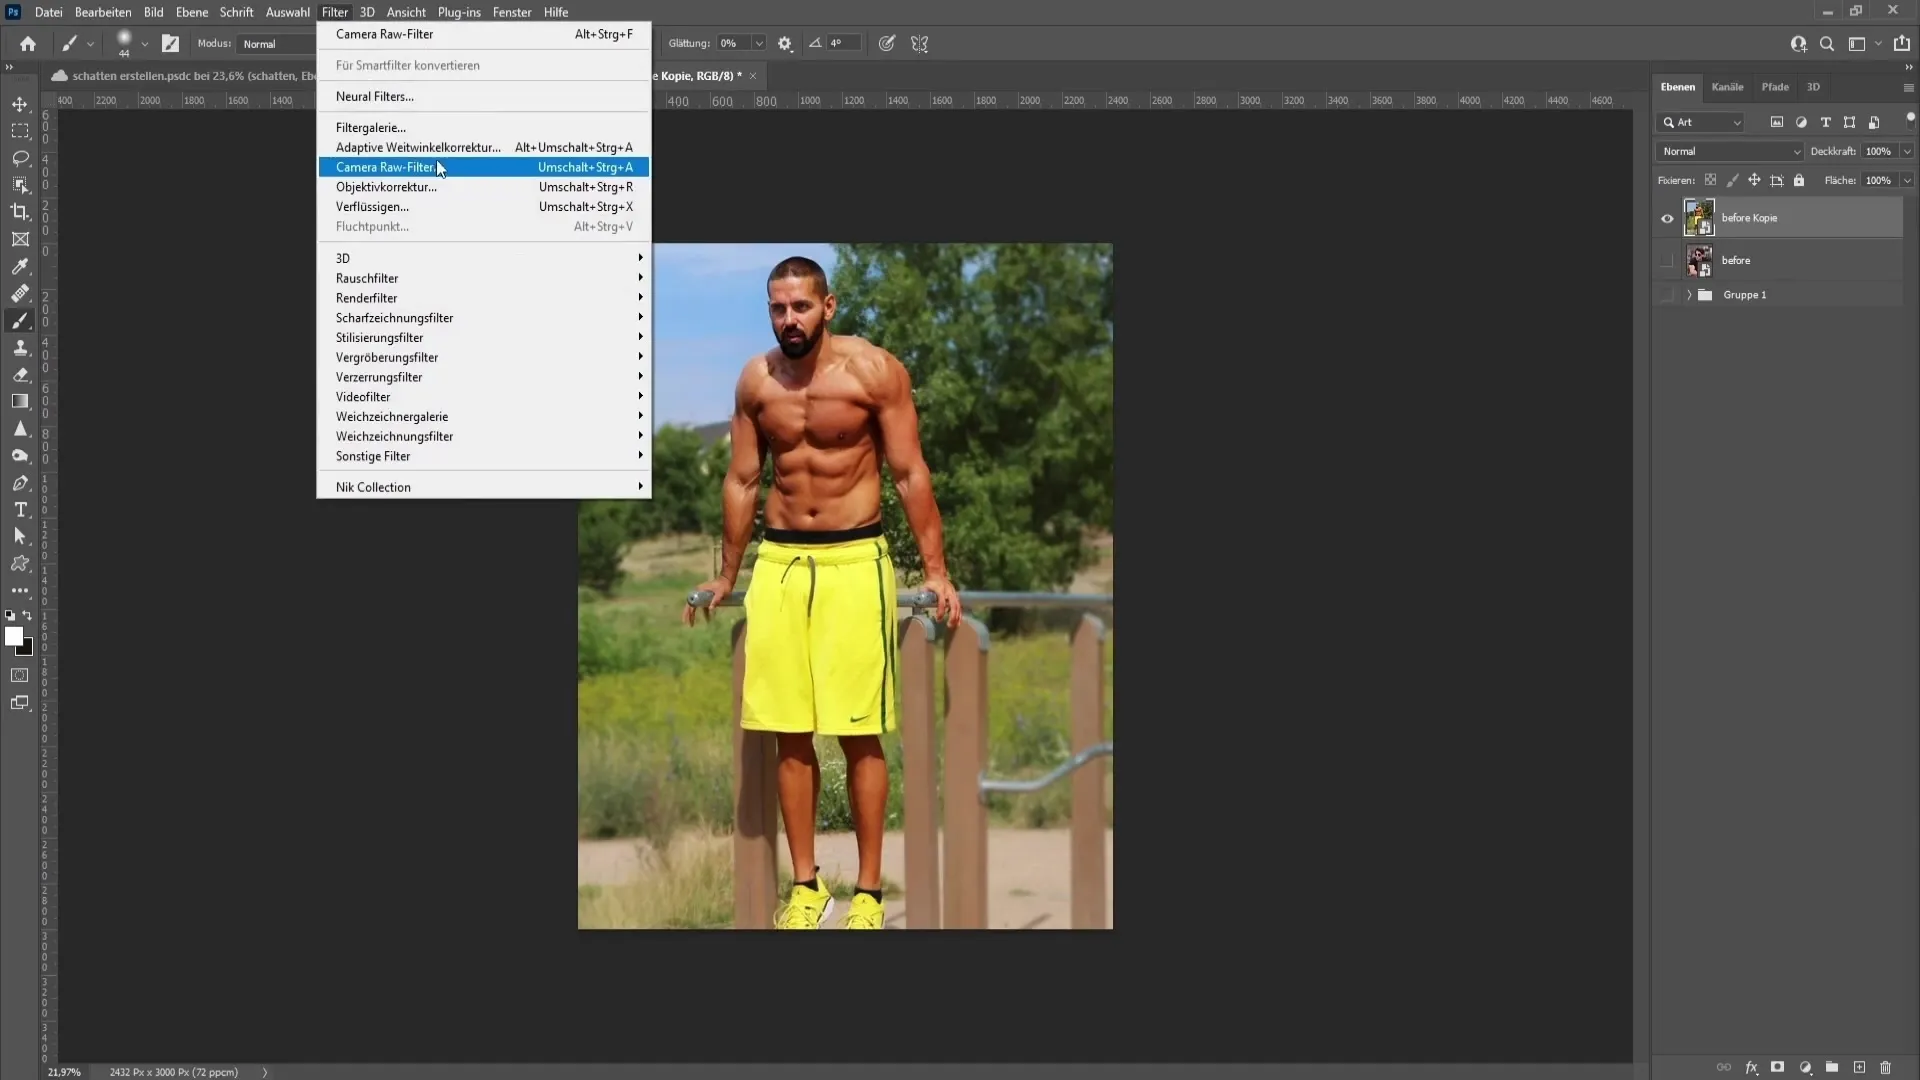
Now you can work with the Camera RAW Filter. Go to Filter > Camera RAW Filter. Here you can make basic adjustments. I will focus on contrasts and muscle definition. Increase the contrast slightly and adjust the highlights and shadows. Firstly, raise the highlights and lower the shadows a bit.
Next, you should increase the structure and clarity. These sliders greatly affect muscle definition. Make sure not to overdo it; a value between 50-70 for structure and clarity is ideal.
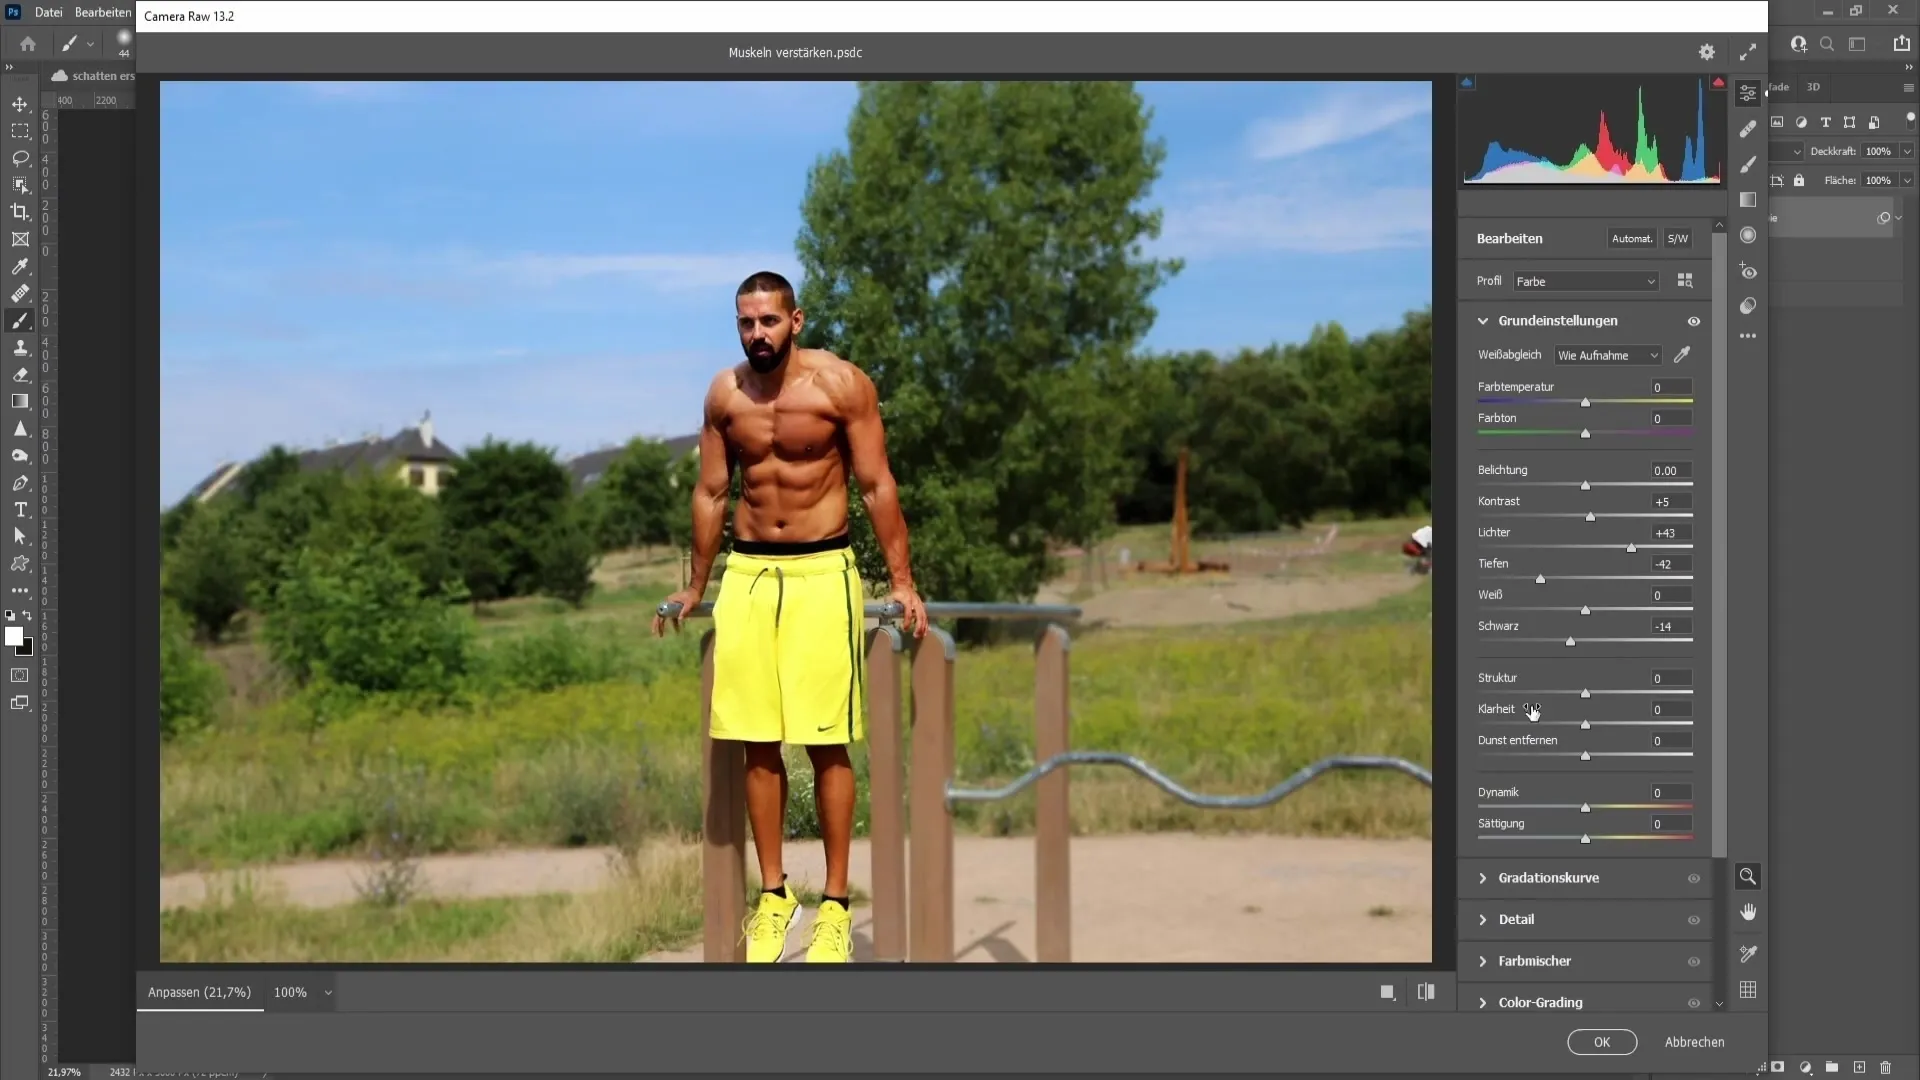
In this case, it is better not to increase saturation as the model is already well saturated. If the skin tone is lighter, you should increase saturation to enhance the look. Click "OK" to apply the adjustments.

Now compare the before and after images to see the improvements.
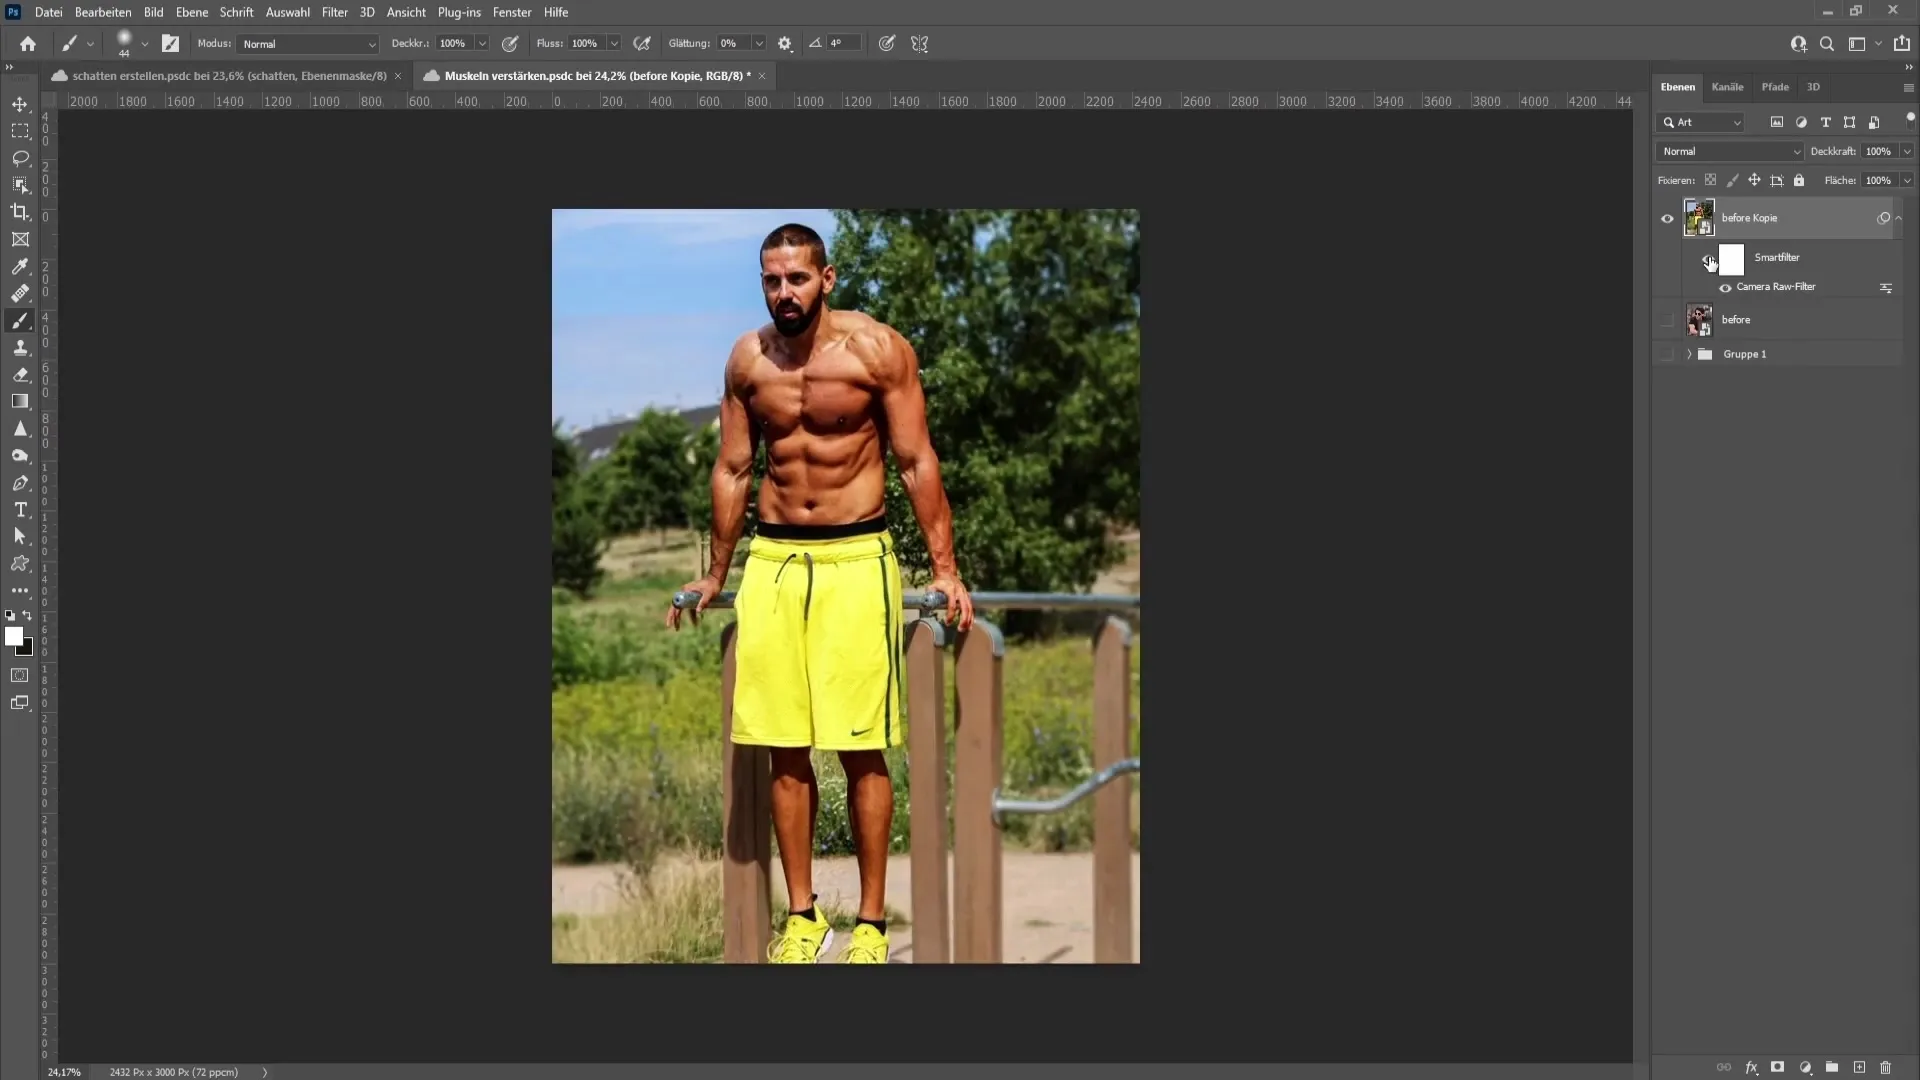
To further define the muscles, create a new layer. Change the fill method to "Soft Light" and select a brush with 0% hardness and a very low opacity (about 10-20%). Gently paint over the darker areas of the muscles to emphasize the definition without making it look unnatural.

Once the dark areas are well defined, you can also paint over the brighter areas with a white color to enhance the contrast. Switch colors using the X key.
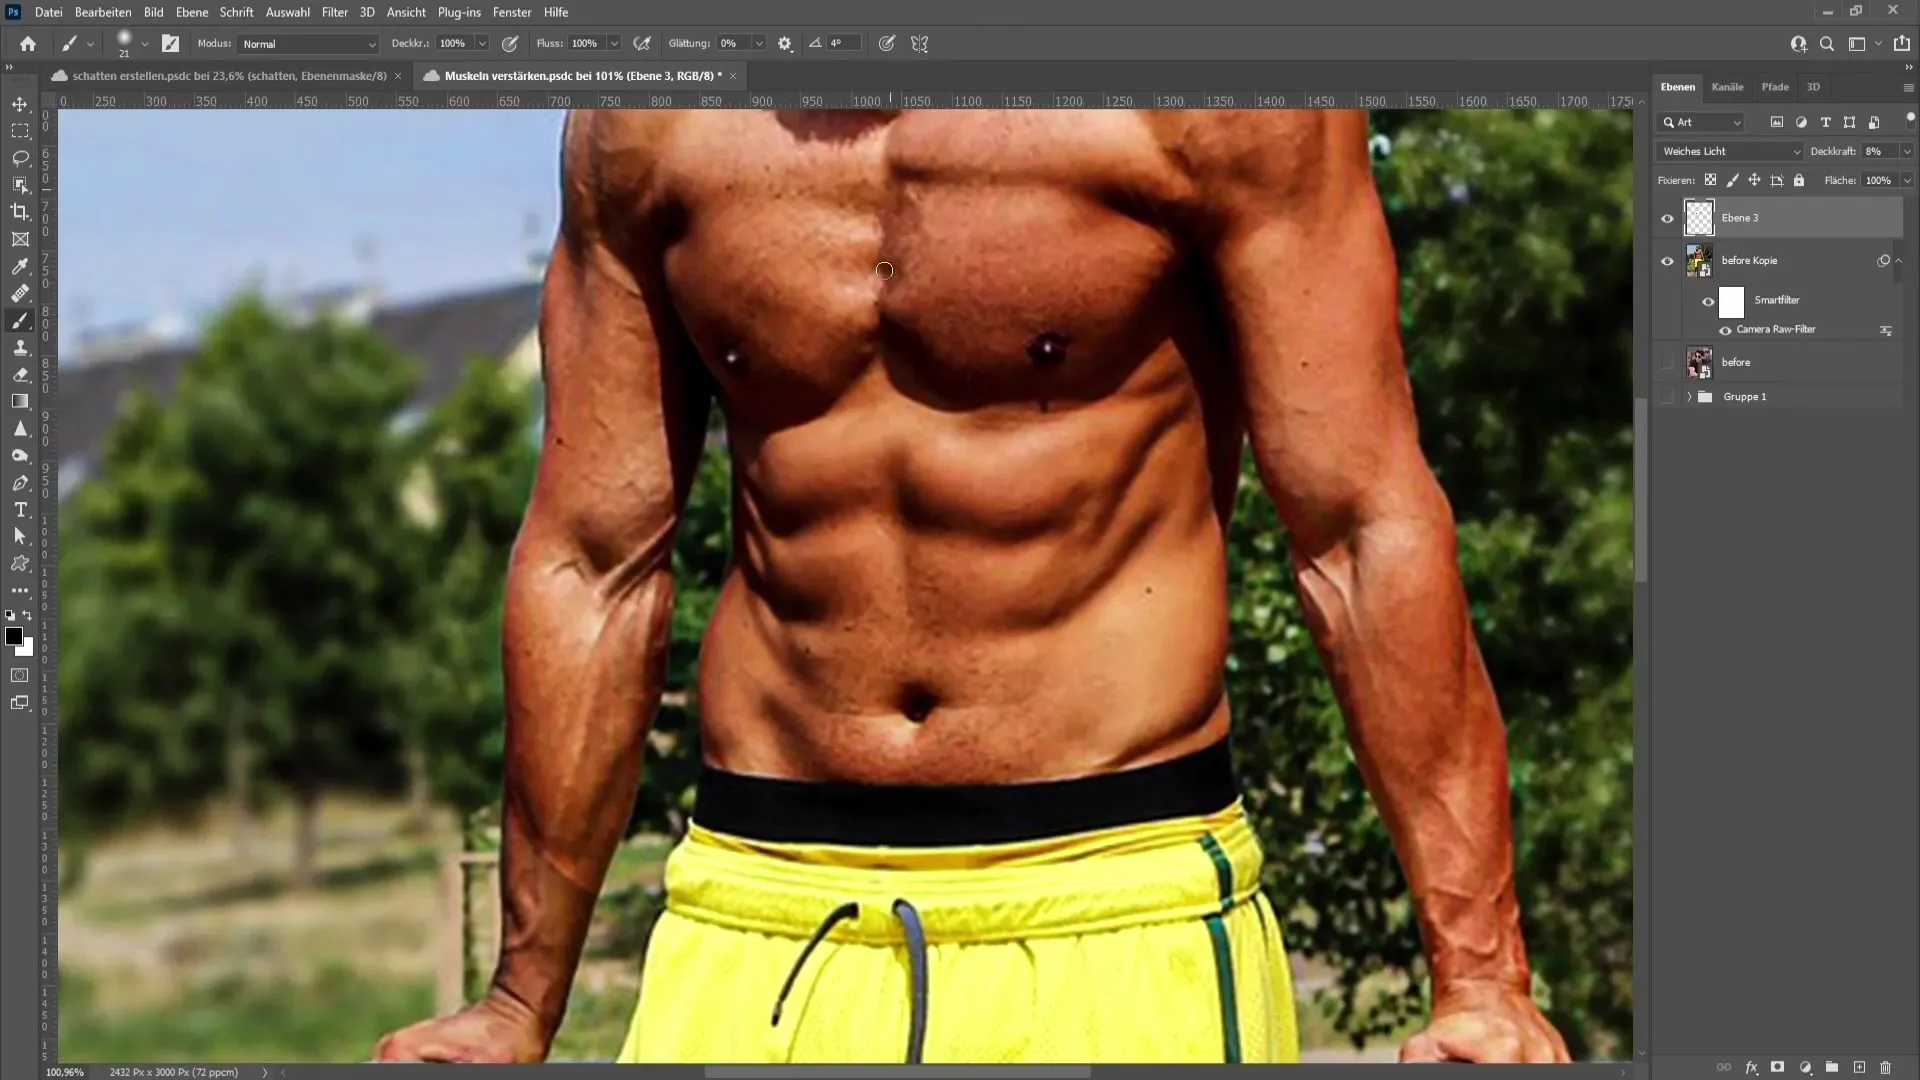
Now that the muscles are defined, we move on to the most exciting phase: inflating the muscles. If your image has a solid background, it's helpful to first select and mask the person to ensure the background is not affected. Use the "Select" > "Subject" tool for this. This is important to achieve a clean effect.
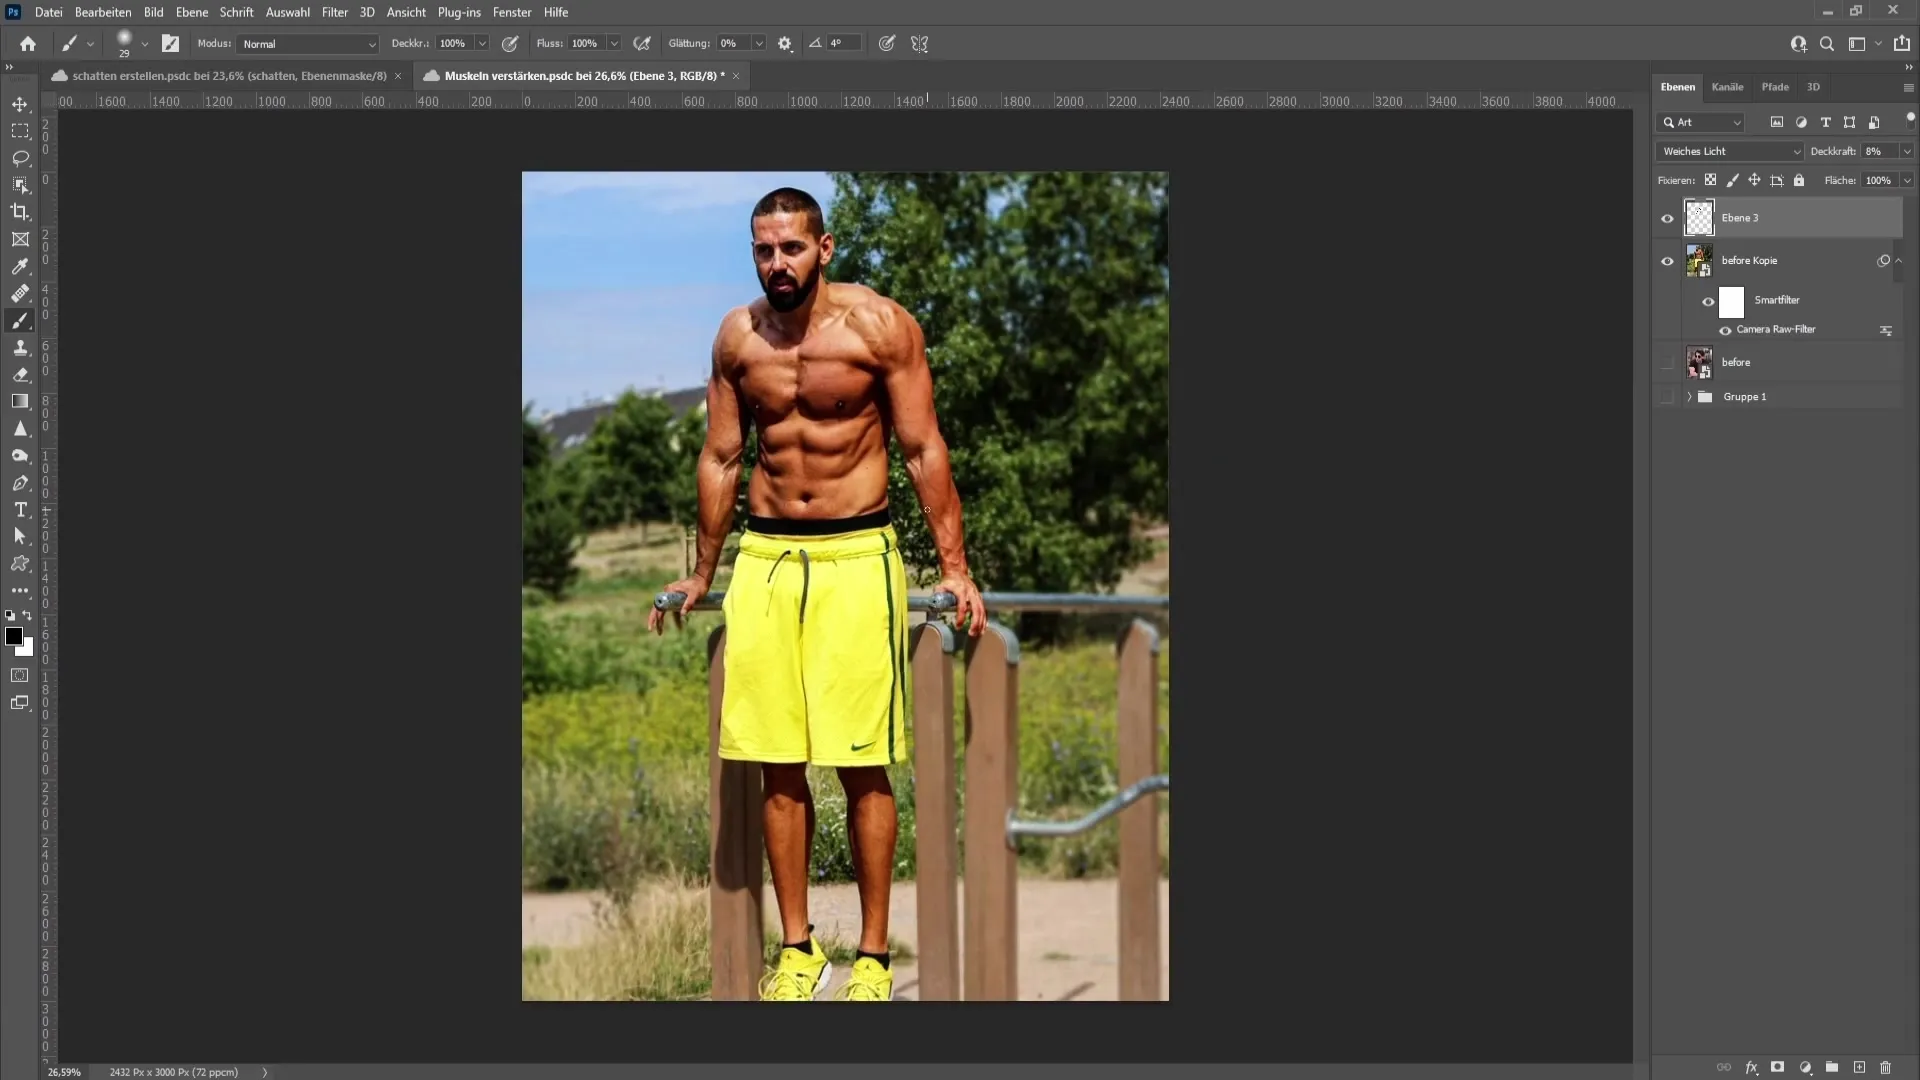
Create a copy of the selection by pressing "Ctrl + J," then go to the "Liquify" filter. With the "Bloat" tool, you can now increase the muscles; as you adjust the muscles, make sure to maintain the contours to achieve a realistic effect.
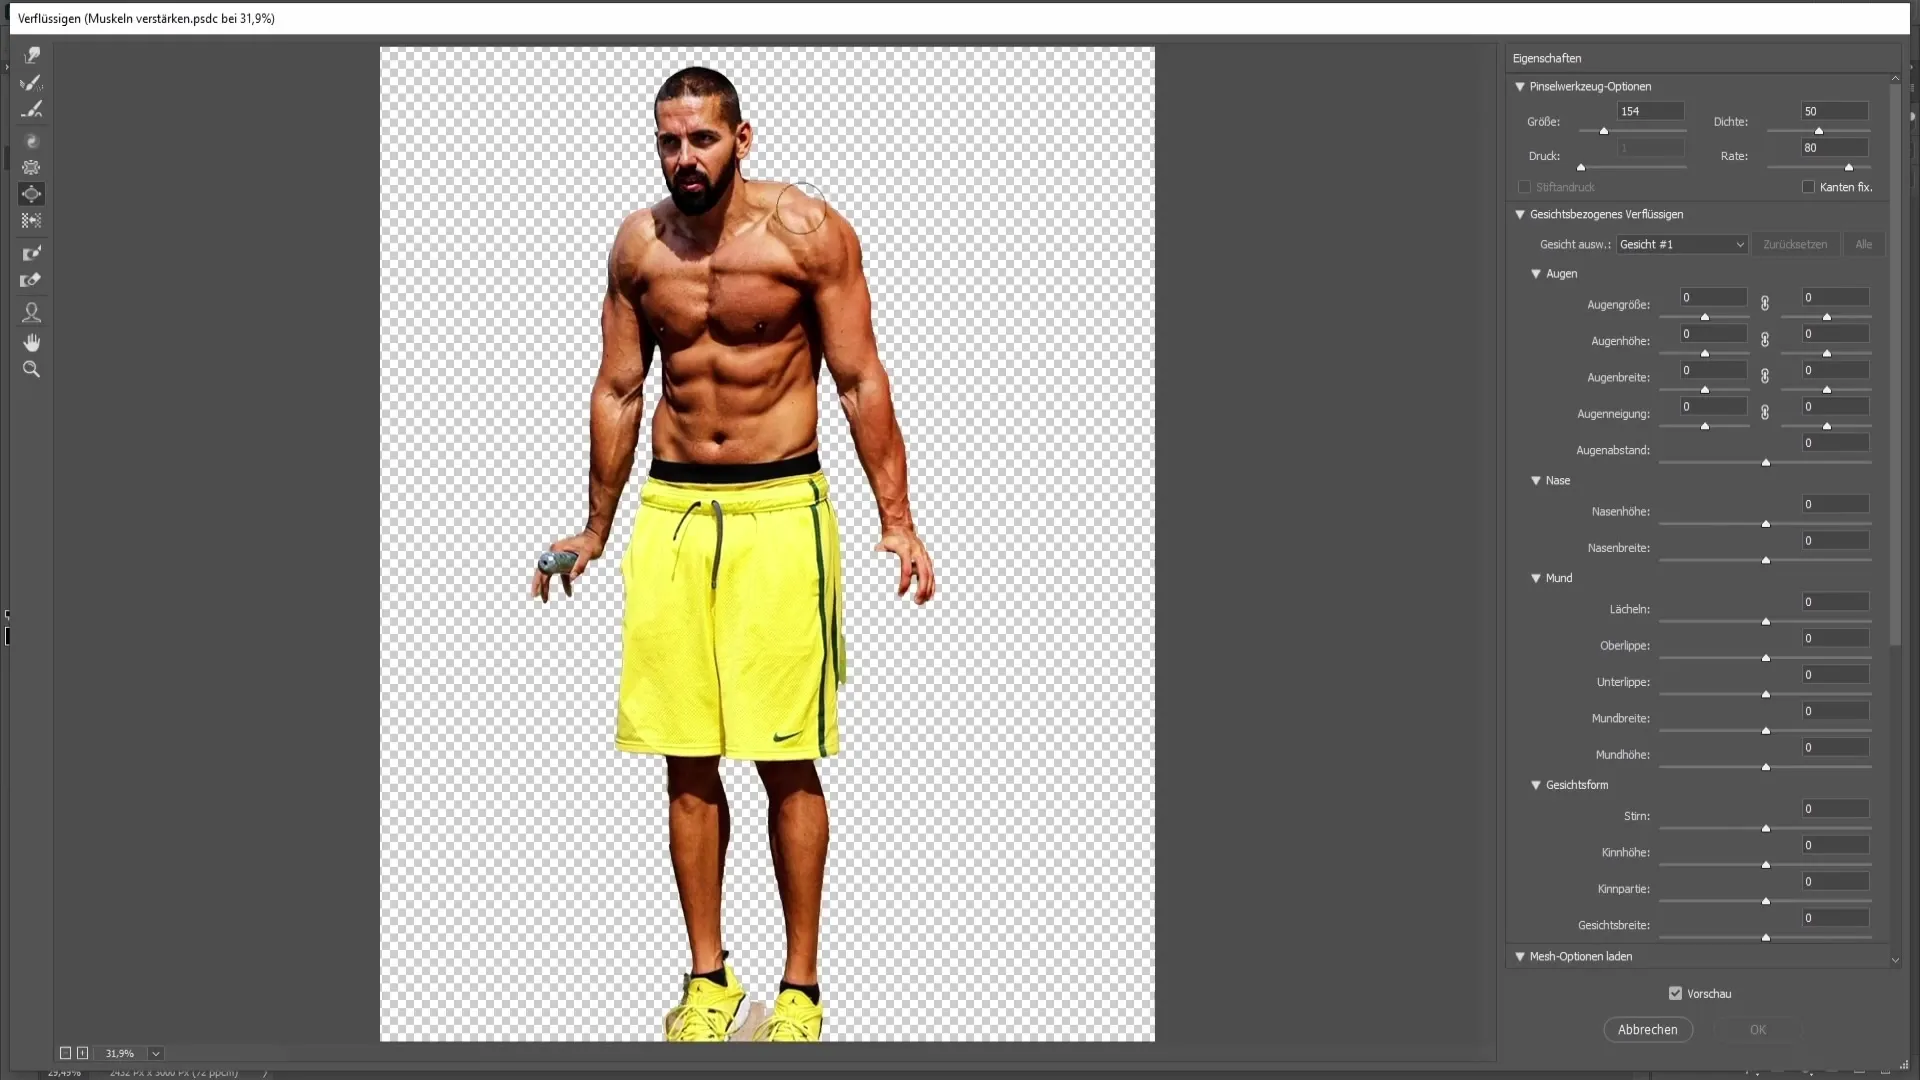
When inflating, gently pull on the muscles and make sure not to go beyond the limits. The goal is to enlarge the muscles without losing the naturalness of the figure.
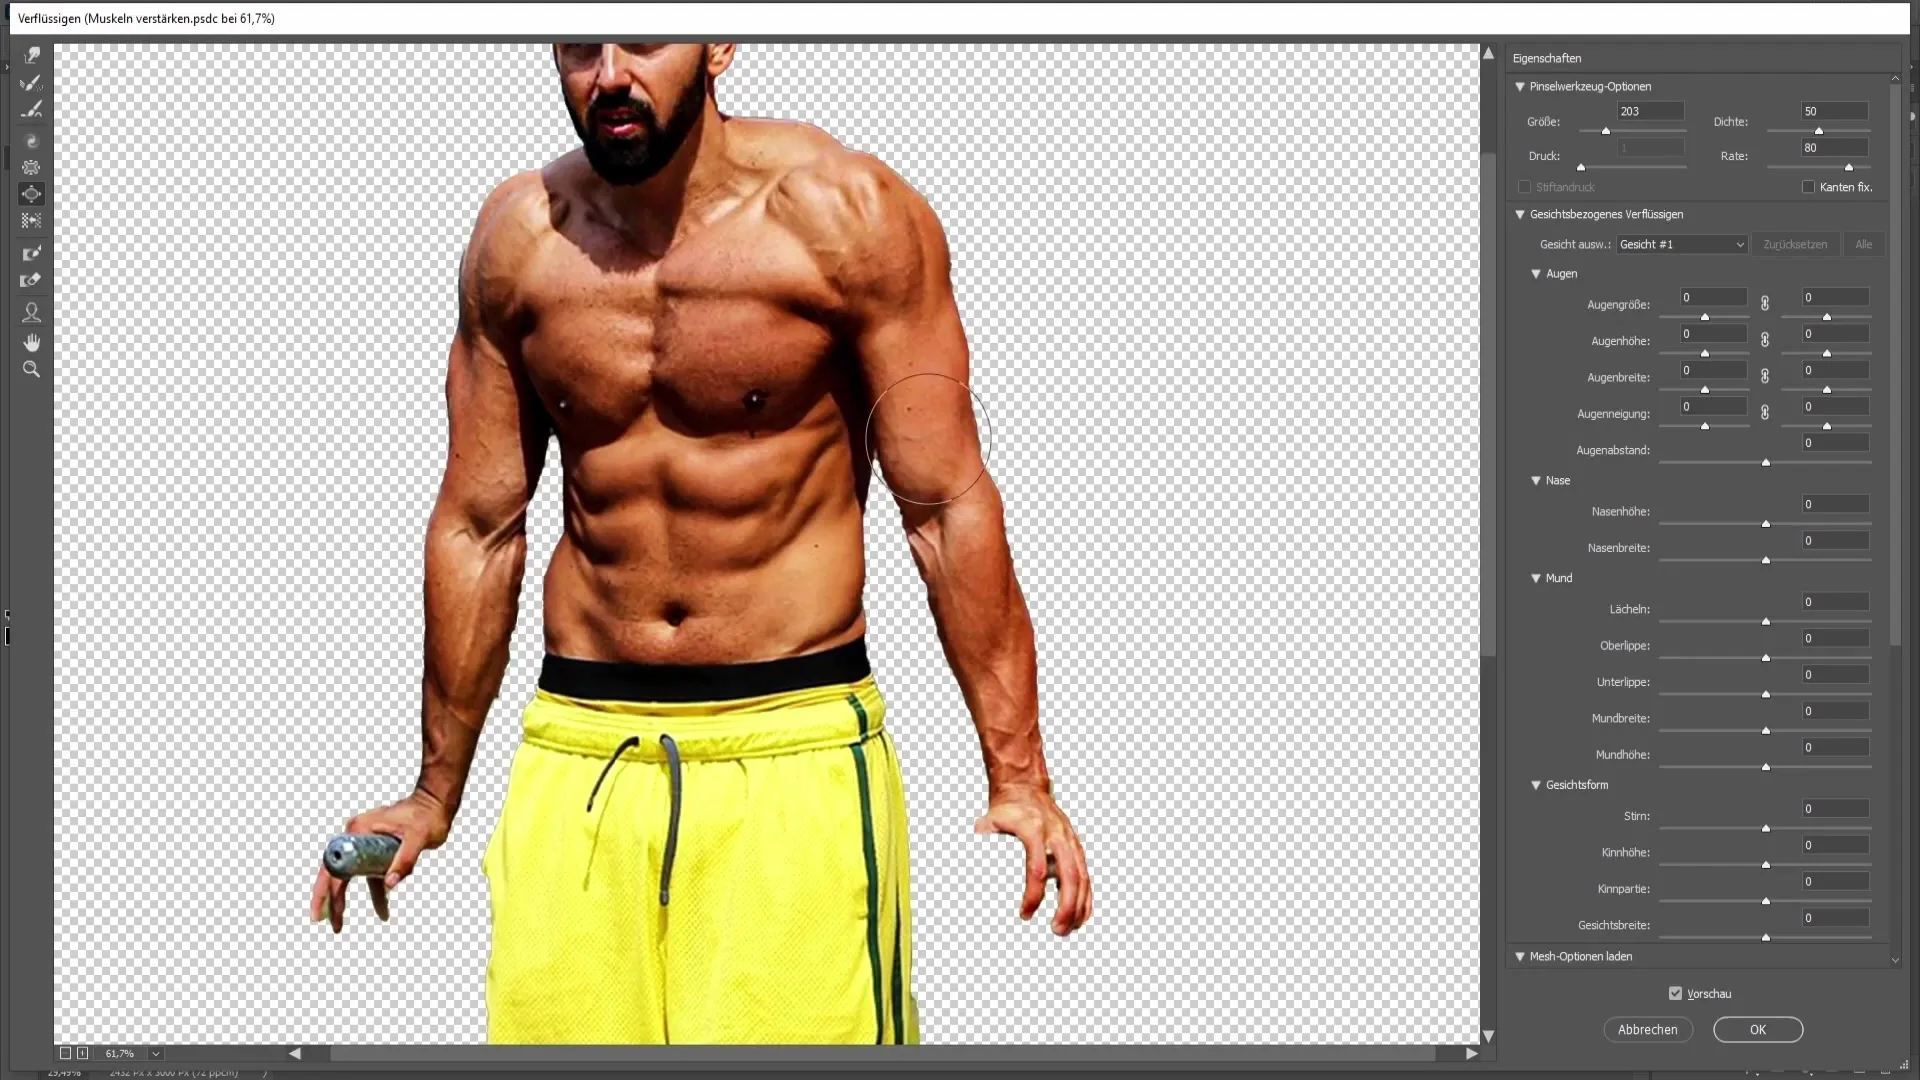
You can also use the "Pull" tool to subtly extend the muscles outward. Avoid pulling too hard to prevent the image from looking unnatural.
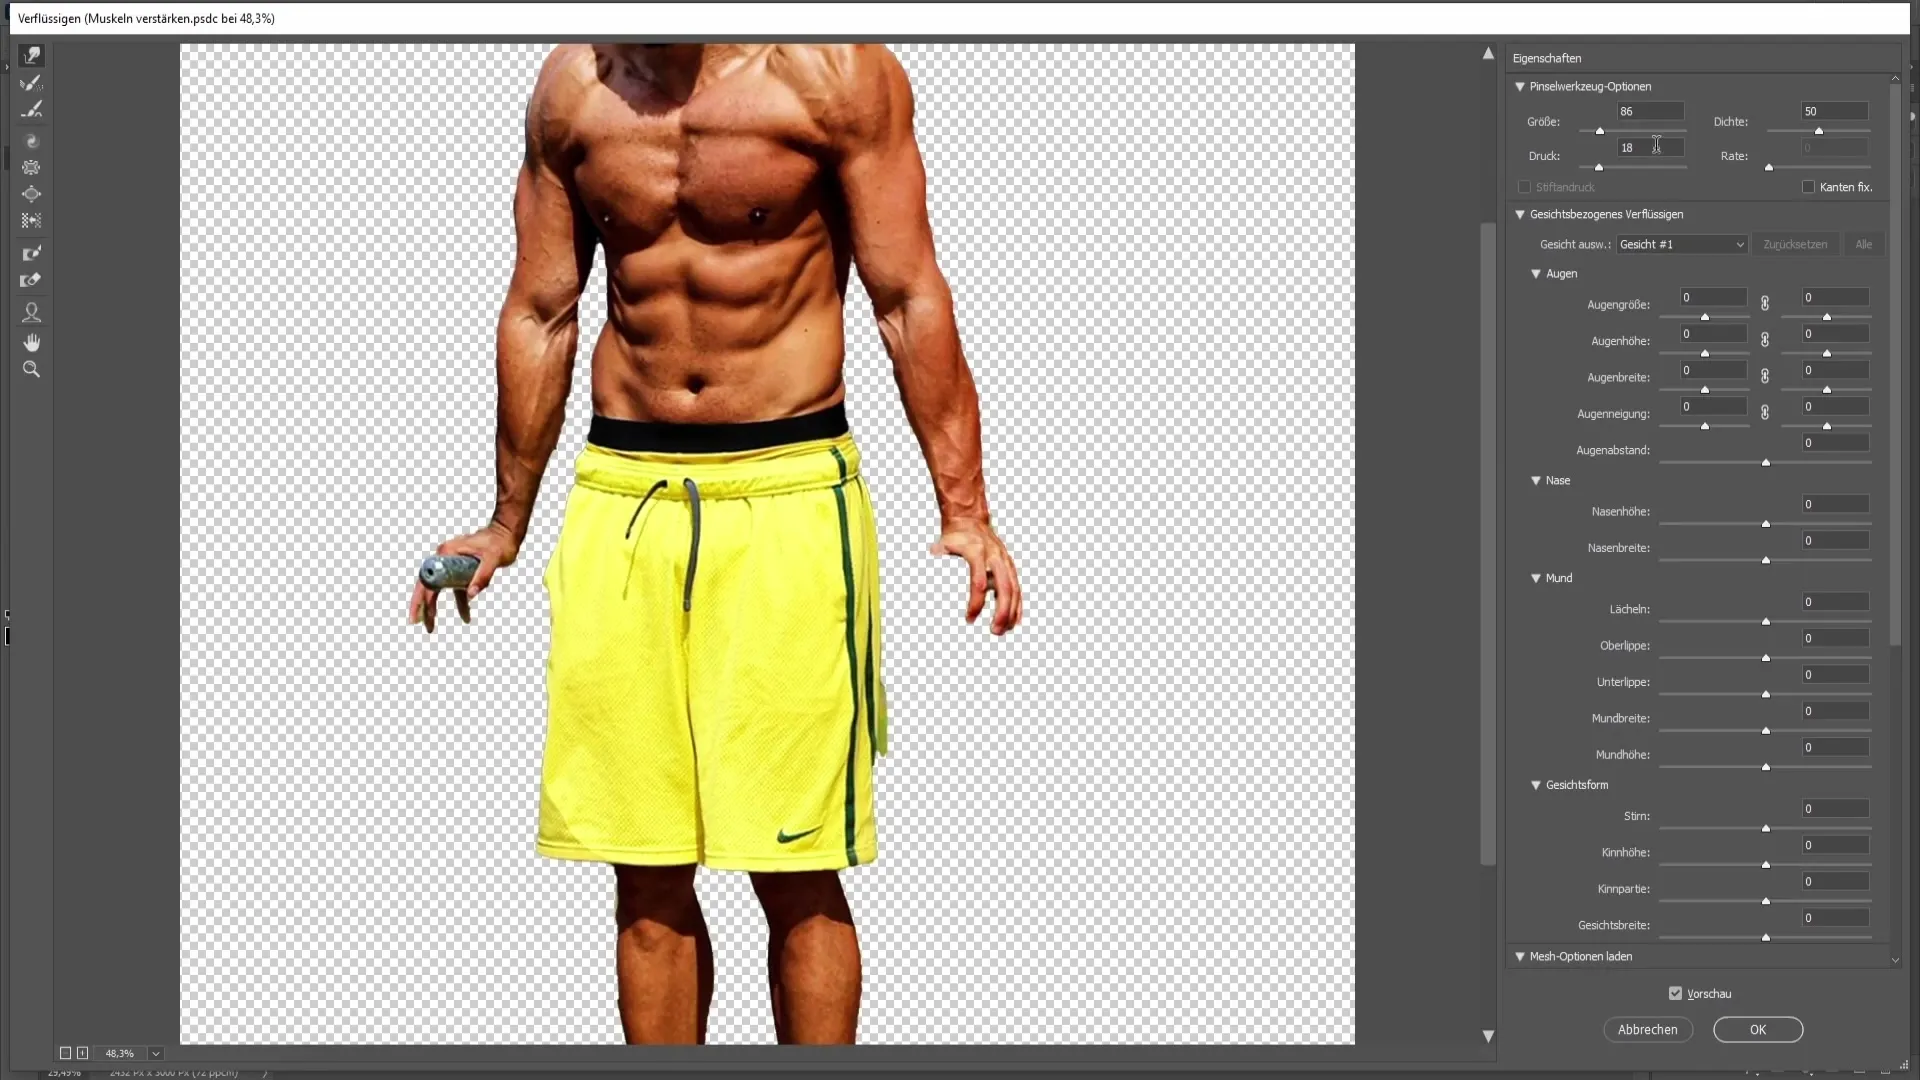
Once you have made all the desired adjustments, review the final result to ensure it is balanced. Make adjustments as needed to maintain proportions.
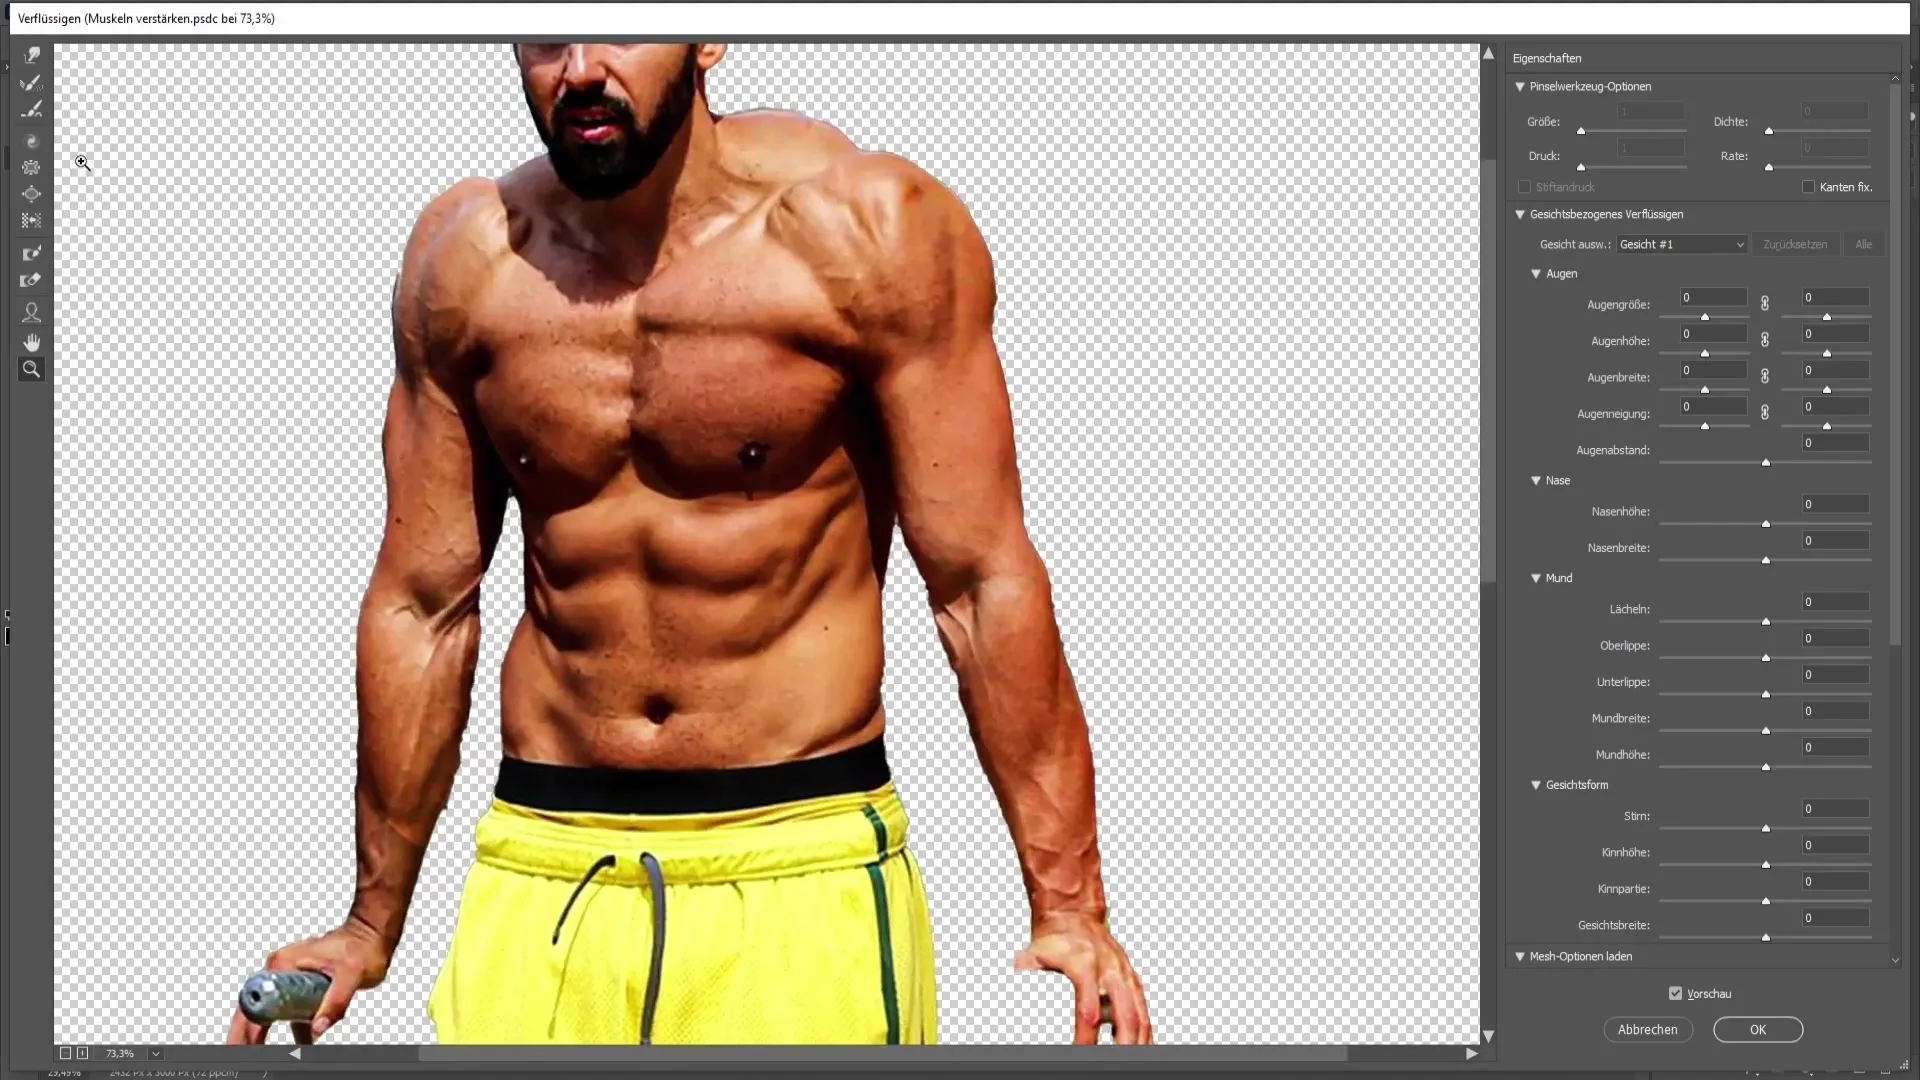
If you are satisfied with the final result, click "OK" to apply the changes and close the filter.
Summary
In this tutorial, you have learned how to enlarge and define muscles in Photoshop using various filters and design techniques. By using Smart Objects, the Camera RAW filter, and the Liquify function, you can achieve impressive results.
Frequently Asked Questions
What are Smart Objects and why are they important?Smart Objects allow for non-destructive work, so you can make adjustments later at any time.
How can I adjust saturation without making the skin appear unnatural?If the skin is already tanned, you should not increase the saturation. A slight increase can help with paler skin tones.
Can I adjust the muscles without using the Camera RAW filter?Yes, but the Camera RAW filter provides many powerful tools to help you clearly define the musculature and increase contrast.


