In this guide, I will show you how to create a passport photo independently and easily using Adobe Photoshop. You will need some basic tools and a bit of creativity. Step by step, I will explain what you need to do to achieve a professional result.
Main Findings To create a correct passport photo, you need: a suitable photo, a white or monochrome background, a suitable template, and a bit of patience when selecting and adjusting the image. With Photoshop, you can edit the image specifically and optimize it for your purpose.
Step-by-Step Guide
First, you need a photo that you want to use as the basis for your passport photo. For best results, I recommend taking the photo against a white background. This makes it easier to later select the image.
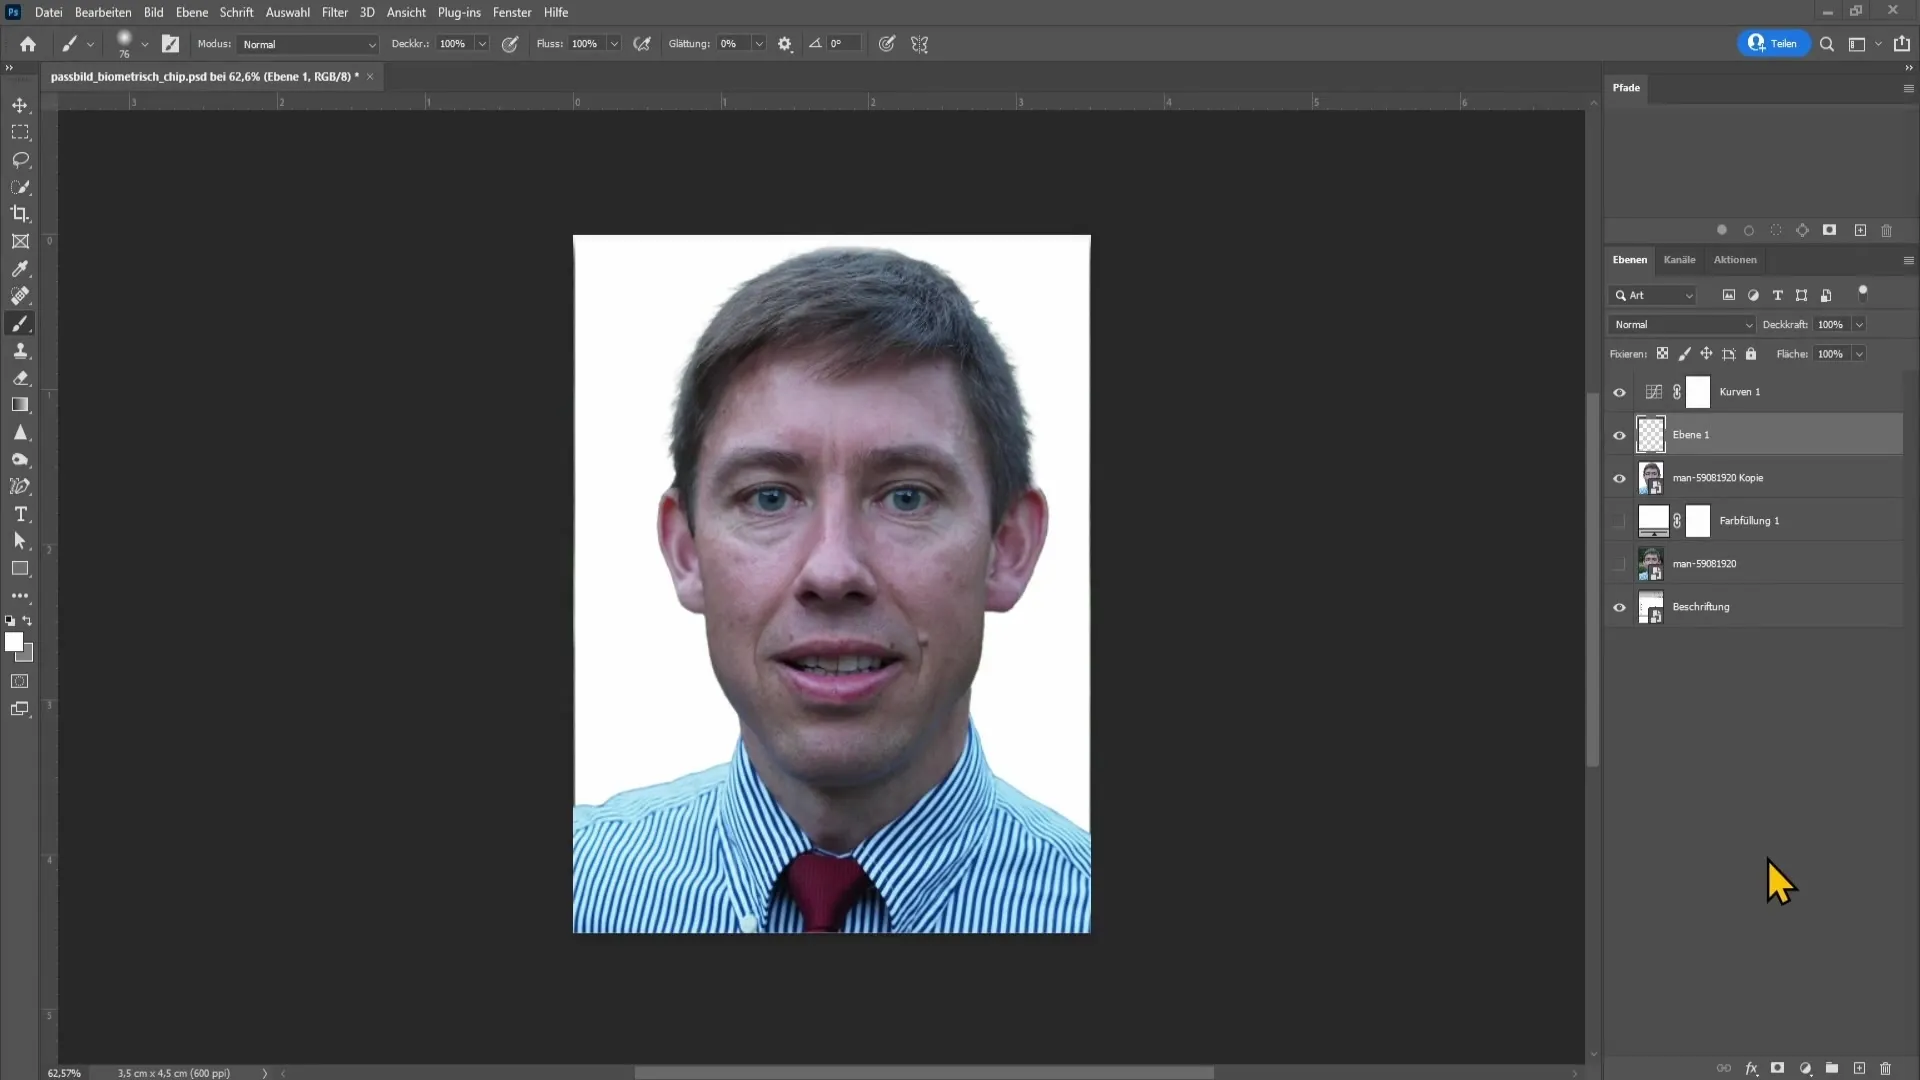
If you don't have a white background available, make sure that the background of the photo is monochrome and clearly differentiated from your face. This makes it easier for Photoshop to clearly distinguish your face from the background.
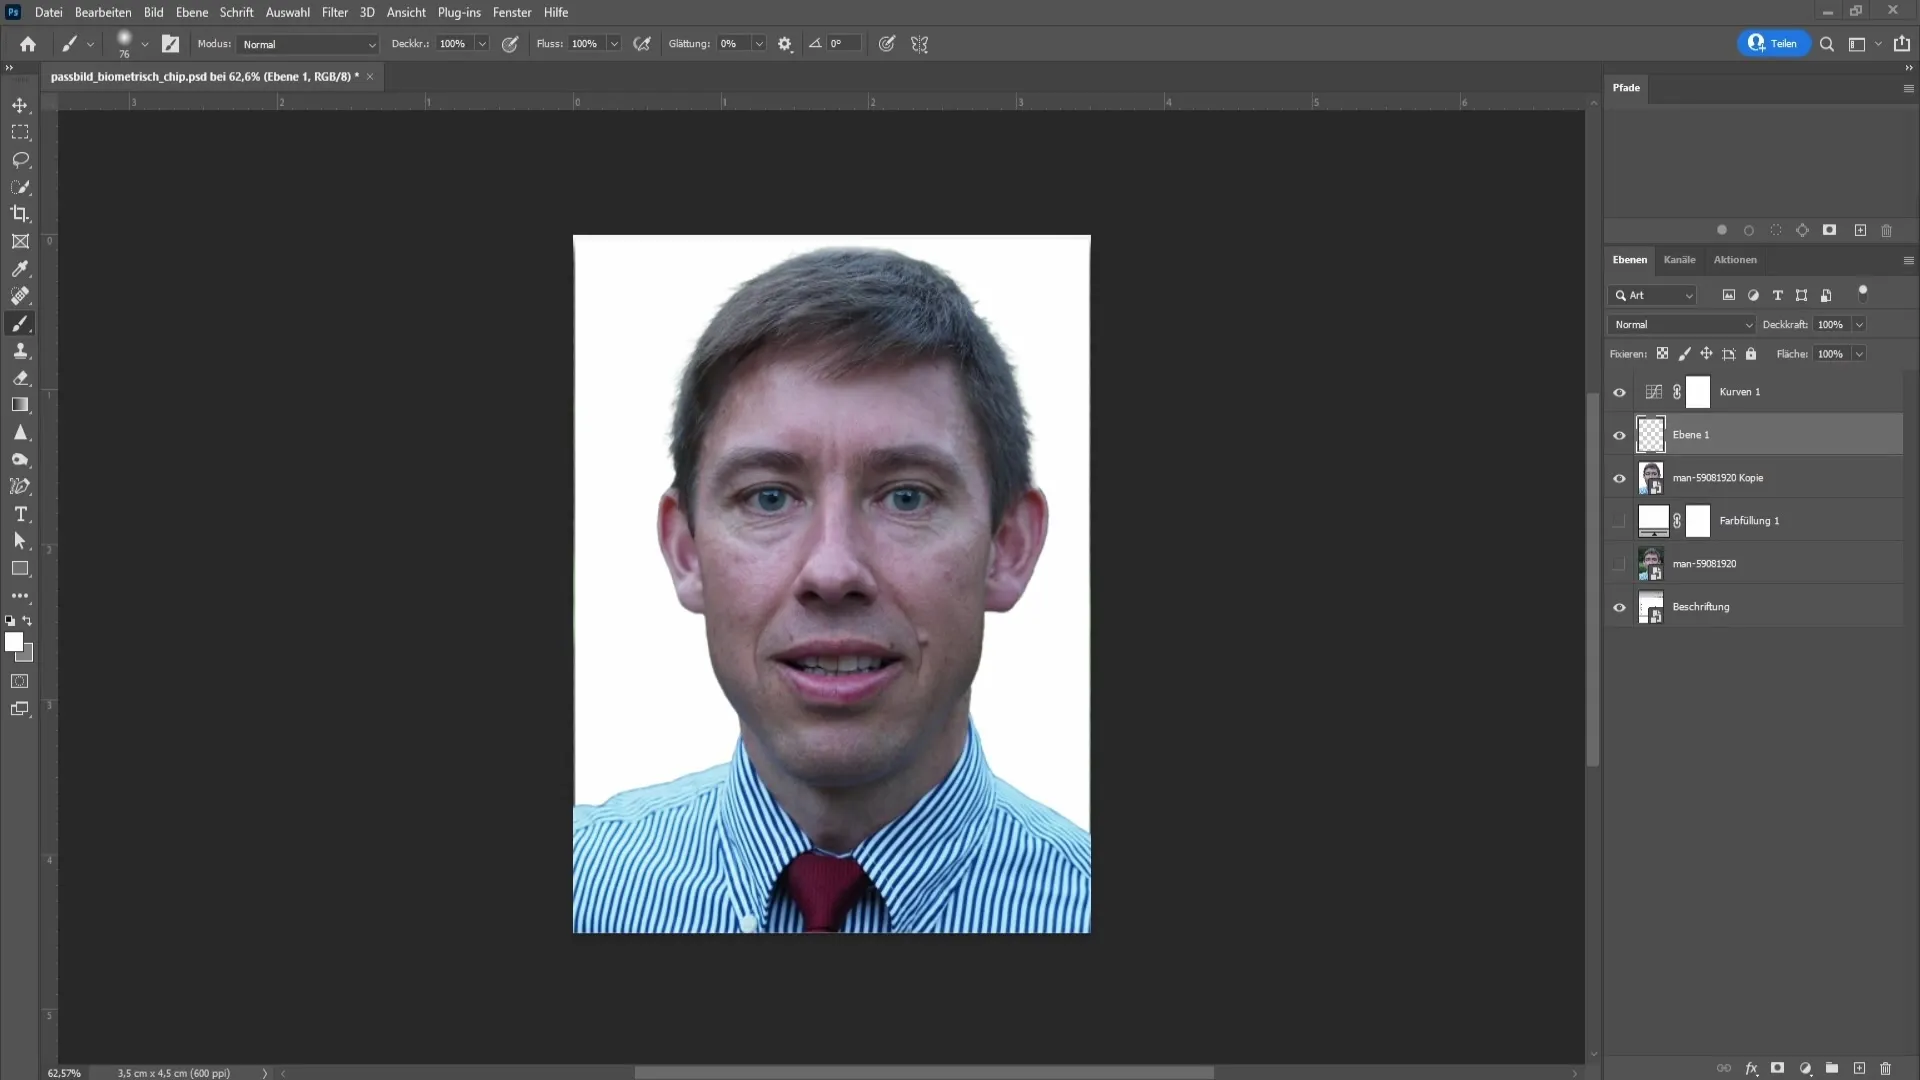
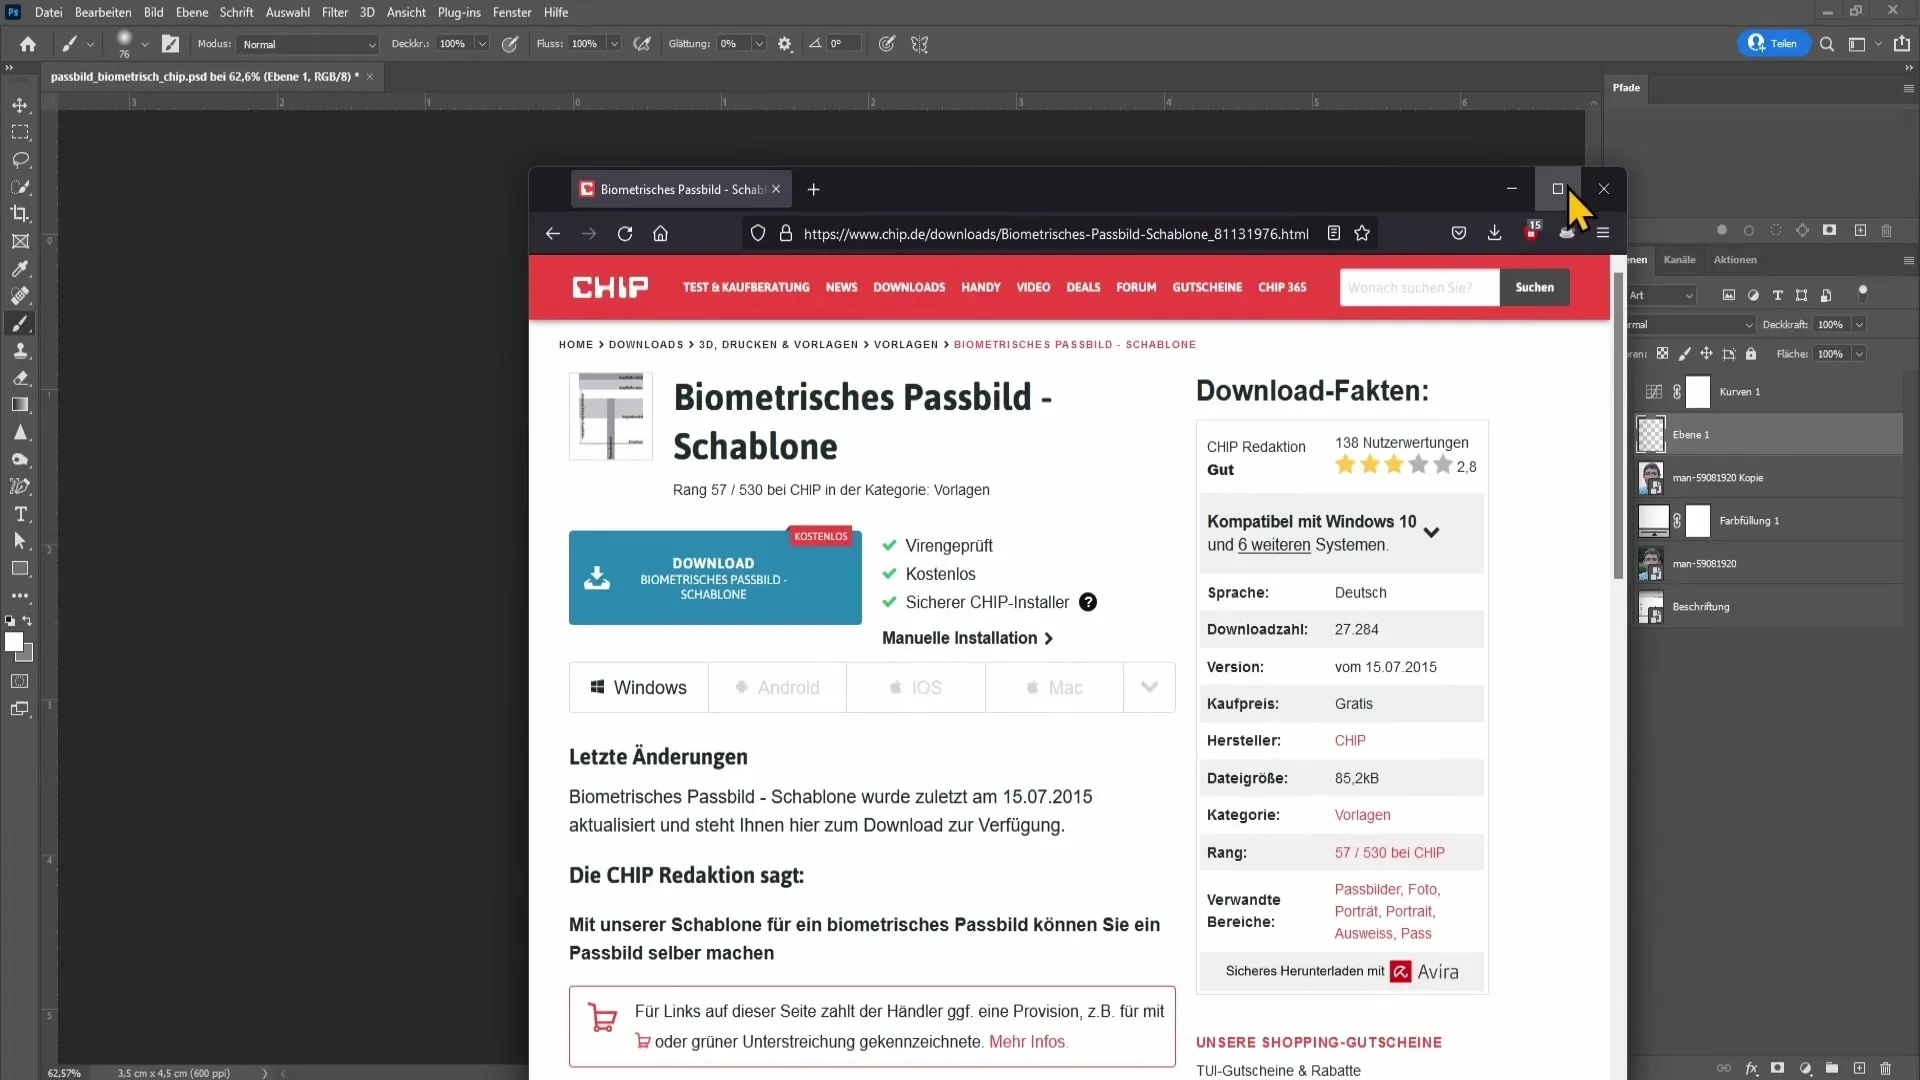
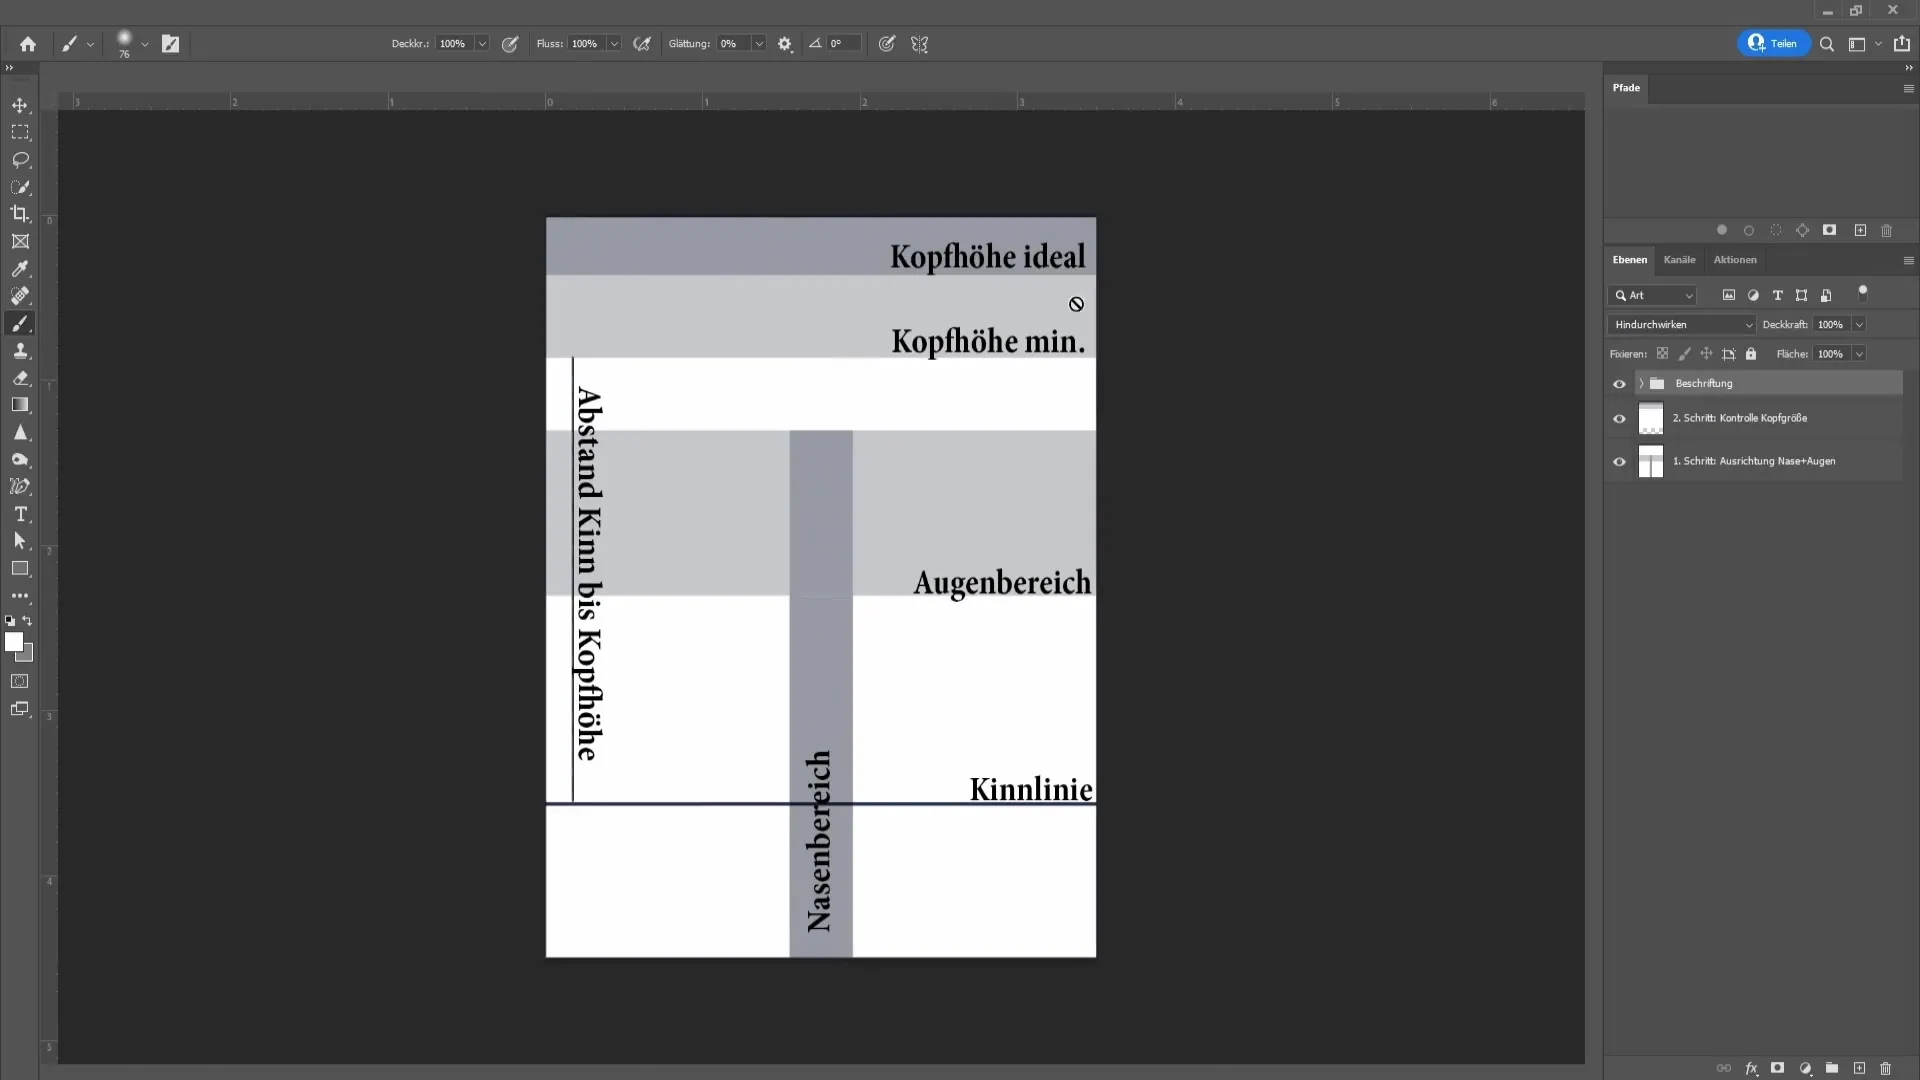
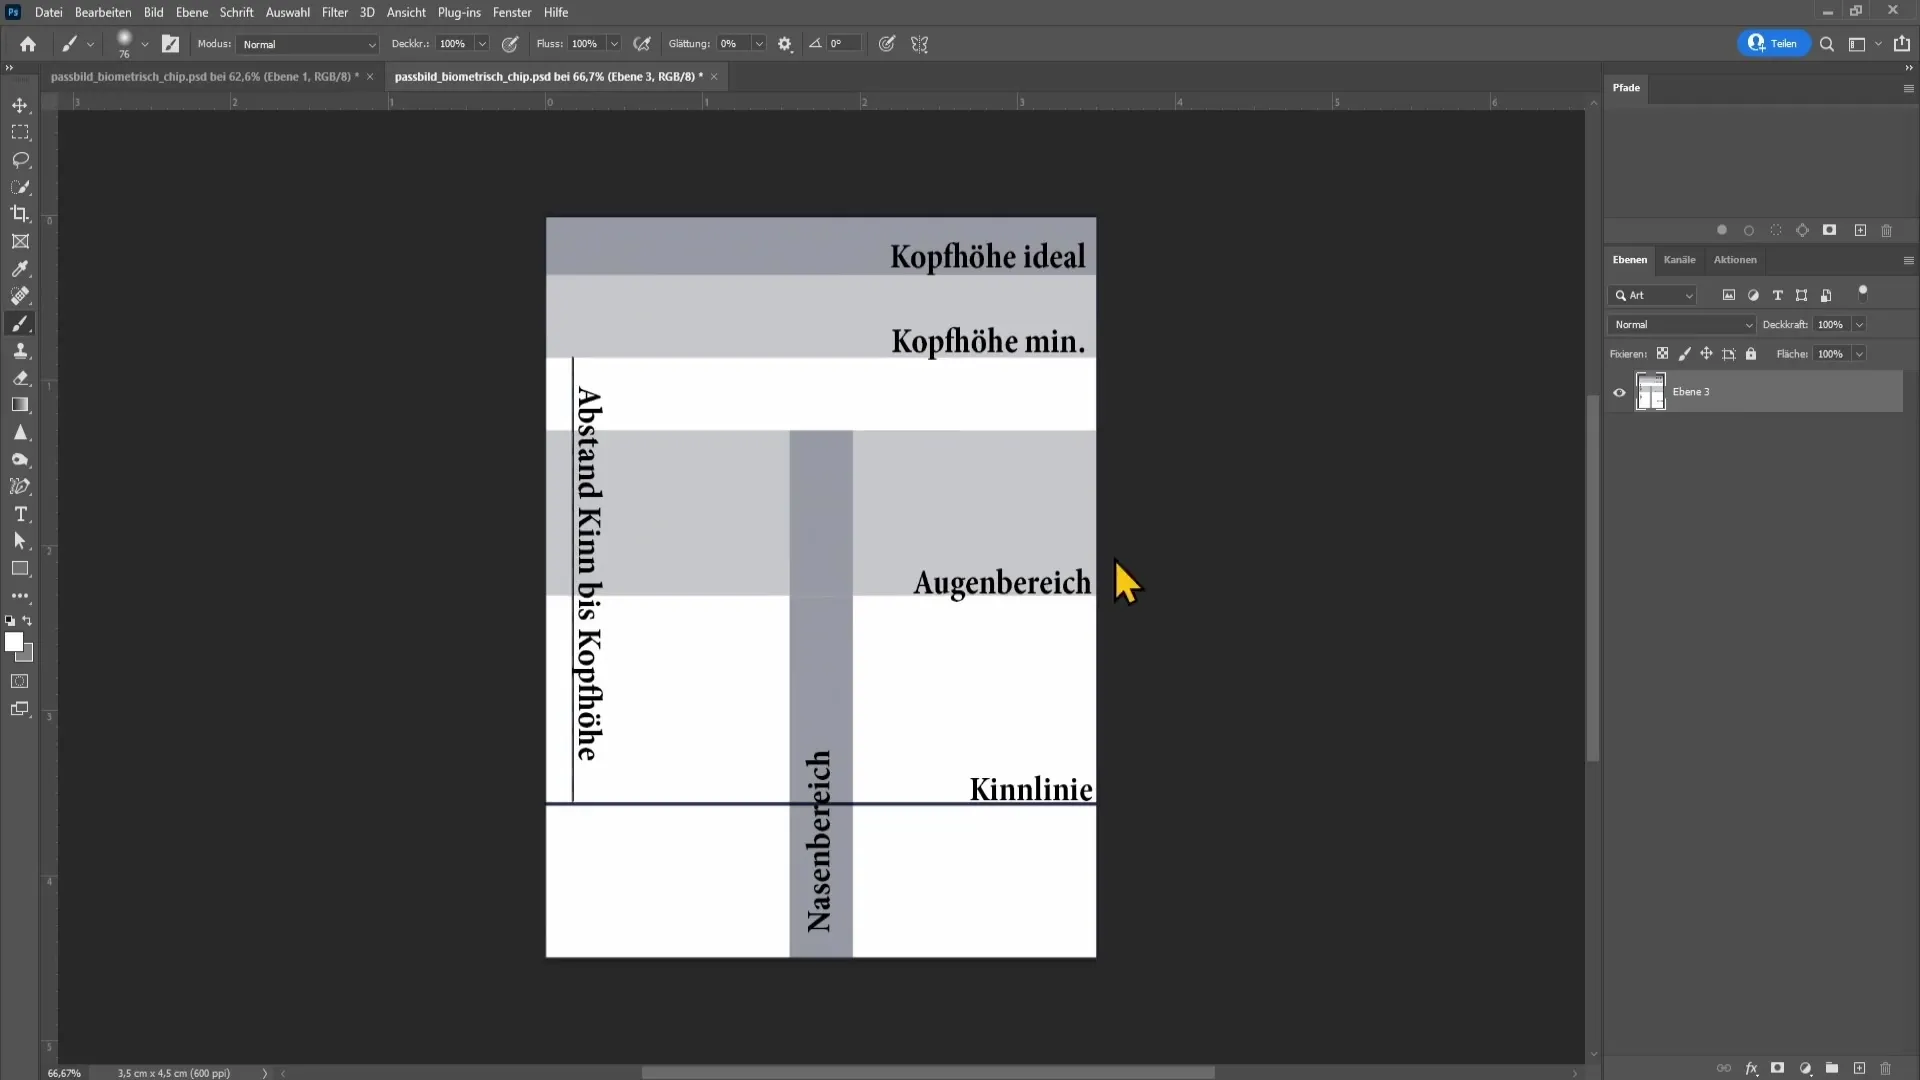
In addition, you need a template that provides the necessary dimensions for your passport photo. You can download such a template for free from the Chip website. This template is in PSD format, which means you can easily open it in Photoshop.
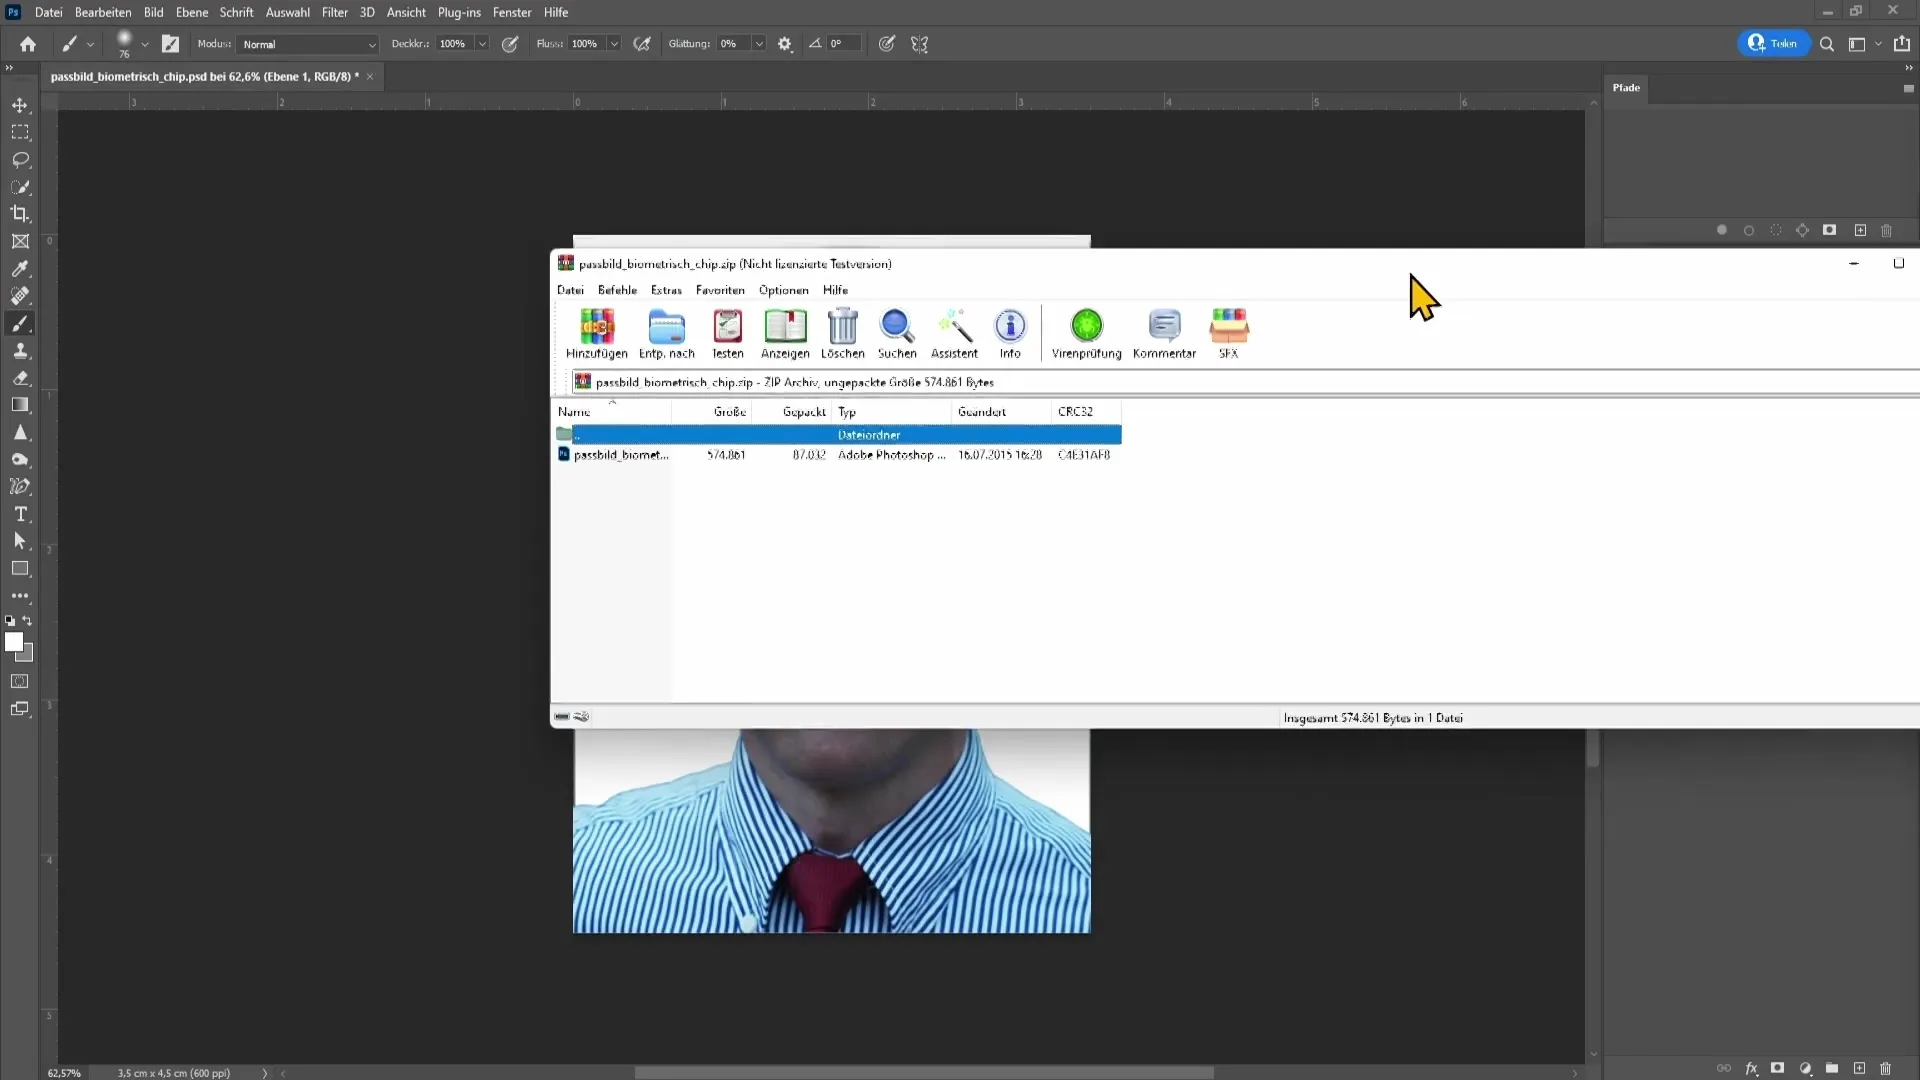
After downloading the template, you should unpack the file. To do this, drag it to your desktop while holding the mouse button. After unpacking, open the file in Photoshop by right-clicking on it and selecting "Open with Adobe Photoshop".
Once the file is open in Photoshop, reduce the layers to a single layer to make the work easier. You can do this with the key combination Control + Alt + Shift + E.
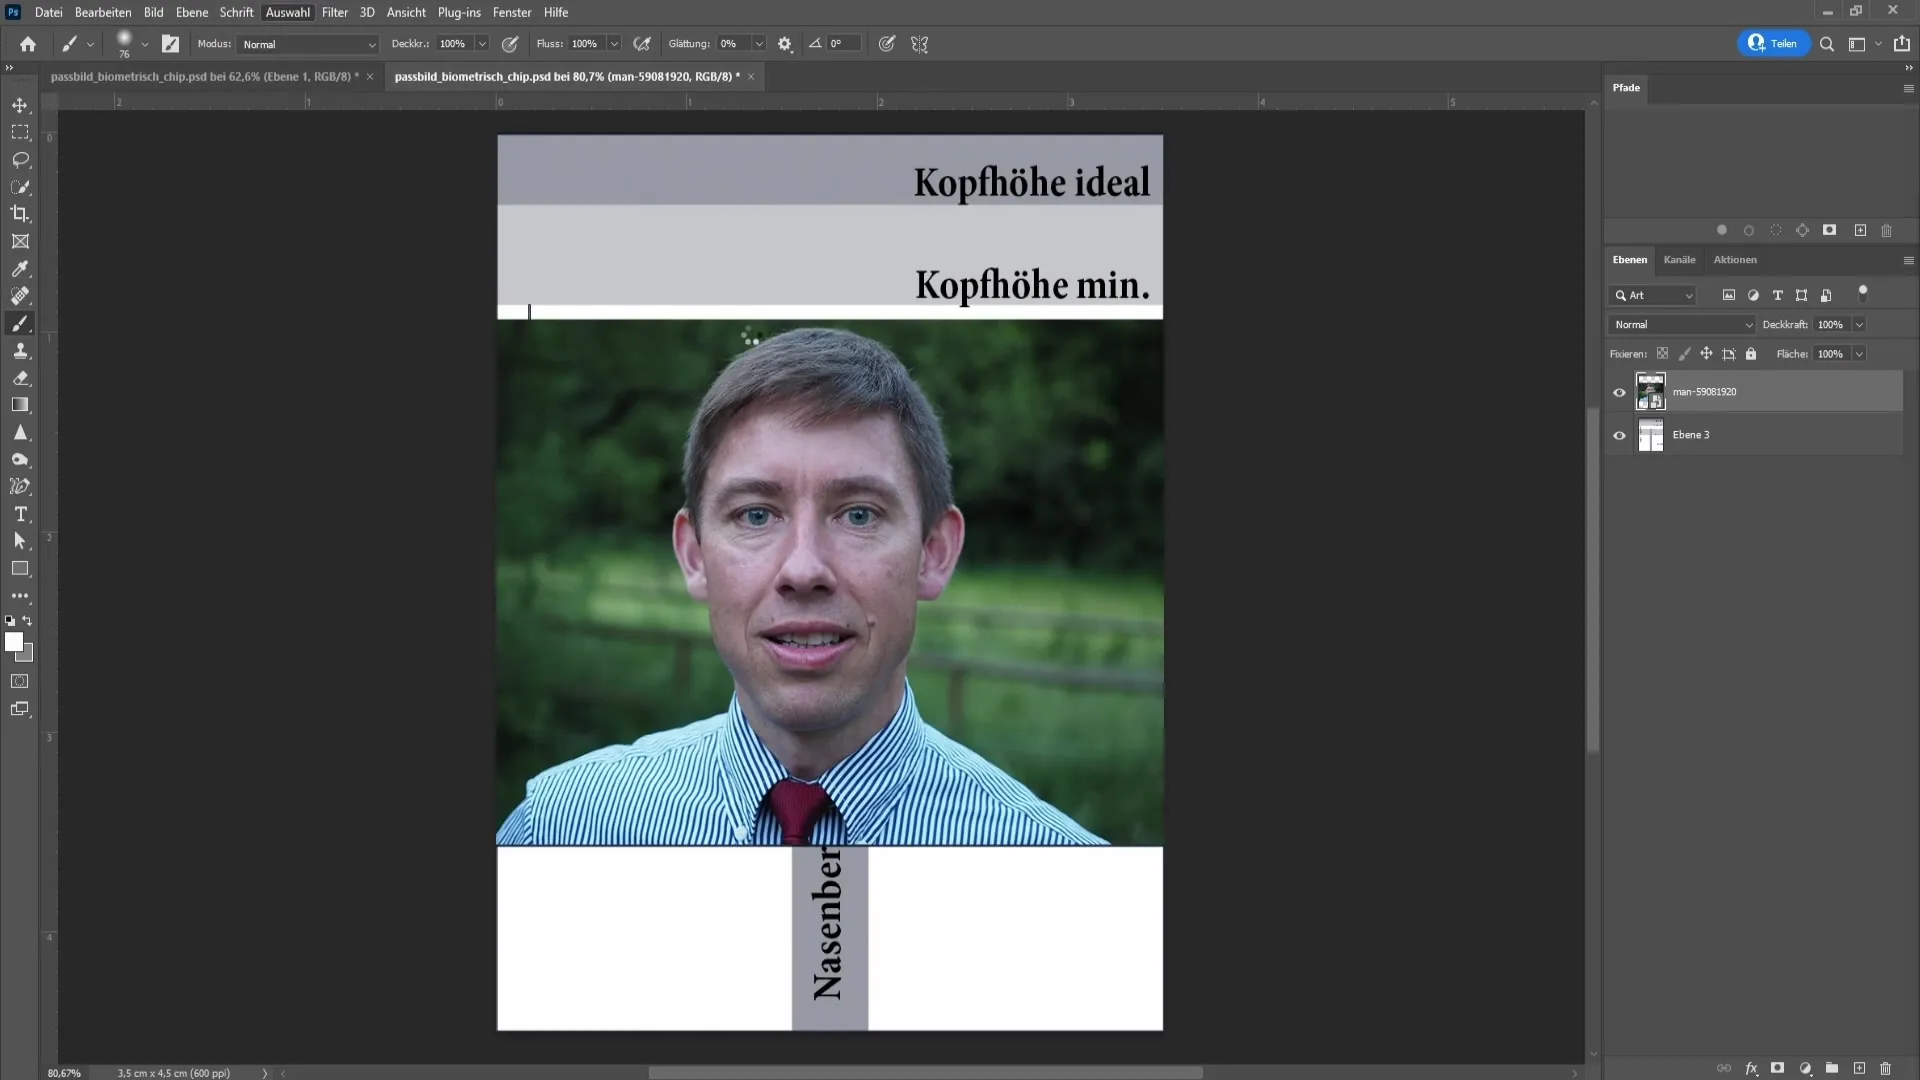
Now you can import the personal photo. Minimize Photoshop a bit to access the photo on your desktop, and then drag it into the Photoshop window while holding down the left mouse button.
To select the person in the image, go to the "Select" tab and choose "Subject". Photoshop will automatically make a selection of your person. In older versions, this can also be done using the Quick Selection Tool.
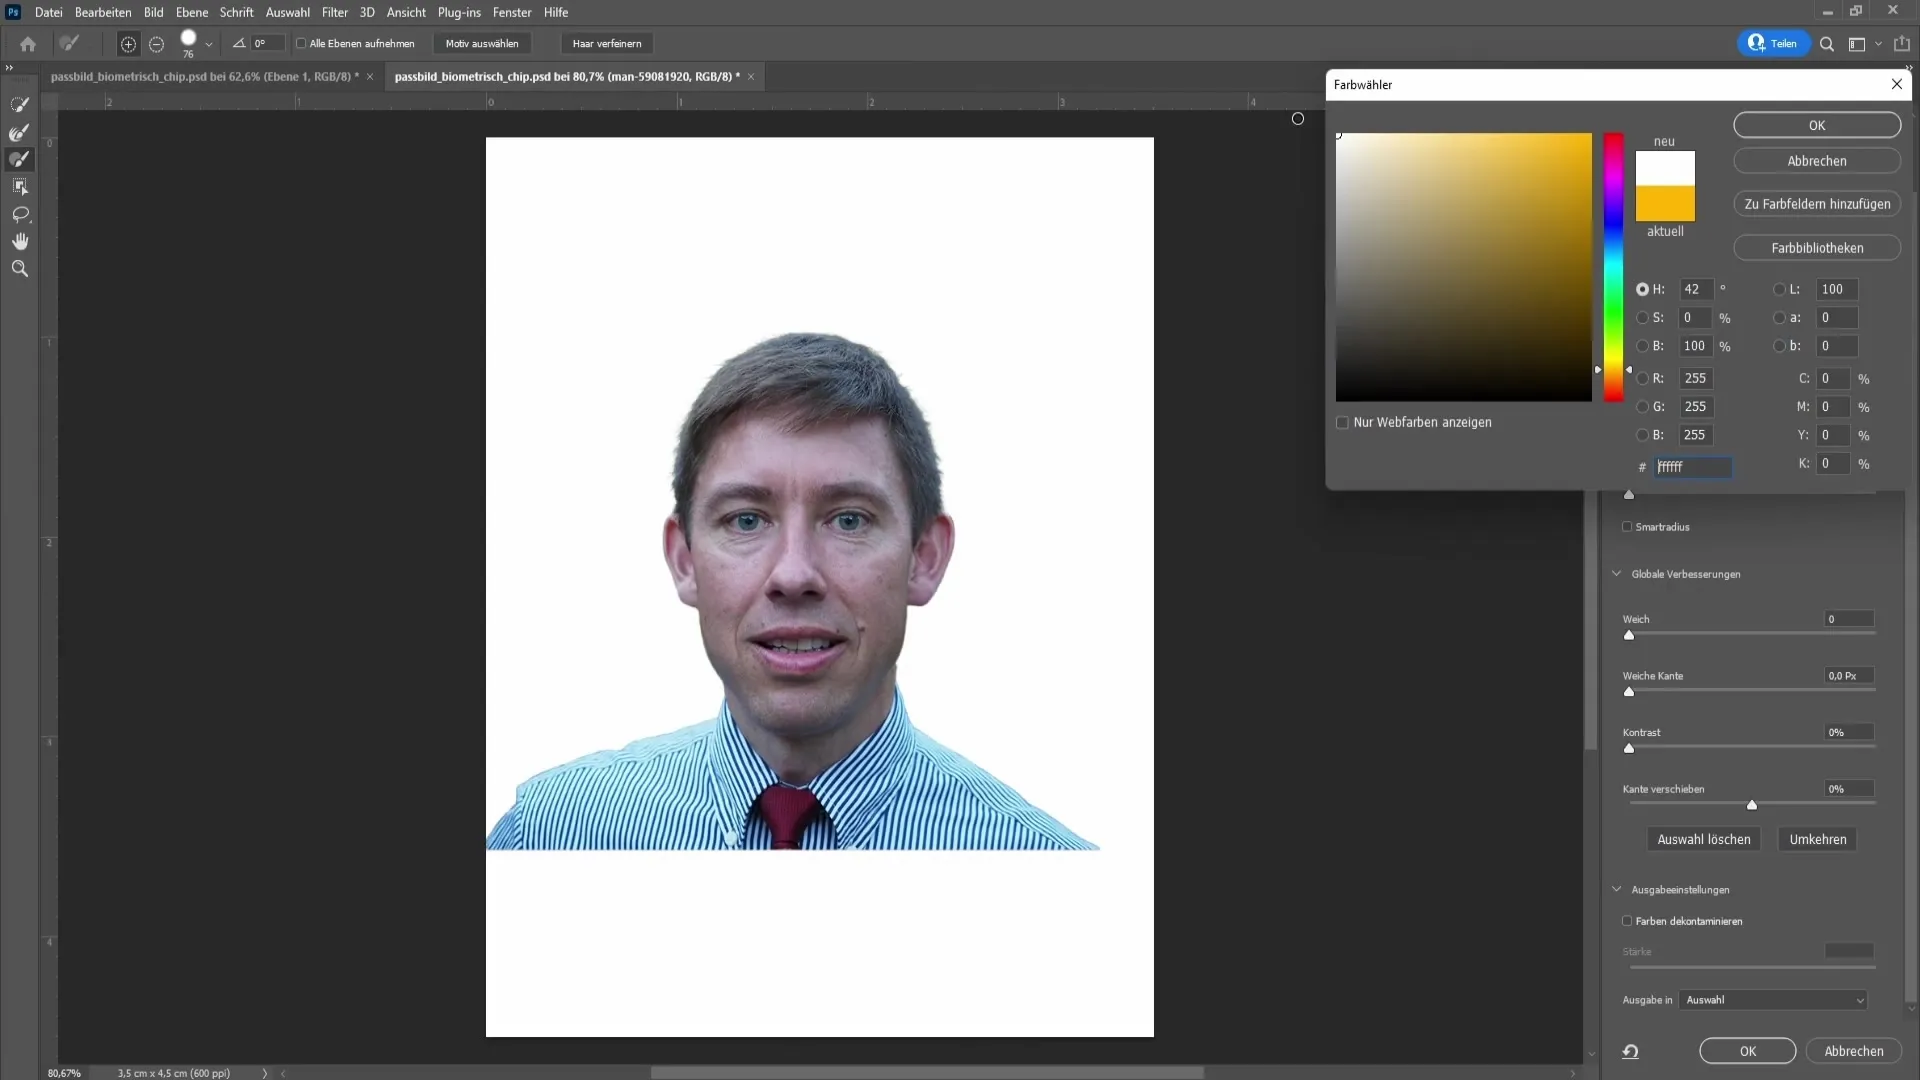
After making the selection, go back to "Select" and click on "Select and Mask". Here, choose a white background color to ensure that the image can be tested on a white background.
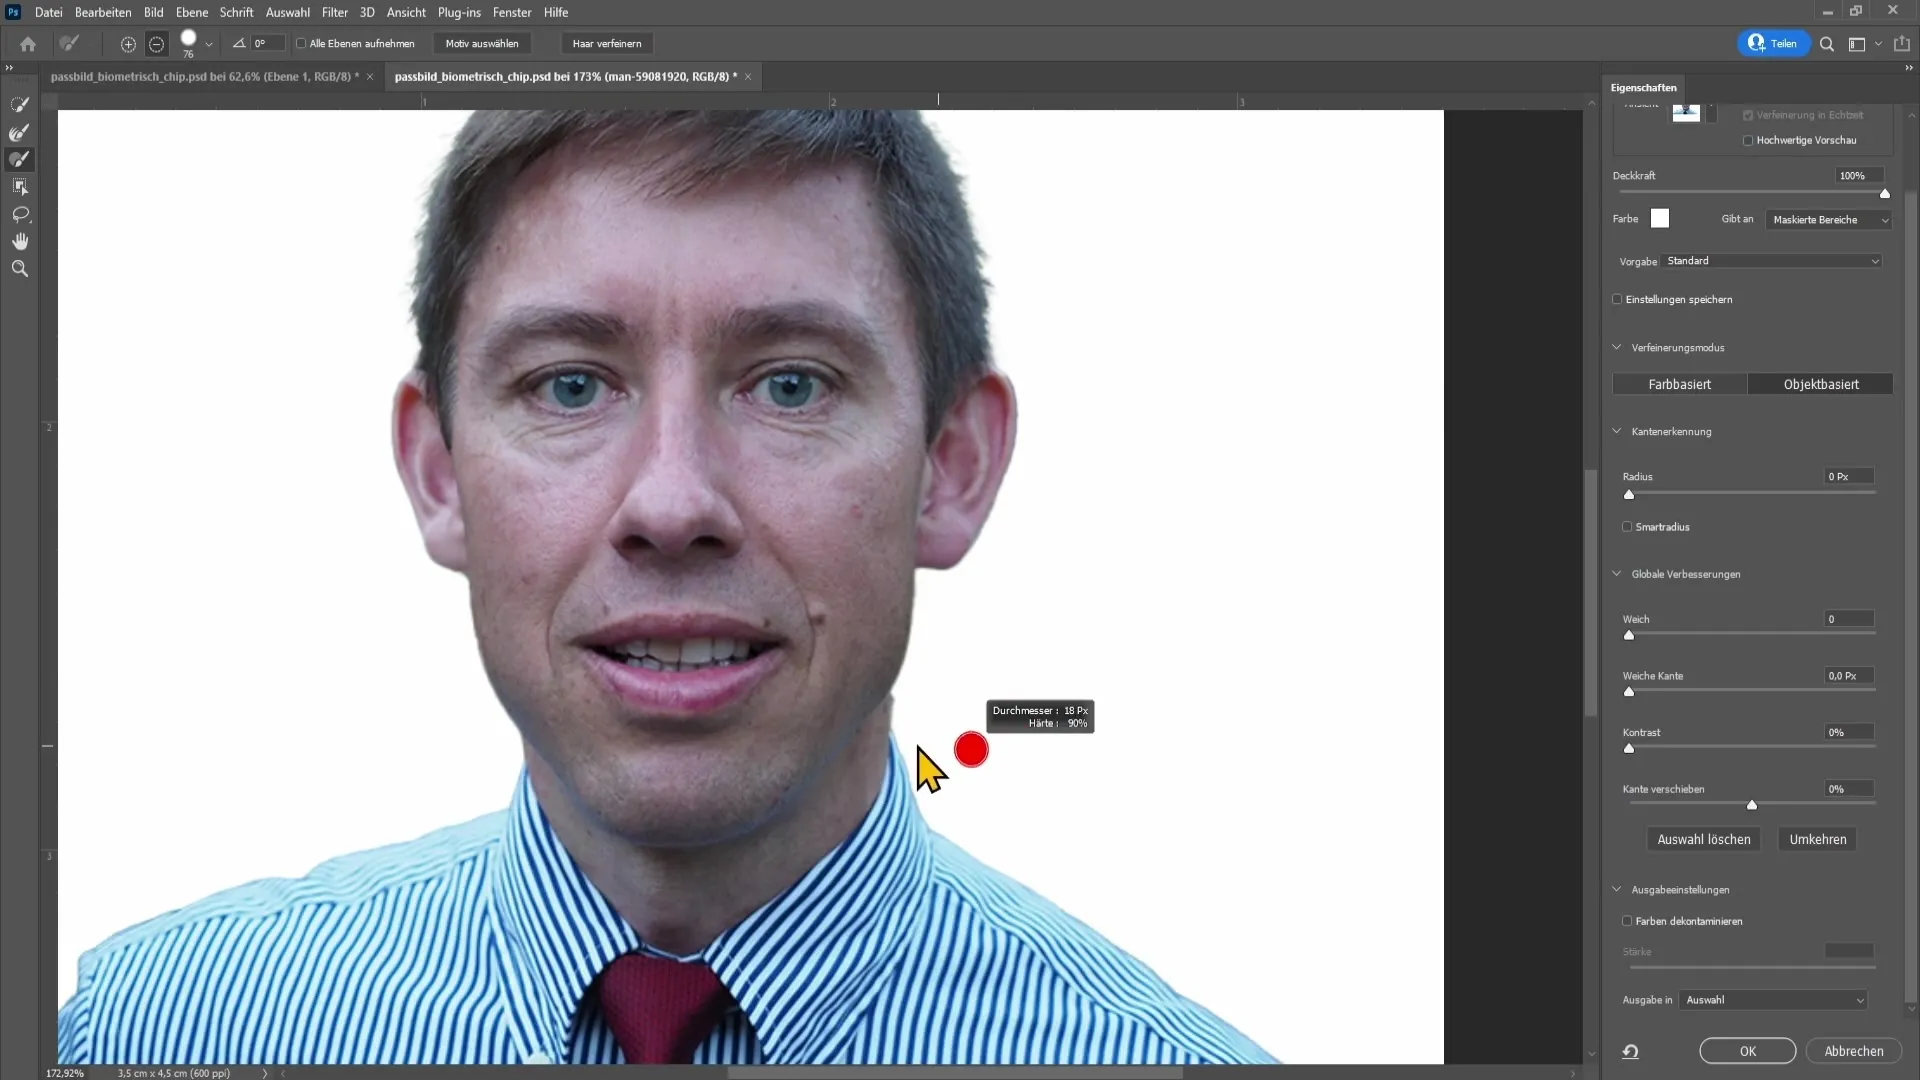
Now it's time to refine the edges. Use the Edge Refine Brush Tool to edit and optimize any rough edges. If you have a newer Photoshop version, you can also use the "Refine Hair" button.
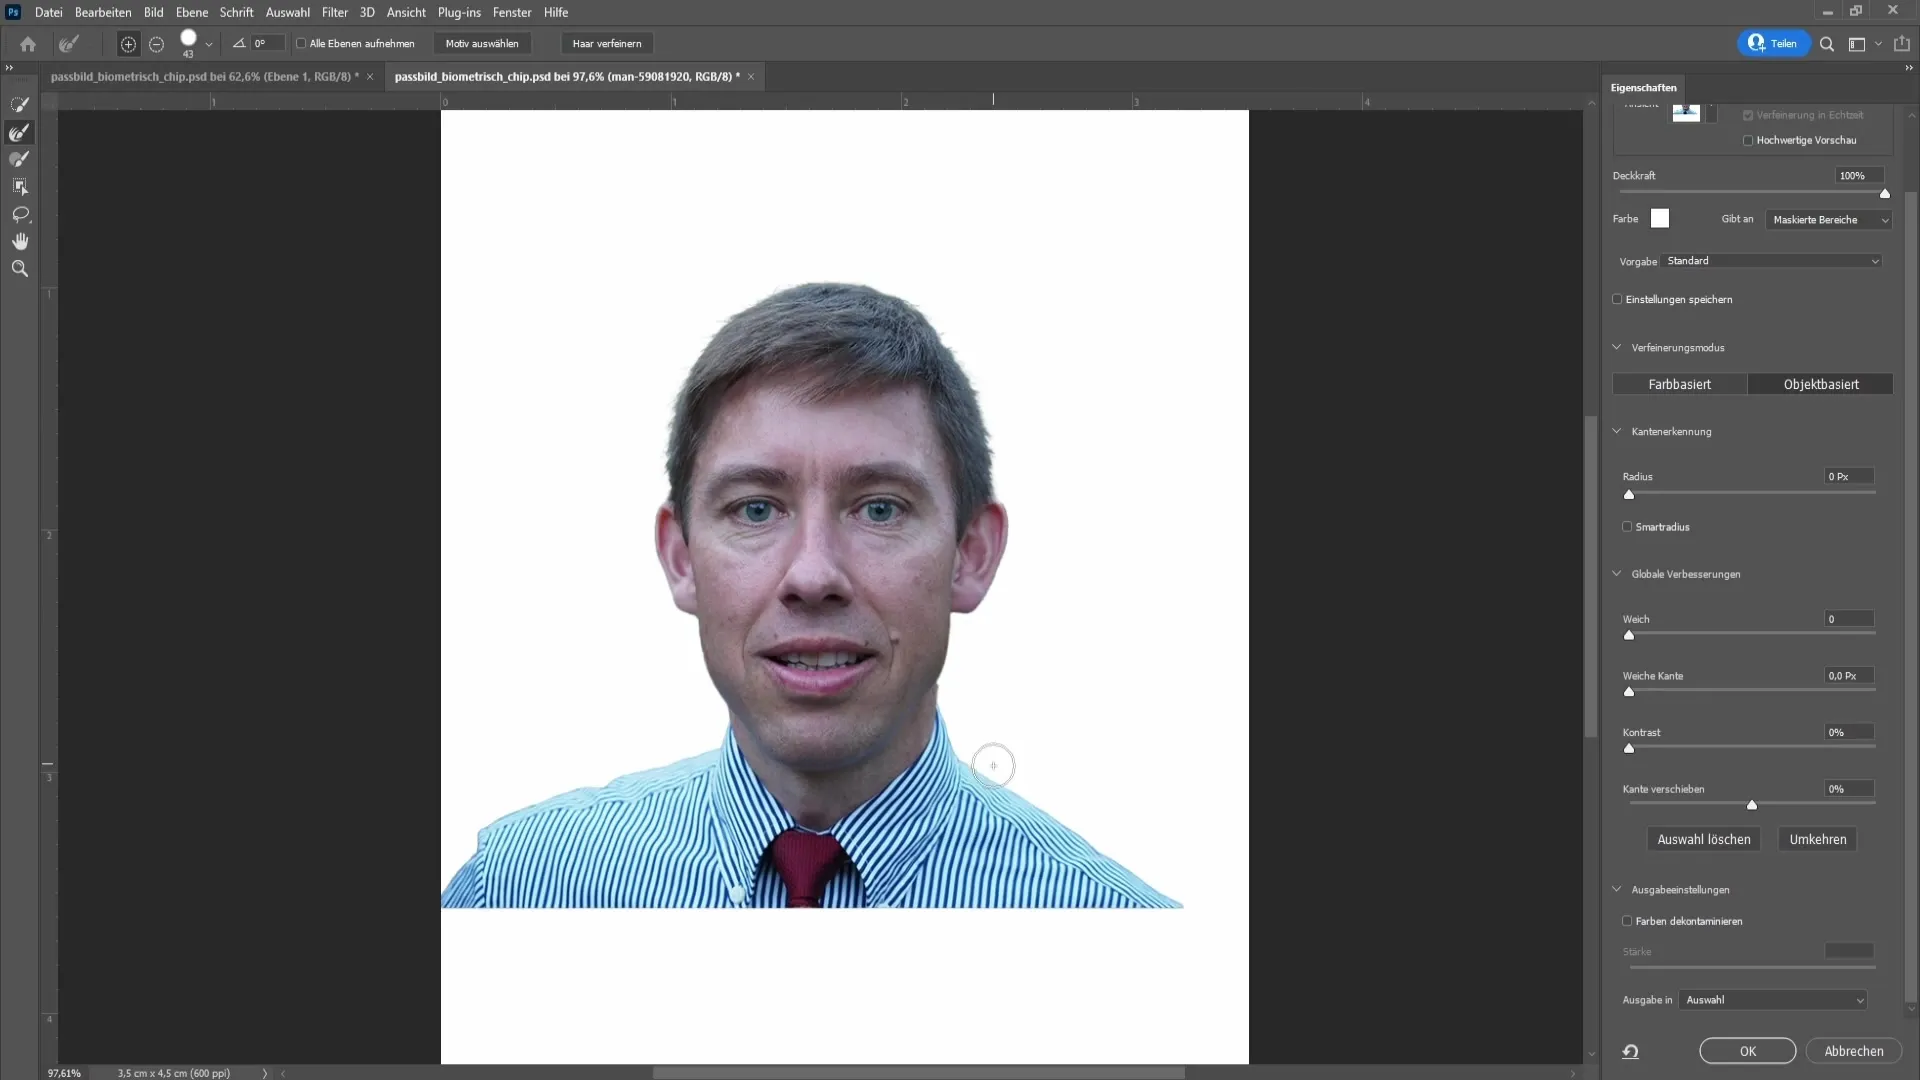
If some areas are not correctly selected, you can use the brush tool to make additional corrections, especially for hair or edges.
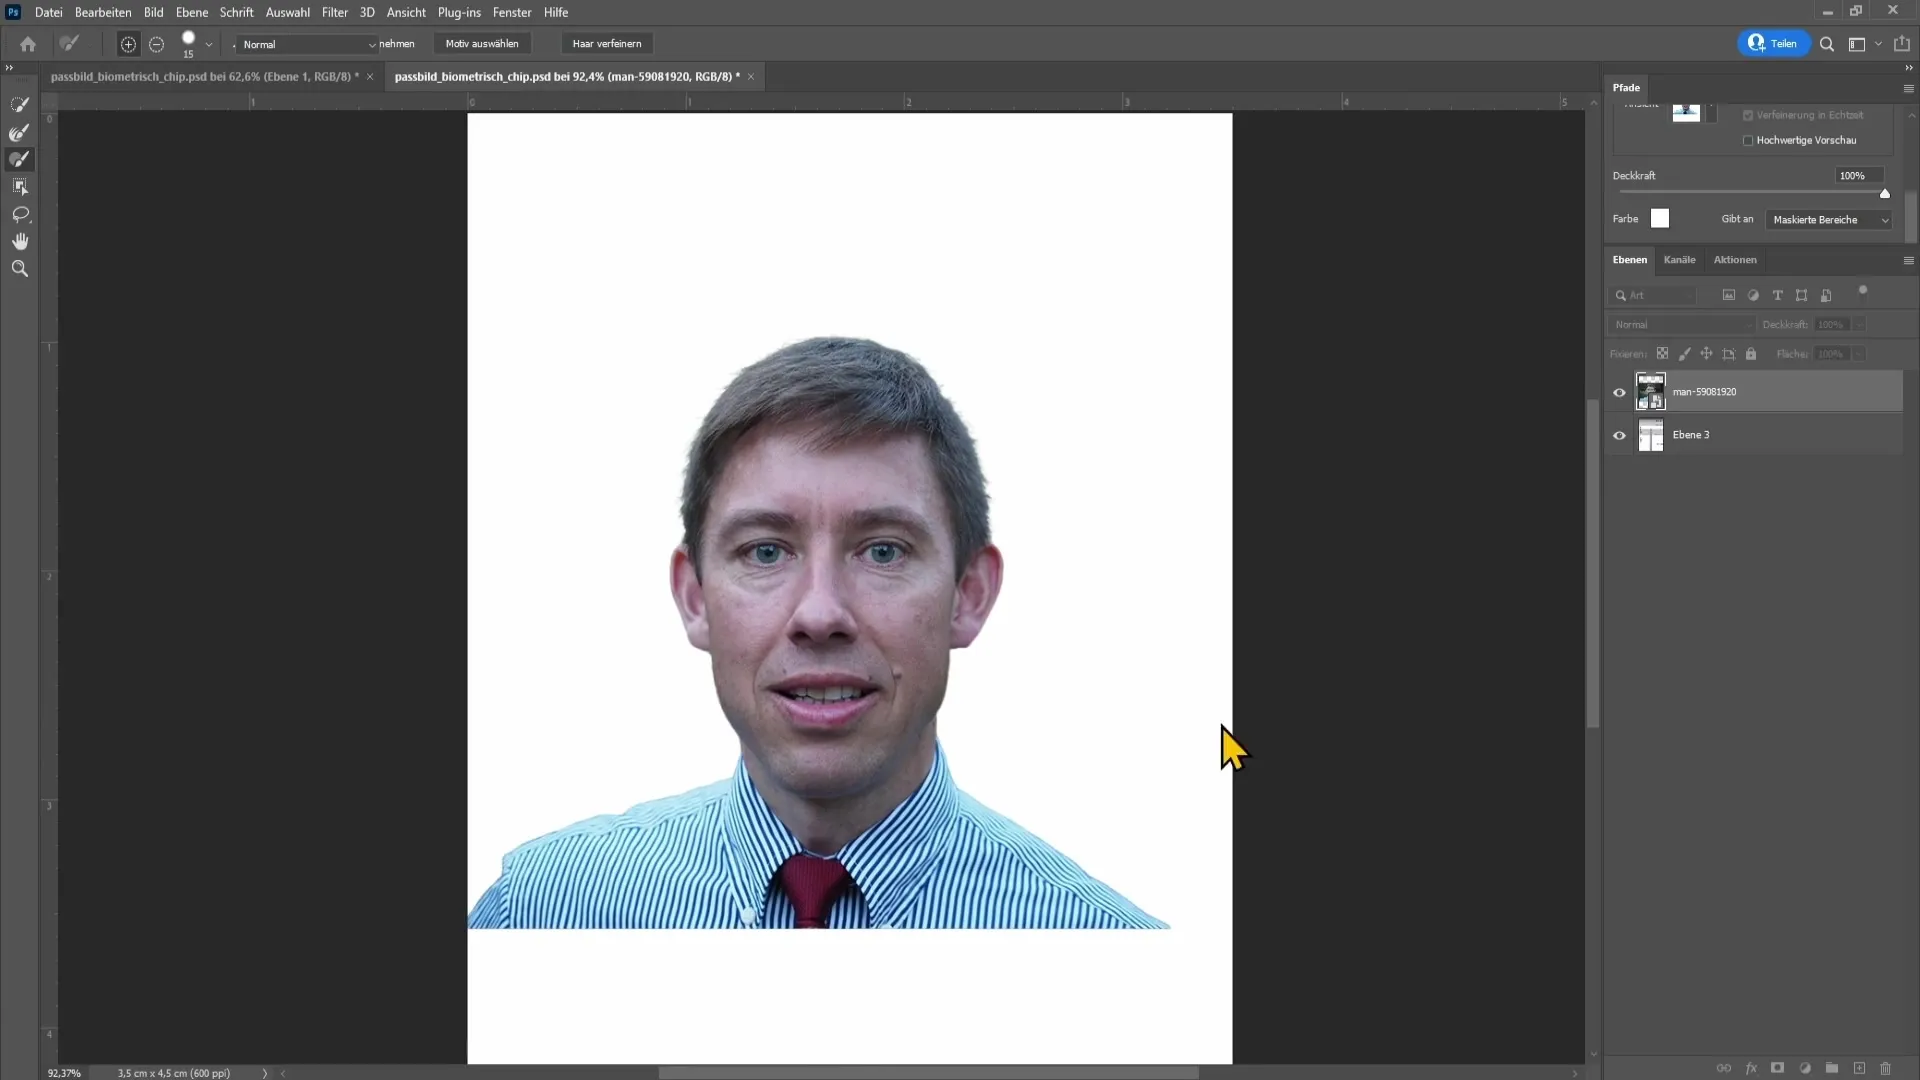
Once you are satisfied with the selection, you can output the selection to a new layer. To do this, go to “Output To” and select “New Layer”. Confirm with “OK”.
Now you place the person on the template. Make sure you understand the work with the template well - the eyes, the nose, and the head height should fit into the designated areas.
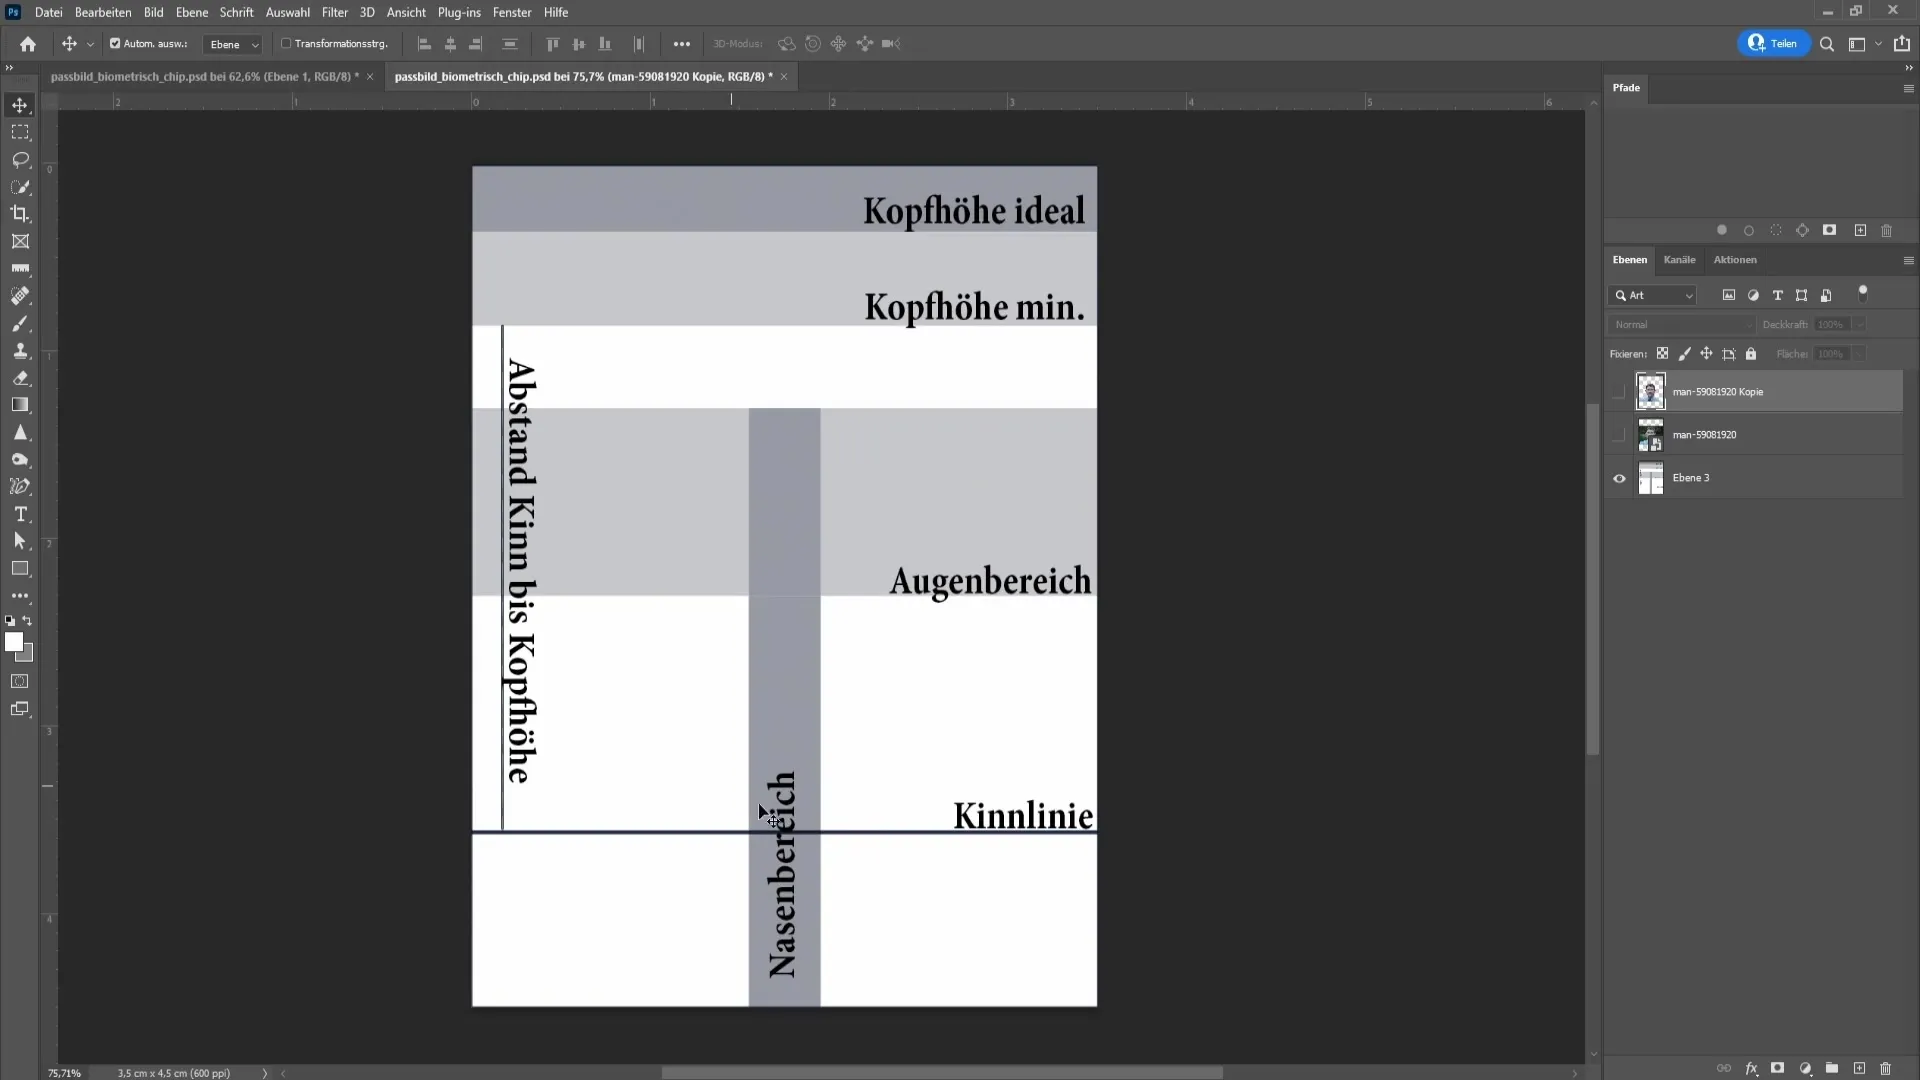
Scale the image to the correct size by transforming the layer with the shortcut Control + T. Hold down the Shift key while dragging the corners to maintain the proportions.
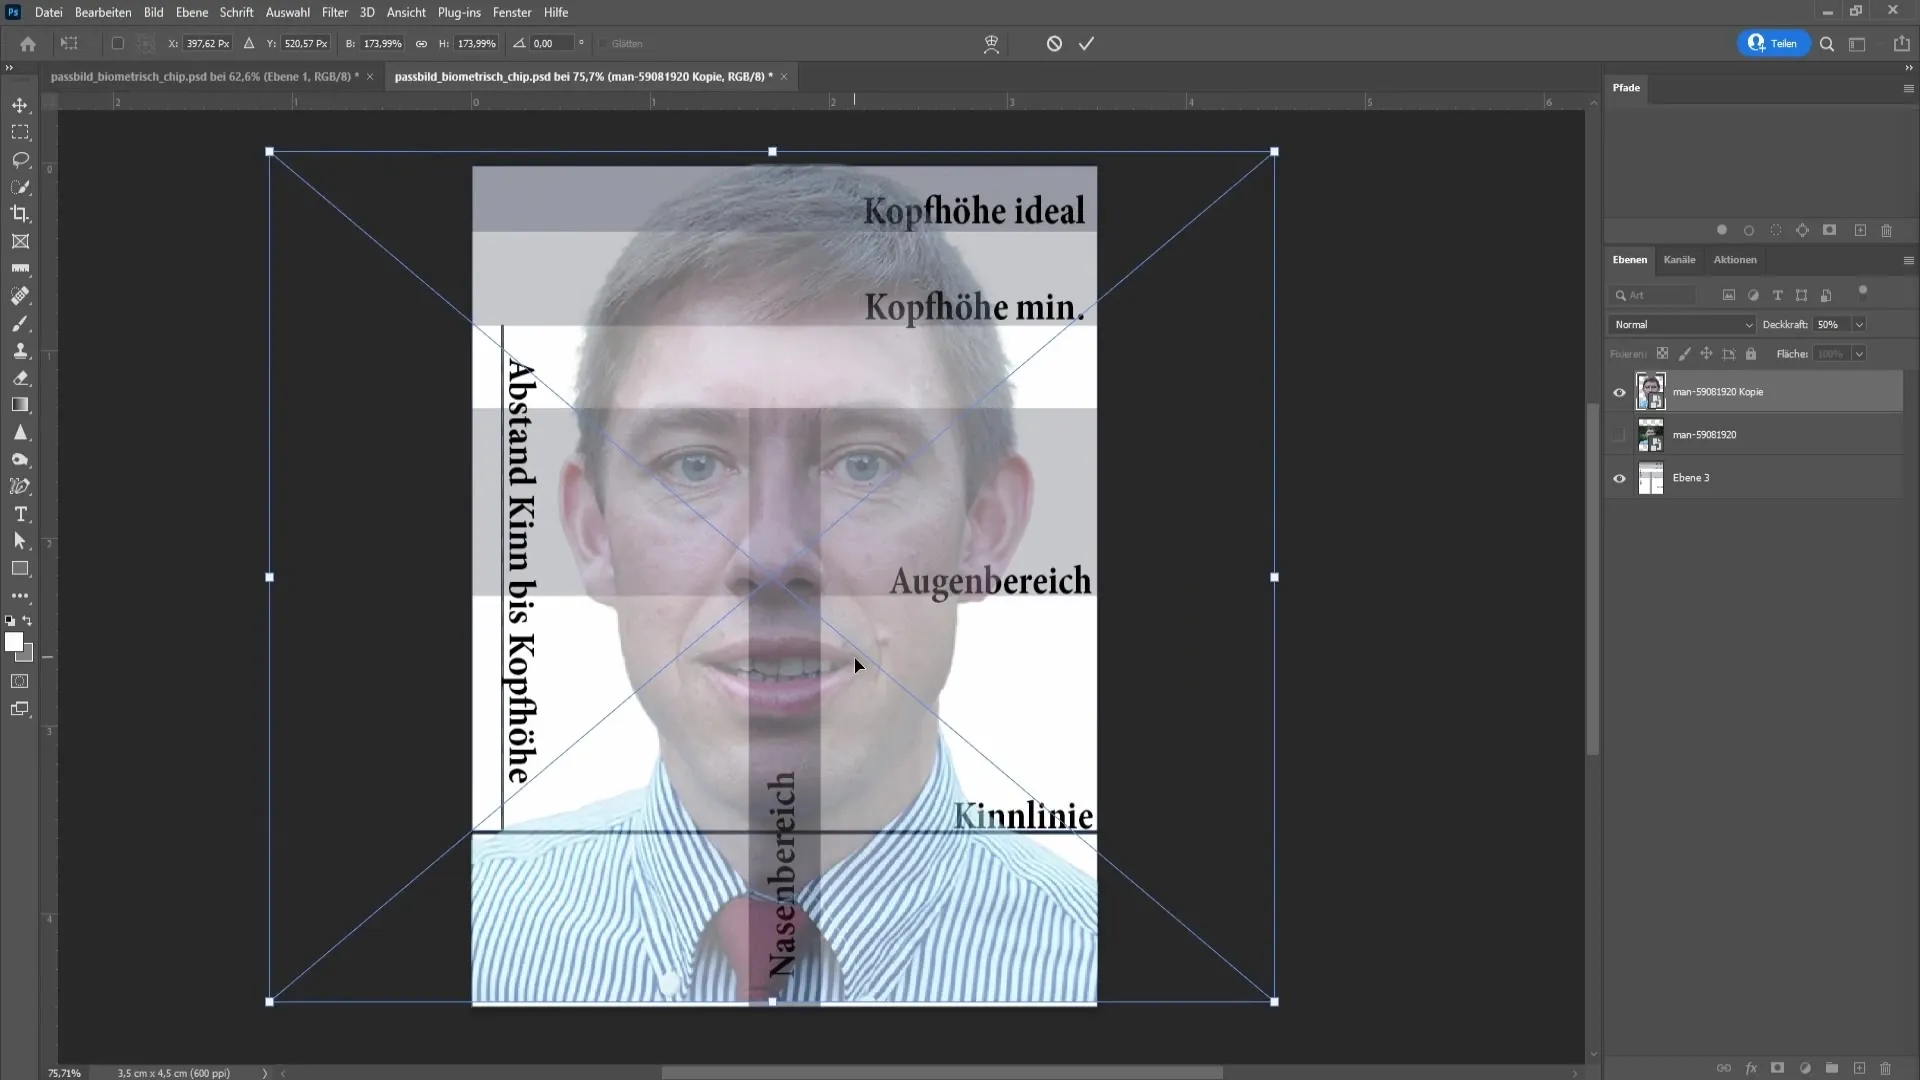
With another click on "OK," you can set the opacity back to 100%. This way you can see how the person looks in the passport photo and make sure everything fits.
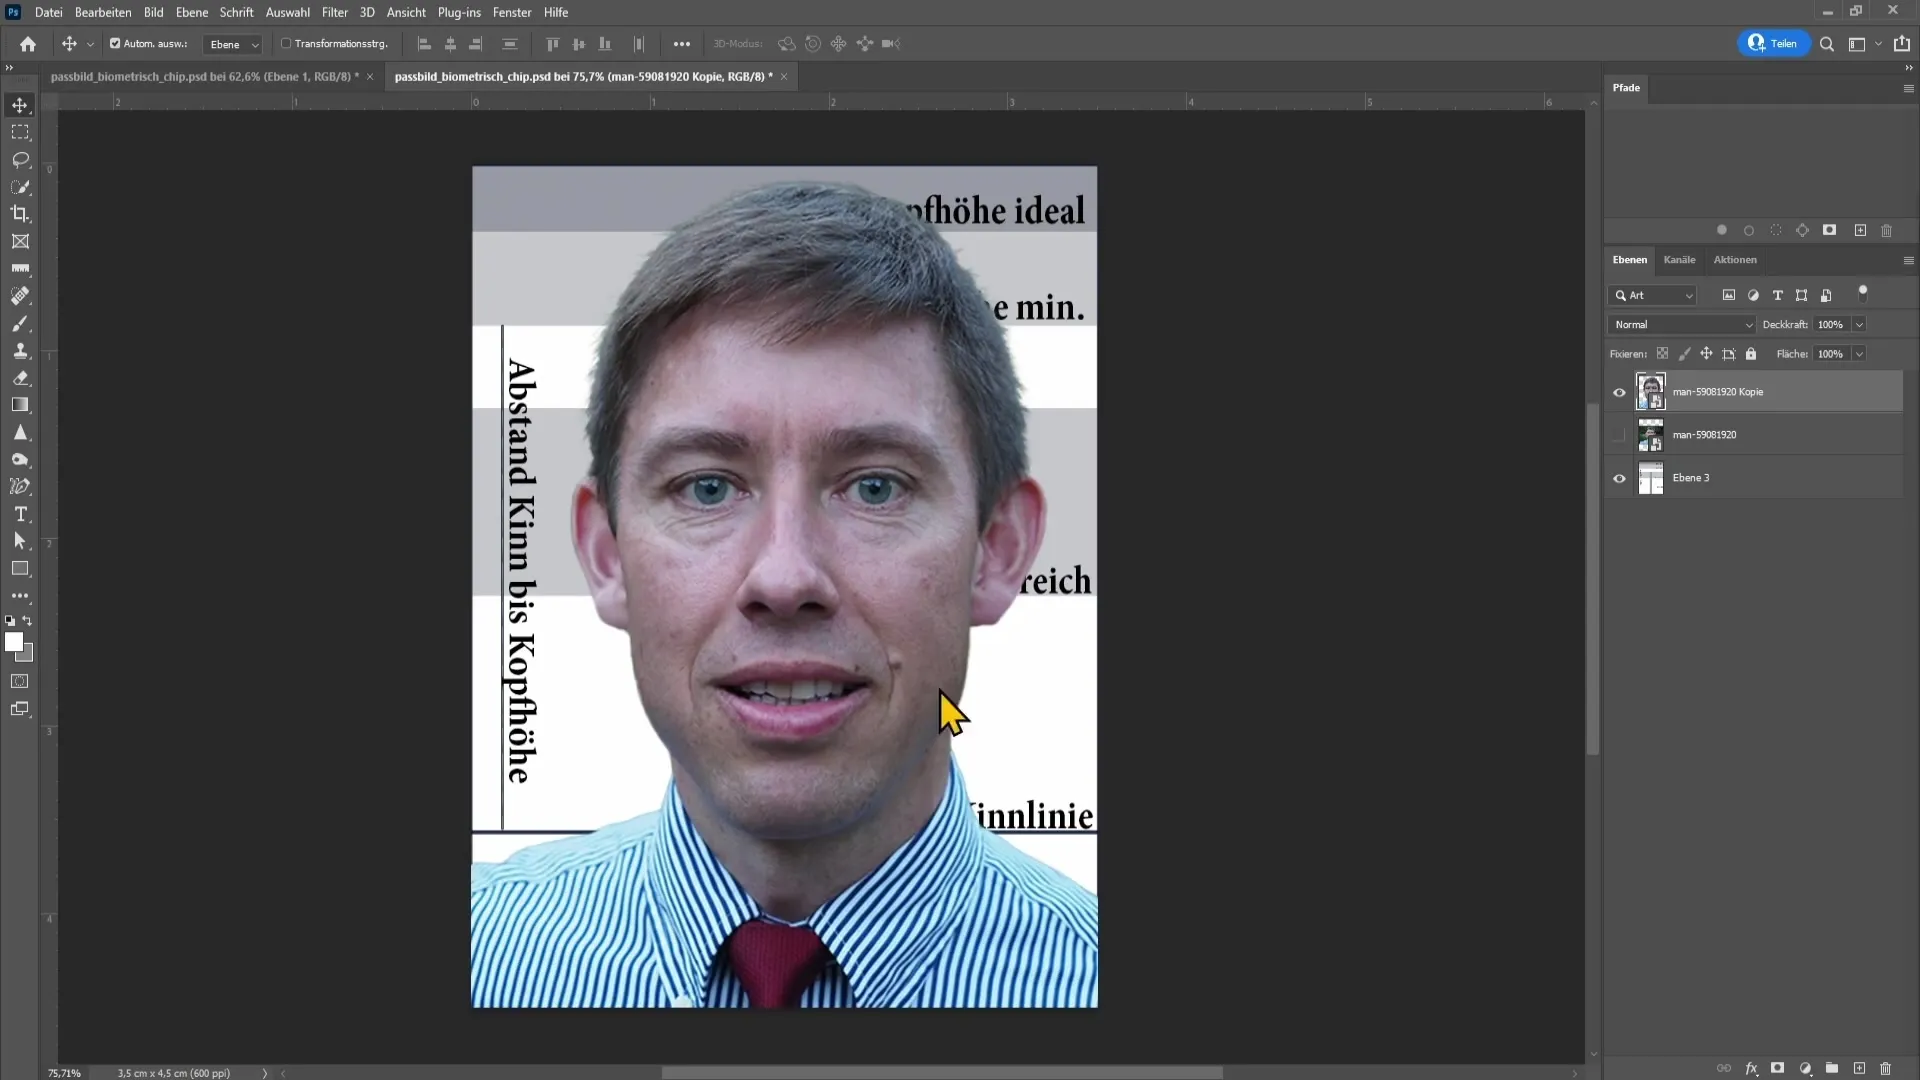
To save the final passport photo, you should merge the layers. This can be done with the combination Control + Alt + Shift + E. Now you have all adjustments in a single layer.
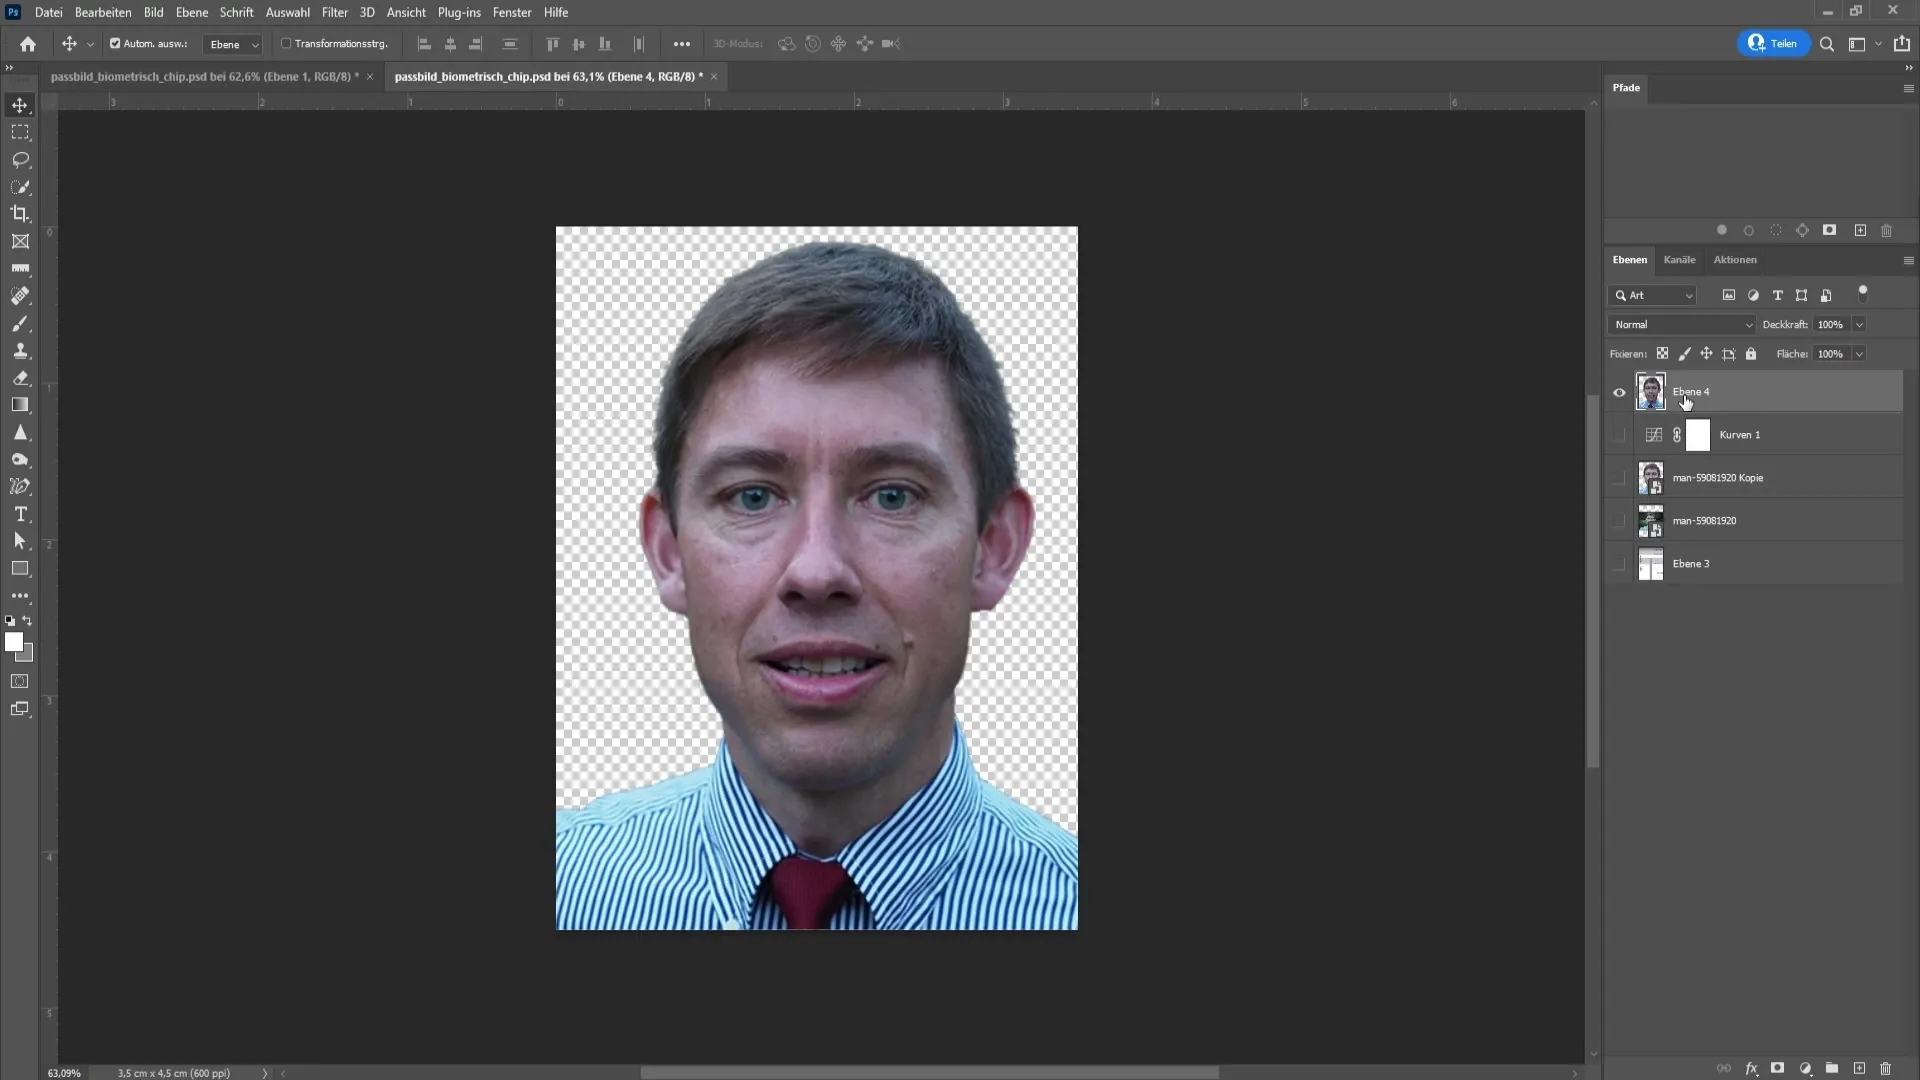
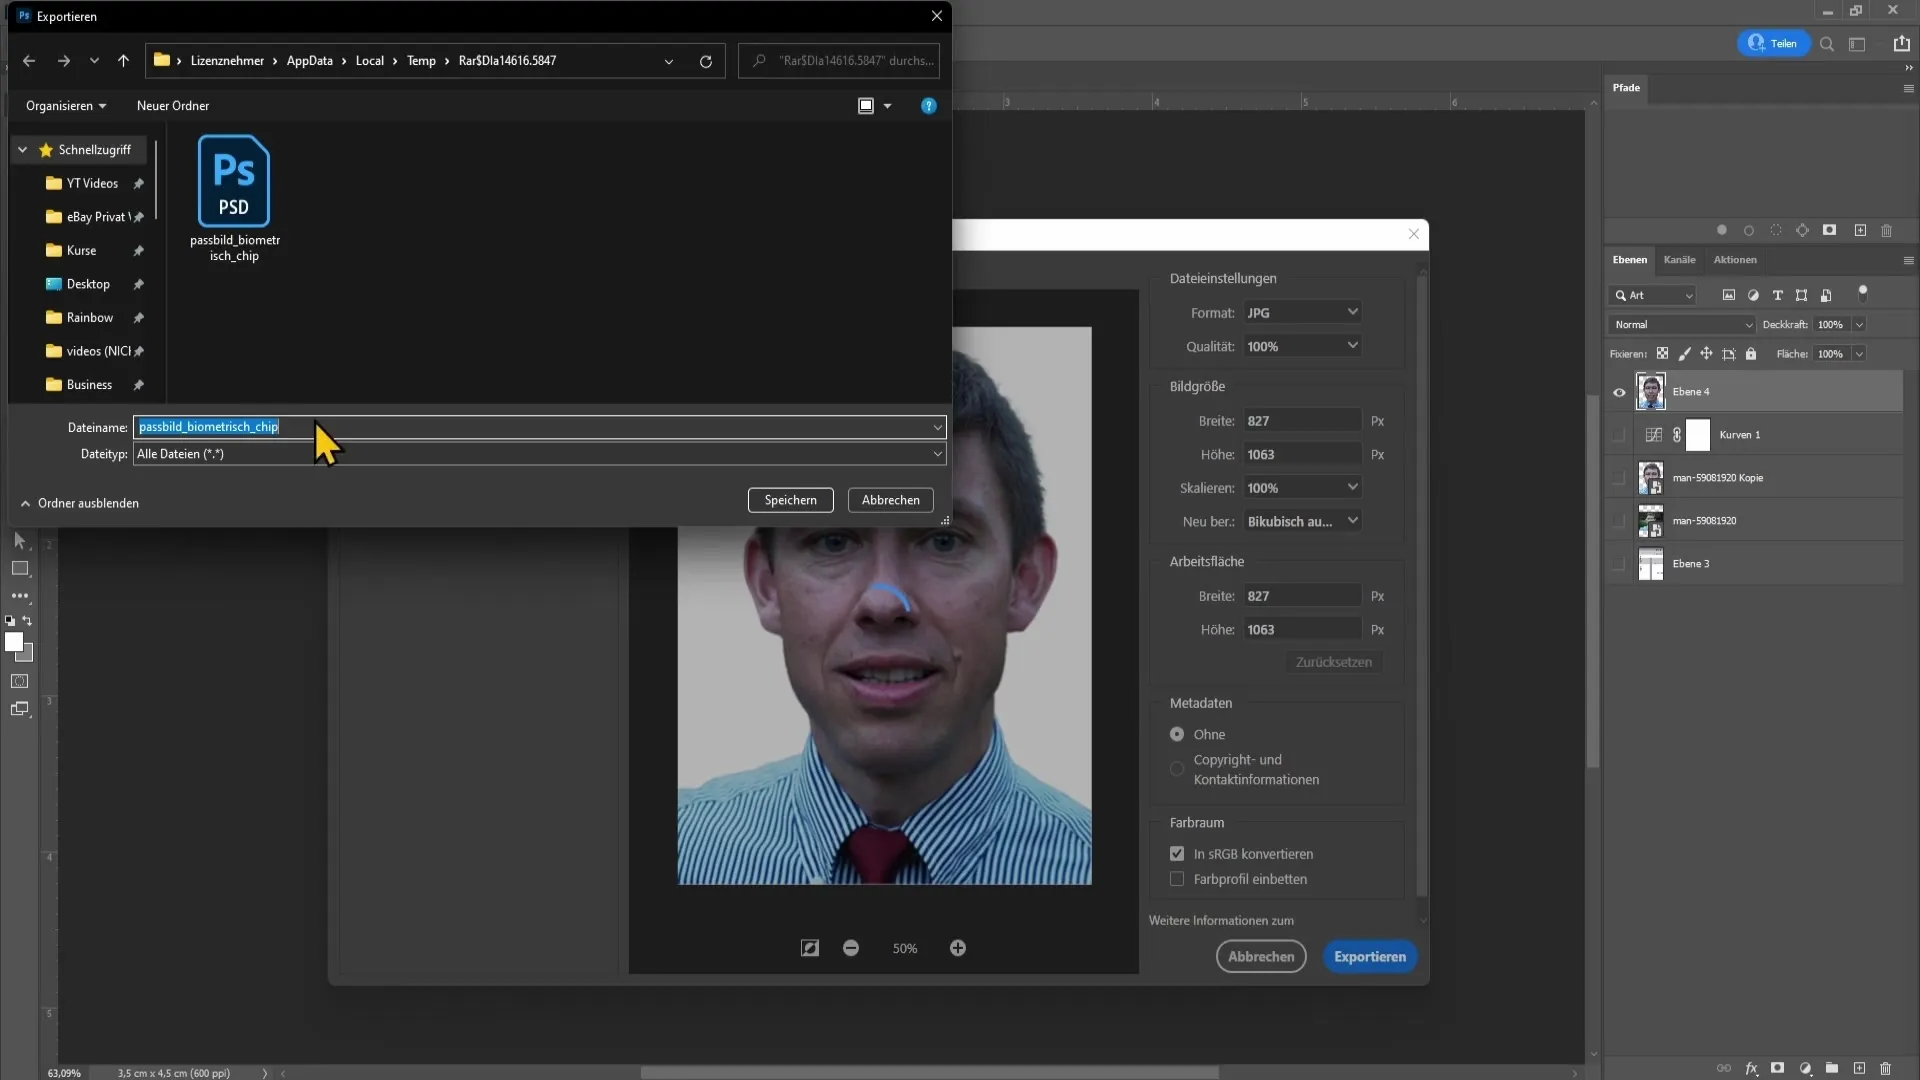
Now you can export the image. Go to "File," then "Export" and "Export As." Change the format to JPEG to ensure the white background.
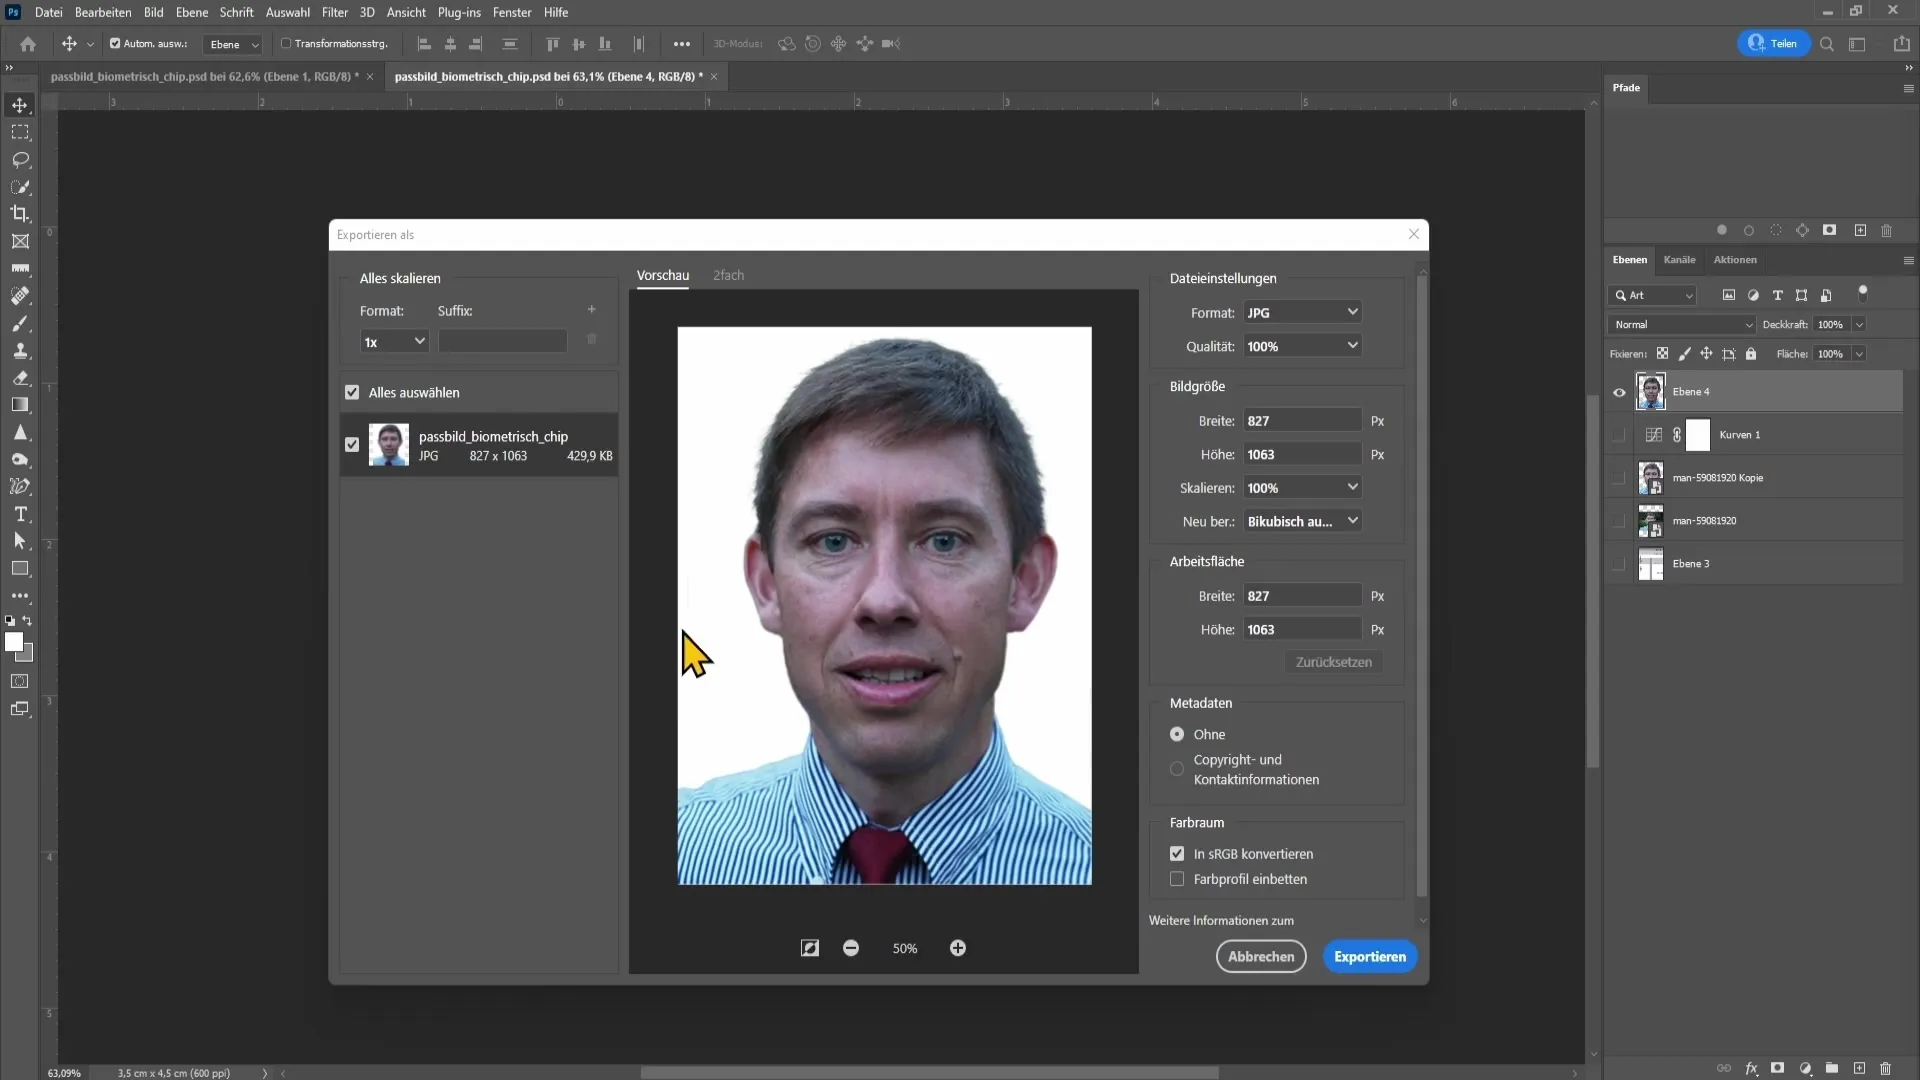
Don't forget to give the image a name and set the location before saving it. This way you now have your professional passport photo in JPEG format.
Summary - Step-by-Step Guide to Creating a Passport Photo in Photoshop
In this guide, you learned how to create a high-quality passport photo with Photoshop. From taking the photo to exporting, all steps were explained in detail so you can achieve a perfect result.
Frequently Asked Questions
How can I create a passport photo in Photoshop?Start by taking a photo with a solid color background, importing the template, and extracting the image.
What should I do if my background is not white?Make sure the background is a solid color and stands out well to facilitate extraction.
Where can I download the template for a passport photo?You can download the template for free from the Chip website.
How do I save the completed passport photo?Export the image as JPEG to maintain the white background and choose a location to save it.
Which Photoshop version do I need for this tutorial?The steps are designed for newer versions of Photoshop, but you can also use older versions.


