In this guide, I will show you how to make a person thinner with the help of Adobe Photoshop. This technique can be useful when working on image edits where the appearance of individuals needs to be altered. It is important to proceed with caution to avoid disproportionate or unnatural results. With the right steps and techniques, you can achieve the desired results without it looking unnatural.
Key Takeaways
- Use Smart Objects to allow for later adjustments.
- Use the Forward Warp Tool and work with smooth movements.
- Pay attention to the natural shape and proportions of the body.
- Apply a Mask to protect unwanted areas.
- Utilize the Facial Thin feature to subtly adjust facial features.
Step-by-Step Guide
To make a person thinner in Photoshop, follow these steps:
First, you should convert your image into a Smart Object. This allows you to easily toggle filters on and off and make edits. Right-click on your image and select the "Convert to Smart Object" option.
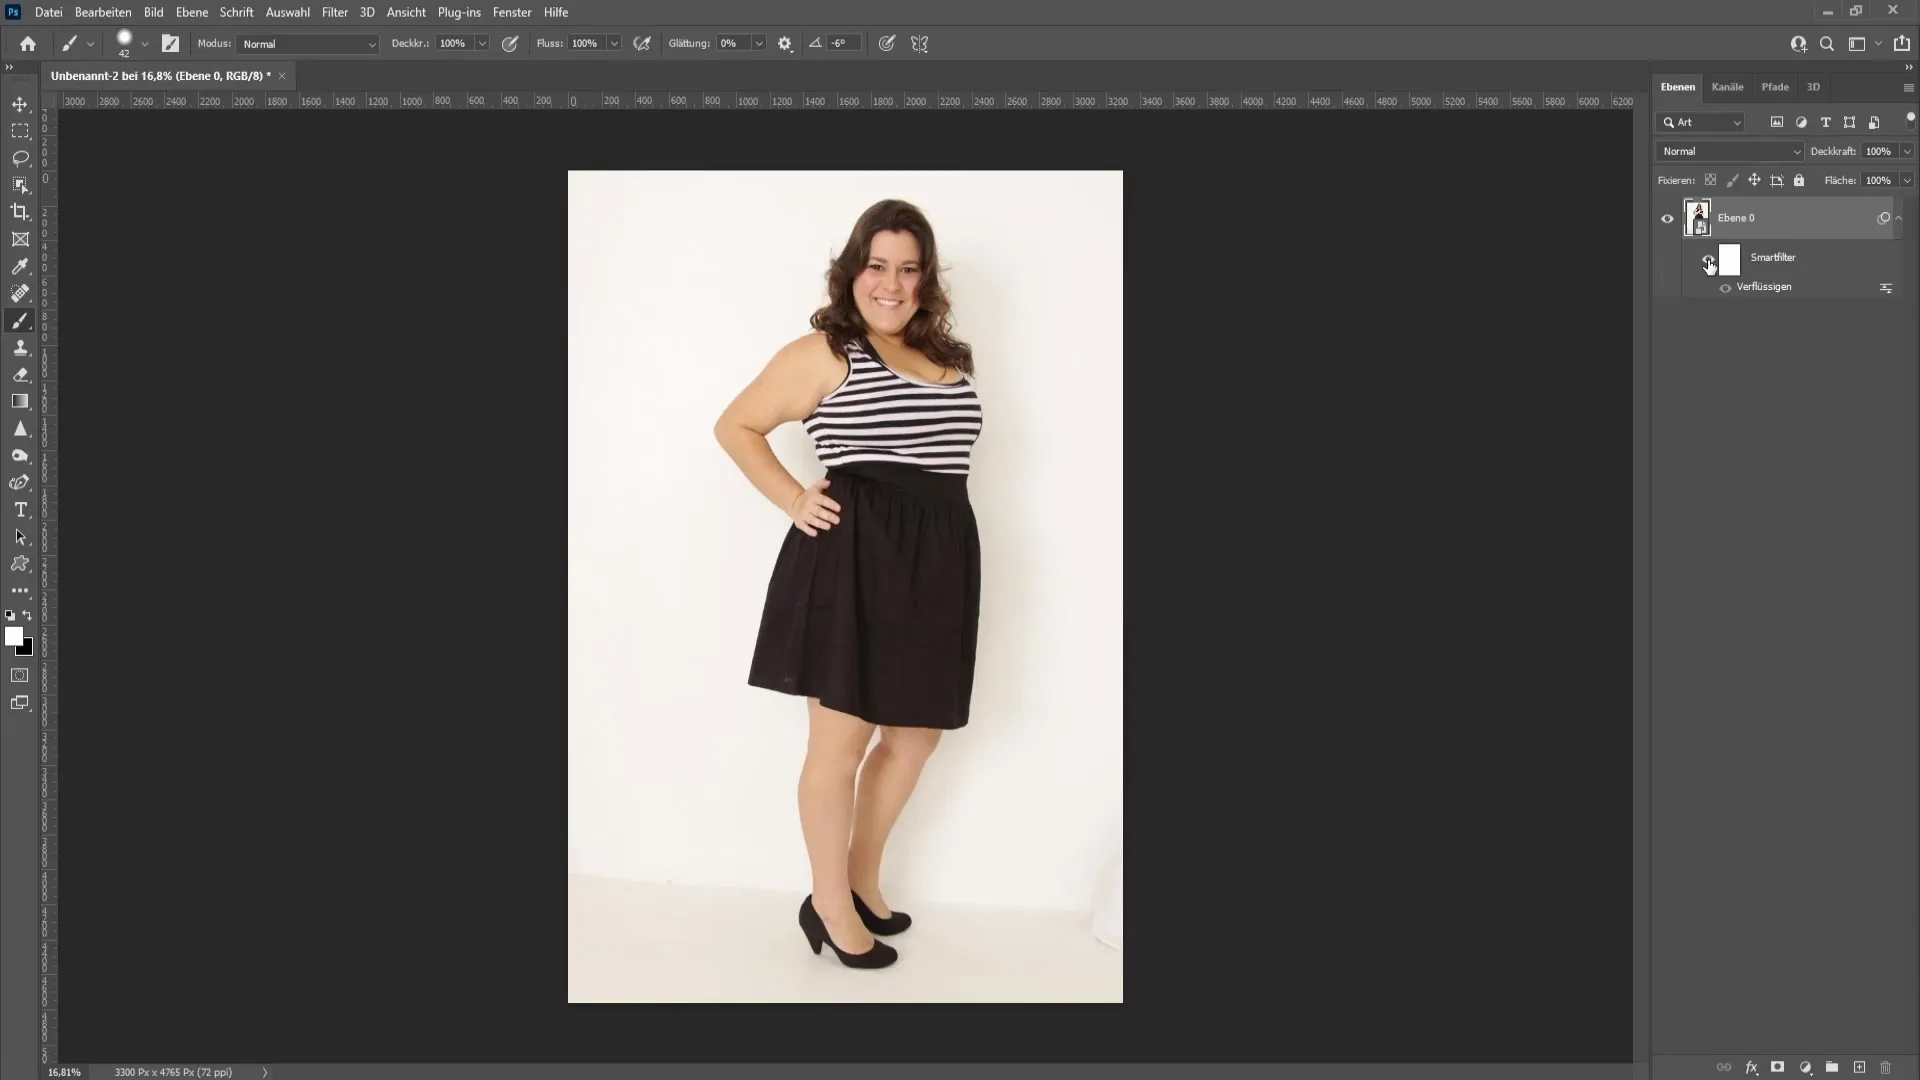
Now you are ready for the next step. Go to the Filters and choose "Liquify". This will open a new window where you can alter the contours of the person and make them thinner.
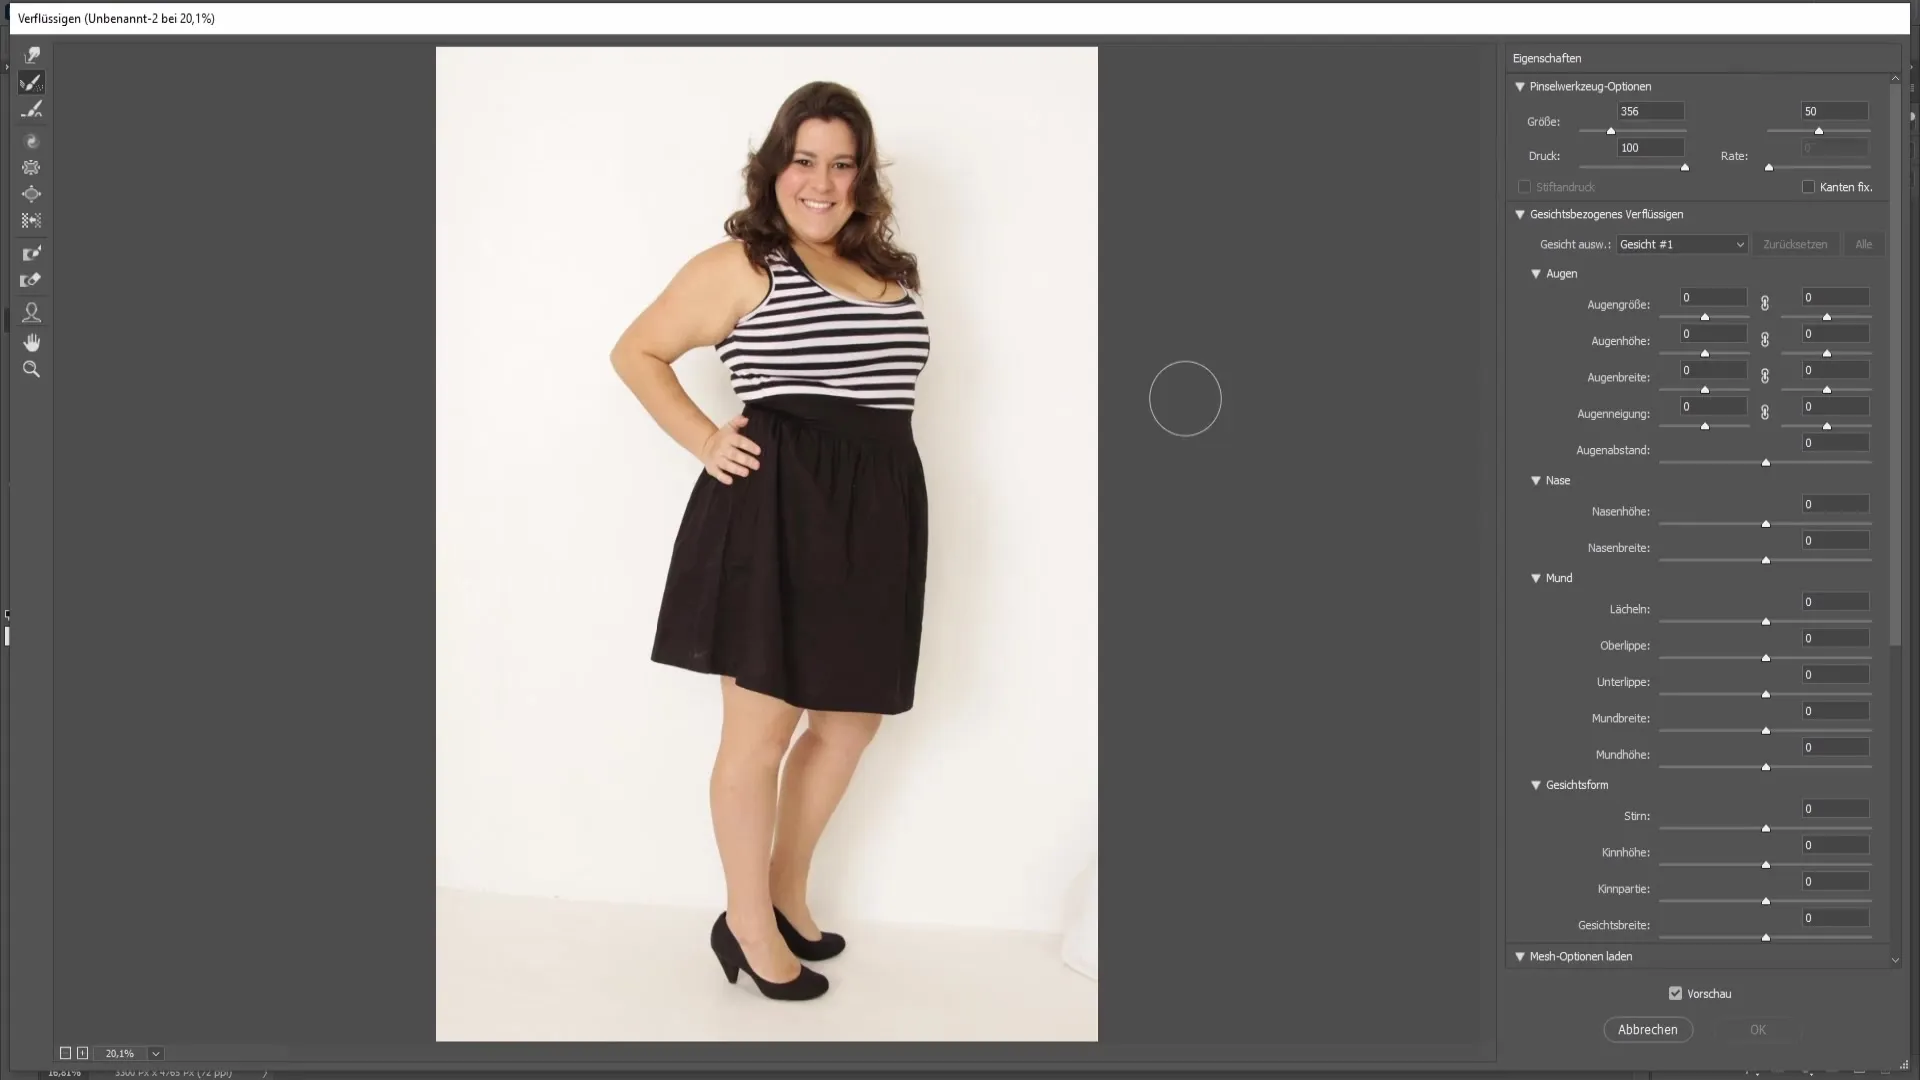
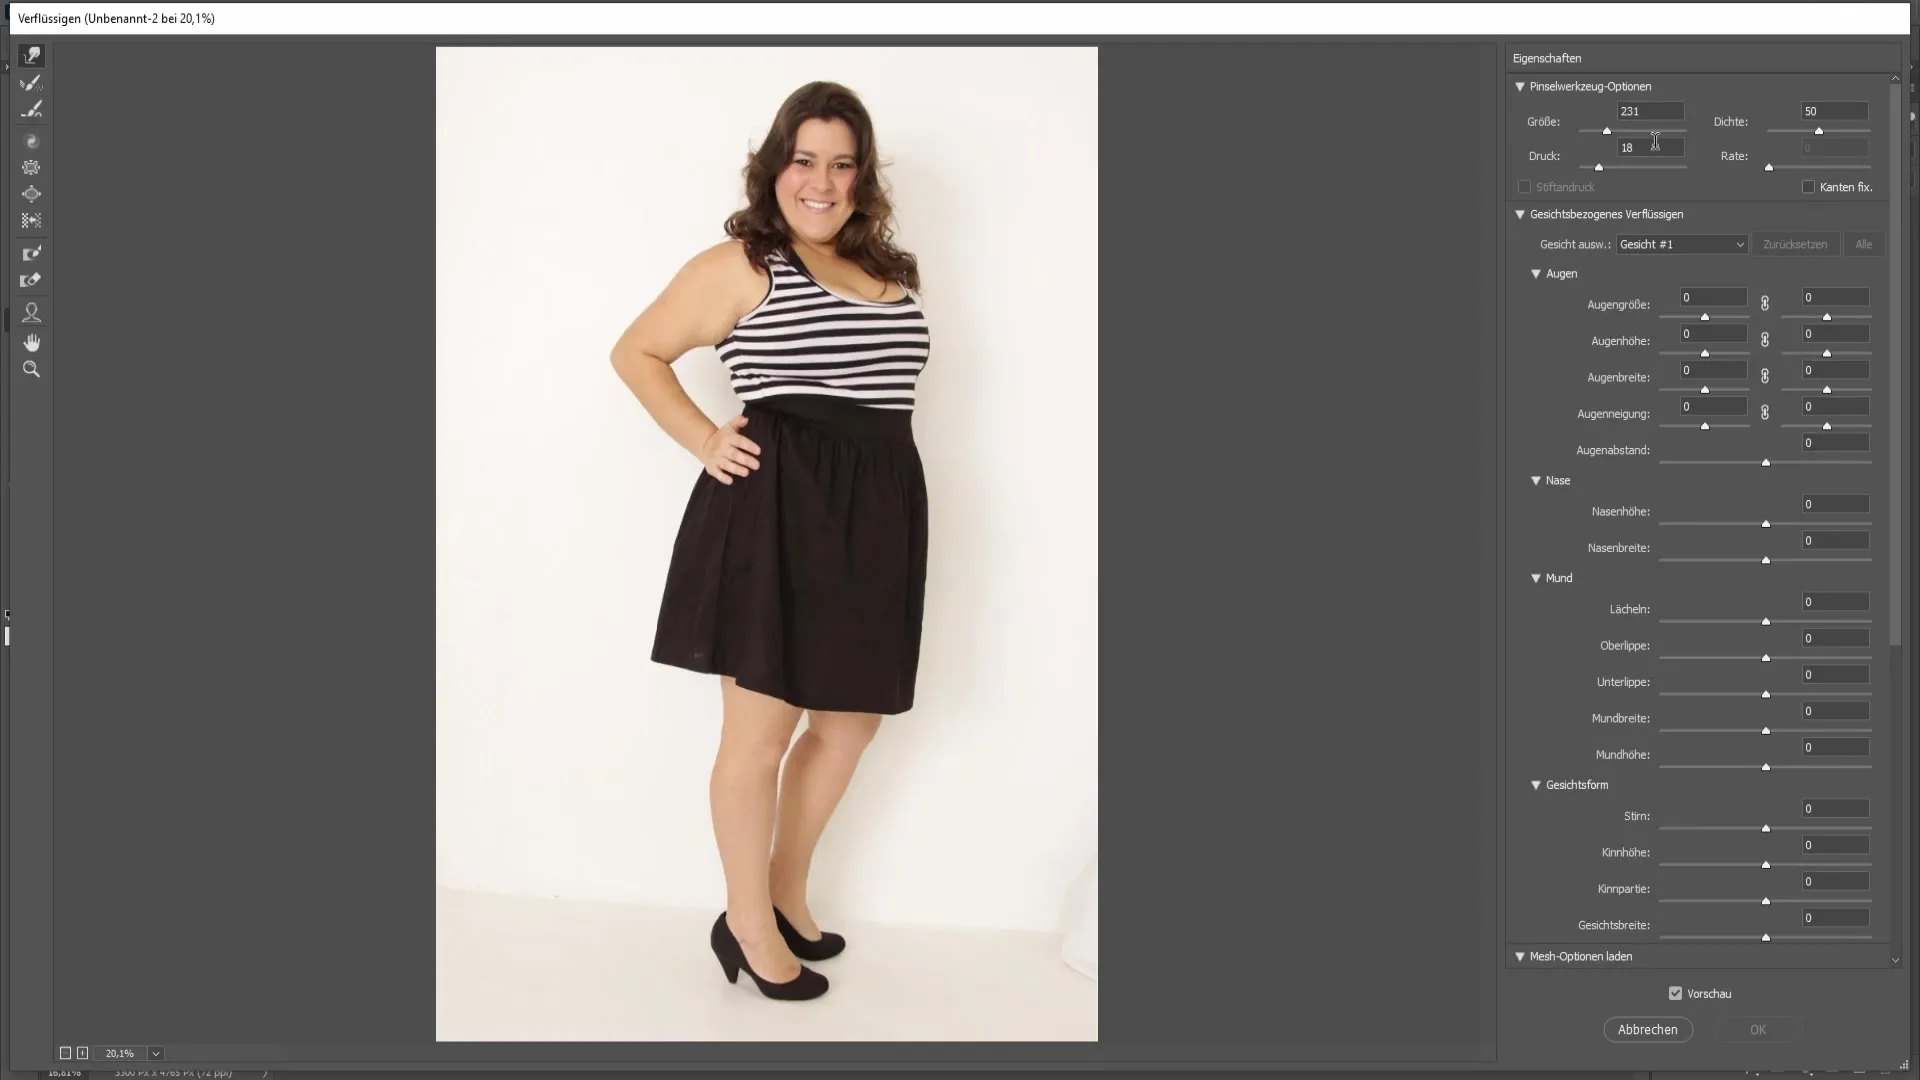
Next, choose the Forward Warp Tool in the upper left corner of the Liquify window. Ensure that the pressure is not set too high; a value around 18 is typically optimal. With low pressure, you can make gradual adjustments without immediate drastic changes.
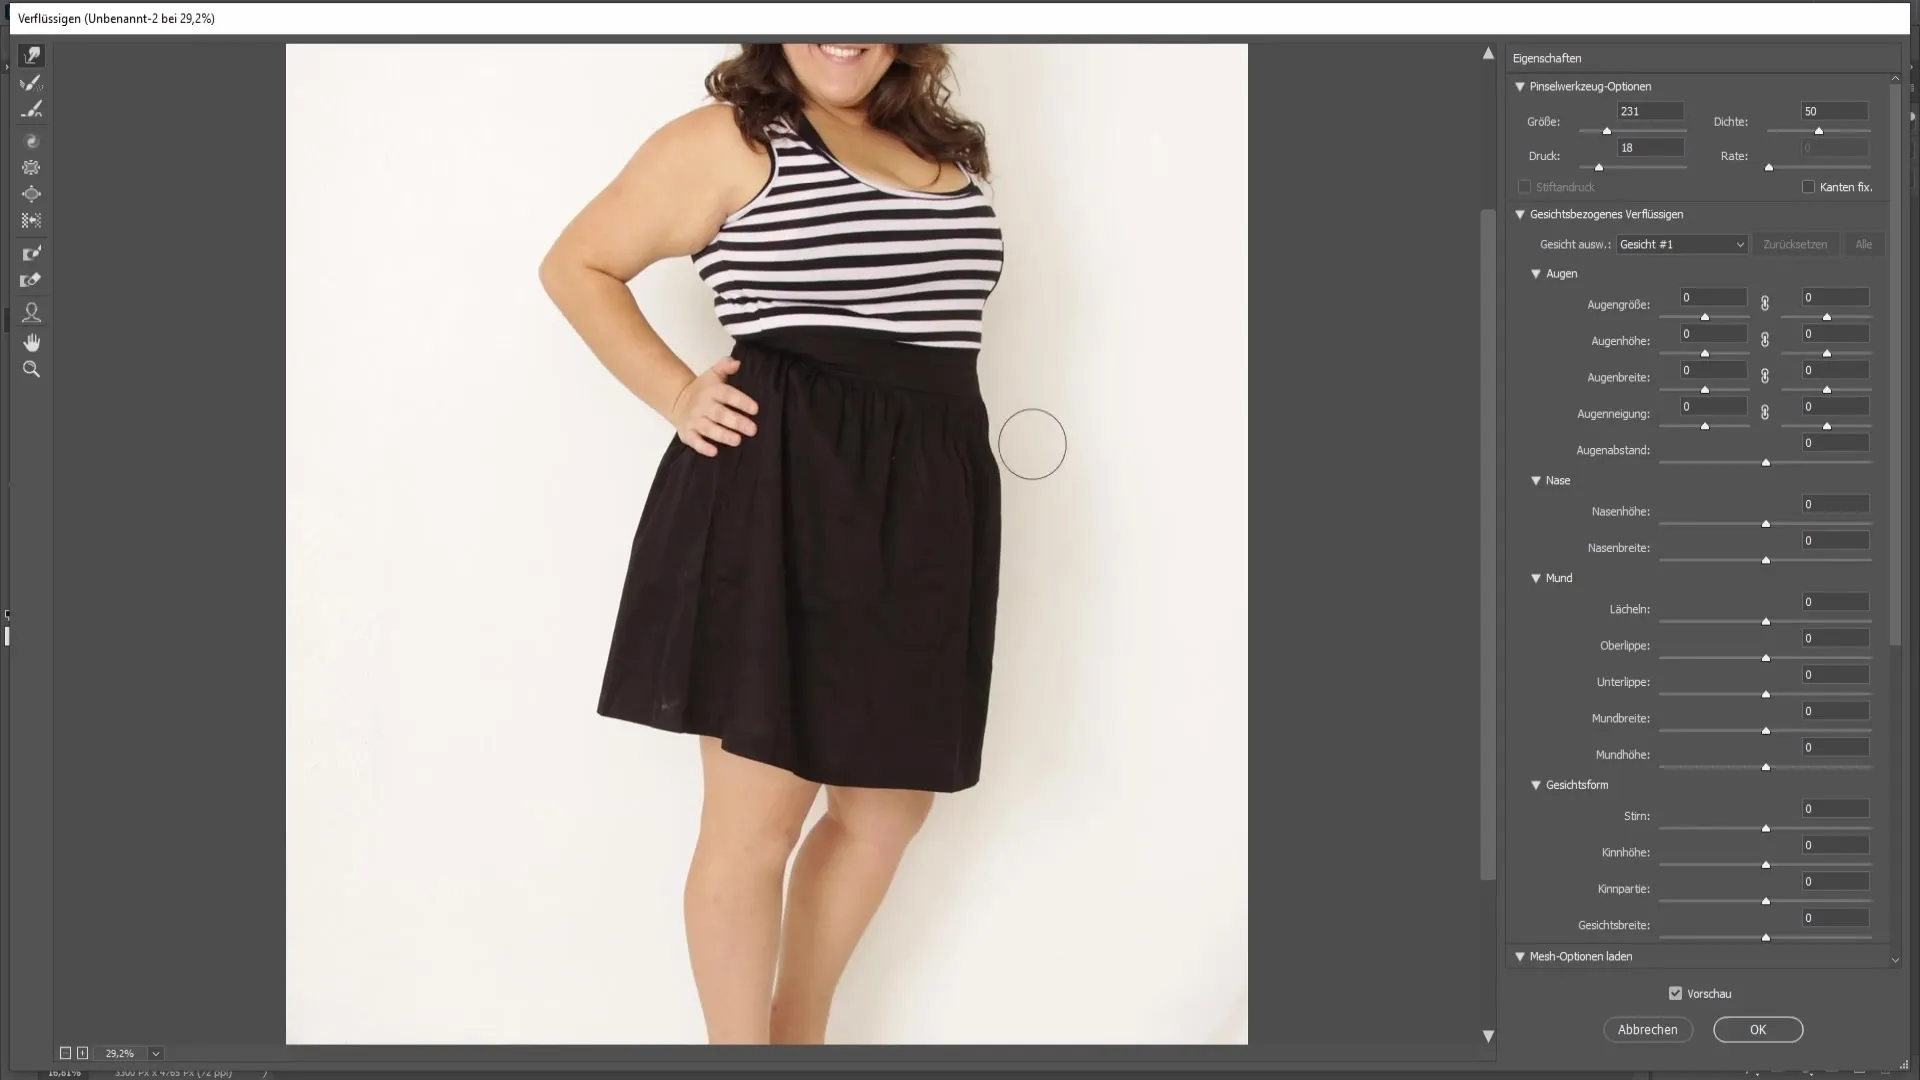
To achieve a natural result, start at the outer edges of the person and gradually work your way inward. It is important to make smooth movements to ensure a harmonious appearance. Consider how you want to maintain the person's shape; irregular movements can look unnatural.
If you make a mistake while editing, you can use the Ctrl + Z shortcut to undo. However, I recommend using the Reconstruct Tool instead, which you can access with the R shortcut. This allows you to revert to previous adjustments.
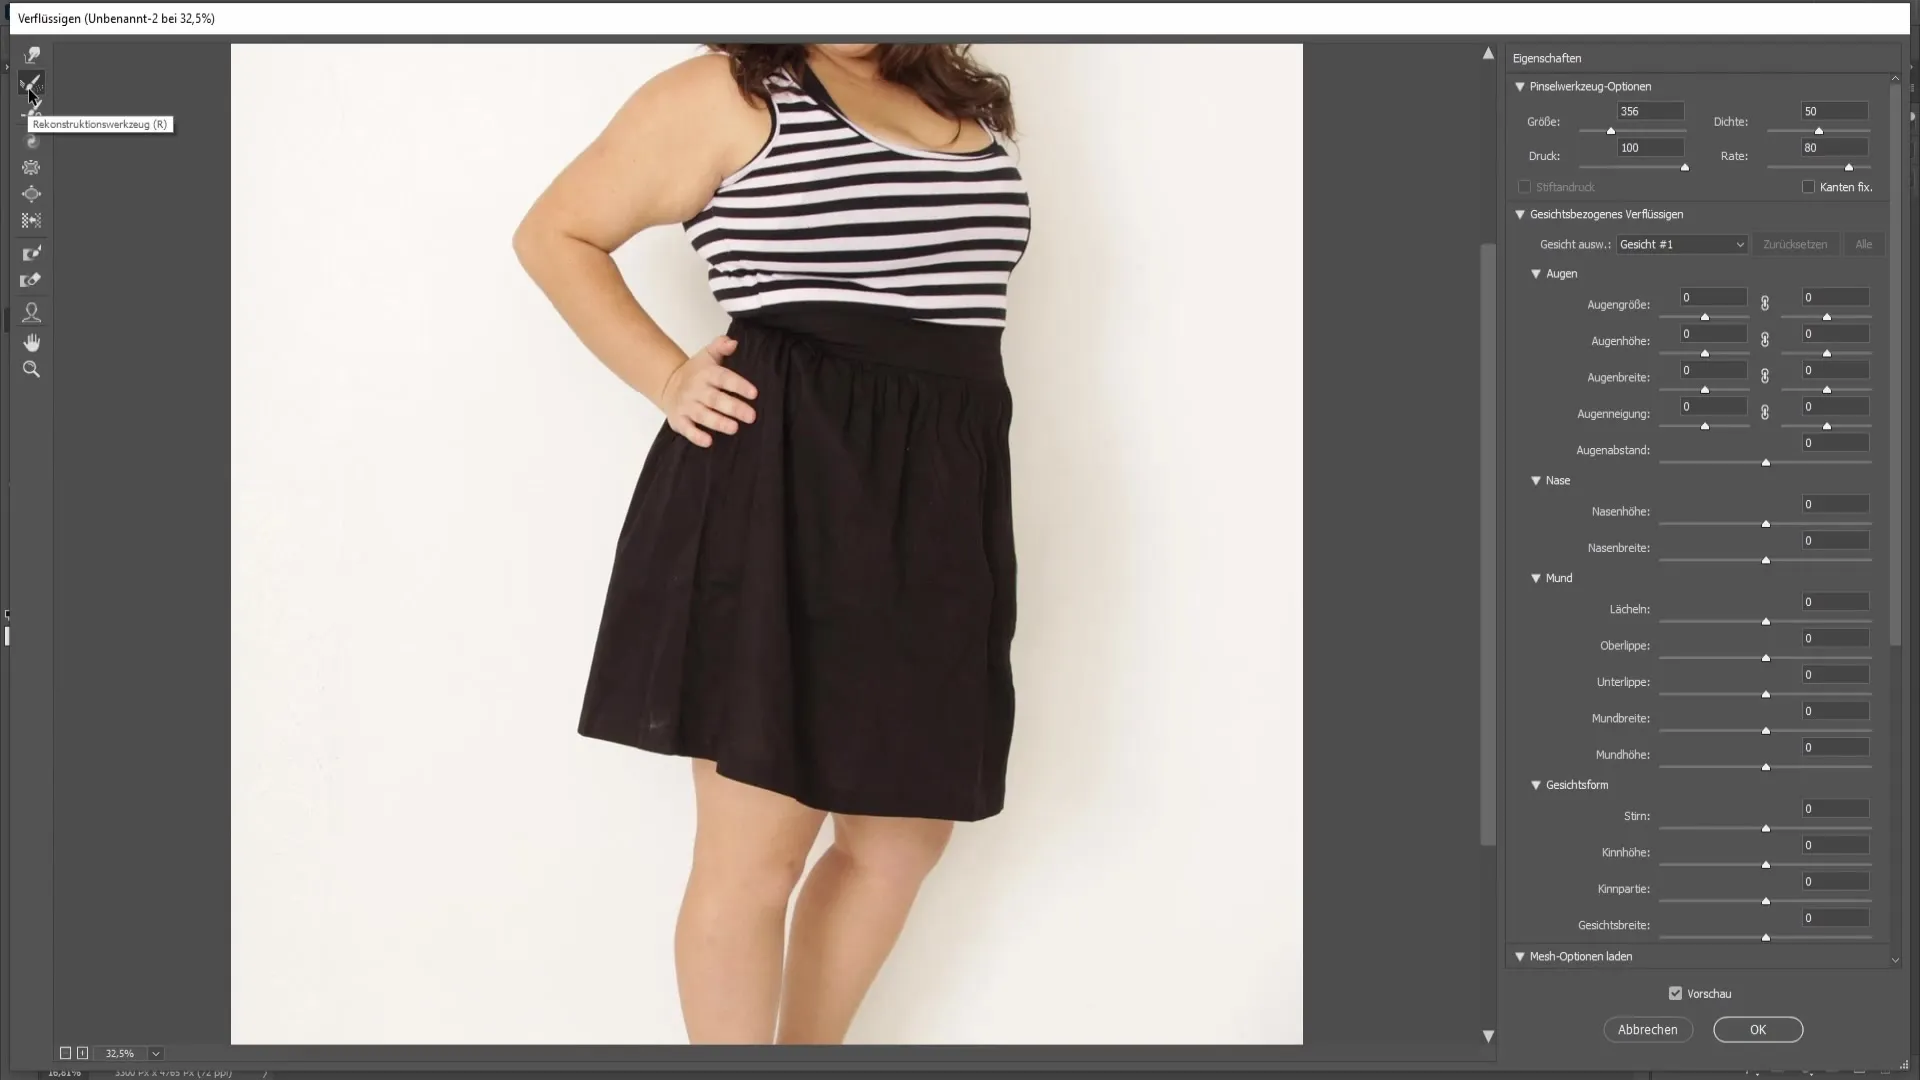
In this step, carefully go over the areas you have already adjusted to reconstruct them if they do not meet your expectations. Remember to set the correct brush size for precise work.
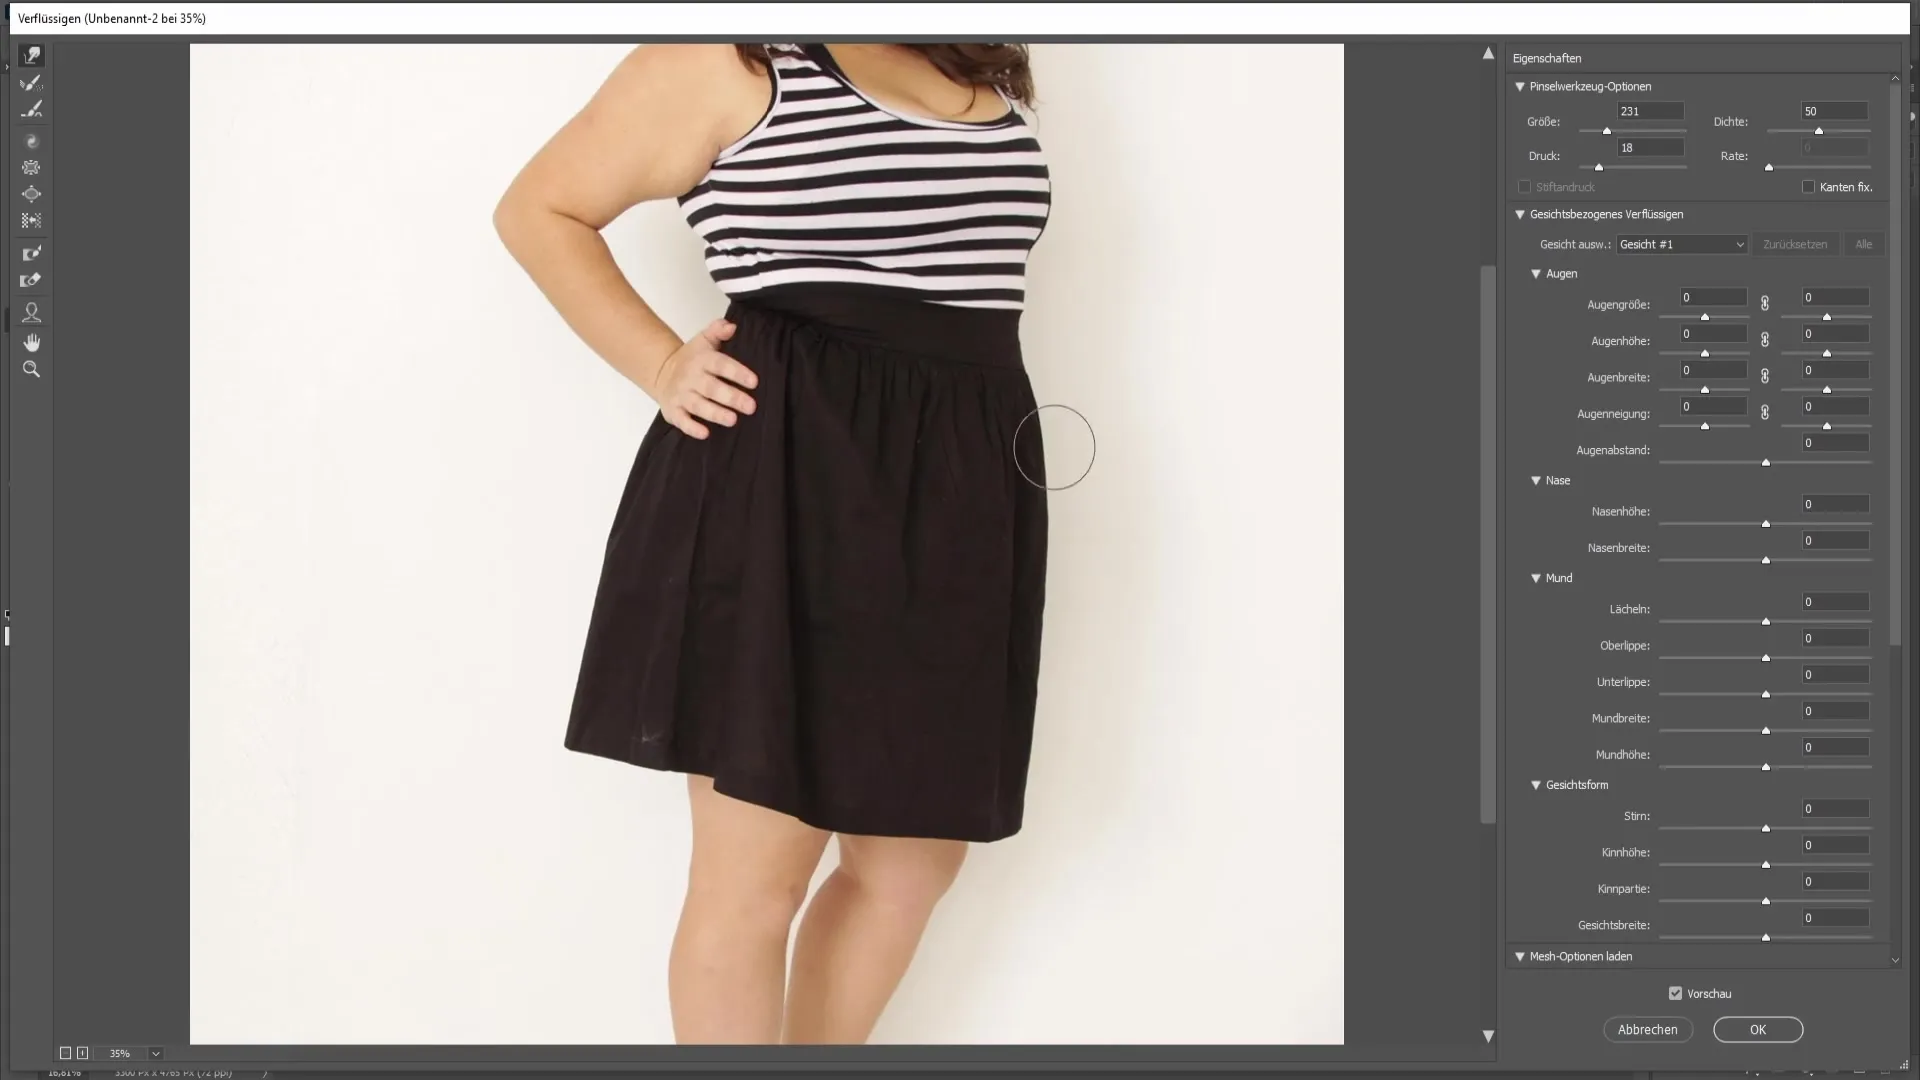
Begin to make the skirt or corresponding clothing appear thinner. Ensure to maintain the natural flow of the clothing and the body to create a cohesive image.
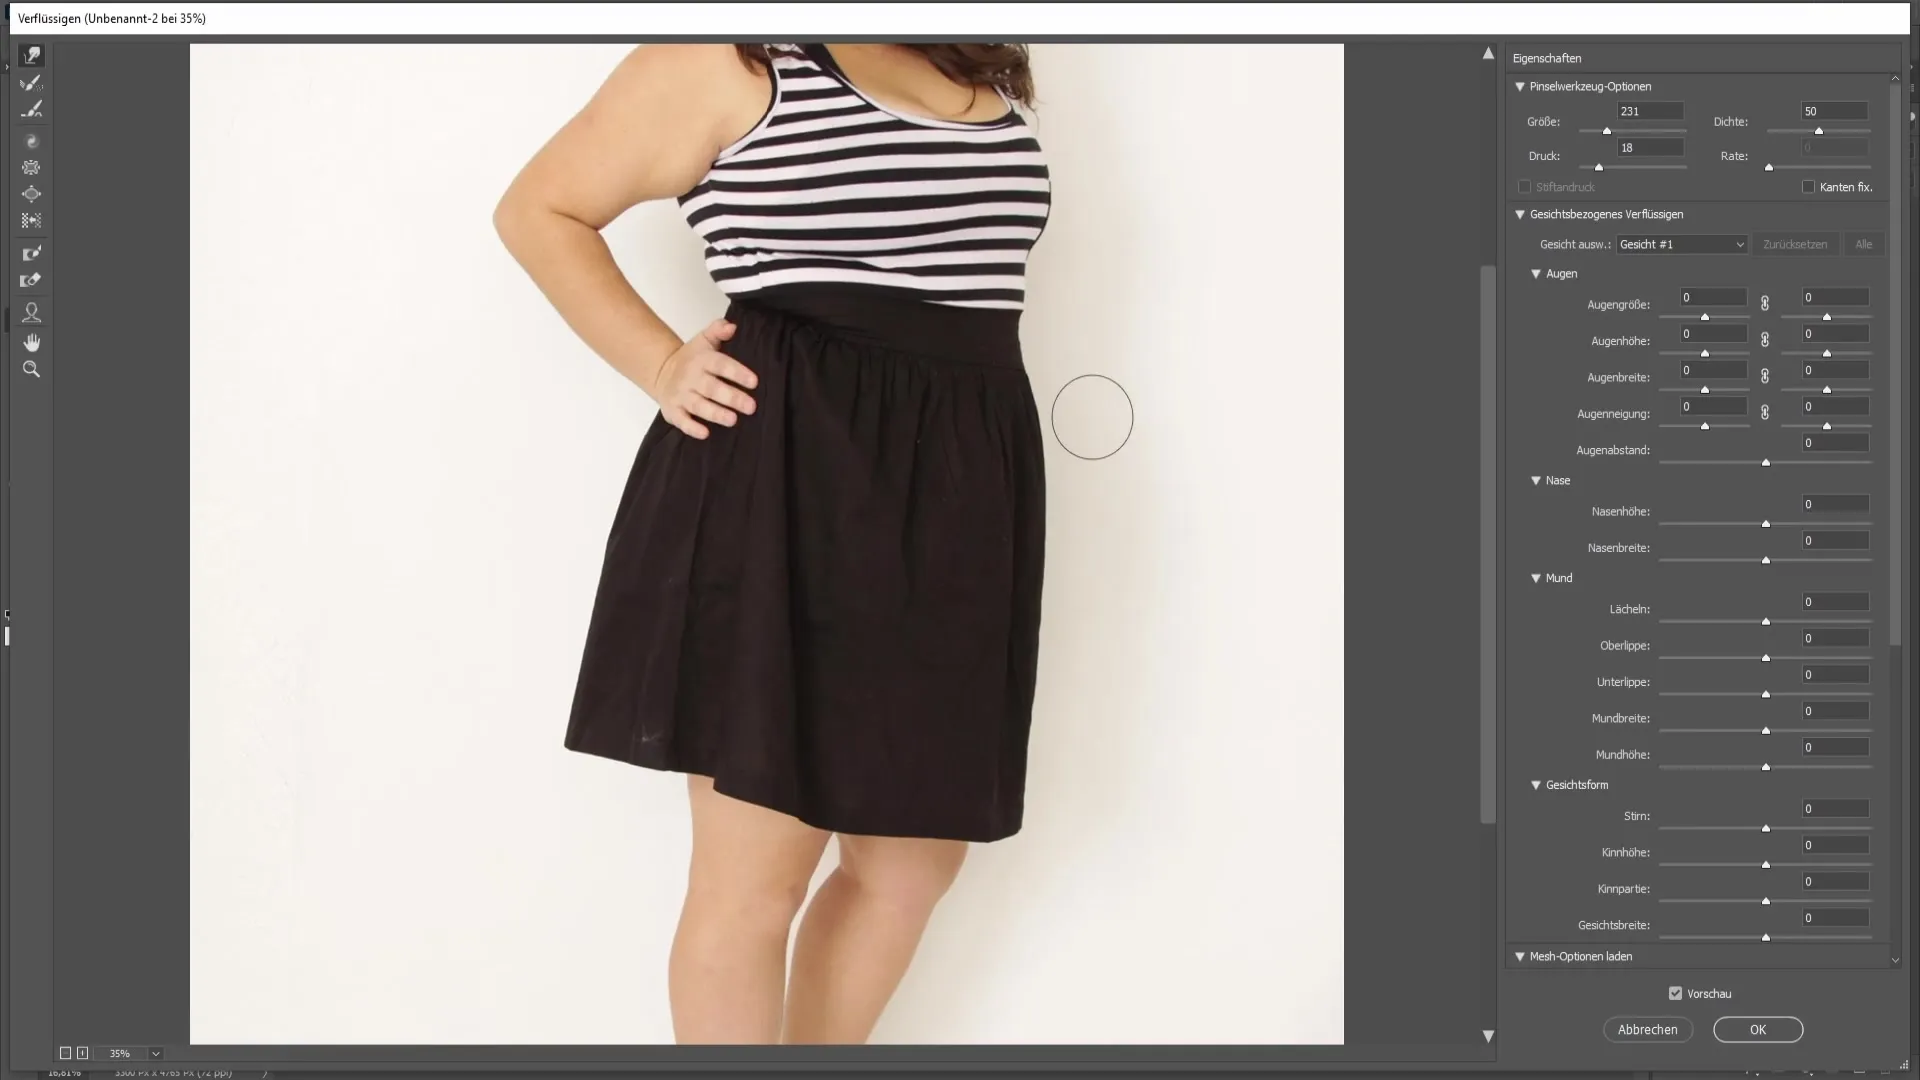
Additionally, be careful not to edit too extremely, as this can lead to an unnatural result. A little change can often have a significant effect.
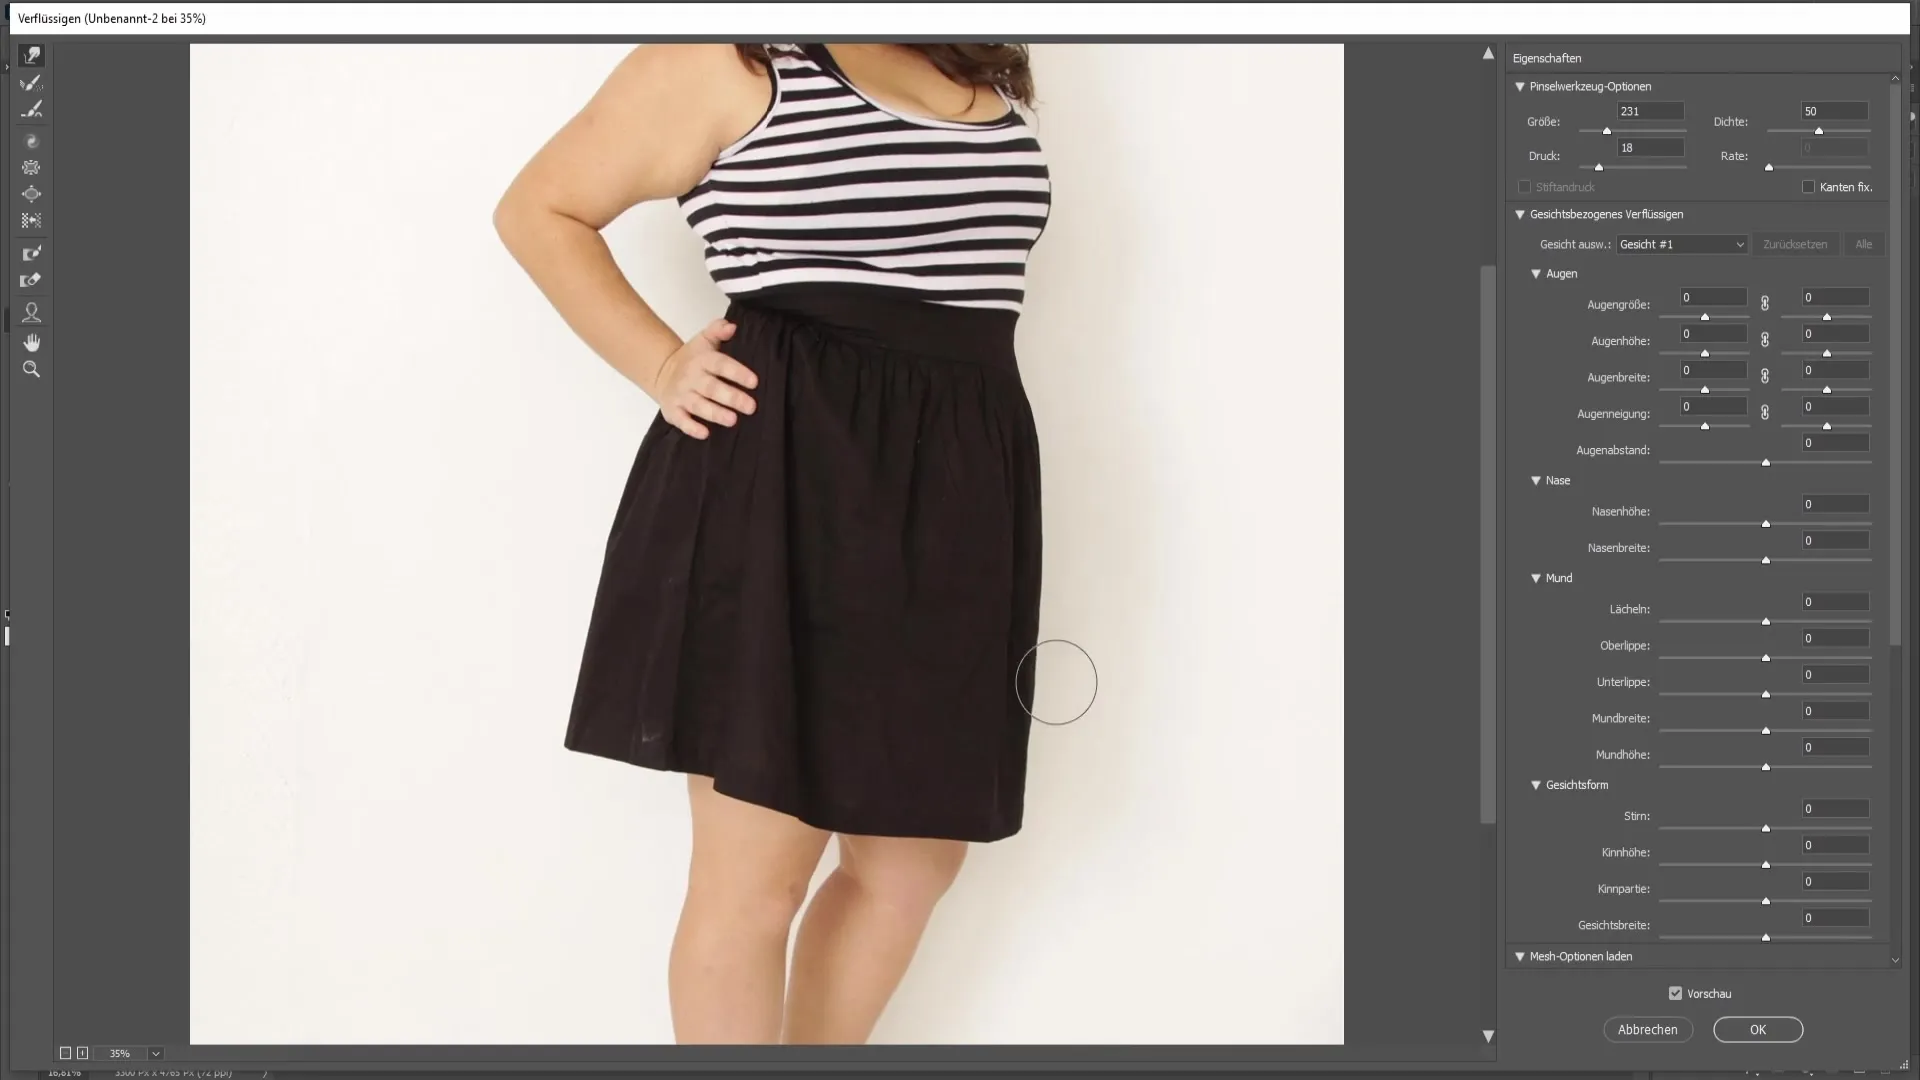
Ensure to align everything to look realistic. Now you can proceed in the same manner on the other side of the body; make sure to work consistently.
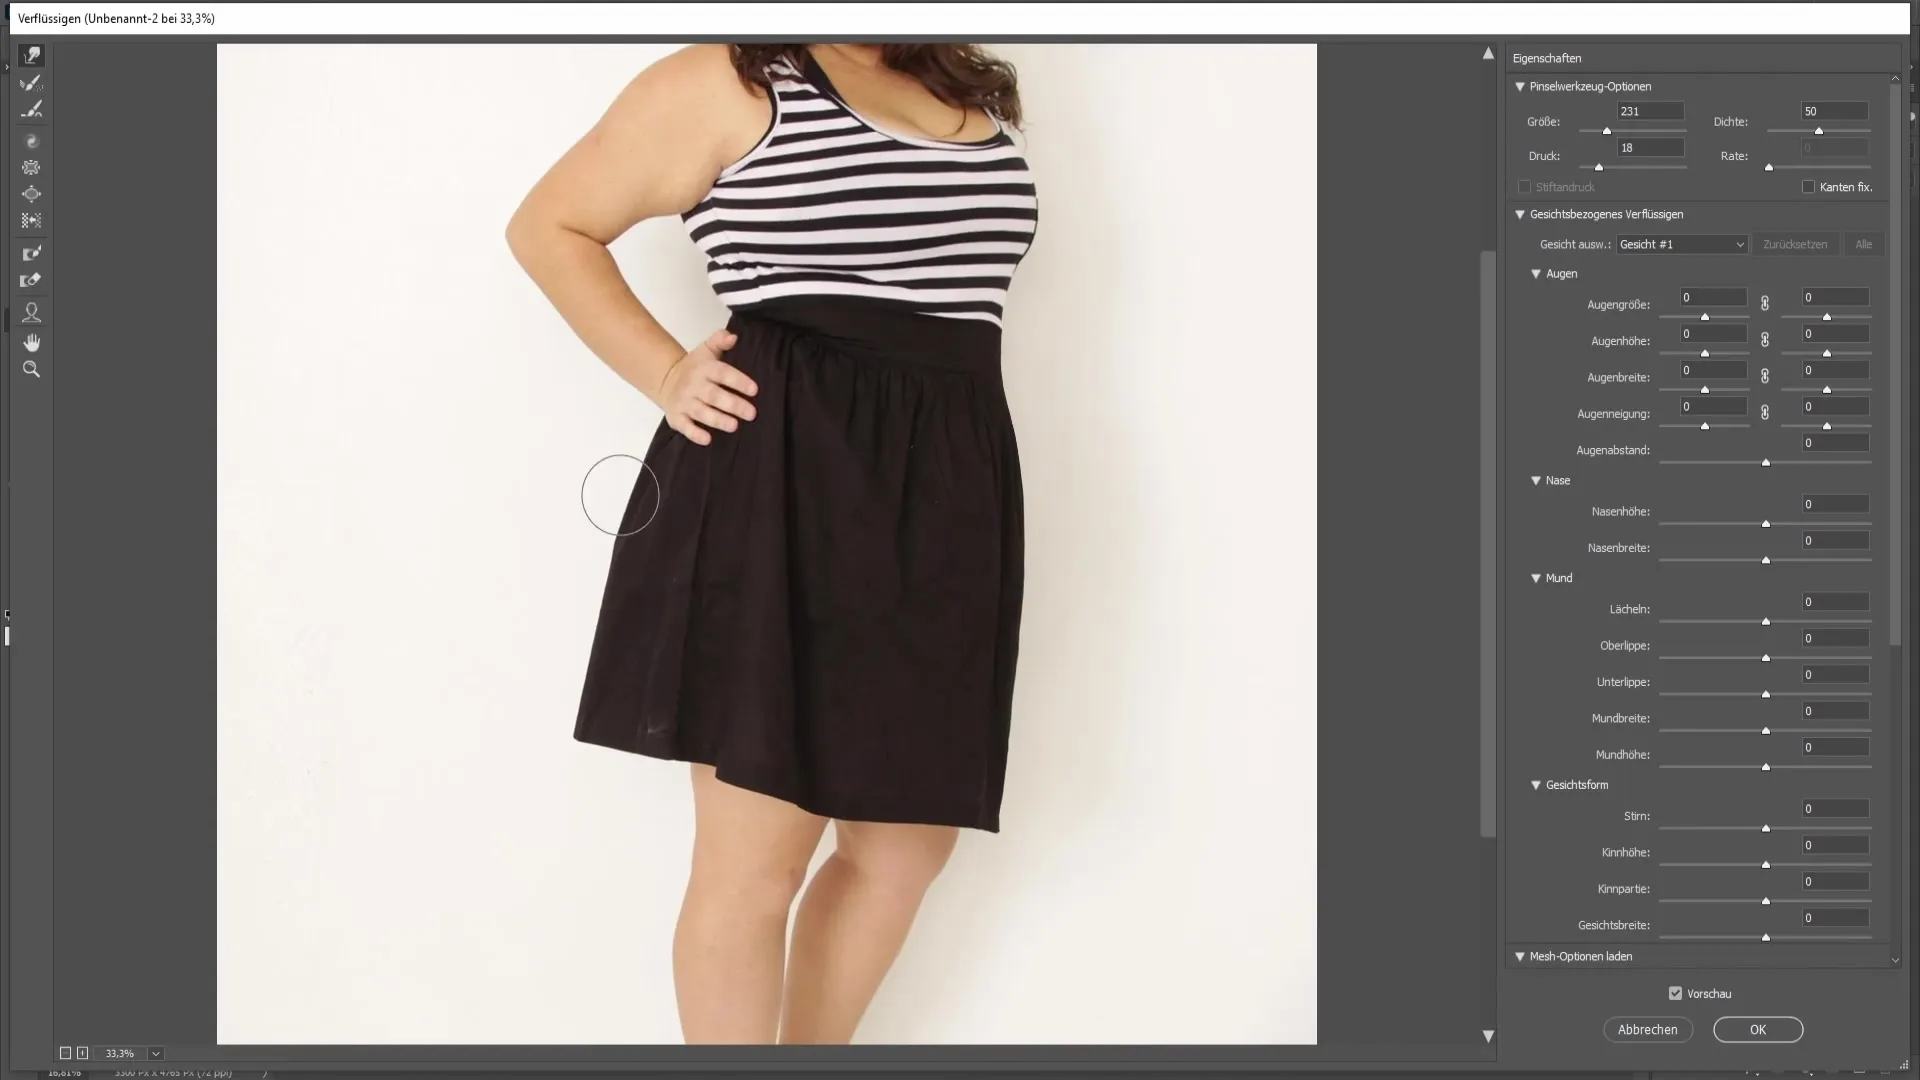
If you are working on the hands area, it is advisable to use a Mask to protect them from deformations. You can achieve this by using the F shortcut and masking the area you do not want to influence.
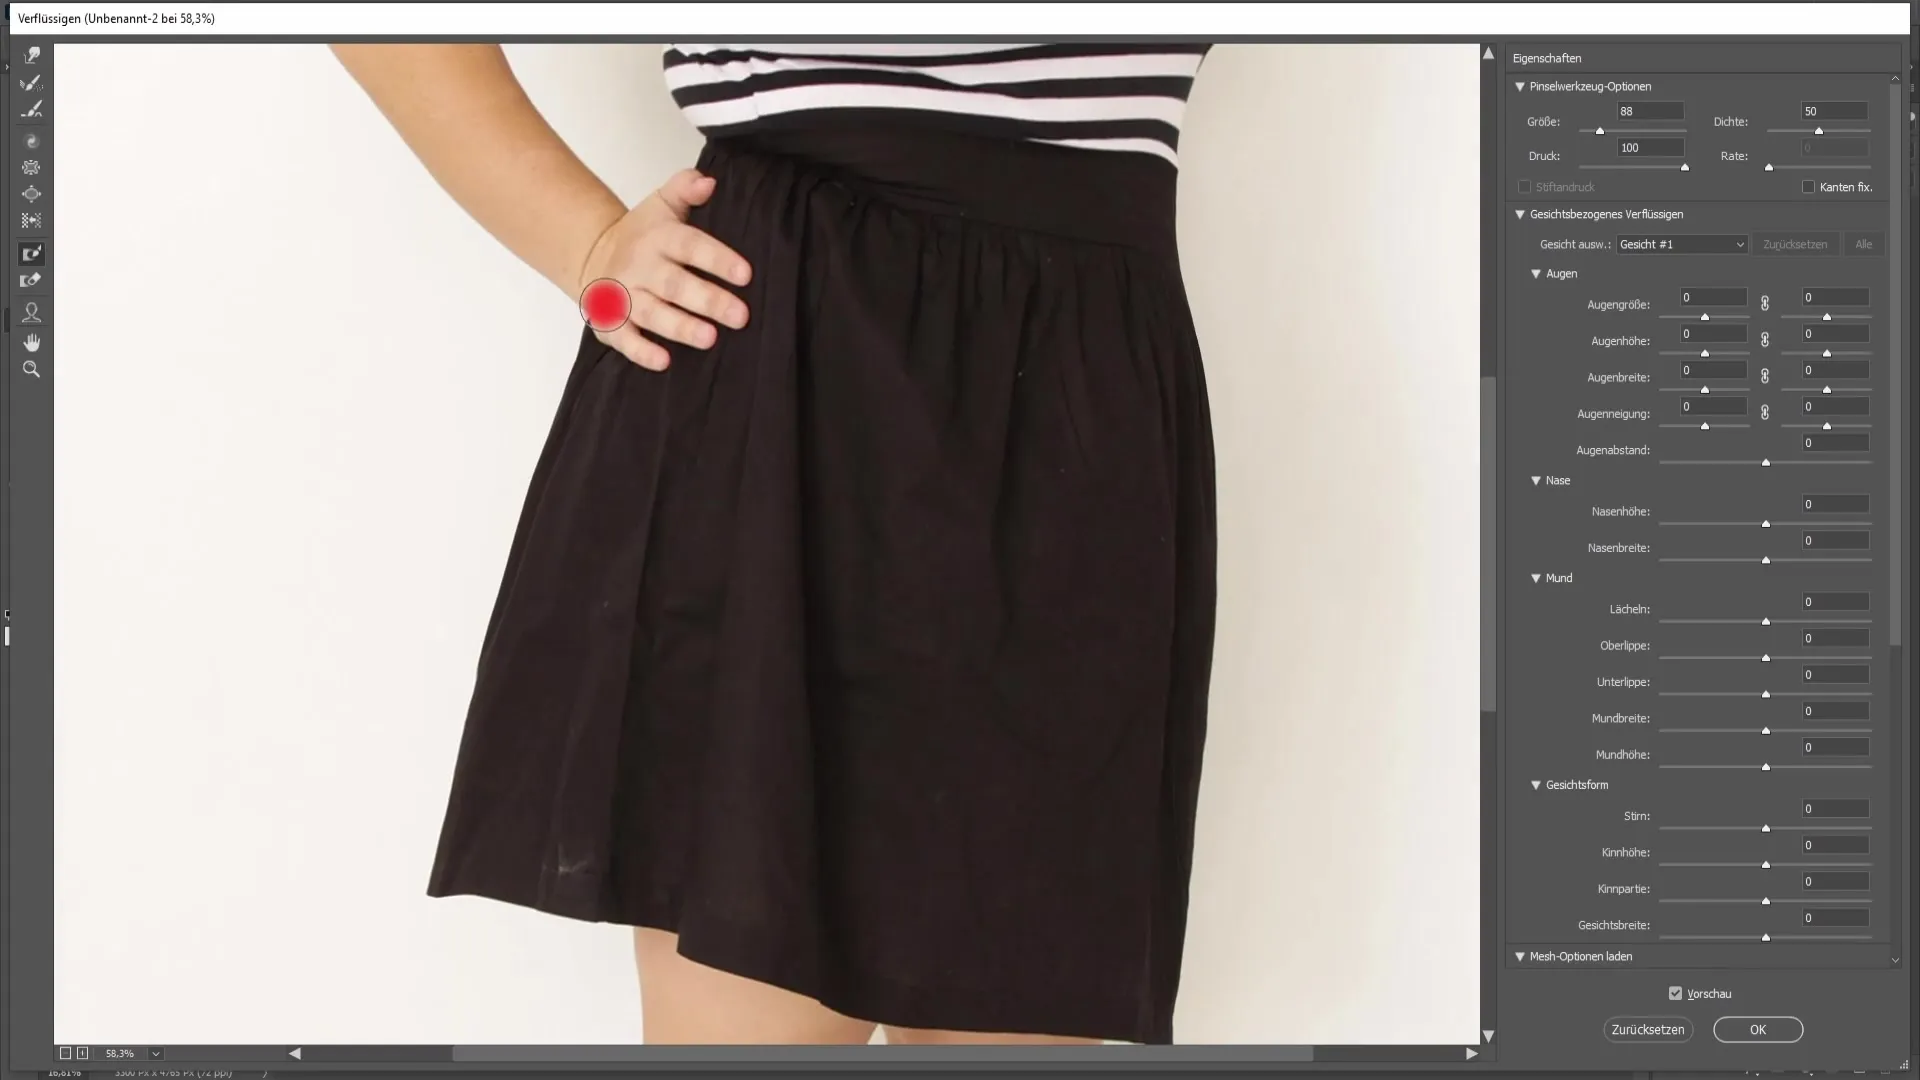
This way you can use the Liquify tool without affecting the hand. Carefully correct the areas you want to make thinner, but stay within the natural frame.
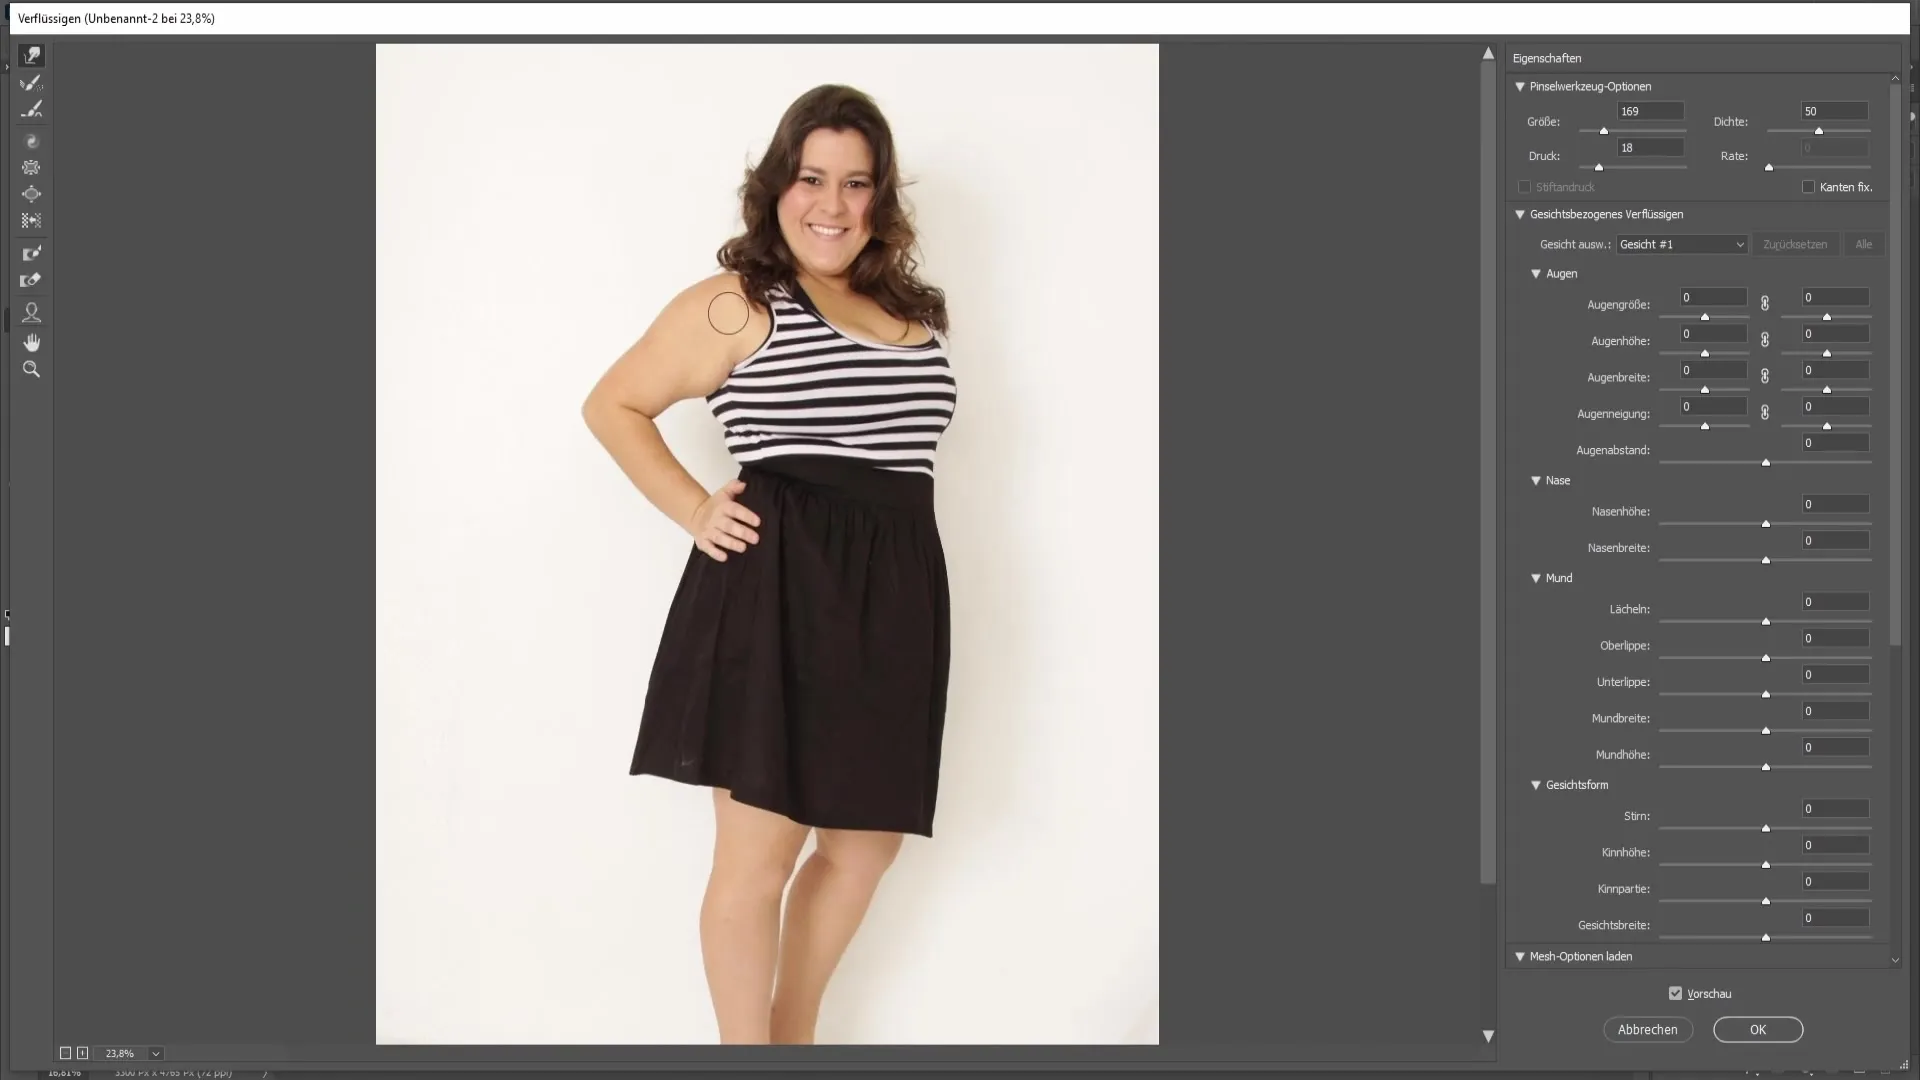
Then move to the chest area and apply the same technique to maintain both the silhouette and the structure of the top. Again, be cautious to avoid unnaturally distorting the sweater.
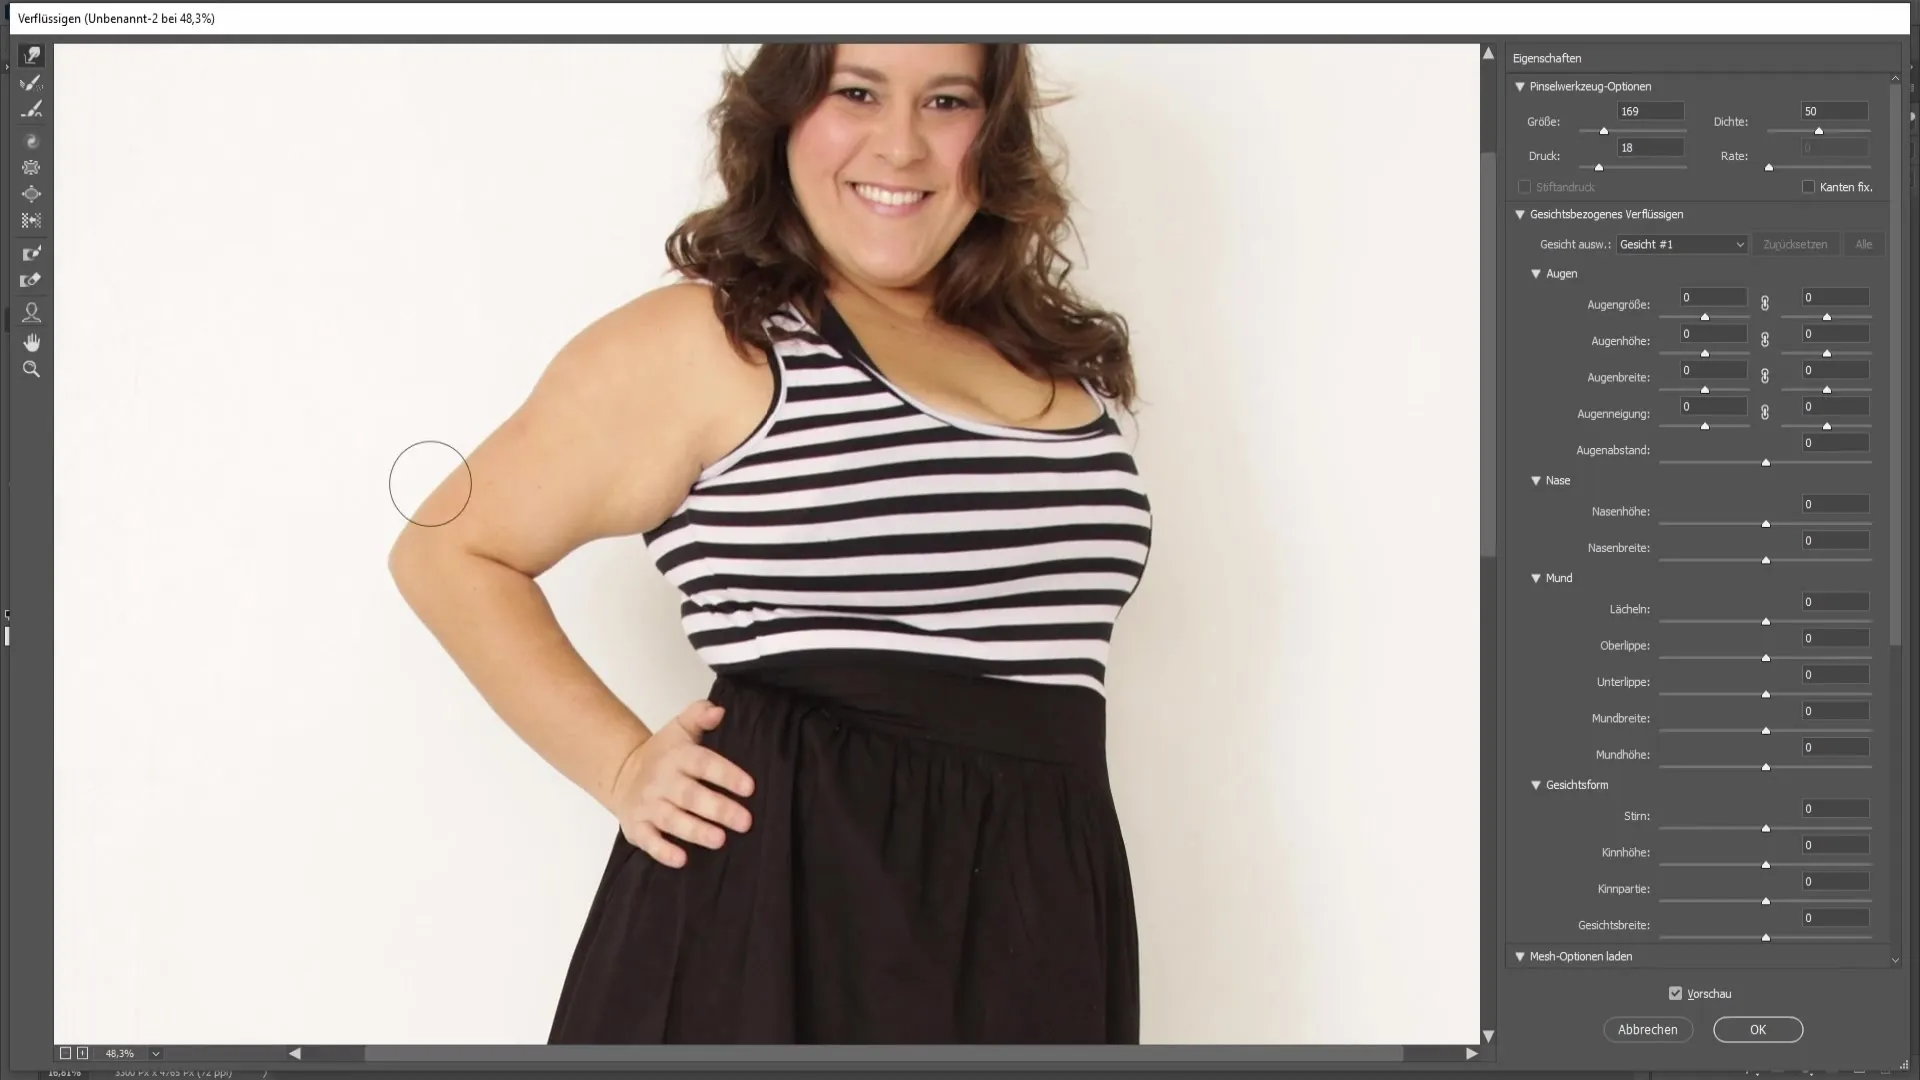
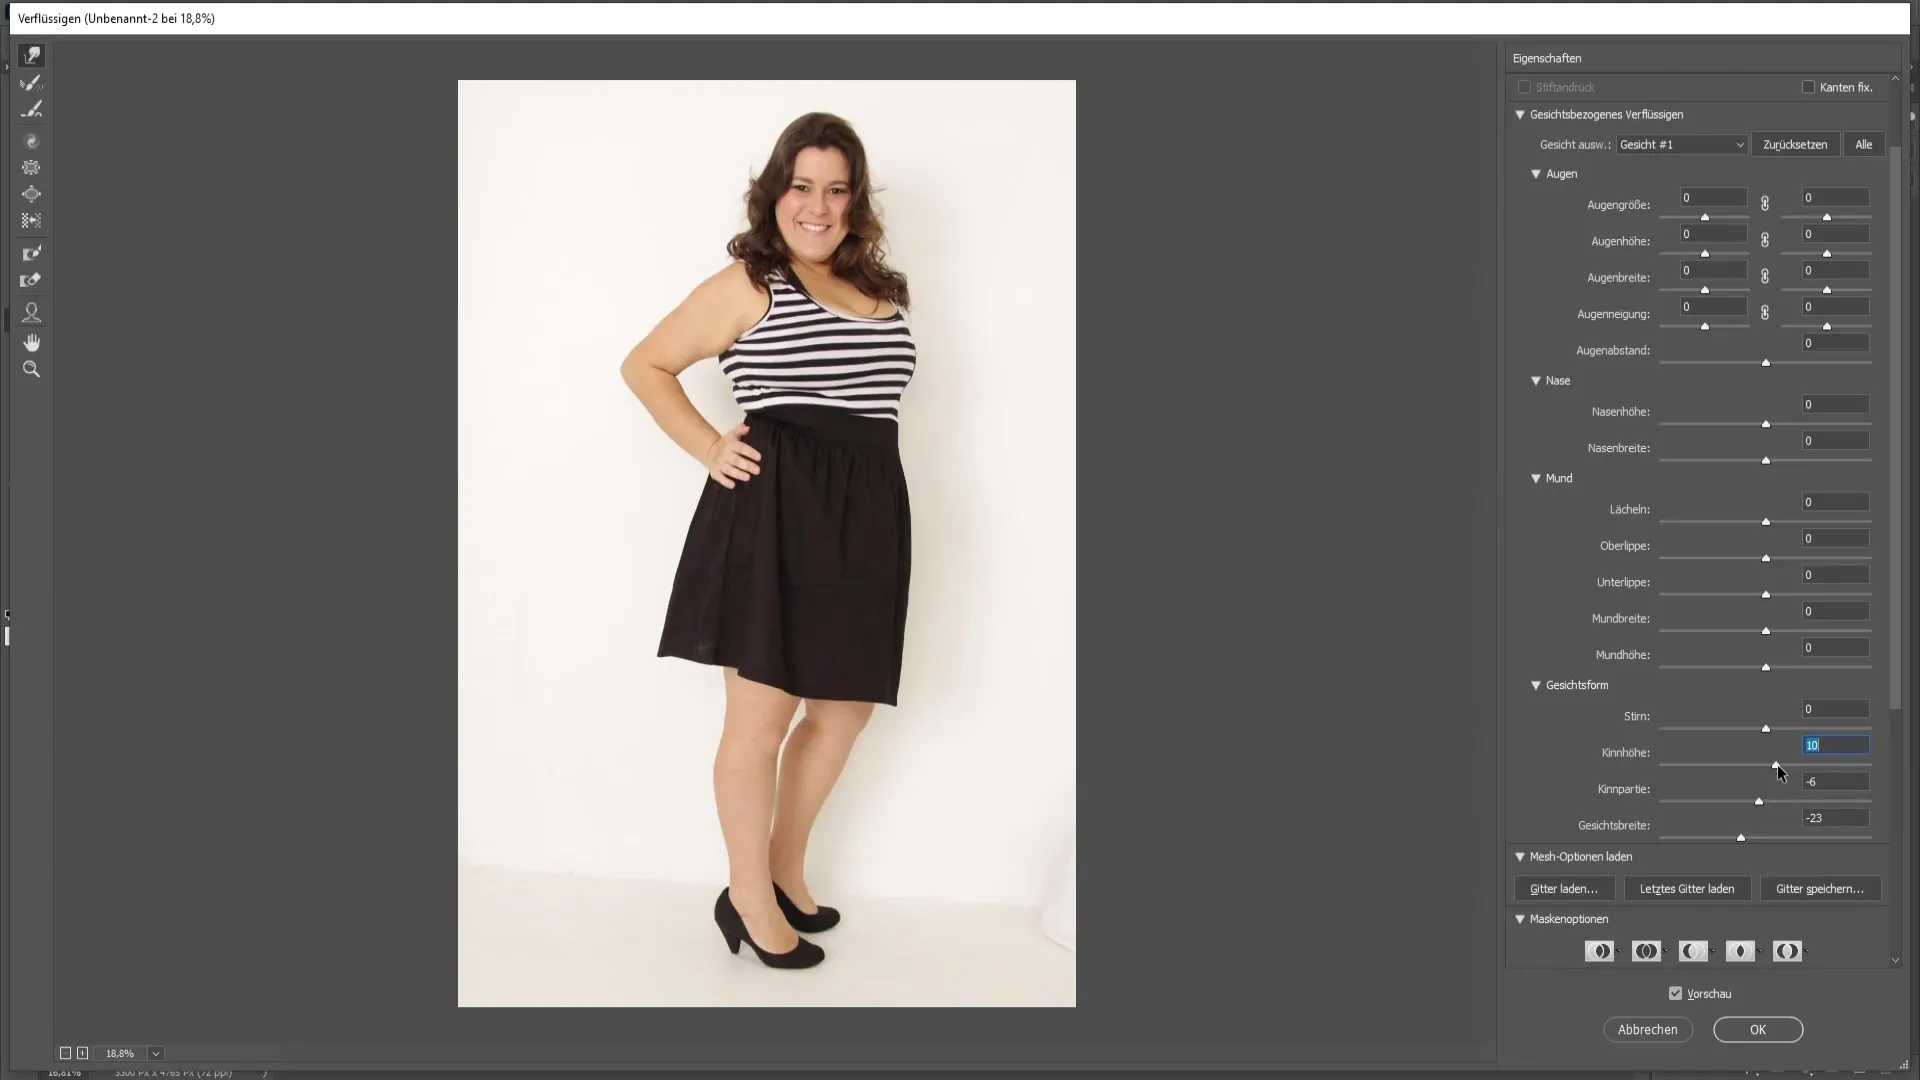
When you reach the face, you can adjust the face shape by changing the different proportions using the sliders on the right side of the Liquify menu. Reduce the width of the face by about -20 to -25 to achieve a narrower effect.
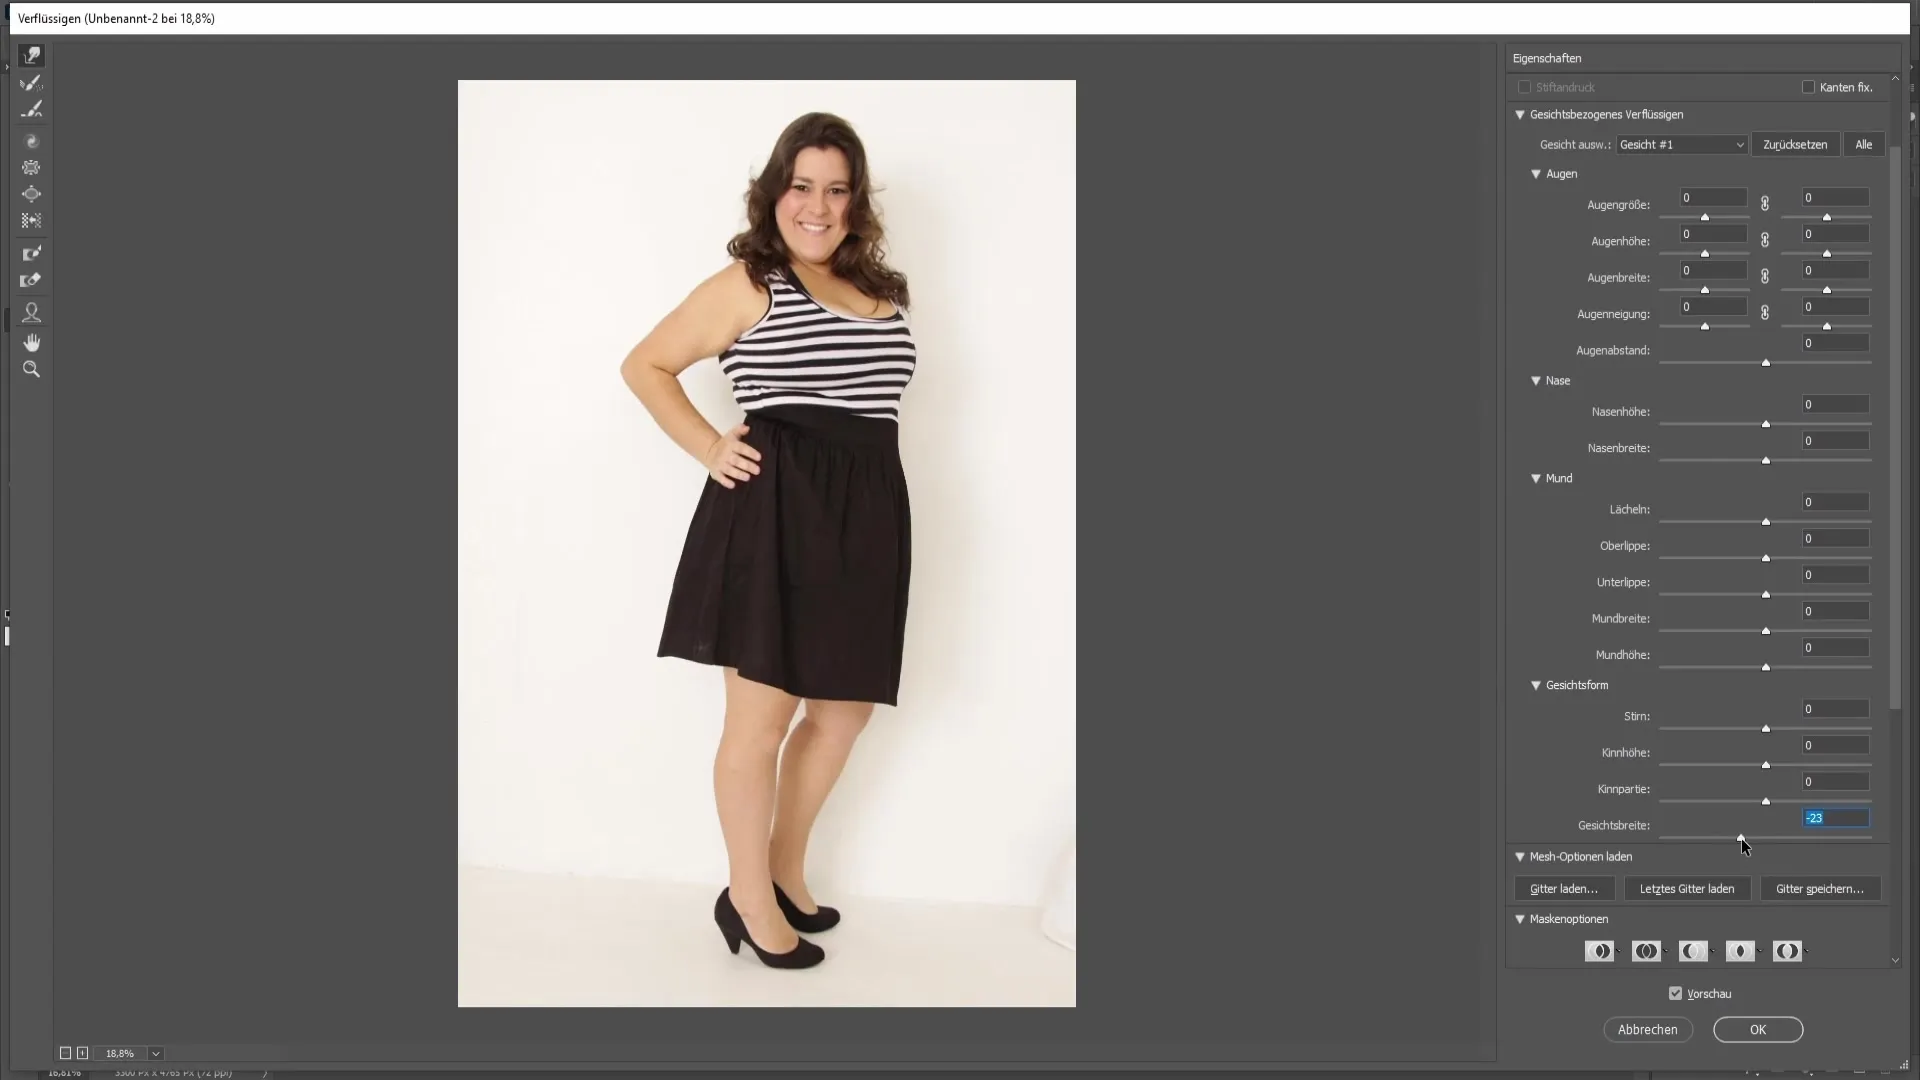
Do not apply the correction excessively strong, as there is also a risk that the result will look unnatural. For the chin shape, you can make minor adjustments by raising the chin slightly and making it narrower.
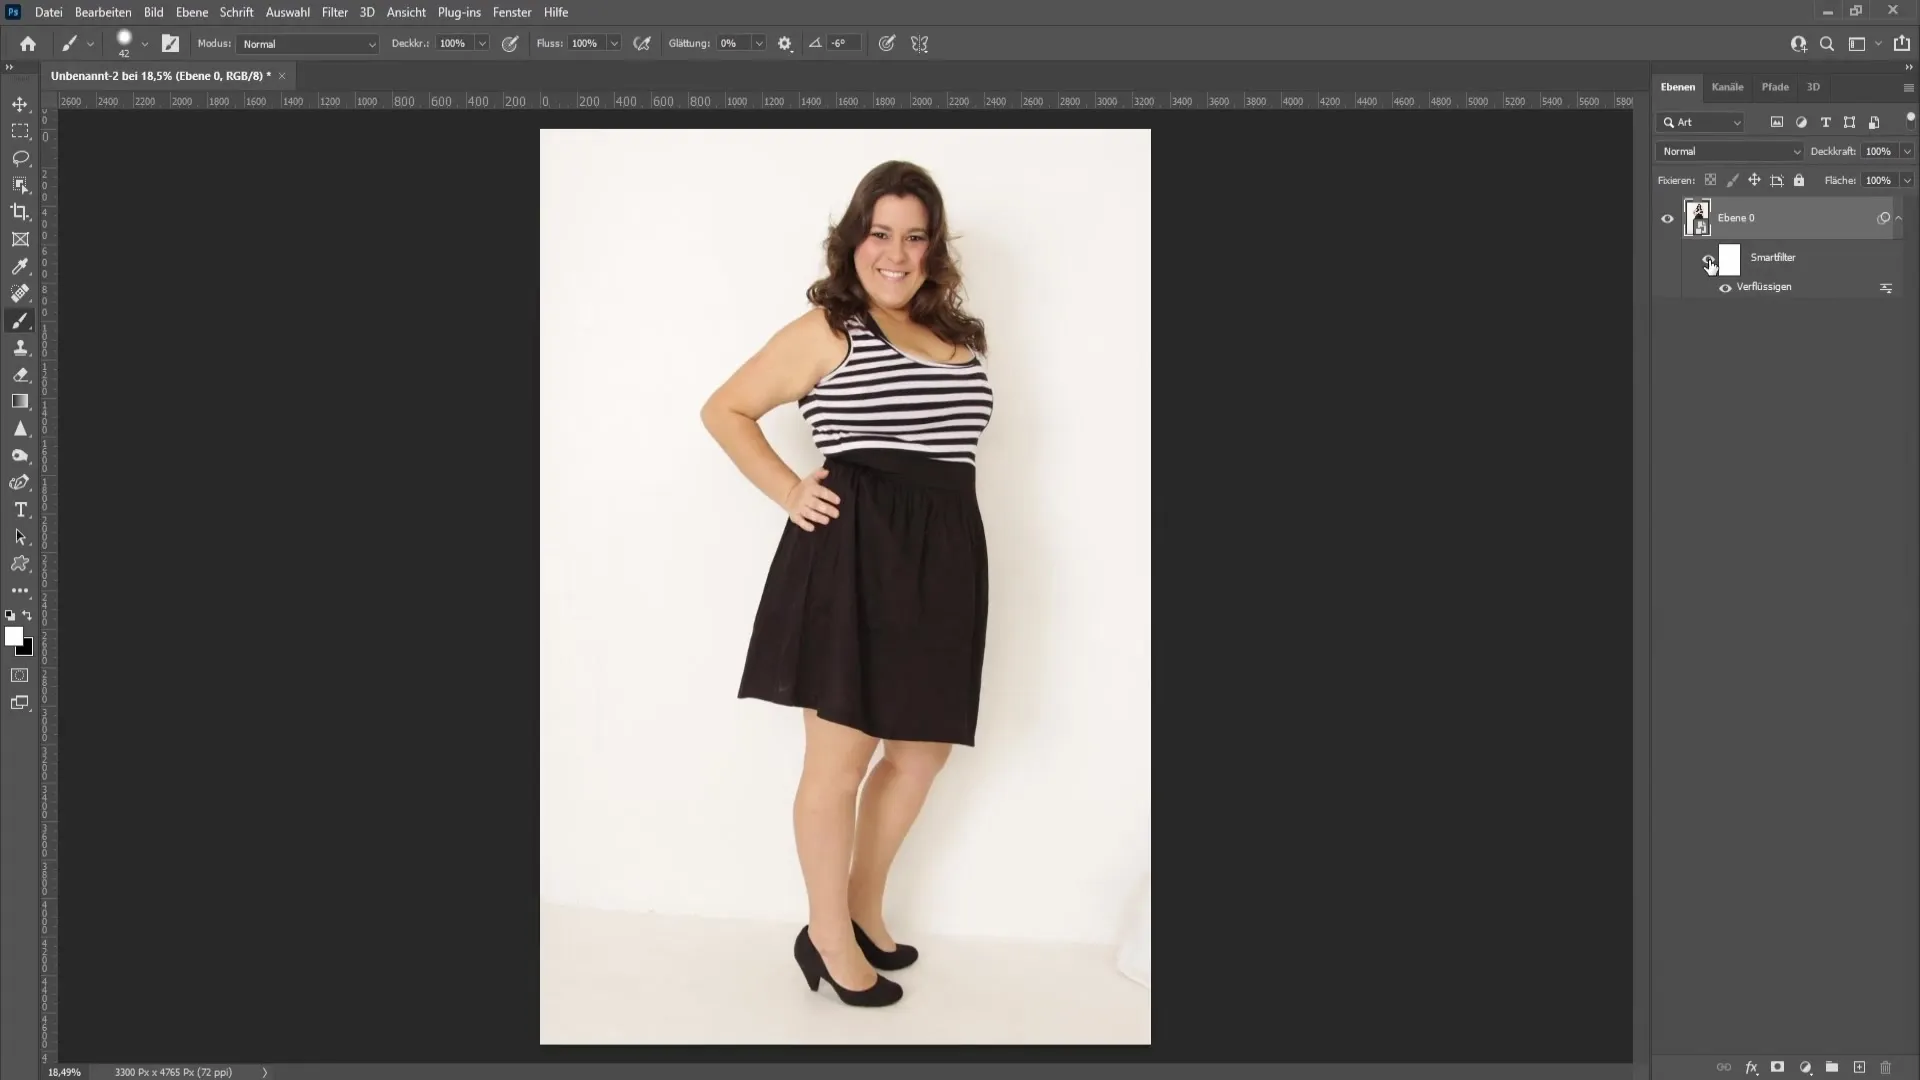
Once you are satisfied with your changes, click OK to apply the changes. Now you can make a before-and-after comparison to identify the differences and ensure that the image meets your expectations.
Summary
In this tutorial, you have learned how to make adjustments to a person in Photoshop to make them appear thinner using various techniques. The steps include working with Smart Objects, the Liquify tool, and a Fixation Mask. Always pay attention to natural proportions to achieve a harmonious image.
Frequently Asked Questions
What is a Smart Object?A Smart Object is a special type of layer in Photoshop that allows you to apply filters and effects non-destructively.
How can I adjust the width of a face in Photoshop?In the Liquify filter, you can change the width of the face using the sliders for facial proportions.
Why should I use a Fixation Mask?A Fixation Mask prevents unintentional distortion of other areas while editing, resulting in a more realistic outcome.
How can I ensure that my changes look natural?Make small and careful adjustments and make sure to maintain natural contours and shapes.


