In this tutorial, I will show you step by step how to insert a realistic piercing into an image using Photoshop. This technique helps you cut objects precisely from other images and seamlessly integrate them into your composition. To make the piercing look natural, I will also cover important details such as color changes and shading. All you need is an image of a piercing and some patience.
Key Takeaways
- Choose the correct image from free image databases.
- Pay attention to precise selection and correct resizing of the piercing.
- Use shading to make the piercing look more realistic.
- Change the color of the piercing to match the overall tone of the image.
Step-by-Step Guide
To insert a piercing into your image, follow these steps:
First, you need to choose a suitable piercing image. You cannot use images from Google as they are often copyrighted. Instead, I recommend using websites like Freepik or Pixabay. Search for "person with piercing" or simply "piercing" there and download the image that you like the most. This way, you choose the perfect piercing to insert into your project.
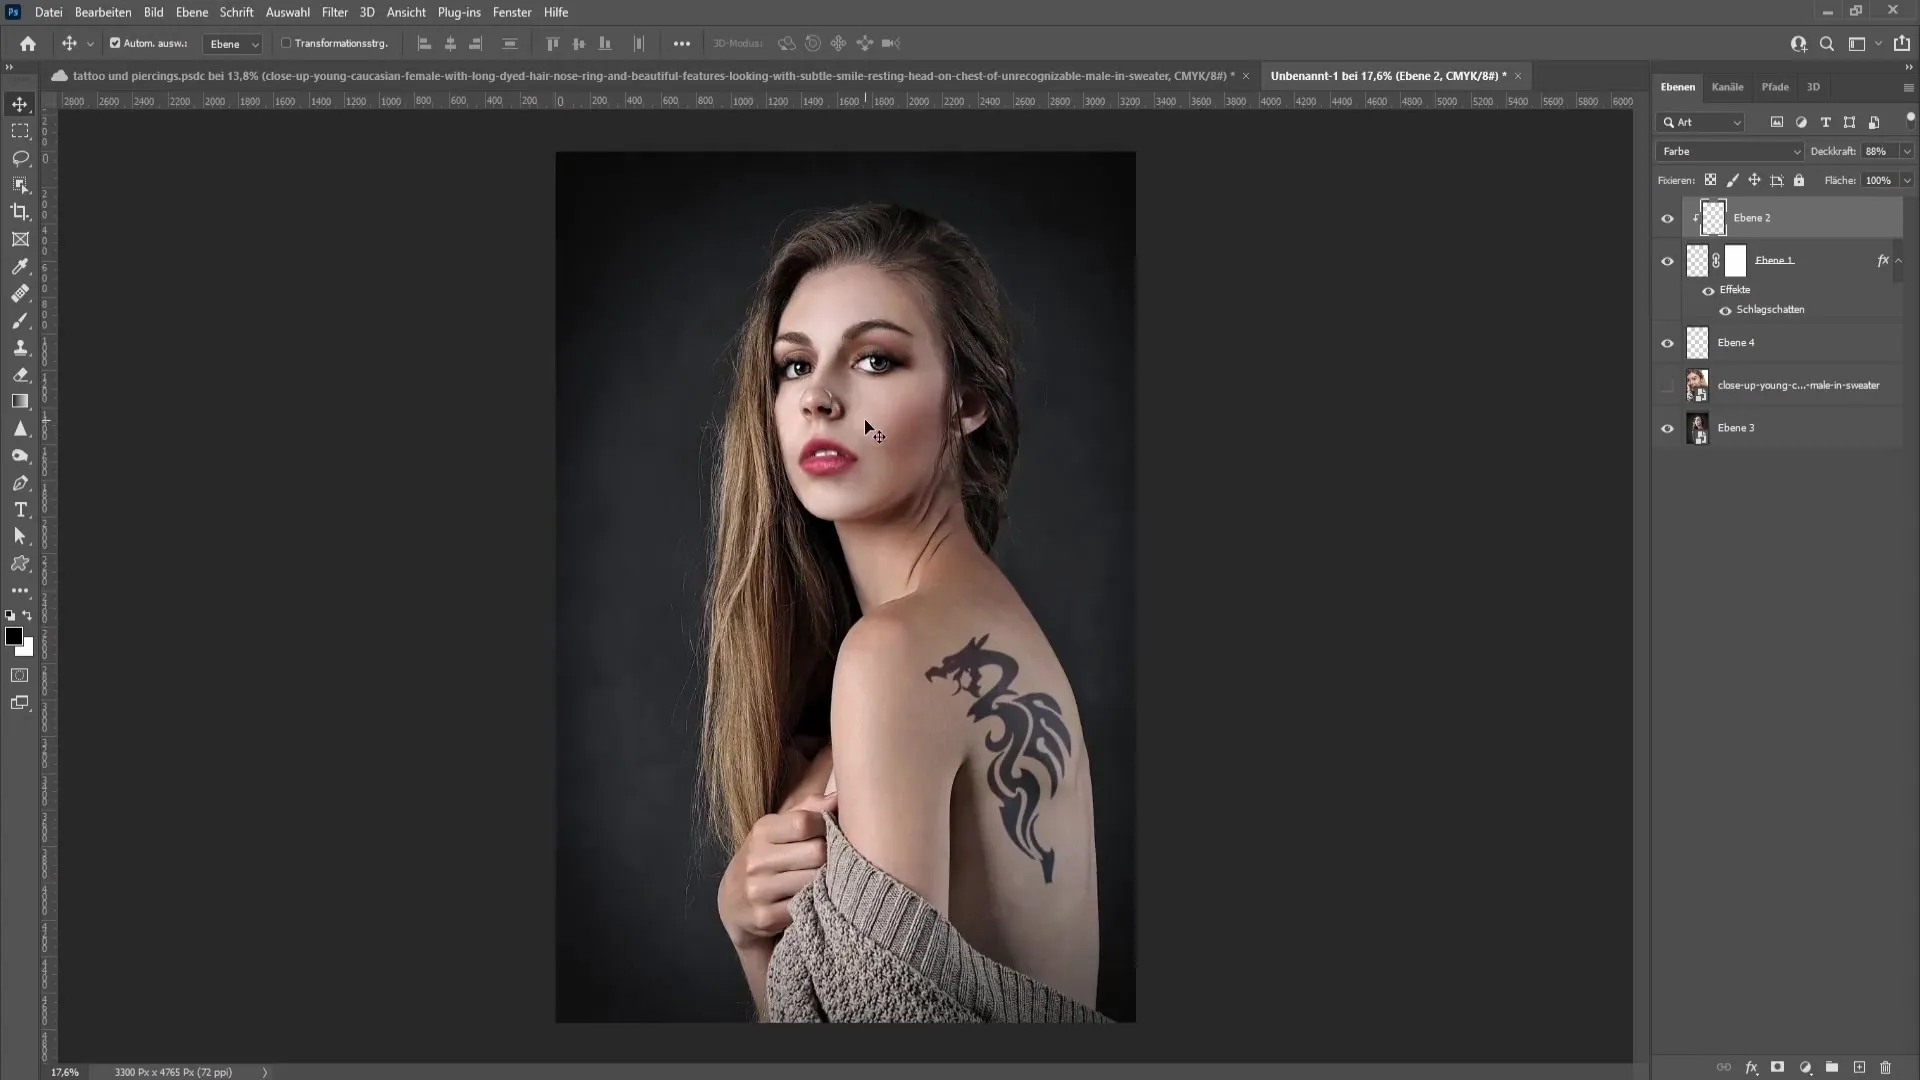
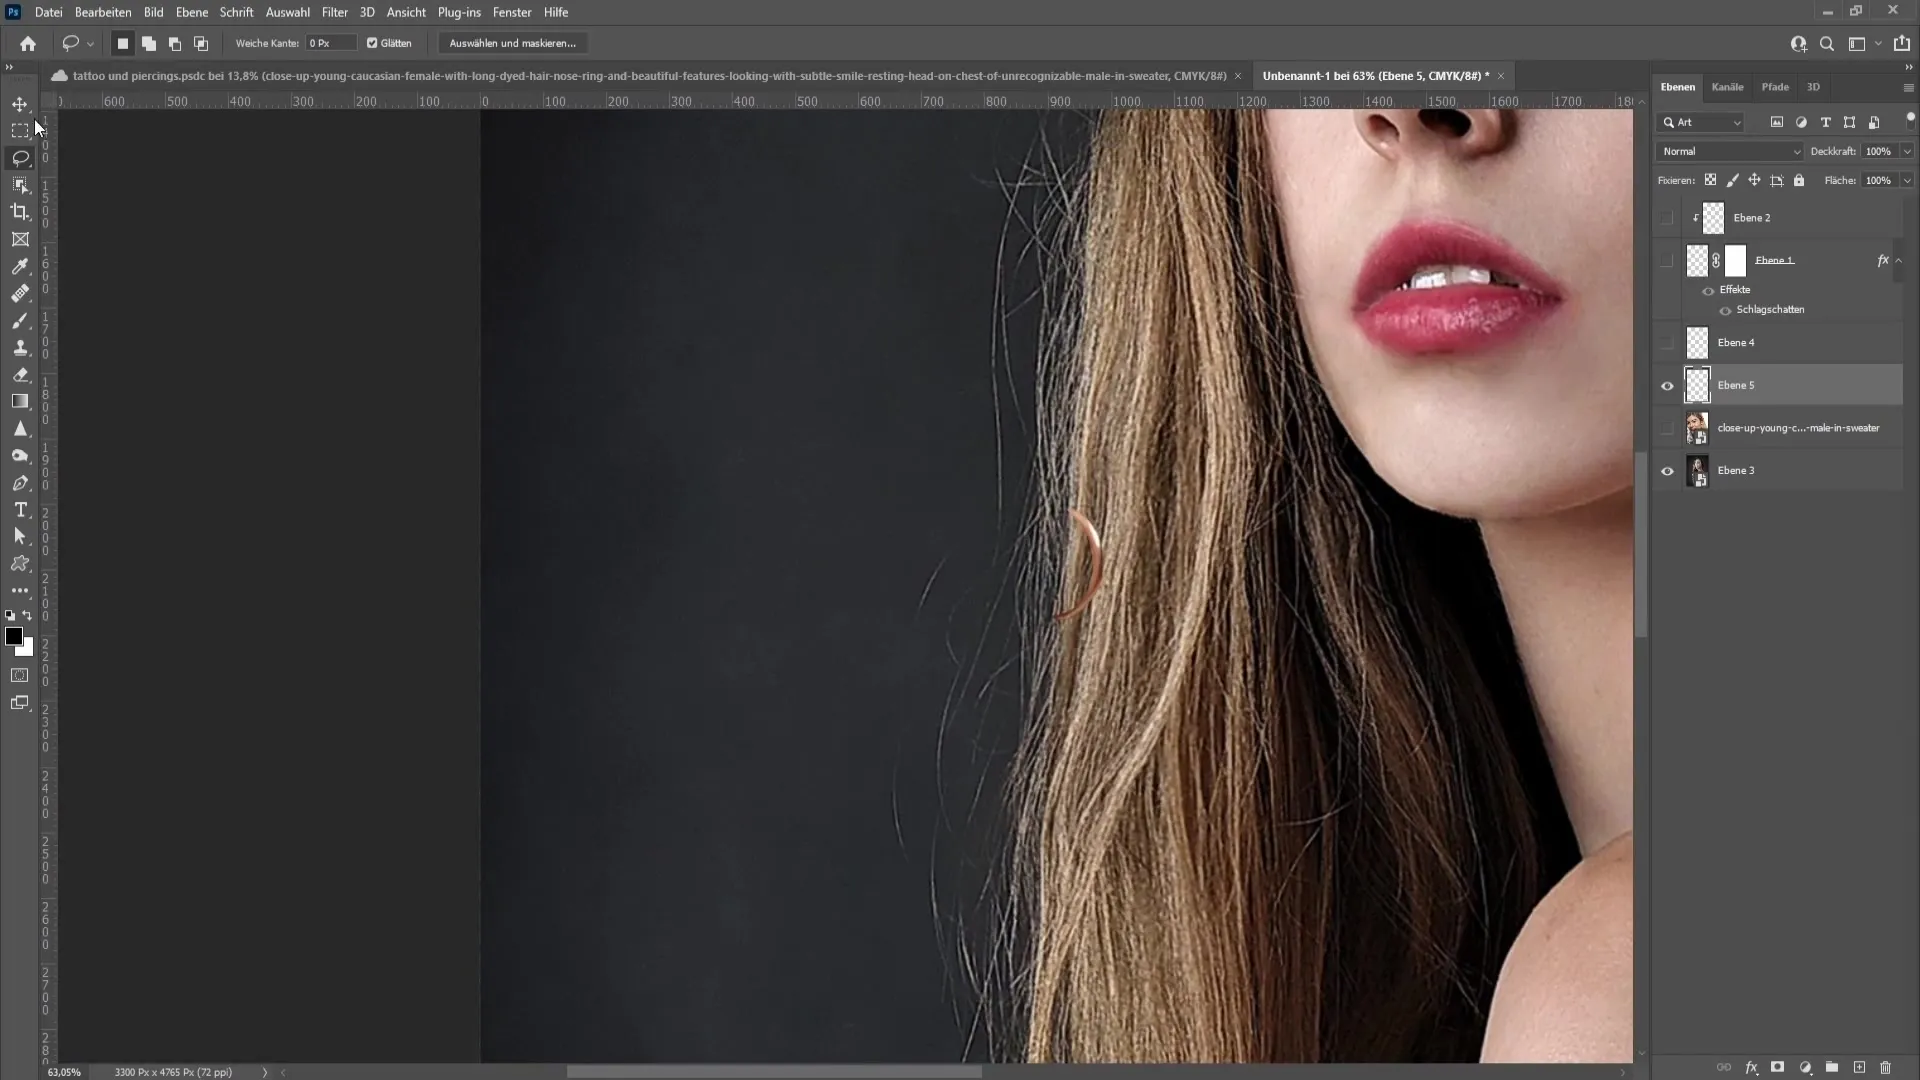
After selecting the appropriate image, open it in Photoshop and carefully cut out the piercing. Use the selection tool of your choice (e.g. the lasso tool) for this. To make a precise selection, hold down the Alt key to subtract parts of the selection that you do not need. Hold down the Shift key to add more areas. Make sure to refine the selection thoroughly so that a clean result is achieved in the end. This is particularly important as the size of the piercing in the image is small and disproportionate edges are not recognizable.
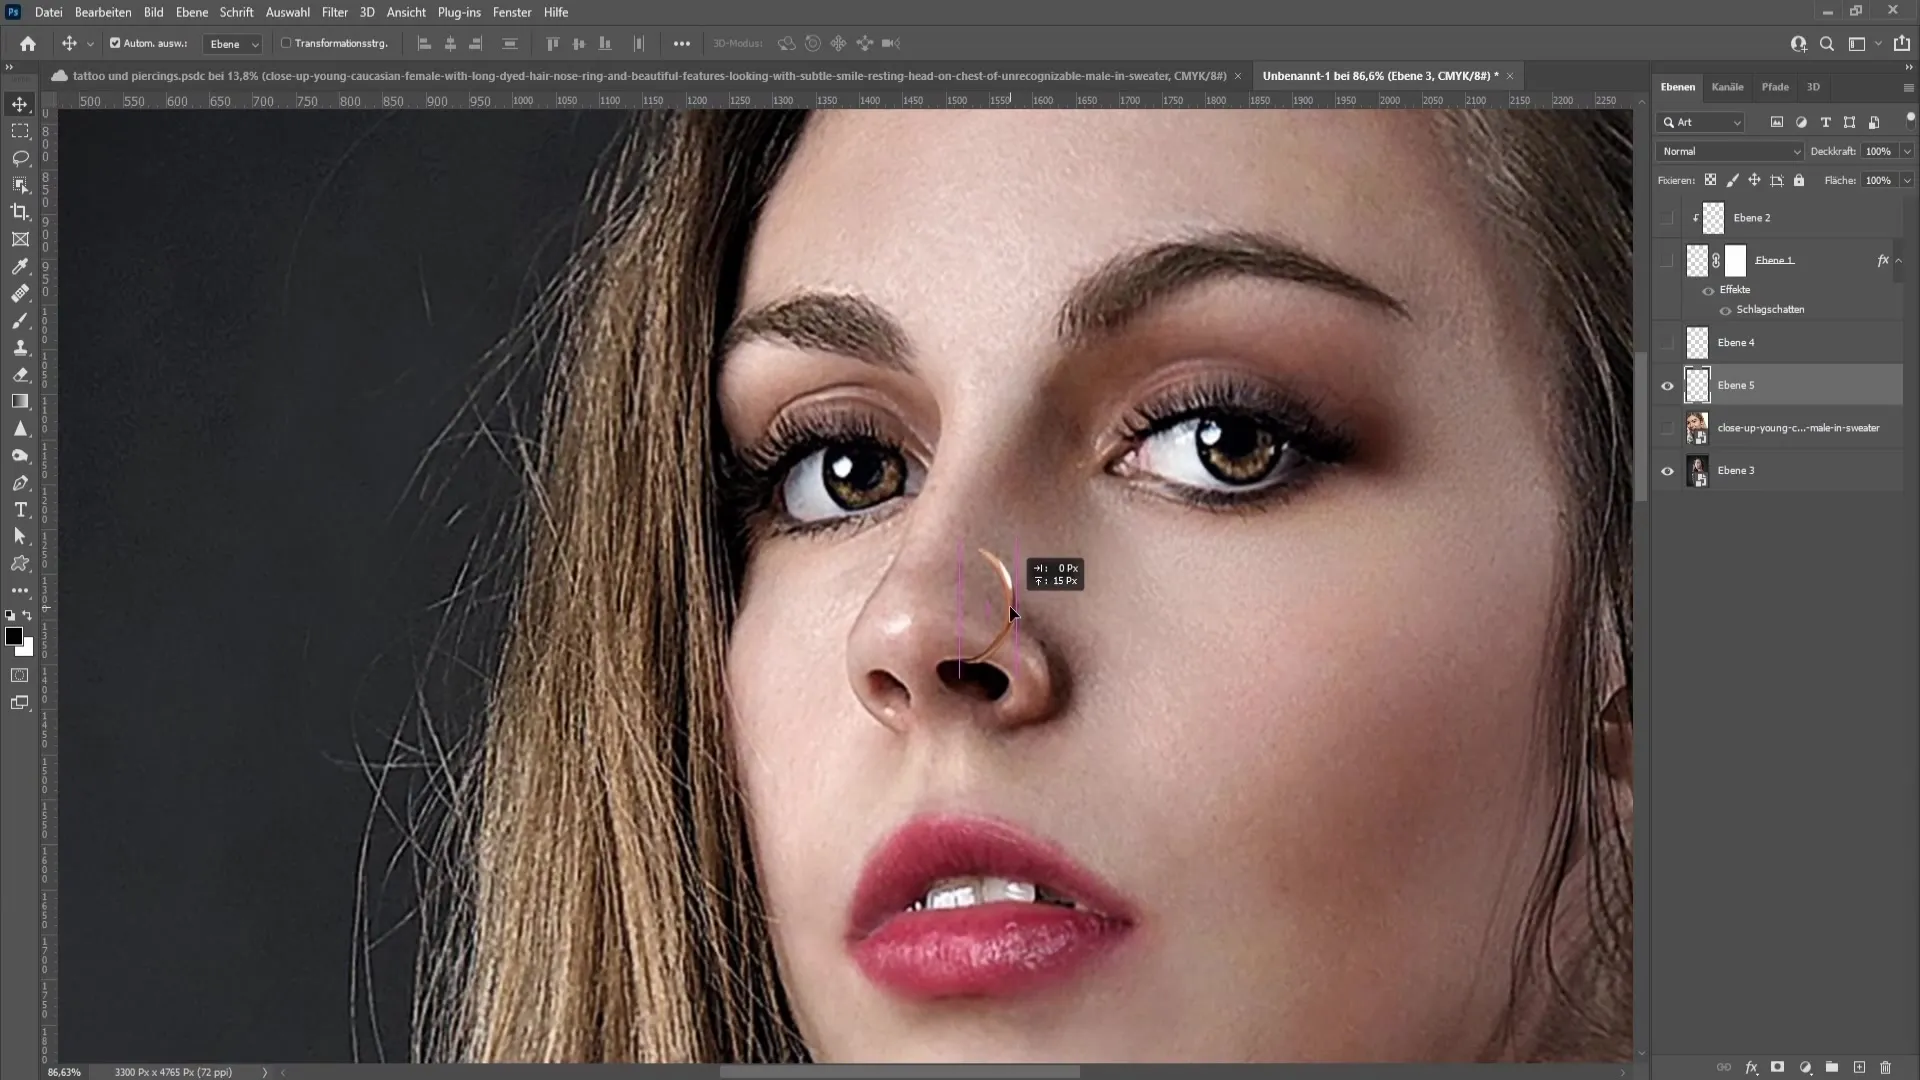
Once you have cut out the piercing, press Ctrl + J to copy the piercing to a new layer. Now you can use the move tool to place the piercing in the desired location in the main image. Hold down the spacebar while moving to adjust the position easier.
Now you need to adjust the size of the piercing. Press Ctrl + T to activate the transform tool. Hold down the Ctrl key and drag the corners to resize the piercing to your liking. Make sure to position the piercing correctly and move it up or down if necessary to make it look natural.
To ensure that the piercing is well integrated into the image, you can also use the warp tool. Go to "Edit" and select "Warp". Place points at strategic points on the piercing to organically deform it and adapt it to the facial features of the person in the image.
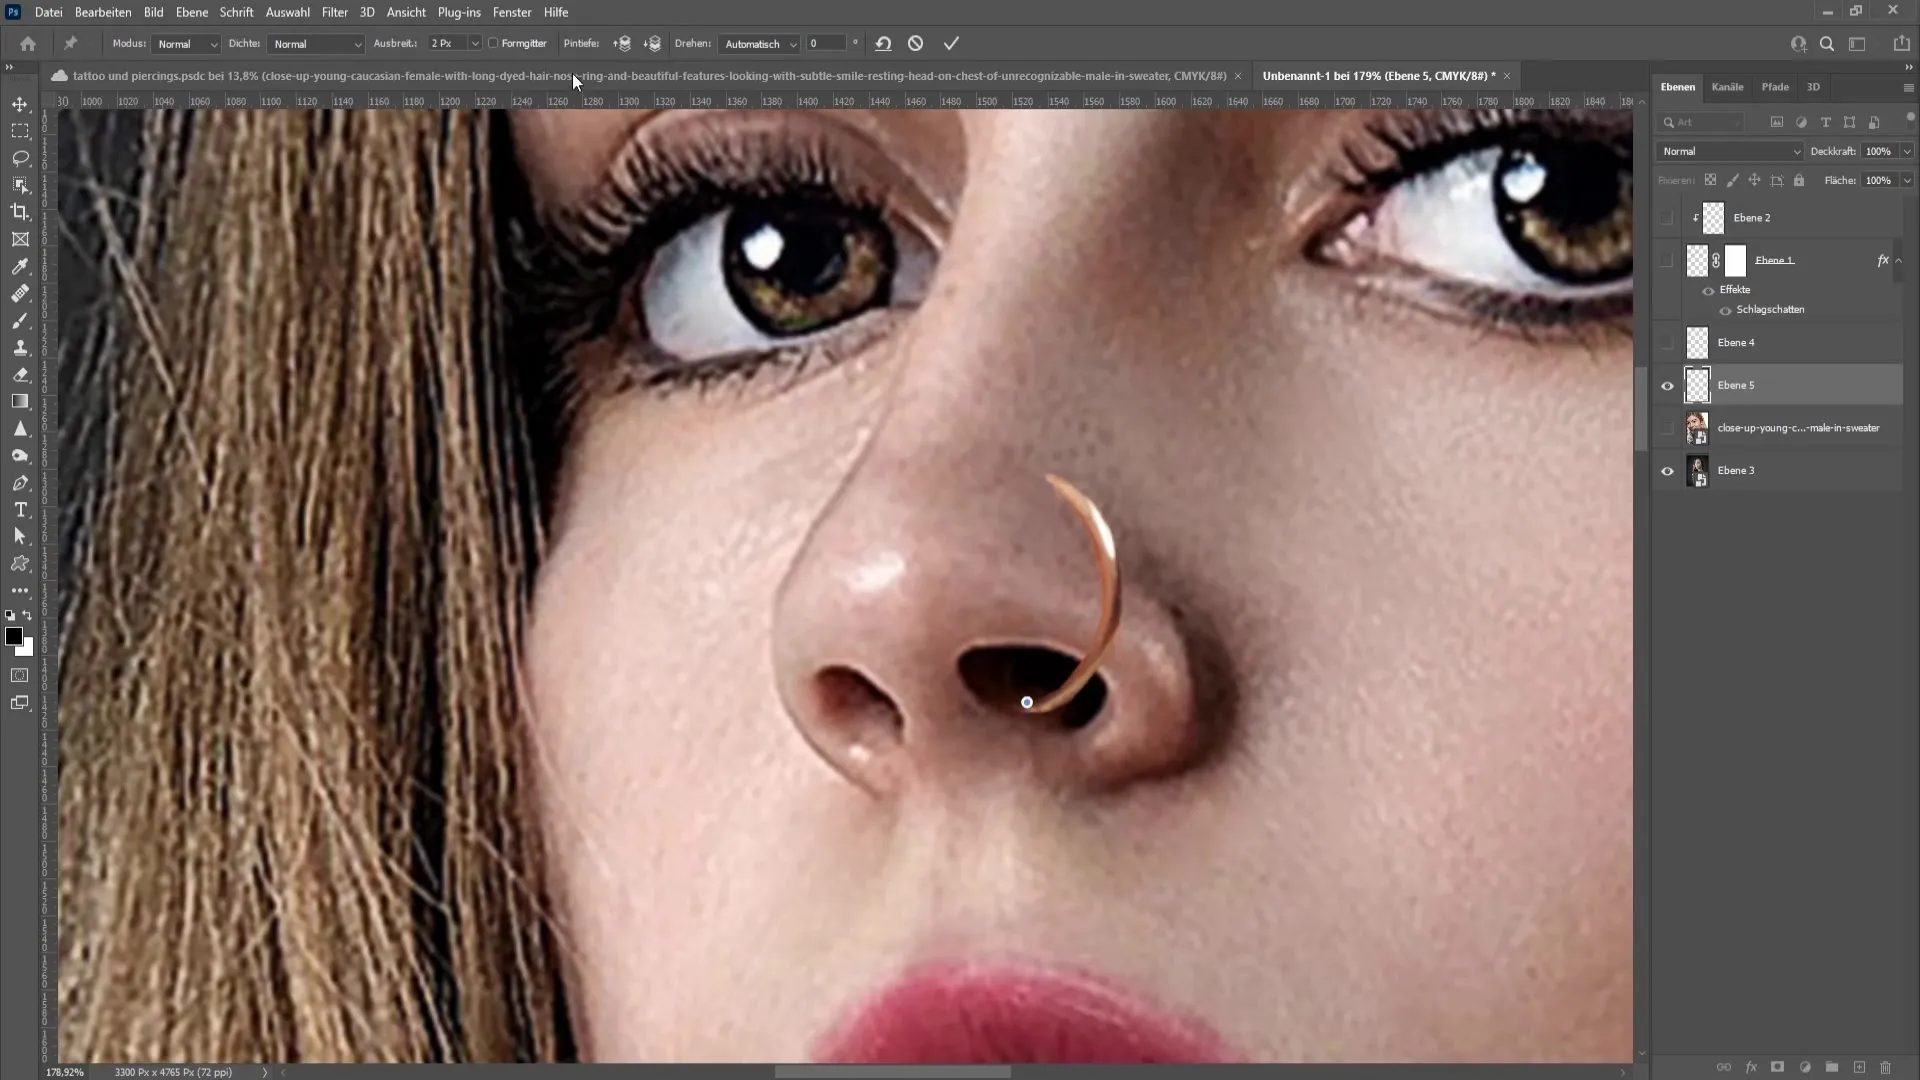
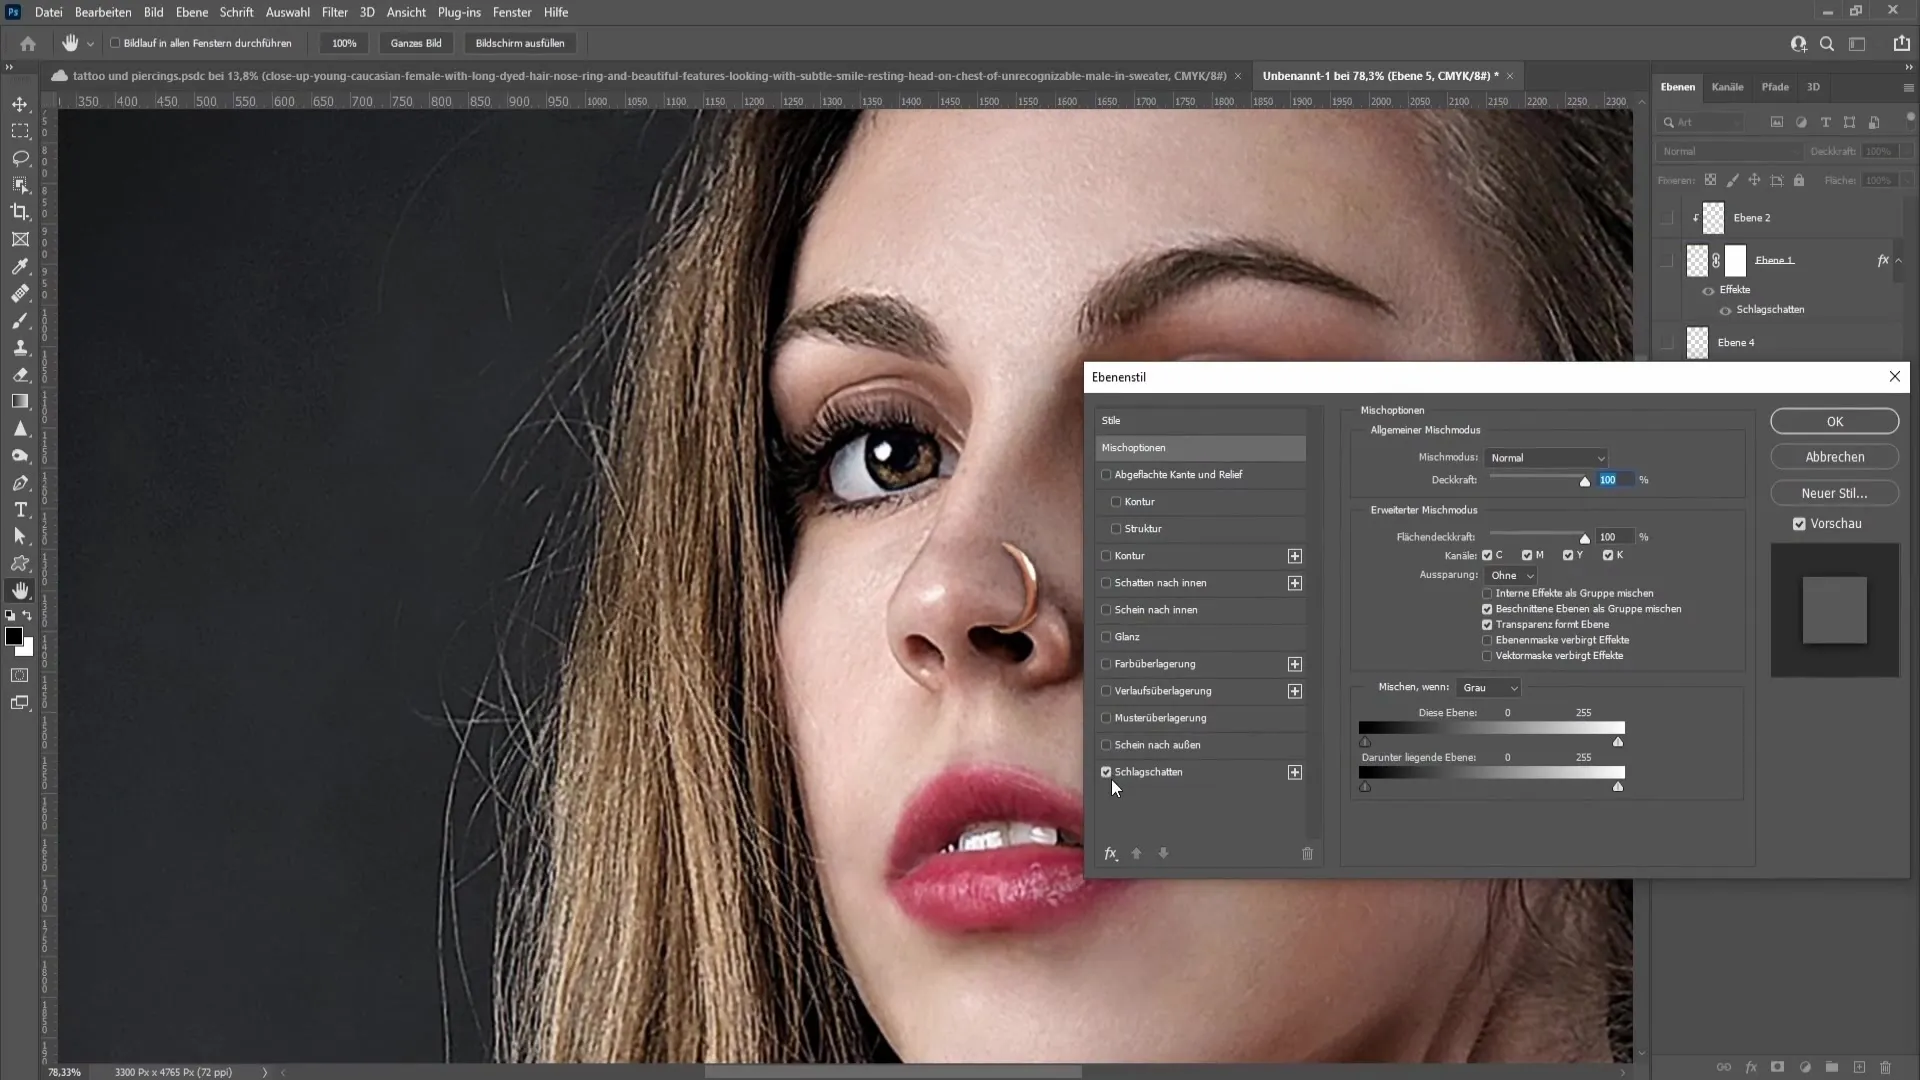
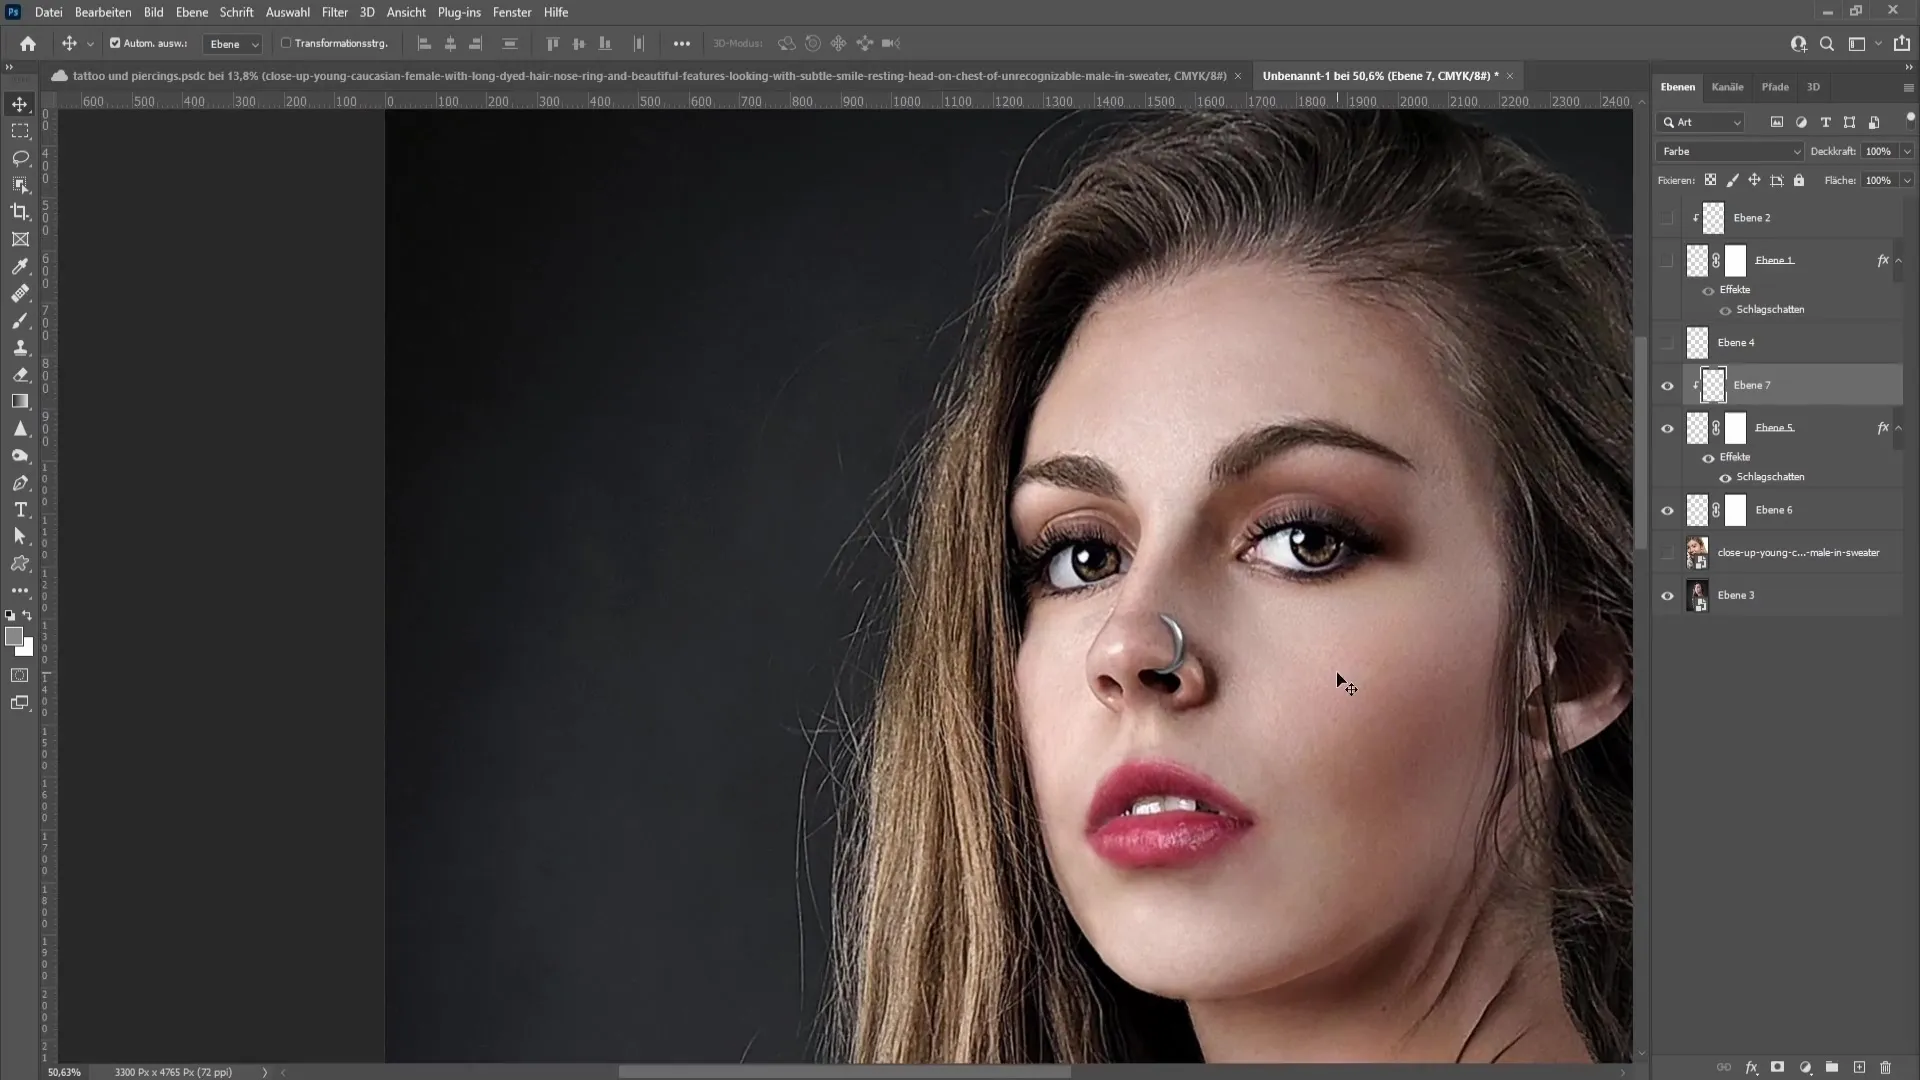
The piercing still looks quite flat. To make it more realistic, we will now add a shadow. Right-click on the piercing layer and select "Blending Options". Activate the "Drop Shadow" option and adjust the settings to create a subtle shadow that lifts the piercing and creates a 3D effect. It is important not to set the opacity too high so that the shadow looks natural and not too overwhelming.
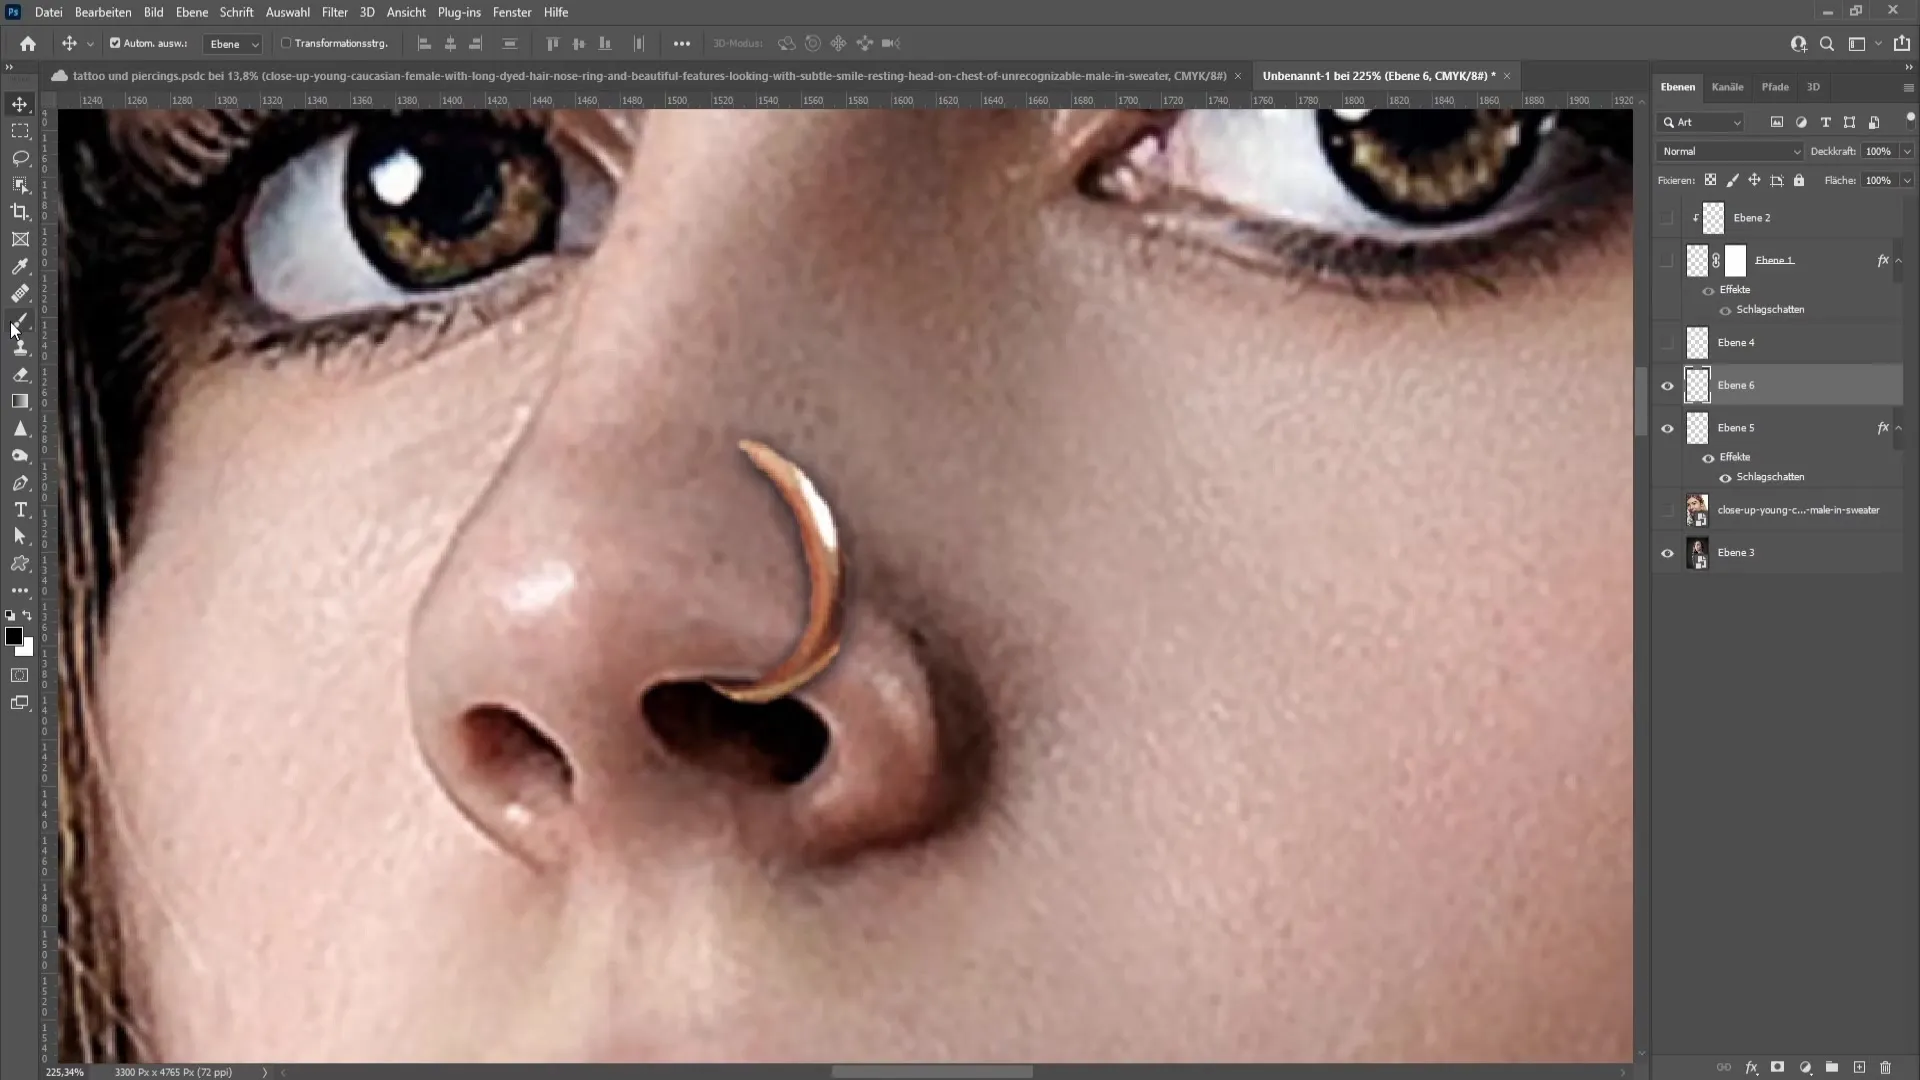
To add even more depth, you could create a small core shadow for the piercing hole. Create a new layer and select a brush to add the shape of the hole at the top of the image. Reduce the opacity of this new layer to achieve a subtle effect. This small step can significantly enhance the overall impression of the piercing.
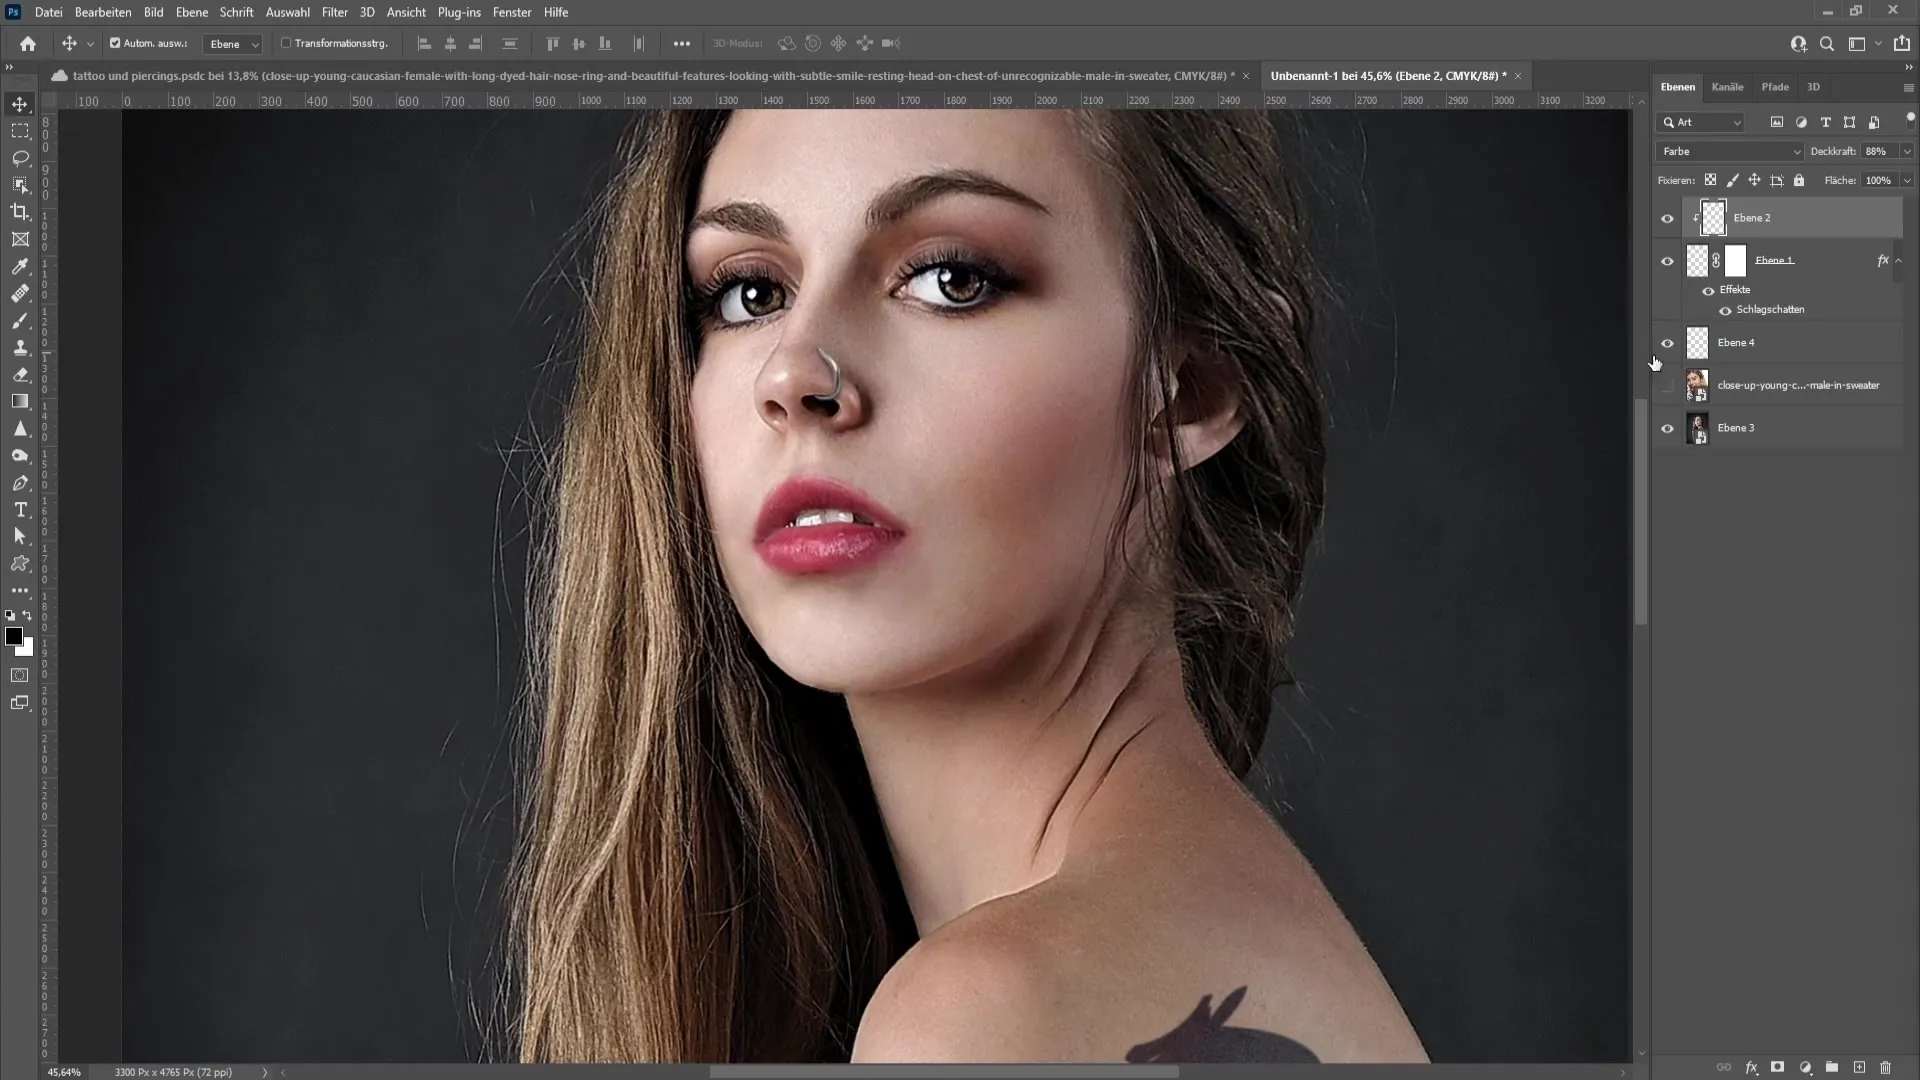
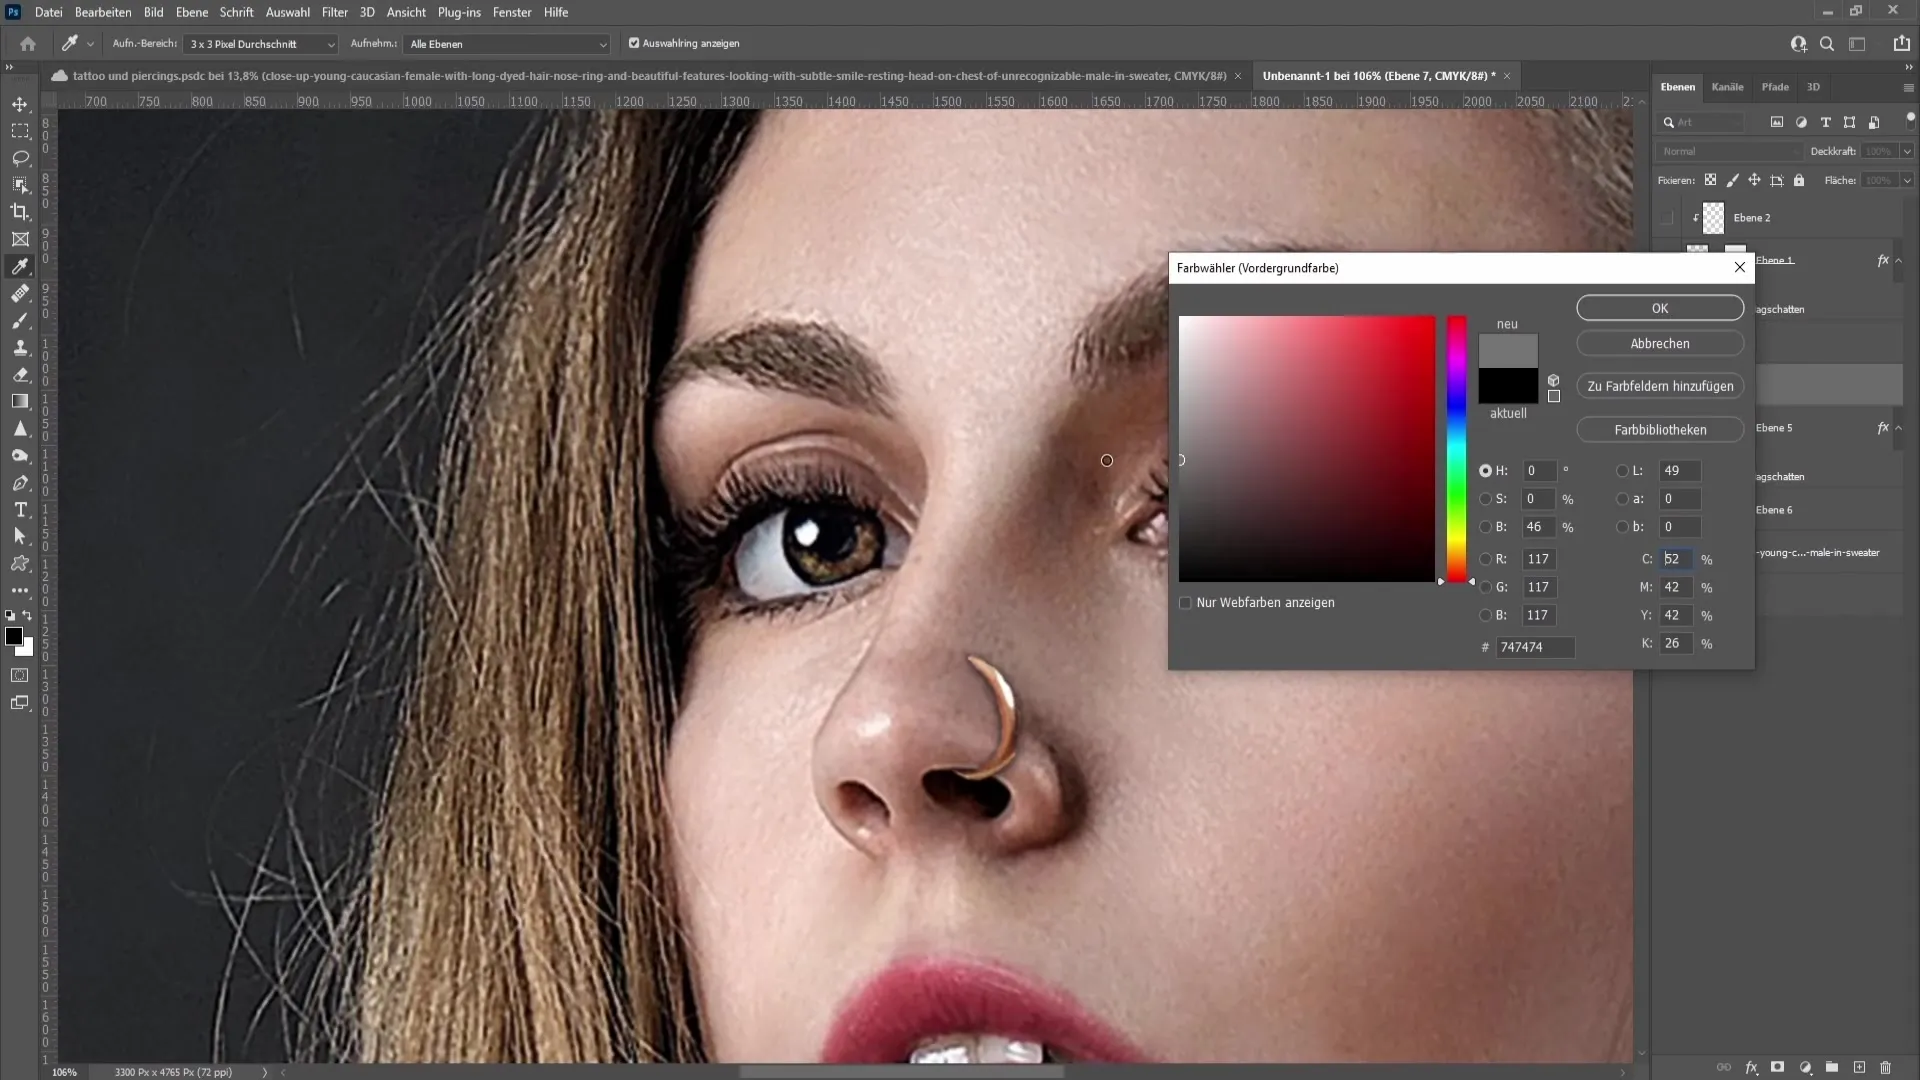
If you are satisfied with the placement and shadows, you can adjust the color of the piercing. Create a new layer, select a suitable color (like a light gray for a silver piercing), and paint over the piercing. Set the layer option to "Color" to only change the color information of the piercing. Add a clipping mask to ensure that the color change only affects the piercing and not the entire image.
Once you have completed the entire process, scroll out to view the entire image. Make sure the piercing is well integrated and looks realistic. This is what makes painstaking work on such small details so important. You have successfully learned how to create a piercing realistically in Photoshop.
Summary
In this guide, you have learned how to create a piercing in Photoshop step by step. From selecting the image to adjusting the colors and shadows, we have covered the necessary techniques to achieve a natural-looking result. Practice these techniques to further enhance your Photoshop skills.
Frequently Asked Questions
How do I find suitable images for the piercing?Use websites like Freepik or Pixabay to find royalty-free images.
How can I adjust the shape of the piercing?Use the Warp Tool in Photoshop to adjust the piercing to suit the facial features.
How do I add a shadow?Right-click on the piercing layer and choose "Blending Options" to create a drop shadow.
Can I change the color of the piercing?Yes, create a new layer, paint over it, and use a clipping mask to change the color.
How can I make the piercing more realistic?Add subtle shadows and highlights to create depth and improve integration into the image.


