In this tutorial, I will show you how to create impressive product photos with Photoshop. You will learn how to bring out the best in your photos through various image editing techniques. This includes correcting exposure errors, applying color and contrast adjustments, and working with the Camera RAW filter to give the image the final touch.
Key Takeaways
By applying basic image editing techniques, you can significantly improve your product photos. It is not necessary to retake the photo. Instead, you can optimize the existing images in post-production.
Step-by-Step Guide
First, import the product photo you want to edit into Photoshop. Once the image is open, the first step is to correct the exposure.
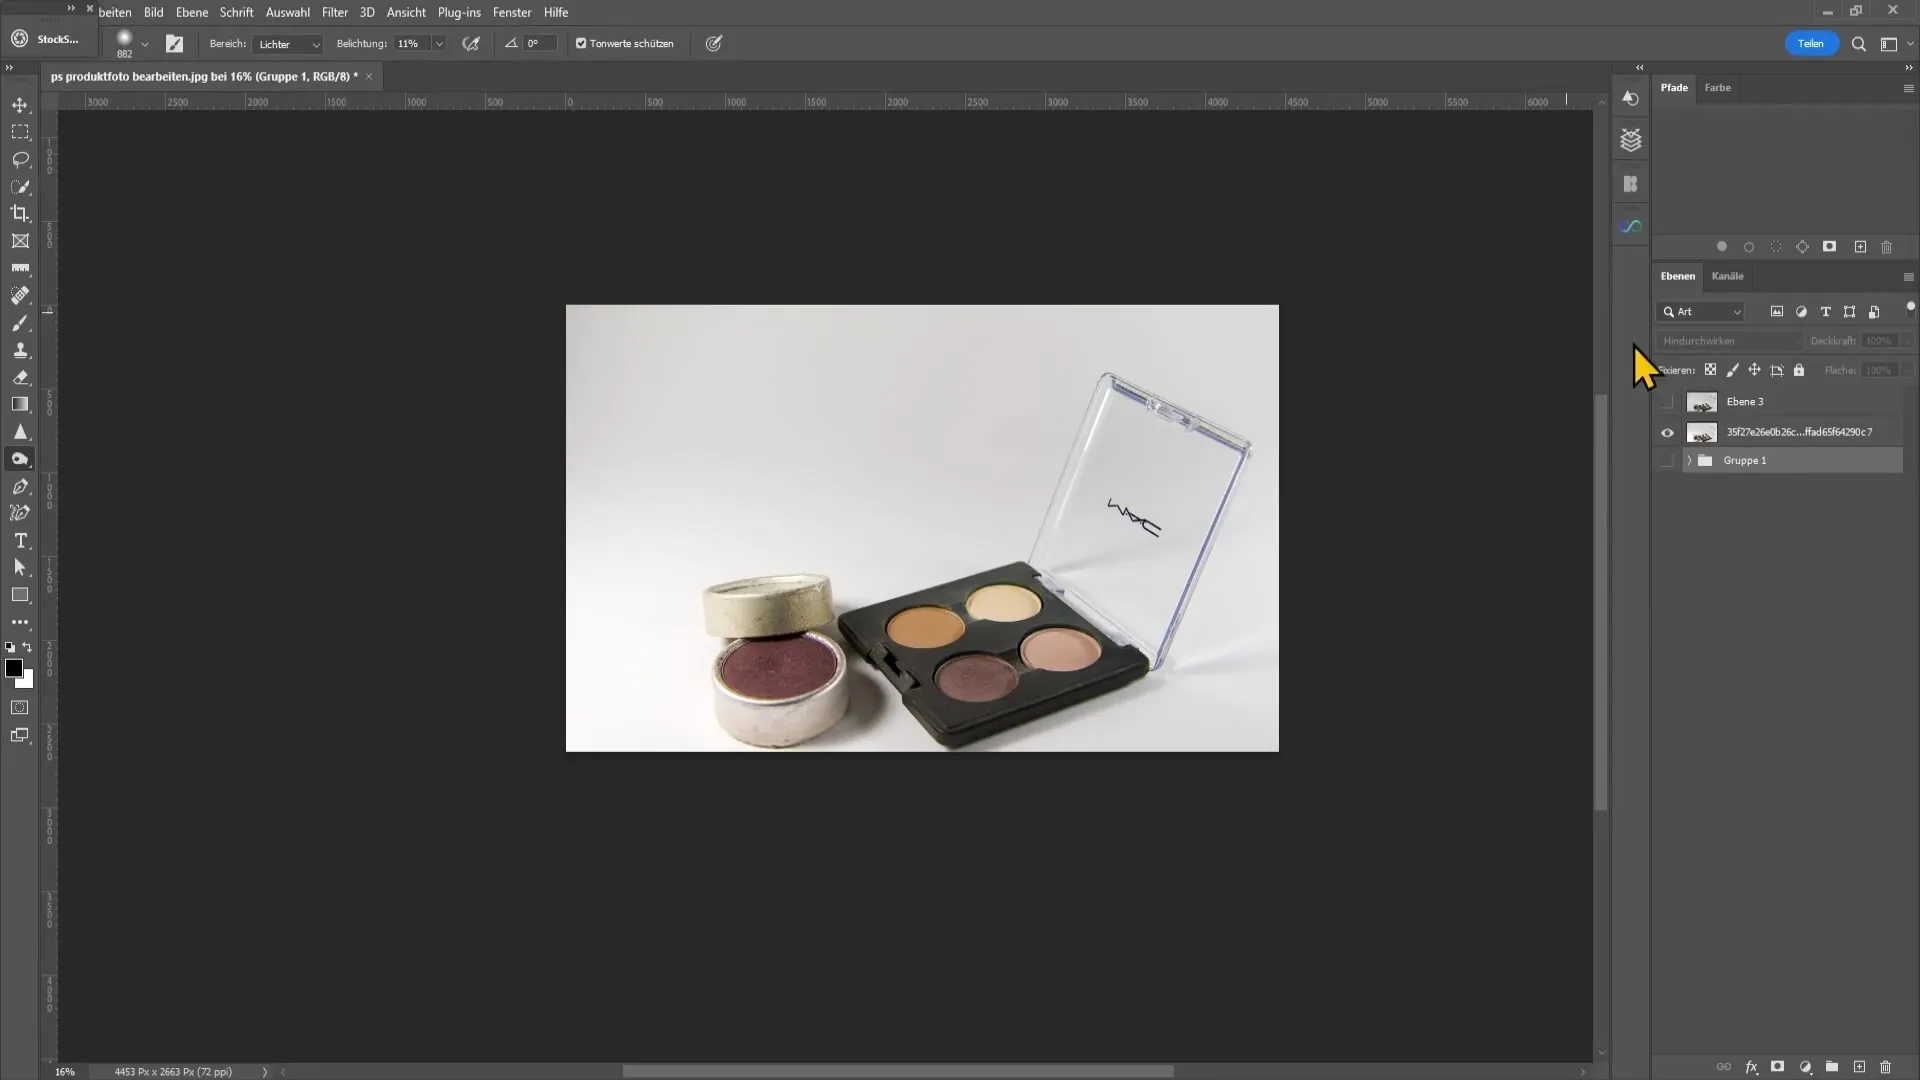
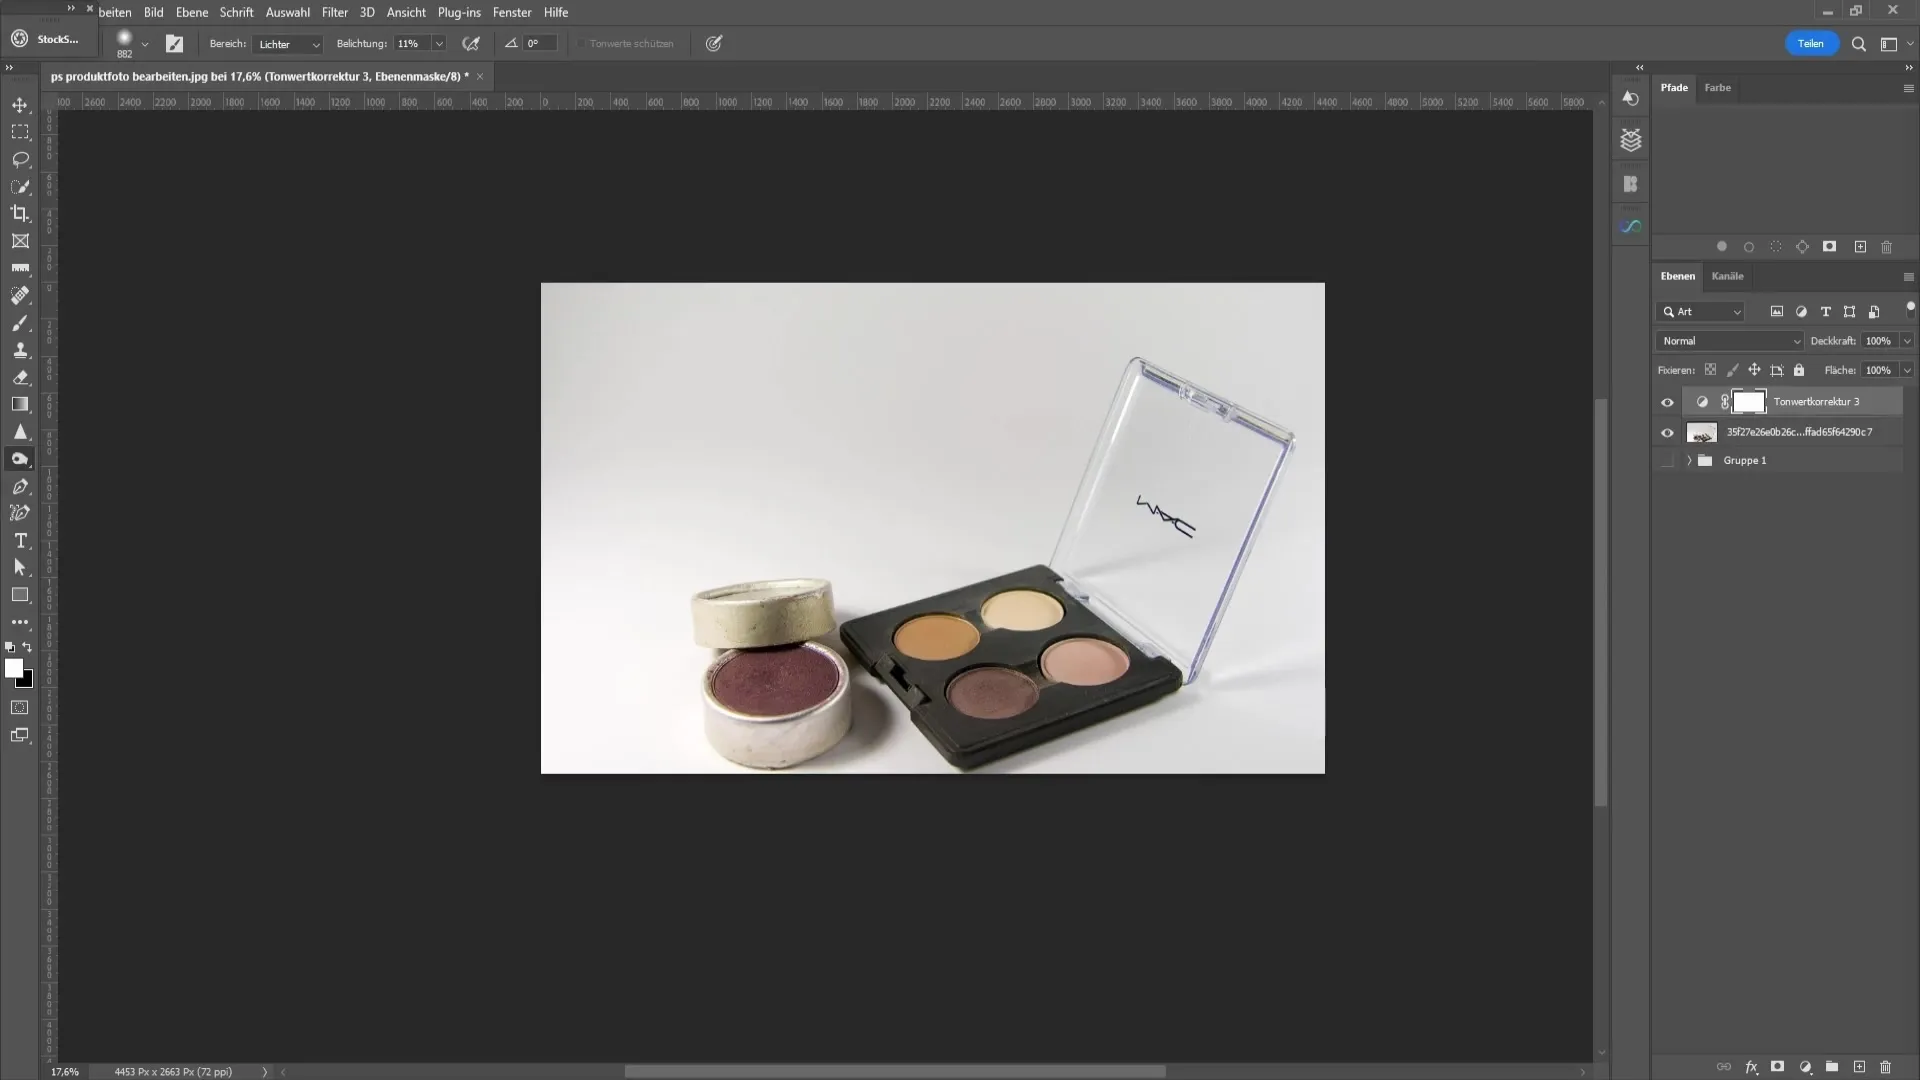
To improve the exposure, go to the lower right corner where the Layers window is located. Click on the icon for a new adjustment layer and choose "Levels Adjustment".
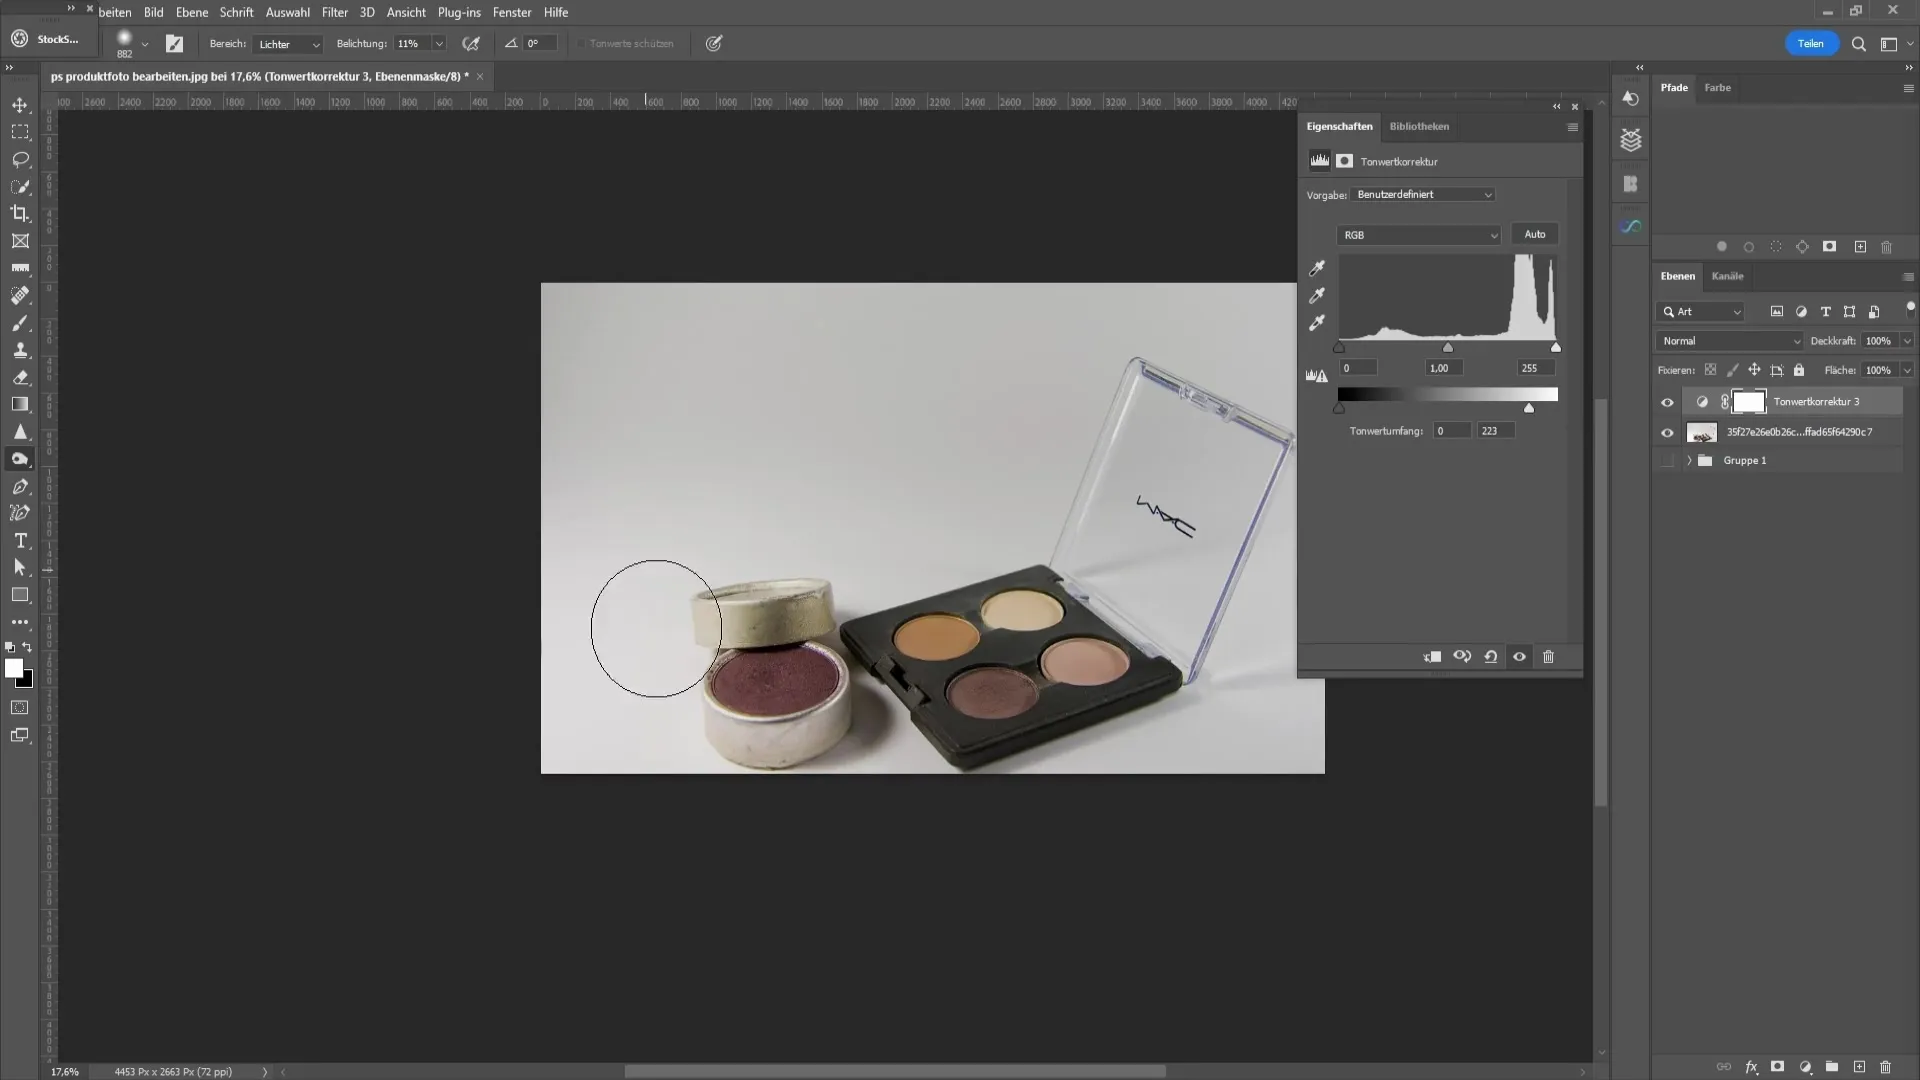
This will take you to a new window where you can adjust the sliders. Move the right slider to the left slightly to reduce overexposed areas in the image.
If you do not want the exposure of the entire image to be affected, you can use a layer mask. Select the mask layer and press "Ctrl + I" to invert it.
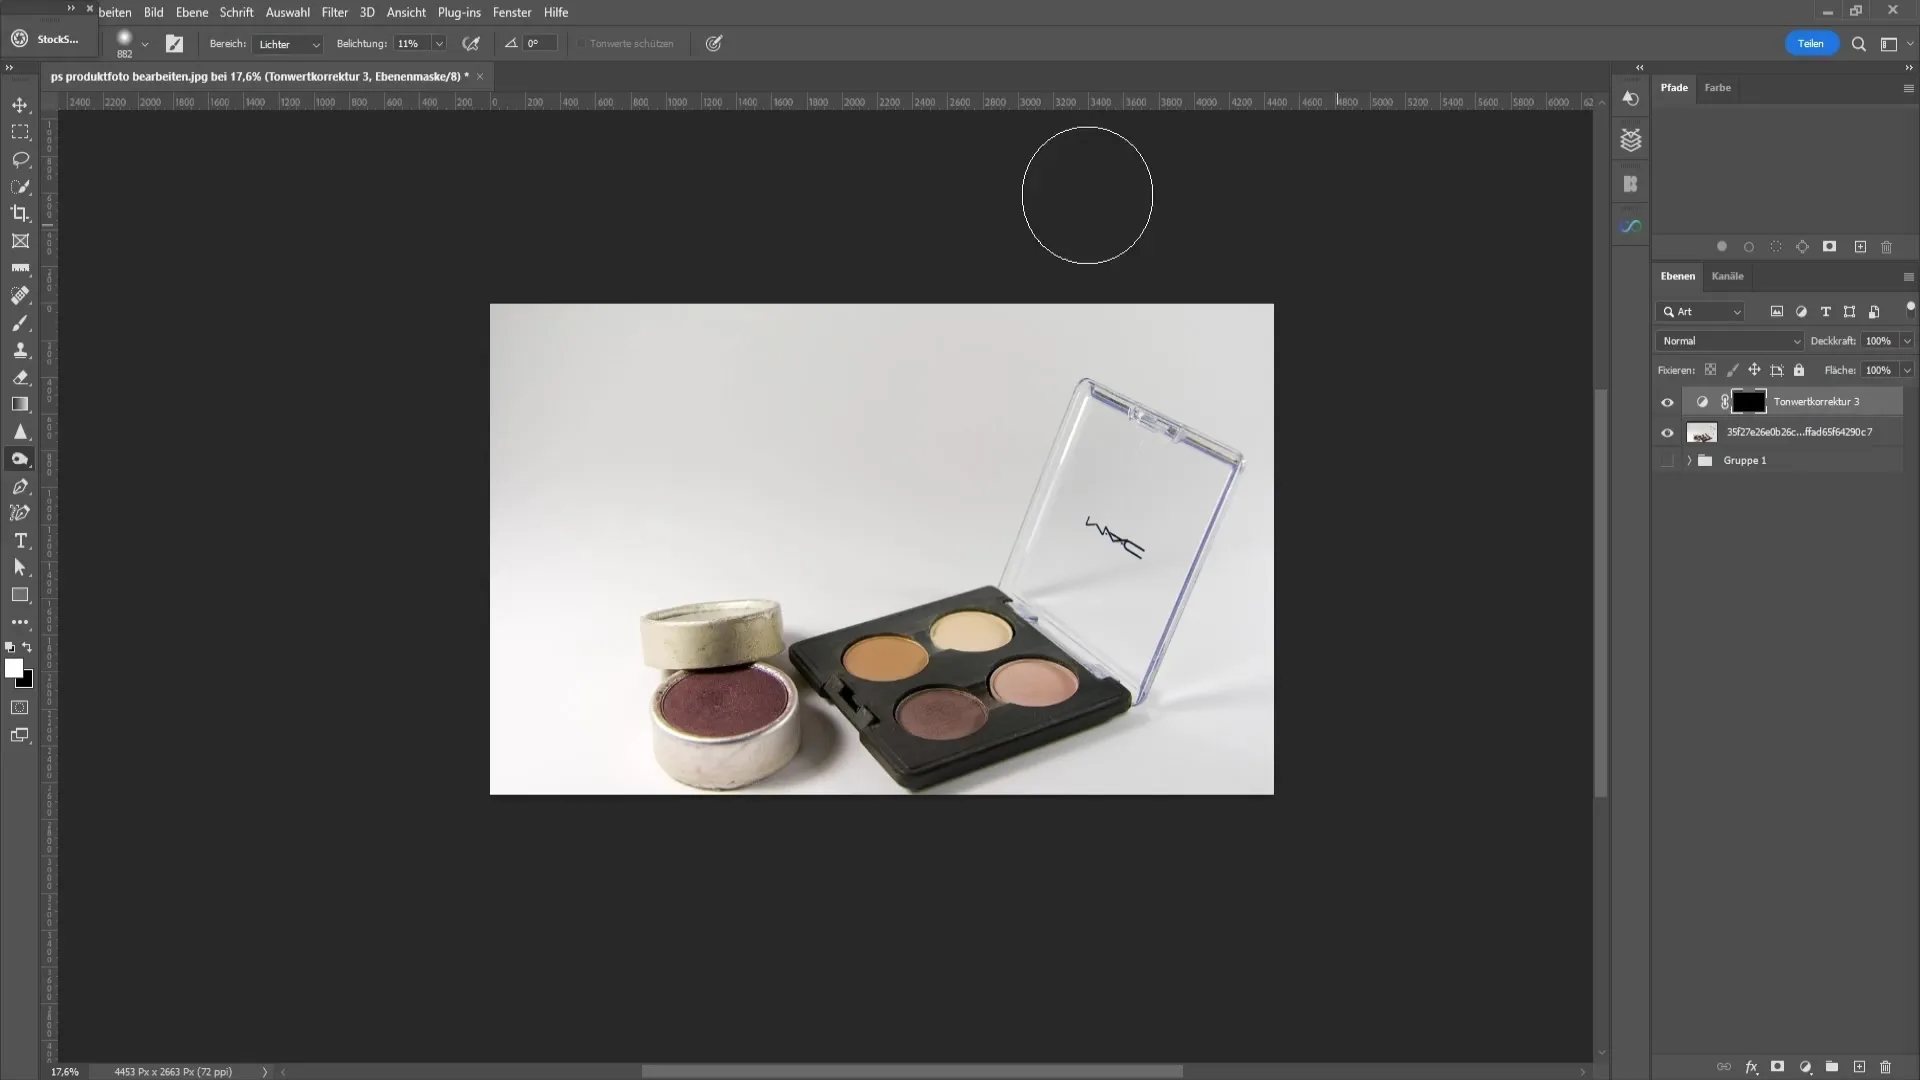
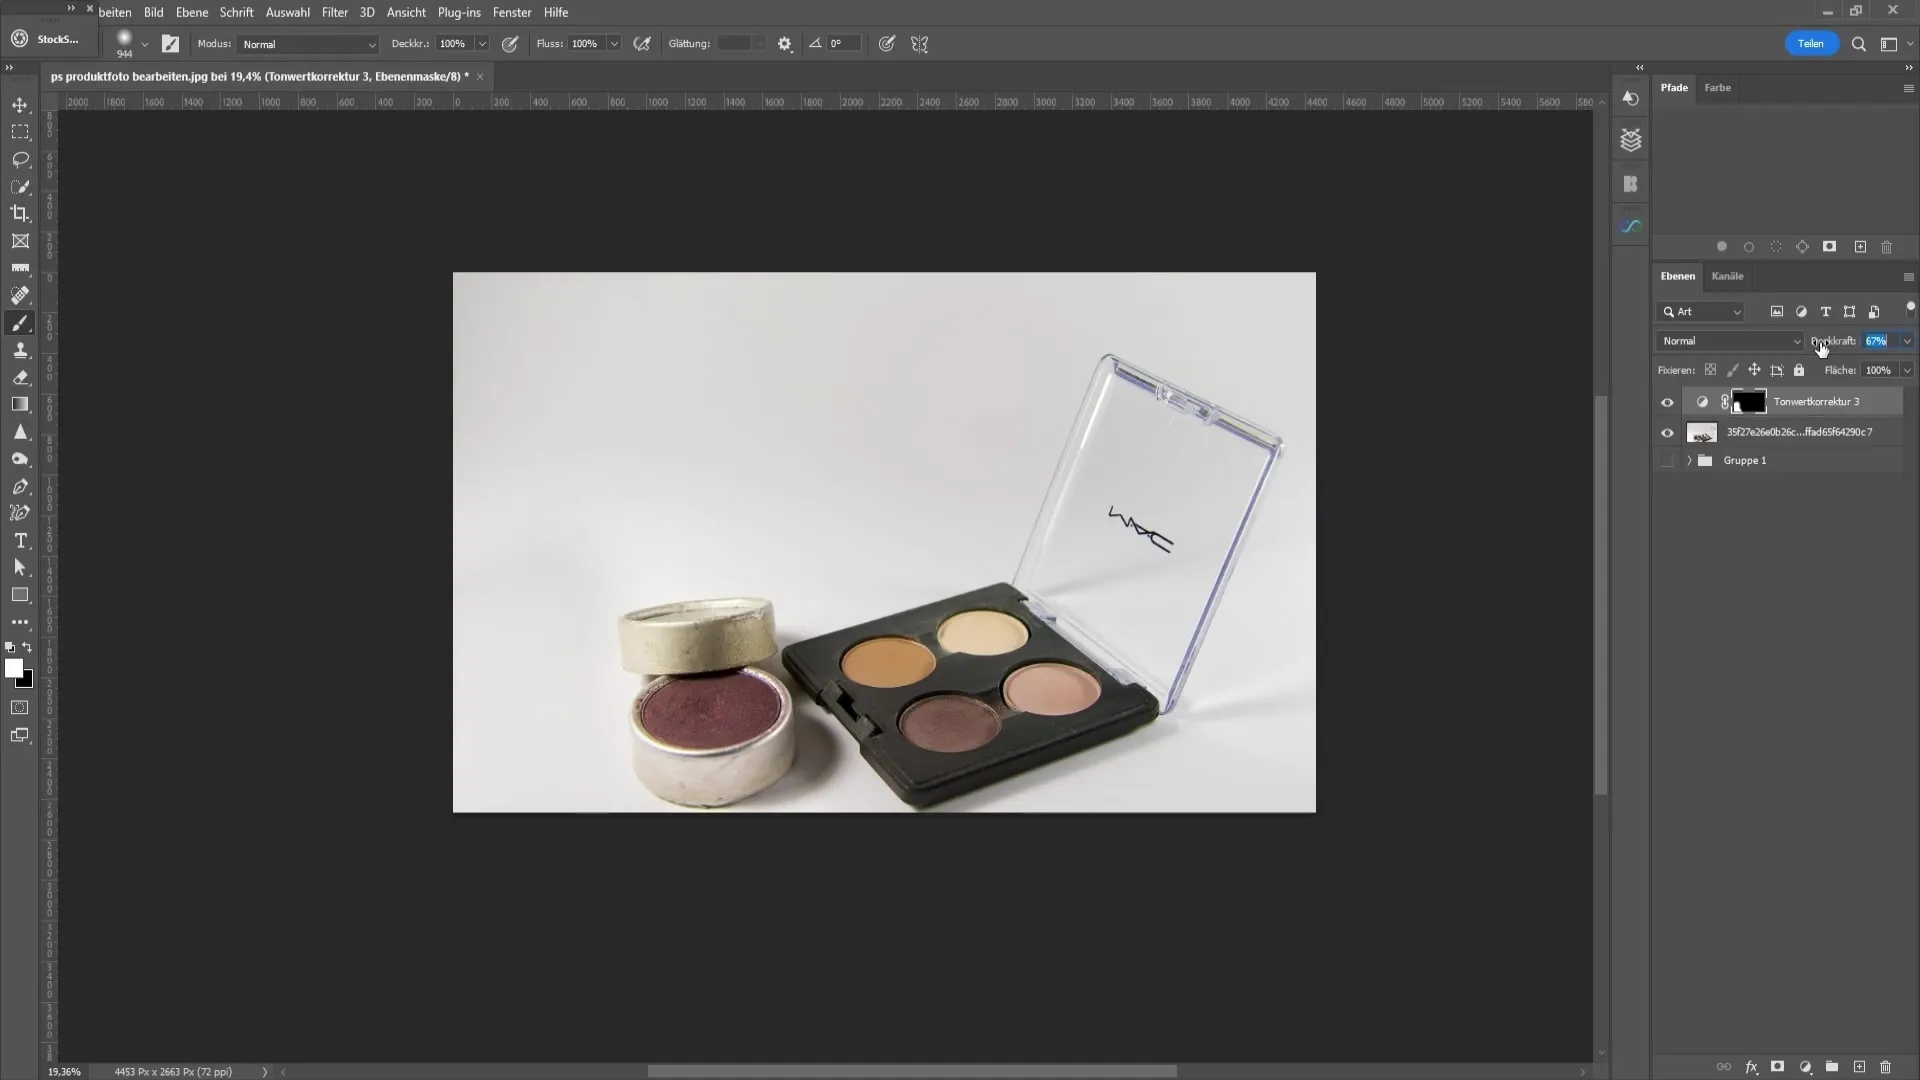
Now you can use a brush tool with low hardness to apply the brush to the overexposed areas. Be careful and work with low opacity to achieve smooth transitions.
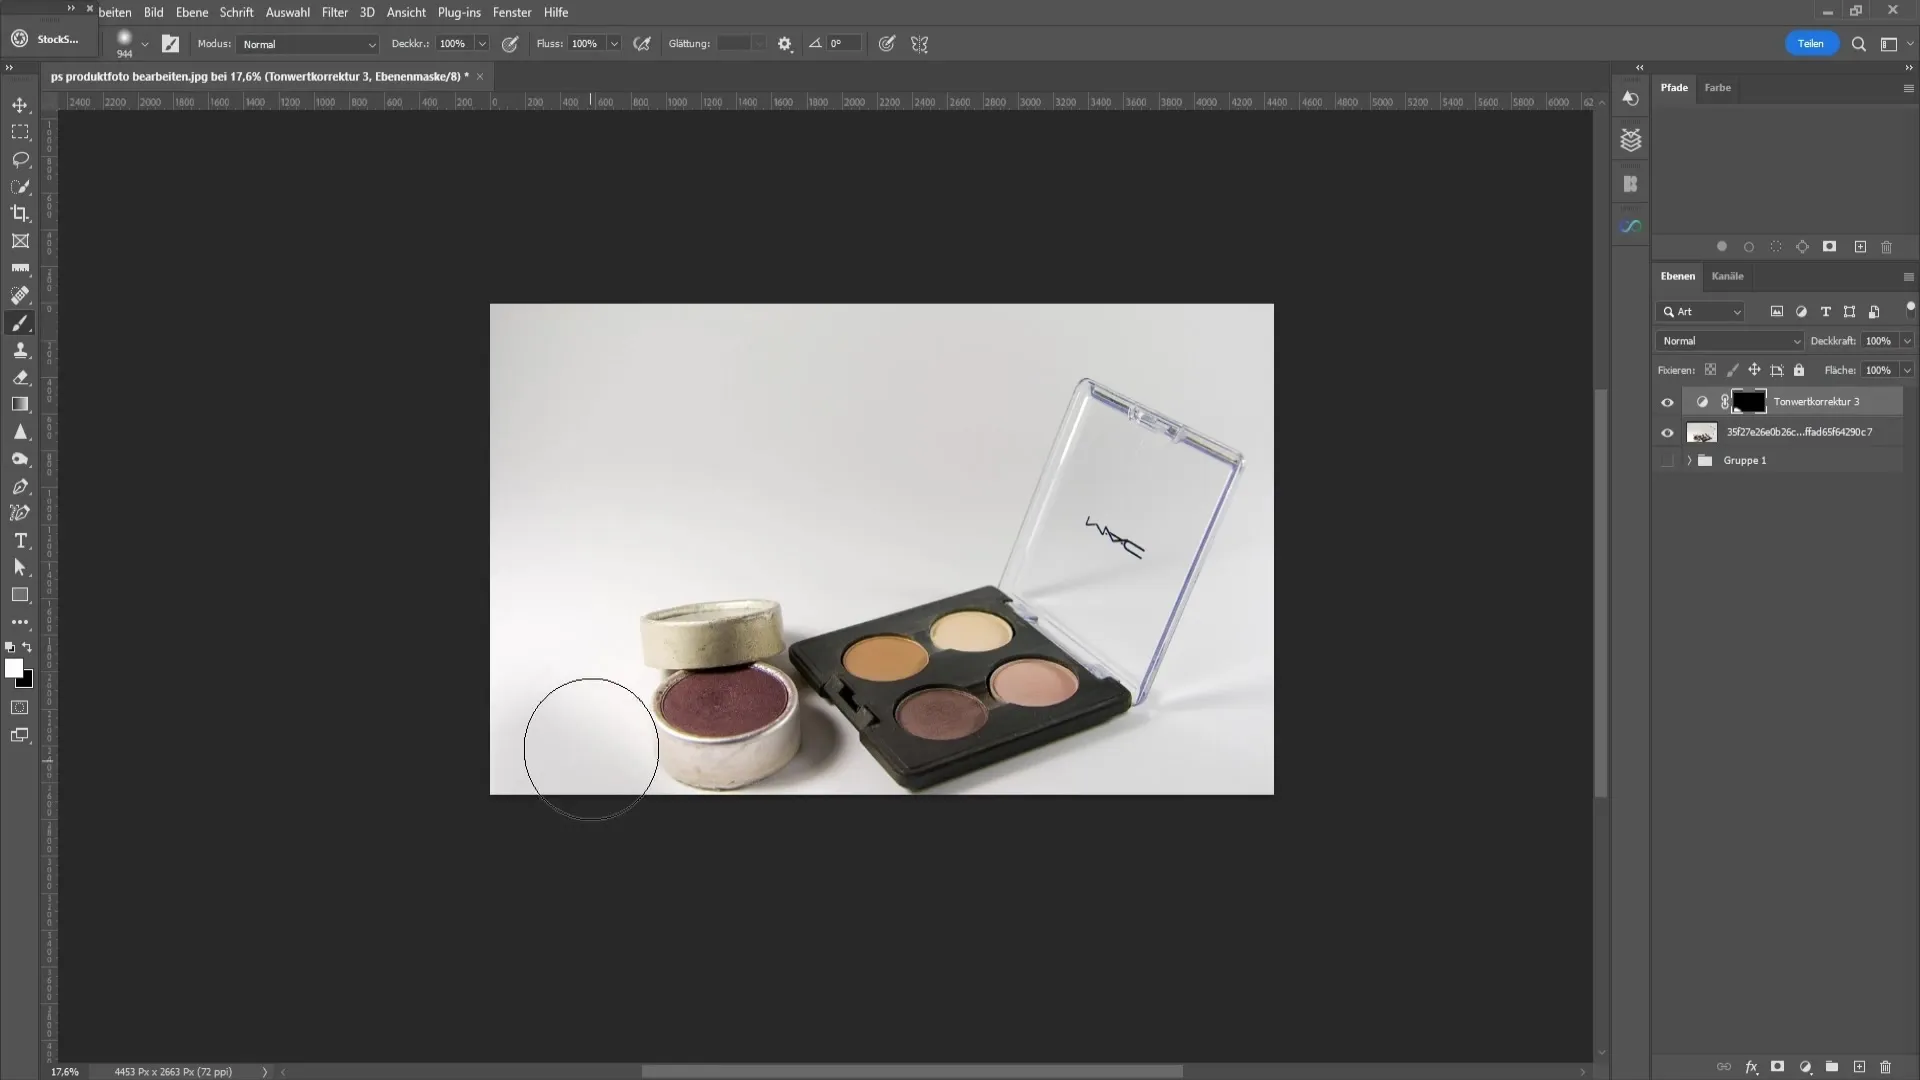
It's best to do this while keeping an eye on the opacity of the brush to ensure that the editing is not too noticeable.
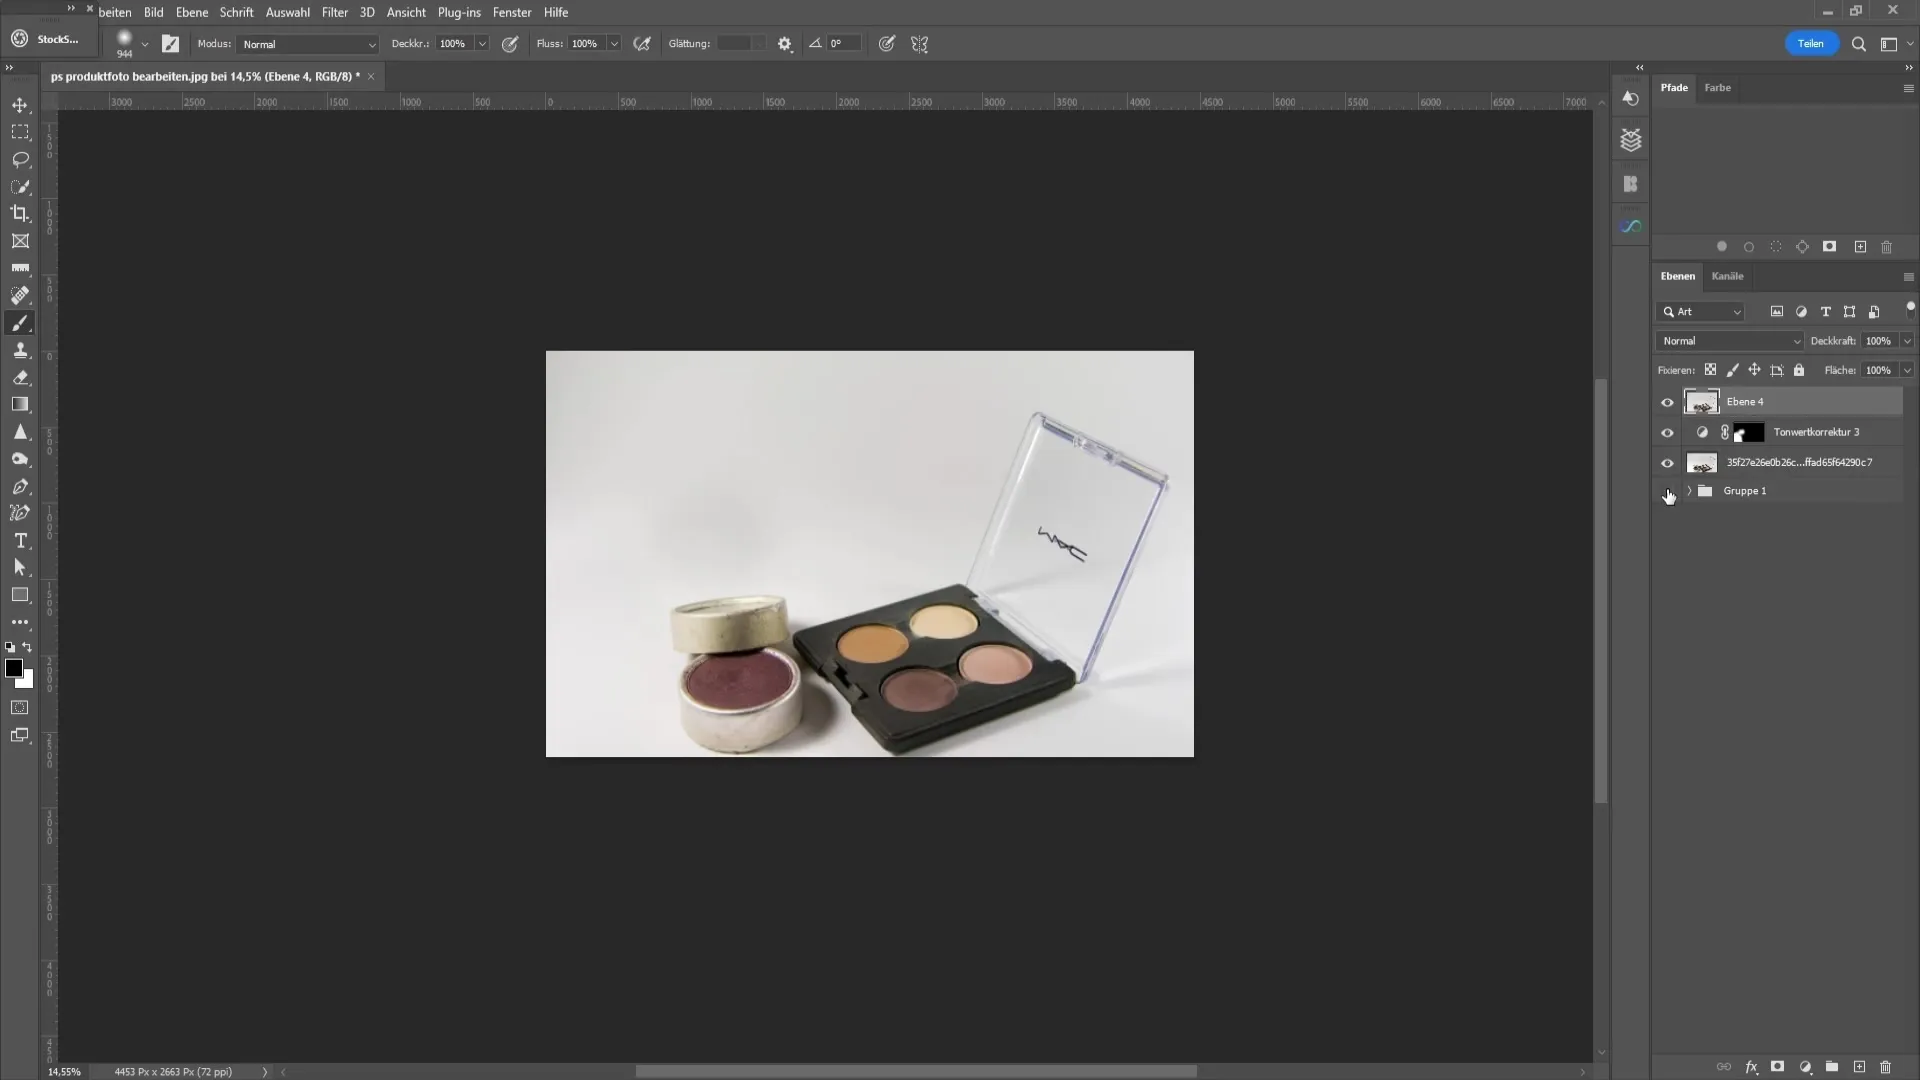
Once you are satisfied with this step, it is time to merge all the layers. You can do this by pressing "Ctrl + Shift + Alt + E". This will create a new layer that combines all the previous layers.
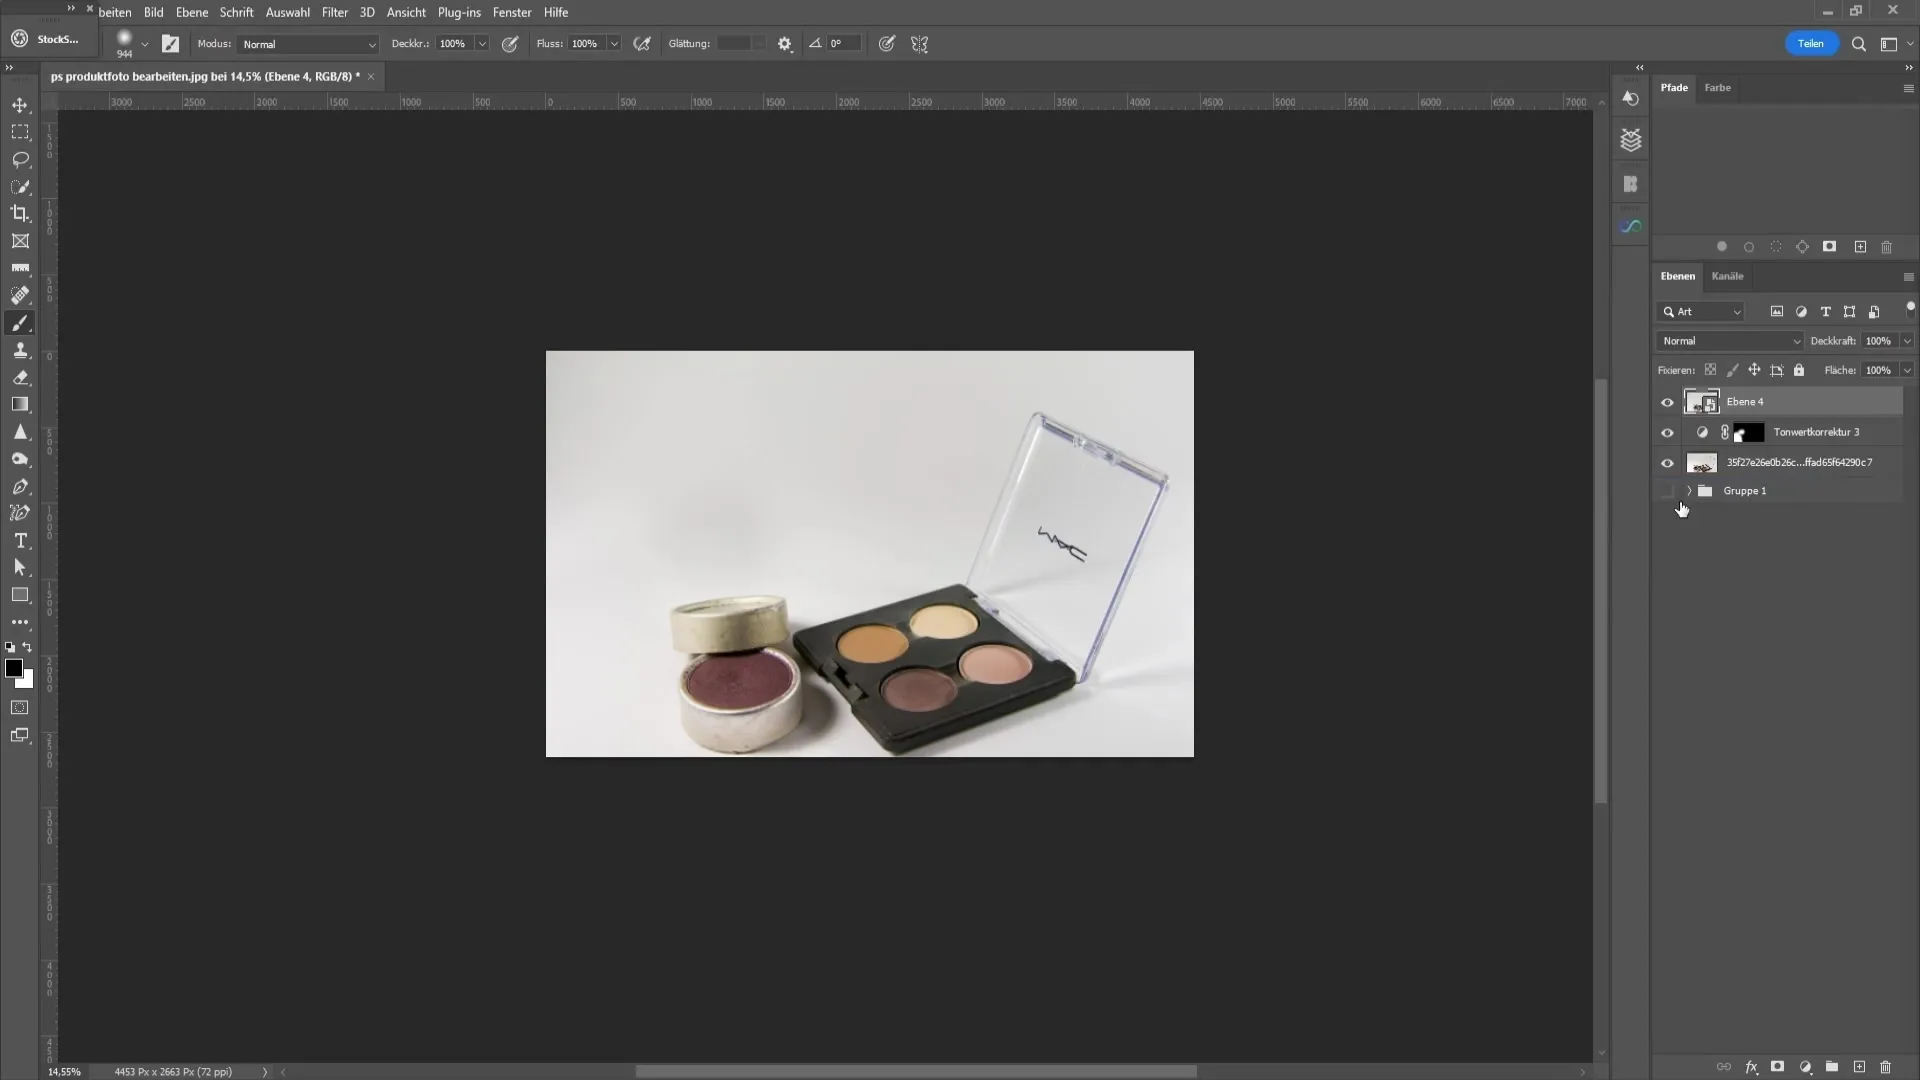
Next comes the important step: applying the Camera RAW filter. Right-click on your image and convert it to a Smart Object. Then navigate to "Filter" and choose the "Camera RAW Filter".
In the Camera RAW Filter, you can start with the White Balance. Click on the dropper tool and select the brightest area of the image to automatically adjust the White Balance.
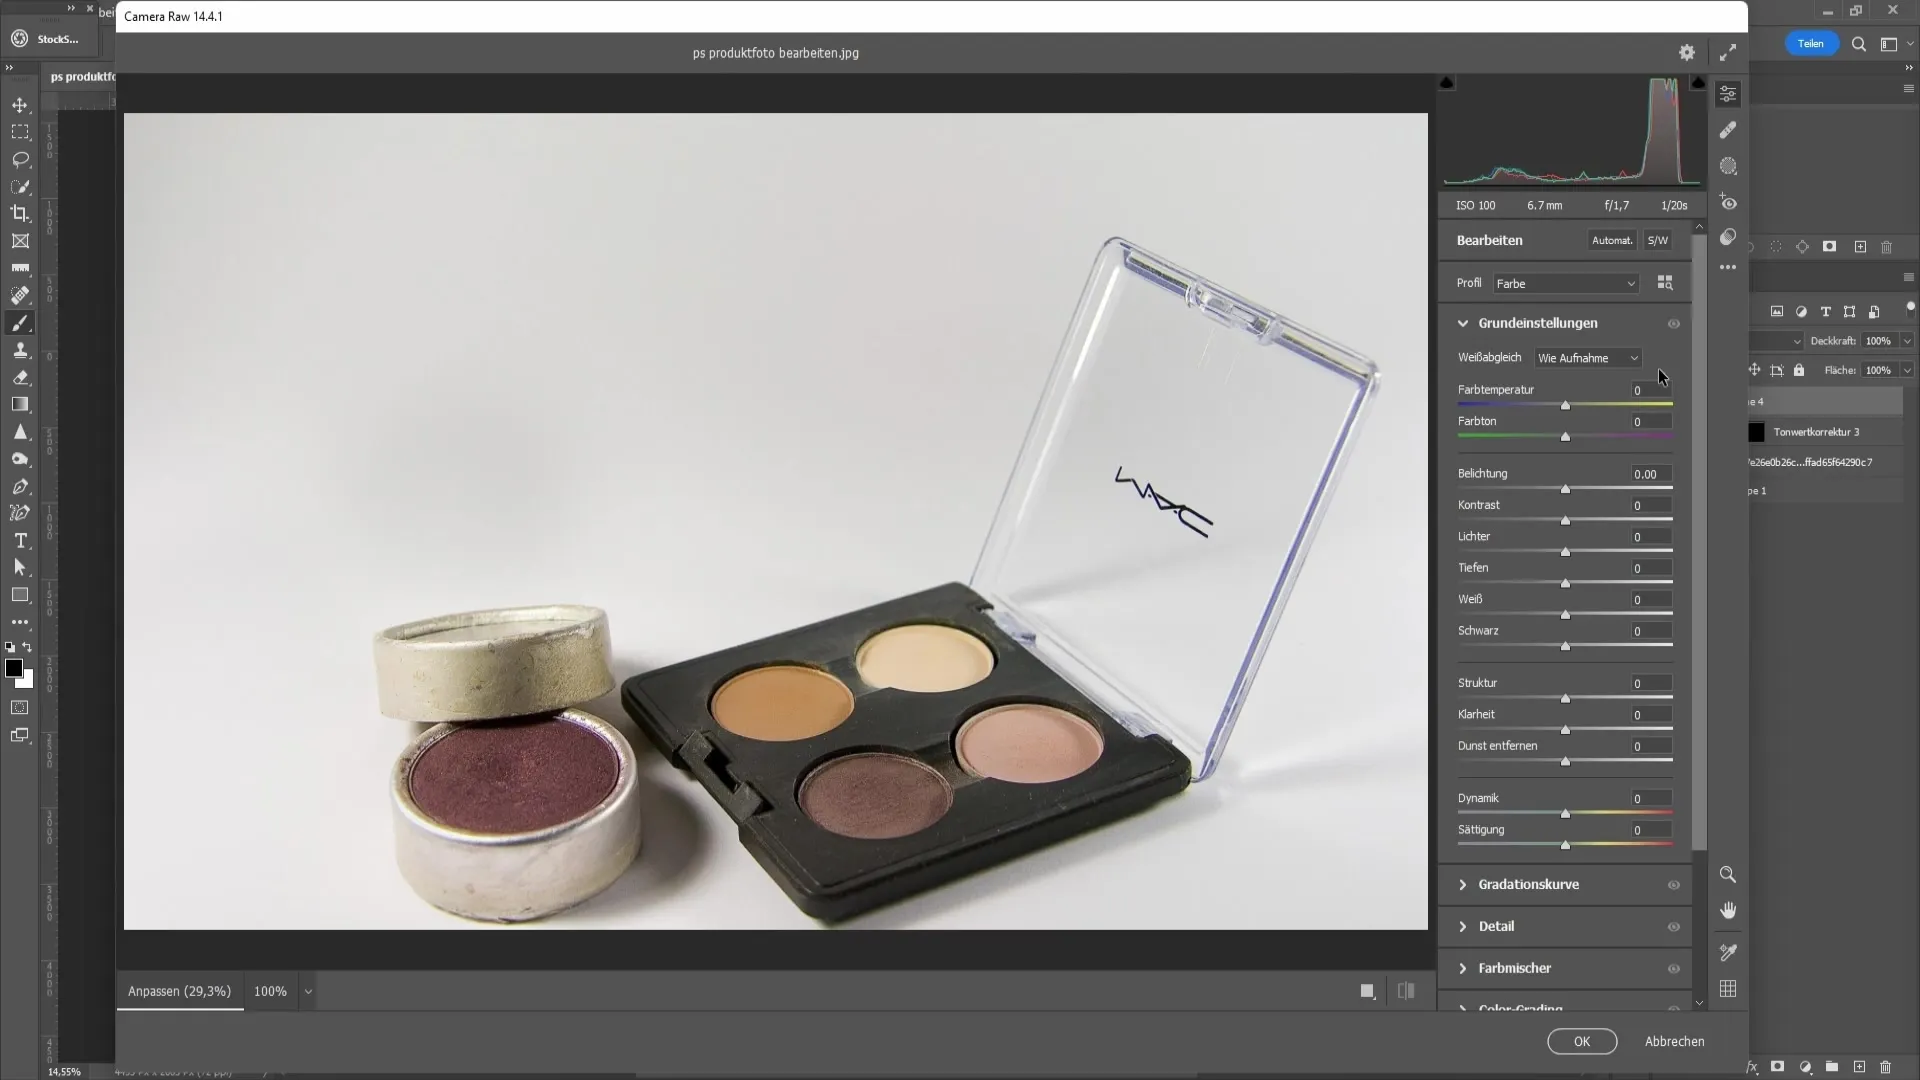
If the White Balance is not optimal, you can adjust the sliders manually. You can reduce the blue tint by leaning more towards the yellow tone.
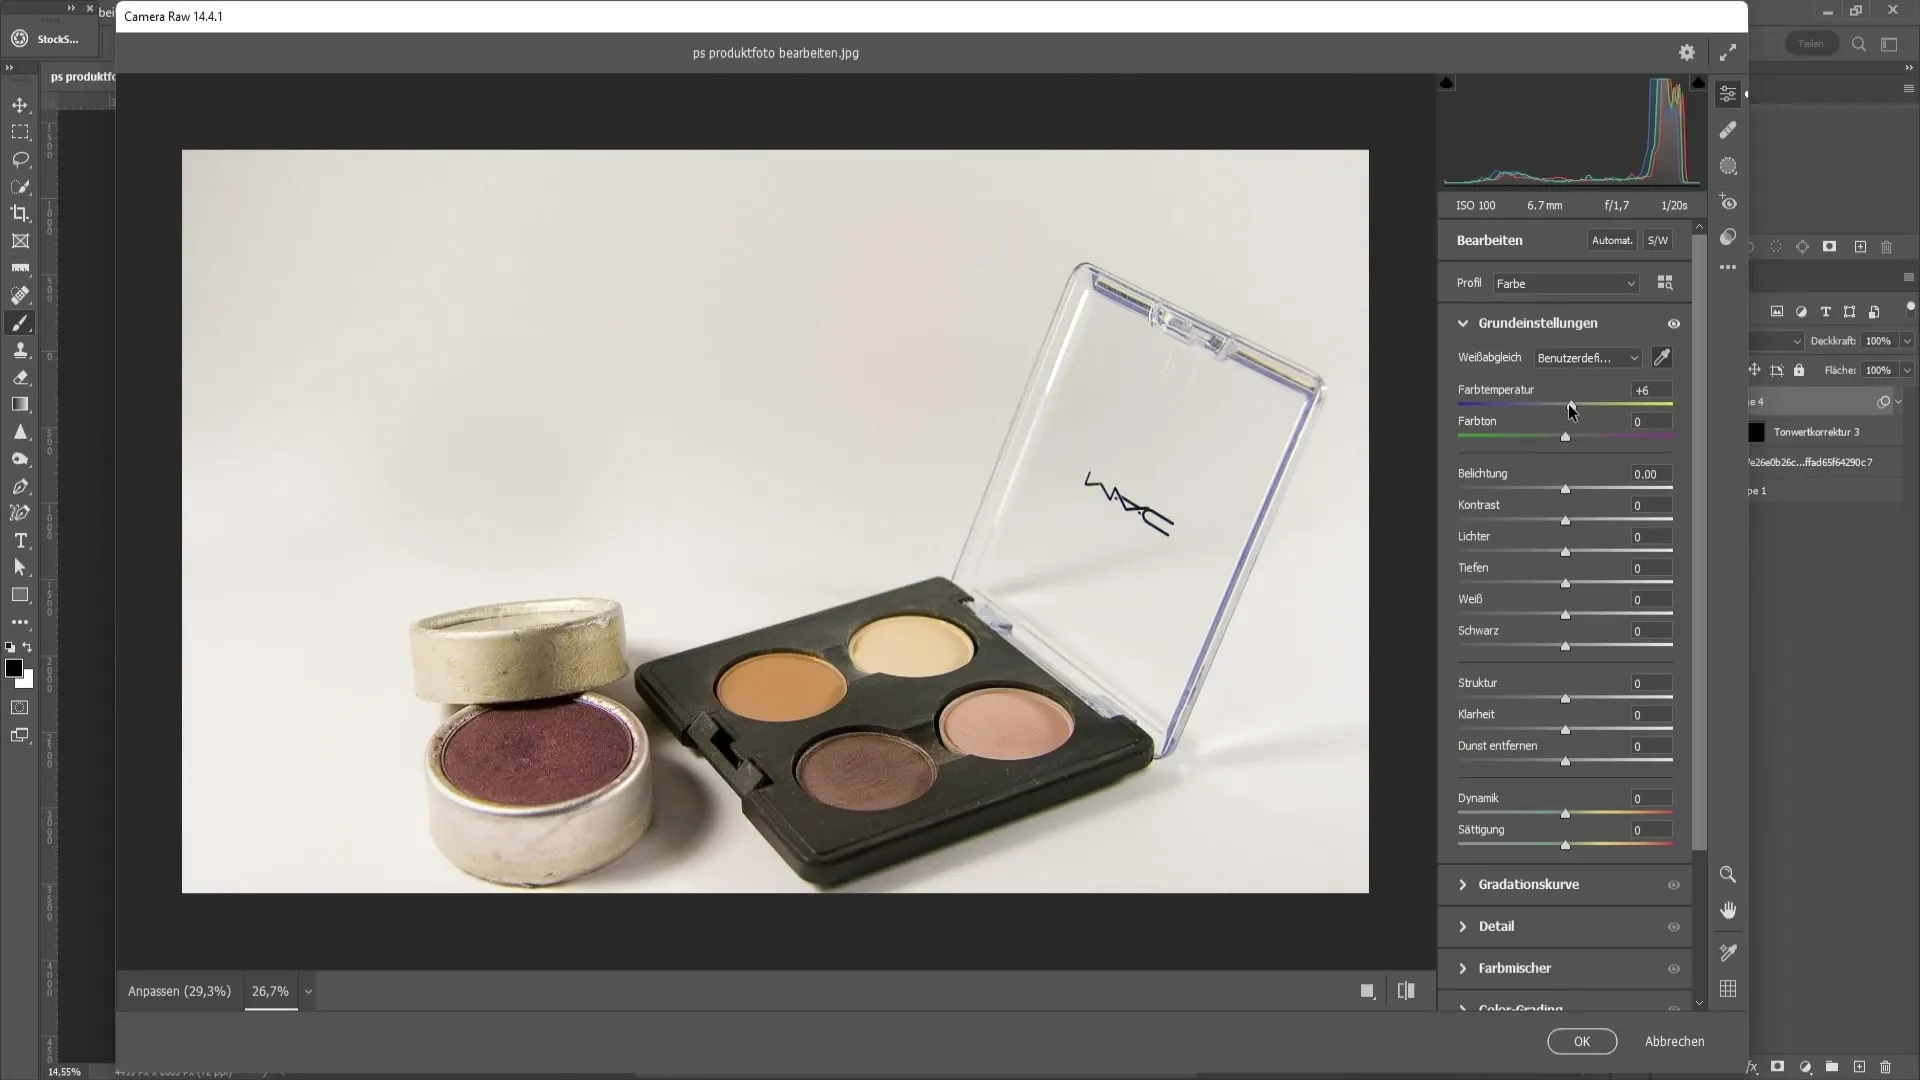
Next, set the Contrast settings. You can increase the contrast to add more depth to the image; an increase of 20 is often a good starting point.
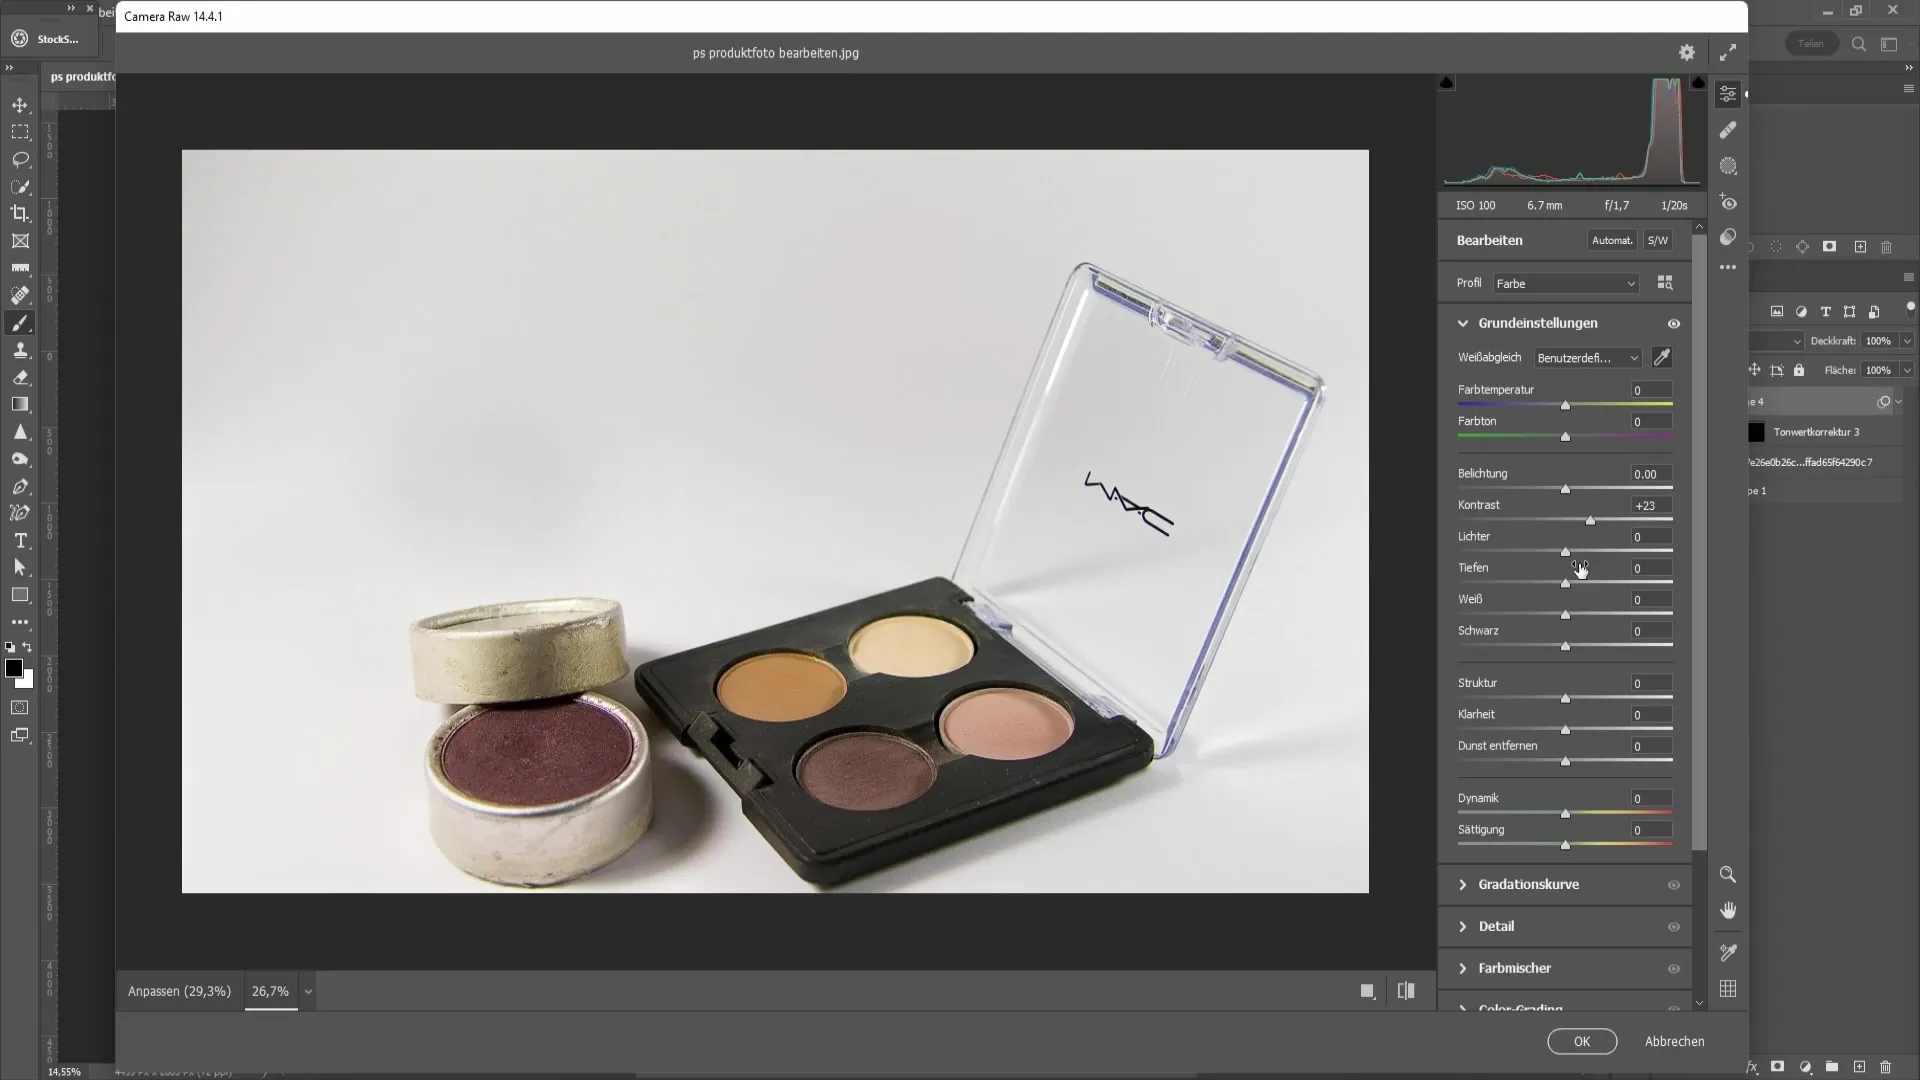
The next step involves adjusting the Highlights and Shadows. Higher values for the highlights make them appear less harsh, while you can lighten the dark areas of the image with the shadows.
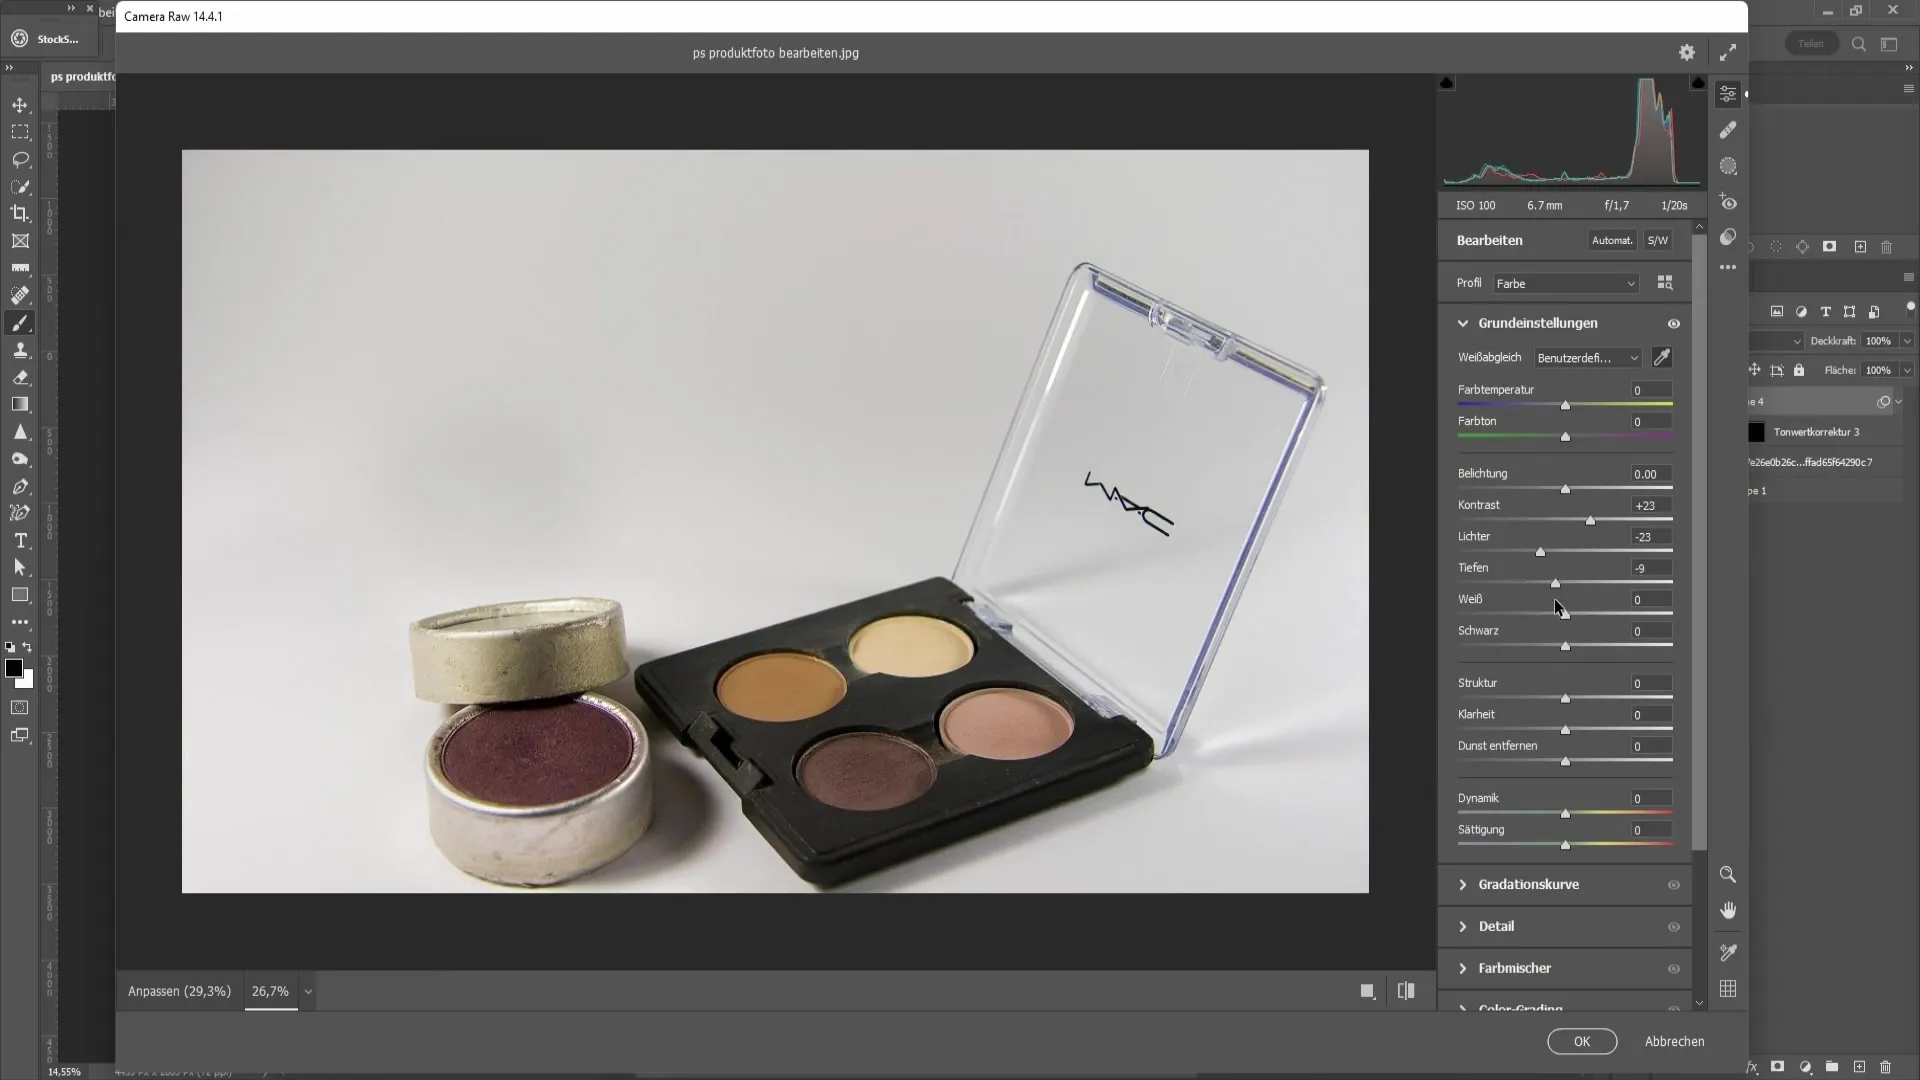
It is important to experiment with these sliders to see what looks best. After that, you can work on the structural settings and improve the clarity.
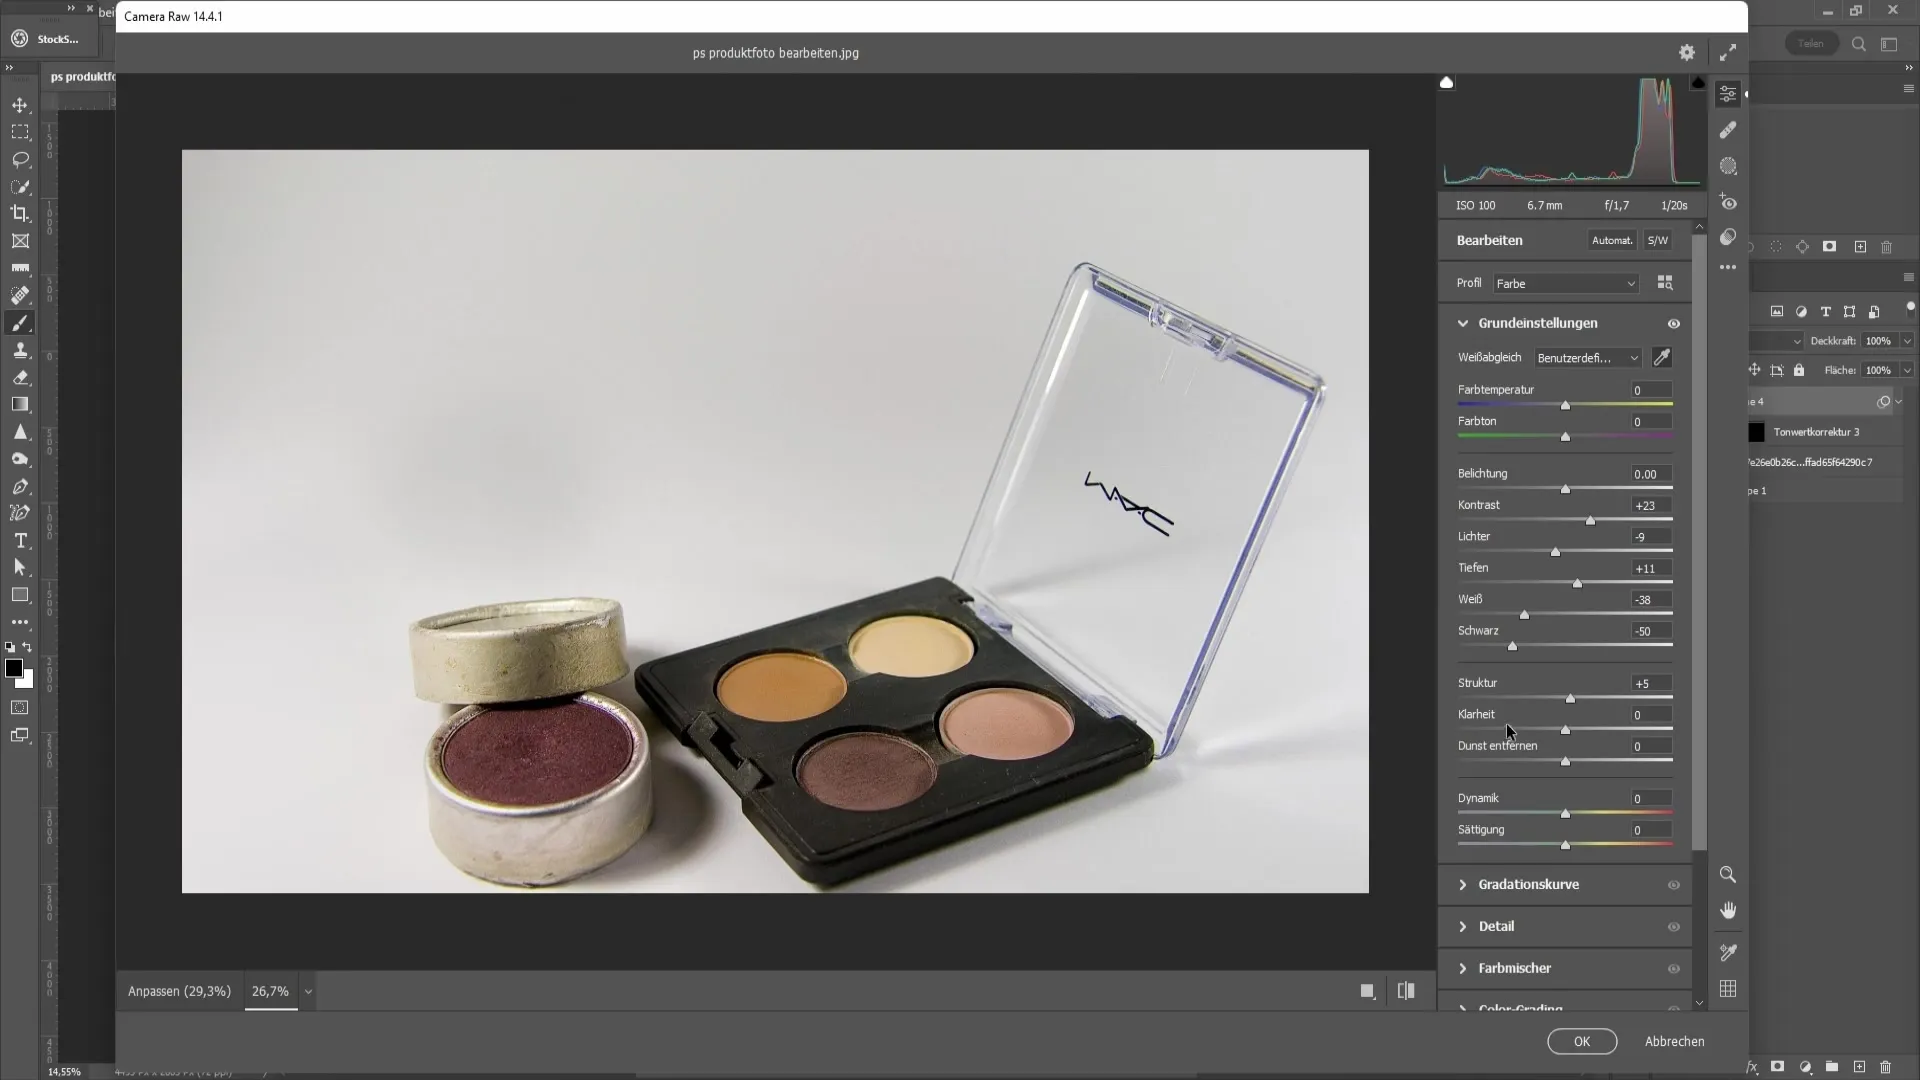
Once you are satisfied with all these changes, finish the process by clicking on "OK".
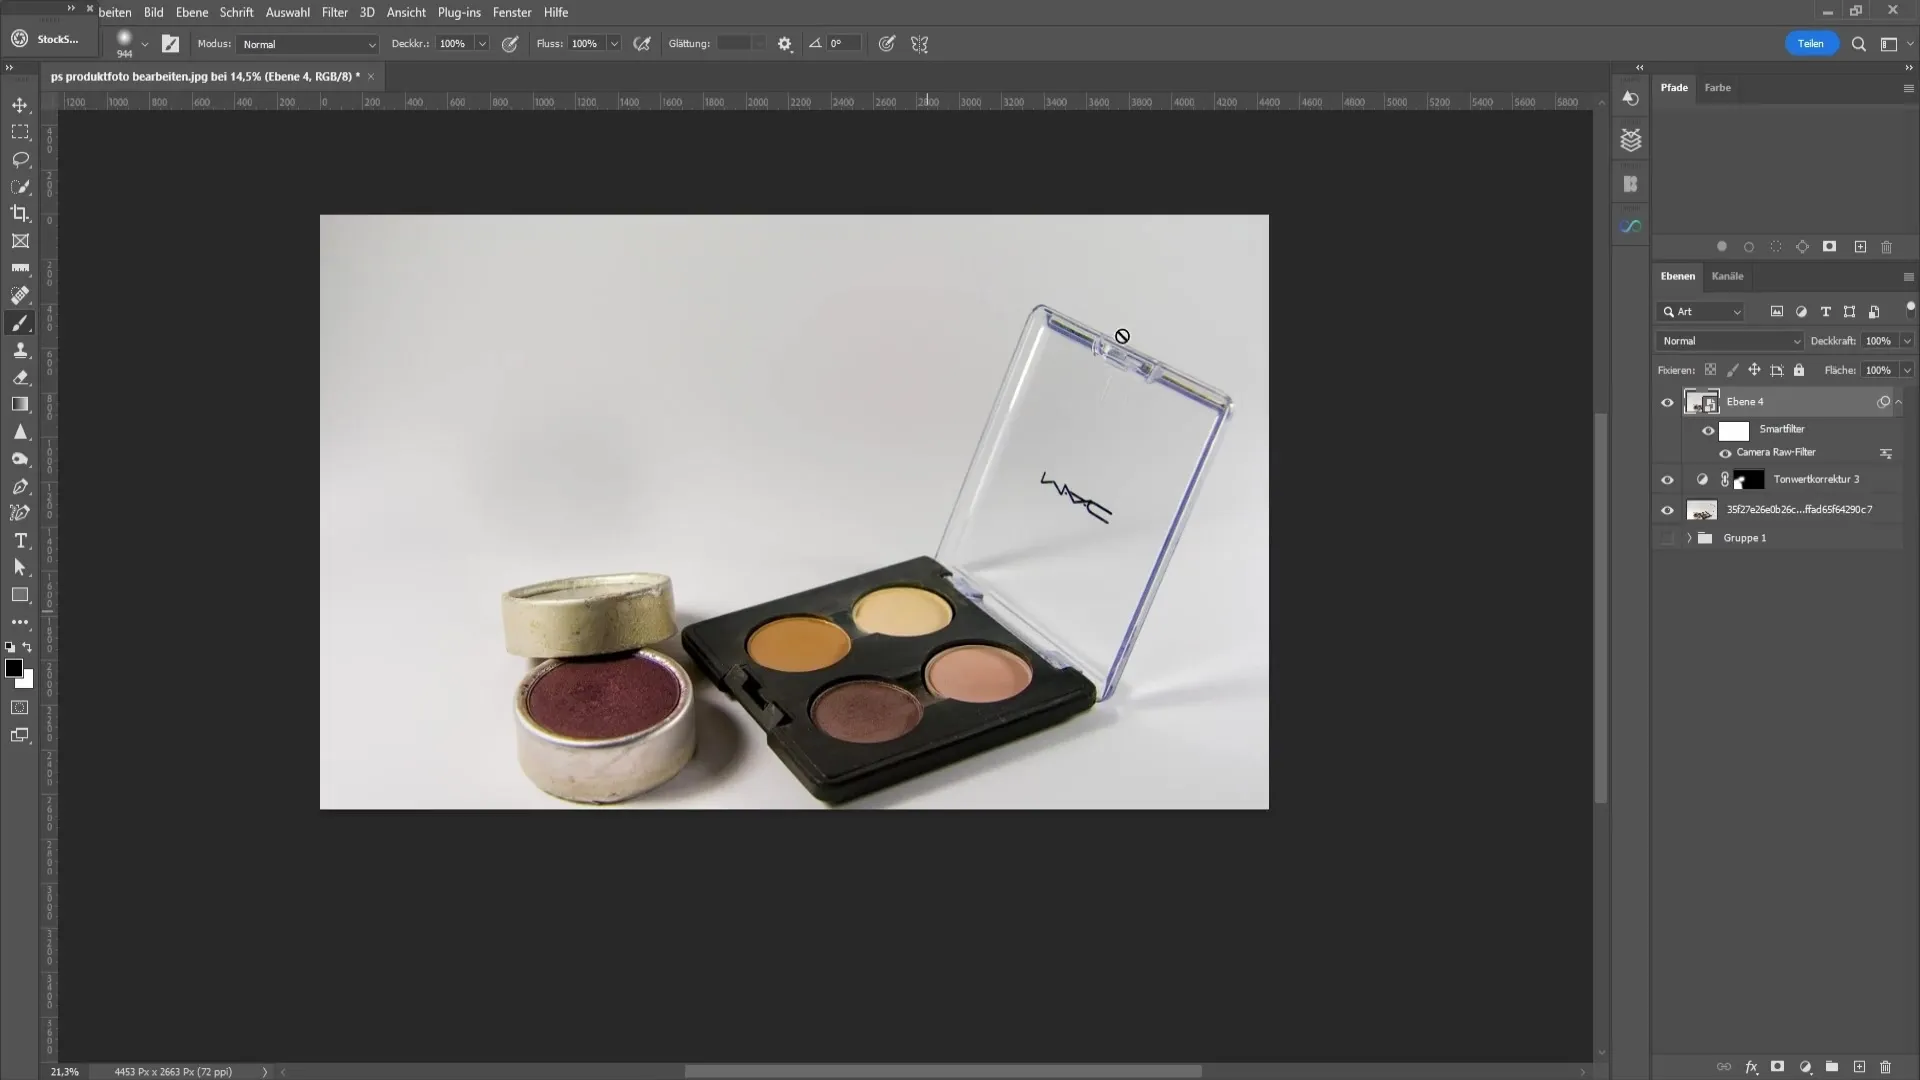
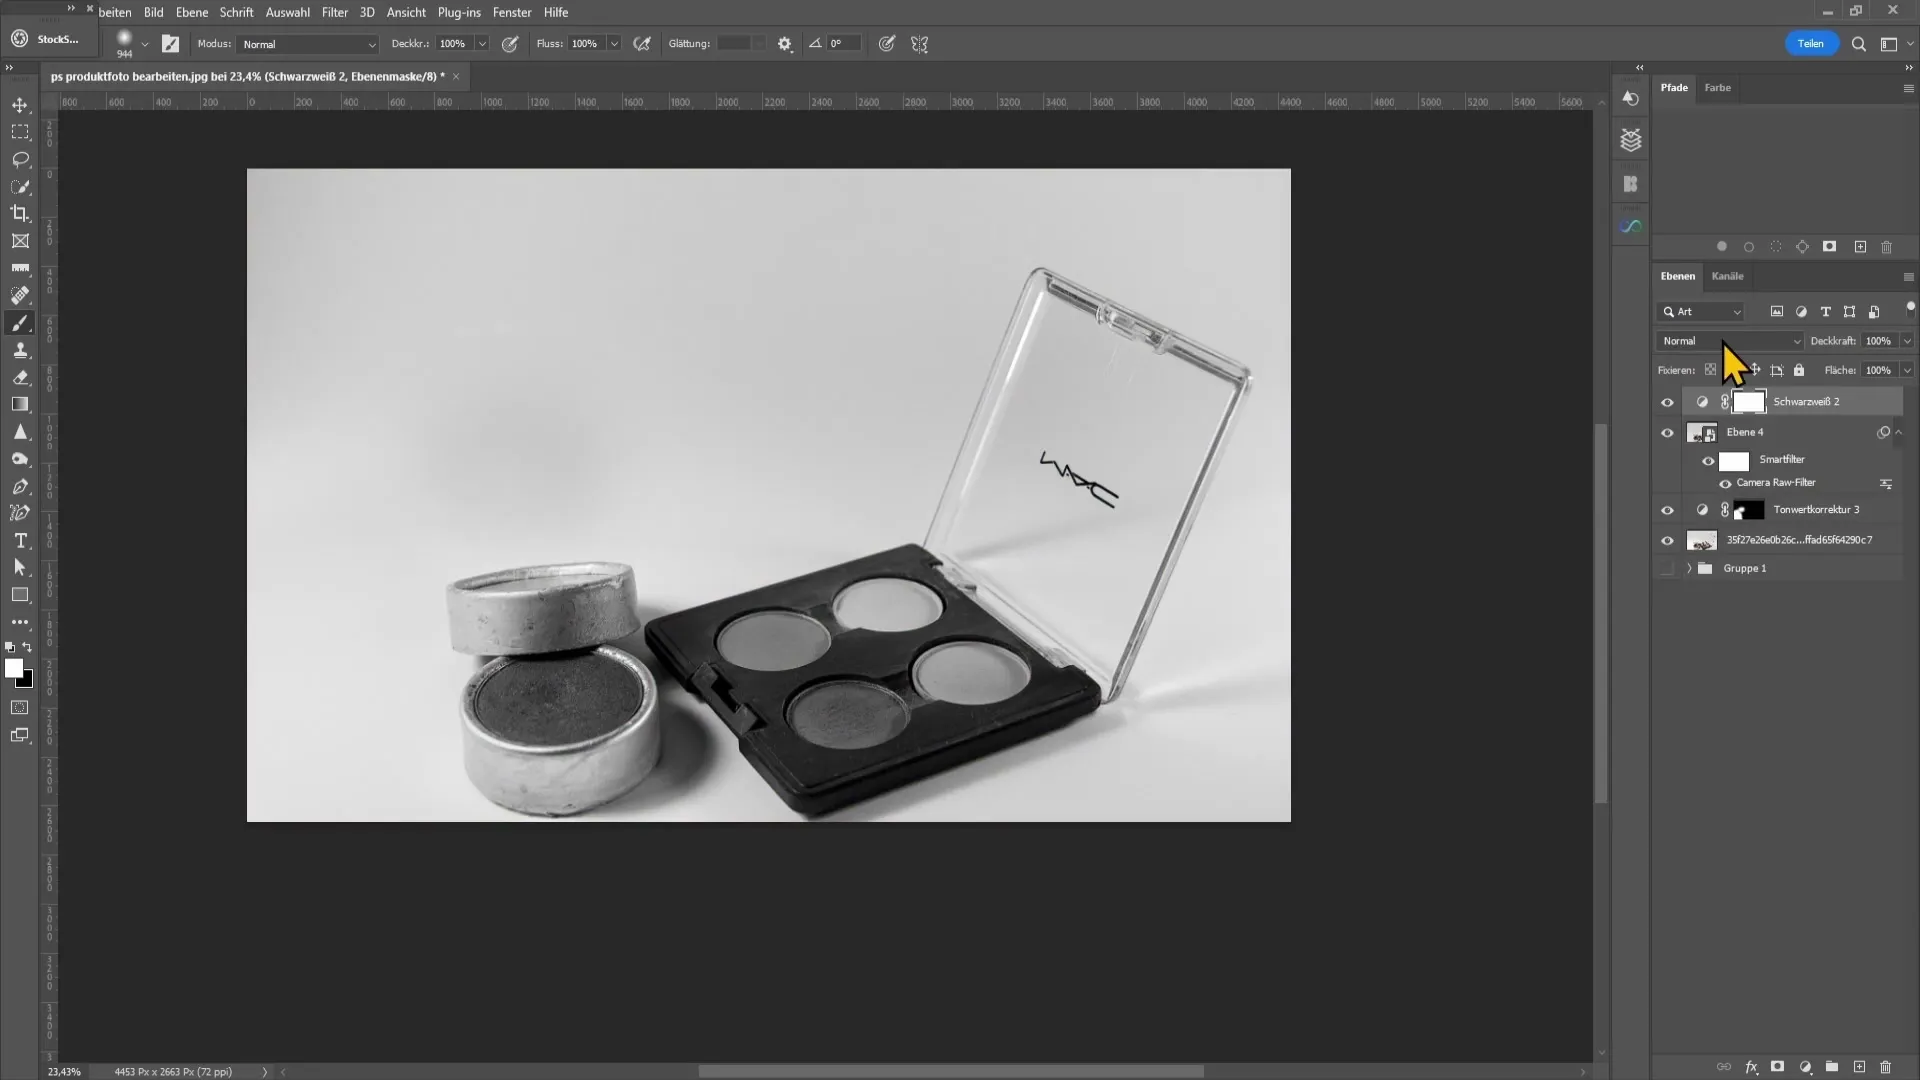
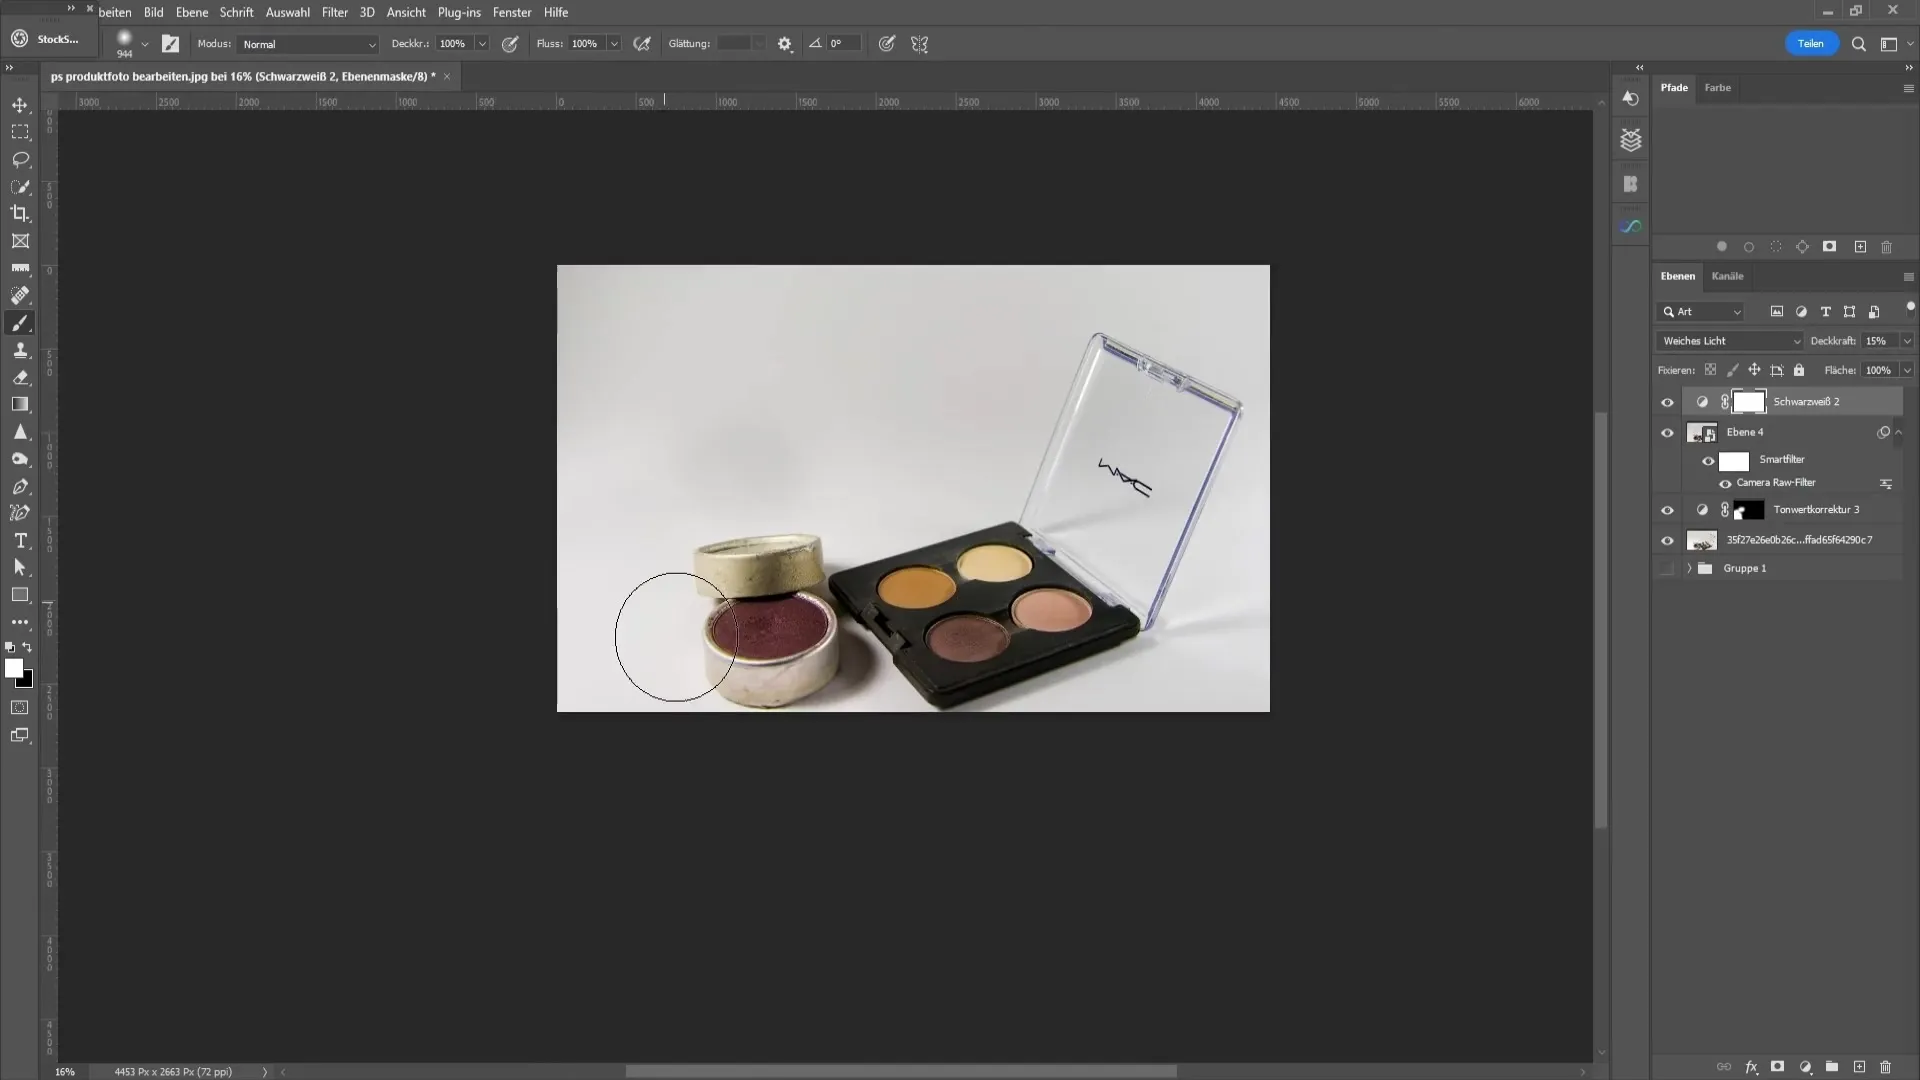
Now it's time to revisit the contrasts. You can optimize this by adding a Black and White adjustment layer. Change the blending mode to "Soft Light" to achieve a gentle contrast effect.
Tie it all together and compare your edited image with the original to see the improvement. You will notice how much difference small adjustments can make and how you can create a professional end product through these steps.
Summary
In this tutorial, you have learned how to efficiently edit and enhance product photos in Photoshop. By adjusting exposure, contrast, color, and details, you have the tools to create impressive images that highlight the quality of your products.
Frequently Asked Questions
How can I correct the exposure in my image?You can adjust the exposure using a levels adjustment and move the sliders accordingly.
What is the Camera RAW filter?The Camera RAW filter is a powerful tool in Photoshop that allows you to precisely control colors, contrast, and other properties of your images.
How can I correct color tones in my image?With the dropper tool in the Camera RAW filter, you can automatically adjust the white balance or manually tweak the hues.
What should I consider when using the brush tool?Make sure to select a low hardness and opacity when using the brush tool to achieve smooth transitions.
Do I need to save all changes in Photoshop?Yes, don't forget to save your edited image regularly to avoid losing your changes.


