In this guide, you will learn an effective technique for removing red eyes in Photoshop. Red eyes are often an unwanted feature in photos, especially in shots taken with flash. With the right tool in Photoshop, you can quickly and easily eliminate these unflattering red pupils.
Key Takeaways
- With the "Red Eye Tool" in Photoshop, you can easily remove red pupils.
- You have the option to adjust the pupil size and darkening amount to achieve a natural look.
- Minimal adjustments are often sufficient for optimal results.
Step-by-Step Guide
To remove red eyes in your photos using Photoshop, follow these steps:
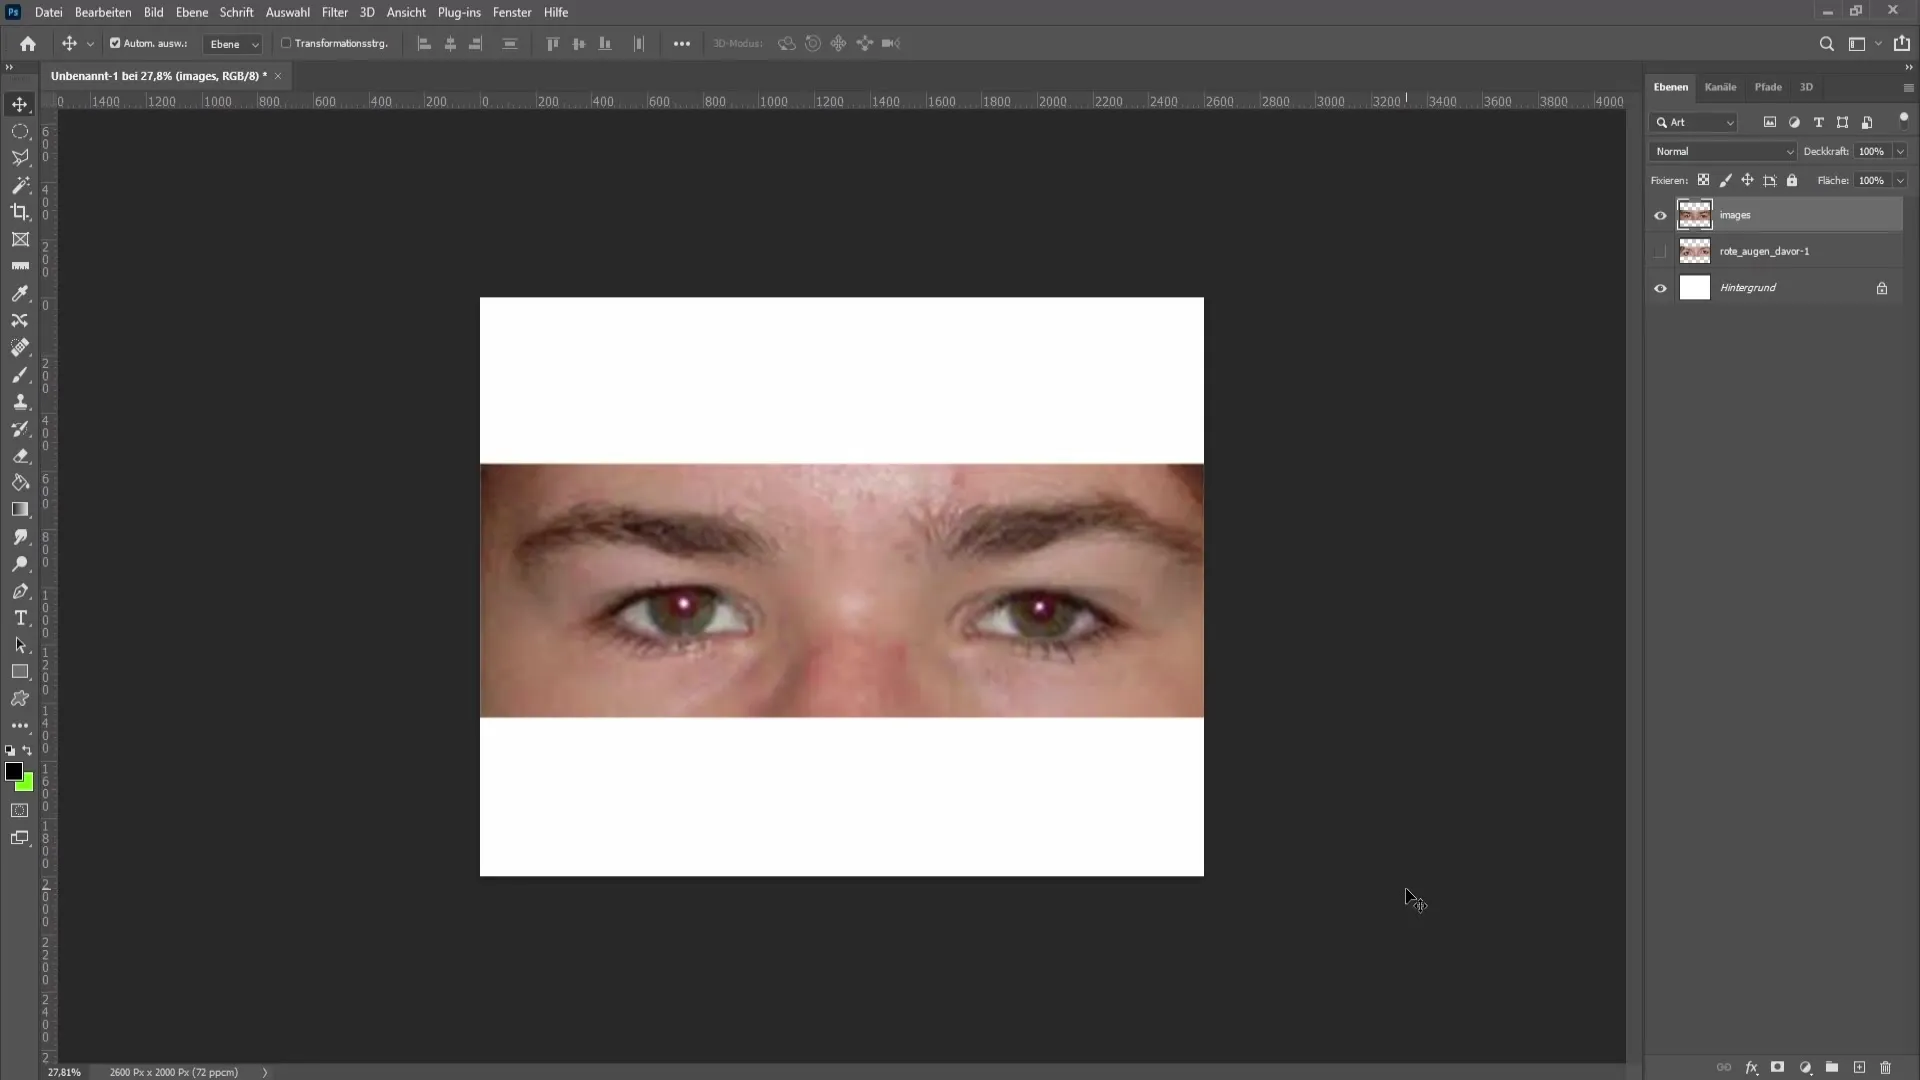
First, open your image in Photoshop. Make sure the image you want to edit is loaded. Clicking on the file opens the menu where you can select your desired image.
Next, you need the hidden tool necessary for this task. Click on the healing brush tool in the toolbar on the left side of the screen. Right-clicking on the tool opens a dropdown menu.
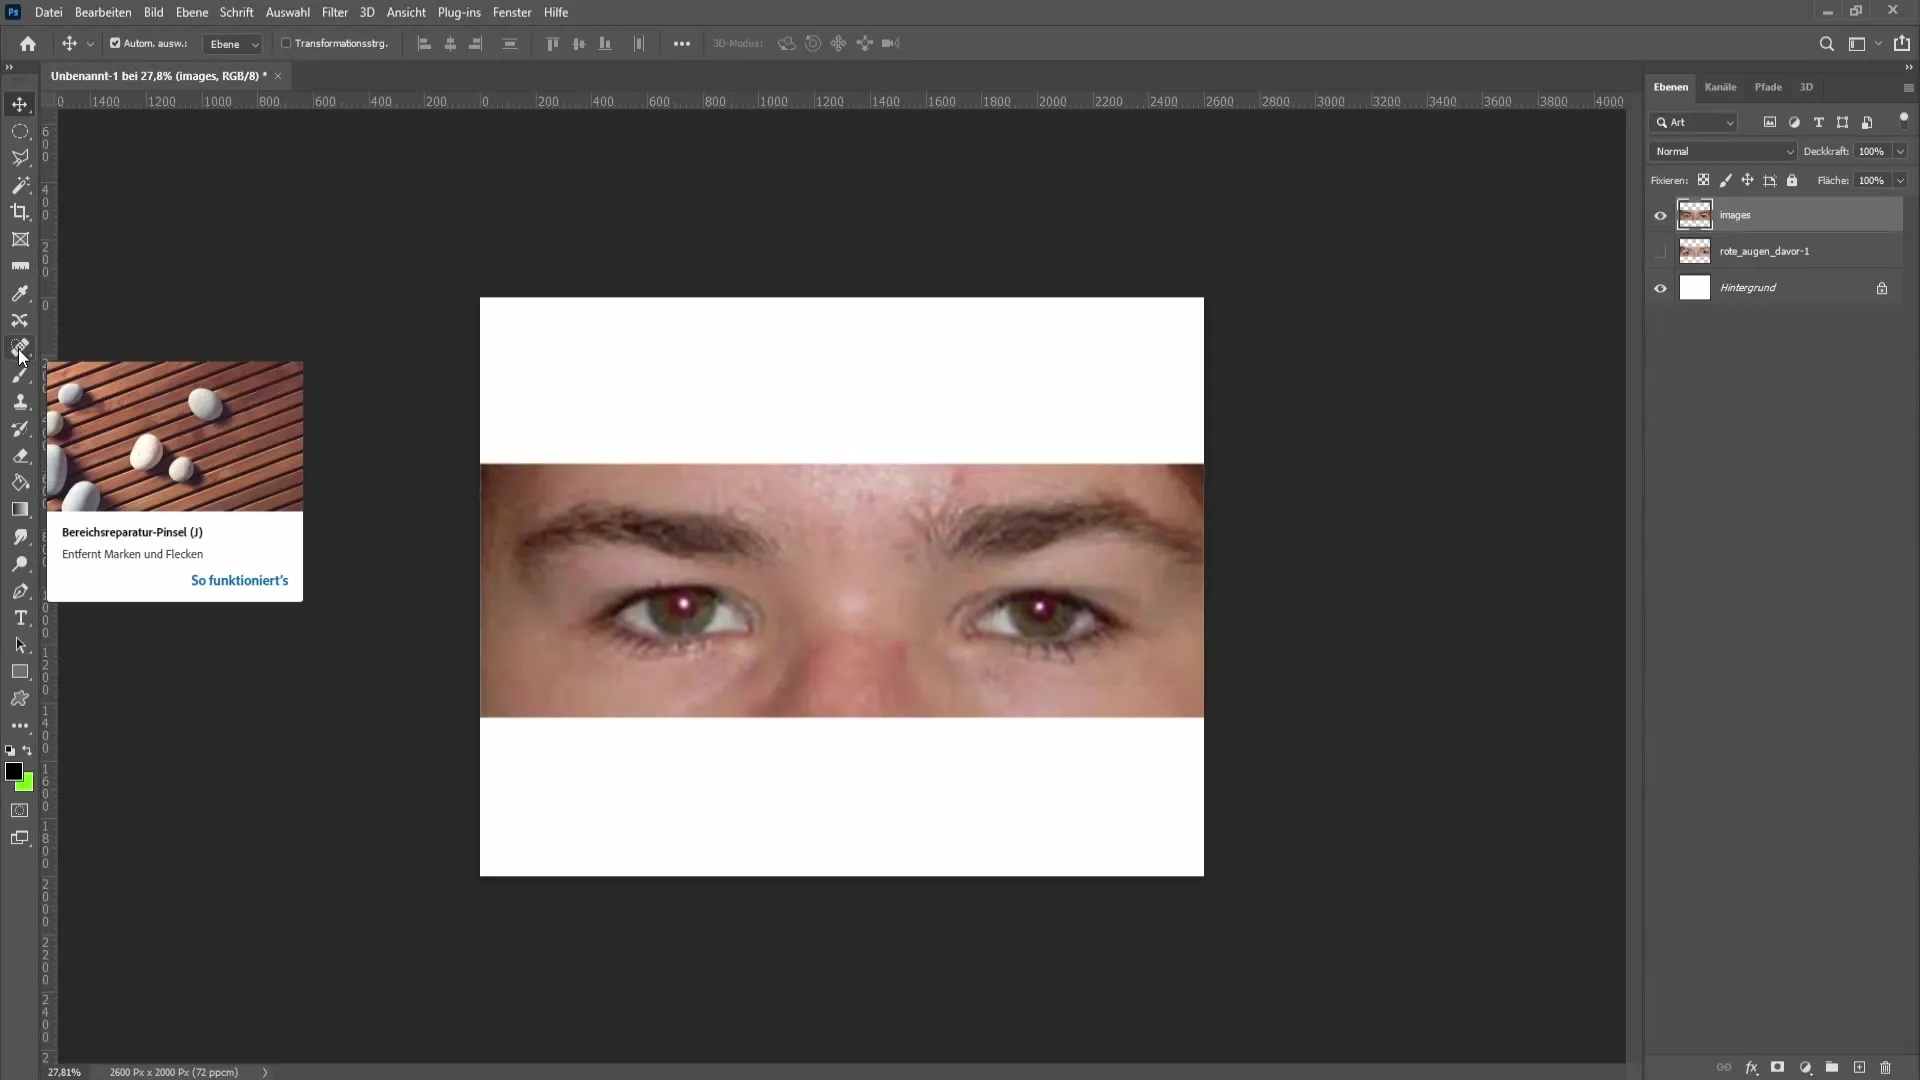
Choose the "Red Eye Tool" from the menu. This specific tool is optimal for quickly solving the problem of red eyes.
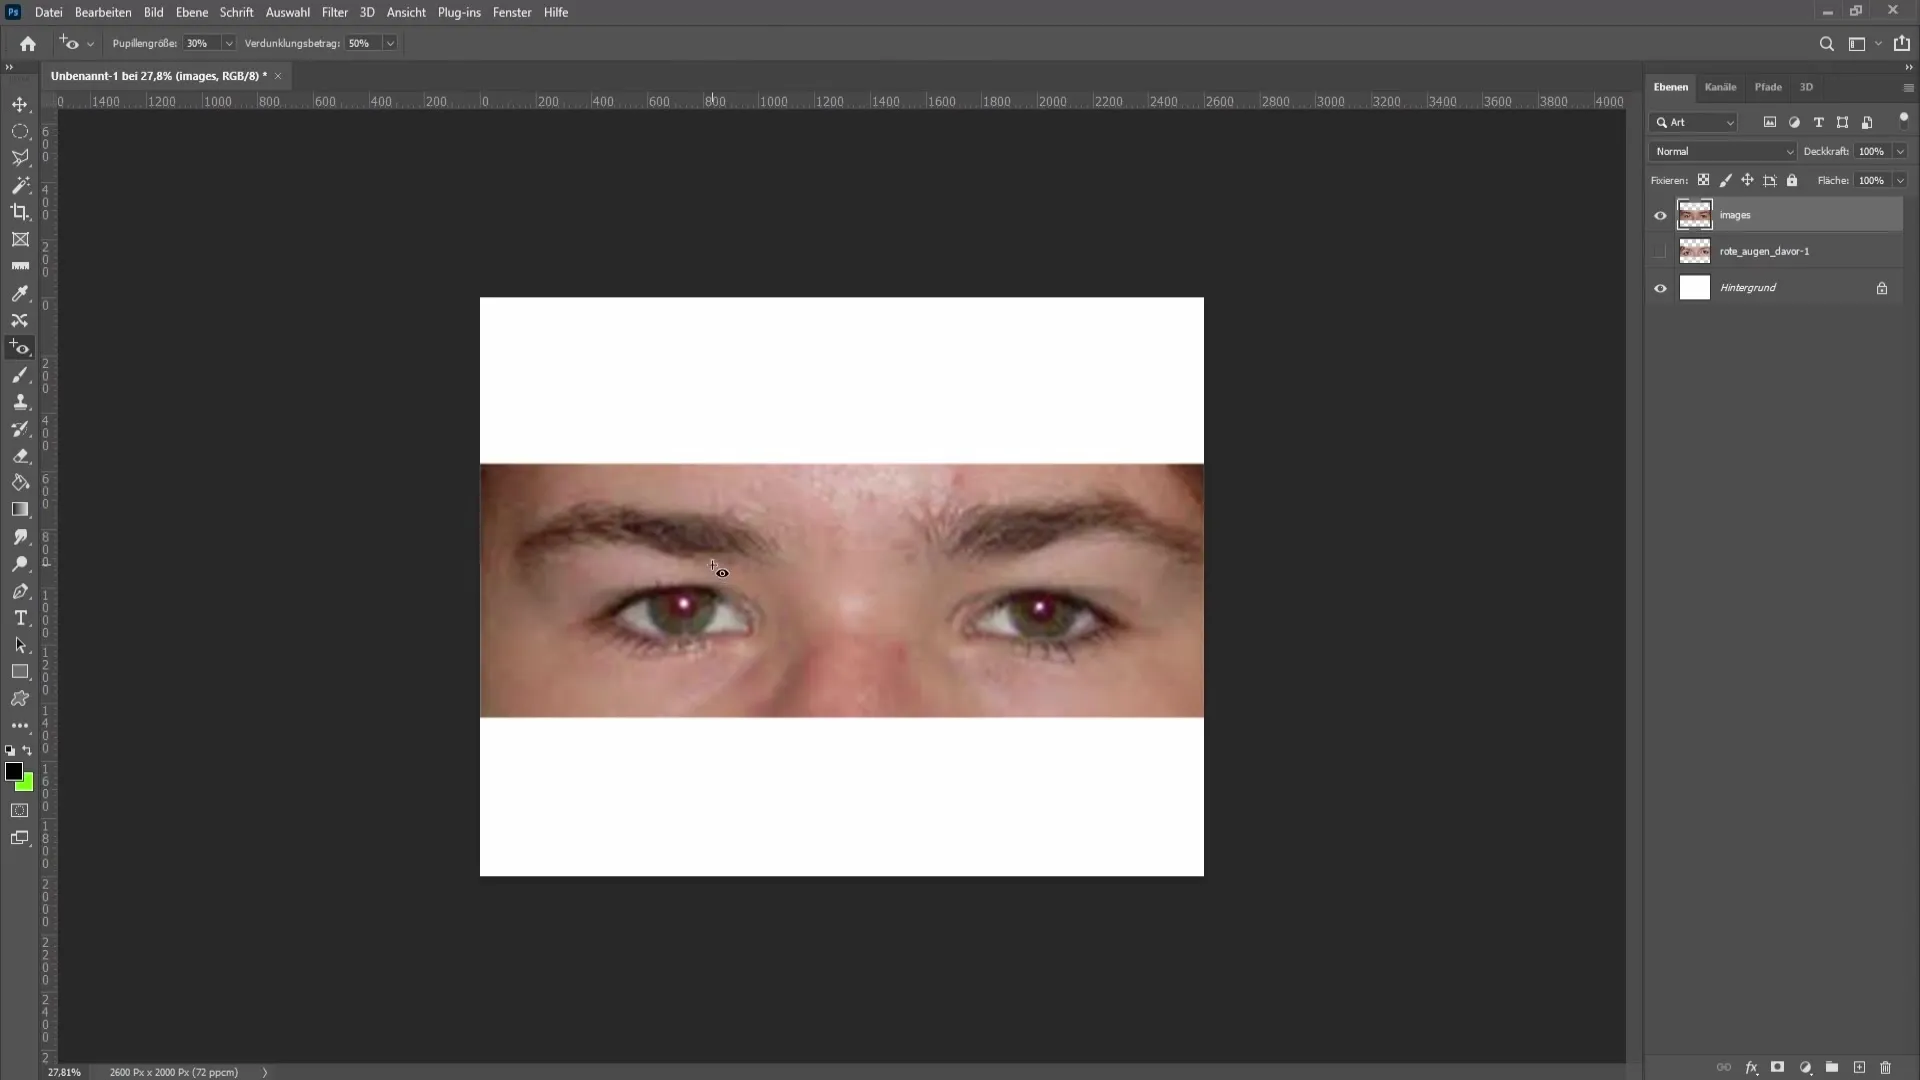
Now you have two options. Either simply click once on the pupil with the left mouse button to remove the red color. This is a very quick and effective method.
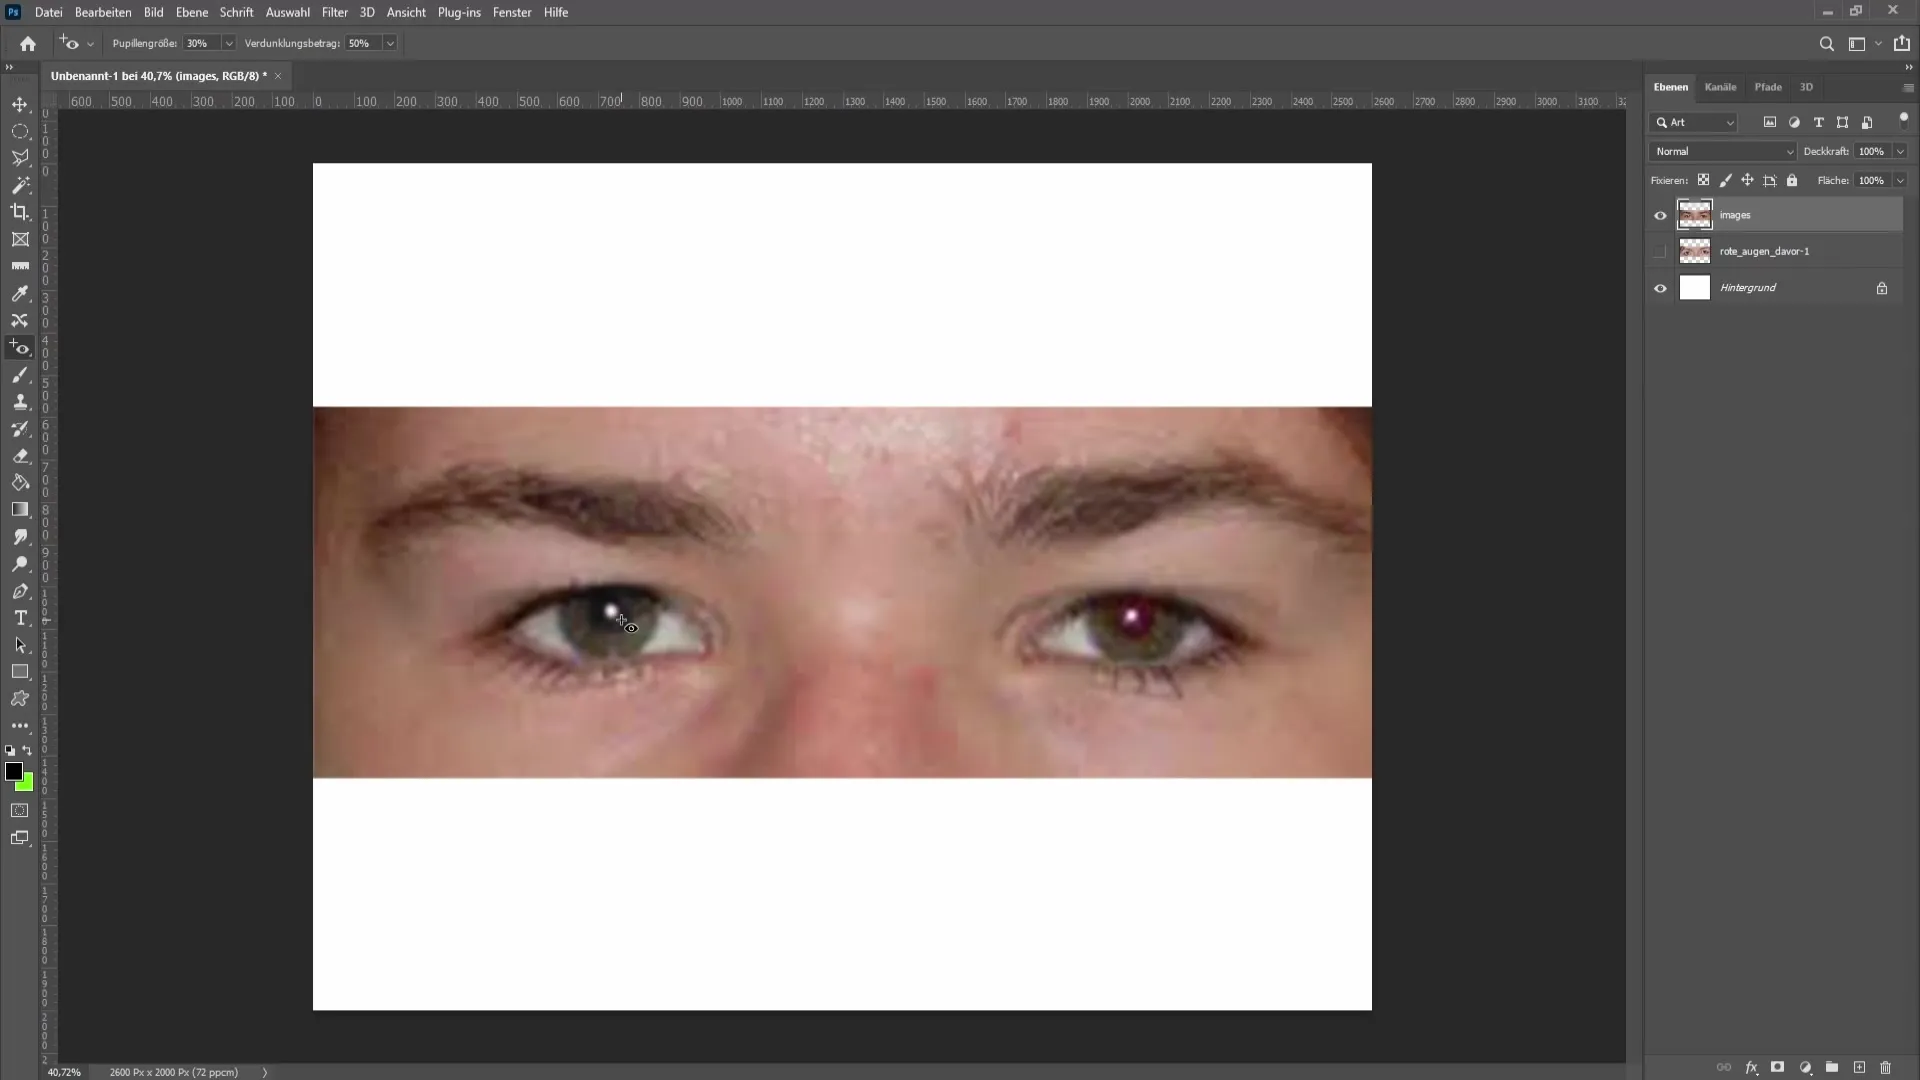
Alternatively, you can hold down the left mouse button and select an area around the pupil. This can be useful in situations where more precise adjustment is required.
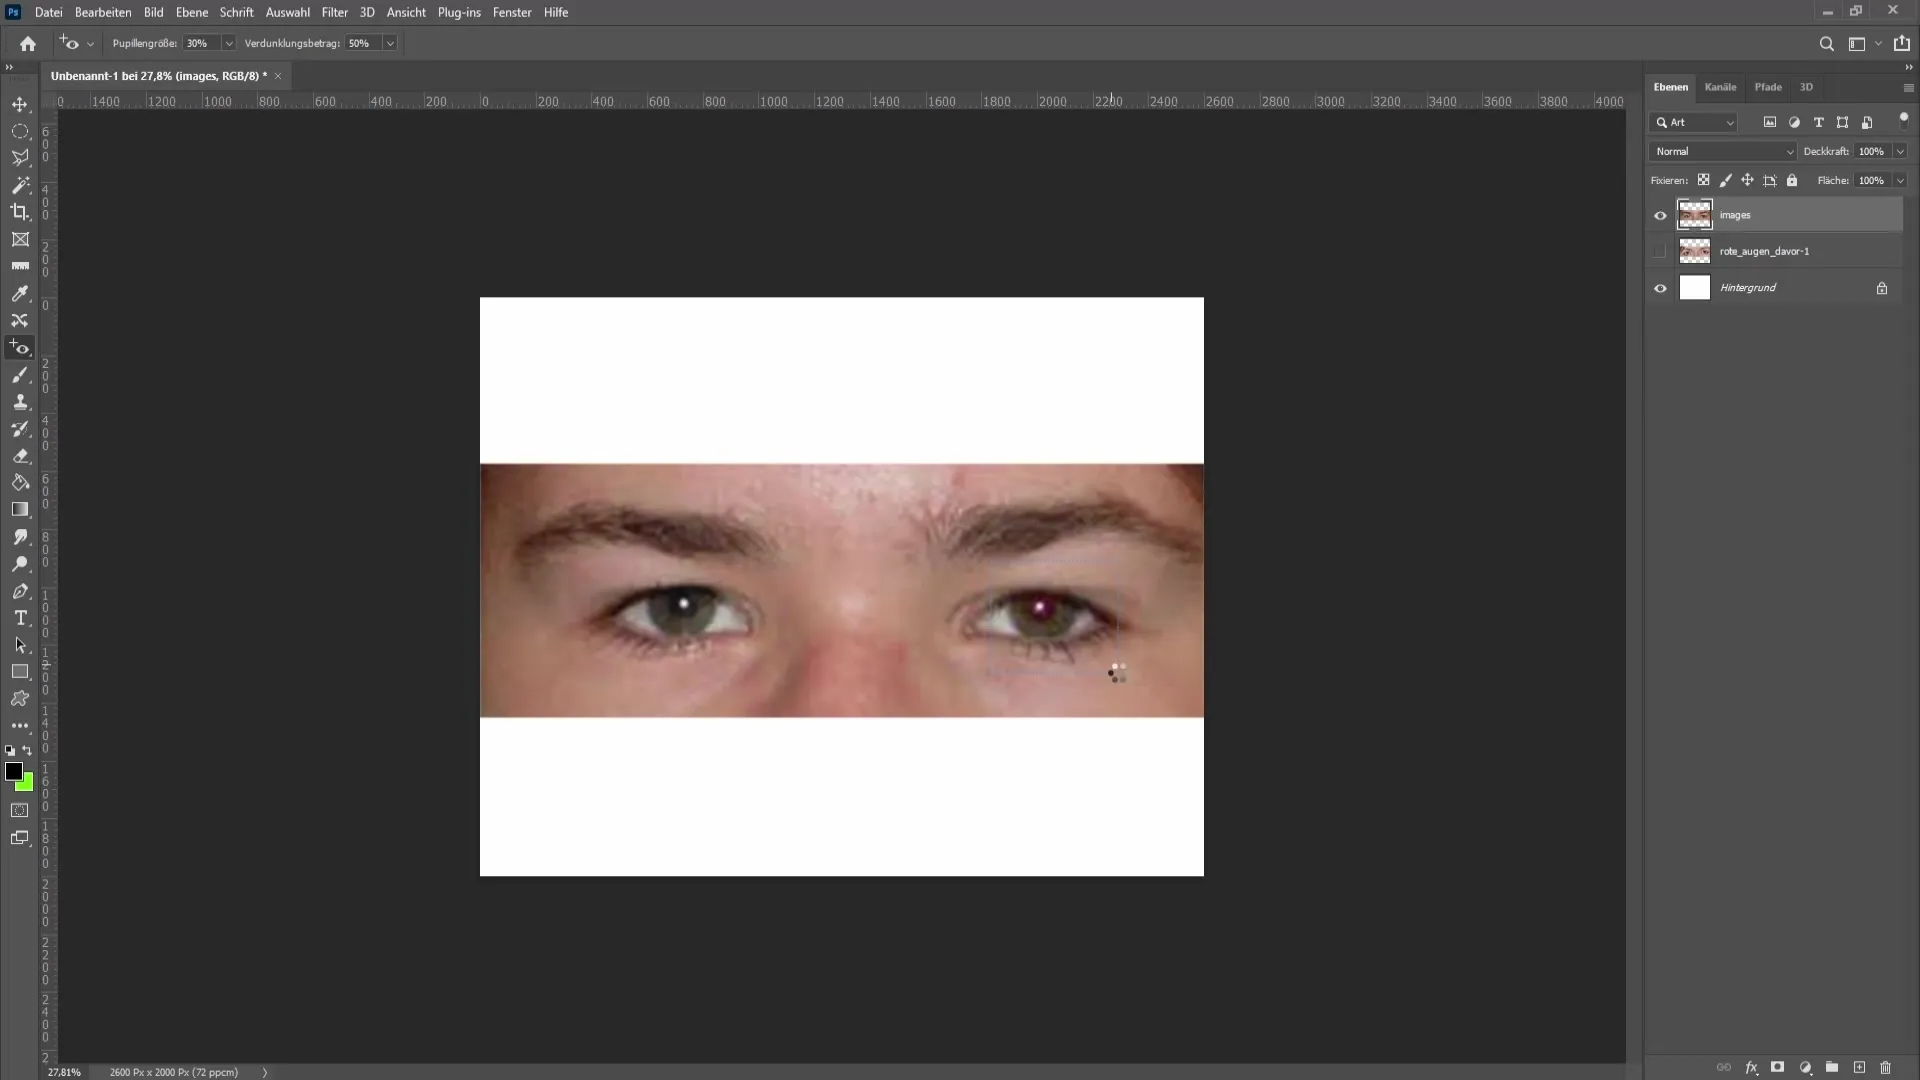
After selecting the area, you can adjust the settings for the Red Eye Tool. You will find various options at the top of the menu bar. Click on them to make the adjustments. If you make a mistake, you can simply use the undo function with Ctrl + Z.
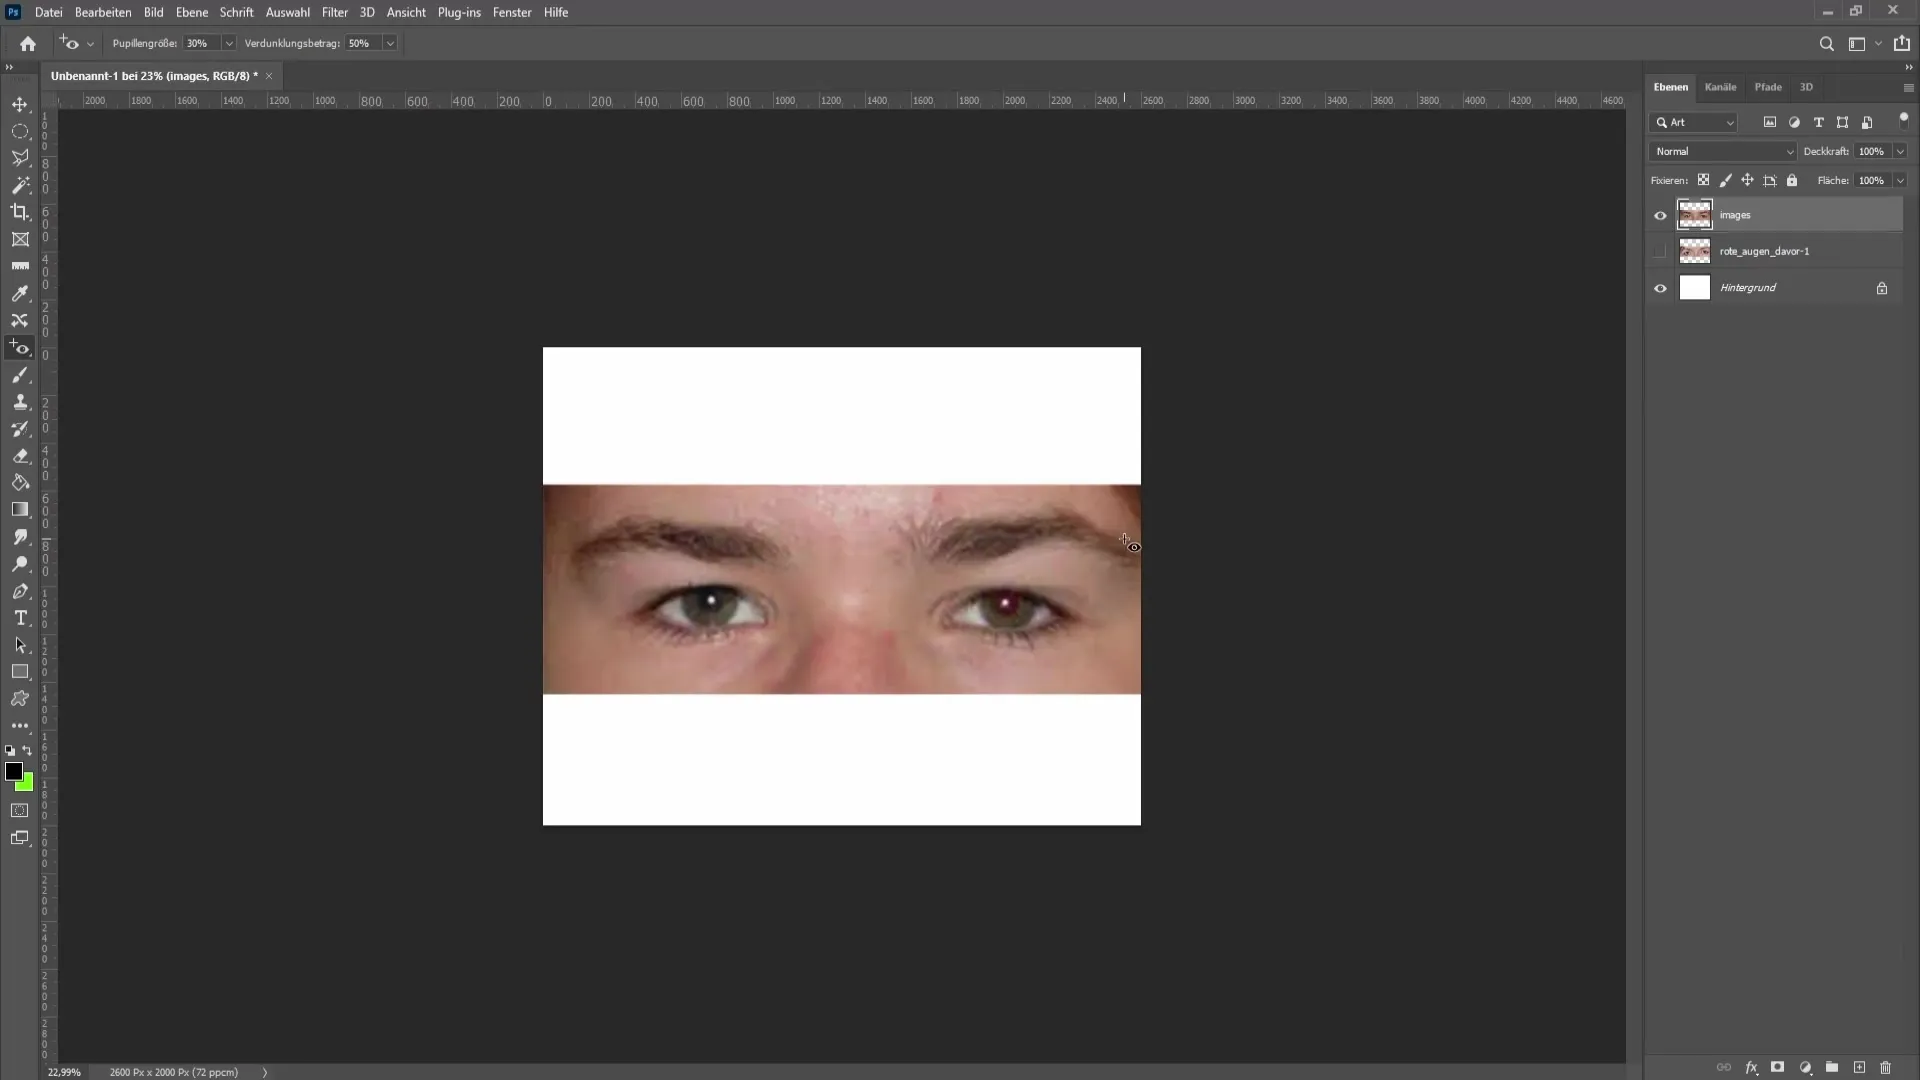
An important point is the pupil size. When you change the pupil size, the affected area becomes larger or smaller. Set the pupil size between 30% and 40% for the best results.
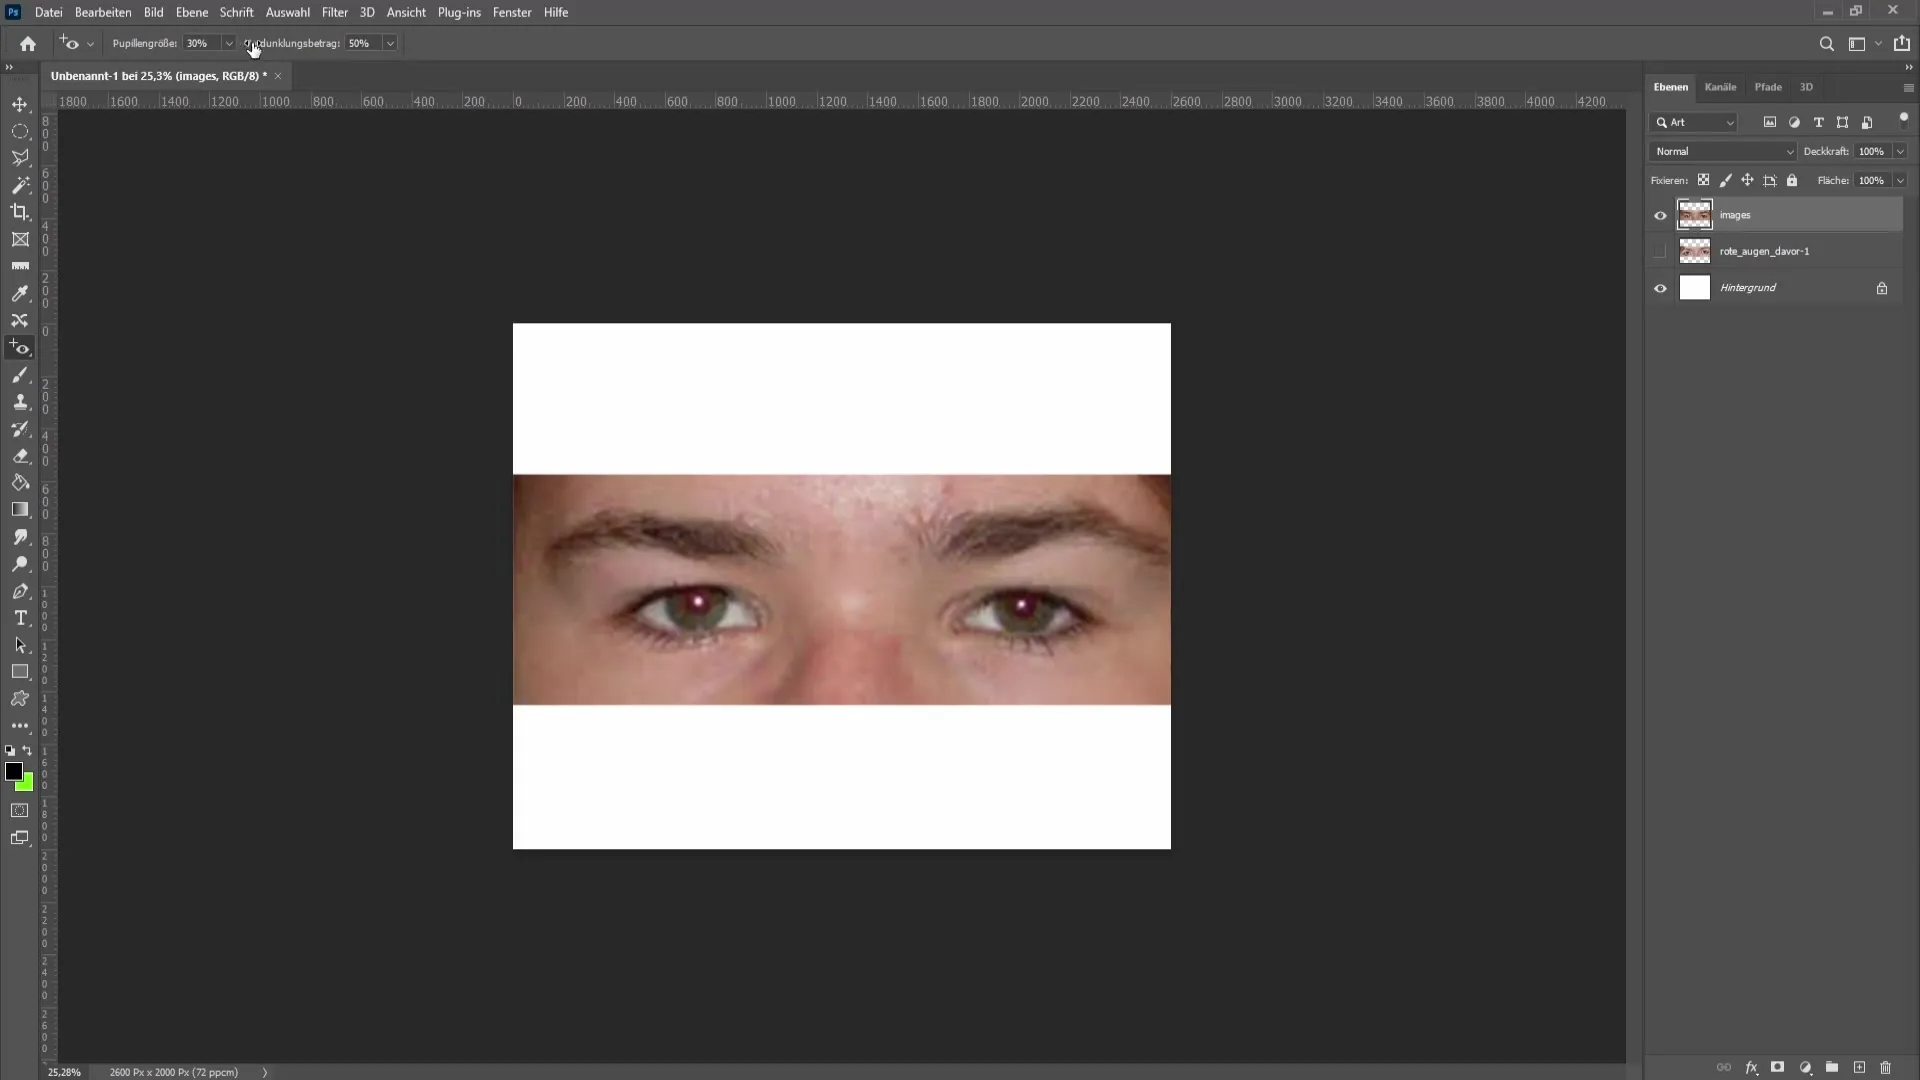
Once you have experimented with the pupil size, you can test the settings. For example, setting the pupil size to about 90% will select a considerably larger area. Make sure not to overdo it.
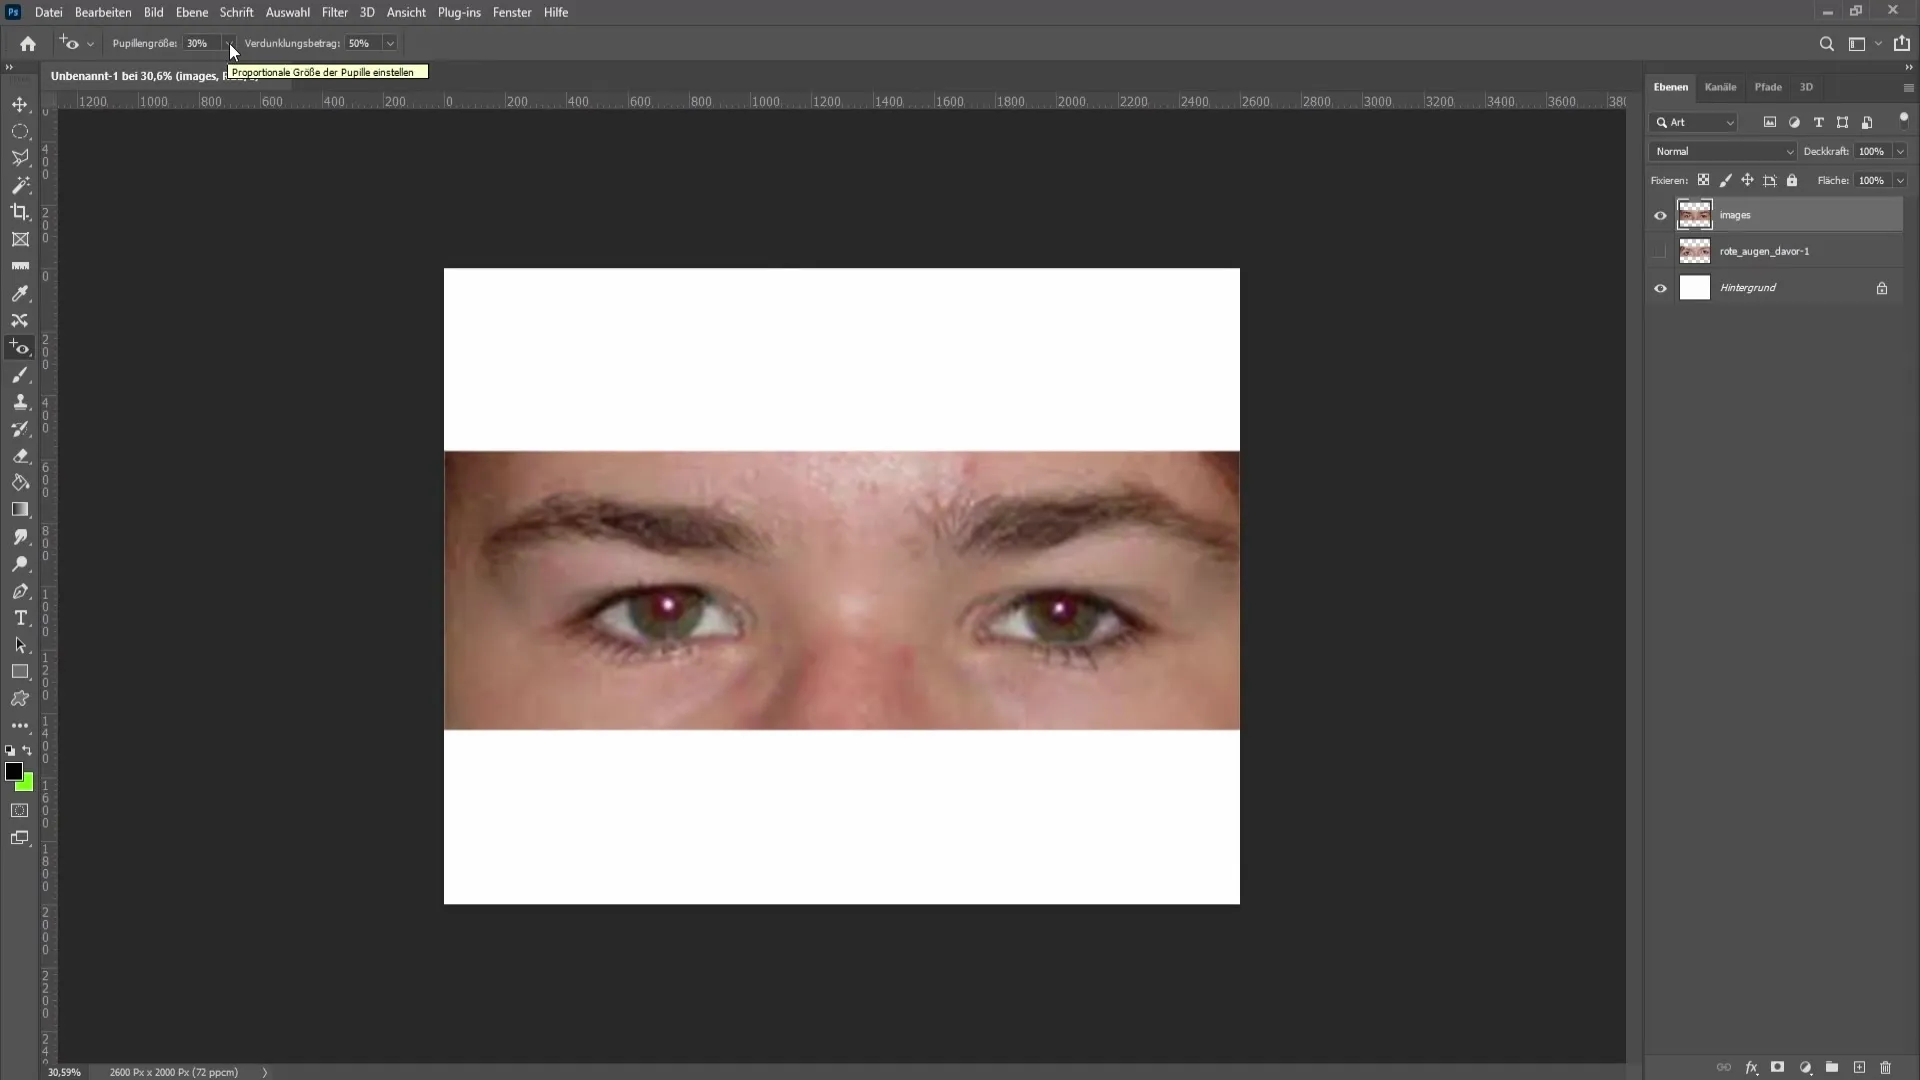
However, if the selection is too large and extends beyond the pupil, you can reduce the pupil size back to about 10%. This will focus the selection on a smaller area and avoid over-editing.
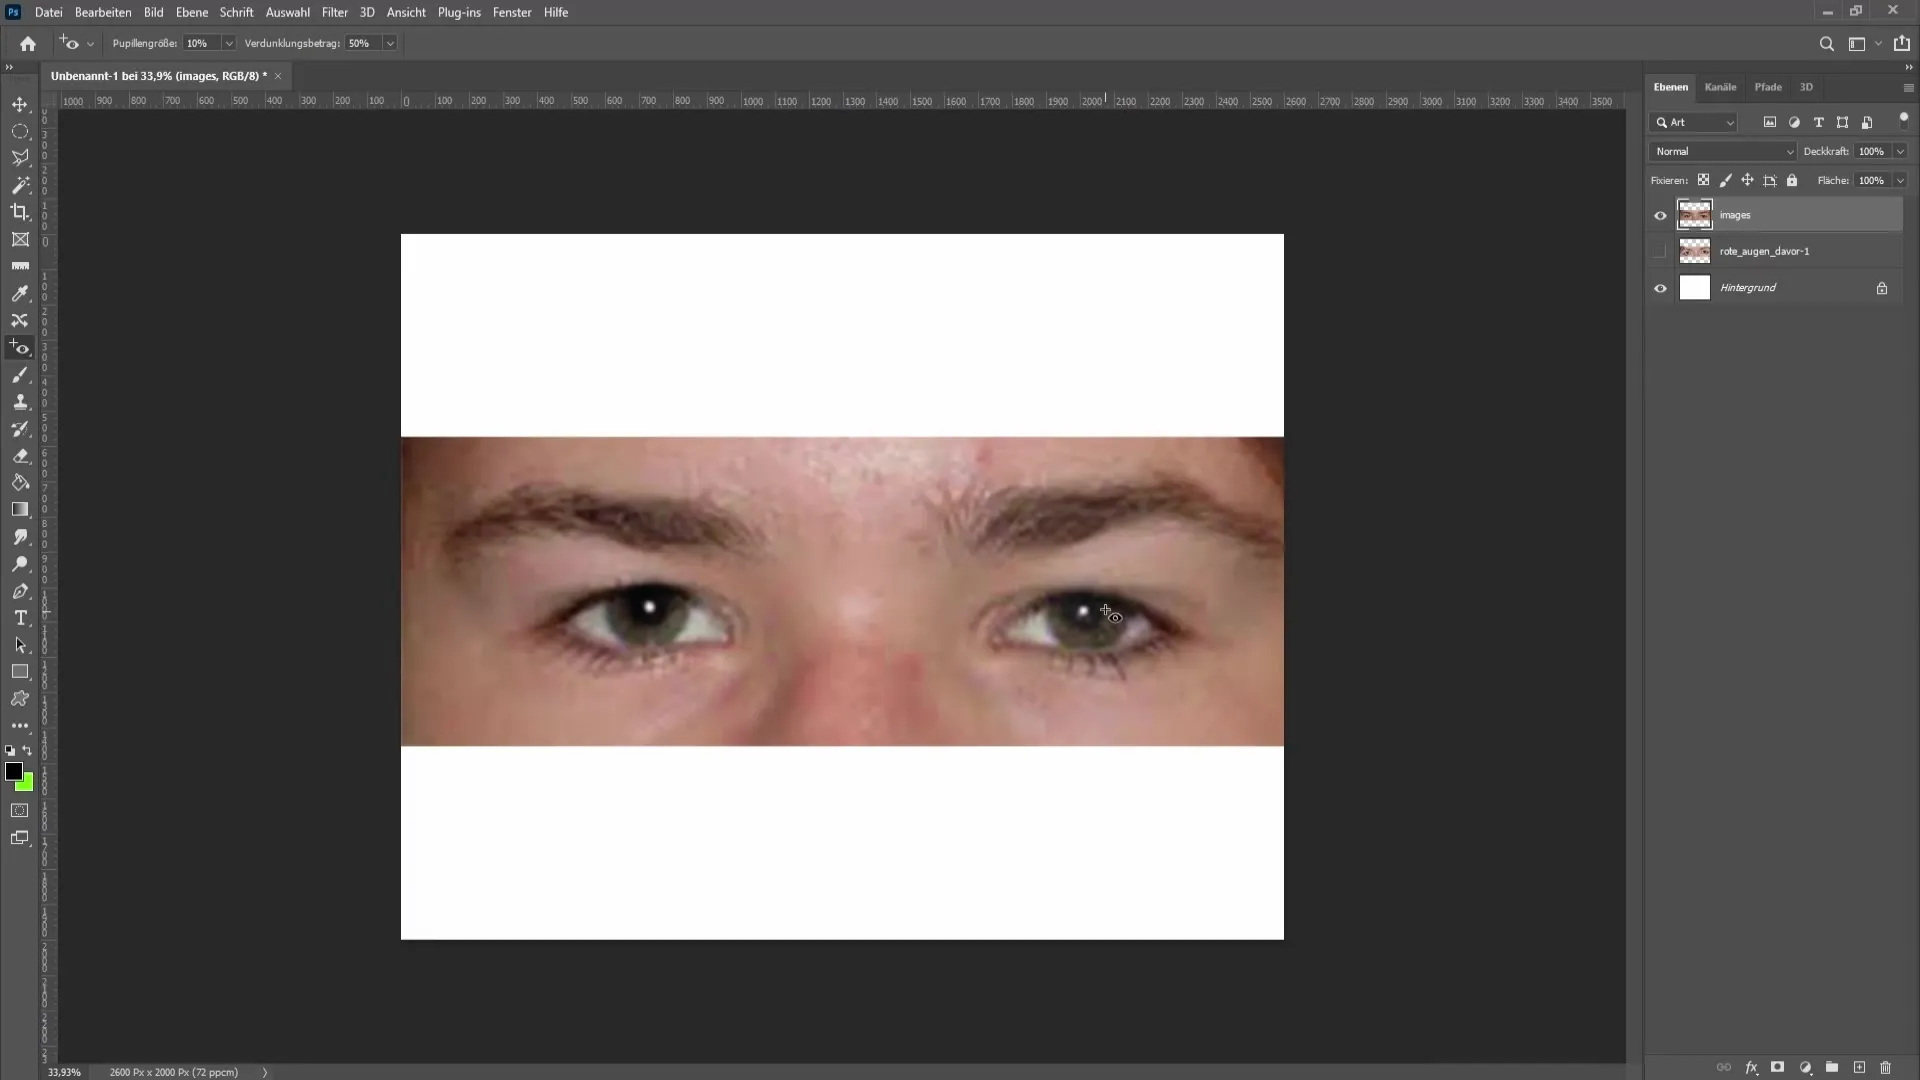
Another important aspect is the darkening amount. Increasing the darkening amount will darken the pupil. Decreasing it will make the pupil lighter. This aspect helps maintain a more natural appearance. Choose an enhancement of about 10% and observe the difference.
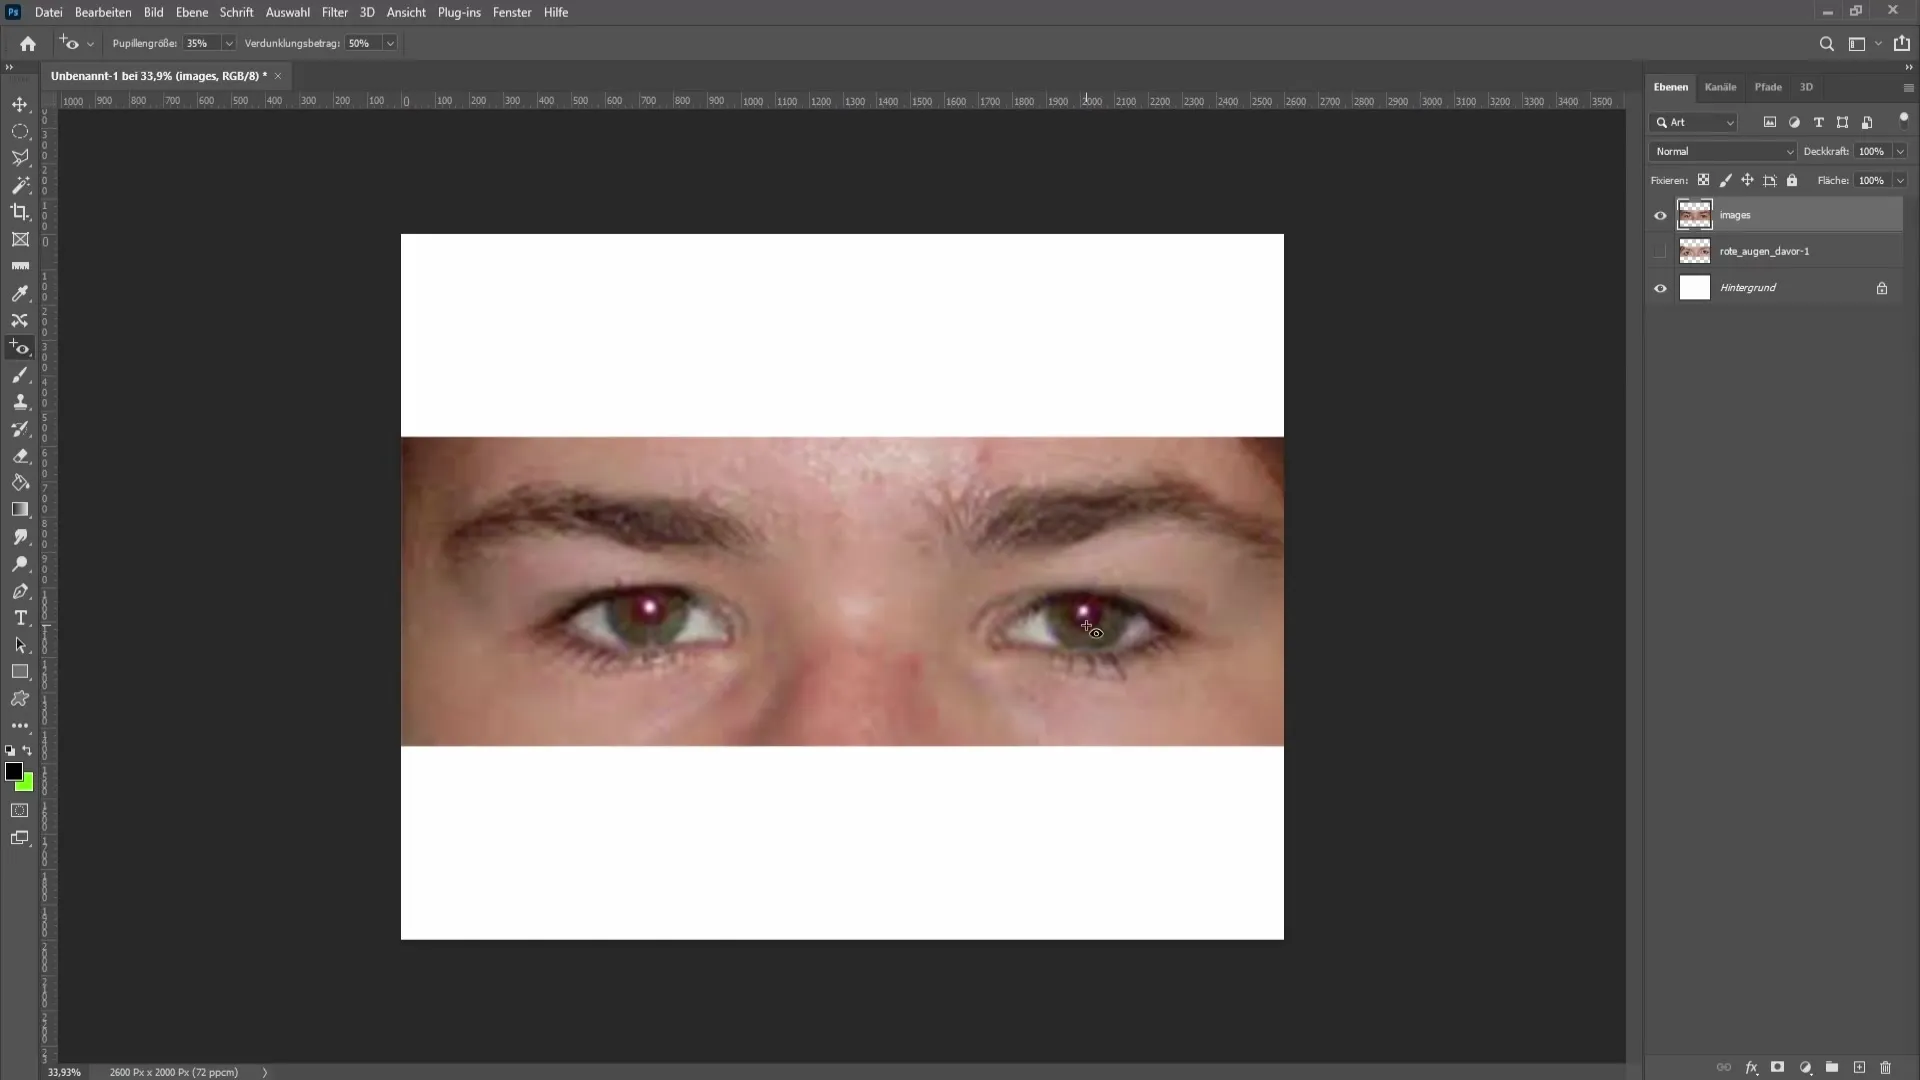
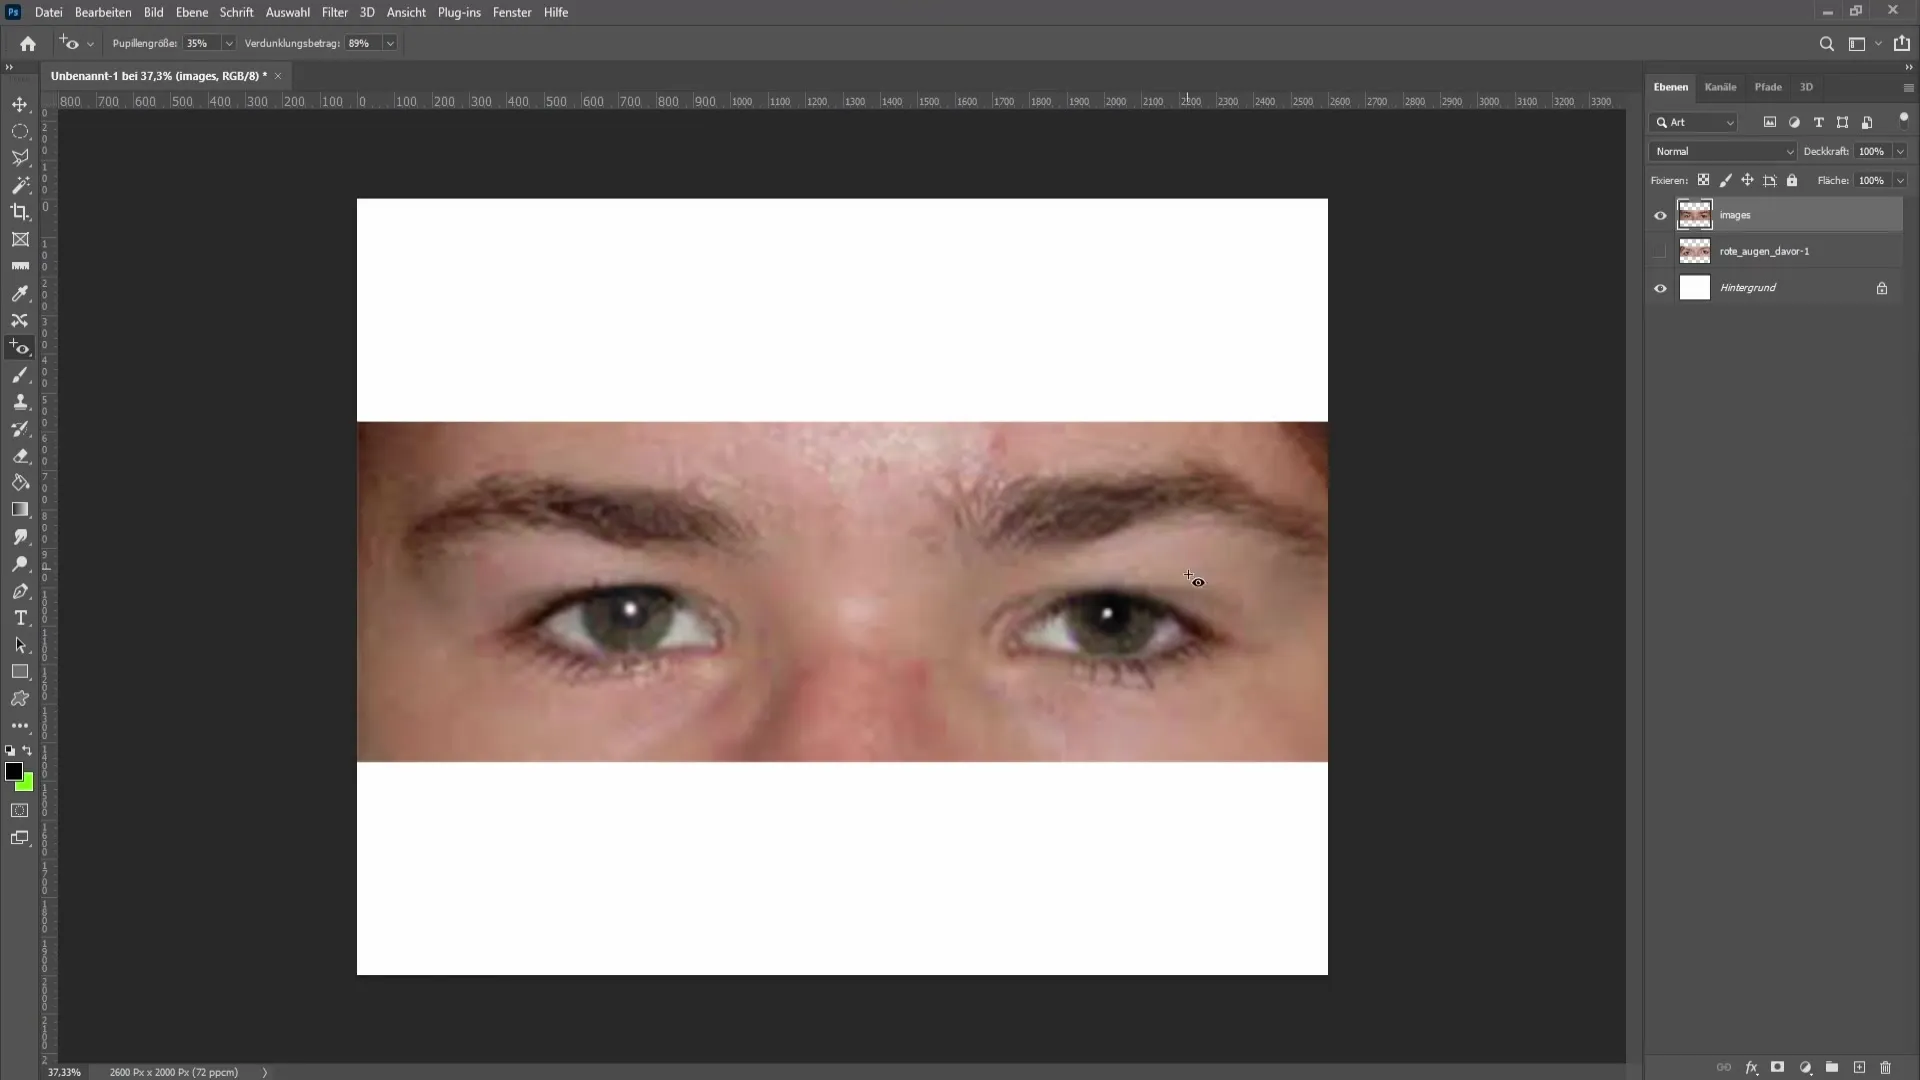
As you can see, increasing the darkening amount to about 90% results in a much darker effect, while a lower setting softens the effect. It is important to experiment with these settings to achieve the perfect effect for your image.
Summary
In this guide, you have learned how to effectively remove red eyes in Photoshop. With just a few clicks and by adjusting settings for the pupil size and the darkening amount, you can achieve beautiful, natural results.
Frequently Asked Questions
How do I remove red eyes in Photoshop?Use the Red Eye tool from the healing brushes. Simply click on the pupil or drag an area with the mouse.
Can I adjust the pupil size?Yes, you can adjust the pupil size in the tool options above to select a larger or smaller area.
How do I help maintain a natural color?Adjust the darkening amount. A value between 10% and 90% is ideal to achieve the desired effect without looking unnatural.


