In this tutorial, I will show you how to easily correct a crooked nose in Photoshop. With the right tools and settings, you can achieve an impressive transformation in just a few steps. This tutorial is particularly useful for those active in image editing, whether for portrait photography or digital art.
Key Insights
To properly edit a crooked nose in Photoshop, you should convert the layer to a Smart Object, use the Liquify Filter, and work carefully with the brush options. The goal is to achieve a natural and harmonious result without it appearing exaggerated or unnatural. Pay attention to details such as making the nostrils symmetrical.
Step-by-Step Guide
First, make sure your layer is ready for editing. Right-click on the layer and choose the "Convert to Smart Object" option. This function is crucial as the Liquify Filter can permanently affect the layer if not treated as a Smart Object. A Smart Object allows you to edit or undo the filter application at any time.
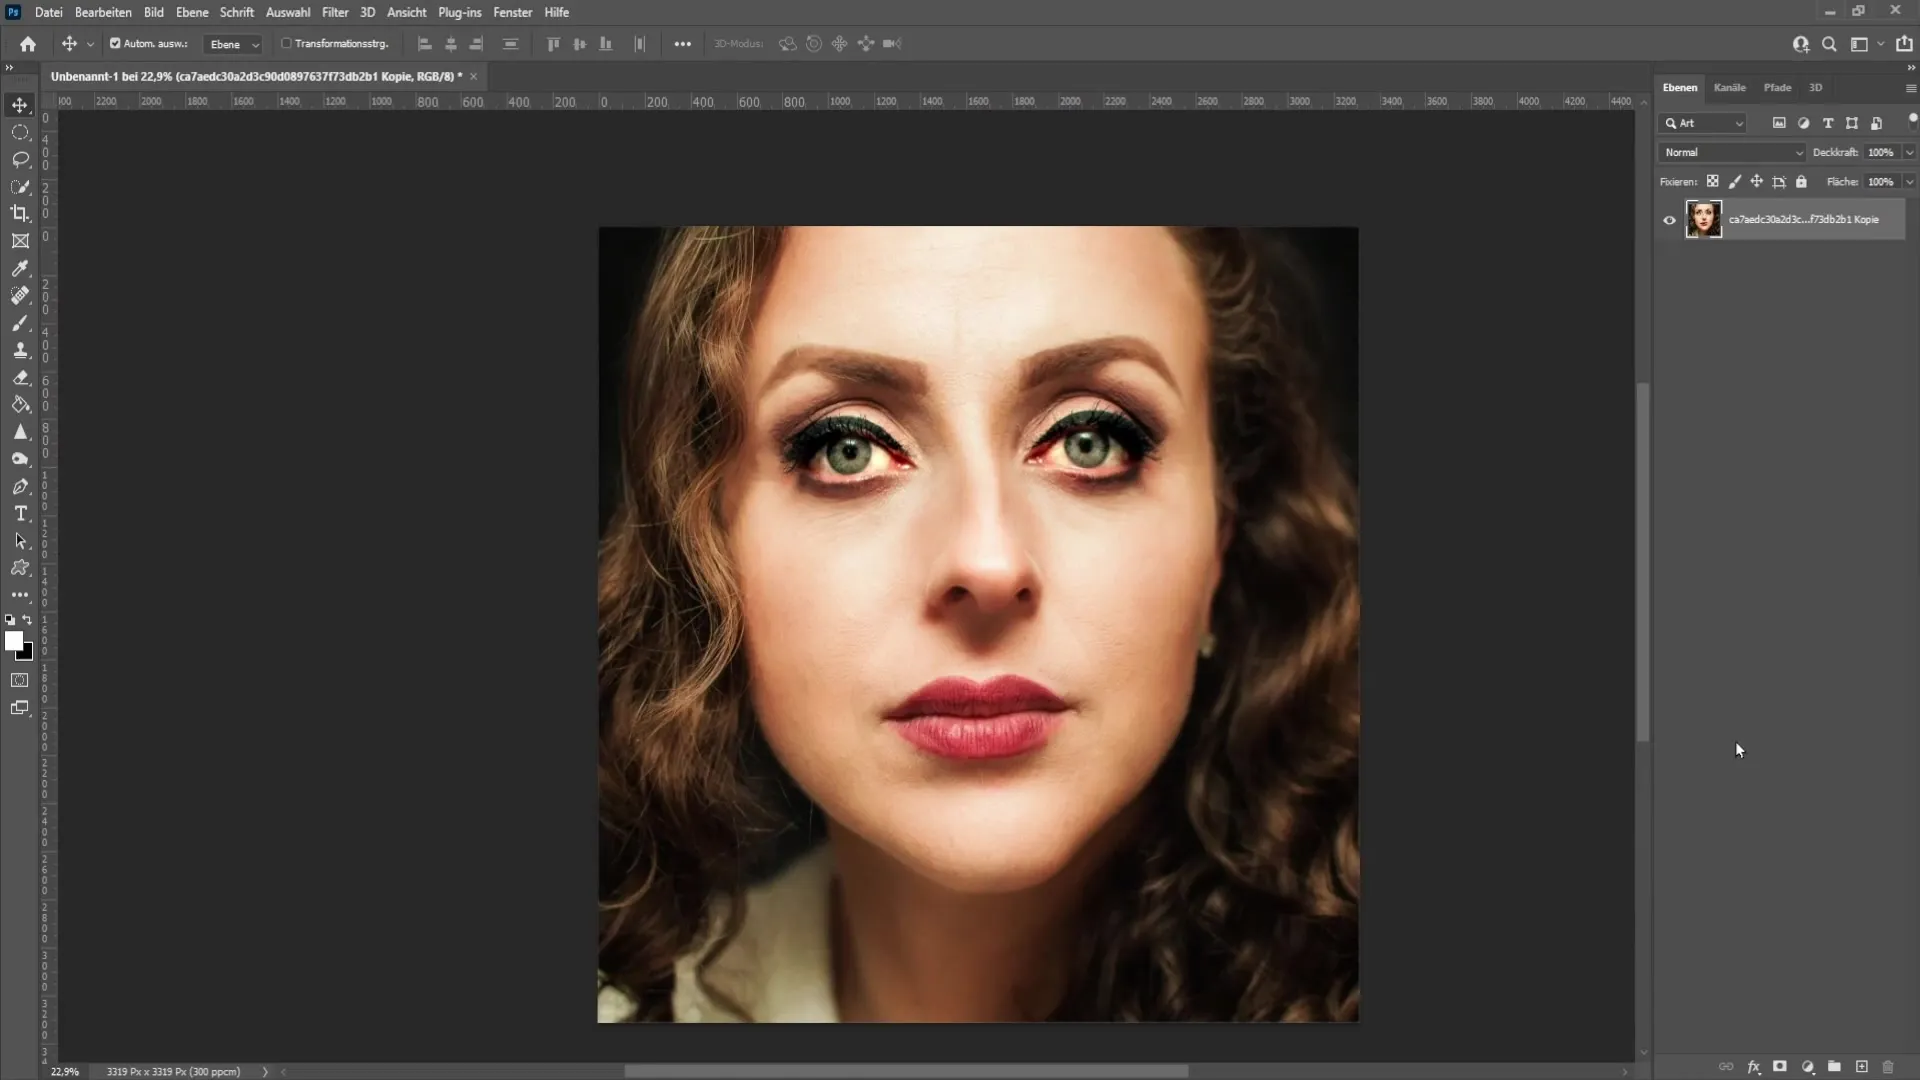
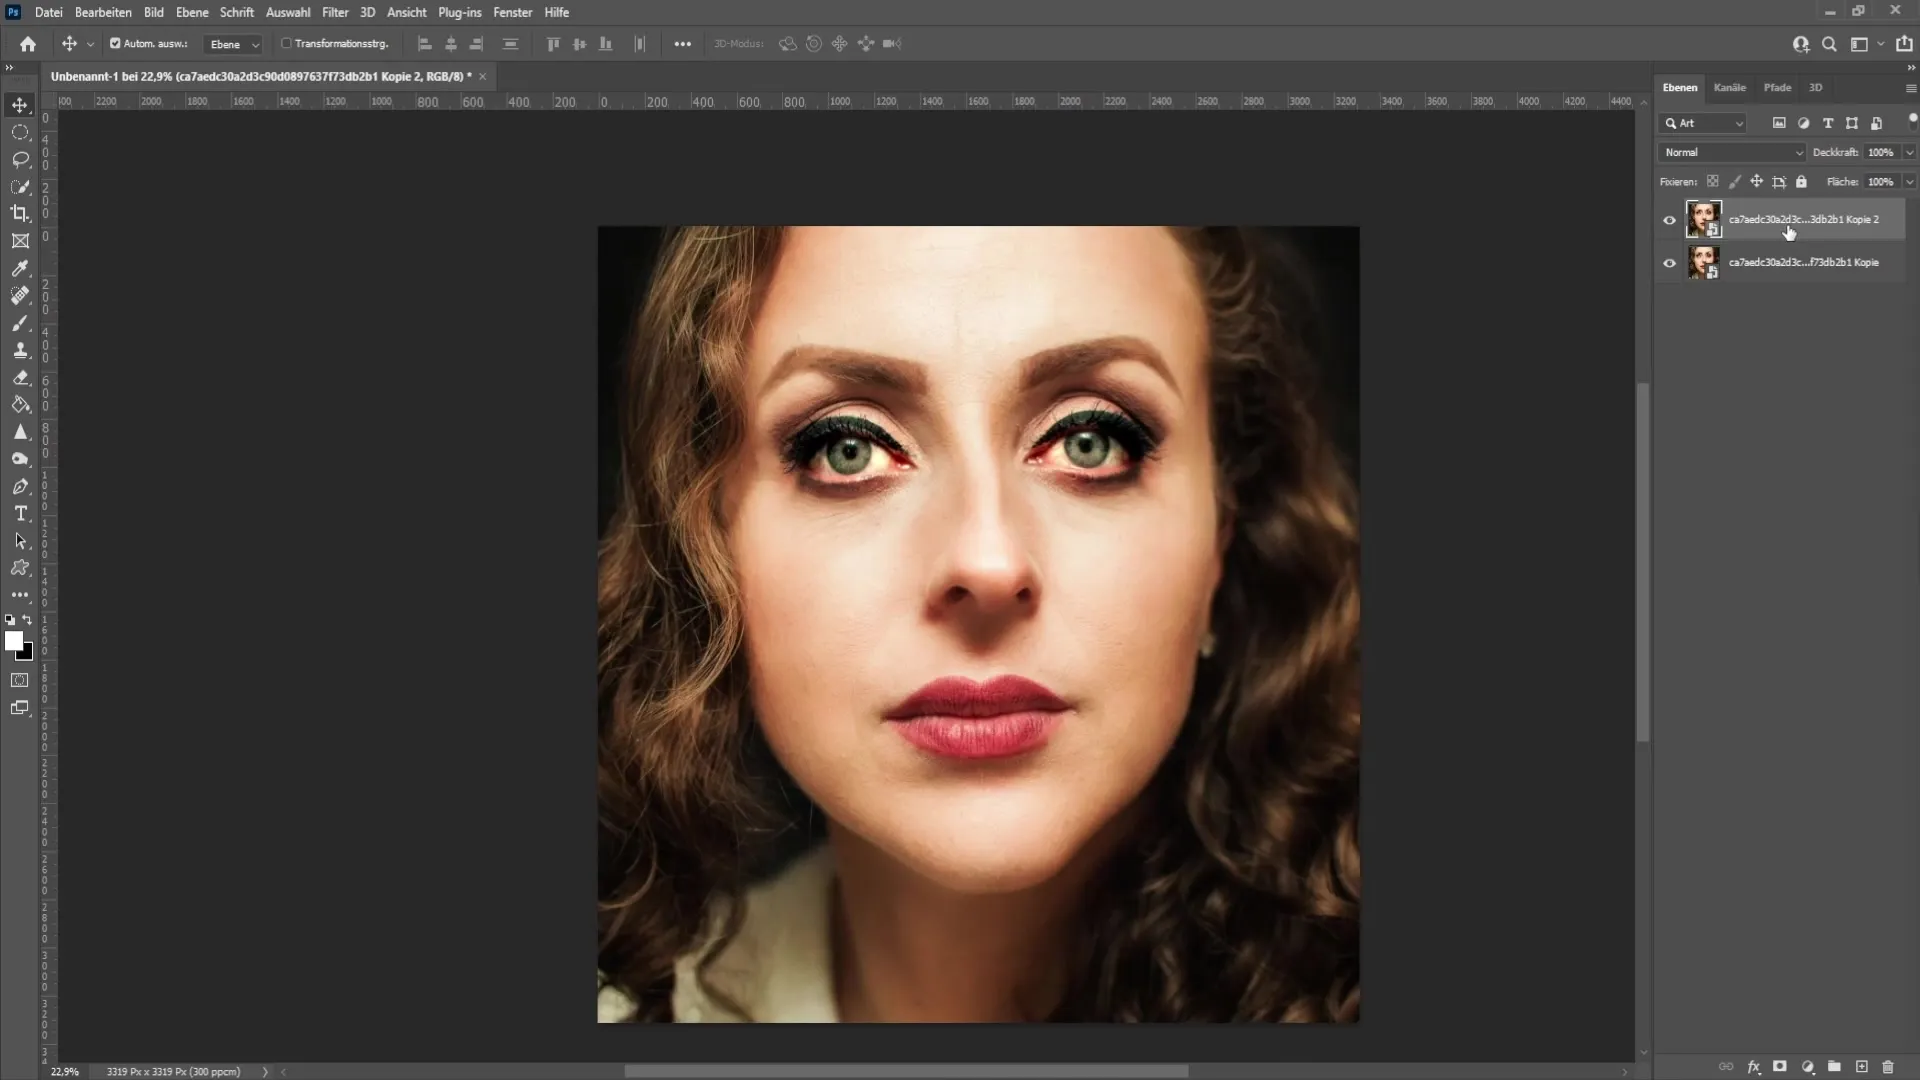
After converting the layer, create a duplicate of the layer for comparison. To do this, press "Ctrl + J." This way, you can later see how the changes compare to the original layer.
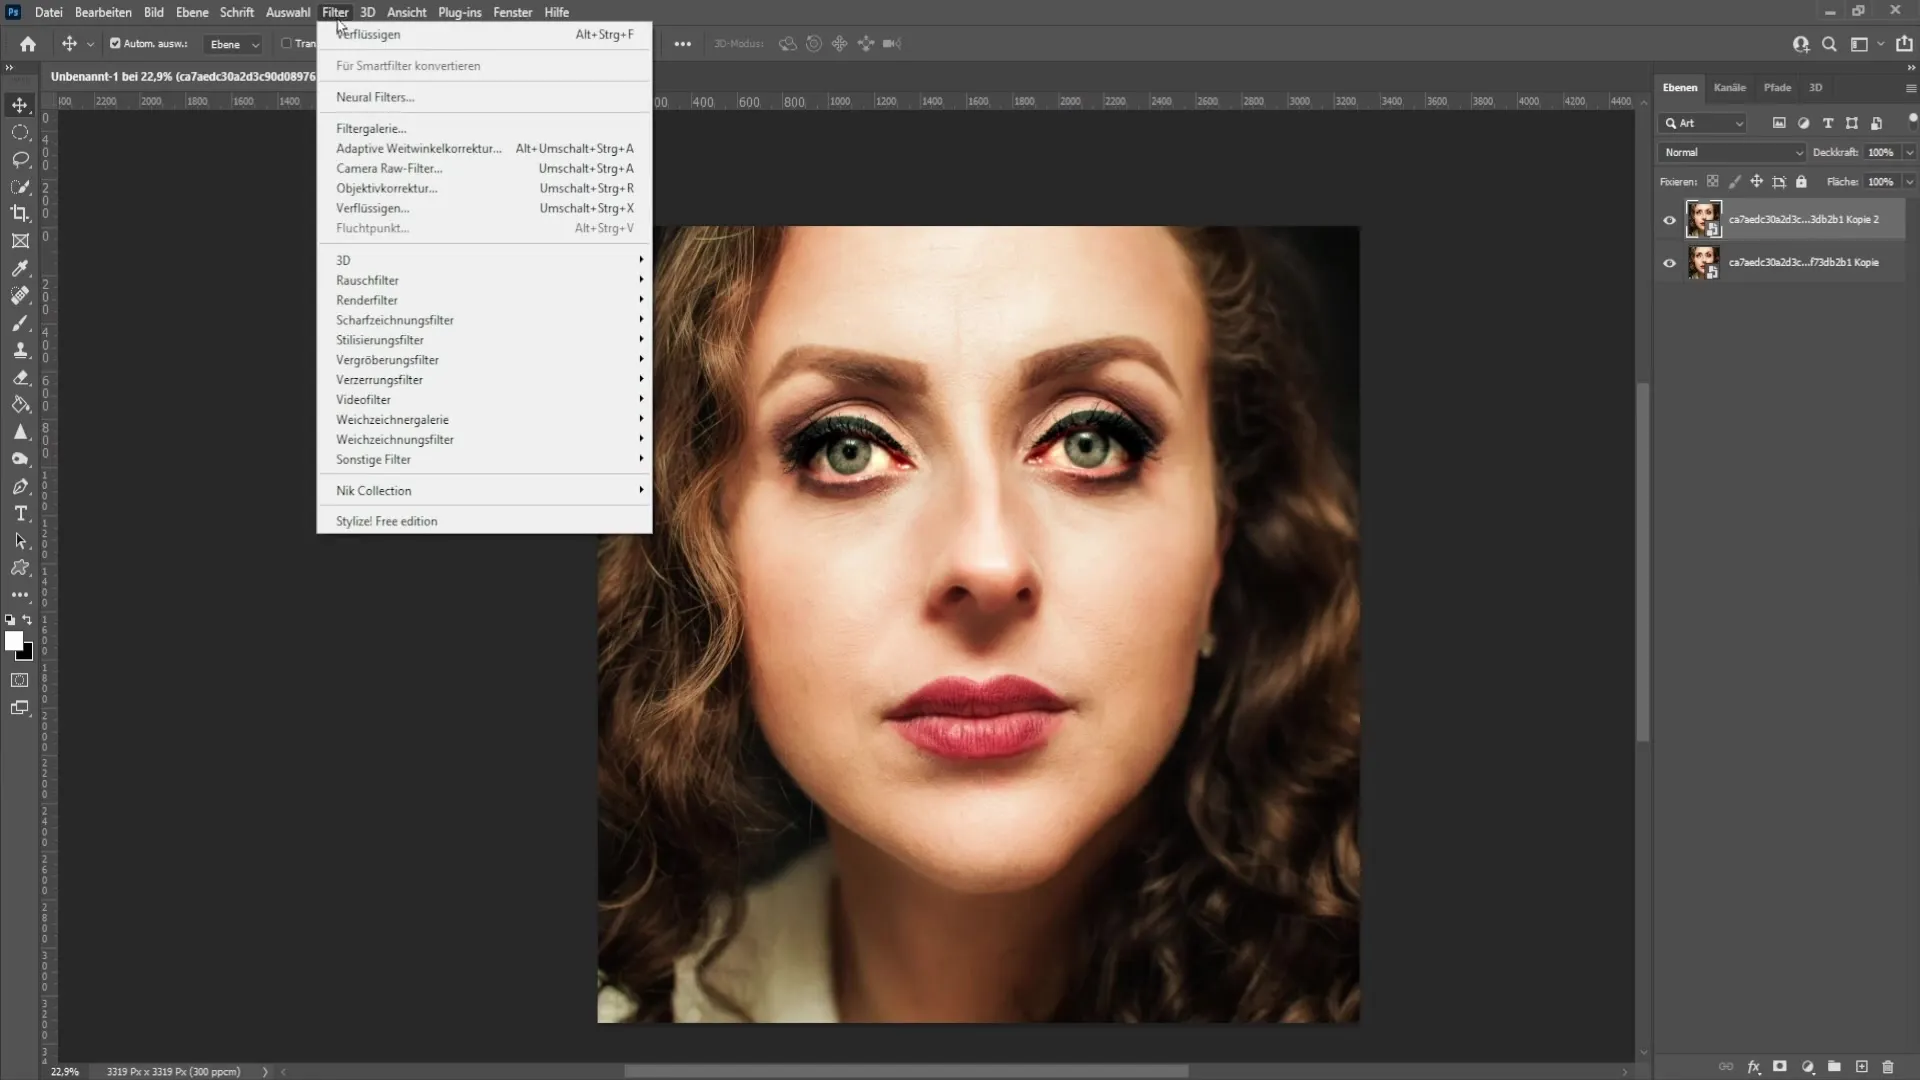
Now you are ready to apply the Liquify Filter. Go to "Filter" and then select "Liquify." In the Liquify Filter window, you will see various tools, including the Warp Tool, which is best suited for this adjustment.
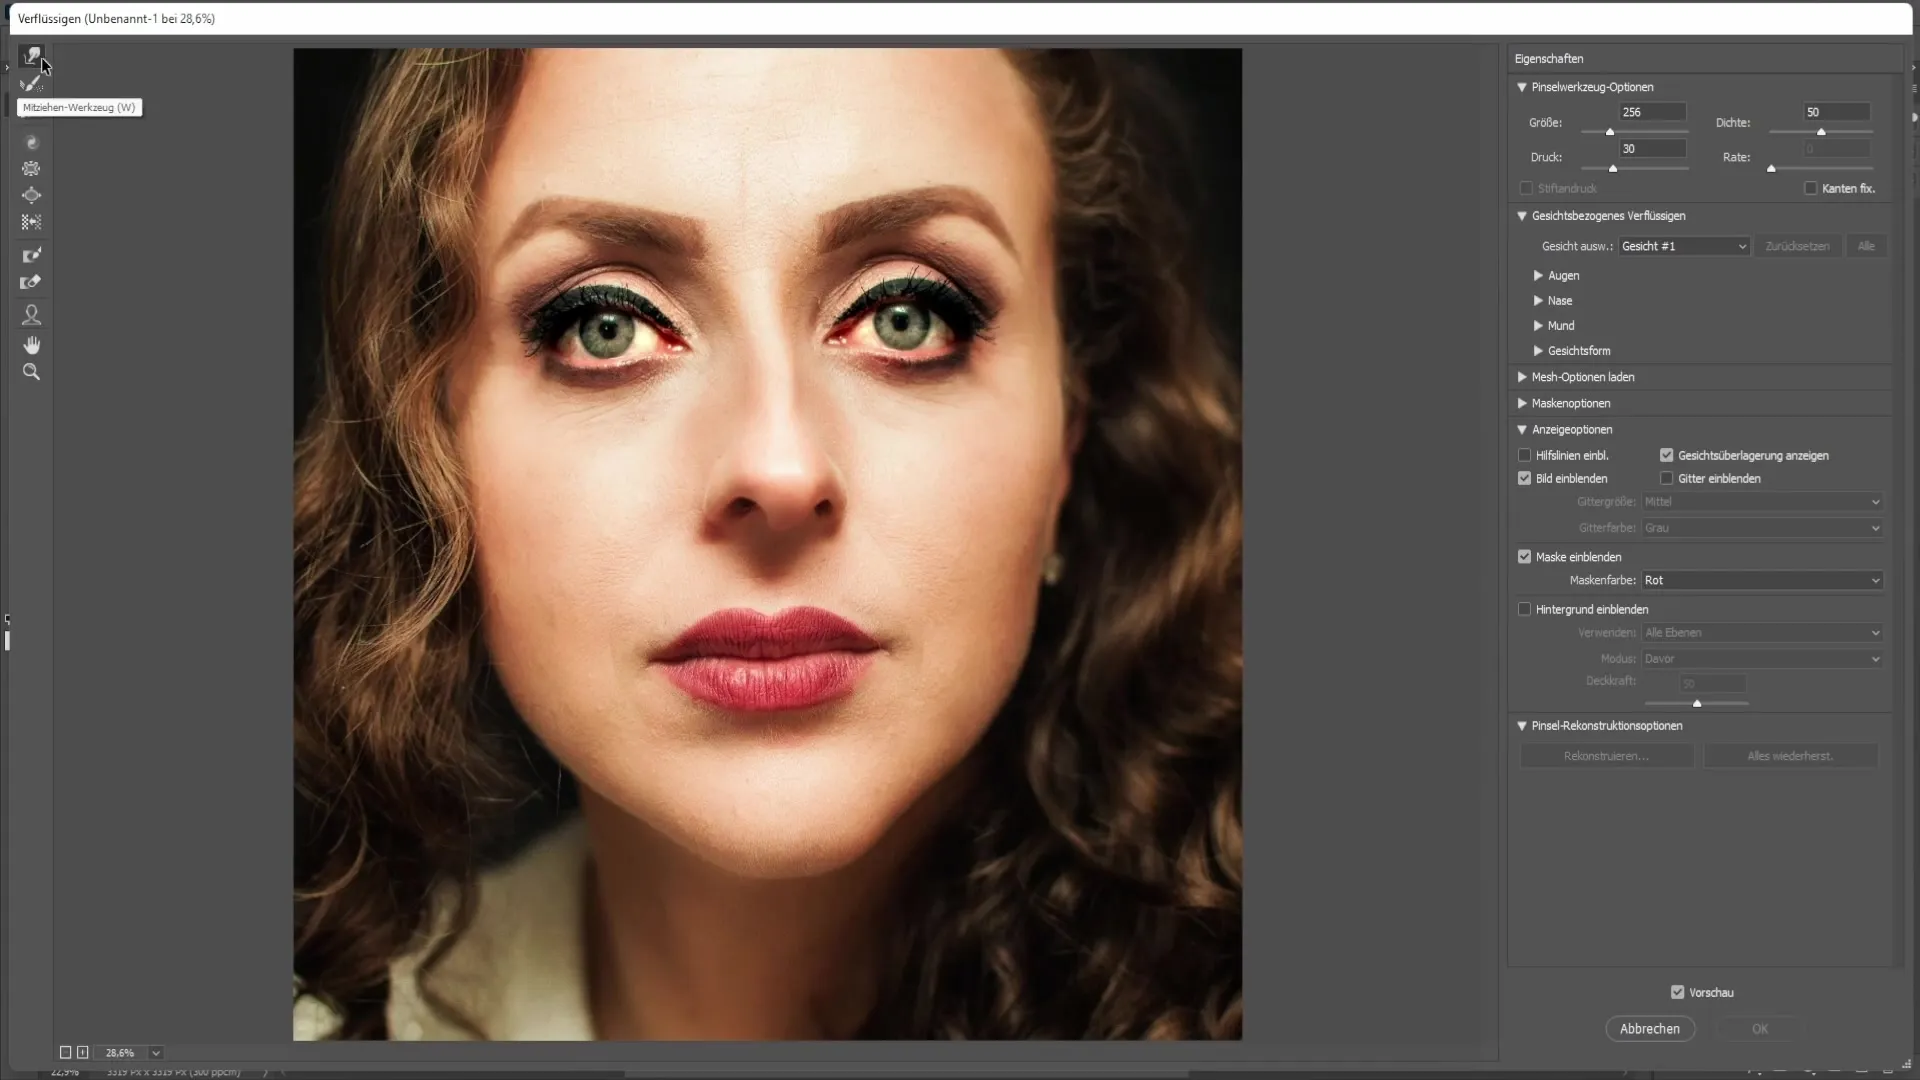
Now select the Warp Tool. Set the Pressure to about 30% and Density to 50. These settings allow you to make precise and controlled adjustments without distorting the image too much.
To edit the nose, hold down the Alt key and right-click to adjust the brush size. Now you can gently move the nose into the desired position. Start at the right side of the nasal bone and slowly work your way by gently straightening it.
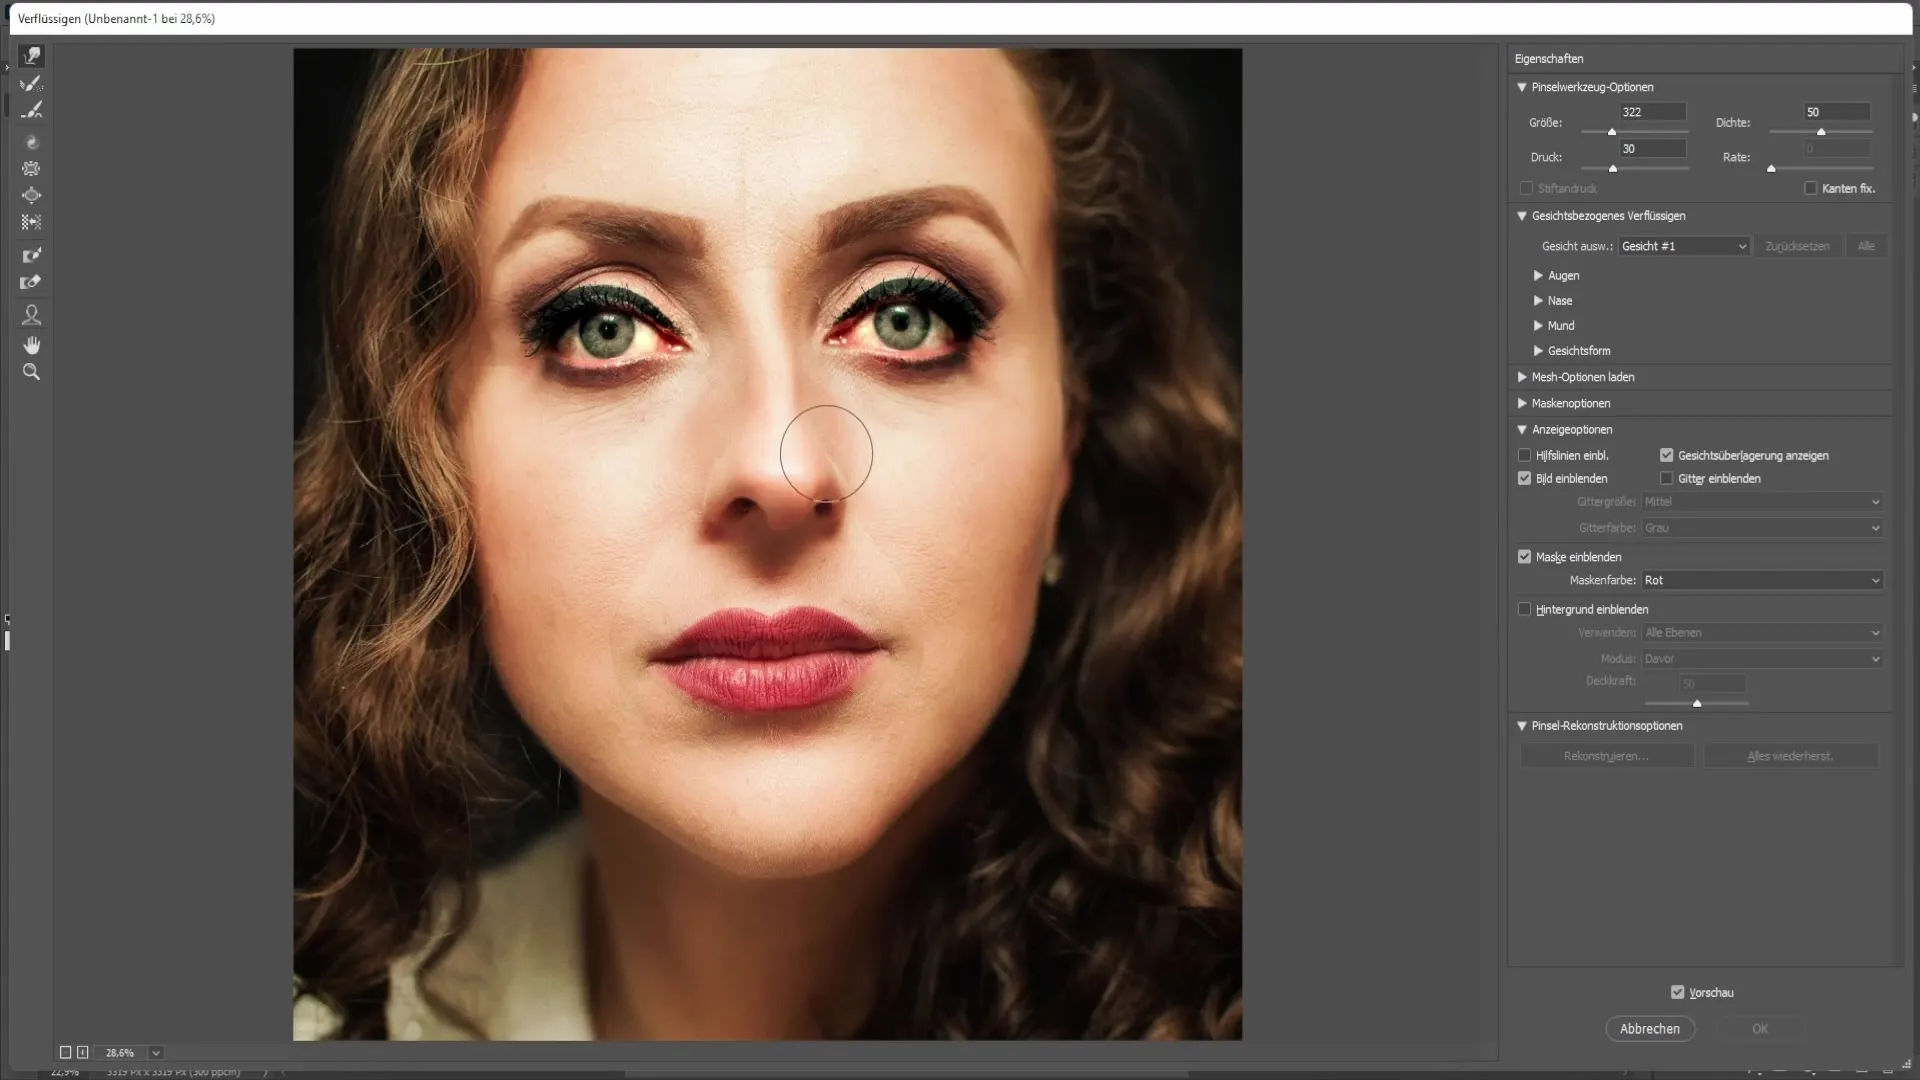
When starting with one side of the nose, make sure not to work too quickly. It is important not to alter the shape of the nose too much to keep the result natural. Frequently check with Zoom to see if the adjustments look good.
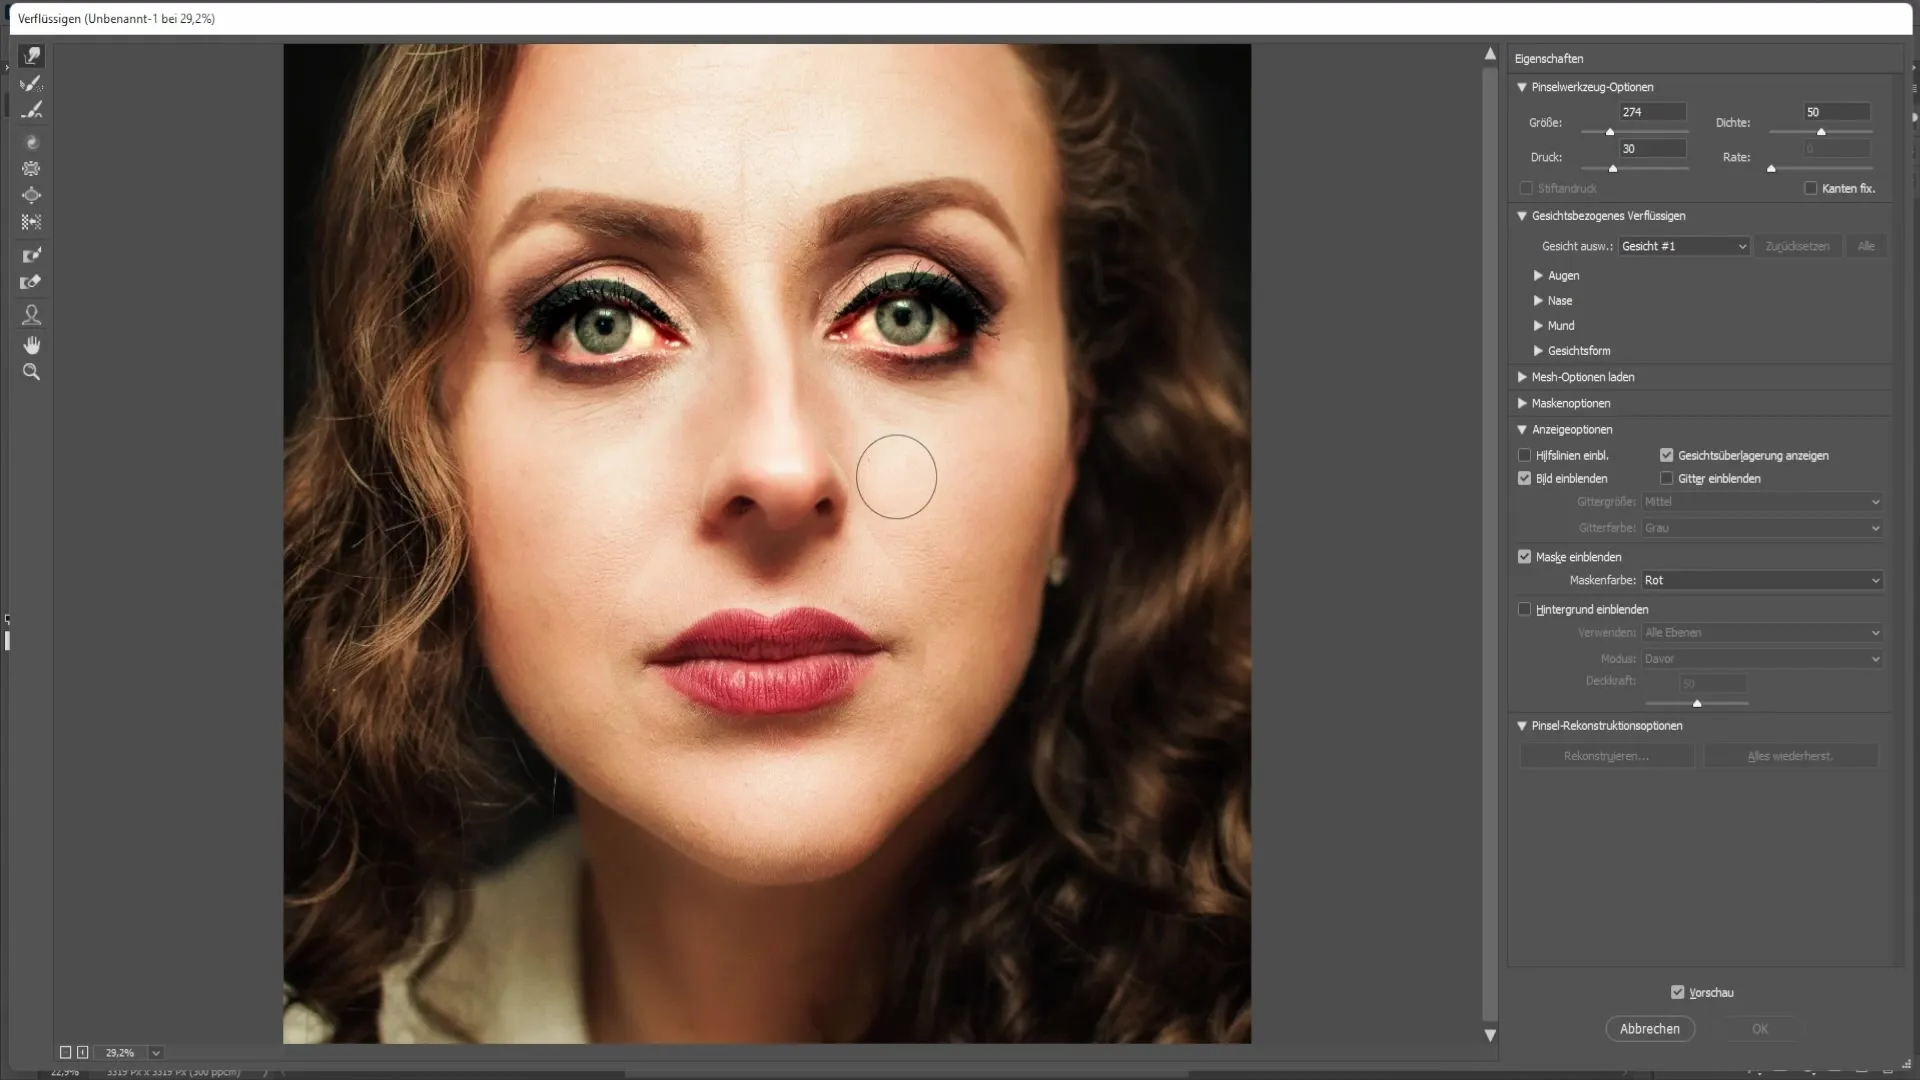
Now move to the left side of the nose and carefully bring the image closer together. The goal is to make both the left and right sides look more even without appearing squashed.
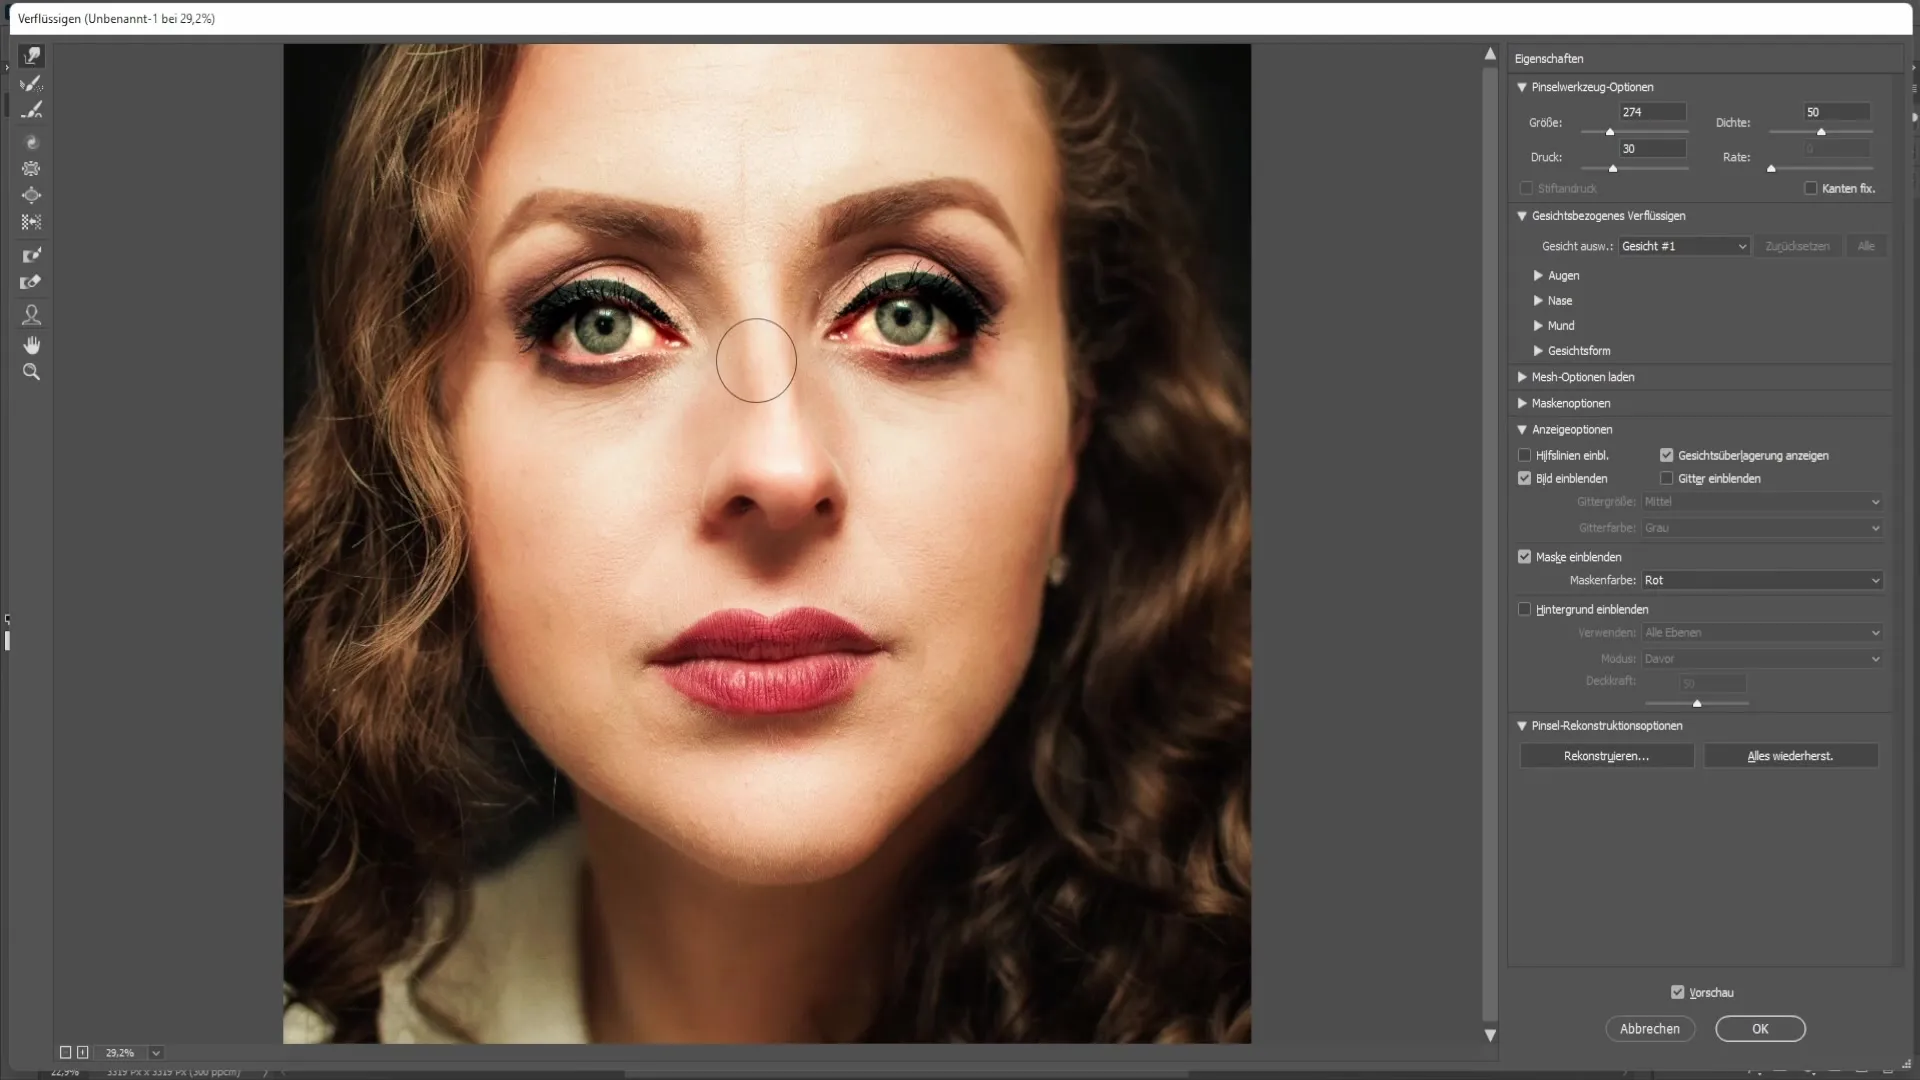
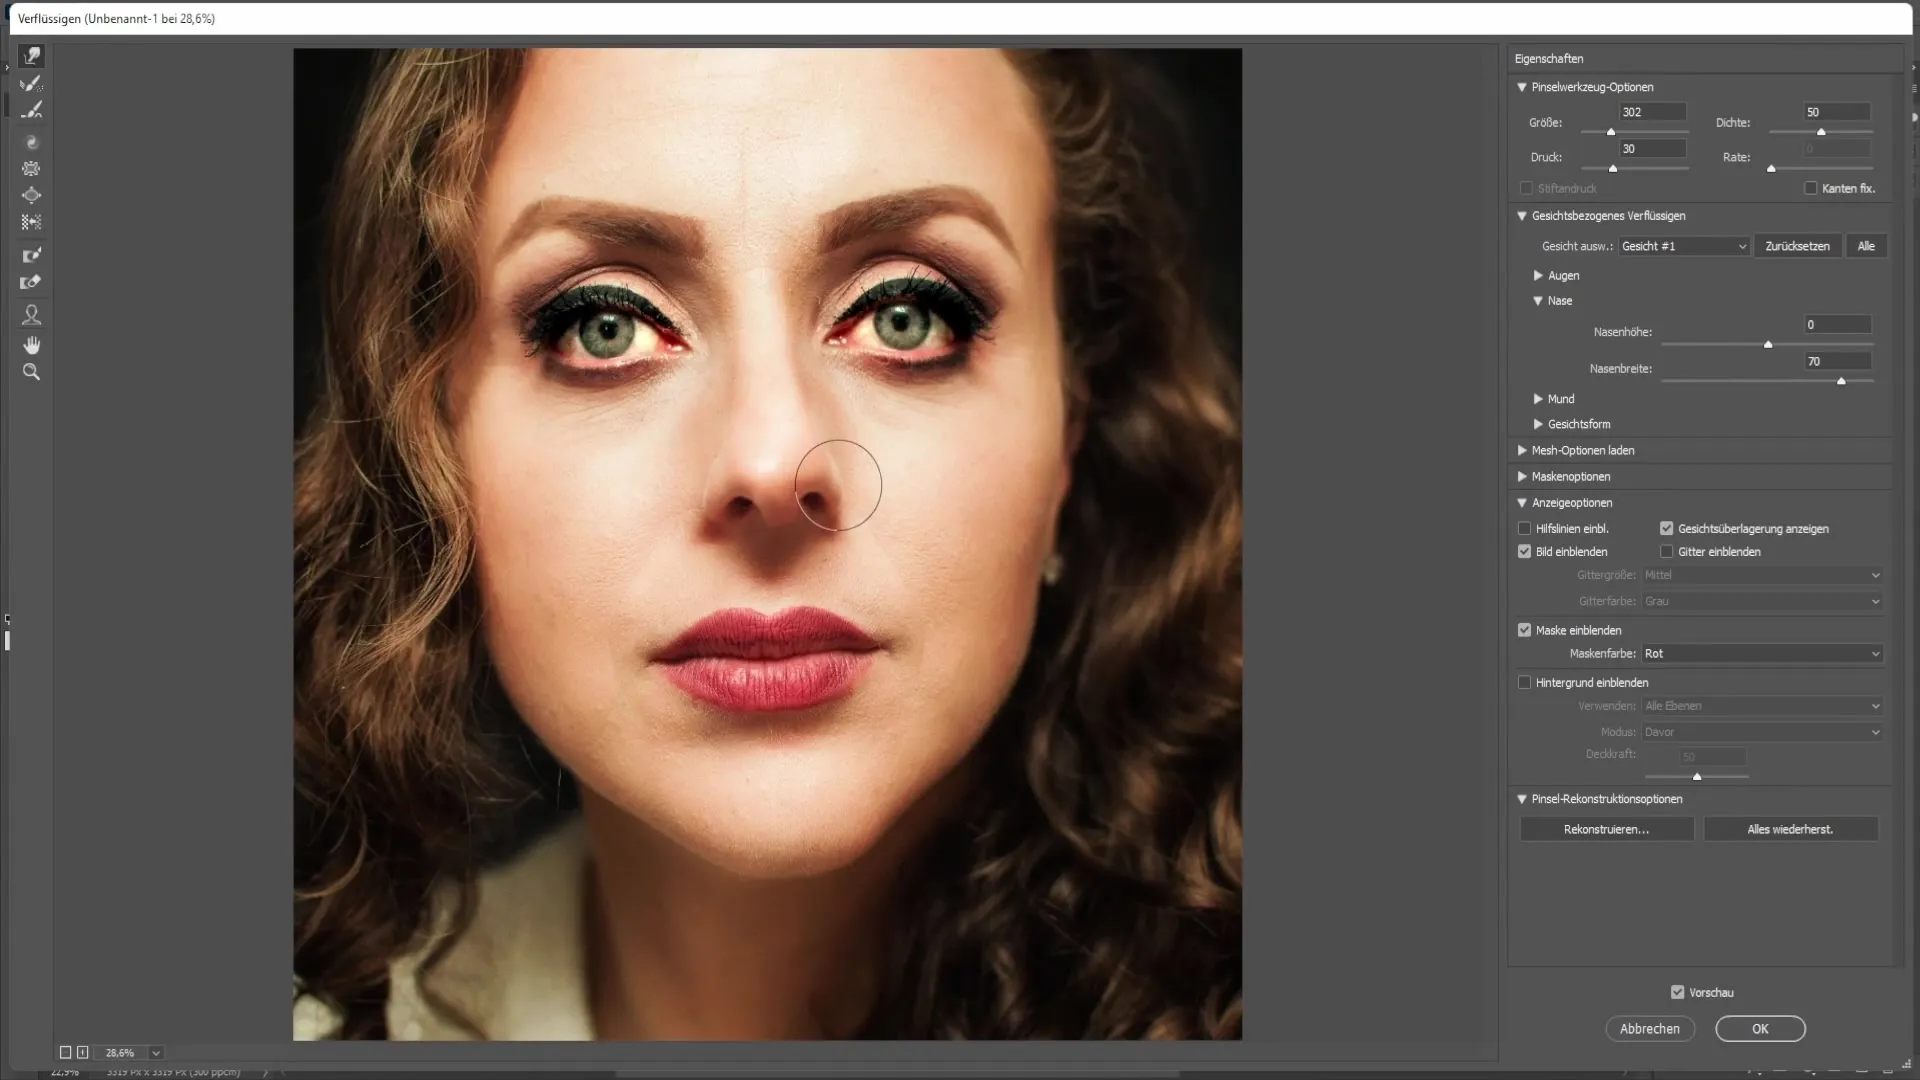
Then move across the entire nose, making sure the nostrils are evenly shaped. A small detail can make a big difference; hence, it is crucial that both nostrils are symmetrical.
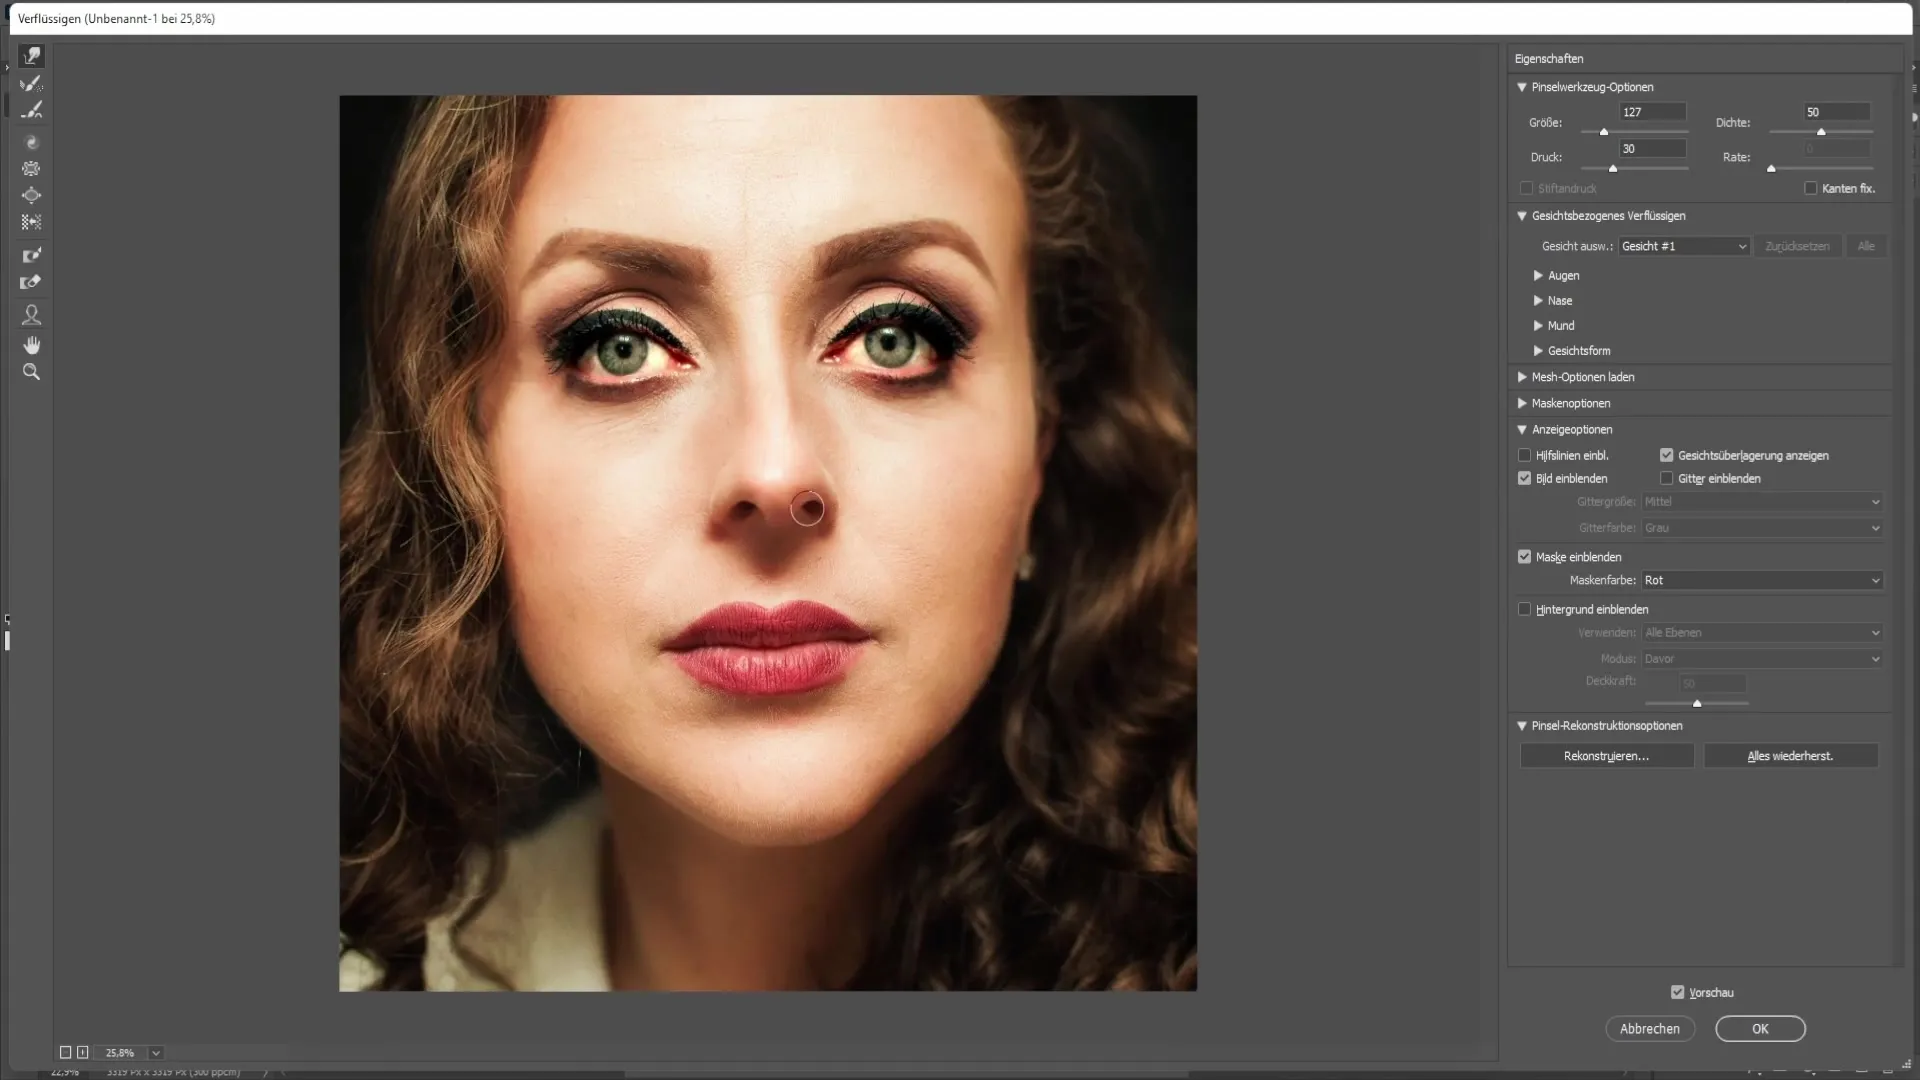
Once you have adjusted the nose to your liking, you can make fine-tuning adjustments. Use the Alt key and right-click to decrease the brush size for editing smaller areas. Regularly check how the changes affect the overall view.
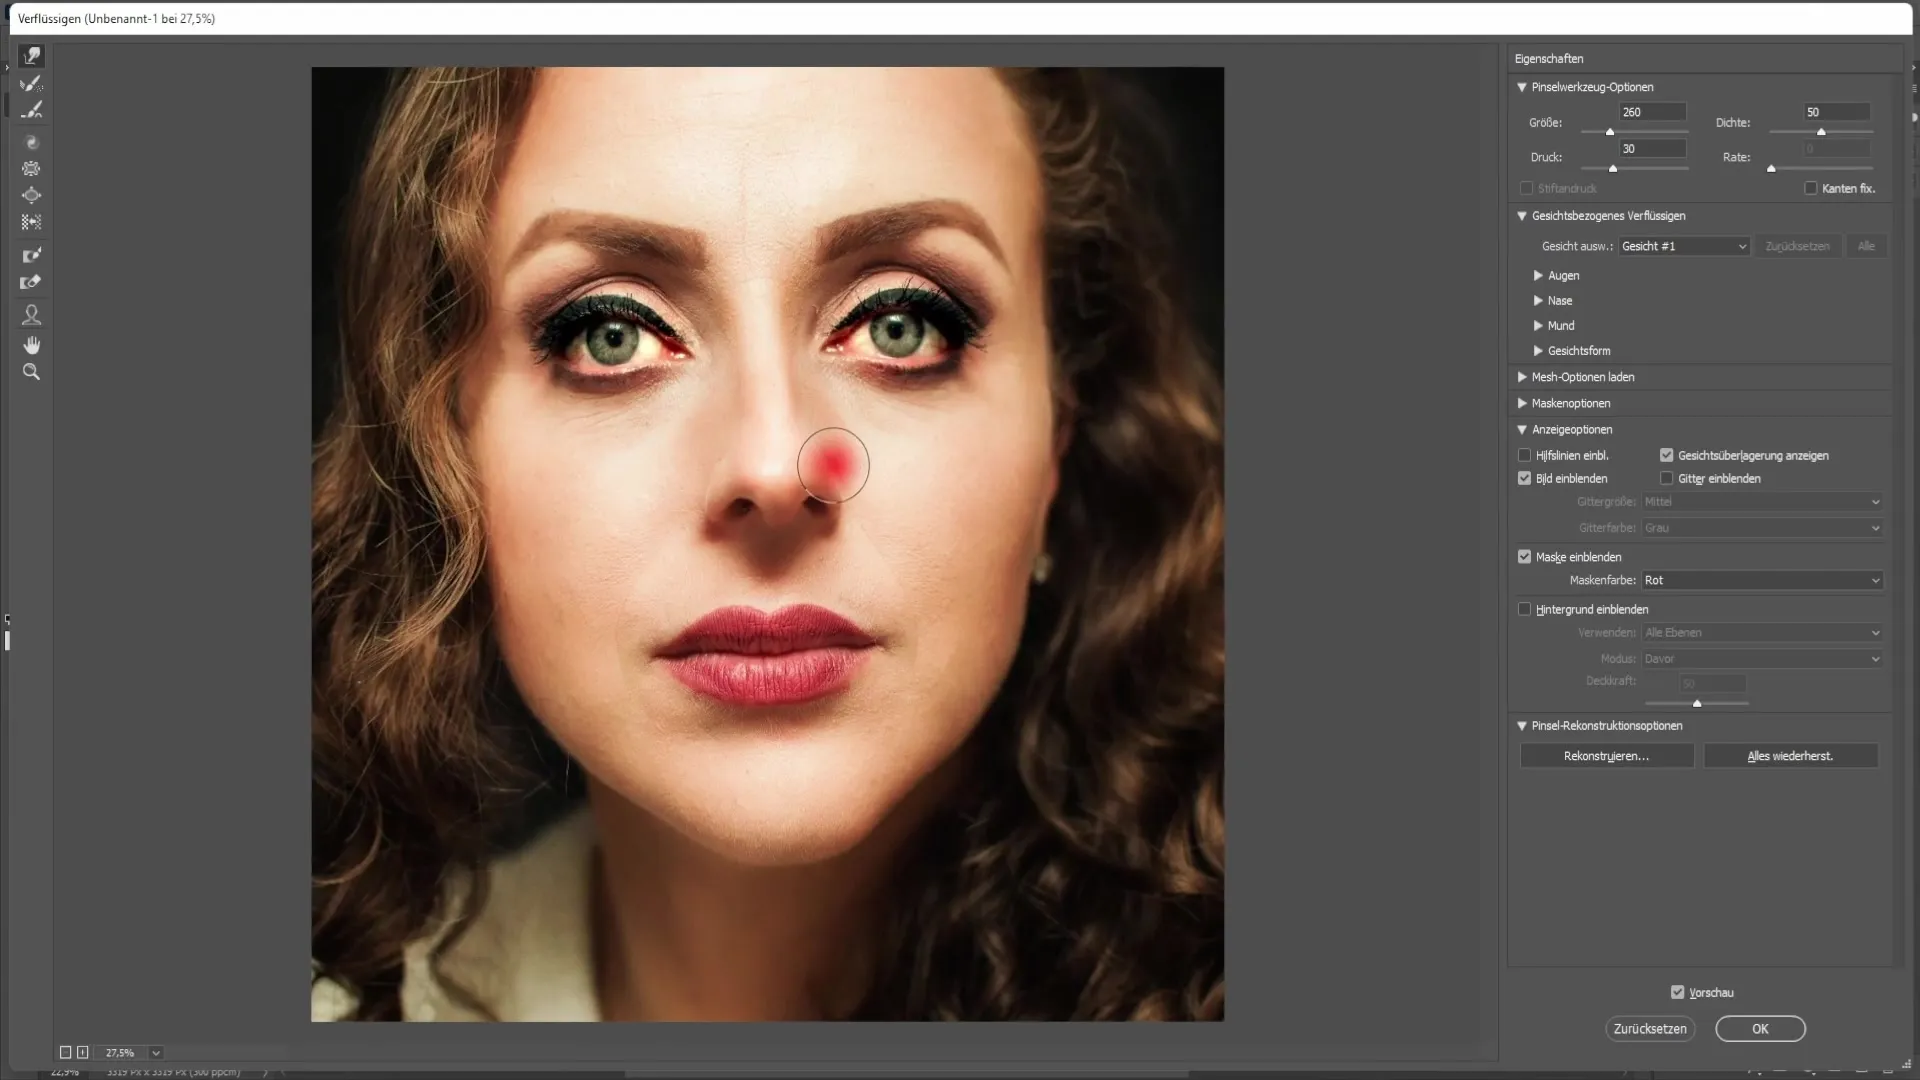
After making all the desired adjustments, click "OK" to save the changes. You will notice how much more harmonious the image looks now with the corrected nose.
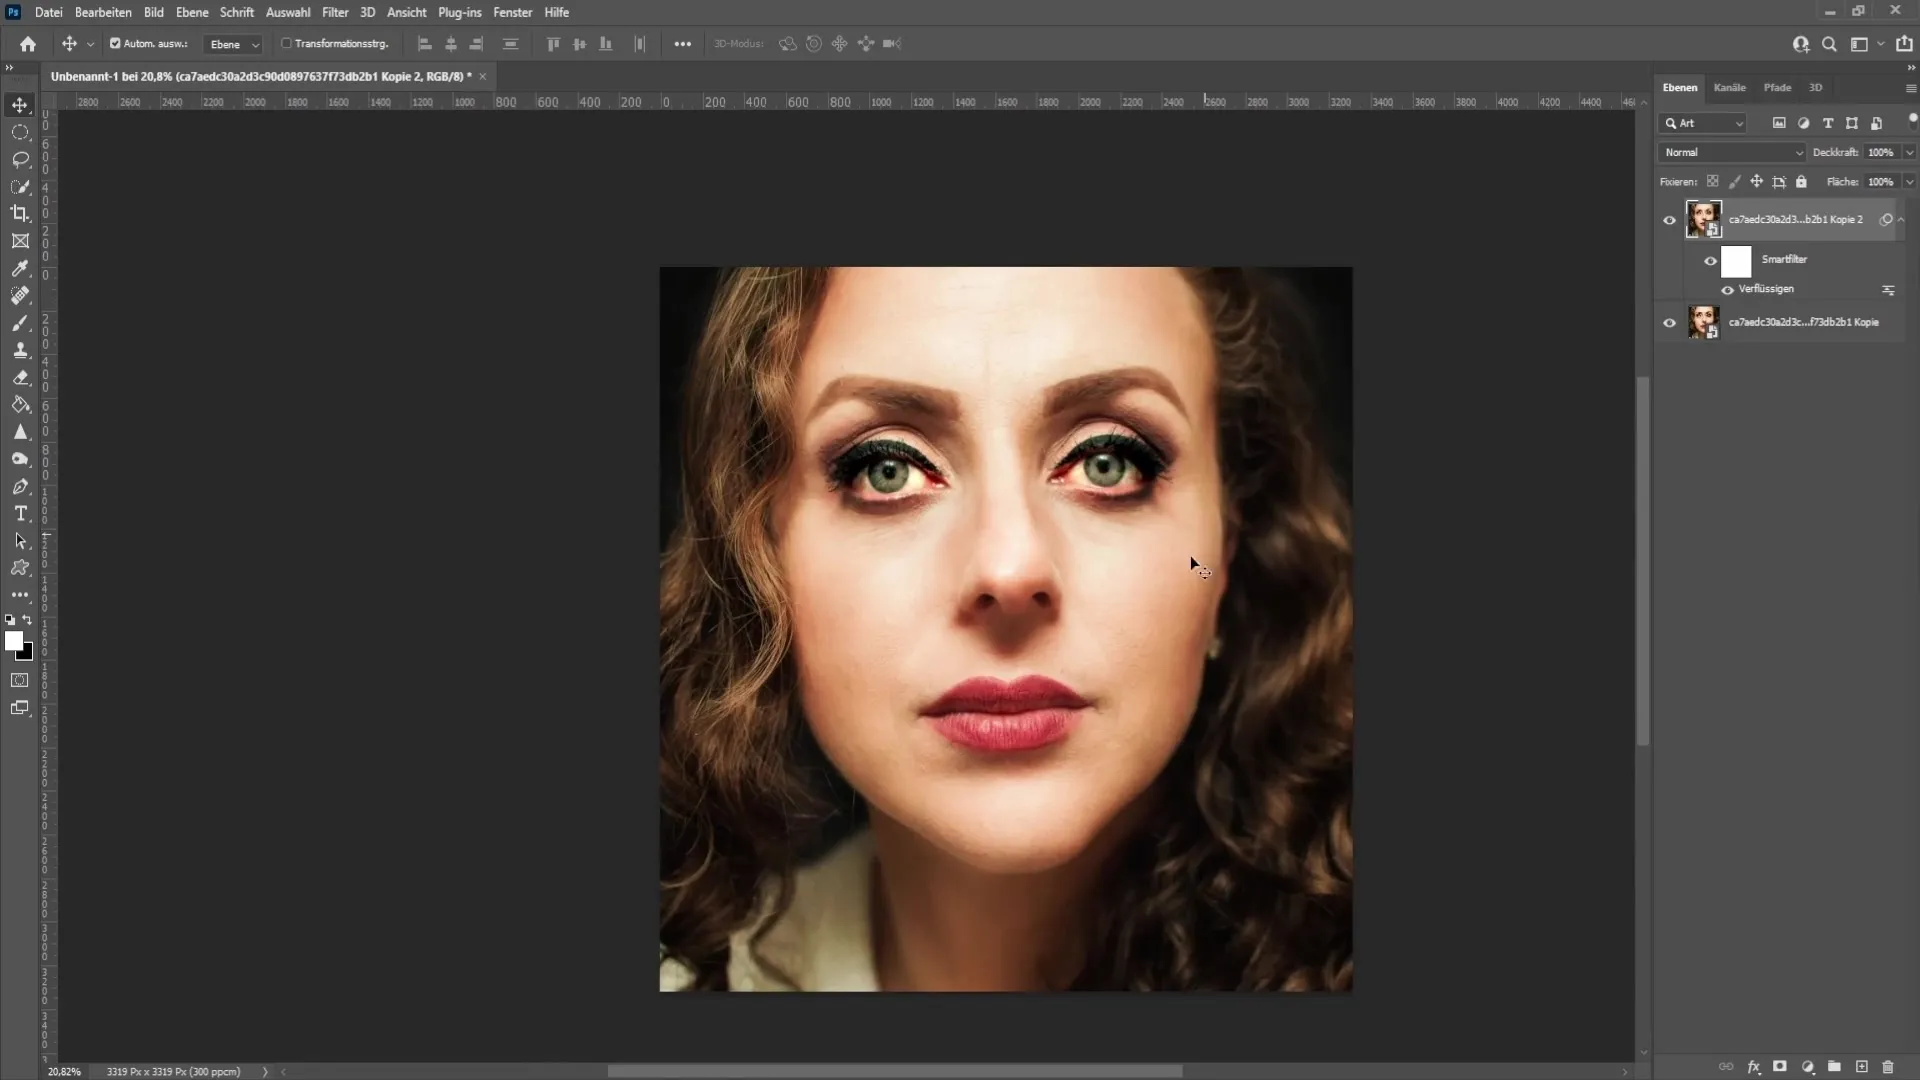
If you realize afterwards that you may have over-corrected or that small areas are not quite right, you can always return to the Liquify filter by double-clicking on it and make further adjustments.
Summary - Correcting a Crooked Nose in Photoshop
In this tutorial, you learned how to effectively correct a crooked nose in Photoshop. The use of Smart Objects, understanding the Liquify filter, and careful work with the Forward Warp tool are the keys to achieving a natural result. Take your time during editing to achieve the best possible outcome.
Frequently Asked Questions
How can I make sure I'm using a Smart Object in Photoshop?Right-click on the layer and choose "Convert to Smart Object".
What should I do if I am unhappy with the result?You can always return to editing mode by double-clicking on the Liquify filter.
How can I adjust the brush size in the Liquify filter?Hold down the Alt key and right-click to adjust the brush size.


