In this guide, I will show you how to easily create a T-shirt mockup in Photoshop. Whether you are a designer, an artist, or simply someone who wants to present their designs realistically - with the right techniques, you can create impressive mockups. We will go through the necessary steps together, from design to integration on the T-shirt, and I will give you tips to optimize your result.
Key Takeaways
You will learn how to apply a design to a T-shirt, adjust the color, and create a realistic mockup. You will also find out where you can find free mockups.
Step-by-step Guide
To create your T-shirt mockup, first open Photoshop and load your chosen design as well as the T-shirt mockup.
1. Prepare and Transform Design
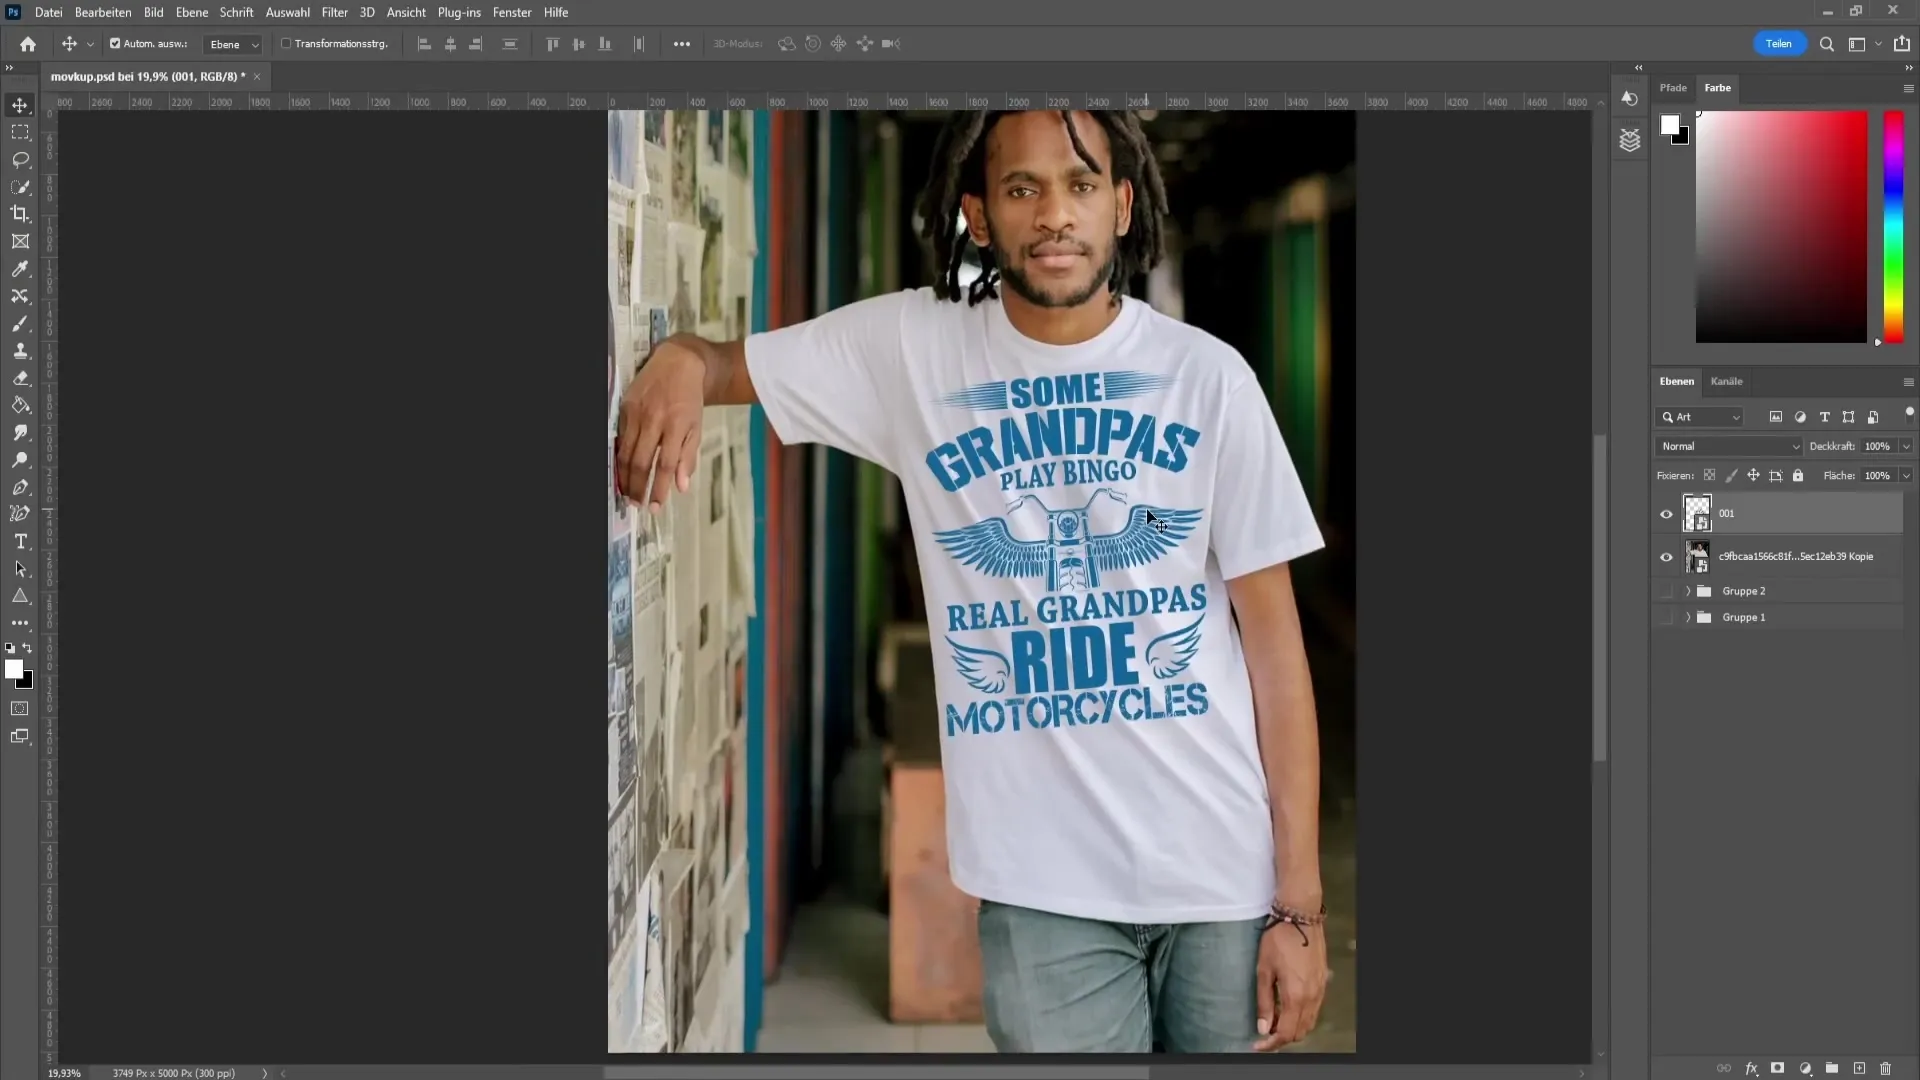
Start by opening your design in Photoshop. You need to adjust the design with Ctrl + T (Transform) to fit it on the T-shirt. Make sure to tilt the design slightly to make it look natural, as the T-shirt is slanted.
Resize the design and position it where you want it on the T-shirt. You can use the arrow keys for more precise placement.
2. Select T-shirt
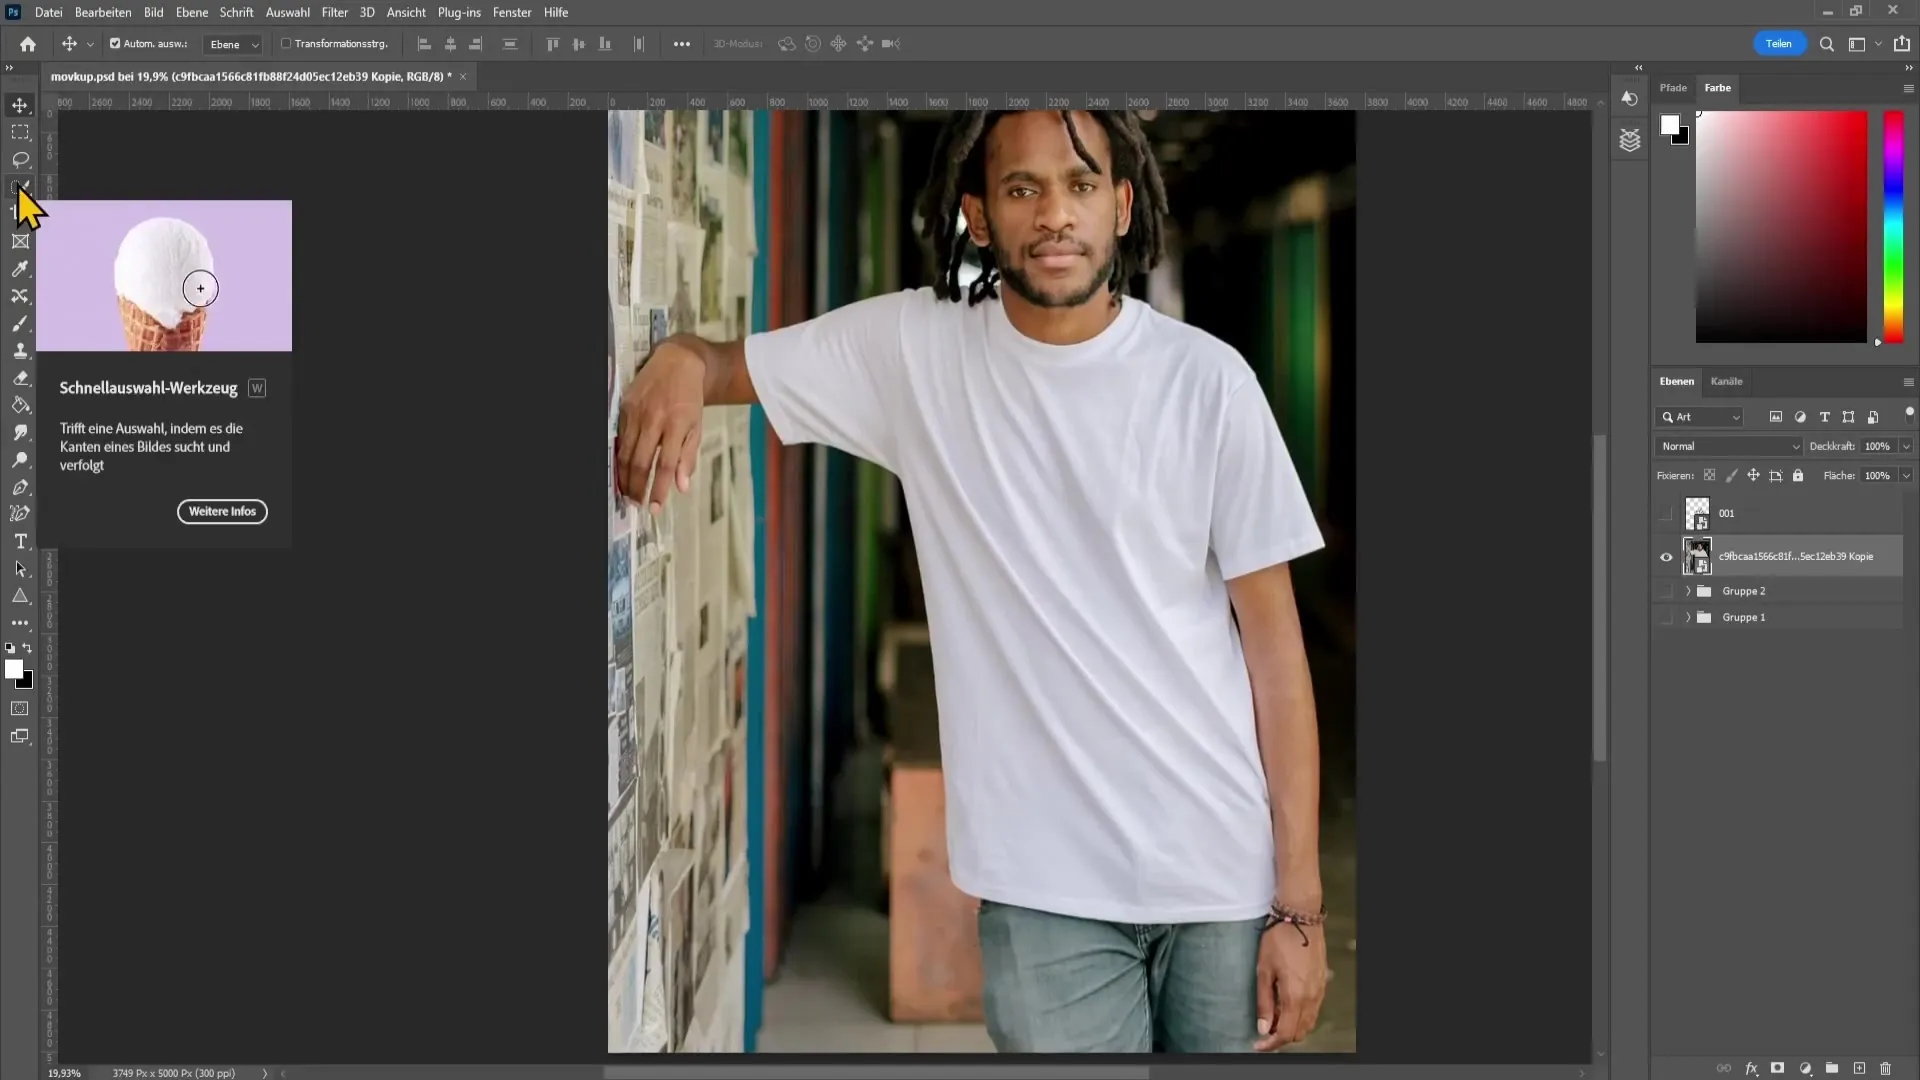
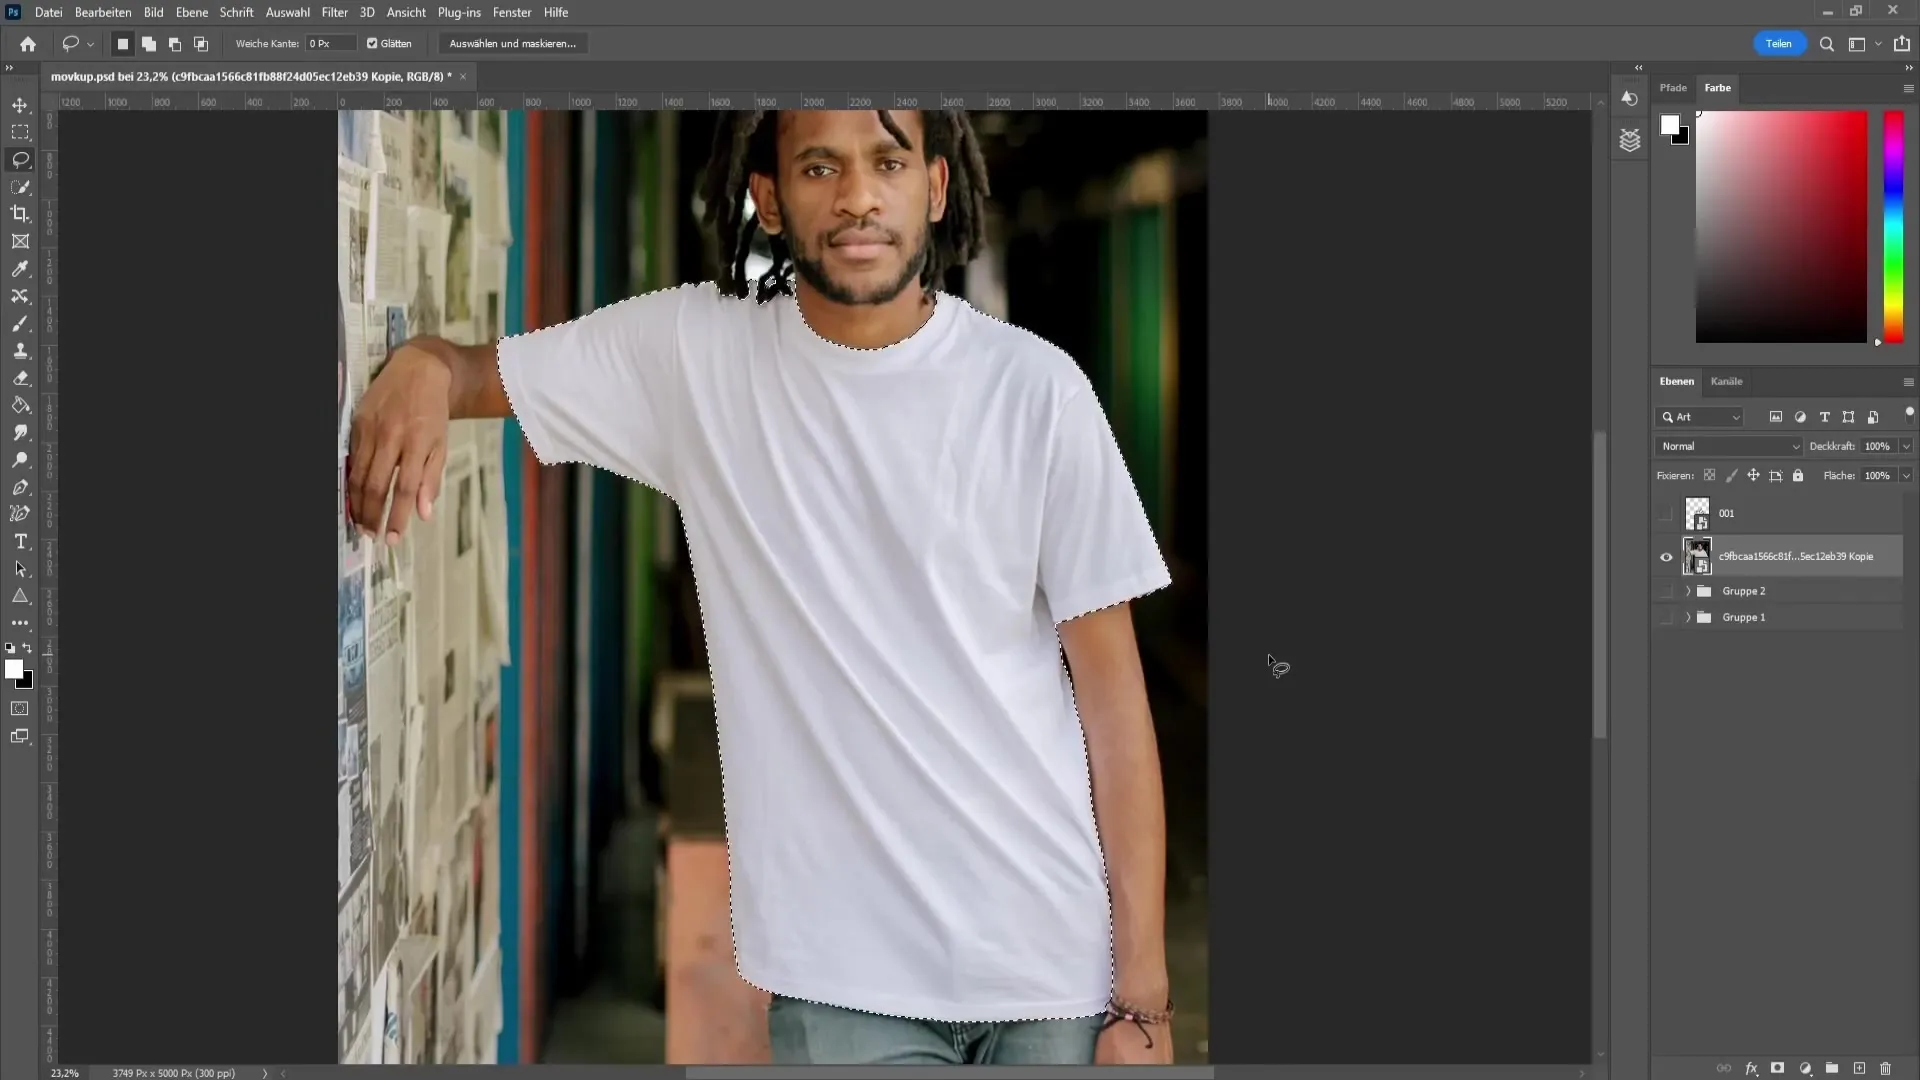
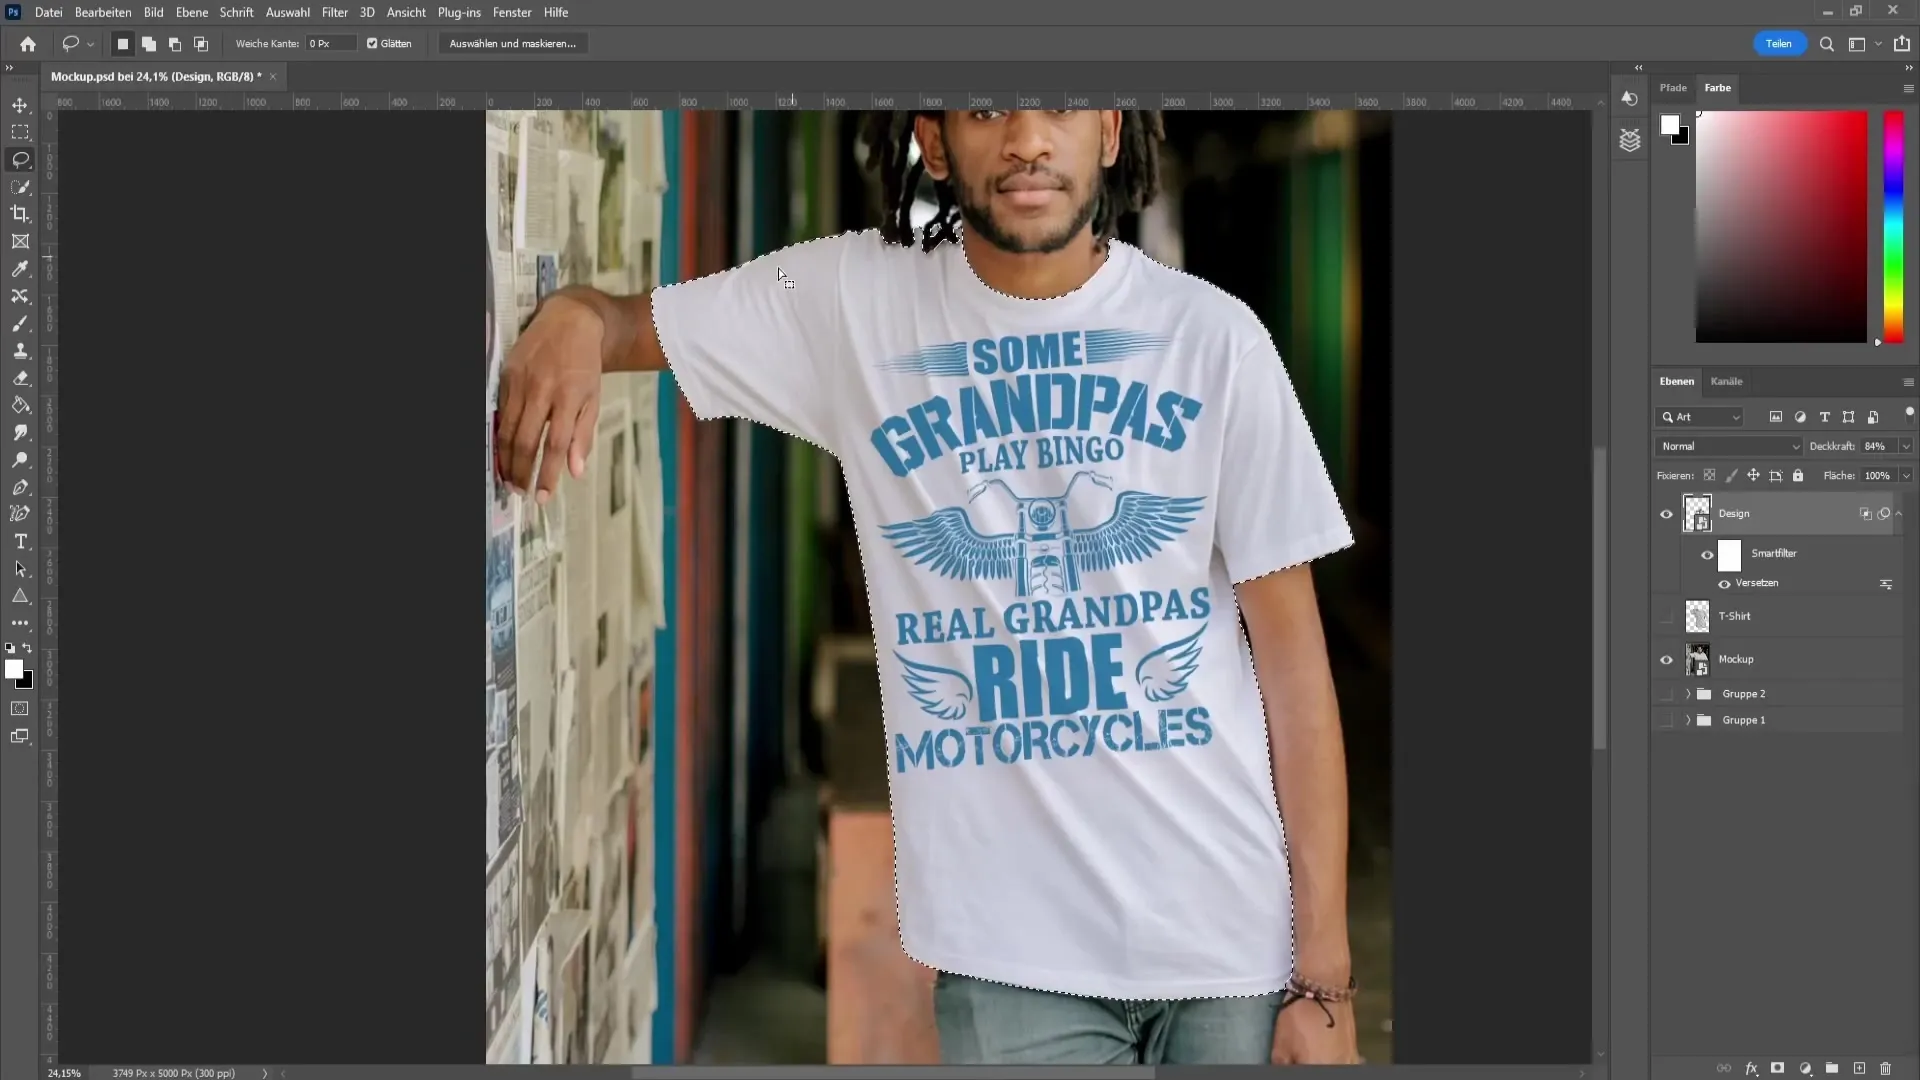
Hide the design and select the T-shirt using the Quick Selection tool (found on the left side of the toolbar). Hover over the areas of the T-shirt to create a selection. Zoom in if necessary for more precise work.
3. Refine Selection
If the selection is not perfect, use the Lasso tool to adjust parts of the selection. Hold the Alt key while subtracting unwanted areas and the Shift key to add more areas.
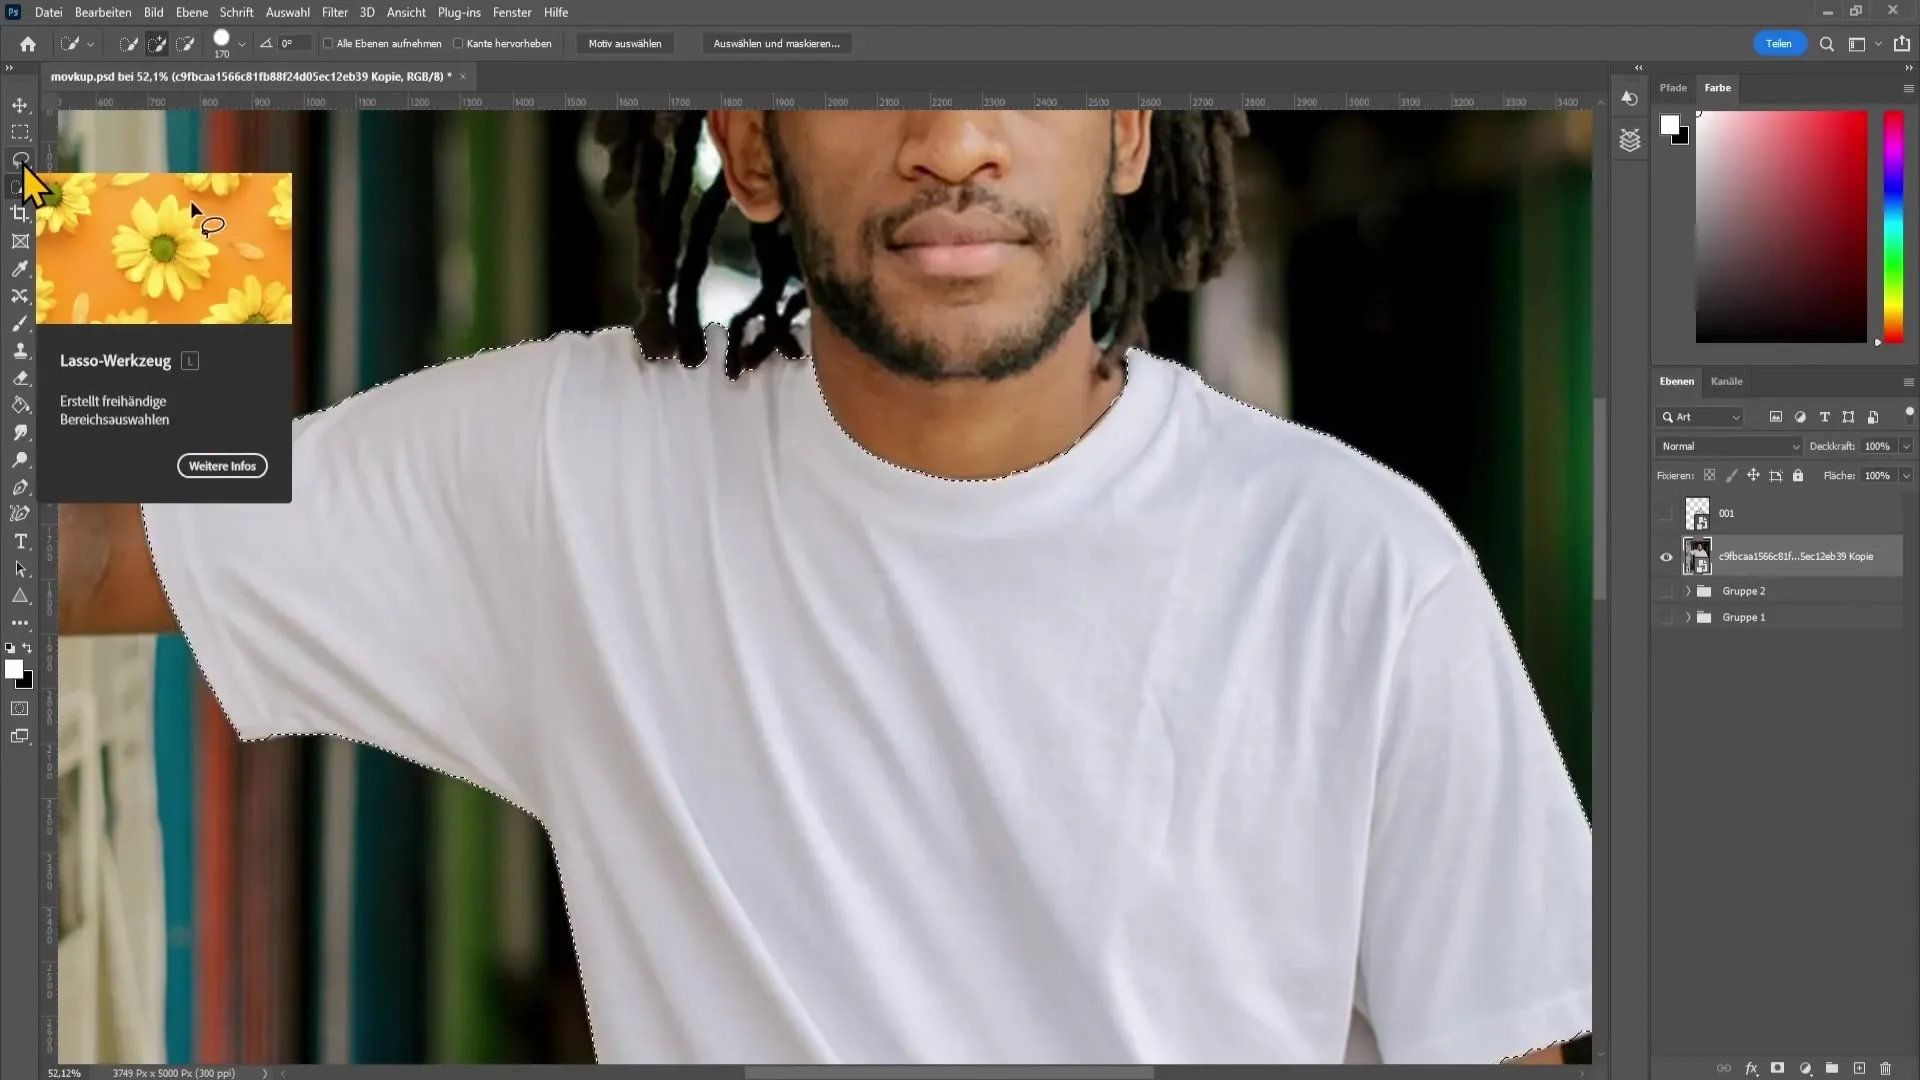
After refining the selection, copy it to a new layer by pressing Ctrl + J. This way, you will have the T-shirt on a separate layer.
4. Apply Tone Correction
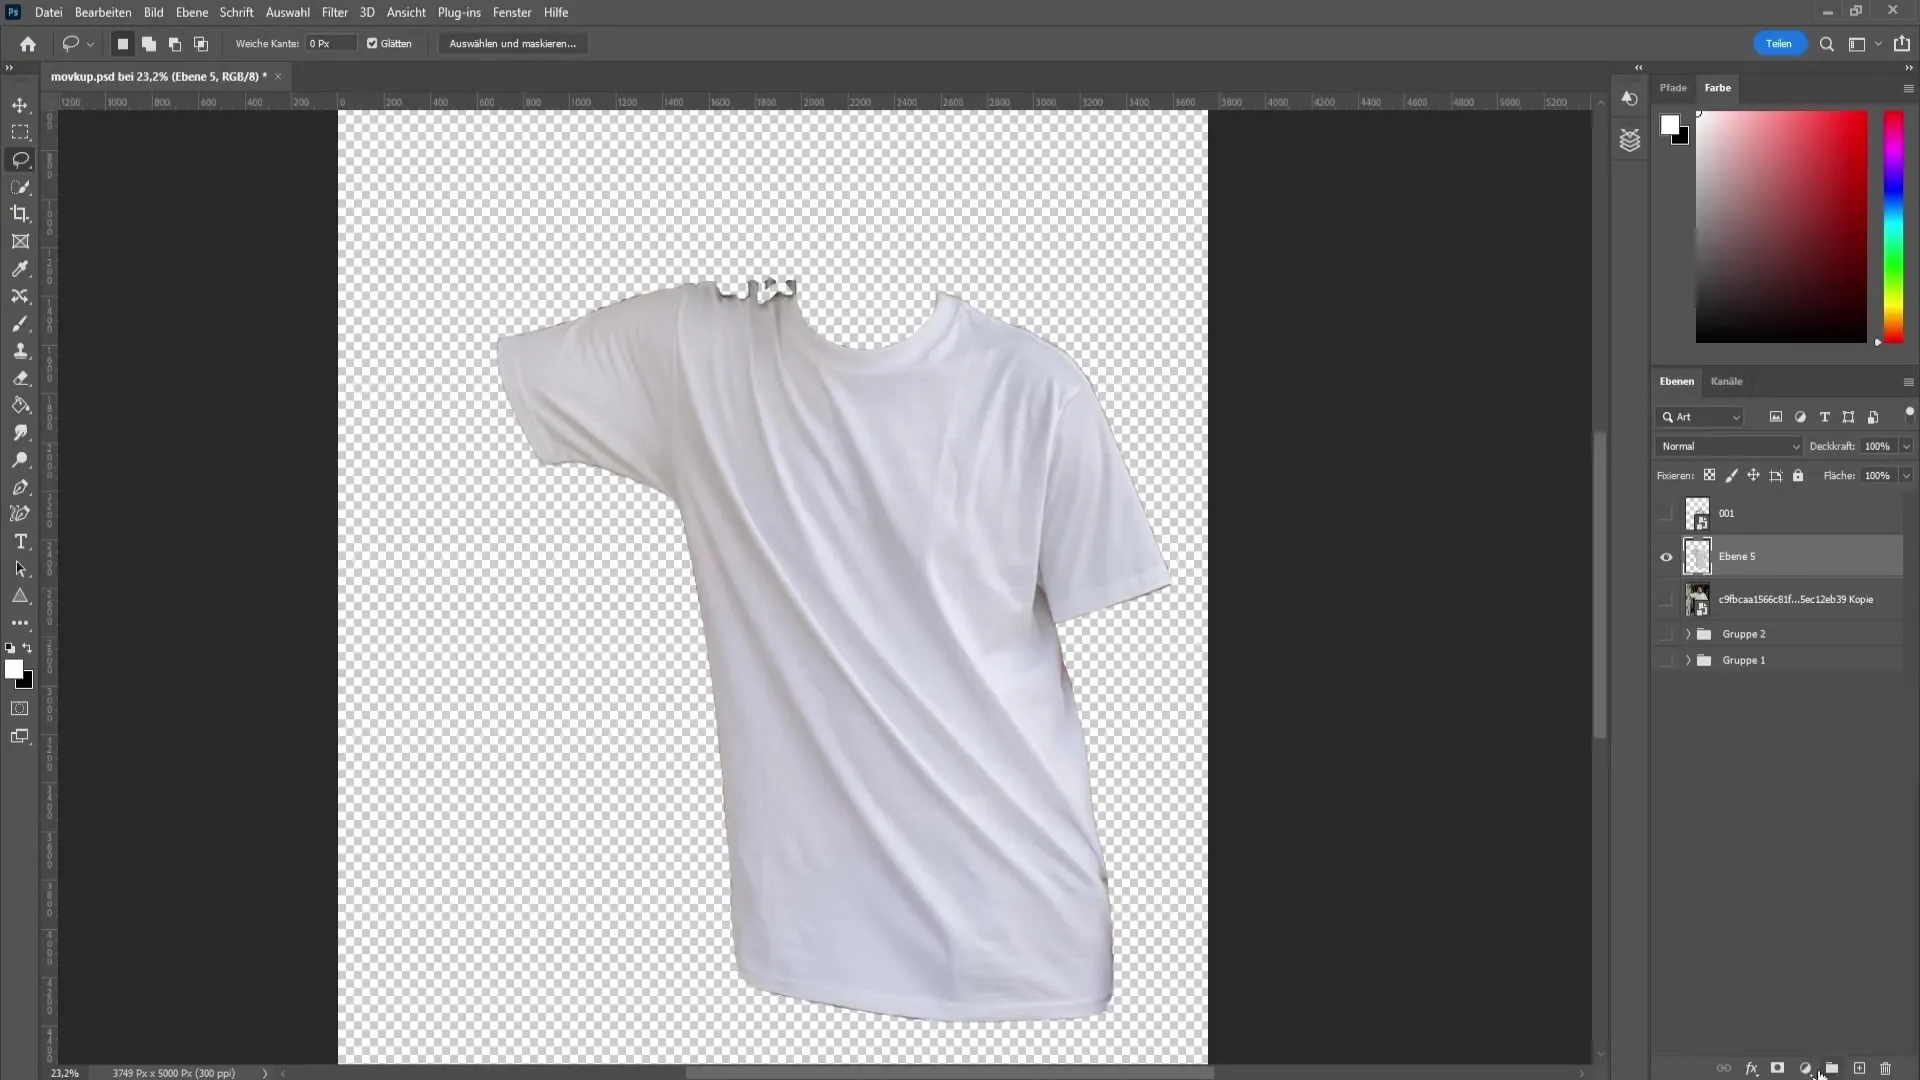
Now hide the image and go to adjustments to apply tone correction. Here, you can adjust the sliders for shadows and highlights to create more contrast, contributing to the realism of the mockup.
5. Merge Layers
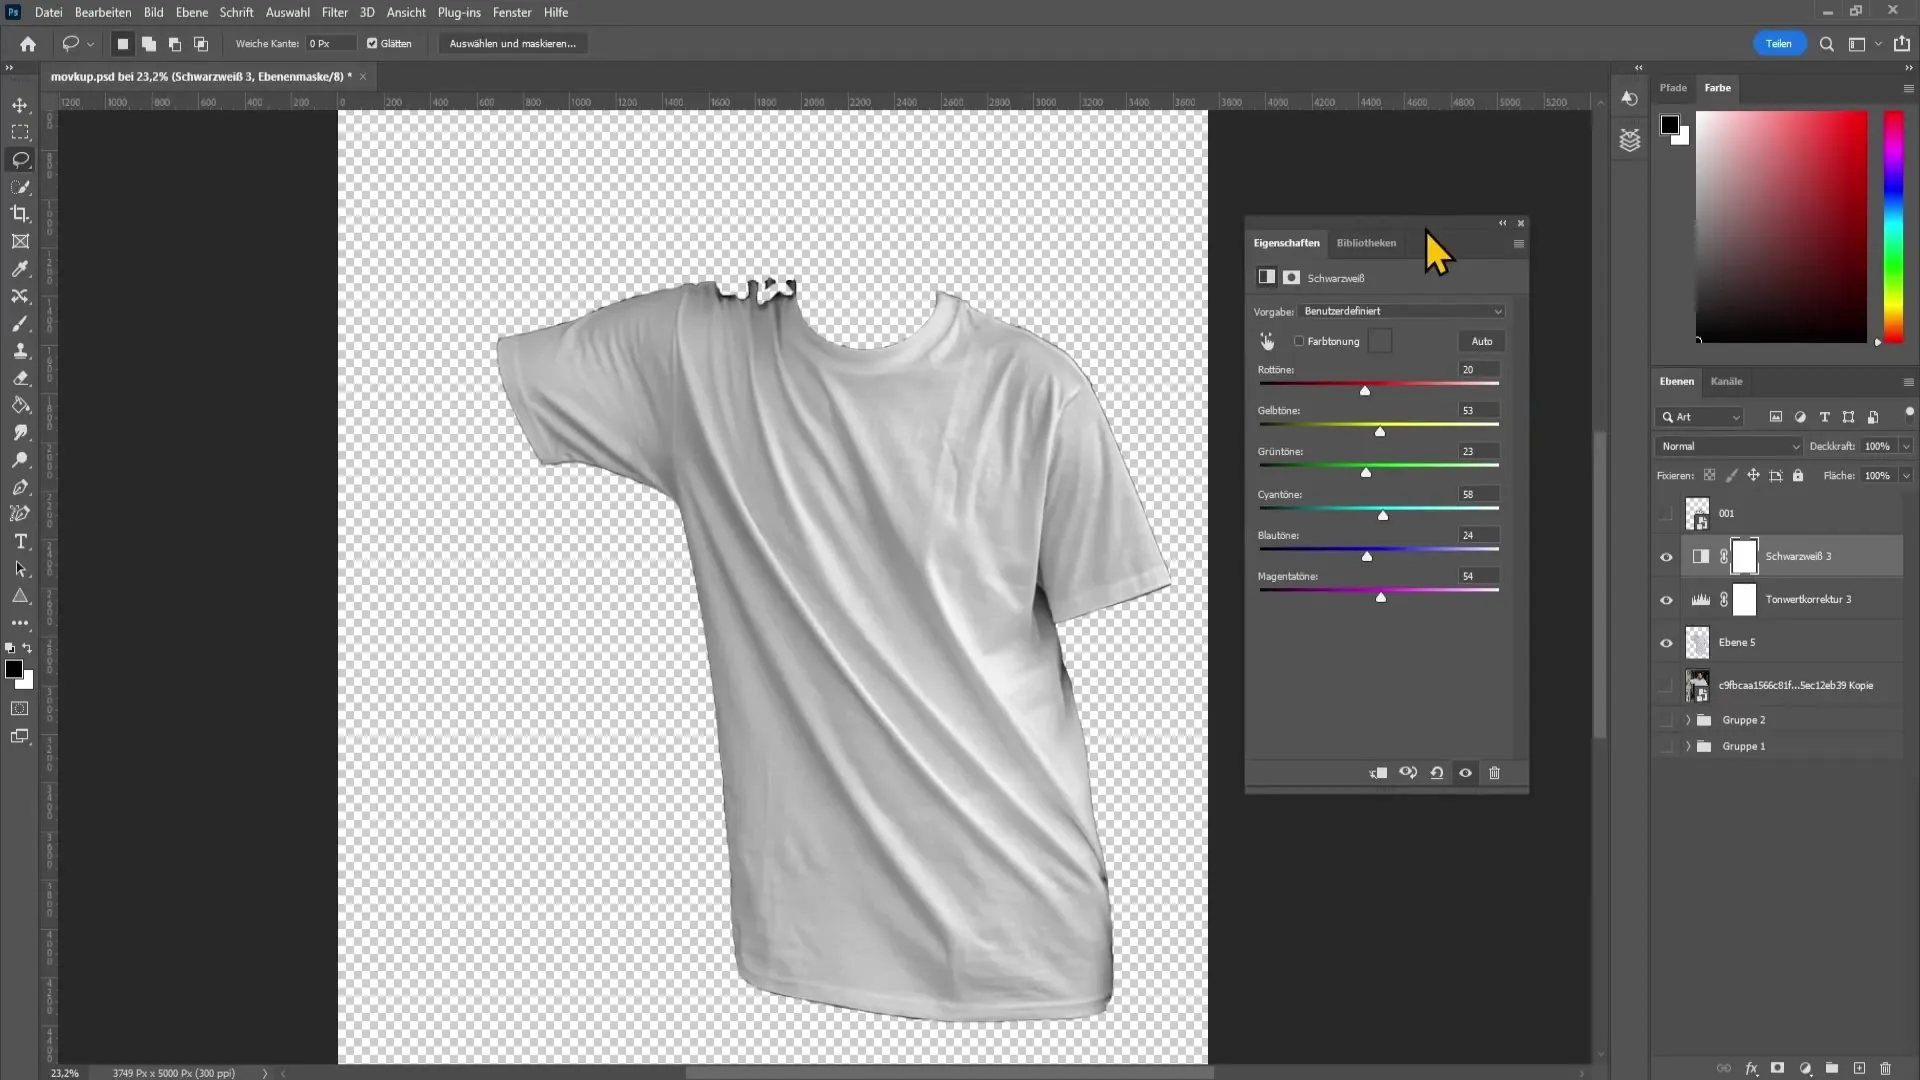
You can merge the three layers you created. Use the shortcut Ctrl + Alt + Shift + E to create a new layer that consolidates all previous layers.
6. Name and Save T-shirt
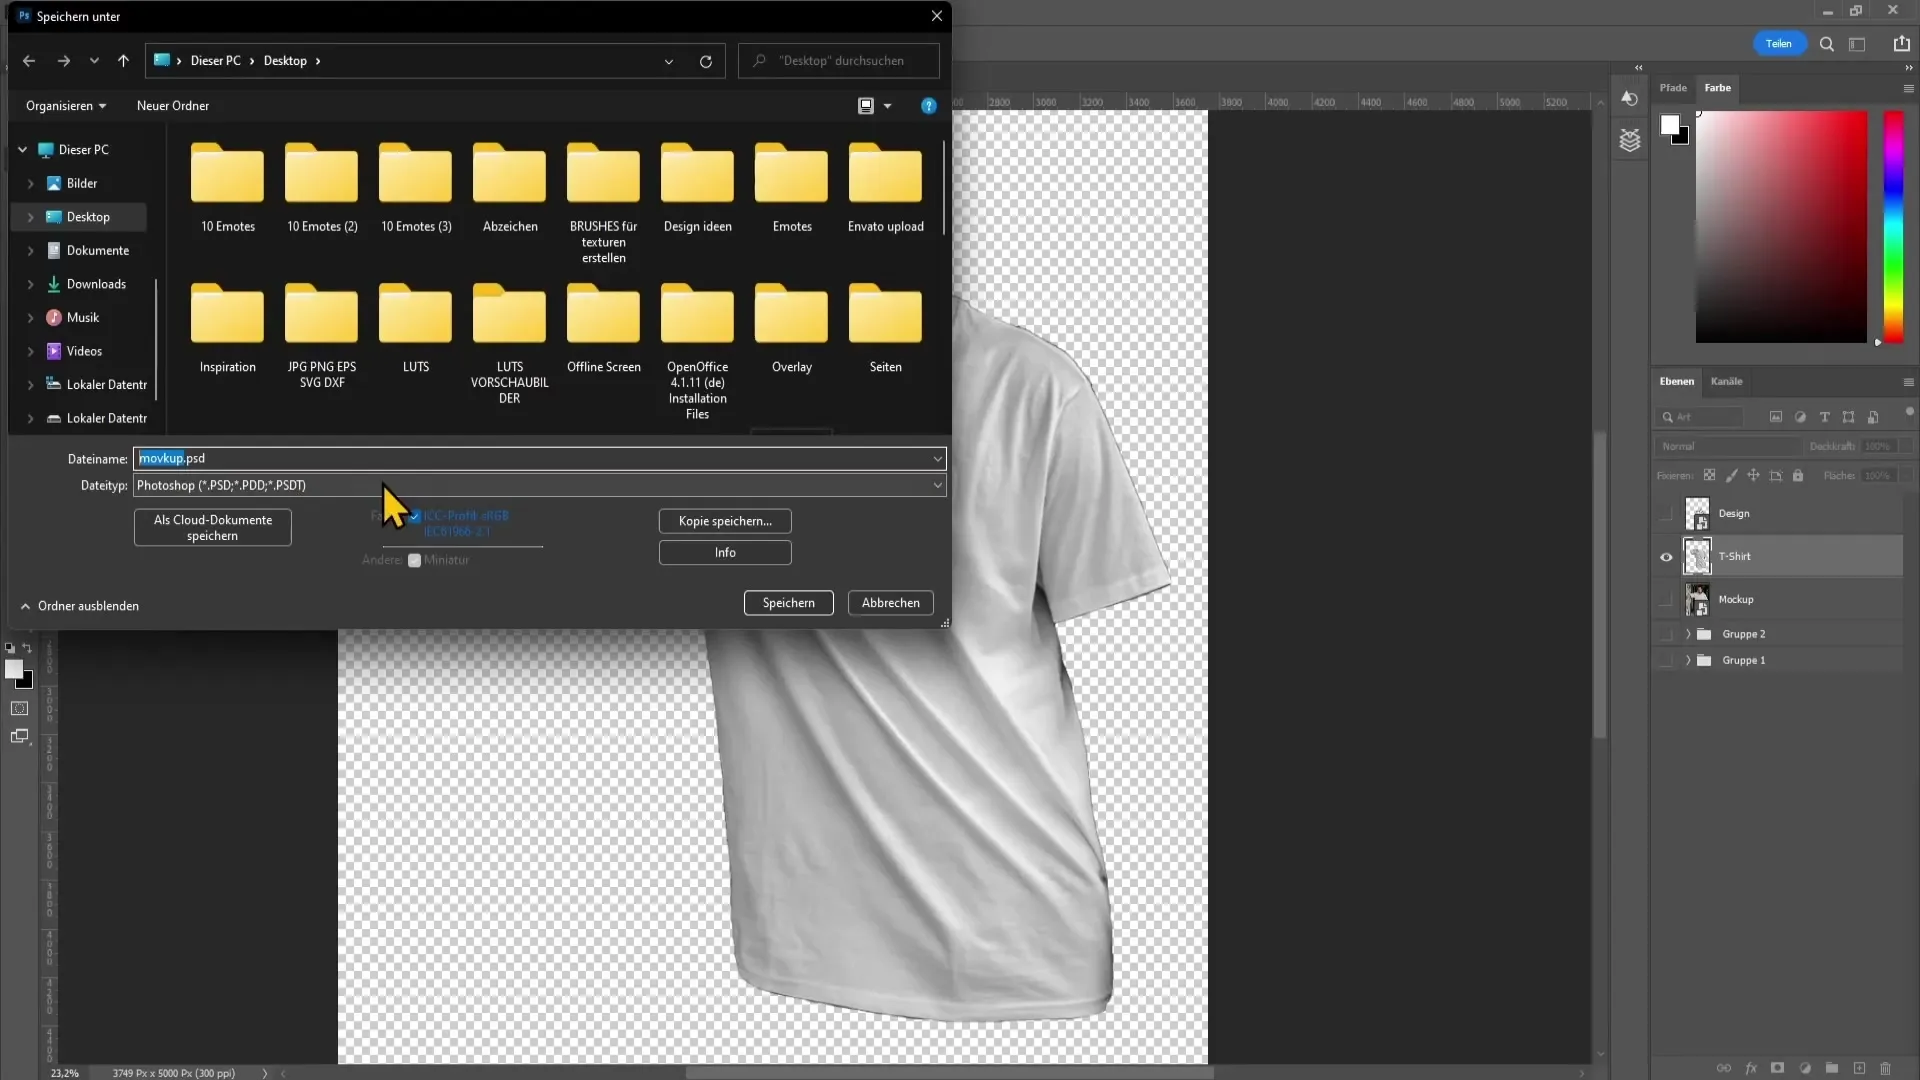
Name the layers such as "T-shirt" and "Design" to increase clarity. Then save the PSD file on your desktop.
7. Save Mockup
You can also save the T-shirt mockup as a PSD file. Hide the T-shirt and show the mockup, then save it with an appropriate name.
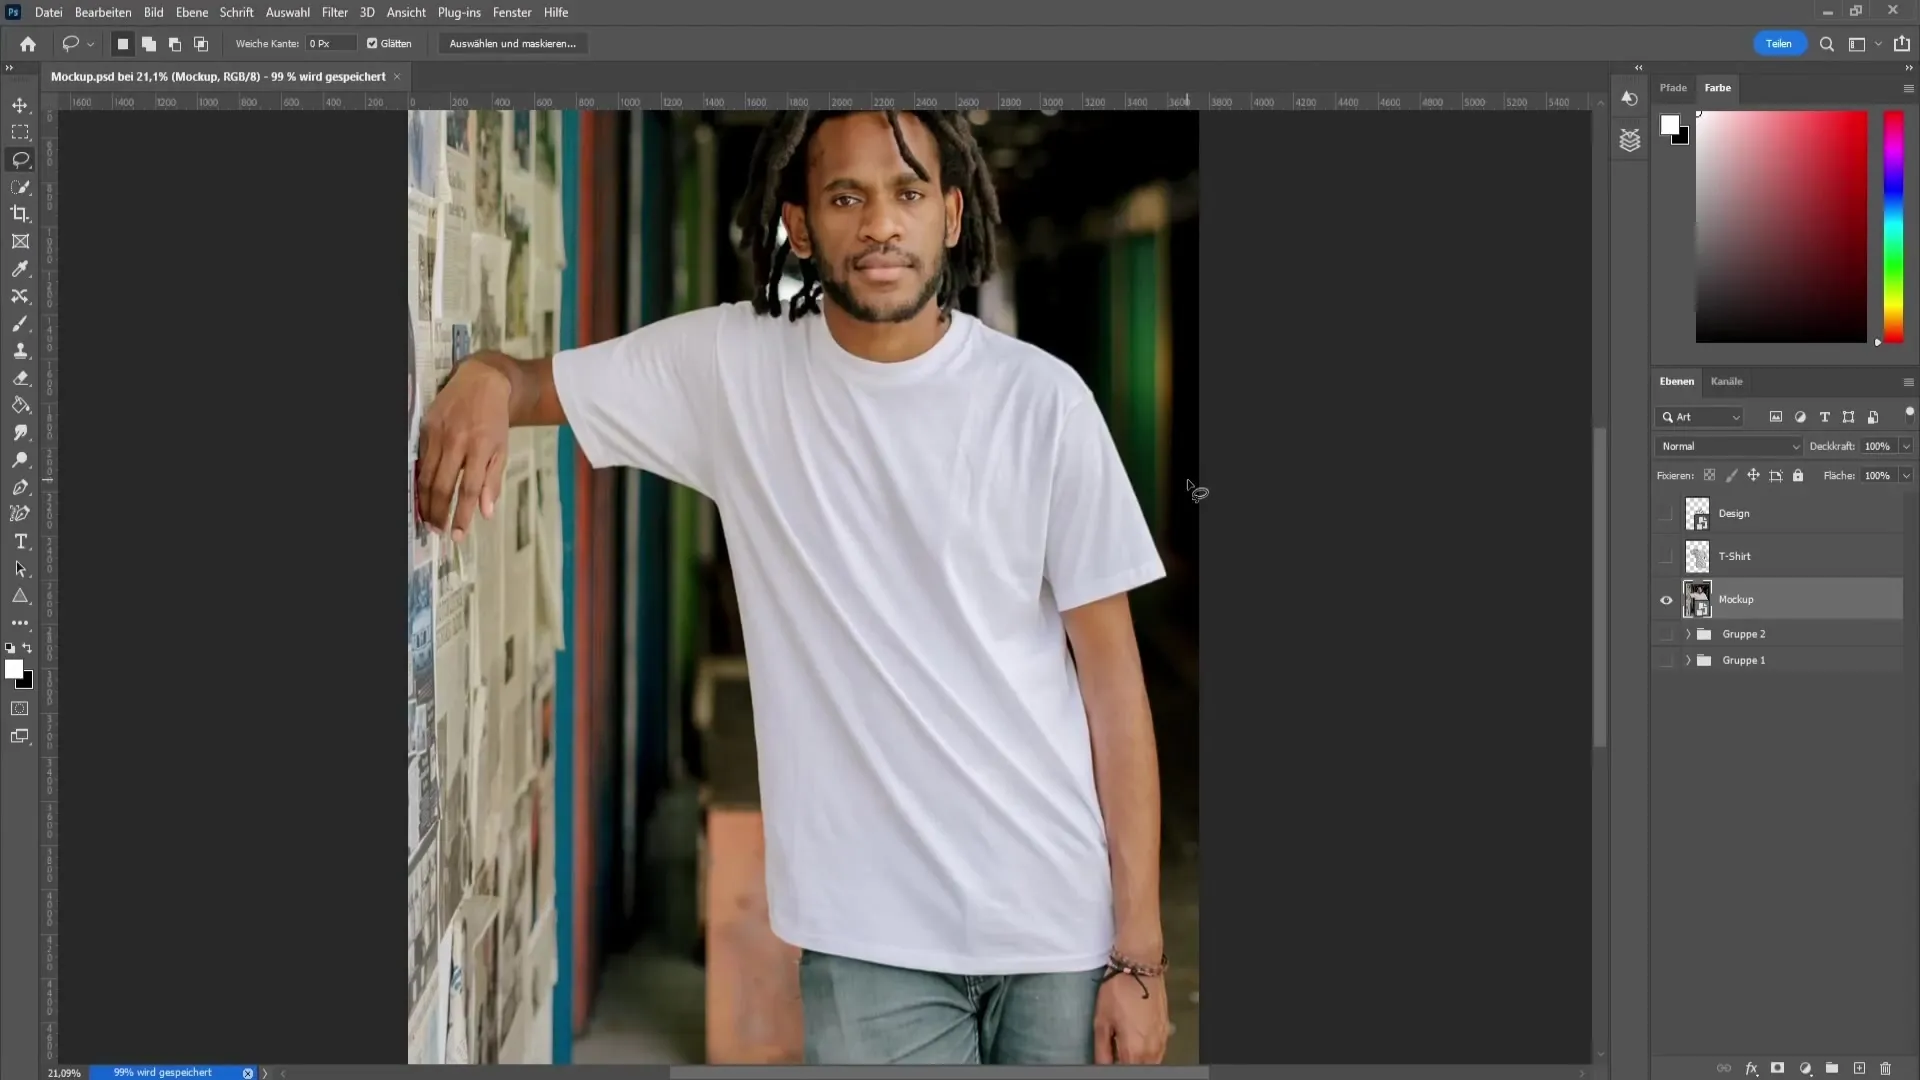
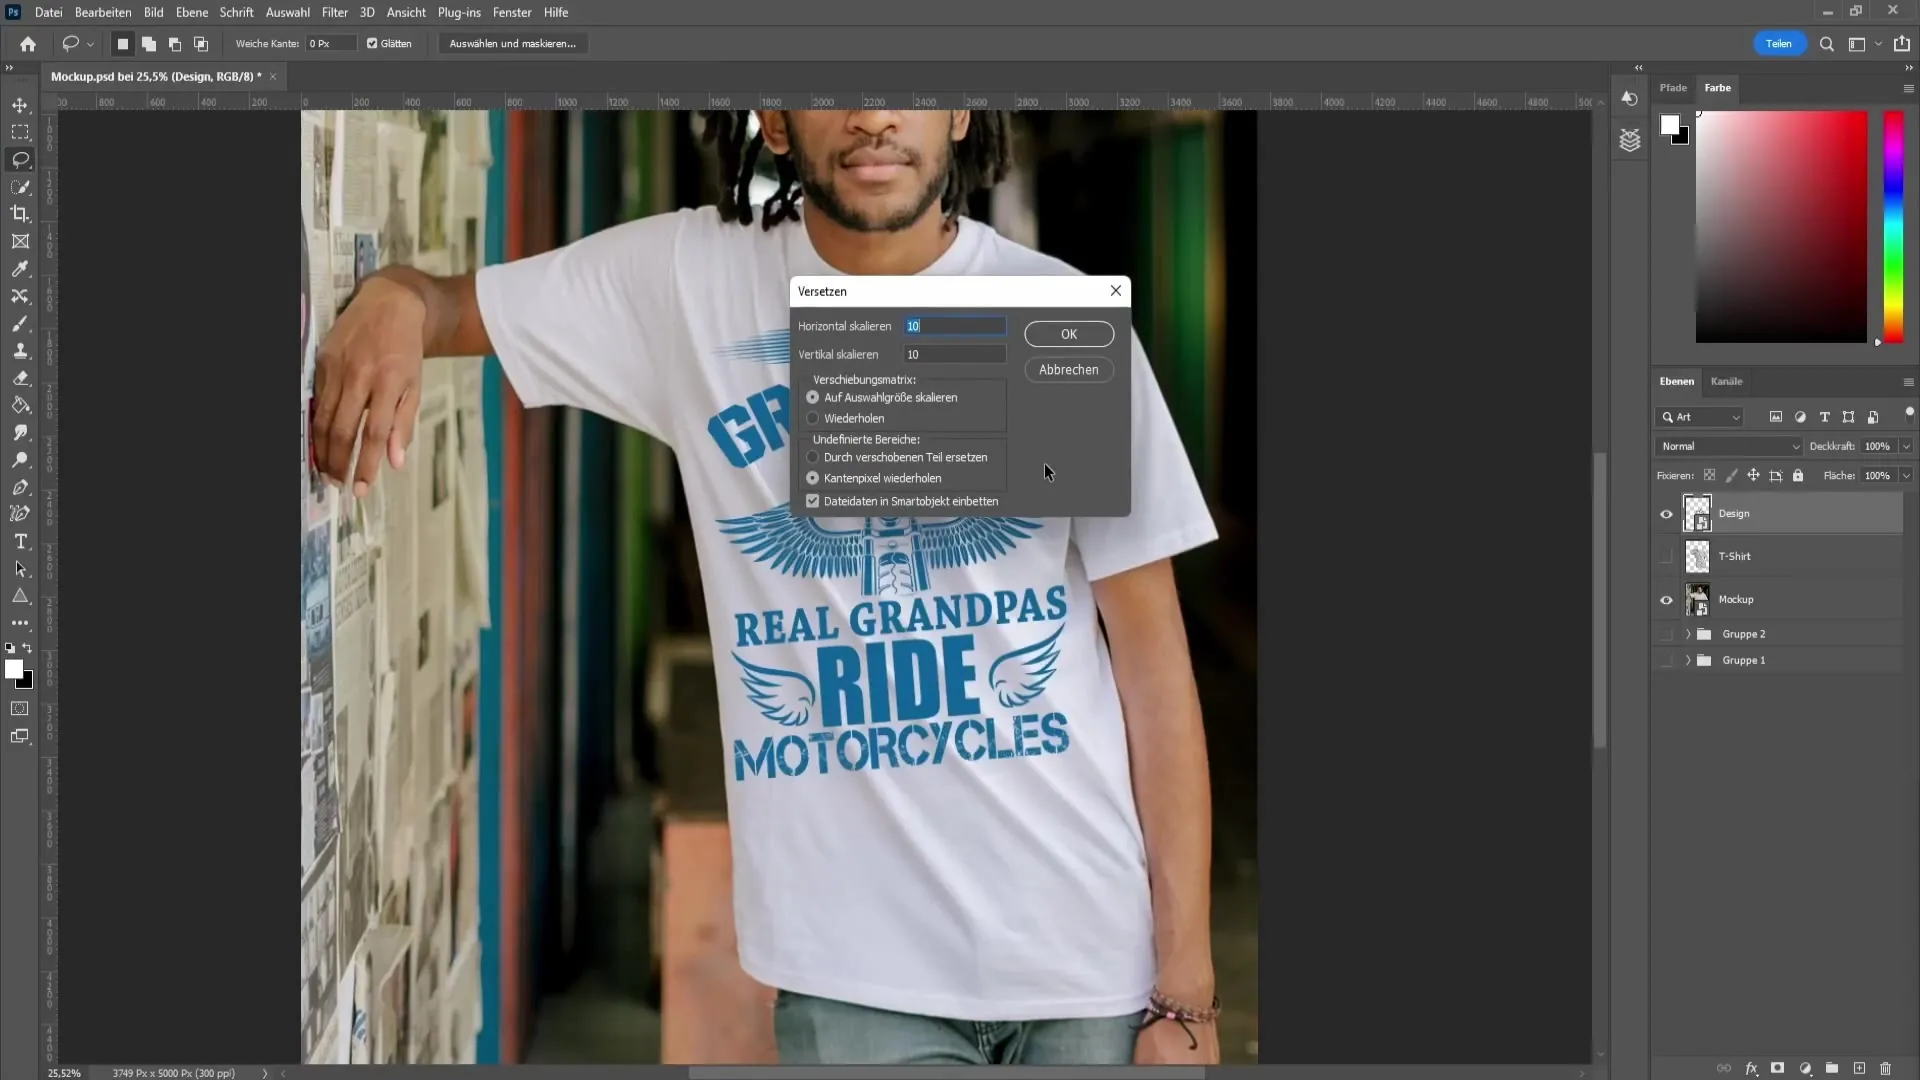
8. Adjust Design
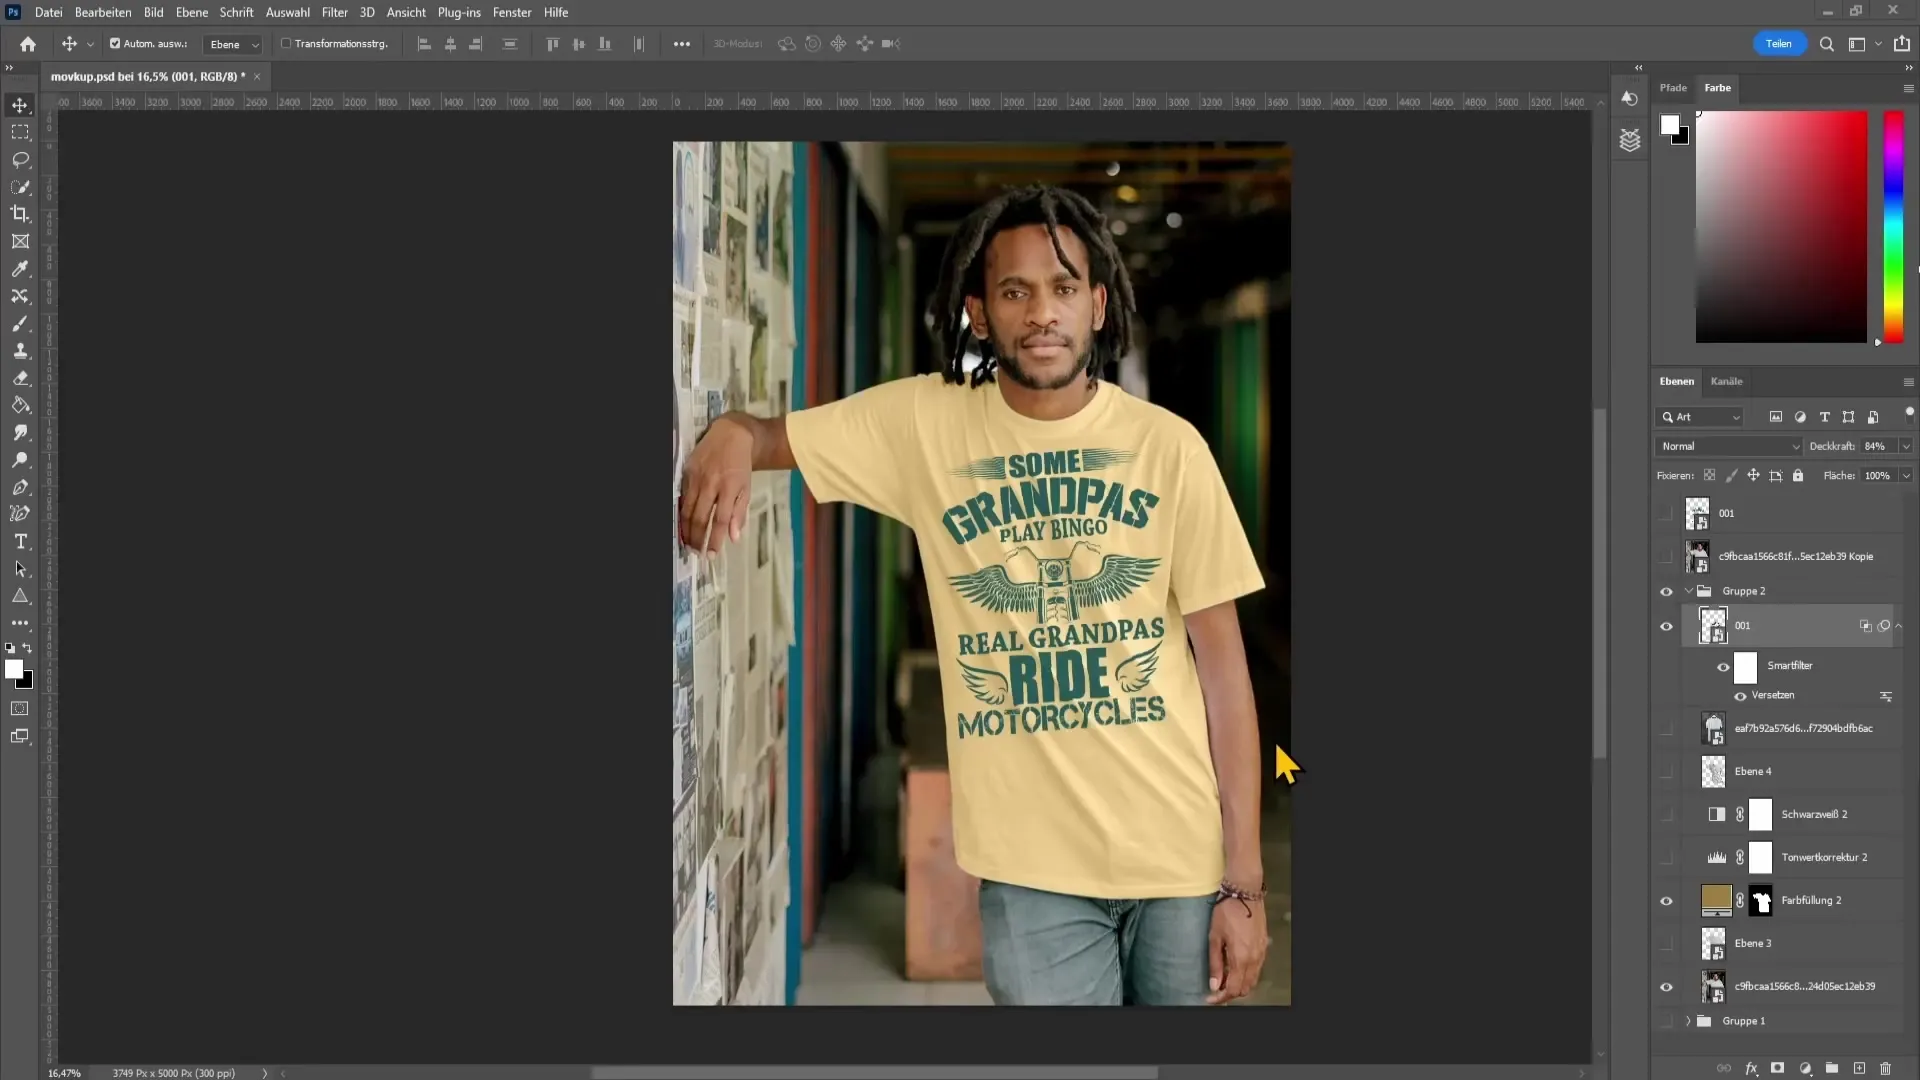
To realistically adjust the design, go to Filter > Distort > Displace. Apply the default values and select the file you saved earlier.
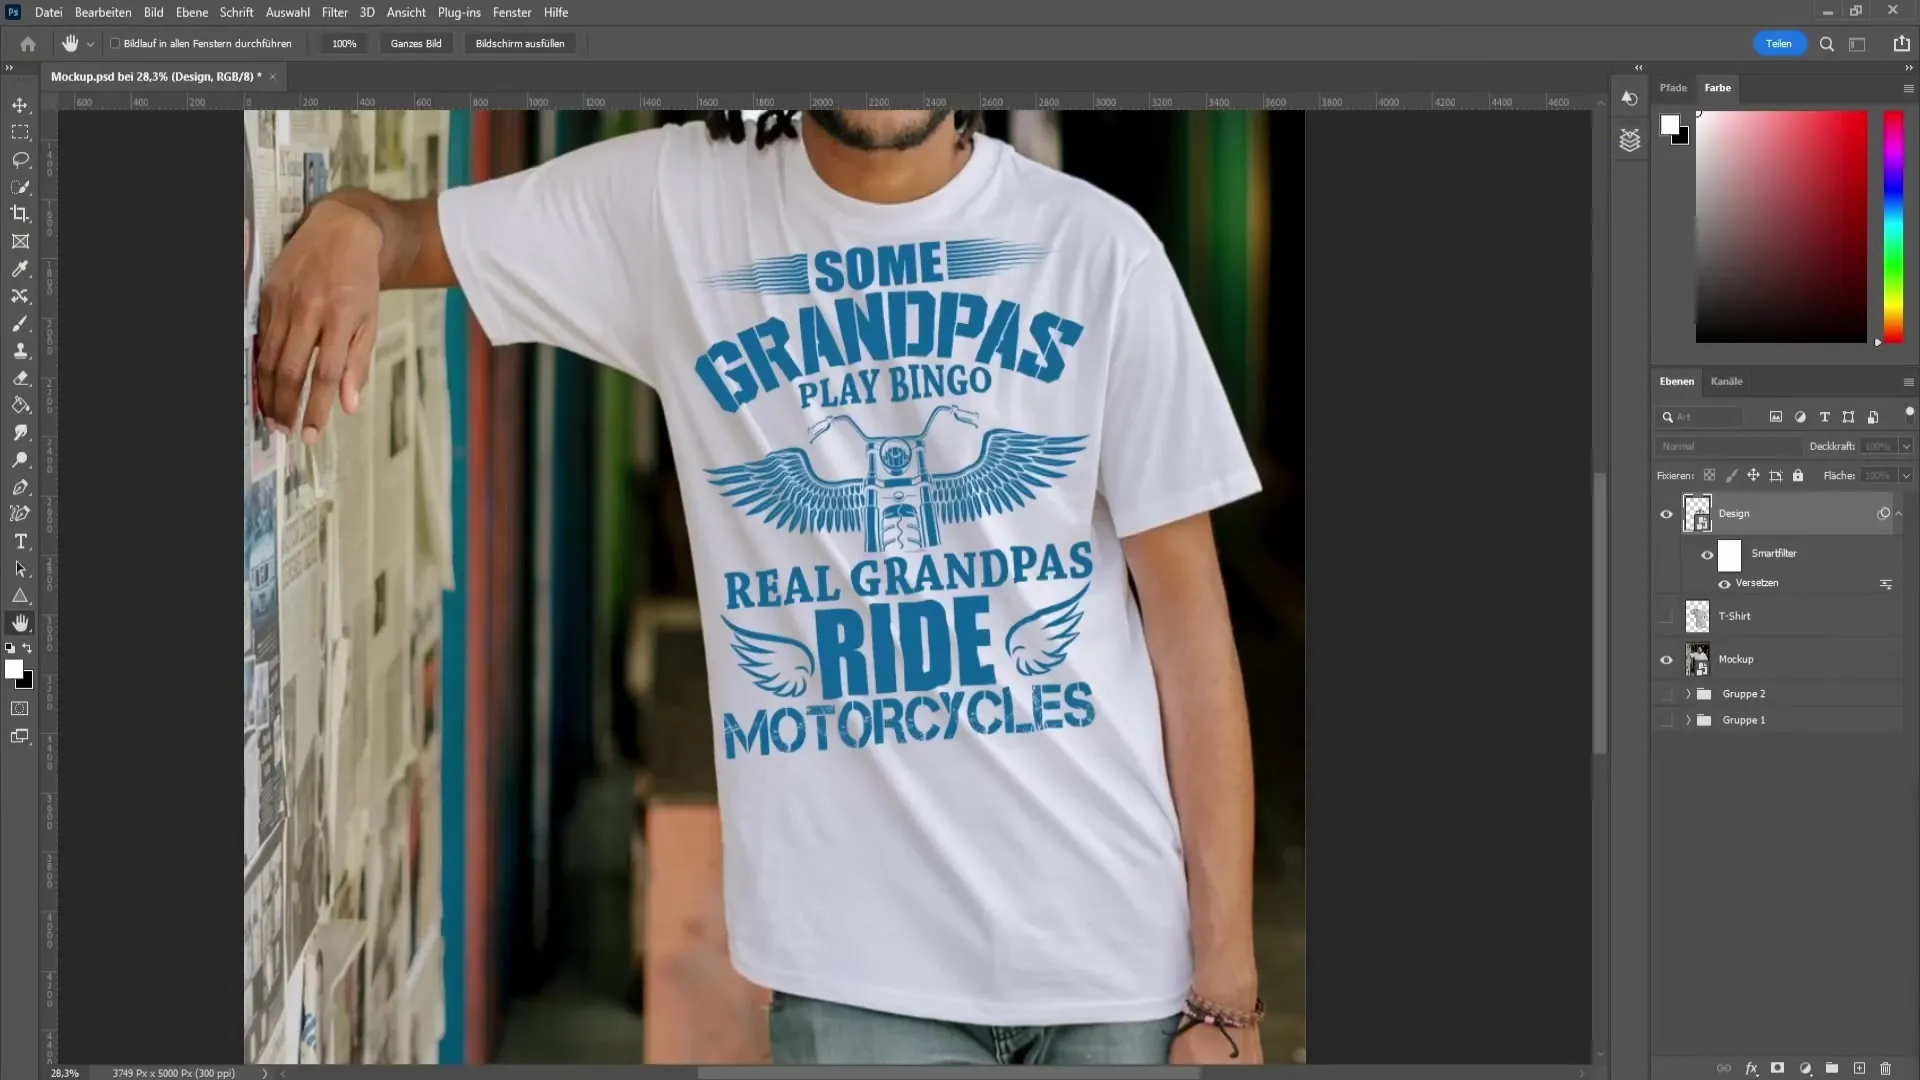
9. Adjusting shadows
With a right click on the design, you can go to the fill options. Hold the Alt key and move the slider to let dark areas shine through, which further refines the design.
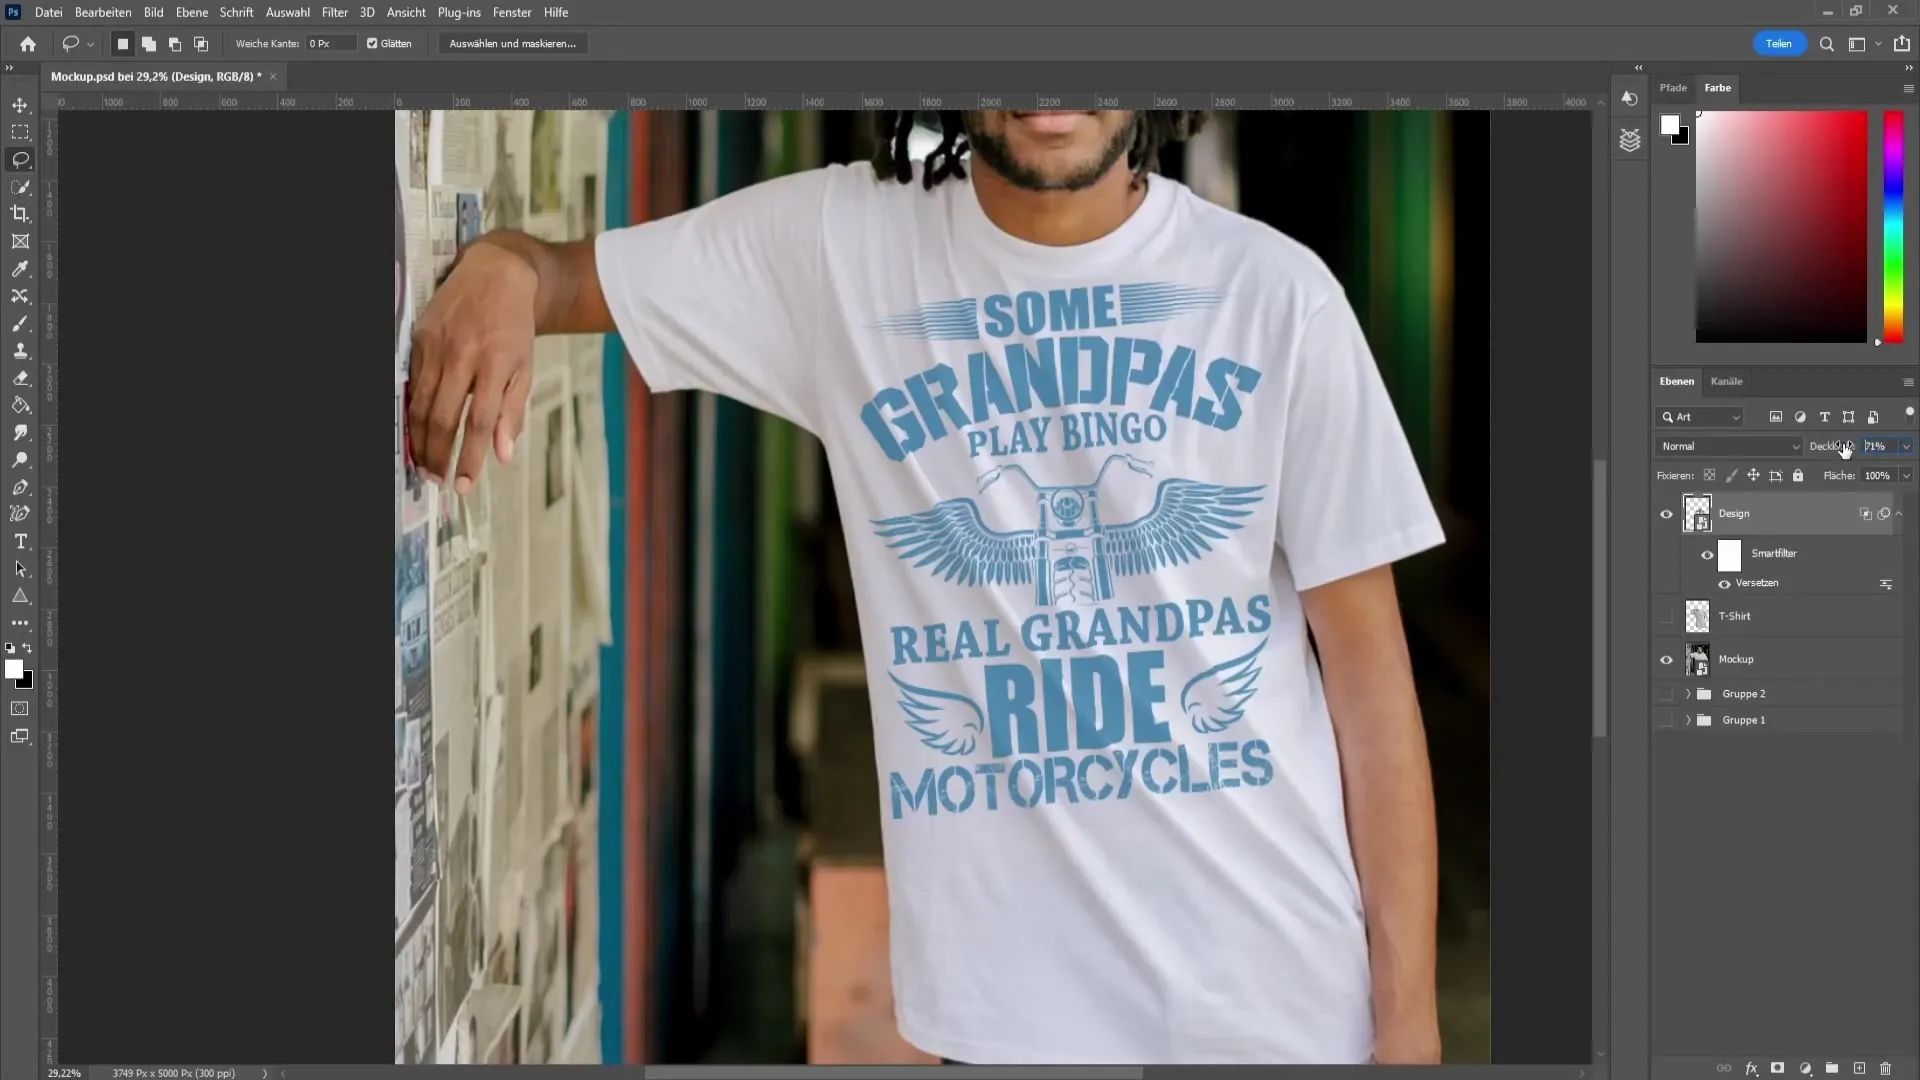
10. Adjusting opacity
Reduce the opacity of the design to about 80%-86% to achieve a more transparent look, giving the mockup more authenticity.
11. Changing T-shirt color
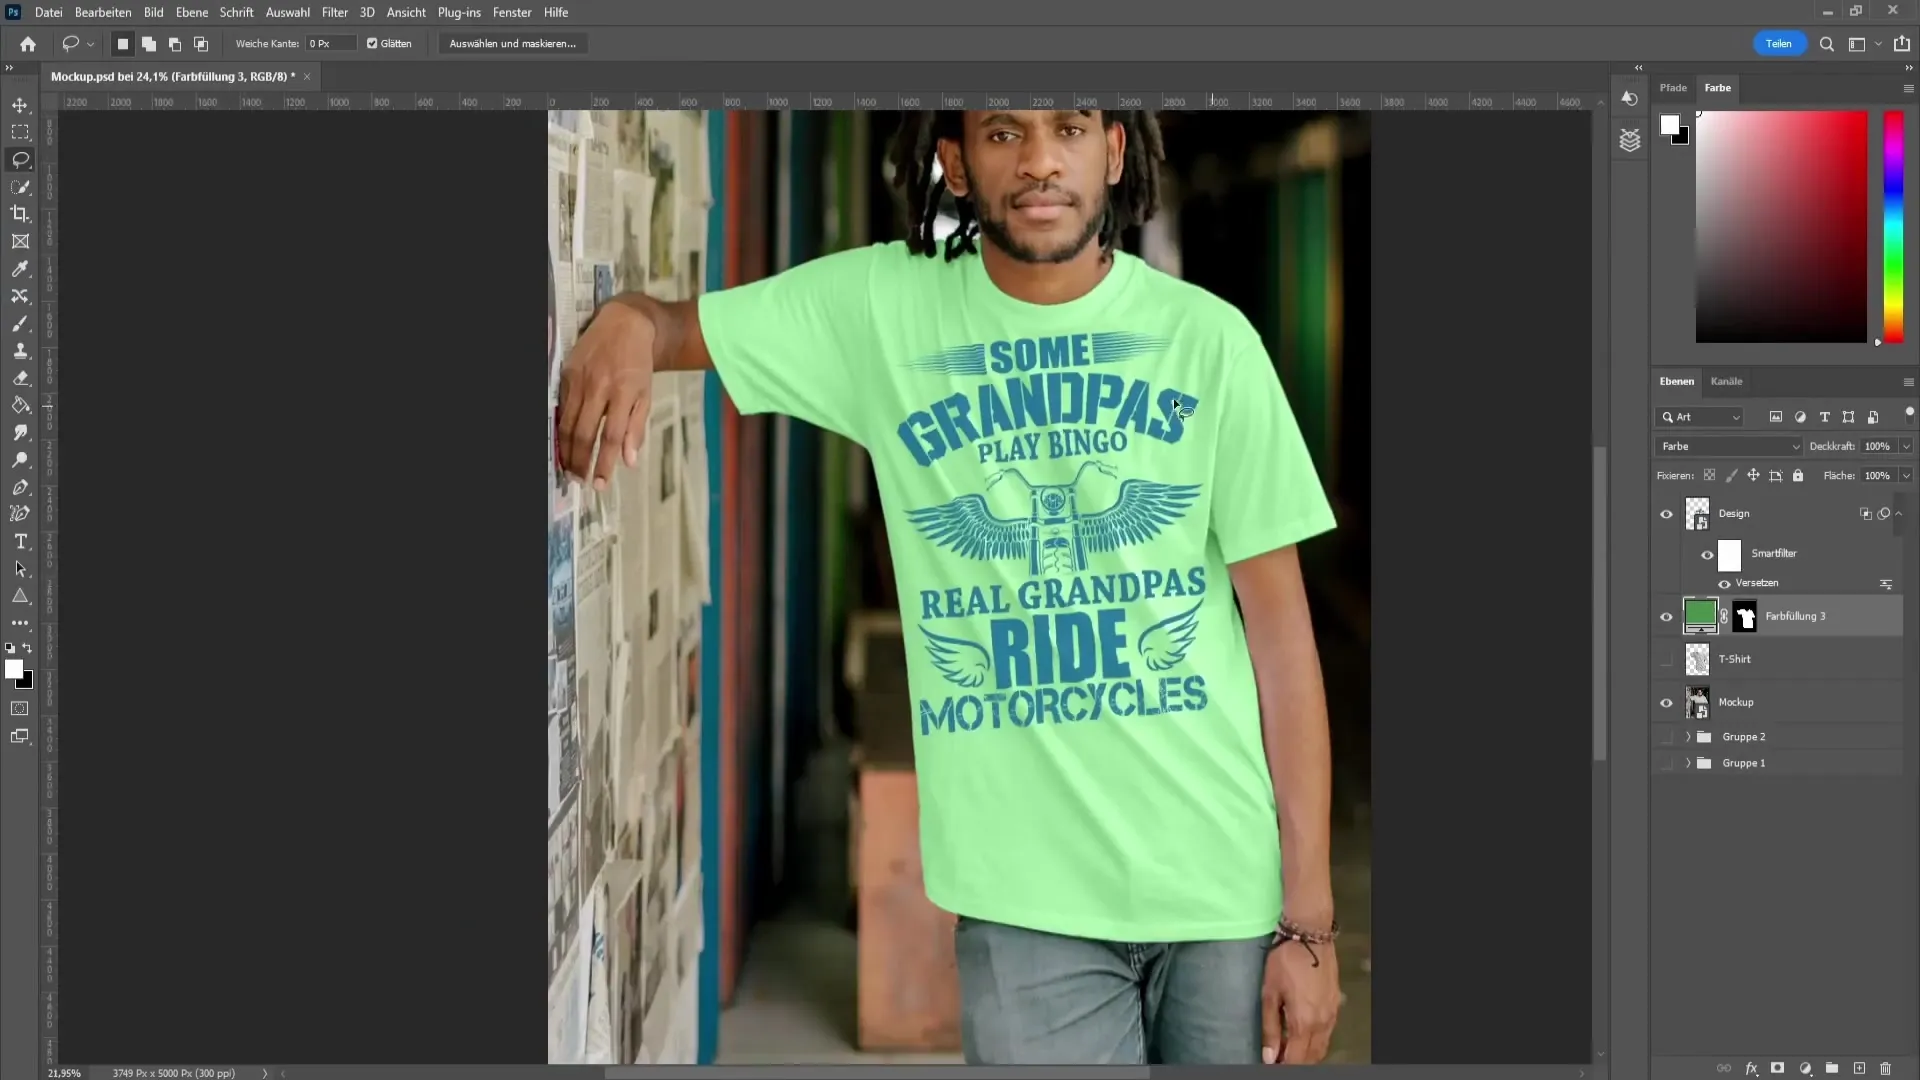
To change the color of the T-shirt, select the preview and click on the color area to choose a new shade. Make sure to drag the color fill underneath the design and set the blending mode to "Color".
Once you are satisfied with the color, confirm your selection.
Summary
In this tutorial, you have learned how to create a T-shirt mockup in Photoshop. You have applied the design to the mockup, adjusted the colors, and used various techniques to achieve a professional result. With these steps, you can unleash your creative potential and present your designs optimally.
Frequently Asked Questions
What is a T-shirt mockup?A T-shirt mockup is a digital template that shows how your design looks on a T-shirt.
How do I save my design in Photoshop?You can save your PSD file by going to "File" > "Save As" and providing a desired filename.
Can I change the color of the T-shirt after placing the design?Yes, you can adjust the color of the T-shirt by making a selection and adding a color fill.
How can I improve the quality of the mockup?By adjusting the tones and shadows, you can enhance the quality and realism of your mockup.


