In this guide, you will learn how to easily whiten the teeth in pictures and remove unsightly stains. Whether you are a professional or a beginner, with these simple steps, retouching will be a breeze. We use Adobe Photoshop tools to achieve natural results and give your image the finishing touch.
Key Insights
- Using the Lasso tool to select the teeth
- Adjusting brightness and saturation for tooth whitening
- Using various tools to remove stains
- Significance of layer masks for precise adjustments
Step-by-Step Guide
First, open the image in Photoshop that you want to work on. Make sure you are working with a copy of the original file to avoid damaging the original image. Now you can start whitening the teeth.
Select Teeth
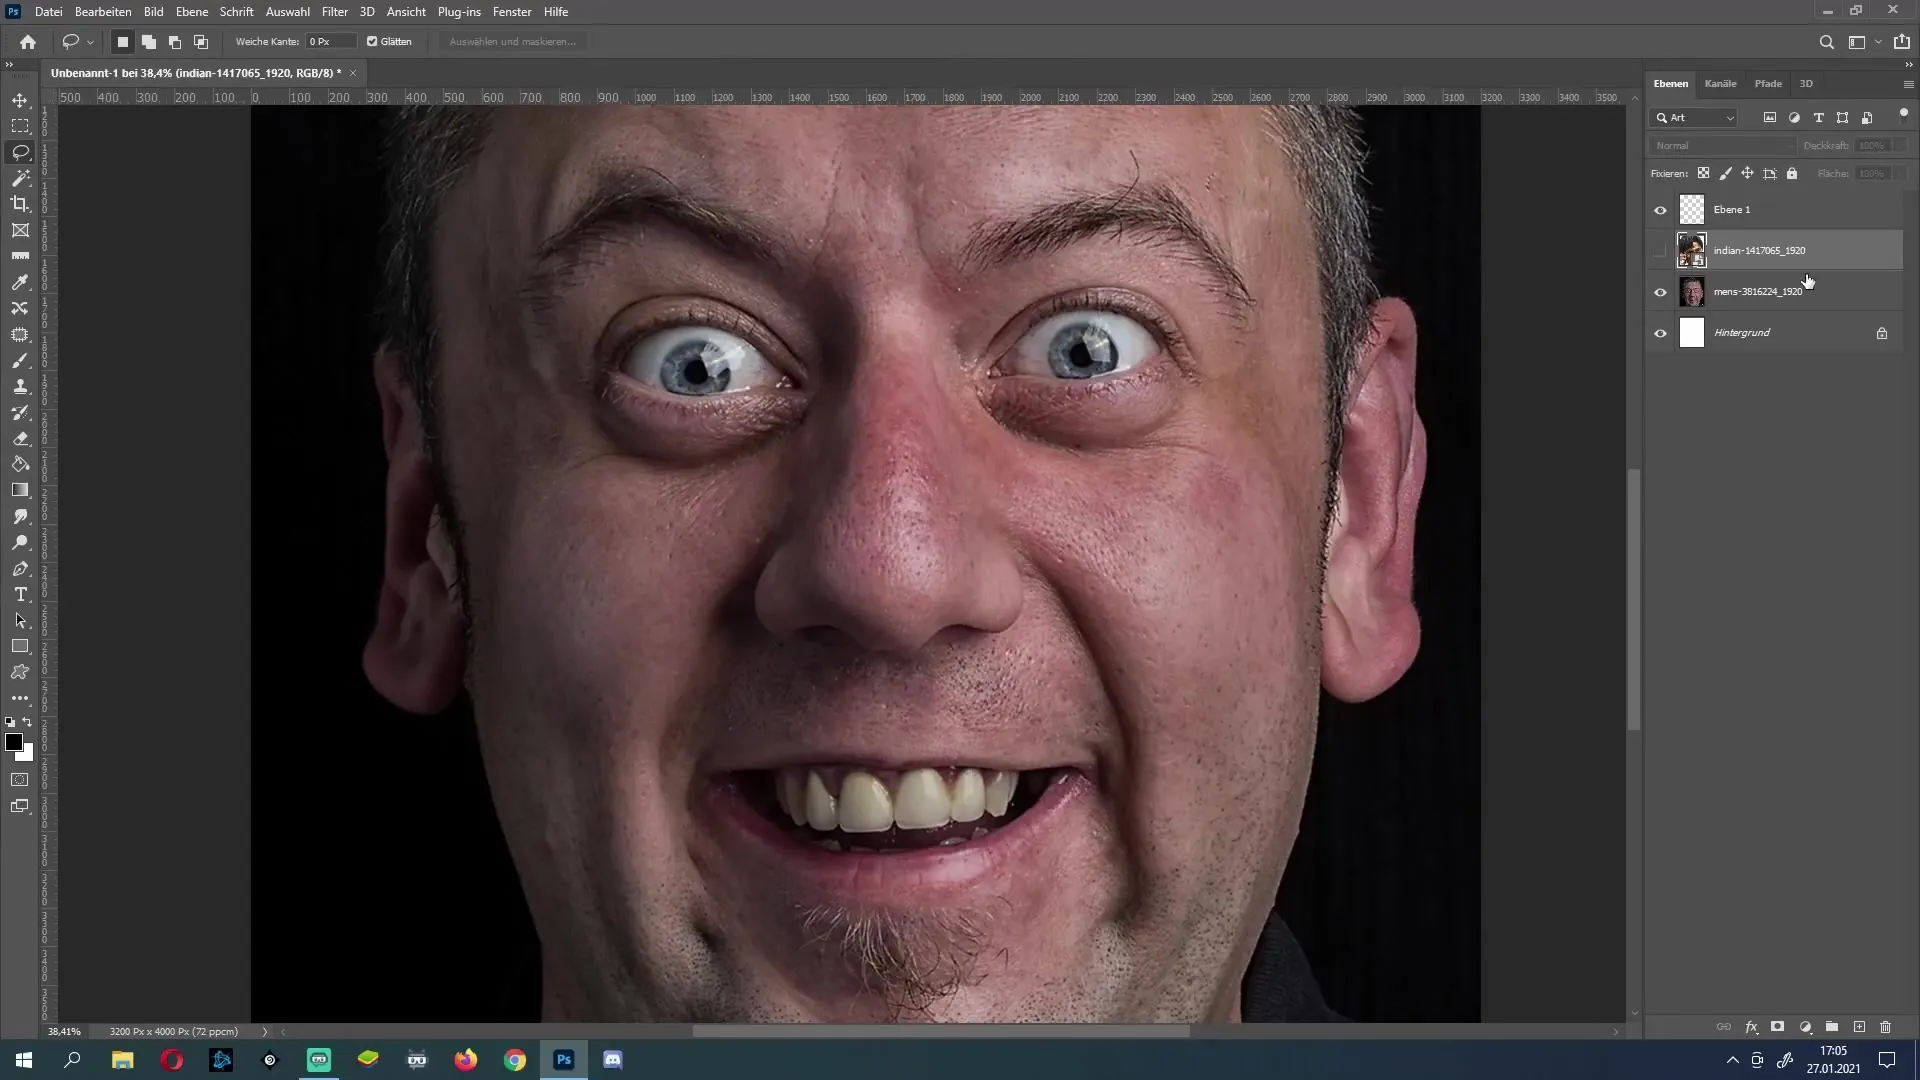
To whiten the teeth, select the Lasso tool. With this tool, roughly outline the teeth. It is not necessary to make the selection perfect, as we will start editing shortly after.
Adjust Hue and Saturation
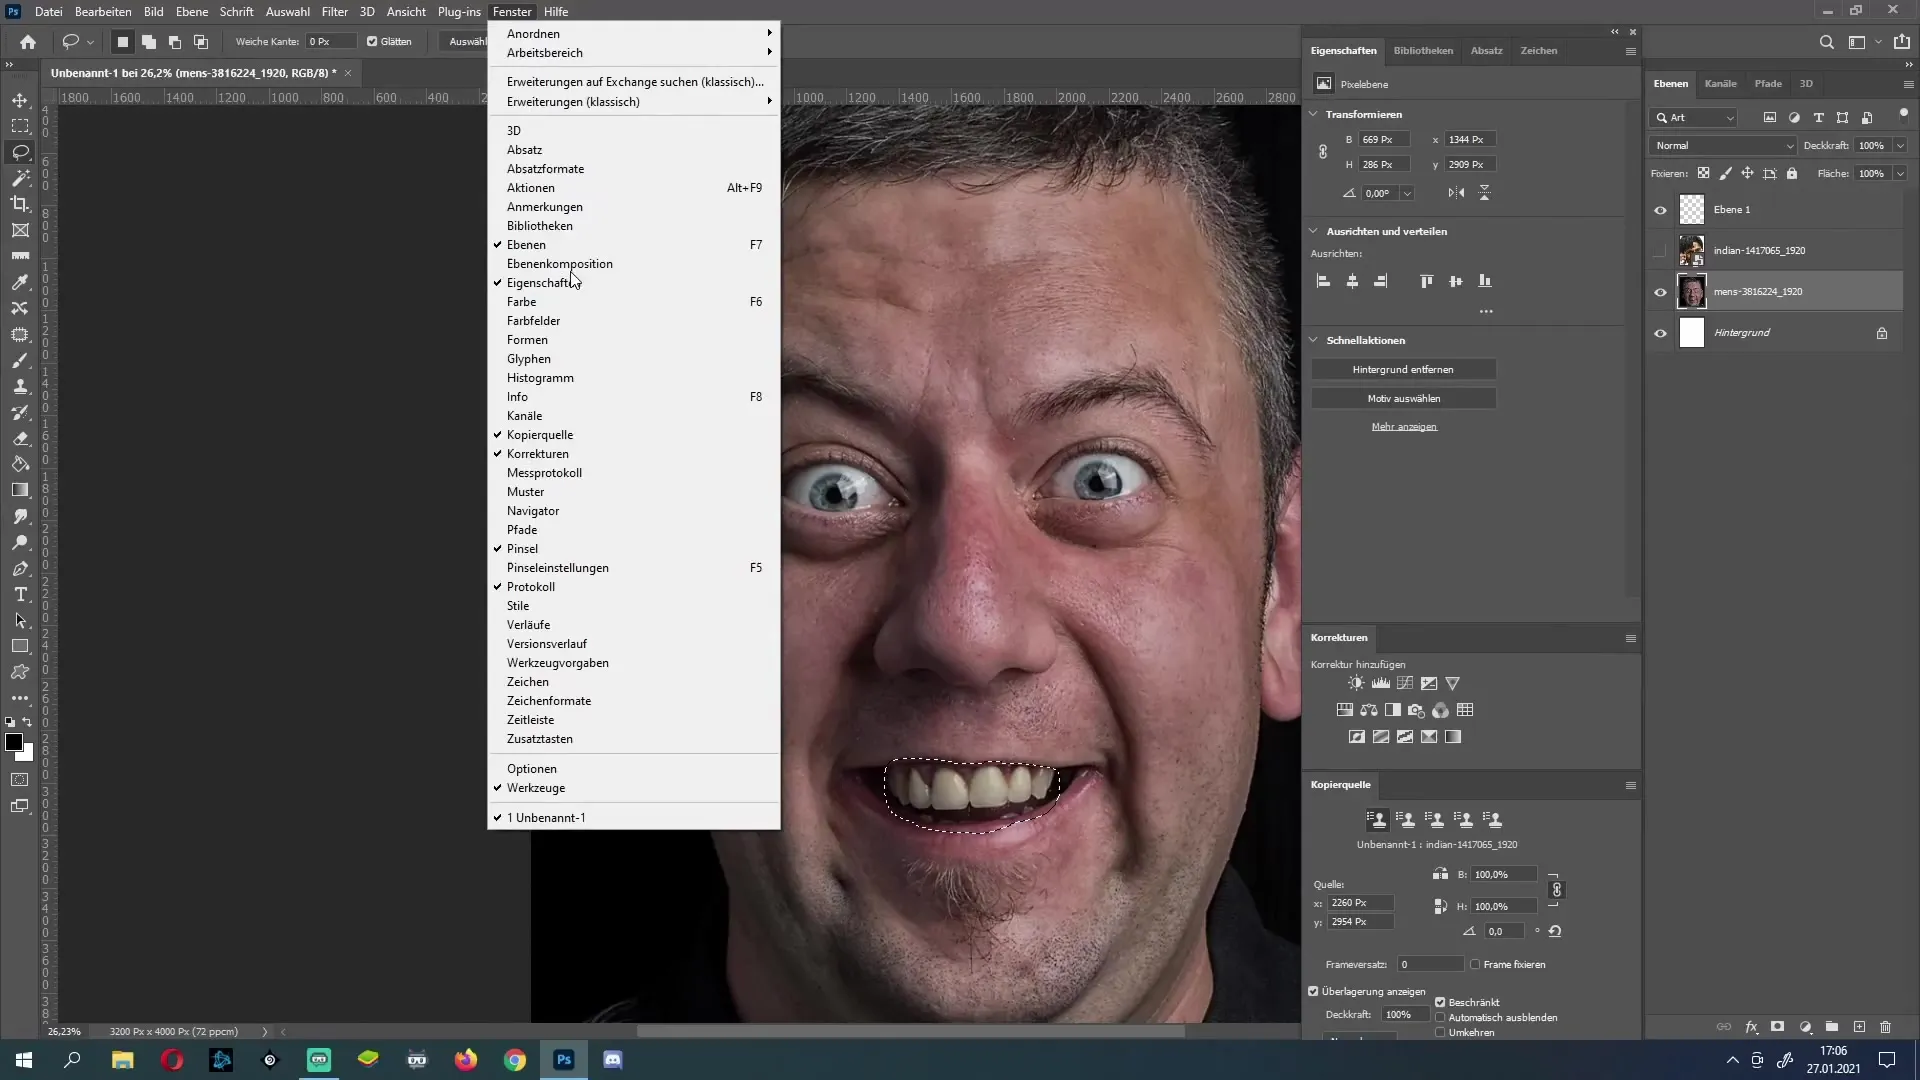
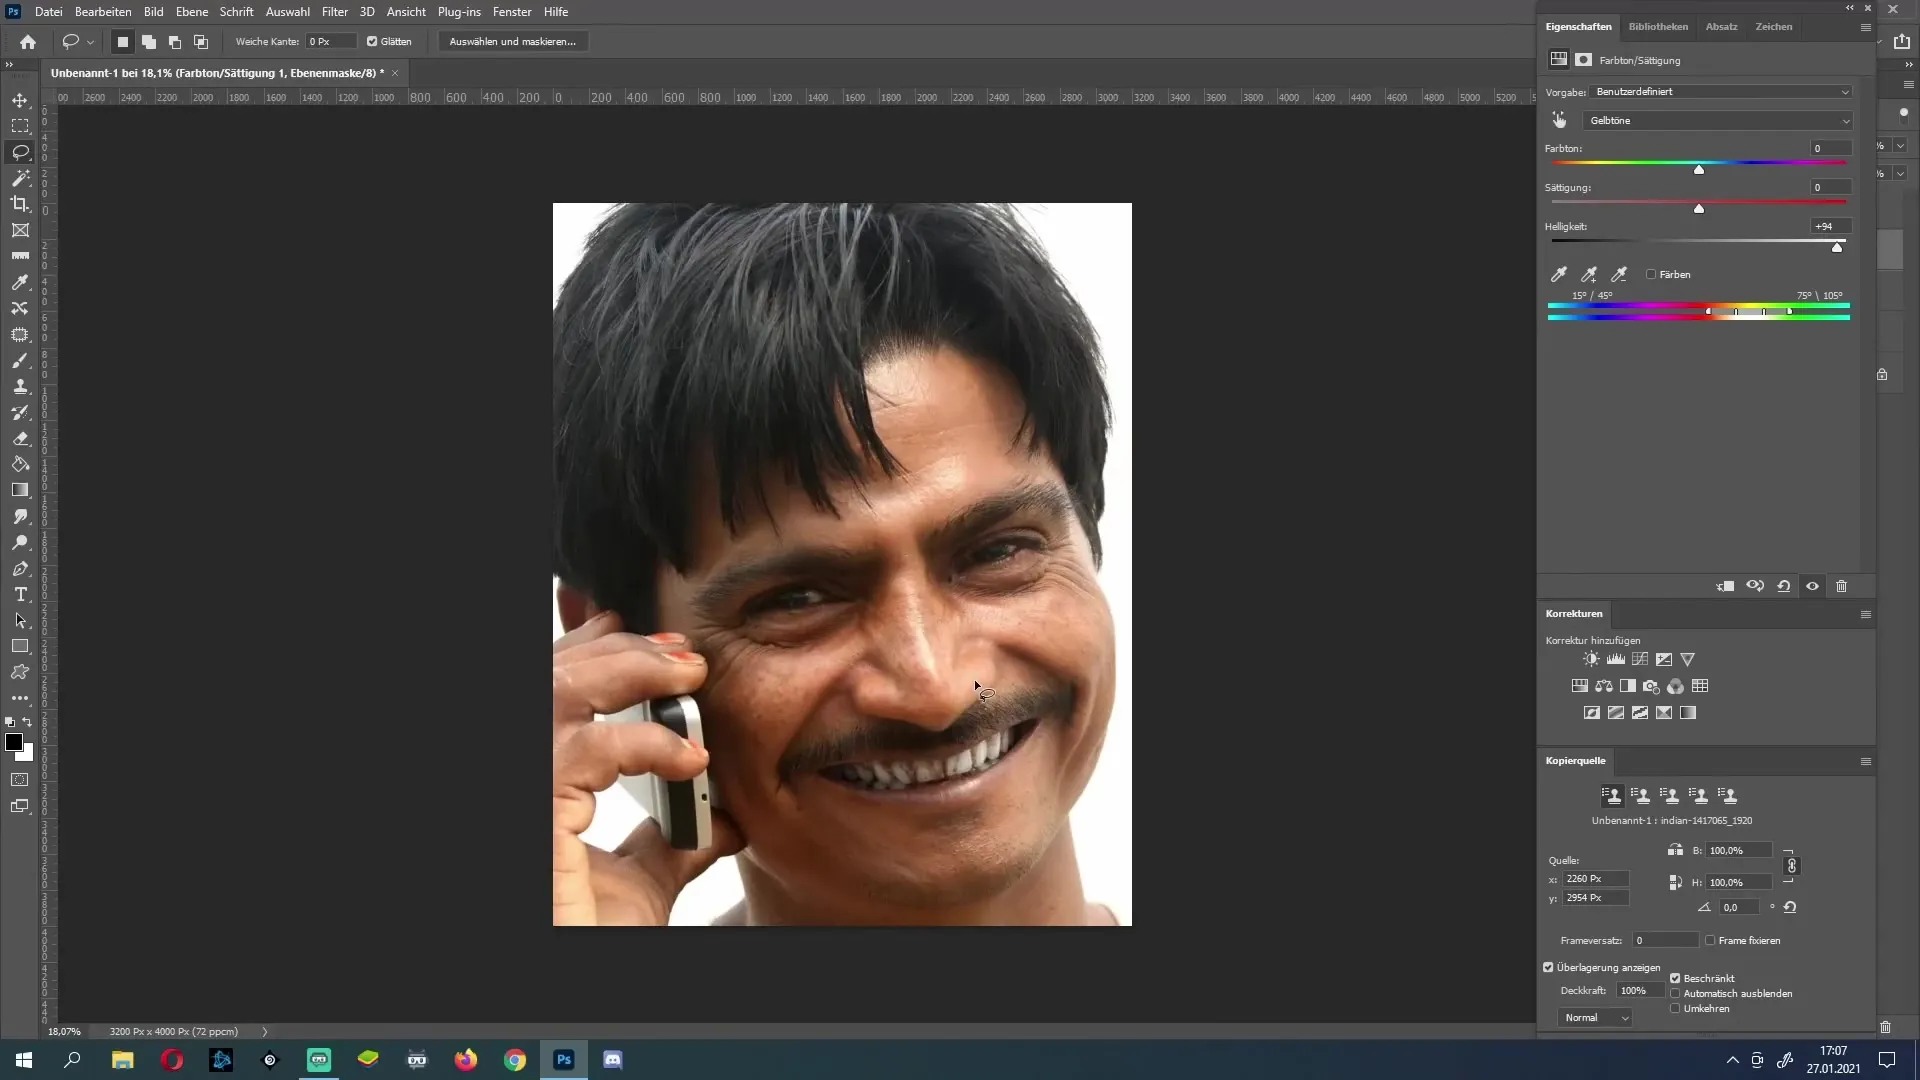
Now, activate the selection to make the corrections. Go to the "Window" menu and select "Adjustments." In the Adjustments window, look for the "Hue/Saturation" option and choose it. Here, focus on the yellow tones, as they are responsible for the typical color of teeth. Increase the brightness and make sure the teeth do not look too pale.
You can set the brightness to around 91. Make sure the result still looks natural.
Remove Stains
Next, we proceed to remove brown stains on the teeth. For this, we use various tools. First, select the Healing Brush tool. It is important to roughly brush over the brown spots to lighten them without immediately adjusting the saturation.
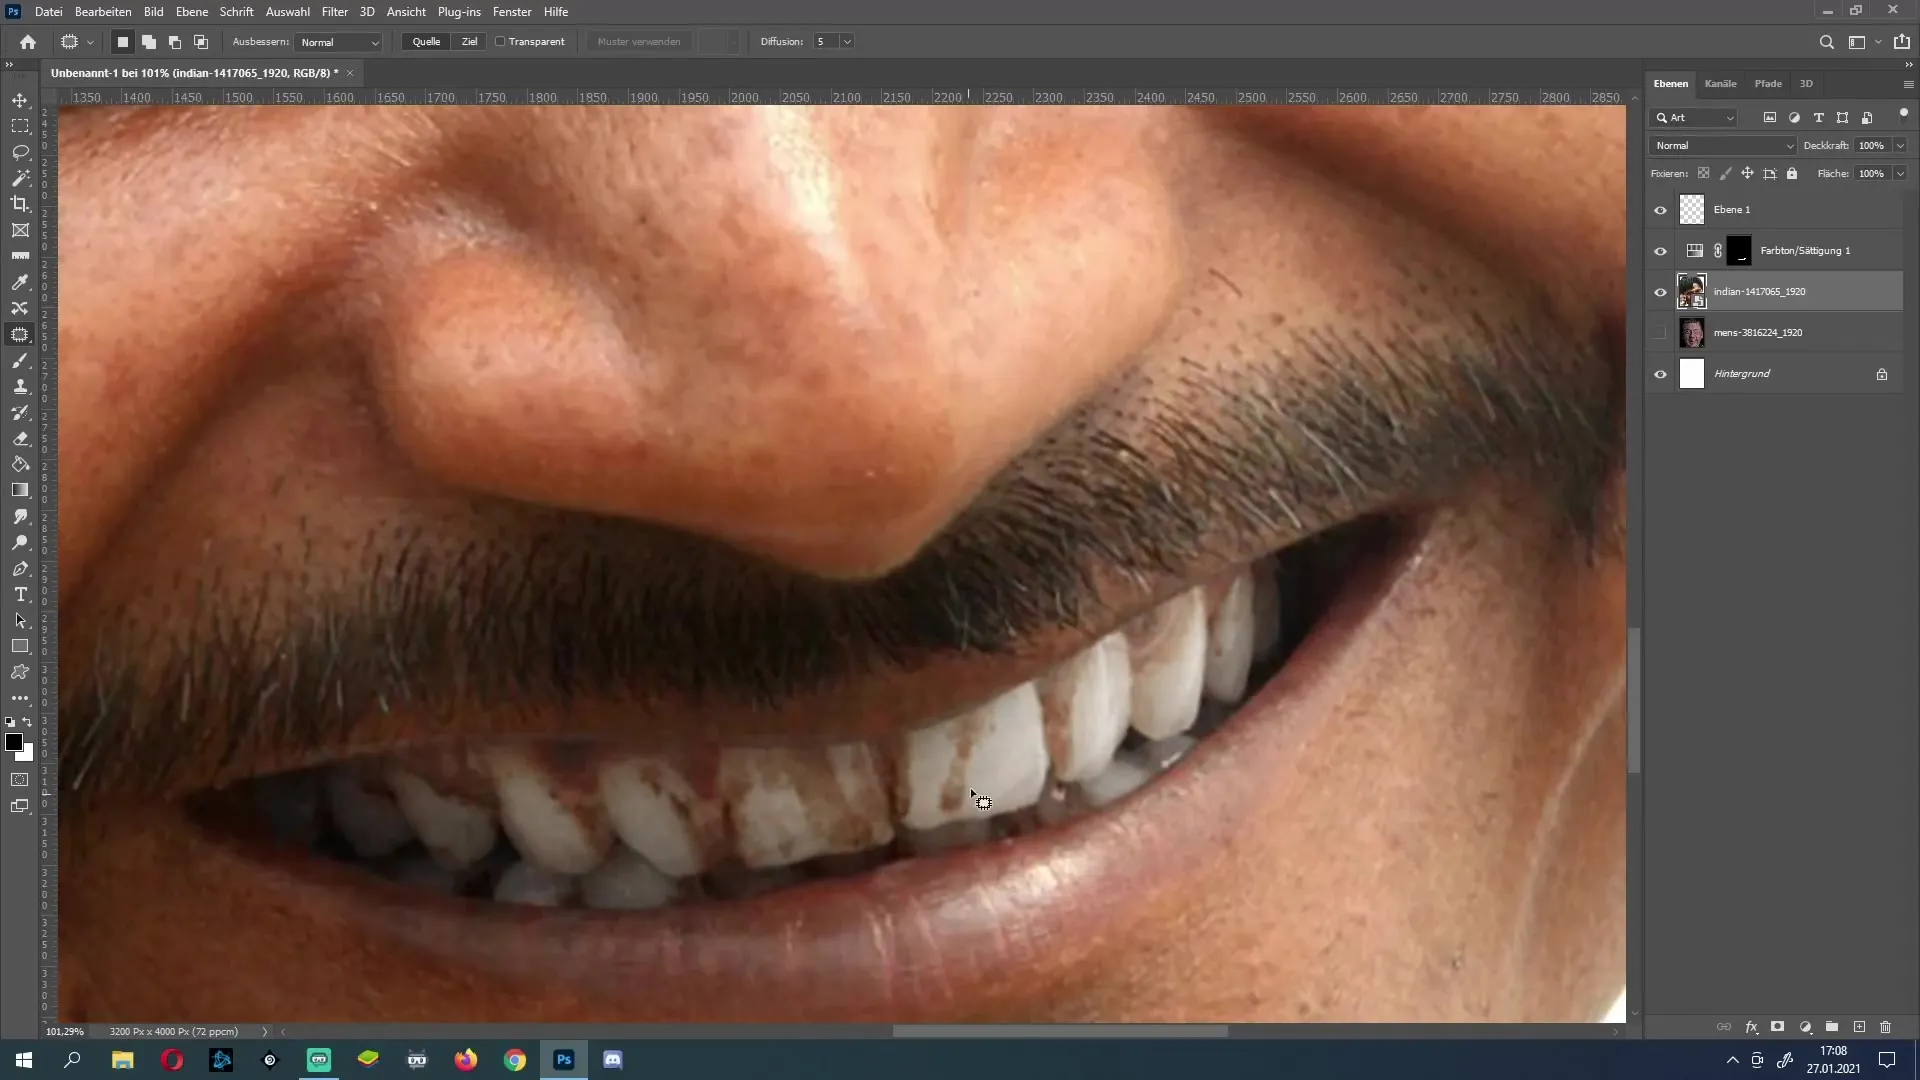
Use the selection tool to mark the affected areas. Simply drag the selection over the desired stains.
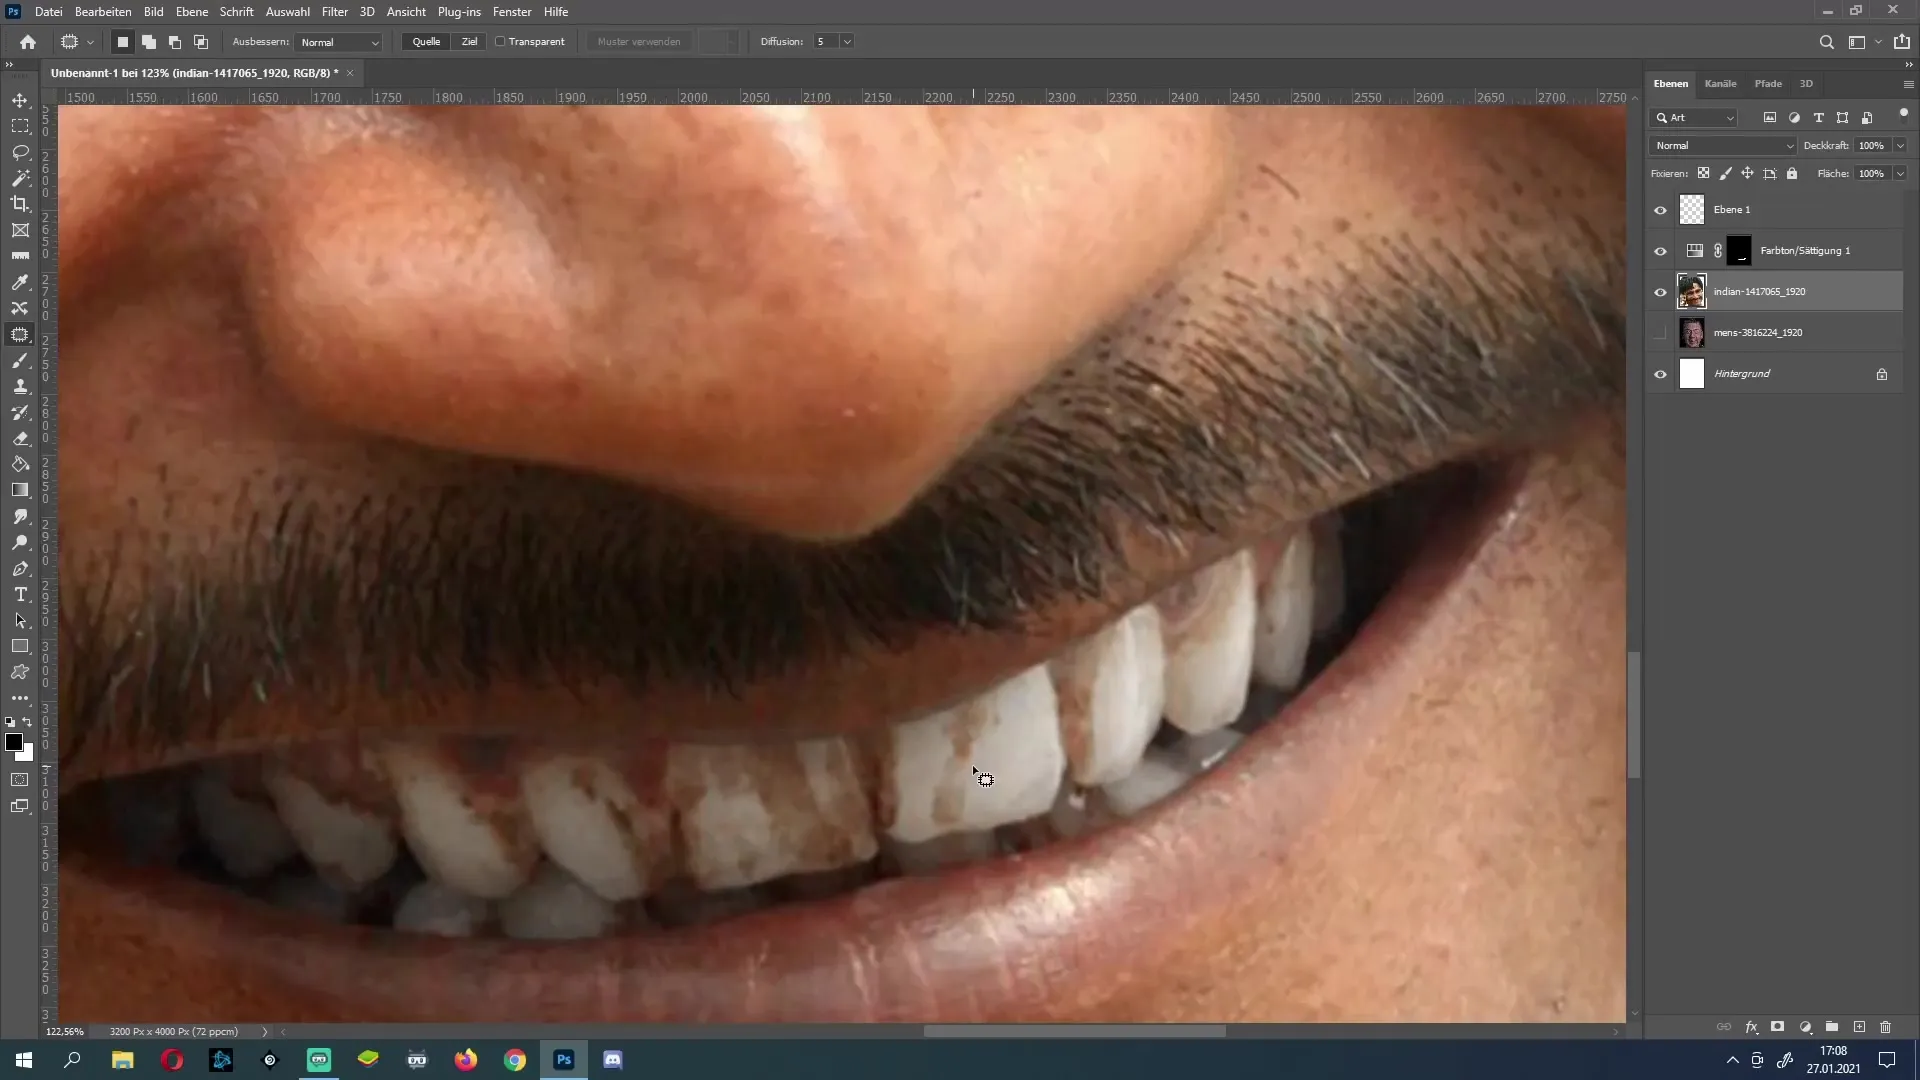
This step may take a while depending on the number of small stains. Don't worry if it looks strange at first; we will adjust everything later.
Use Patch Tool
After the initial editing, it's time to use the Patch tool. With this tool, you can now correct minor imperfections and overall enhance the teeth. It is important to work carefully and release the tool intermittently to check how the result looks.
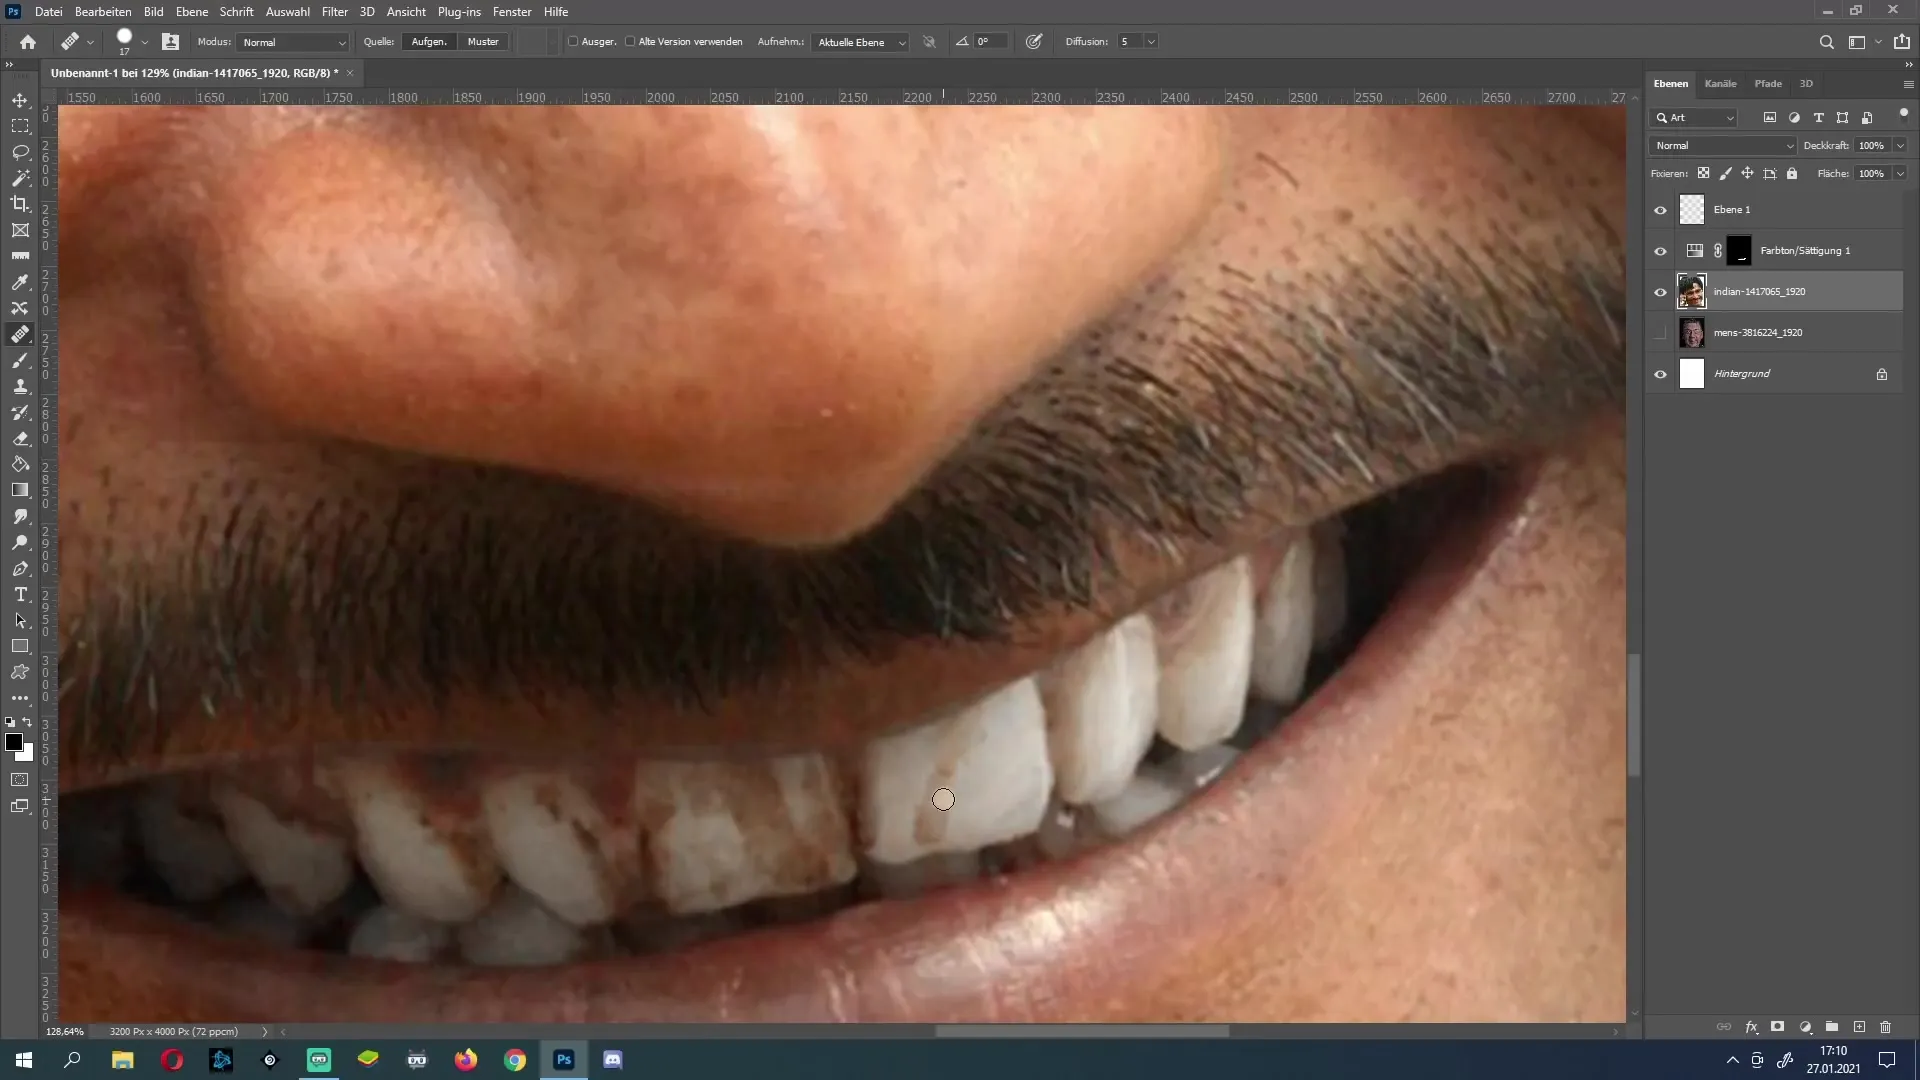
You should switch back and forth between tools to achieve the best result. Remember to readjust the selection repeatedly to achieve the best effects.
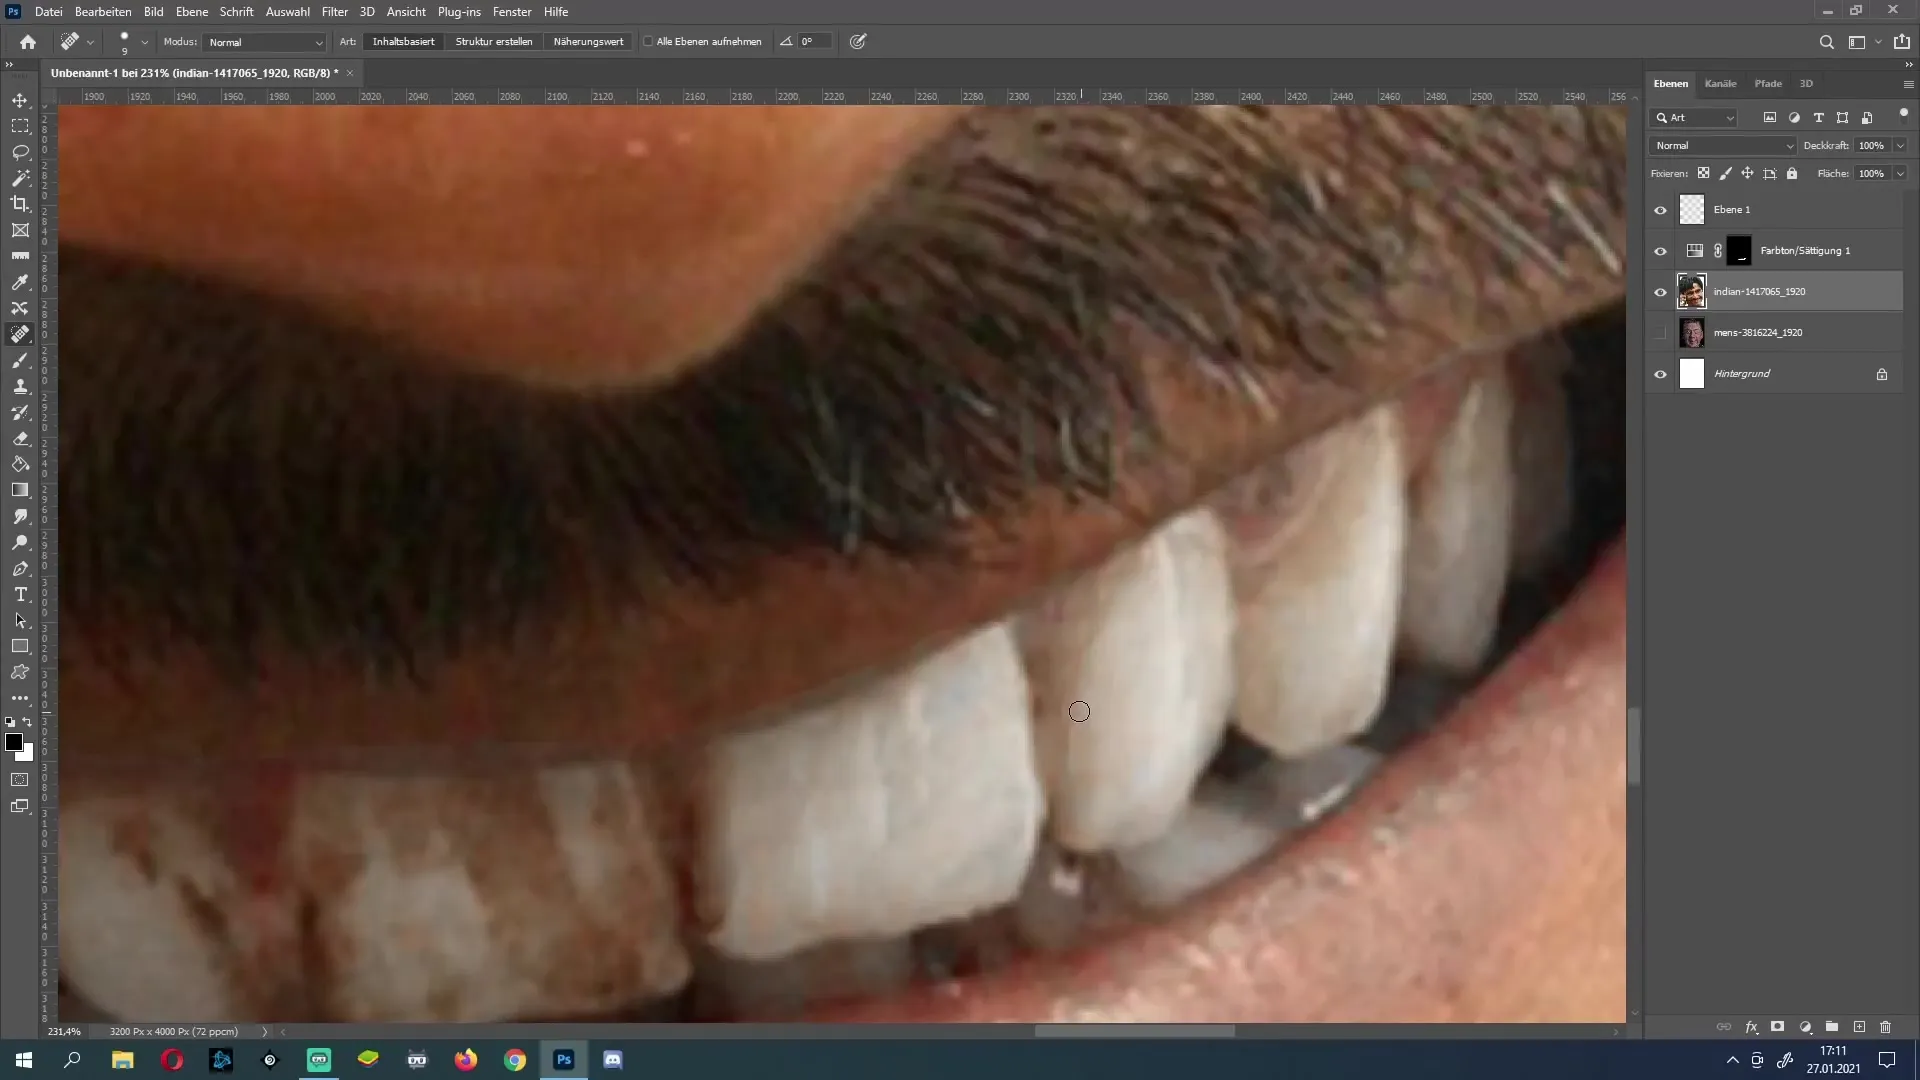
Final Touches
Now, enjoy the image and soften areas that you find too bright or artificial. The Spot Healing Brush tool is very useful for this purpose.
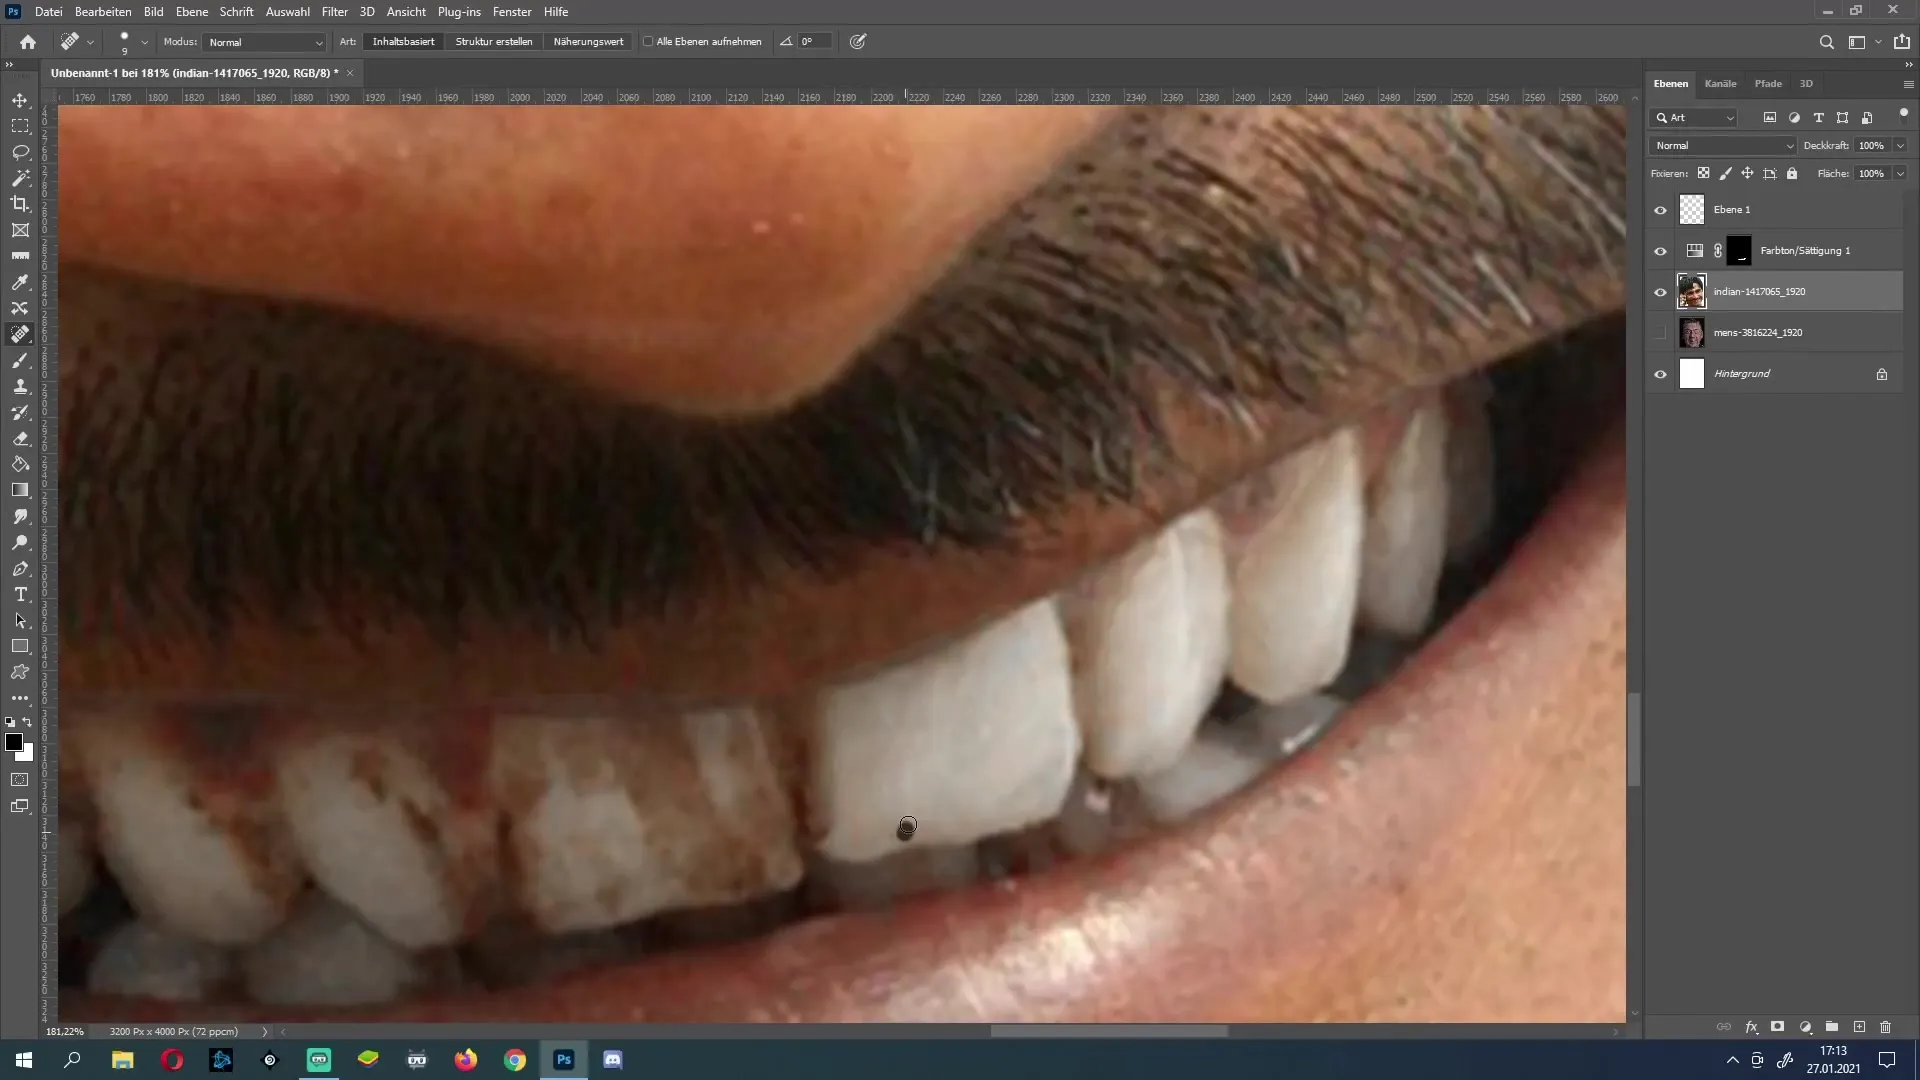
The goal is to adjust the entire area when correcting the teeth to support the natural tooth color without appearing artificial or exaggerated.
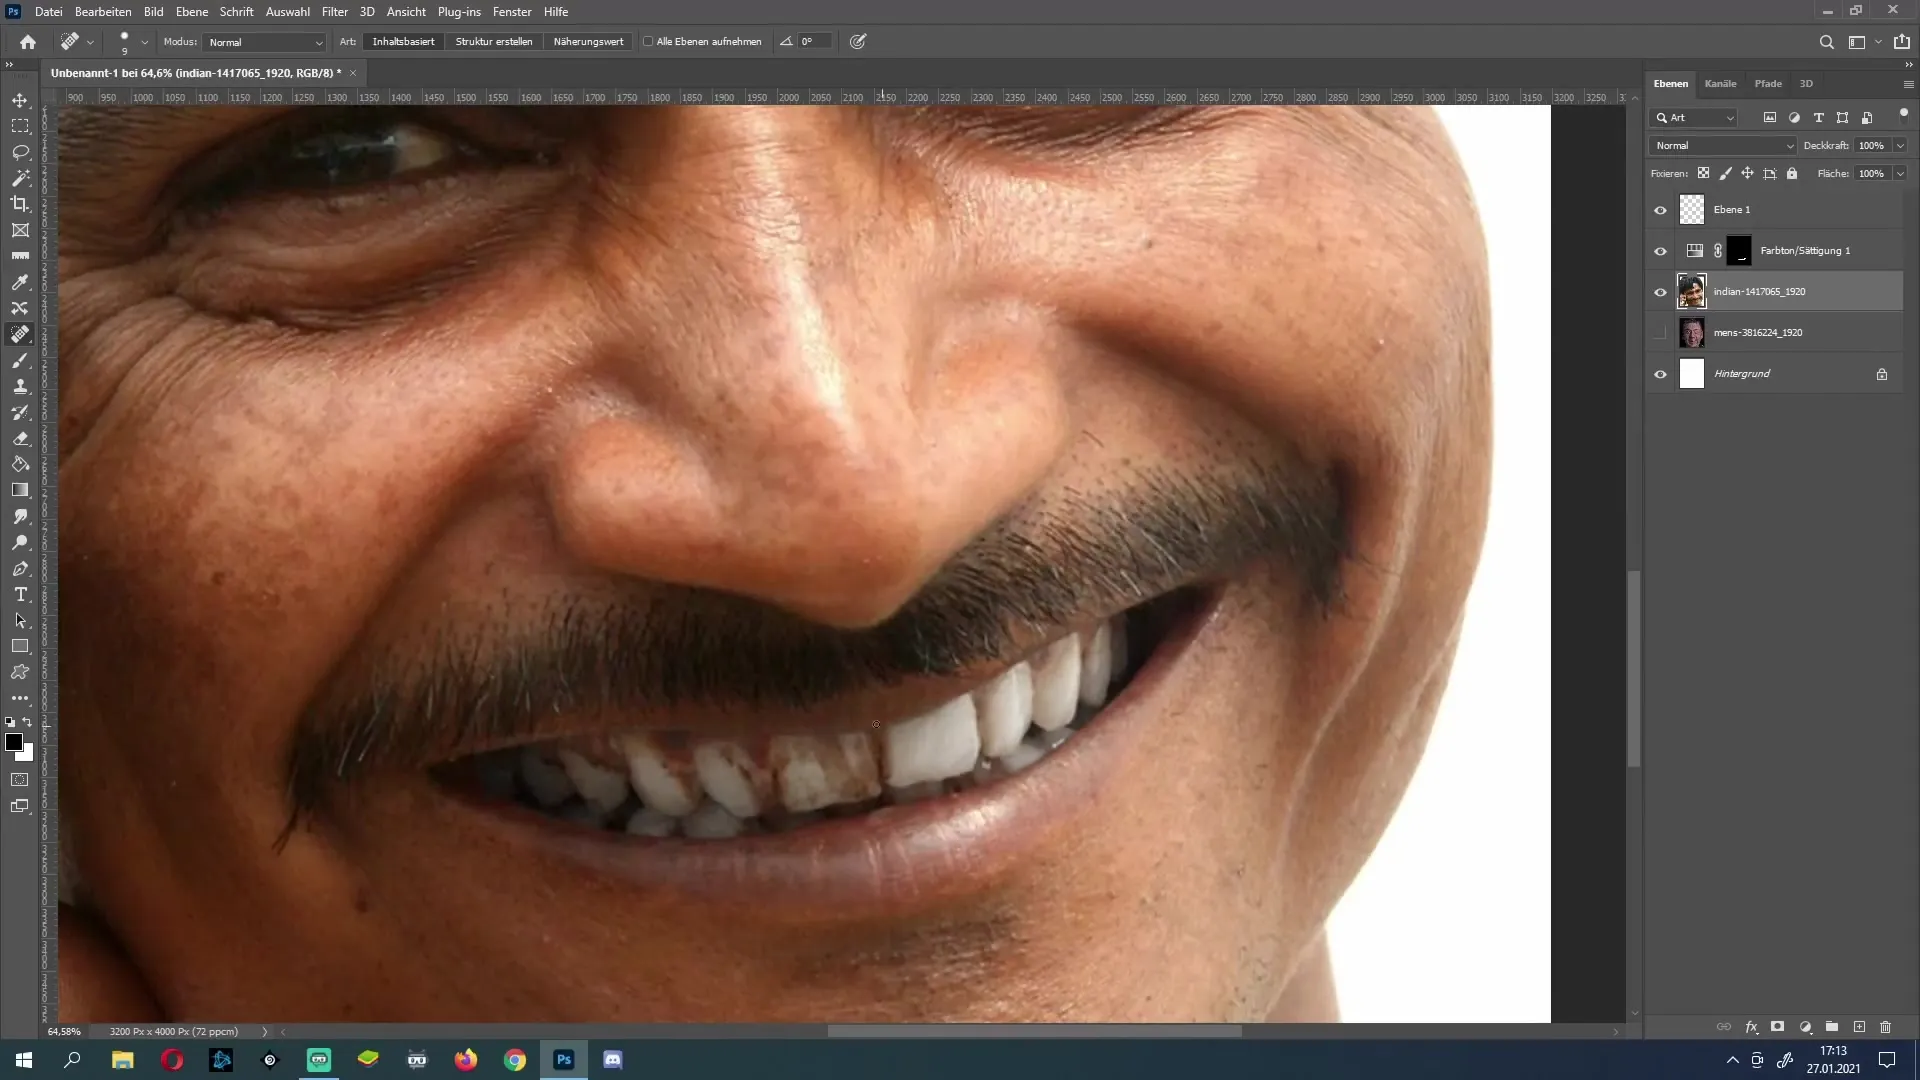
If you are satisfied with your teeth, let's focus on the lips or areas around the teeth that also require color correction. Sometimes the cheeks or the gums may also show discoloration.
Final Adjustments
Most of the time, we have a yellowish discoloration on the lips, which we also want to address now. Use the hue/saturation layers again for this. Select the mask and brush over the areas you want to correct.
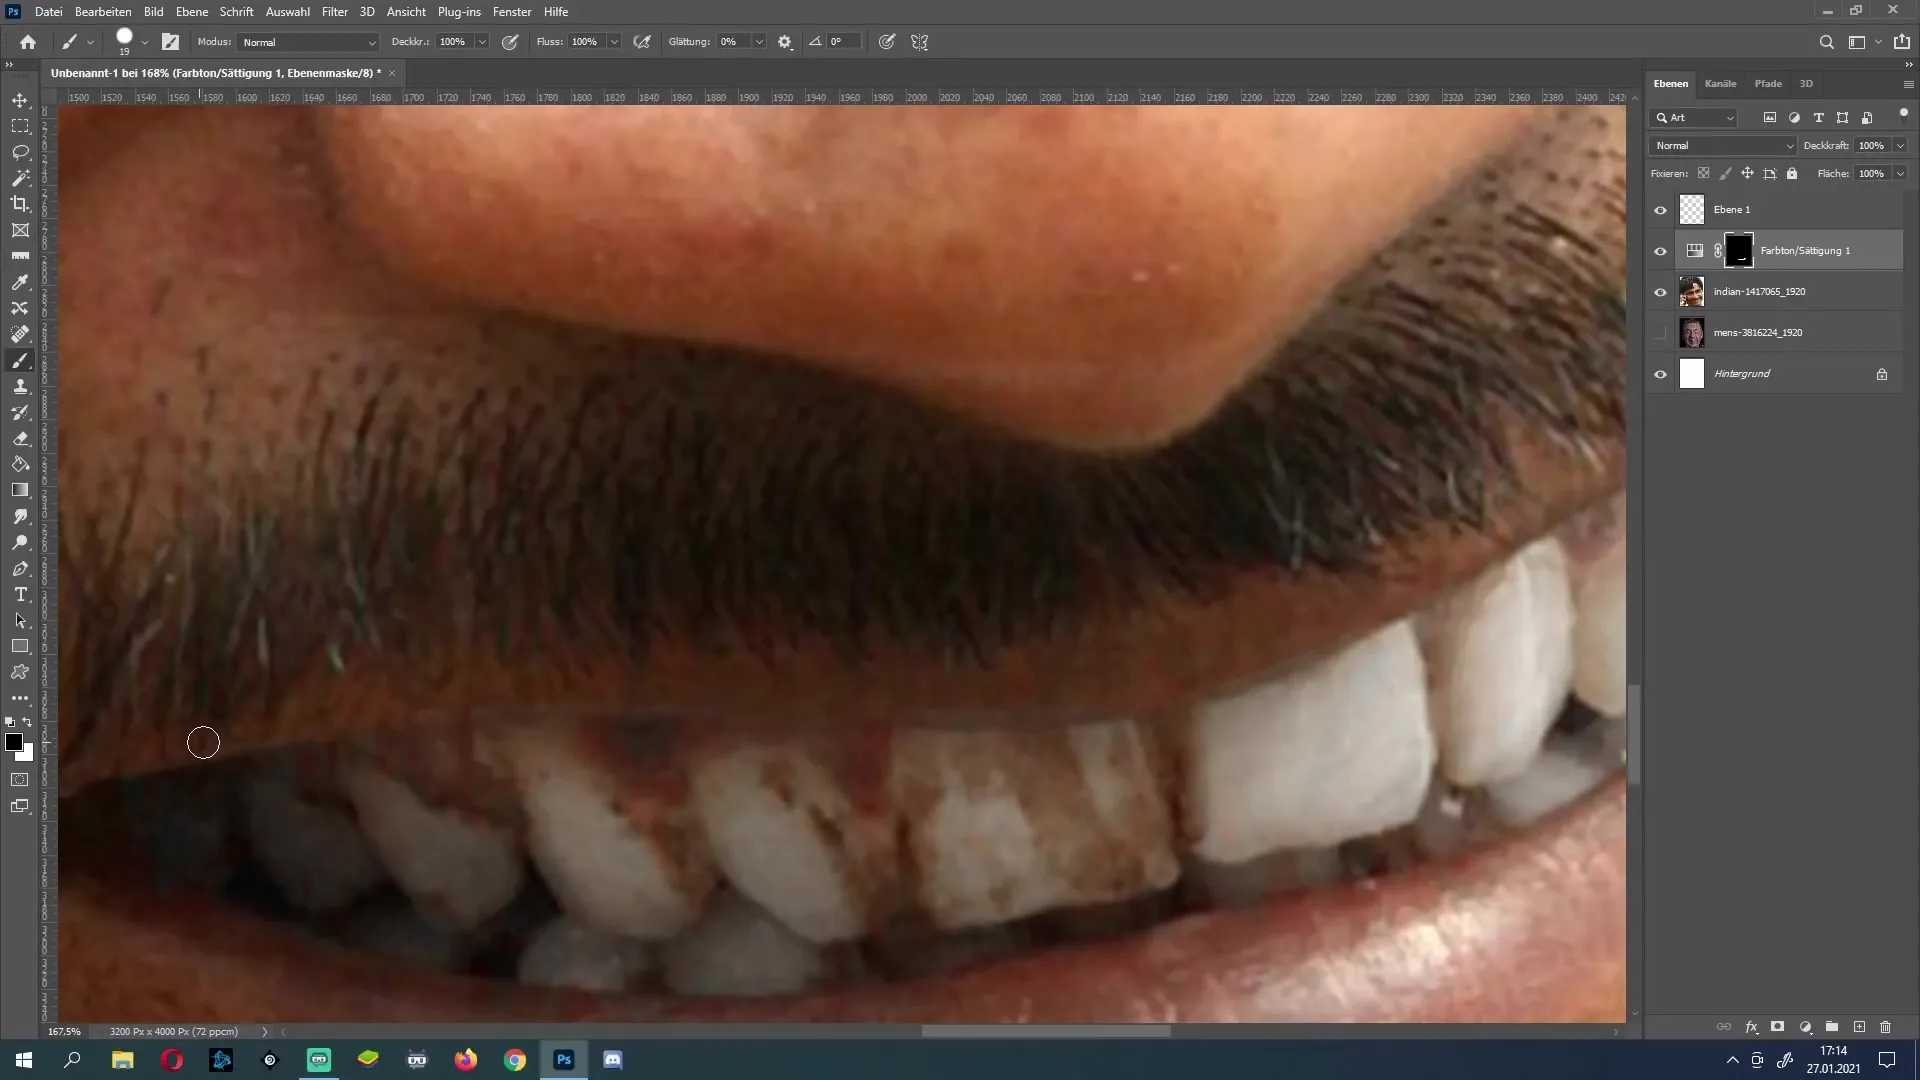
Apply the adjustments to the gums as well, but be careful, as very precise work is necessary here.
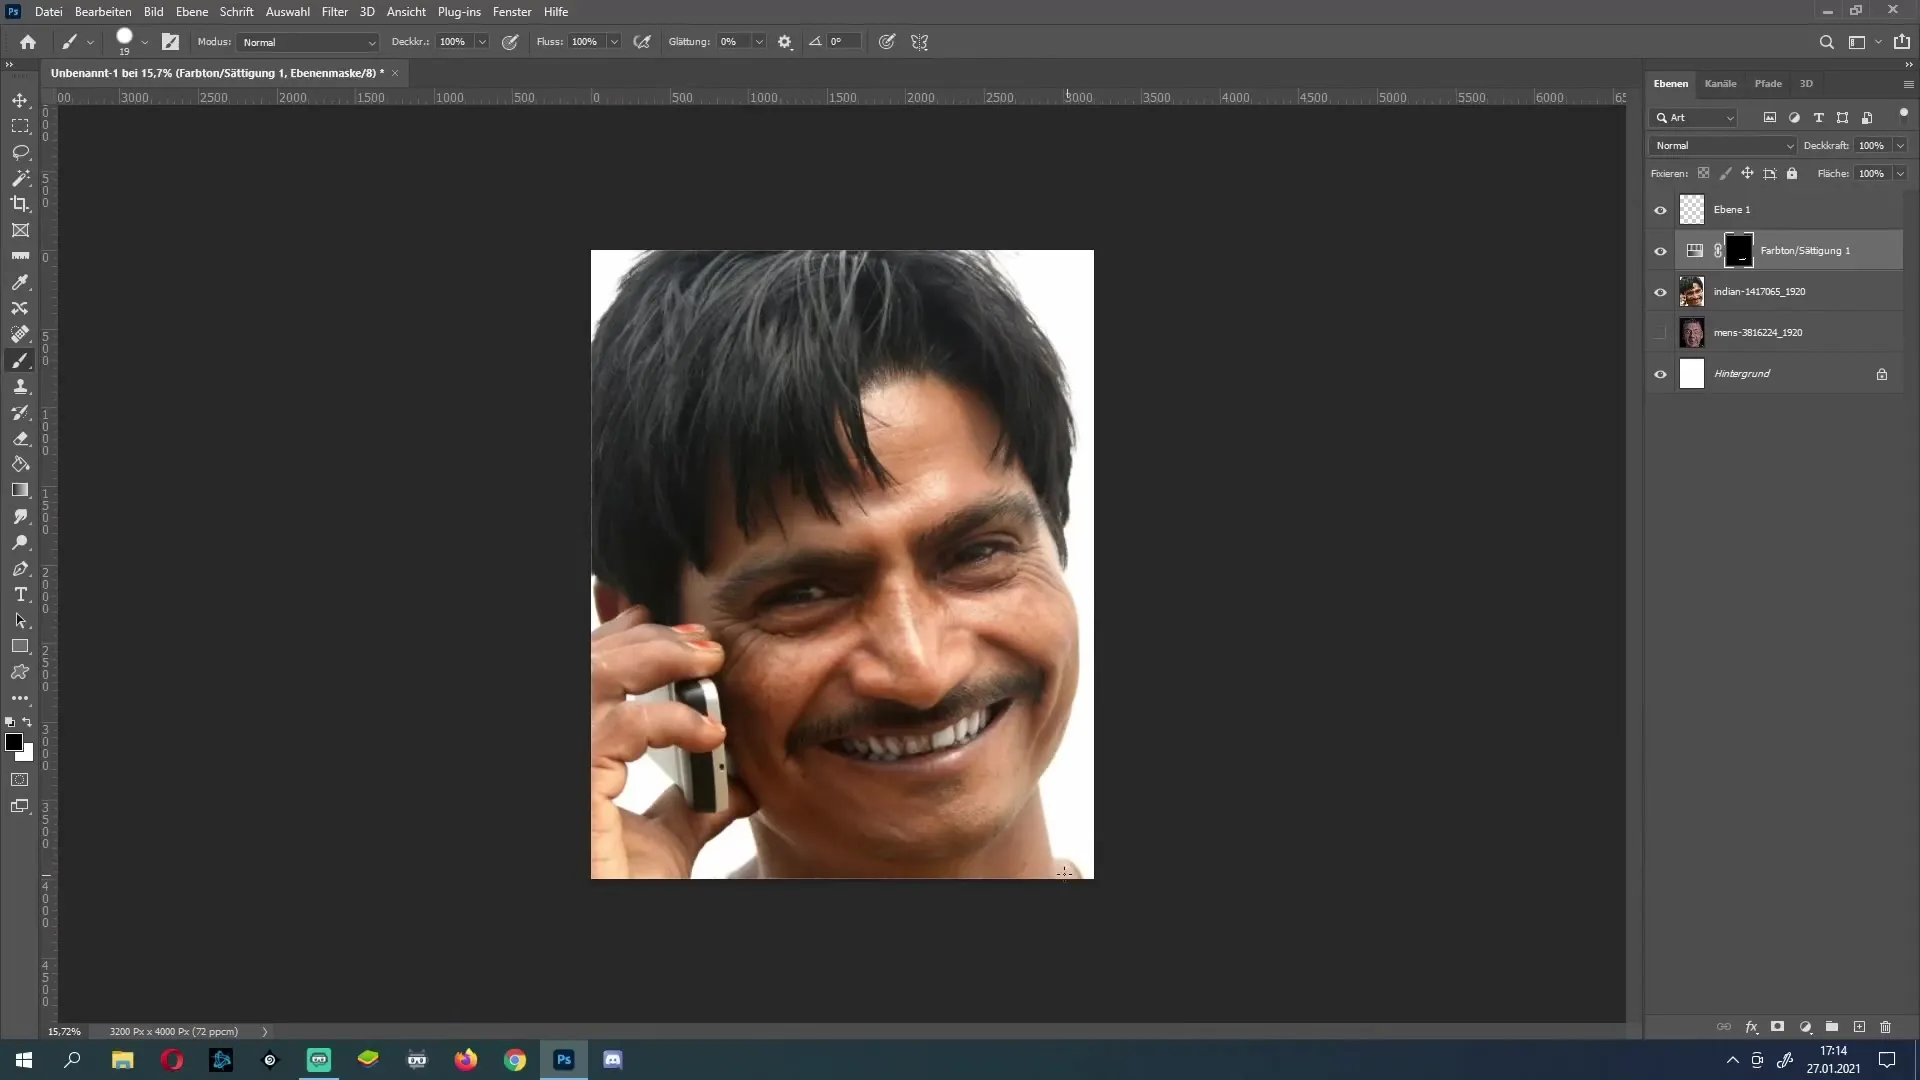
Once you have made all the changes, regularly zoom in and check the details to ensure that everything looks natural.
Summary
In this comprehensive guide, you have learned how to brighten teeth and effectively remove unsightly spots in Photoshop using some simple tools and techniques. By combining selection tools and brightness/saturation adjustments, you will achieve a beautiful and natural result.
Frequently Asked Questions
How can I best select the teeth?Use the lasso tool and roughly outline the teeth.
How do I adjust brightness and saturation?Use the "Hue/Saturation" option in the "Adjustments" window.
What if the teeth look too pale?Make sure not to increase the brightness too much and adjust the saturation.
Can I edit other areas in the image?Yes, the same techniques can also be used for lips and gums.
How can I ensure the image looks natural?Regularly zoom in and check the details to avoid artificial effects.


