In digital photography, the white balance can significantly determine how realistic and appealing your image looks. Poorly set white balance can distort the color tones of your photos significantly, resulting in the image appearing too yellow, bluish, or greenish, for example. In this guide, I will show you how you can adjust the white balance in Photoshop both automatically and manually to represent colors as you see them with your own eyes. Whether you are working in RAW format or with JPEG, these techniques will help you improve the color quality of your images.
Key Insights
- White balance corrects color distortions in photographs and ensures a realistic image.
- In Photoshop, you can adjust white balance both automatically and manually.
- Editing RAW images is particularly recommended for achieving better results.
Step-by-Step Guide
Step 1: Understanding the Basics of White Balance
Before working in Photoshop, it is important to understand what white balance is. White balance ensures that an image looks as you actually see it with your eyes. Many cameras can automatically set the white balance, but sometimes this is not done perfectly. This can result in images having an unnatural tint. In Photoshop, you can correct these tints.

Step 2: Opening the Image in Photoshop
Open Photoshop and load the image you want to adjust the white balance of. Ideally, you should use a RAW image, as this format gives you more flexibility in editing.

Step 3: Accessing the Camera Raw Filter
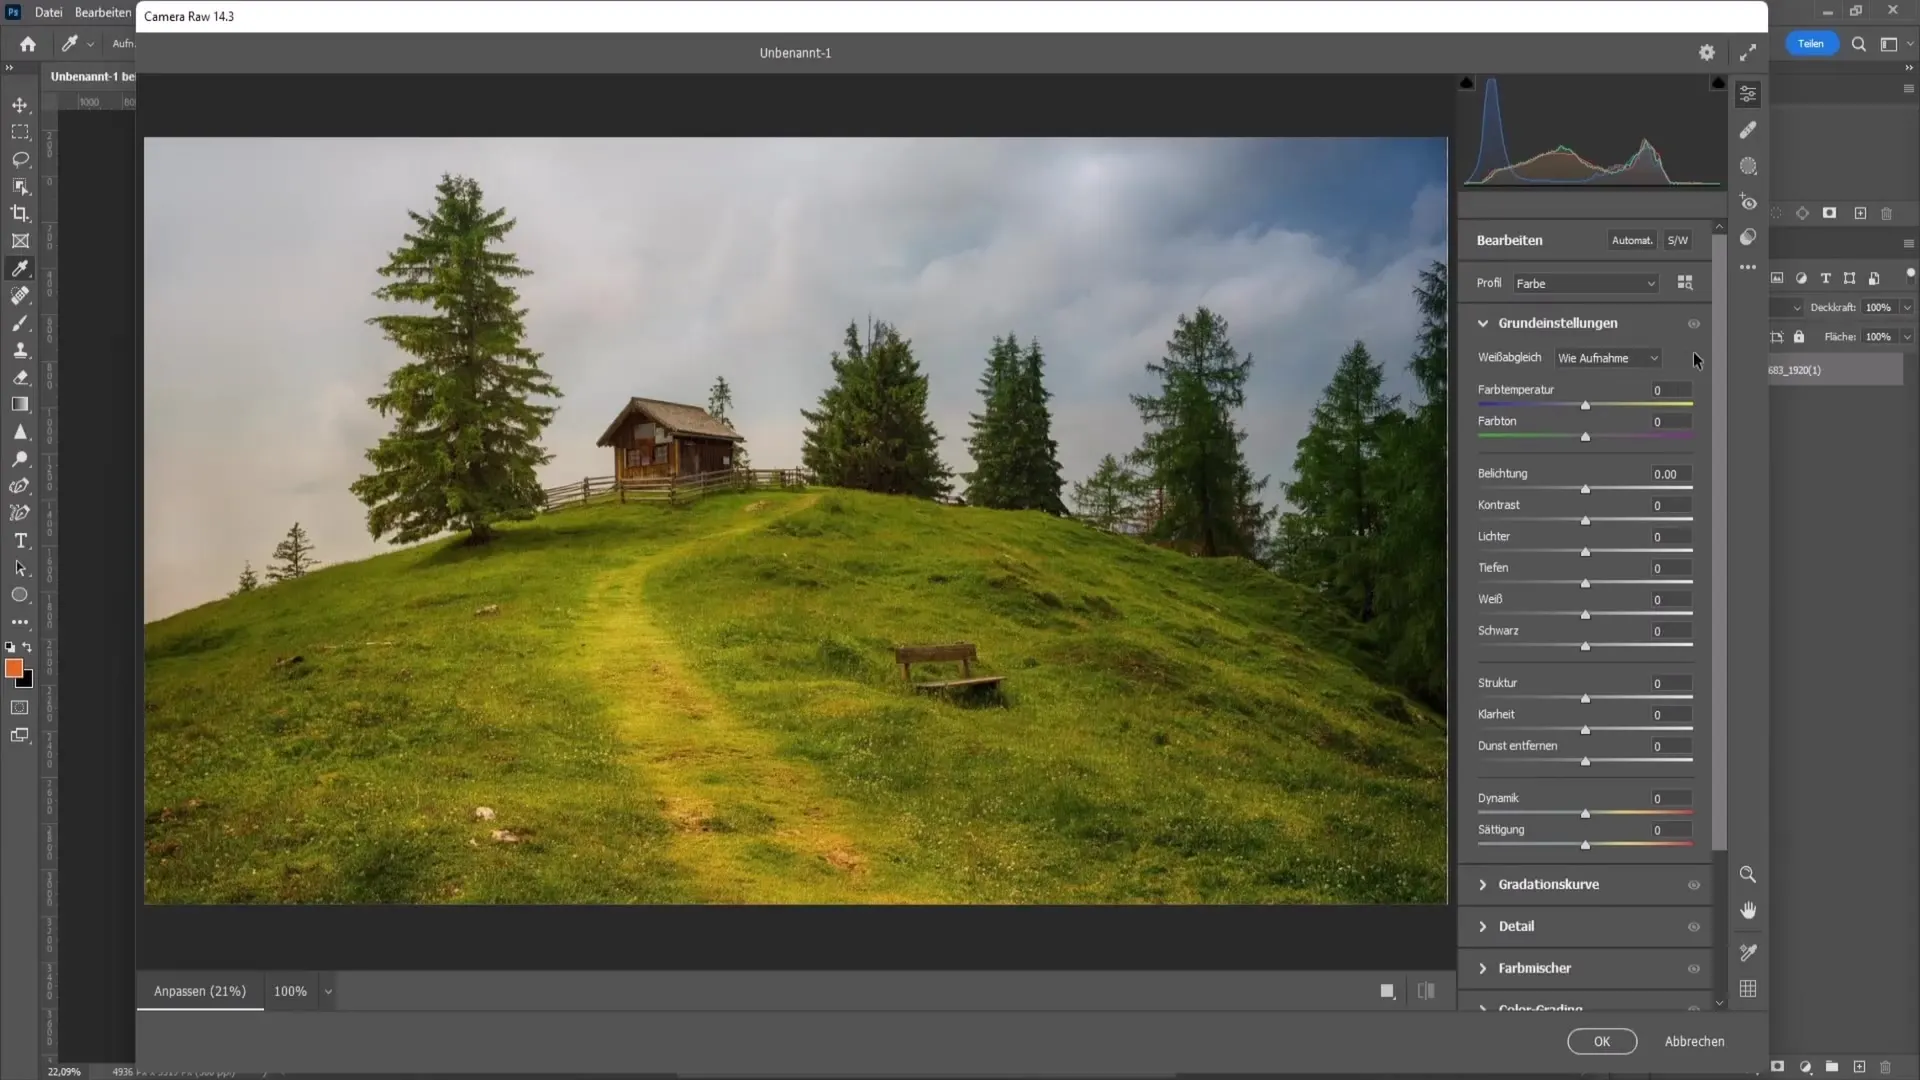
To adjust the white balance, go to "Filter" and select "Camera Raw Filter." There you have the option to make various adjustments, including white balance.

Step 4: Automatic Adjustment with Eyedropper Tool
One of the simplest methods for white balance is using the Eyedropper tool. If you have a pure white point in your image, click on it with the Eyedropper tool. This method works best when you have a clearly defined white in the image.

Step 5: Manual Adjustment of Color Temperature
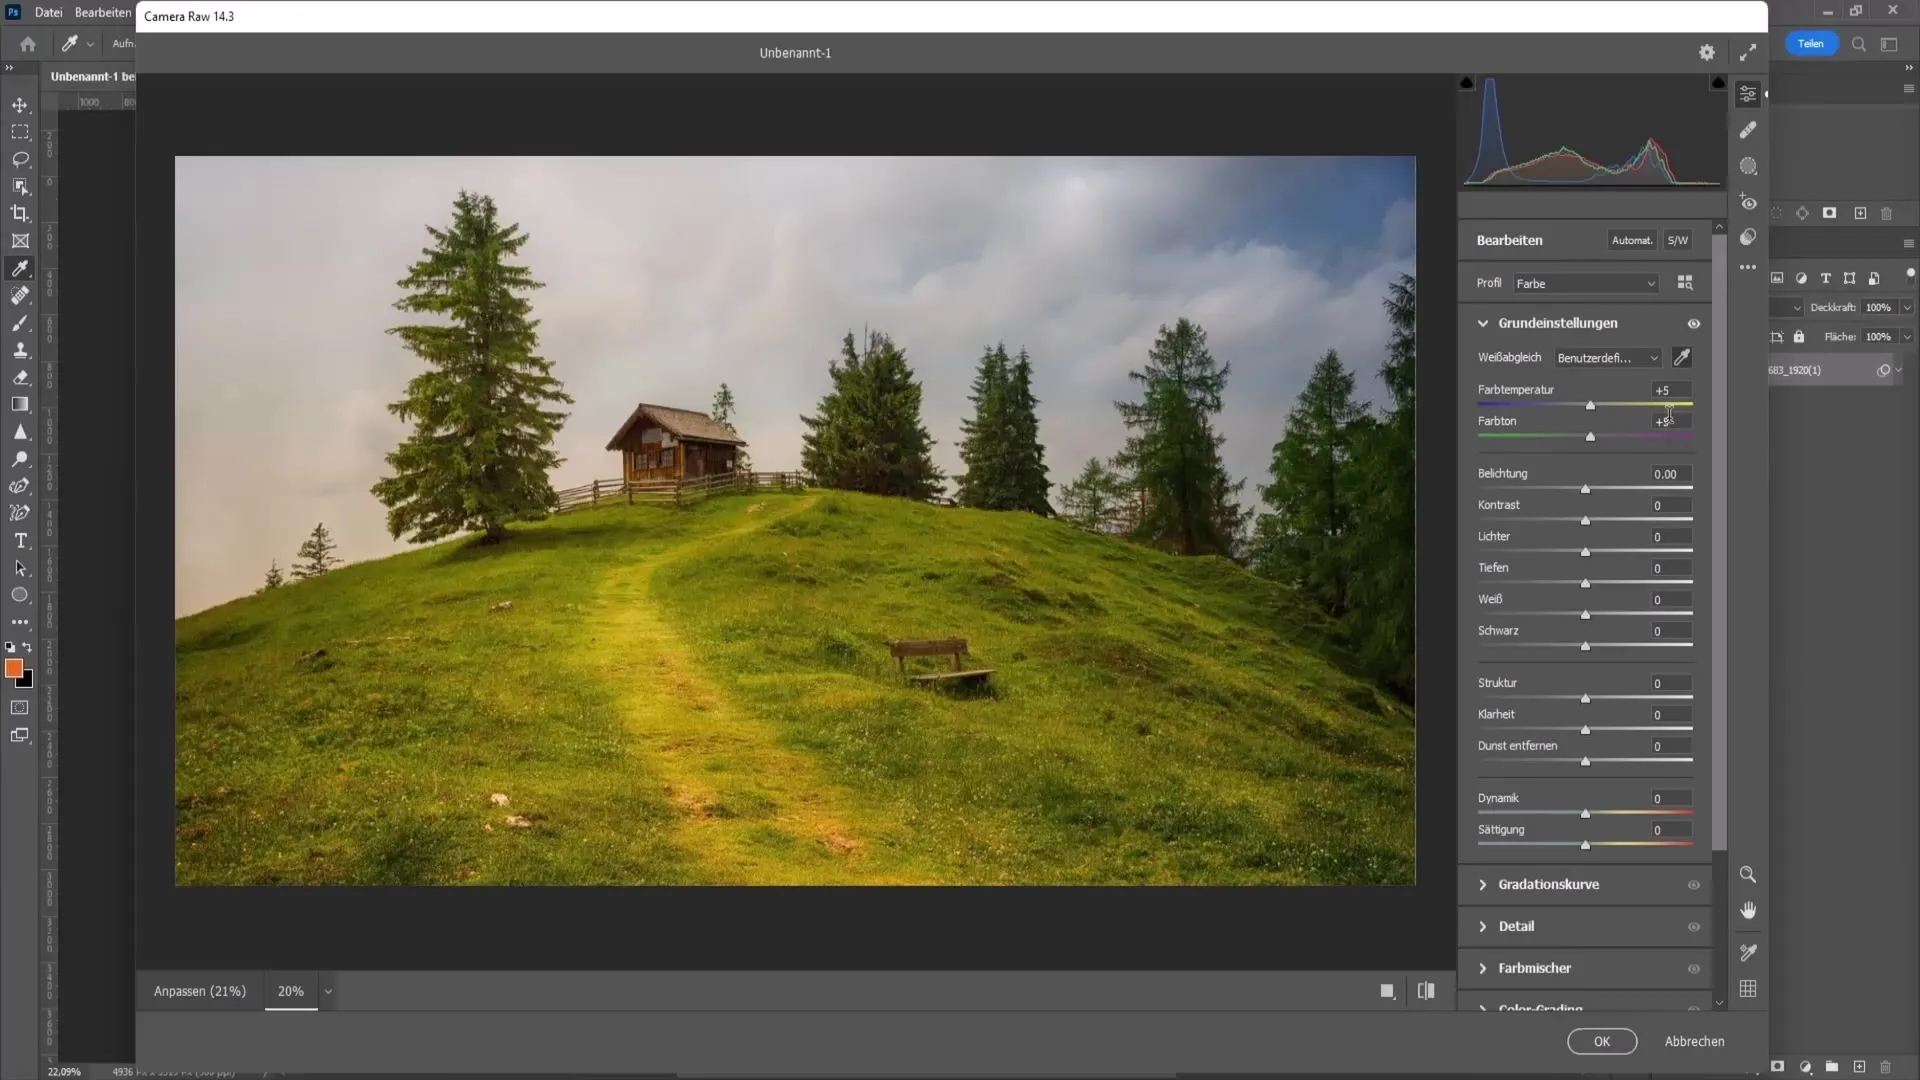
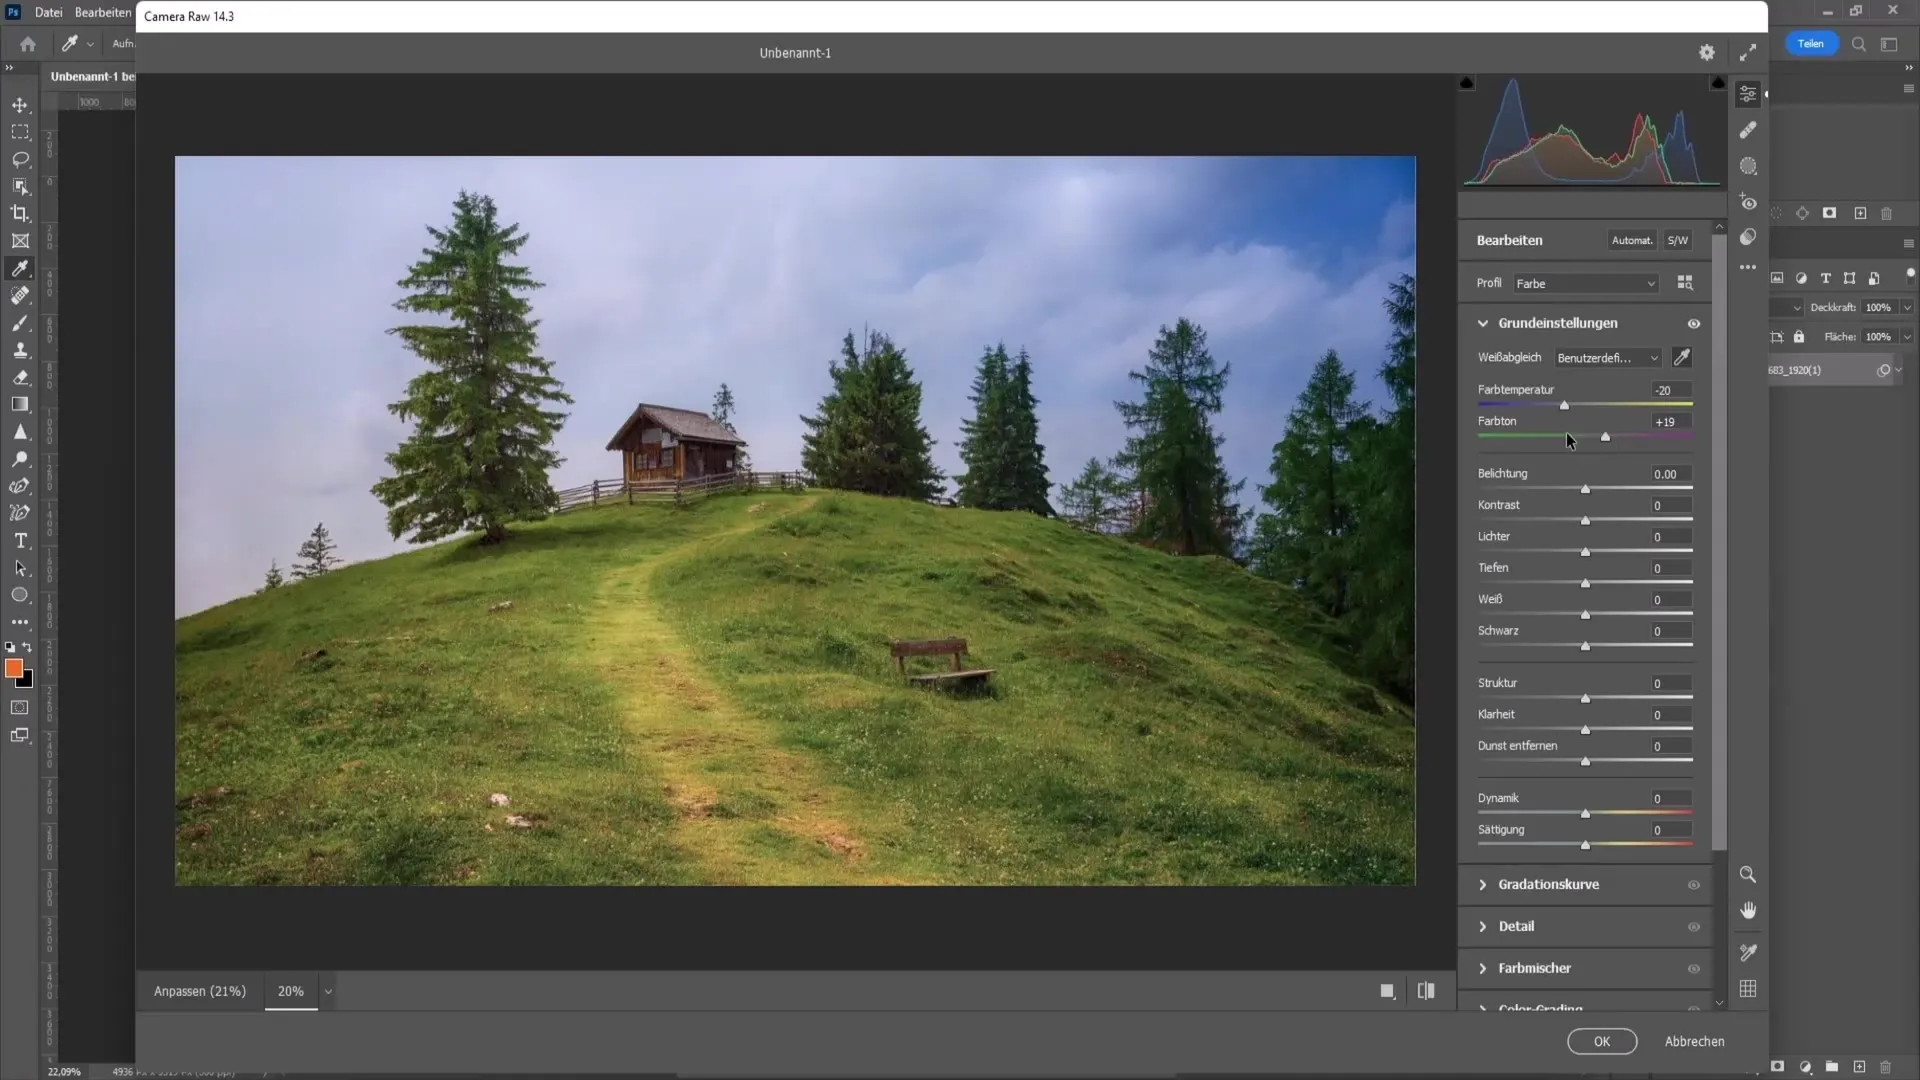
If you don't have a perfect white point, you can manually adjust the color temperature and hue. Pay attention to how the image looks and experiment with the sliders. To remove excess yellow, move the slider towards blue.

Step 6: Adjusting the Hue
If your image has a greenish tint, move the hue slider towards magenta. Use these sliders to bring the image into a harmonious color balance.

Step 7: Reviewing the Results
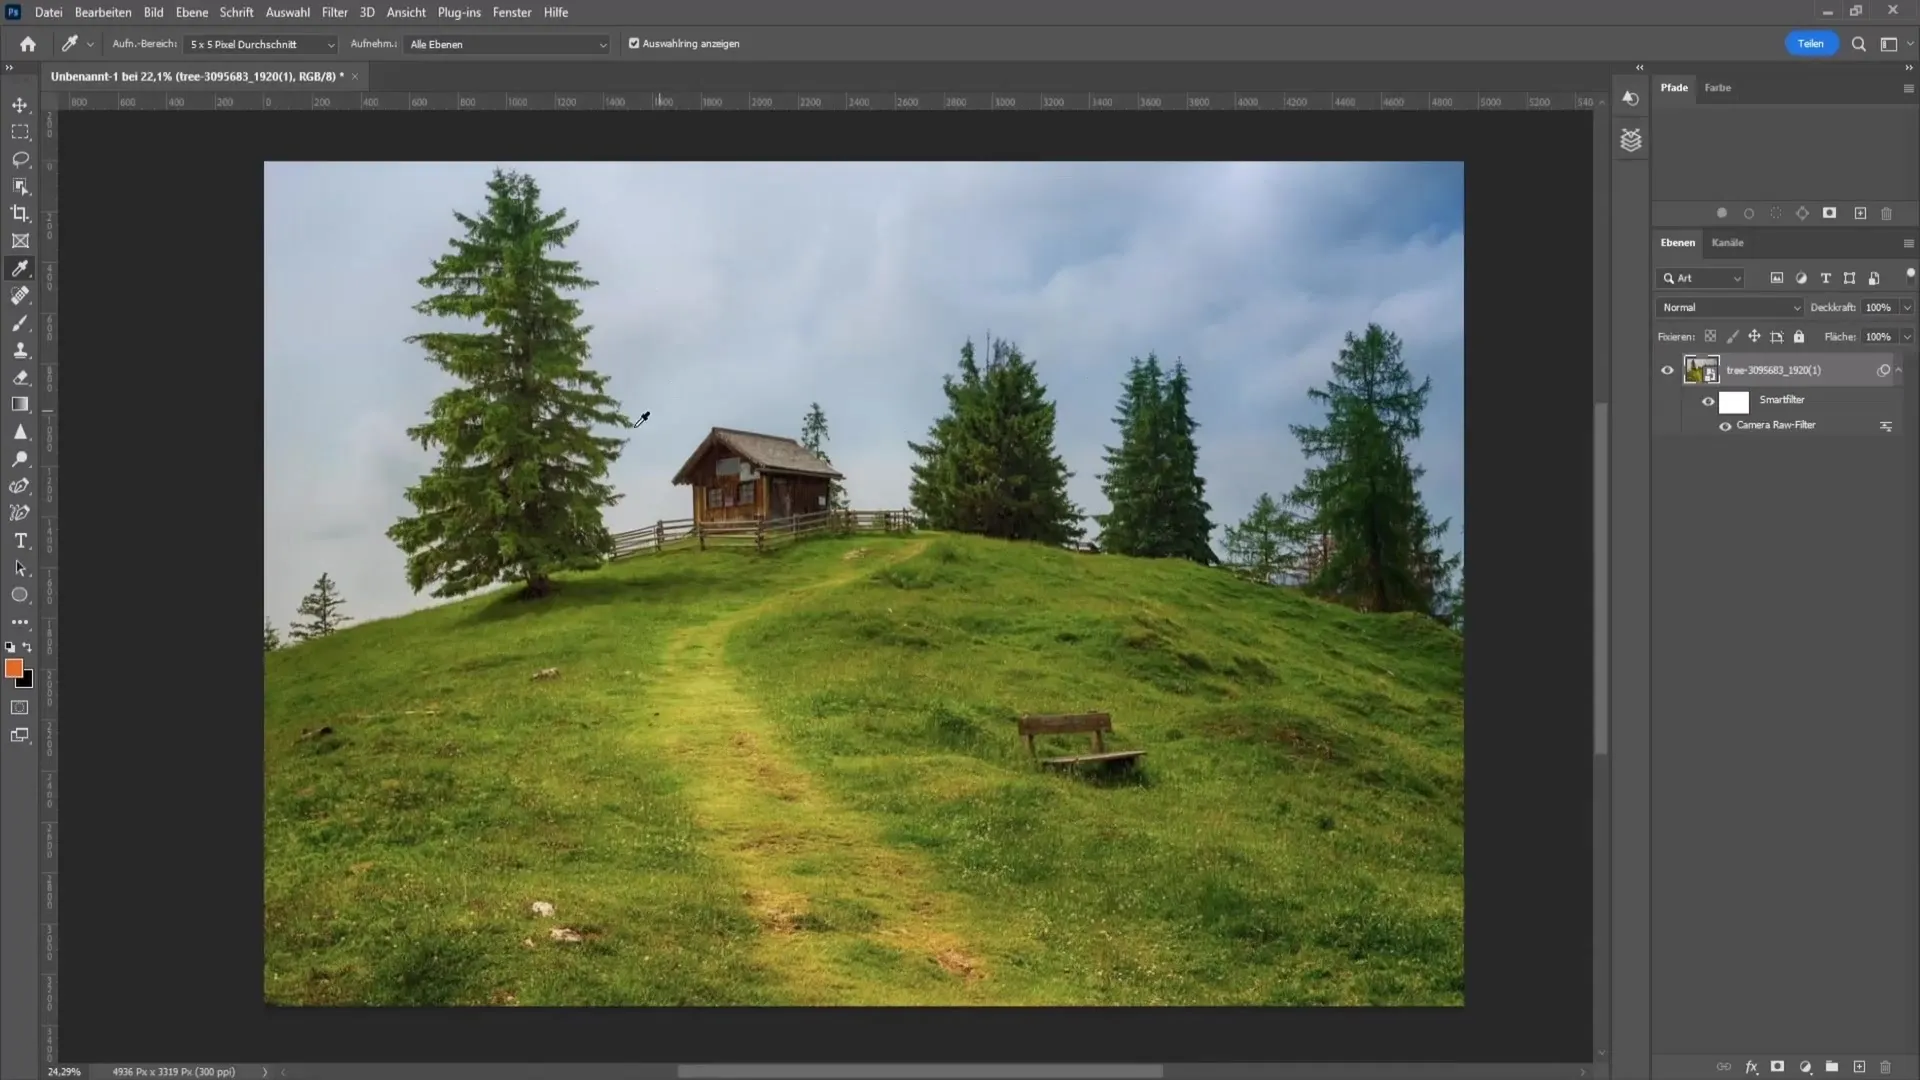
Once you have made the adjustments, click "OK" to apply the changes. It's worth doing a before-and-after comparison to verify the effectiveness of your adjustments.

Summary - Guide for Perfect White Balance in Photoshop
In this guide, you learned how to adjust the white balance in Photoshop to create more realistic images. You have learned the steps for automatic and manual adjustment of color temperature and hue. With these techniques, you can transform even initially suboptimal-looking images into impressive shots. With a little practice, you will quickly find the right balance for your photos.
Frequently Asked Questions
How can I adjust the white balance in Photoshop?You can adjust the white balance in Photoshop either automatically with the eyedropper tool on a white point or manually adjust the color temperature and hue.
Why is it better to work with RAW images?RAW images provide more flexibility for adjustments as they contain more image information and are less compressed than JPEG.
What can I do if I don't have a white point in the image?In this case, you can adjust the color temperature and hue manually using the sliders to achieve the best possible result.


