In this tutorial, you will learn how to create realistic smoke overlays in Photoshop. You will receive both basic techniques for creating the smoke as well as tips for improving the quality of your images. Whether you are a beginner or an advanced user, these techniques will help elevate your designs to the next level.
Main Takeaways
- You can create smoke in Photoshop in various ways: through captures, filters, and drawing with brushes.
- Contrast and clarity play a crucial role in selecting and isolating smoke.
- Working with smart objects allows you to edit your images losslessly.
- Creating brush presets is a practical method to more effectively use smoke in your designs.
Step-by-Step Guide
1. Capturing and Isolating Smoke
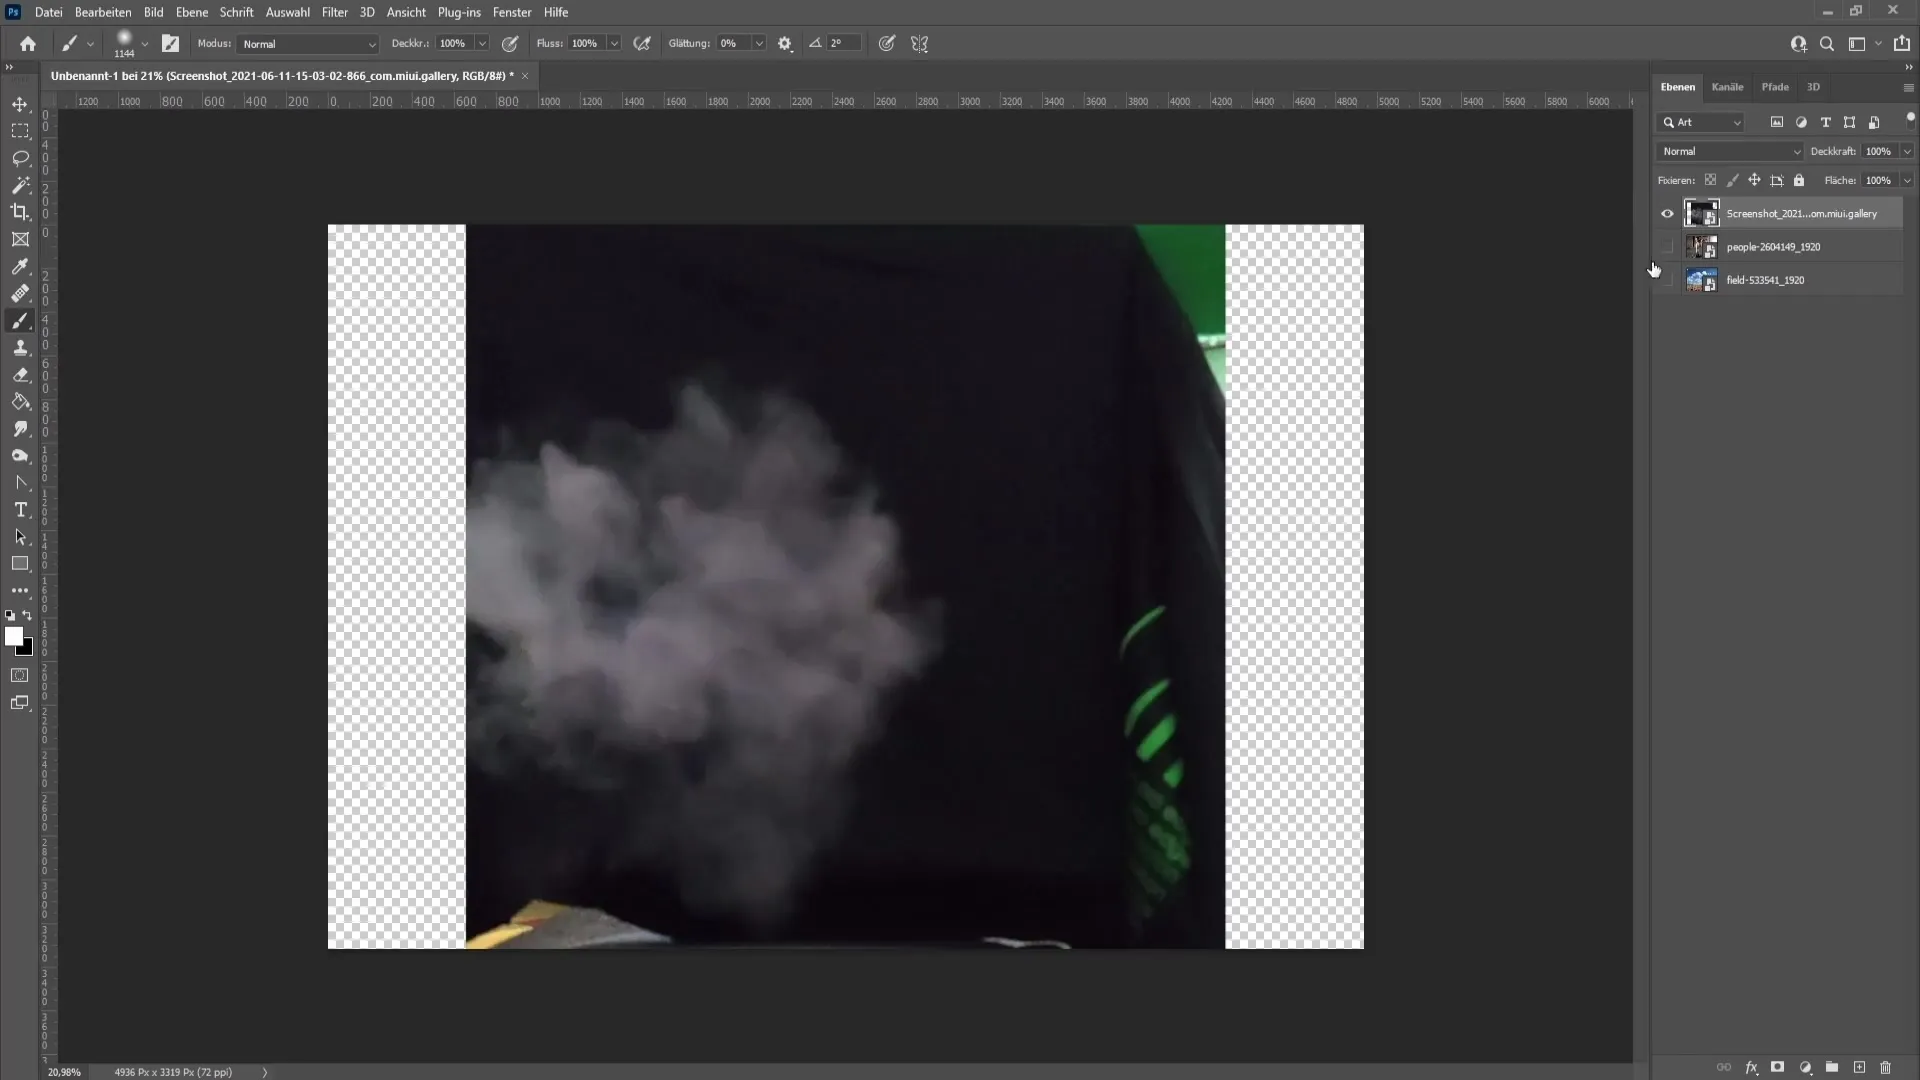
To create effective smoke, start by capturing real smoke. Make sure to use a black background to make the smoke stand out better.
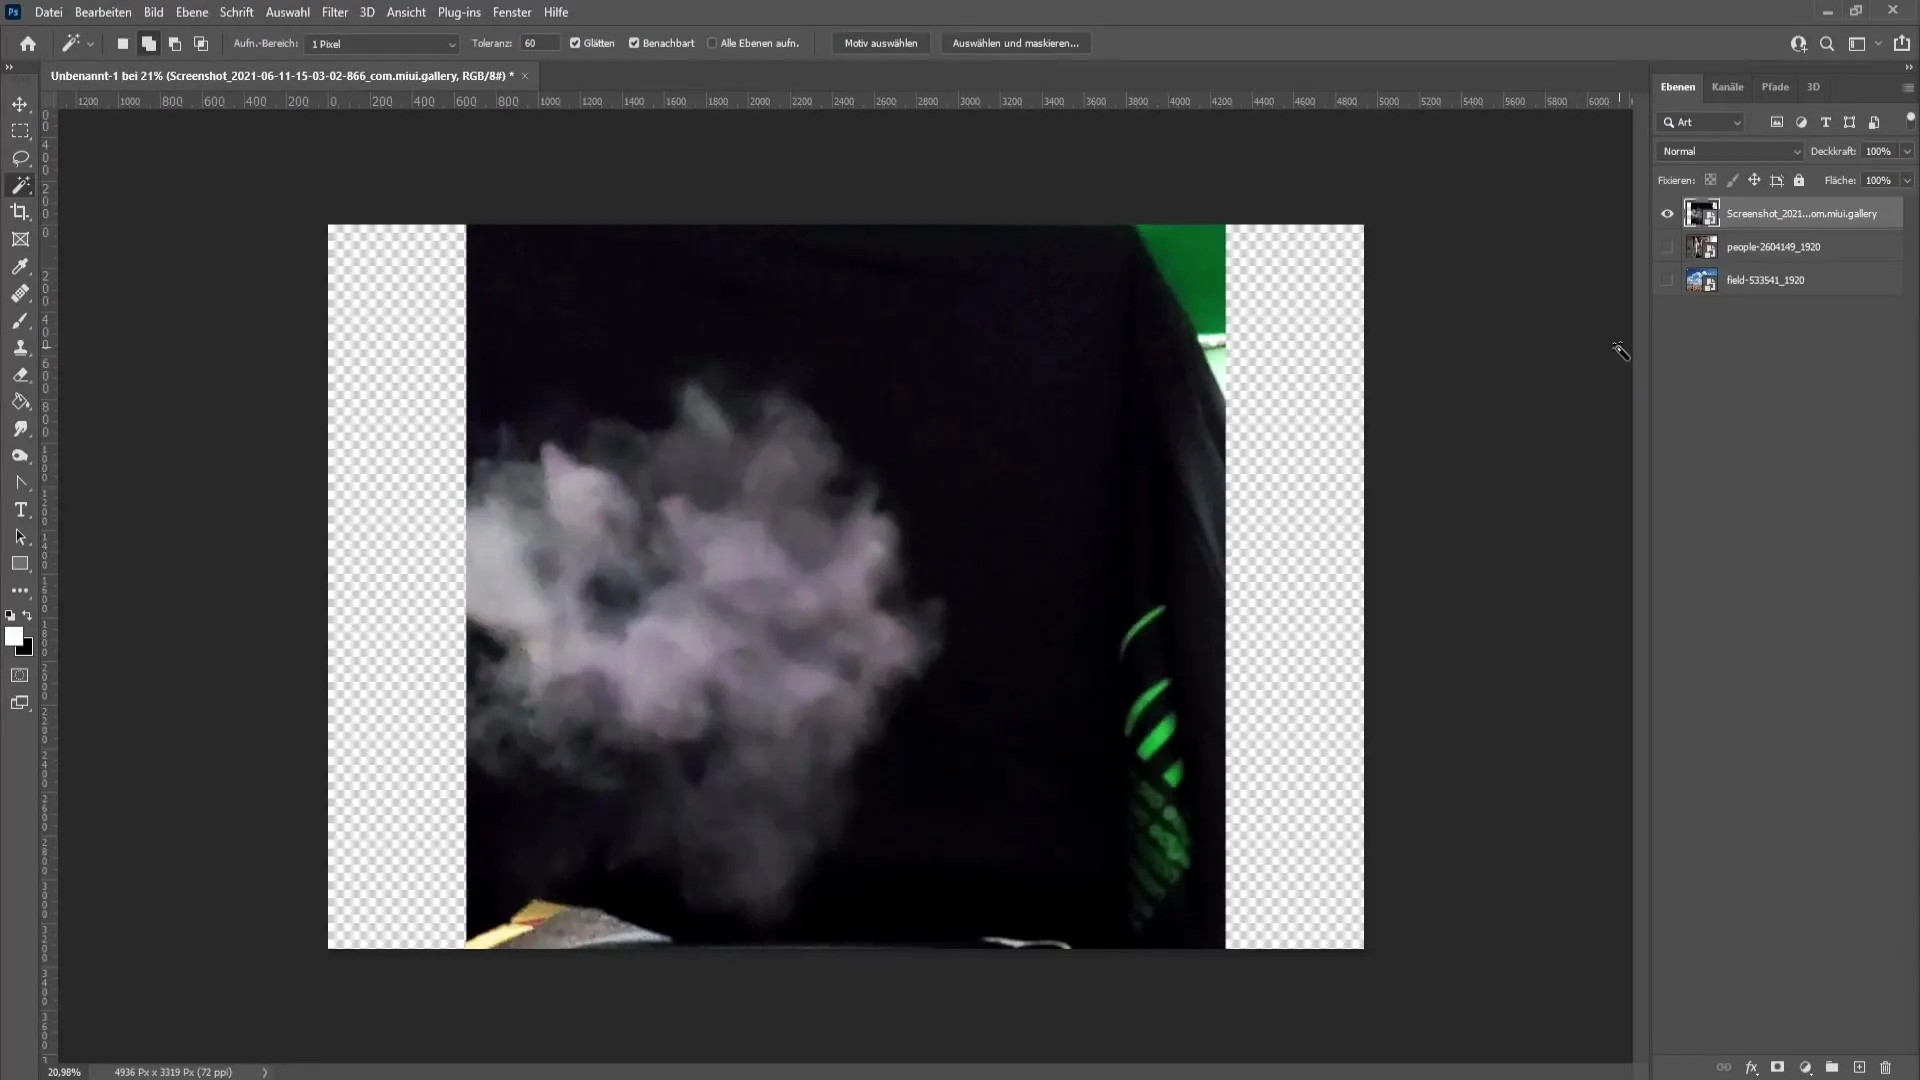
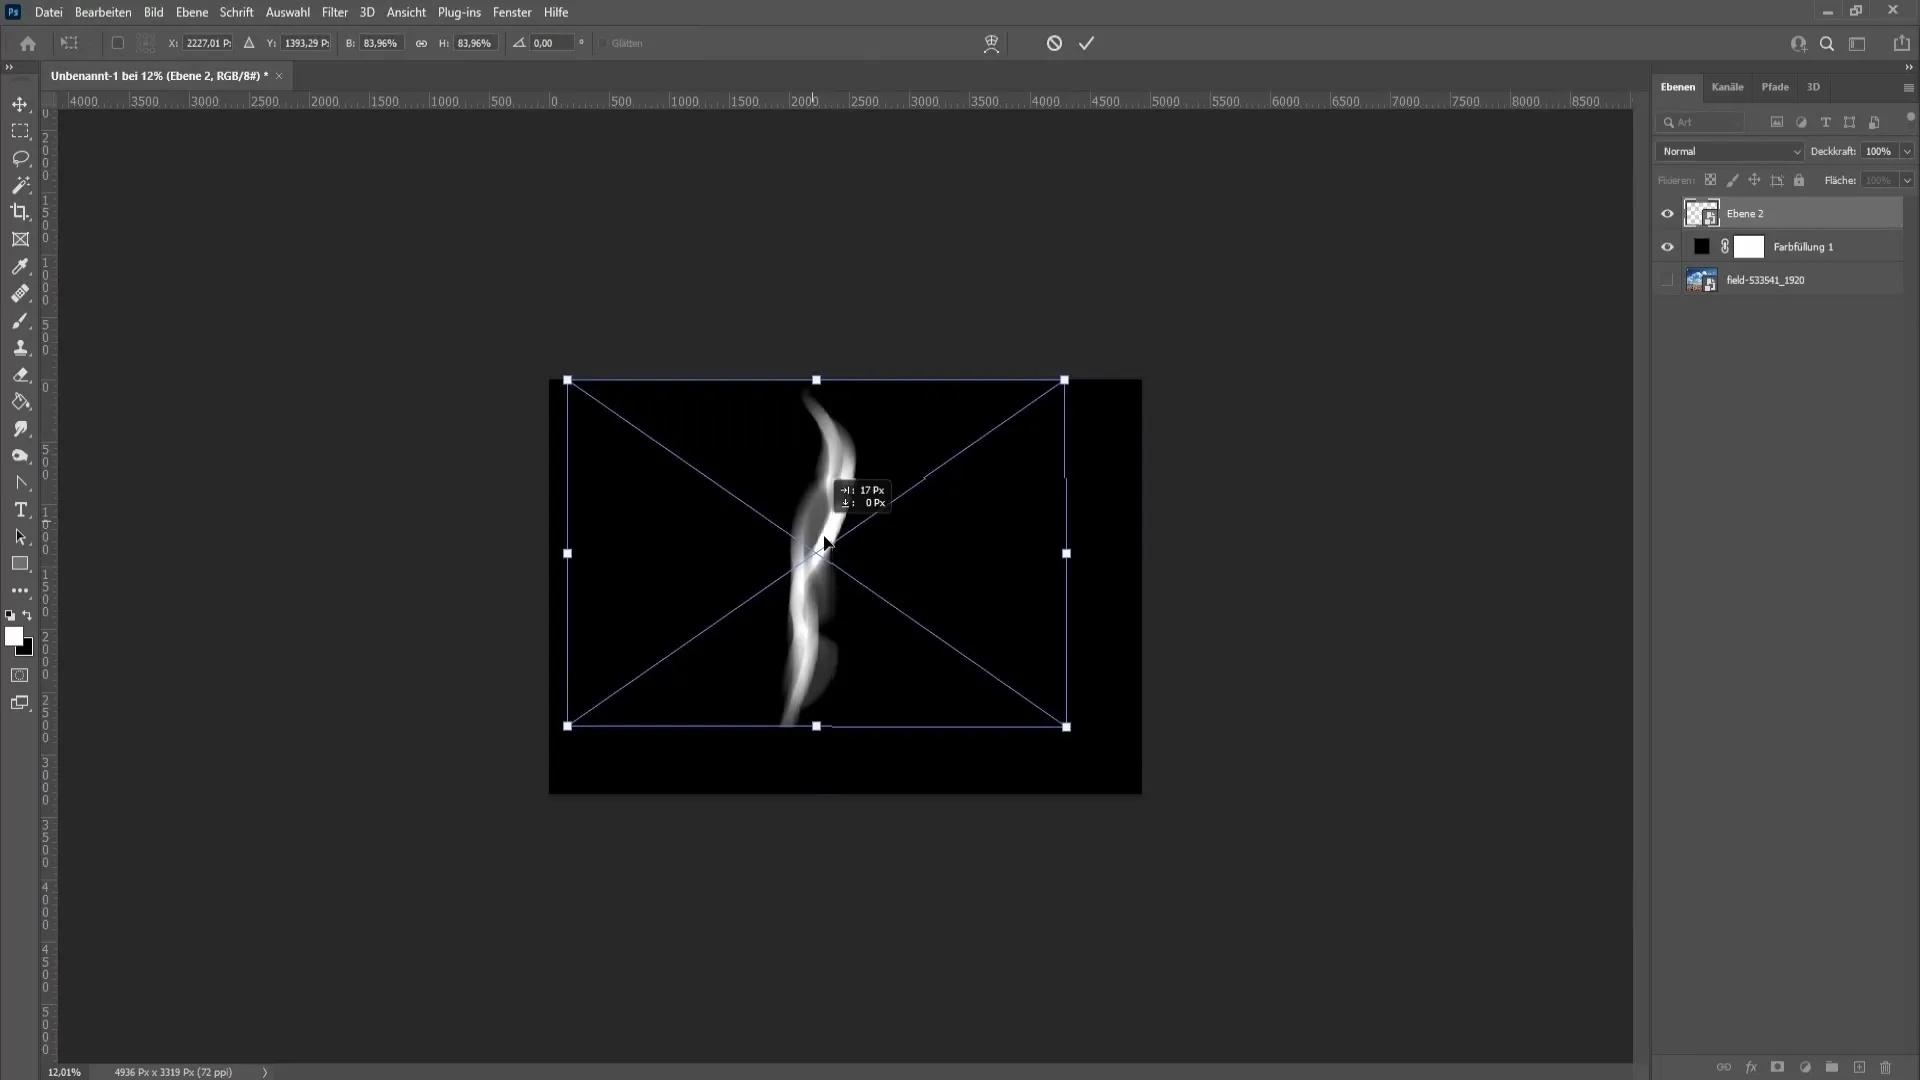
Once you have your image, open it in Photoshop. To isolate the smoke, use the Magic Wand tool with an appropriate tolerance (e.g., 60). Since the selection may not be perfect, you will need to adjust the image's contrast.
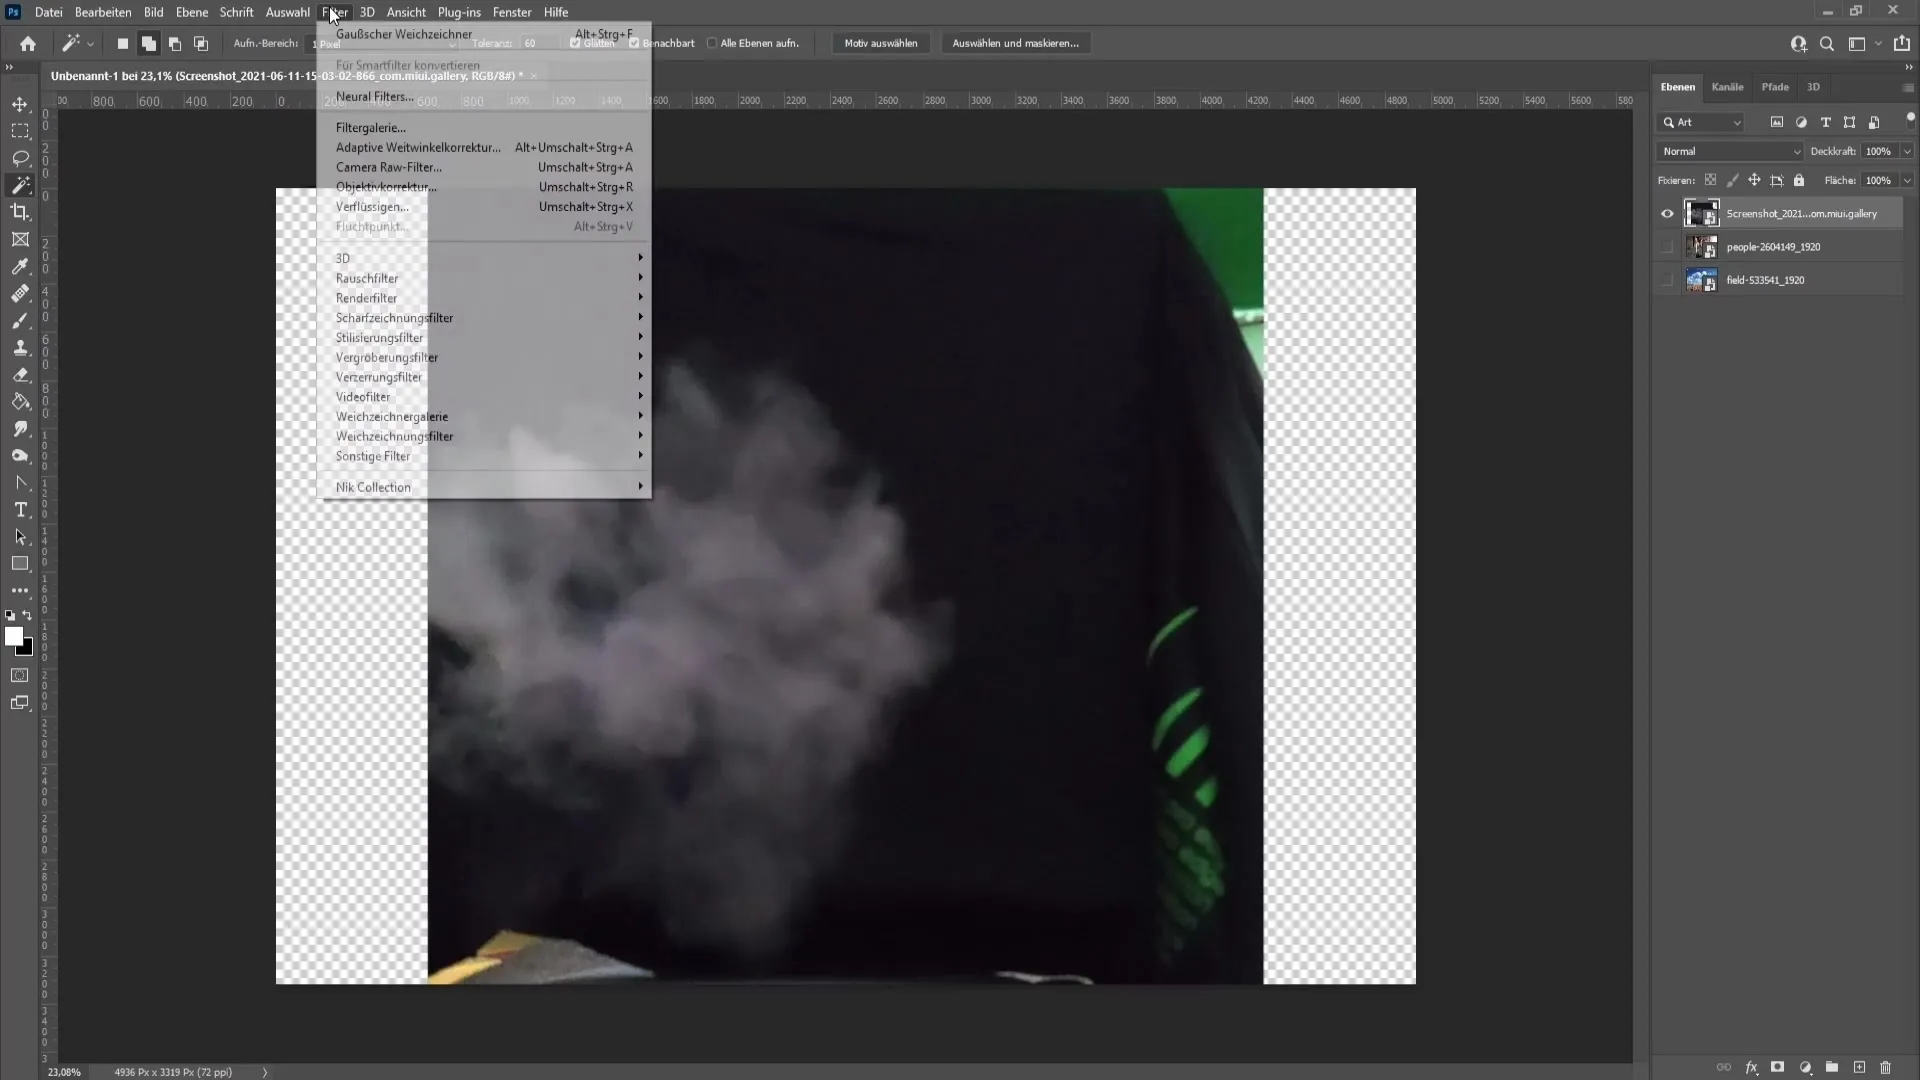
Go to Filter > Camera RAW Filter and experiment with the sliders to increase the contrast. Pay special attention to the settings for Blacks, Whites, Shadows, and Highlights to get a more precise selection.
Once the contrast looks good, convert the layer to a smart object using a right-click. Now, you can select a higher tolerance (e.g., 90) with the Magic Wand tool to capture more details of the smoke.
Add or remove further areas with the Lasso tool, then go to Select > Mask to refine the edges using the Edge-Enhancing Brush tool.
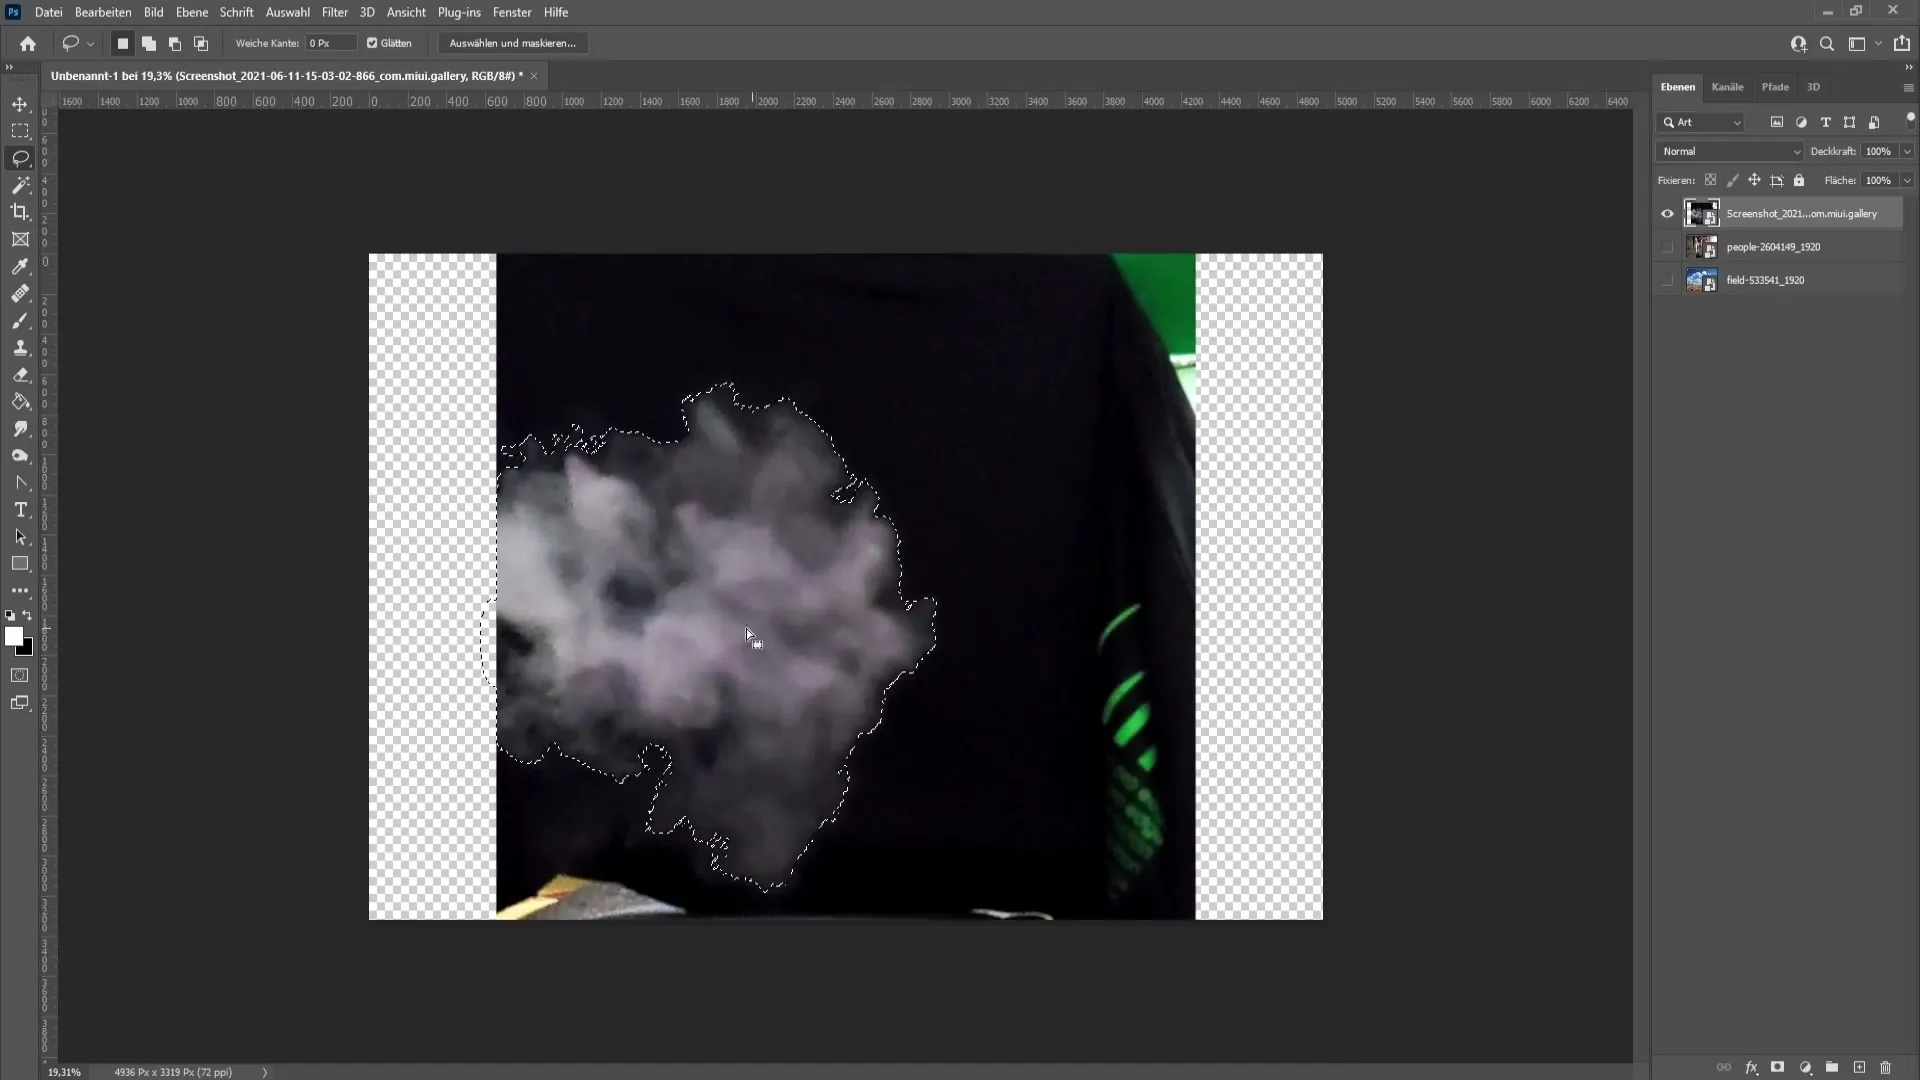
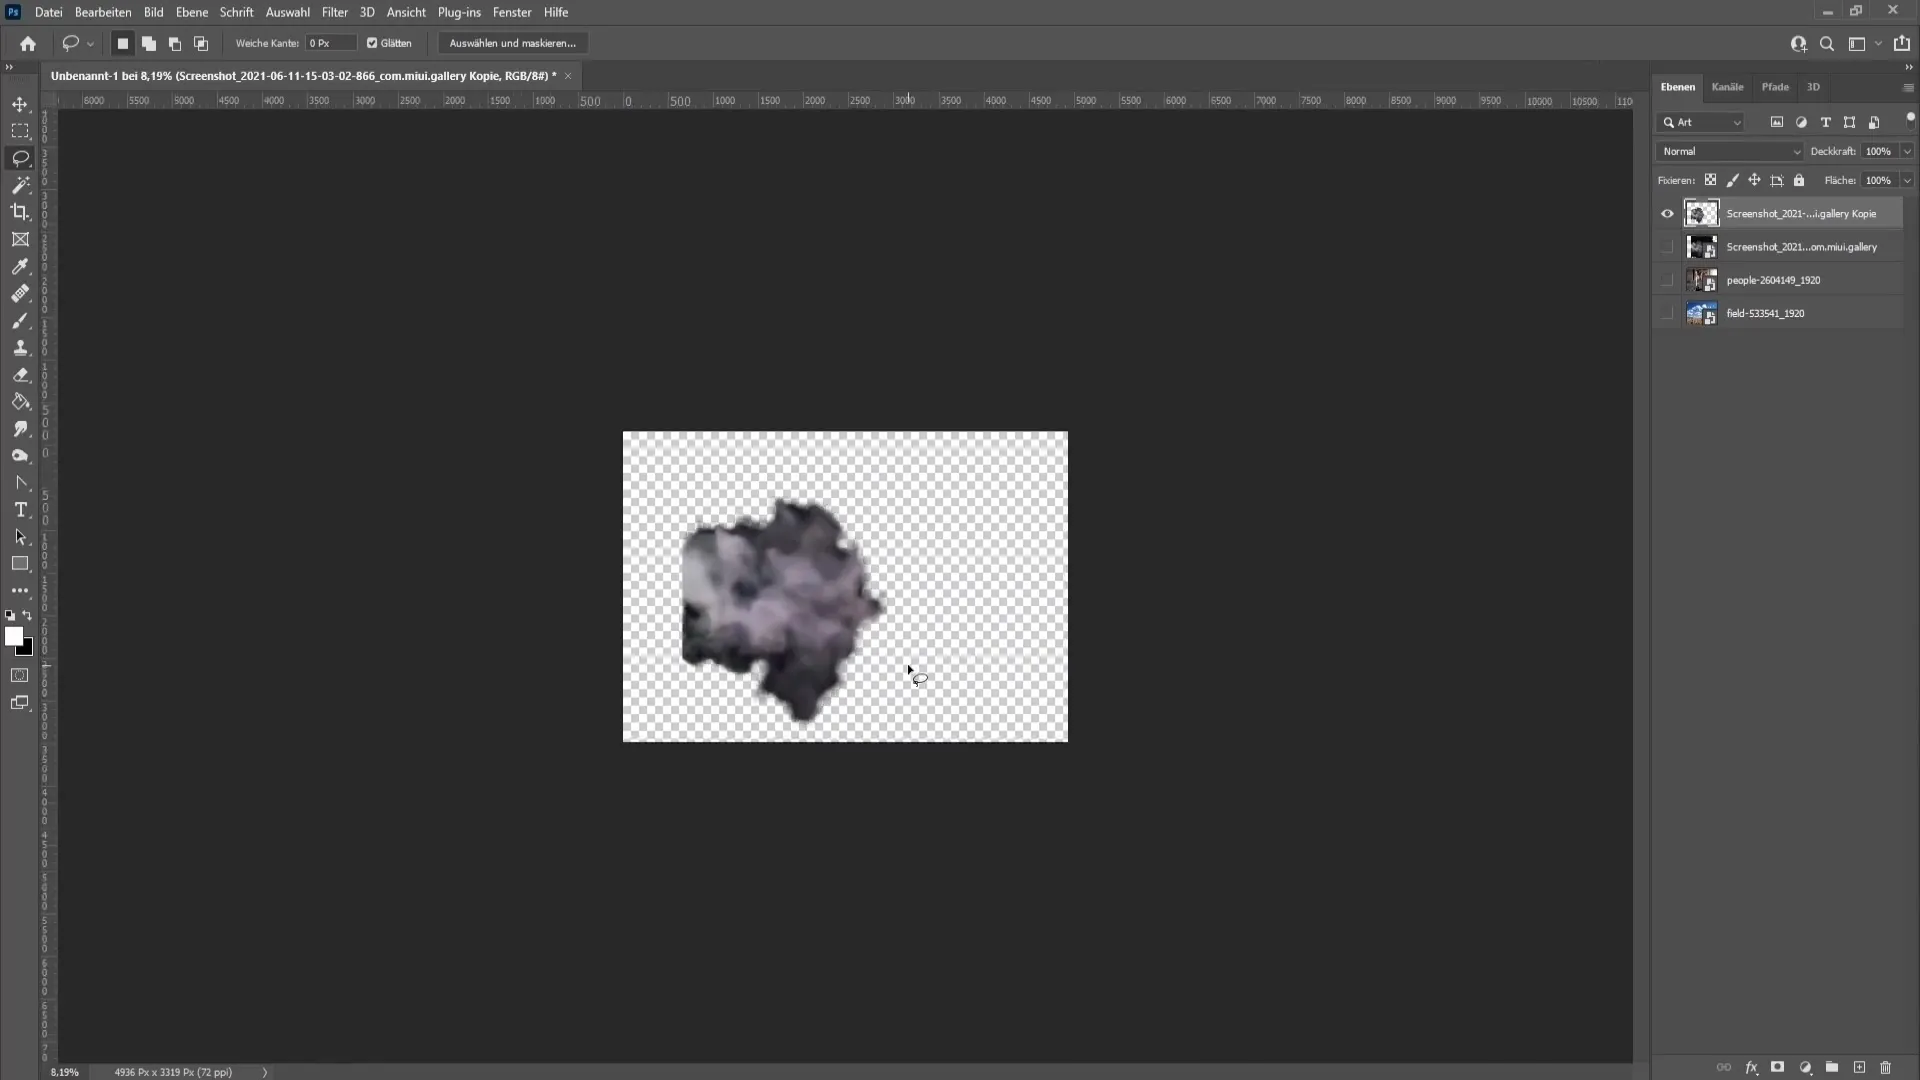
To save the isolated smoke, go to Output to a New Layer and click OK.
2. Using the Clouds Filter
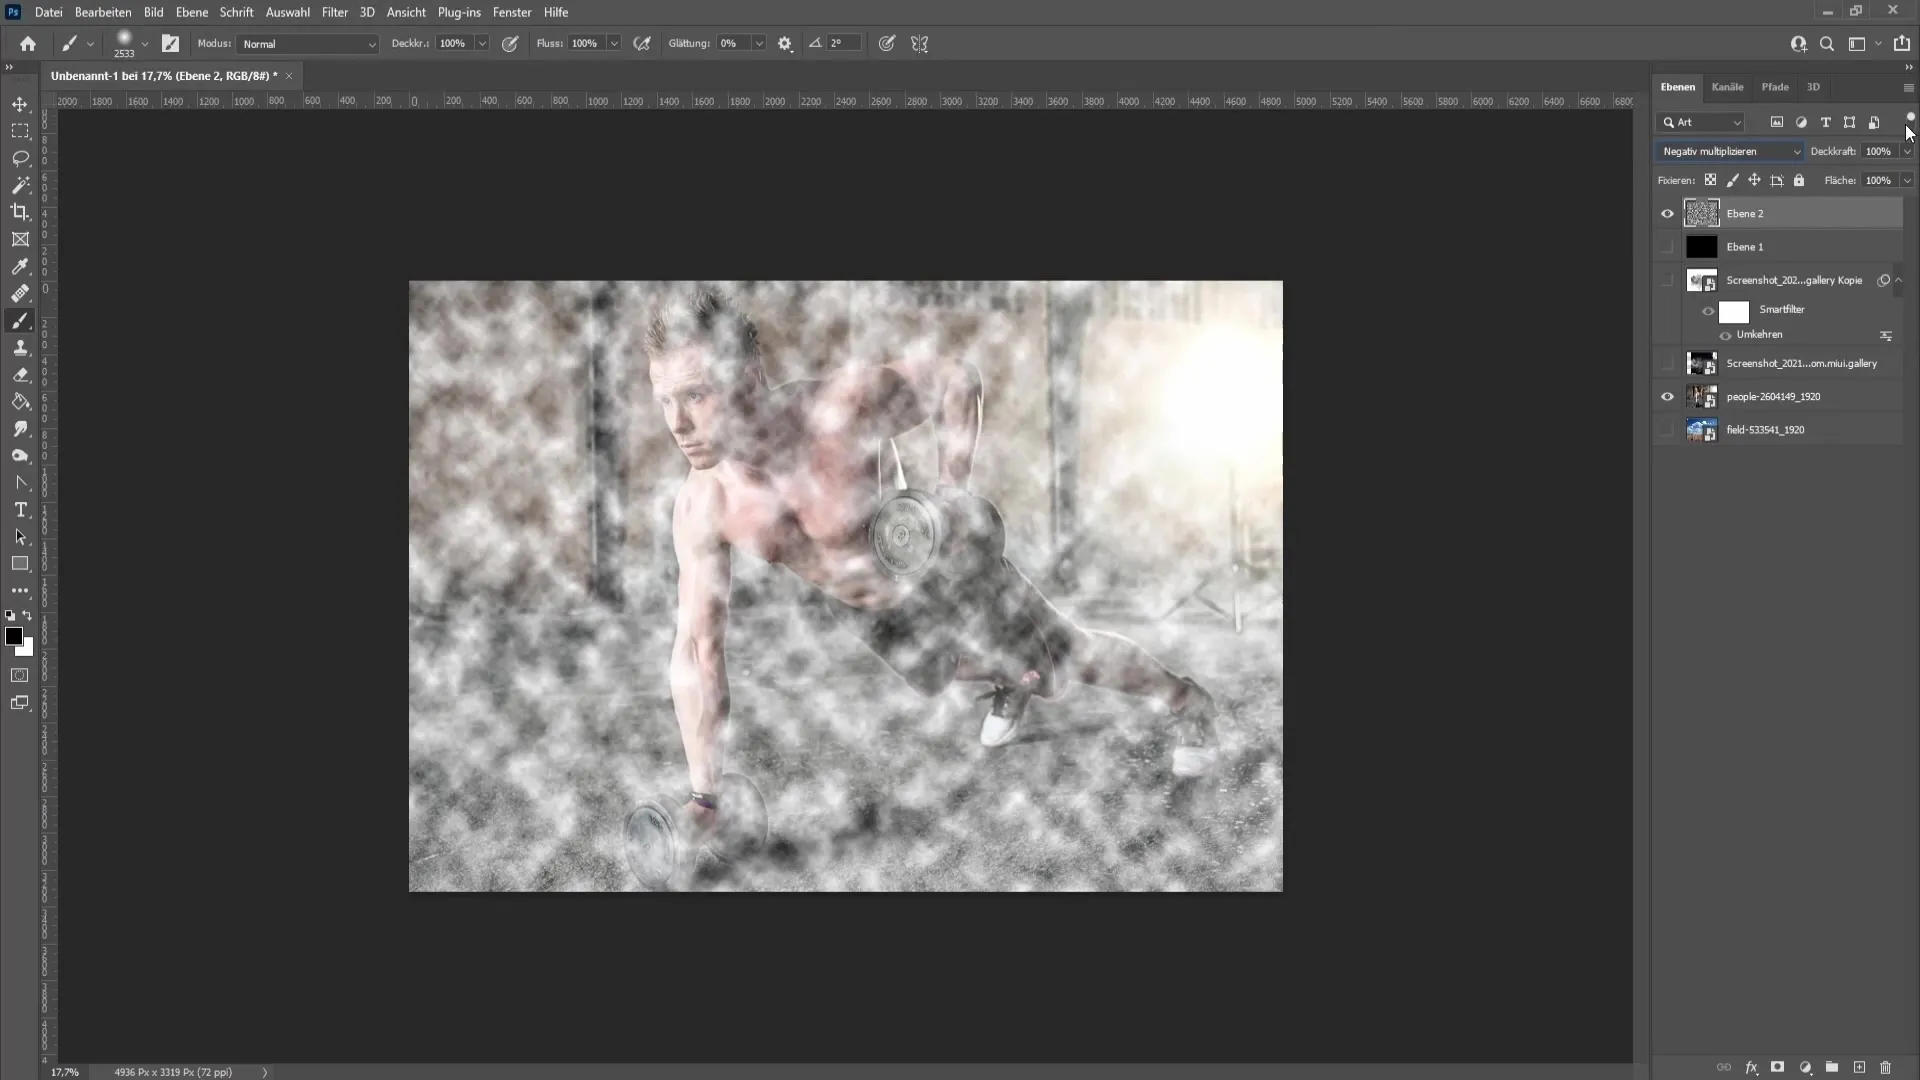
Another method is to use the Clouds filter to create a basic smoke output. Create a new layer and set the foreground color to black and the background color to white.
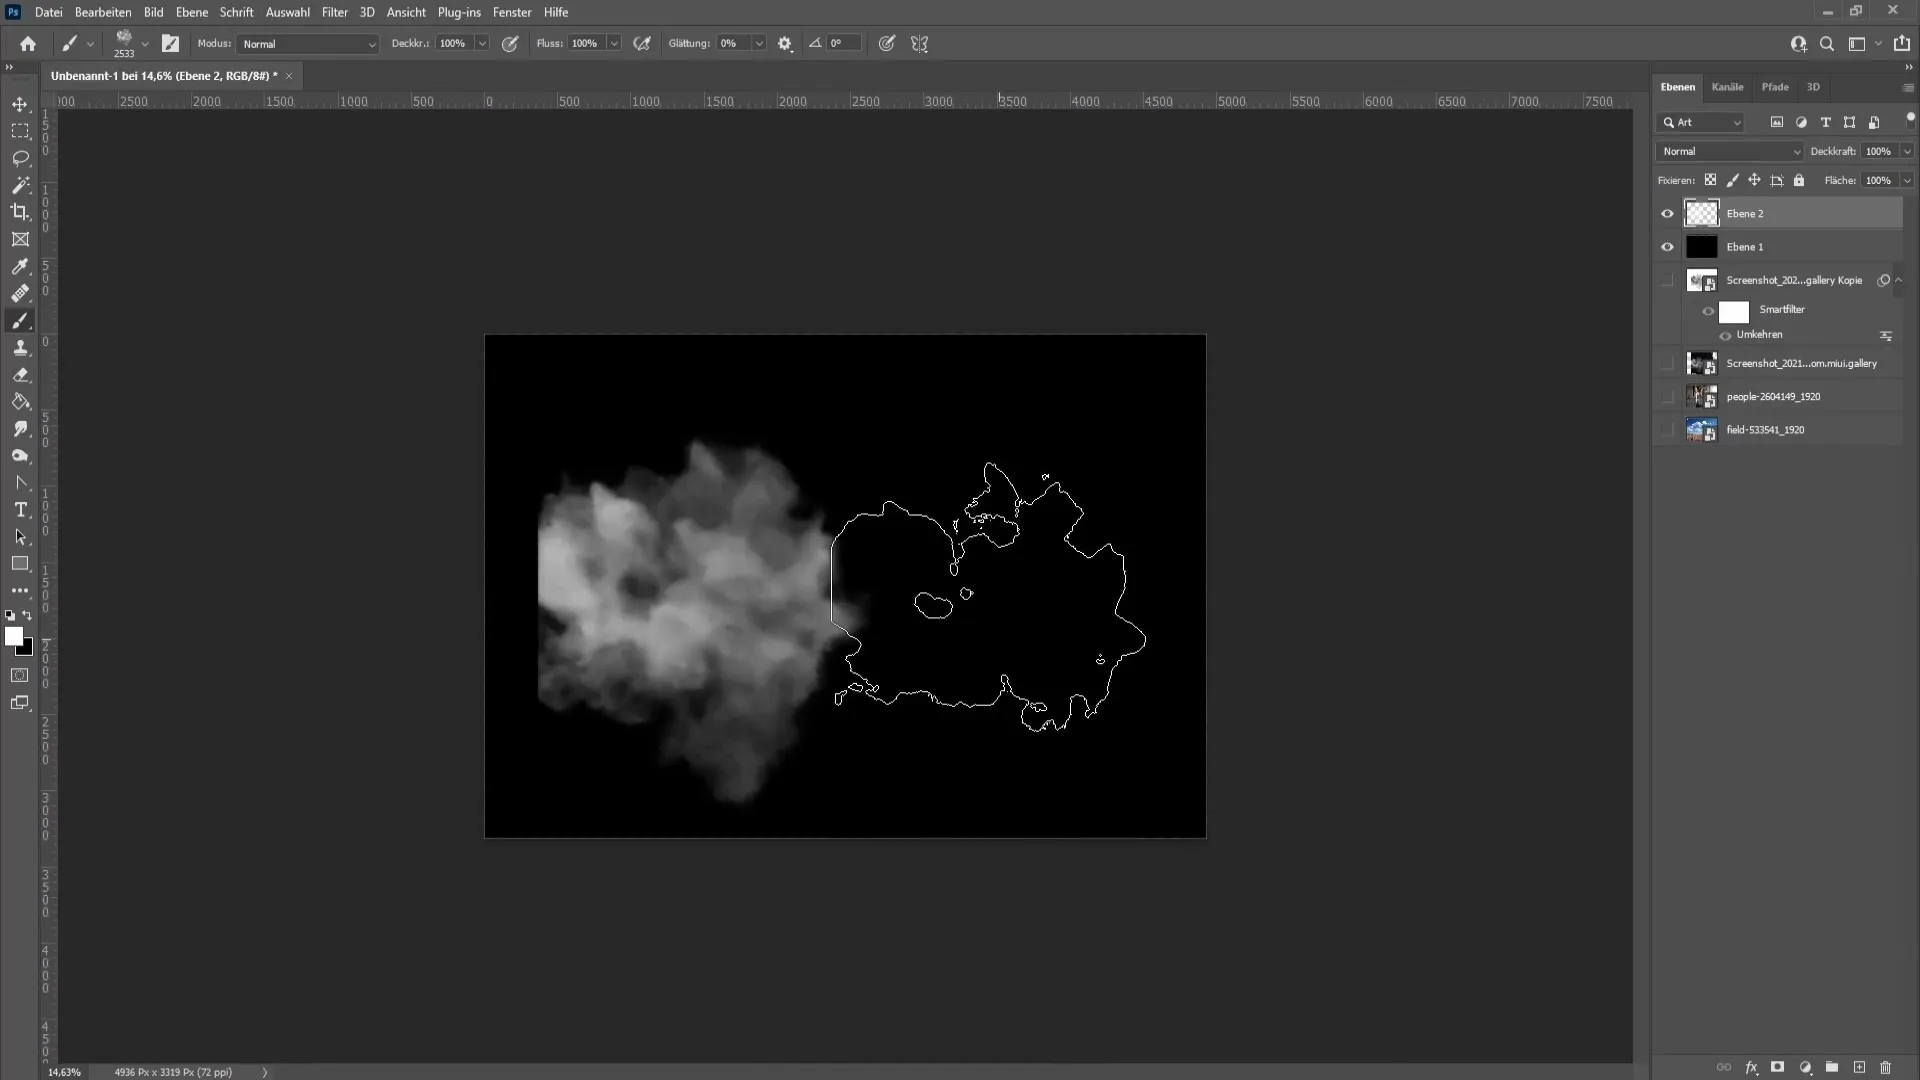
Then select the Clouds filter under Filter > Render > Clouds to create a cloud-like texture.
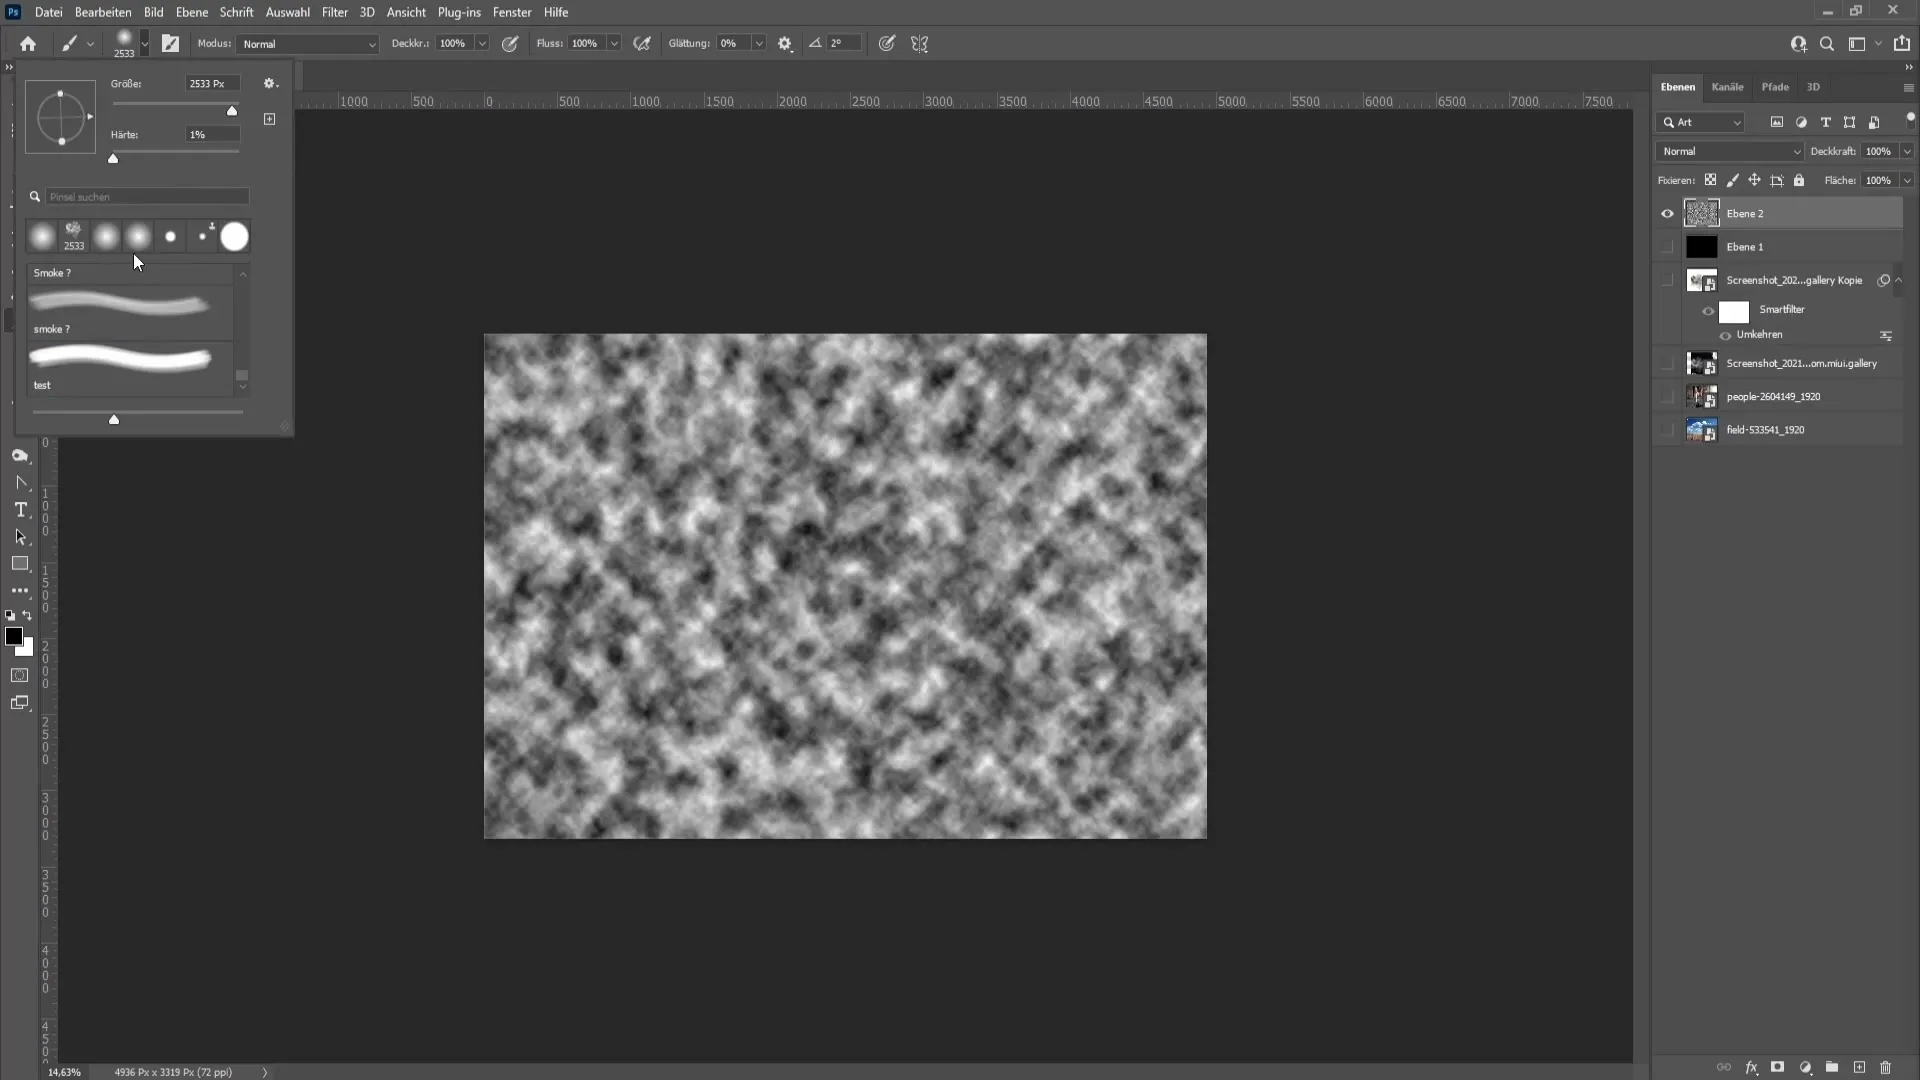
You can then set the blending mode to "Negative multiply" to remove the black areas and display only the white clouds. Now you can apply the result to your image and adjust the opacity as desired.
3. Drawing Smoke with Brushes
Switch to a new layer and choose a brush with 0% hardness. Reduce the brush opacity to about 50% and make sure the brush is set to Scatter.
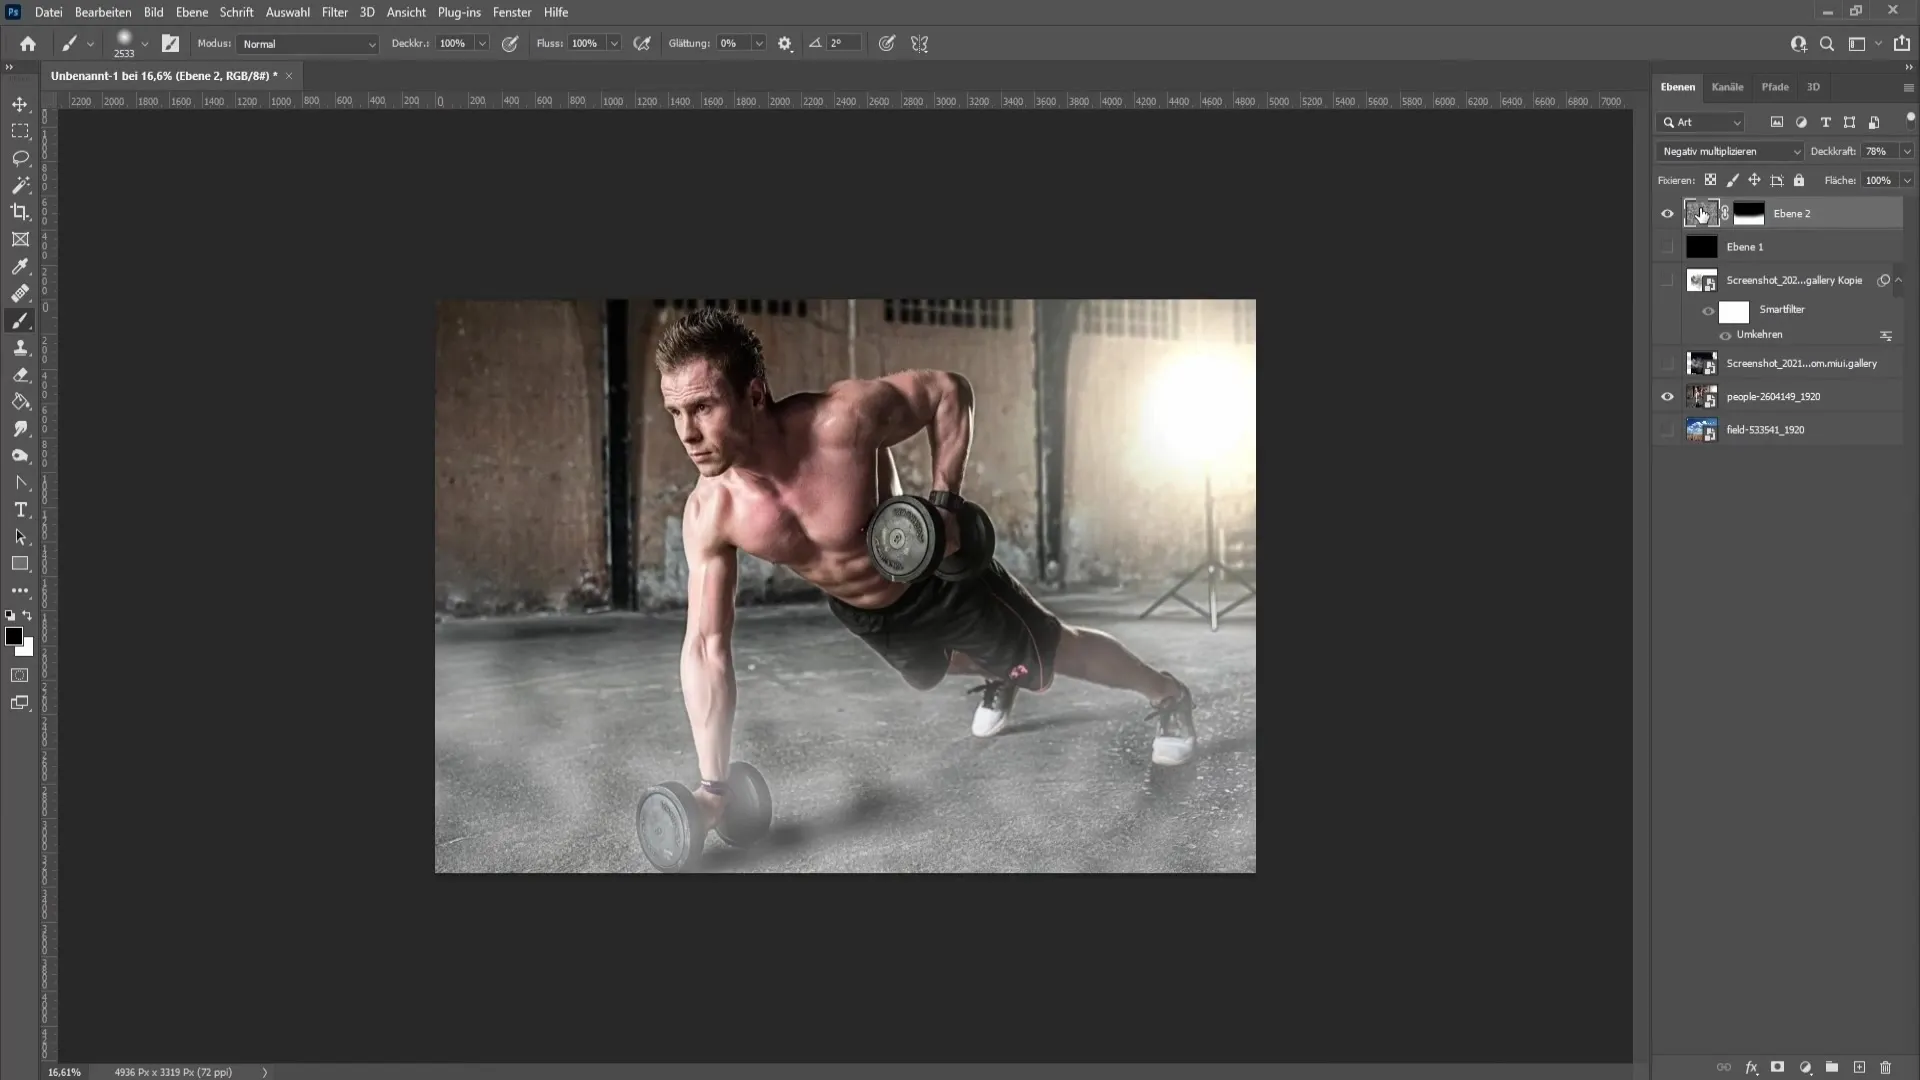
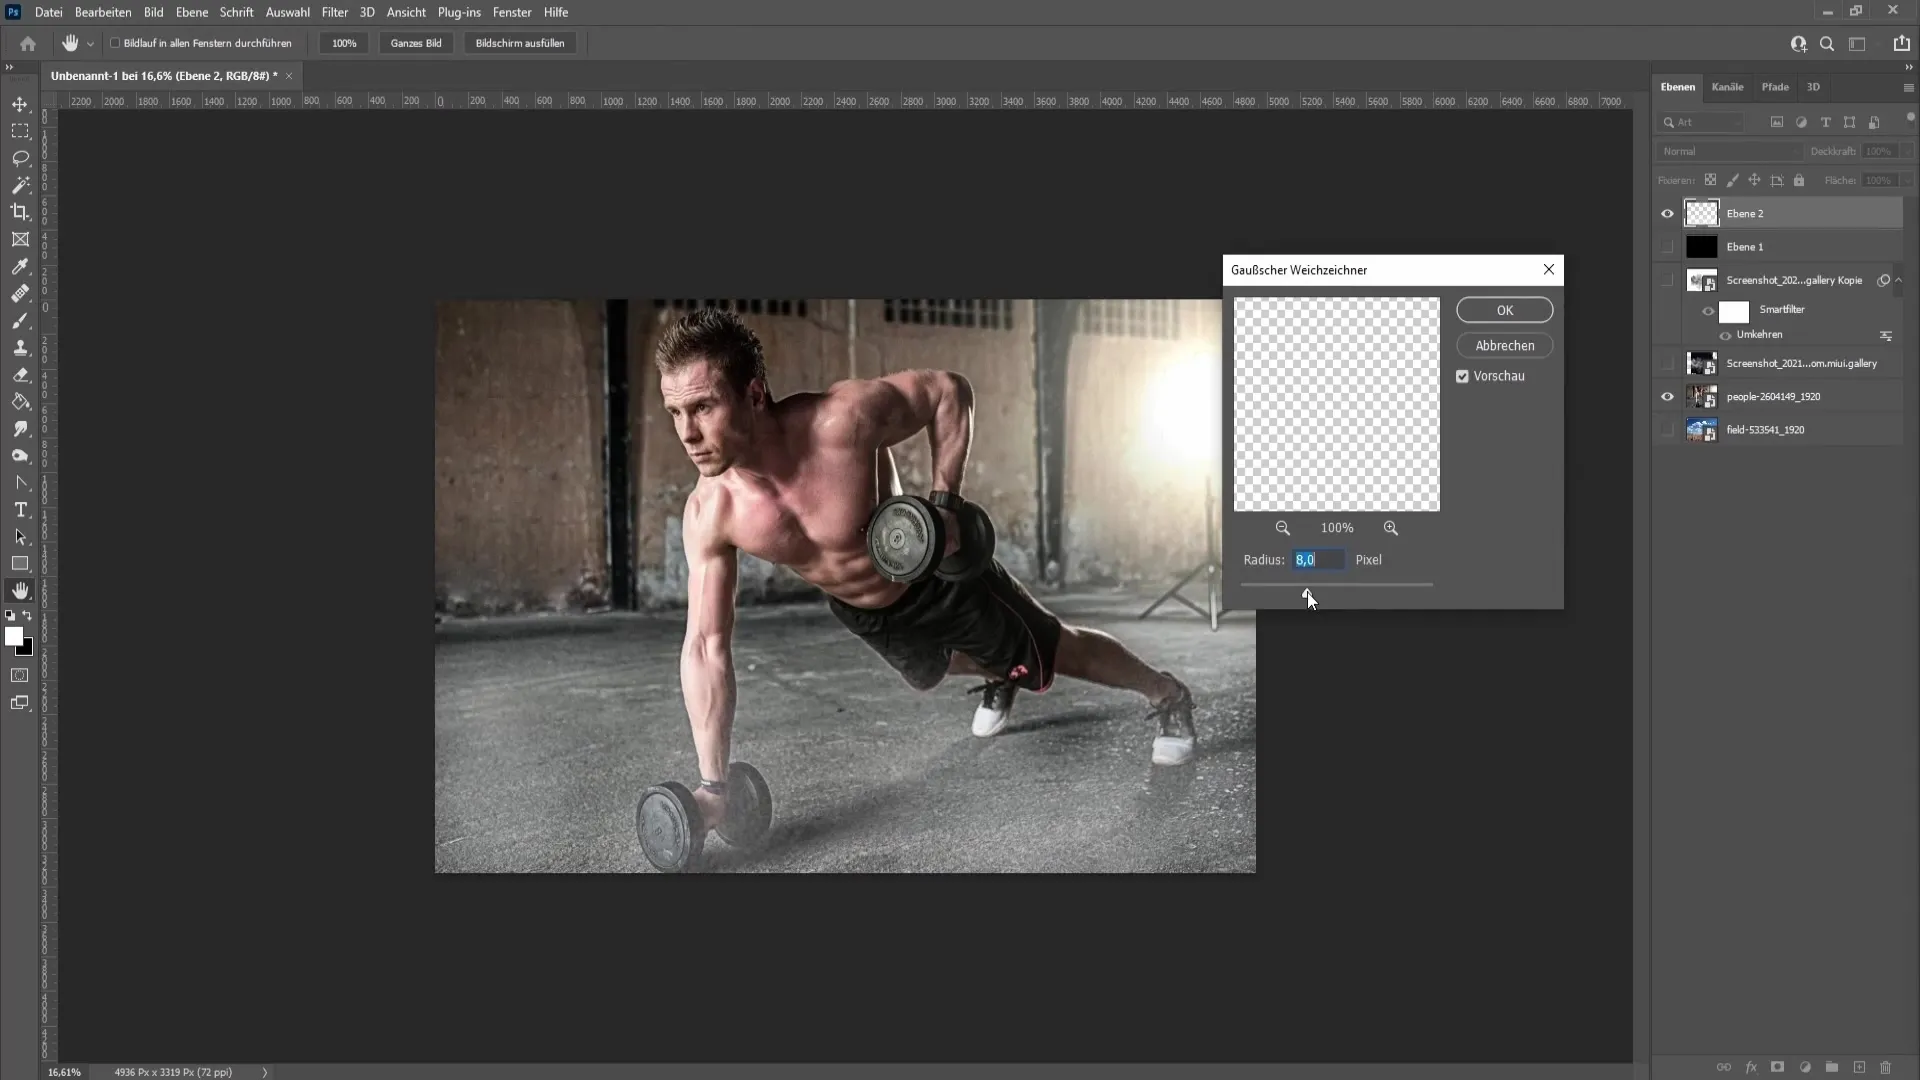
With a white color, you can now create some speckles for the smoke. Then soften the texture using Gaussian Blur to achieve a realistic effect.
4. Extract clouds and create brush
Take a picture of clouds or download one. Use the magic wand to select a cloud and copy it to a new layer. Convert this layer into a smart object to enable lossless transformation.
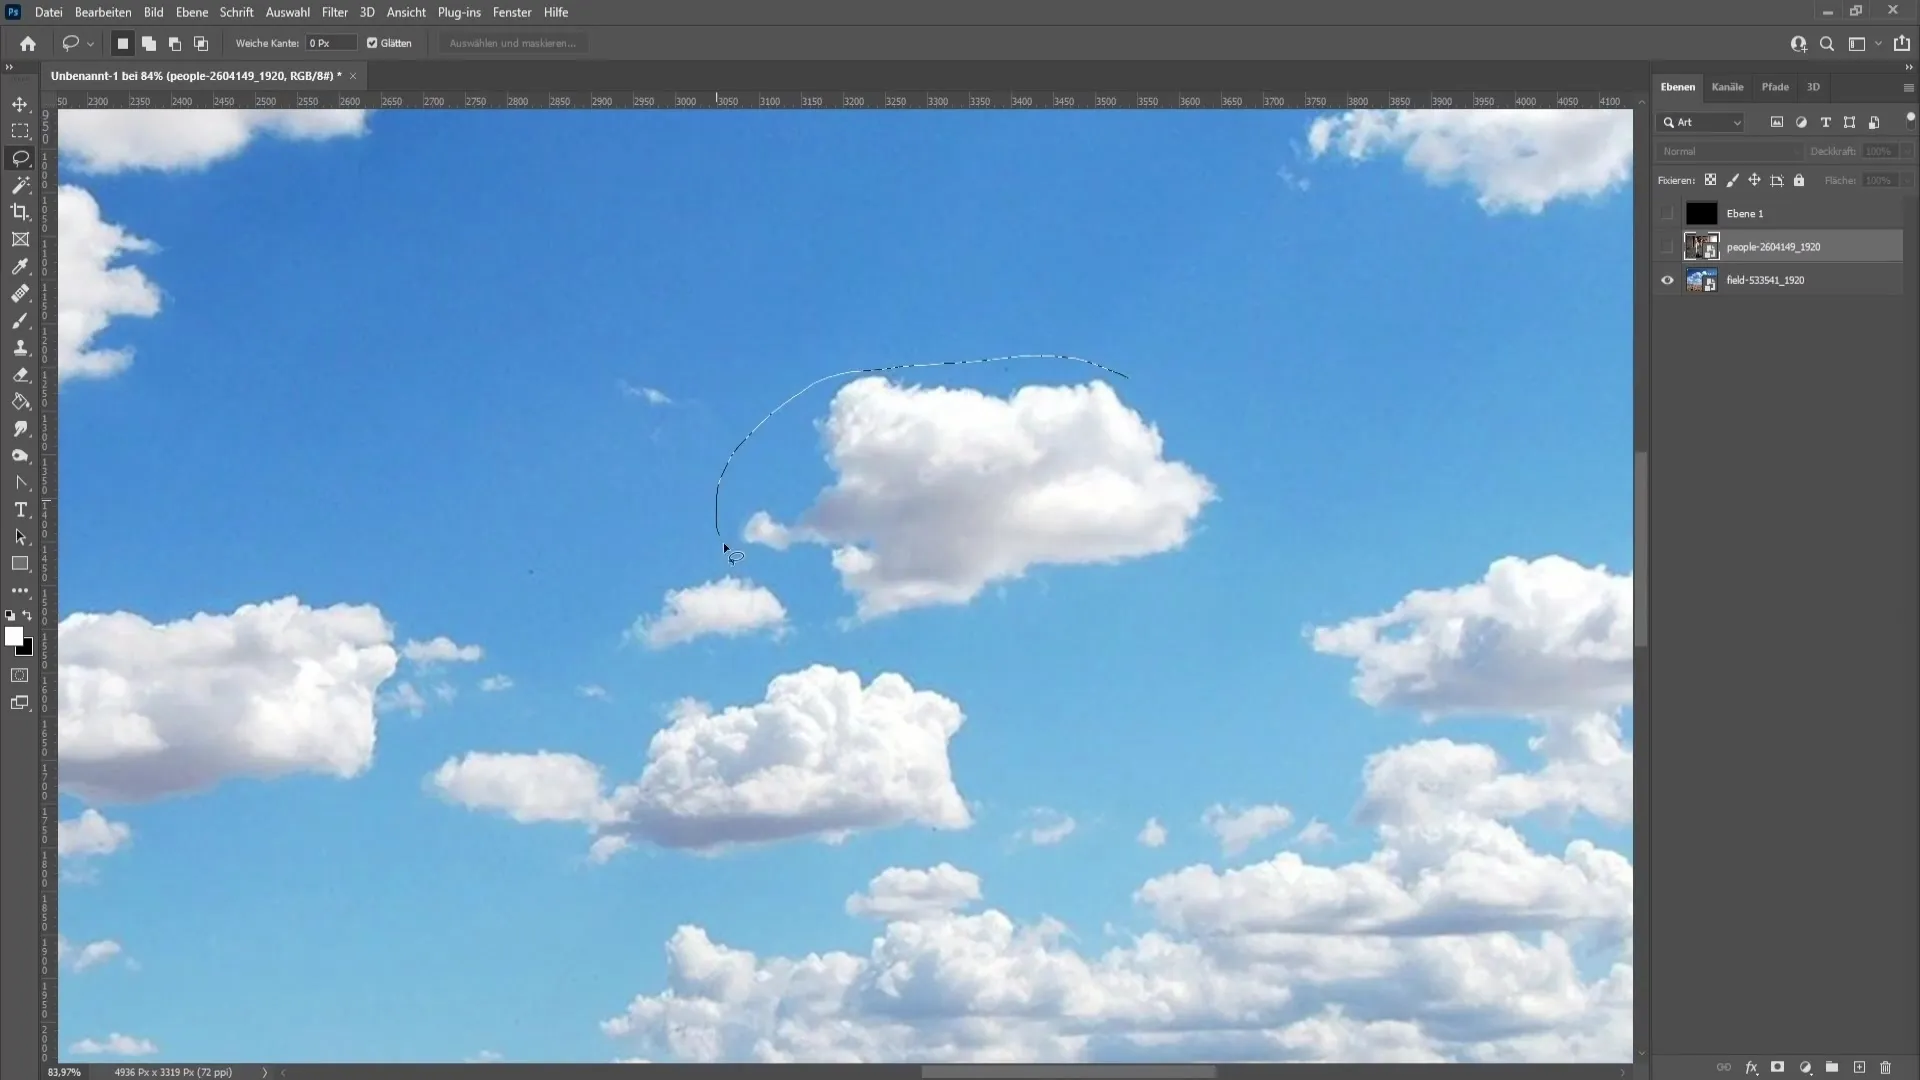
If necessary, adjust the black and white values to create more contrast. Then use the magic wand tool and lasso tool to mask the cloud and refine the edge.
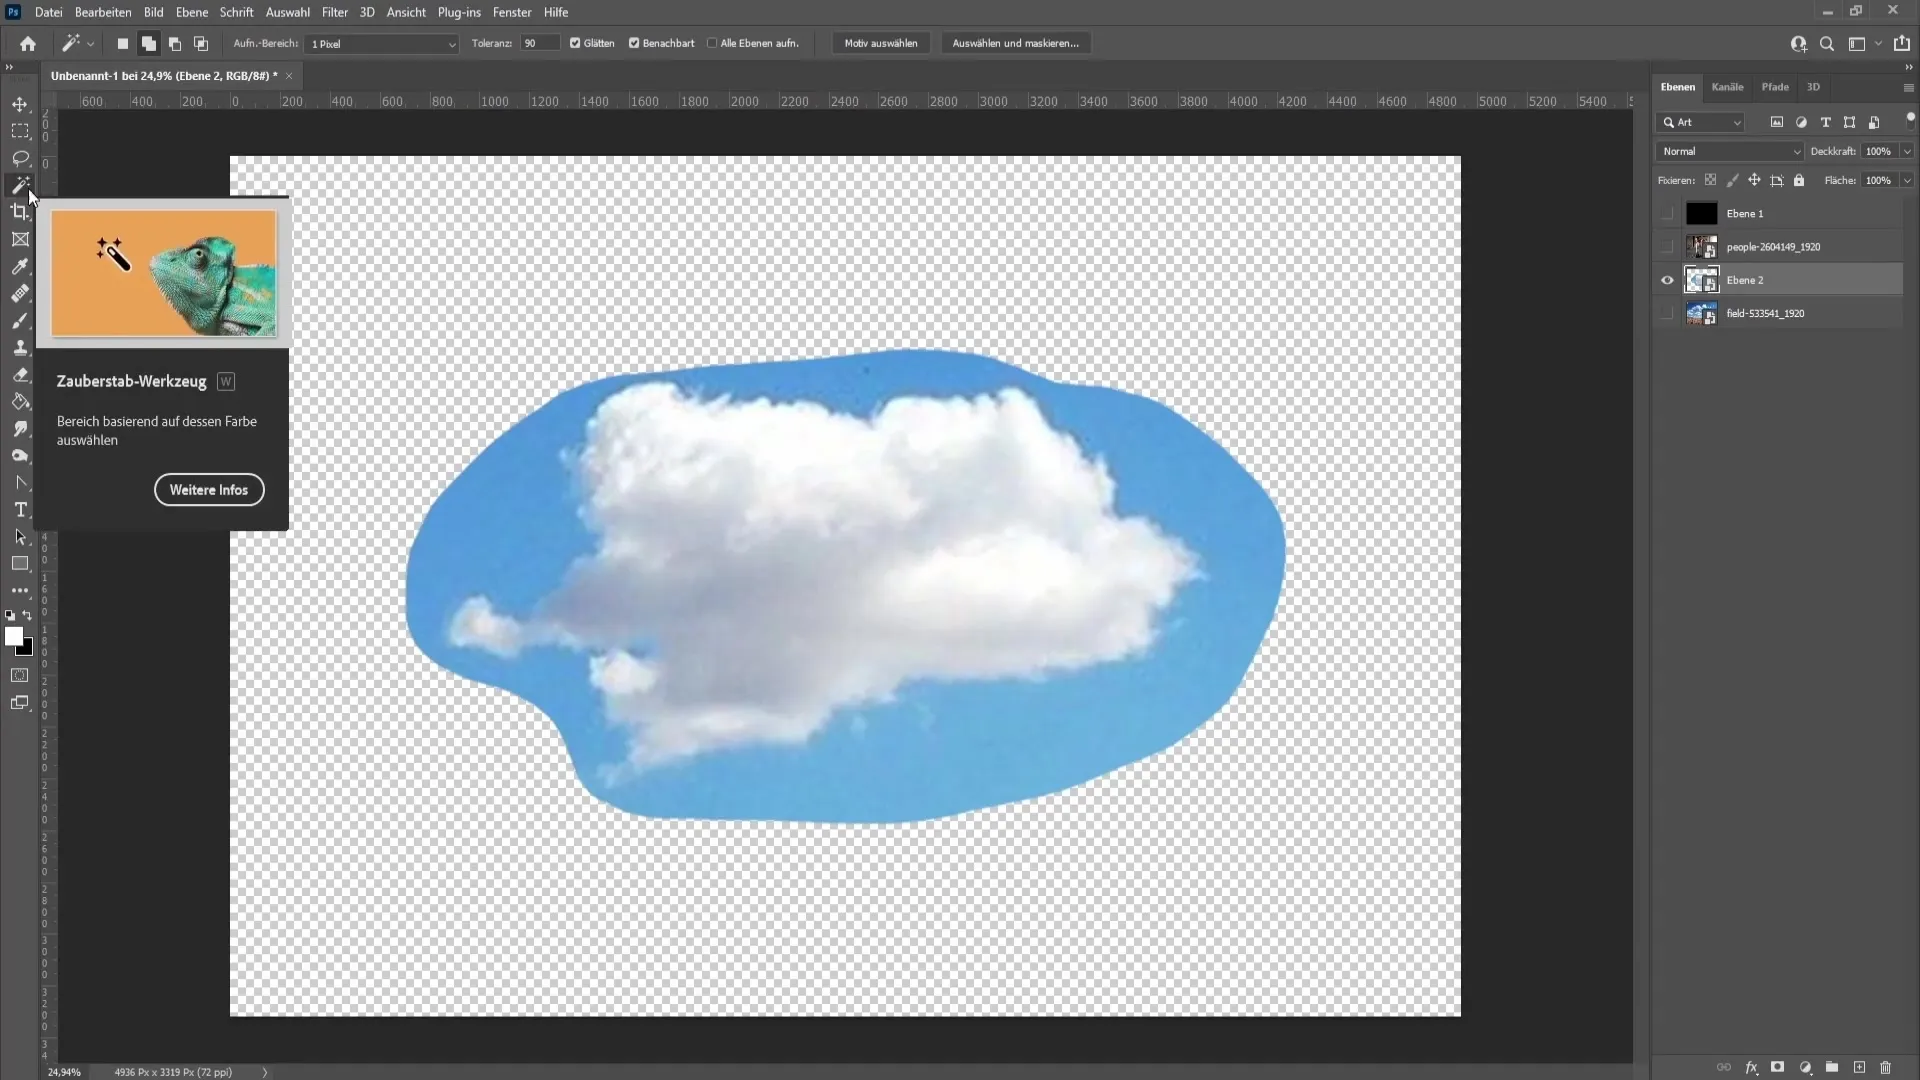
Go to Edit > Define brush preset and name the brush, e.g., "Cloud brush," to use it later.
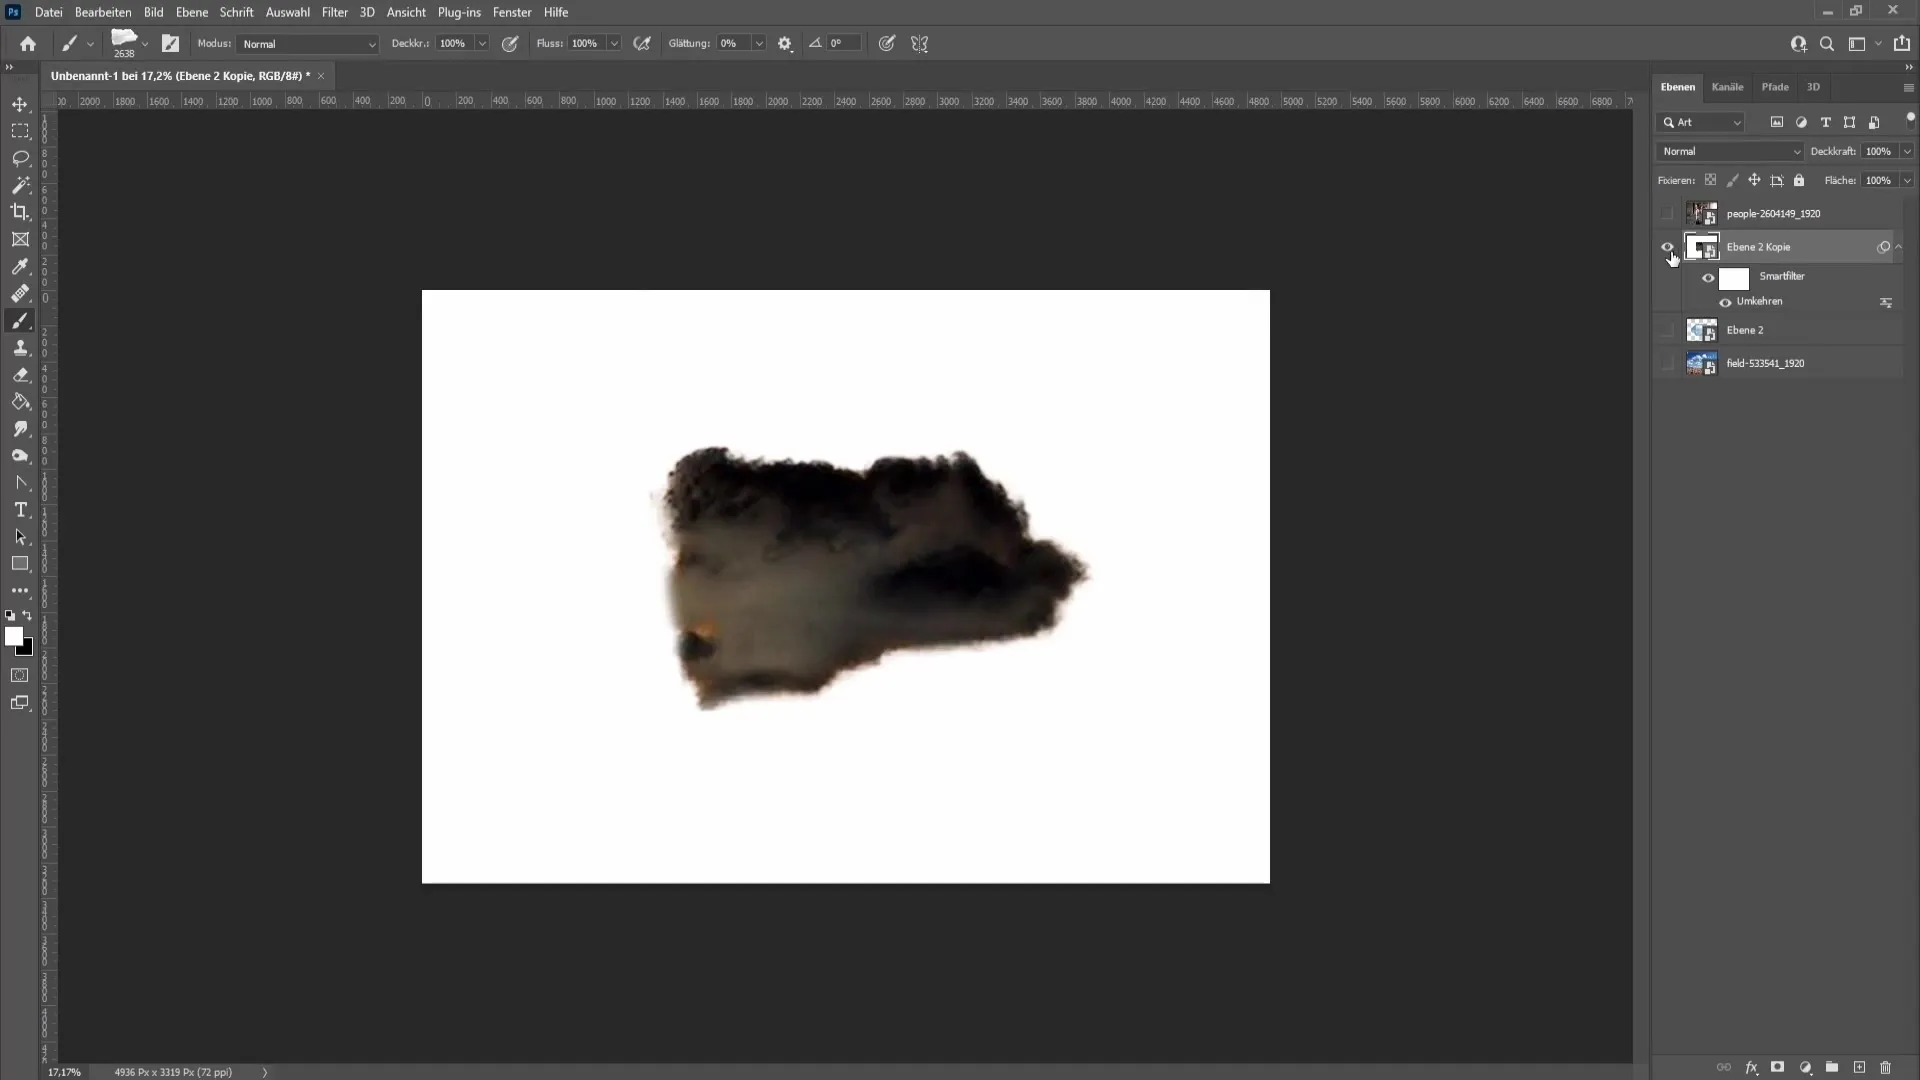
5. Application for realistic smoke
Create a new solid color, select your newly created brush with a white foreground color, and start drawing the smoke over the image. Adjustment options such as adjusting the opacity can help you achieve the desired effect.
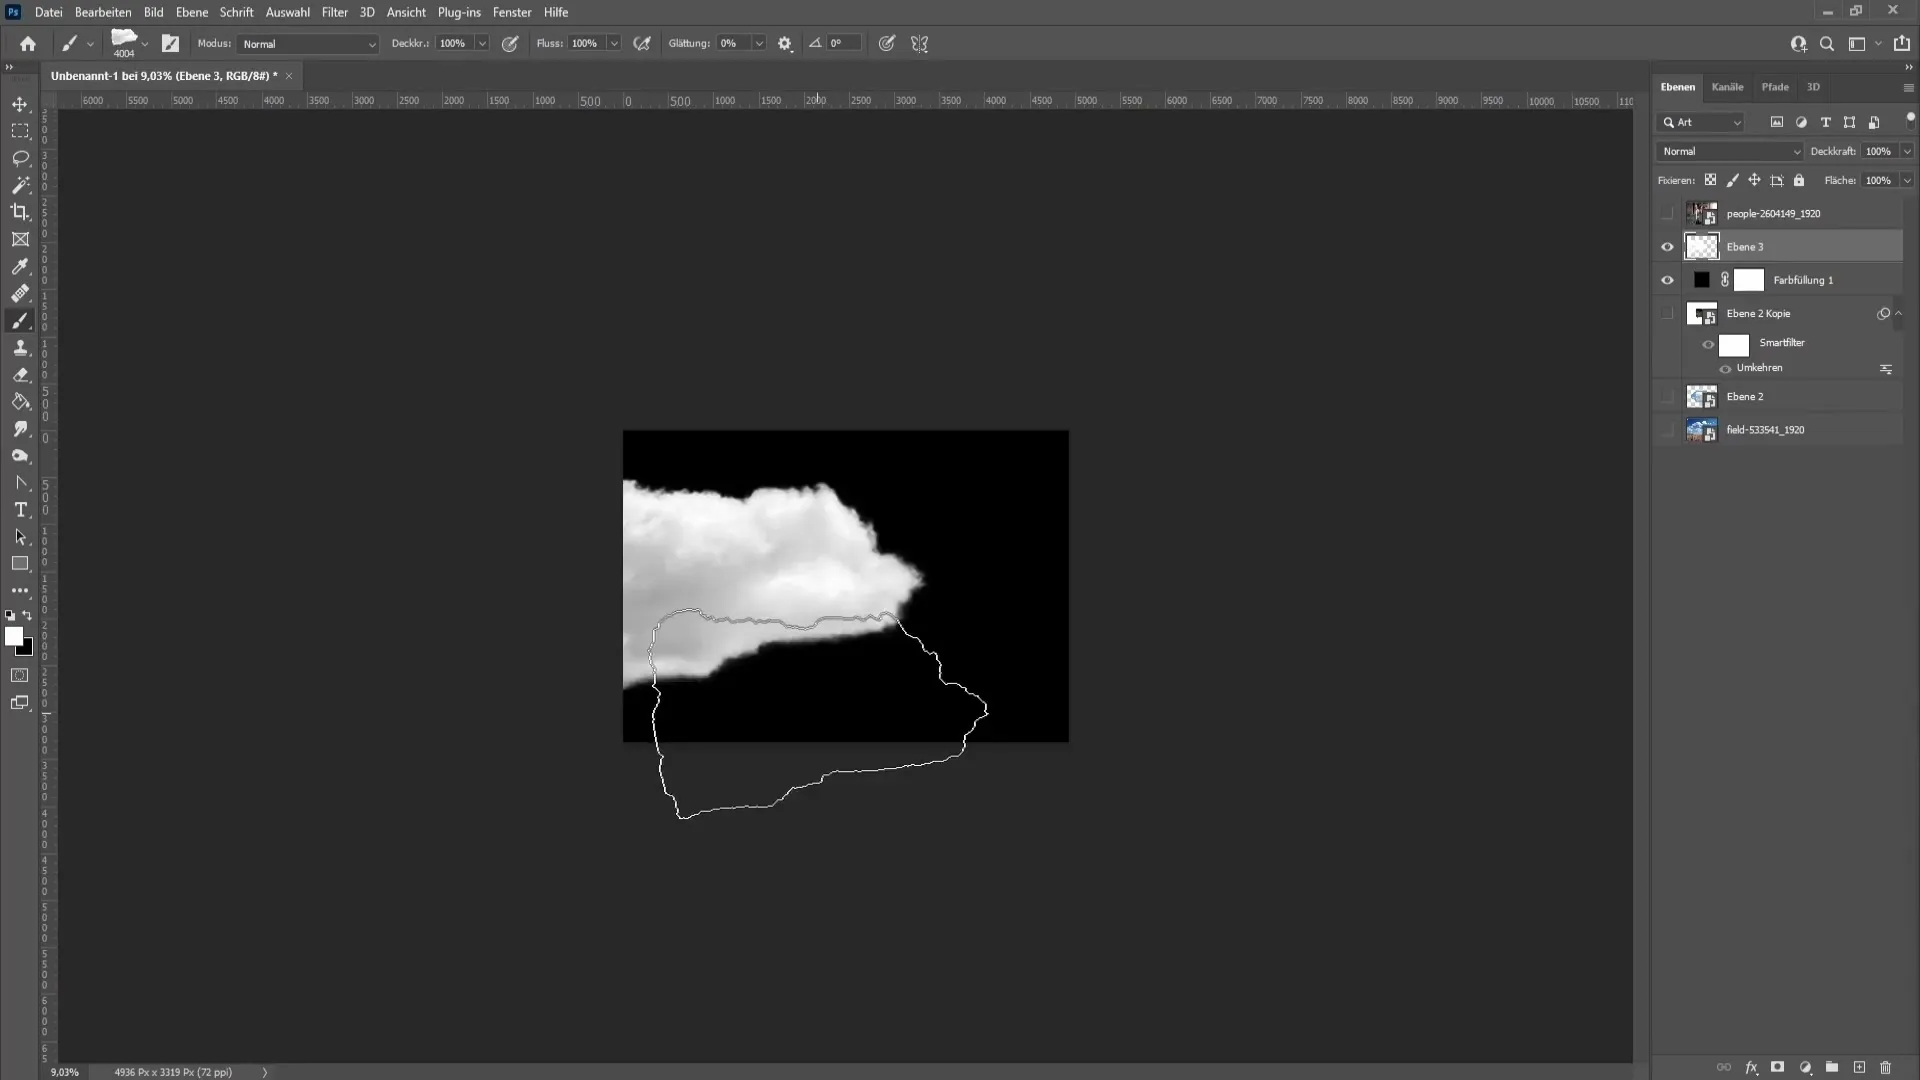
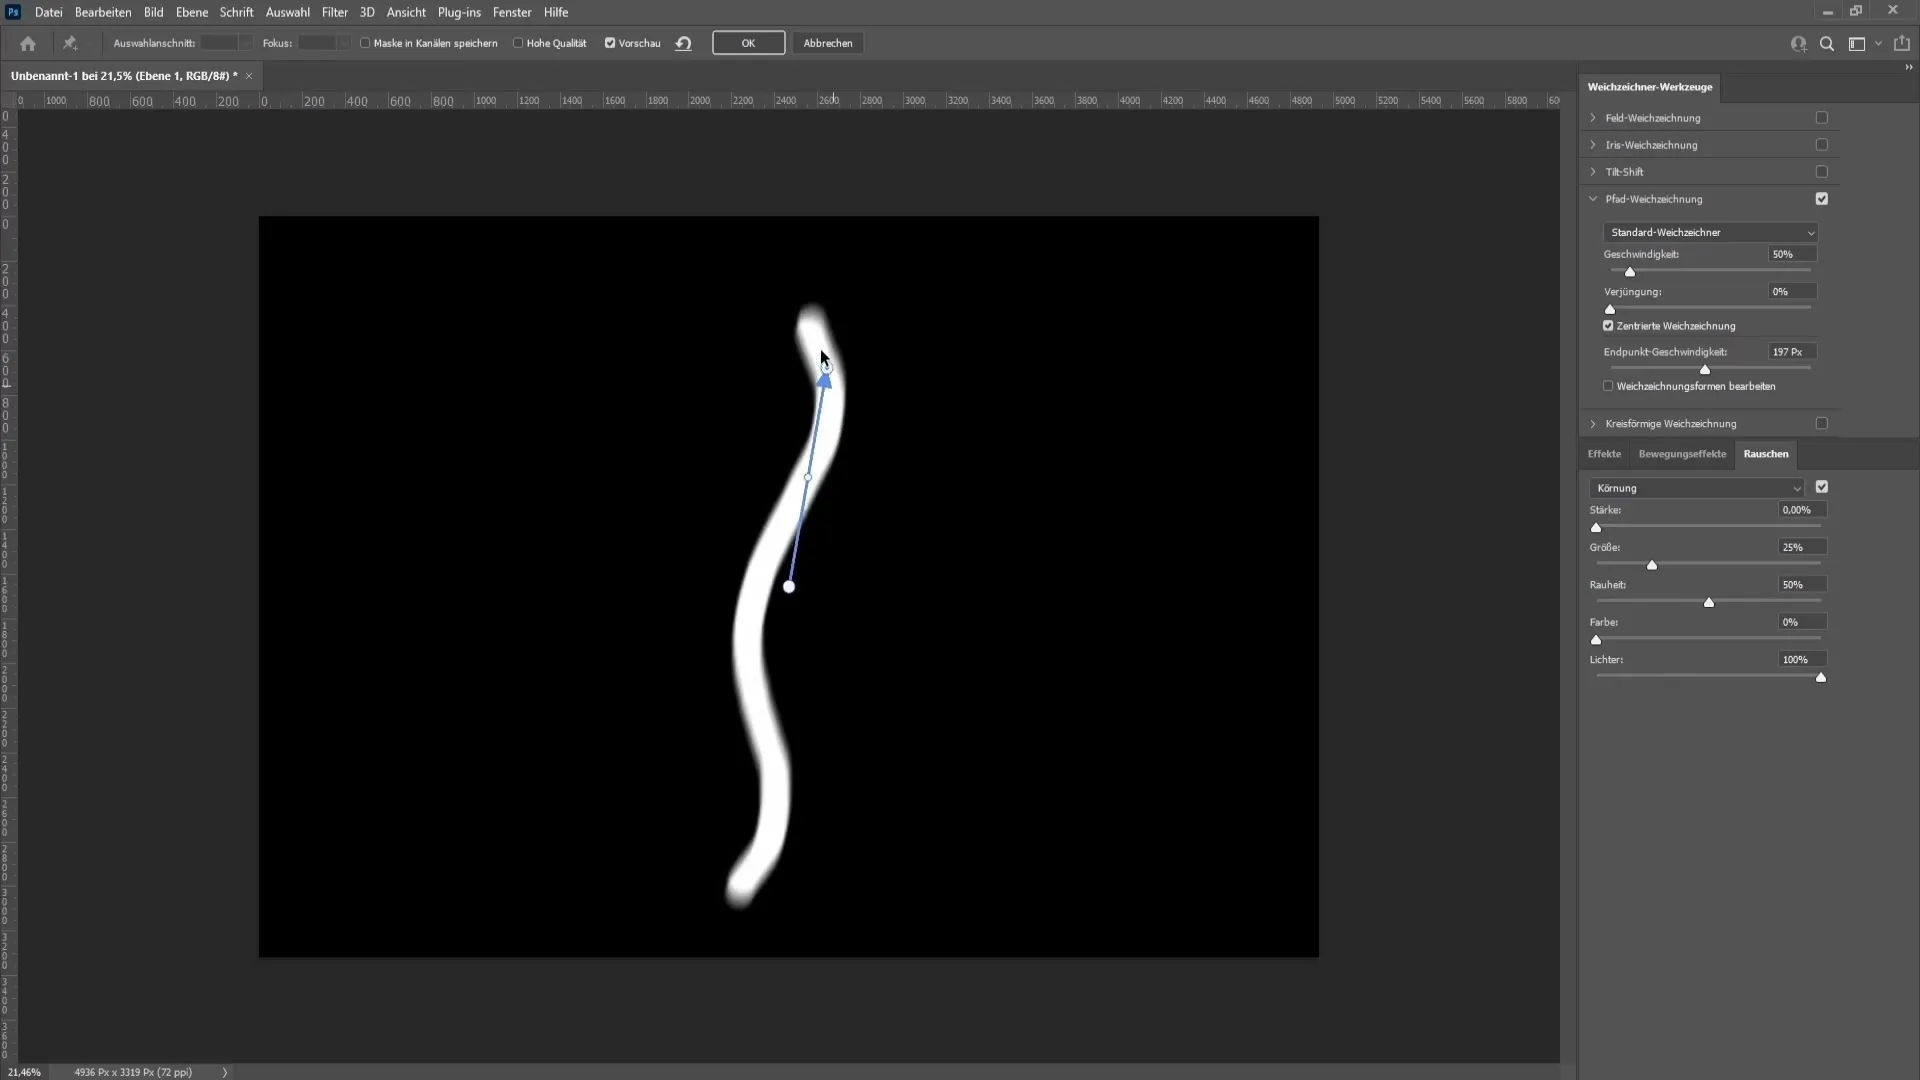
Use the blur gallery to enhance the appearance of the drawn elements. Make sure to toggle the preview on and off to find the best representation.
You can repeat these steps to create multiple layers and further refine the smoke. Adjust the opacity and use the layer mask to adjust individual areas of the smoke until you are satisfied.
Summary
In this tutorial, you have learned how to create realistic smoke in Photoshop, from capturing and extracting to using filters and brush techniques. Use the methods presented to achieve impressive effects in your projects.
Frequently Asked Questions
How can I create real smoke in Photoshop?You can capture real smoke or use the cloud filter to depict digital clouds.
What tools are best for selecting smoke?The magic wand tool and lasso tool are very helpful for precisely selecting smoke.
How can I improve the quality of my smoke-based image?By adjusting contrast and highlight settings, as well as using blur filters, you can enhance the quality of your images.
Can I save my brush presets?Yes, you can save brush presets by going to "Edit > Define brush preset" in the menu.
Where can I find free cloud images for Photoshop?You can find free cloud images on platforms like Pixabay or Unsplash.


