In this tutorial, I will explain to you how to create a realistic candle flame with Adobe Photoshop. Creating graphics and effects in Photoshop can be challenging at first, but with the right steps and guidance, you will quickly make progress. Let's start the process right away!
Key Takeaways
- You will learn how to create a simple candle flame using the pen tool.
- Applying filters and layer masks enhances the visual appeal of your flame.
- You will receive tips on adjusting colors and fill options for more realistic effects.
Step-by-Step Guide
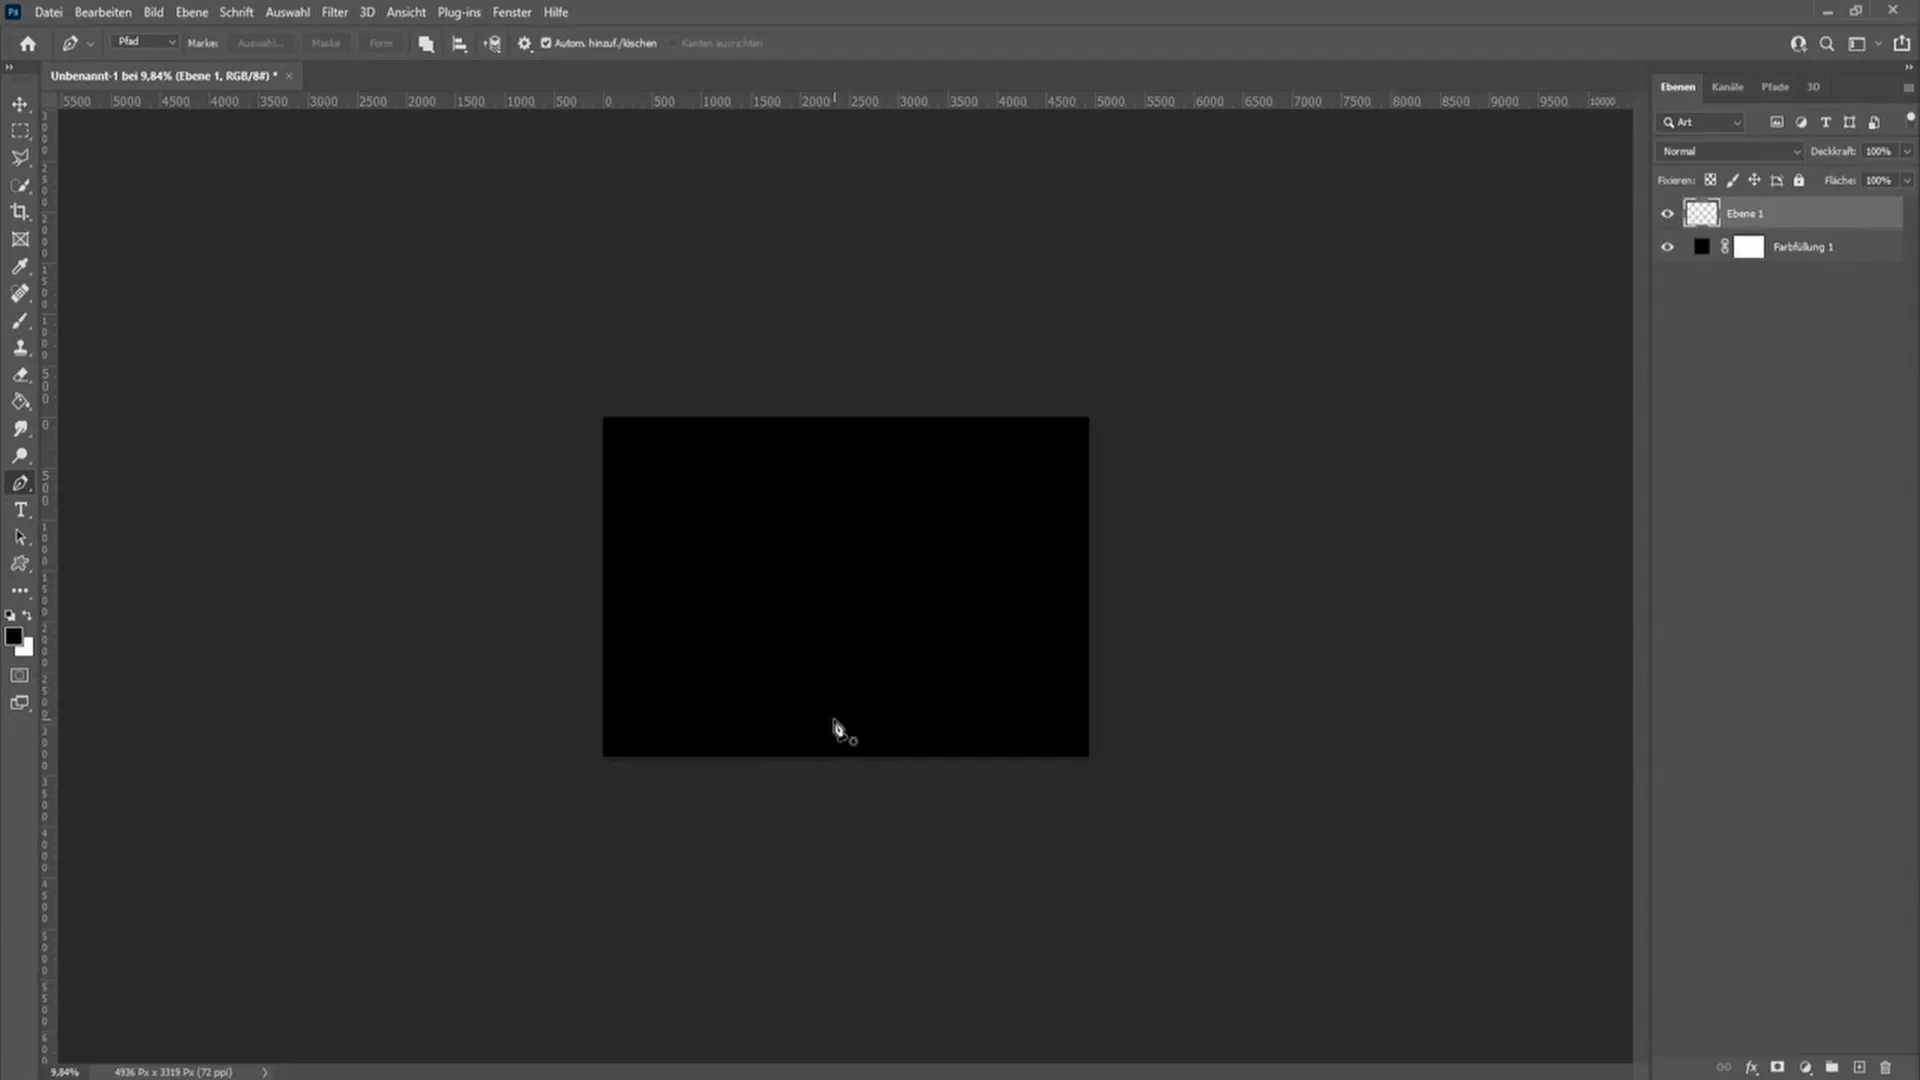
First, you need to create a new blank layer in your Photoshop document. This is important so that you have the candle flame on a separate layer and can make adjustments at any time.
Select the pen tool from the toolbar. This is a versatile tool that allows you to precisely define the shape of the flame. Place a point in the middle of the layer, then drag with the mouse to replicate the shape of the flame.
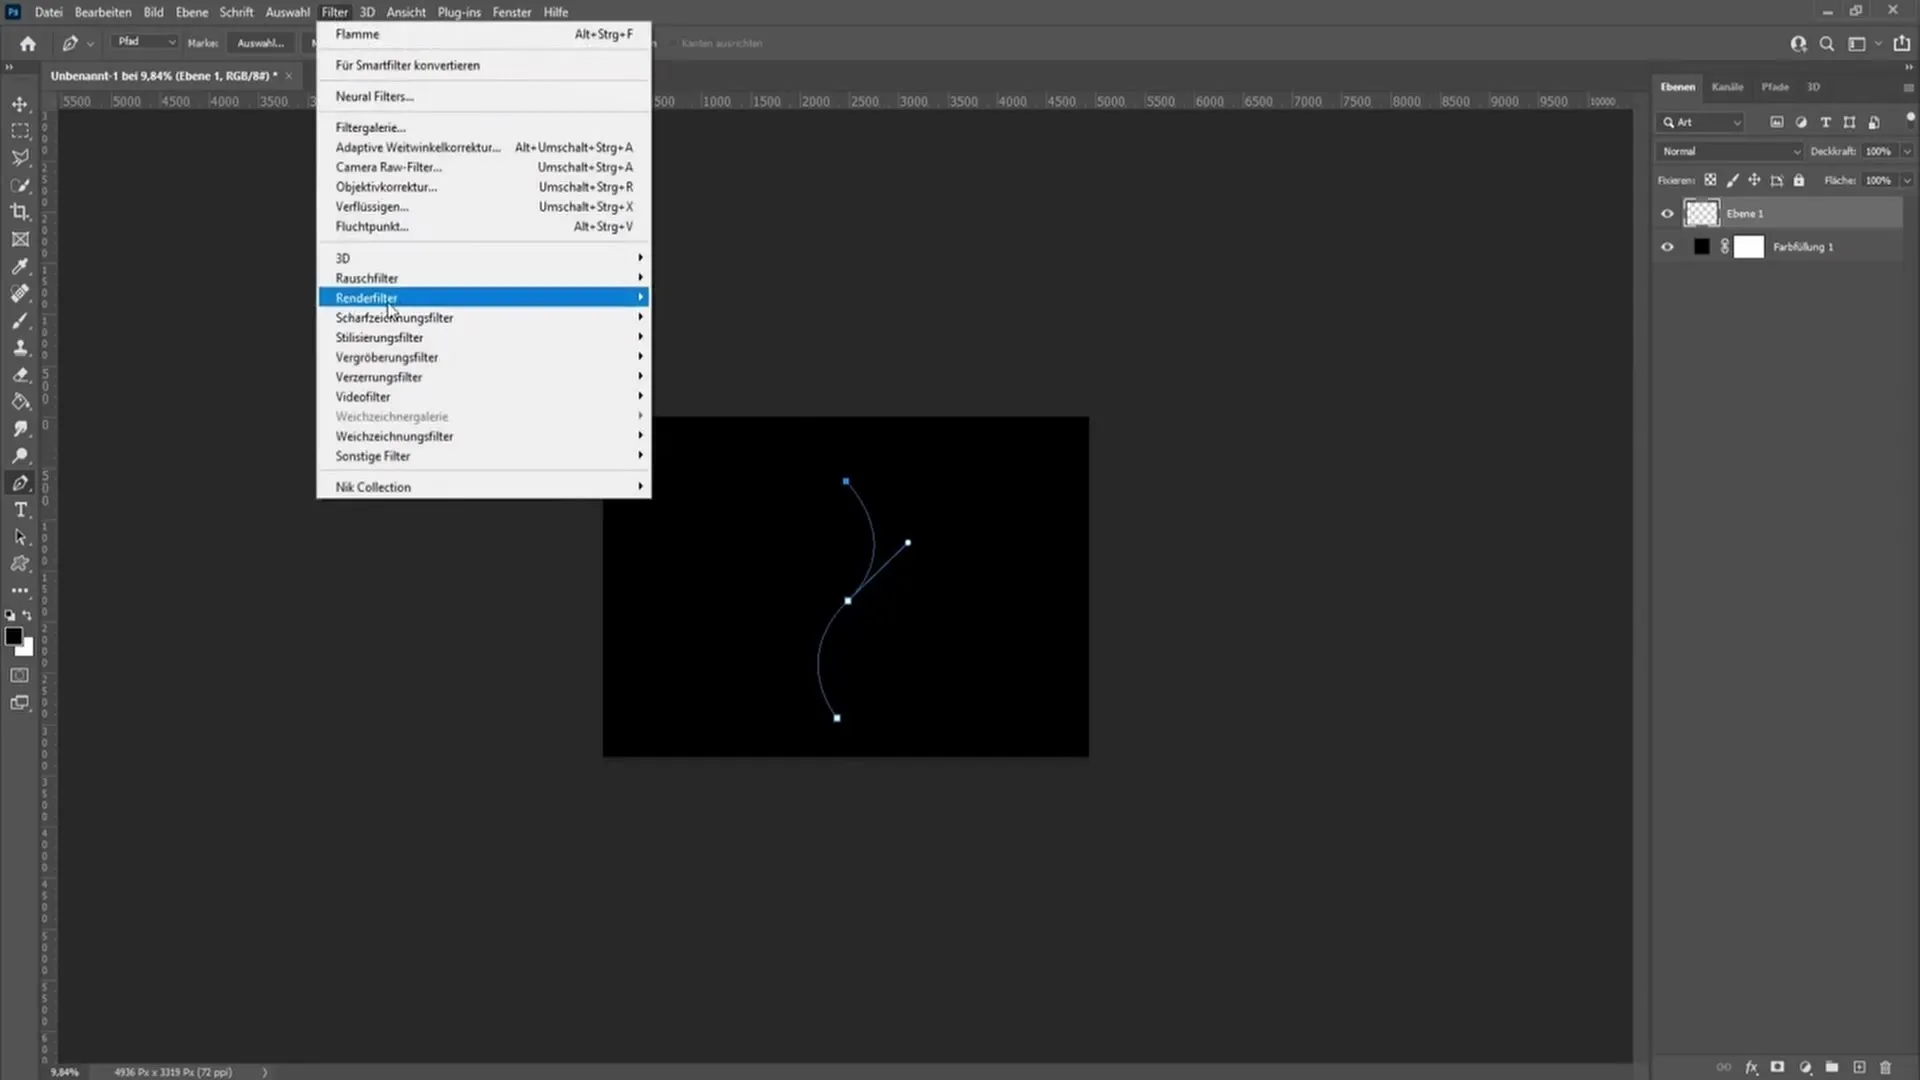
You should now set another point to reach the top shape of the flame. When drawing the curves, it's important to create a smooth transition.
Once you are satisfied with the shape of the flame, go to the "Filter" menu, select "Render" filters, and click on "Flame."
Here, you can set the flame type to "Candle Glow." This setting gives your flame the characteristic look of a real candle flame.
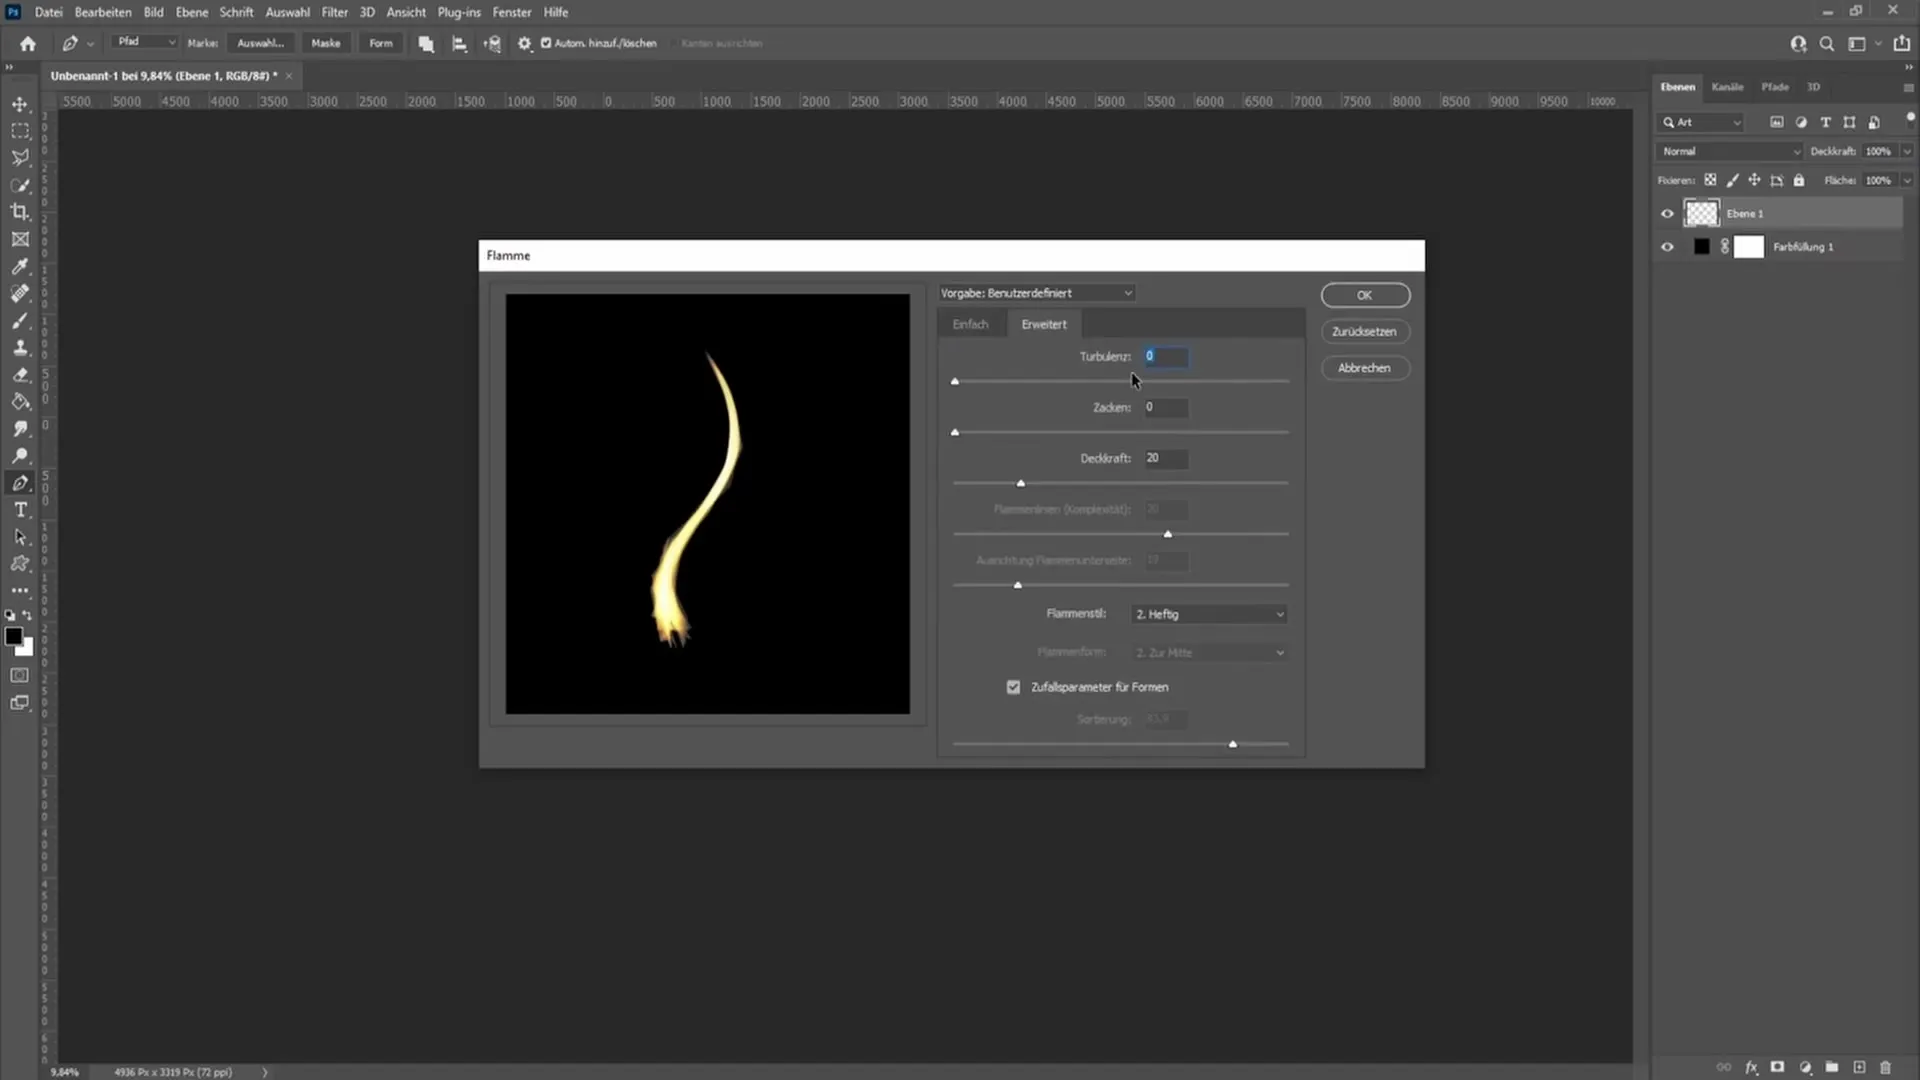
In the advanced settings of the filter, set the "Turbolens" to zero spikes. Also, make sure the opacity is set to 20.
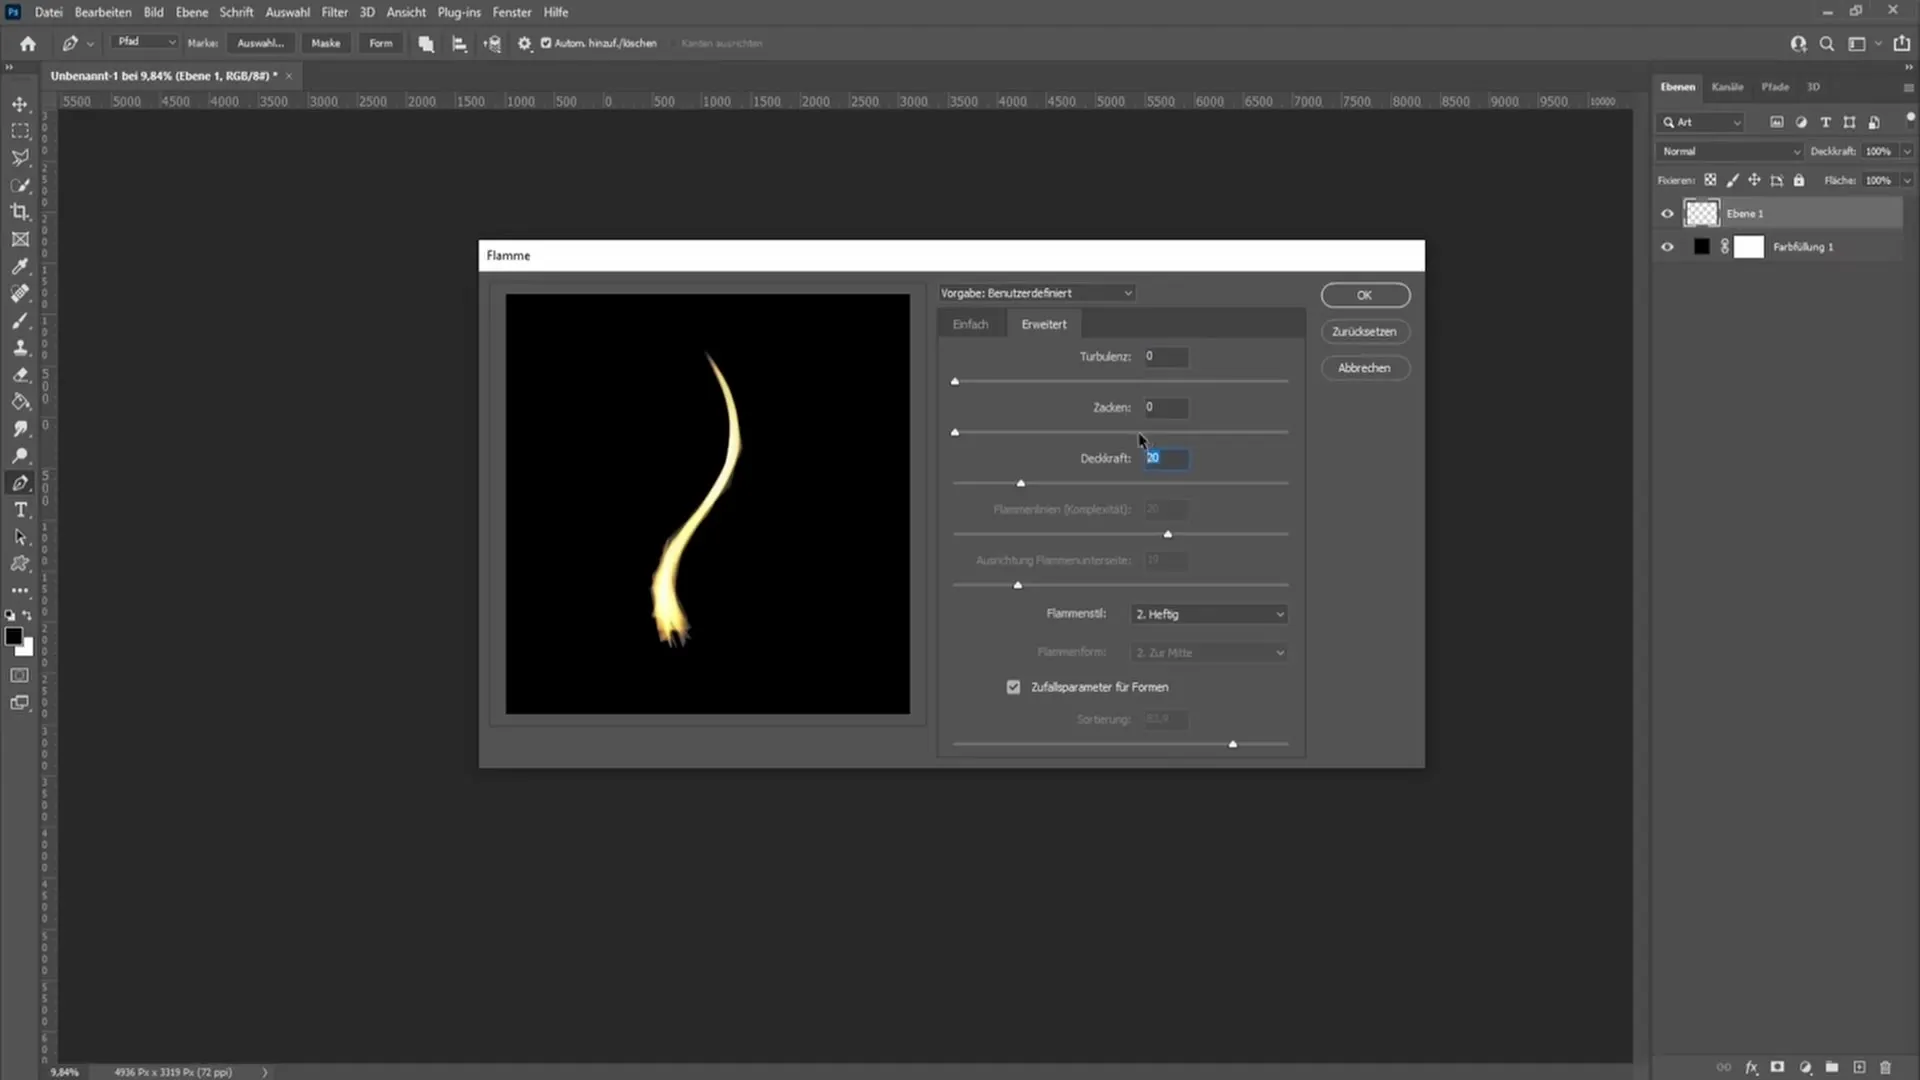
Choose the flame style that you like best. If it appears too "intense," you can adjust that. You can also select the quality of the flame here; I recommend leaving it at "Medium" to strike a good balance between details and rendering speed.
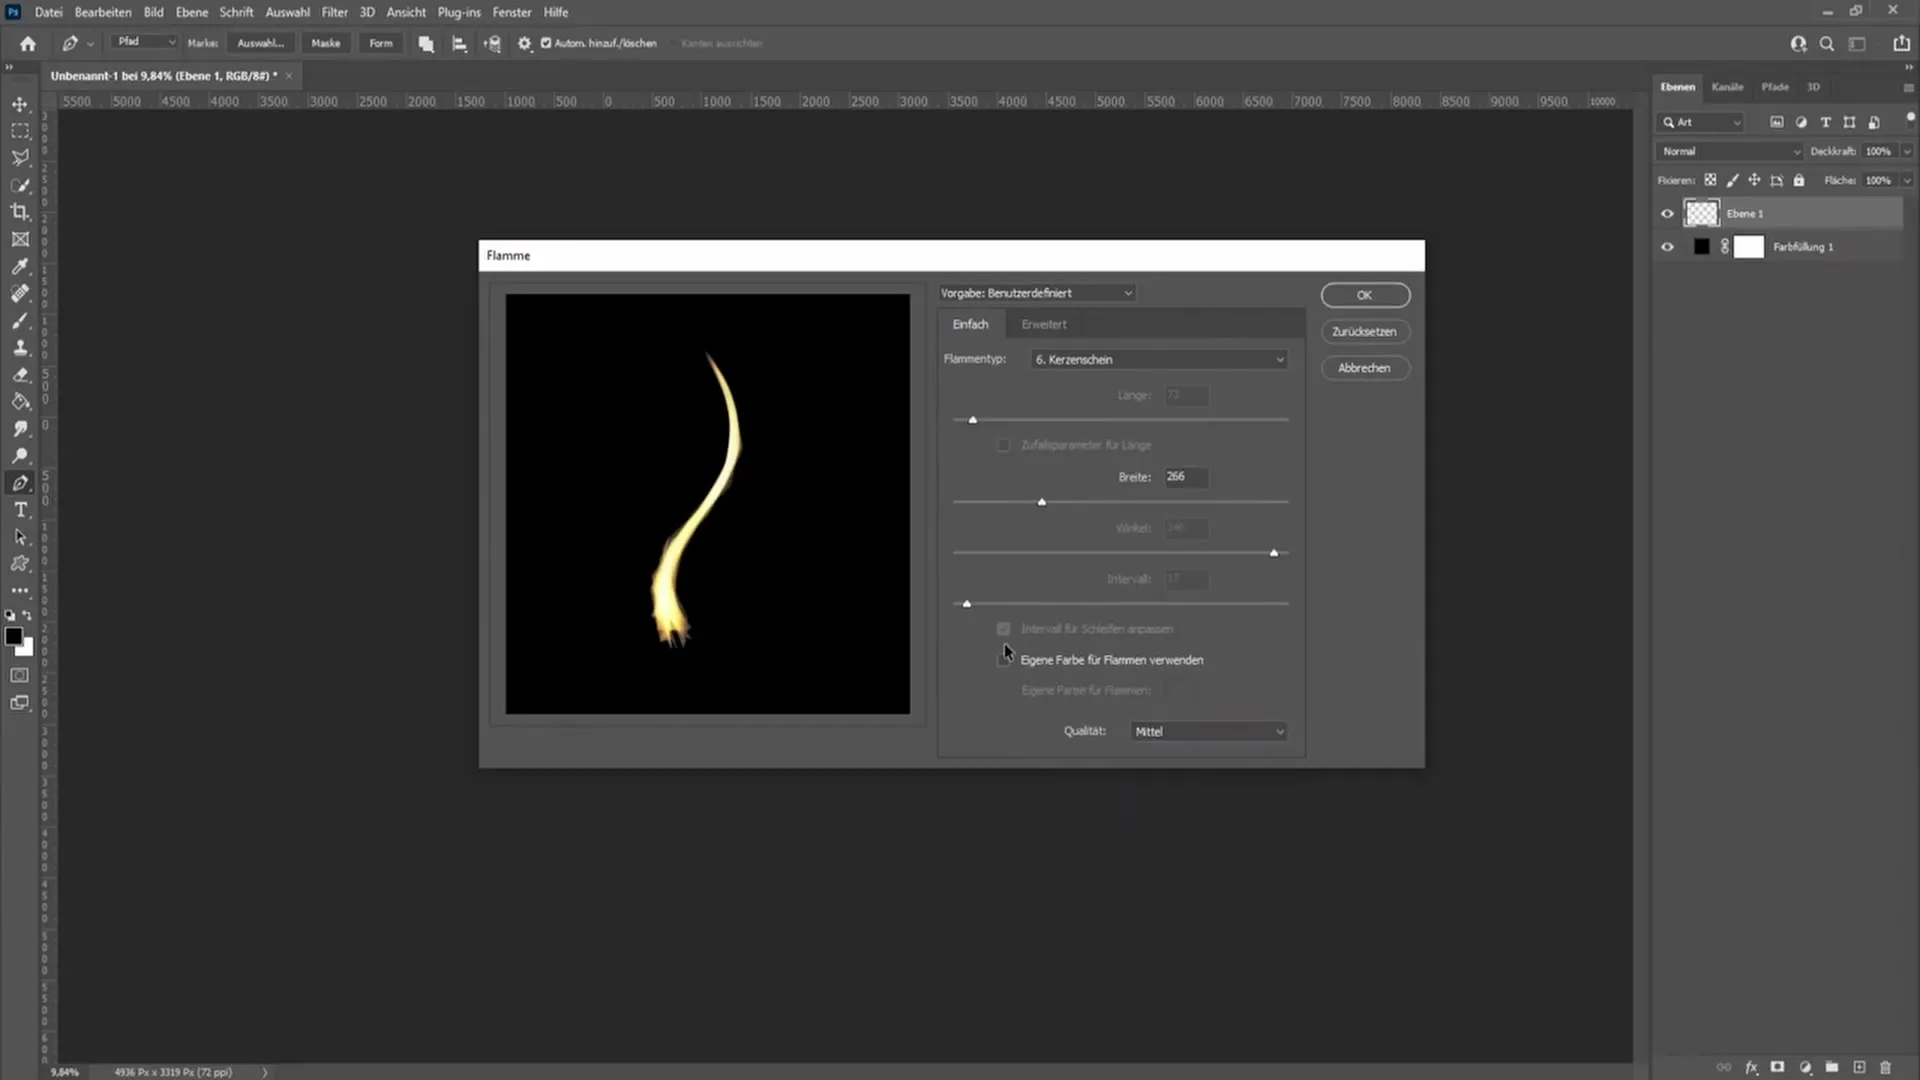
If you wish, you can also choose a custom color for the flame. Click on the color option and select the desired shade. However, in this tutorial, we focus on a realistic flame, so we will leave the option for custom colors disabled.
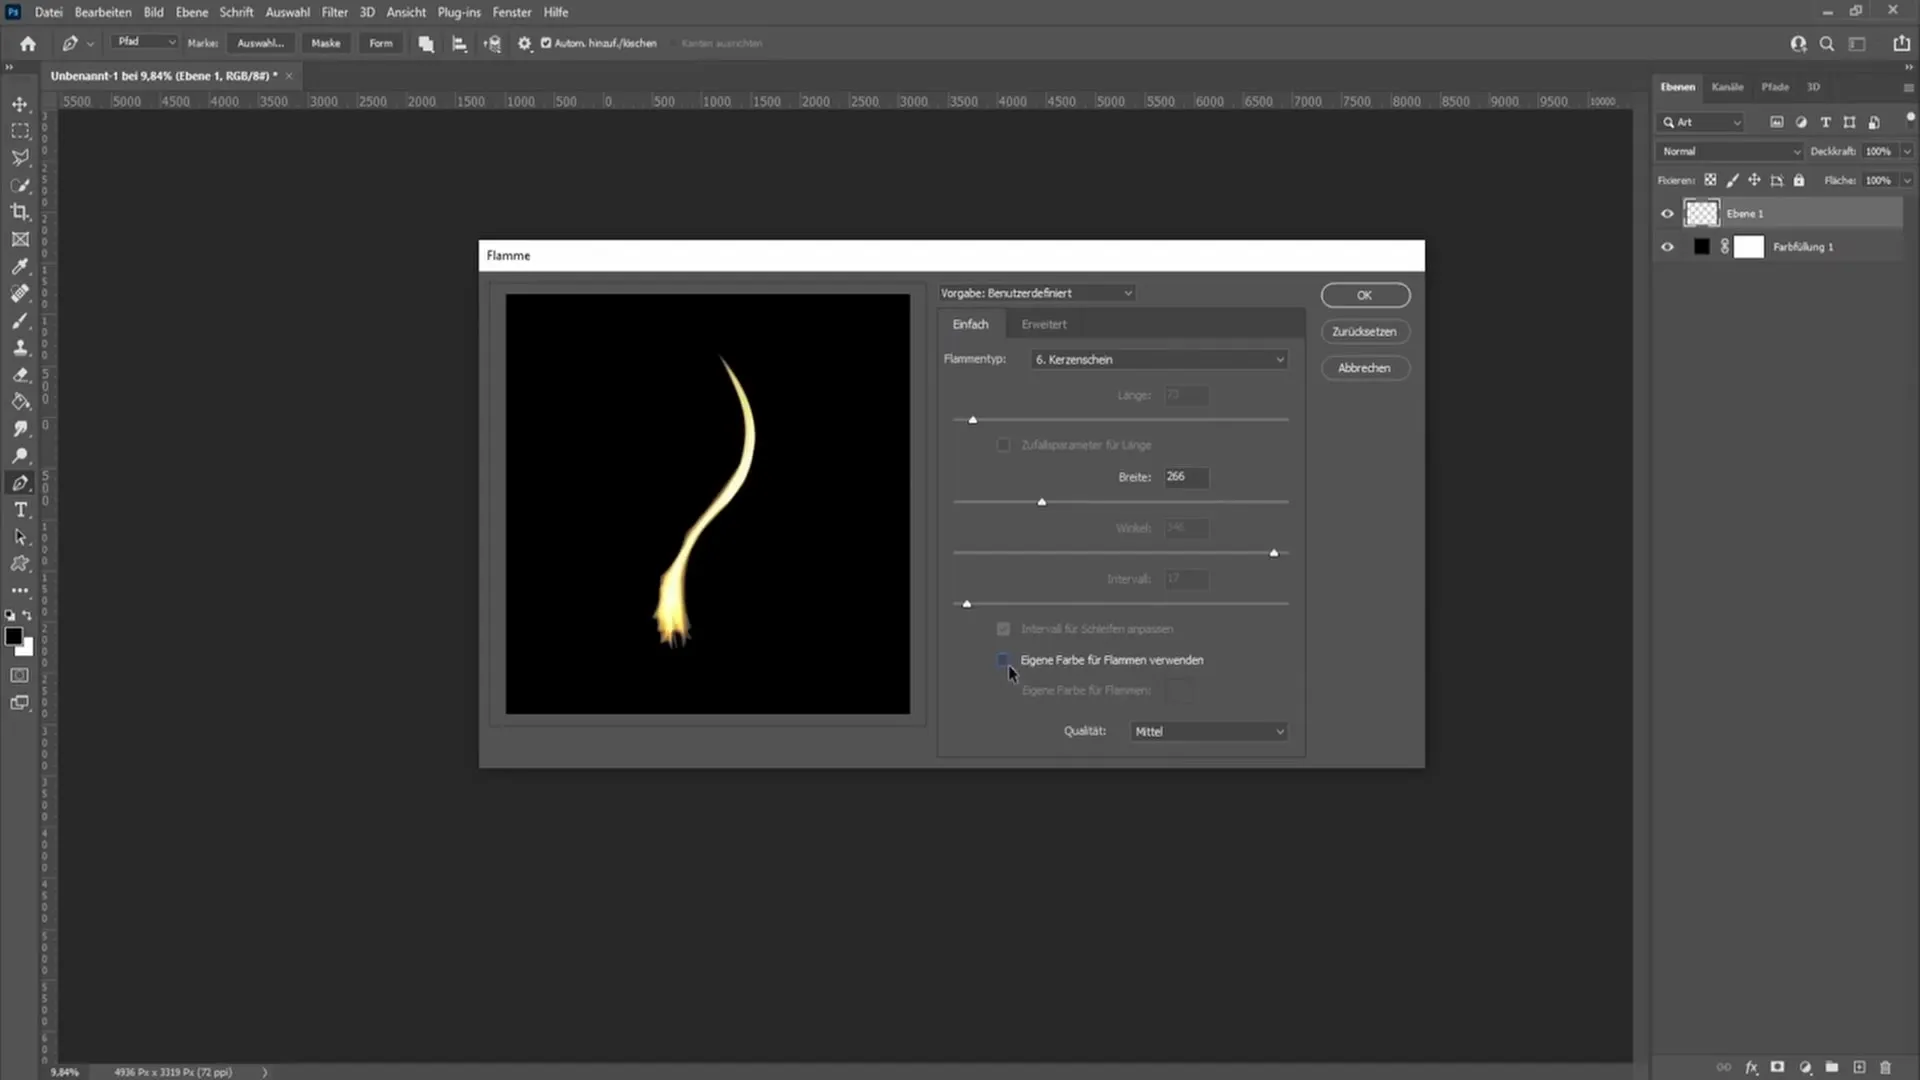
Next, experiment with the width of the flame. You can try out different settings under the "Width" option to find the ideal width for your flame.
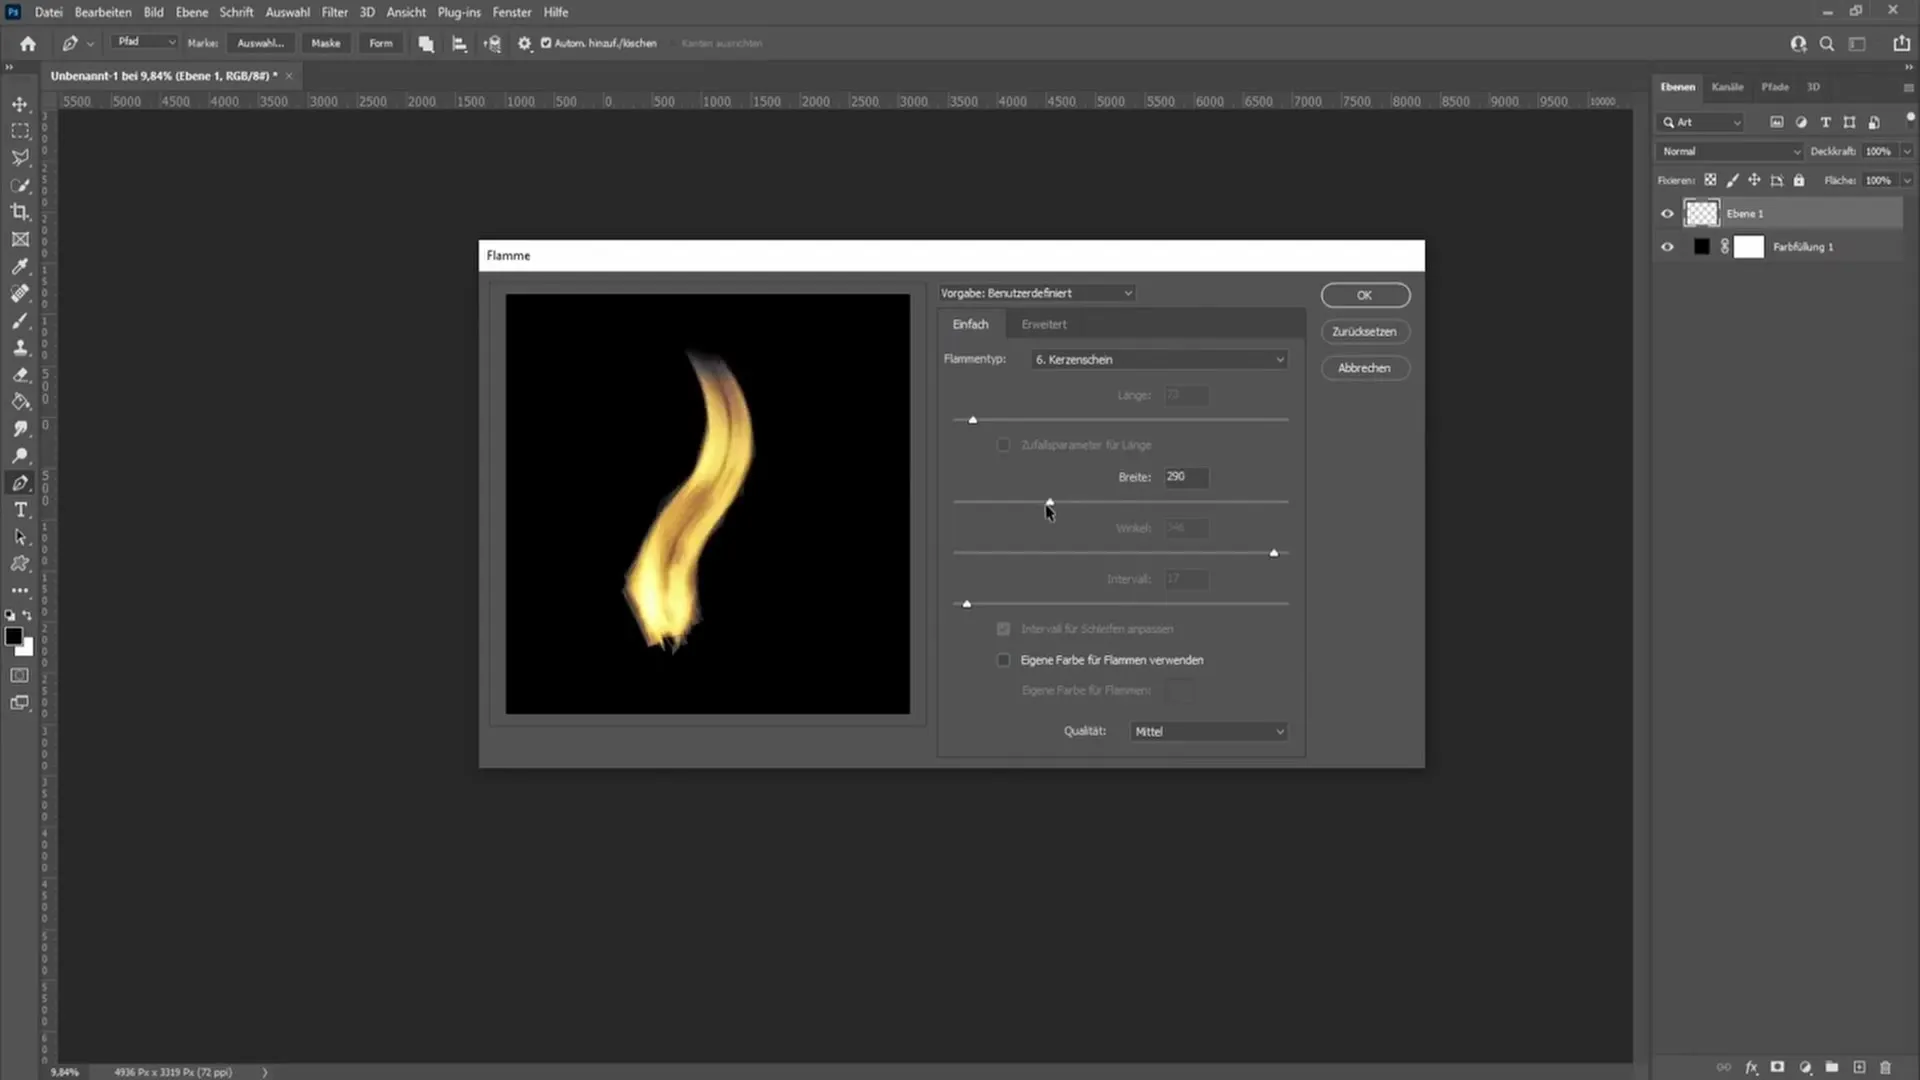
Once you have tested the width, click "OK," and your flame will be created.
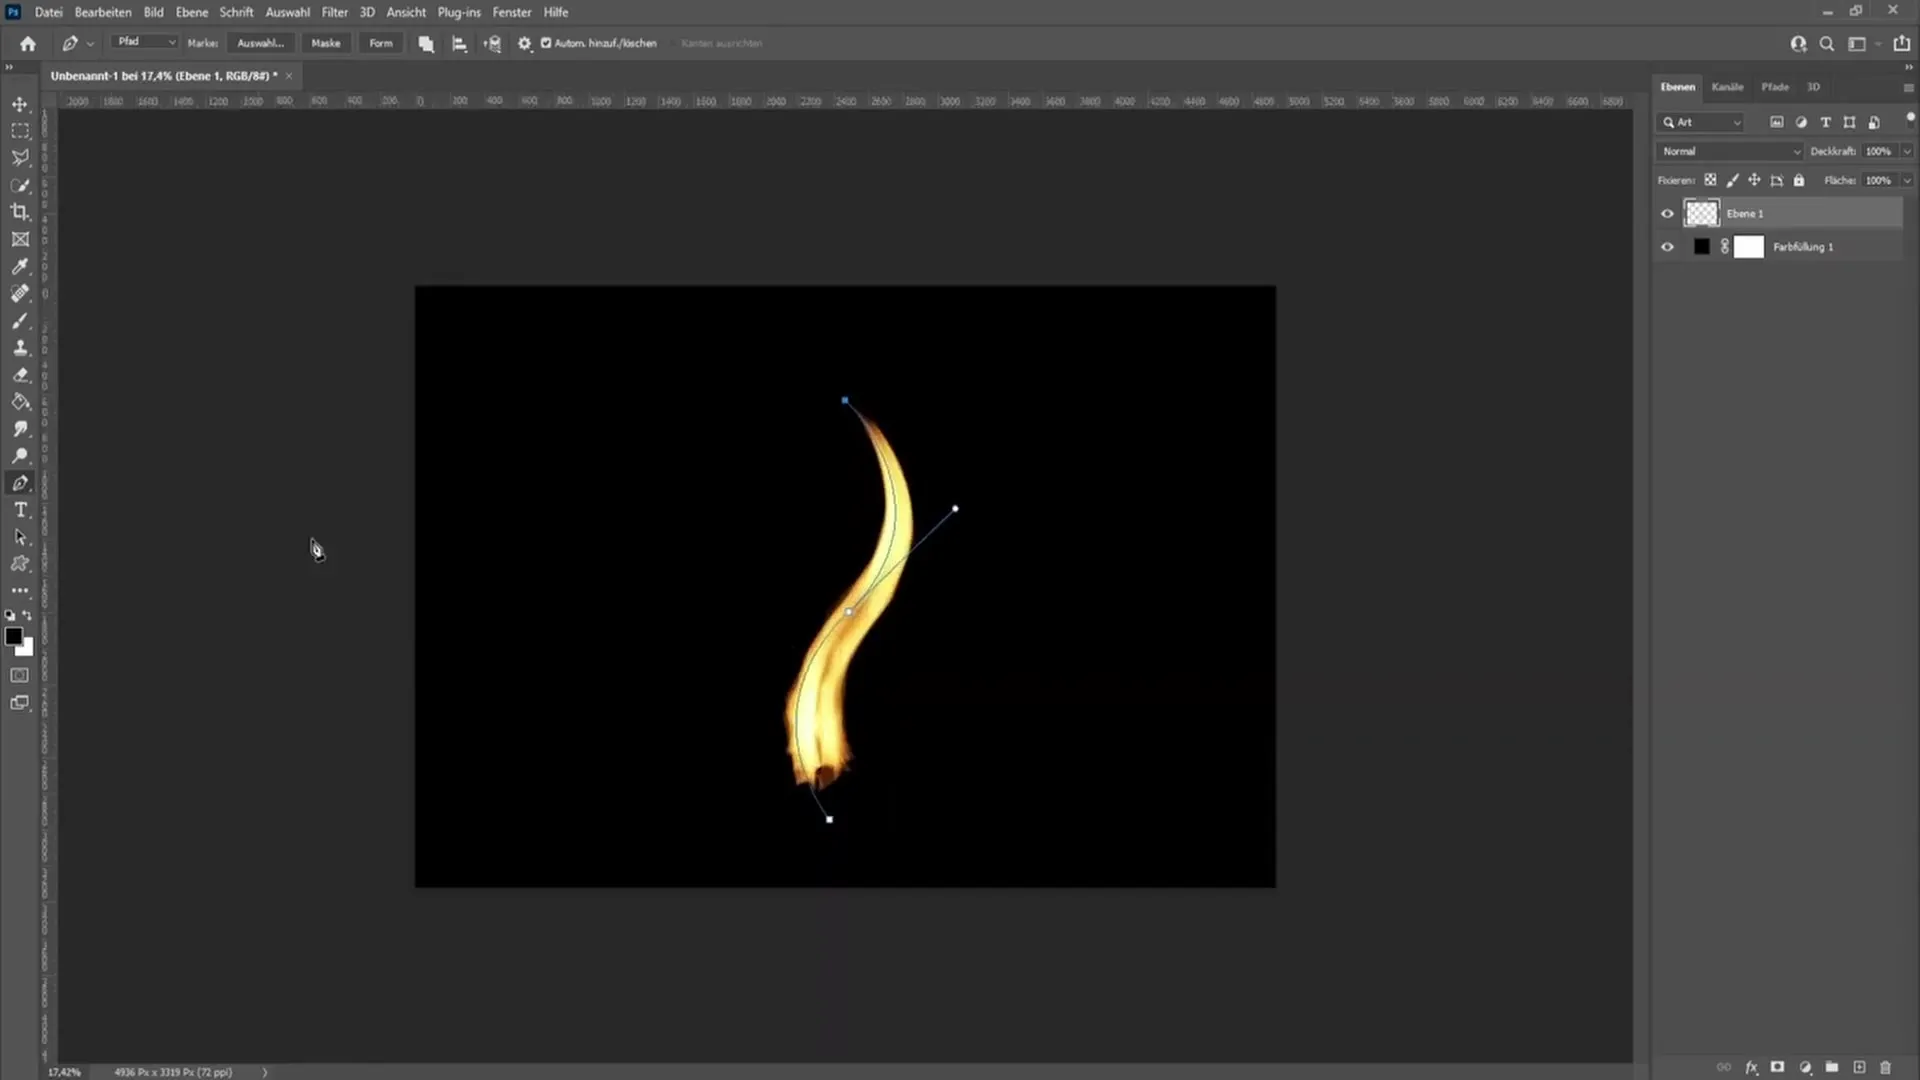
Next, we want to remove the excess spikes on the flame to make it more aesthetically pleasing. To do this, create a layer mask.
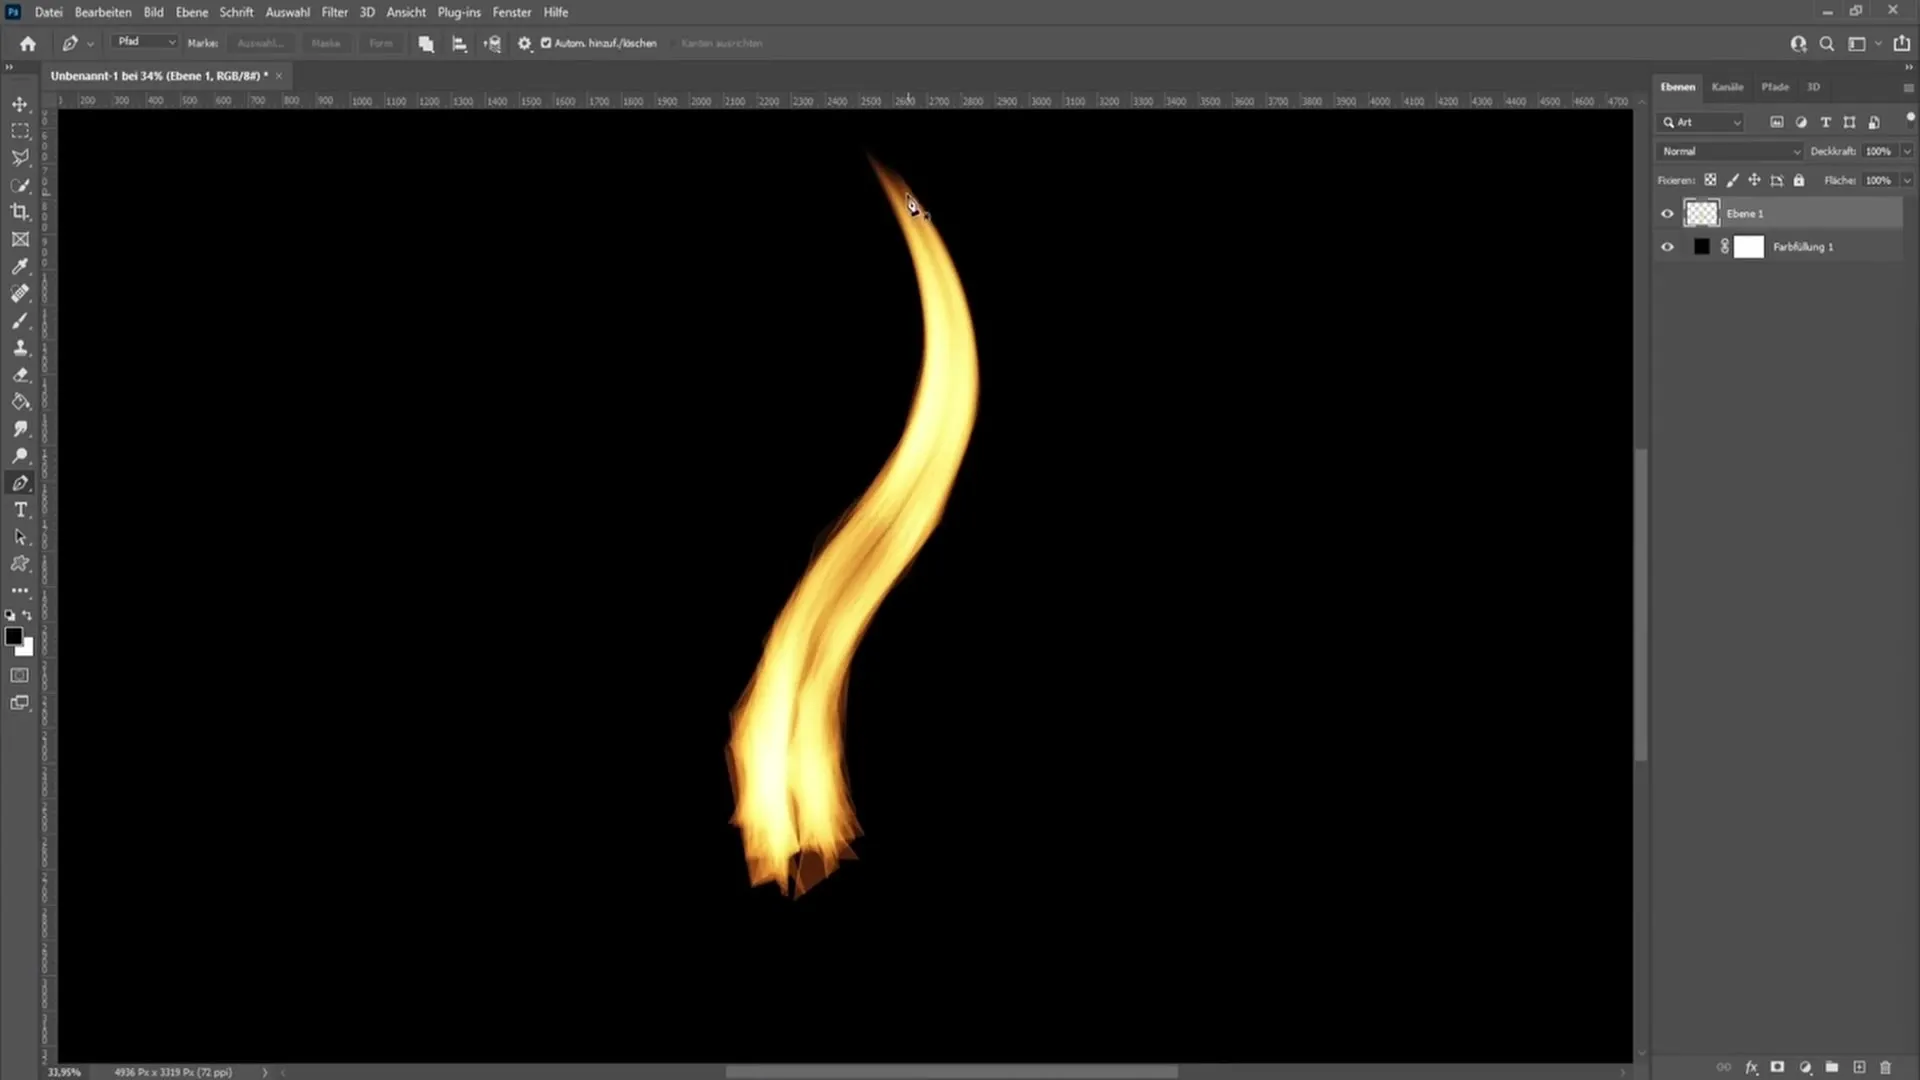
Now, set the foreground color to black and choose a brush with 100% opacity and 100% flow.
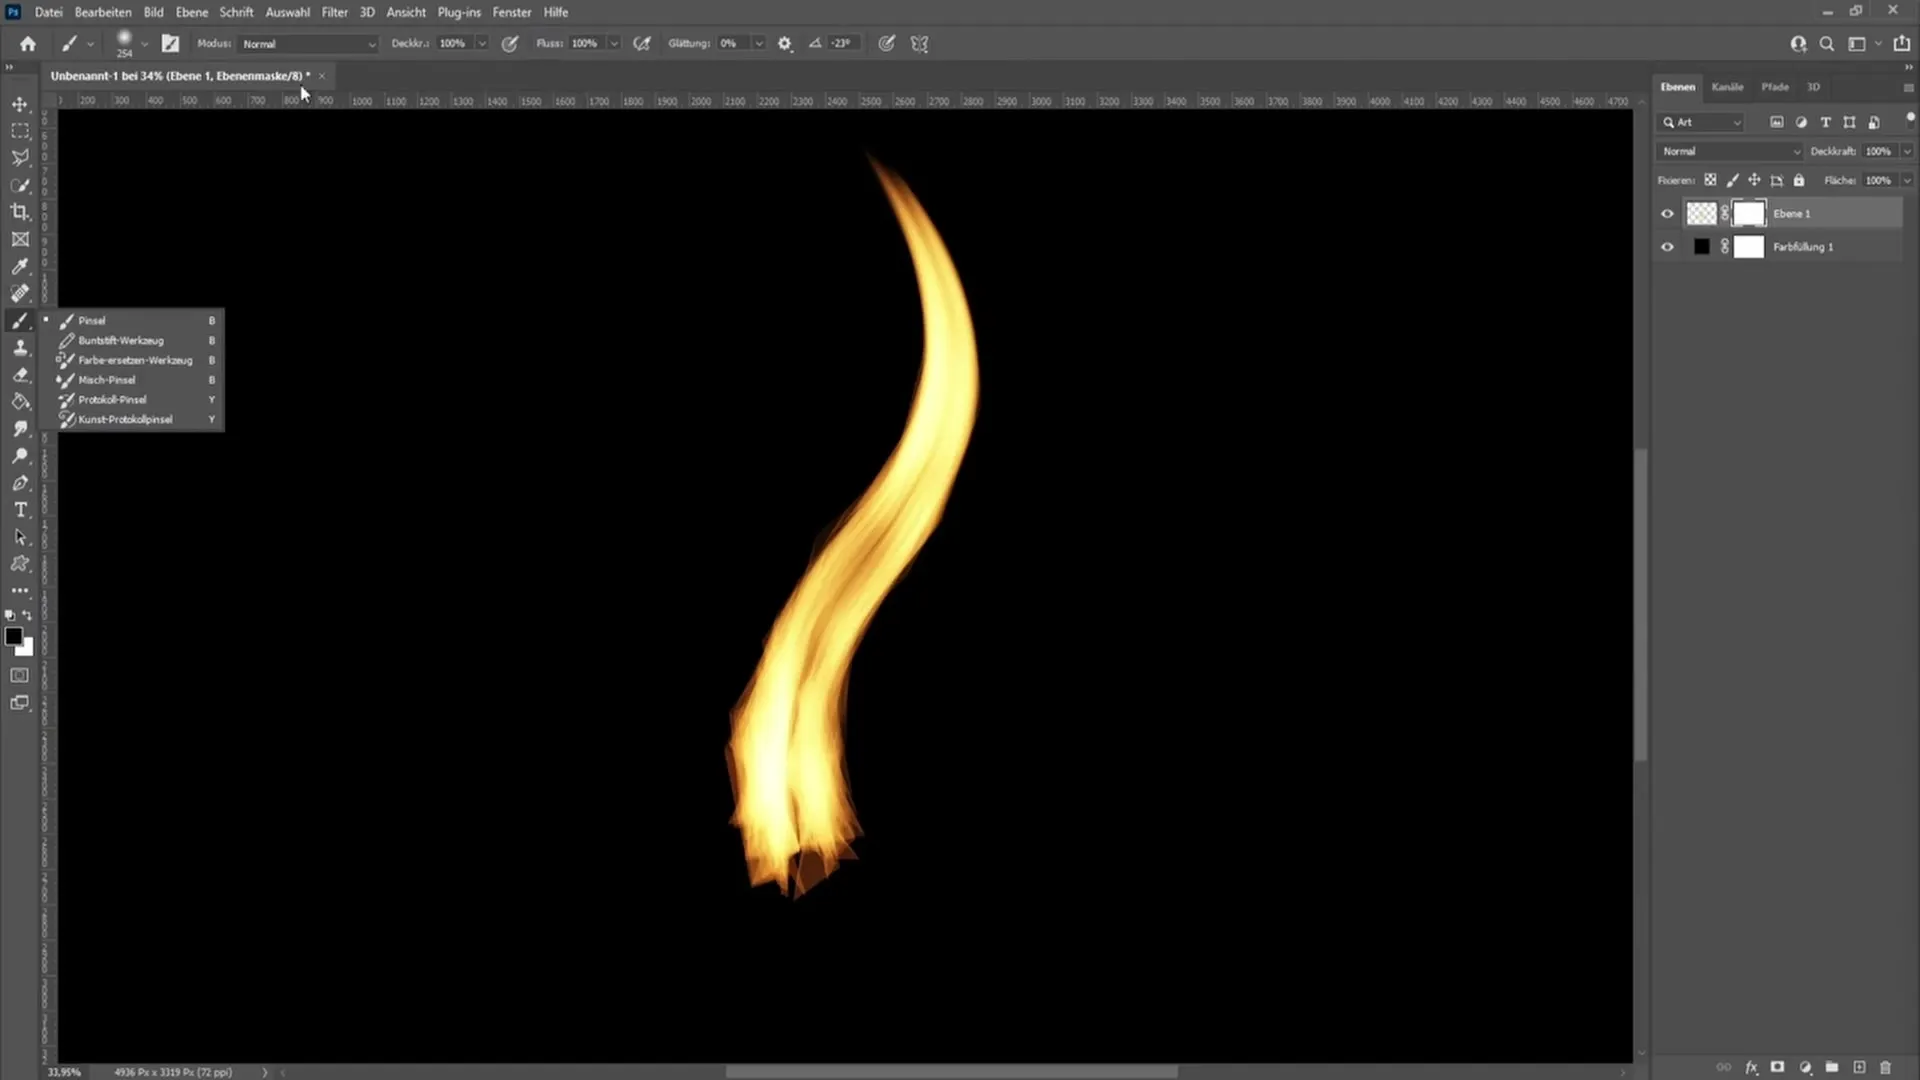
When it comes to the hardness of the brush, it is recommended to set it at around 50%, so that a smooth transition is visible when you erase the bristles. Zoom in closer to work precisely, and start gently removing the distracting bristles.
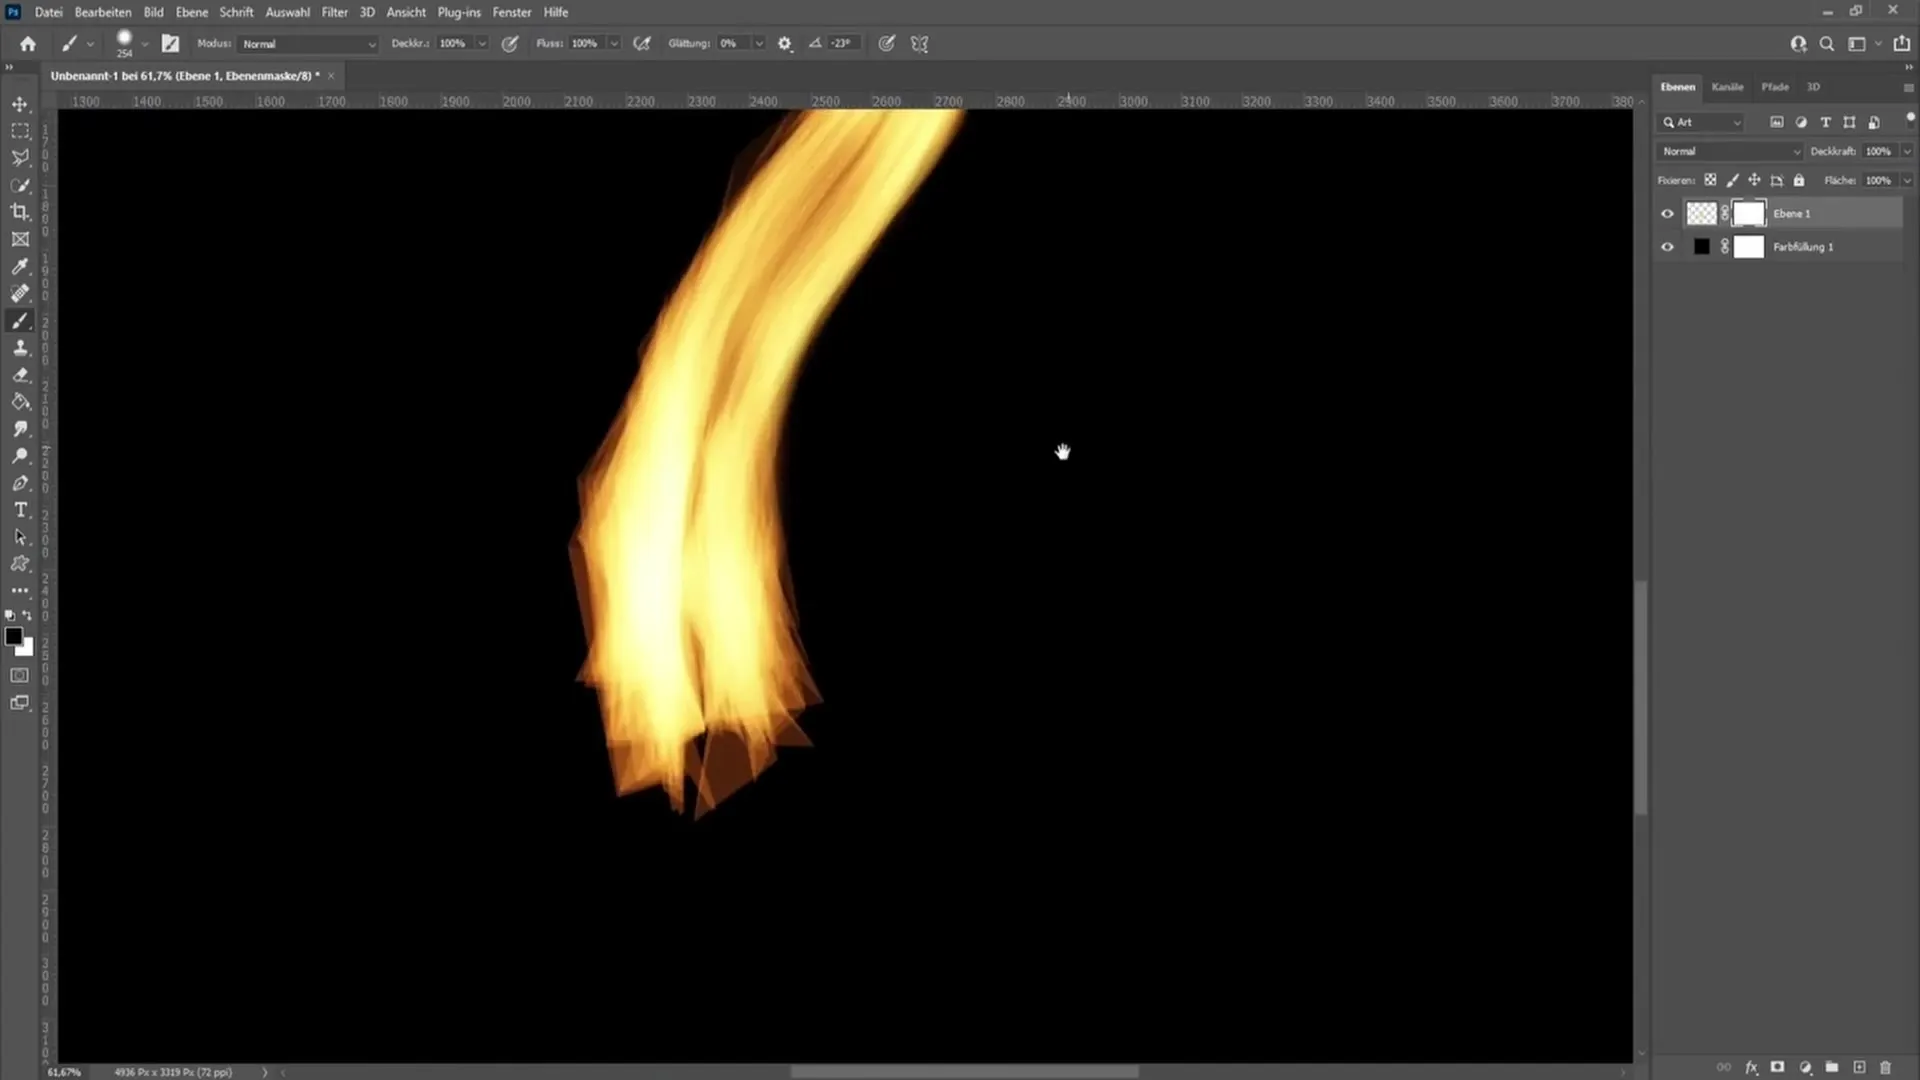
Take your time with this step and make sure the contours of the flame become smoothly. Once you're done, you've already taken a big step towards the perfect candle flame.
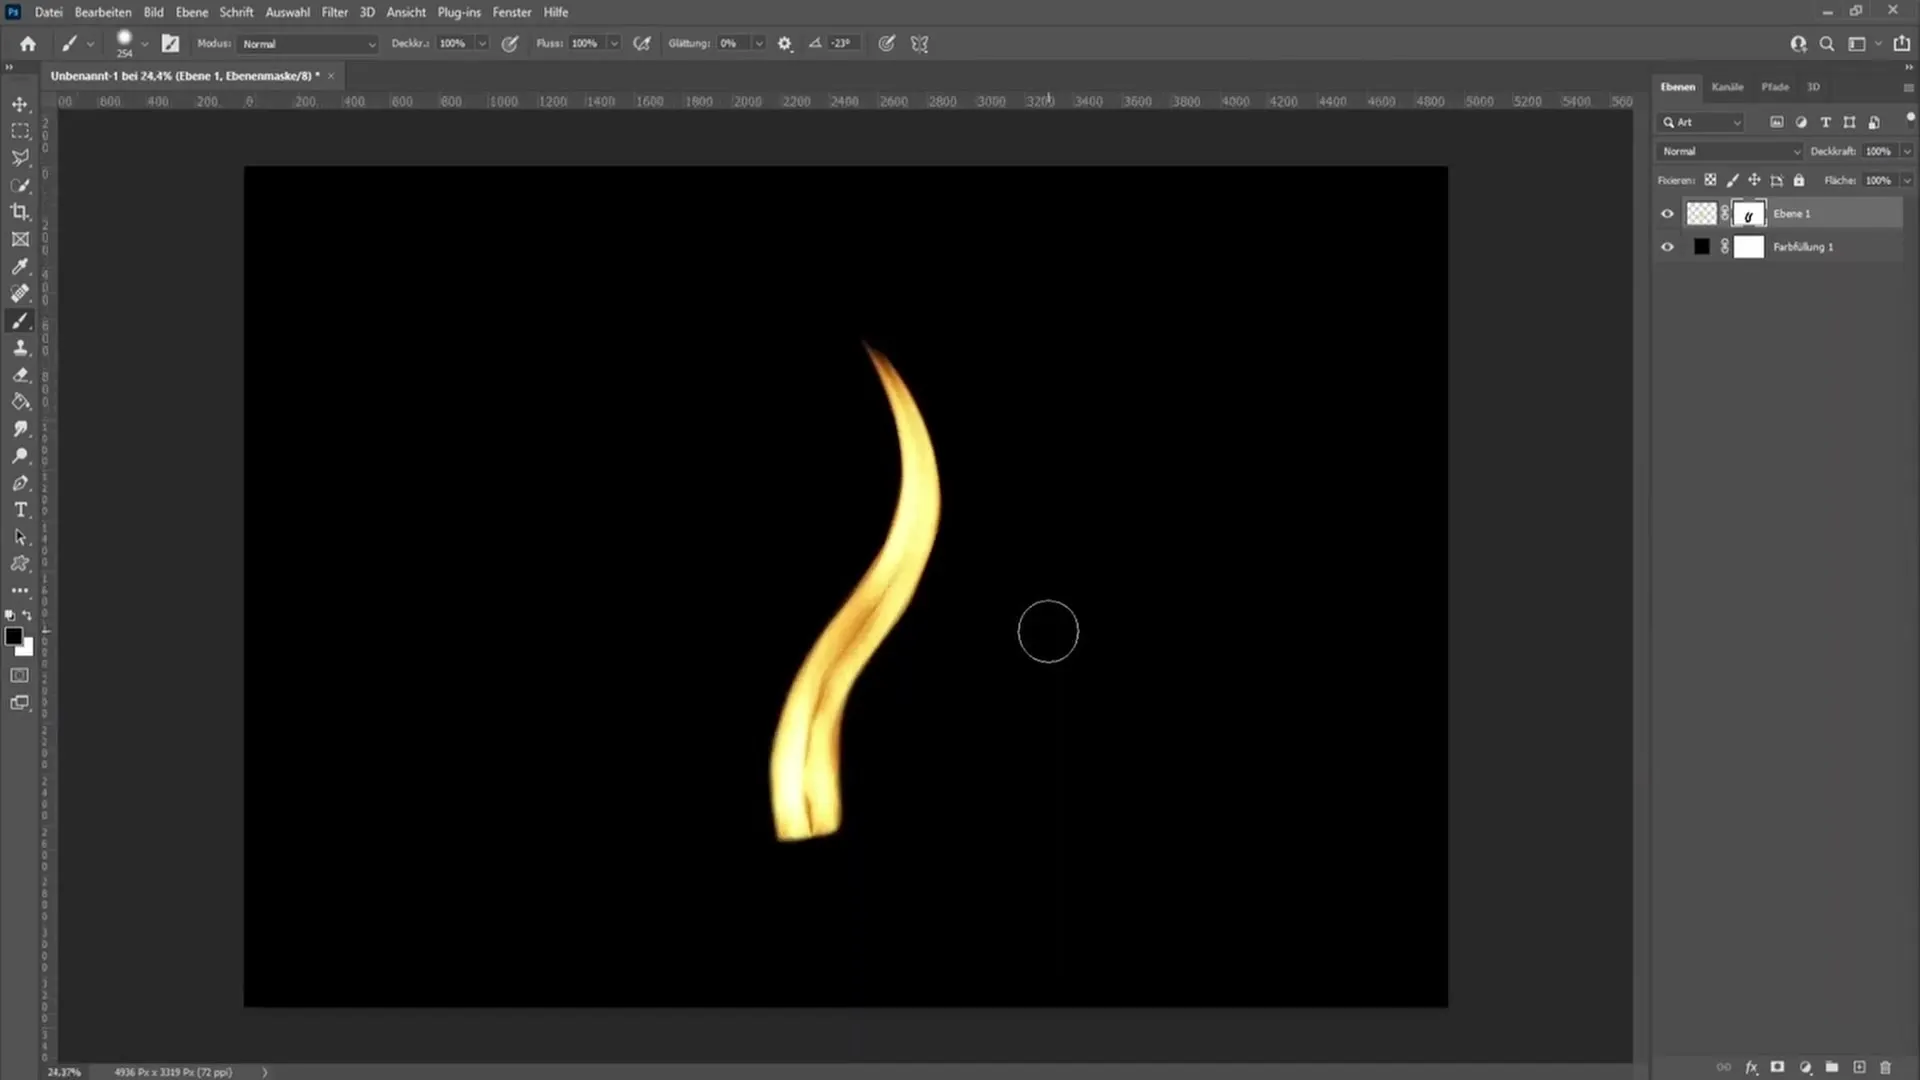
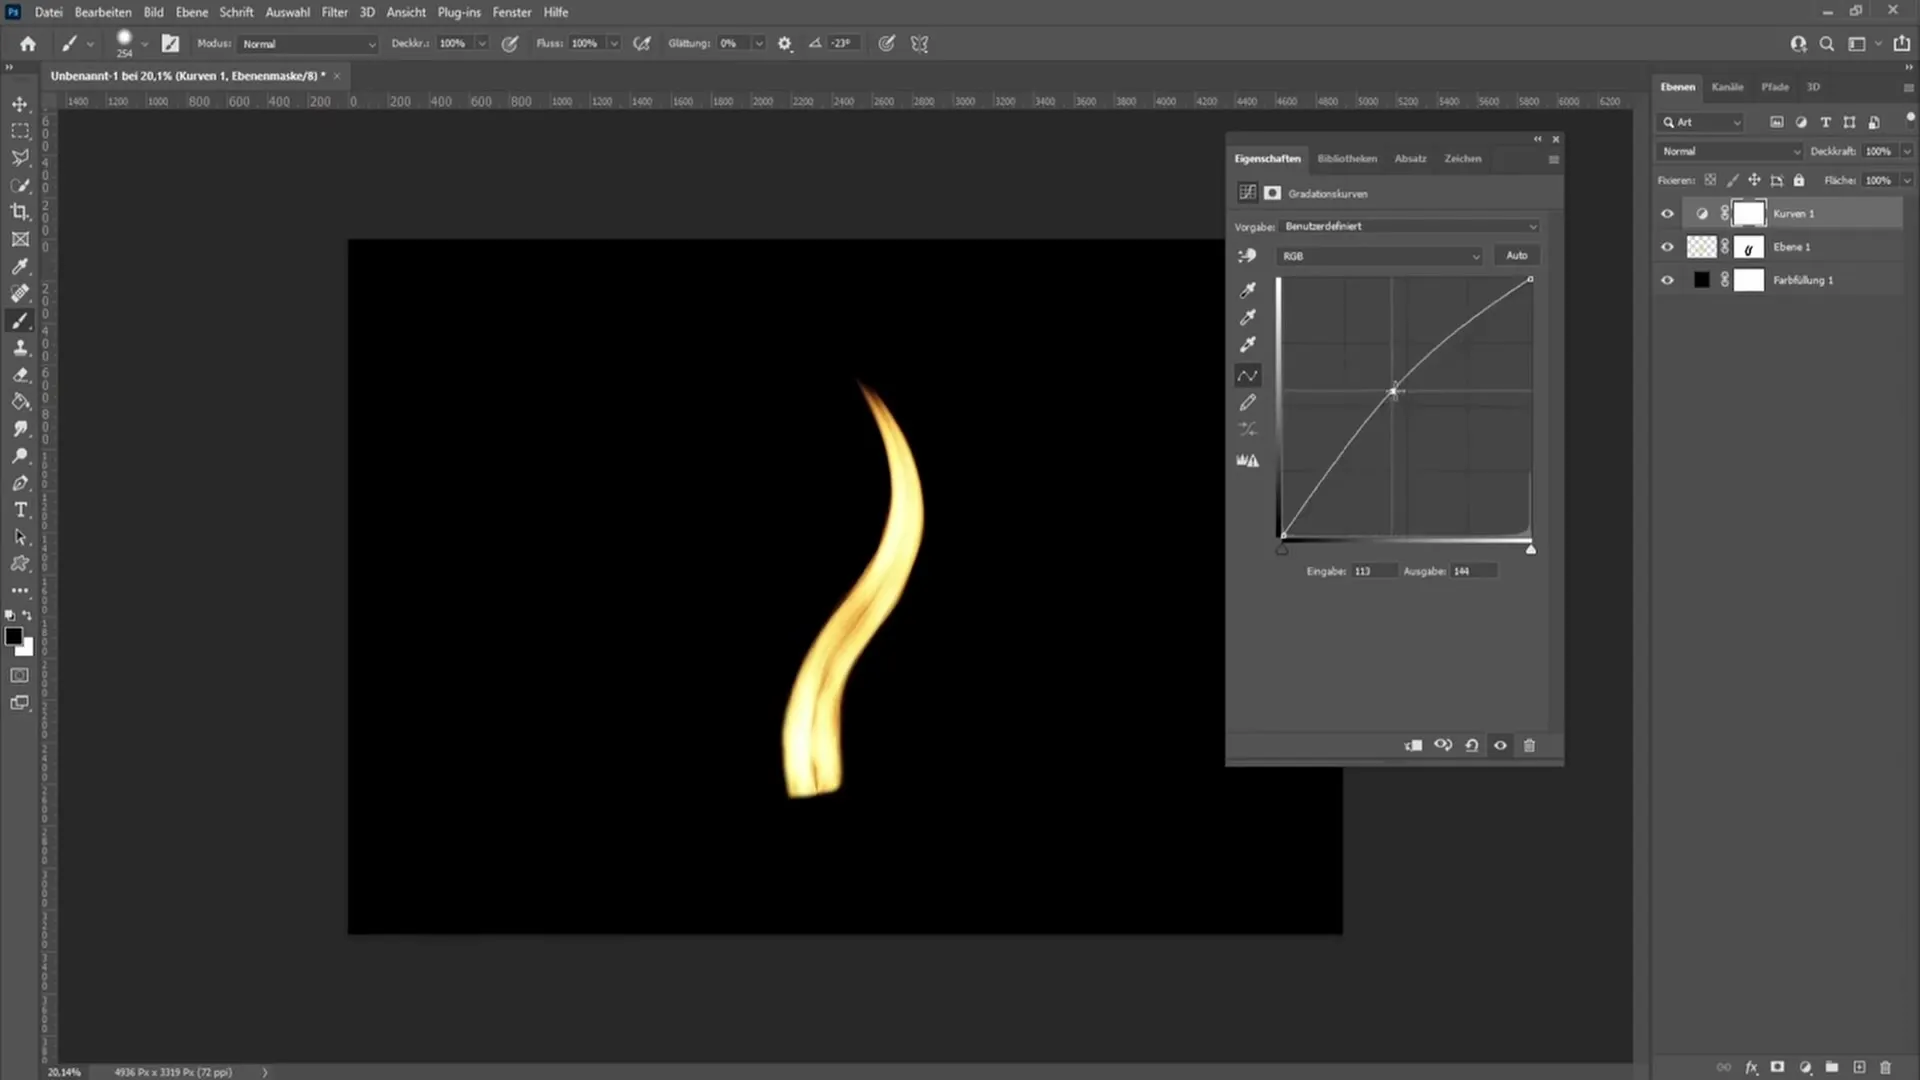
To enhance your candle flame even more, you can make an adjustment with a gradient curve. This will make the flame darker or lighter, depending on the desired effect.
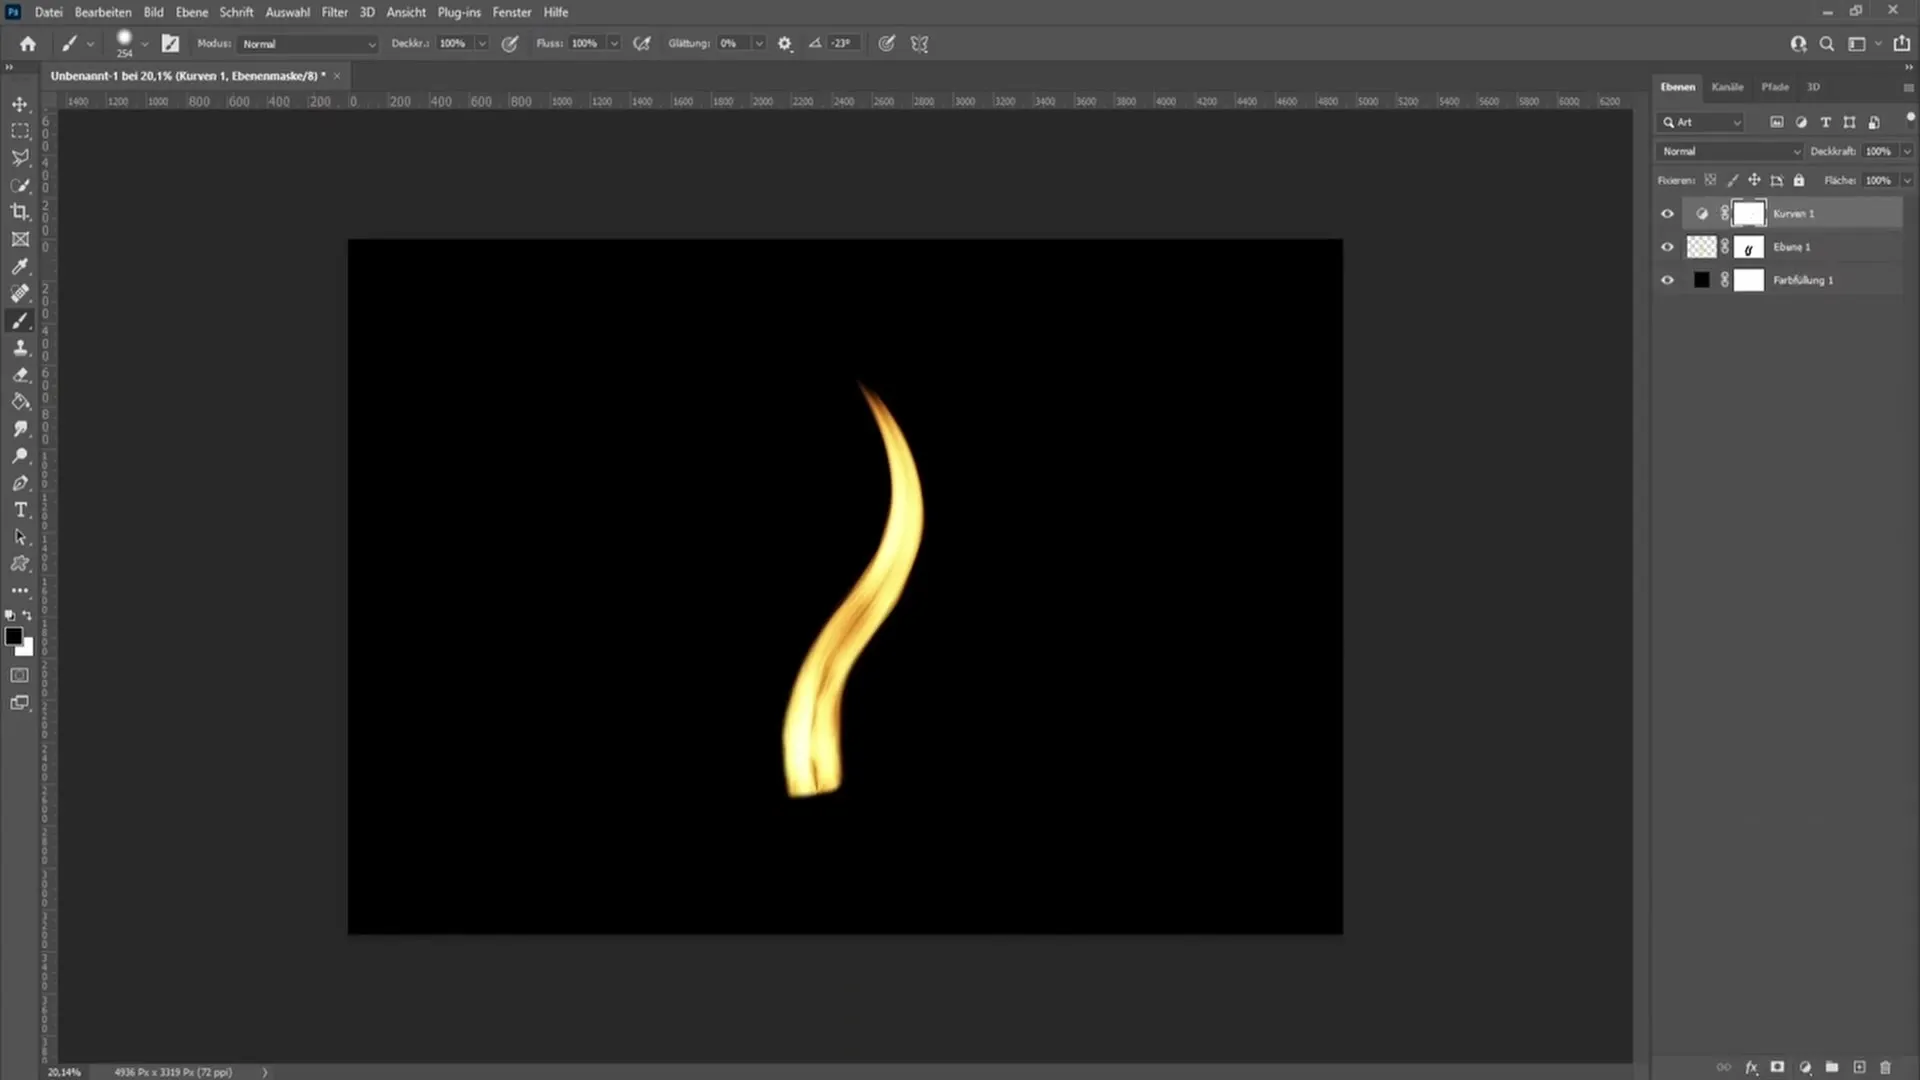
If the flame is too intense for you, move up with the midtones or down if it appears too dark to you. I recommend subtly manipulating the settings to achieve the desired color intensity and create a harmonious overall image.
Another trick is to adjust the fill options of the candle flame. Right-clicking on the layer opens the fill options. Activate "Outer glow" for a softer look.
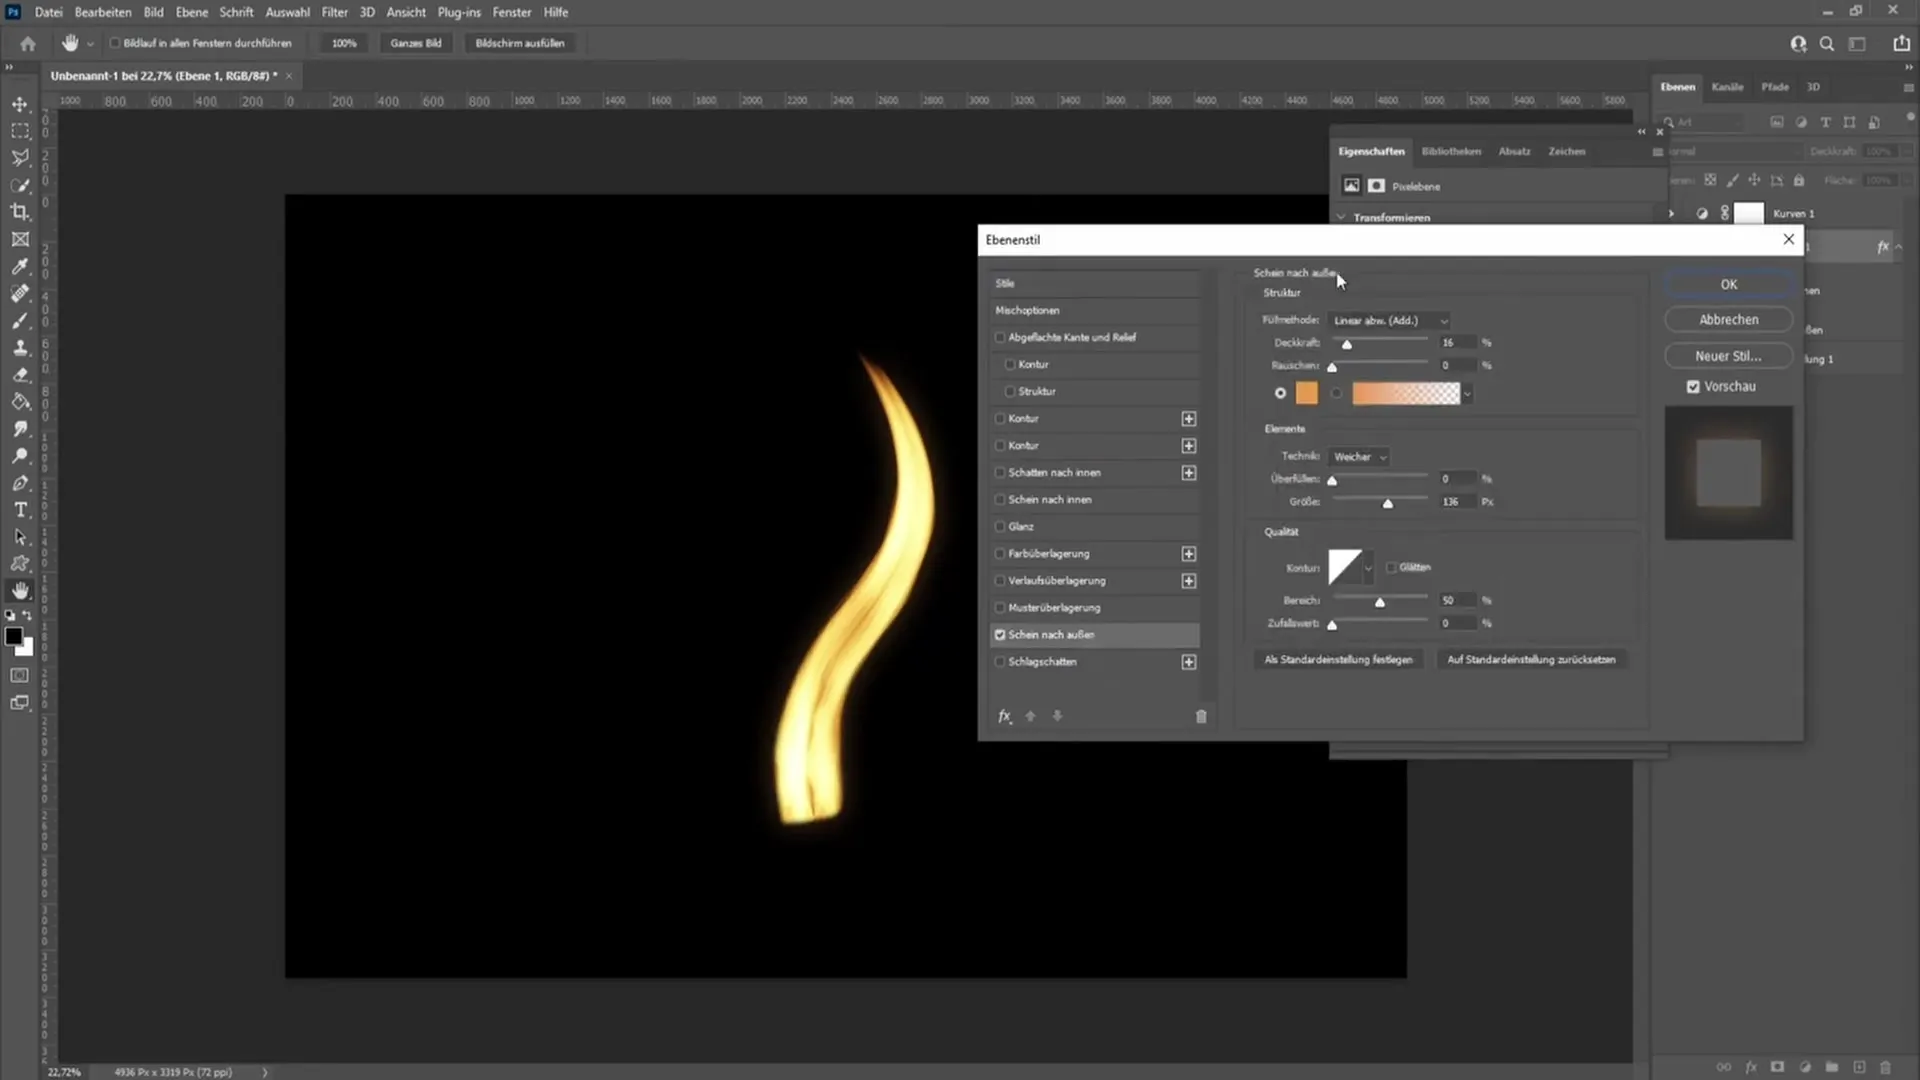
Here you can experiment with the values. Set the fill method to "linear dodge" with an opacity of about 16%. Choose a brighter orange color.
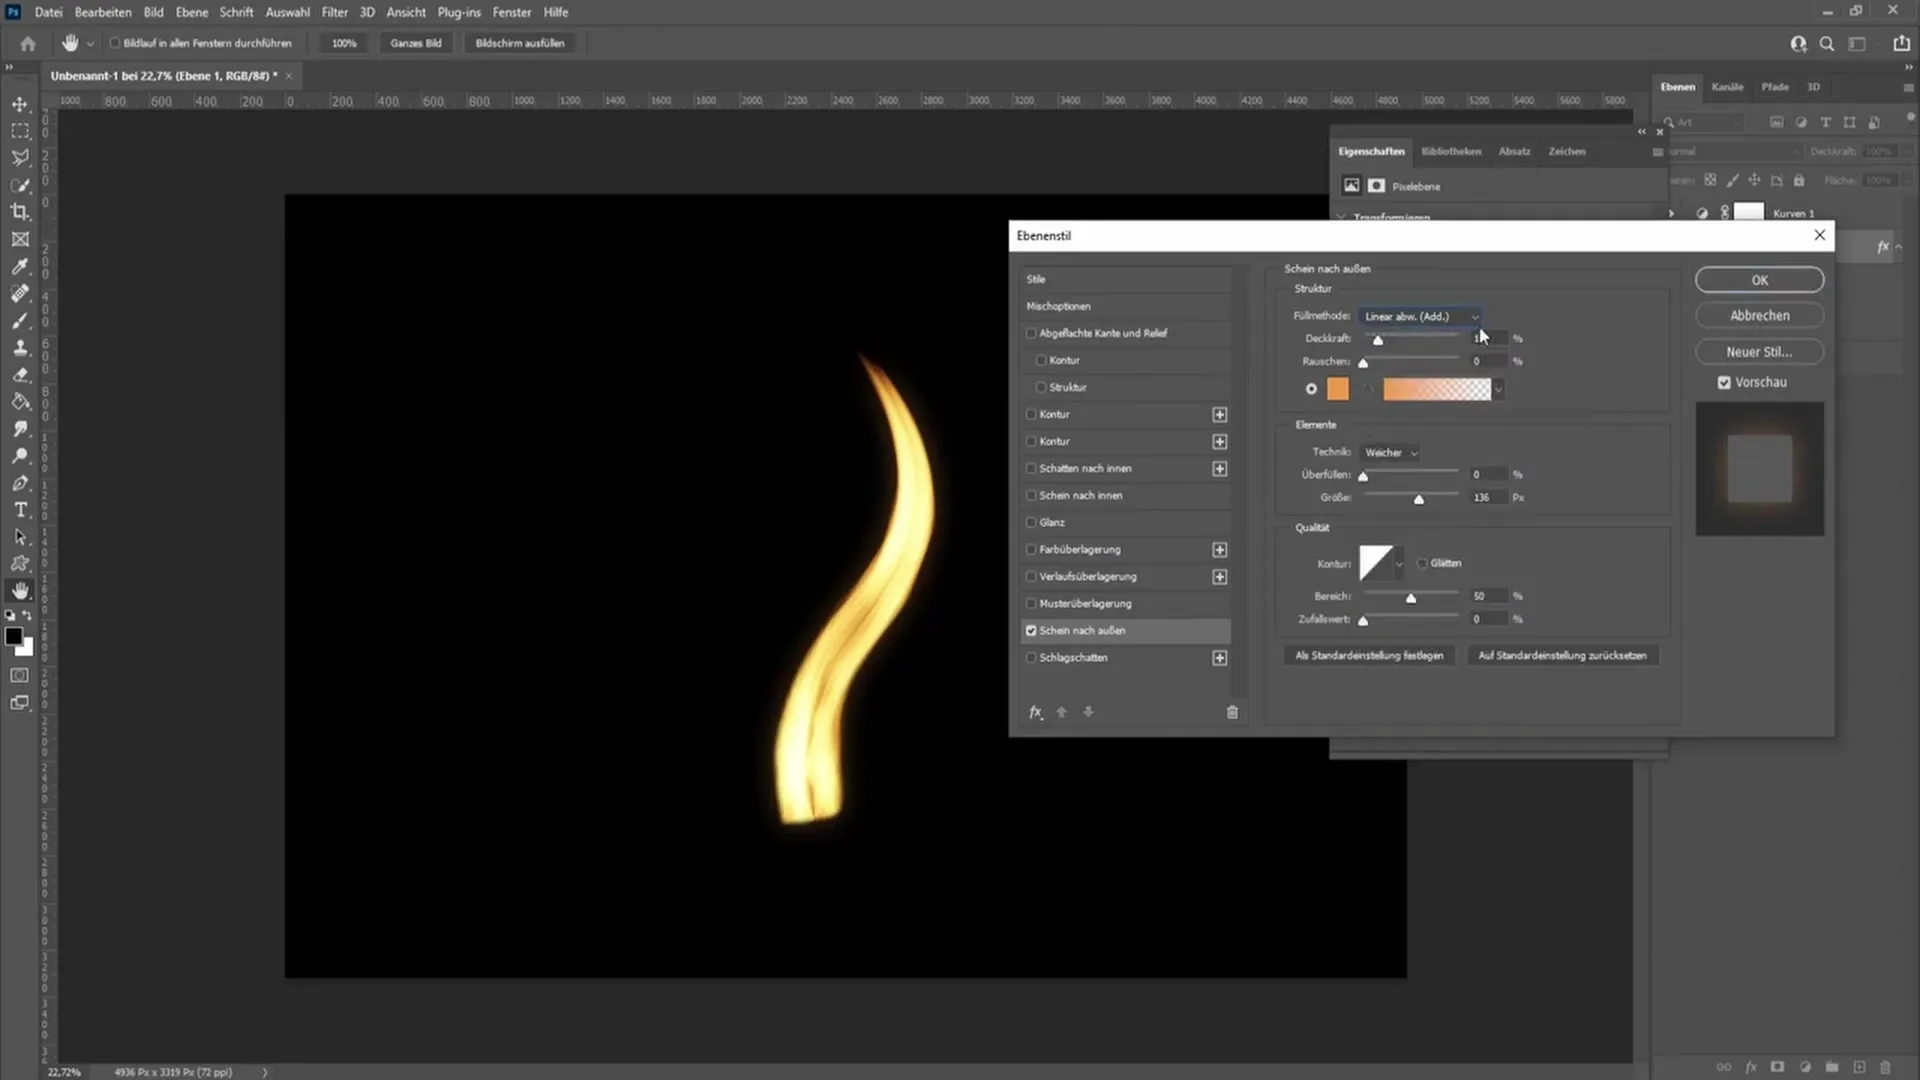
Set the technique to "soft" and adjust the size in the "Outer Glow." I recommend setting the size to about 136 pixels, but feel free to adjust the values to your liking.
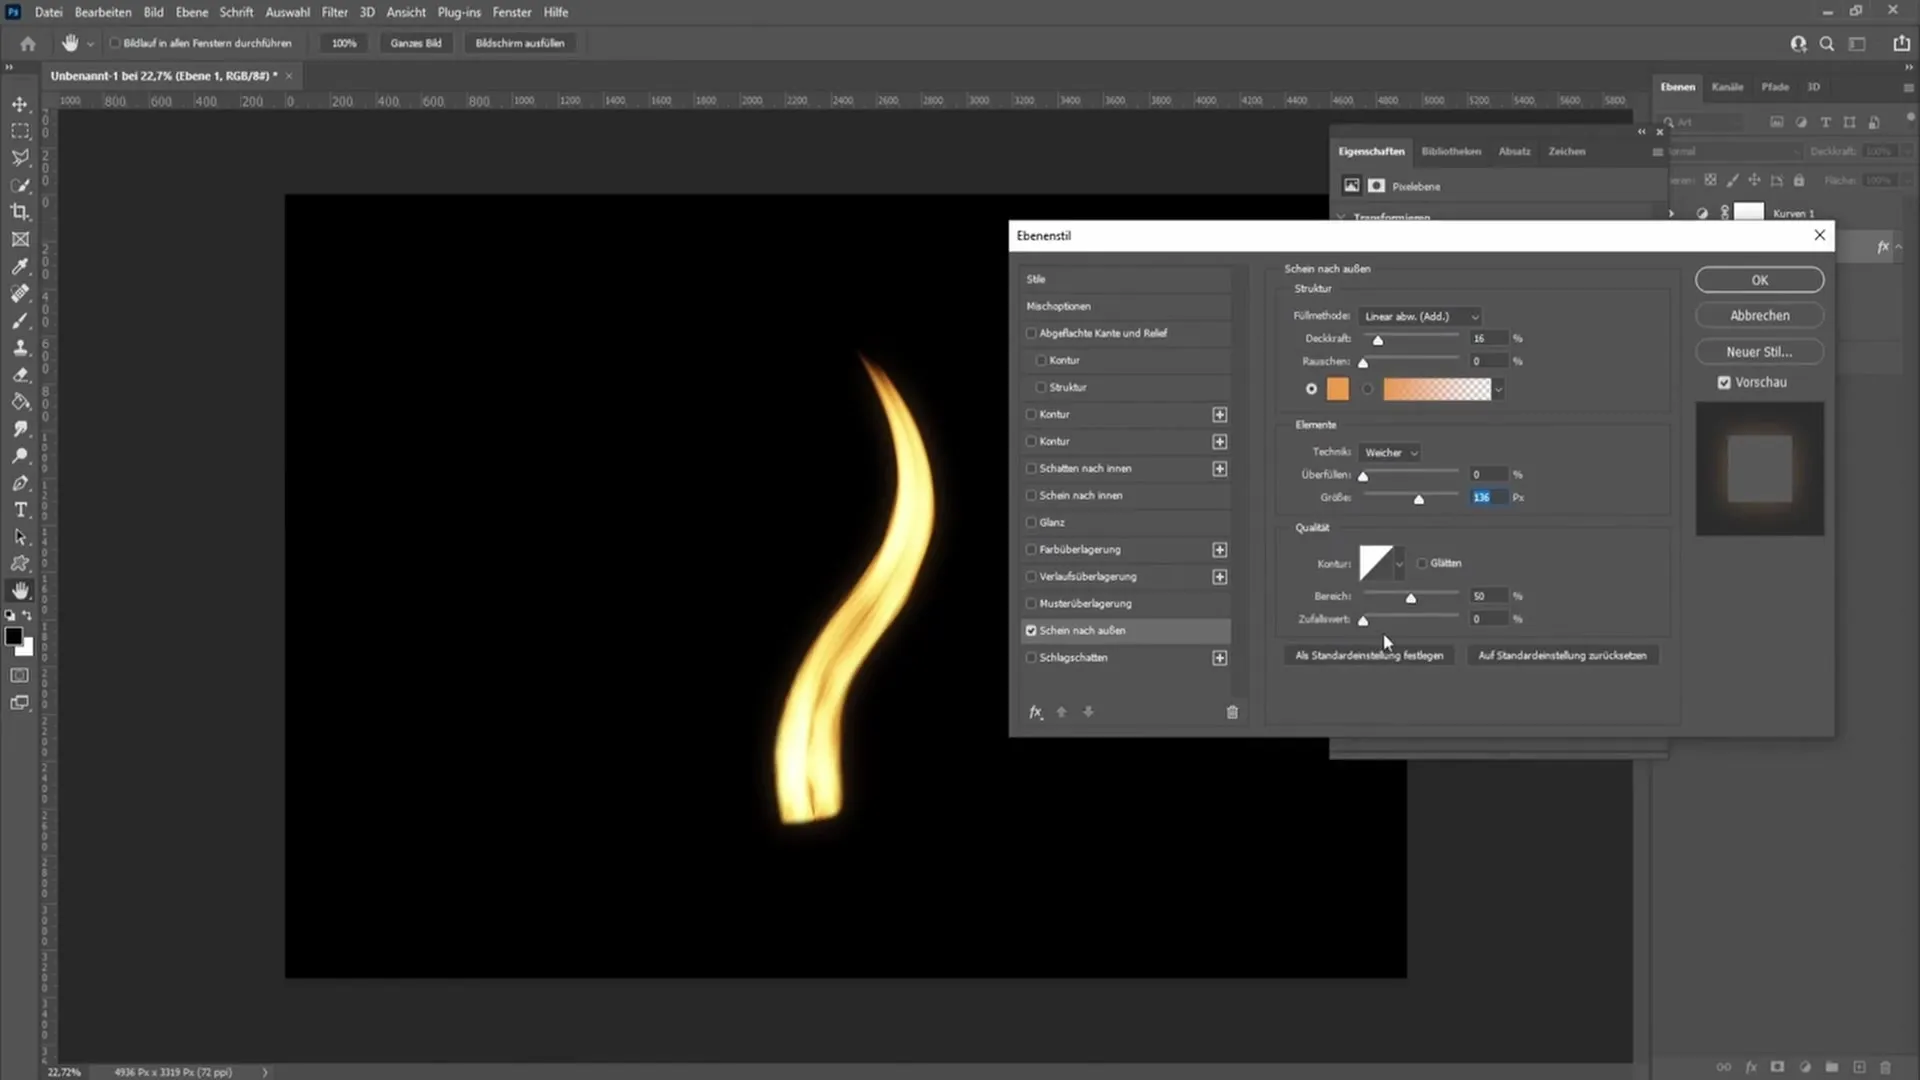
Once you are satisfied with the appearance of the candle flame, click "OK." To merge all elements, press "Ctrl + Alt + Shift + E" so that all layers are combined while keeping the original layer intact.
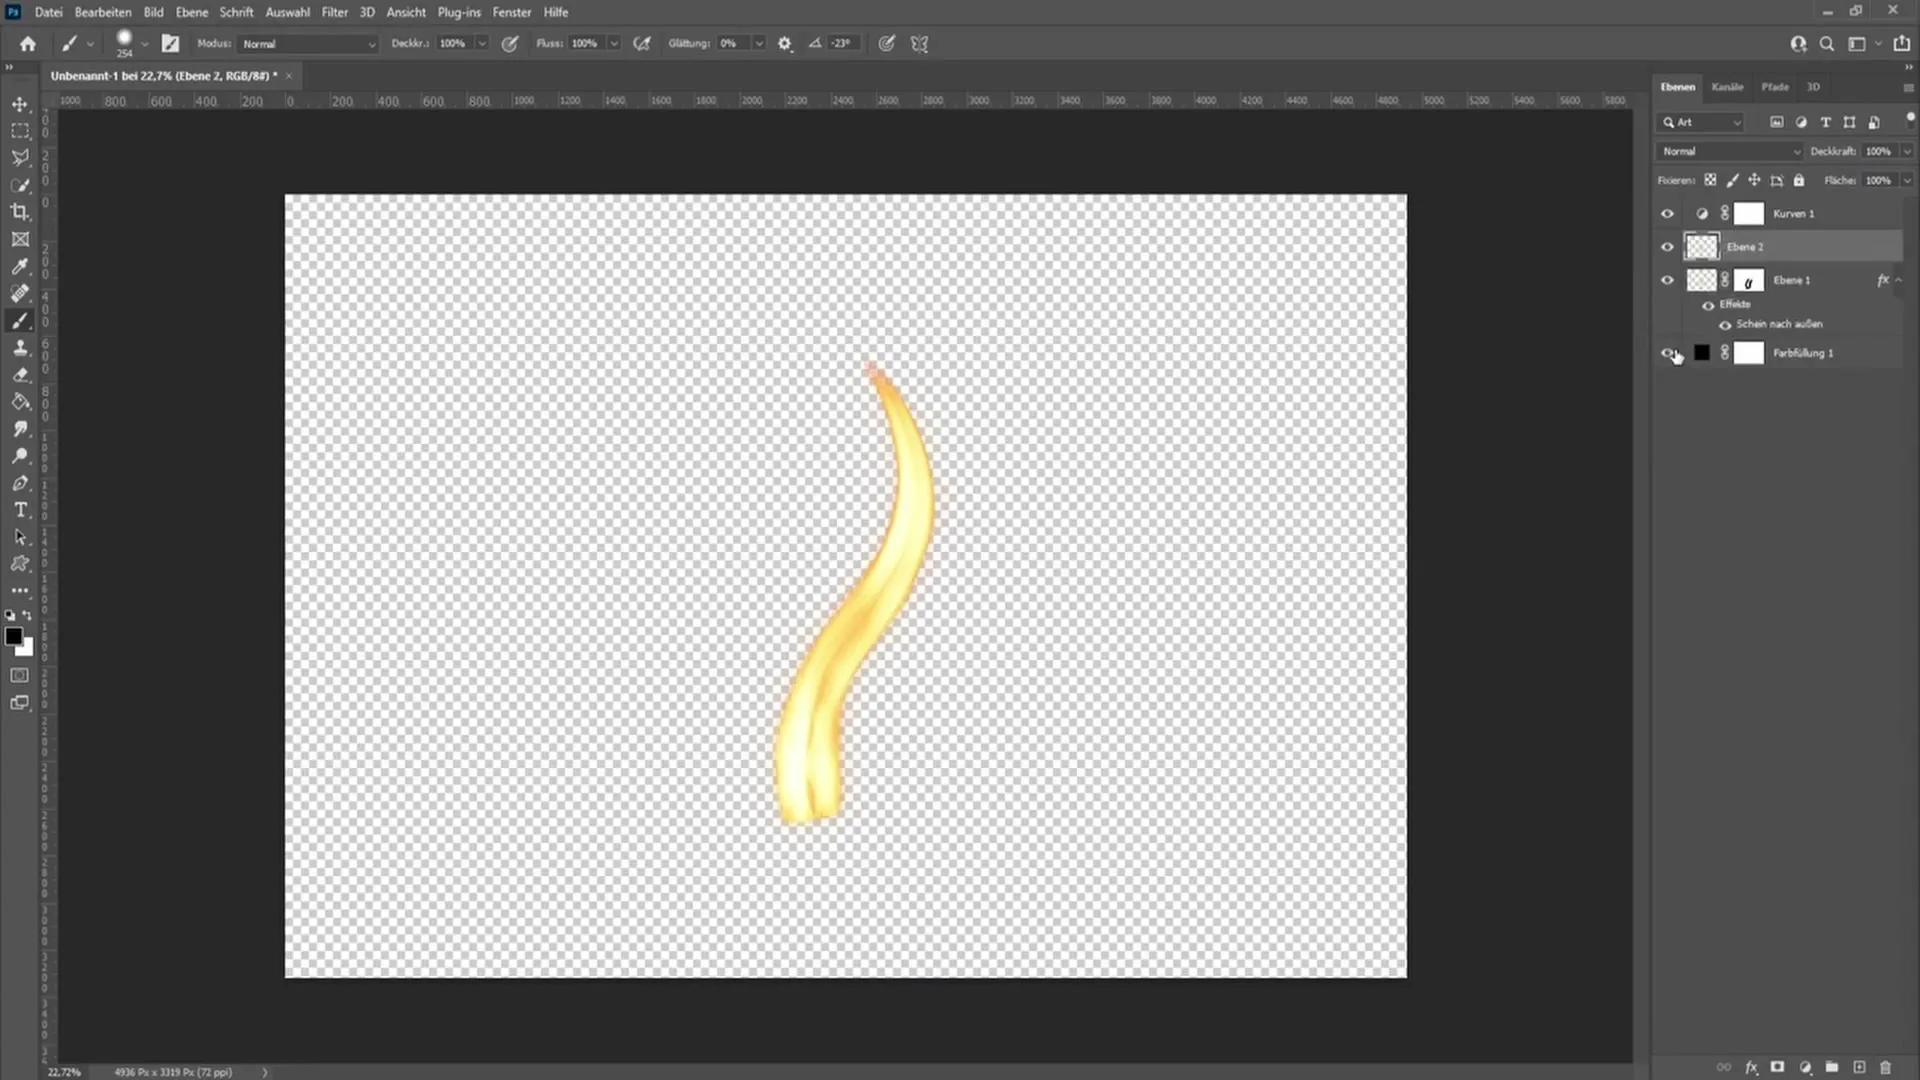
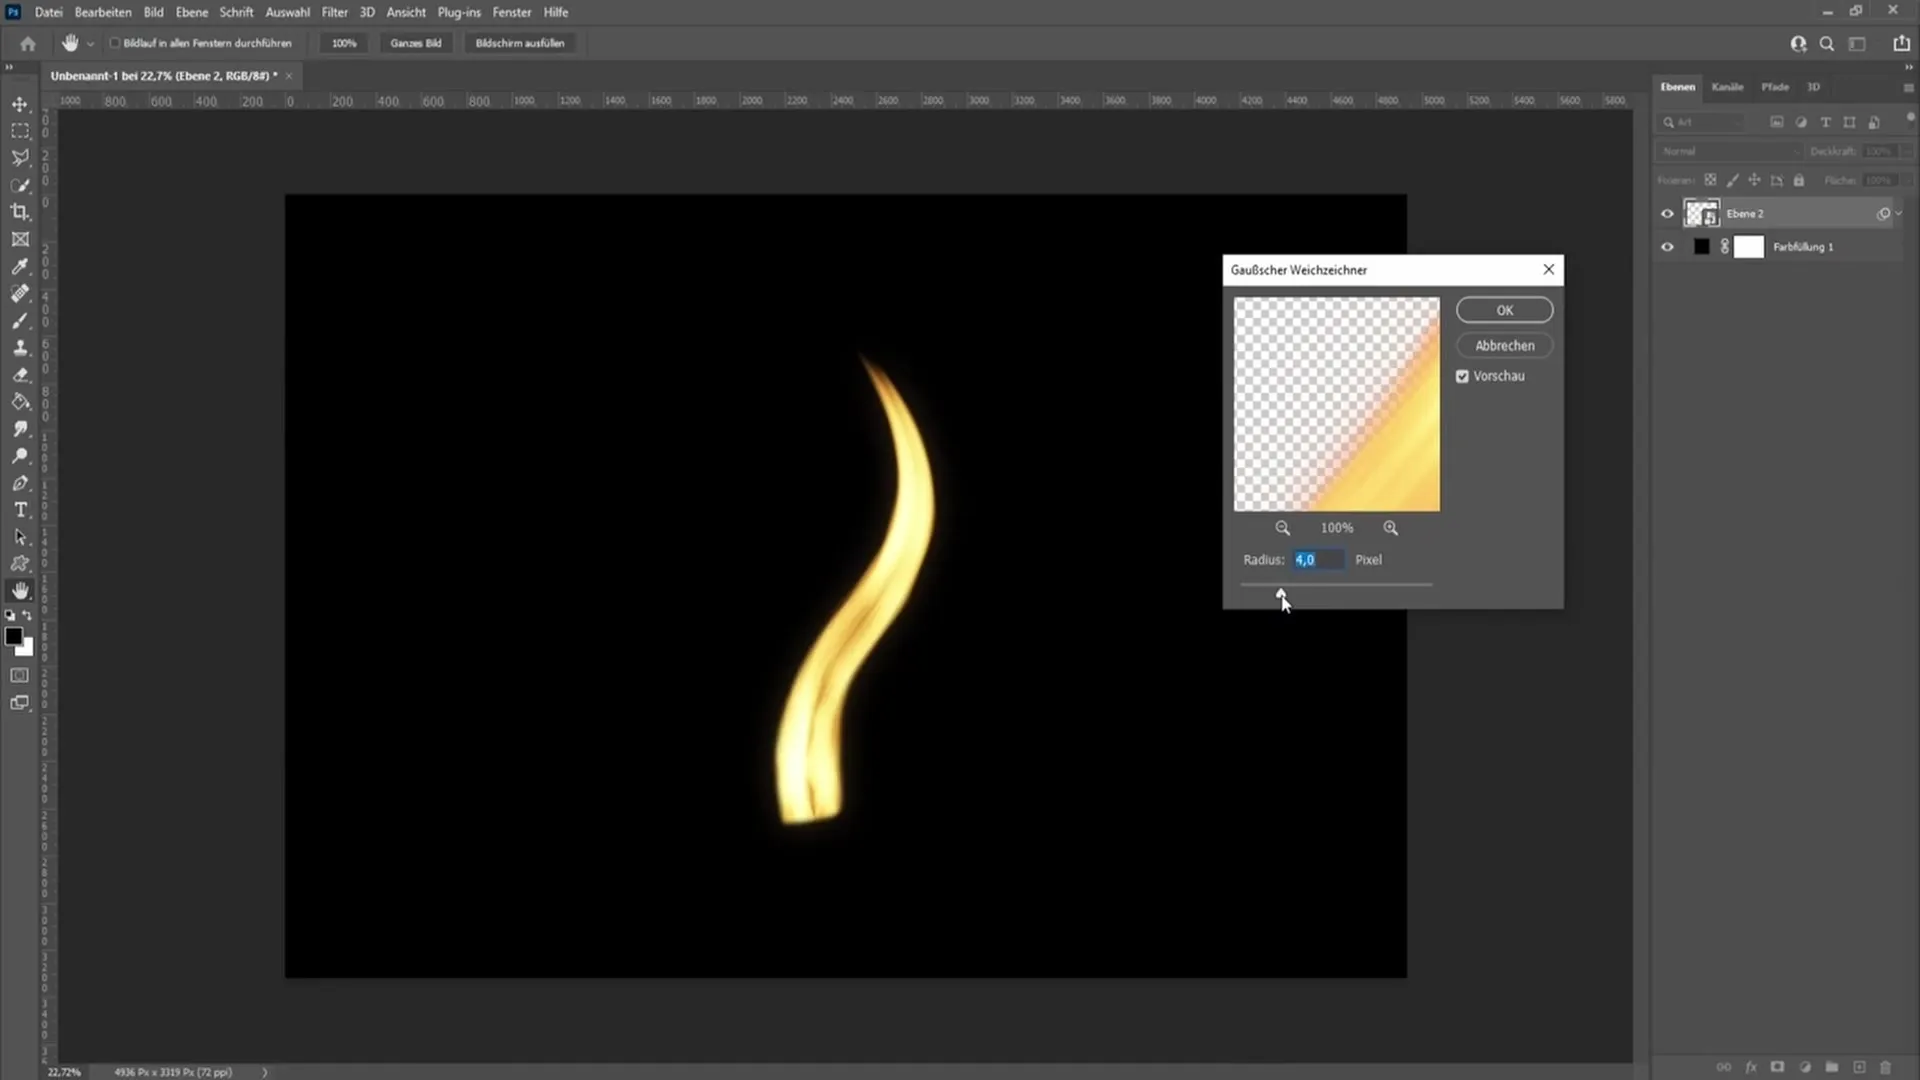
Now is the time to convert this merged layer into a smart object. By doing this, you can apply the Gaussian Blur to soften the flame. Go to "Filter" and select "Gaussian Blur."
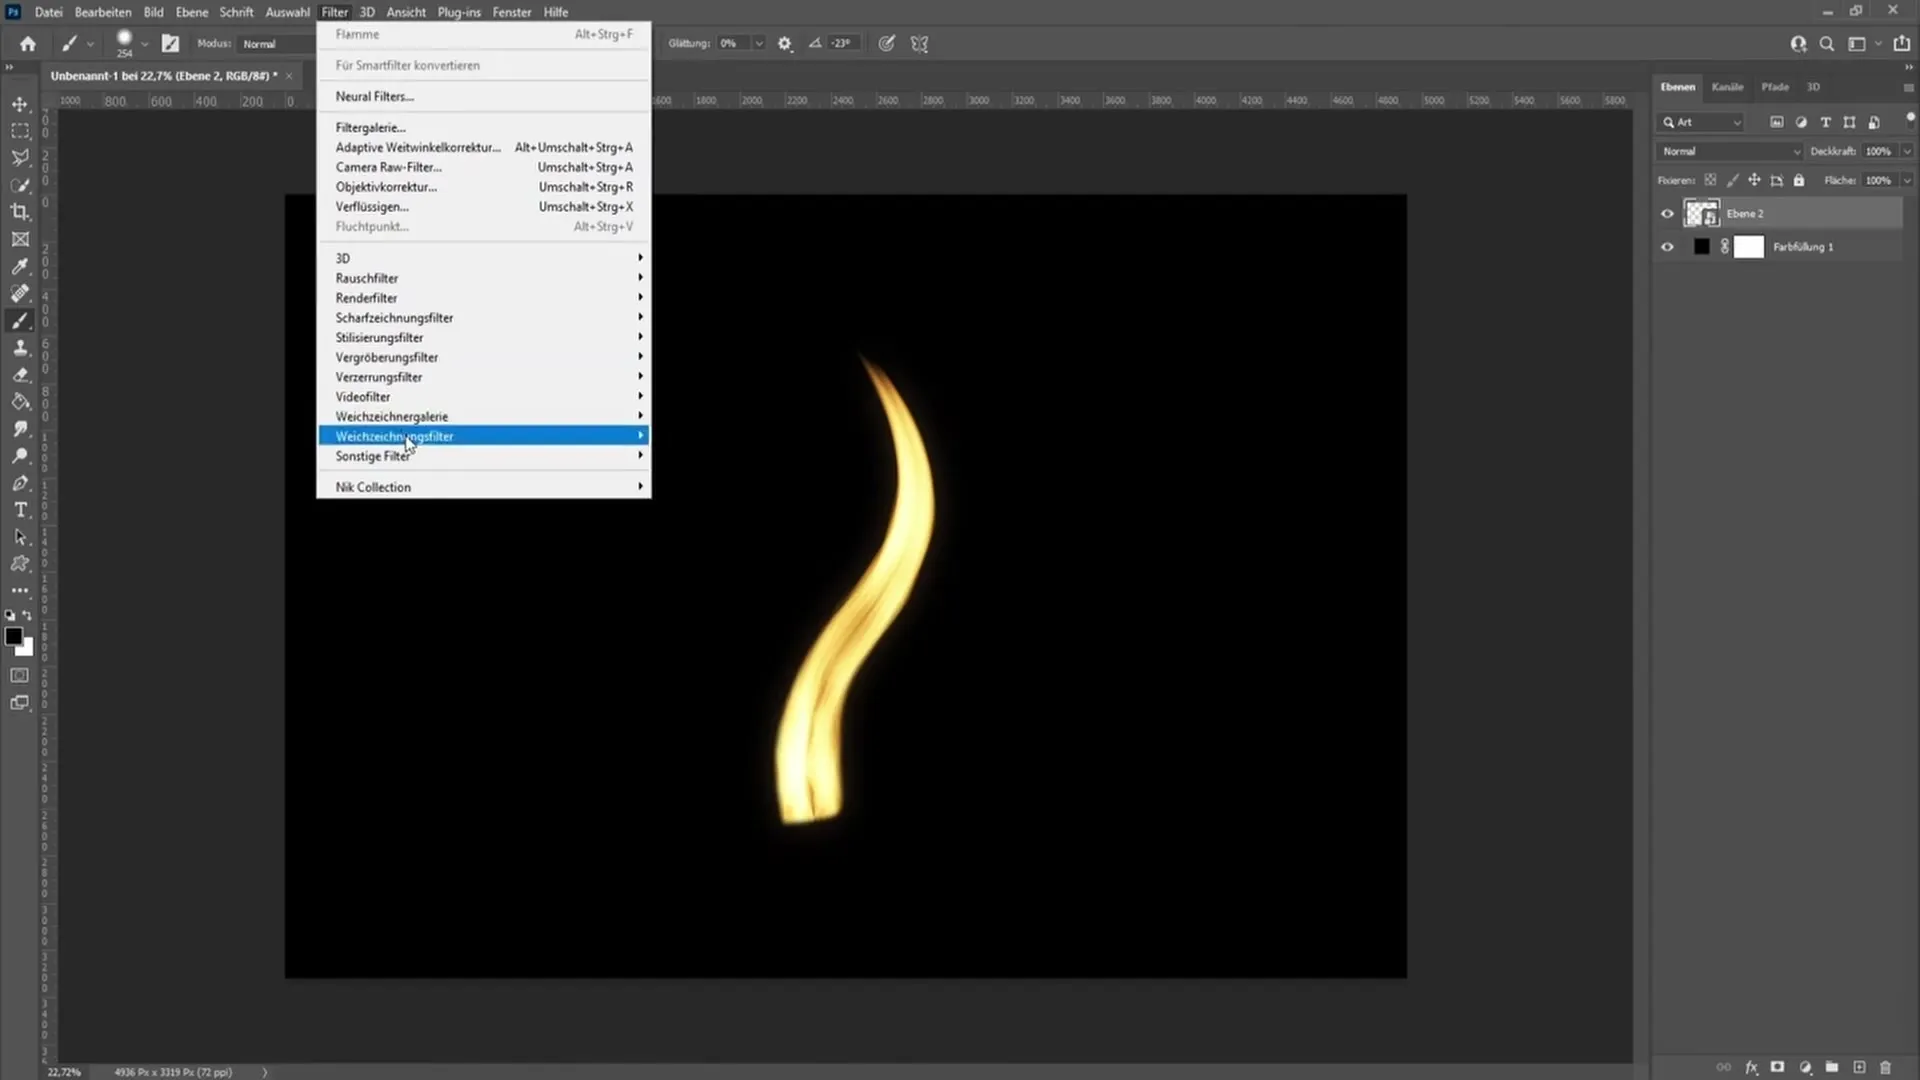
Set the blur to a value of about 3.5 to 4 pixels to soften the details and make the flame appear more realistic.
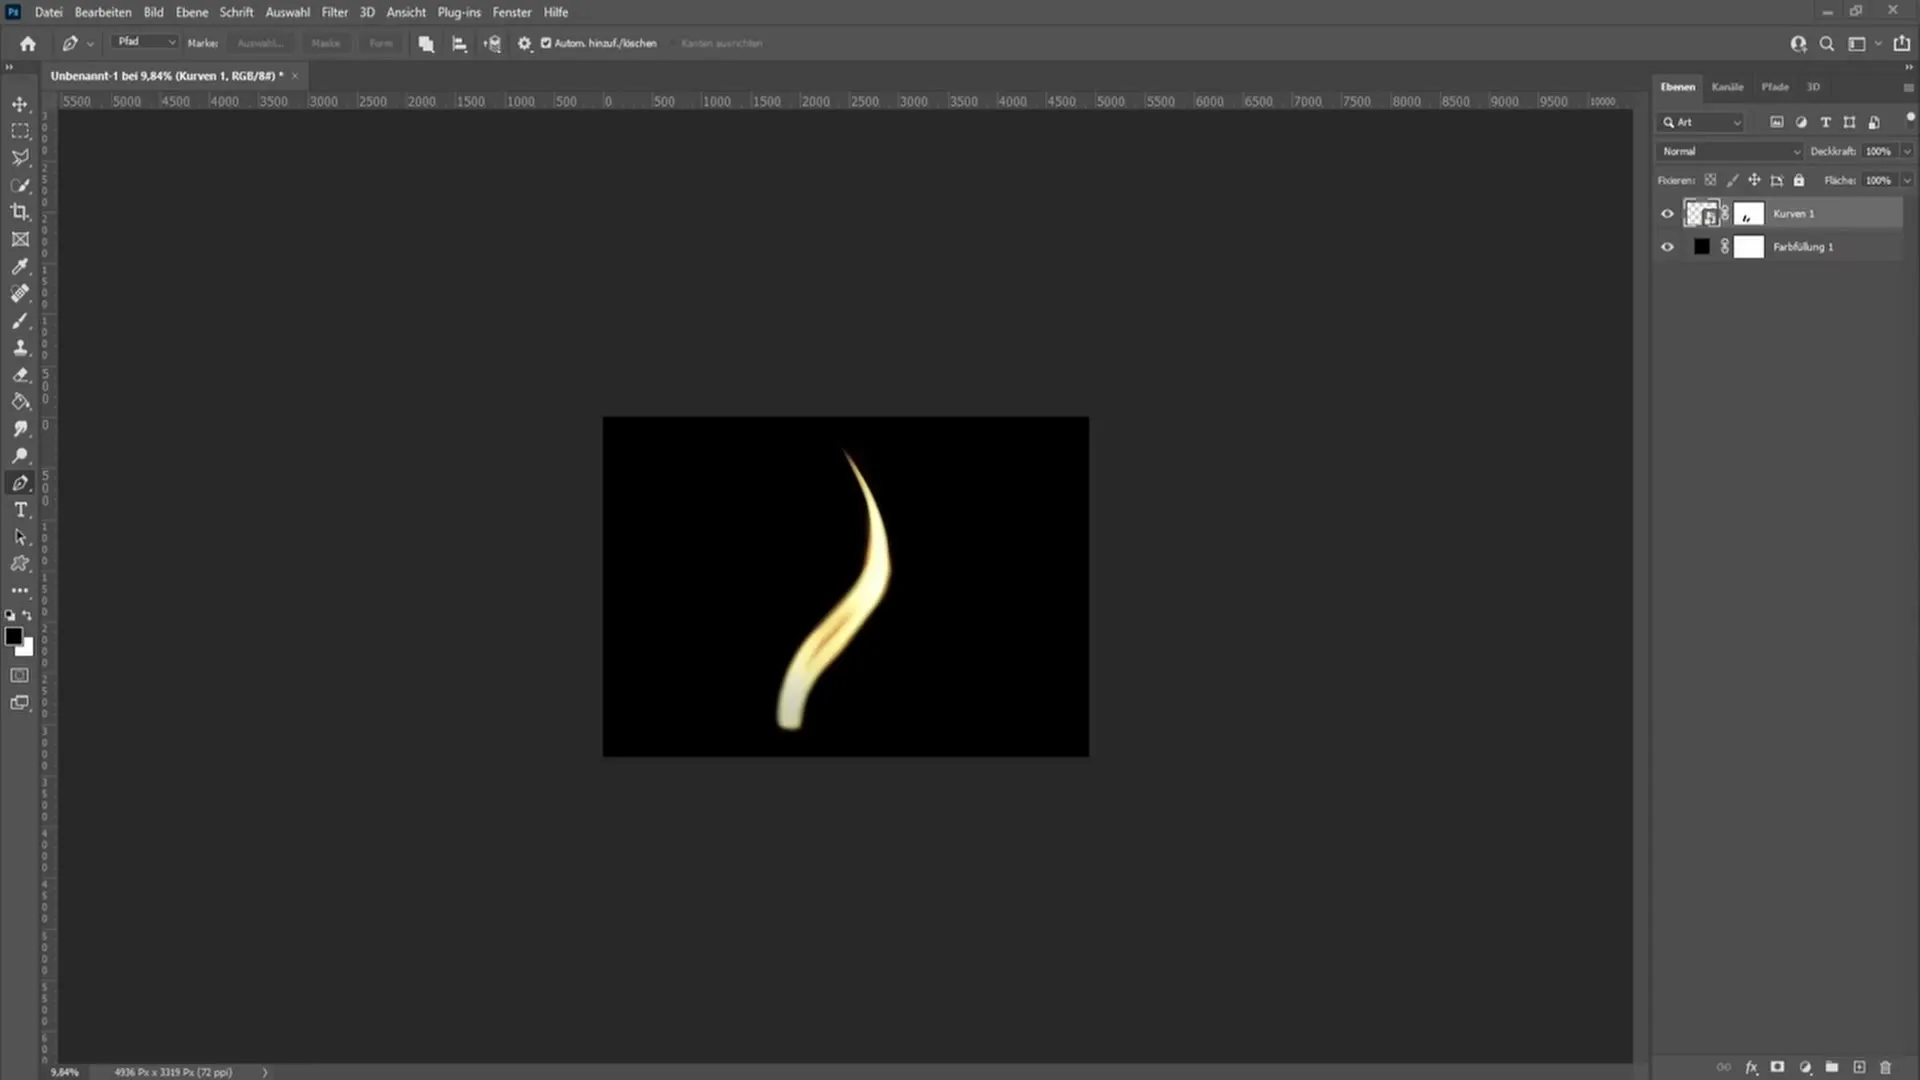
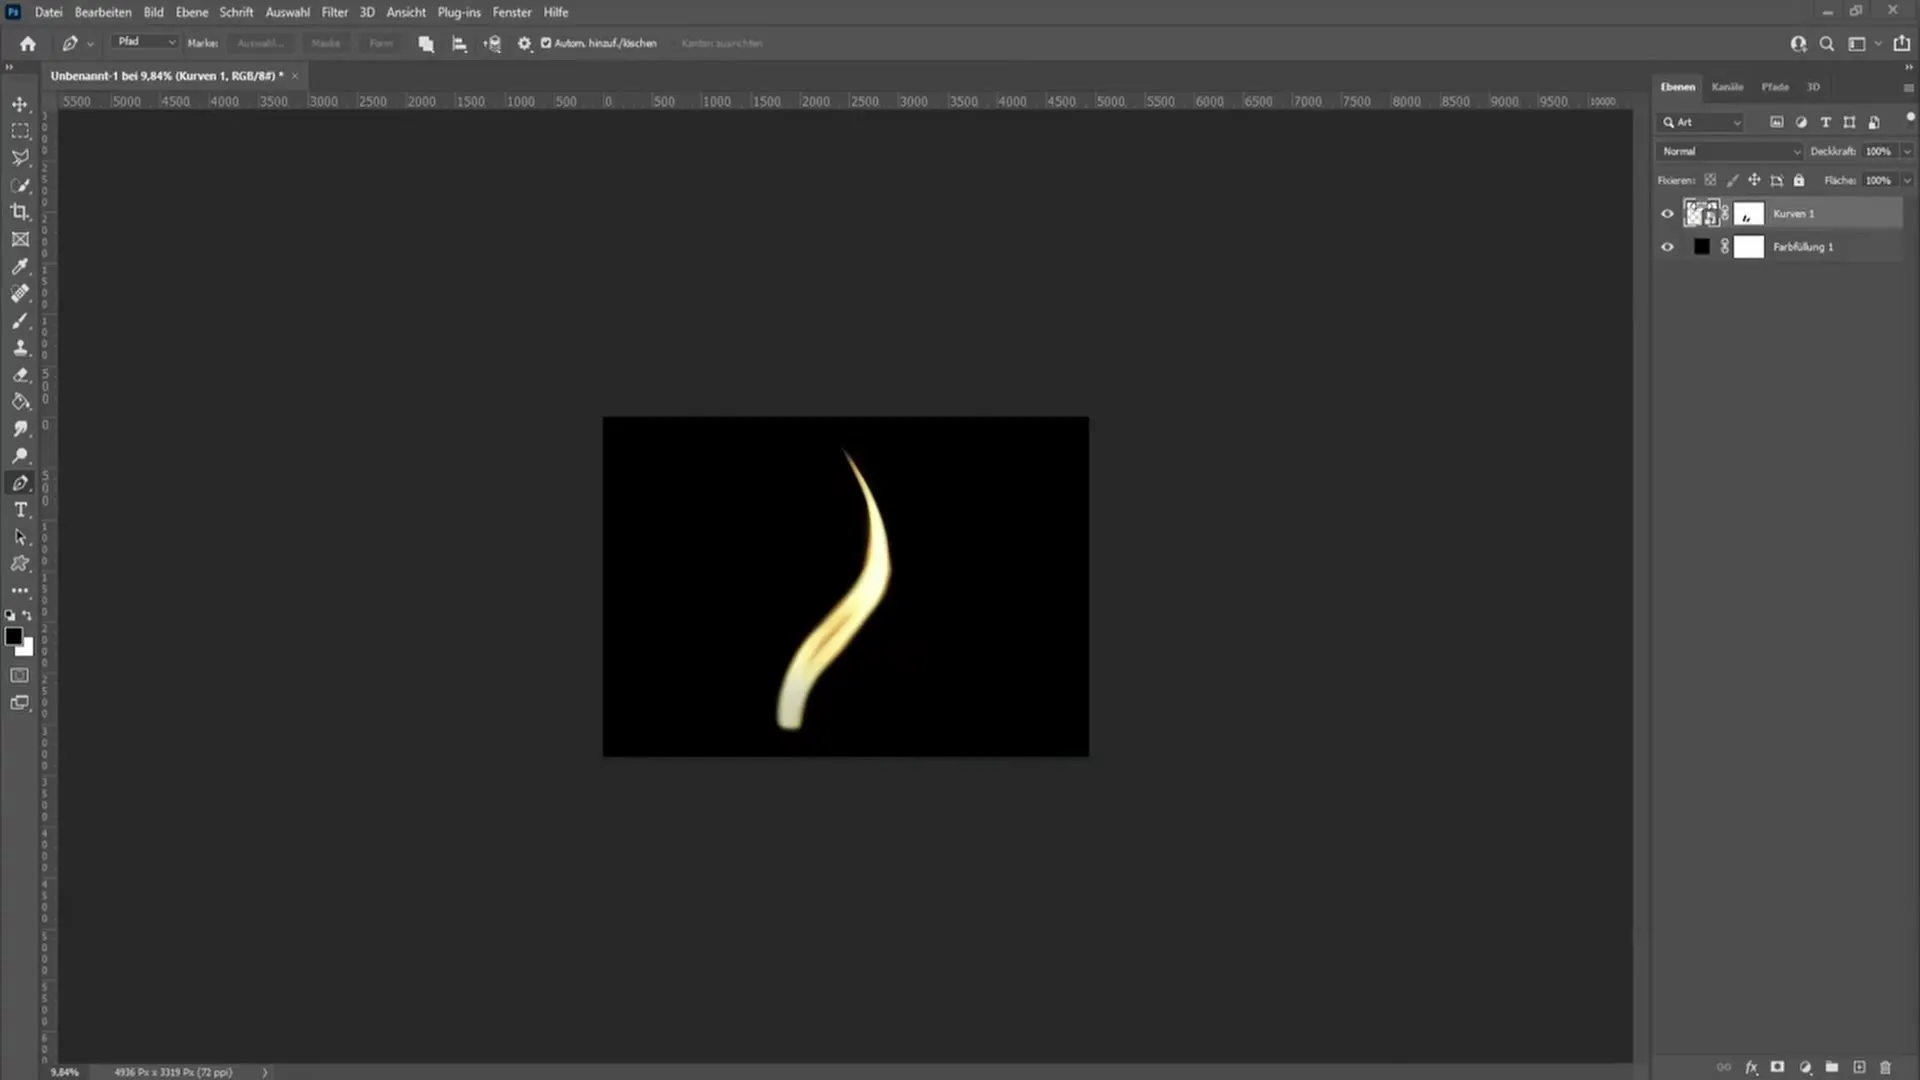
Finally, you could make a comparison between the original and the edited image. This way, you can ensure that your candle flame looks exactly as you envisioned it.
Summary
In this tutorial, you have learned how to create a realistic candle flame with Photoshop. From using the pen tool to experimenting with filters and layer masks to final adjustments - all steps are crucial for the magnificent end result.
Frequently Asked Questions
What is the most important tool for creating a candle flame?You need the pen tool to draw the shape of the flame.
How can I adjust the color of the flame?You can make an adjustment with gradient curves and adjust the colors in the fill options area.
Why is a layer mask important?A layer mask allows you to retouch parts of the flame without permanently deleting them.


