In this guide, I'll explain how you can create a rain overlay in Photoshop. With a few steps, you can add realistic rain effects to your photography. This tutorial is detailed and easy to understand, so you can work on it effortlessly. Let's get started right away!
Main Takeaways
- You will learn how to create a realistic rain overlay using Photoshop.
- The different steps require basic Photoshop knowledge such as creating new layers, using filters, and corrections.
- You can adjust the intensity and size of the rain to give your images the desired look.
Step-by-Step Guide
To start creating your rain overlay, open your photo project in Photoshop.
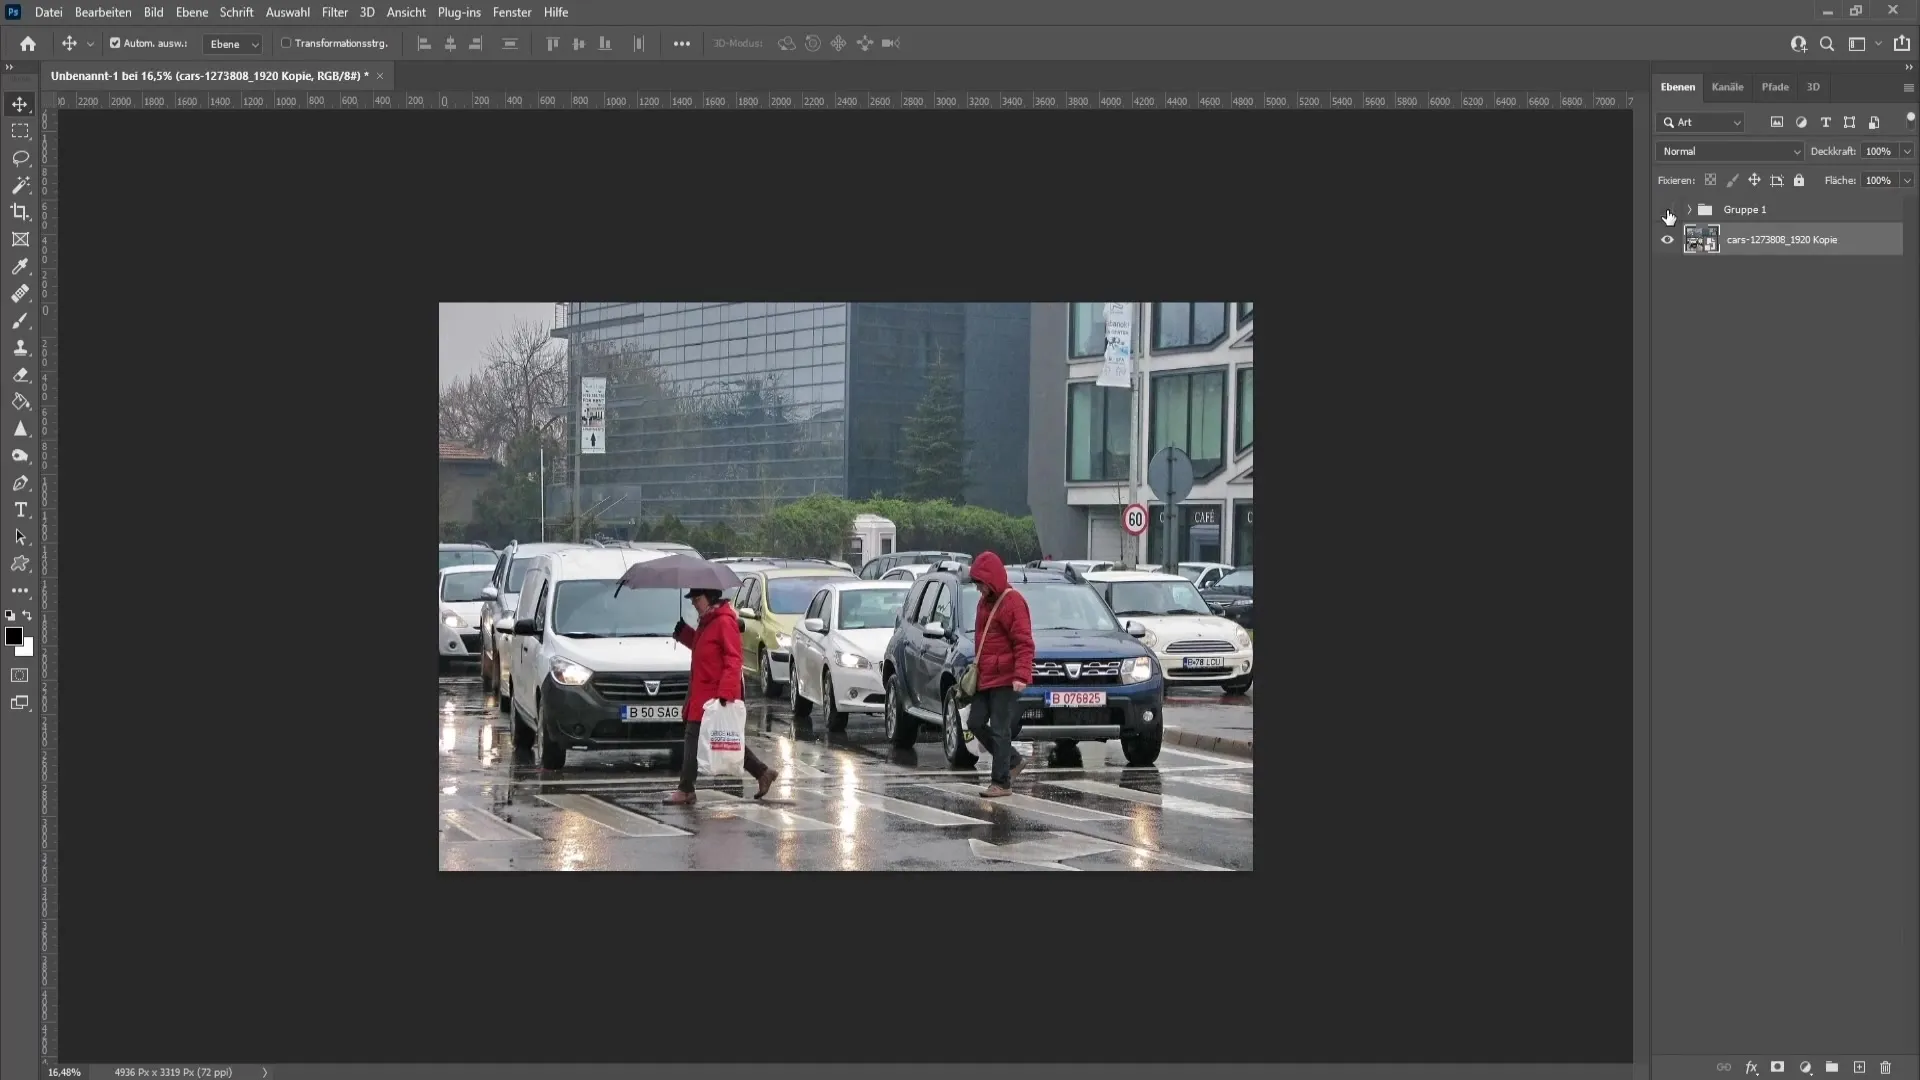
Step 1: Create a New Blank Layer
First, you need to create a new blank layer. Go to the Layers Palette and click on the new layer icon. This layer will be used later for the rain overlay.
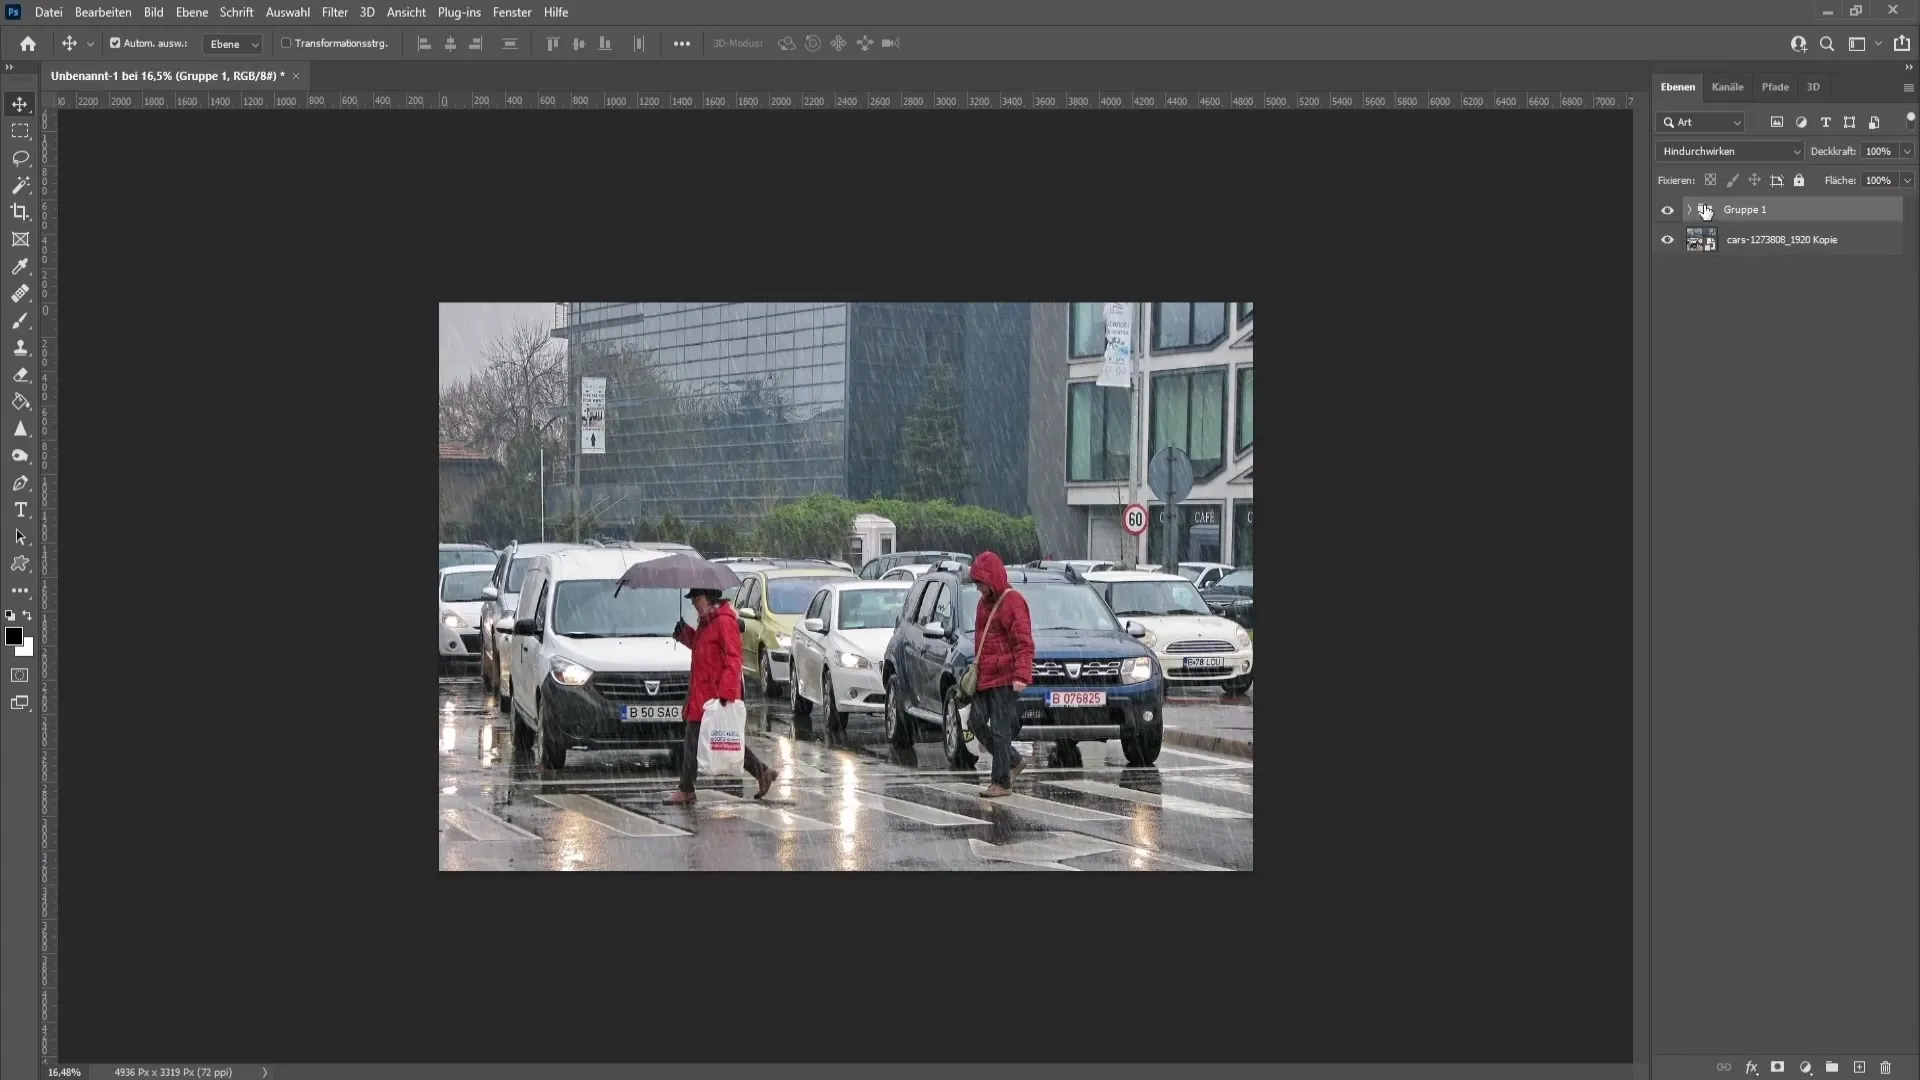
Step 2: Fill Layer with Black Color
Fill this new layer with black color. Choose black as the foreground color and use the fill tool to fill the entire layer.
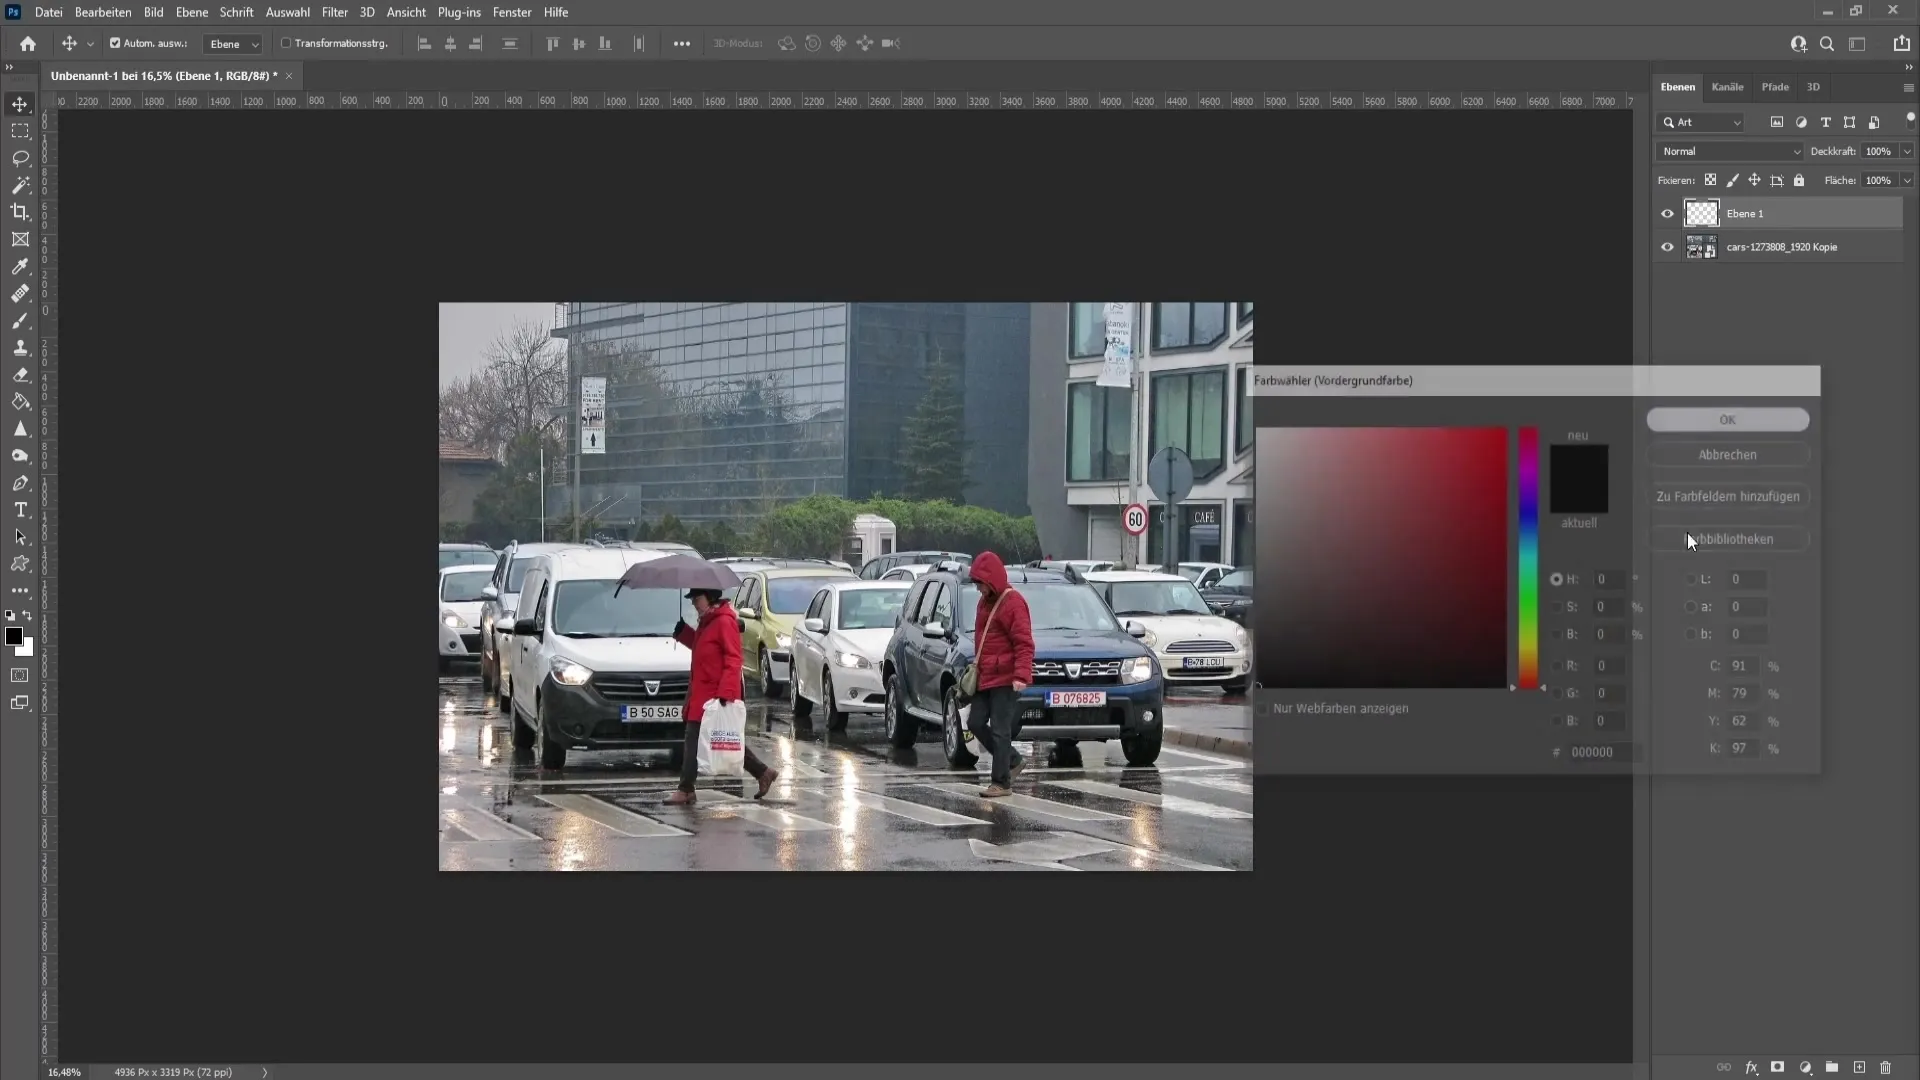
Step 3: Add Noise Filter
Now, we will add noise to allow the black area to create more realistic rain streaks. Go to "Filter" in the menu, then "Noise Filter," and finally "Add Noise." Set the strength to about 150% and activate the "Monochromatic" option. Click "OK" to apply this filter.
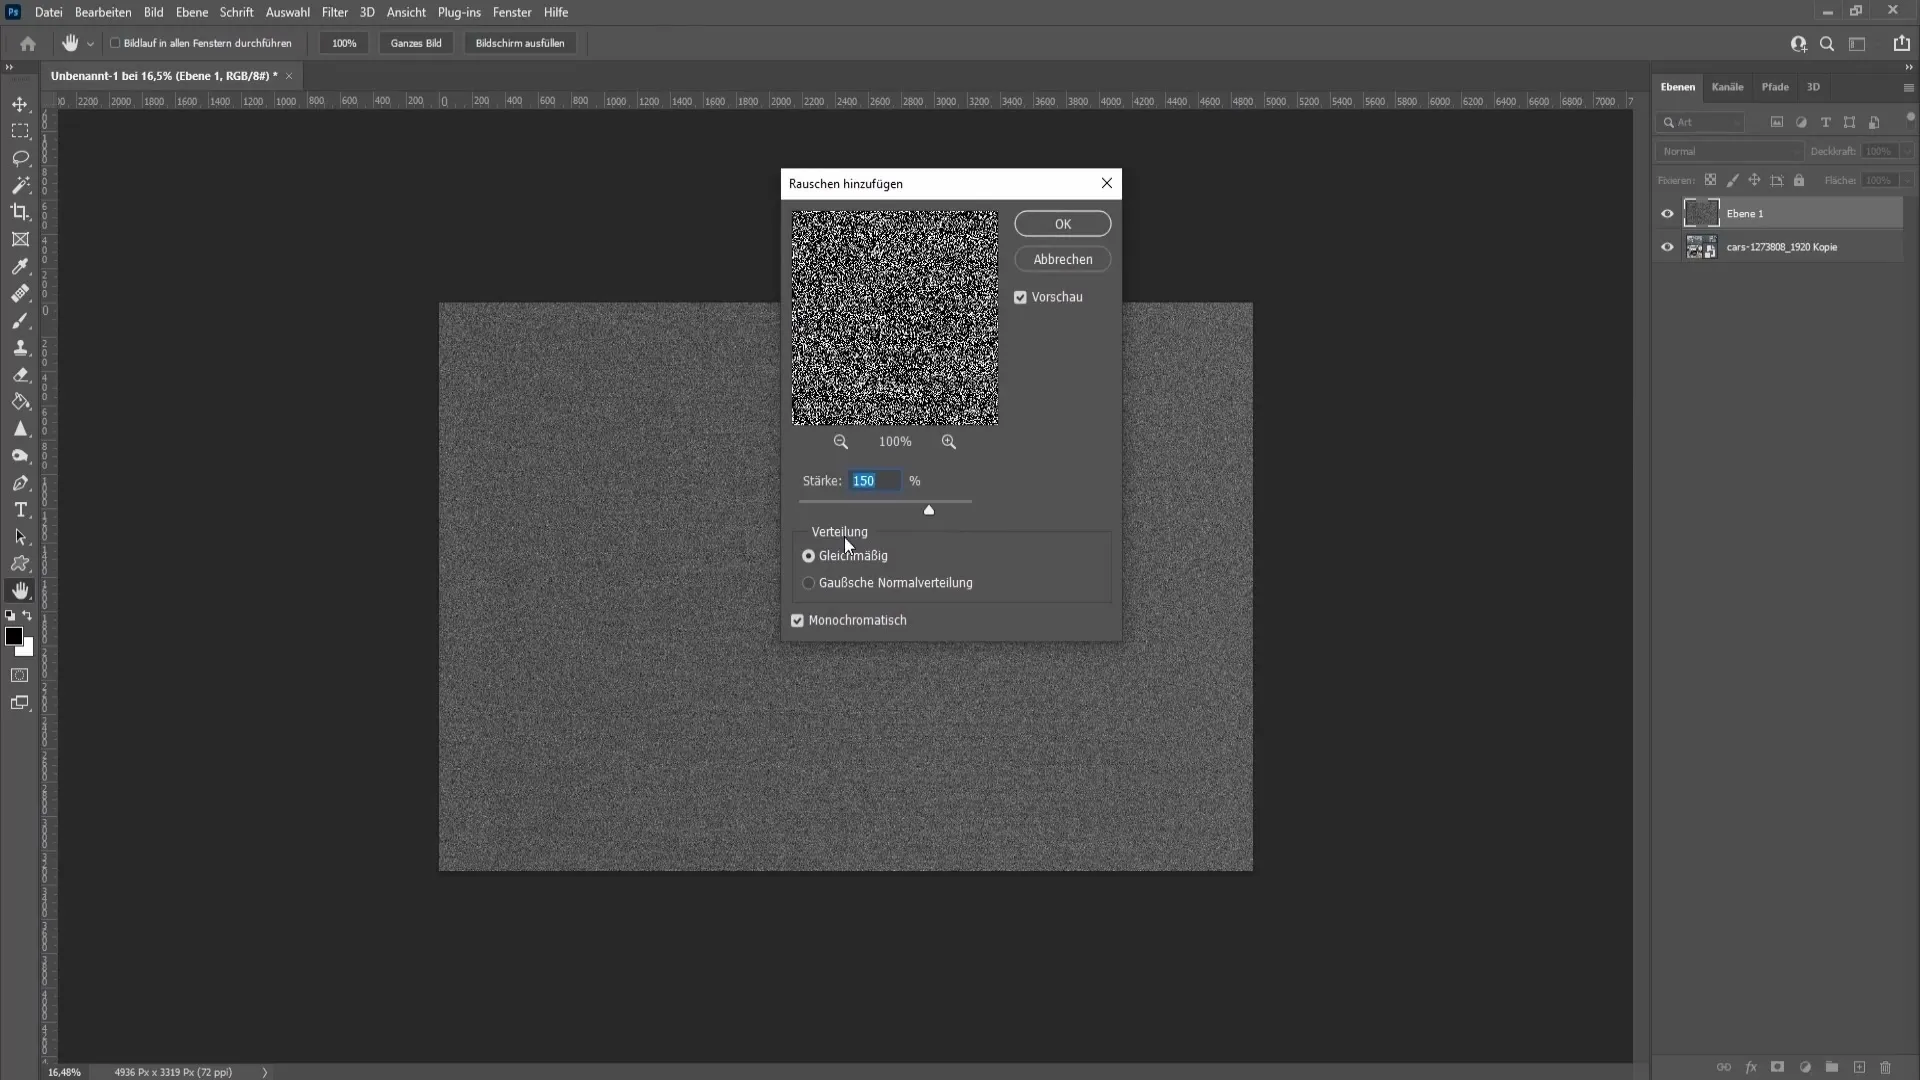
Step 4: Make Selection in Desired Format
Depending on whether your original images are portrait or landscape, select a rectangular marquee accordingly. If you're working in landscape mode, deselect the previous selection and create a new one.
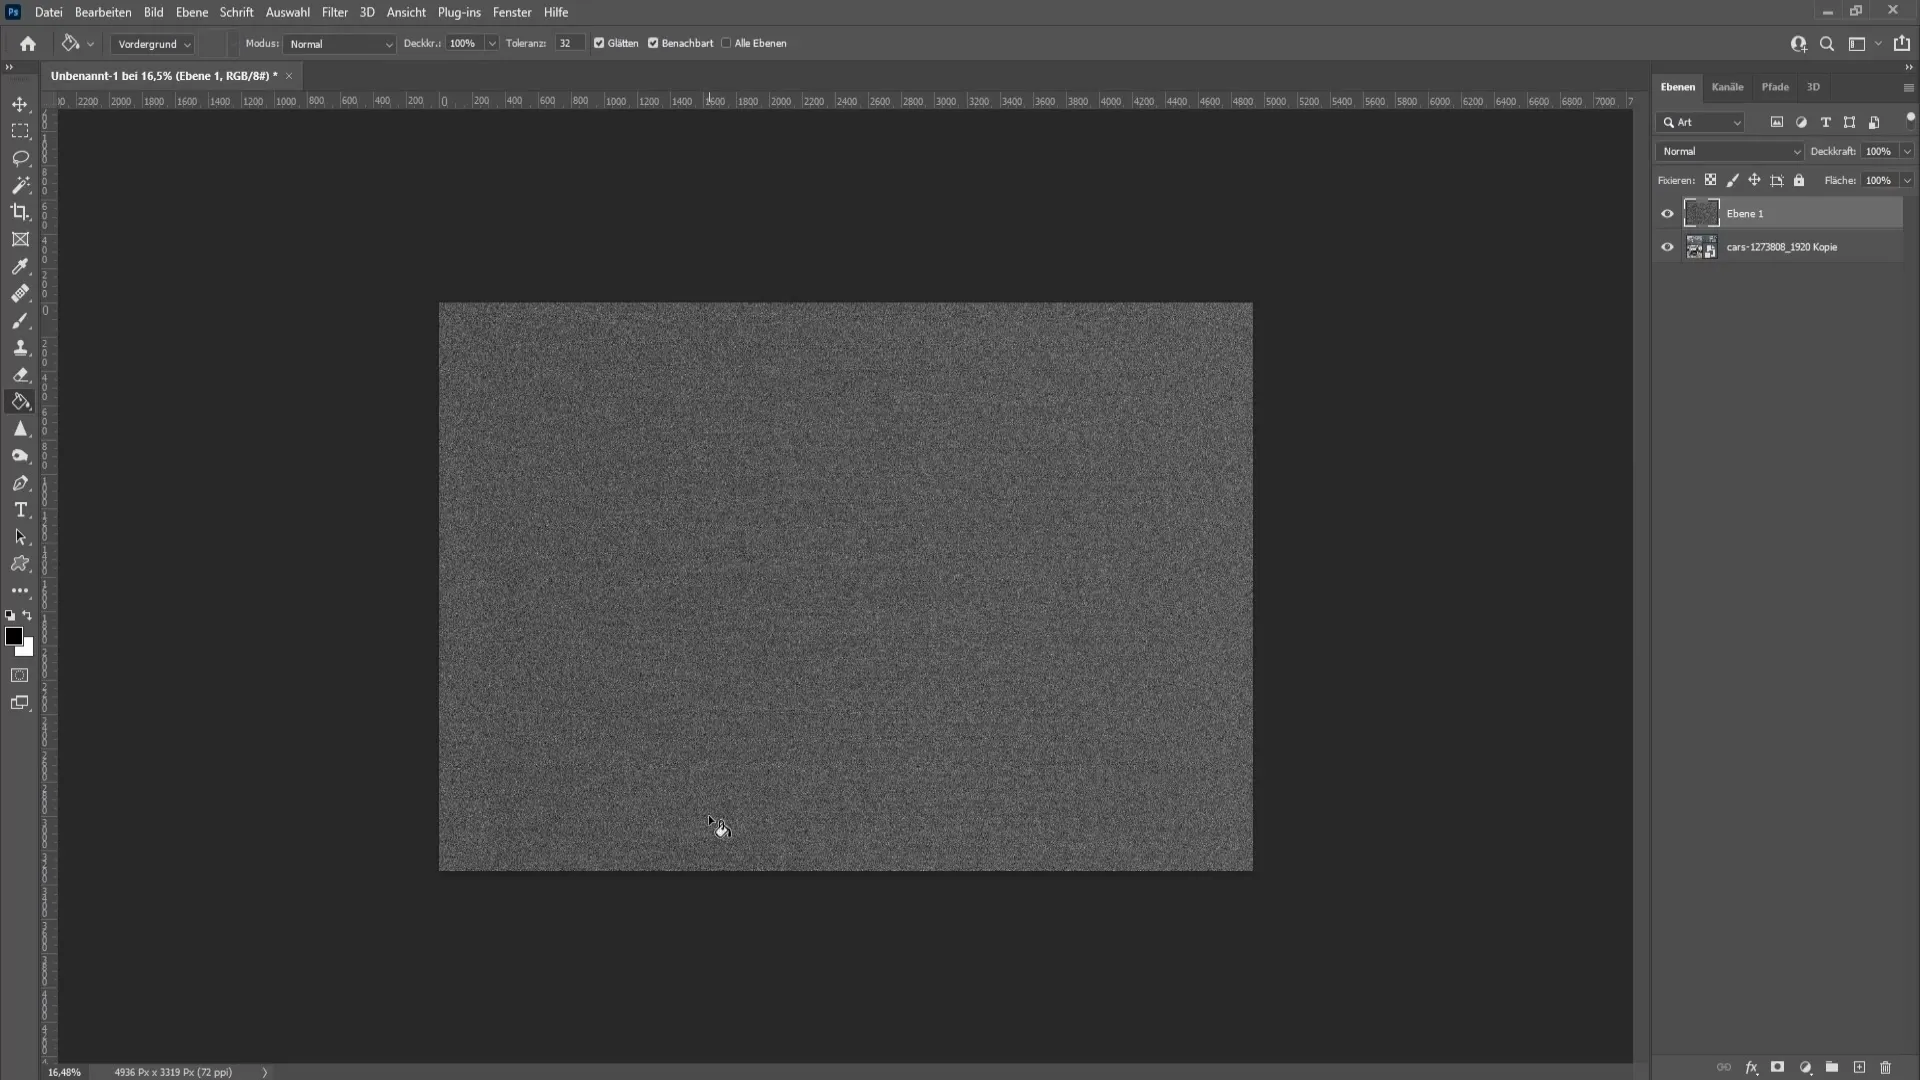
Step 5: Copy Selection to New Layer
Now, press "Ctrl" + "J" to copy the selection to a new layer. This layer will serve as the basis for our rain.
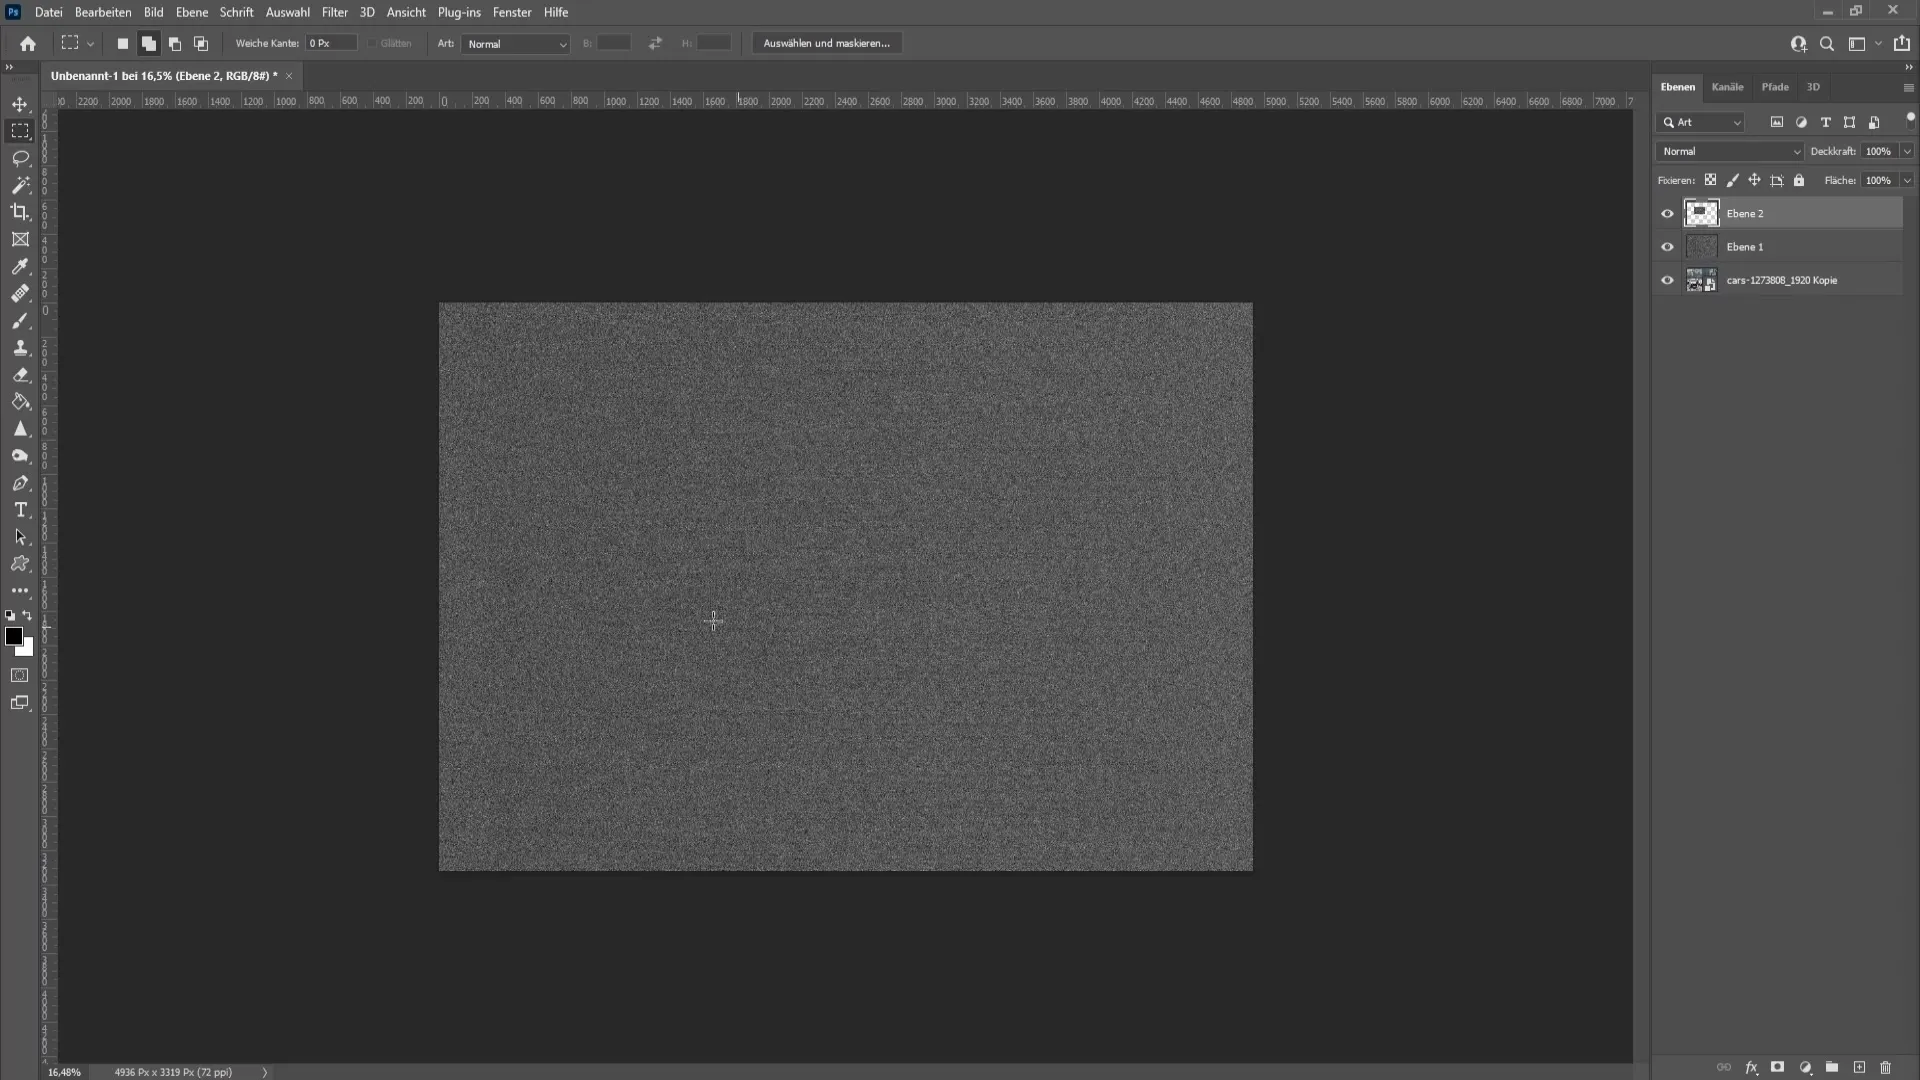
Step 6: Convert Layer to Smart Object
To work more flexibly with the rain overlay, convert the new layer to a smart object. Right-click on the layer and choose "Convert to Smart Object."
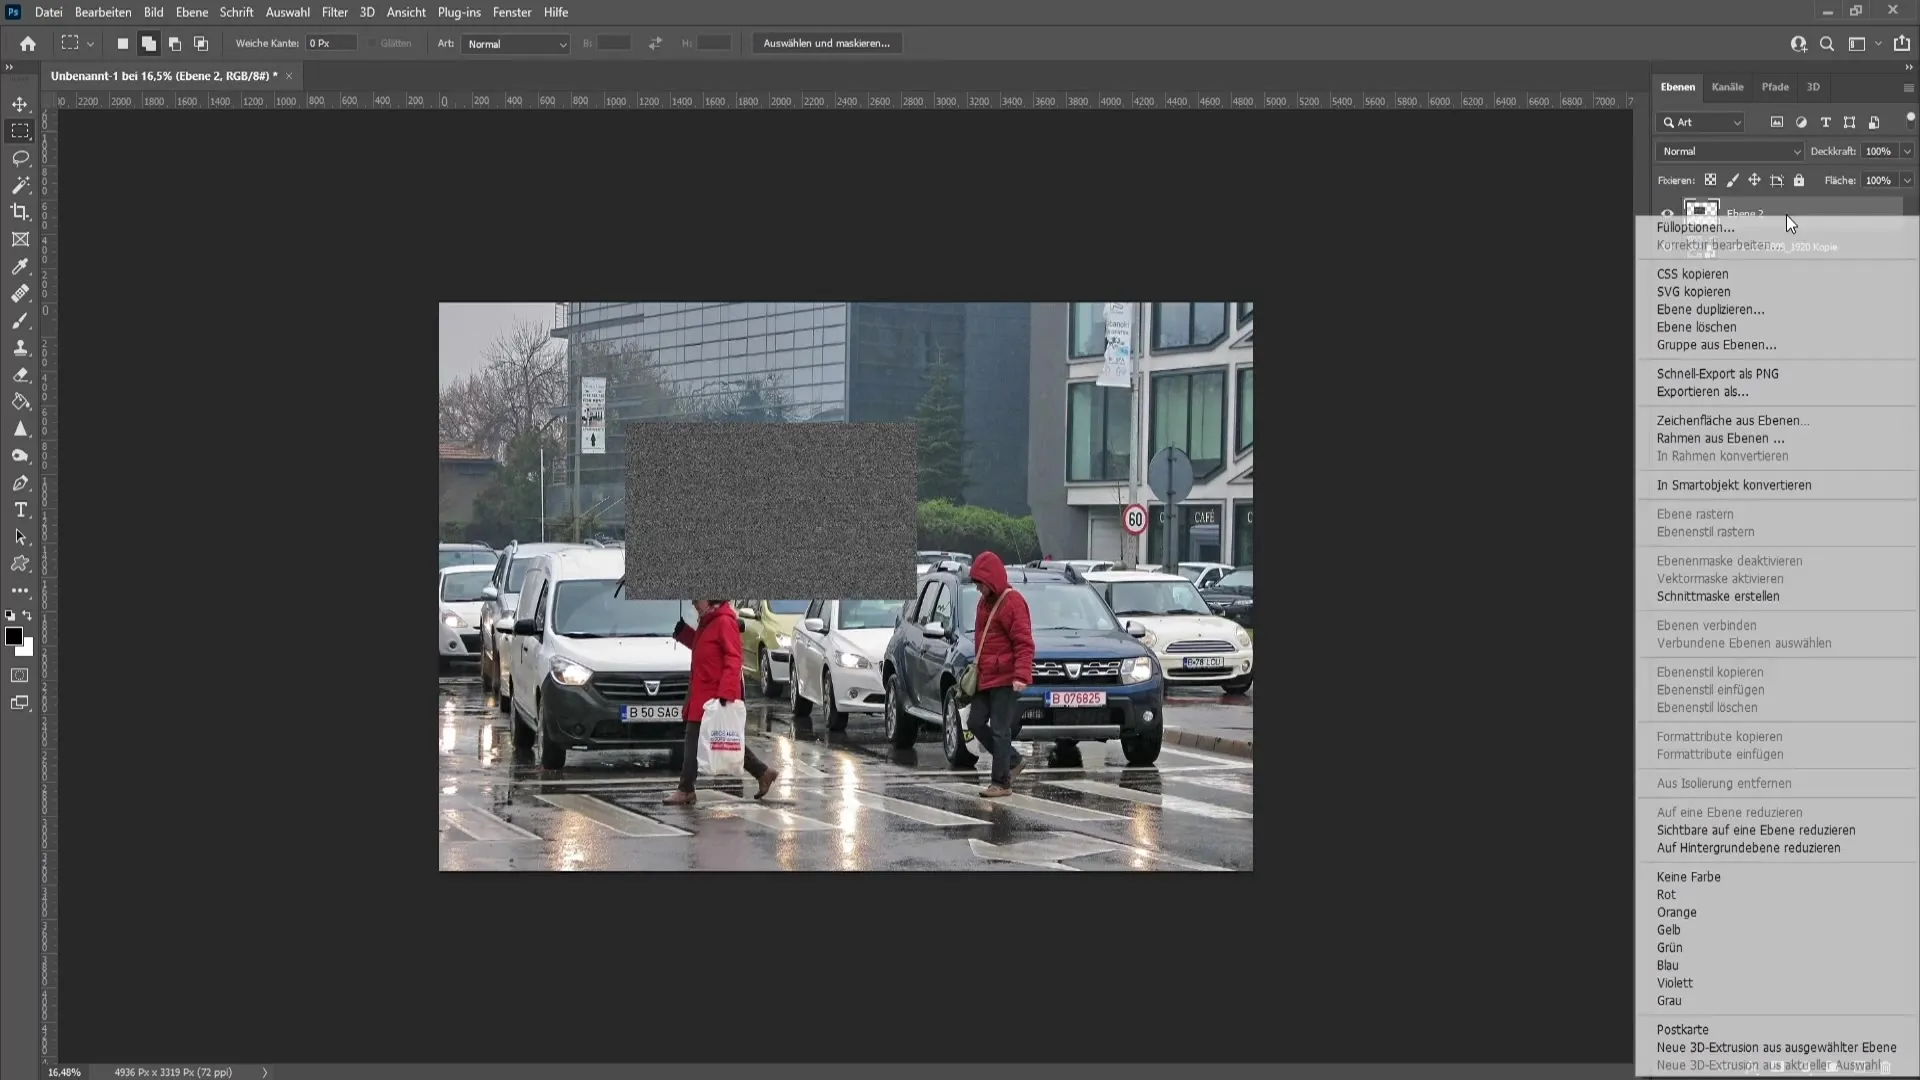
Step 7: Resize Layer
Press "Ctrl" + "T" to adjust the size of the rain layer. Ensure it is slightly larger than the original selection.
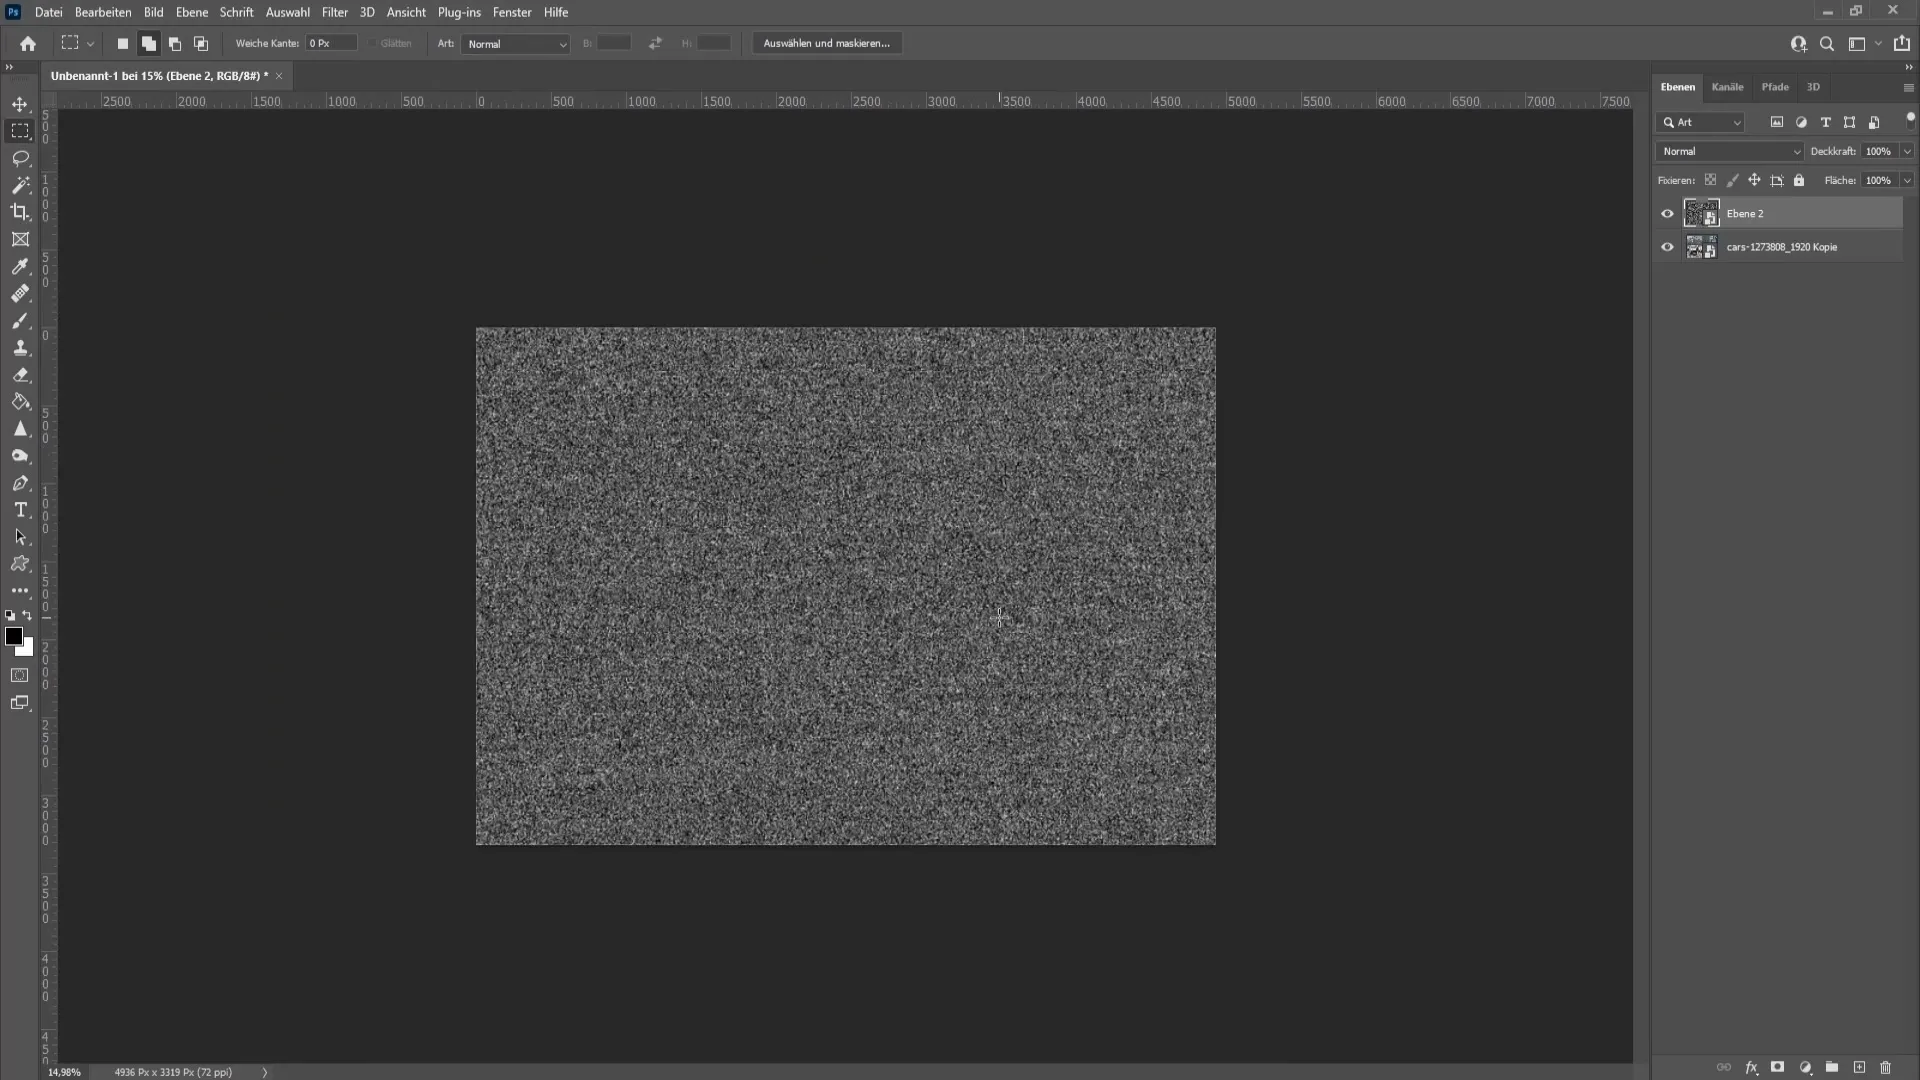
Step 8: Adjust Blending Mode
Change the blending mode of the rain layer to "Multiply." Although it may look strange at first, this will later create more realistic rain streaks.
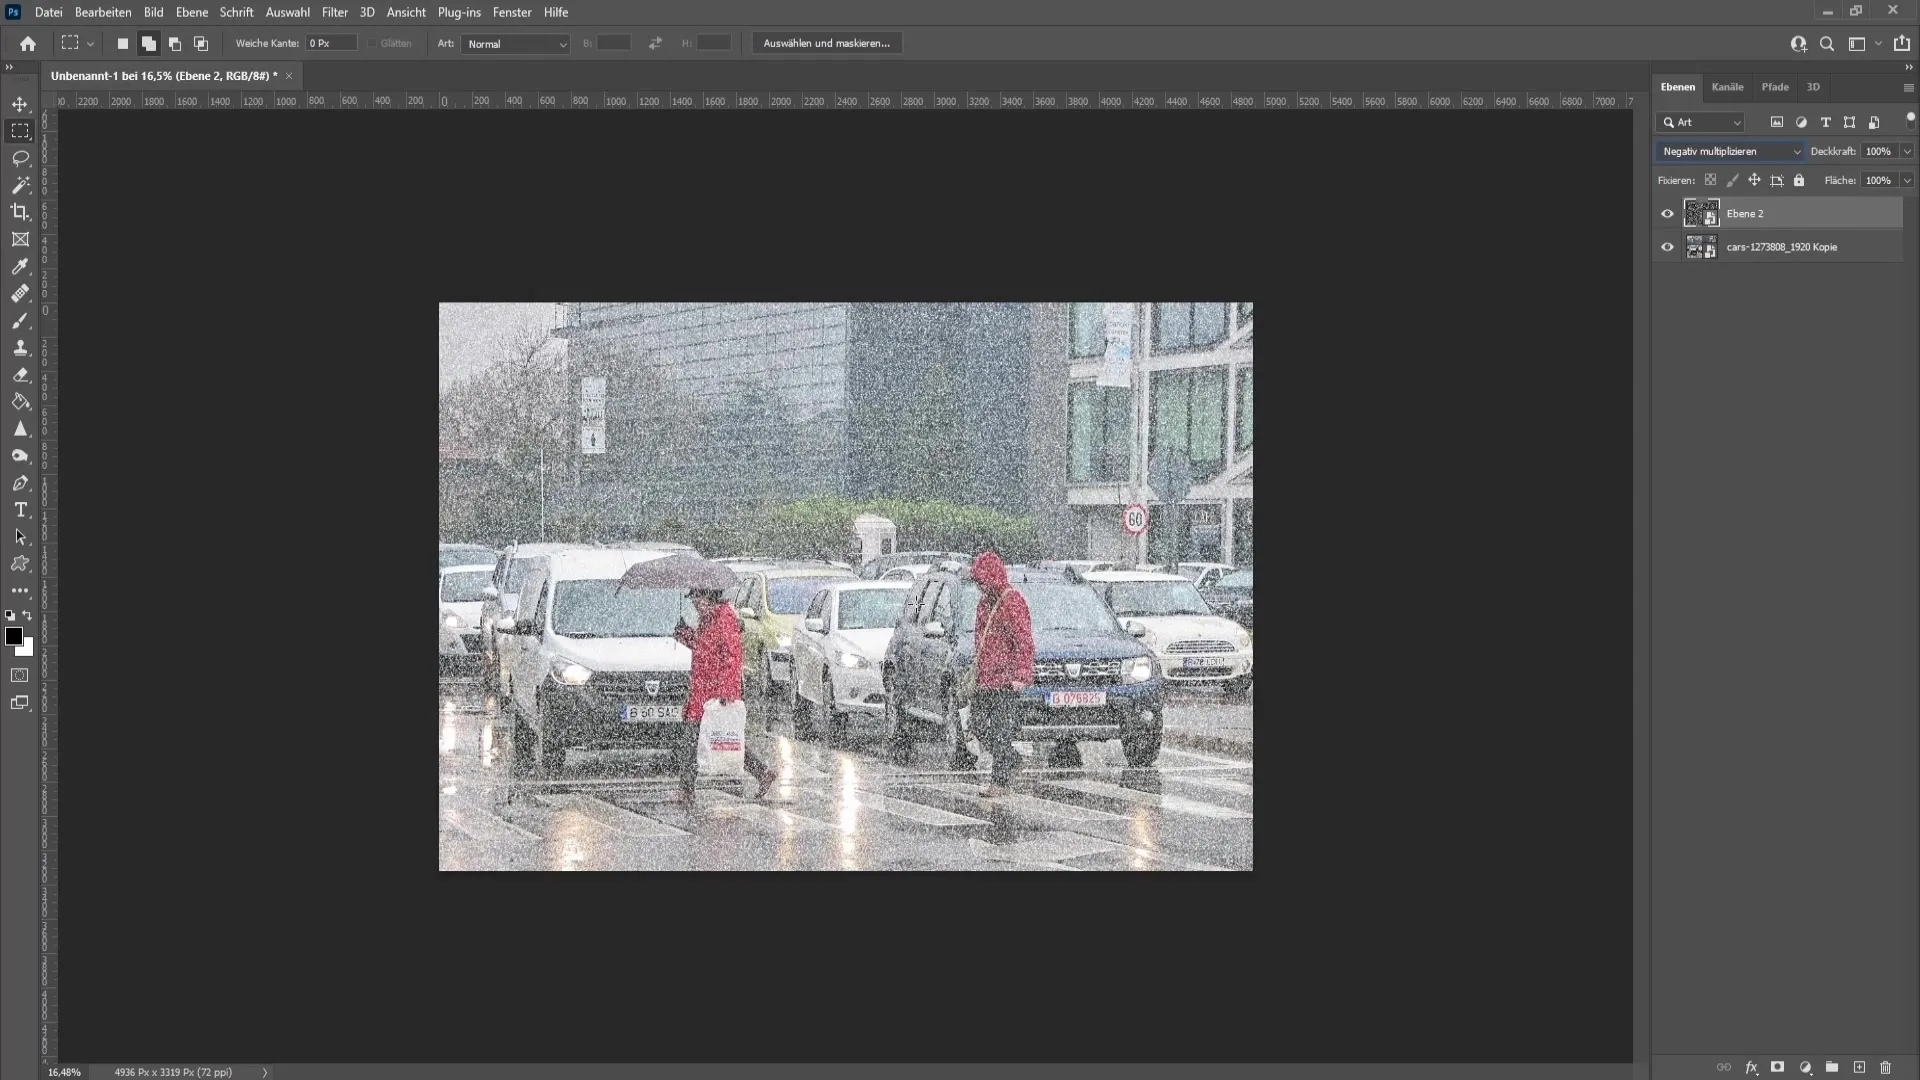
Step 9: Add Motion Blur
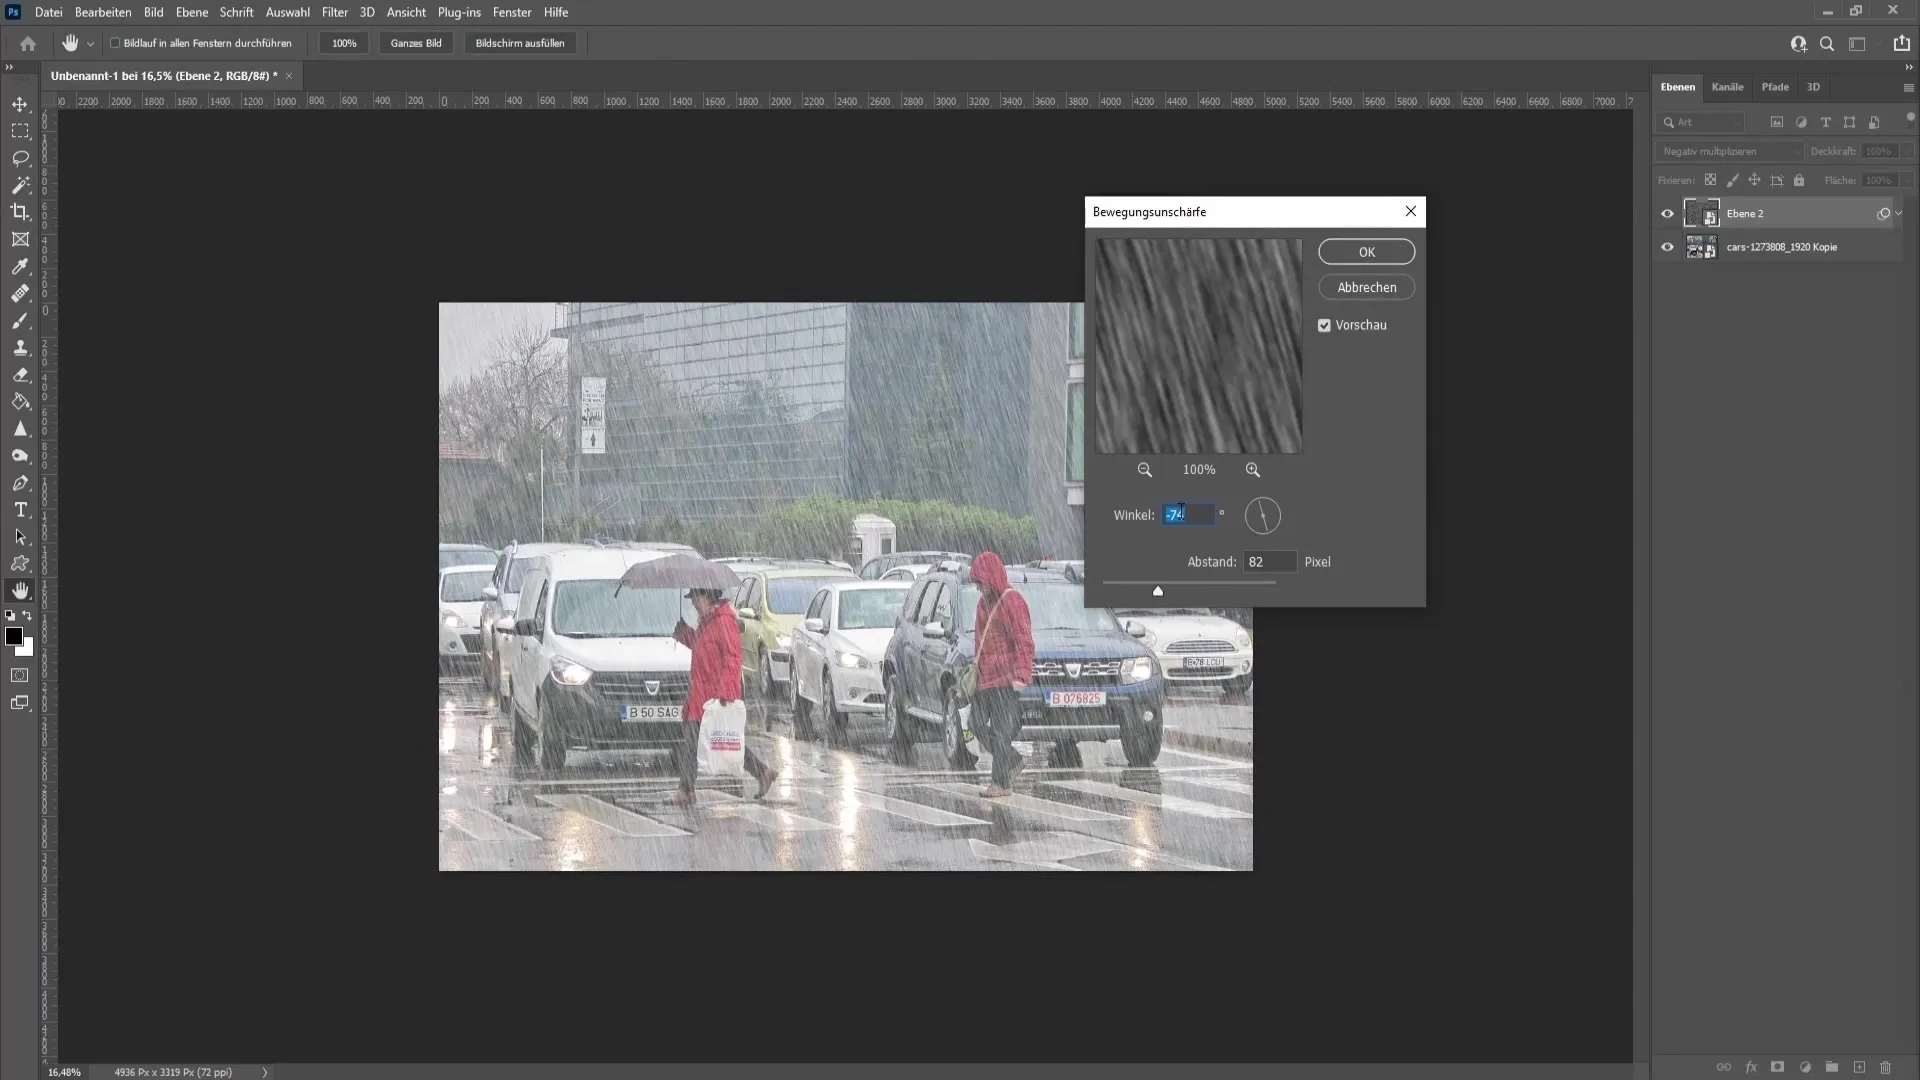
Now we move on to an important step: adding motion blur. Go to "Filter," select "Blur Filters," and then "Motion Blur." Set the angle to -74 degrees and adjust the distance to determine the length of the rain streaks. A value around 71 should work well.
Step 10: Adjusting Levels
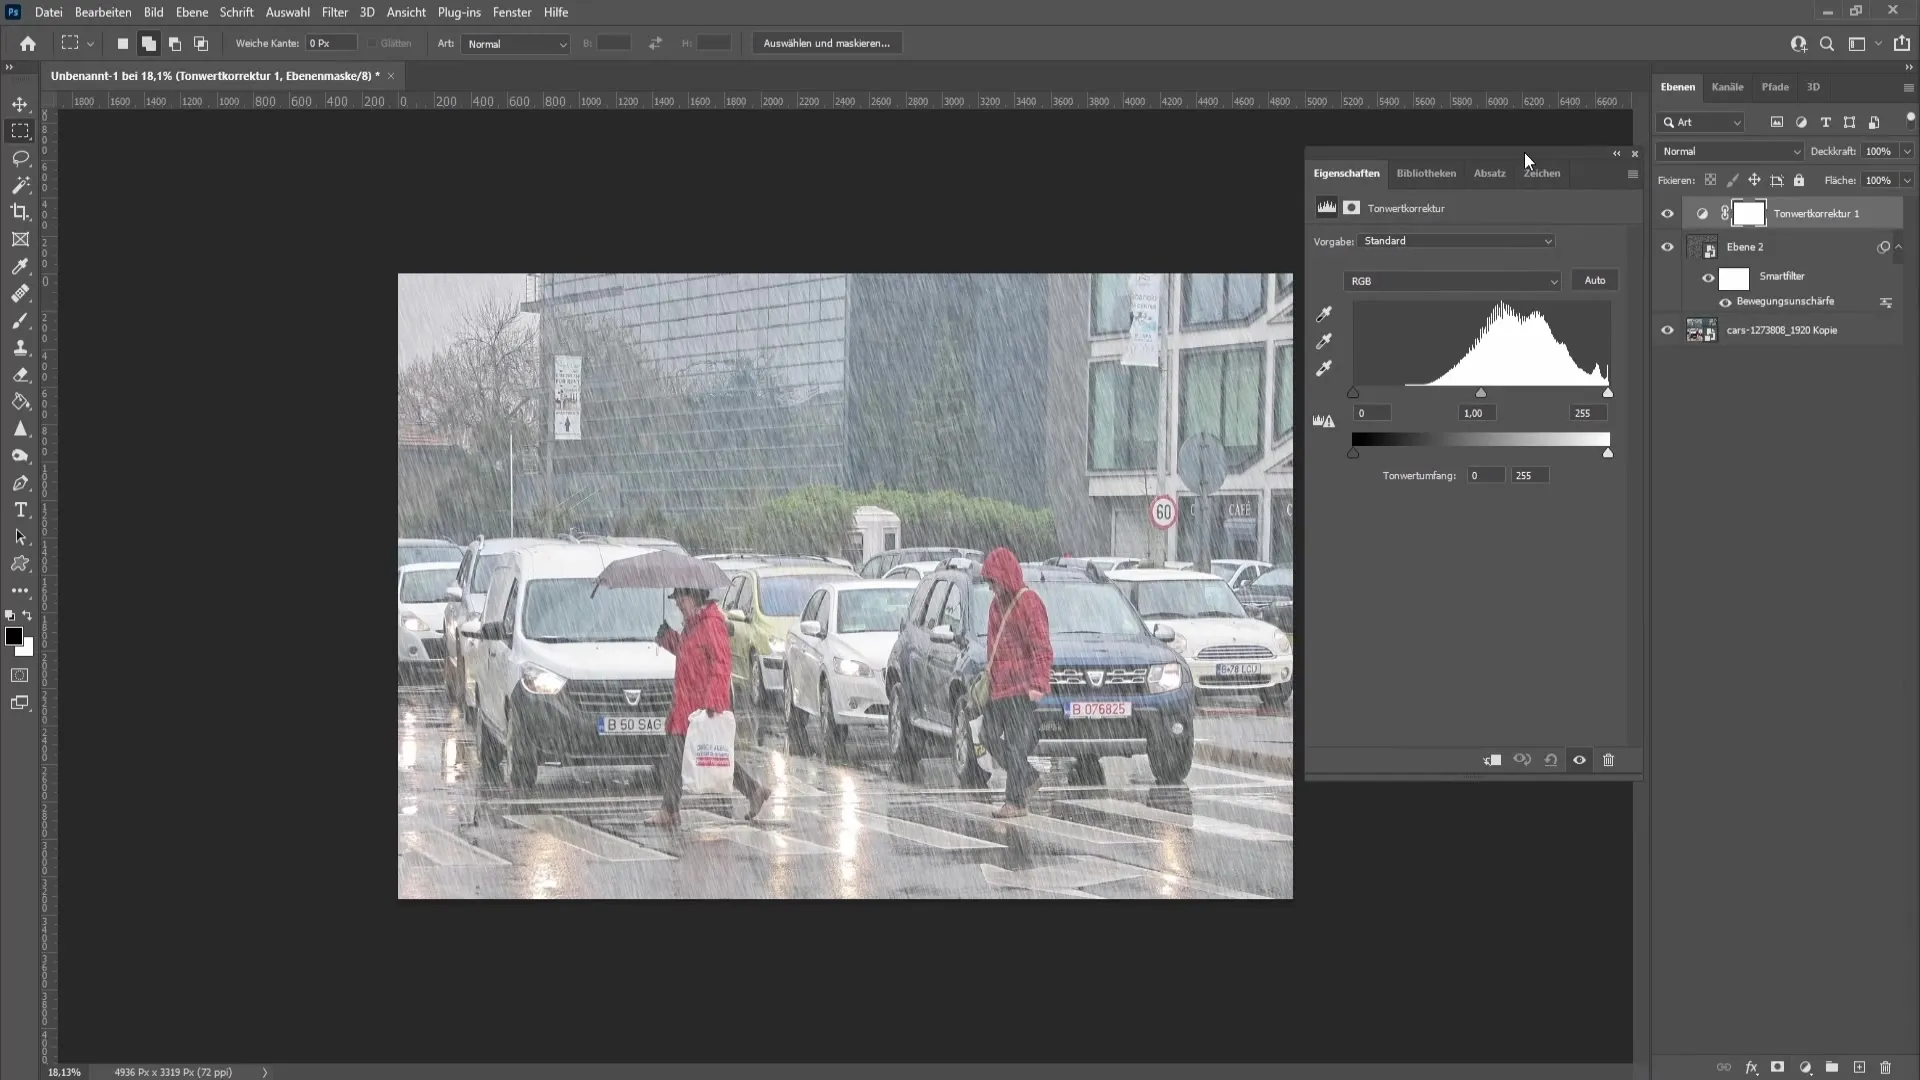
To regulate the intensity of the rain, add a levels adjustment. Go to "Adjustments", select "Levels" and move the slider to the right to adjust the intensity. A value around 87 is recommended for a pleasing result.
Step 11: Adding More Depth
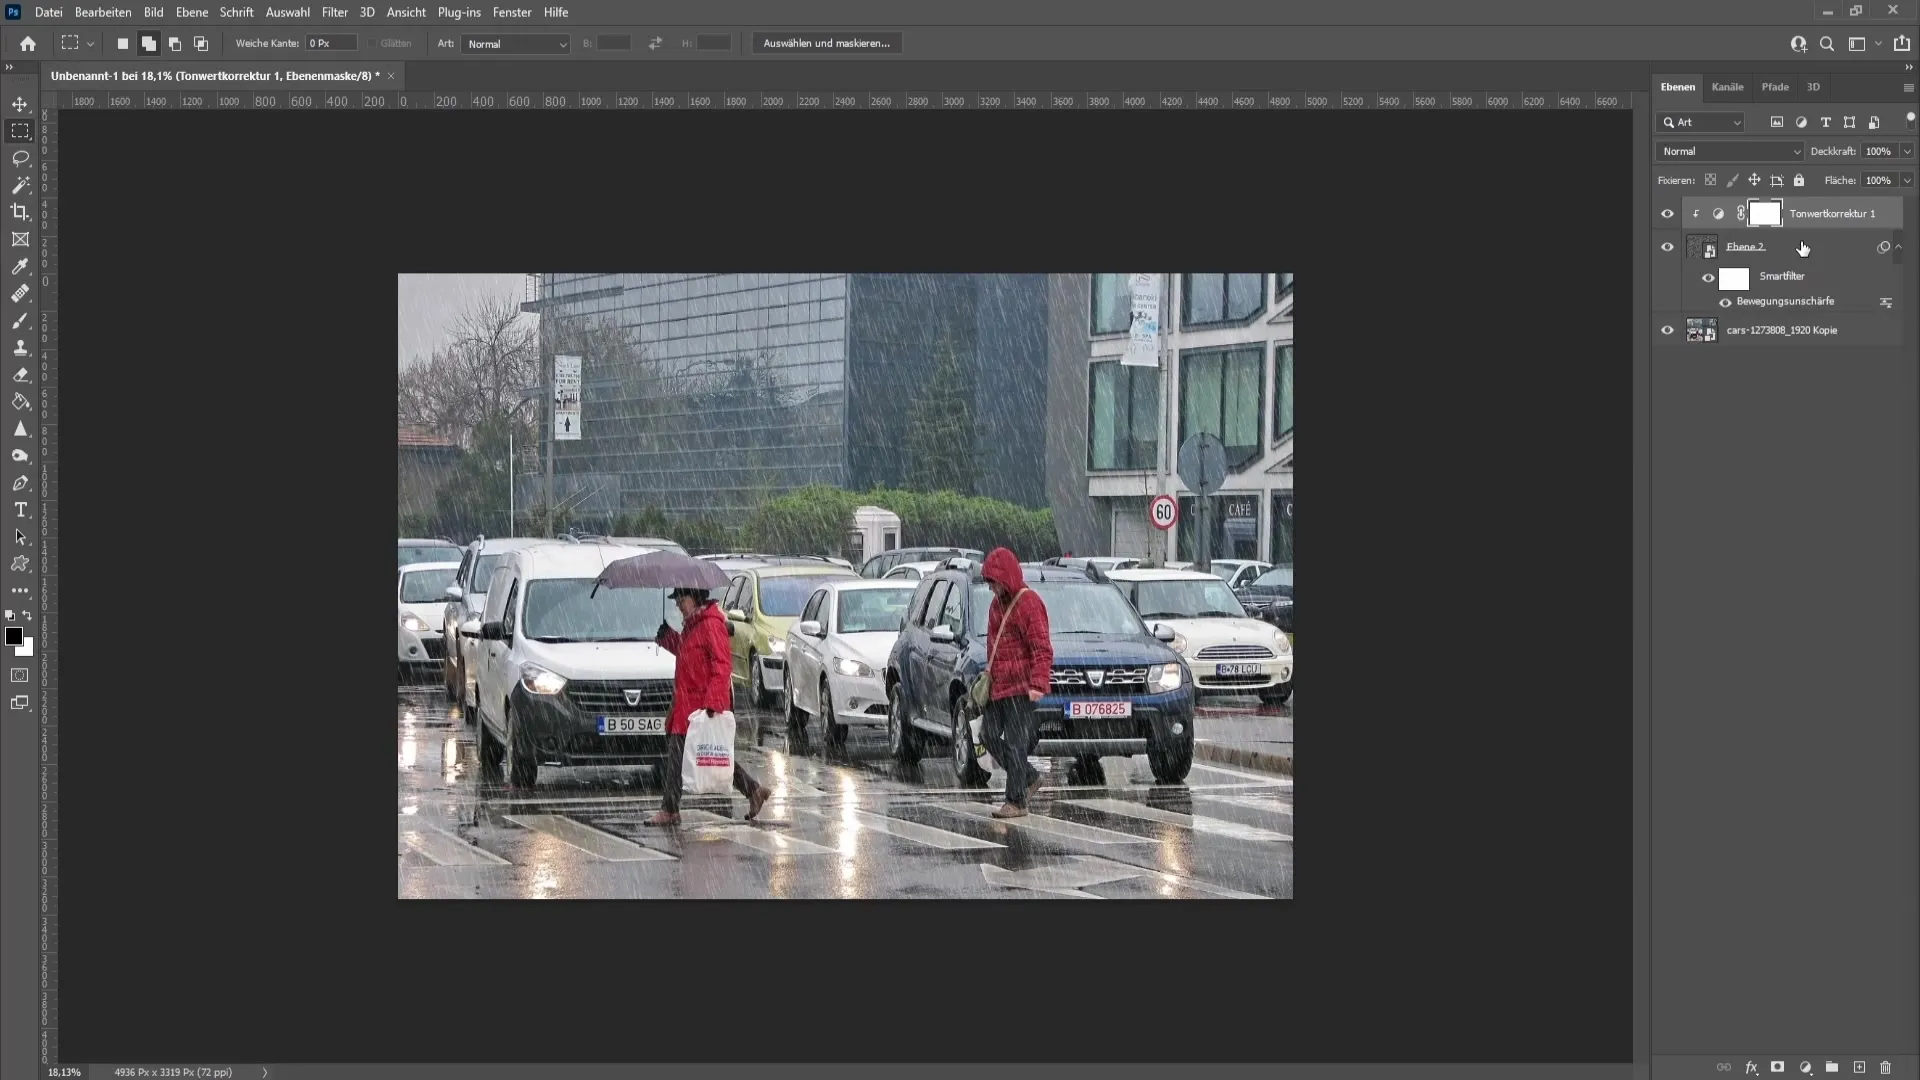
To add more depth to the scene, duplicate the two layers using "Ctrl" + "J". Use "Ctrl" + "T" to make the new rain layer even larger and create a more realistic connection between the drops.
Step 12: Adjusting Opacity
Reduce the opacity of the top rain layer, e.g. to 60%, to soften the effects. This can help make the rain less intrusive.
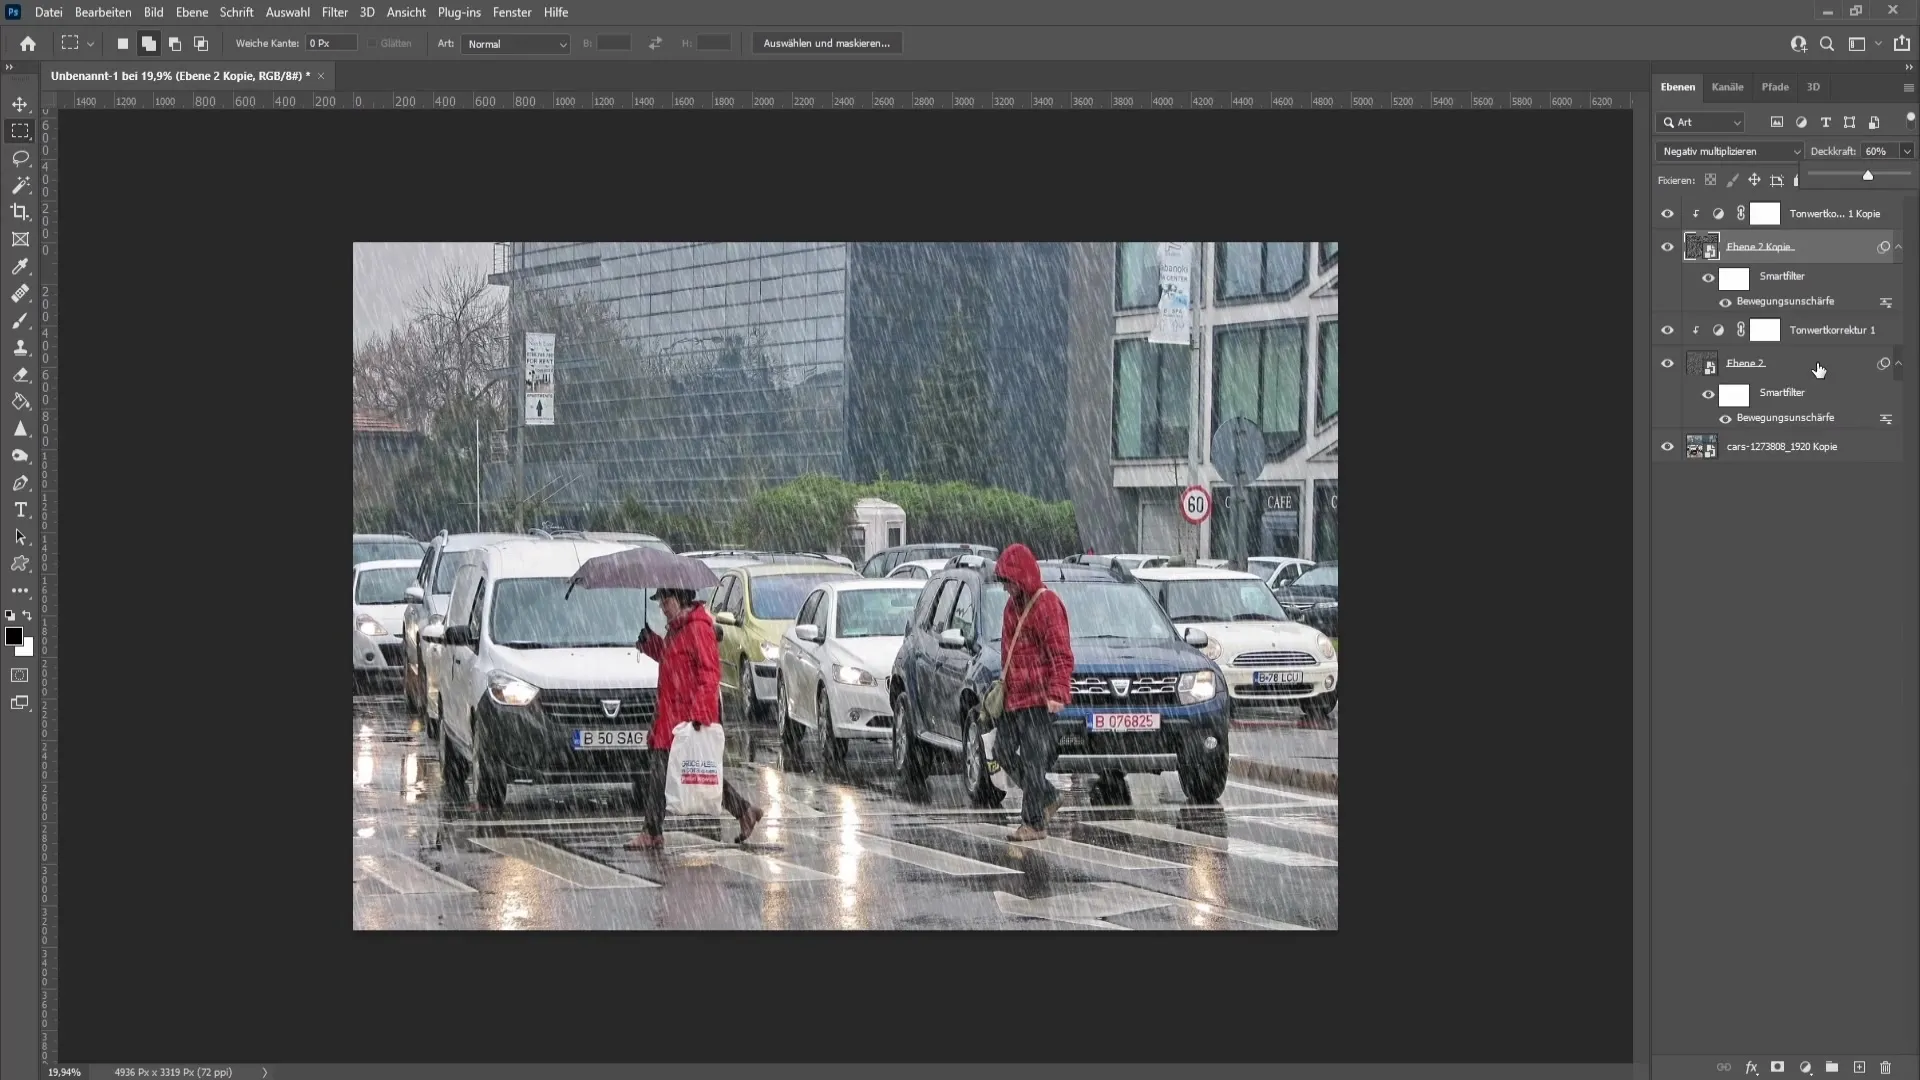
Step 13: Blur the Rain Layers
Make the rain effects even more realistic by blurring them. Select the rain layer, go to "Filter", then "Blur" and choose "Gaussian Blur". A radius of about 3.2 should work well.
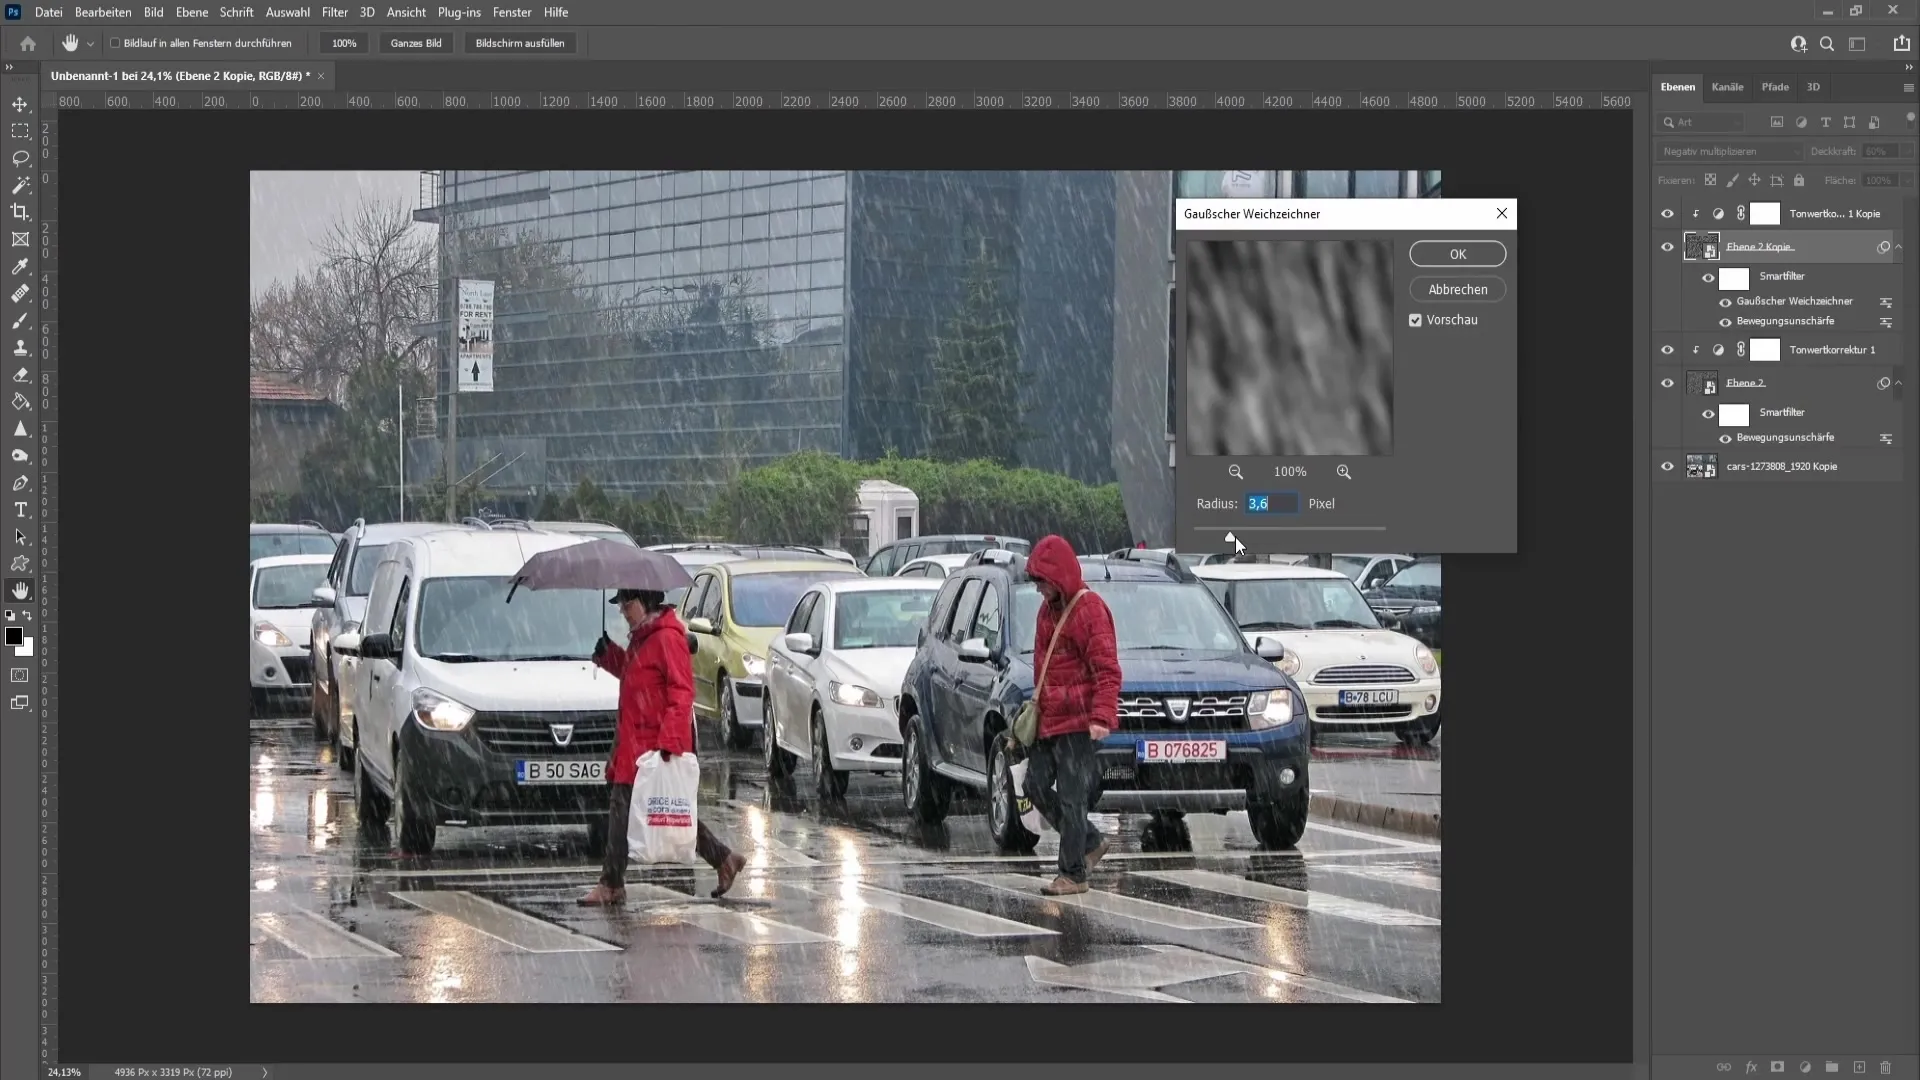
Step 14: Darkening the Image
Finally, go back to the top layer and darken the image with a curve adjustment to emphasize the influence of the rain. Click on corrections, select "Curves" and drag the slider down.
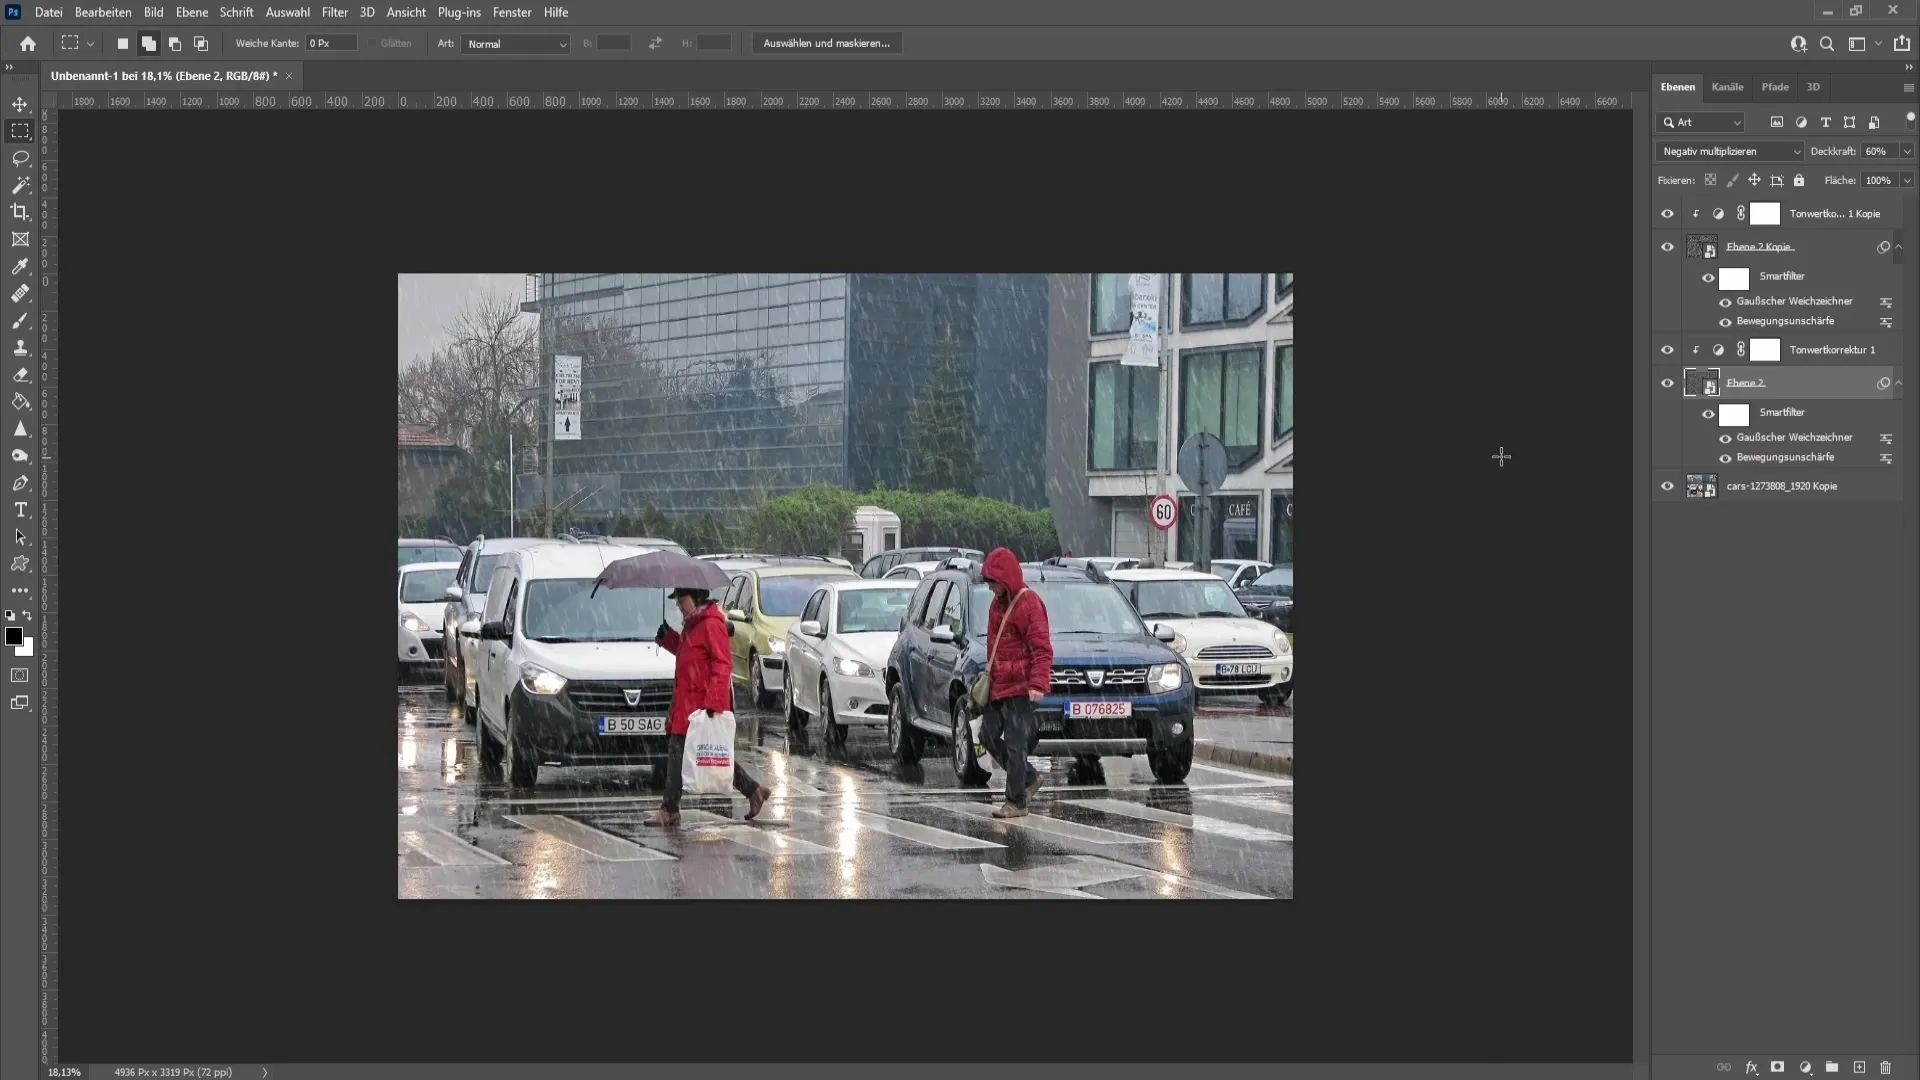
Summary
In this tutorial, you have learned how to create an impressive rain overlay in Photoshop with just a few steps. You have used basic tools and techniques to insert realistic rain effects into your images, making them come to life. Feel free to experiment with the settings to find the perfect look for your projects!
Frequently Asked Questions
How long does it take to create a rain overlay?Creating the rain overlay can be done in just a few minutes once you have internalized the steps.
Can I use this technique for other effects?Yes, the basics of this technique can also be adapted for other effects like snow or fog.
Do I need Photoshop CC to follow this tutorial?Most features in this tutorial are available in most versions of Photoshop, but it is advisable to use the latest version.


