In this tutorial I will show you how to create a realistic rainbow in Photoshop. The focus is on using gradients and different layers to create an impressive visual effect. By consciously using the tools, you will be able to design a rainbow that looks appealing in both intensity and shape. Let's get started!
Main Insights
- Using special color gradients in Photoshop
- Creating and adjusting layer masks
- Applying blurs to achieve a natural effect
Selecting a Gradient
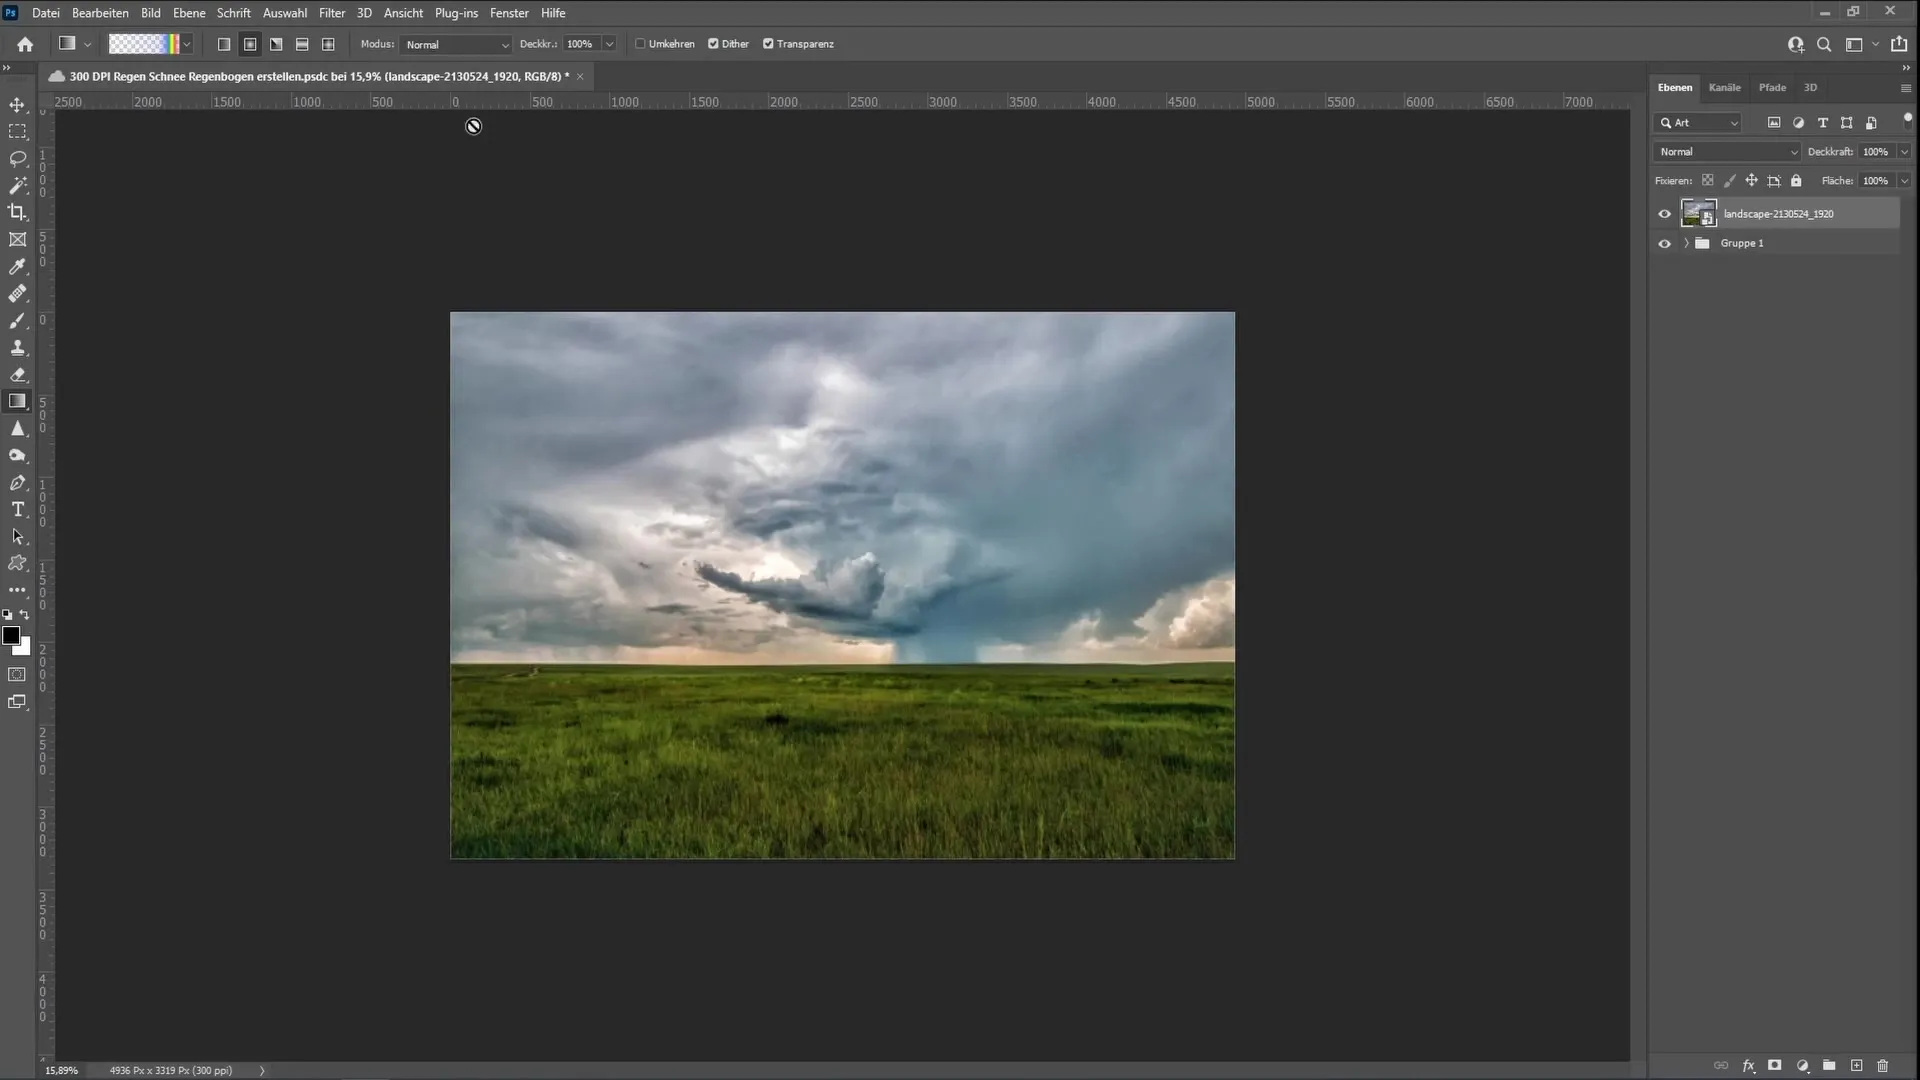
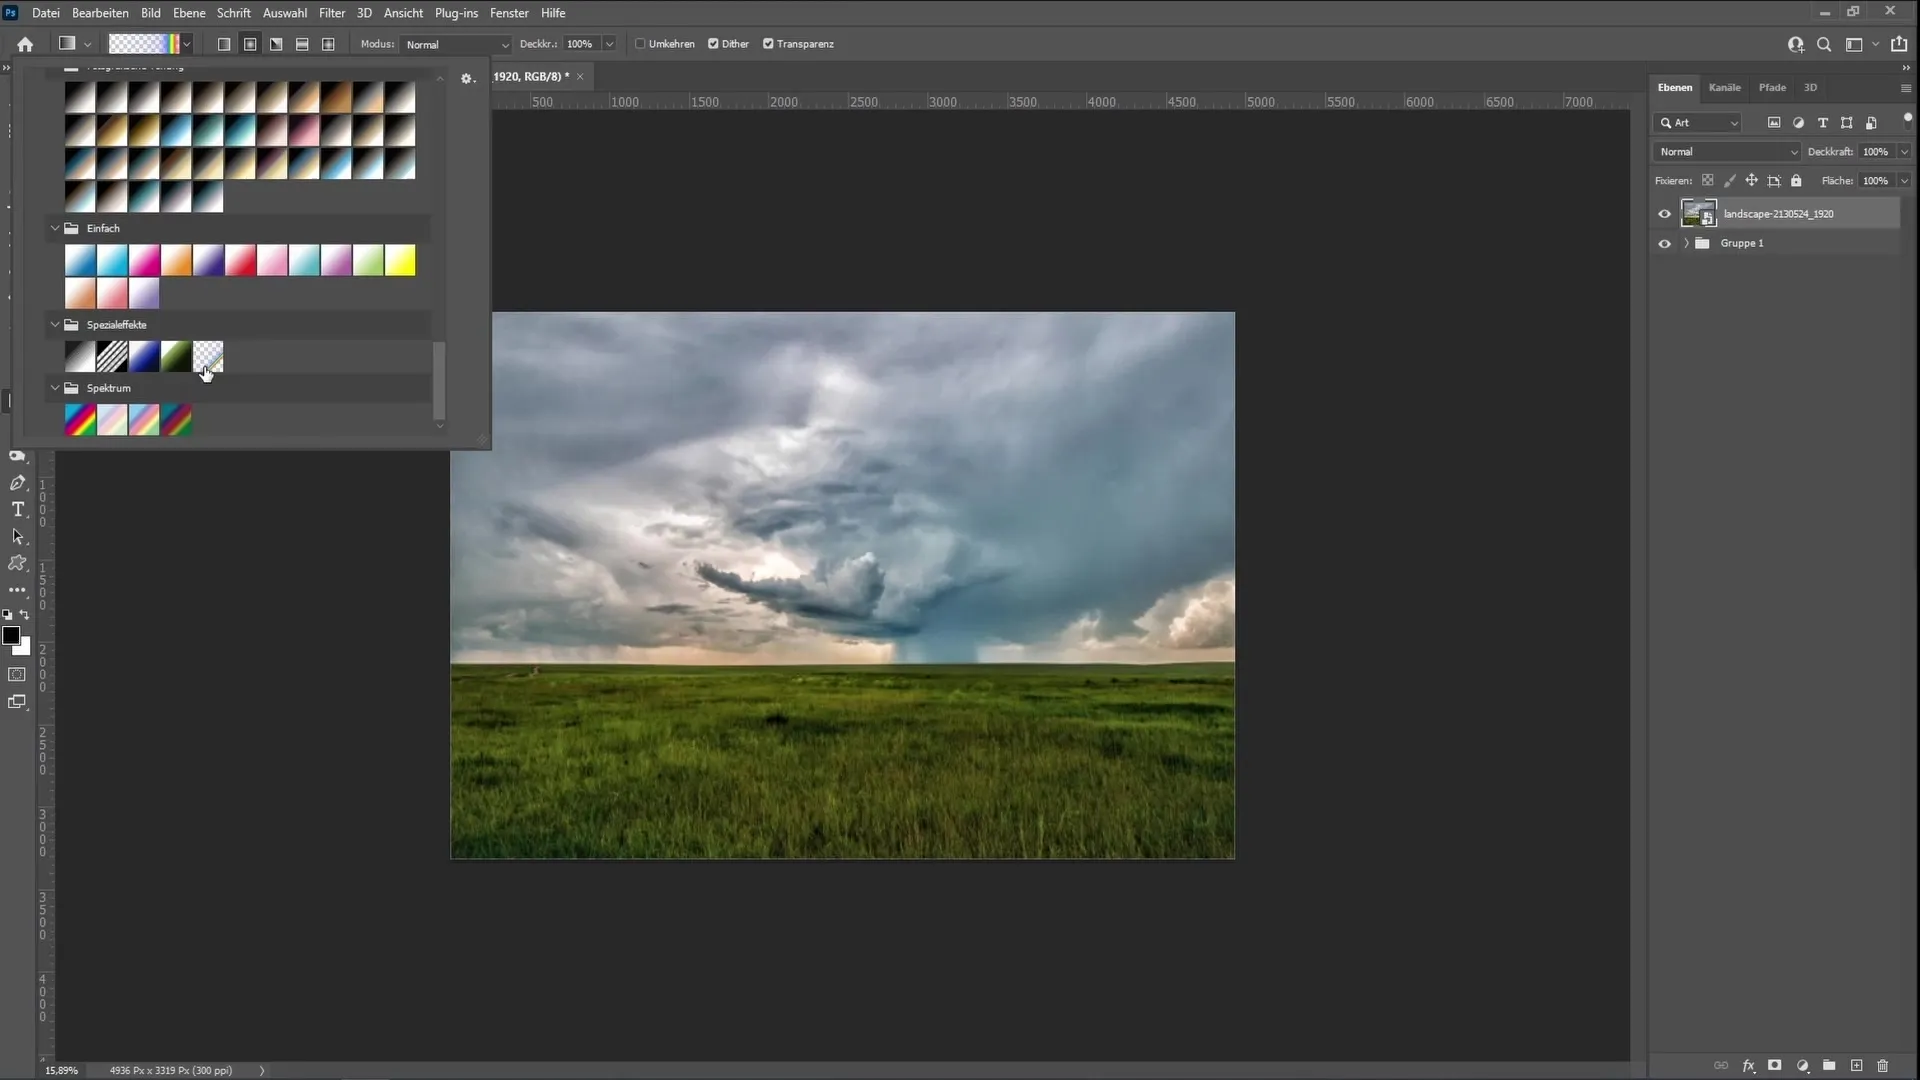
Start by deleting all existing layers to begin with a blank canvas. It is important to first select a special color gradient that is not available by default. Go to the top menu, click on Window, and then choose Gradients. In the opened window, click on the four lines at the top right to show more options. Then select Legacy Gradients to access the special effects. Scroll down until you find the rainbow gradient and click on it. You can then close the window.
Configuring the Gradient Tool
Now you need to activate the Gradient Tool. Make sure the Reverse checkbox is not checked. Also, choose Radial Gradient as the gradient type. These settings are crucial to achieve the desired rainbow effect.
Drawing the Rainbow
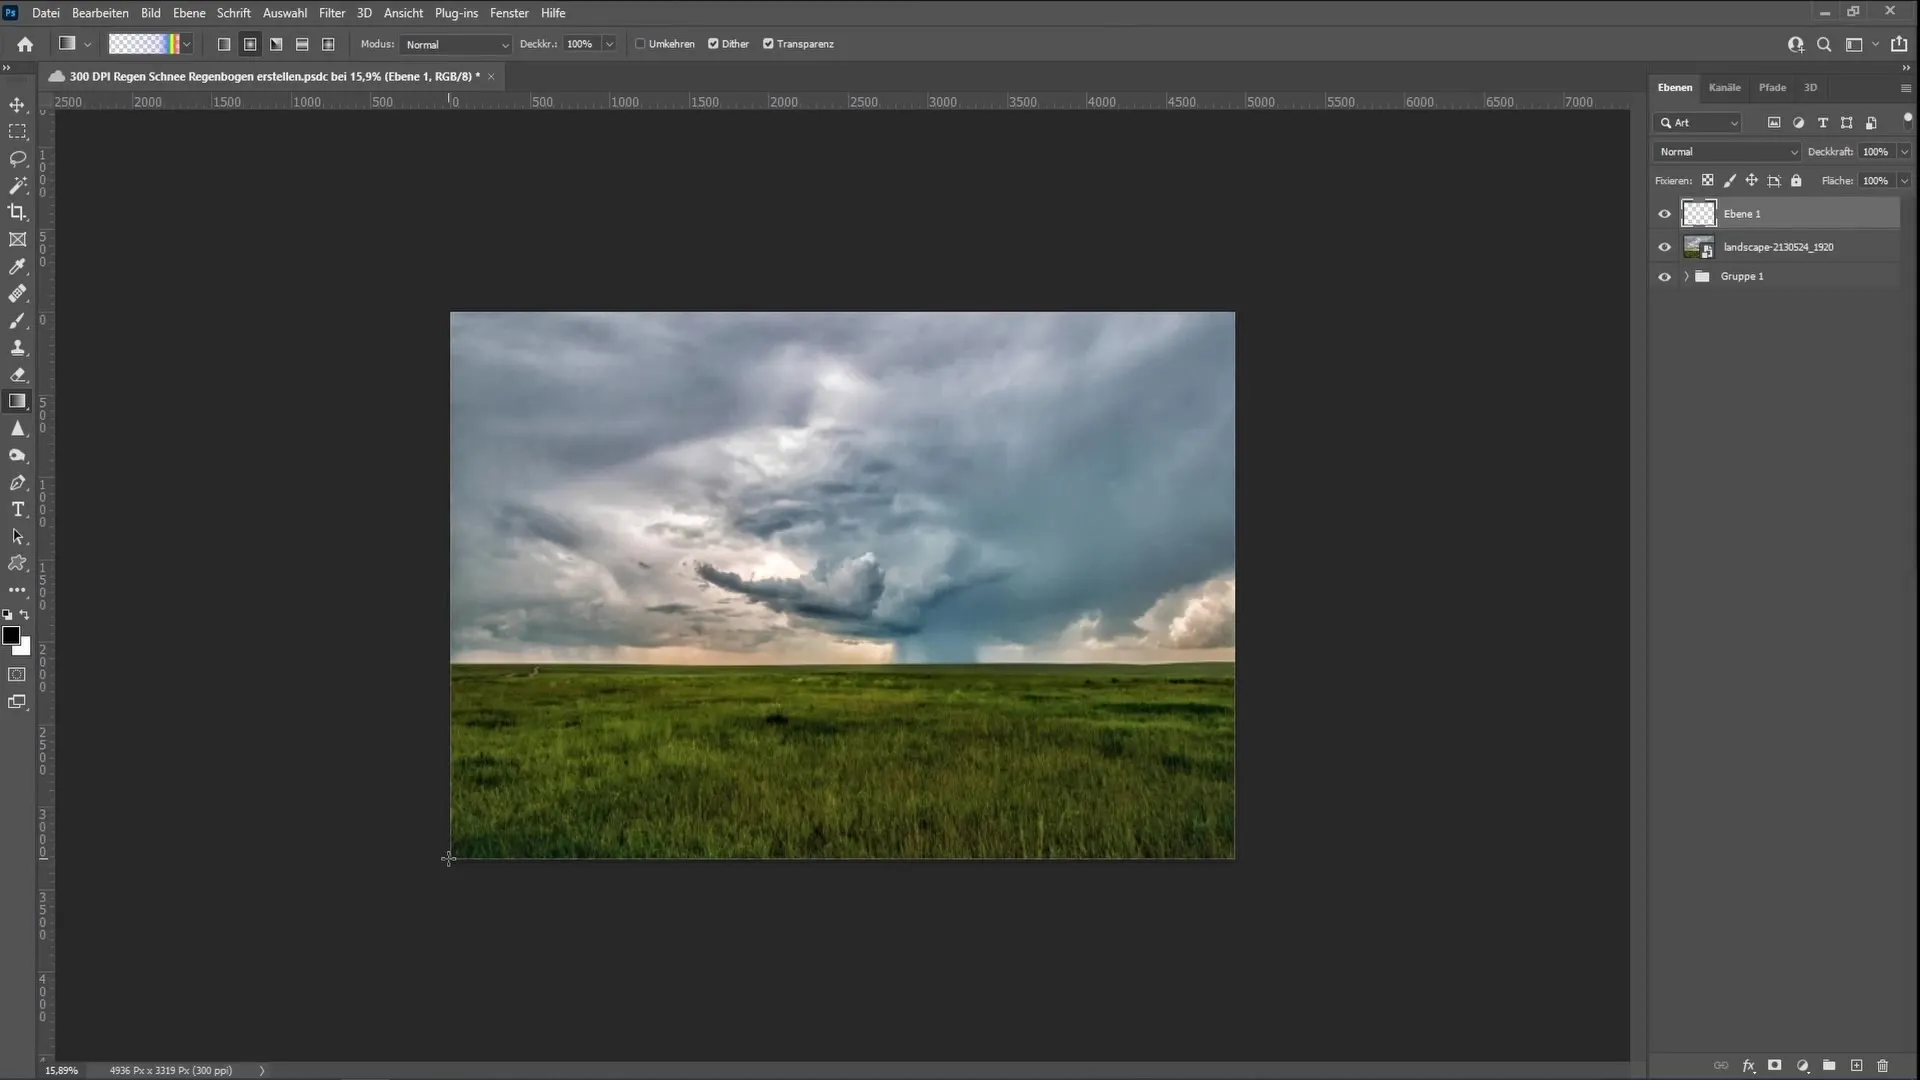
Create a new layer on which you can draw the rainbow. Hold down the Shift key to maintain the correct ratio while drawing the gradient. Start from the upper left corner and drag the gradient to the desired location downwards. When done correctly, you will see a beautiful, striking rainbow.
Creating a Semi-Circular Rainbow
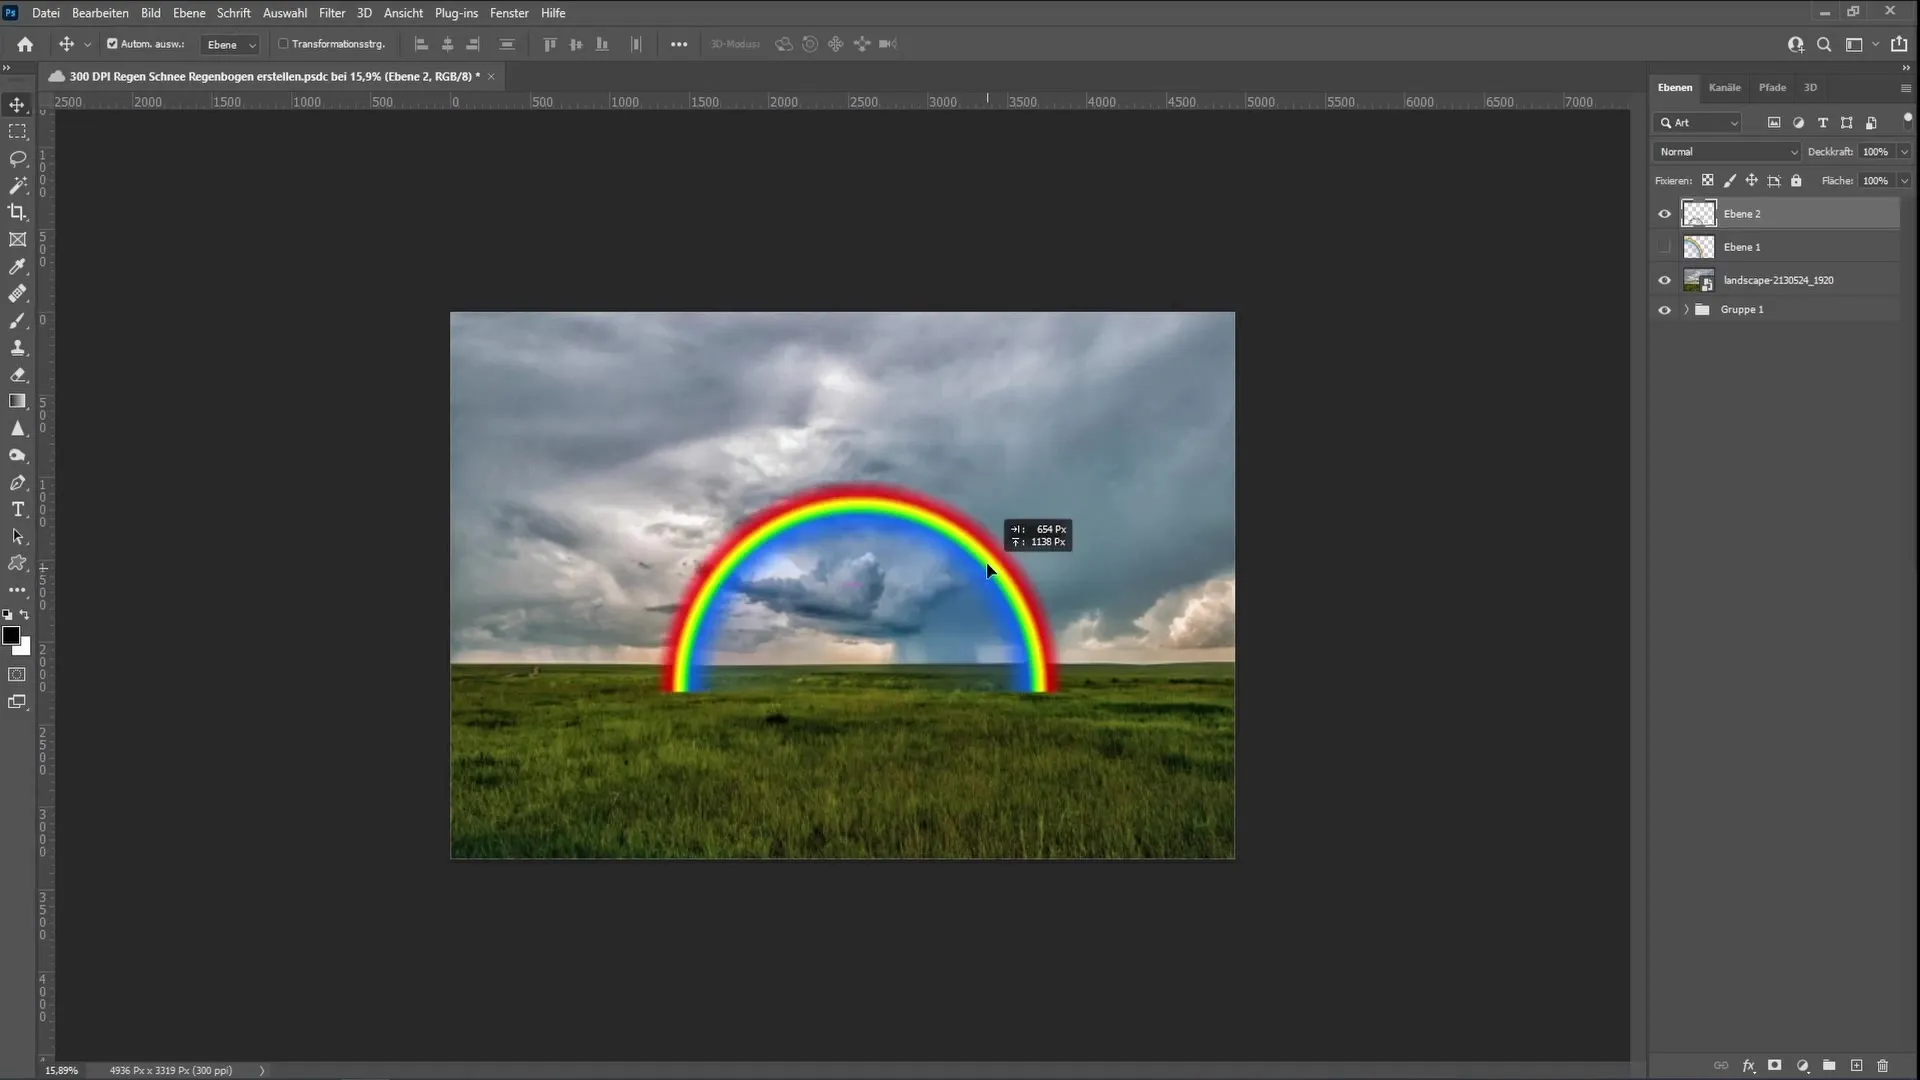
If you want to create a semi-circular rainbow, drag the gradient to the center of the canvas. This will create a circular rainbow. You can adjust the size as needed and position it correctly.
Color Check and Masking
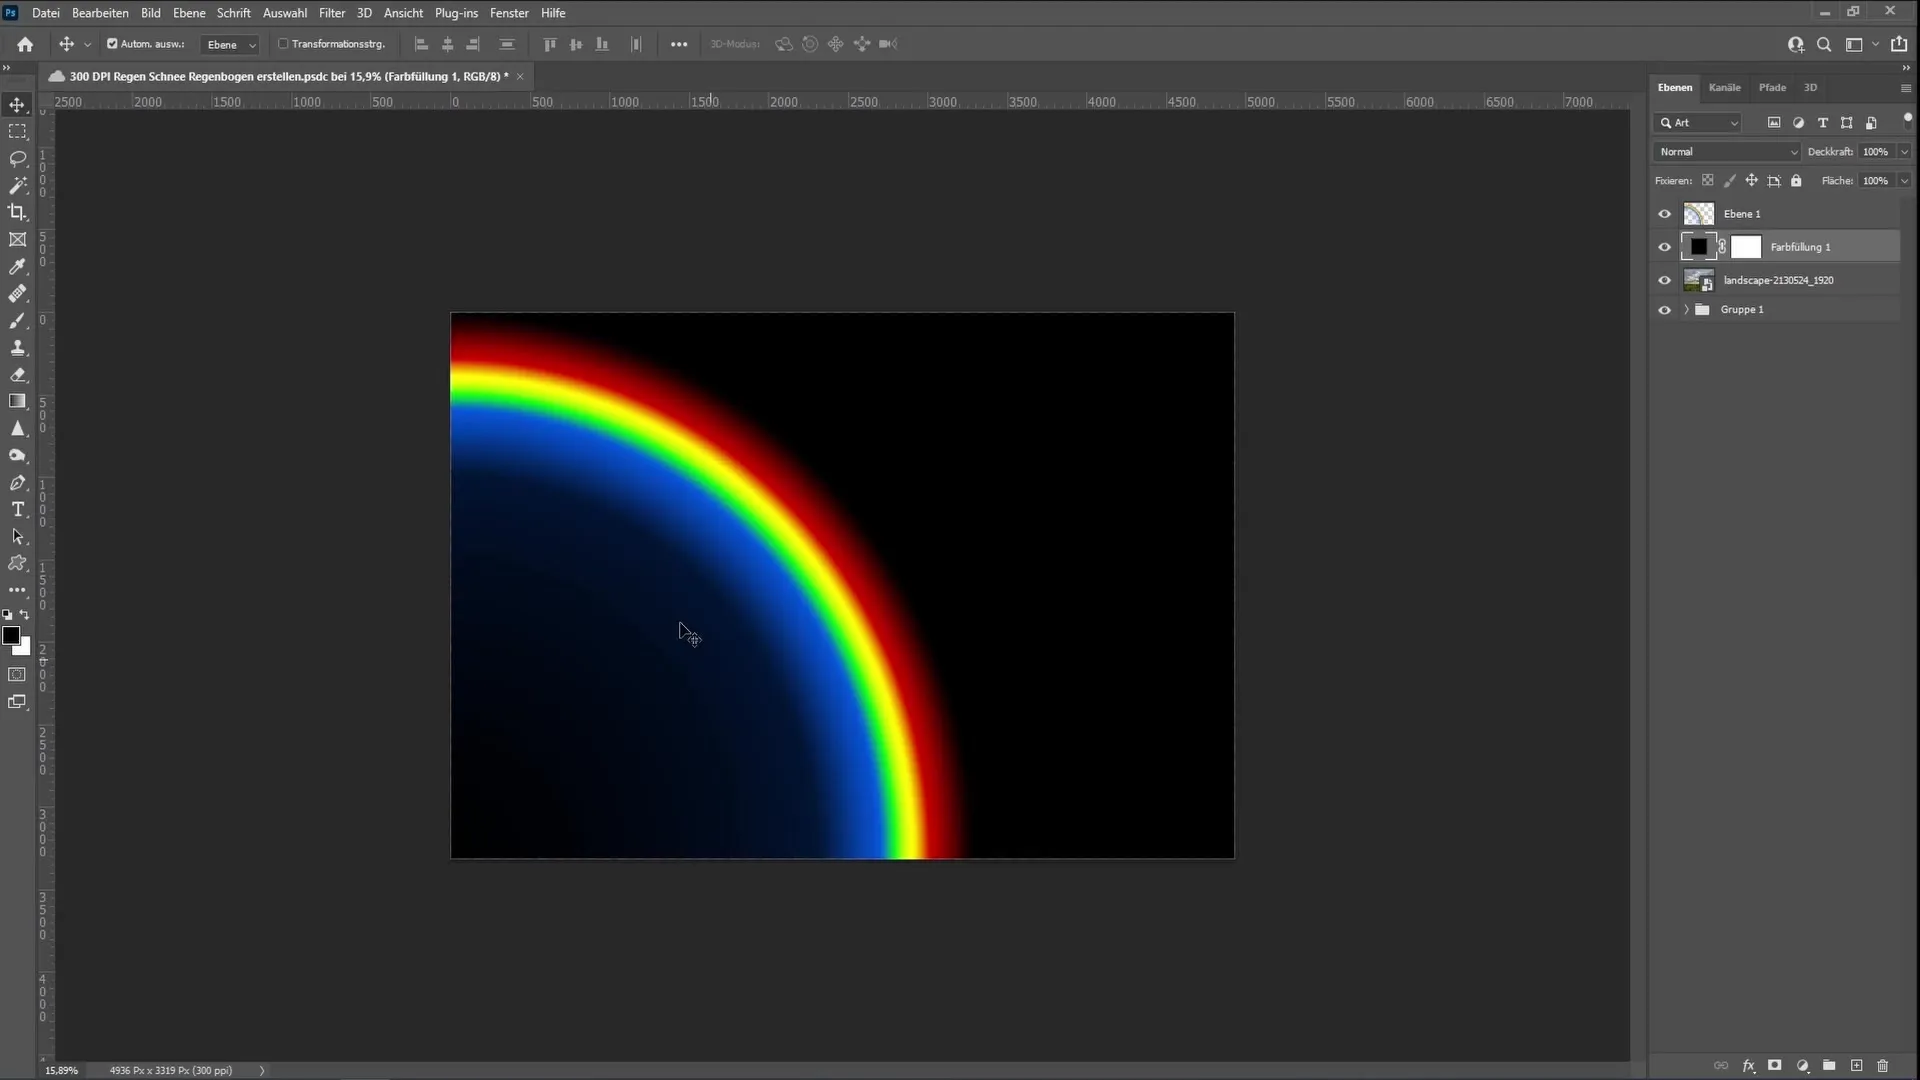
While examining the rainbow, you may notice unwanted blue color areas in some places. To remove these unwanted colors, create a black color layer. This will help you visualize the overall image better. Now go back to the rainbow layer and add a layer mask. This step is optional but recommended to easily hide the areas that should not be visible. Choose a brush with 100% opacity and flow. You can reduce the flow to around 20% for more control and gently blend the rainbow.
Fine-Tuning the Rainbow Shape
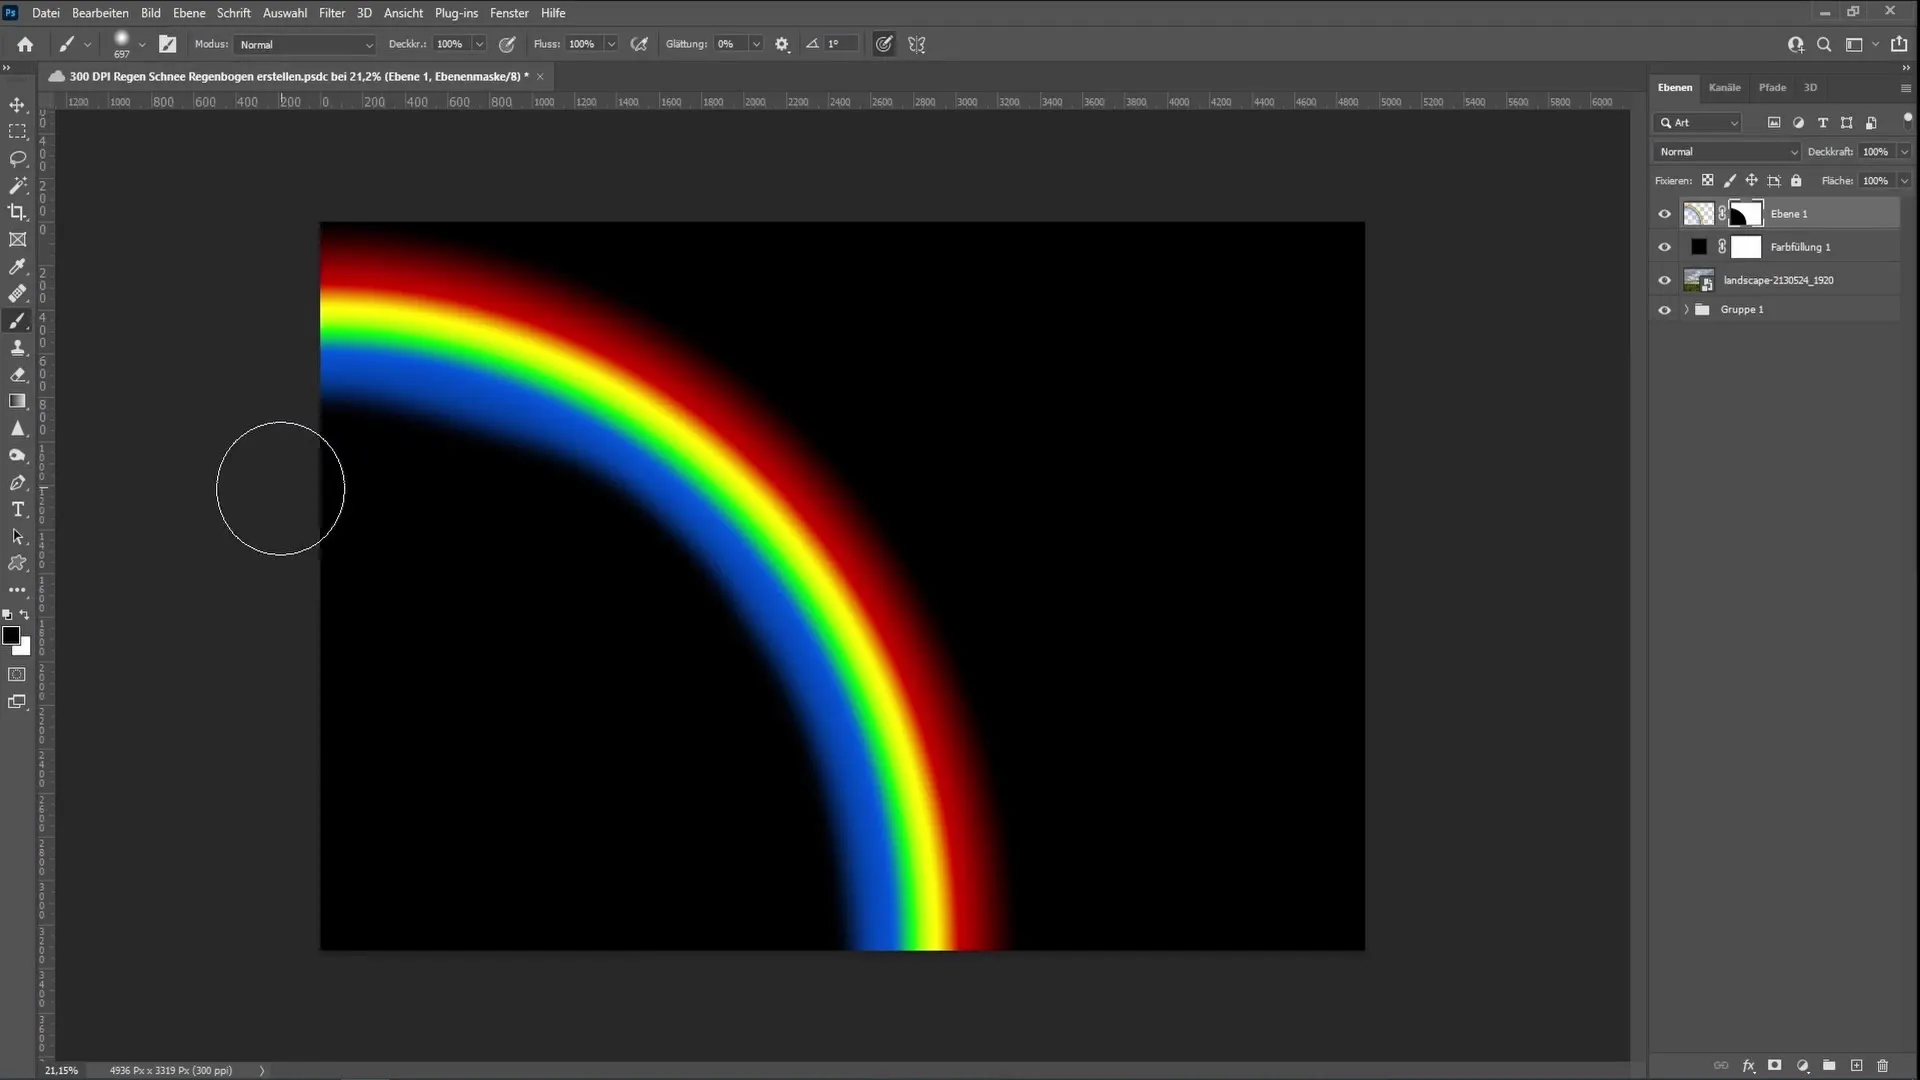
Paint over the unwanted blue areas of the rainbow with black color until they disappear. Focus on the circular arcs and ensure they look uniform. If you have remaining areas, you can restore those areas with white color. Be prepared to have patience, especially if you want to achieve a clean gradient.
Applying Blur
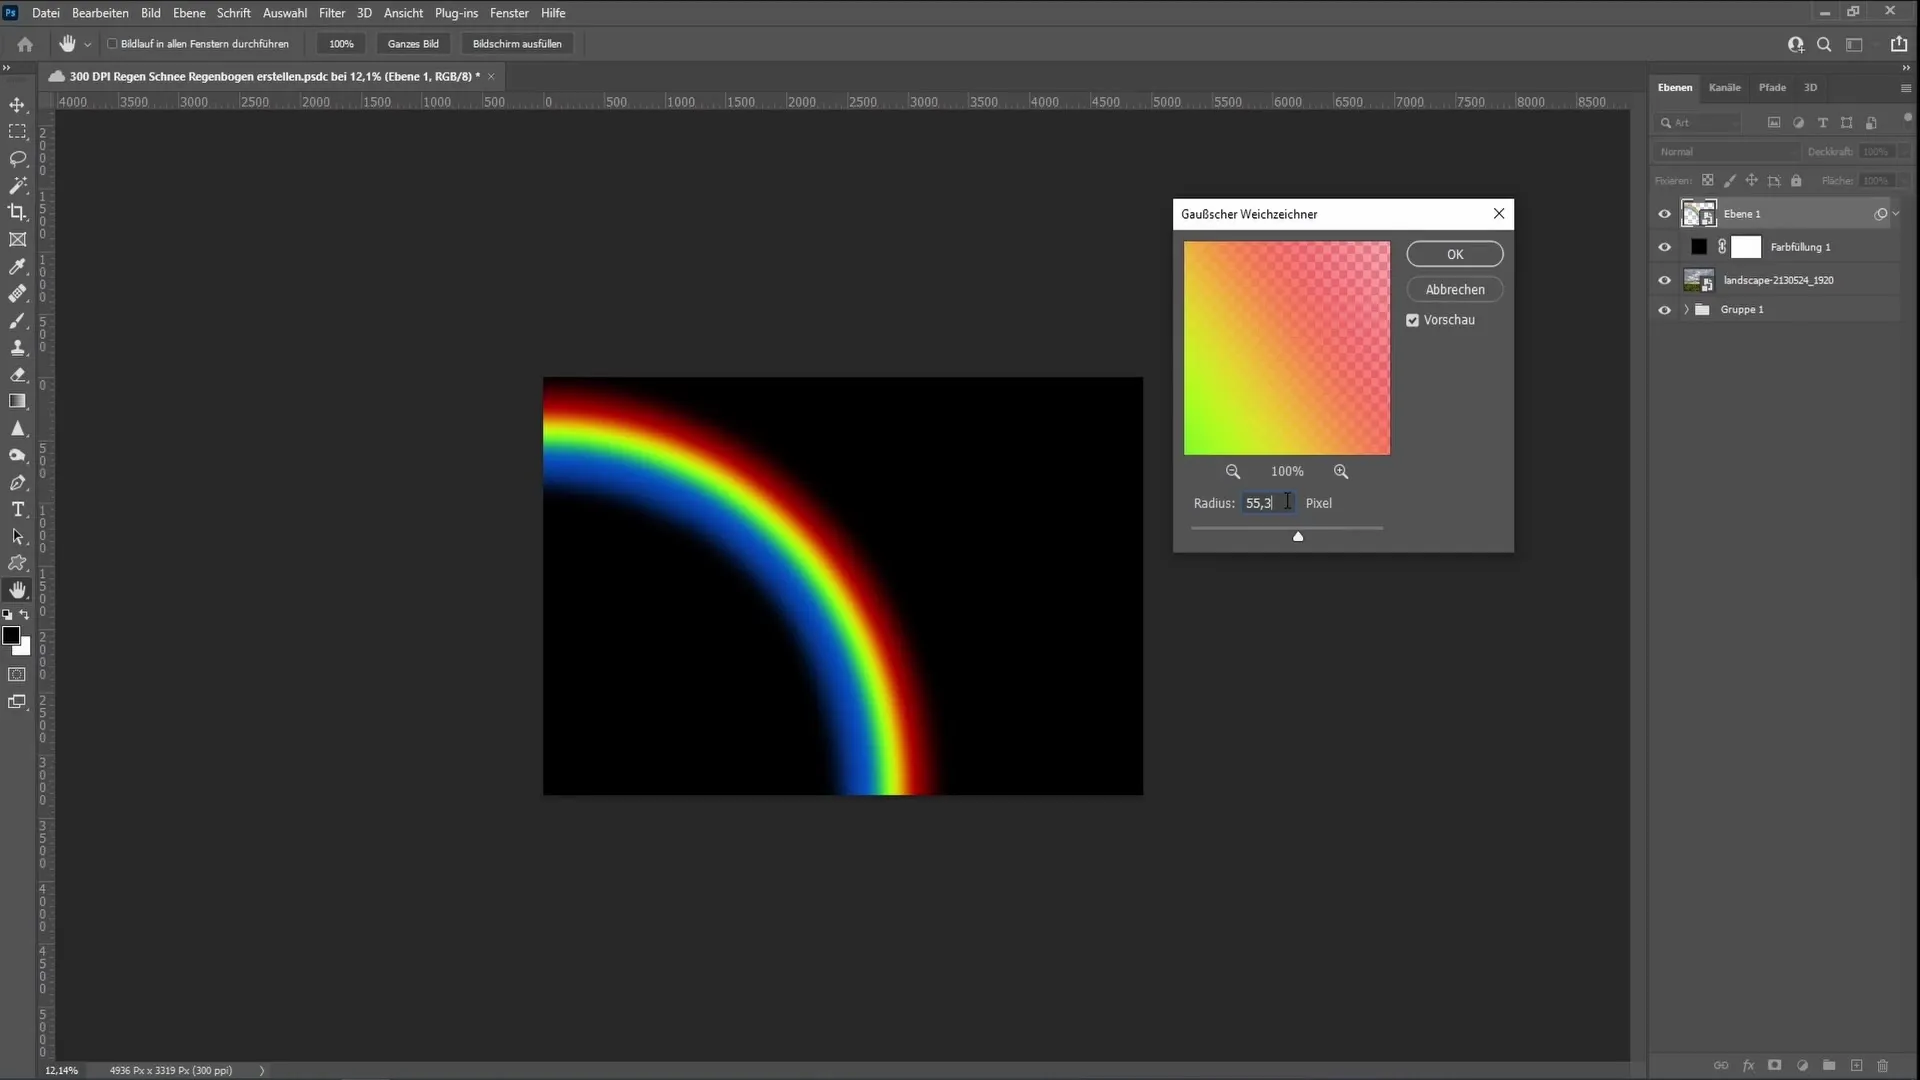
Once you have finished blending the color areas and adjusted the shape, create a smart object from your rainbow layer. Right-click on the layer and choose Convert to Smart Object. Then go to Filter and choose Blur filters, followed by Gaussian Blur. Set the radius to around 5.3 for a smooth, realistic look.
Setting Blending Options
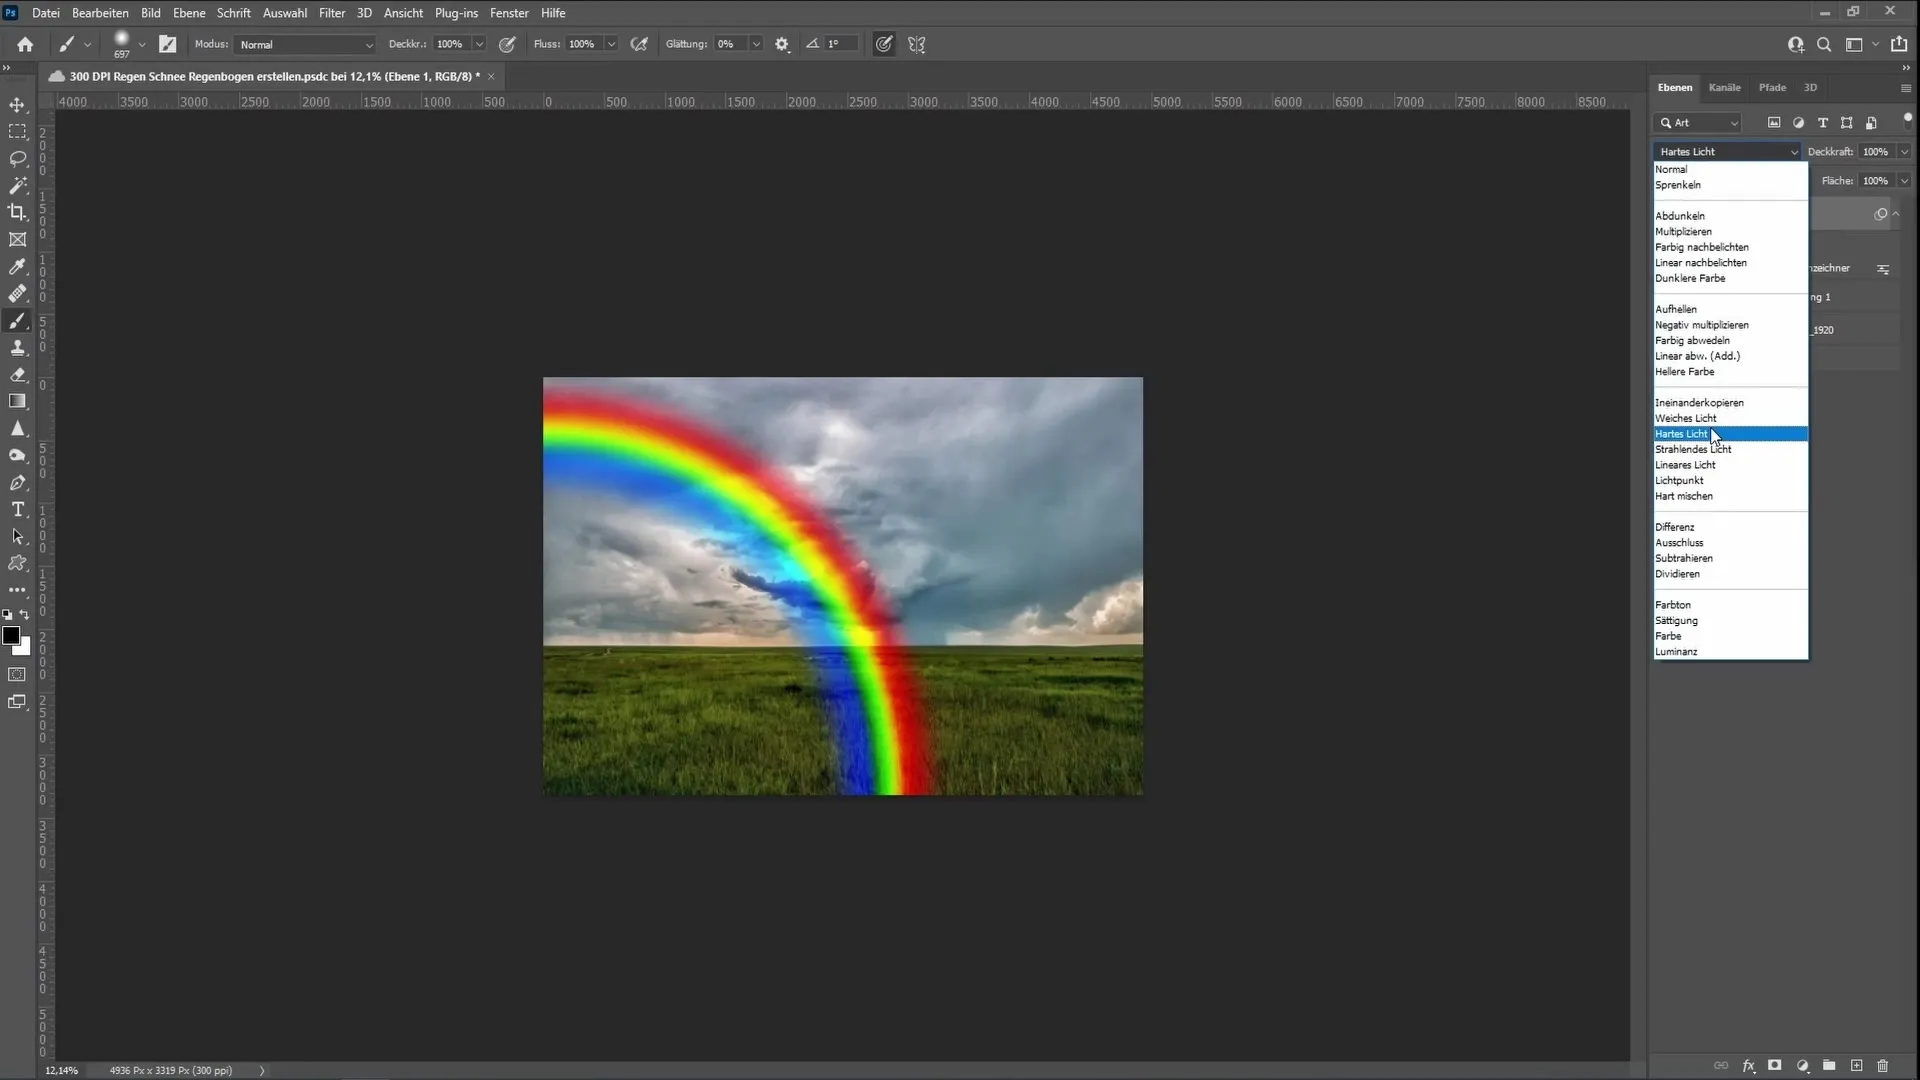
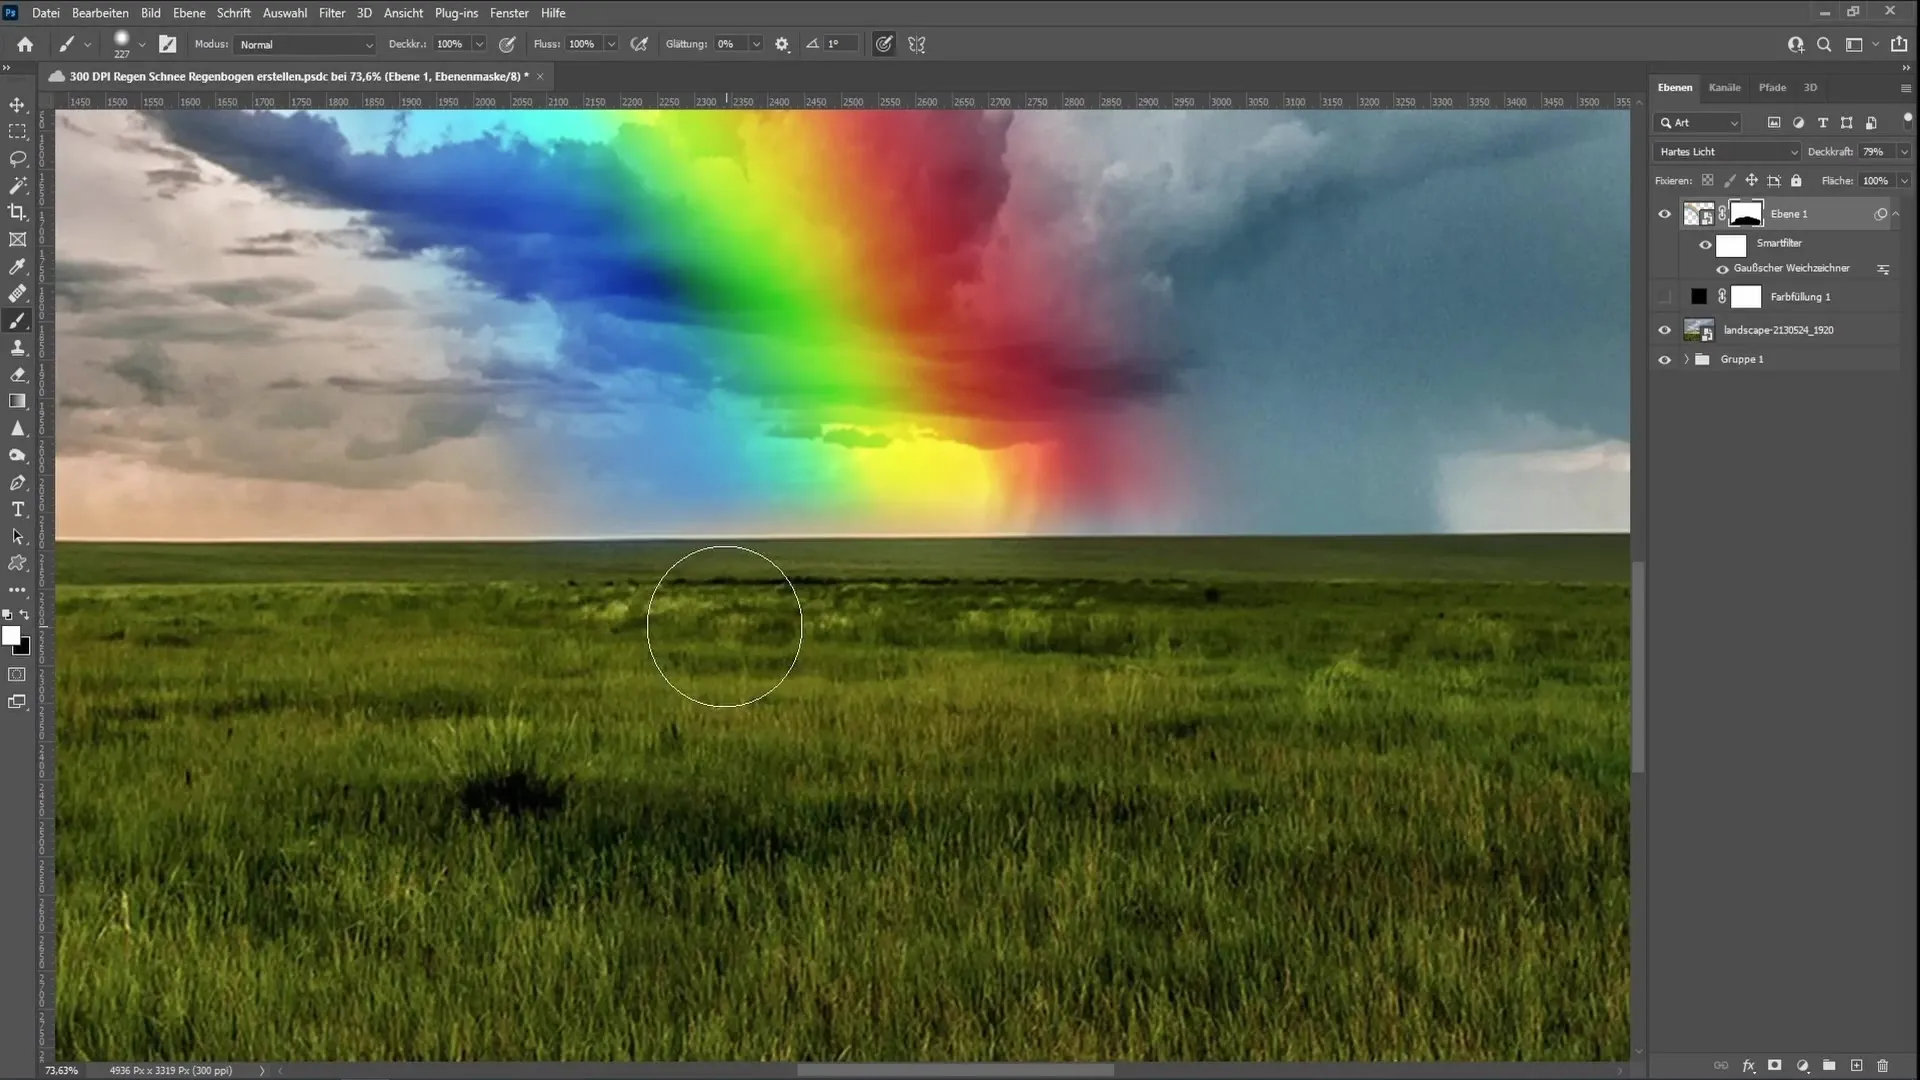
To make the rainbow appear even more realistic, change the layer's blending option to Hard Light. You can also try the Copy Merge option, but Hard Light often looks better. Adjust the opacity to achieve the desired effect. A value of approximately 79% could look good.
Positioning the Rainbow
Add a layer mask to the rainbow layer and cut the rainbow so that it disappears behind the horizon. Here too, you can choose a black color and increase the hardness to 35% to work more precisely. Correct the rainbow so that it looks like it disappears behind the horizon. If needed, you can also paint back on the mask to make more of the rainbow visible.
Summary
With the steps mentioned above, you have learned how to create a beautiful rainbow in Photoshop. From choosing the right color gradients to applying layer masks and blurs, you have learned all the necessary steps to enhance your image.
Frequently Asked Questions
How do I select a specific gradient in Photoshop?Go to Window > Gradients and choose older gradients in the menu.
Can I create the rainbow in other shapes as well?Yes, you can experiment by pulling the gradient in different shapes such as a semicircle.
How can I remove unwanted colors?You can add a layer mask and then paint over the unwanted areas with a black brush.
How do I soften the rainbow?Convert the rainbow layer into a Smart Object and then apply the Gaussian Blur.
What is the difference between Hard Light and Copy Merge?Hard Light is often more distinct and creates a stronger contrast in the image.


