In this tutorial, I will show you how to create impressive spotlights in Photoshop with just a few steps. We will only use two filters for this. This technique is ideal for generating interesting light effects in your projects. Whether you are working on a graphic design, a poster, or any other creative use, a well-placed spotlight can significantly enhance your design. Let's get started and walk through the process step by step.
Main Takeaways:
- You can create a spotlight using only two filters in Photoshop.
- By creating color fields, rectangles, and transforming them, you will learn basic techniques.
- Experimenting with filters and layers allows you to achieve creative effects.
Step-by-Step Guide
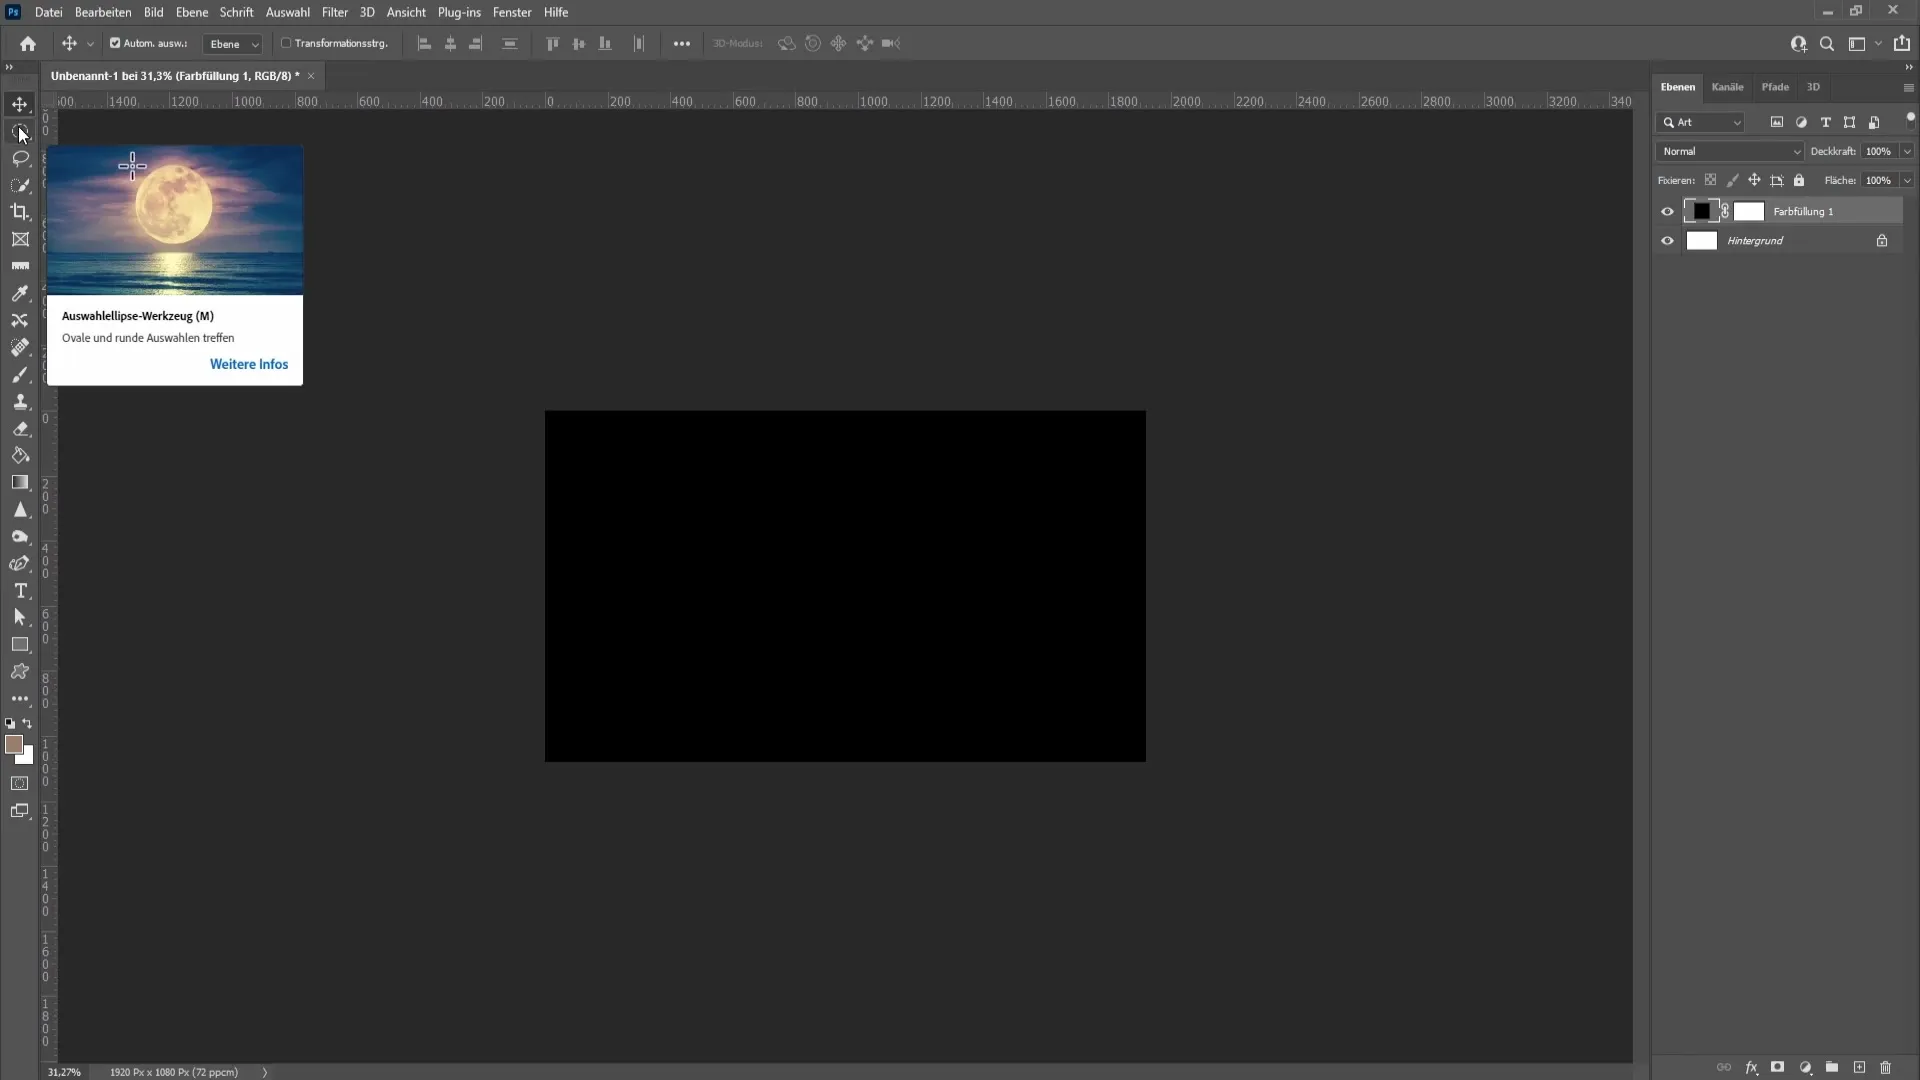
Start with a new document in Photoshop. First, create a black color field that will serve as the background for the spotlights. Choose the appropriate tool for this.
Now let's create the spotlights. Select the Elliptical Marquee Tool and make sure you activate the Rectangular Marquee Tool. Create a new layer and draw a rectangle. Make sure it's not too big; approximately the width you envision for your spotlight should be sufficient.
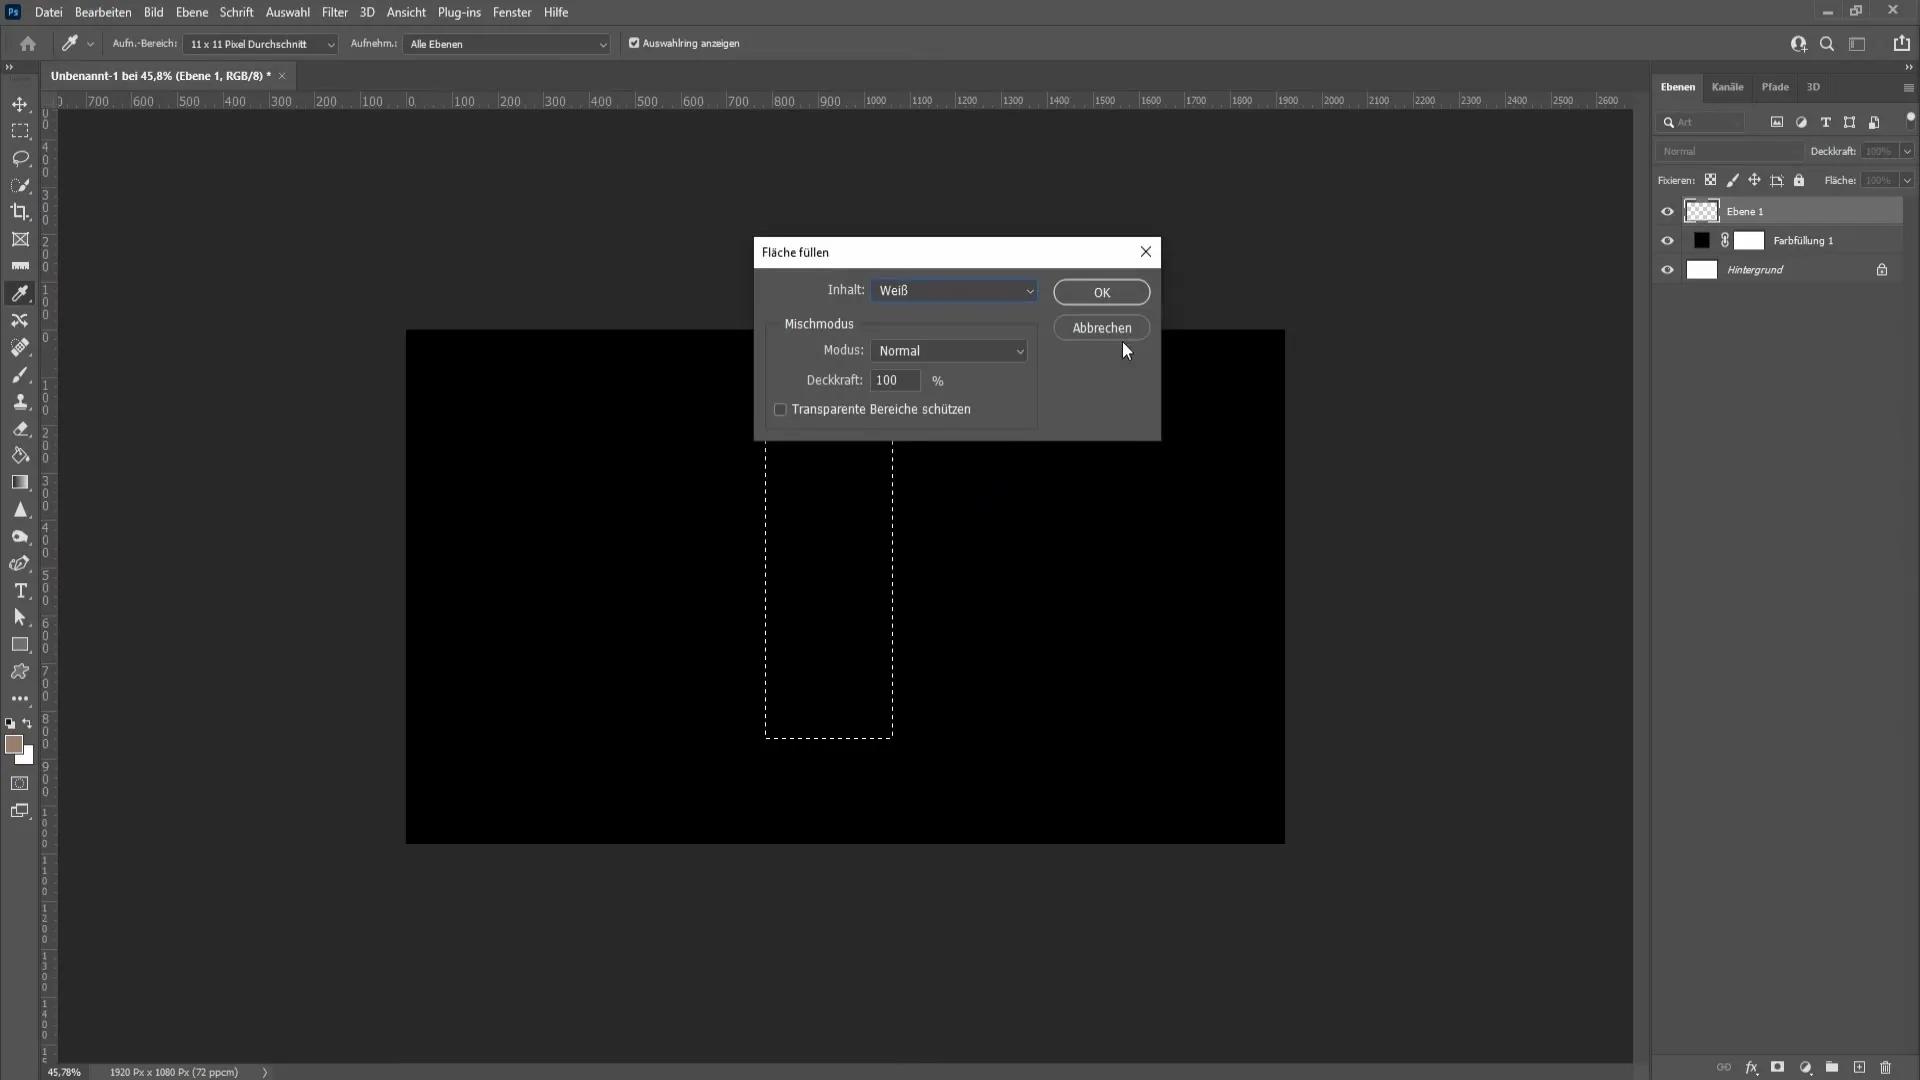
Right-click on it and choose "Fill," to set the fill color to white. Confirm with "OK" and deselect by pressing "Ctrl + D."
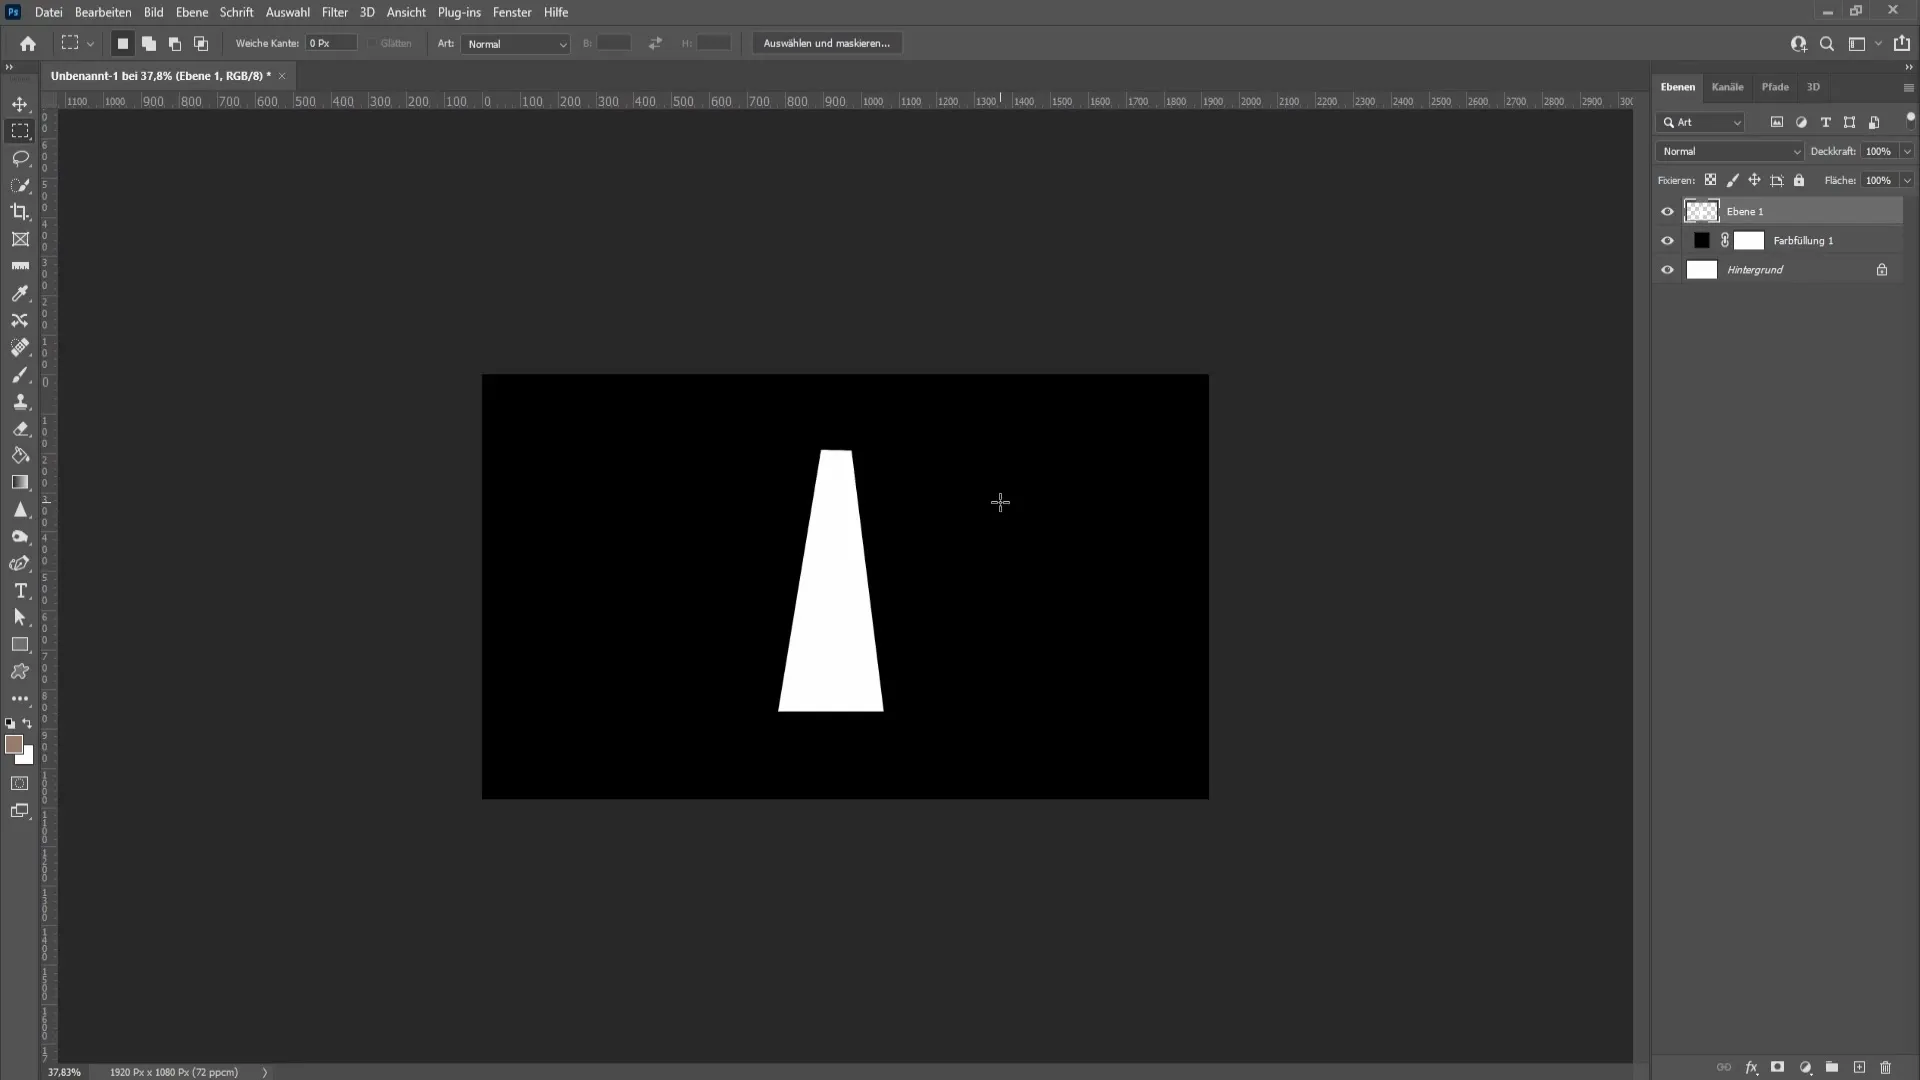
To shape the spotlight, press "Ctrl + T." With the Ctrl key held down (or for Mac users with the Command key), drag one corner of the rectangle inwards to create a cone shape.
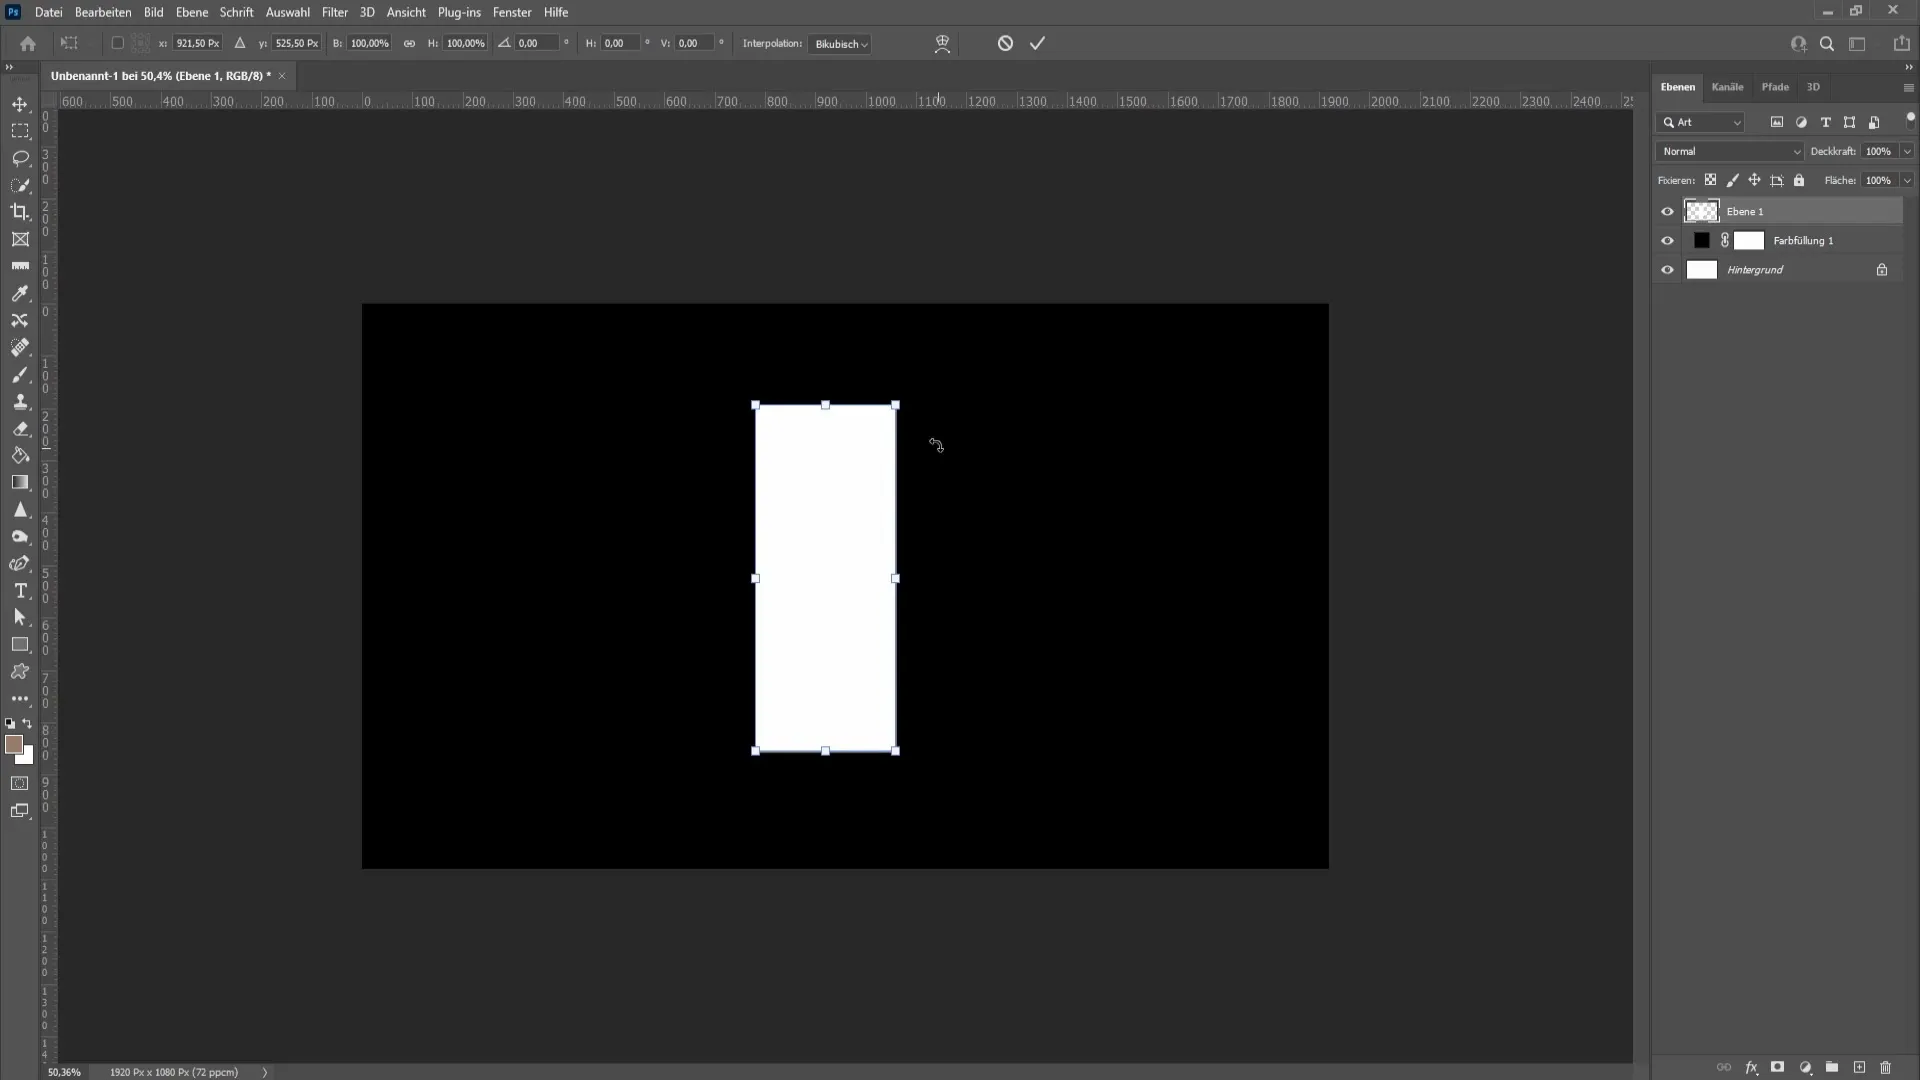
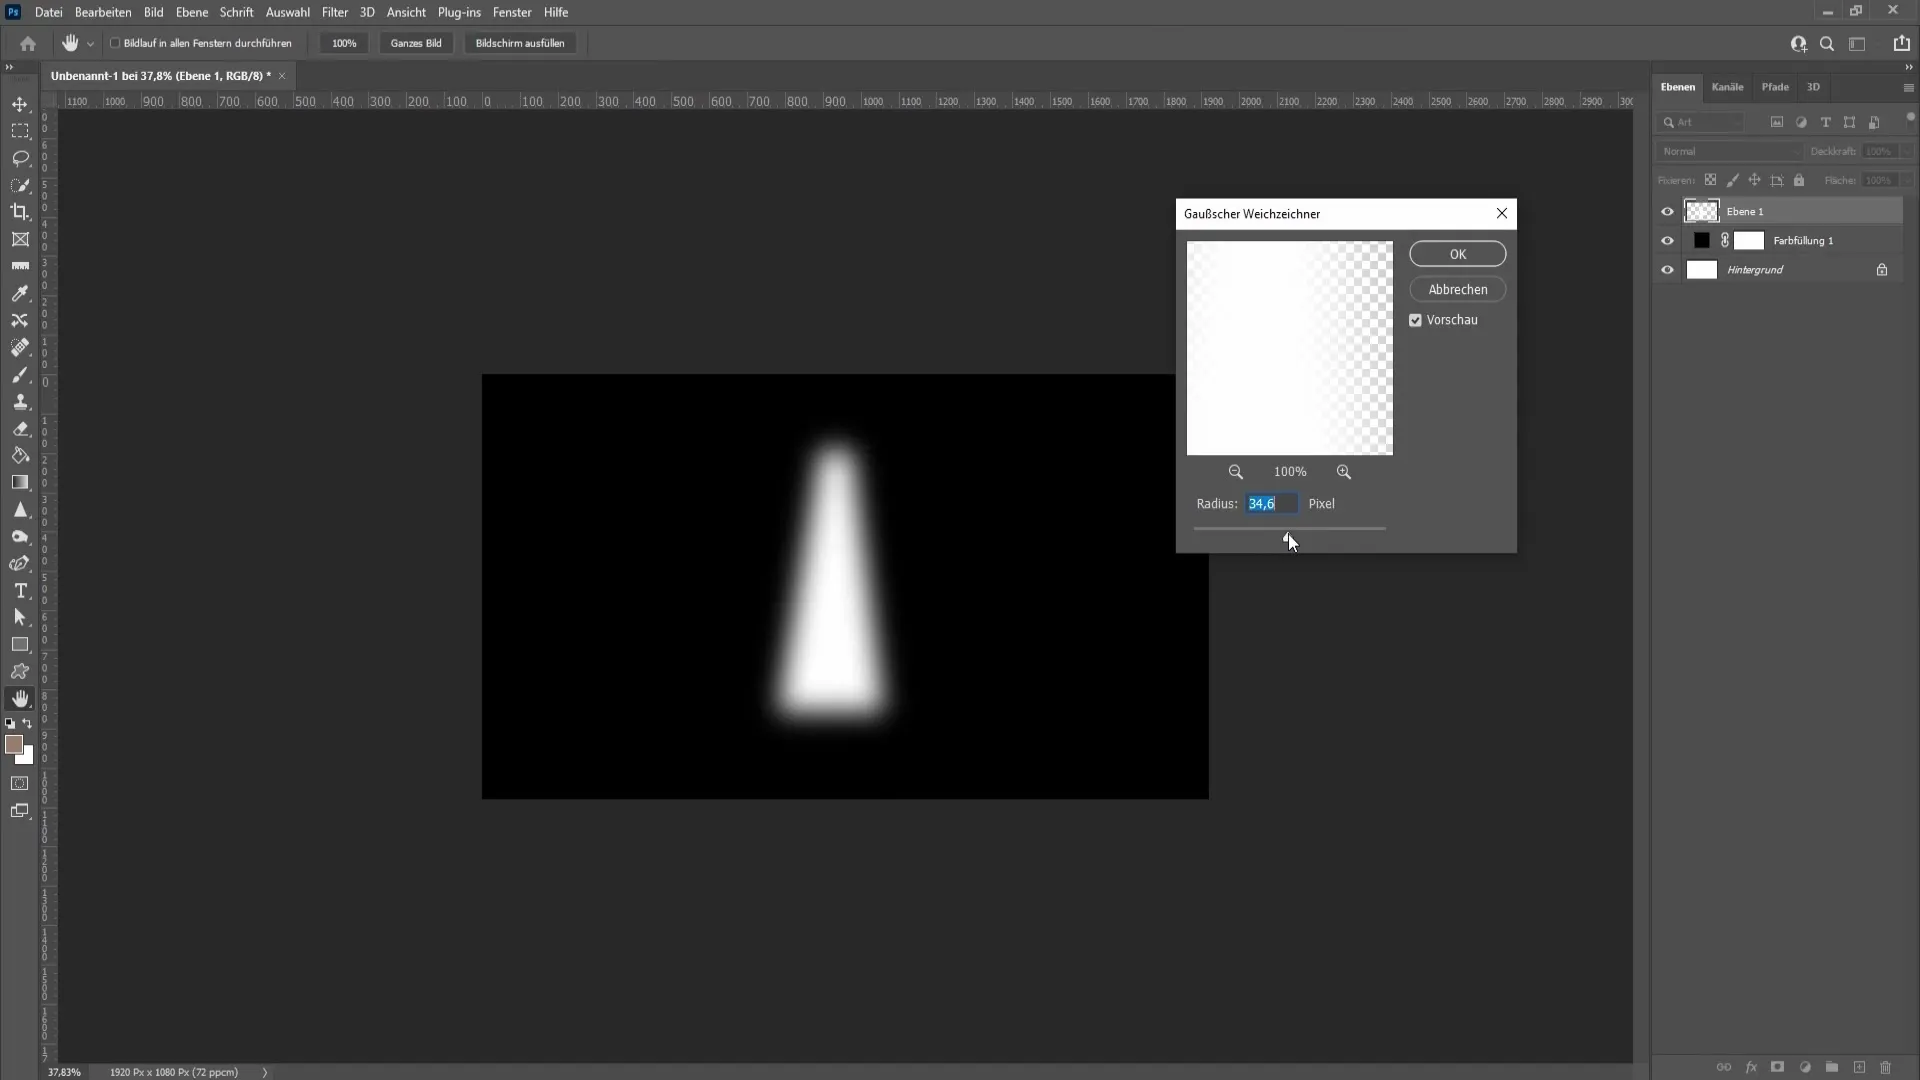
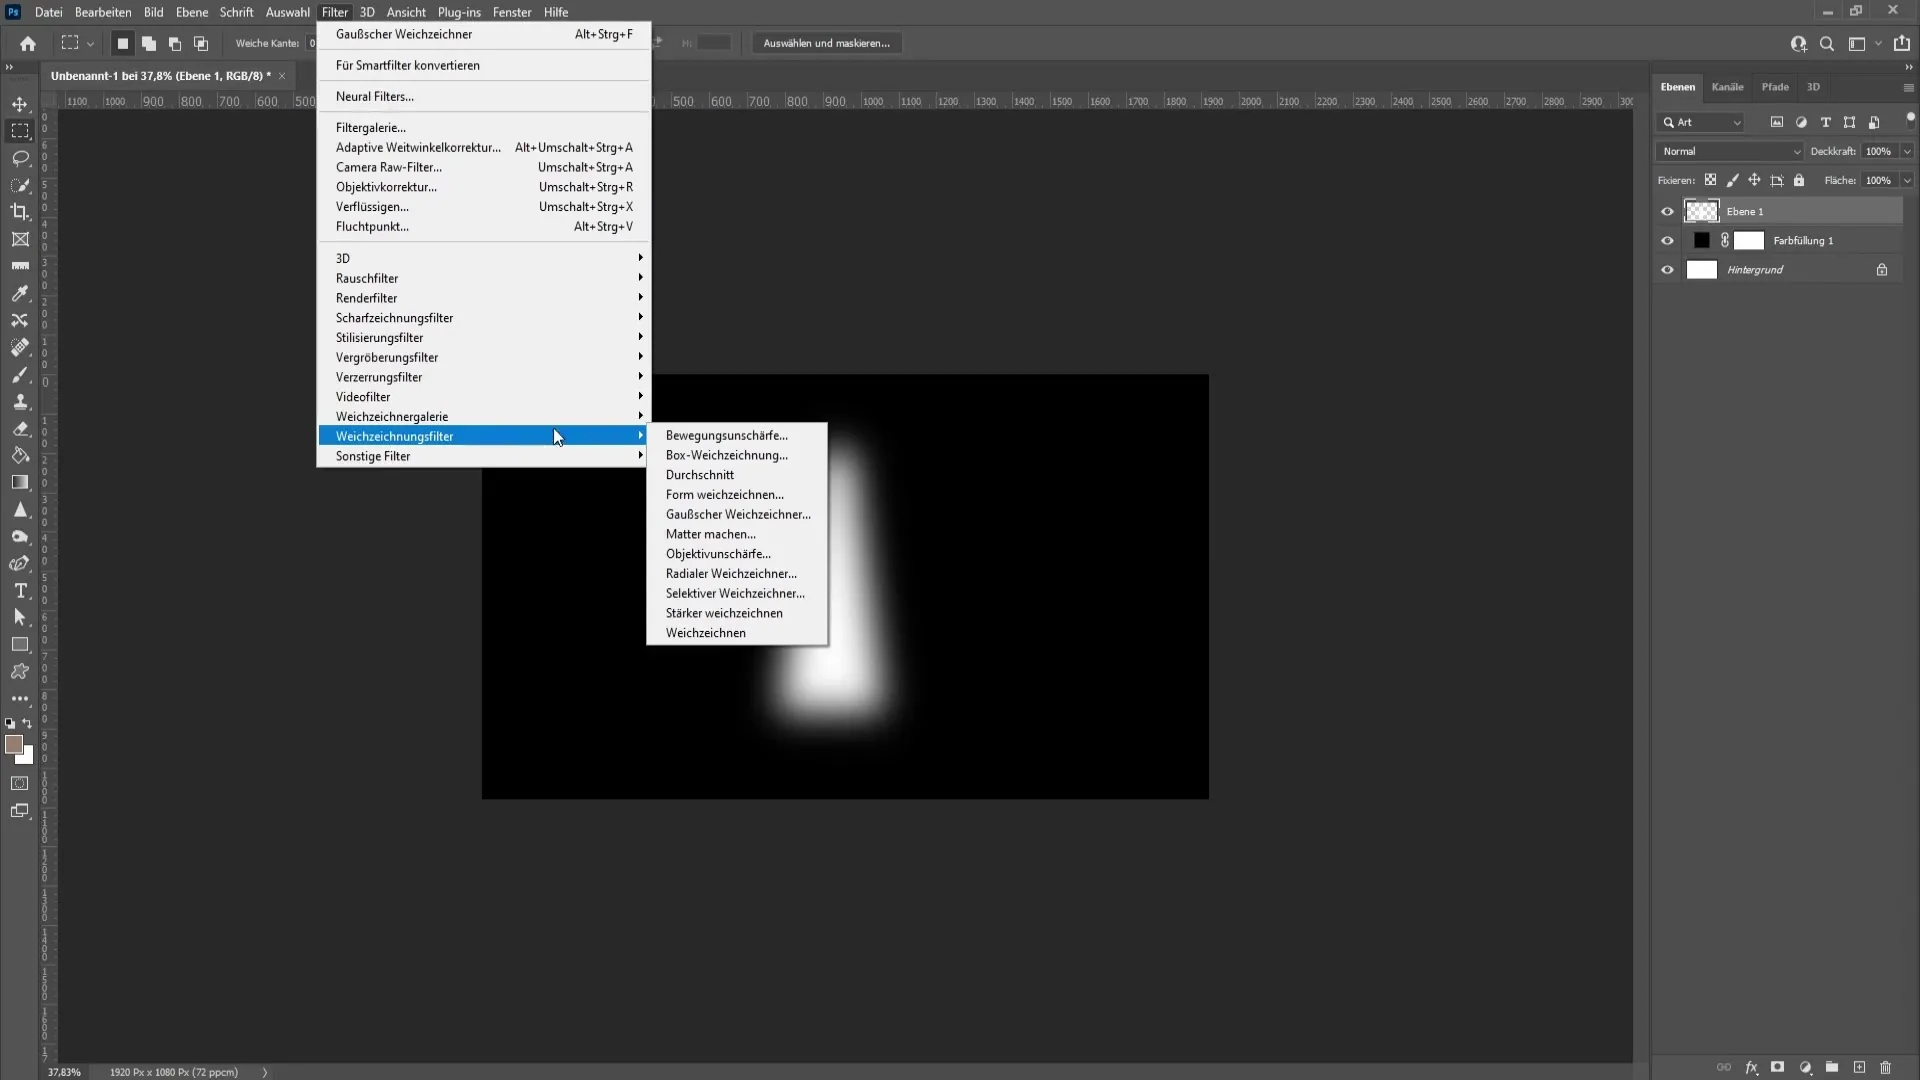
Confirm the transformation by pressing Enter. Now you have created the first cone of the spotlight. Next, you need to soften the edges to achieve the typical light effect. Go to "Filter," then "Blur," and select "Gaussian Blur."
Set the value initially to 29.1. You can increase the strength; for example, I recommend going up to 34.6 to achieve the soft light color.
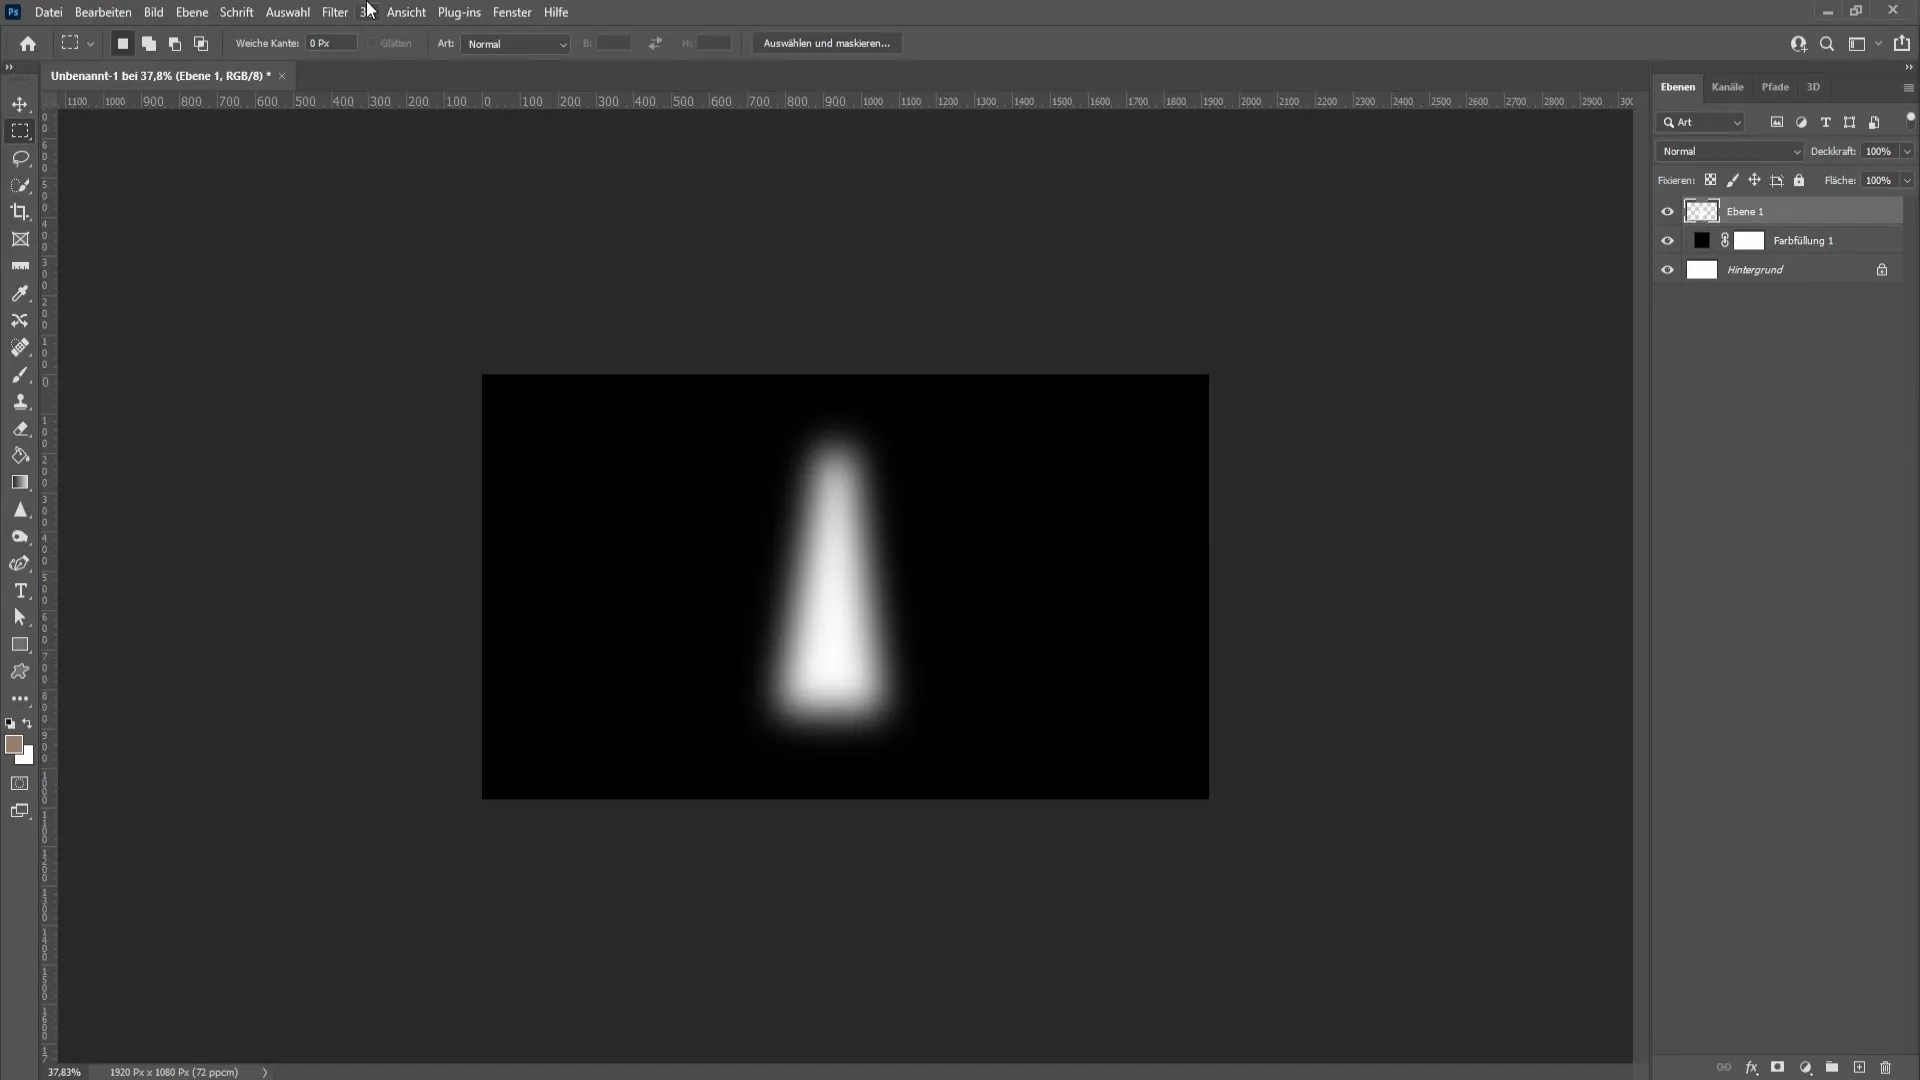
Click "OK." Now, go back to the filters and select the "Blur" again, but this time choose "Radial Blur." Set the value to 40 and adjust the position and quality to achieve the desired beam shape.
Confirm with "OK." If the beams are not highlighted enough, you can increase the strength of the radial blur. I recommend going up to 60 to enhance the effect.
Now, you can work on the opacity if the light appears too strong. For example, set it to 95 to dim it down.
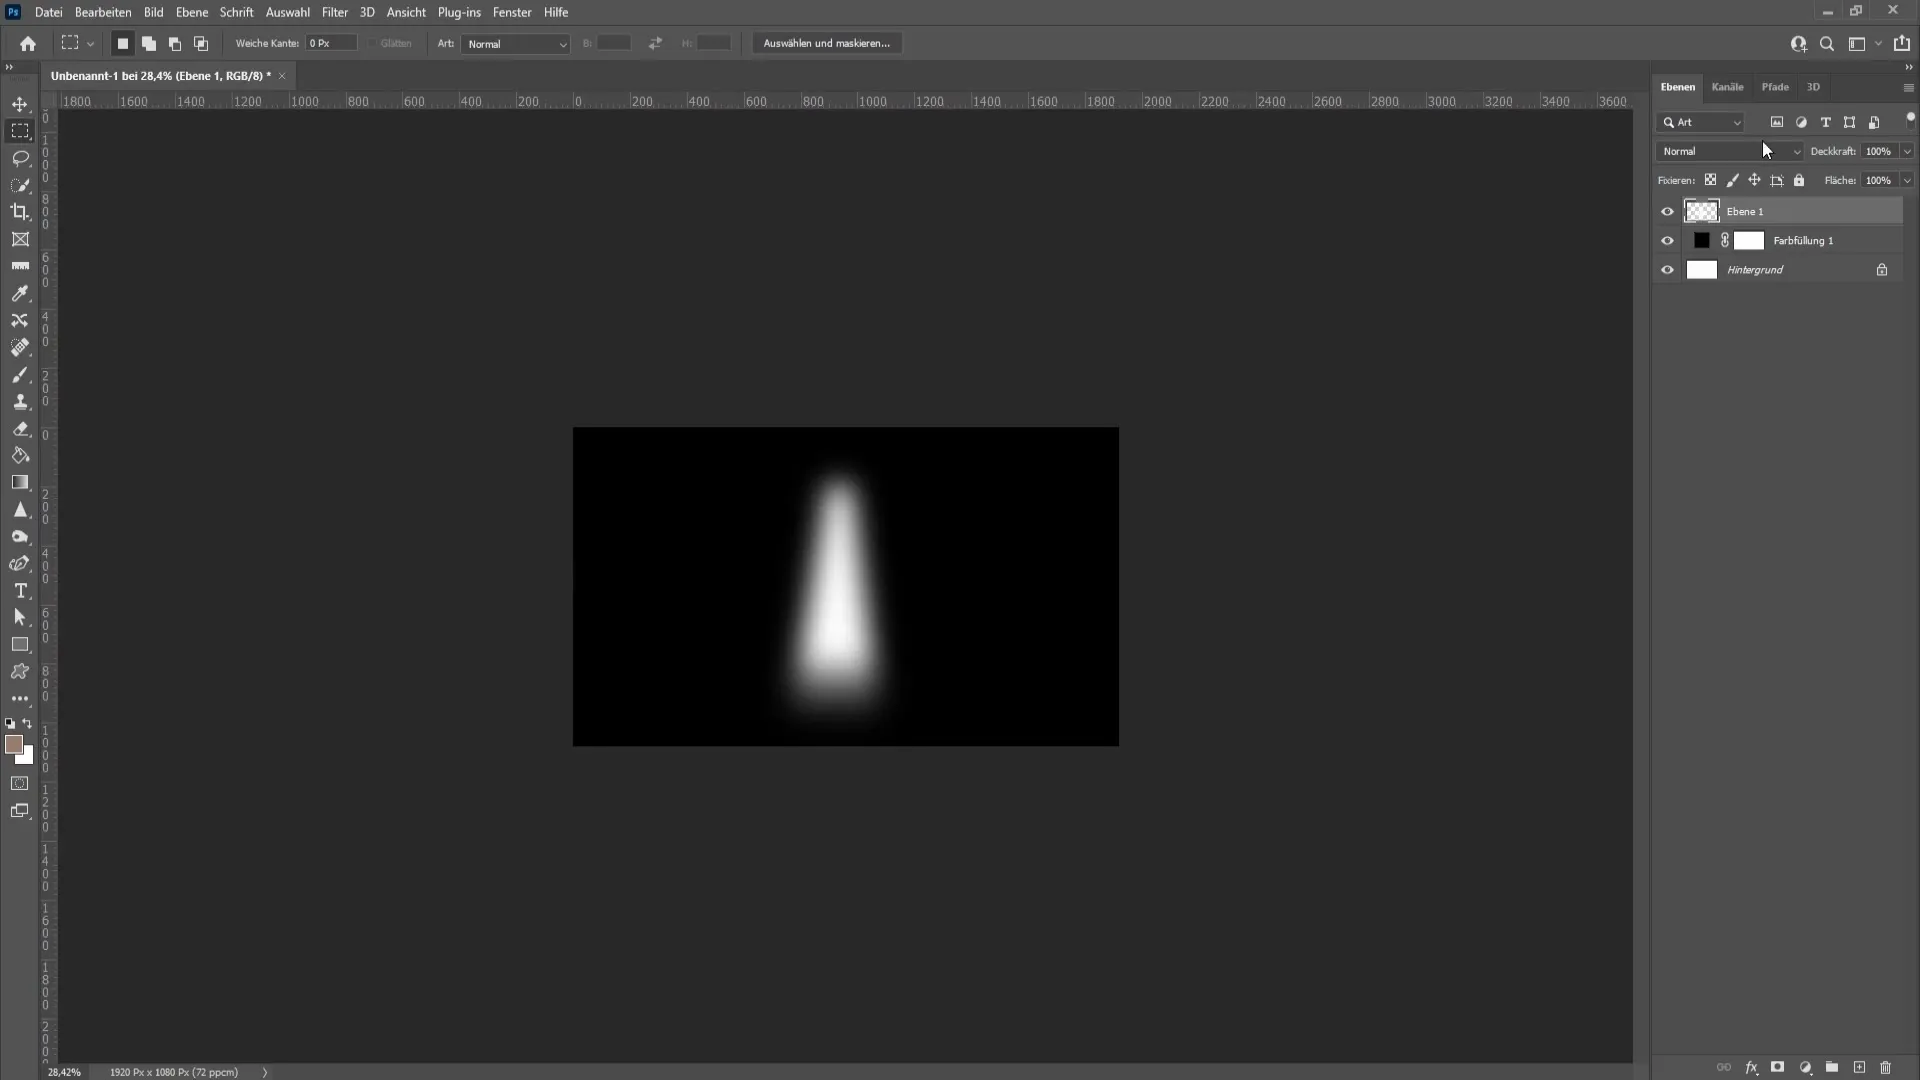
For further adjustment, you can now transform the spotlight. Hold down the Shift key to maintain the proportions while adjusting the shape as desired.
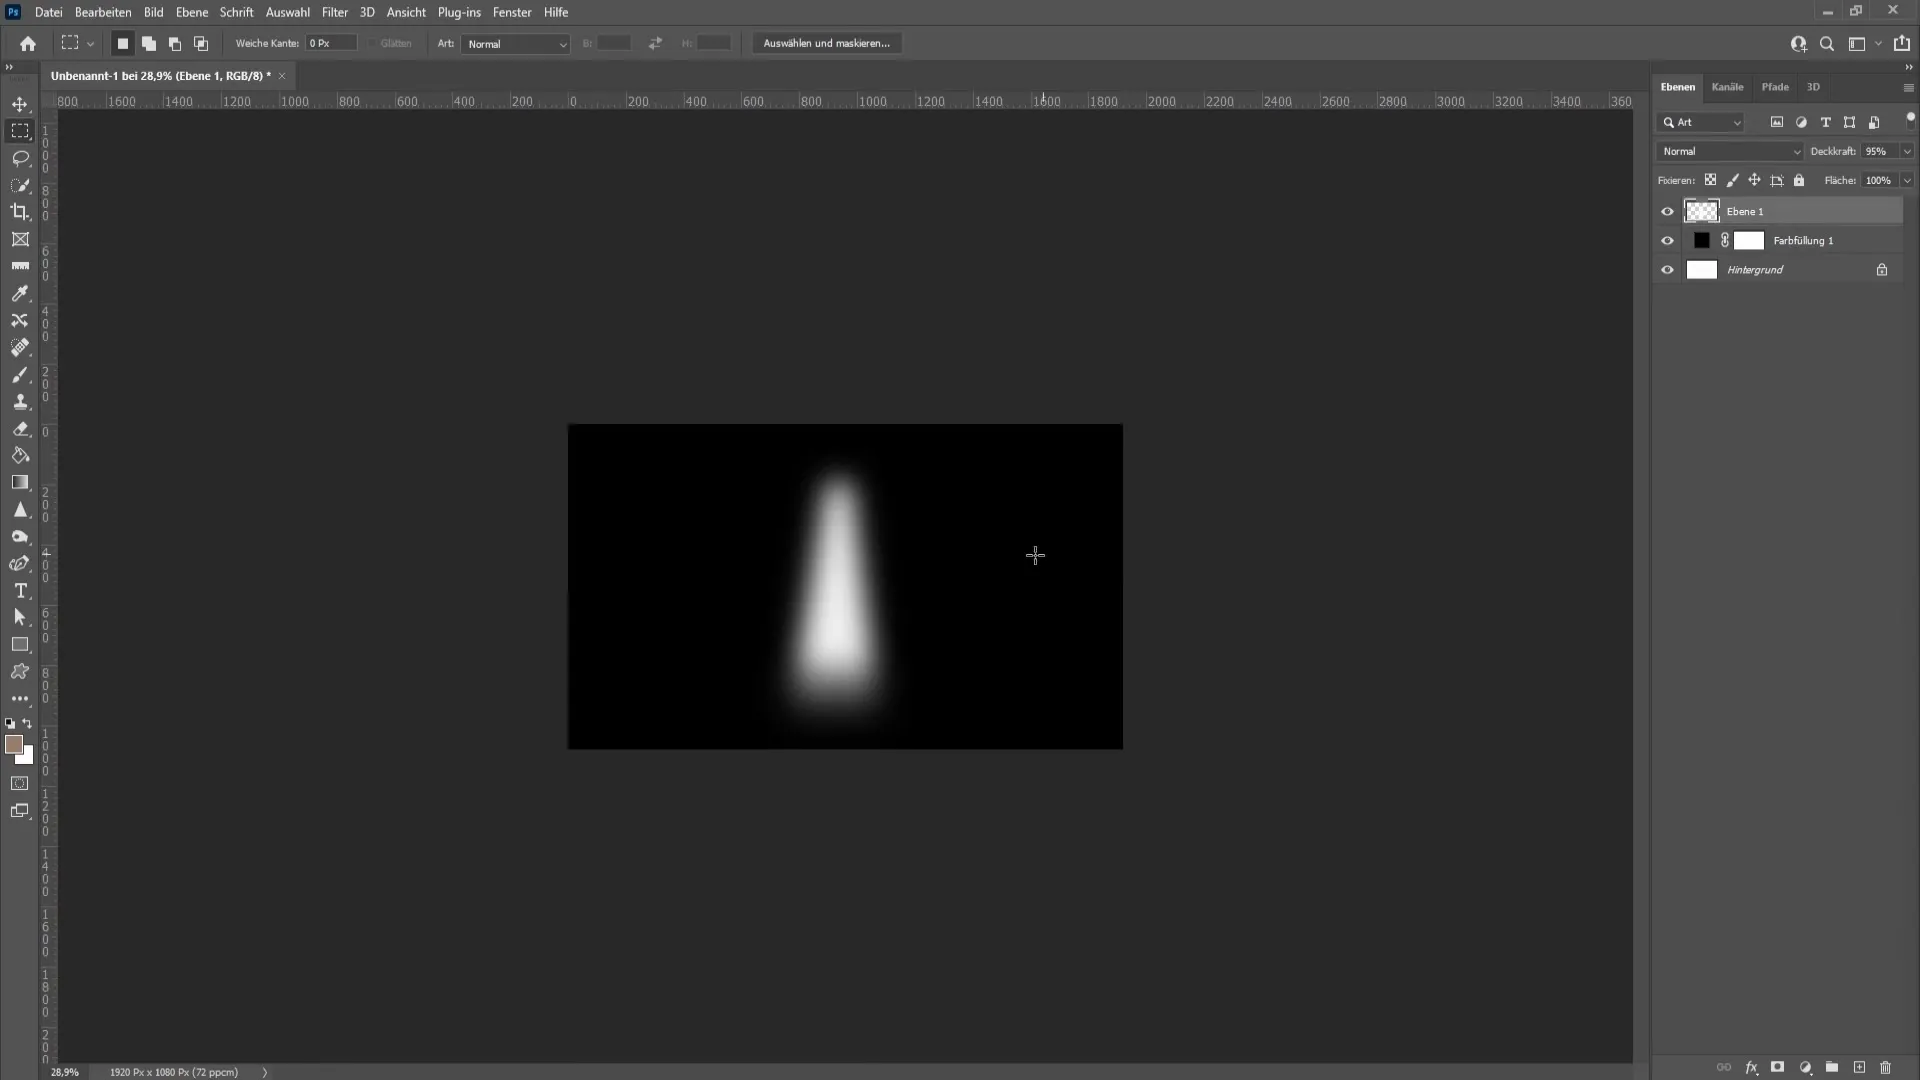
If the light is still too bright, I recommend further reducing the opacity. A value of 86 works well for me here.
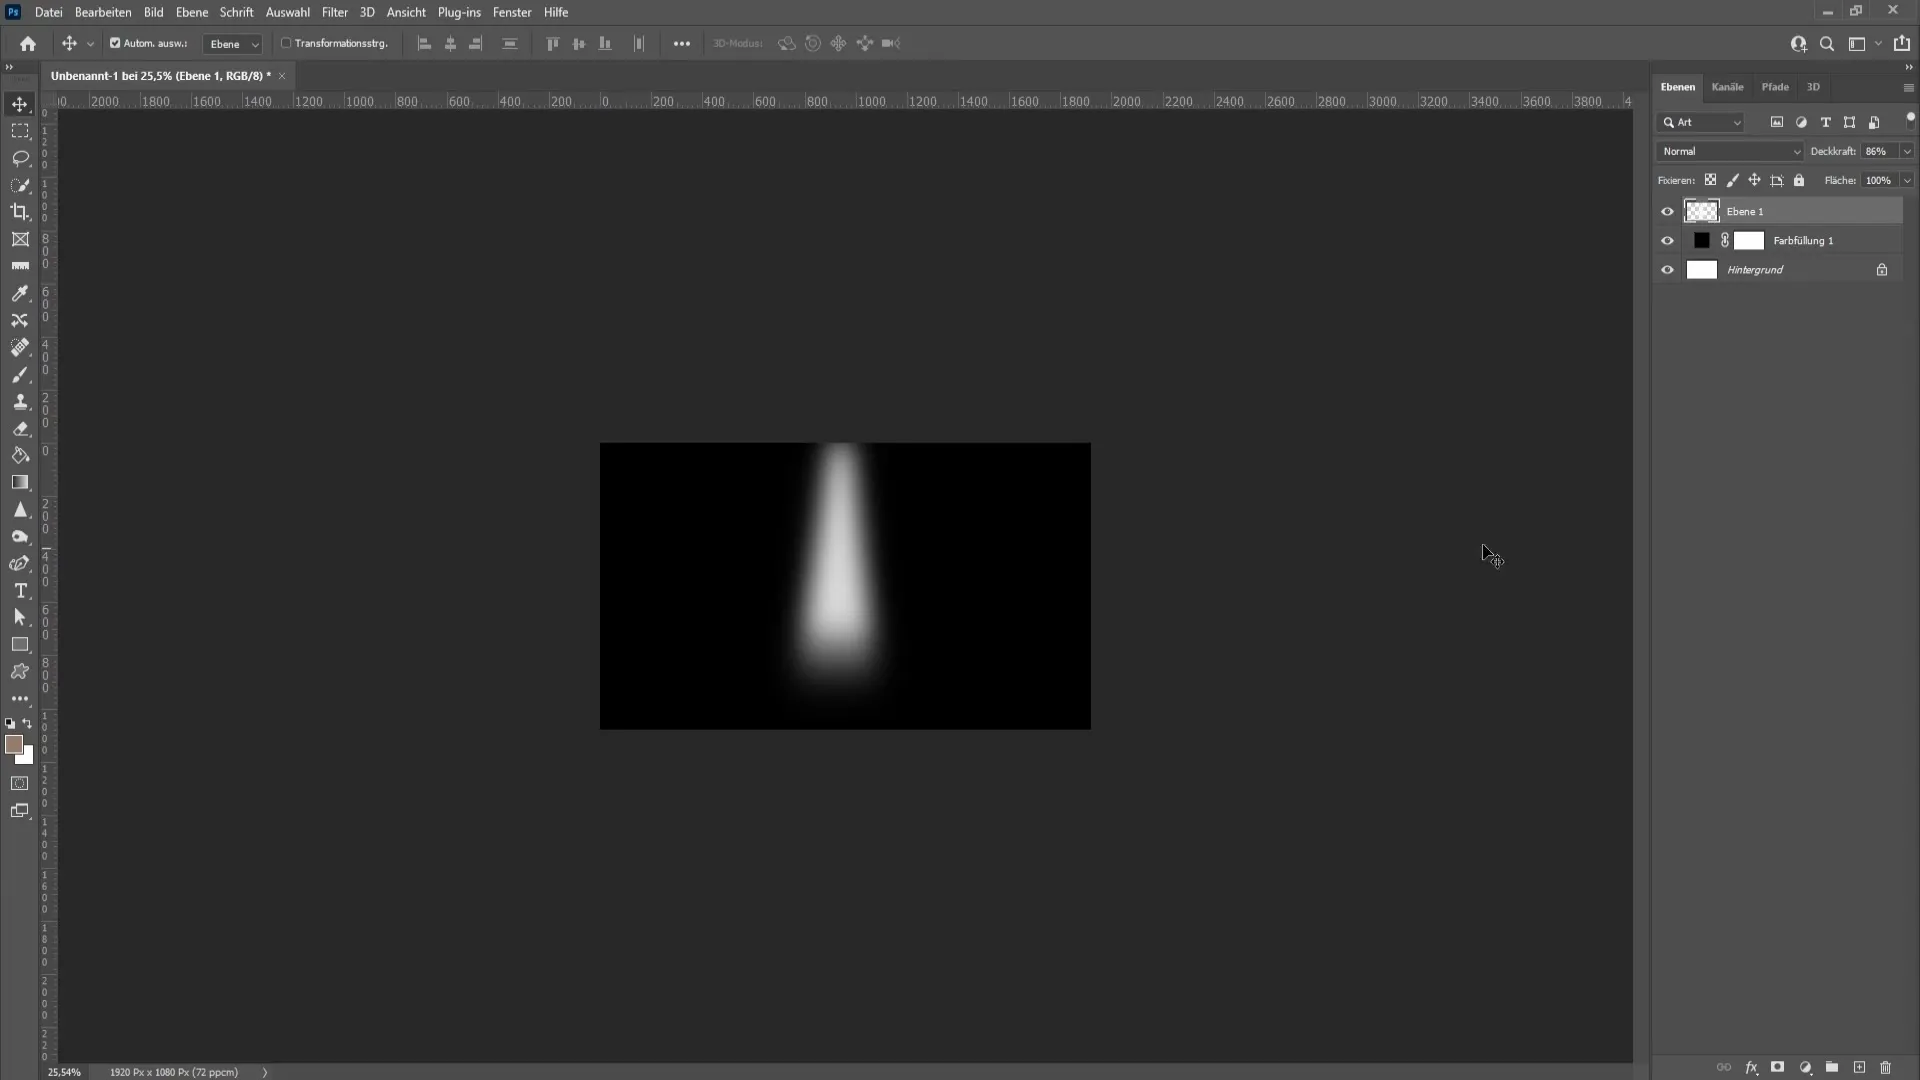
To create multiple spotlights, duplicate the layer using the "Ctrl + J" shortcut. Drag the duplicate to the desired position while holding down the Shift key to obtain a precise angle of 30°.
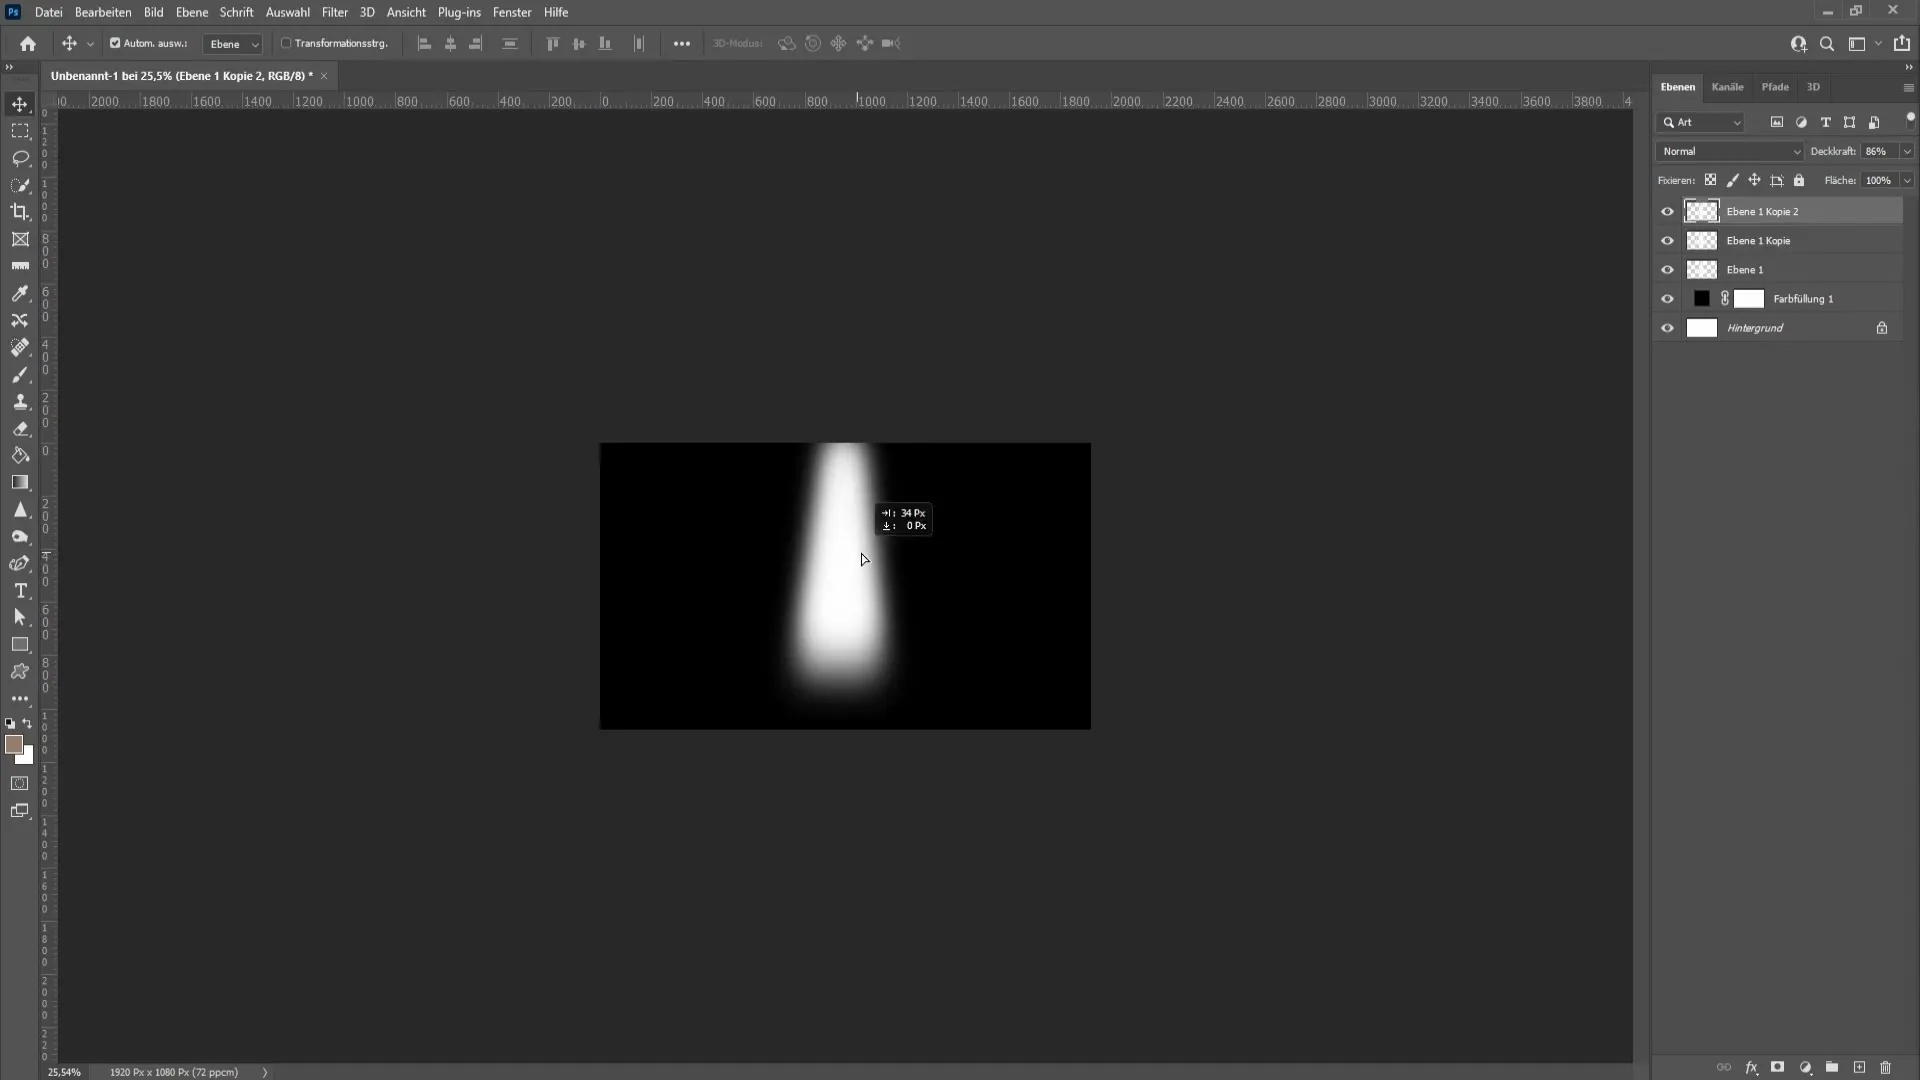
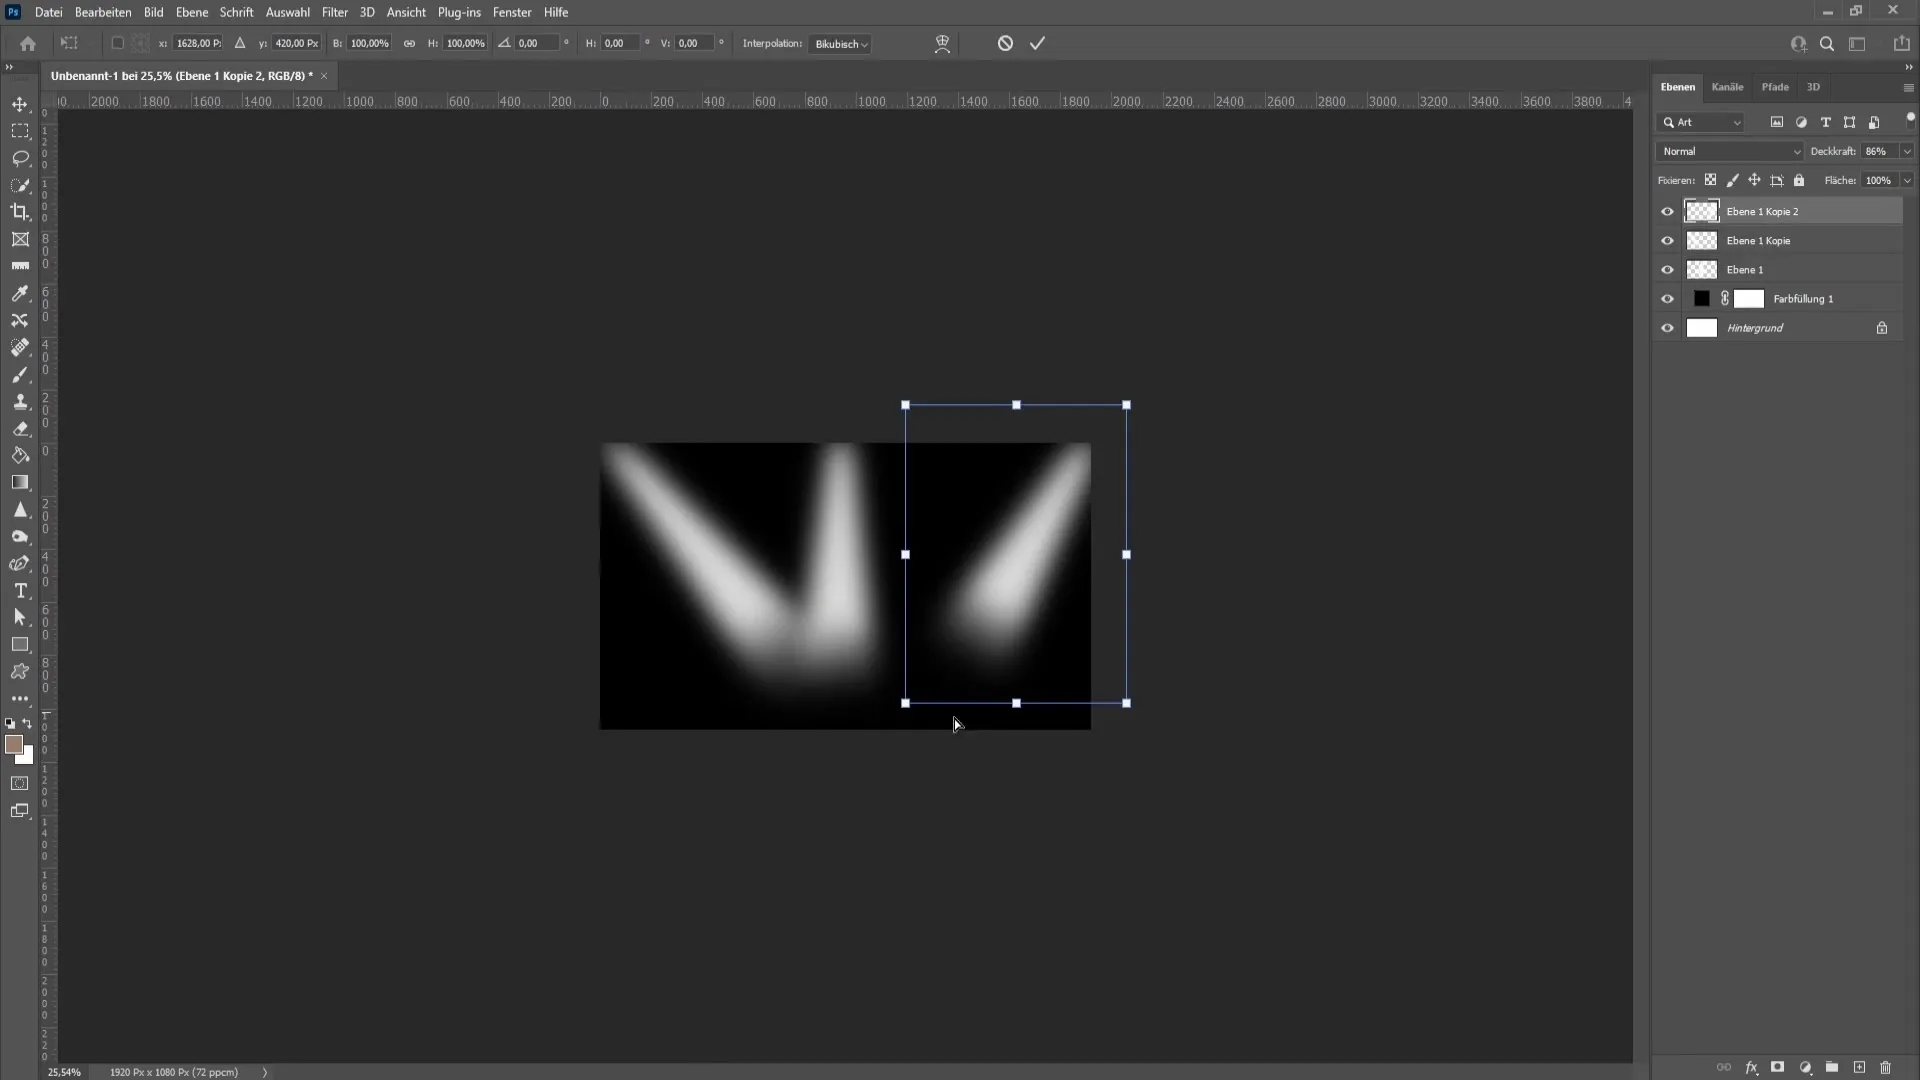
For the other spotlight, you can simply reverse these steps. Drag it to the other side and adjust it carefully.
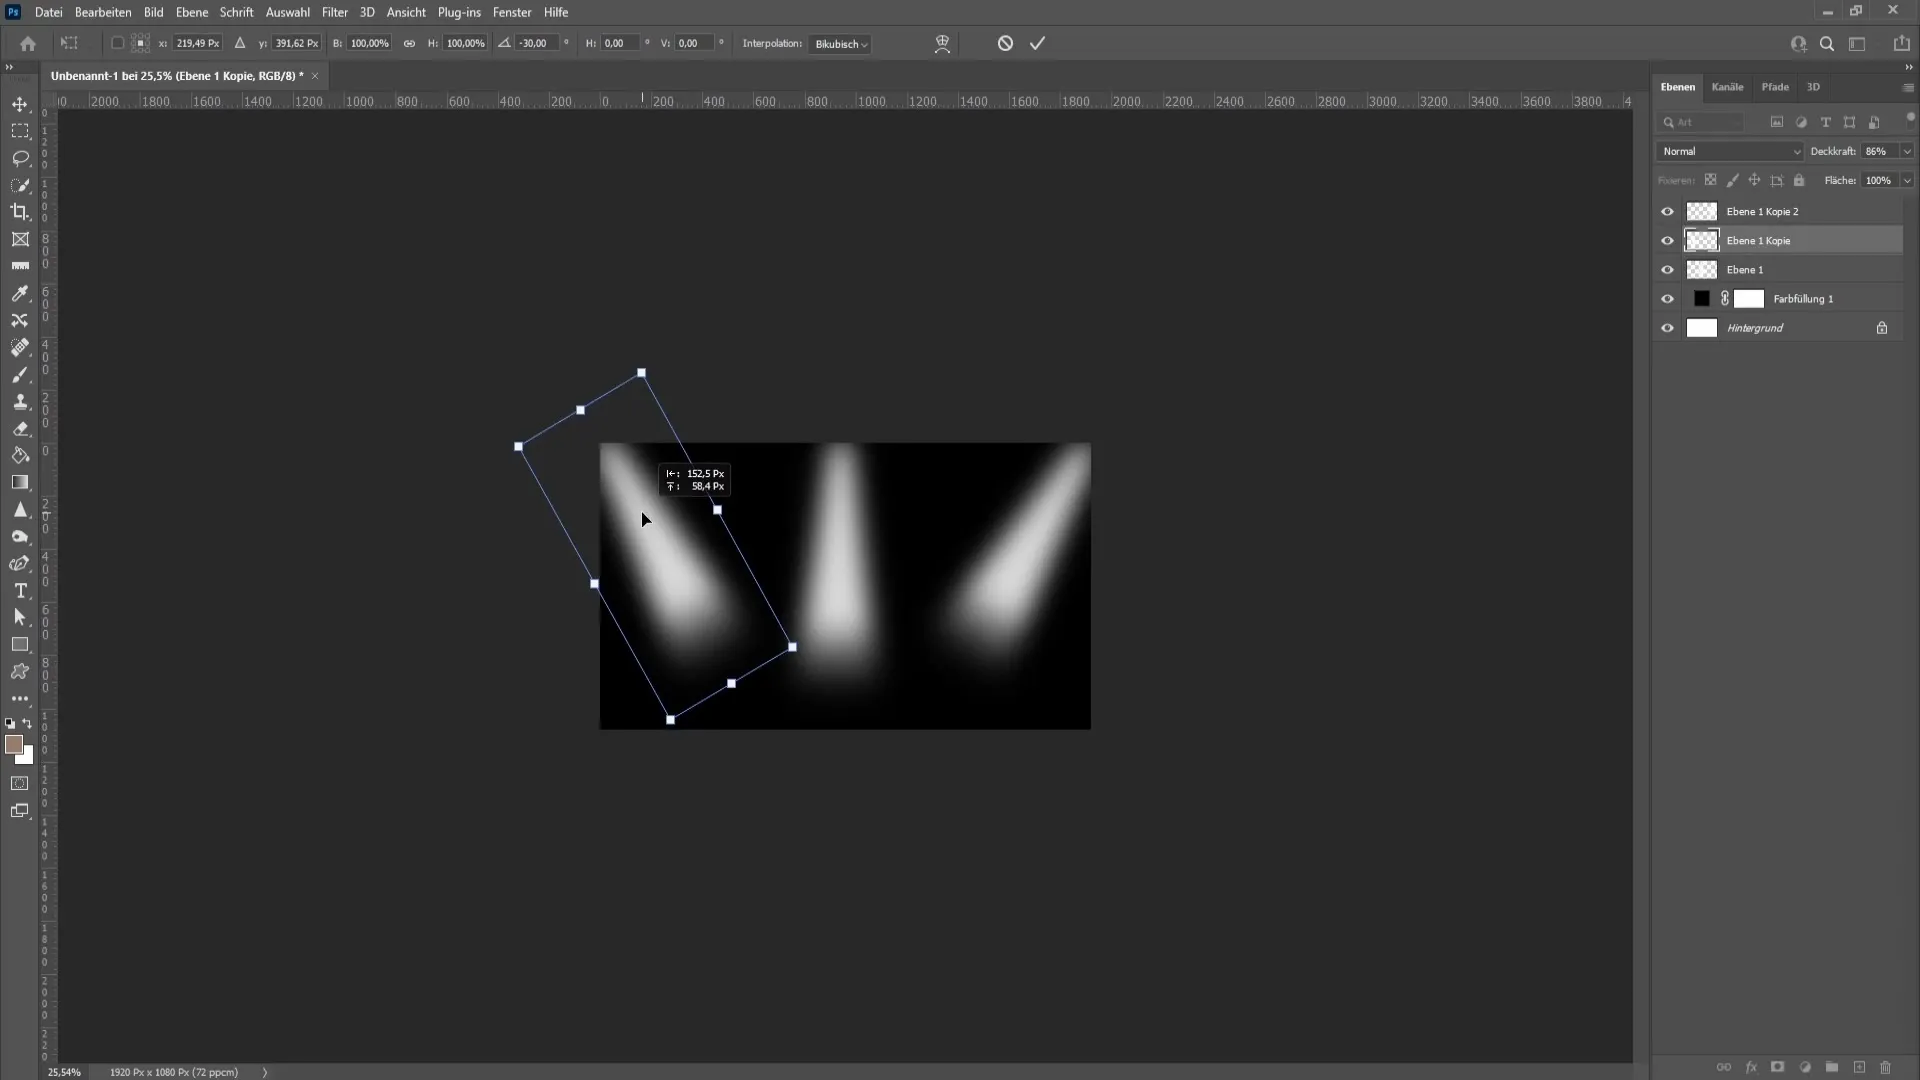
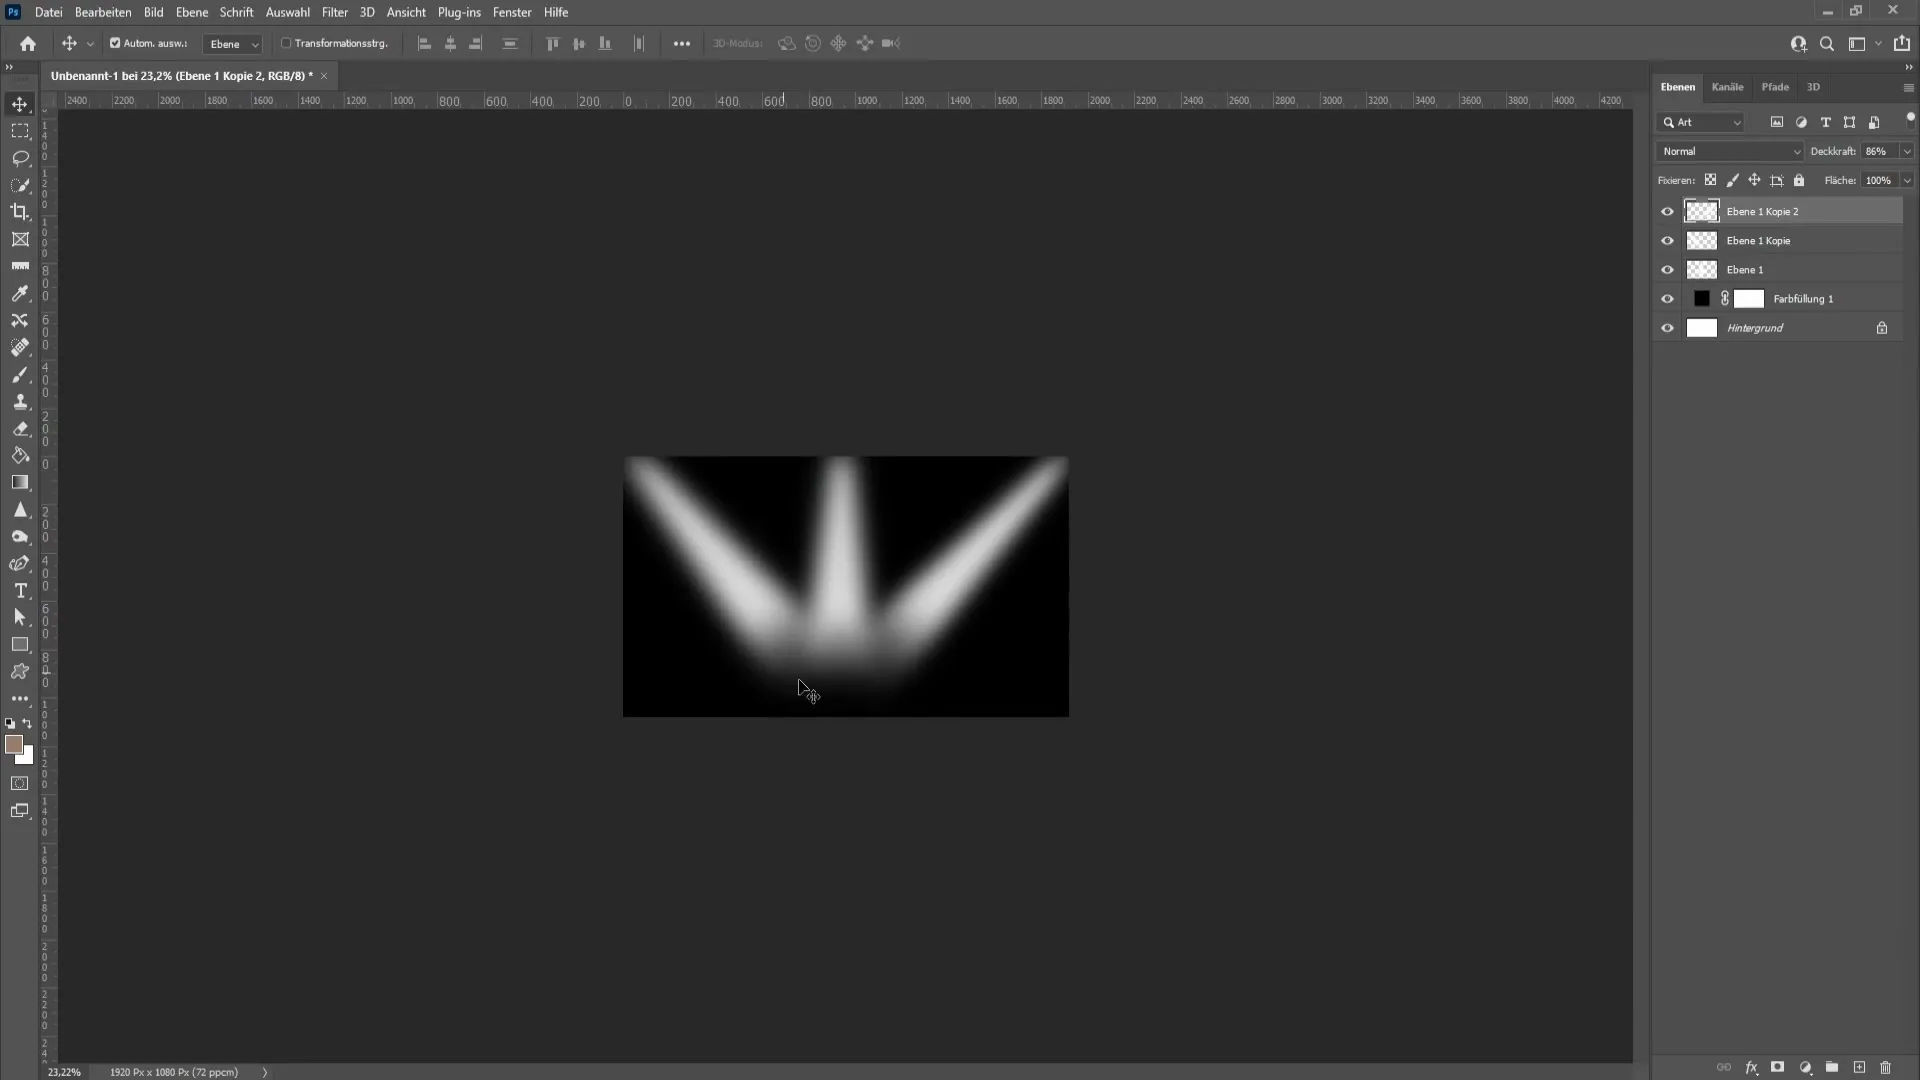
Now let's readjust the cone to ensure everything is well aligned. Ctrl + T will help you with this. Make sure the cone is properly centered.
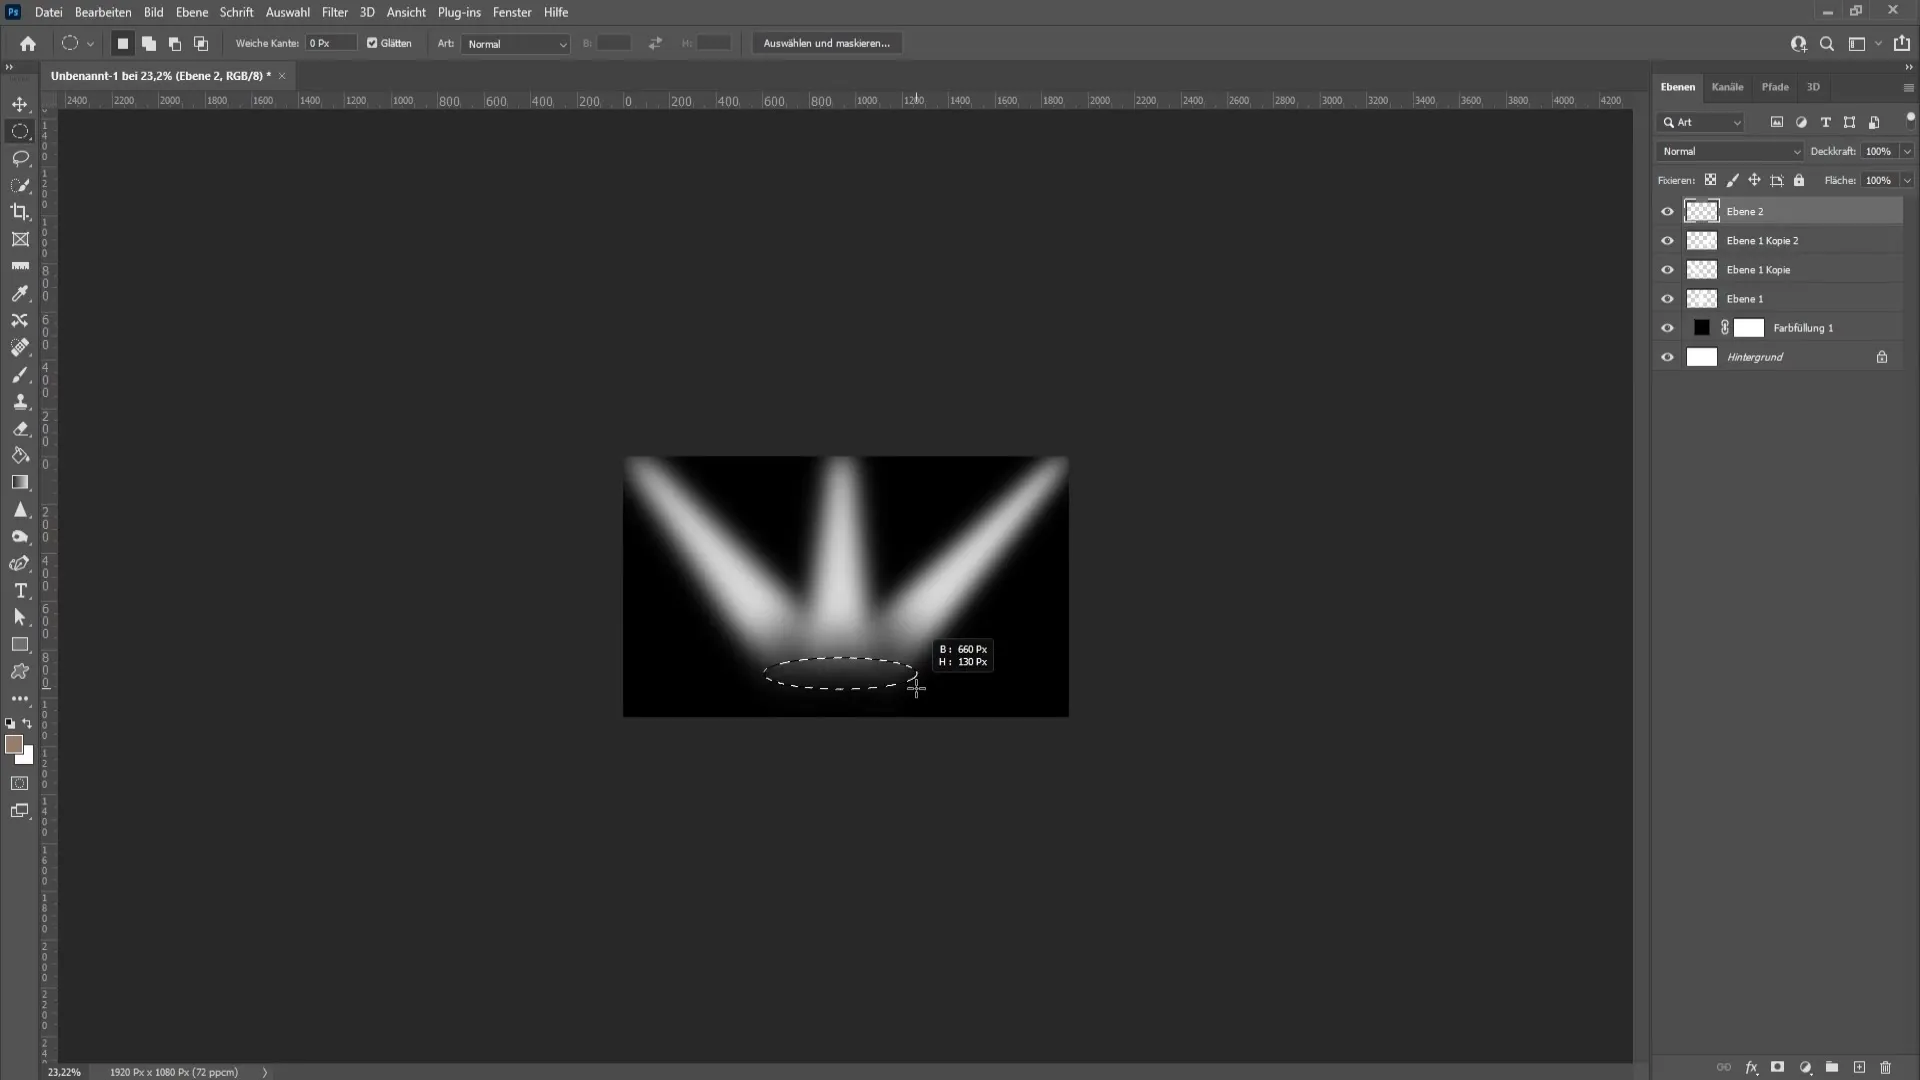
Next, we will add a circle to complete the light. Select the ellipse selection tool again. Create a new layer and roughly draw the circle. It's okay if it's not perfect as we can adjust it later.
Right-click on the new layer and choose "Fill Layer" again to set the color to white. If needed, you can deselect by using "Ctrl + D". Roughly place the circle in the desired position.
Now we will blur the circle using the Gaussian Blur to achieve a harmonious light overlay. Increase the values, but adjust them so that the circle does not appear too diffuse.
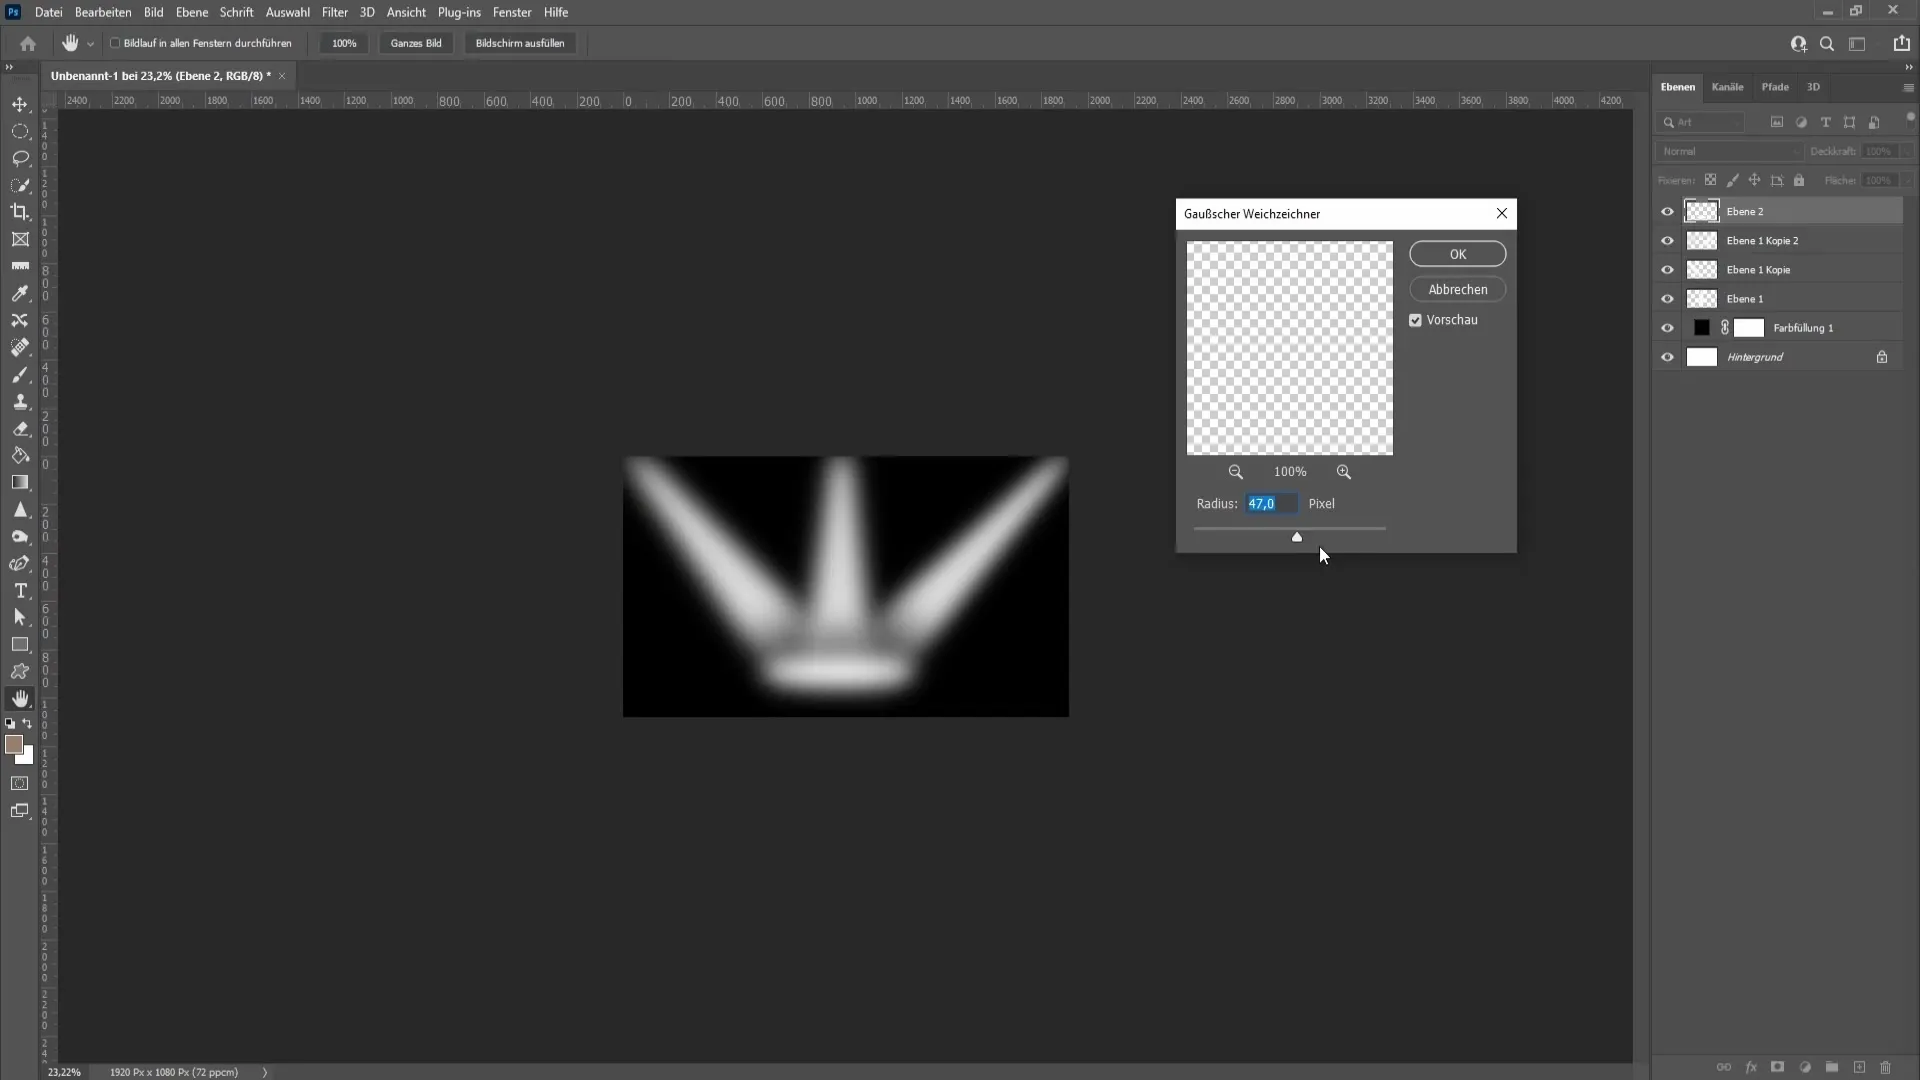
Play with the opacity to further adjust the effect. This way, you can find the perfect look for each light layer.
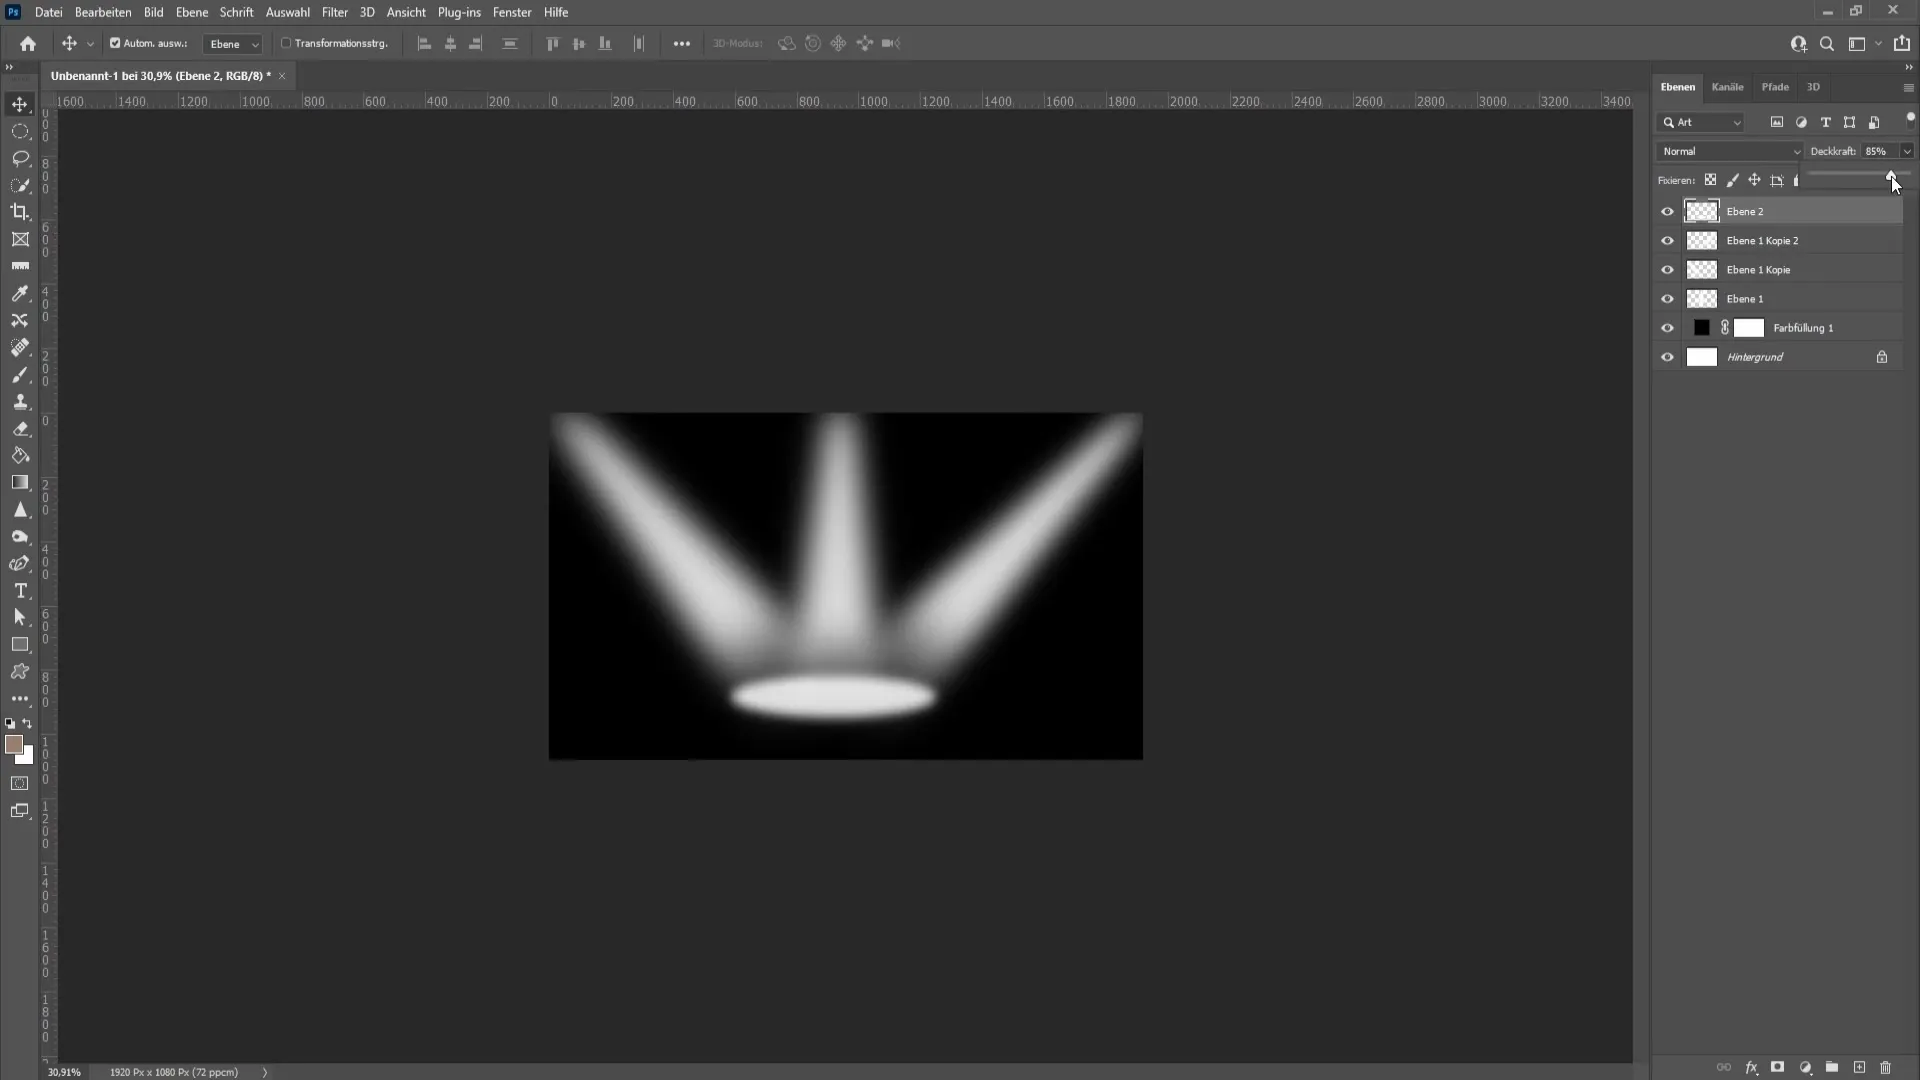
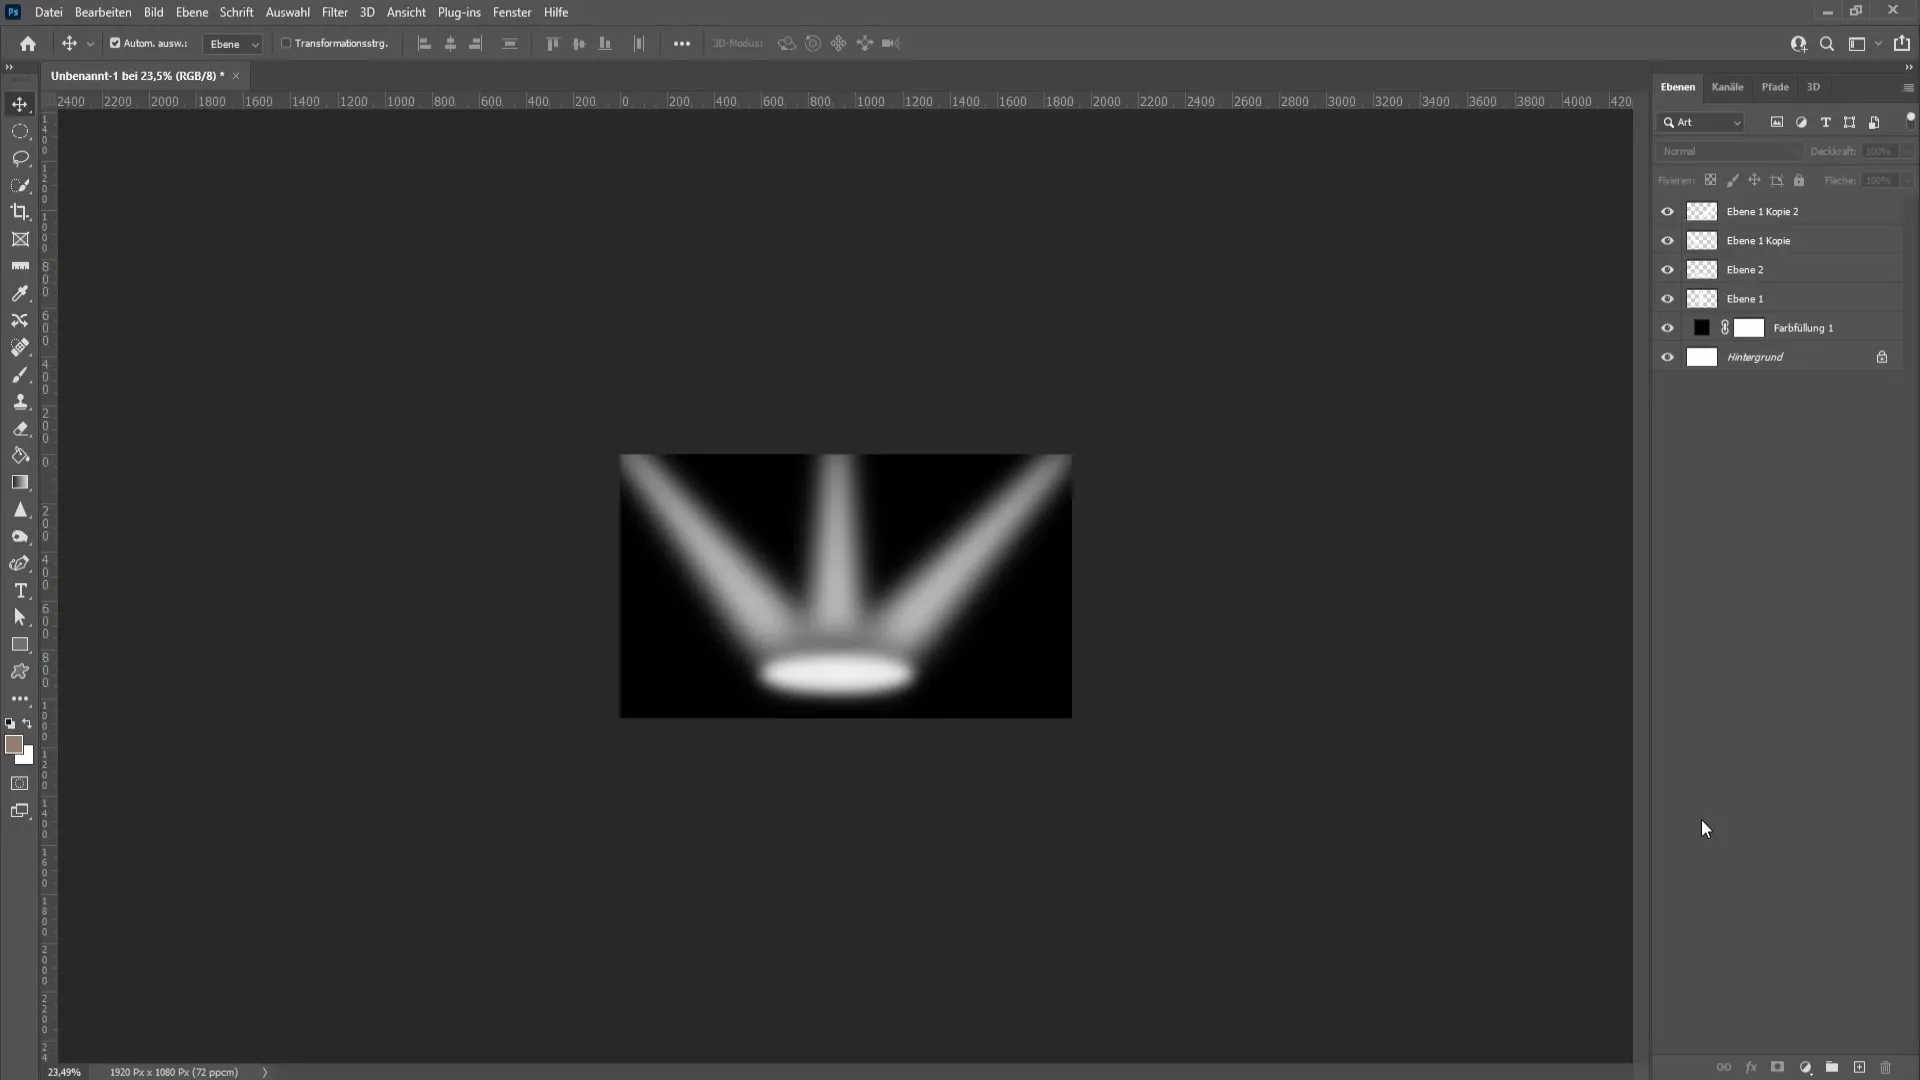
By following these steps, you have successfully created a spotlight in Photoshop. Feel free to experiment with positions and values to achieve the ideal result for your designs.
Summary
In this guide, you have learned how to create an impactful spotlight effect in Photoshop. Utilizing filters and manipulating shapes are crucial techniques for achieving impressive visual effects.
Frequently Asked Questions
How do I save my Photoshop file?Save your work through "File" > "Save As" and choose the desired format.
Can I further adjust the effect?Yes, use opacity, transformations, and various filters to further modify the light.
Can I use other colors as well?Yes, you can select any colors to achieve different light effects.
Are these techniques applicable to other designs?Absolutely! High-quality light and shadow effects are useful in many types of designs.


