In this tutorial, I will show you how to create realistic snow in Photoshop. This technique is perfect for enhancing wintry images and giving them a special charm. Simply follow the individual steps to create an effective snow overlay that will make your images shine.
Key Insights
- Use layers: Work with multiple snow layers to create depth and realism.
- Filters and effects: Use the noise filter, blur tool, and filter gallery for the best efficiency.
- Color adjustments: Targeted color correction gives the image a more wintry atmosphere.
Step-by-Step Guide
First, open Photoshop and prepare the image to which you want to add snow.
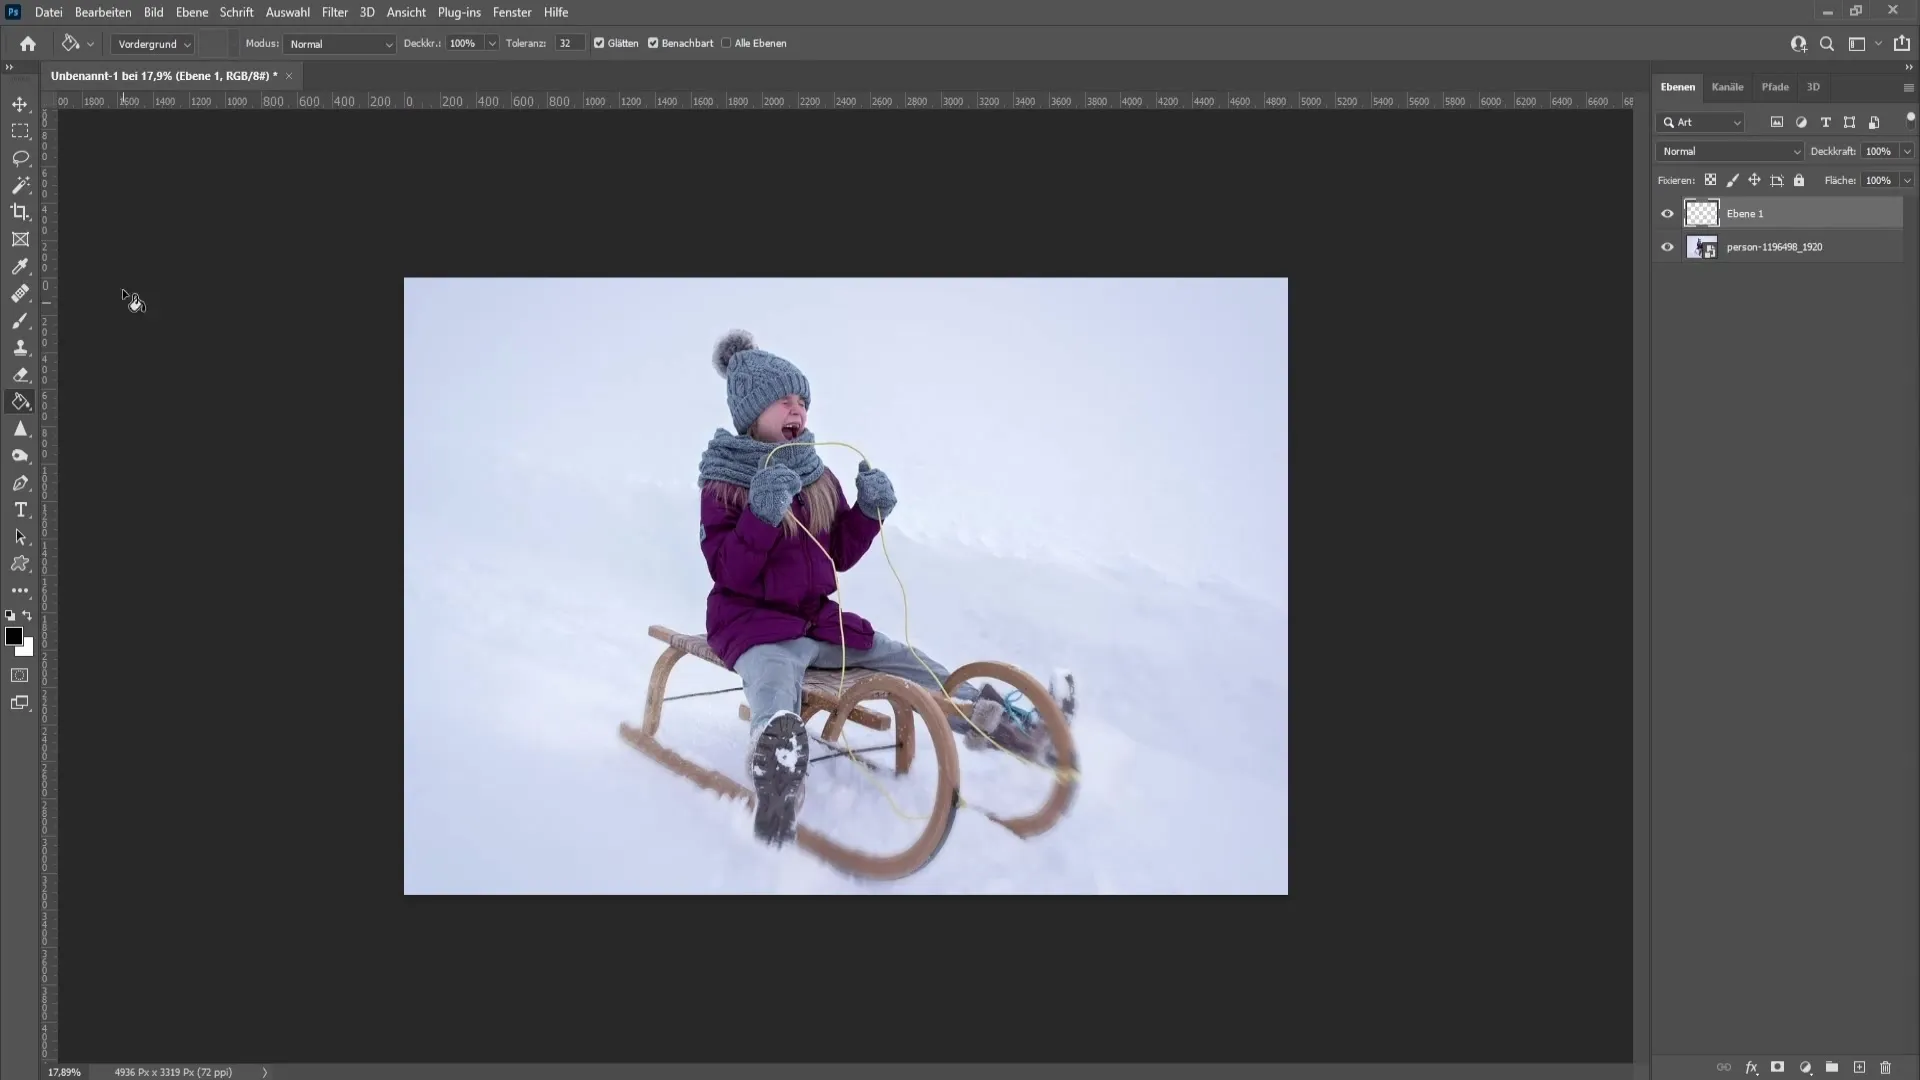
Now create a new blank layer. You can do this by right-clicking in the Layers panel and selecting "New Layer".
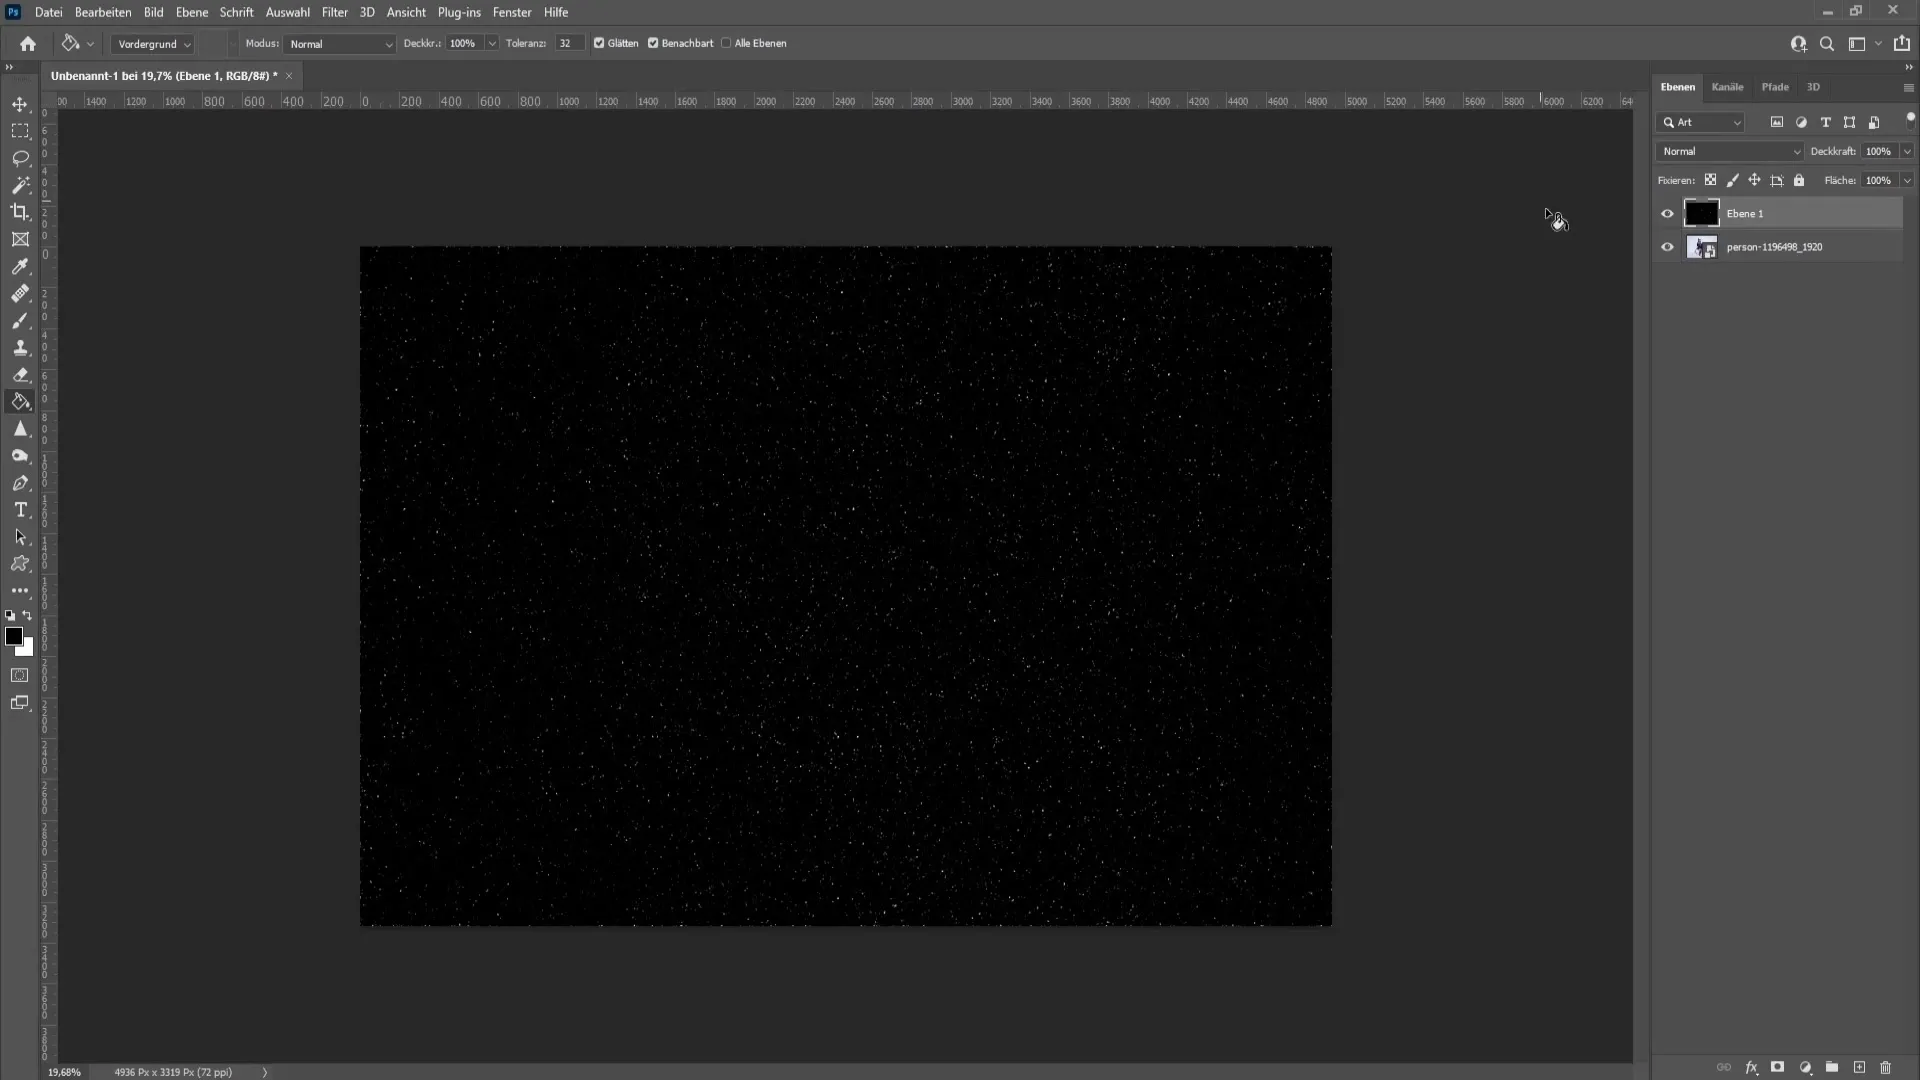
Fill the new layer with a black foreground color. To do this, select the Fill tool and click once in the empty layer to fill it.
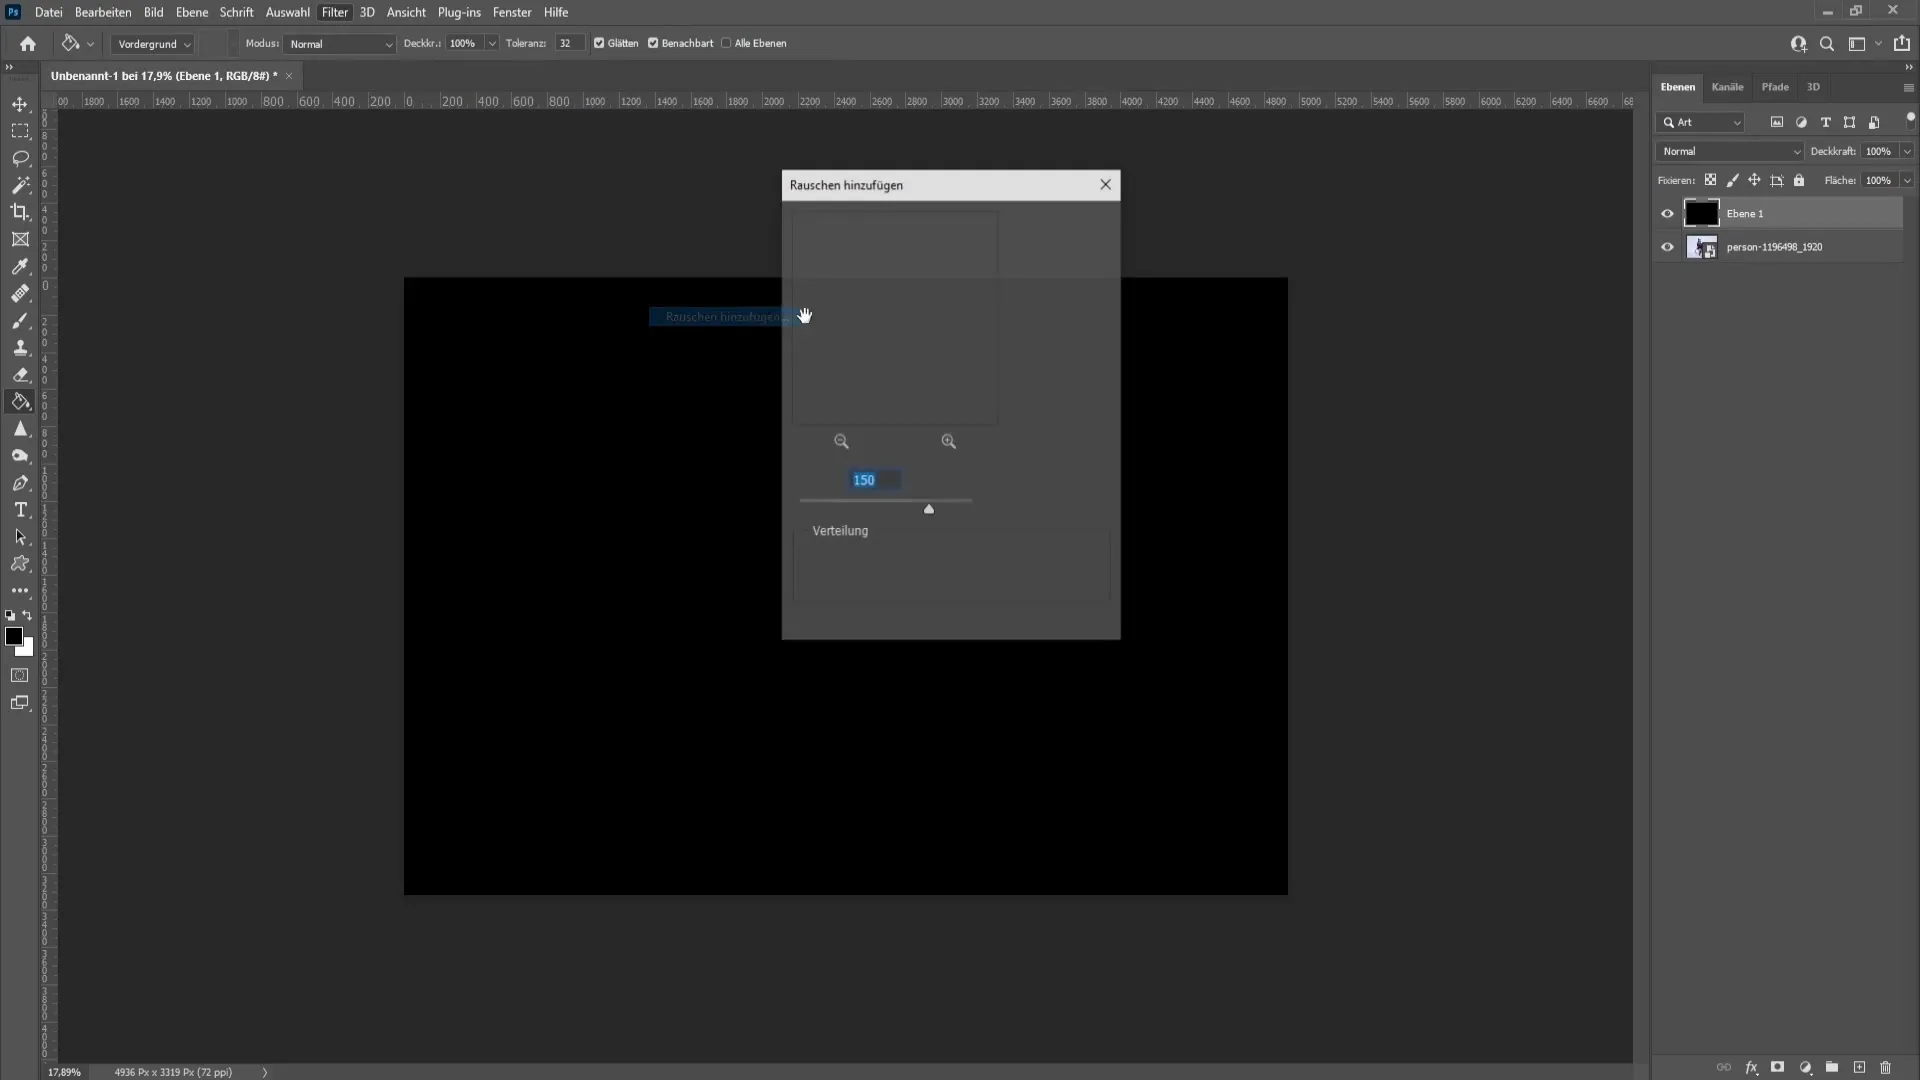
Now go to the "Filter" menu and select "Noise Filter". Click on "Add Noise" there. Set the value to about 150% and make sure to activate the "Monochromatic" option.
After adding the noise, go back to the "Filter" menu and choose the "Filter Gallery". Click on "Paint Daubs".
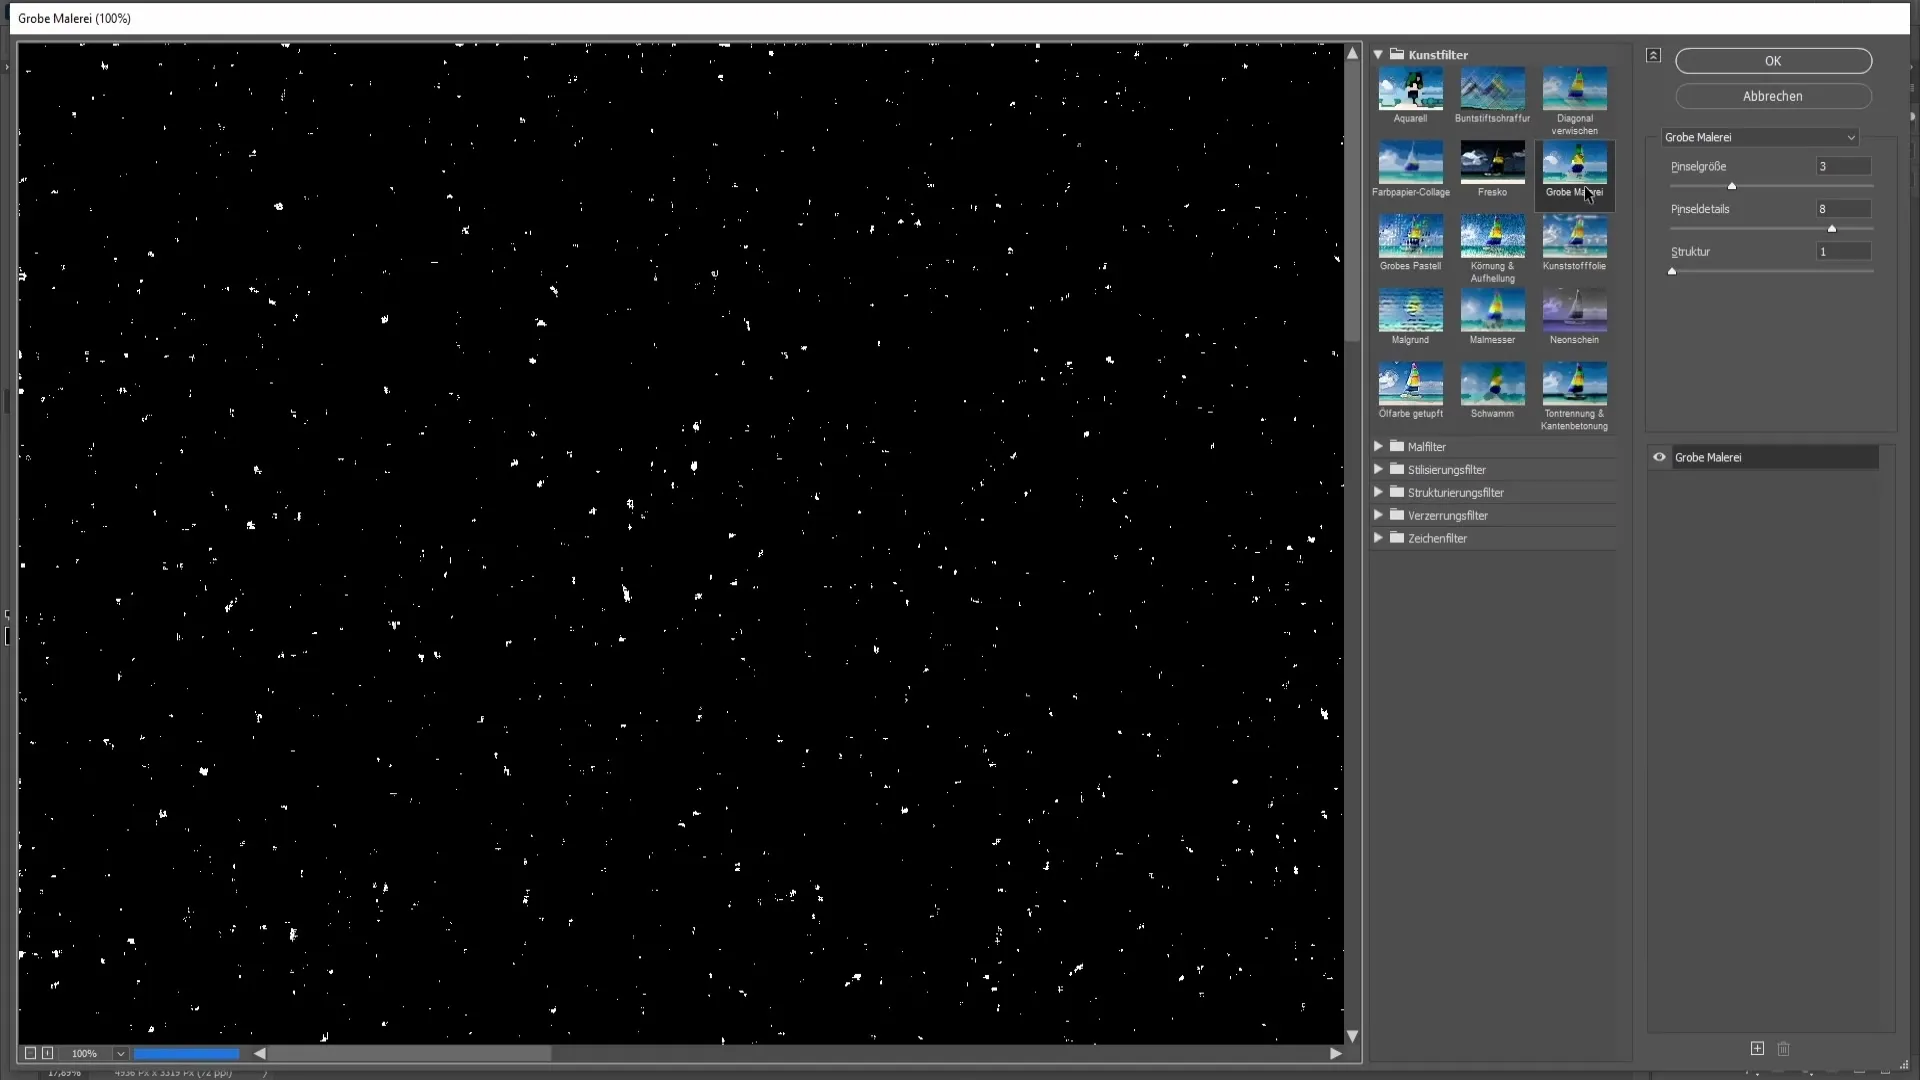
To adjust the amount of snow, adjust the brush size. For a moderate snow effect, I recommend a brush size of 2 or 3. If you want more snow, increase the brush size. In this example, set the brush size to 3.
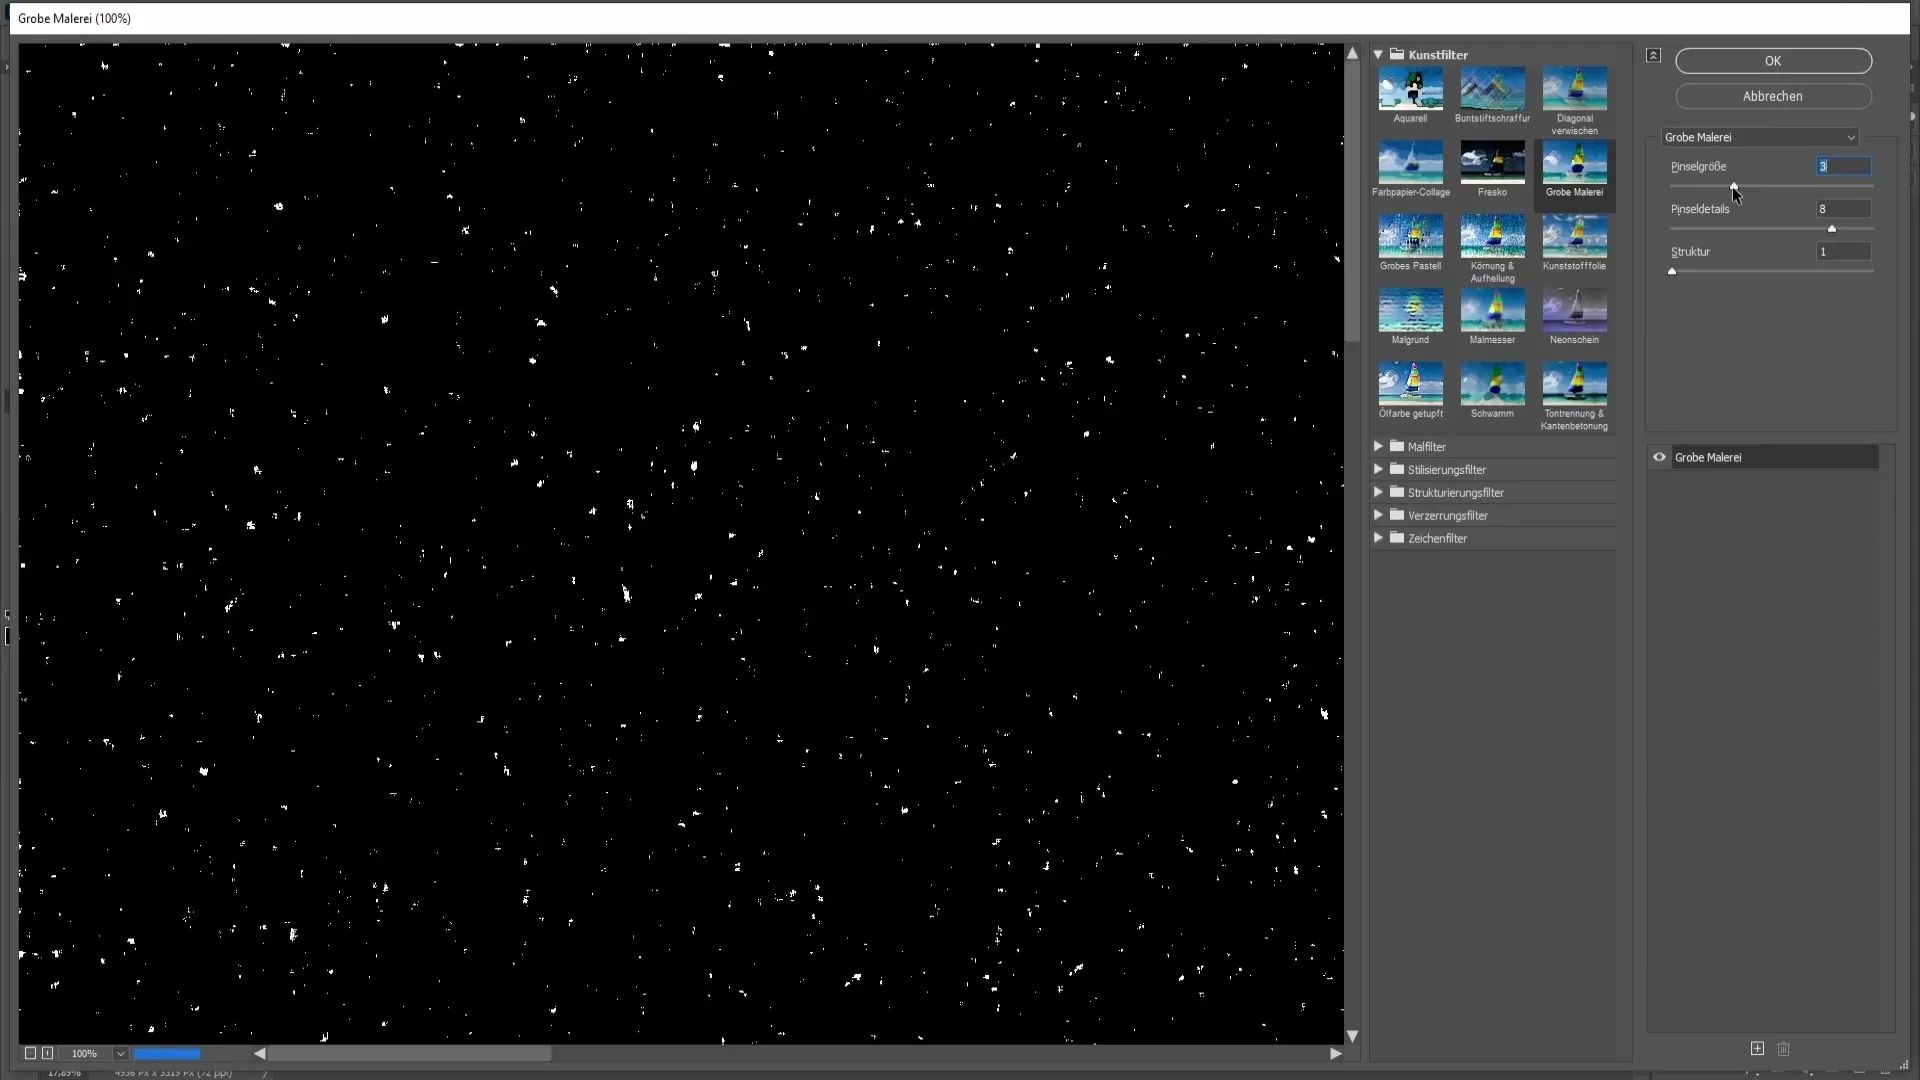
Once you have made the settings, confirm with "OK". Your snow should now be visible.
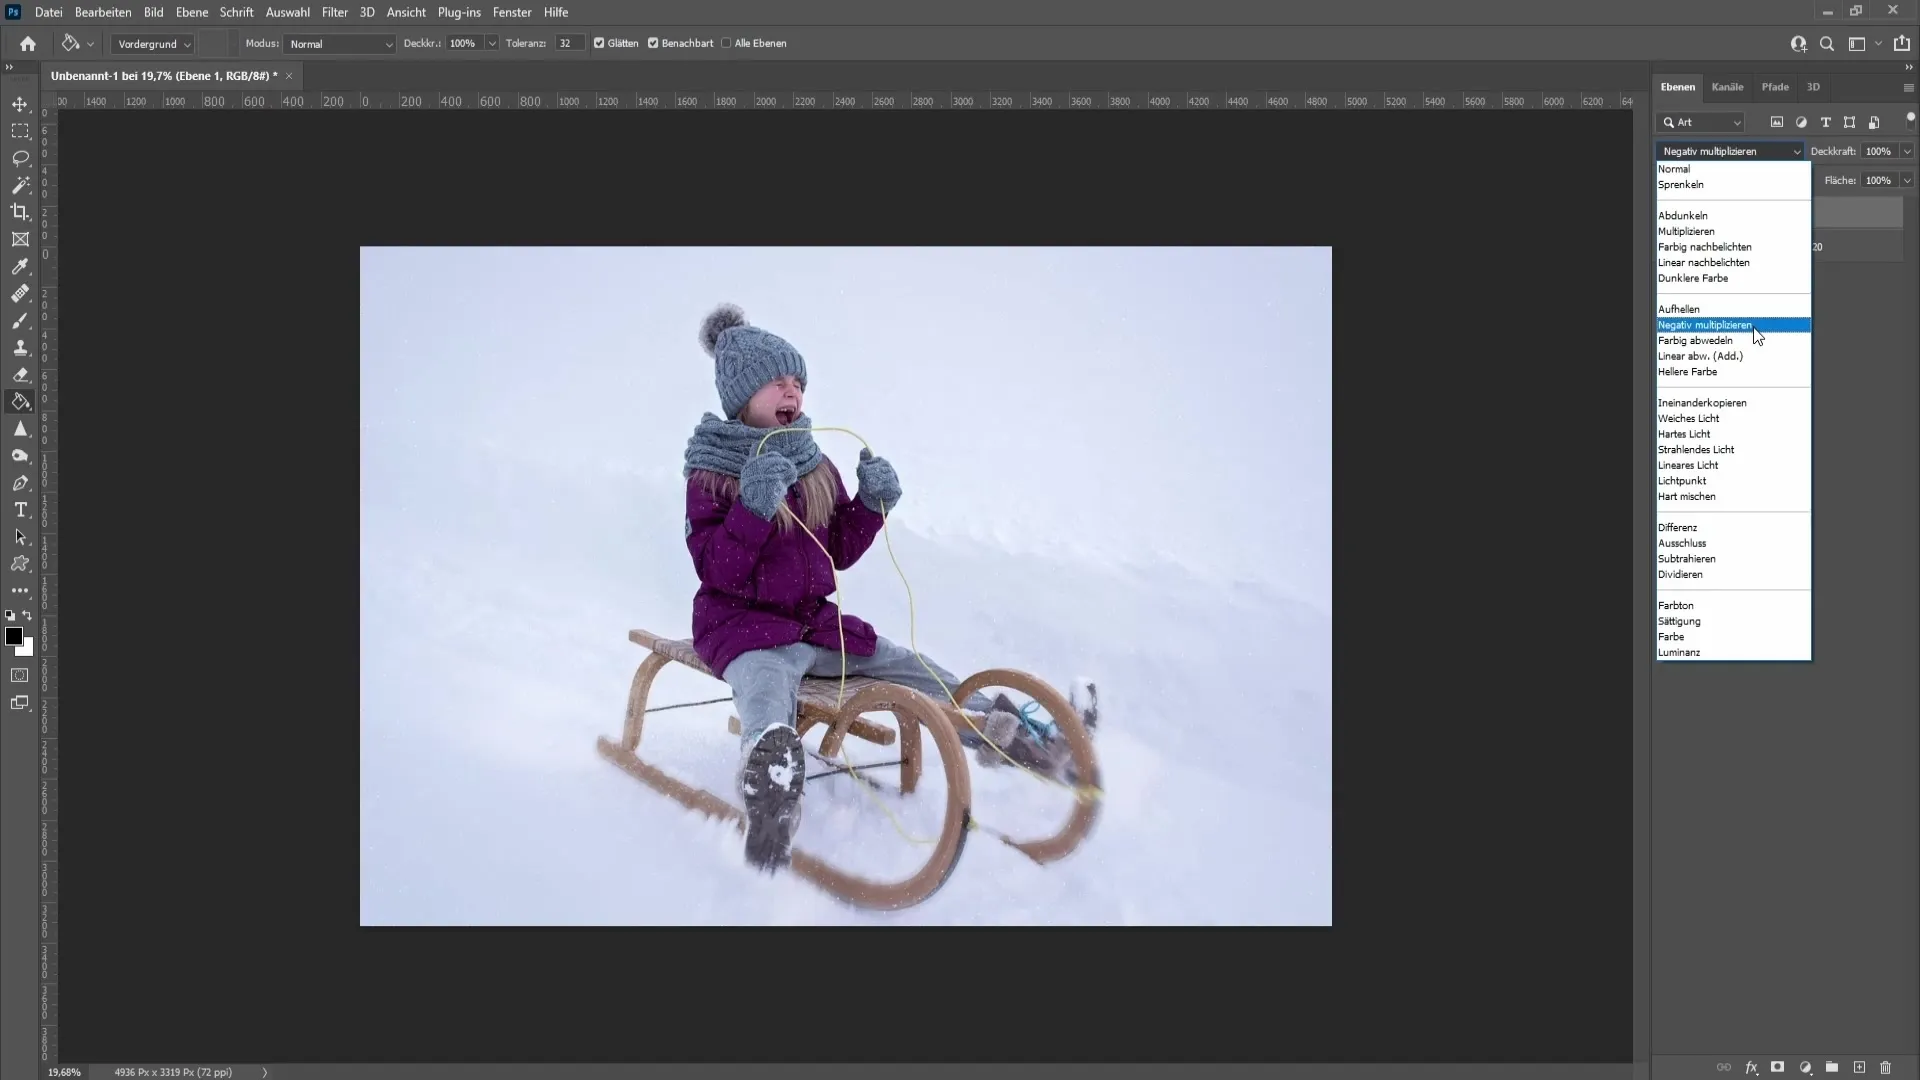
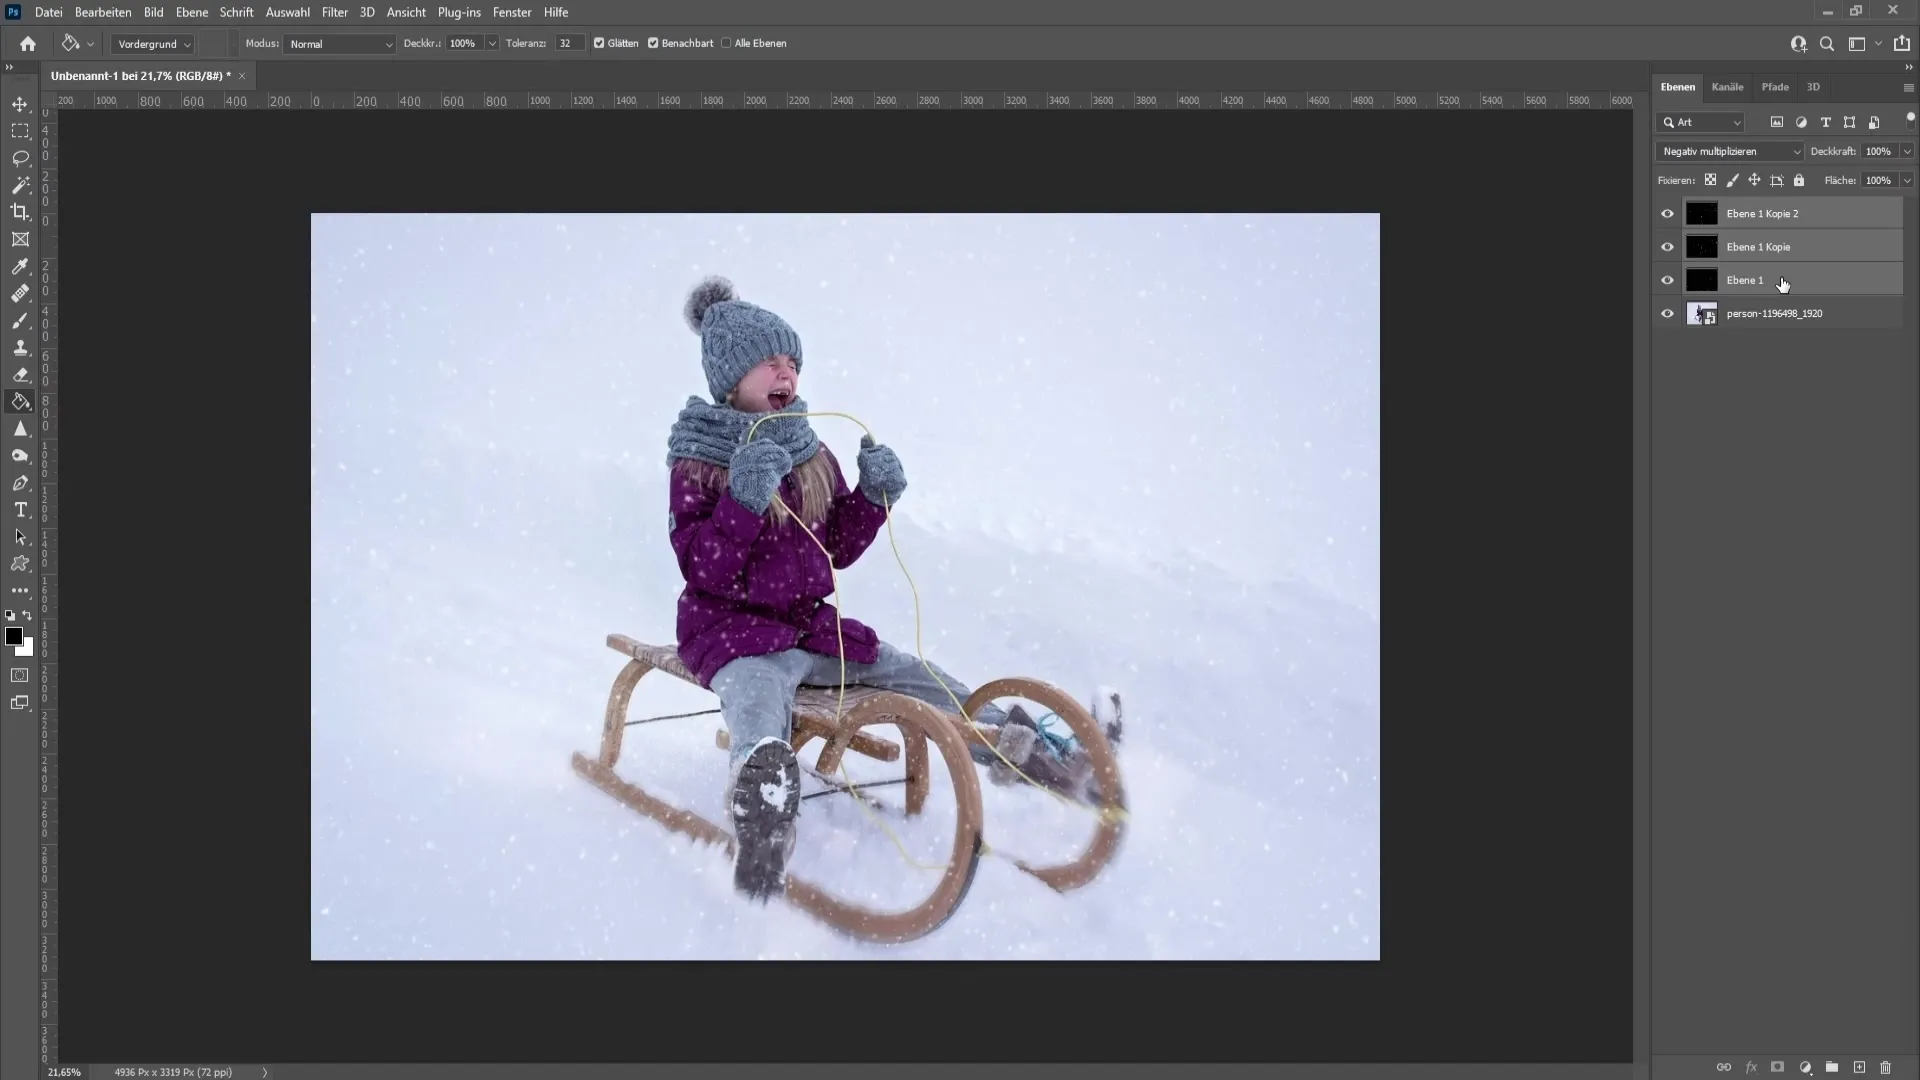
Now you need to change the blending mode of the snow layer. To do this, go to the blending mode option at the top of the Layers panel and choose "Multiply."
To make the snow appear softer, go back to "Filter" and choose "Blur Filter". Set the value to about 1.6 or 1.7 and click "OK".
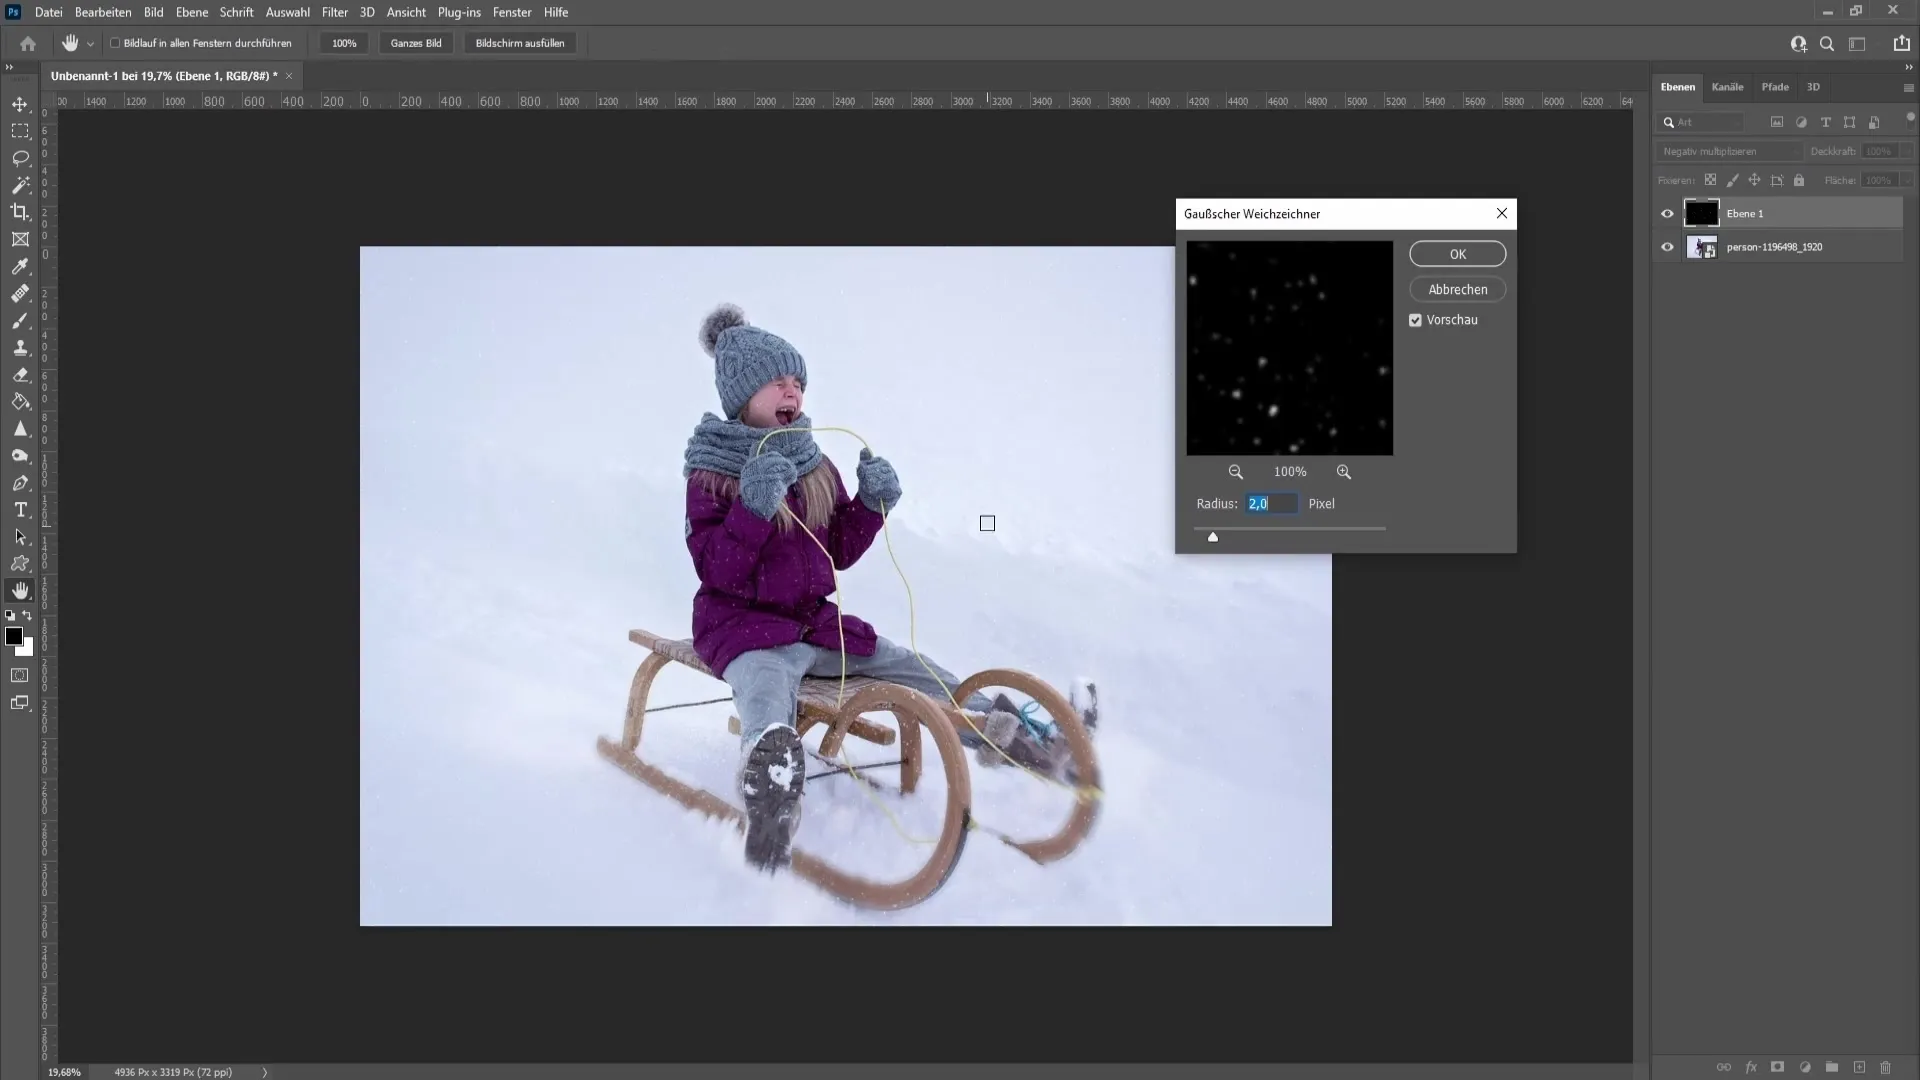
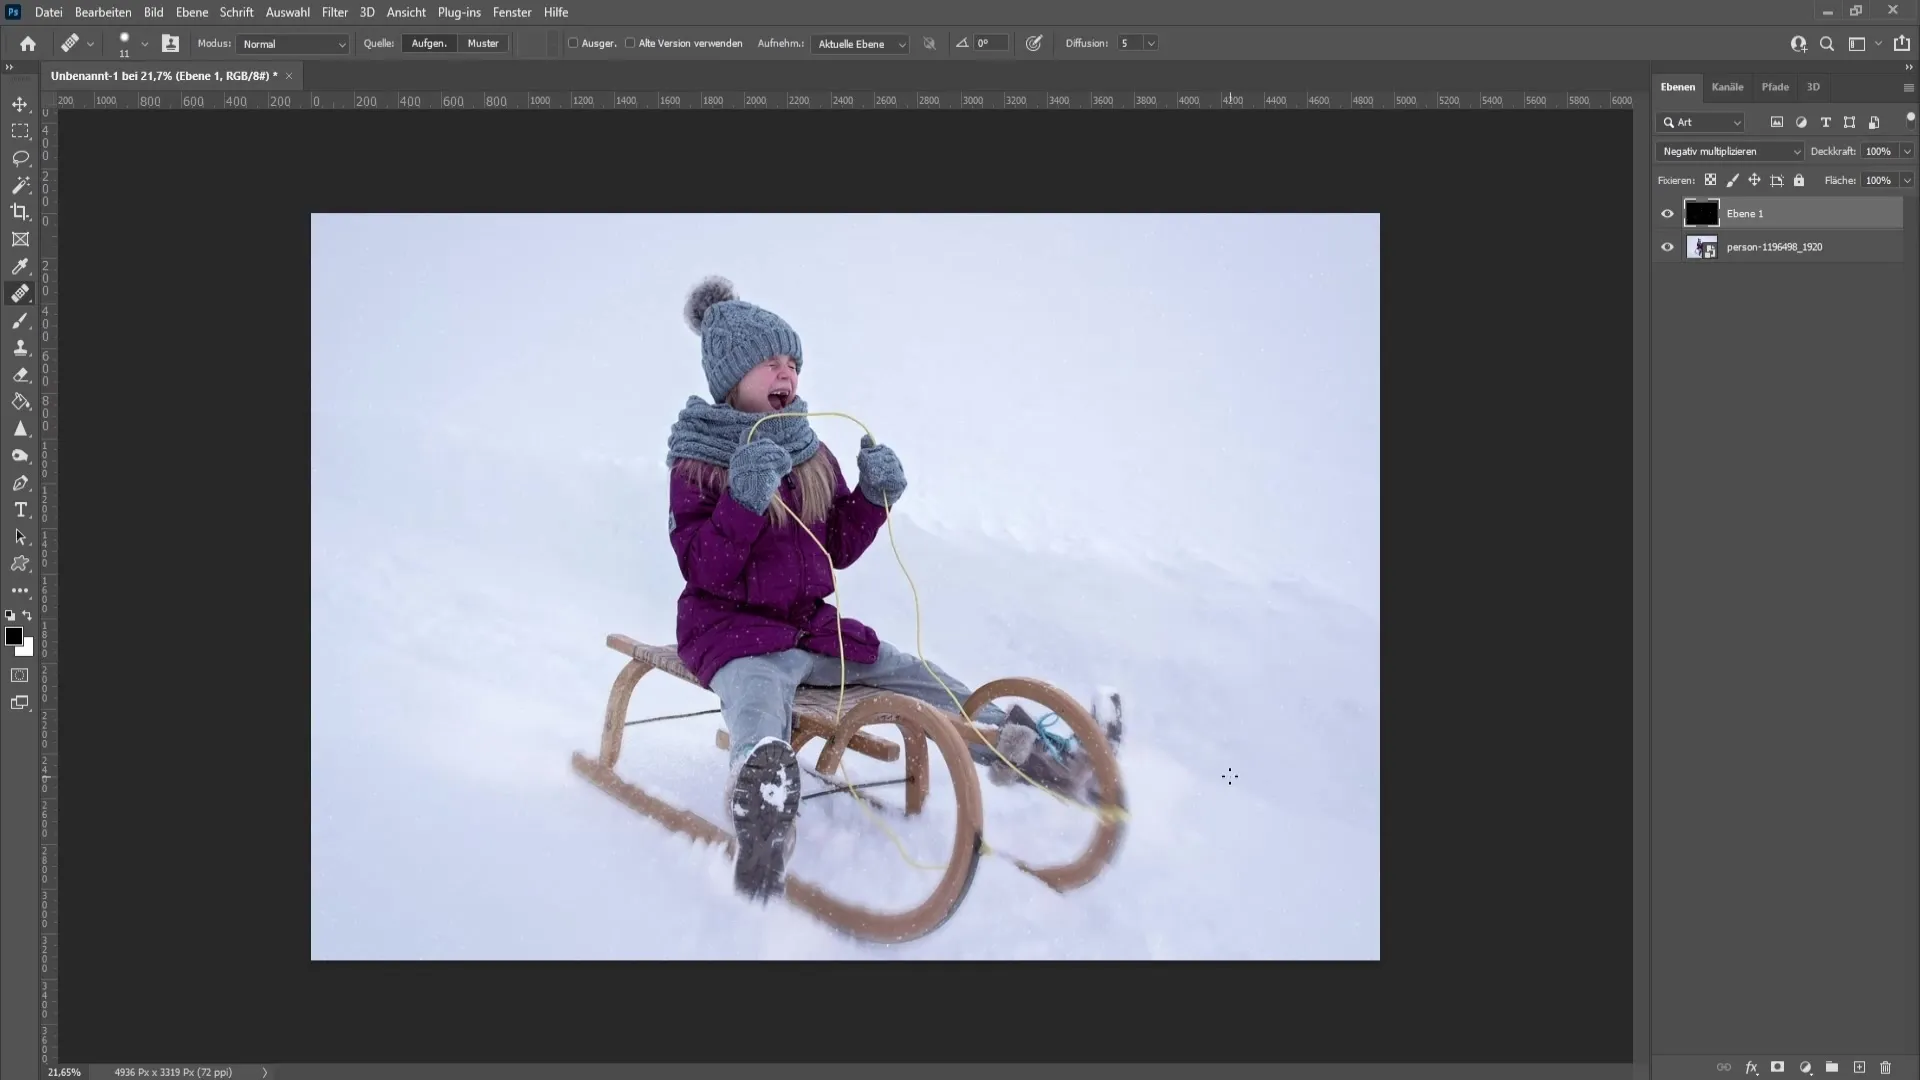
Now add some depth effect to the snow to make it more realistic. Select the snow layer and press Ctrl + J to duplicate the layer.
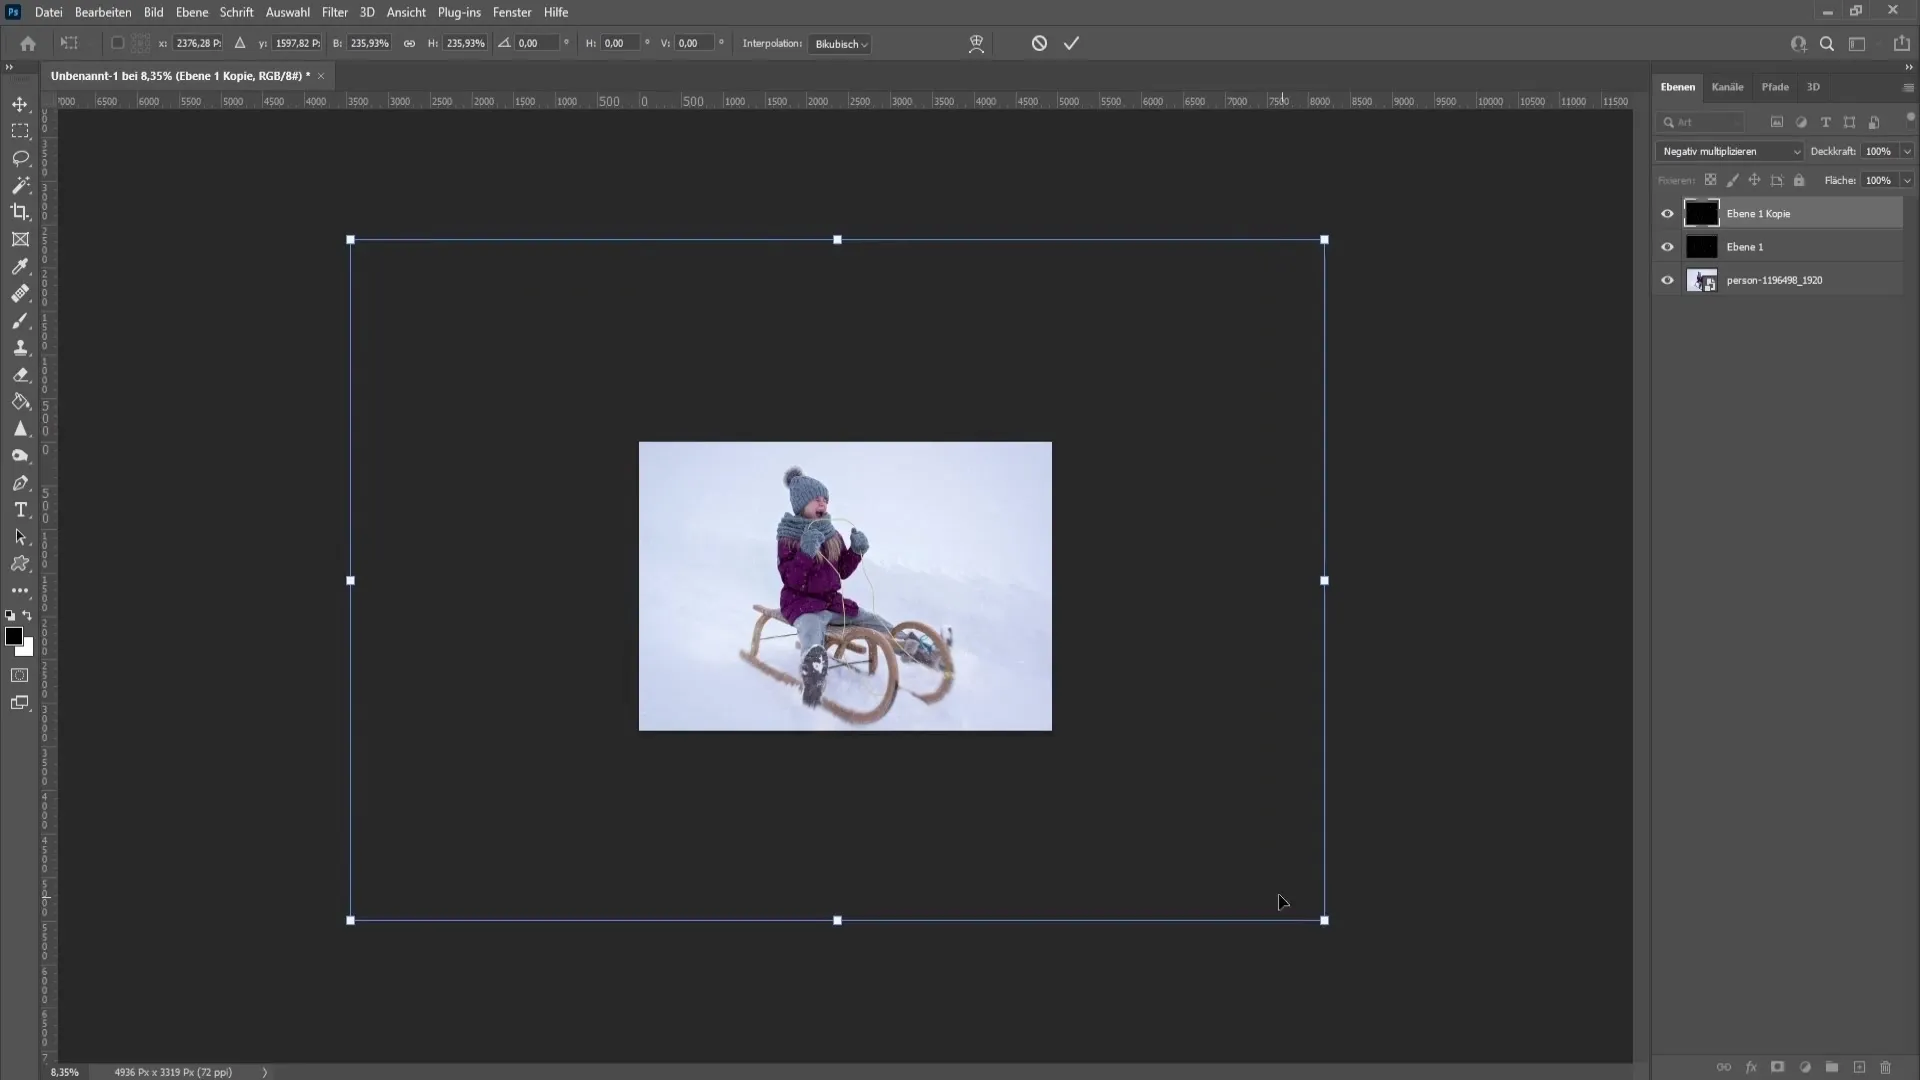
To transform, press Ctrl + T while holding the Shift key to maintain proportions. Scale up the snow layer and confirm with the Enter key.
Repeat the duplication and transformation for another layer effect. Press Ctrl + J again, followed by Ctrl + T, and scale the third layer as needed.
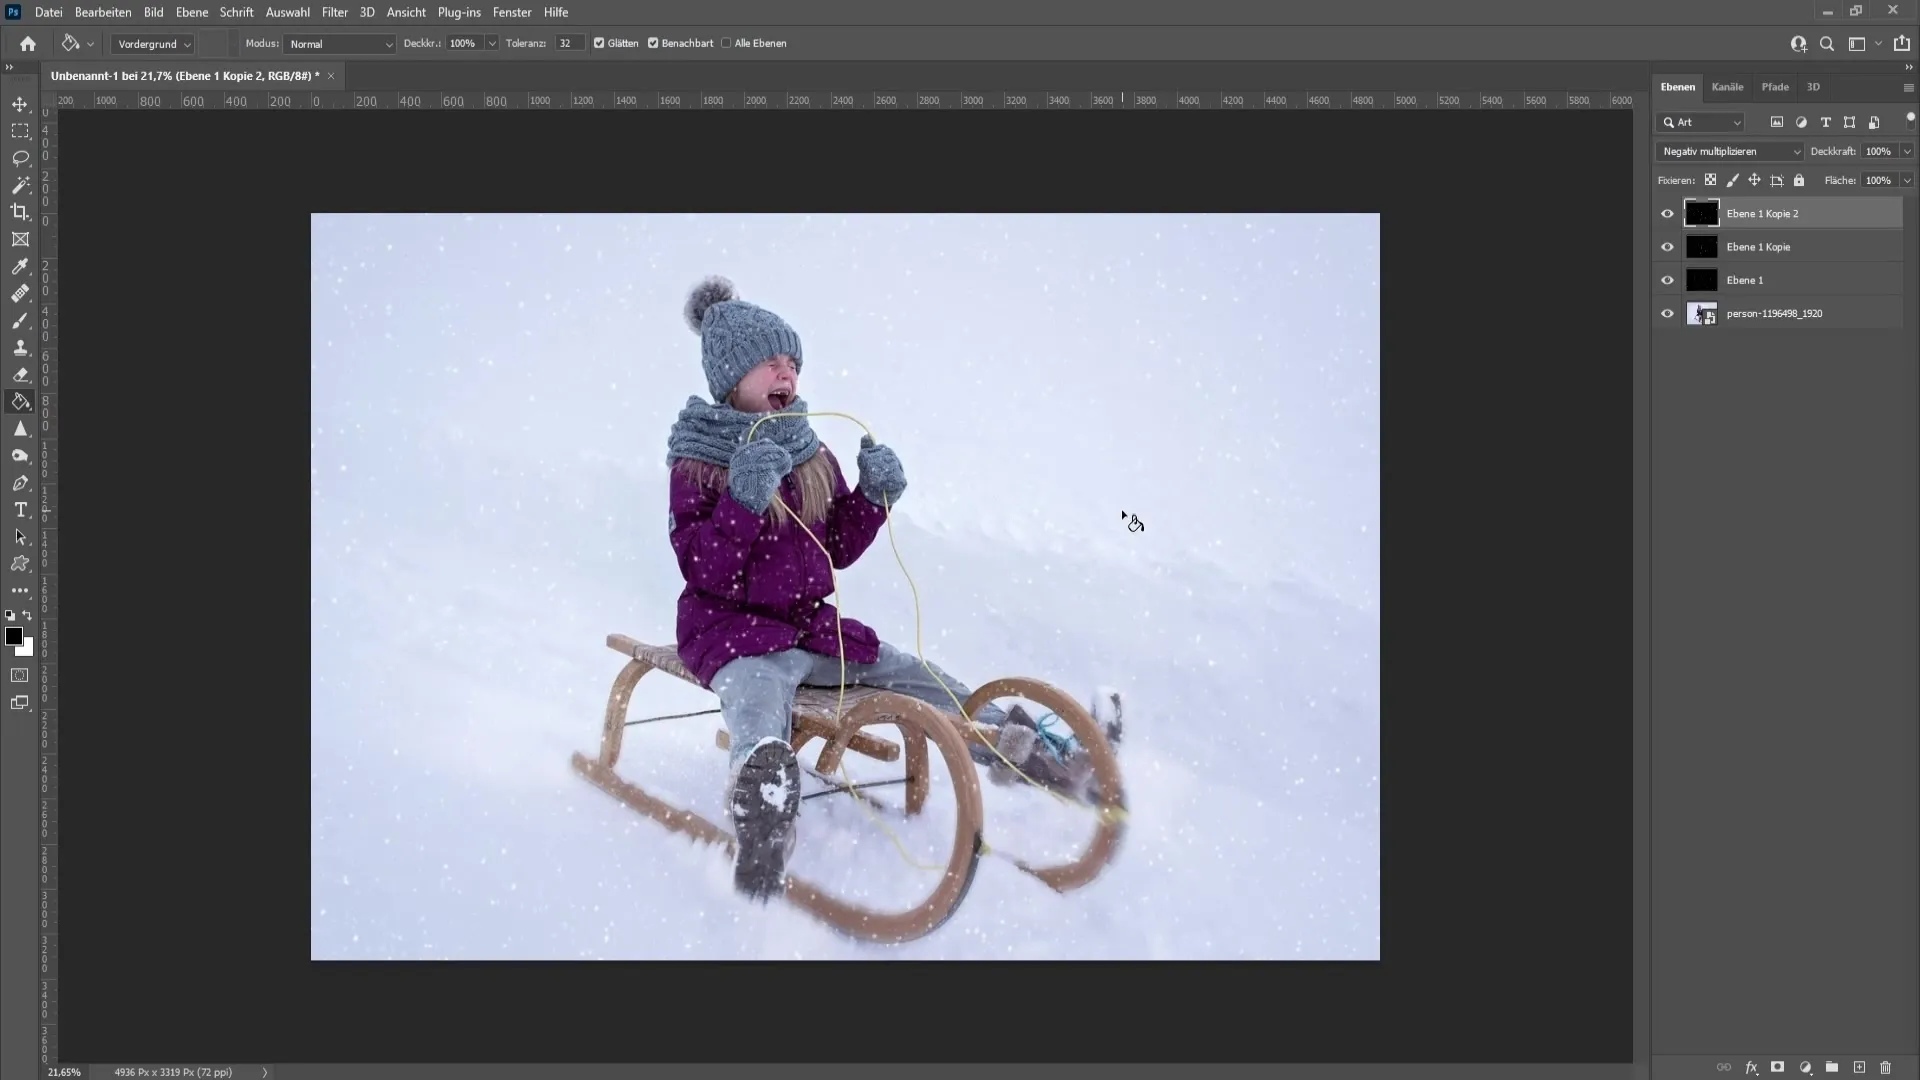
Now you have three different snow layers with different sizes. To change their opacity, select all three layers by holding down the Shift key and clicking on the last layer. Press Ctrl + G to group them.
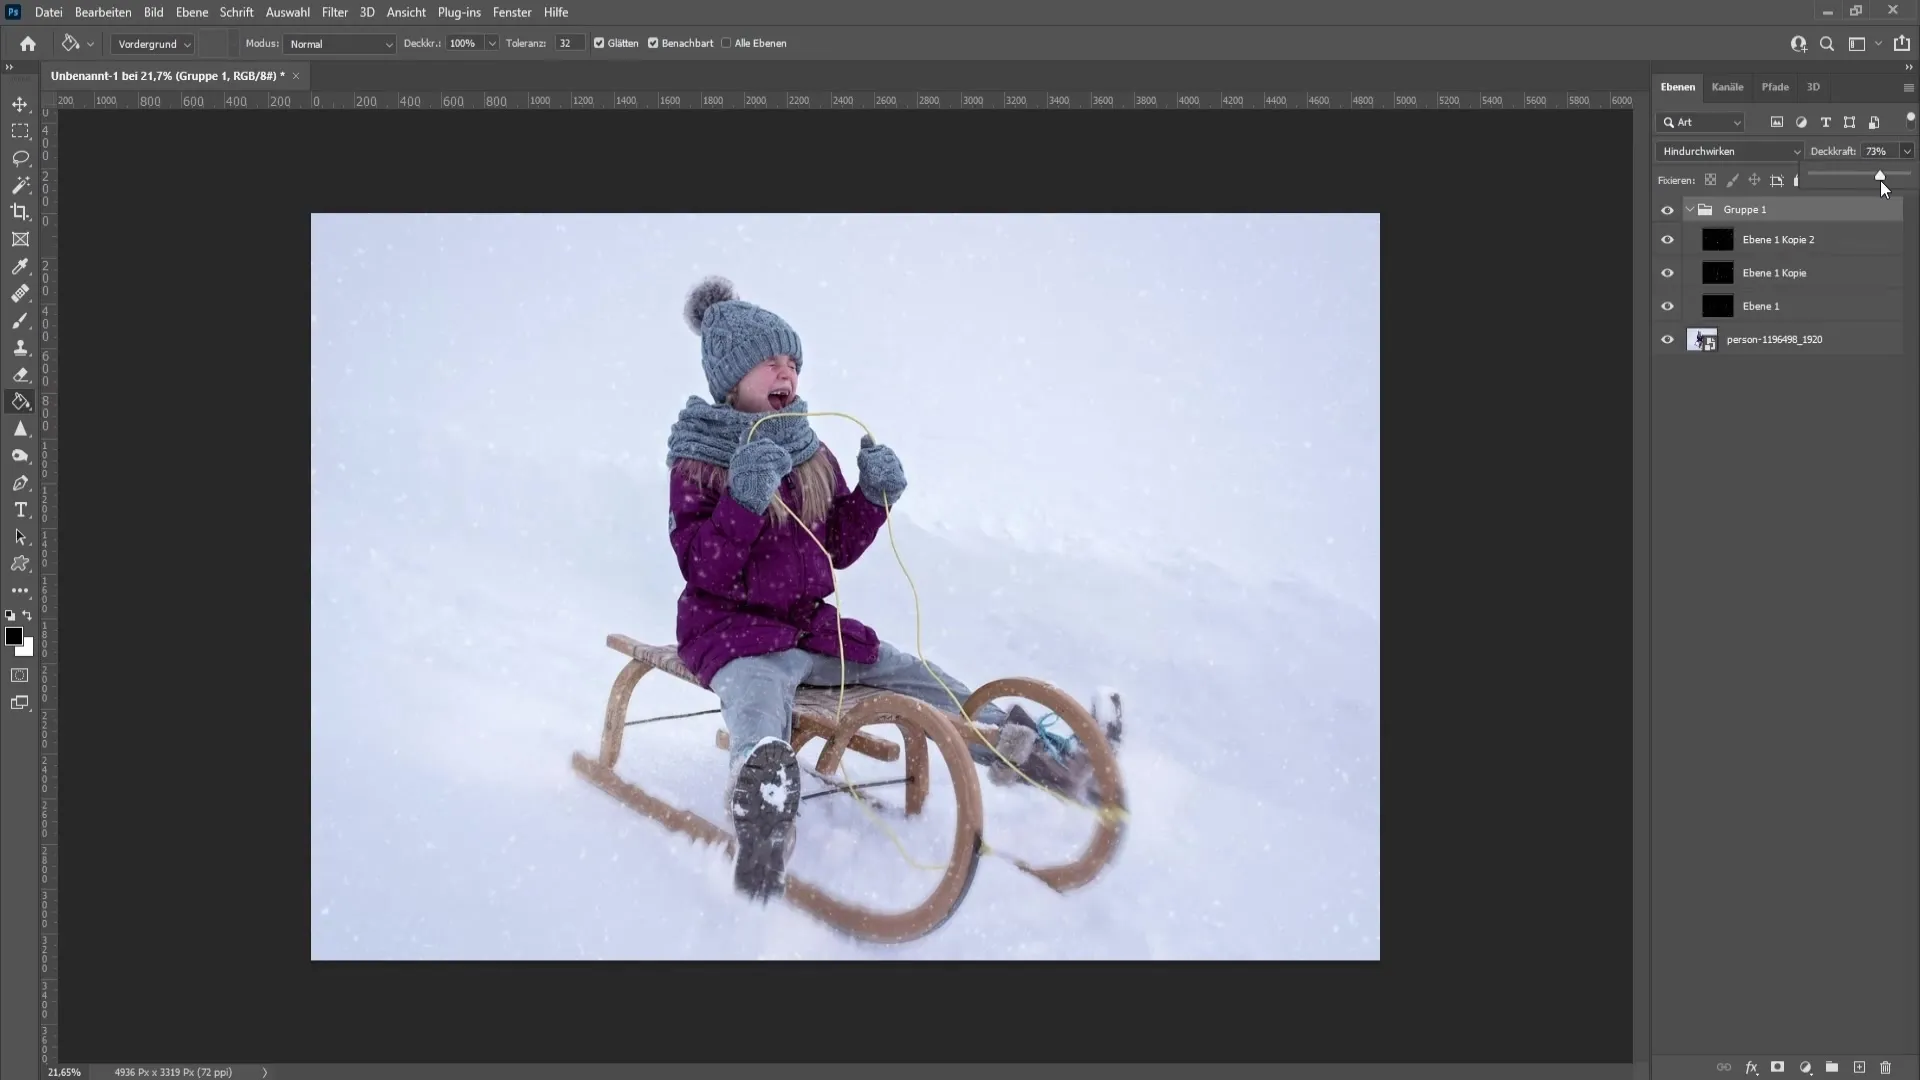
Now you can reduce the opacity in the group layer. A value of about 90% creates a natural effect.
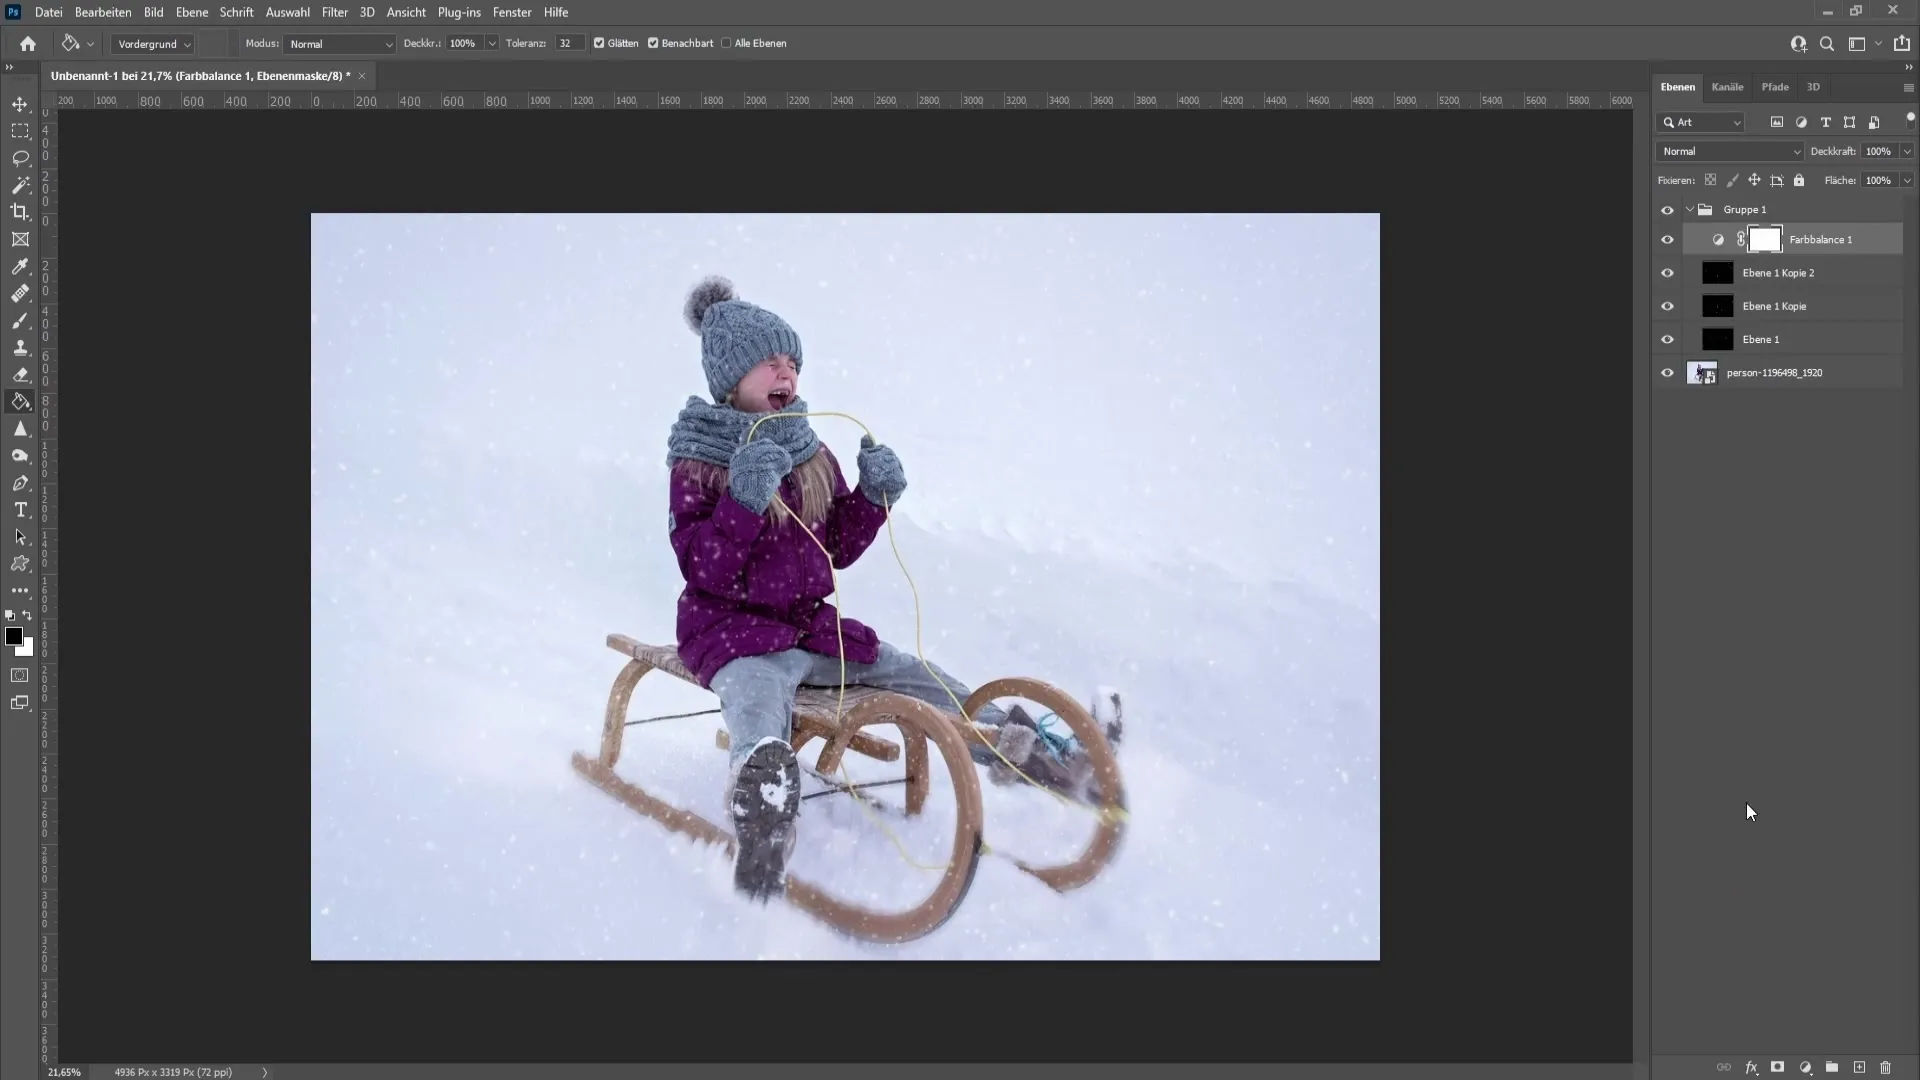
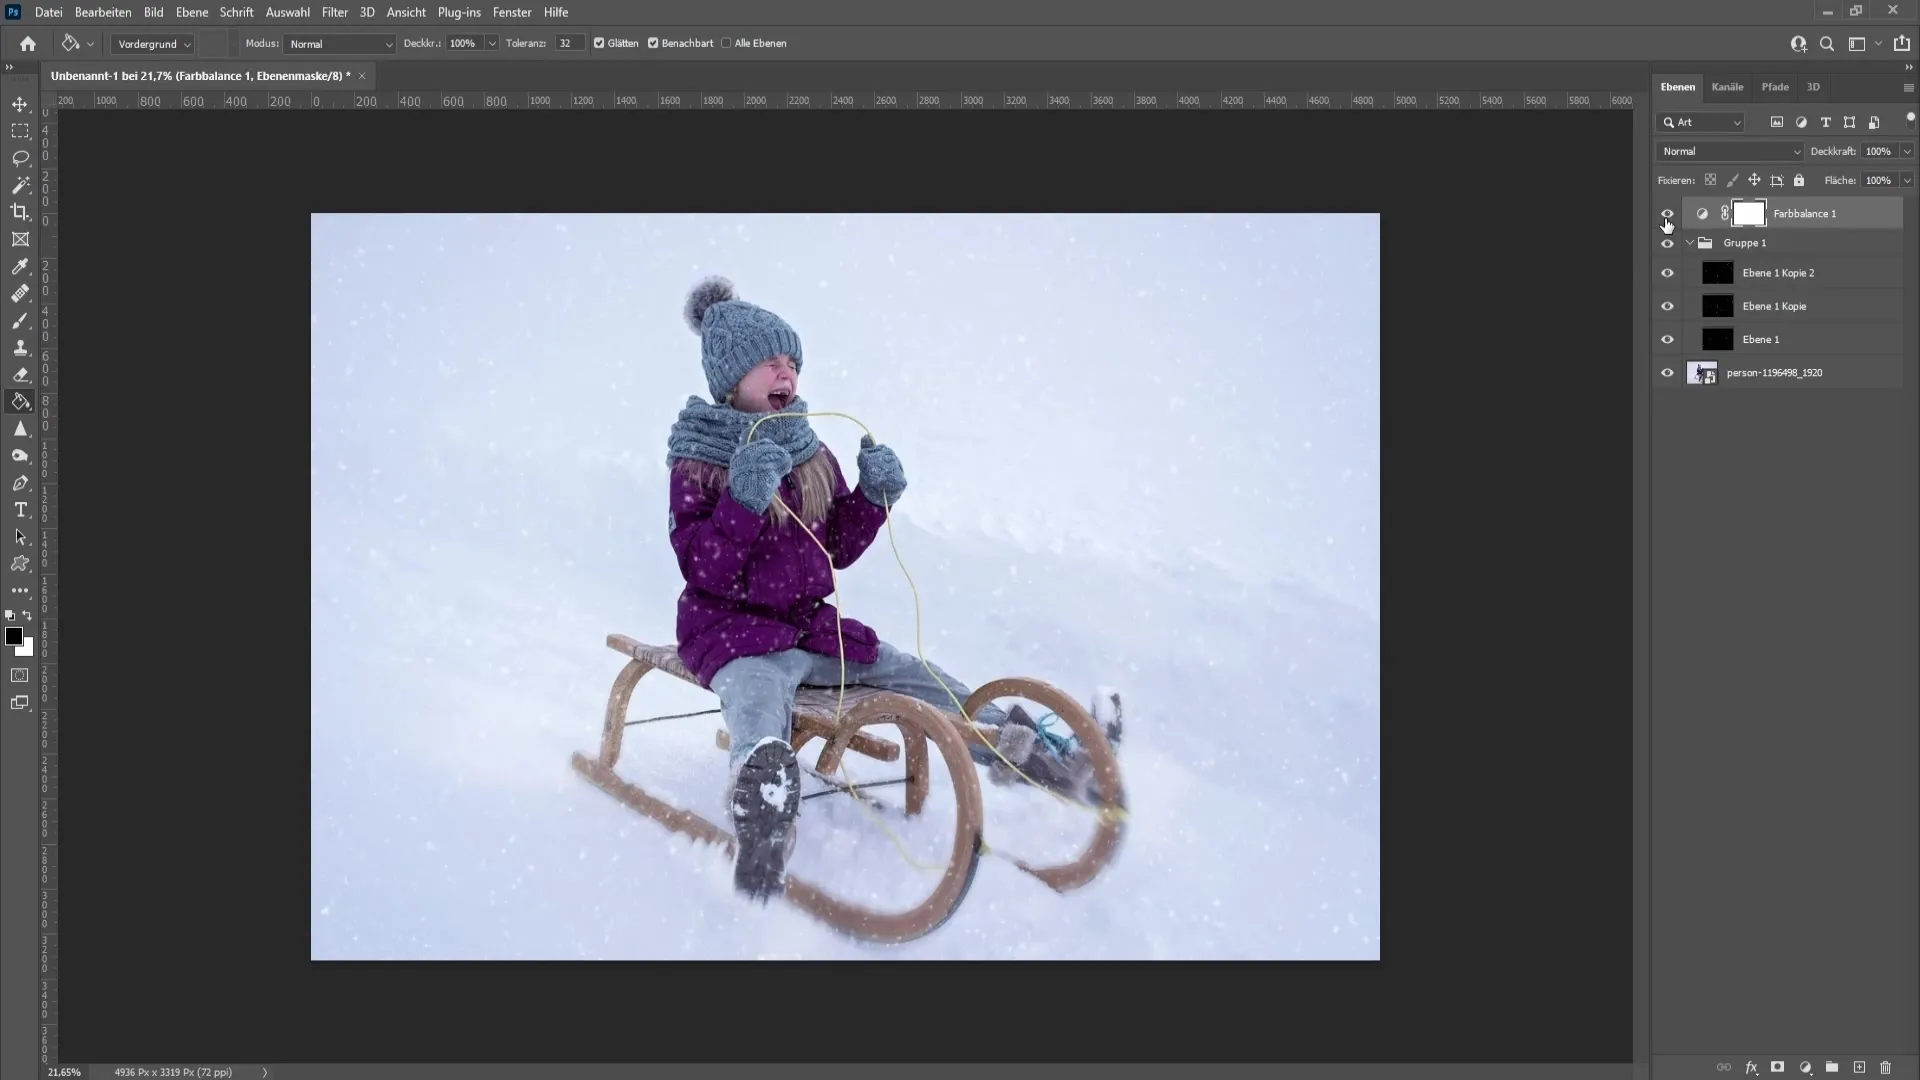
To give your image a more wintery look, you apply a color correction now. Click on the "Adjustments" menu and choose "Color Balance".
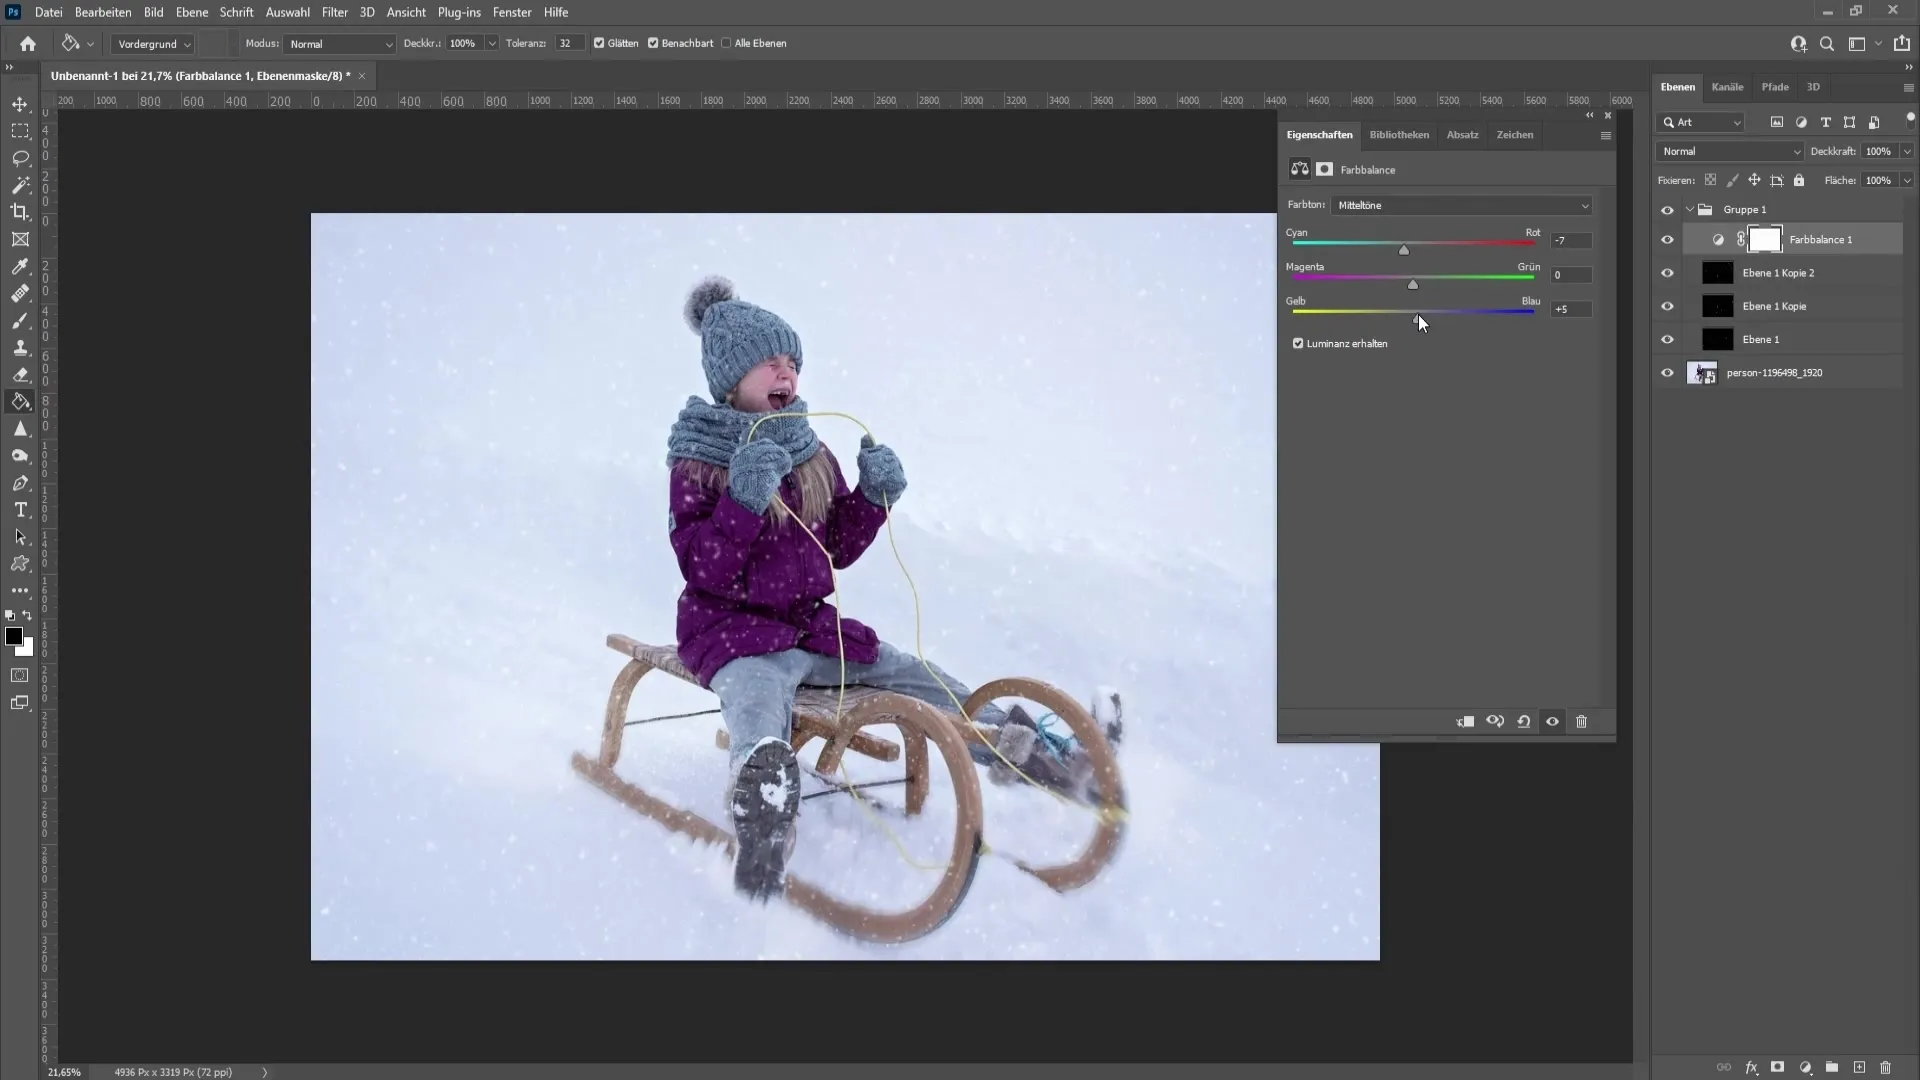
Now adjust the sliders for the cyan and blue tones so that the image appears colder. This will help you achieve a finer adjustment that enhances the wintery look.
If the adjustments affect the opacity of the snow layers, remove the corresponding layer from the group.
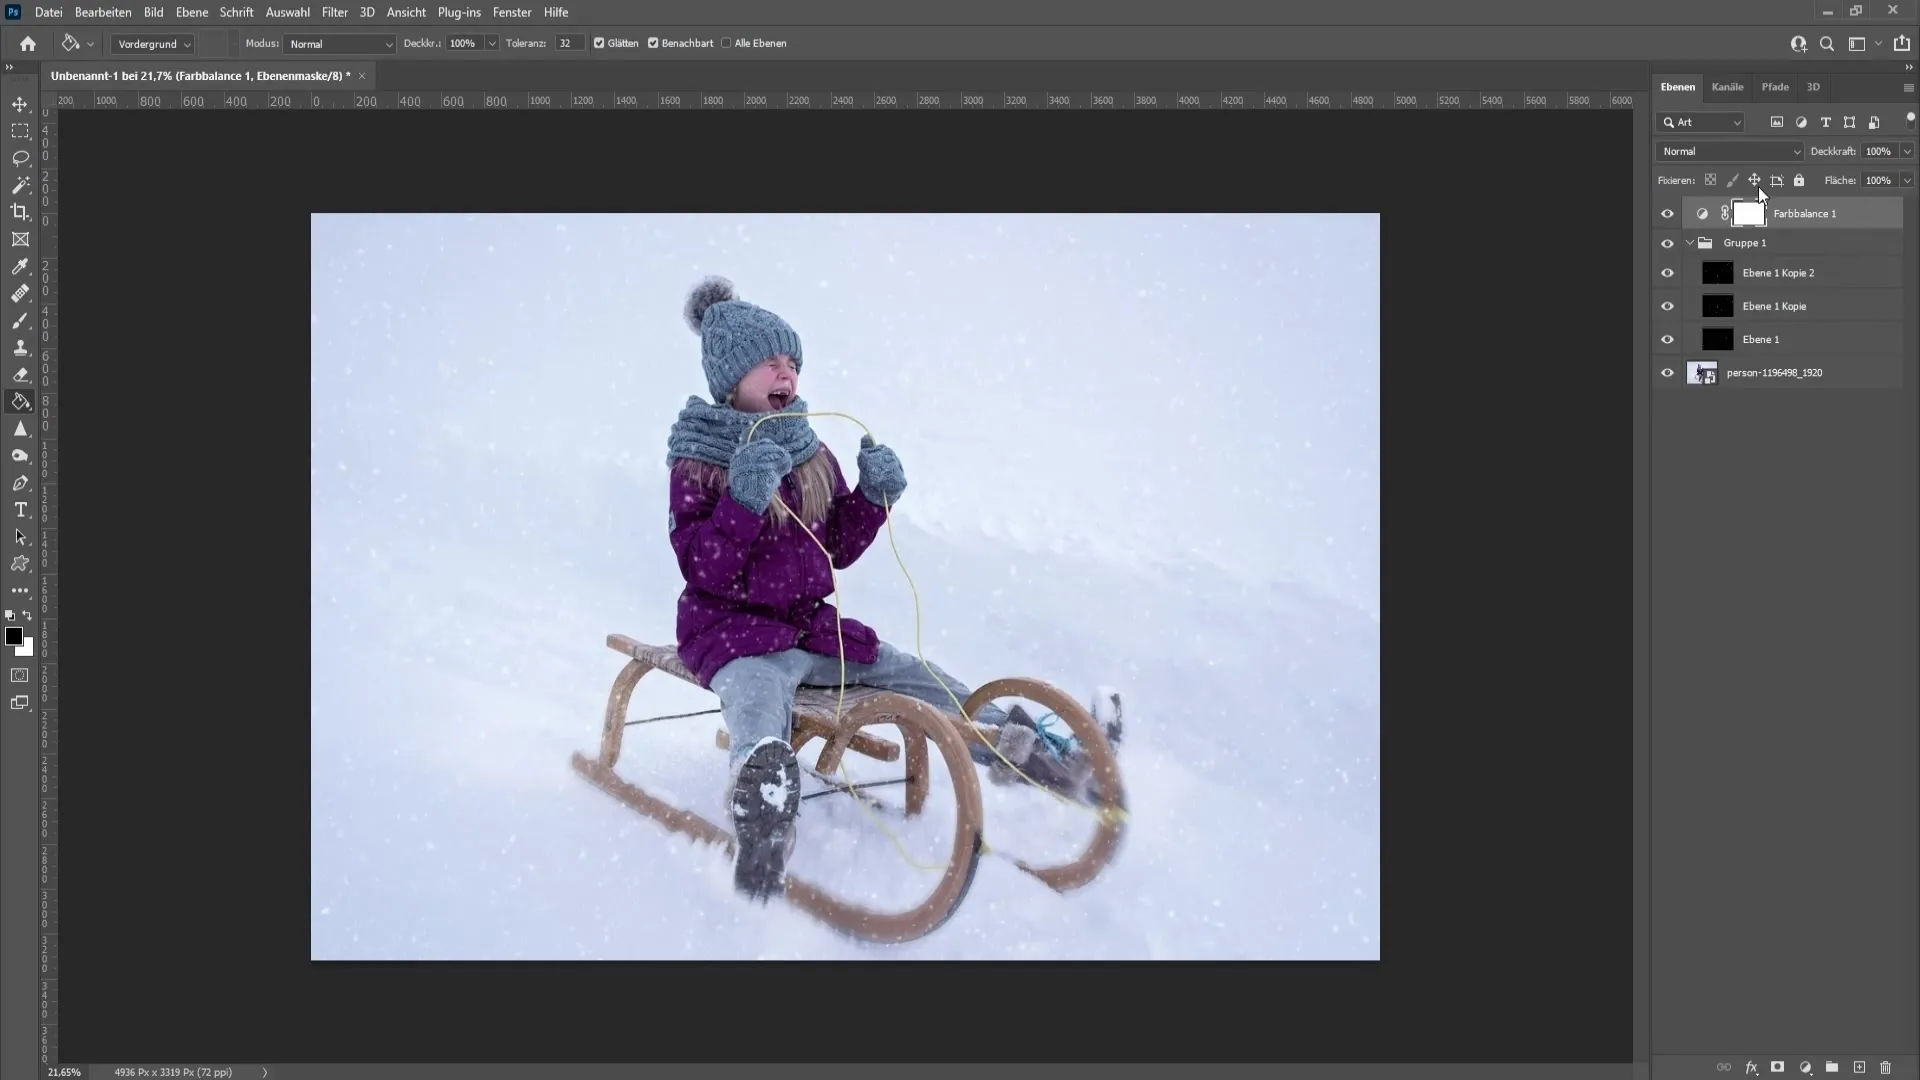
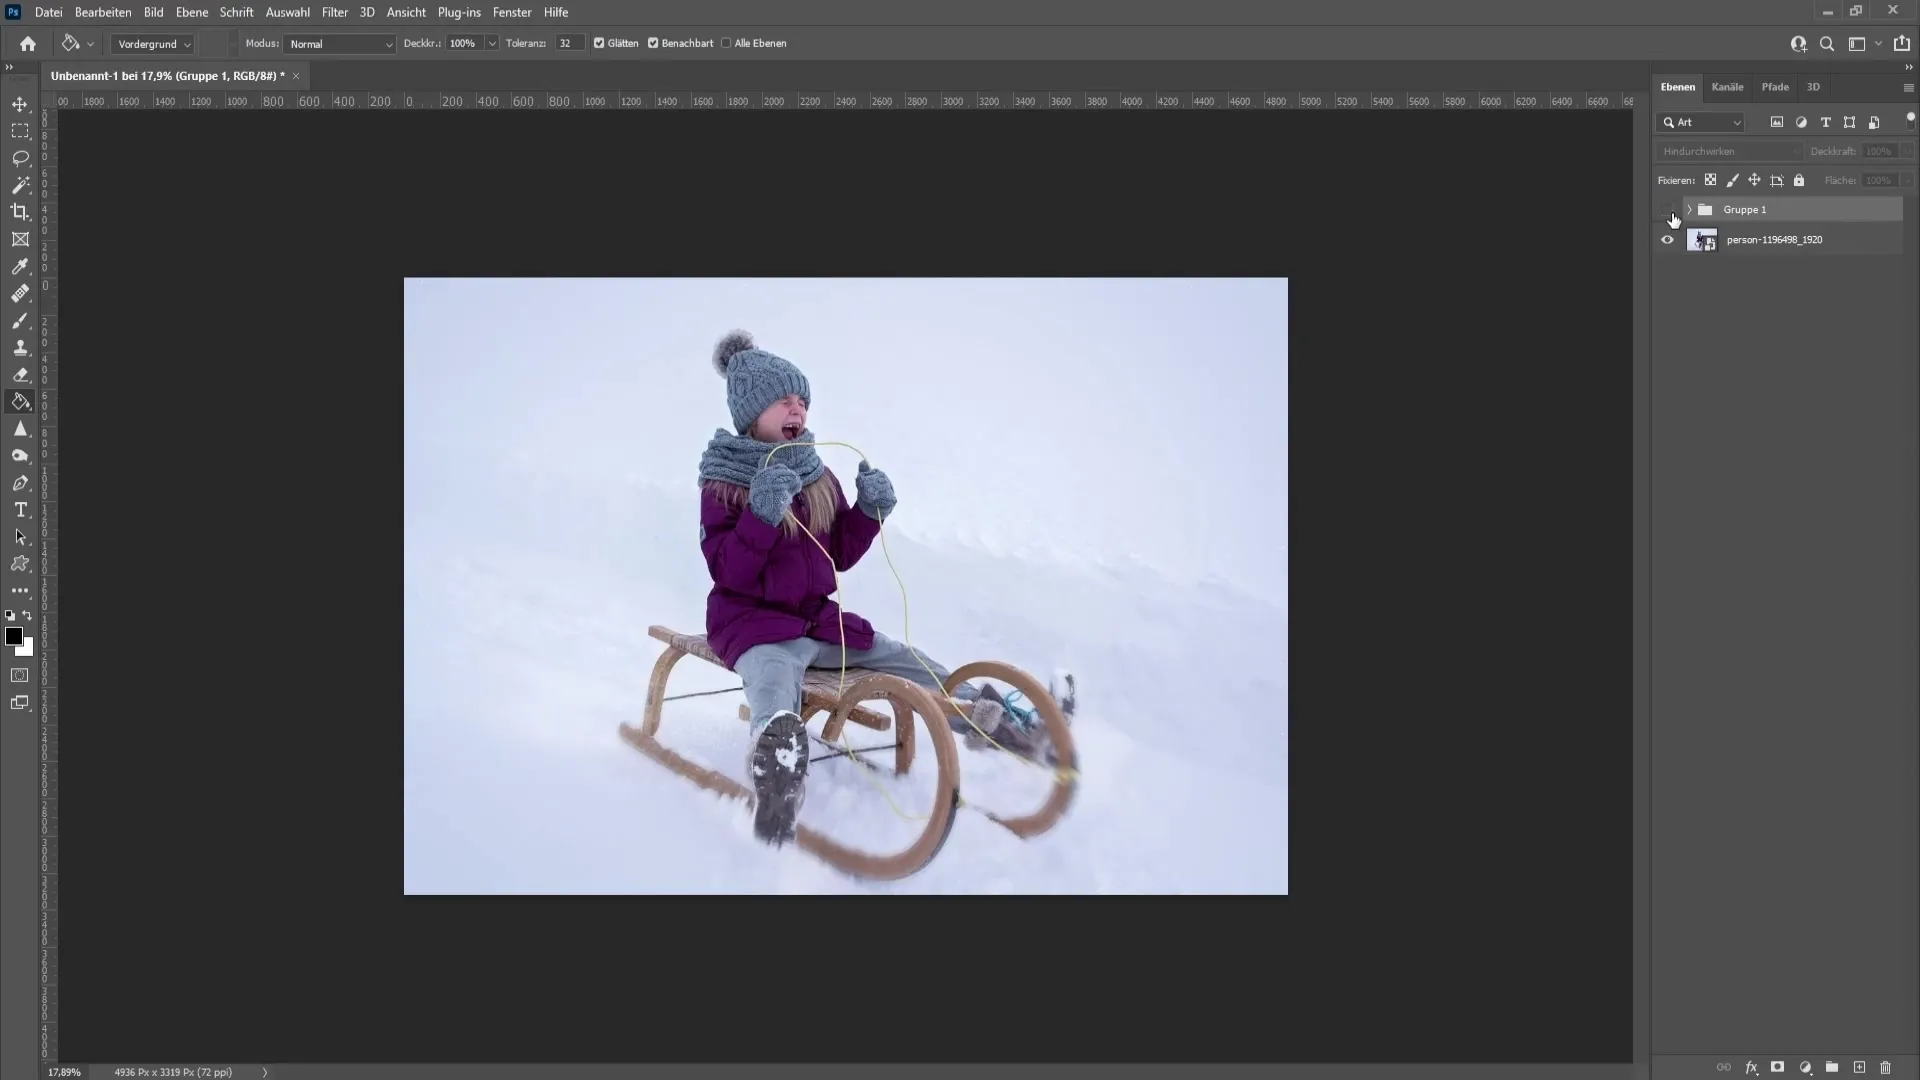
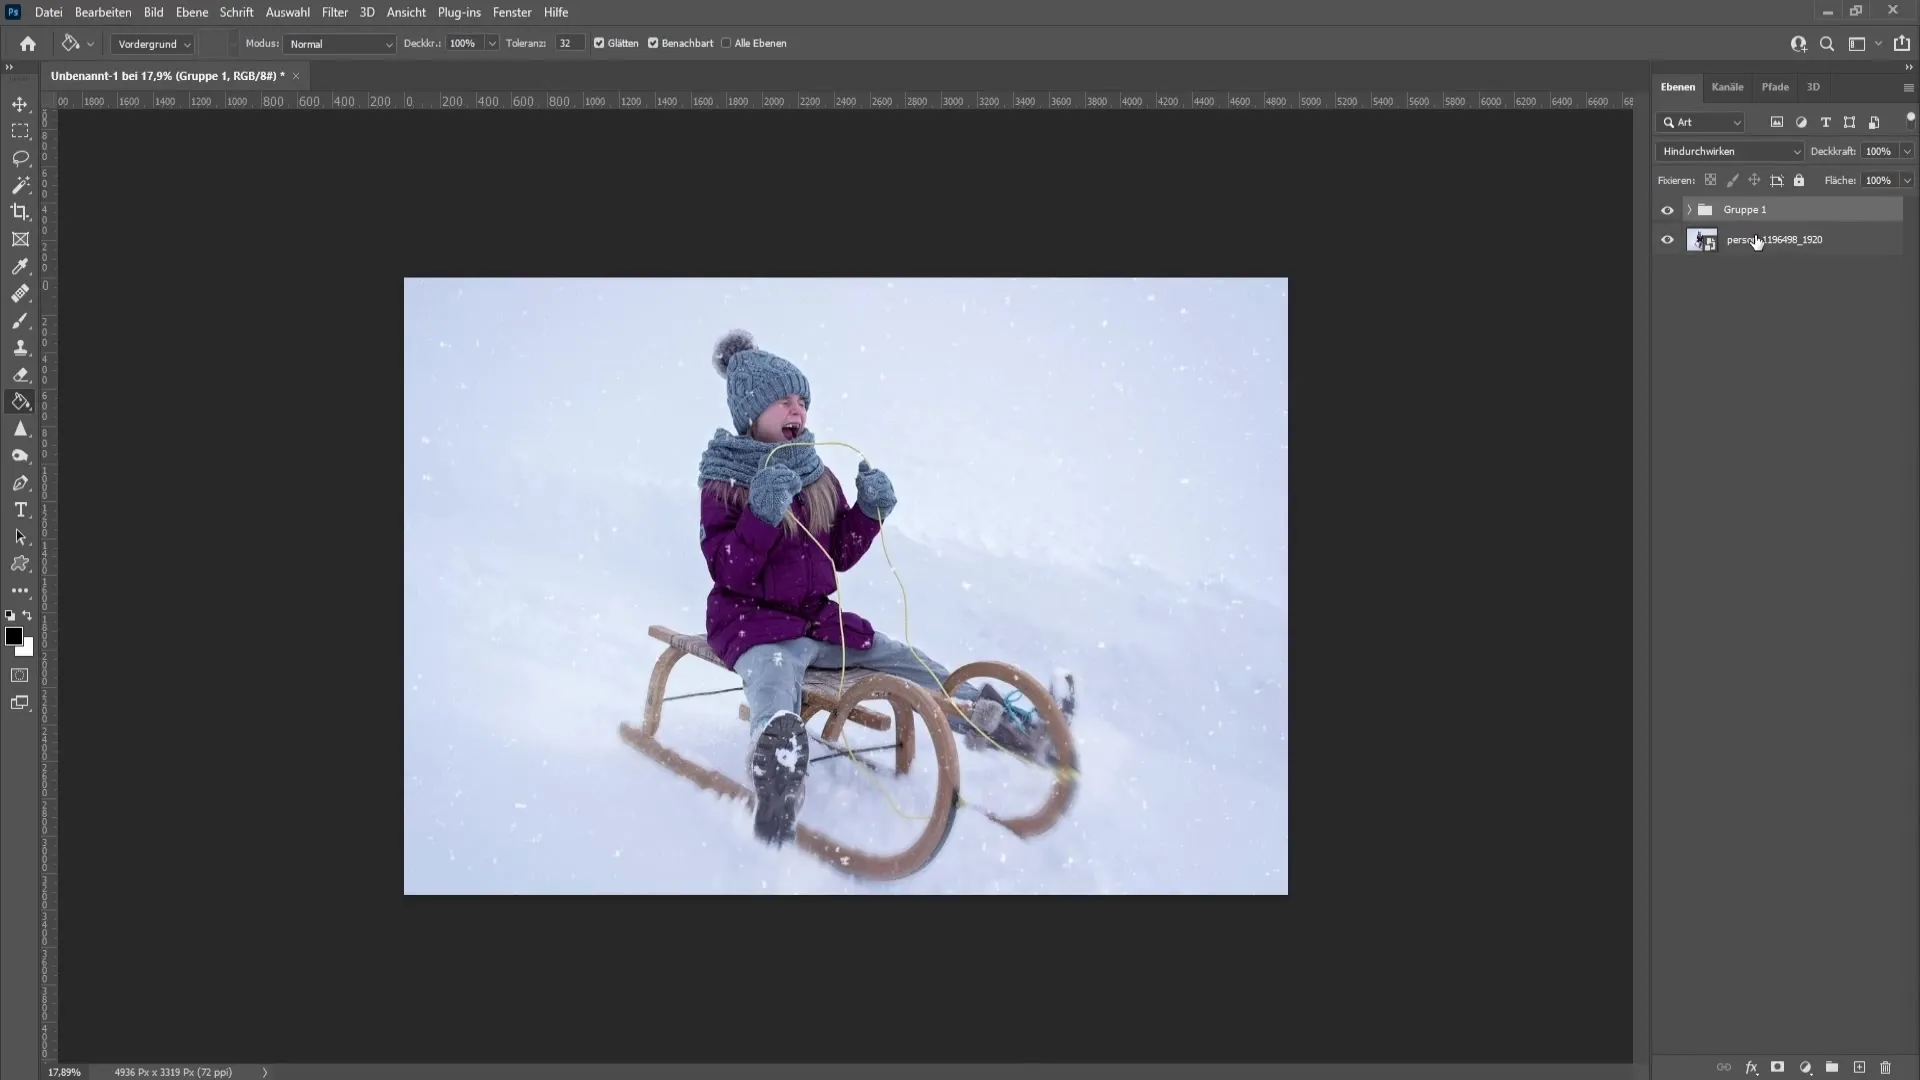
Now you can see the difference: The image without and with the color correction has clear differences and looks significantly more wintery.
Summary
In this tutorial, you learned how to create a realistic snow effect in Photoshop using various techniques. From creating snow layers to adjusting blending modes to color corrections, you have learned a complete workflow that allows you to enhance your wintry images.
Frequently Asked Questions
How do I add a new layer in Photoshop?Right-click in the Layers panel and choose "New Layer".
What is the best value for the noise adding filter?A value of about 150% works well for the snow effect.
How can I change the brush size in the filter gallery?In the filter gallery, you can adjust the brush size, for example, to 2 or 3 for a moderate effect.
Can I adjust the opacity of my snow group?Yes, you can adjust the opacity of the group to make the snow look more realistic.
How do I make the color of my image more wintry?Make adjustments in the color balance and add more cyan and blue tones.


