In this tutorial, I will show you how to easily create a snowflake in Photoshop. You will learn how to design your snowflake and save it as a brush or shape. These techniques are ideal for developing creative designs for the cold season. Let's get started!
Key Takeaways
- You can create a snowflake in a few simple steps.
- The snowflake can be saved as a brush or shape in Photoshop.
- There are various ways to customize the design.
Step-by-Step Guide
First, open Photoshop and create a new document. Go to "File" and select "New." Set the width and height to 3000 pixels and the resolution to 300 DPI. Leave the remaining settings unchanged. Images with low resolution can look unprofessional, so a high resolution is advisable.
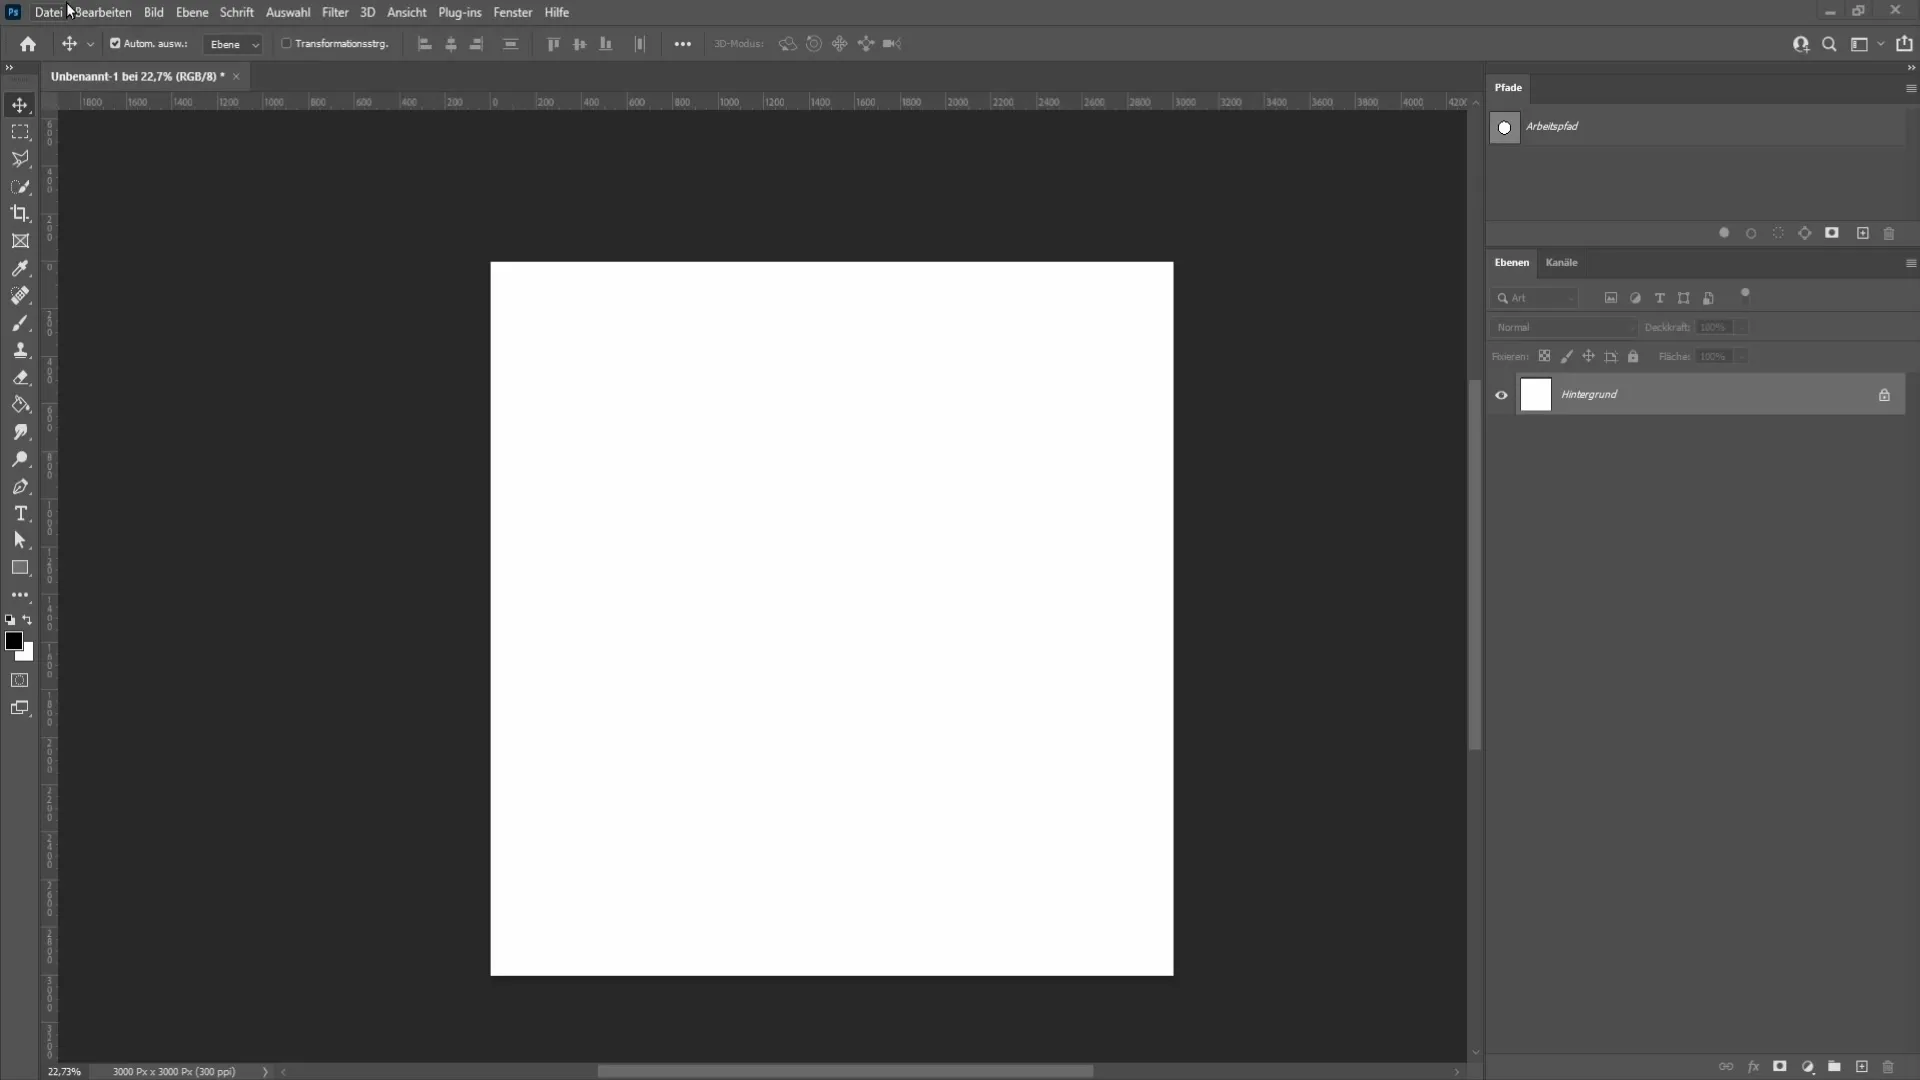
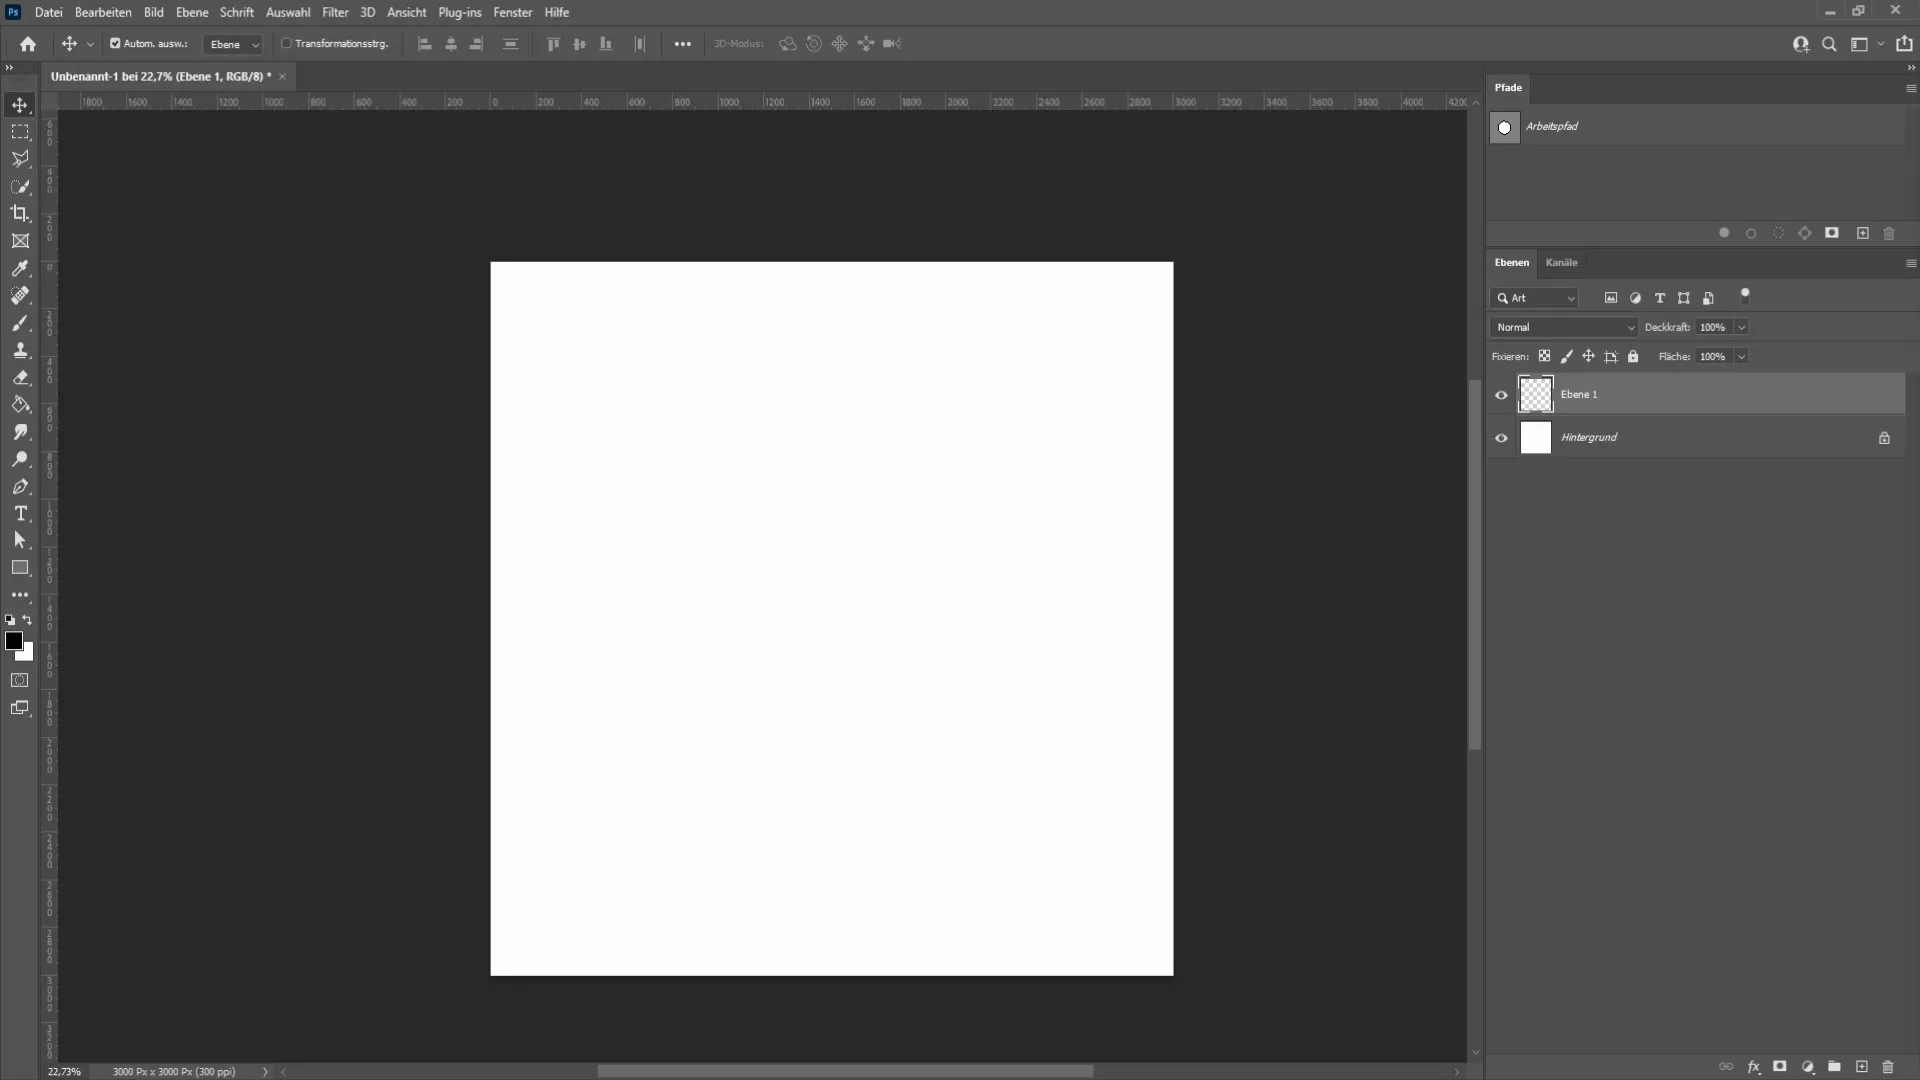
Now that you have your new document, you need to create a blank layer. Click on the icon next to the trash can in the layers panel. It is important to work on this new layer to preserve the originality of your image.
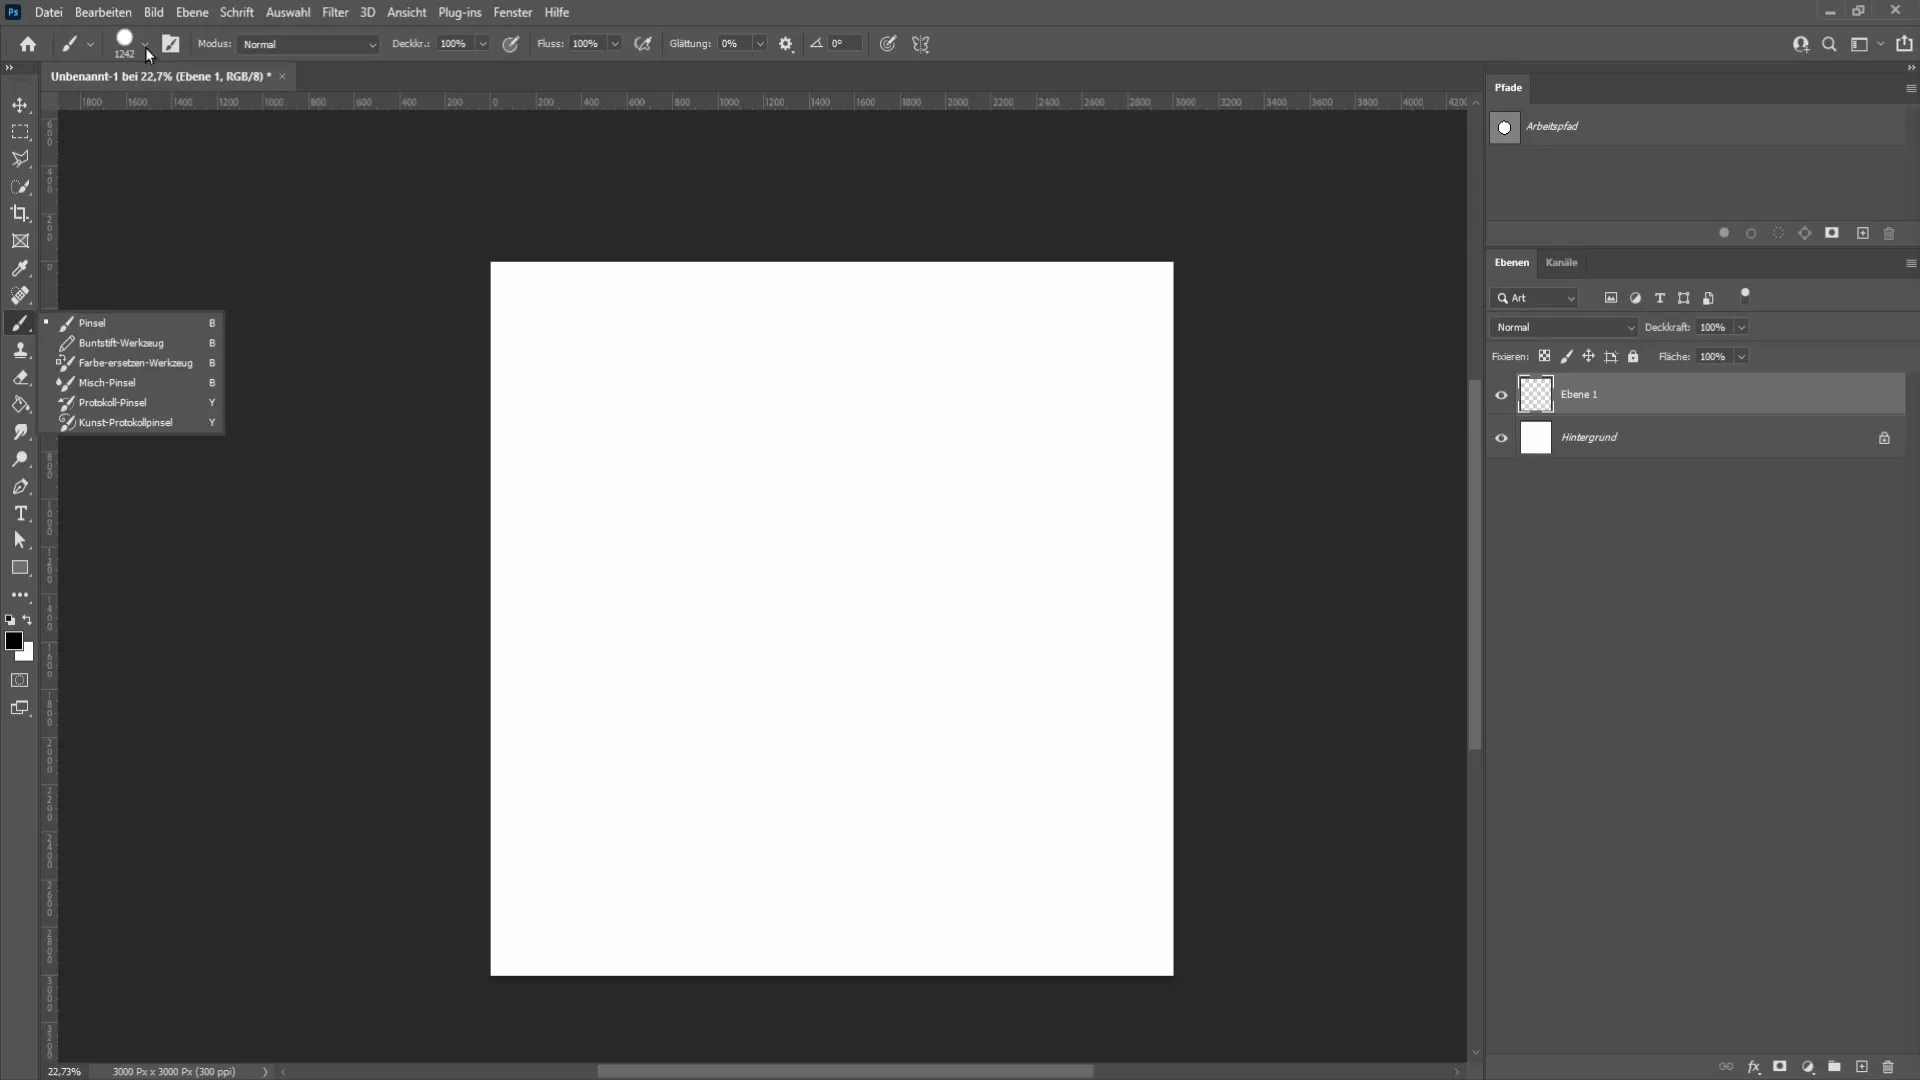
With the blank layer active, you now have the option to select the brush. Make sure the brush hardness is set to 100%. Choose a normal round hard brush and set both the opacity and flow to 100%. The mode should also be set to "Normal" to maintain full control over your drawings.
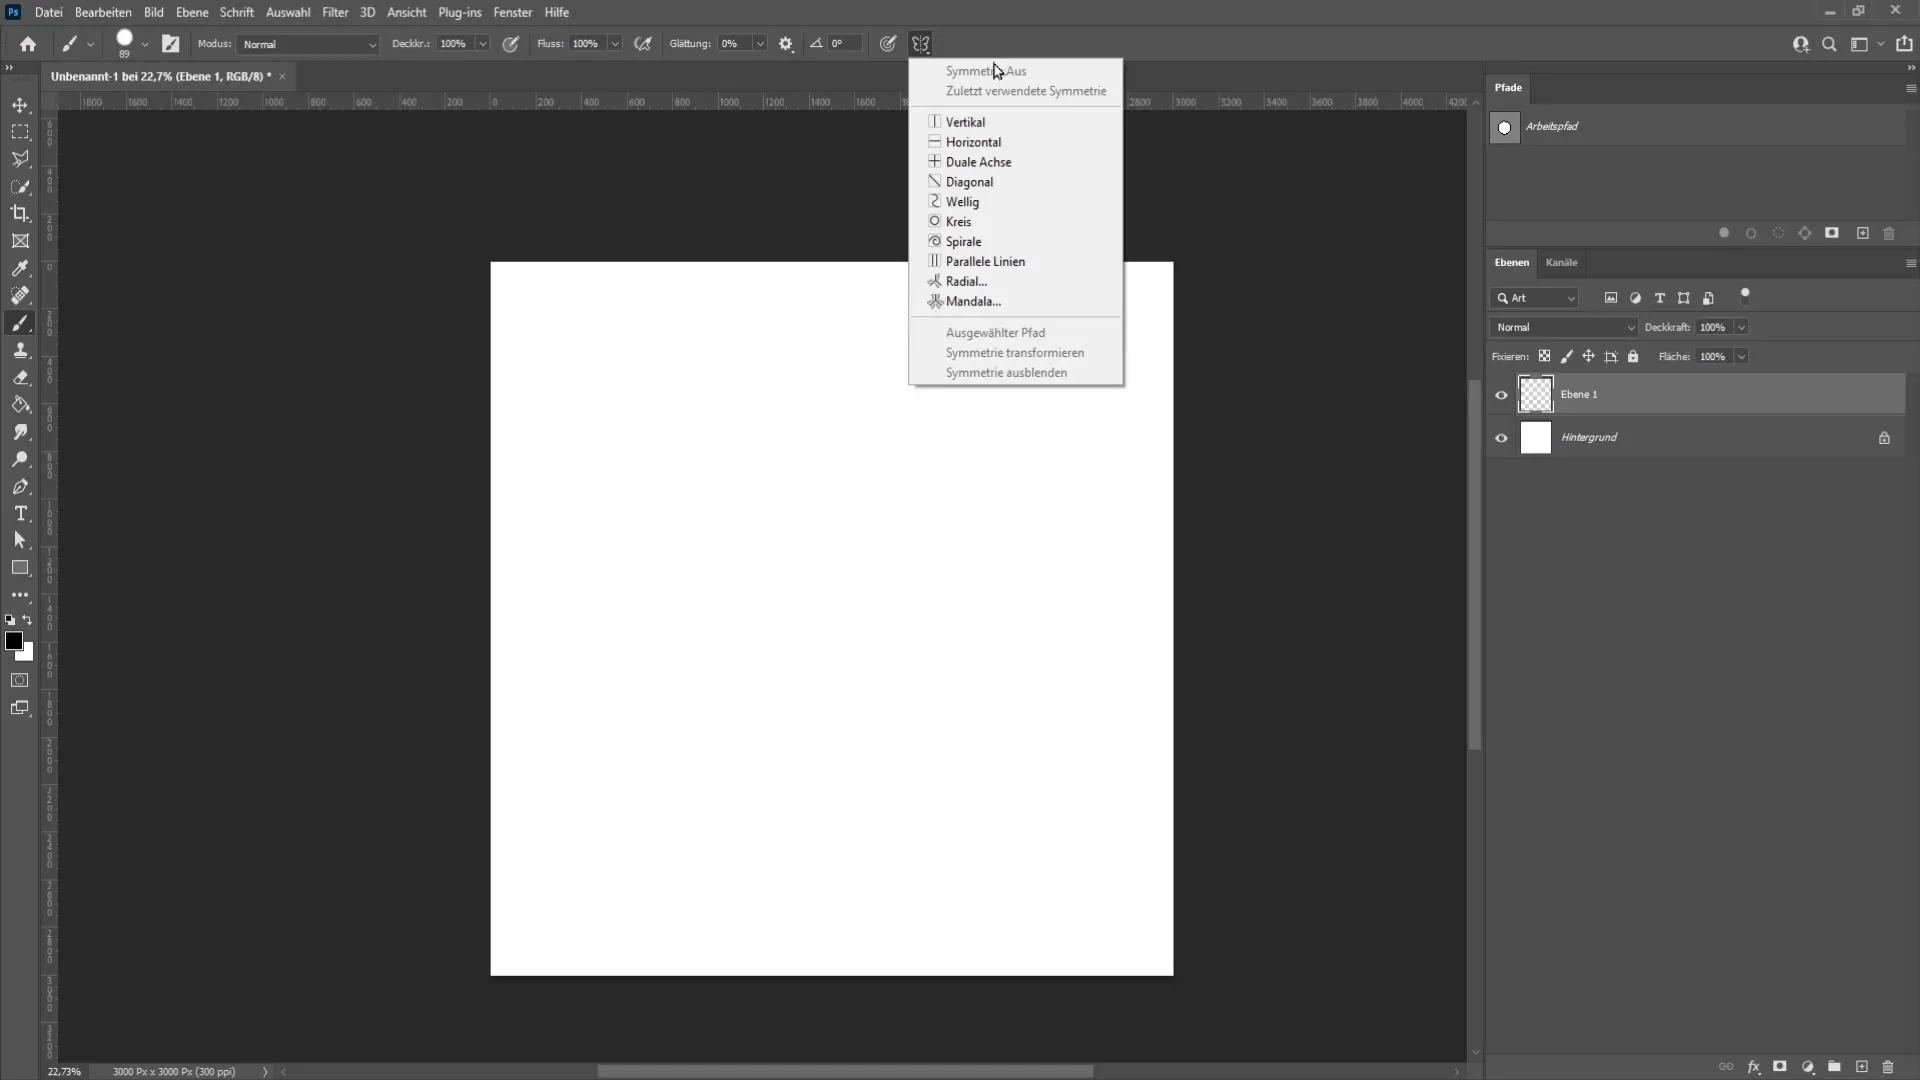
Now it gets exciting. To create your snowflake, go to the butterfly icon in the top menu bar, located on the right. Choose "Mandala" there. Here you can set the number of segments. A typical snowflake usually has six points. Set the number to six and confirm.
Before you start drawing, enlarge the mandala and position it in the center of the layer. Confirm your selection with the Enter key. Now you can place a dot in the middle and with the Shift key pressed, place another dot slightly below. This way, the symmetry of your snowflake is automatically created.
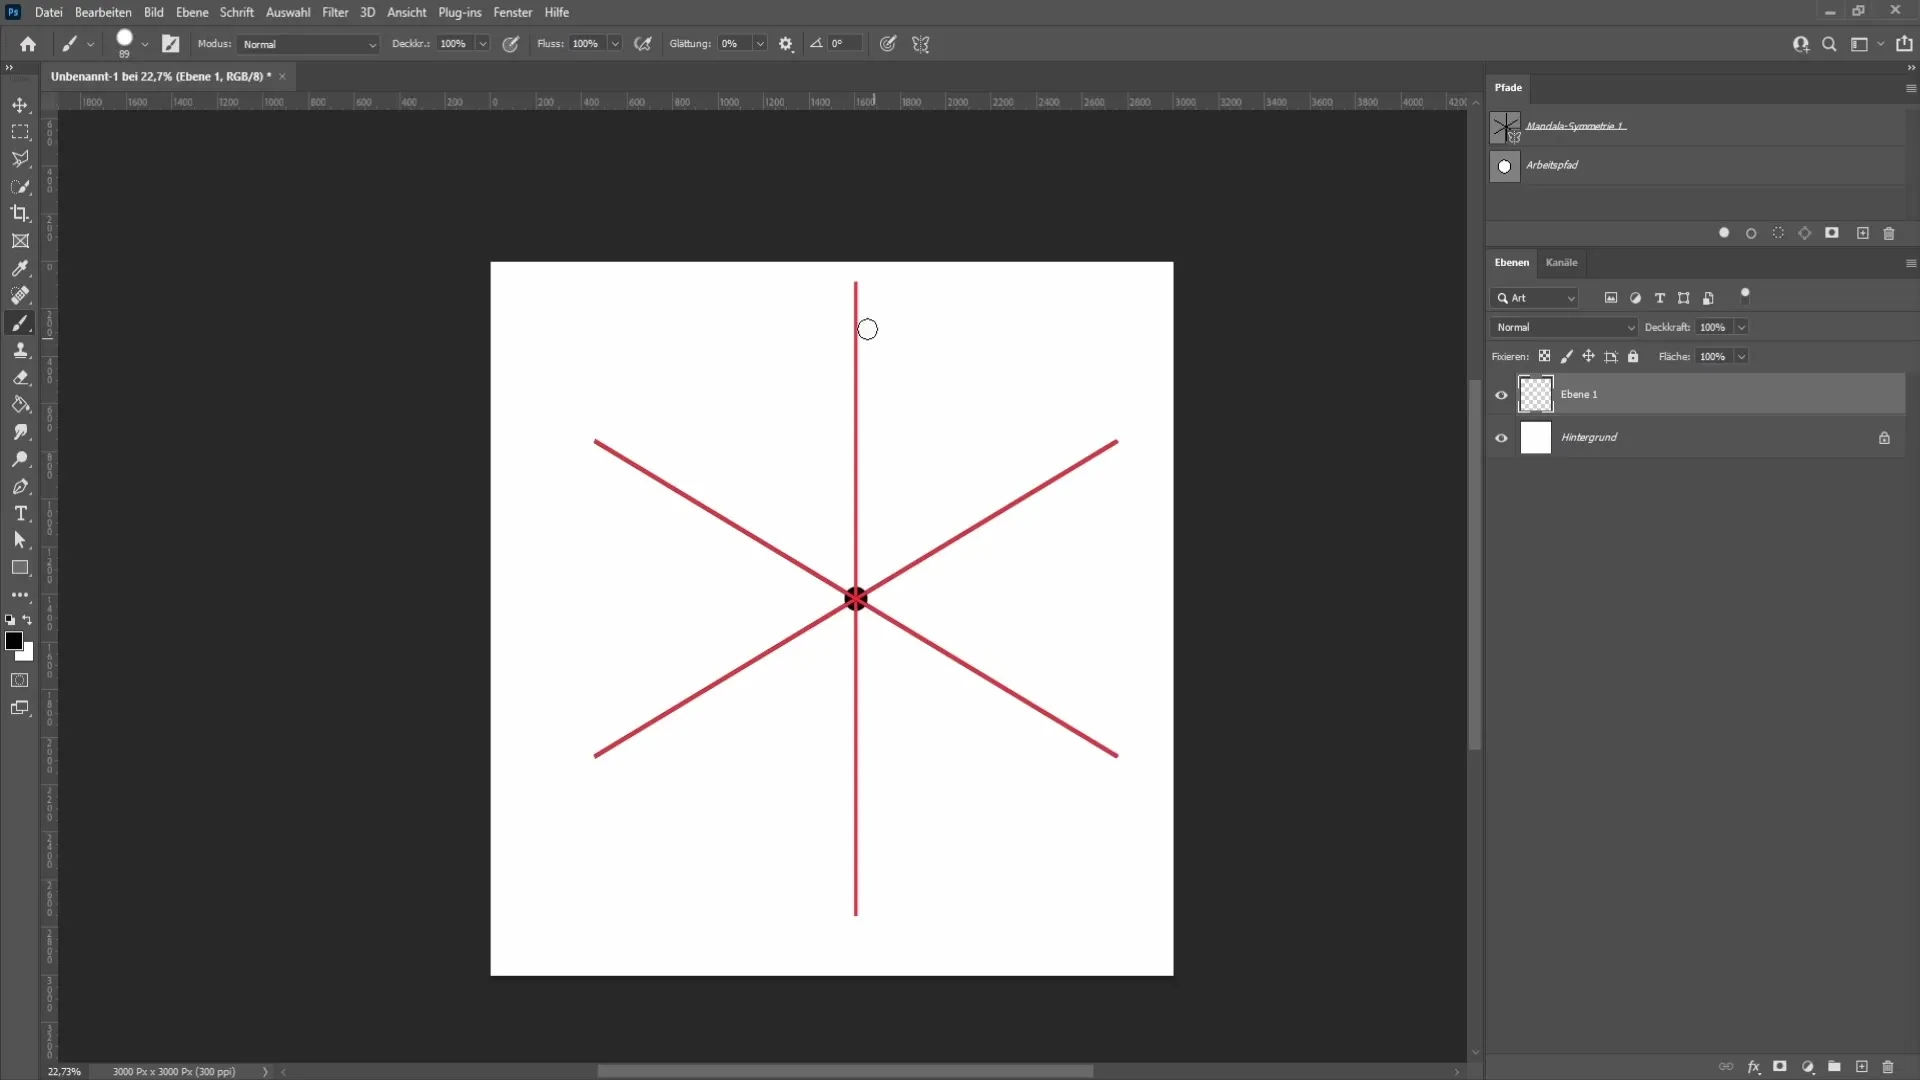
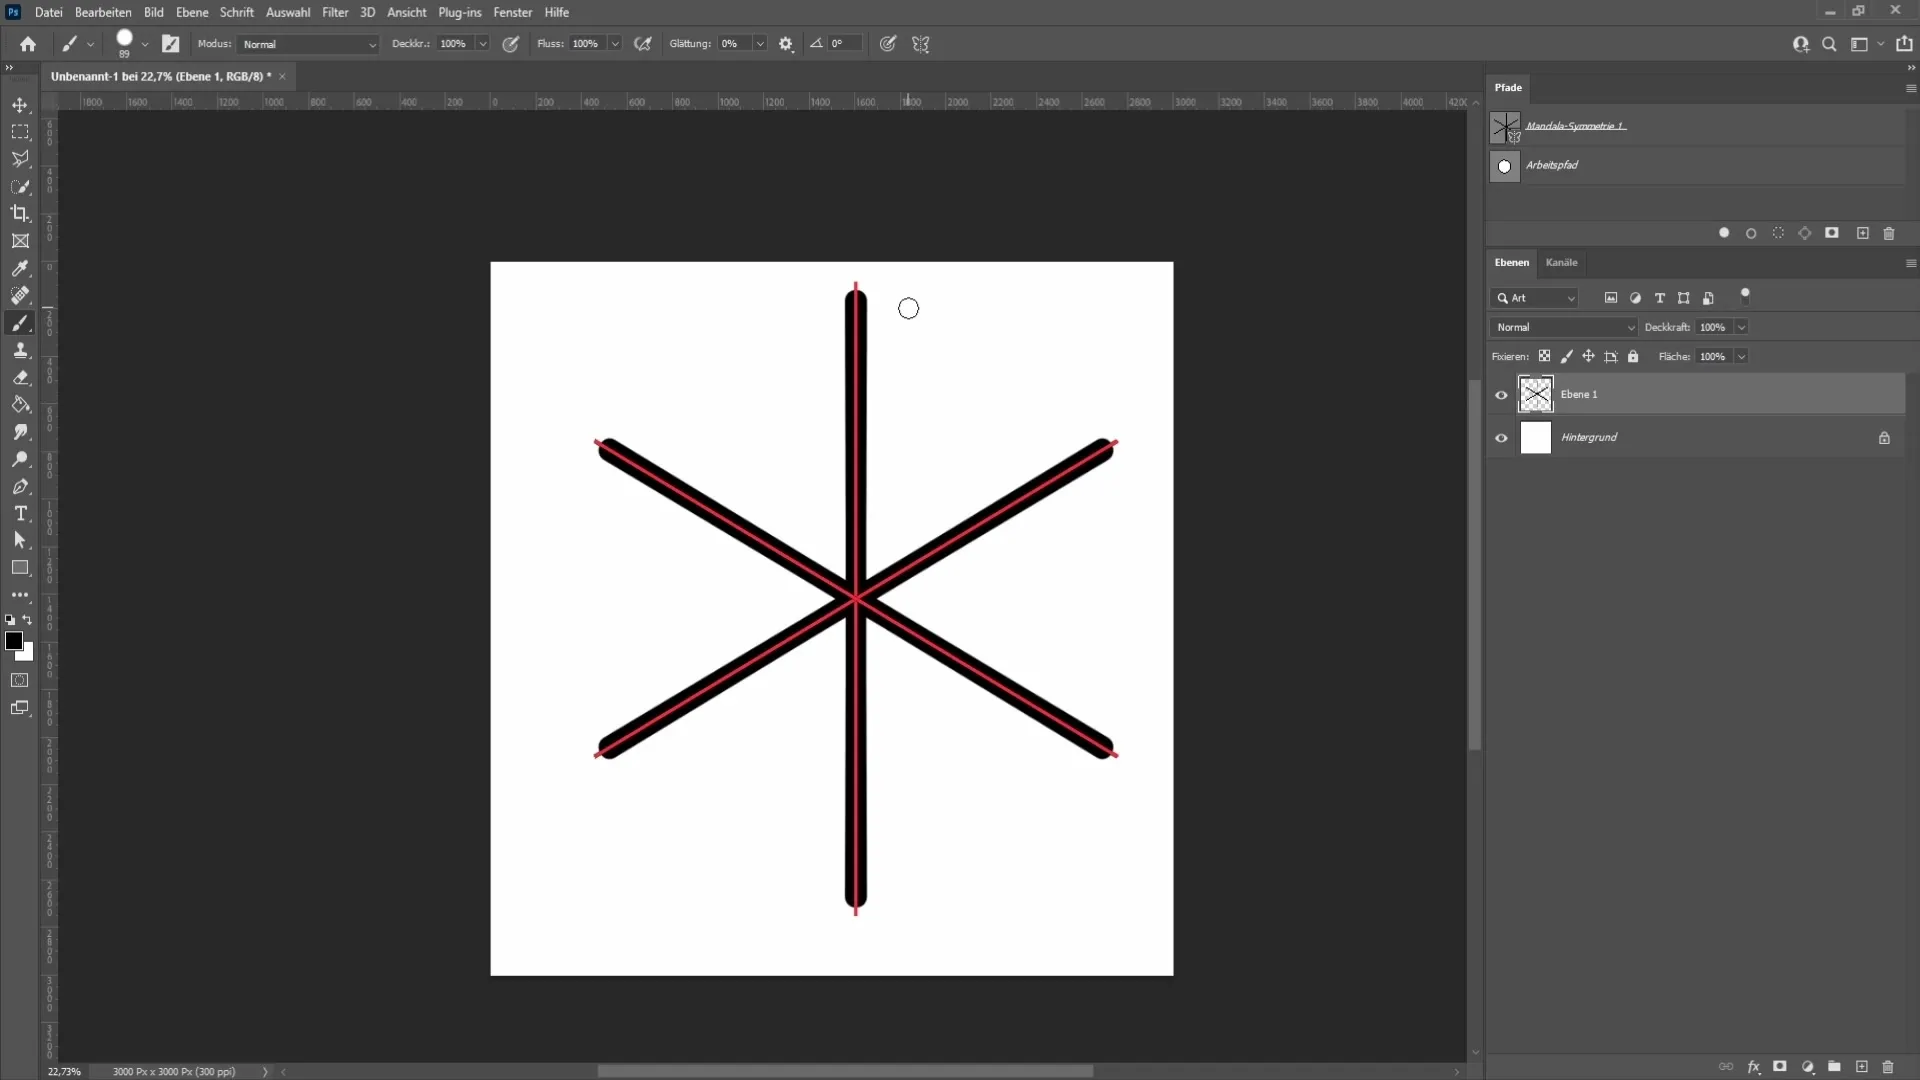
You can repeat this step to add more details. Place another dot and drag another point with the Shift key. This way, you can achieve the desired structure and shape of your snowflake.
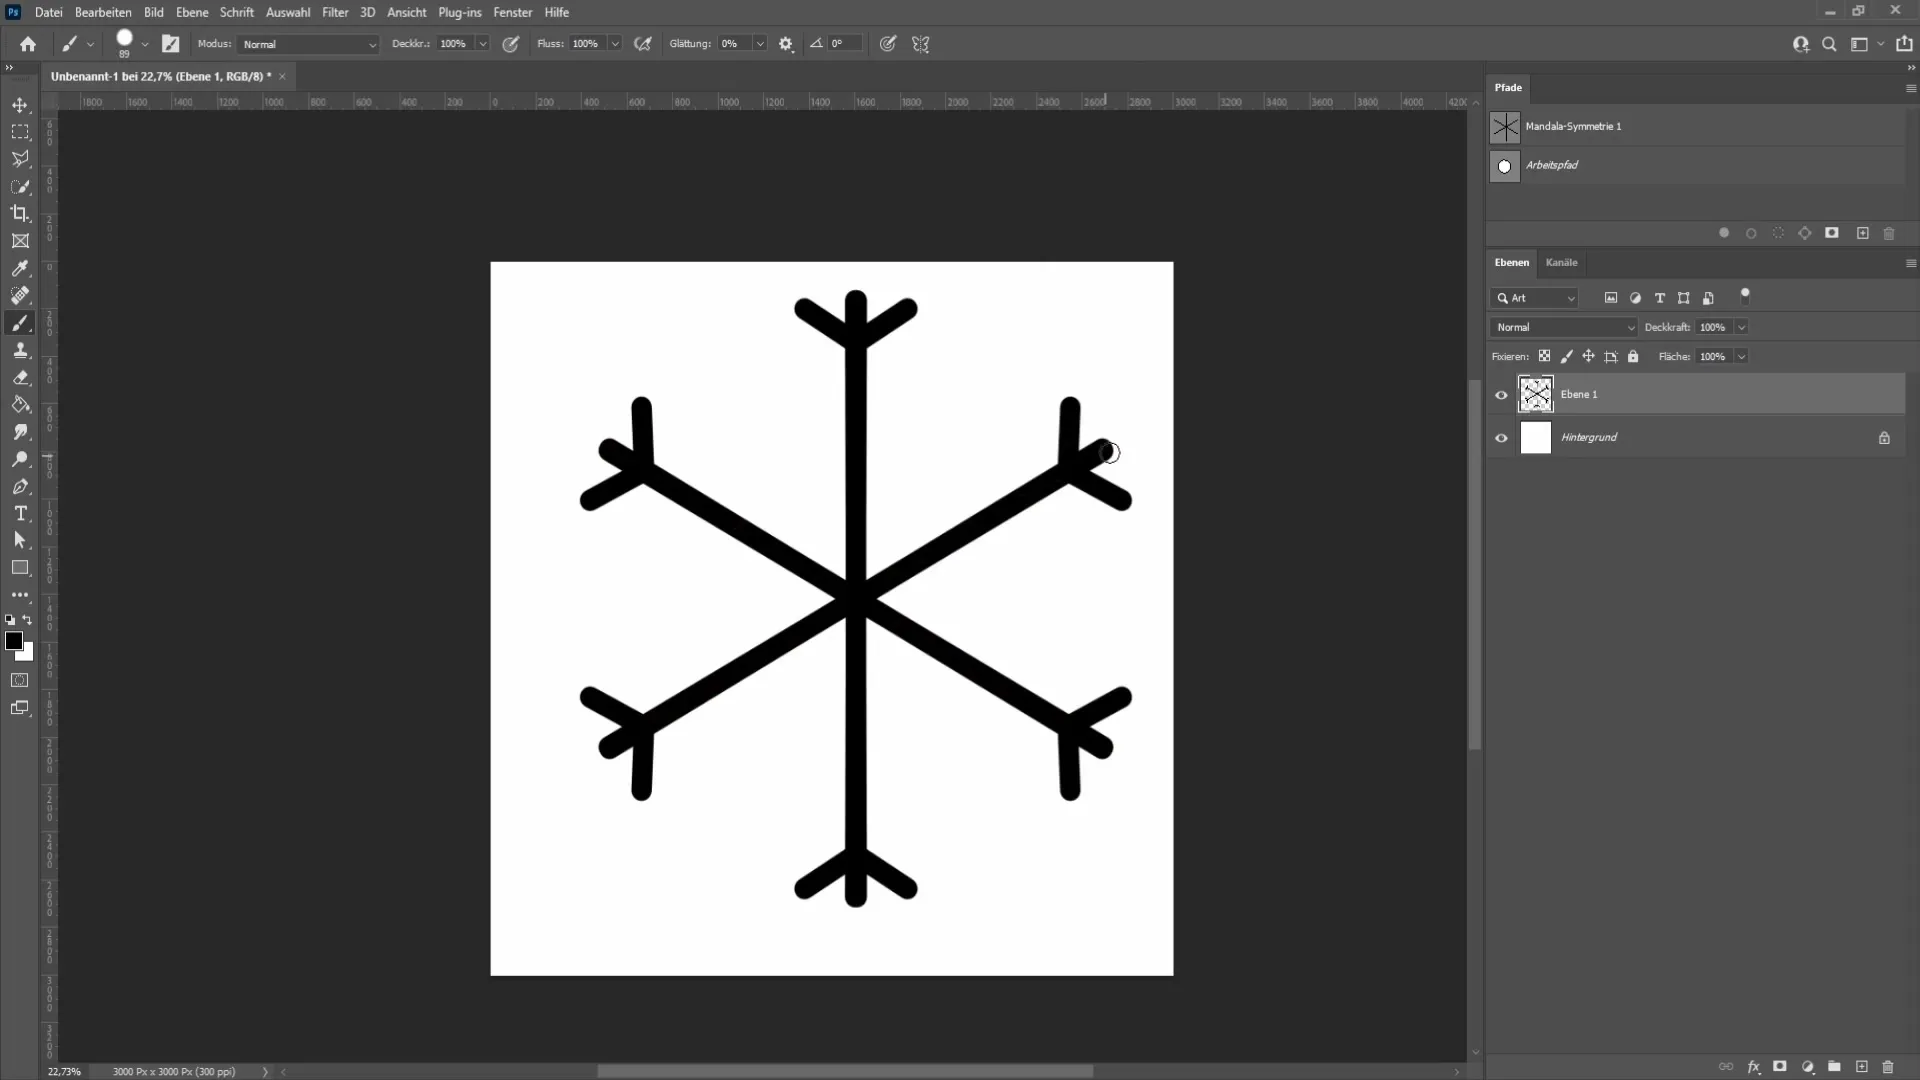
If you no longer like the segment lines, you can simply hide them. Click again on the butterfly icon and then on "Turn off symmetry." This will remove the lines, allowing you to freely paint the snowflake.
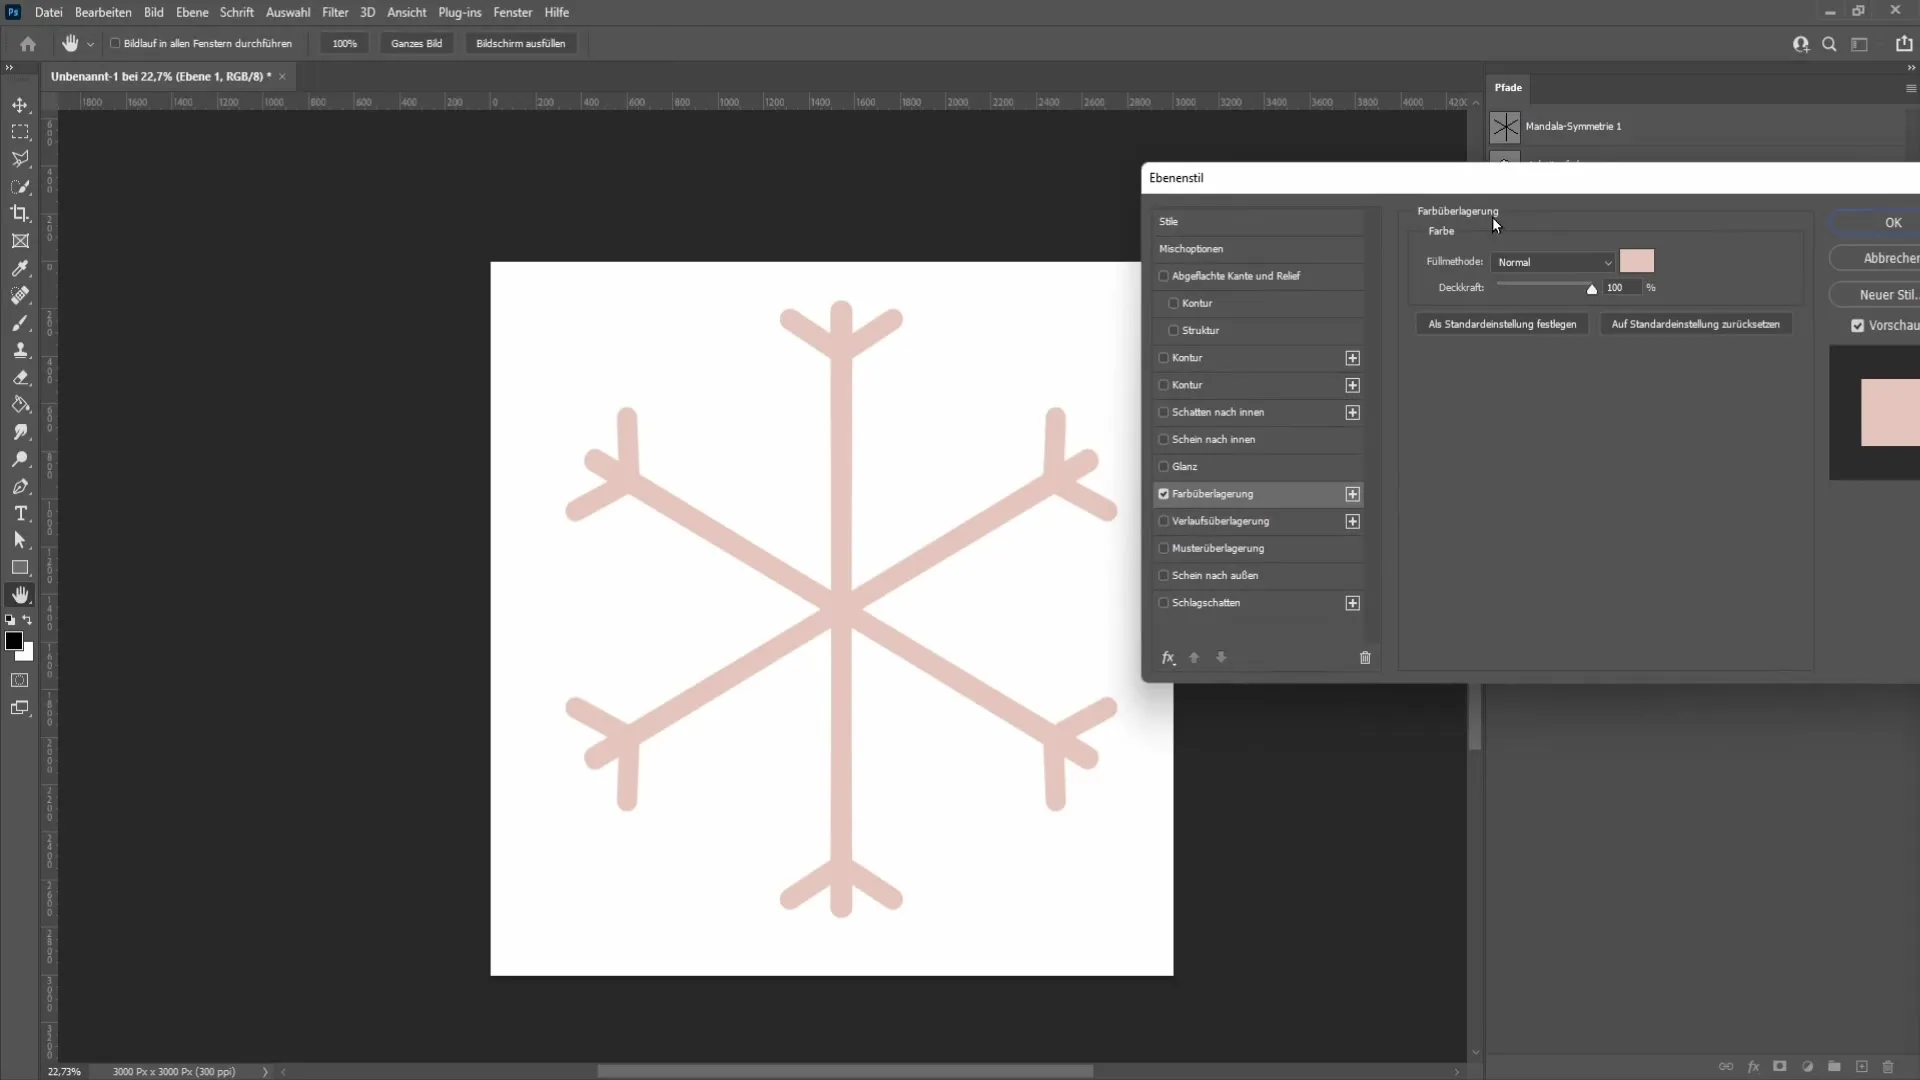
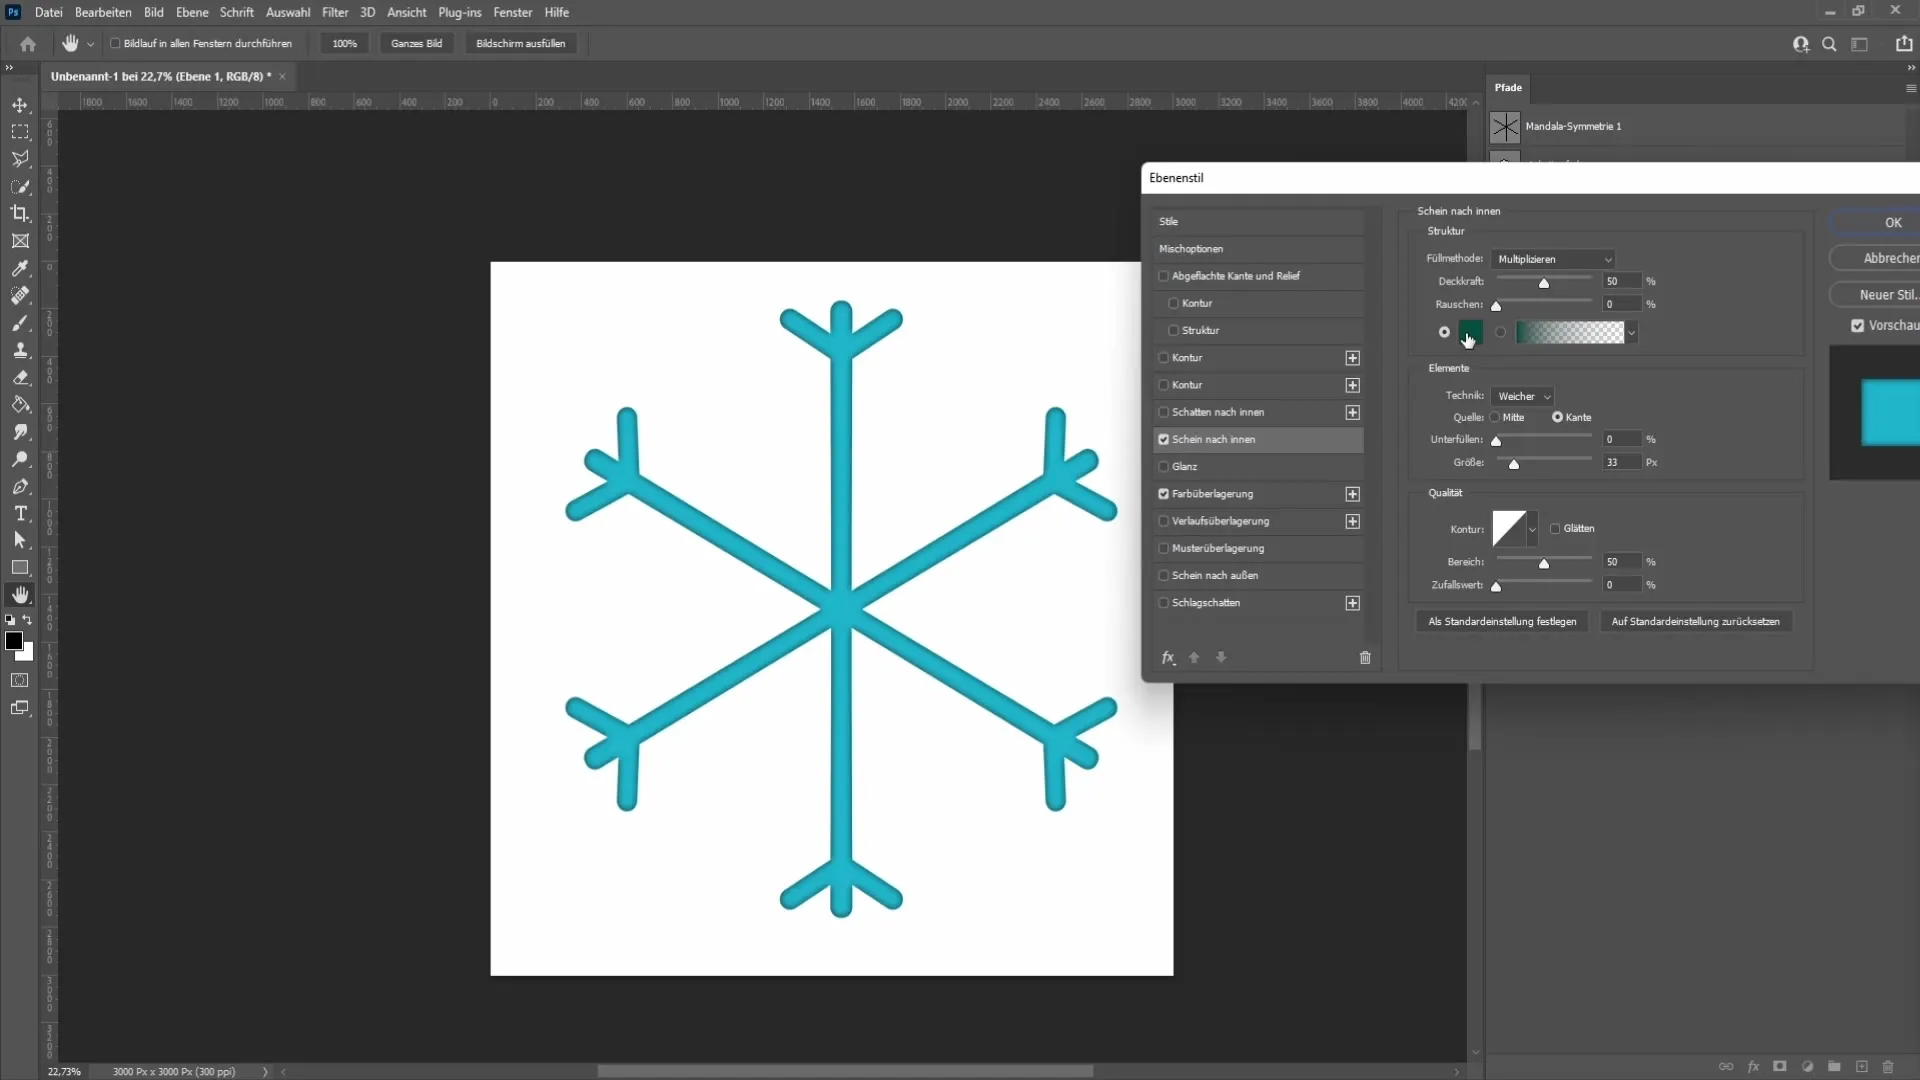
To give your snowflake a bit more life, you may want to change the color. Double click on the layer of your snowflake to open the layer styles. Choose "Color Overlay" and click on the color box to select a suitable color. Blue is a good choice for snowflakes.
To further refine the appearance, activate the "Inner Glow" effect and set the color to white. Experiment with the settings to optimize the appearance.
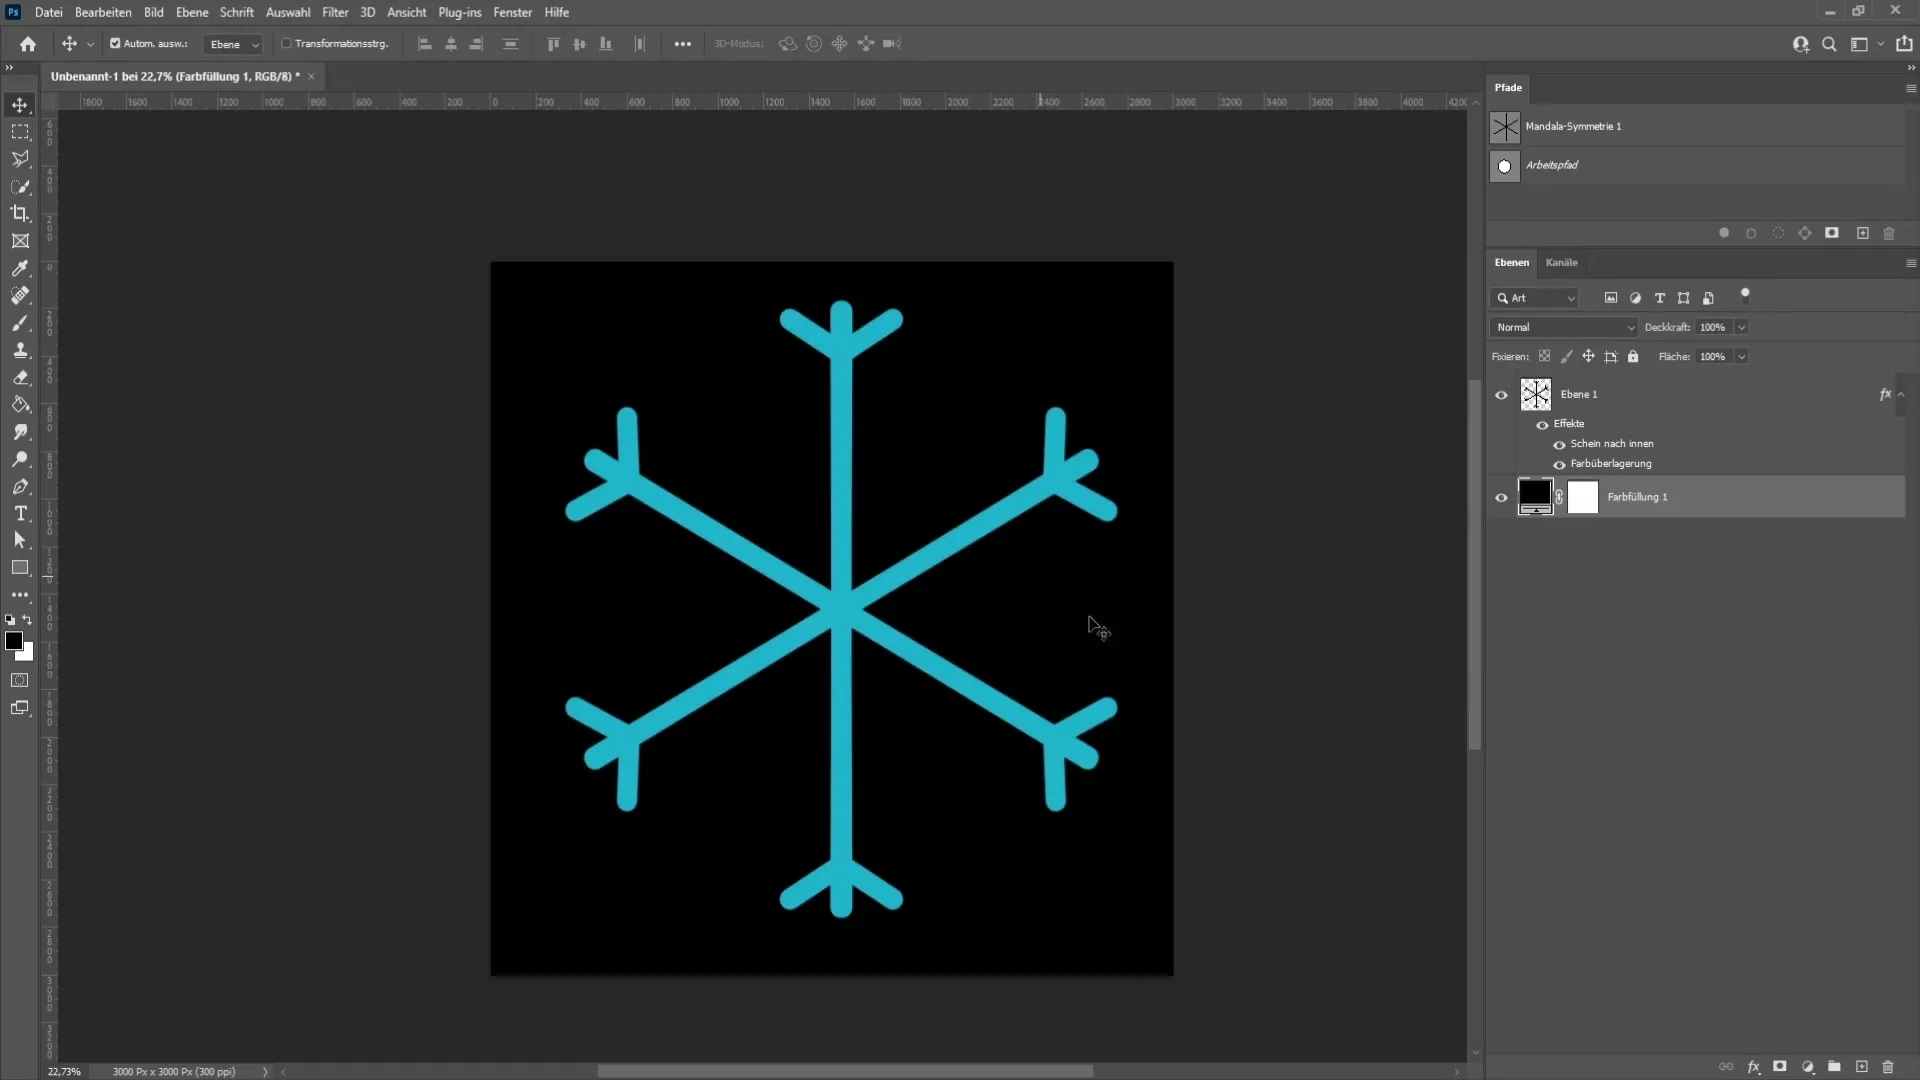
If you want to insert a background color to test the contrast, you can do so. A black color surface will help you visualize the color and effects better.
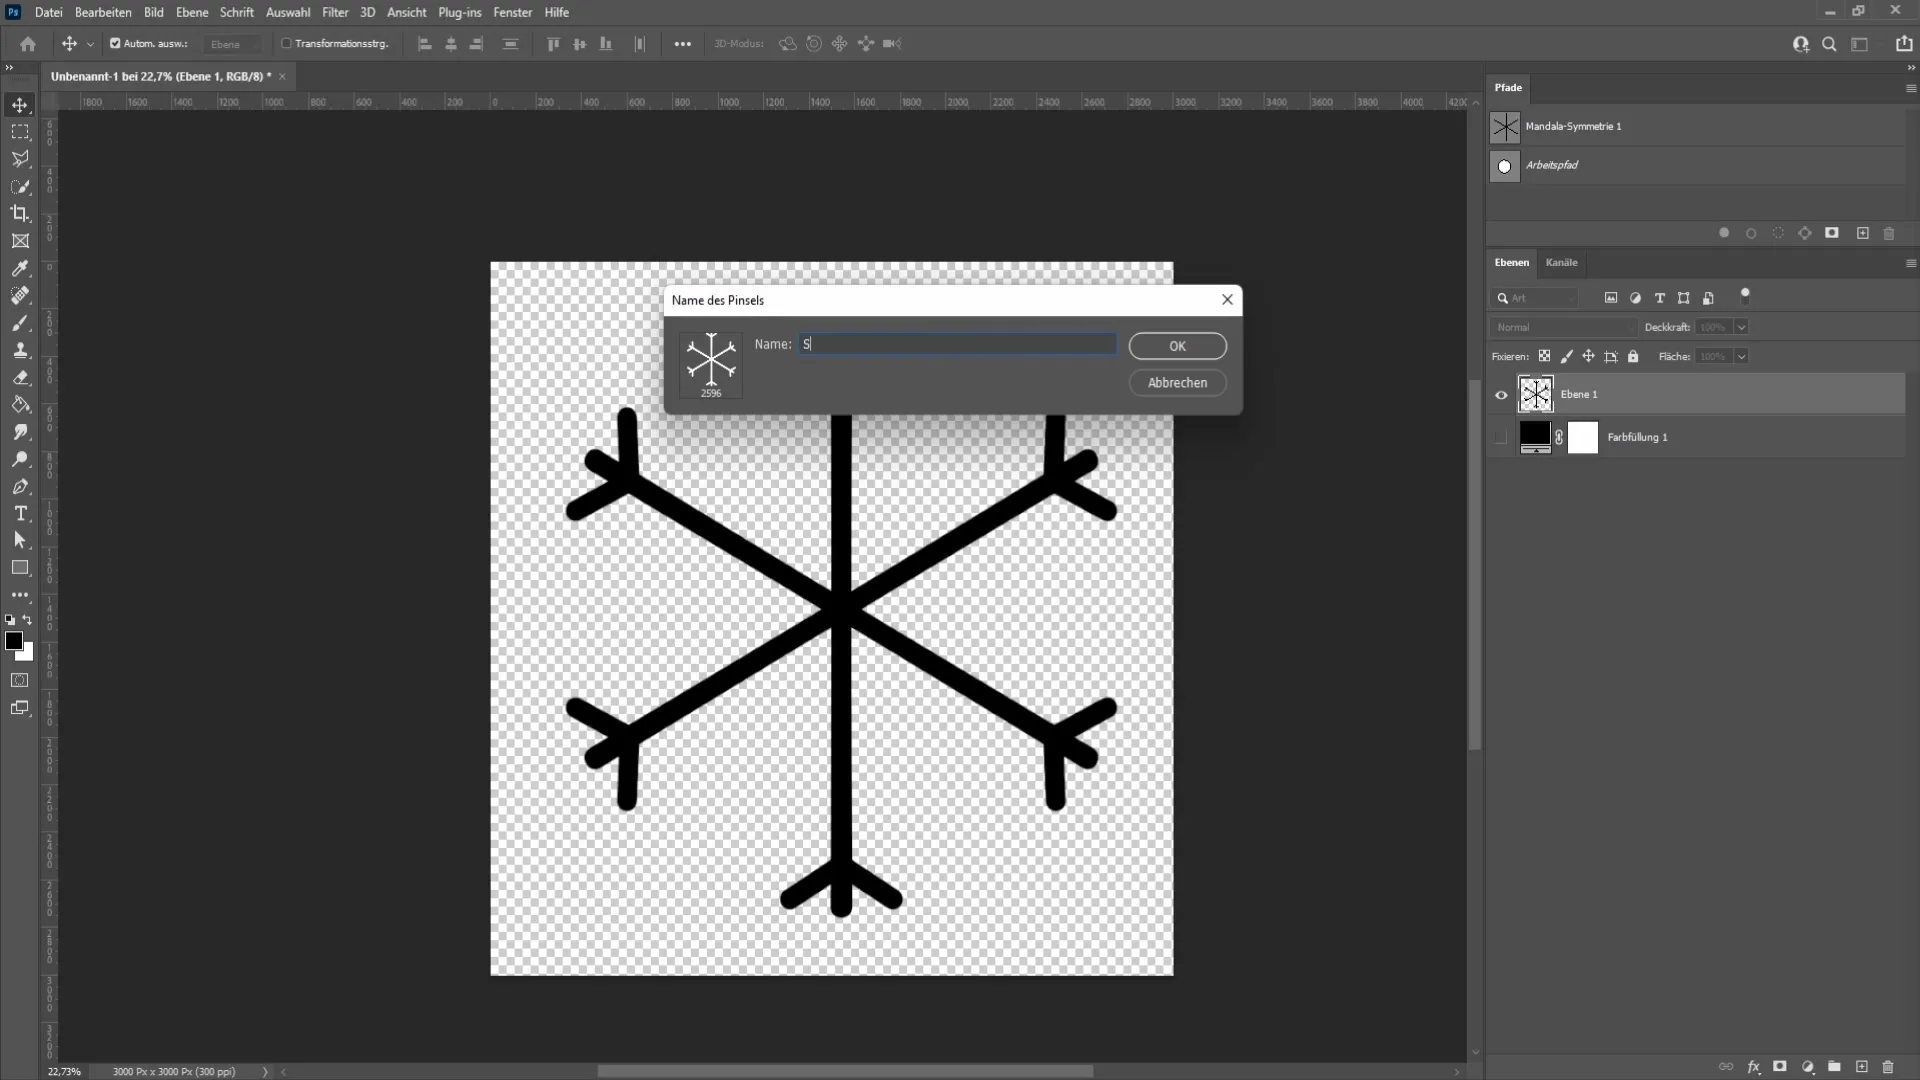
If your snowflake looks good, you can save it as a brush. Go to "Edit" and select "Define Brush Preset". Give your snowflake a name, for example "Snowflake", and click "OK". Now you have saved your snowflake brush.
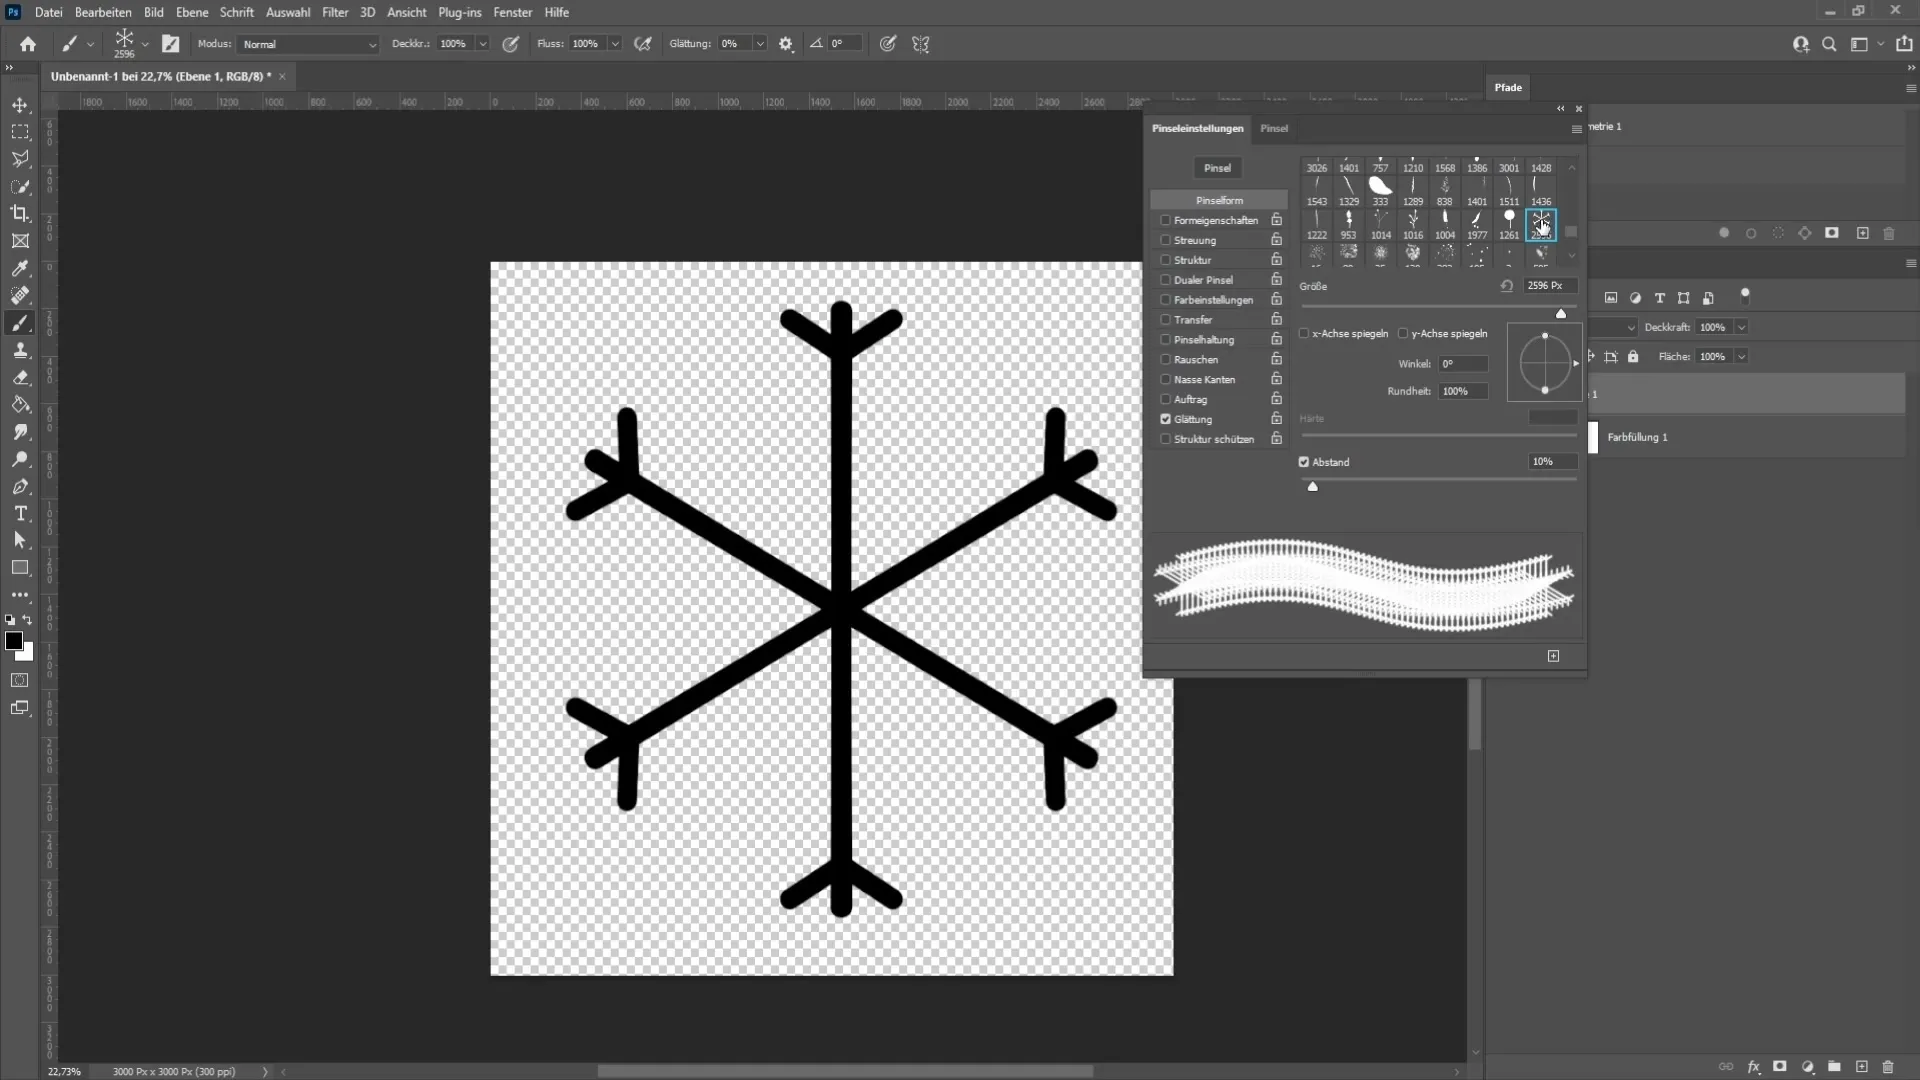
To use the brush, go to the brush settings and select your snowflake from the list. Now you can use it in your designs anytime.
If you want to save the snowflake as a shape, you must first create a selection of the snowflake. Hold down the control key and click on the preview of your snowflake layer. Create a work path by going to "Select" and then to "Define Custom Shape". Set the tolerance to 1.0 pixel for precise shape.
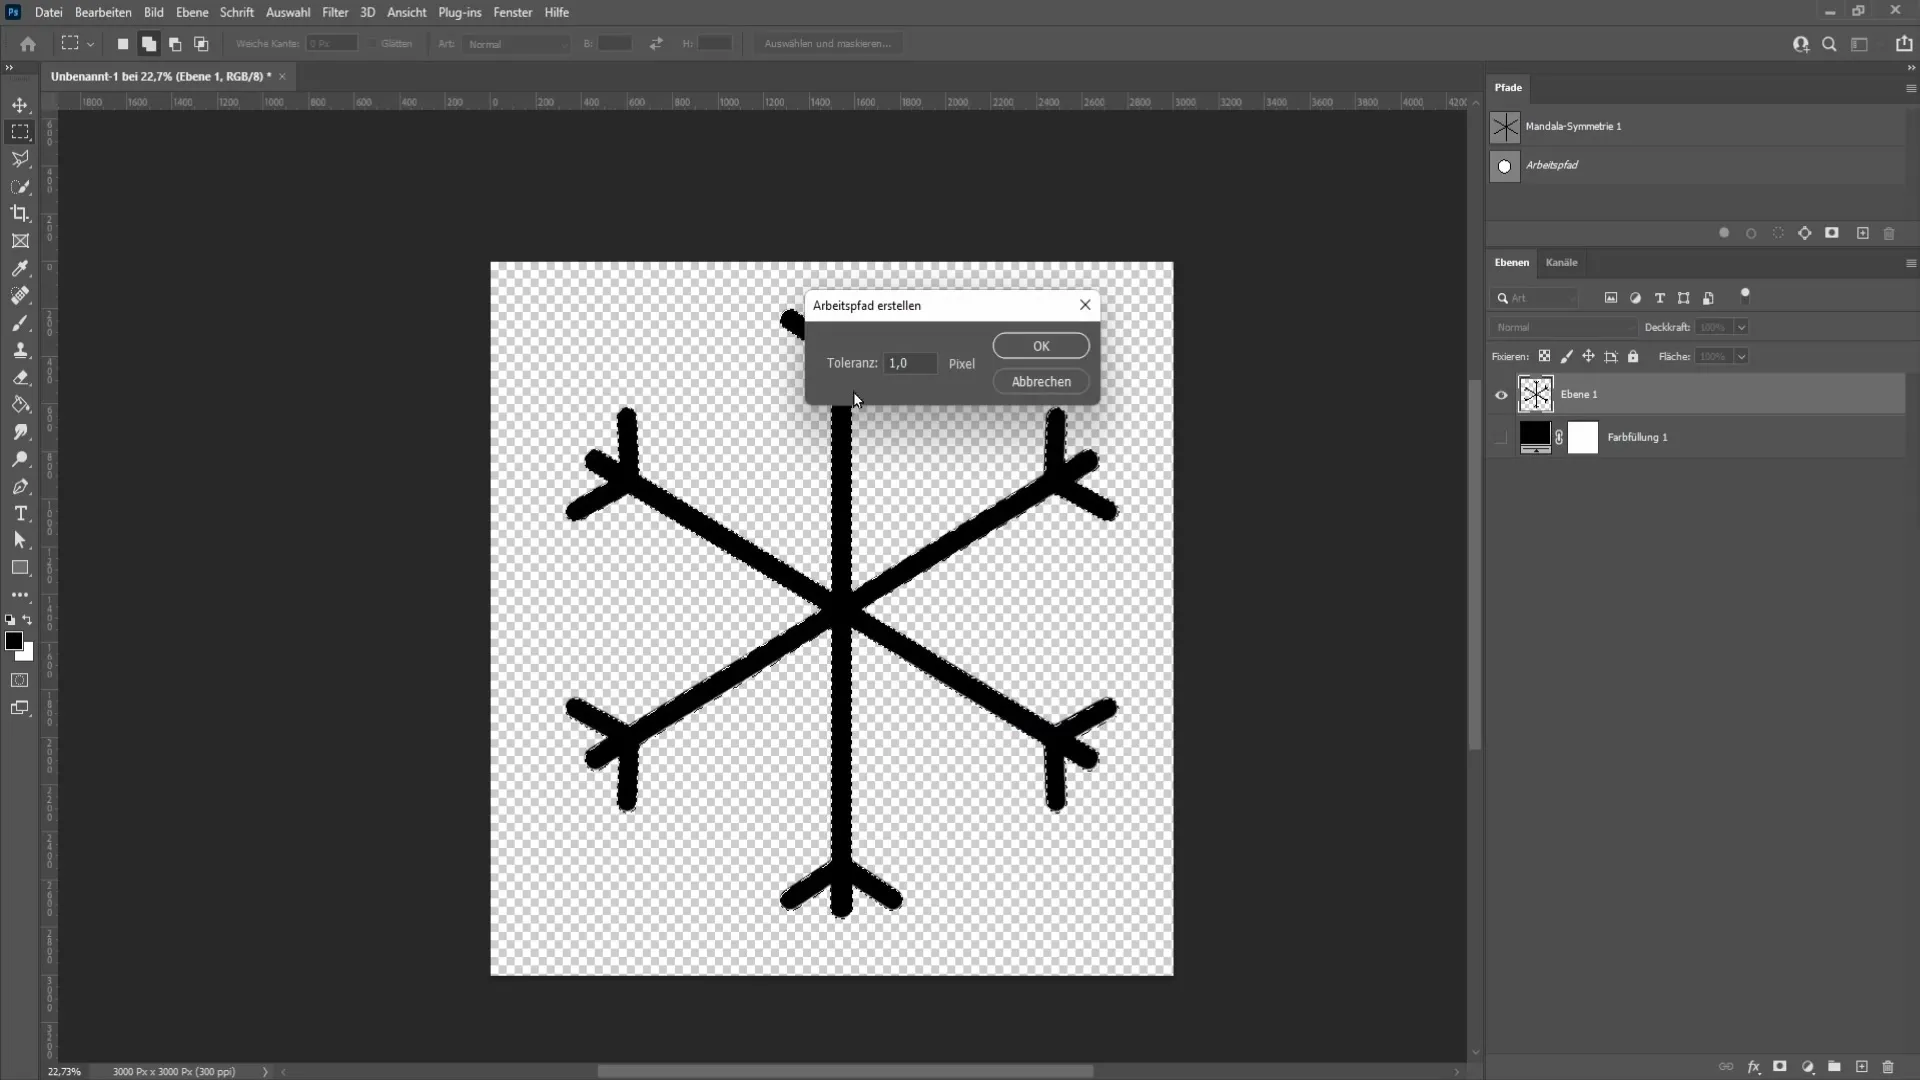
After creating the shape, go back to "Edit" and select "Define Custom Shape". Name your new shape and click "OK" again.
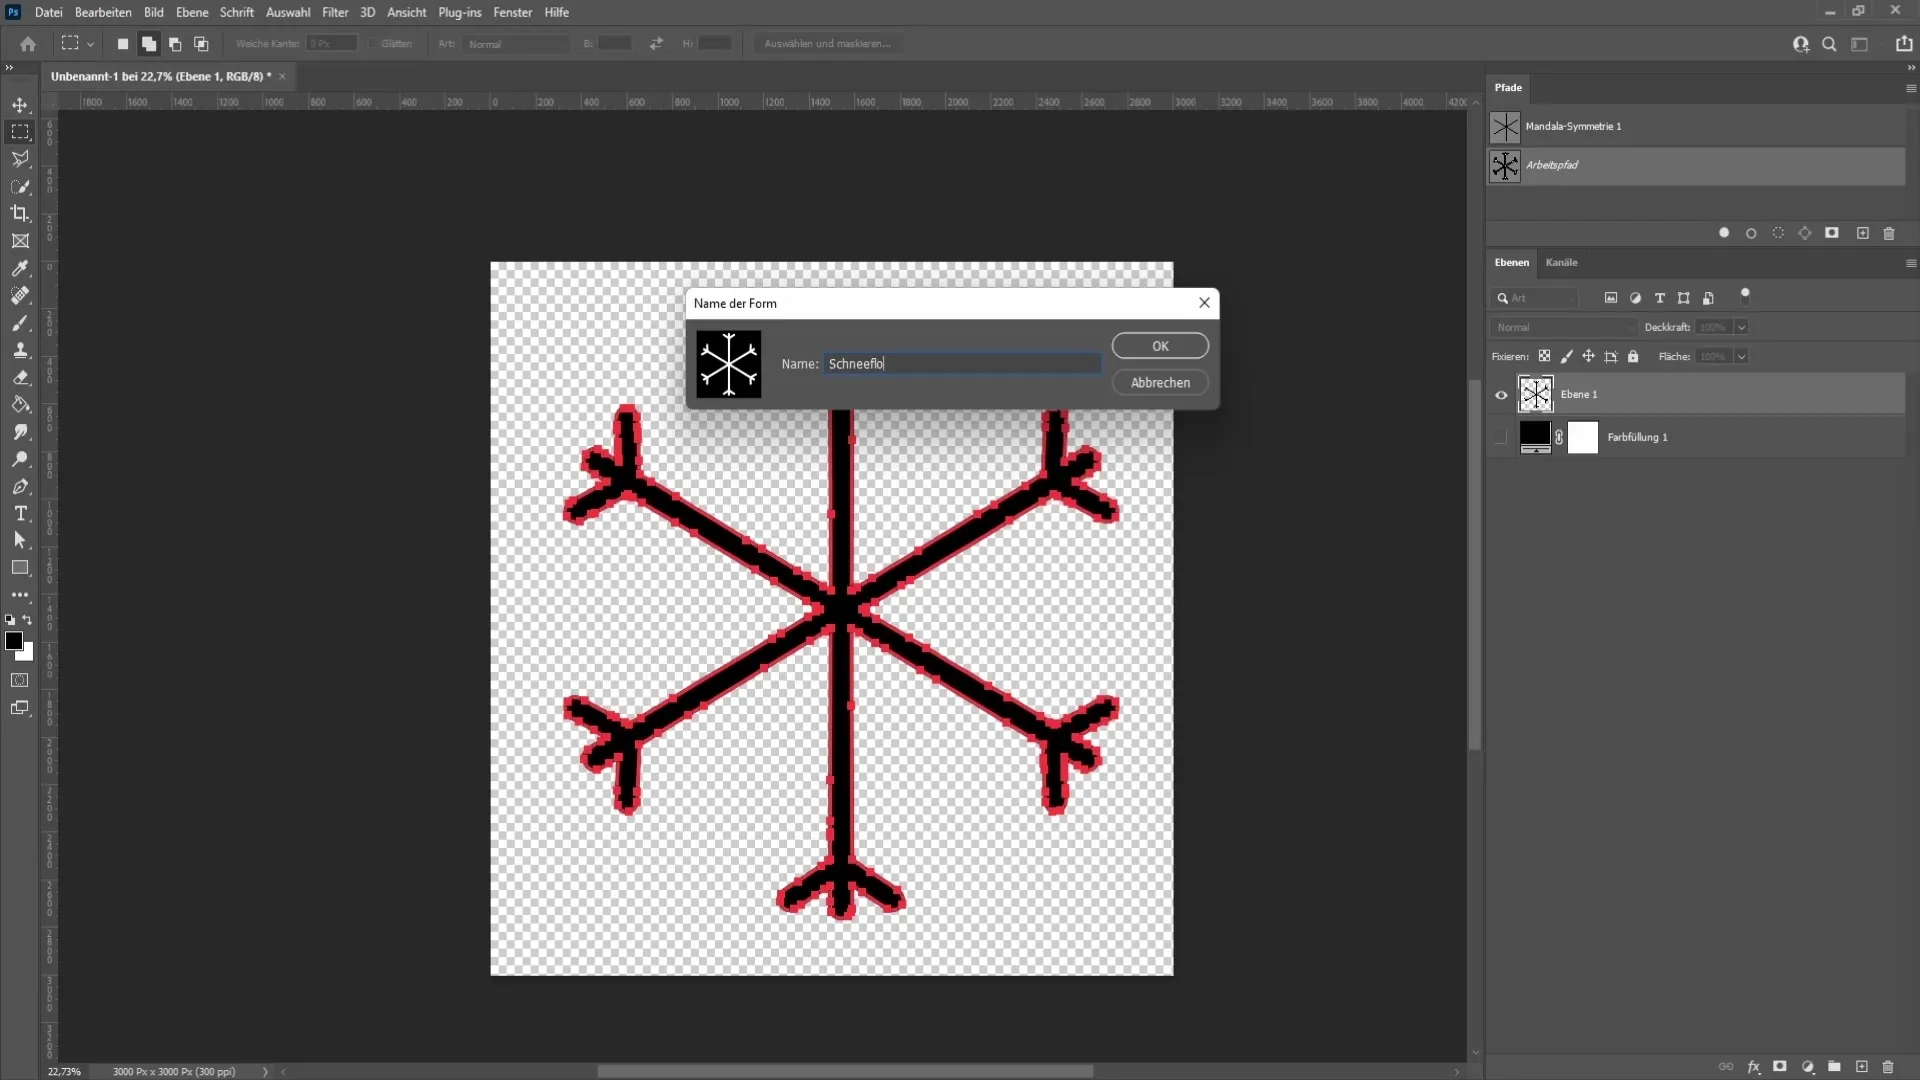
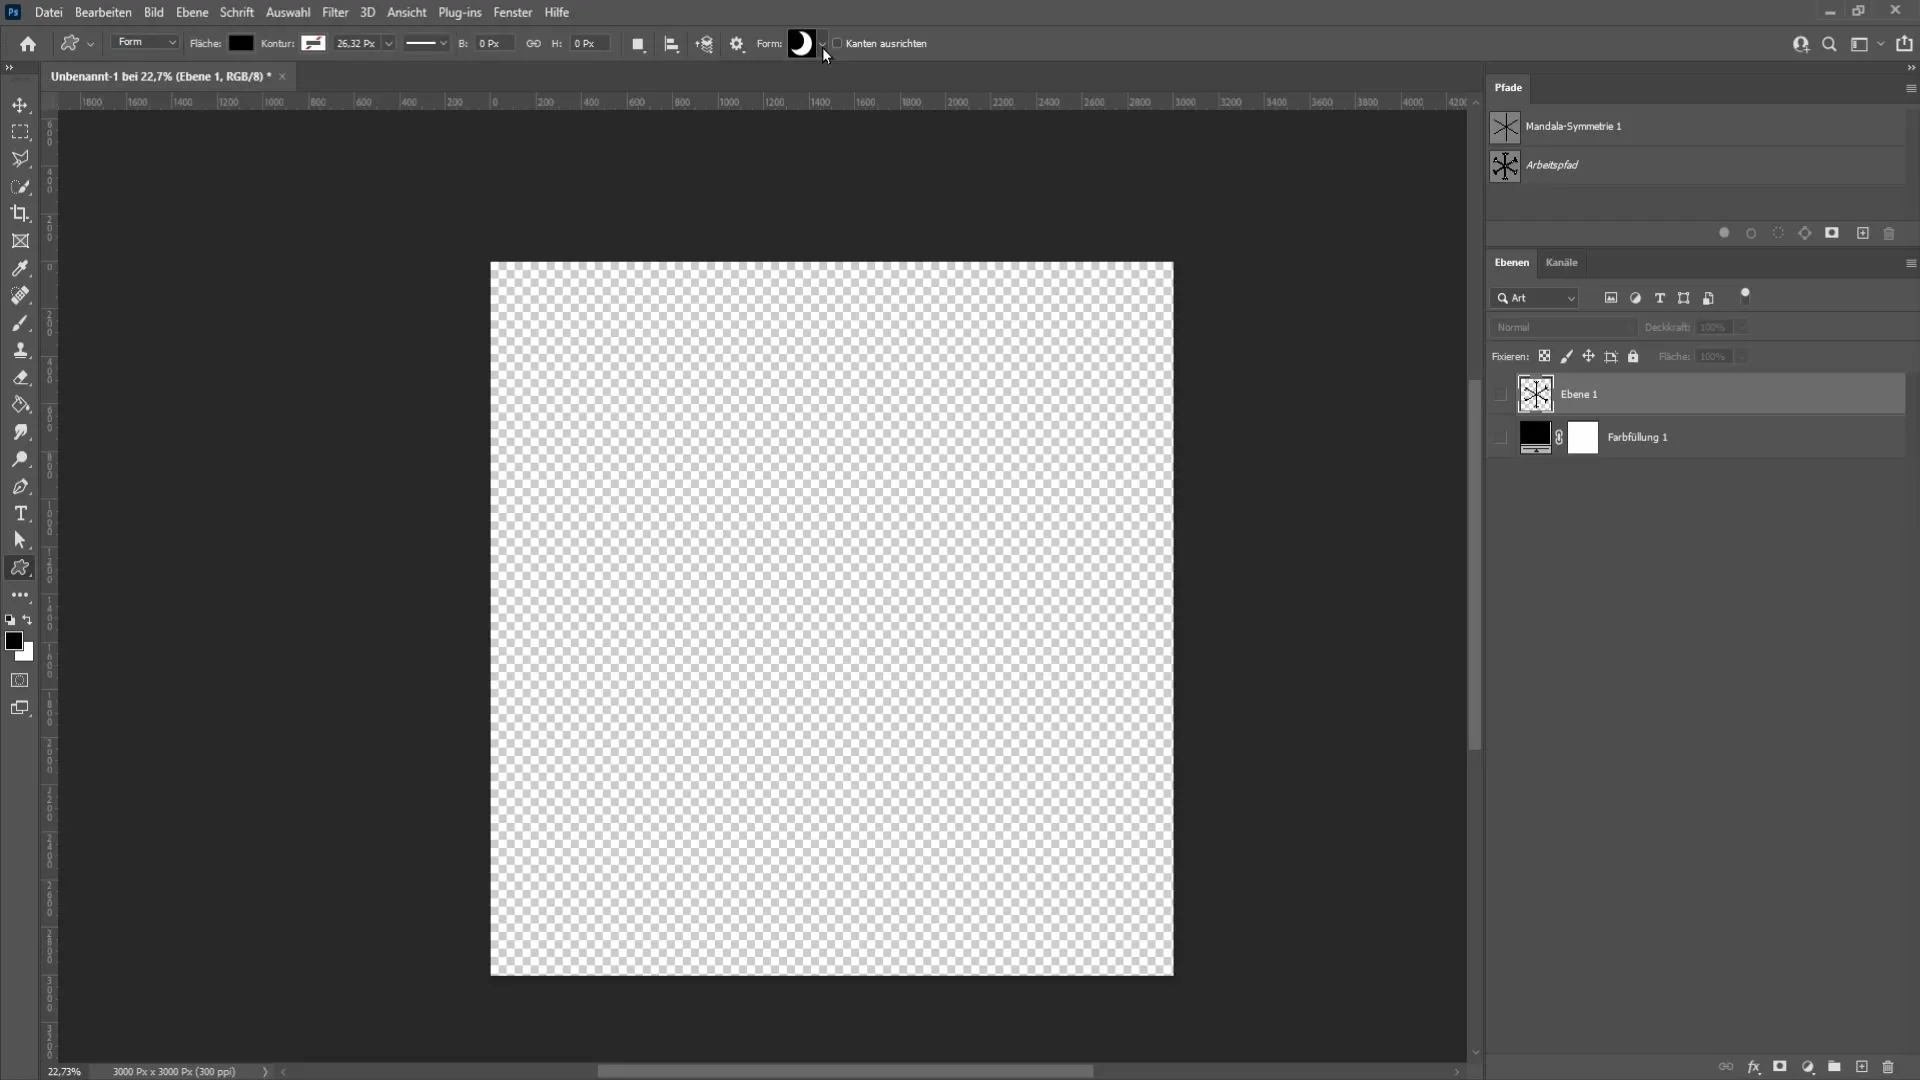
Now your snowflake is saved as a shape! You will find it among the shape tools in Photoshop. There you can use it to create versatile designs.
Summary - Guide: Creating Snowflakes in Photoshop
In this guide, you have learned step by step how to create a snowflake in Photoshop. From creating a new document to drawing the snowflake and saving it as a brush or custom shape - these techniques will help you design creative winter designs.
Frequently Asked Questions
How can I draw the snowflake in a different color?You can change the color of the snowflake by double-clicking on the layer and changing the color overlay in the layer styles.
Can I still adjust the snowflake shape later?Yes, you can adjust the shape at any time by editing the layer or changing the shapes in the shape tool.
How do I save the snowflake as a brush?You can save the snowflake as a brush by going to "Edit" > "Define Brush Preset" and giving it a name.


