In this tutorial, you will learn step by step how to create realistic sparkle brushes in Photoshop. Sparkles are small, twinkling points that are often used in digital art to give images a special shine. With the right techniques, you can achieve appealing effects and bring more depth and liveliness to your images. Let's start without further delay!
Main Takeaways
- You can create sparkles using selection tools and filters in Photoshop.
- Working with layers is crucial for clean results.
- Saving your creation as a brush allows for easy reusability.
Step-by-Step Guide
First, make sure Photoshop is open and you have created a new project. You are ready to create your sparkles!
Create New Layer and Use Selection Tool
Start by deleting the current layer to start a new work. Create a new layer. Select the ellipse tool from the toolbar and draw a circle on the workspace. Make sure the selection is slightly smaller than the desired effect, as we will work on it later. The circle will be the base for your sparkles.
Fill Area
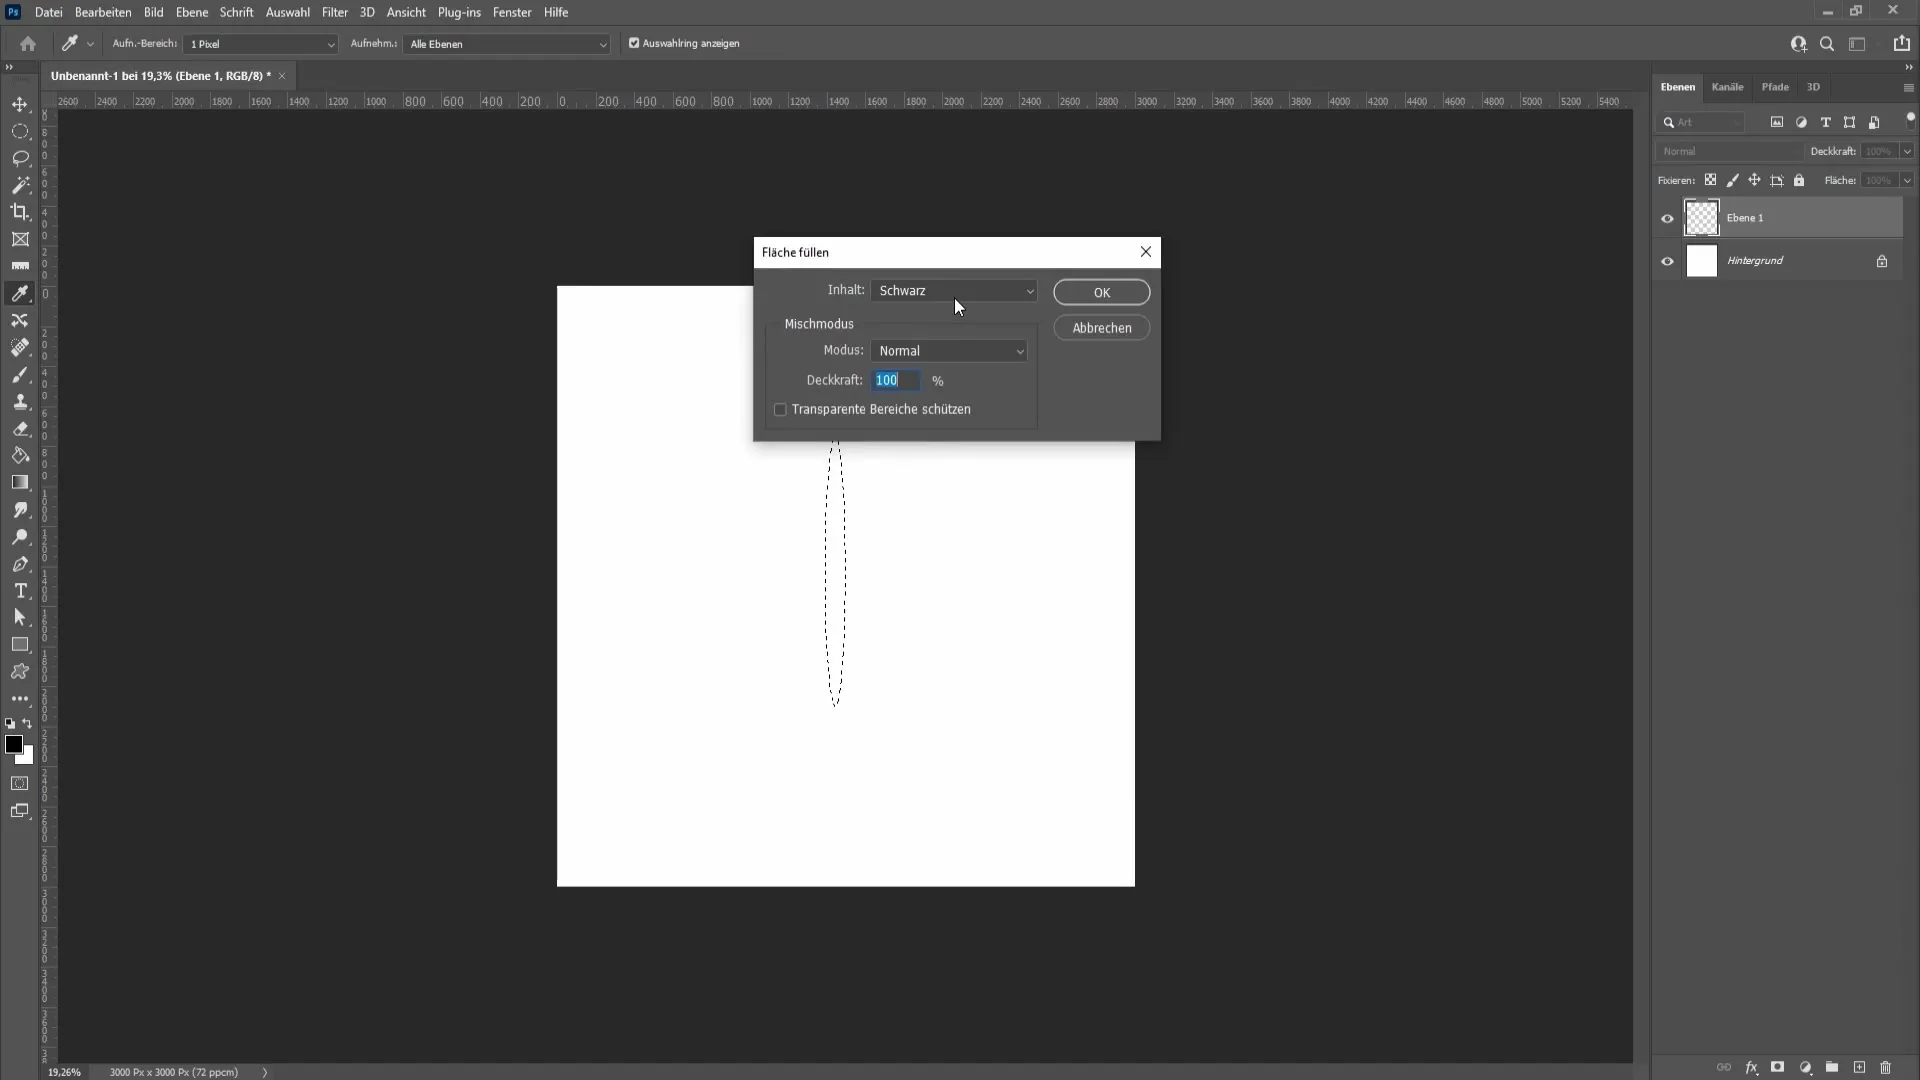
Right-click on the circle and choose "Fill Area". Here, you have the option to set the fill color to black or choose the foreground color if set to black. Confirm the selection by clicking "OK". To deselect, press Ctrl + D.
Apply Motion Blur
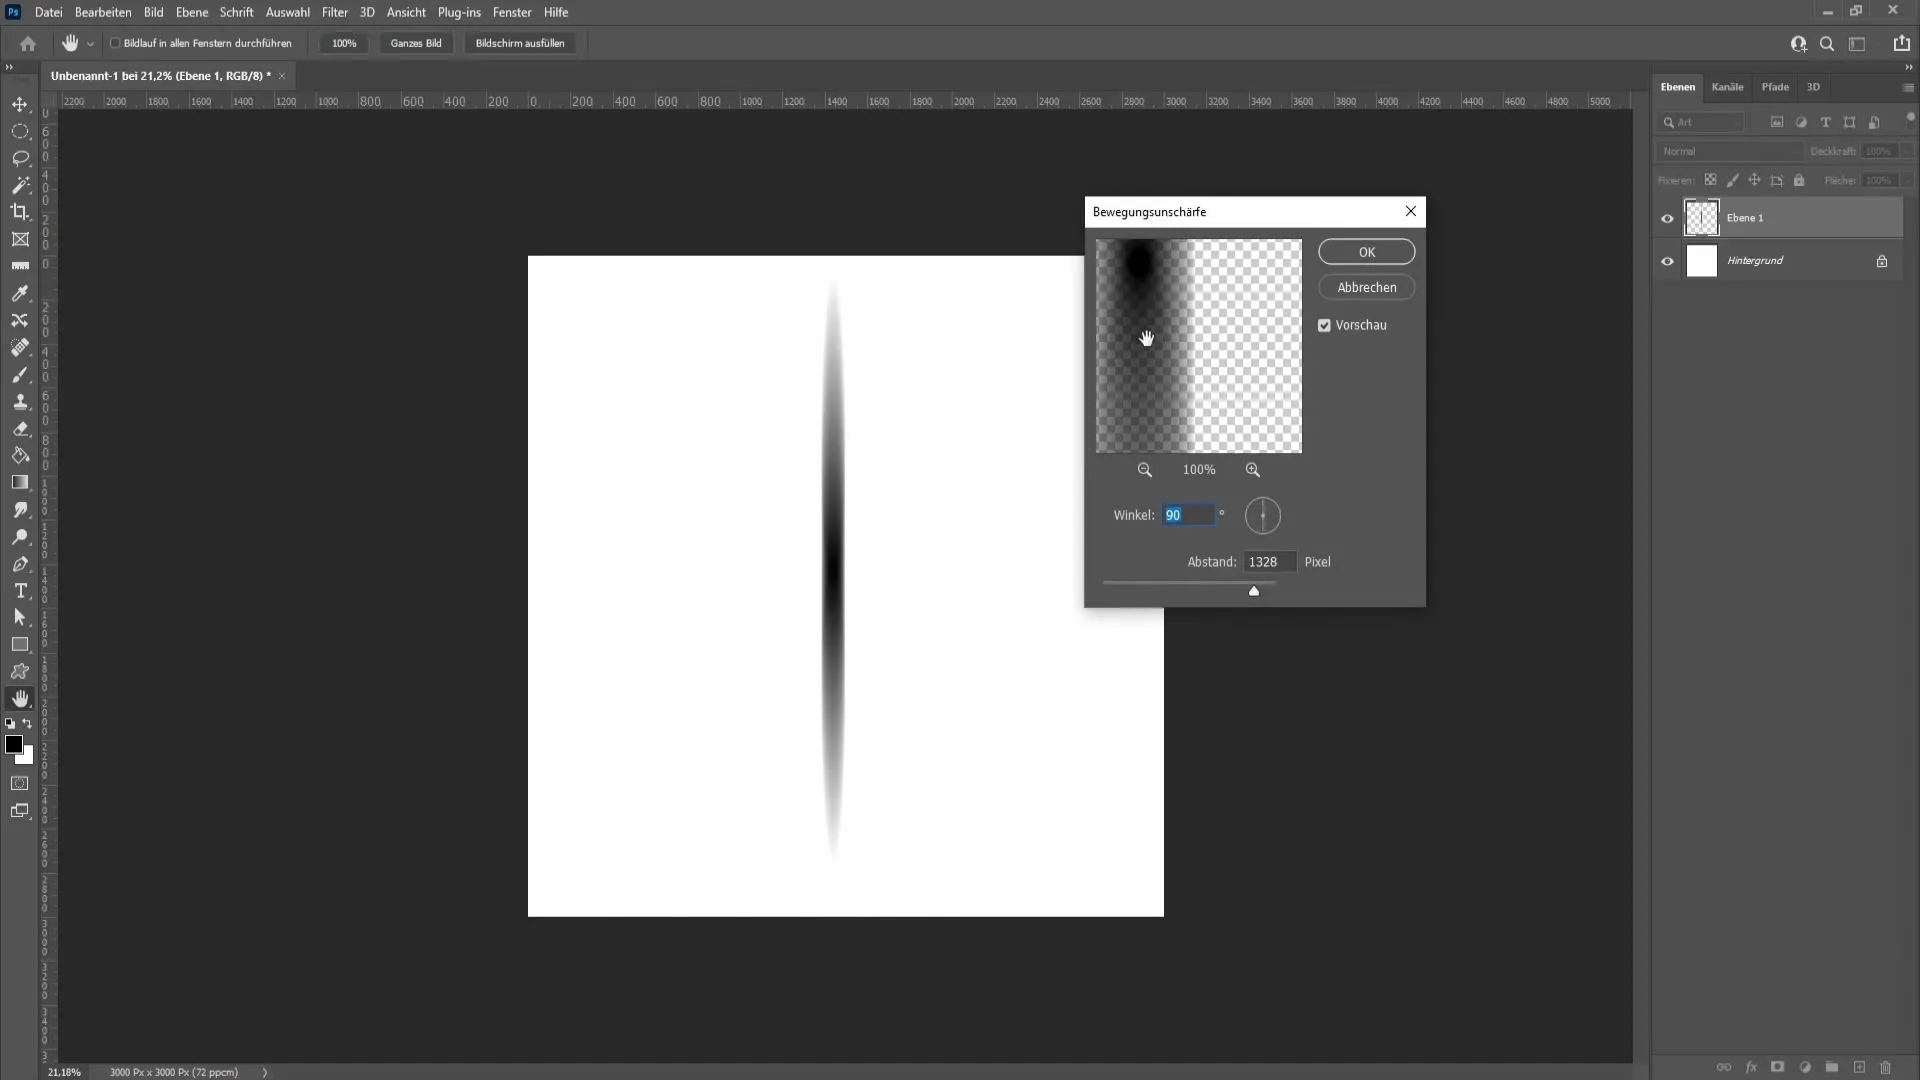
Go to "Filter" in the menu bar and choose "Blur Filters" and then "Motion Blur". Experiment with the values to achieve the desired blur effect. A distance of about 1328 pixels can look good in many cases. It is important that the black area in the center disappears to achieve a harmonious look. Confirm with "OK" when you are satisfied.
Gaussian Blur
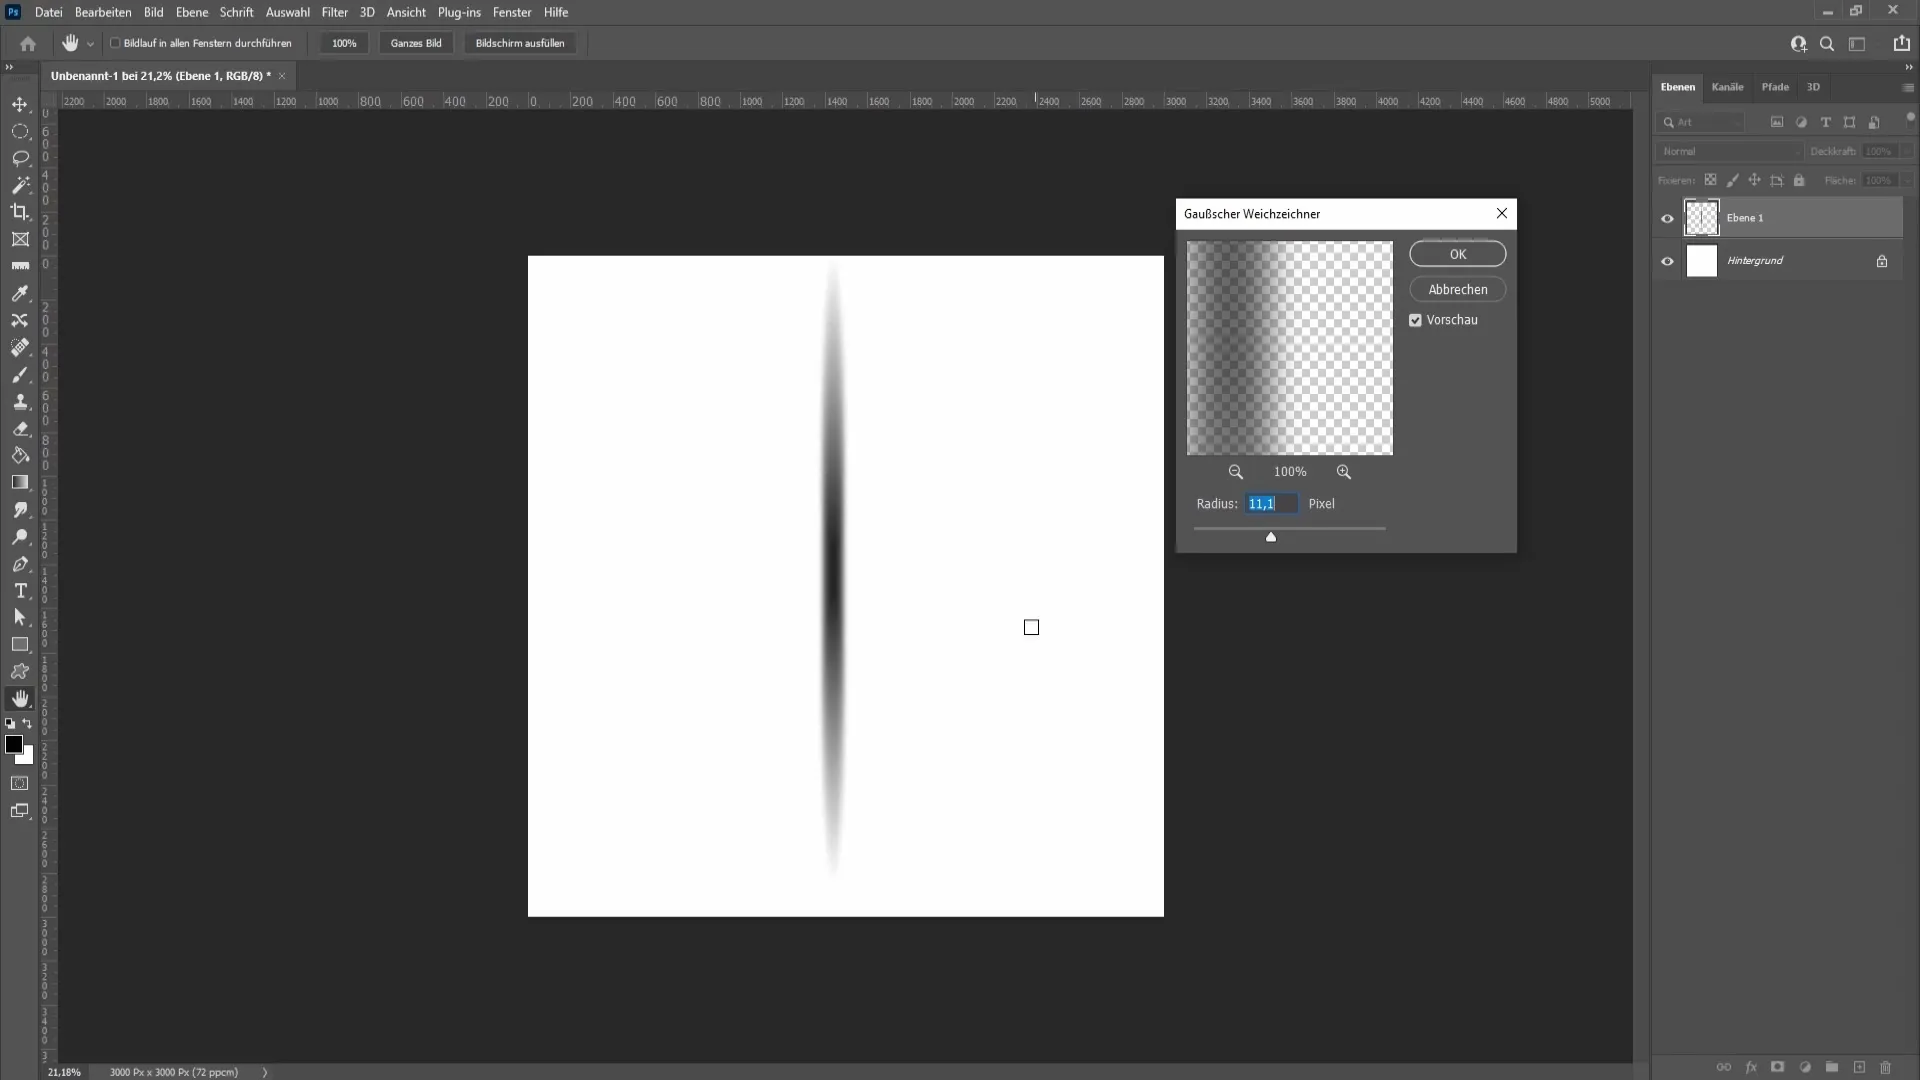
To further enhance the effect, go back to the filter options and choose "Gaussian Blur". Set the radius to about 11.1 to achieve further blurring. You can once again experiment to find the best value for your sparkle.
Duplicate Layers and Transform
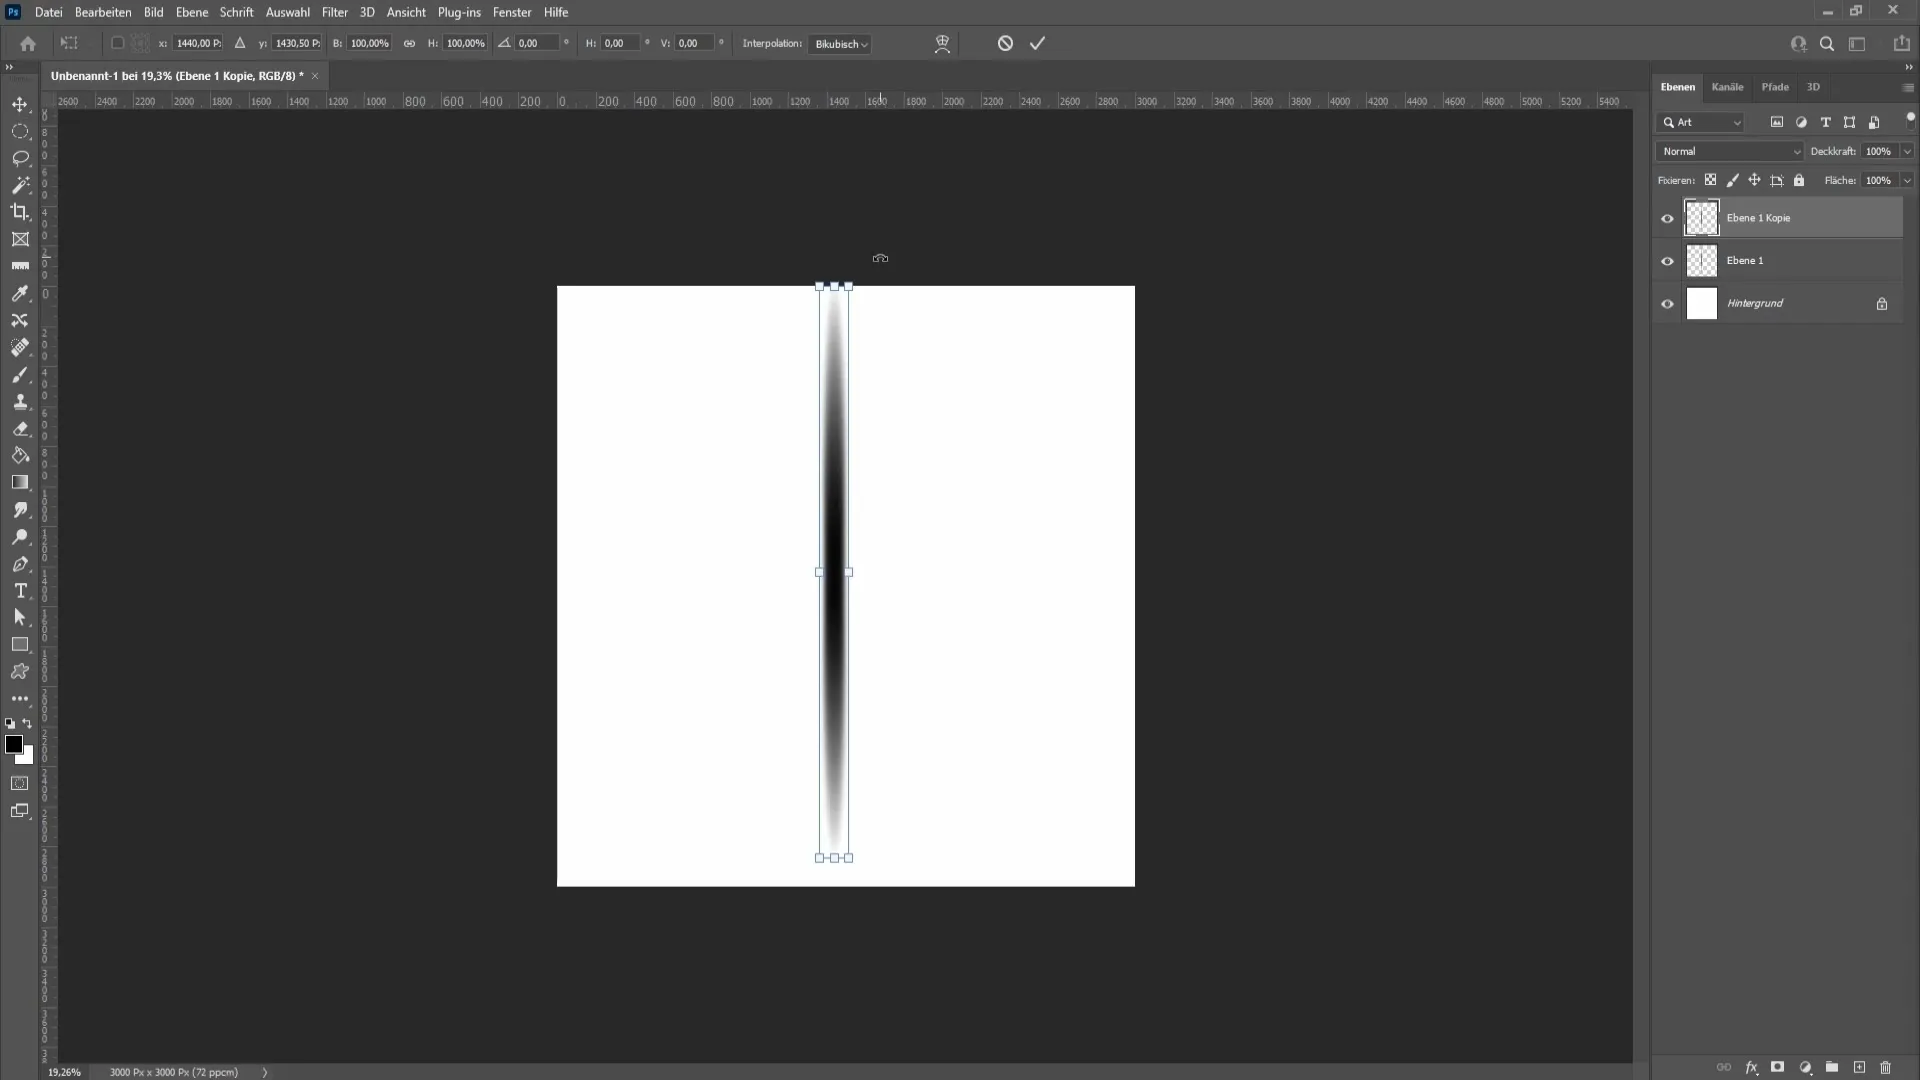
Now it's time to create a copy of the current layer. Press Ctrl + J to create a copy. Then press Ctrl + T to activate the transformation options. Hold down the Shift key while rotating the layer 90 degrees. This ensures that the proportions of your sparkles remain intact.
Additional Transformations
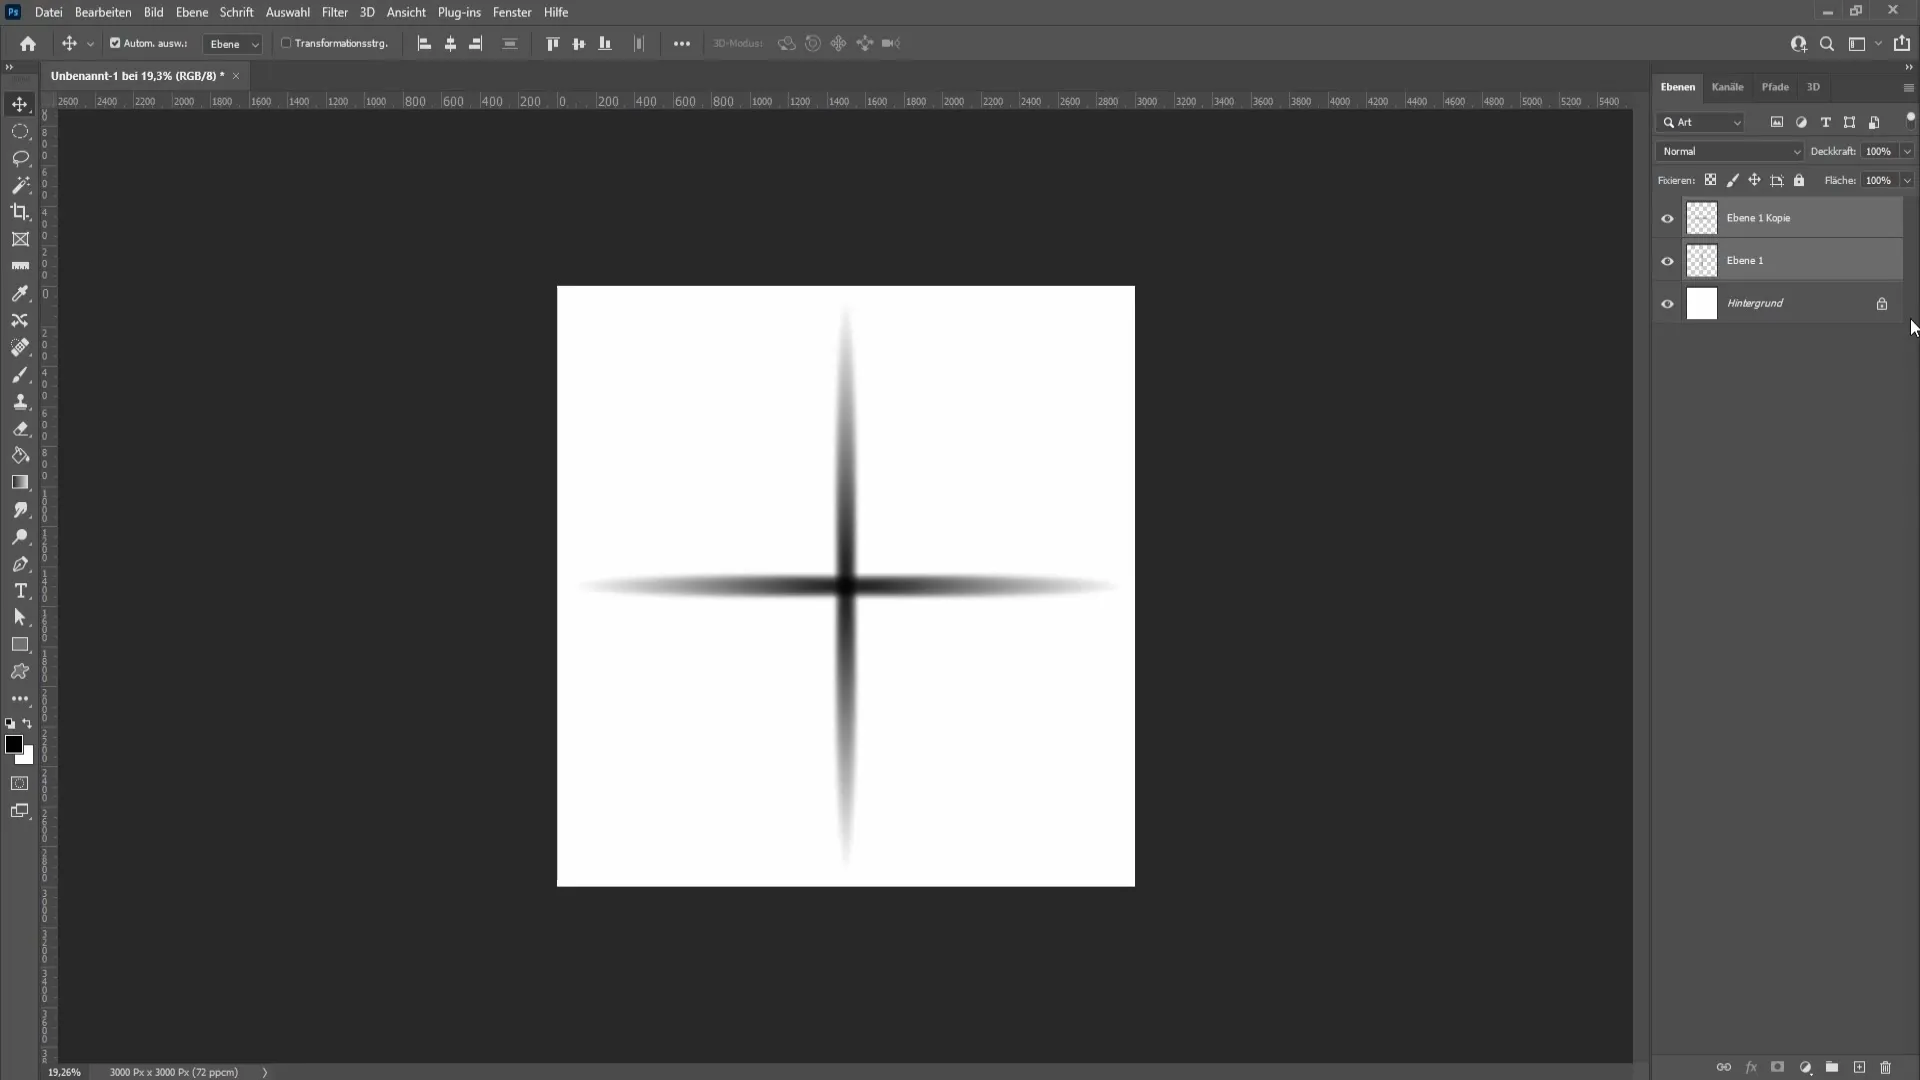
Select the bottom layer again and move it slightly to optimize the alignment. Repeat the process to create another copy of the top layer and change the rotation to 45 degrees. Transform the layer again while maintaining the proportions and adjust as needed.
Create Sparkle Brush
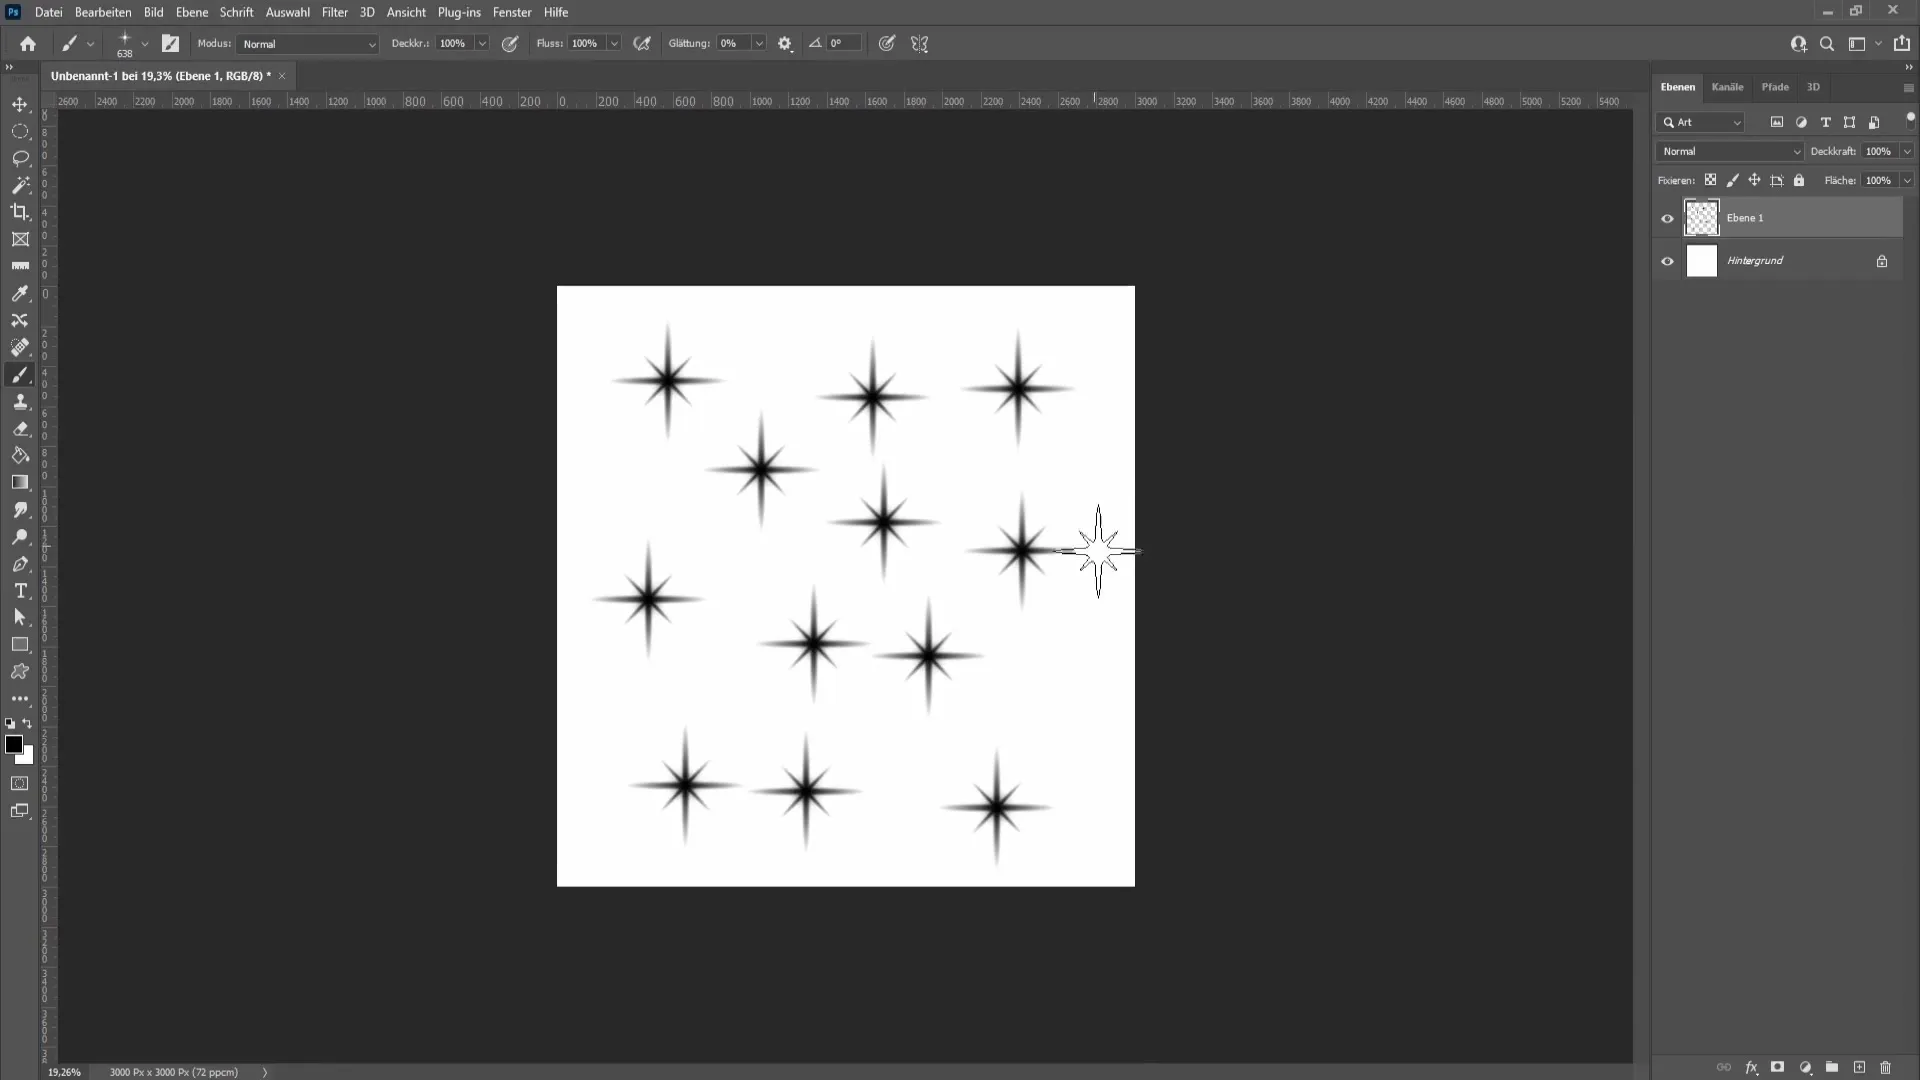
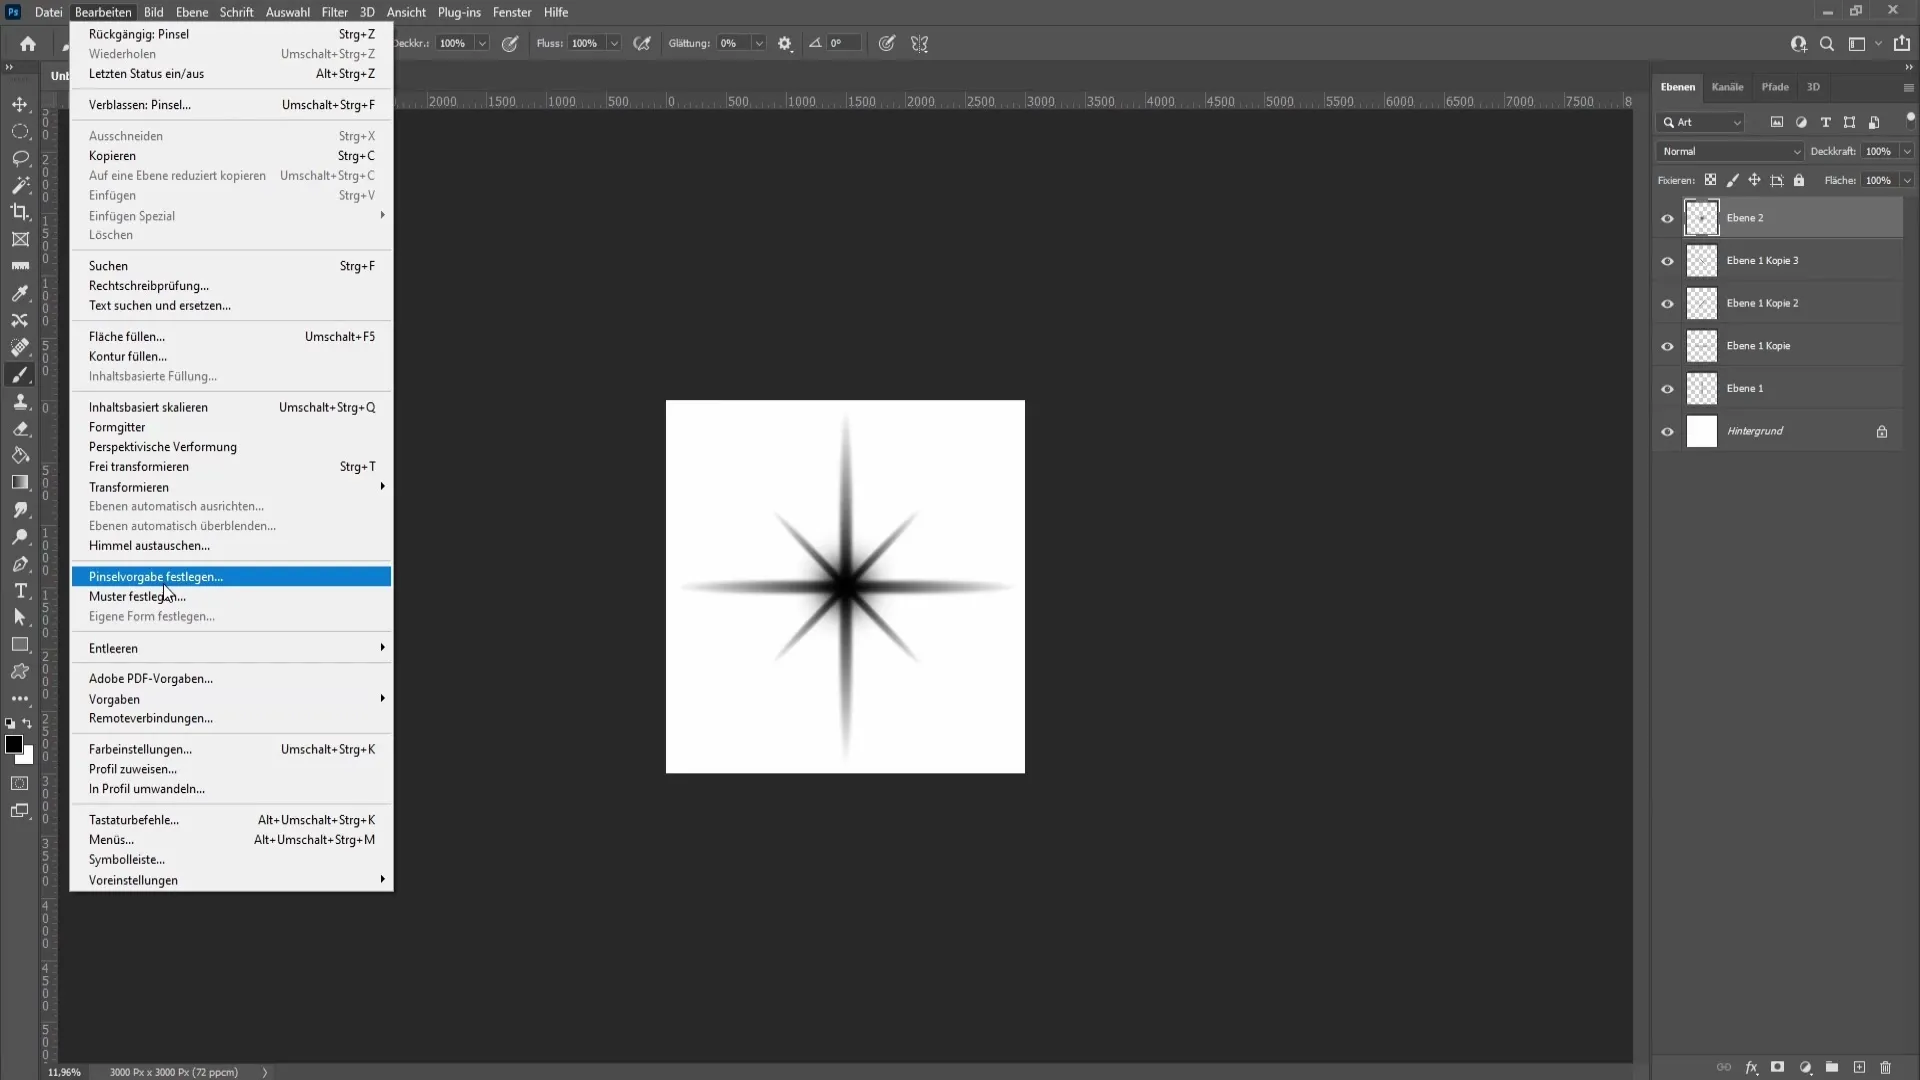
Create a new layer and use a soft brush with a hardness of 0 %. Click where you want to place the center of your sparkles. You have now created the sparkle effect. It is time to save this effect as a brush. Go to "Edit" and then "Define Brush Preset". Name it something like "Sparkle Video" and confirm the selection.
Applying and optimizing sparkles
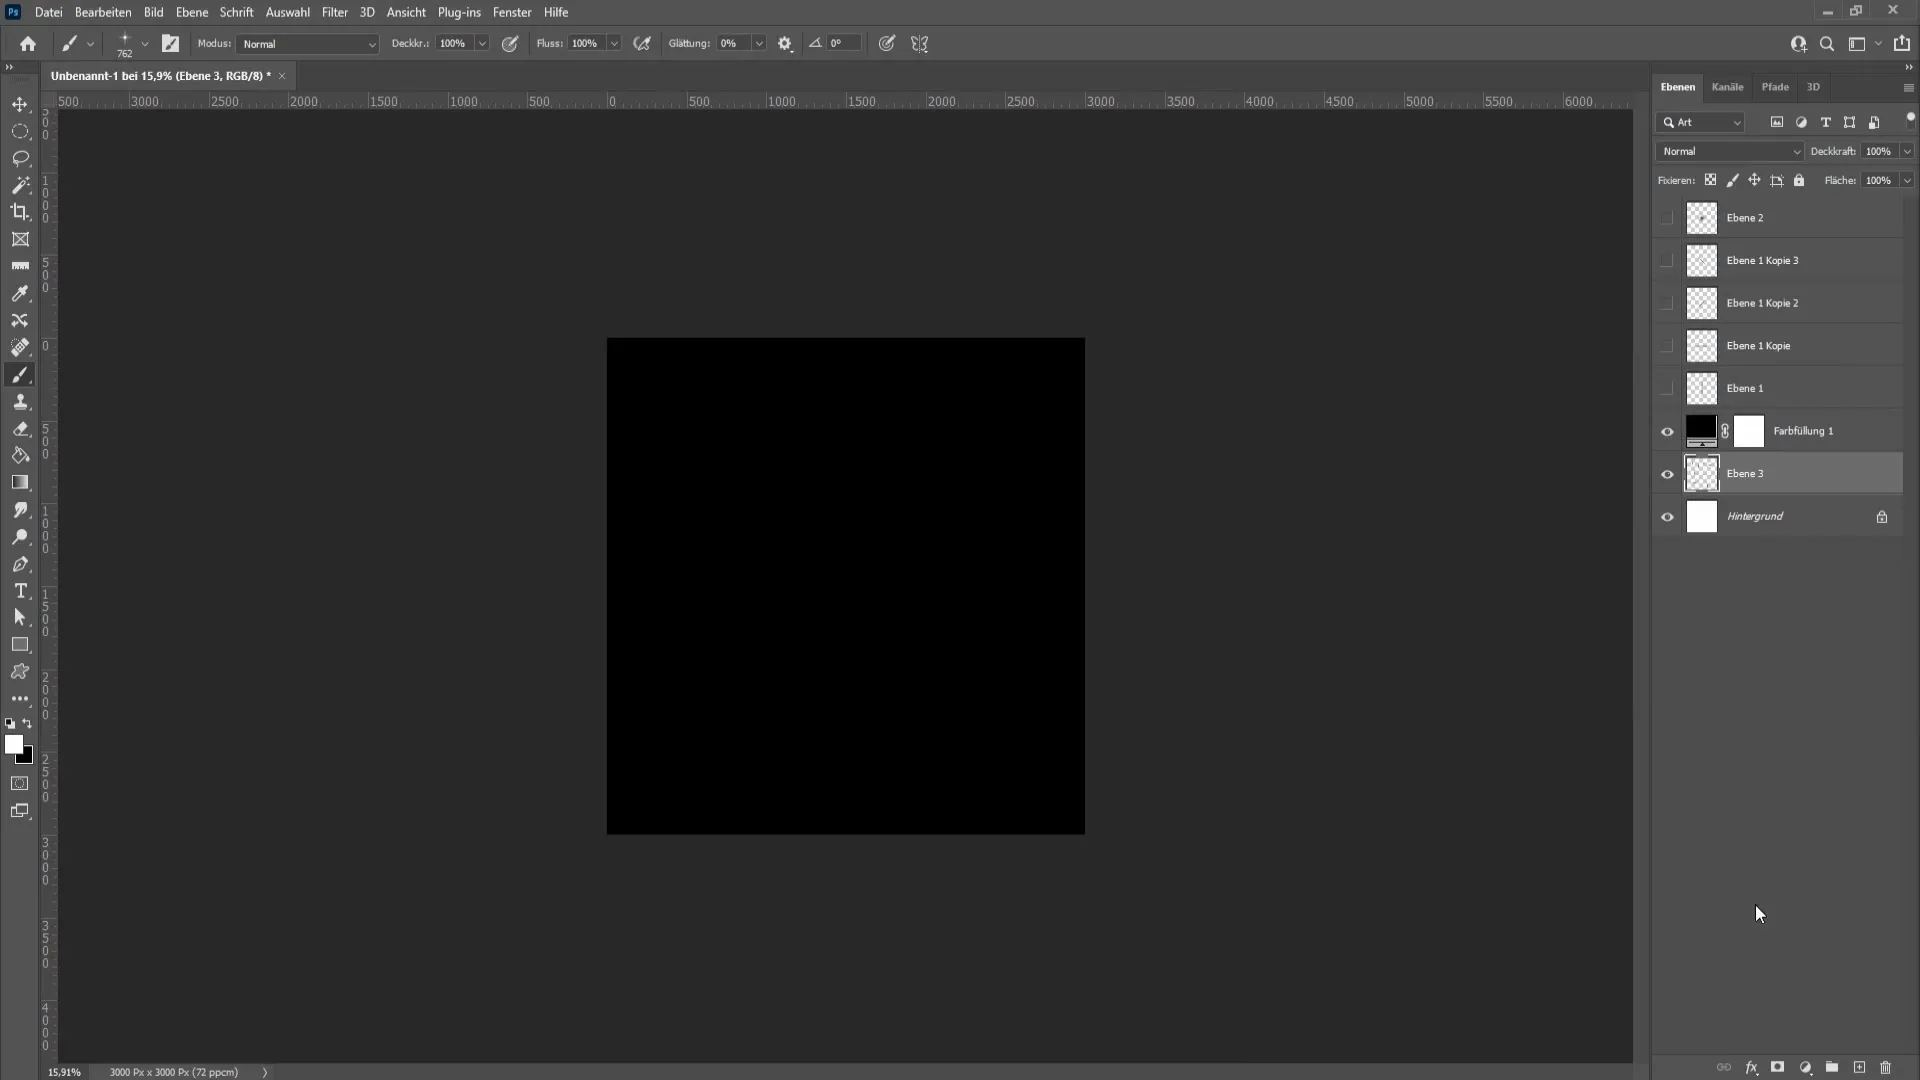
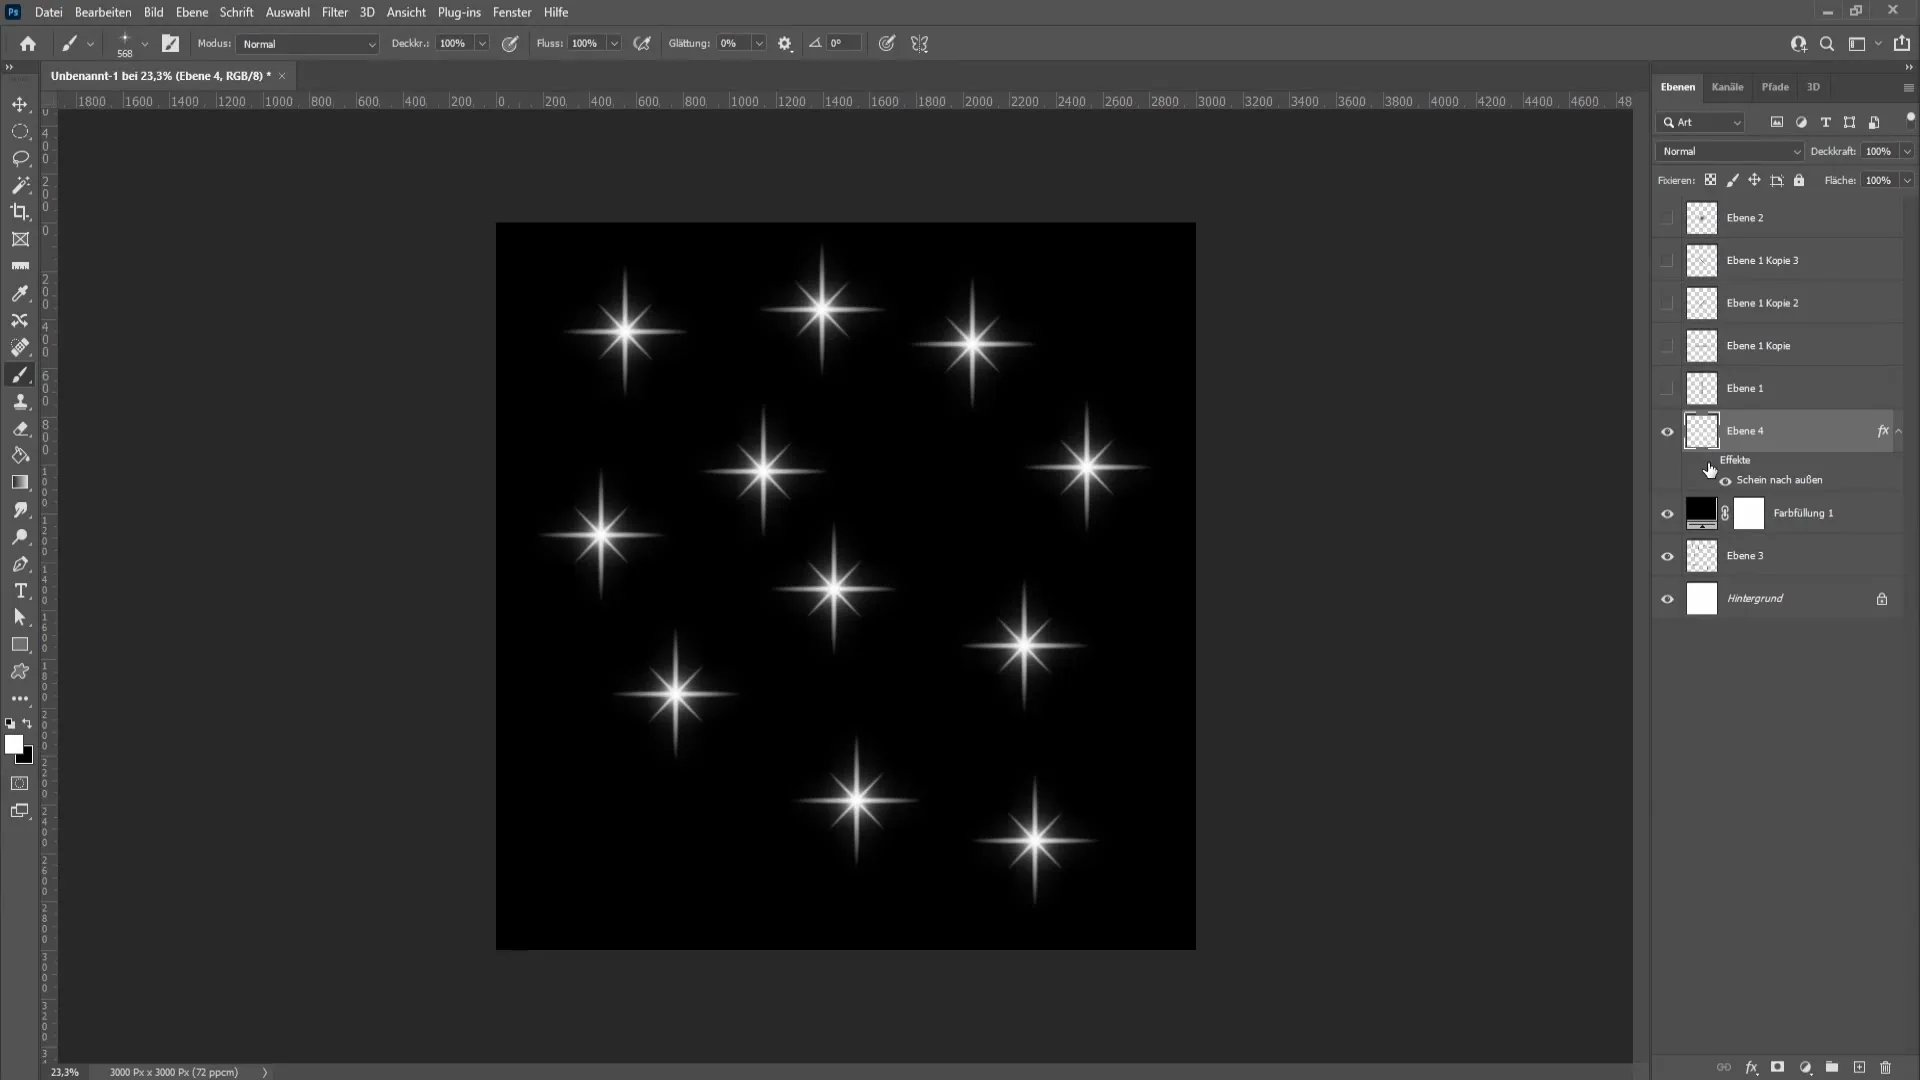
To see how your new brush looks, create a new layer and draw a black color surface. Now, paint some sparkles on this layer using a white brush. To enhance the overall impression, you can access the fill options and add an outer glow. Test different settings for the opacity and size of the glow to achieve the best effect.
Final touches and comparison
Take the time to review the appearance of your sparkles - with and without the glow. You can adjust the effects to achieve the desired result.
Summary
In this guide, you have learned how to create realistic sparkle brushes in Photoshop. From selecting the right tool to applying filters and saving your brush, you have gone through all the necessary steps to achieve impressive effects.
FAQ
How can I adjust the size of the sparkles?You can adjust the size of the sparkles by scaling the layer while transforming and holding down the shift key to maintain proportions.
Can I use the sparkles in other projects?Yes, after saving the sparkle as a brush, you can use it in all your future Photoshop projects.
Is there a way to color the sparkles?Yes, you can change the foreground color while working with the brush to create colored sparkles.
