In this guide, I will show you how to create realistic water droplets in Adobe Photoshop. This technique is especially useful for enhancing images, creating textures, or achieving creative effects. Whether you are a beginner or have experience with Photoshop, with my step-by-step guide, you will quickly be able to create impressive water droplet overlays.
Main Insights
With the following techniques you can create water droplets in Photoshop:
- Create a new layer and fill it with black.
- Add a noise filter to create a rough texture.
- Blur the image for a more realistic look.
- Use the threshold adjustment to determine the number of droplets.
- Apply styles to give depth and dimension to the droplets.
Step-by-Step Guide
First, open Photoshop and create a new file where you want to design the water droplets.
Step 1: Create a New Layer
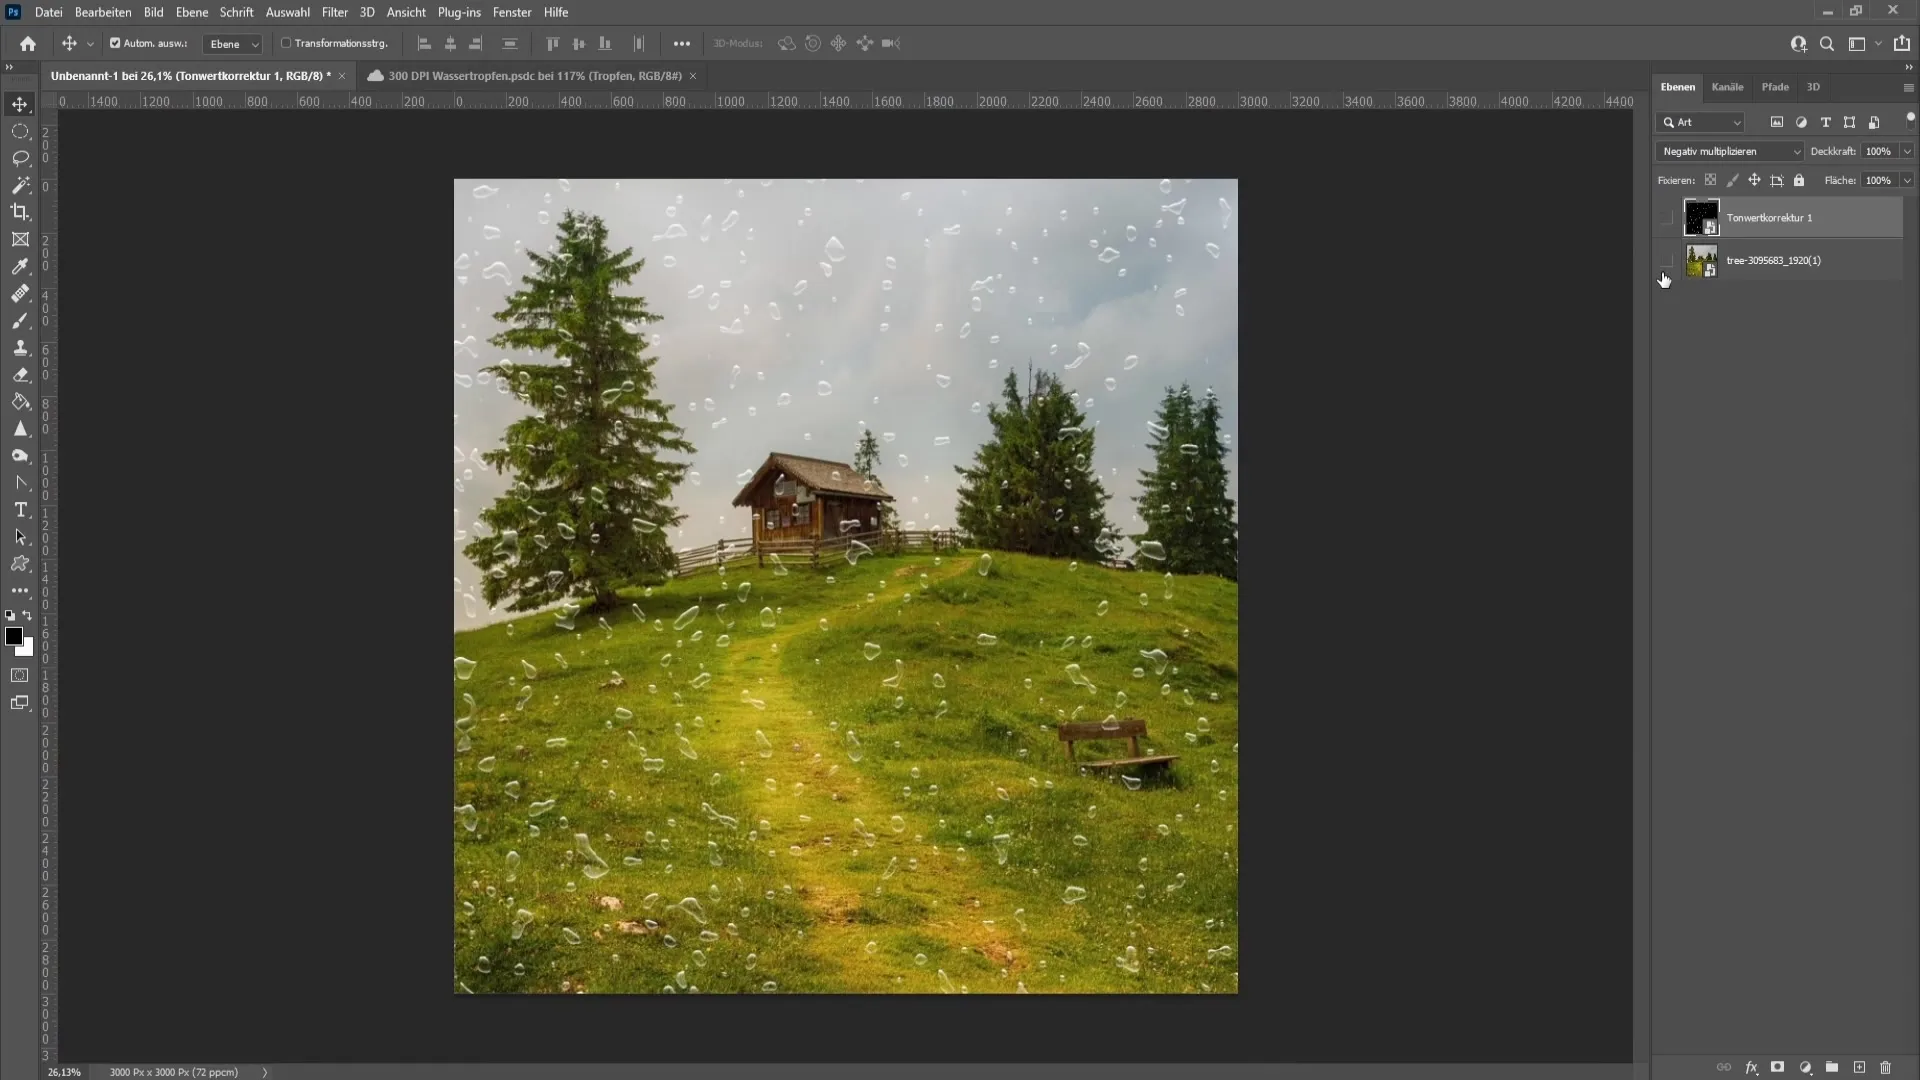
First, you need to create a new layer. To do this, go to the layers palette, click on the "New Layer" icon, and name it accordingly, for example, "Water Droplets".
Step 2: Fill Layer with Black
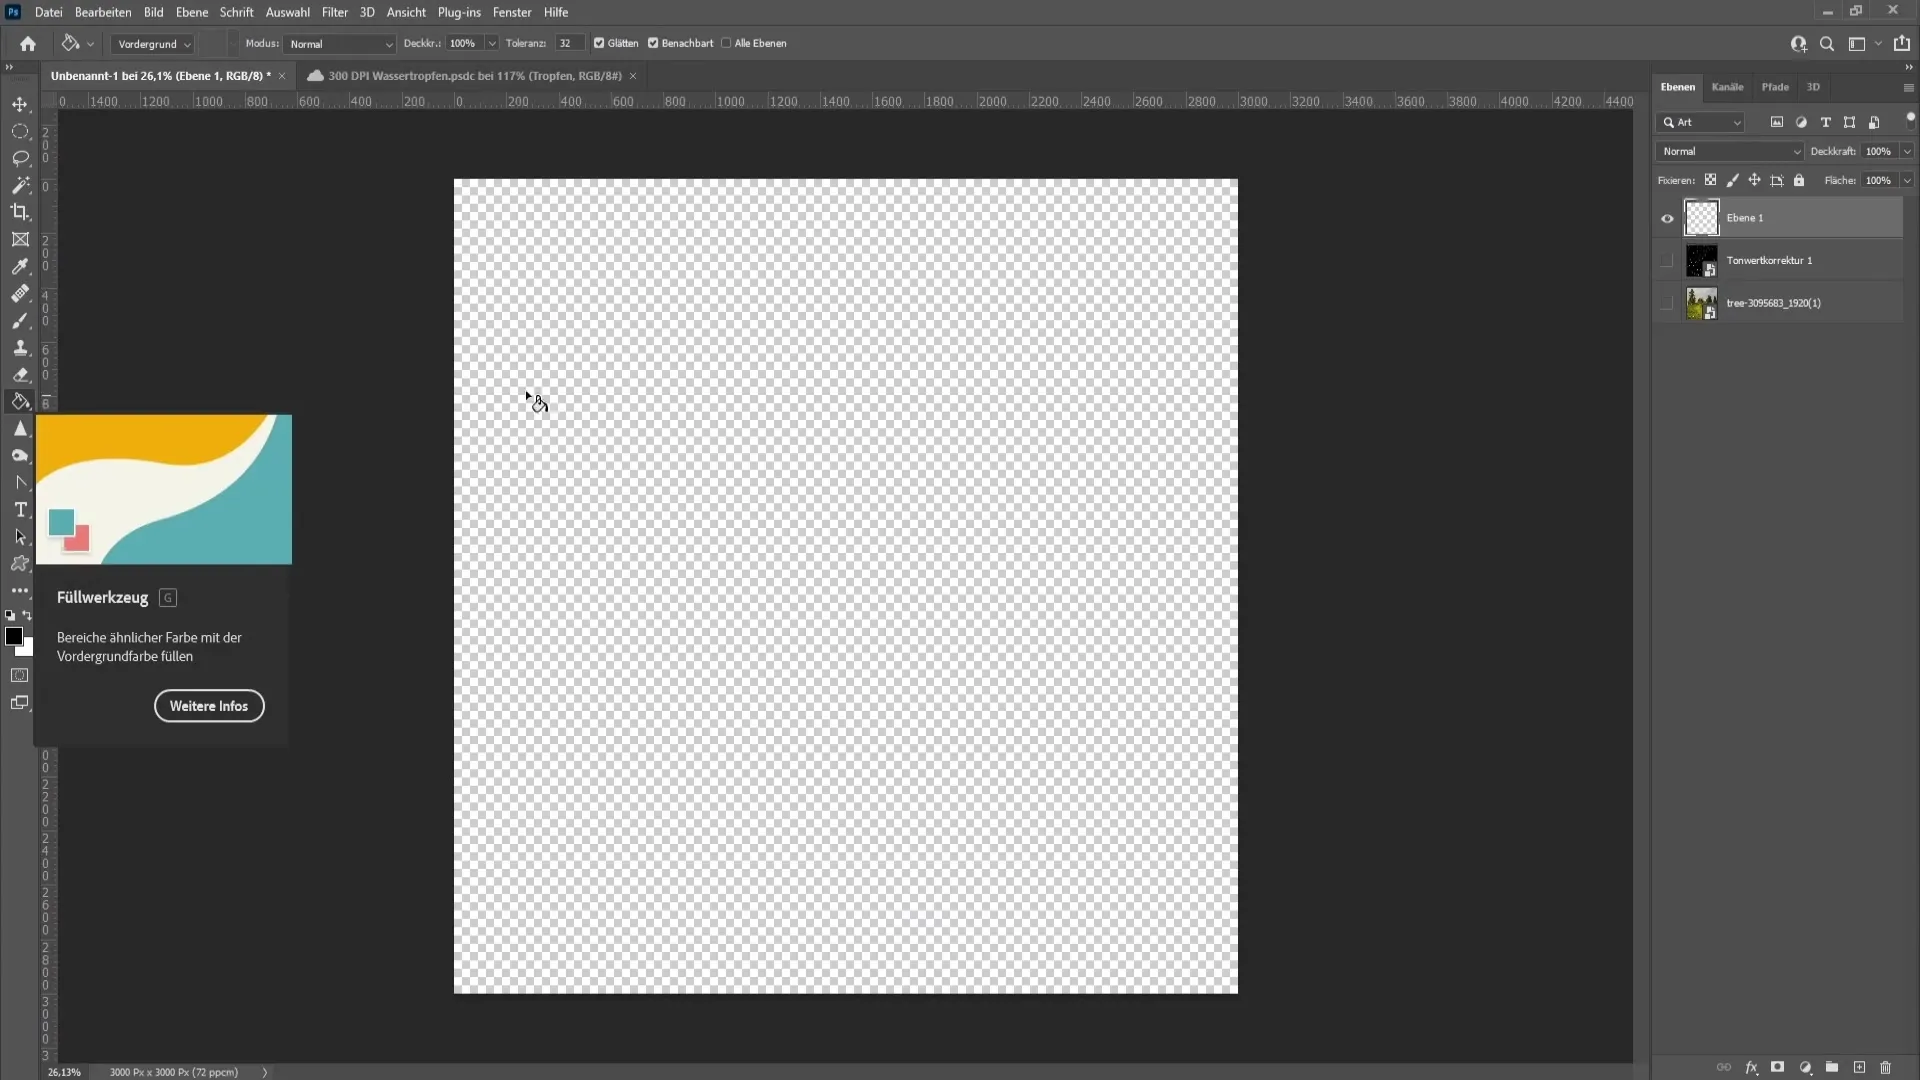
Fill this new layer with black. To do this, select the paint bucket tool, choose the black color, and click on the layer to fill it.
Step 3: Convert to Smart Object
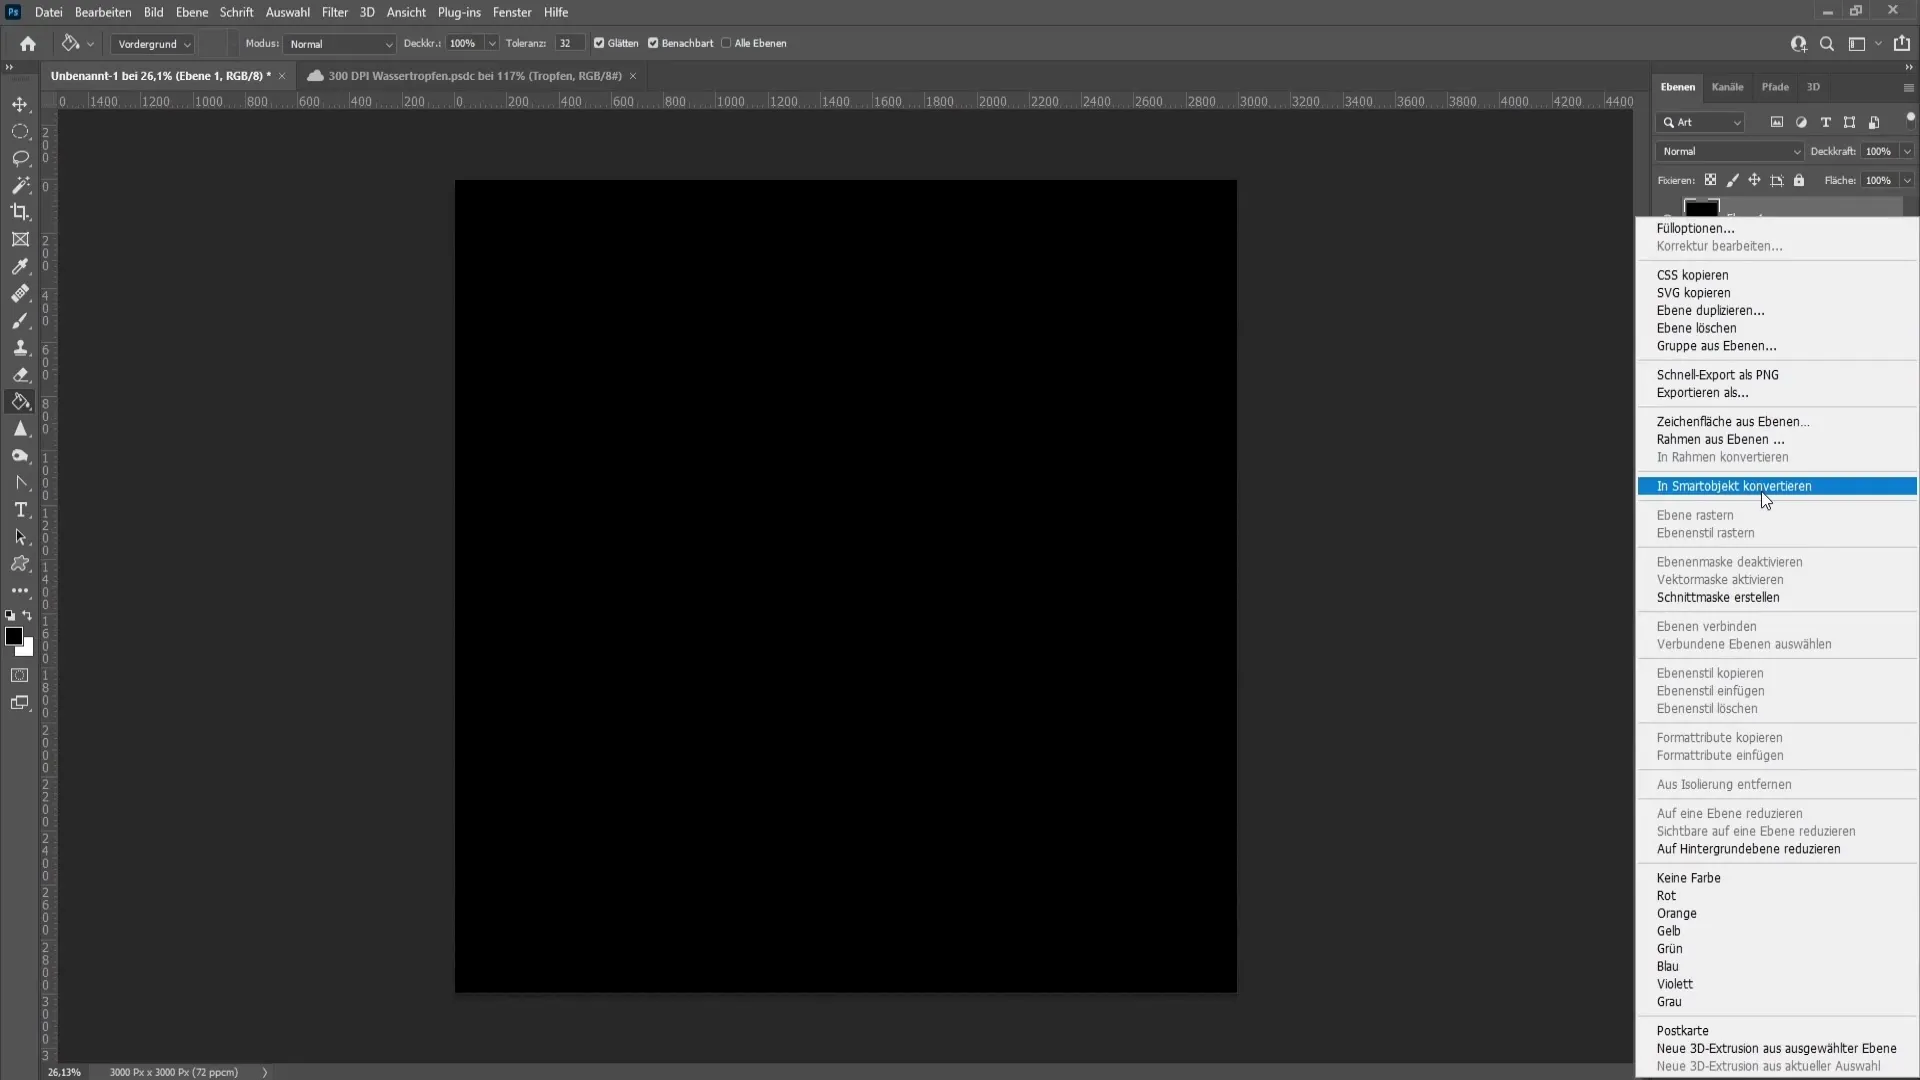
To work more flexibly with the texture later on, convert the layers into a smart object. You can do this by right-clicking on the layer and selecting "Convert to Smart Object".
Step 4: Add Noise
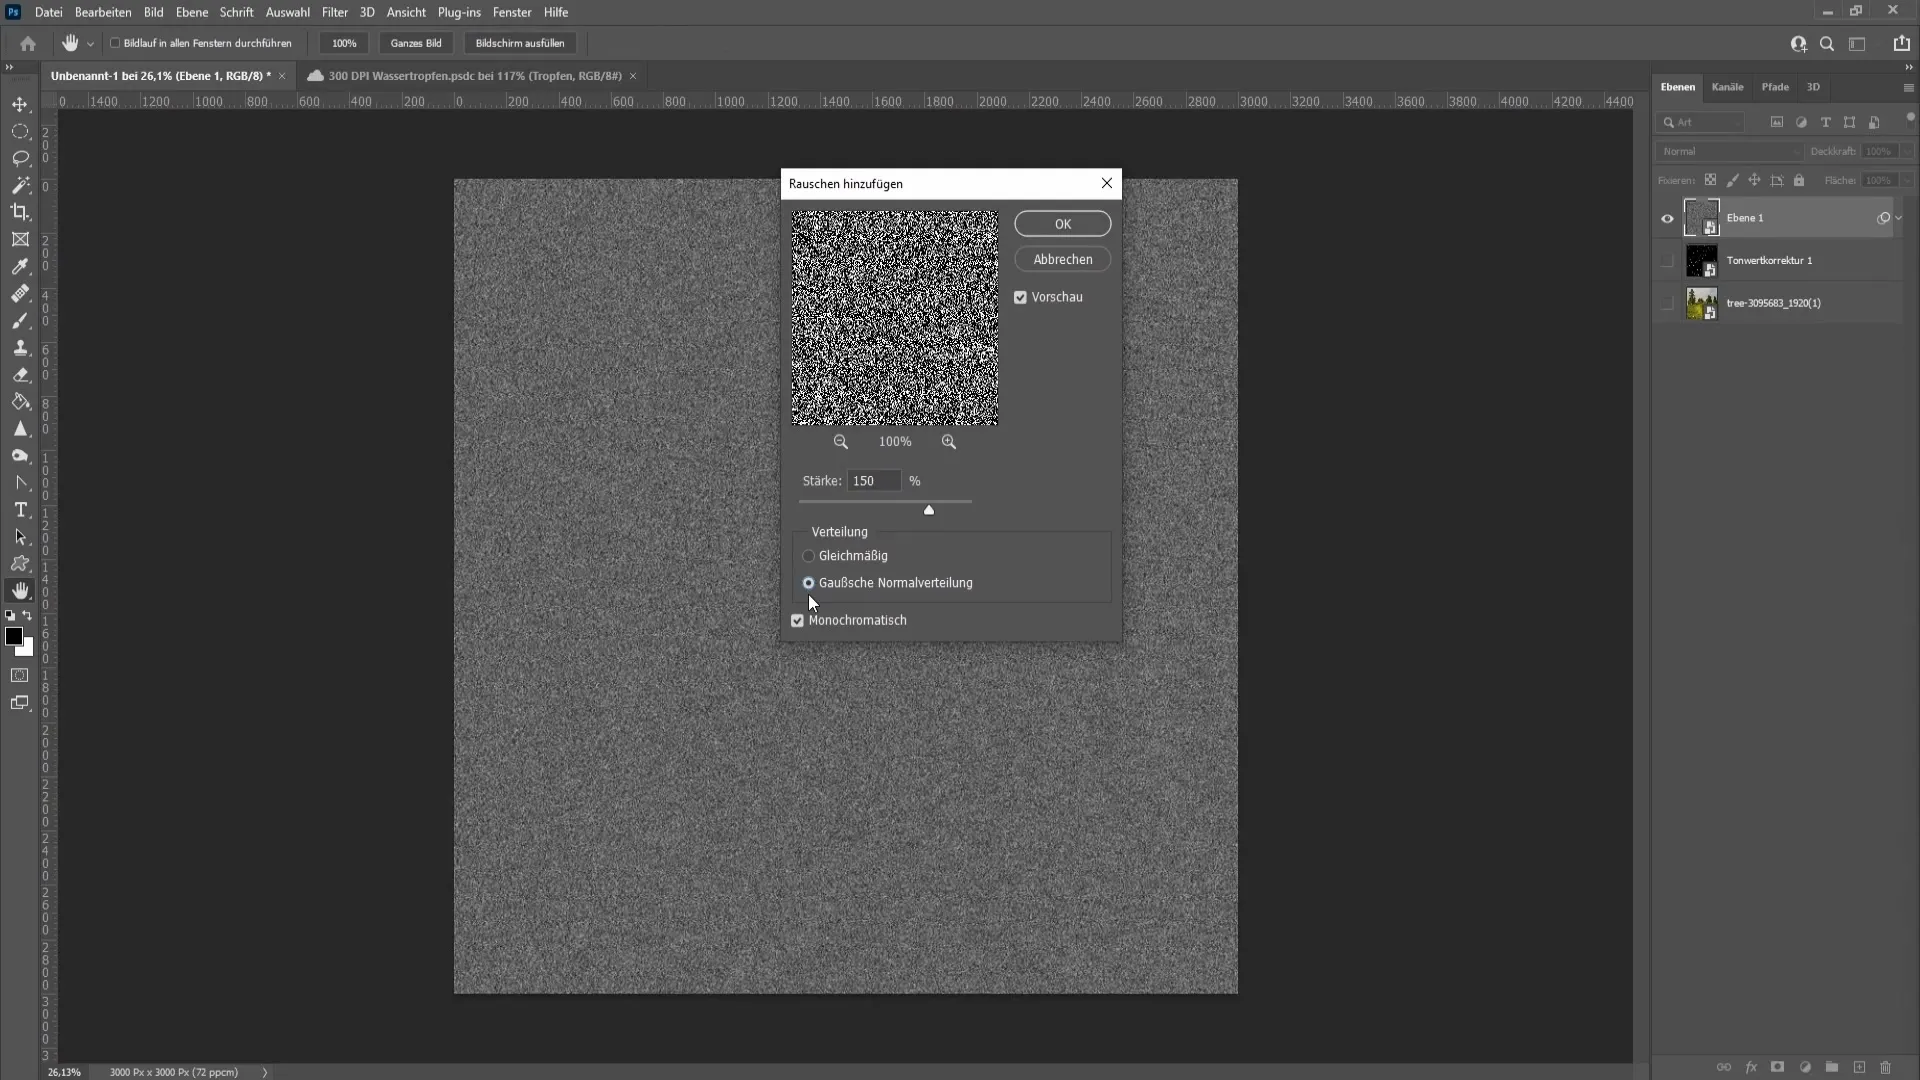
Now go to "Filter" > "Noise" > "Add Noise". Set the value to 150%, select Gaussian distribution, and activate the "Monochromatic" option. Click "OK" to apply the changes.
Step 5: Blur Image
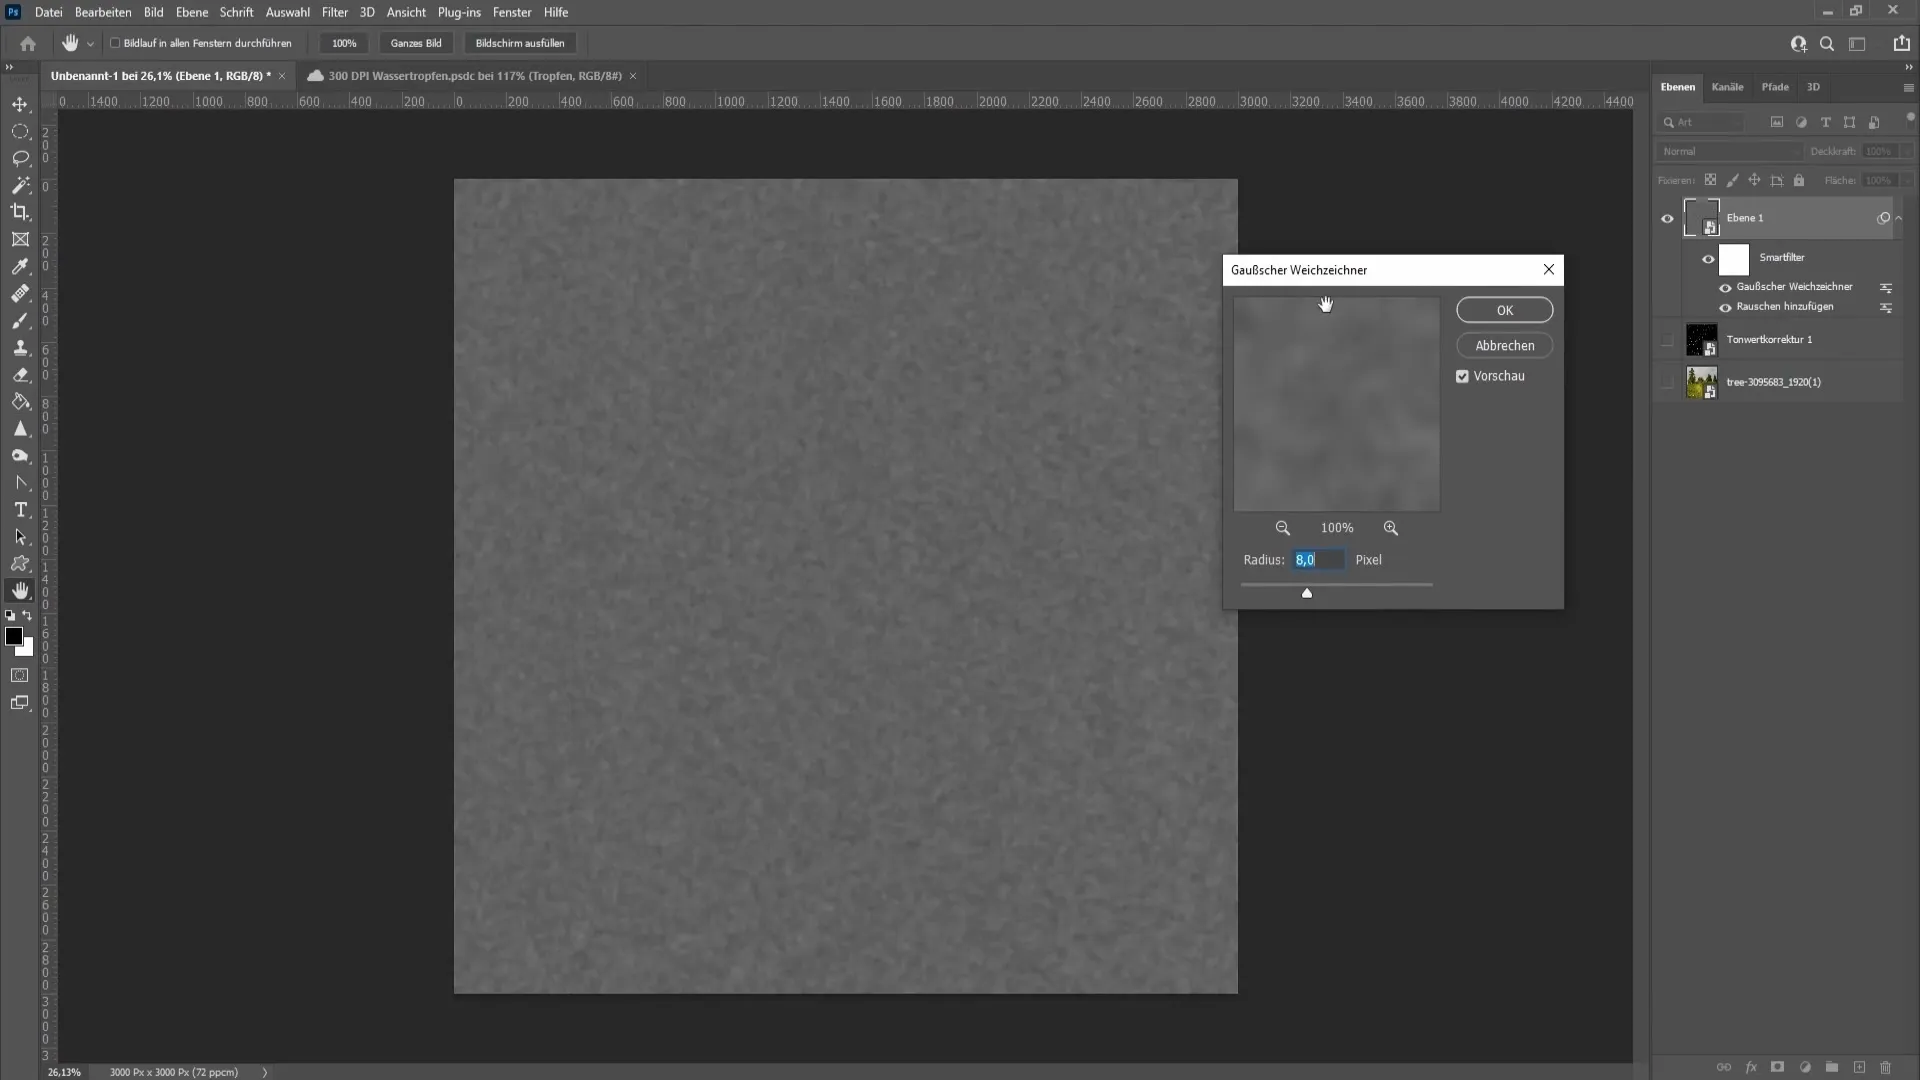
To make the water droplets look more realistic, blur the image. Go to "Filter" > "Blur" > "Gaussian Blur" and set a value between 8 and 9 pixels. Confirm with "OK".
Step 6: Adjust Threshold
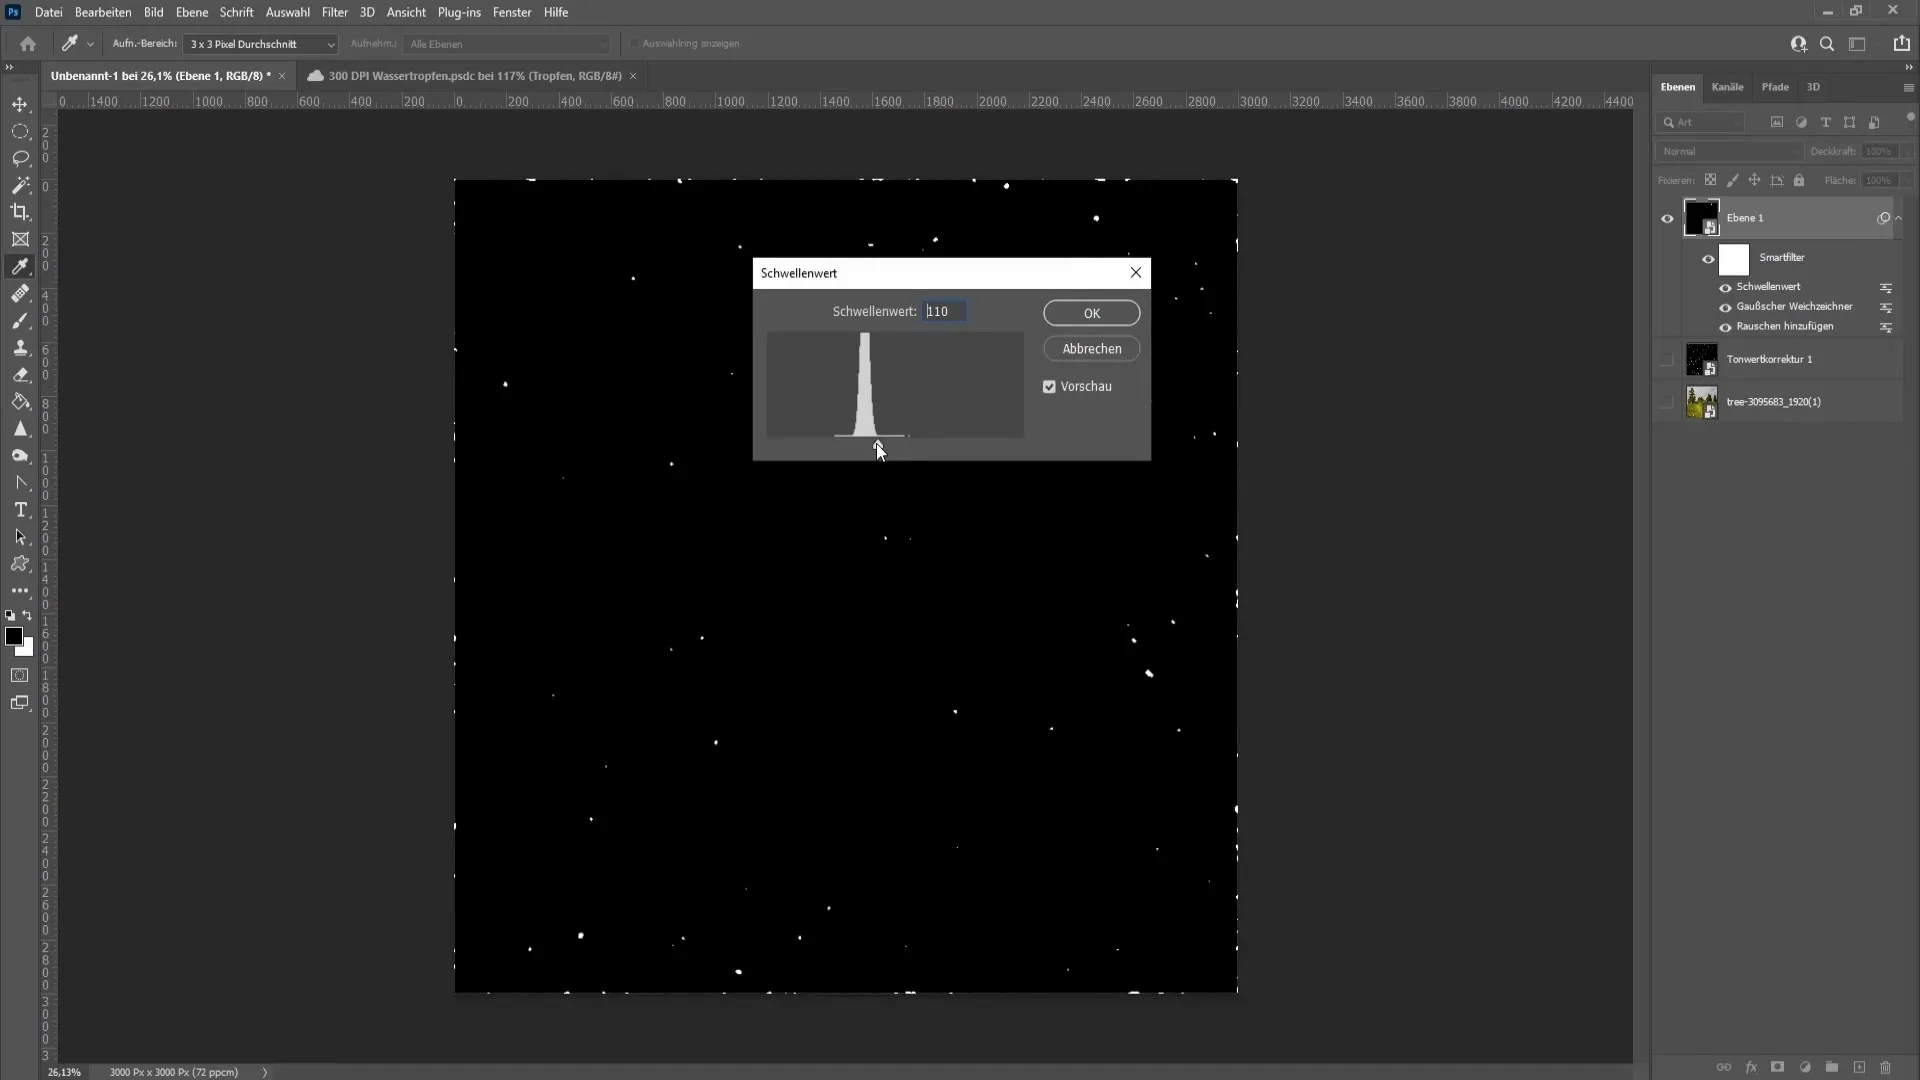
Go to "Image" > "Adjustments" > "Threshold". Here you can increase or decrease the threshold to control the number of water droplets. Move the slider to find the optimal value you like.
Step 7: Double-Click on the Layer
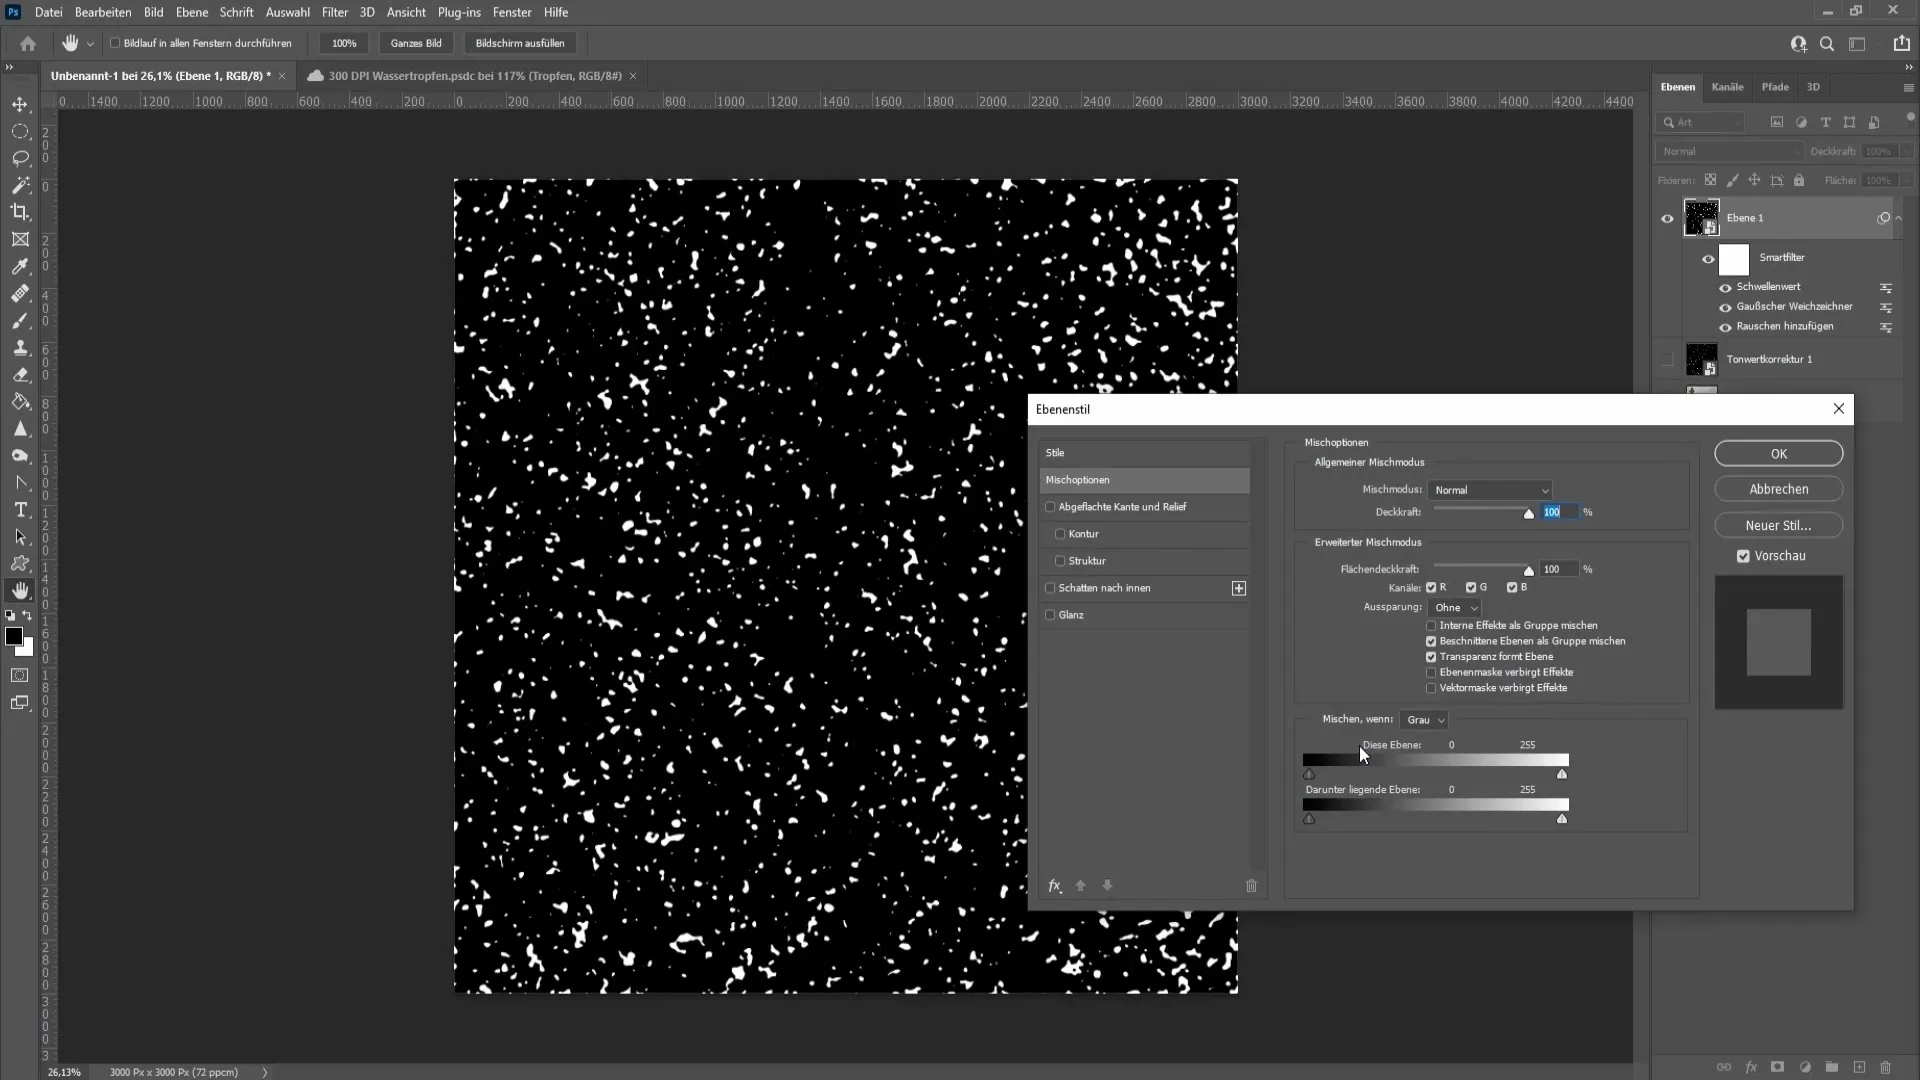
Now double click on the "Water Droplets" layer to open the fill options. Drag the left slider to the right to reduce the black areas. A value of 1 should be sufficient.
Step 8: Remove All Black Outlines
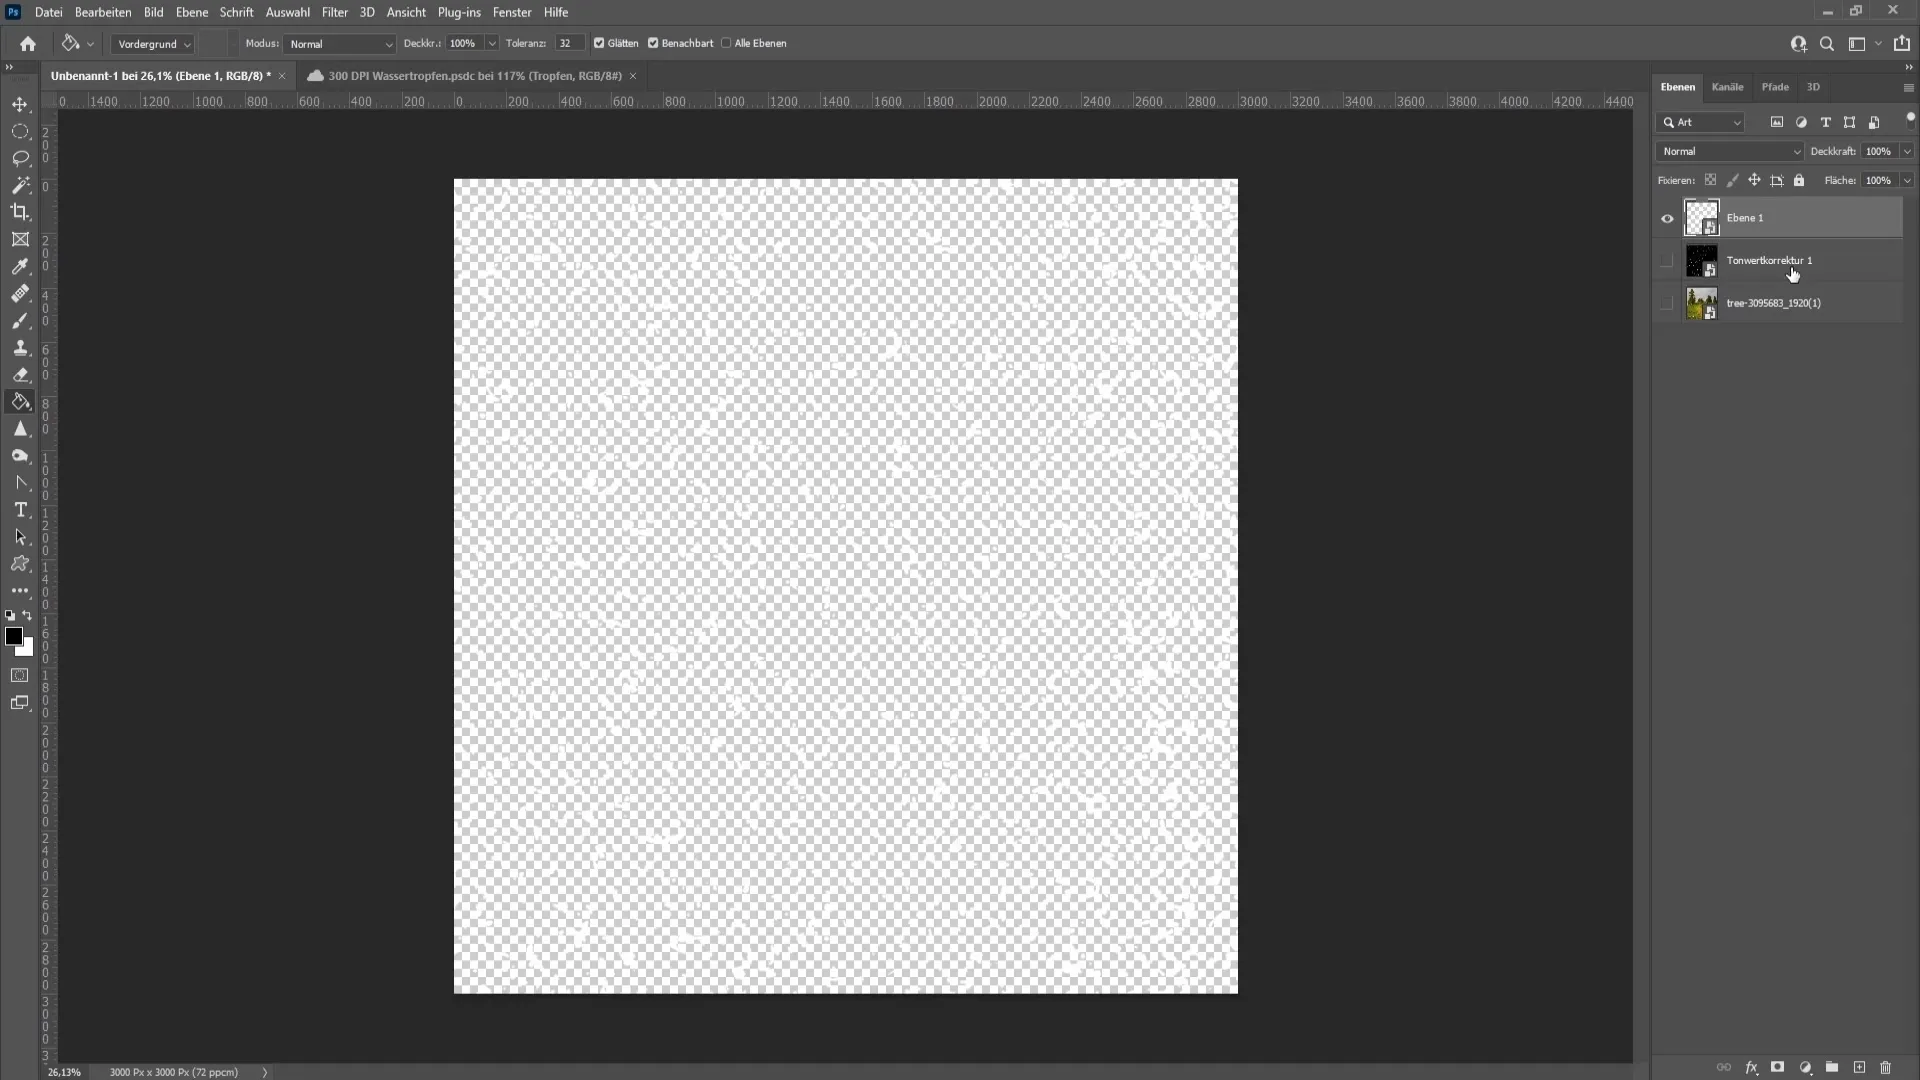
Now the black outlines of the droplet layer have disappeared. You can also add a black background layer to make the water droplets more visible. Go to "Adjustments" and select a solid color in black and drag it below the water droplets layer.
Step 9: Apply Styles
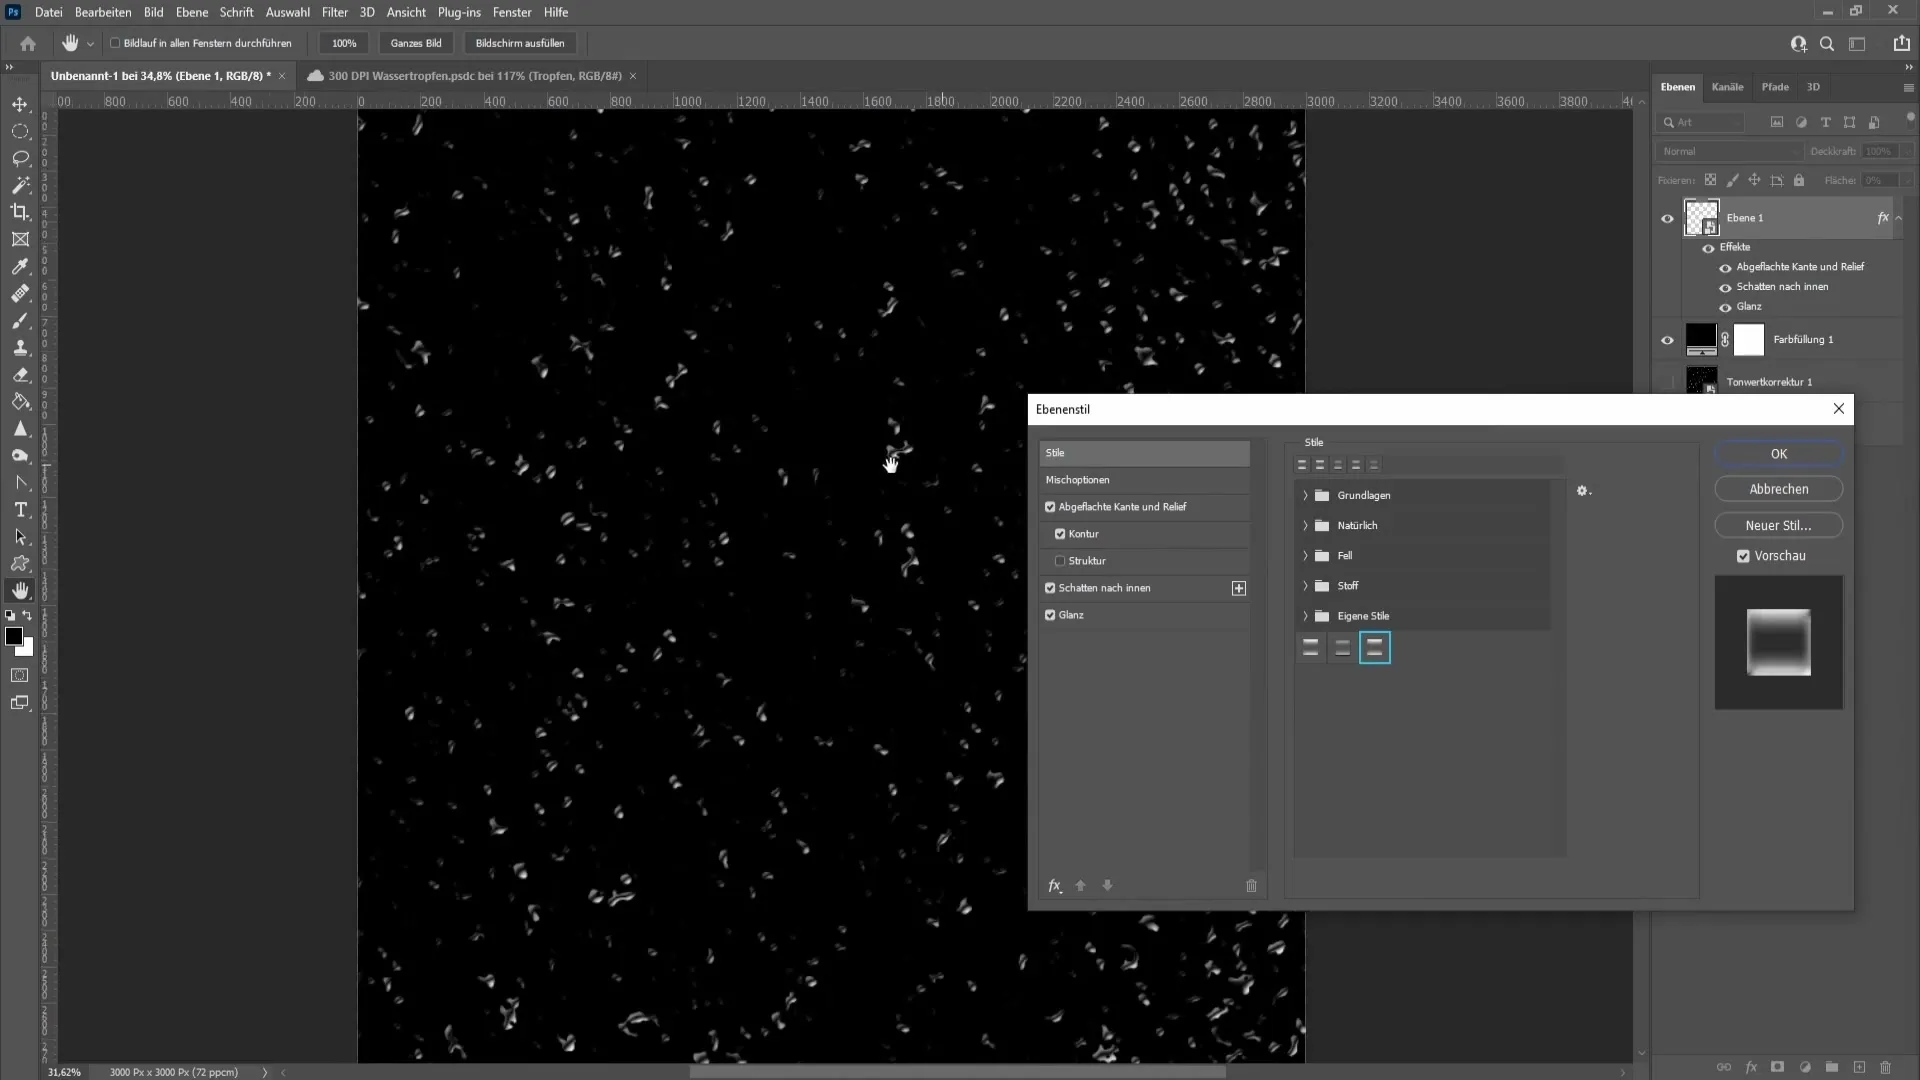
Another important step is to add a style to the water droplets to create depth. Double click on the water droplets layer and select "Bevel and Emboss". Adjust the values according to the following parameters:
- Technique: Rounded
- Depth: 63%
- Size: 25 pixels
- Angle: -54°
Also, activate the global light.
Step 10: Add shadow
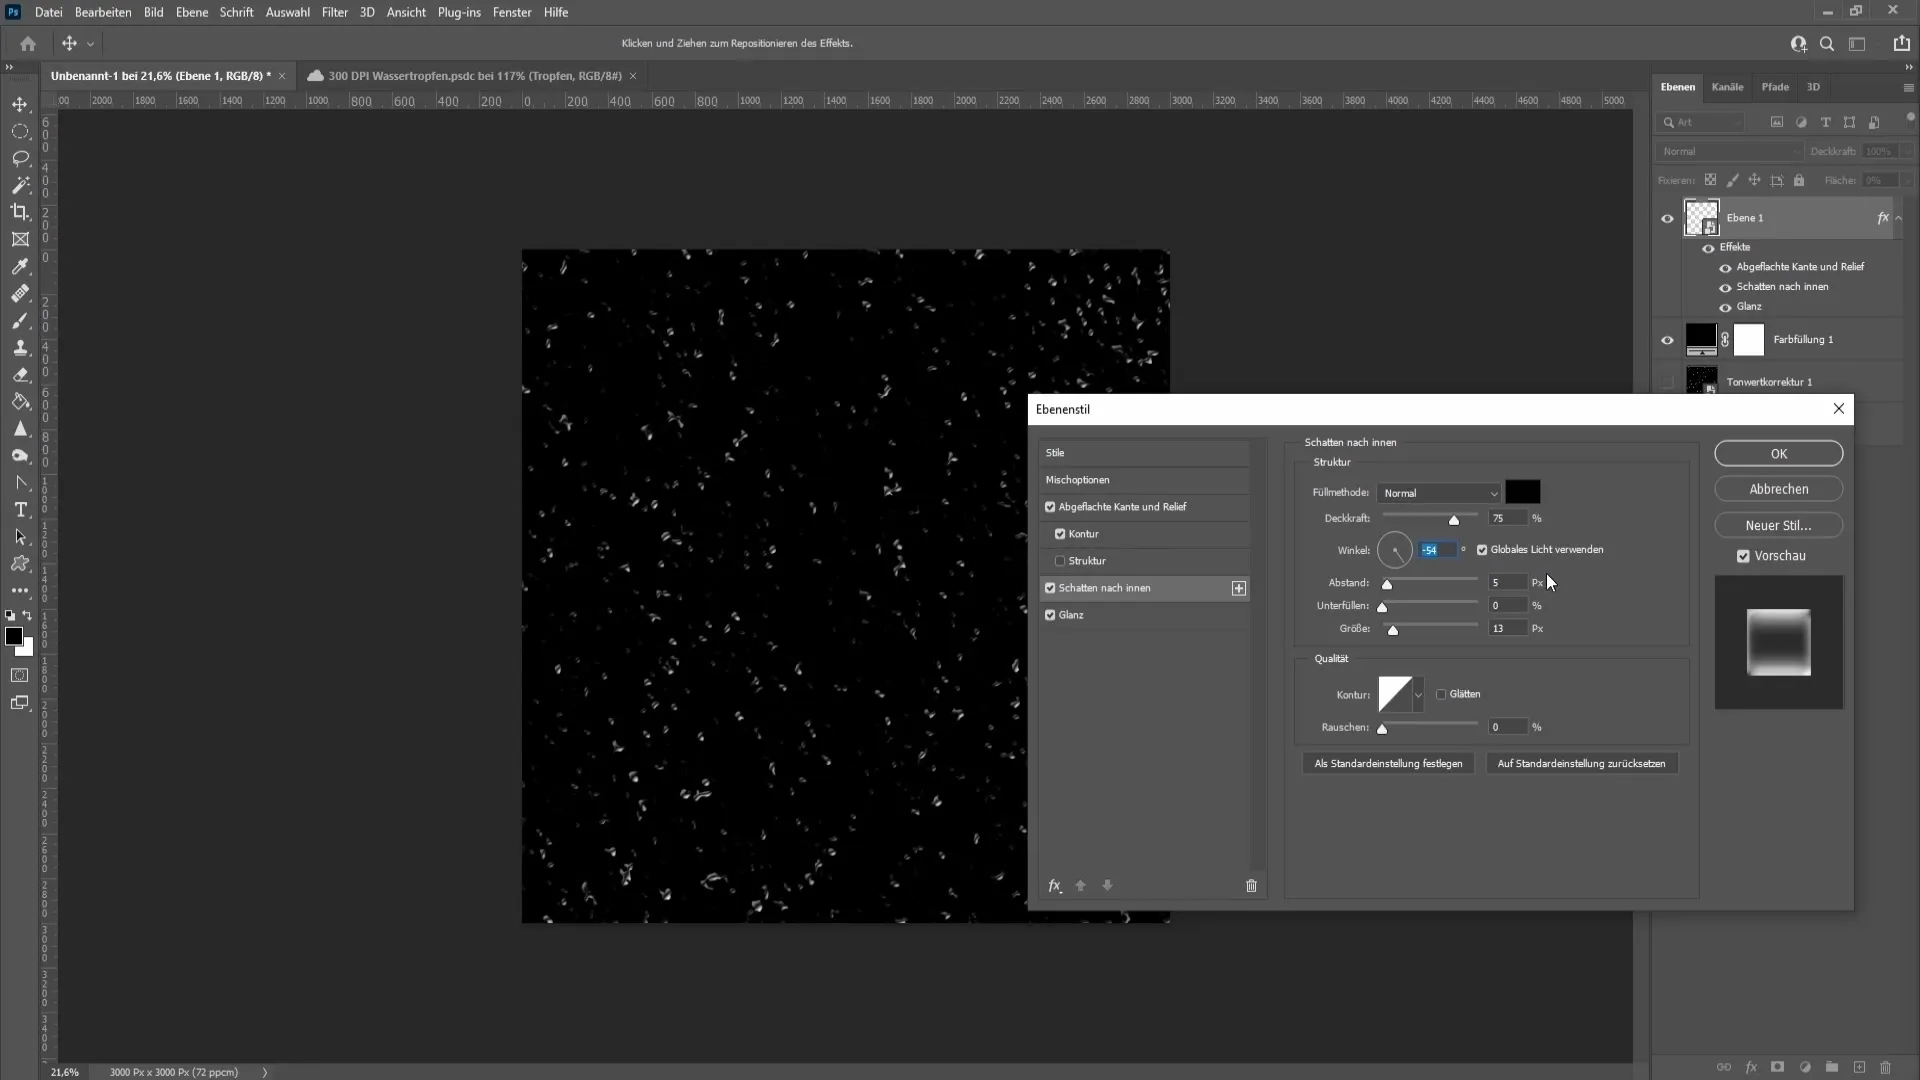
Now add a shadow by setting the following parameters:
- Fill method: Normal
- Color: Black
- Opacity: 75%
- Angle: -54°
- Distance: 5 pixels
- Size: 13 pixels
Step 11: Add highlight
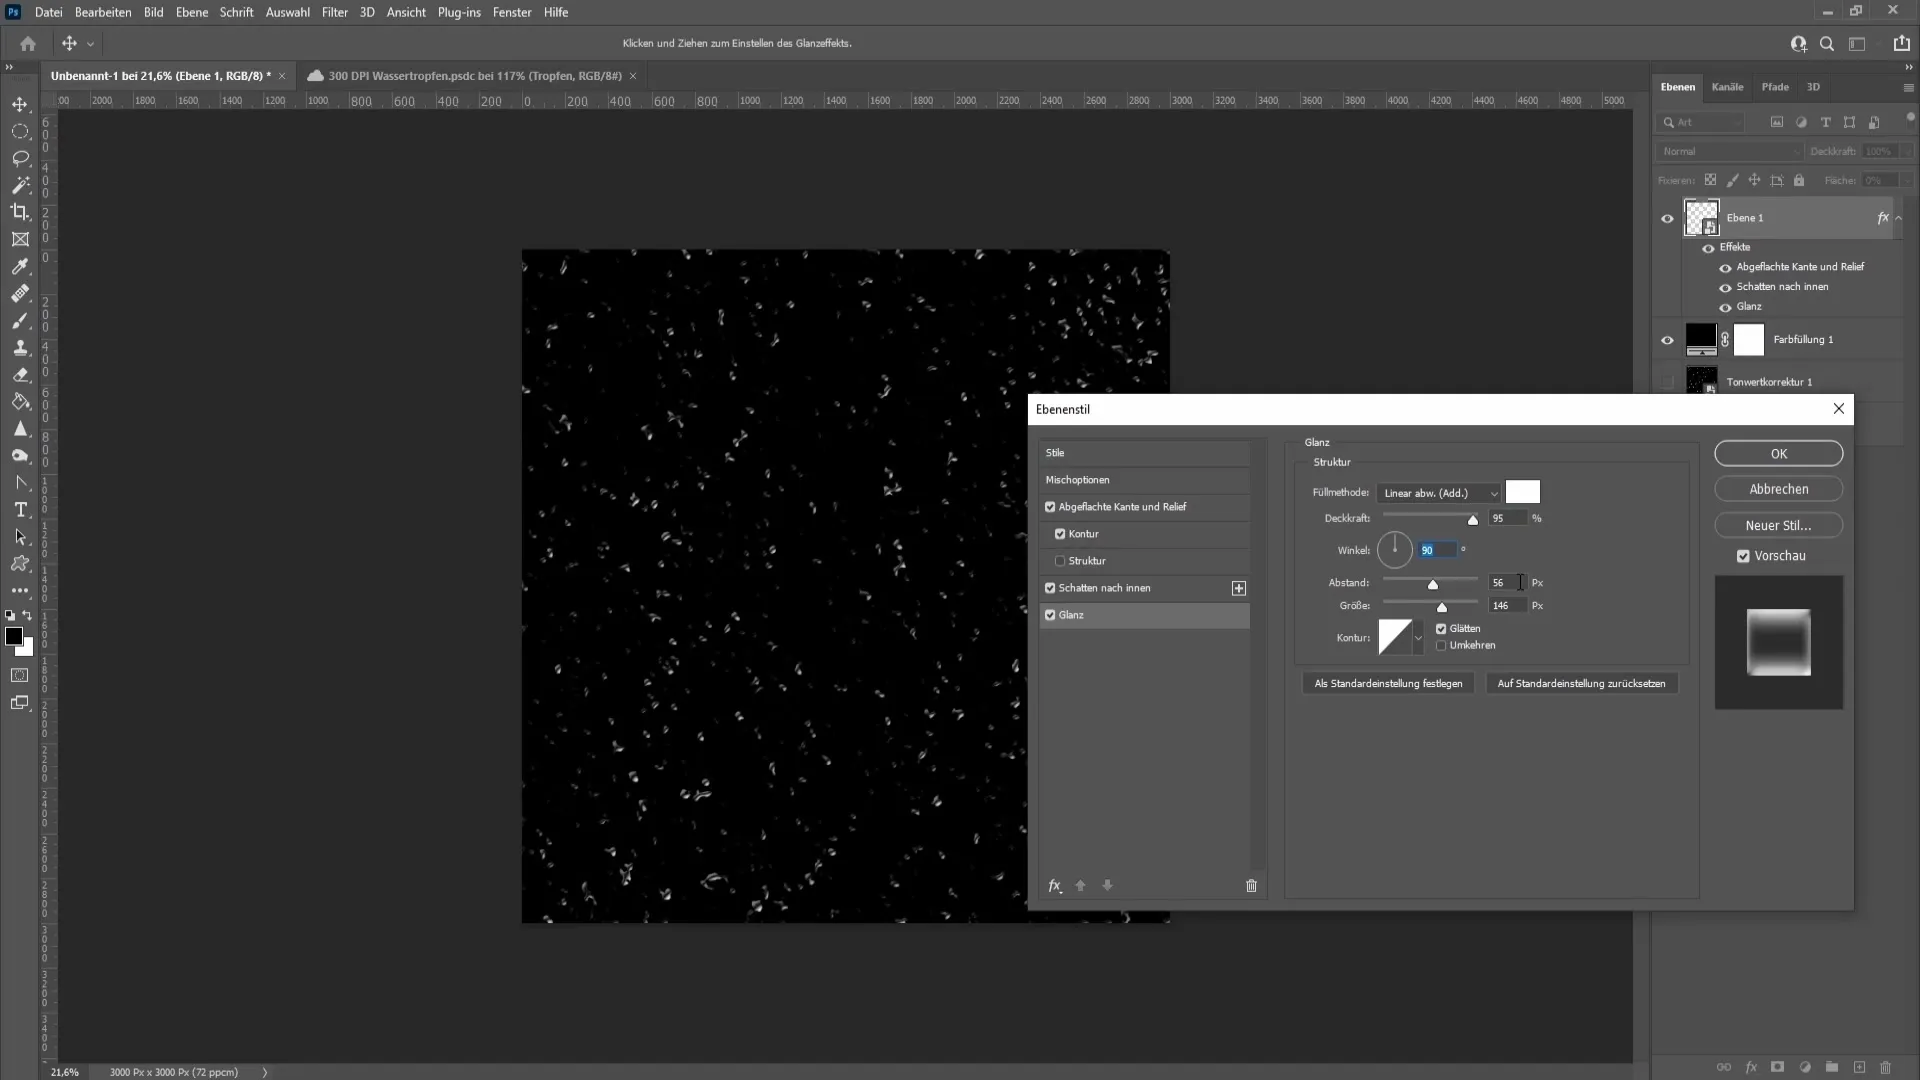
Next, it's about editing the highlight. Choose the fill method "Lin Dodge" and set the following:
- Color: White
- Opacity: 45%
- Angle: 90°
- Distance: 56 pixels
- Size: 146 pixels
Don't forget to keep the contour as the default contour and check "Smooth".
Step 12: Save style
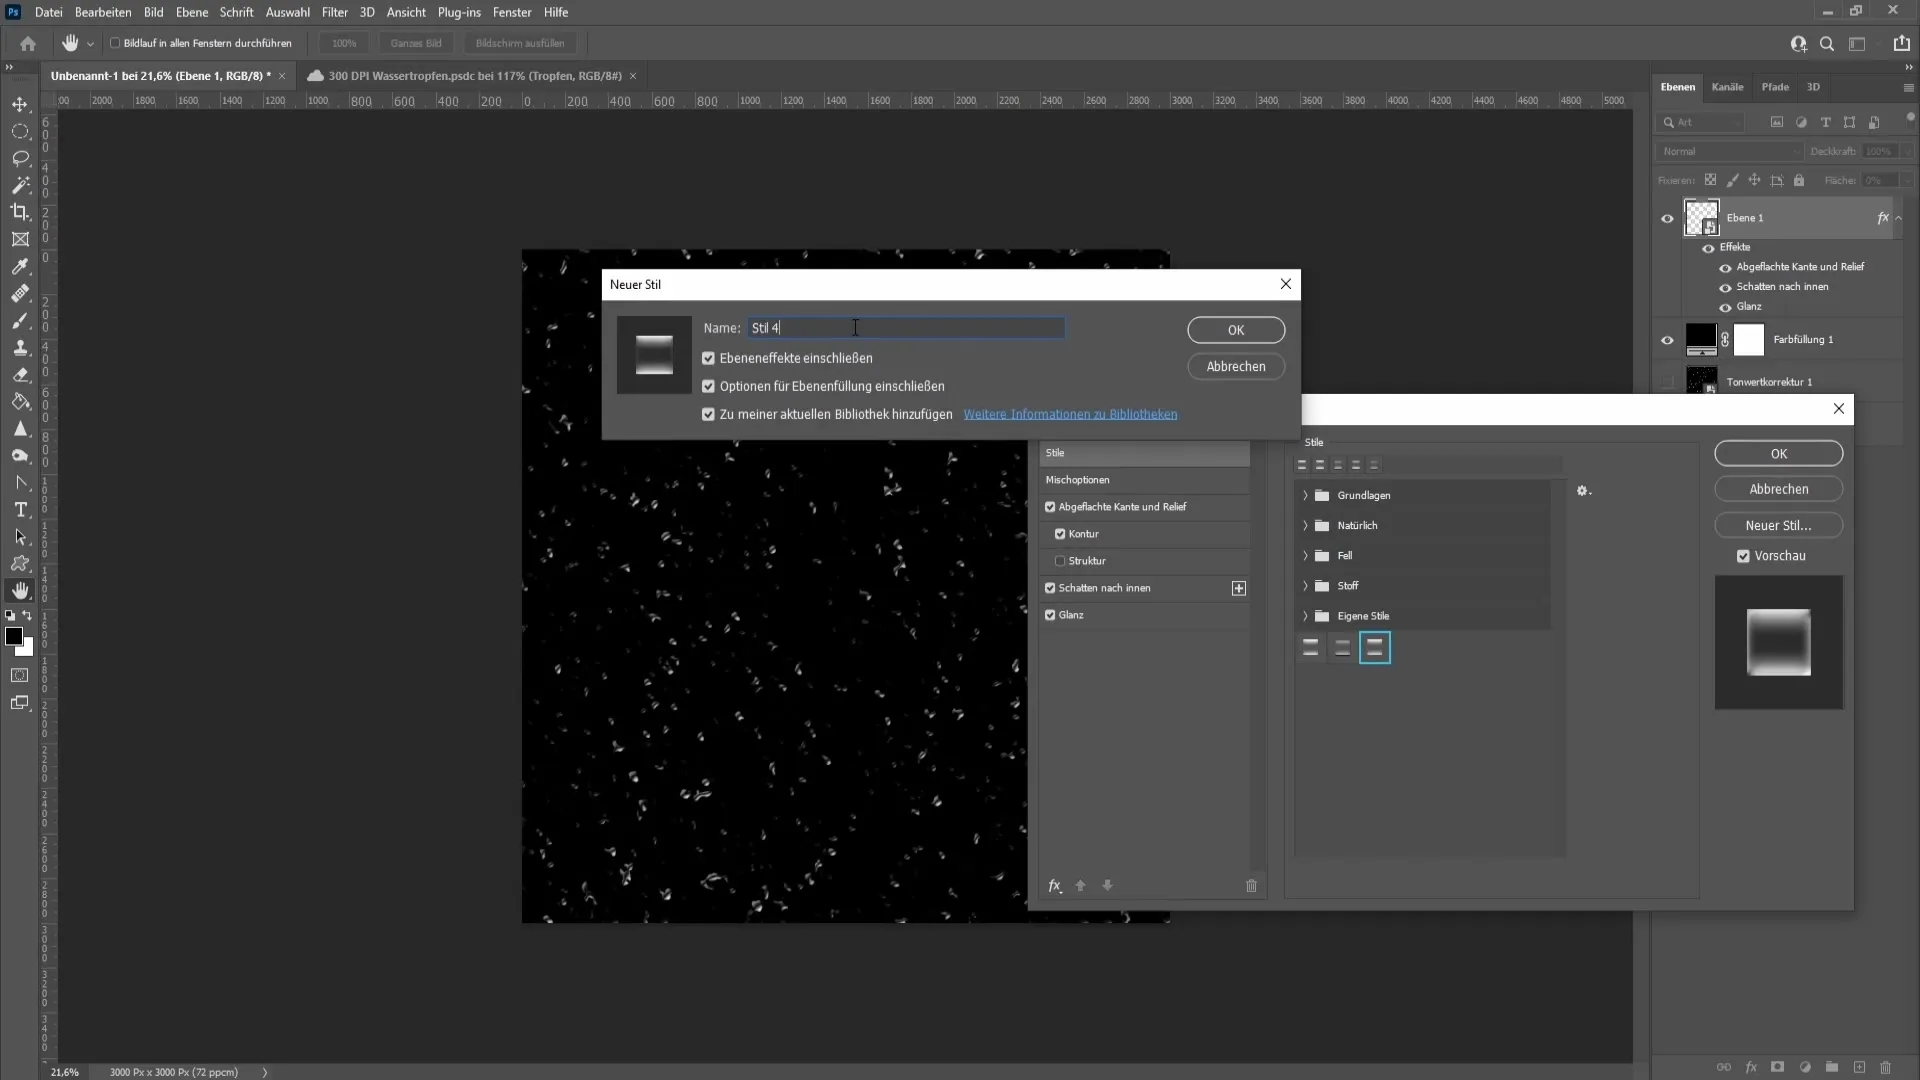
If you are satisfied with the style, click on "Styles" > "New Style" to save the settings. For example, name the style "Water Drops" and click "OK".
Step 13: Adjust water drops
To further edit the water drops, you can transform them. Hold down the "Control" key and press "T". Use the Shift and Alt keys to enlarge the drops proportionally.
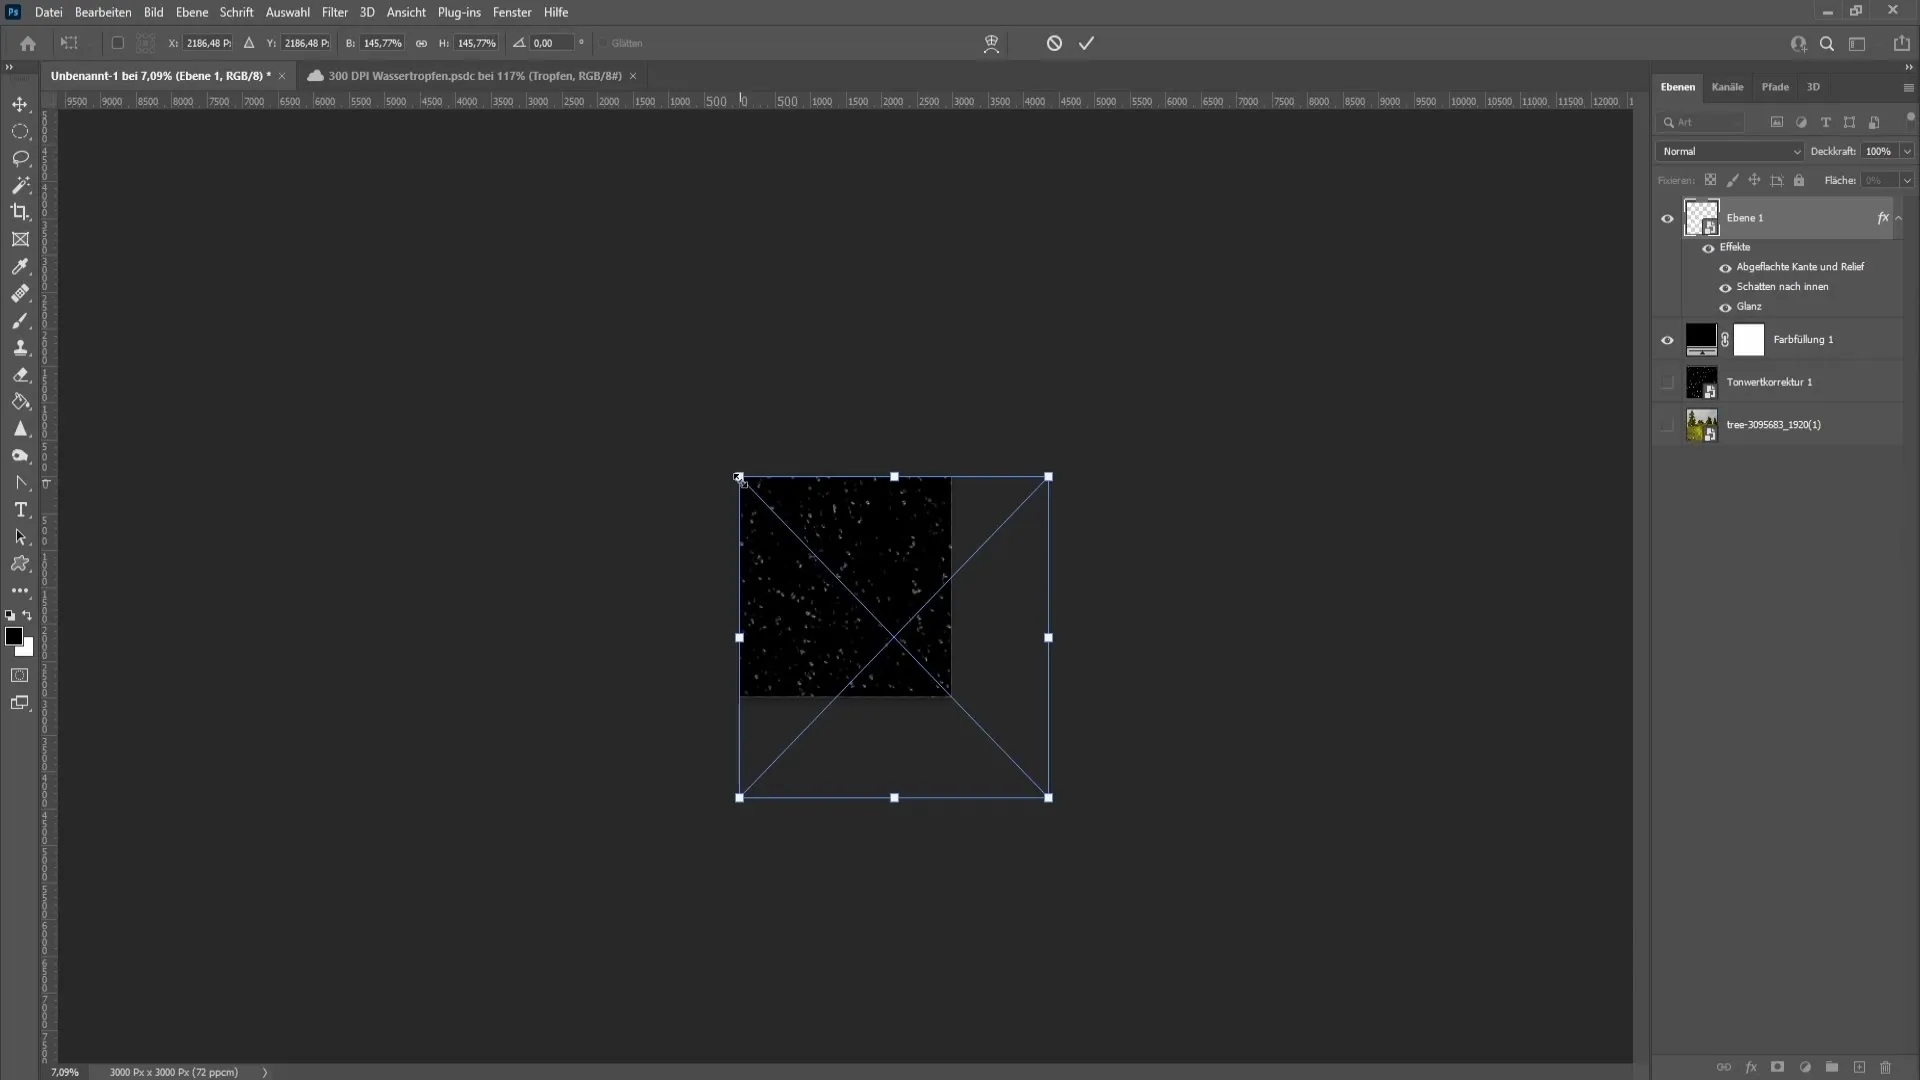
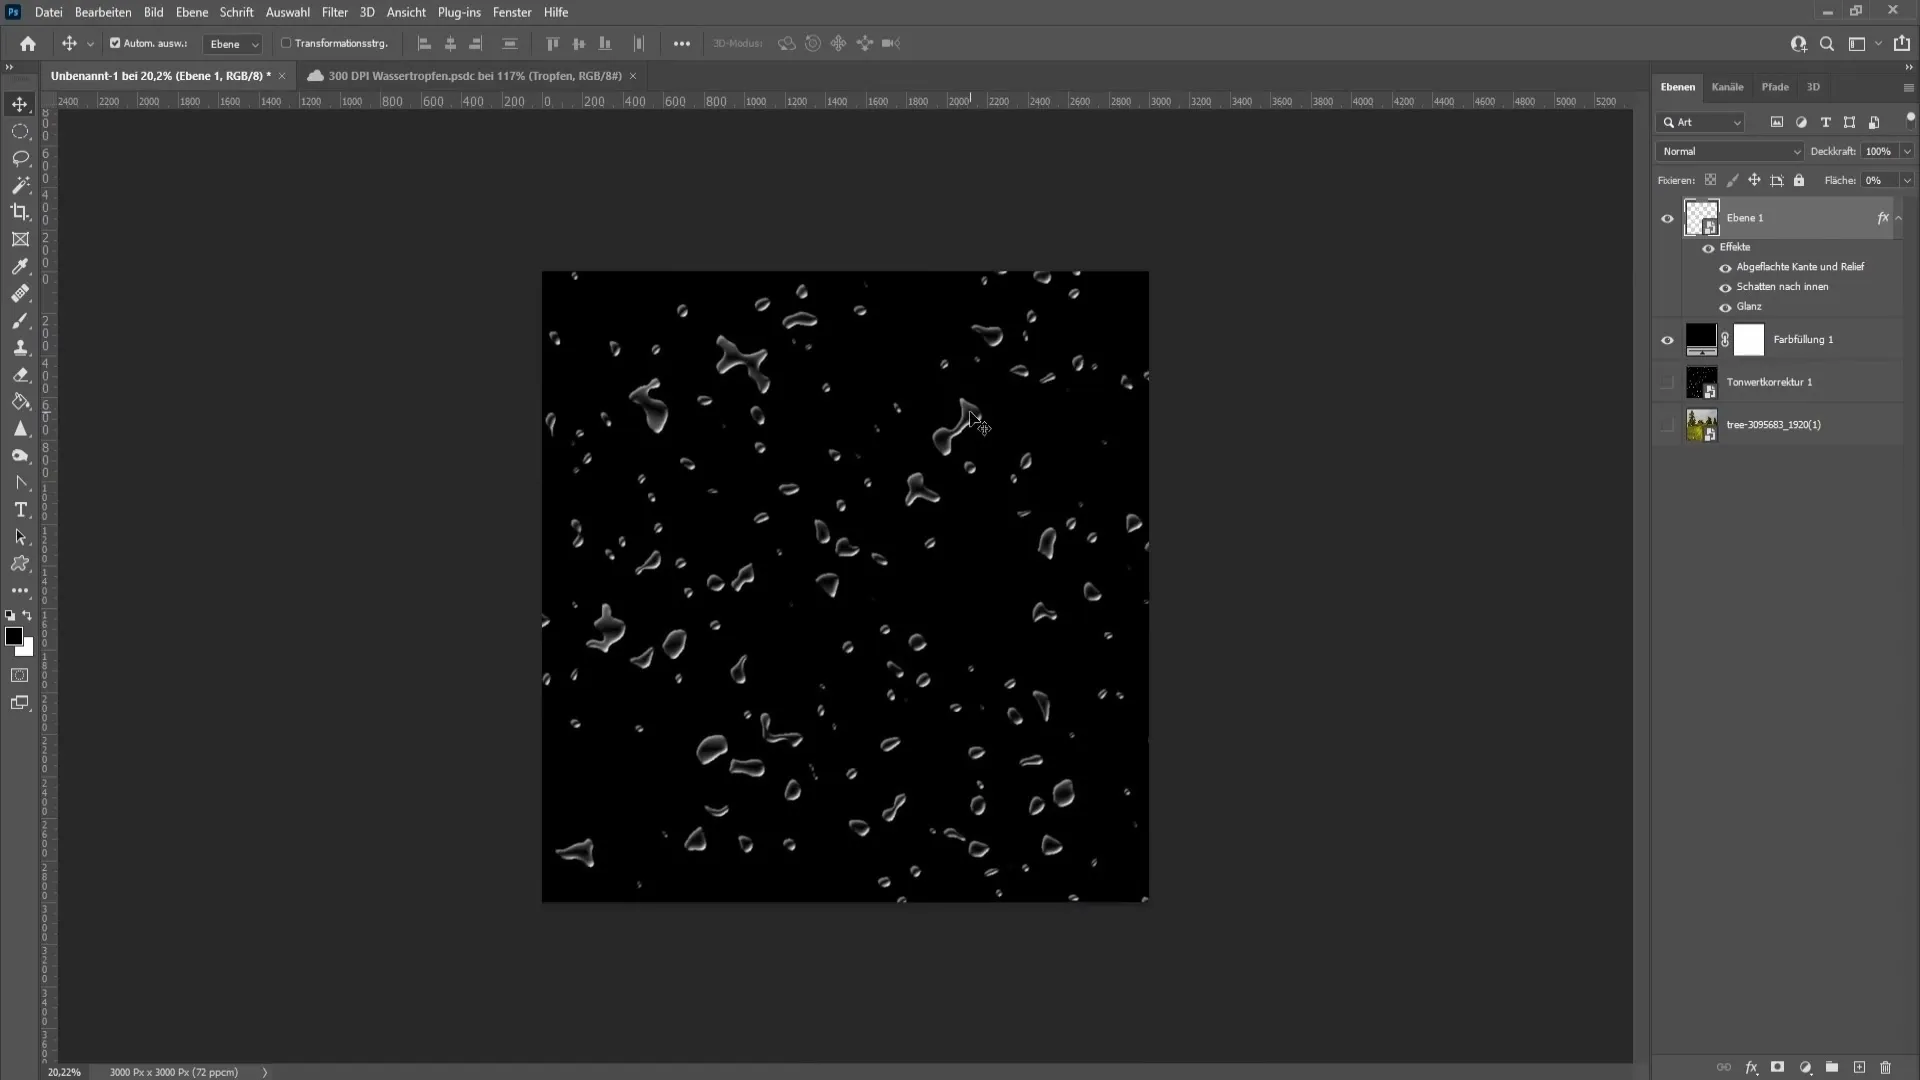
Step 14: Position water drops
Move the water drops to the desired location in your image to achieve the best effect.
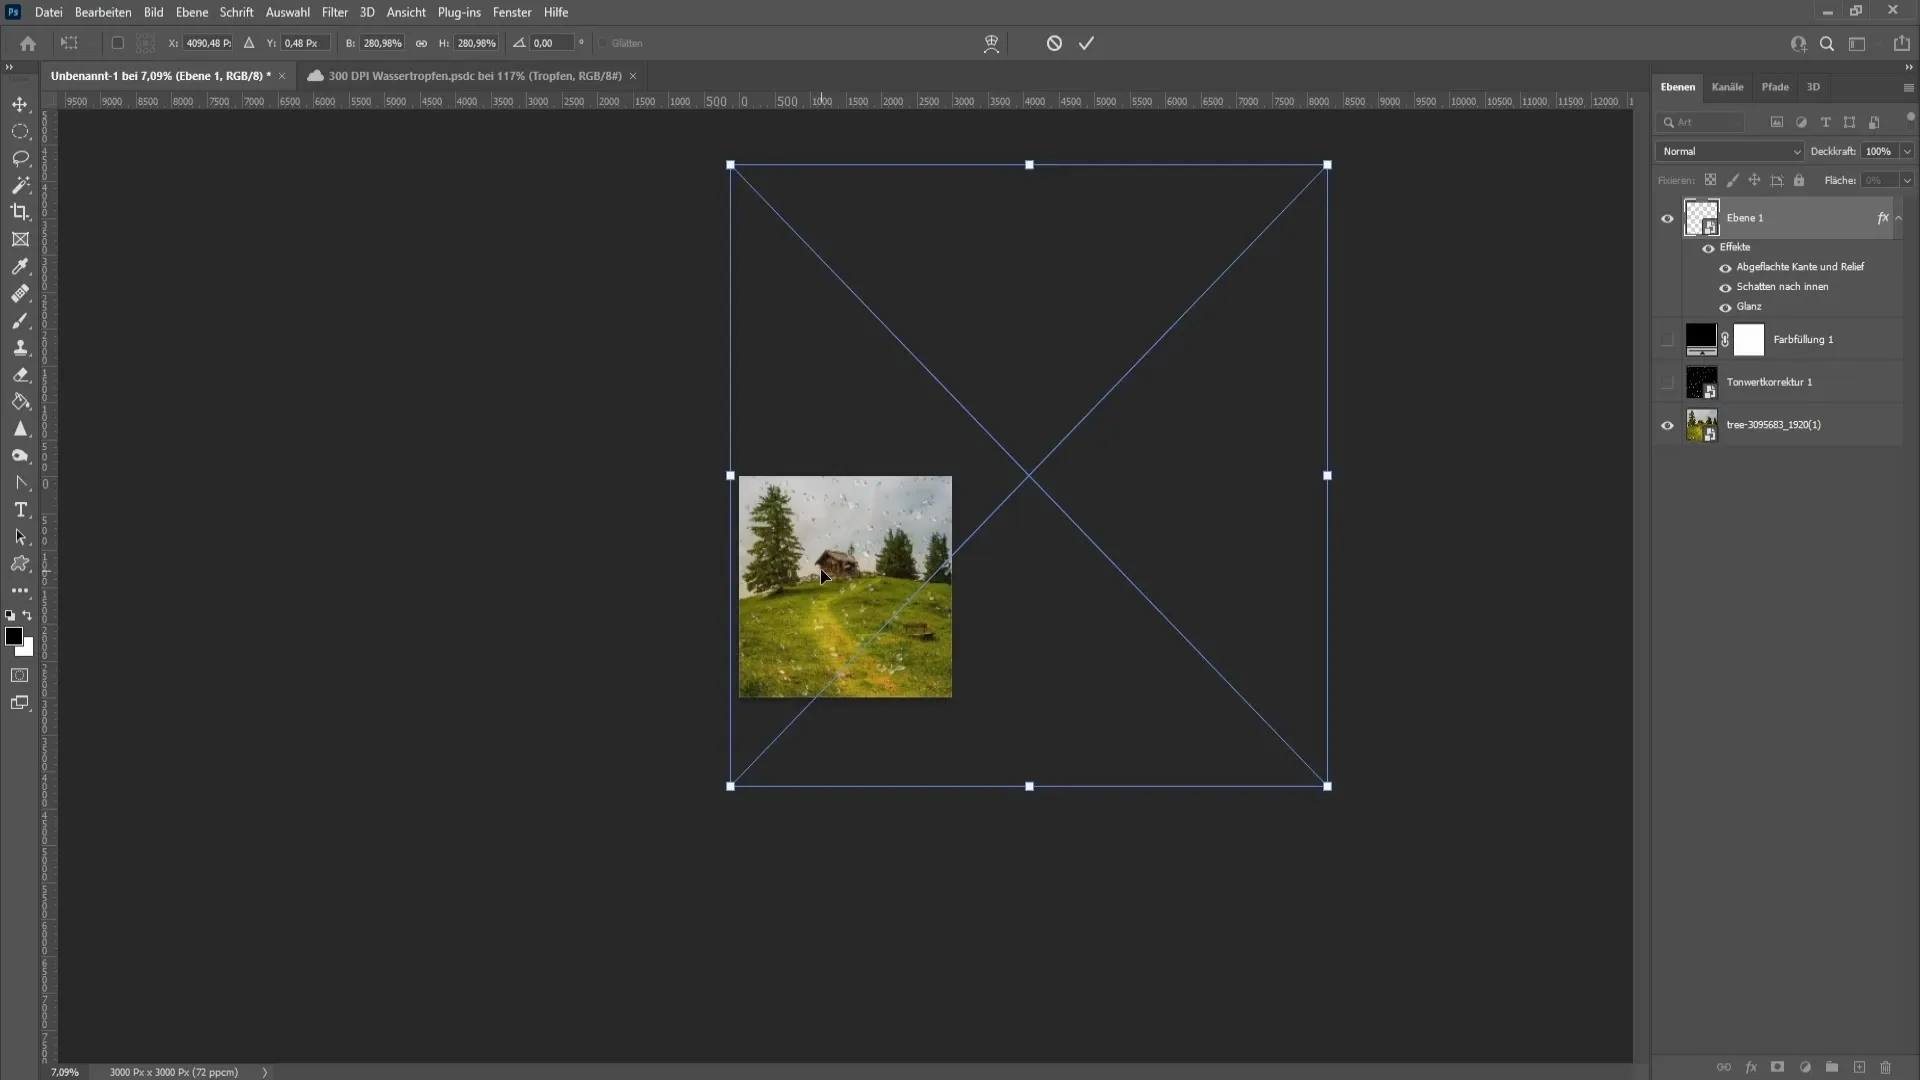
Step 15: Final adjustments
If you are satisfied with the placement, you can hide the black area and reveal your image. If necessary, you can readjust the size of the drops by using the transformation options again.
Summary
In this step-by-step guide, you have learned how to create realistic water drops in Photoshop. You now know exactly how to create layers, apply filters, add styles, and apply transformation effects to bring life to your designs.
Frequently Asked Questions
How do I create water drops in Photoshop?Use the layer technique with noise, blur, and threshold correction.
Can I customize the water drop effect?Yes, you can easily adjust the number, size, and position of the water drops.
What are the most common mistakes when creating water drops?Incorrect color and shading settings can make the effect look unnatural.
Which version of Photoshop do I need for this guide?The guide works with most current versions of Photoshop.


