It is essential to create high-quality content in order to stand out in the diversity of platforms and media. When producing a YouTube video that is intended to provide valuable information to your viewers, it can be a challenge to find the right Voiceovers, especially if you are unable to speak yourself. This is where the technology of AI voices comes into play. In this guide, you will learn how to create an effective voiceover for your YouTube video using 11 Labs, even if you are allergic to the microphone or sick. We will go through the steps to produce an engaging voiceover that captivates your audience.
Key Takeaways
- With AI-powered voices like Bella in 11 Labs, you can quickly and easily create voiceovers for your videos.
- The technology allows you to provide content in different languages to reach a wider audience.
- You save time and resources by not needing external voice actors and still achieving professional sound.
Step-by-Step Guide
Step 1: Develop a concept for your YouTube video
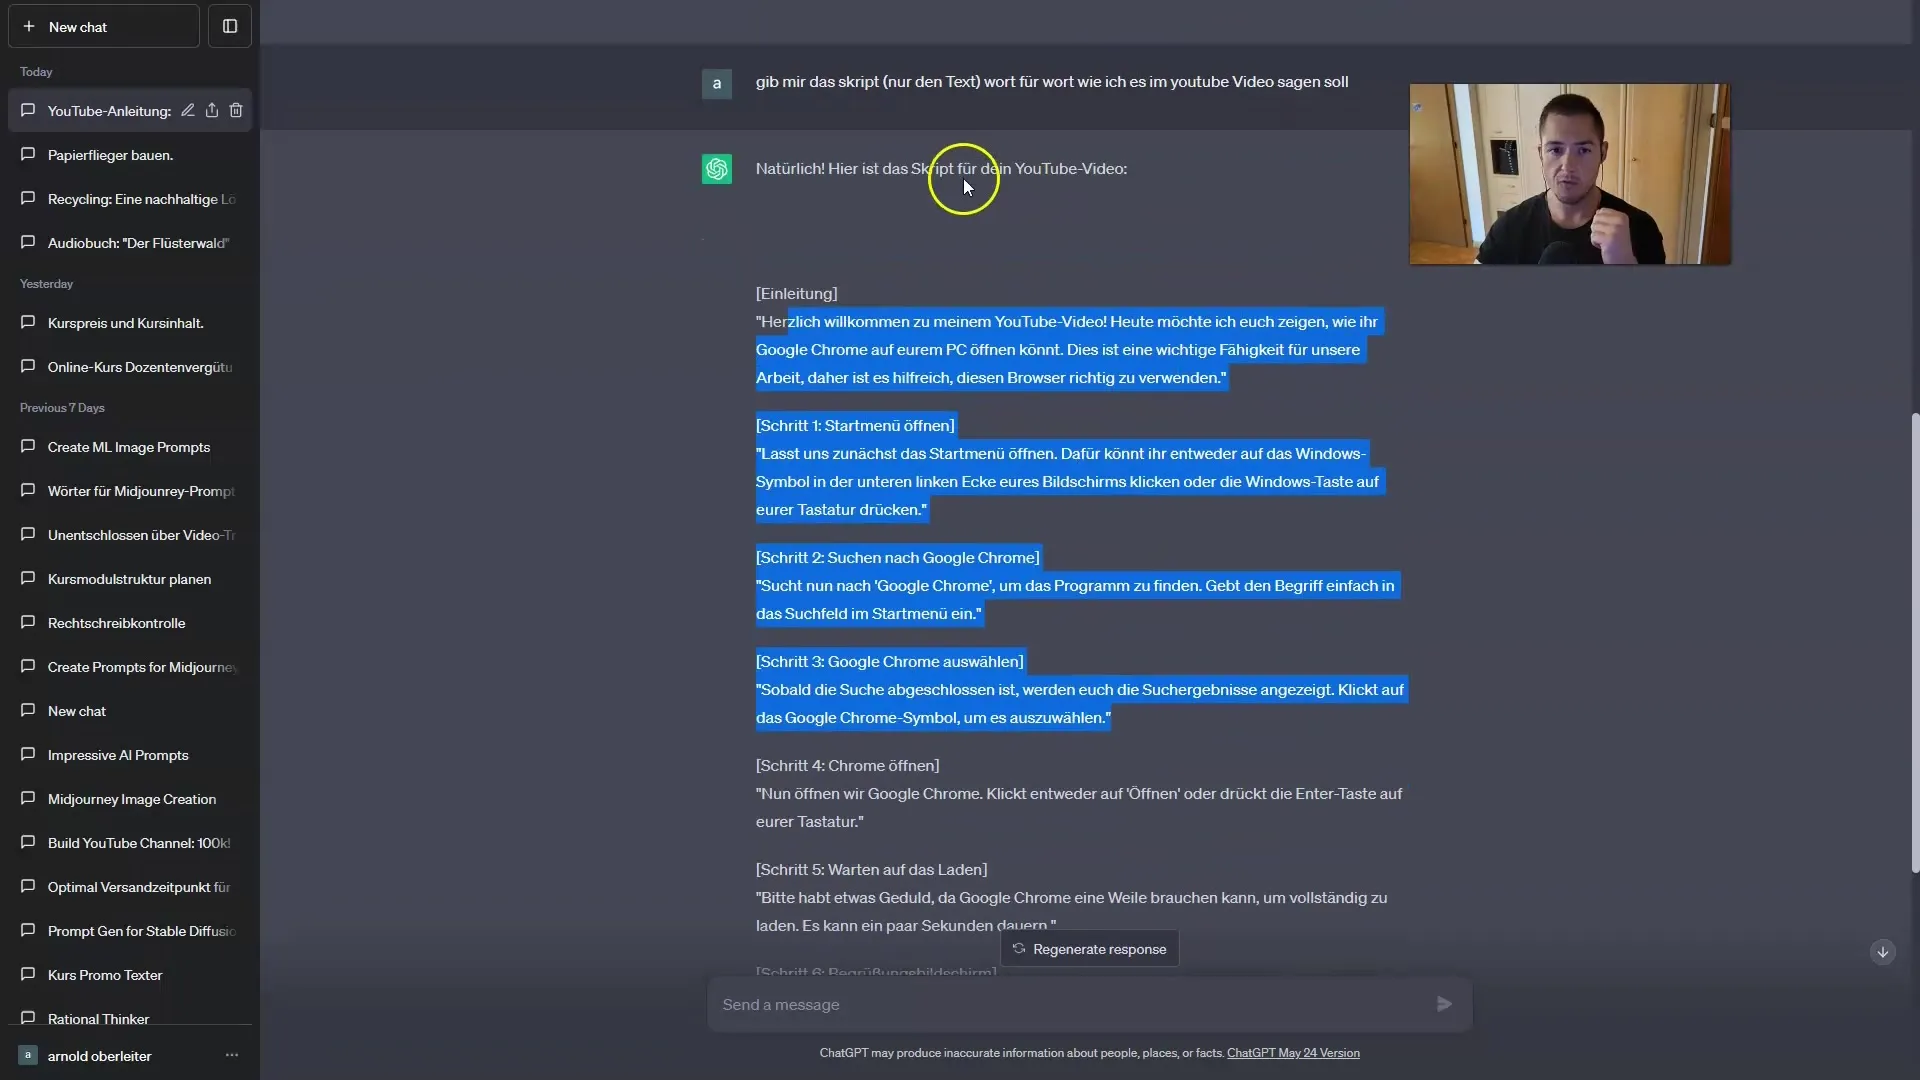
Before you start creating a voiceover, think about what your video should be about. Do you have a topic you want to explain or demonstrate? For example: "How to open Google Chrome" would be a practical topic that could interest many viewers.
Step 2: Record the video
Record your screen or create the video where you perform the demonstration. Film everything you want to show in detail so the viewer sees exactly what to do. If you don't have a voice at this point, don't worry, the voiceover will be added later.
Step 3: Using 11 Labs to create the voiceover
Once the video is ready, it's time to create the voiceover. Sign up for 11 Labs and upload your script. Here you choose the voice that best fits your video. In this example, we are using Bella's voice, which is clear and engaging. Make sure to set the language to German so that everyone has access to your information.

Step 4: Generating the voiceover
Click on "Generate" to create the voiceover. This step may take a few seconds depending on the length of your text. This is the moment to also consider the sound quality and ensure the voice is clear and understandable.
Step 5: Download and integrate into your video
Once the voiceover has been generated, you can download the file. Now, insert the downloaded voiceover into your video. Check if the sound design integrates well with the video and if the voice aligns with the visual content. It should provide a smooth and pleasant experience for your viewers.
Step 6: Using multilingual voiceovers
If you want to make your video accessible to an international audience, you have the option to provide your original video with translations in 11 Labs. Upload the translated texts and create the same voiceovers in other languages, such as Spanish or English. This opens the door to a larger audience and is a great advantage of AI technology.
Step 7: Publishing your video
Once you have incorporated the voiceovers and edited the final video, you can upload it to YouTube. Ensure you add the right tags and descriptions to achieve a better ranking in search results. Add subtitles to further increase accessibility.
Summary
In this guide, you have learned how to easily and efficiently create voiceovers with 11 Labs. Using AI voices allows you to generate professional audio content without the need for external speakers. Not only can you create your videos more efficiently, but you can also reach a wider audience by offering multilingual voiceovers.
Frequently Asked Questions
What is 11 Labs?11 Labs is a platform for generating AI-powered voices for voiceovers.
How can I create a voiceover in a different language?Simply upload the translated text to 11 Labs and generate the voiceover in the desired language.
Is 11 Labs free?11 Labs offers both free and paid models, with the free version having some limitations.
Can I save my voiceover customizations?Yes, you can download the created voiceovers for later use.
How long does it take to generate a voiceover?Generation typically takes a few seconds, depending on the length of the text.


