As with other programs, you can of course save yourself a lot of work in CINEMA 4D by using shortcuts. I'll show you what this is all about using the example of a tube and making the radius inside a little larger - I like it better.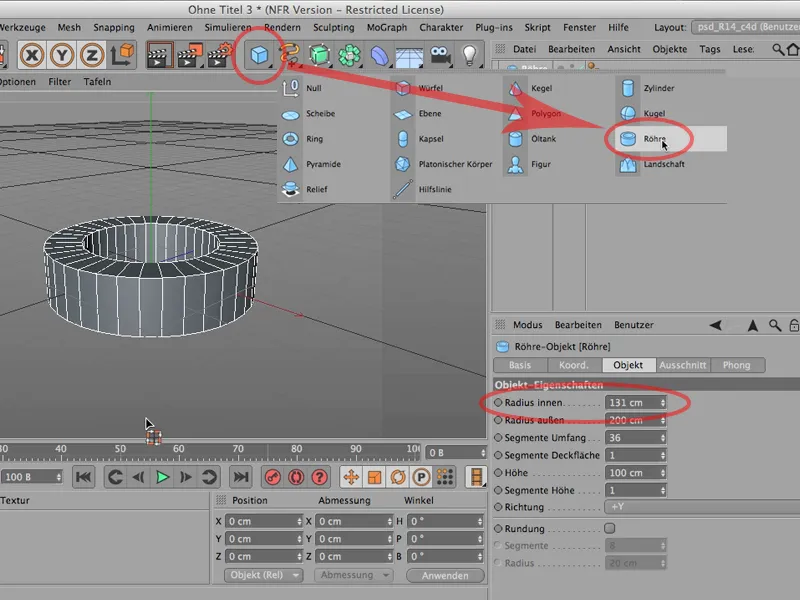
And I'll also convert it directly into a polygon object using the C key, and now we can start working with the thing.
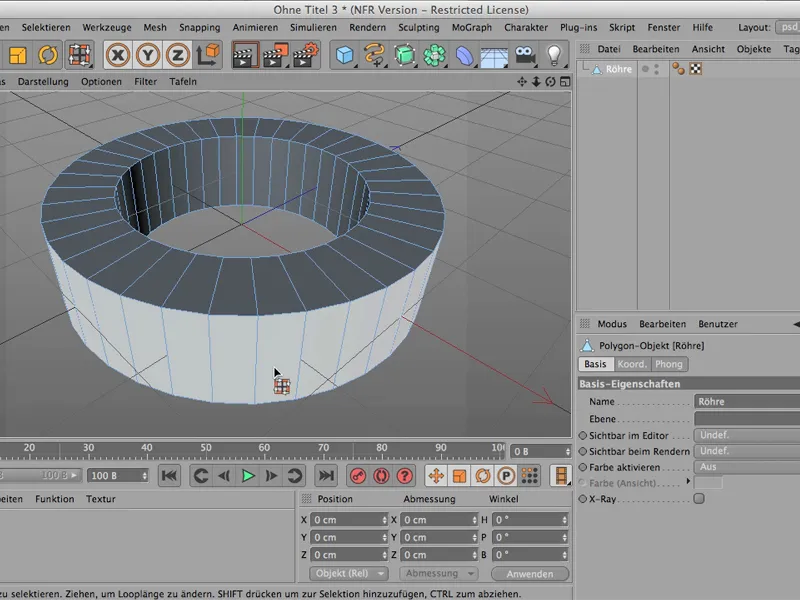
Now let's move on to the selections. I've already called up one command, which you can already see here, that's the loop selection. You can get it via Select>Loop selection.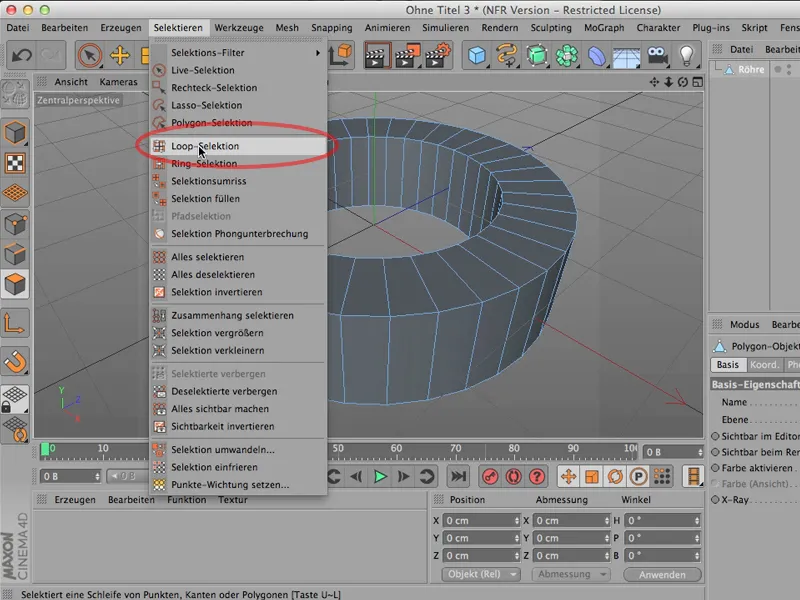
Or much, much simpler: no matter where you are with the cursor, press the V key. And you get the Select menu in addition to all the other things you can do with it, and so you are much faster in the loop selection.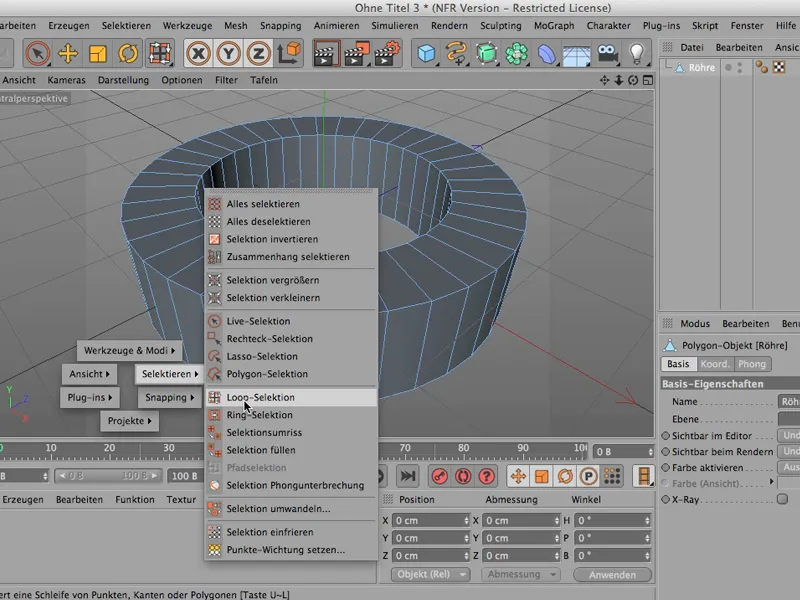
Now you can select the loop you want, or select several loops by holding down the Shift key.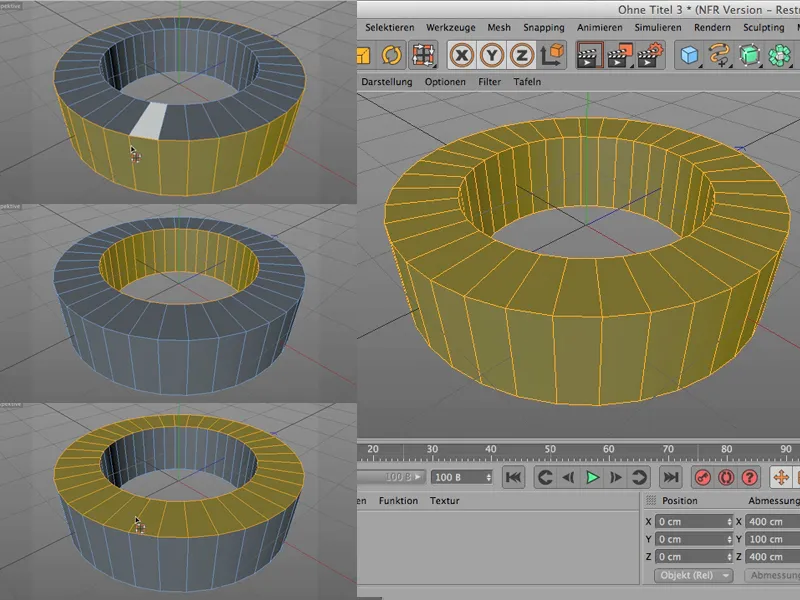
I haven't selected the whole figure yet, but almost the whole figure. If I now want to deselect it again, I can also say Select>Deselect All. Of course, you can also do it differently by either clicking back here in the editor or you can do the following (but you have to stay in the editor with the cursor): You can deselect everything again via Shift+Ctrl+A.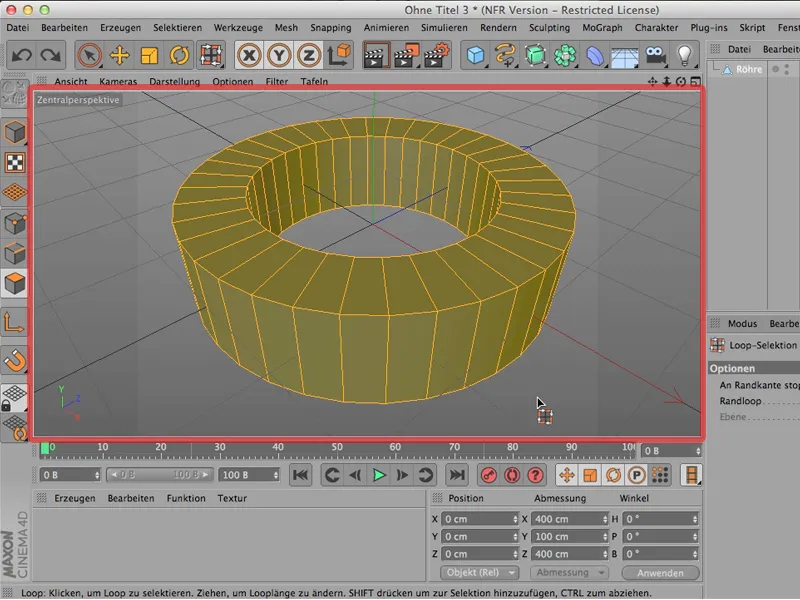
However, if the cursor is outside the editor, the shortcut will not deselect anything. Important: Make sure that the cursor for this shortcut always remains within the editor window. Then deselecting will be very quick in any case. These two shortcuts are relatively quick to use.
Now I'm going to do something else. I call up V>Select again and now I want to have a ring selection. It's in a very similar place, just a little further down.
And you might be thinking, what's the difference? It's exactly the same! It's exactly the same, it looks exactly the same at first.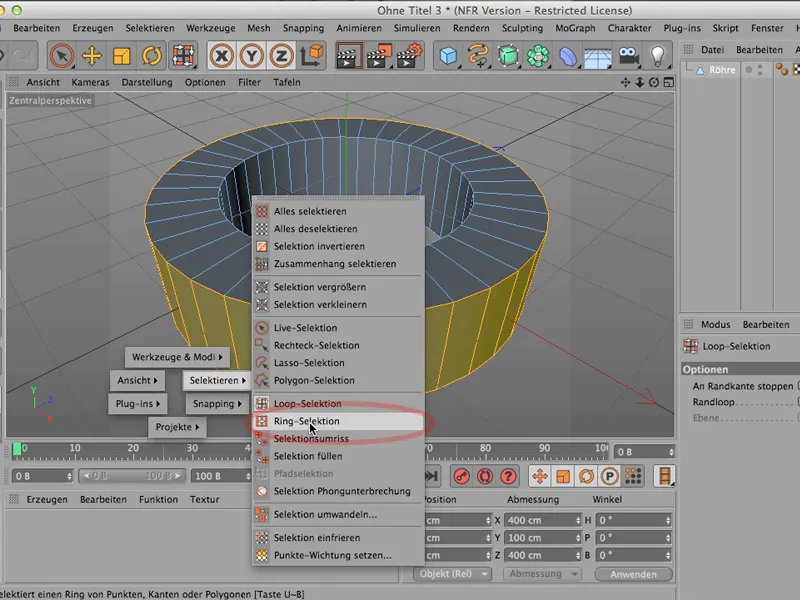
Now I first deselect everything again via Shift>Ctrl> A. Now I go over to the edge-edit mode and now you can see the difference: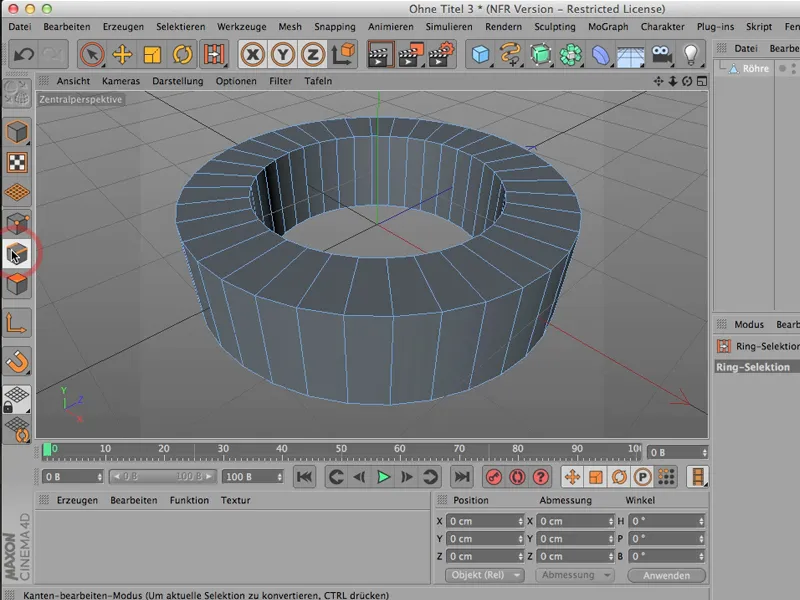
This selects the individual edges along a ring, so to speak, ...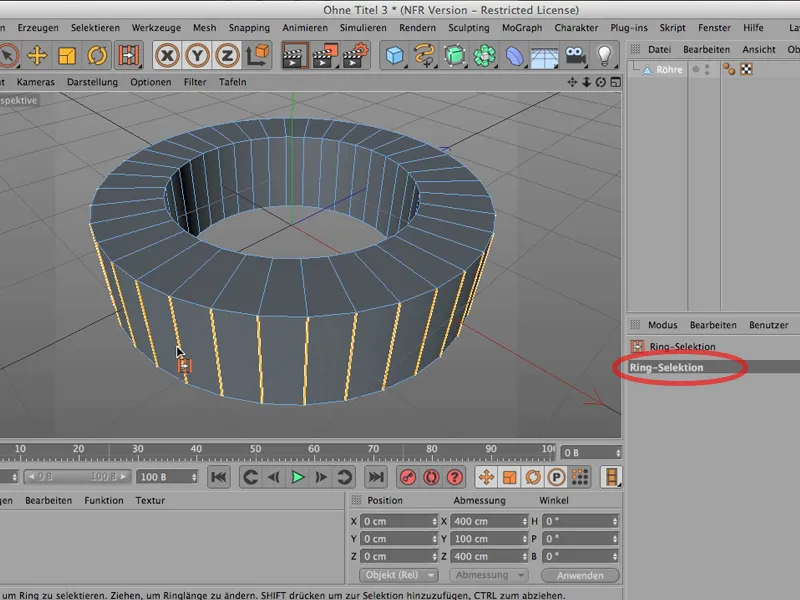
... whereas if I were to use the V button to select a loop, these loops are selected, i.e. they are somehow connected and closed.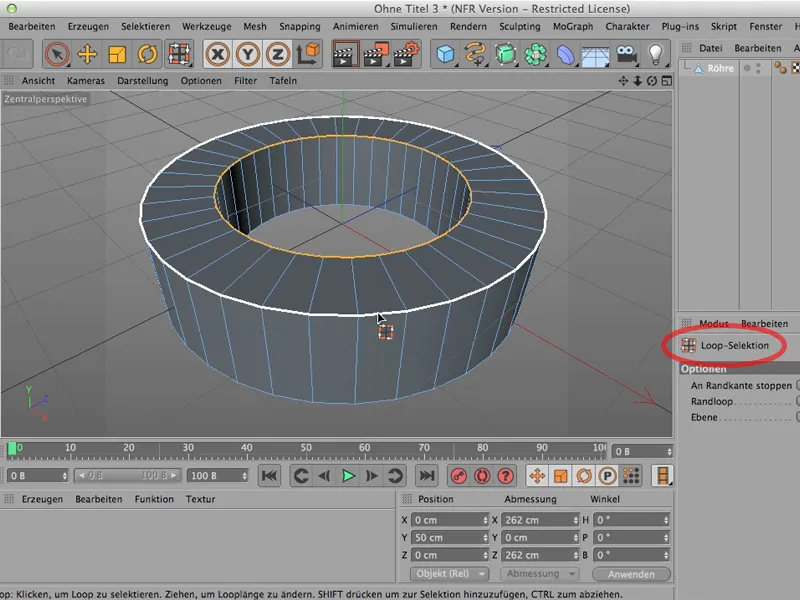
This is the difference between the two selection types. Important for you, however: If at all possible, use this V key . This will make you much faster, and if you want to deselect everything, you can simply use Shift+Ctrl+A.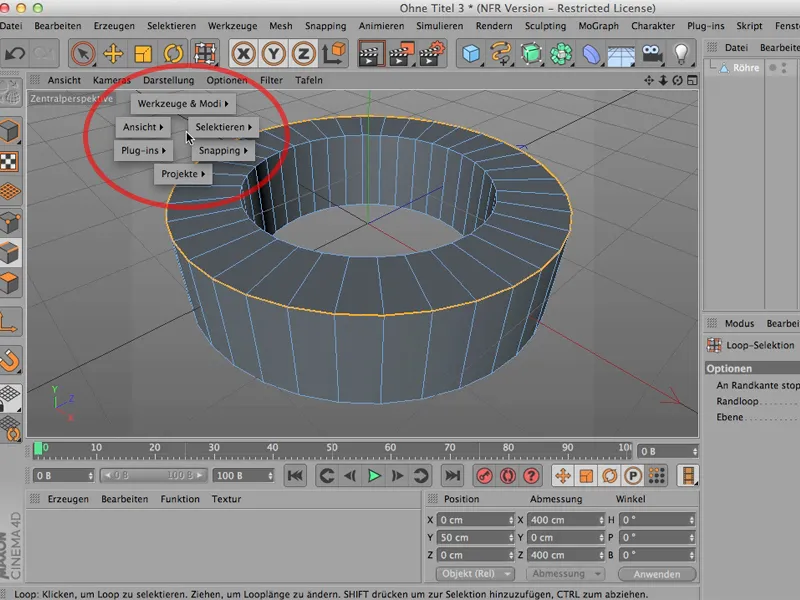
N, M and U groups
This is about the so-called N, M and U groups of CINEMA 4D. These are all shortcuts and you can simply take a look at them.
A little tip at this point: If you're using a graphics tablet, move your mouse pointer to where you want this list we're about to see to appear, and then lift your pen far enough away from the tablet - a few centimeters at least - that it no longer has any effect. Only then does it make sense to press this U, otherwise it will disappear again immediately.
The U-groups
So, the U-groups : - take a look at what's in there. These are mainly things that do not directly influence the geometry of an object, but rather indirectly. It has a lot to do with selections - and of course, a selection is possibly the preparation to deform something, but it doesn't have to have a direct influence on the geometry.
Just like the Optimize or Subdivide command. OK, with Subdivide you can of course see that the object consists of more polygons than before. But as I said, these are the U-groups. Have a look to see if there are any commands in here that you need relatively often and that you would have called up much more quickly.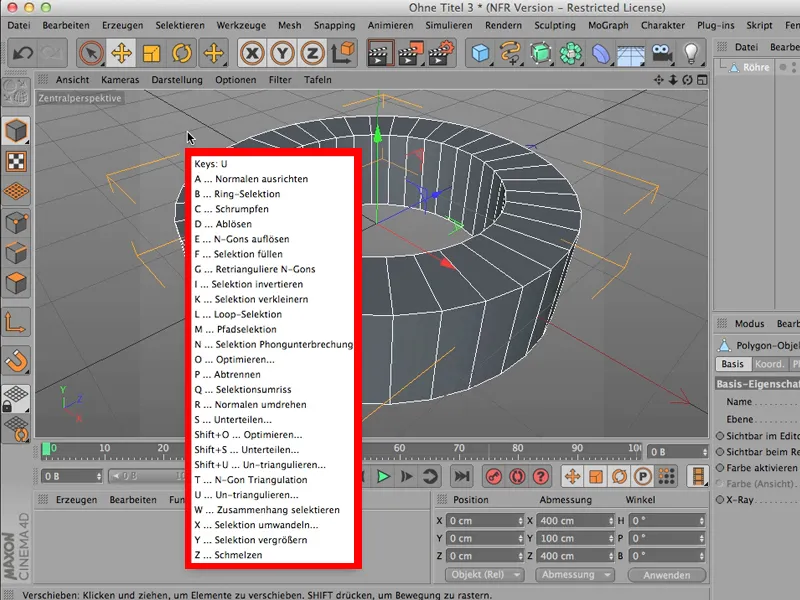
The M groups
Then we have the M groups. There you can see for yourself: This has a lot to do with modeling, which is probably why it's called the M (modeling) group. The bridge is in there, the brush is in there, the smoothing, mirroring, magnetic tool, the knife - all the things you need for modeling.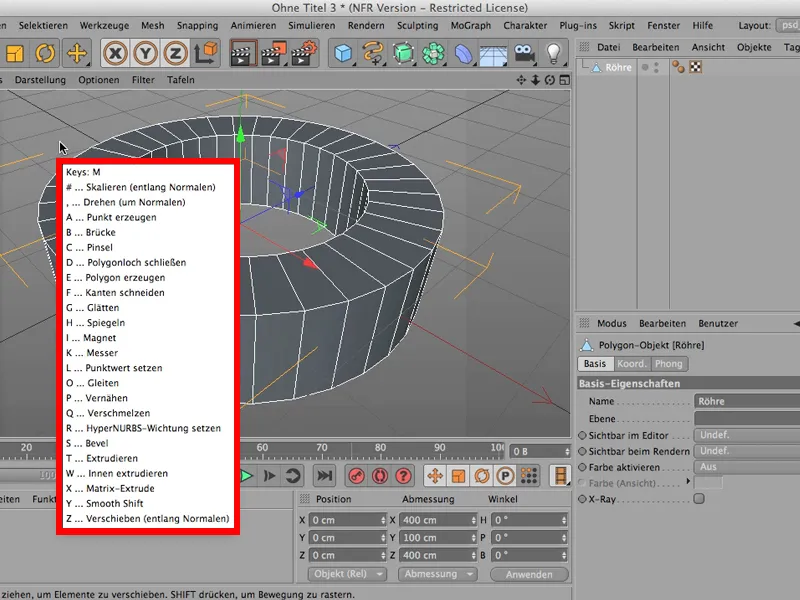
The N-groups
Then there are the N-groups. These are mainly (or actually almost exclusively) to do with representation. Things that you can assign to how a scene should look.
Not what a single object should look like, for that you would need a display tag. You can of course do all the things you see here. But if you want it to affect the entire scene, then you're probably quickest with the N groups.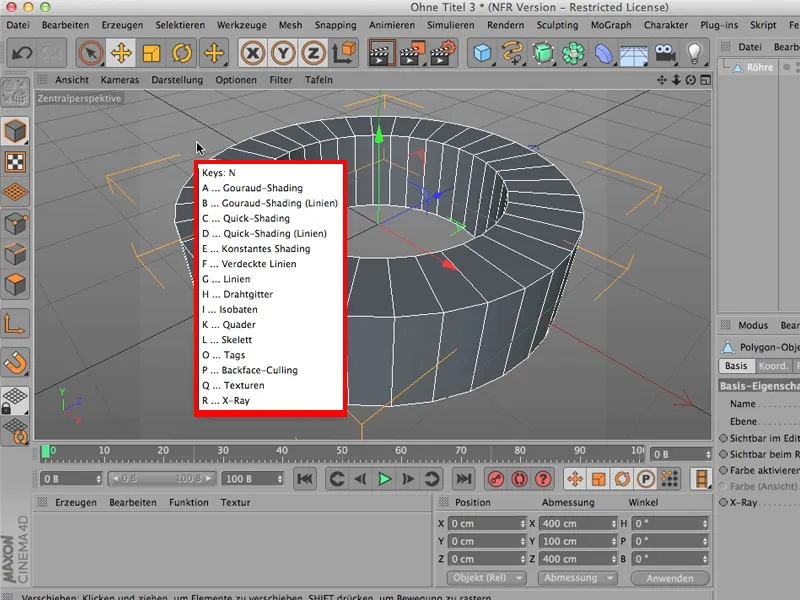
It remains to be said that I need at least almost exclusively the M-groups and the U-groups, the display is usually not so important to me, I take over what CINEMA 4D shows me.
The axes
While we're on the subject of three letters, I'd like to suggest the letters XYZ. You can see them above. You may know that - you can also lock them by simply clicking on them.
But it's much easier if you just click on X and Z, for example. Now I can move this object anywhere in the editor. You can only move it up or down, so you can only move it in the Y direction. Or, if I lock Y and open X & Z again, I can only move it on one plane.
Be careful, the arrows remain active. So if I click directly on the arrow, I can also move my object in the locked direction. But only if I am in object edit mode; otherwise there is no arrow.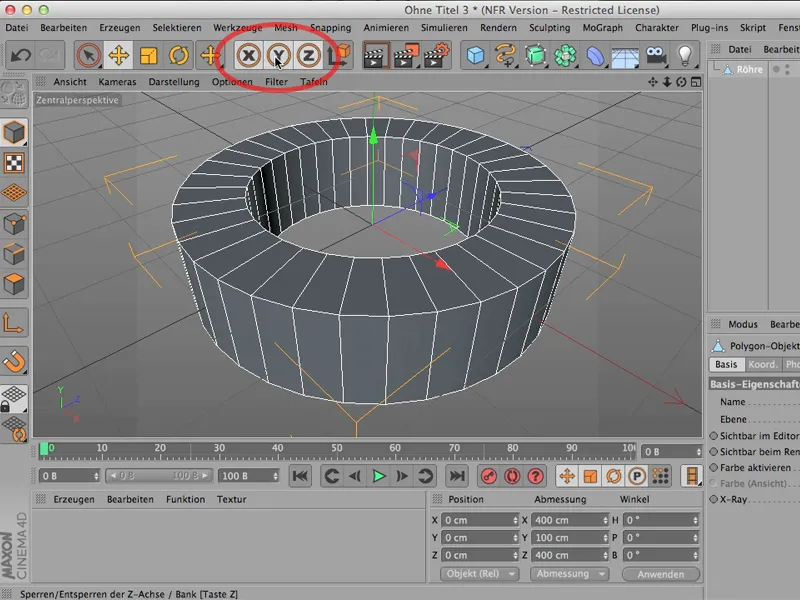
So here's a little tip: If you don't need all three directions to move, but want to limit yourself to one or two directions, the quickest way is to tap the X, Y or Z keys.


