In this guide, you will learn how to use the technology of Wav2Lip to create videos where a person’s face speaks synchronously to an audio. This allows you to align a person’s lip movements with the audio you have selected. Using Wav2Lip is an exciting way to generate creative content. The technique is amazingly simple, and I will show you how to get started in no time.
Key Takeaways
- Wav2Lip is an open-source tool that you can use in a Google Colab notebook.
- You need to provide your video clip and audio in a specific format.
- The process involves uploading files and running code to create the final video.
- When using this technology, it's important to proceed responsibly and not spread fake news or harmful content.
Step-by-Step Guide
Step 1: Setting up the Google Colab Notebook
To begin with Wav2Lip, first open the Google Colab notebook where the software is implemented. You can open the notebook in a browser of your choice.
You may need a small subscription for Google Colab, but usually, everything works for free. Once you have opened the notebook, simply click on the "Play" button. This is the setup process where you will need to grant permission for the GitHub code to run in the notebook.
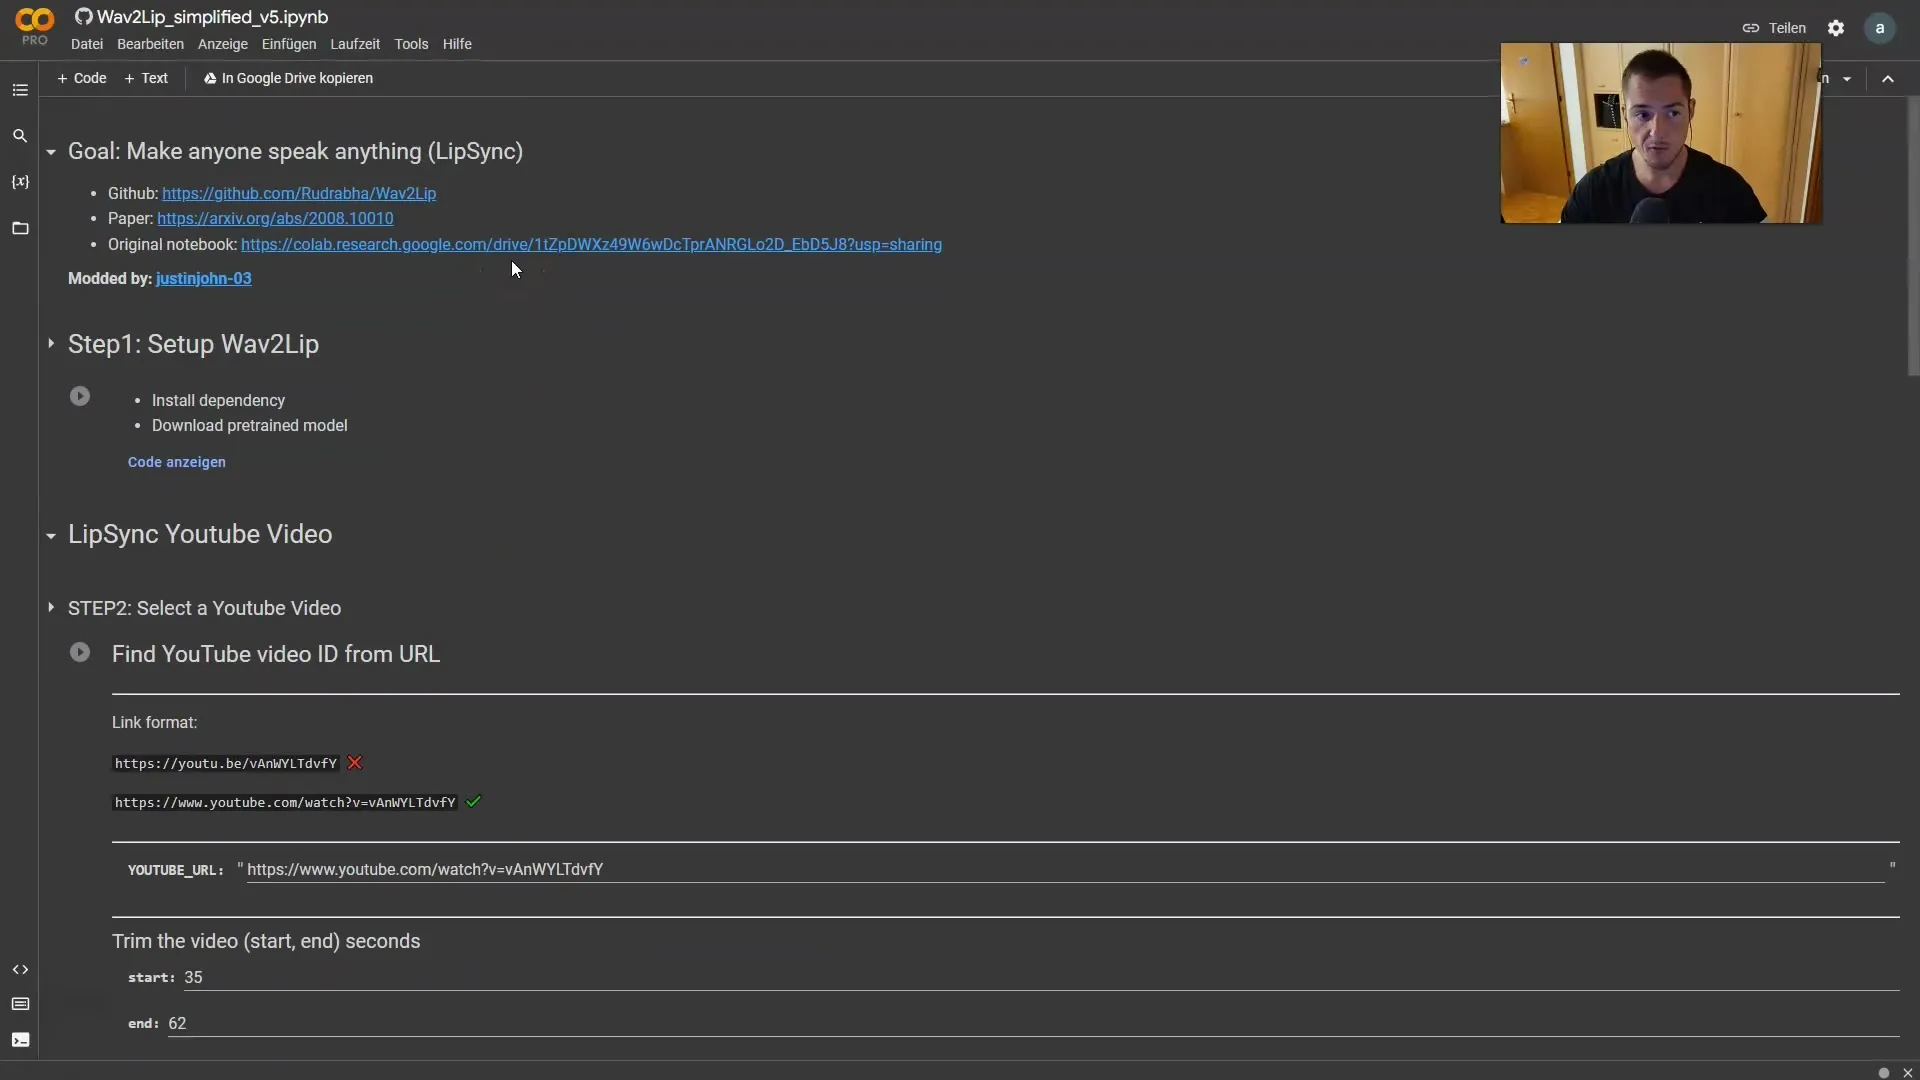
Once you have granted permission, the notebook will perform the necessary installations, which typically only take a few minutes. You will know everything is ready when a checkmark appears.
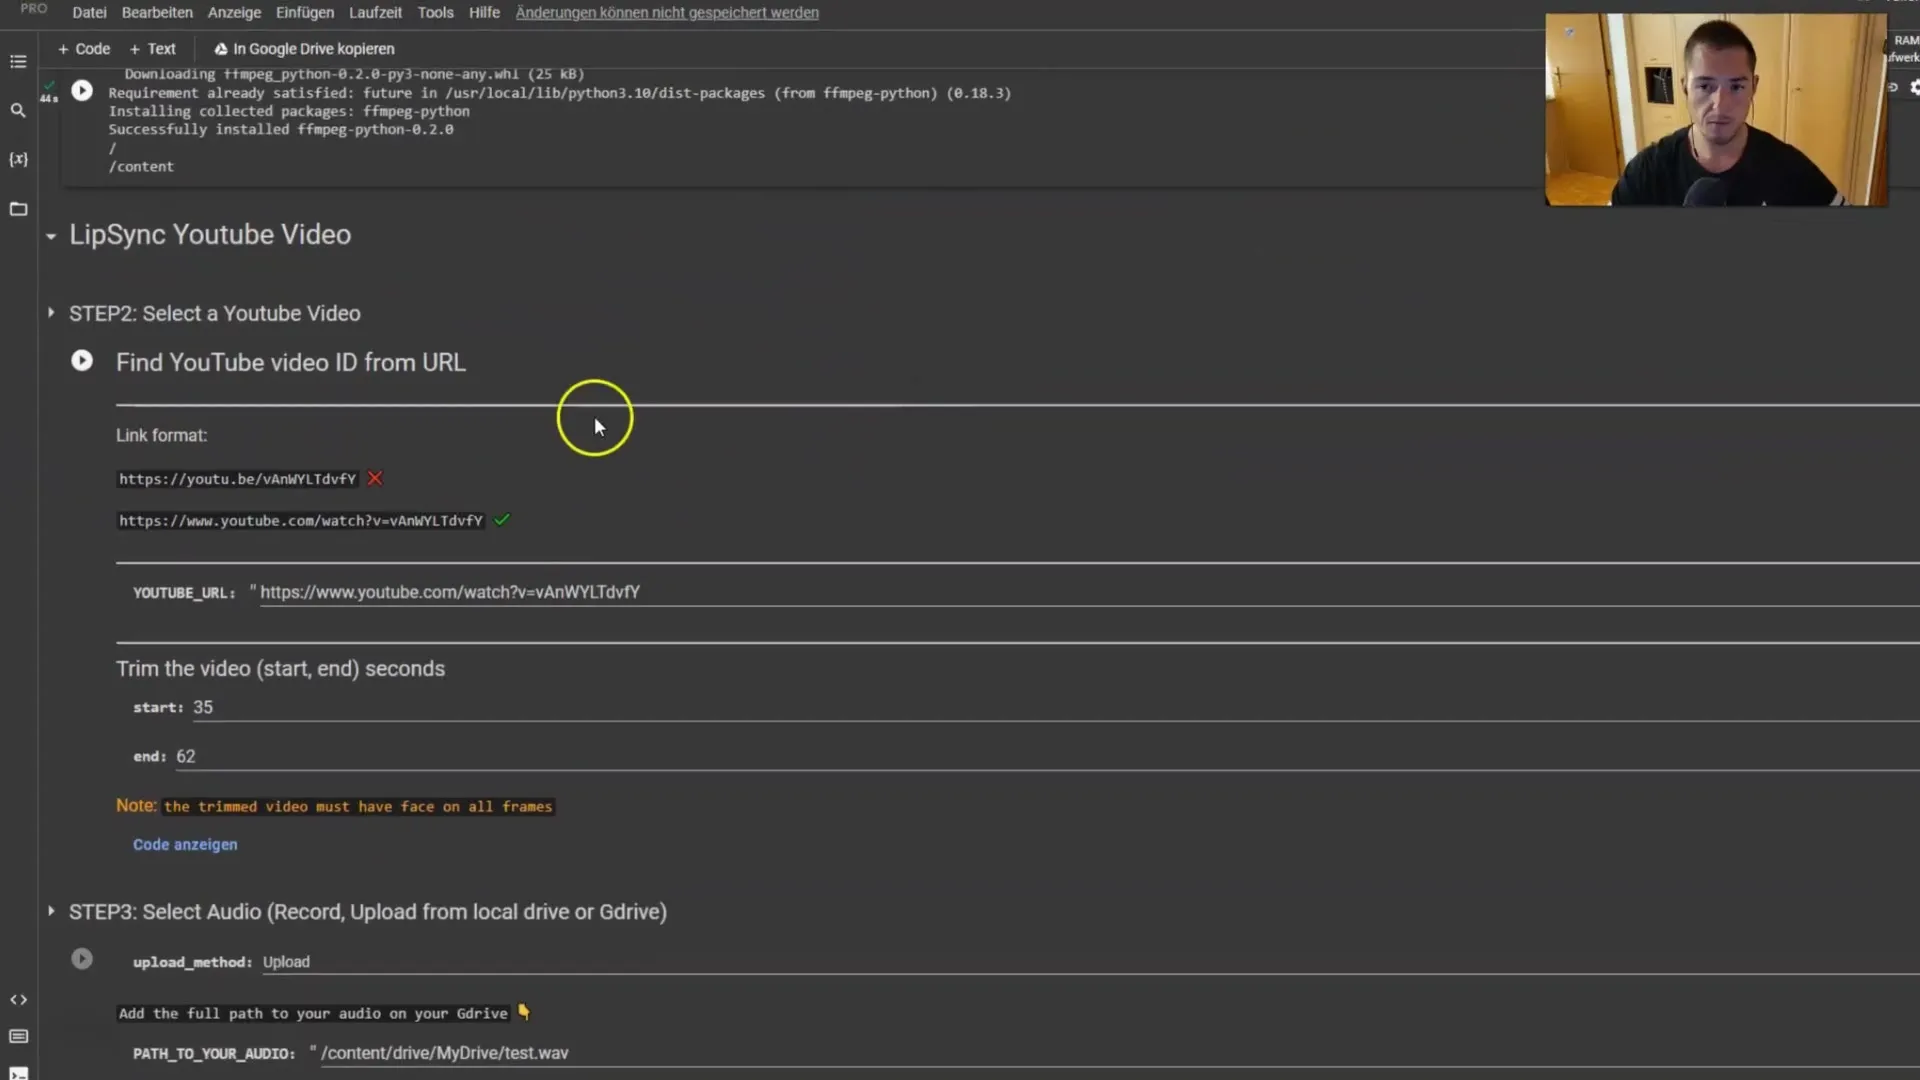
Step 2: Choosing the Video
Now you need to choose a video that you want to edit. The notebook allows you to specify a video path, but I recommend downloading the video directly. This has proven to be more reliable in the past.
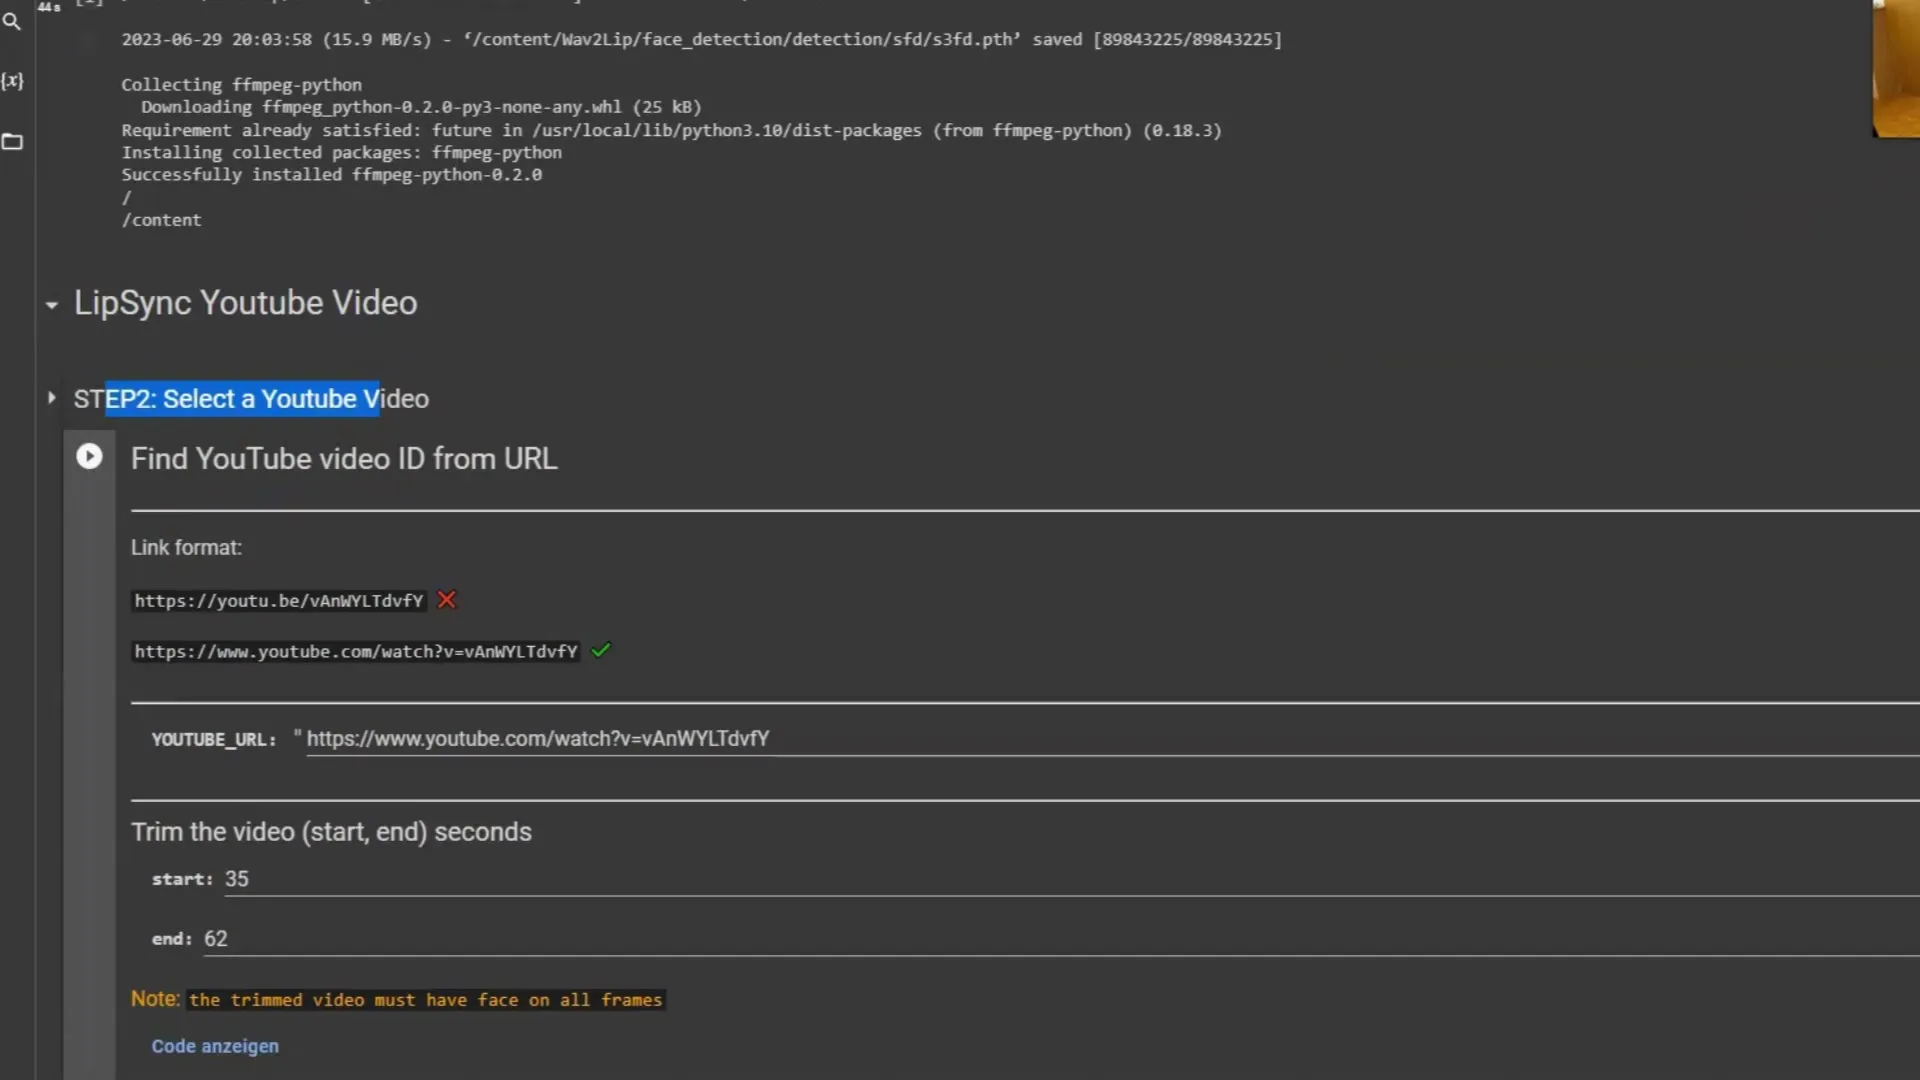
You can also set the time frame for when the video should be played from start to finish. Make sure the face in the video is clearly visible in all frames. I recommend skipping the step with your own video initially, as this usually works better.
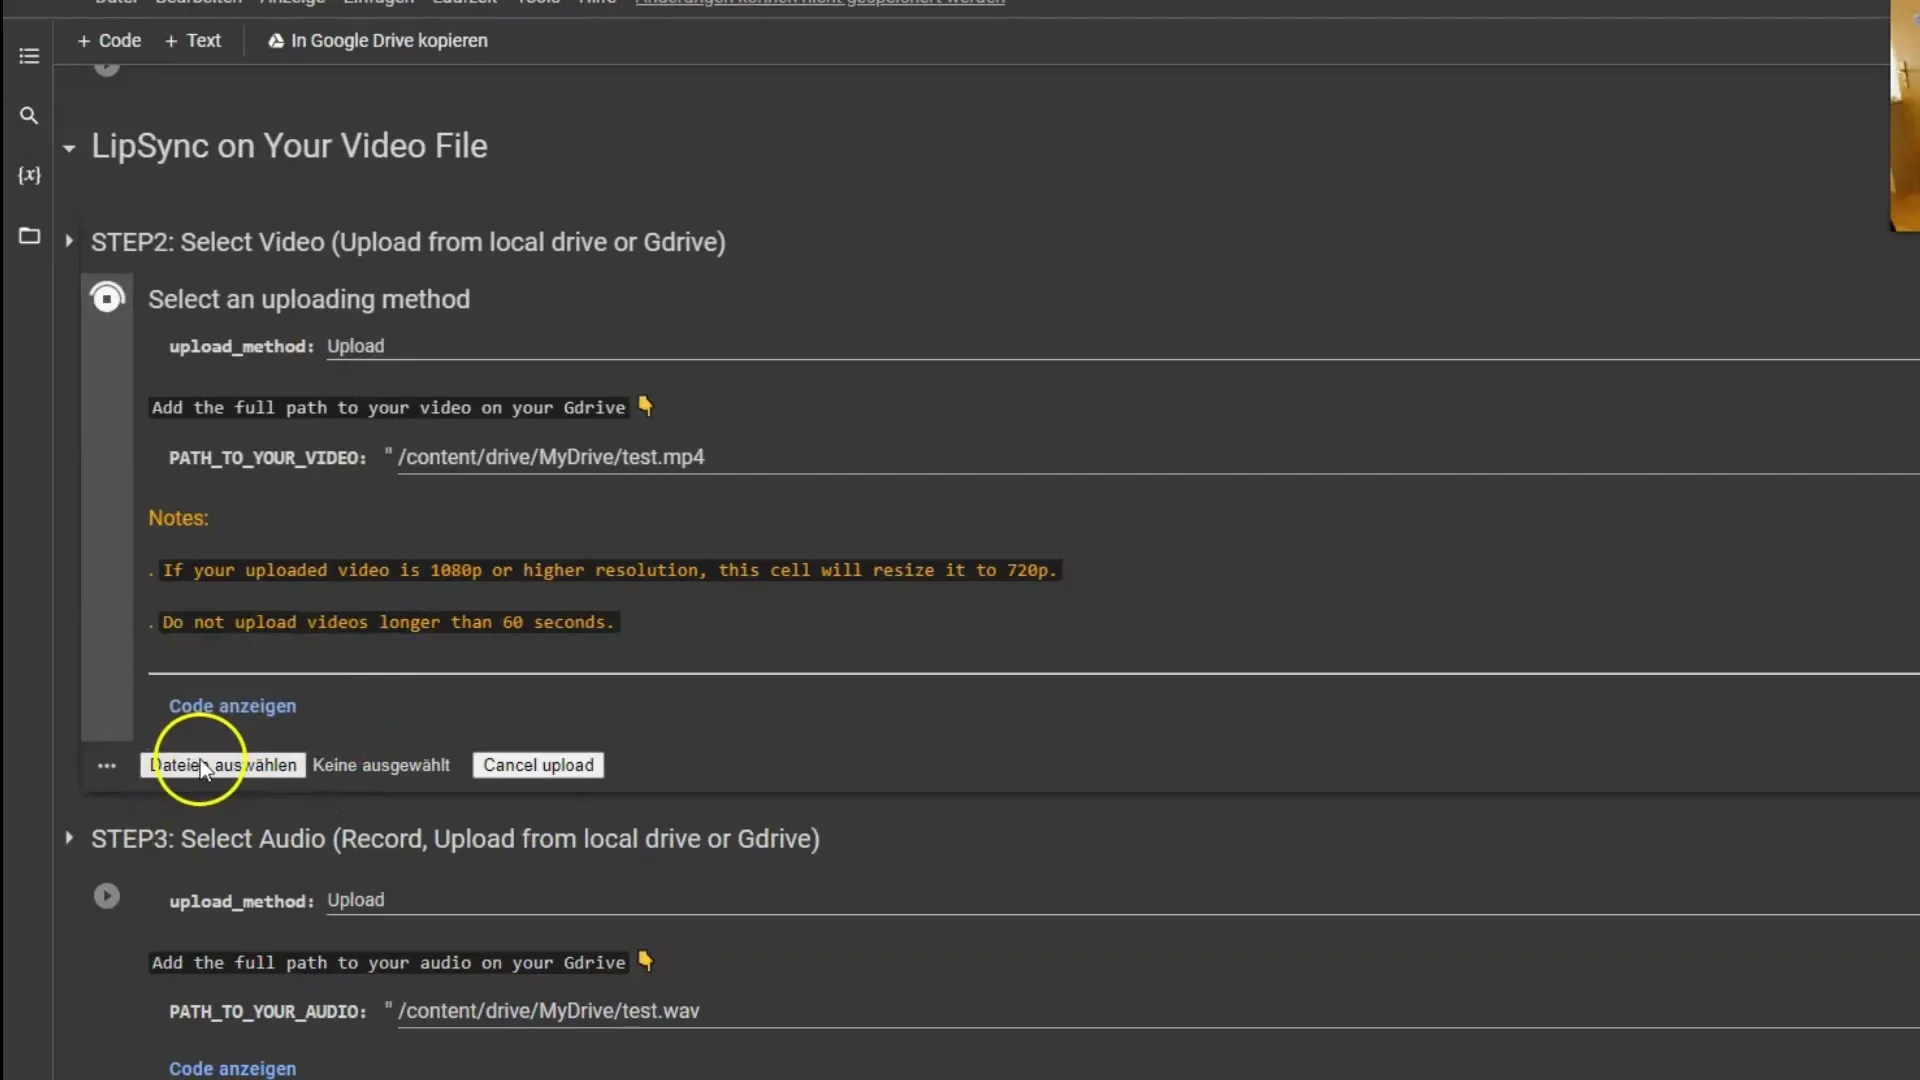
Click "Play" and select the "Upload" option to upload your video. You can also specify a path to Google Drive if you prefer.
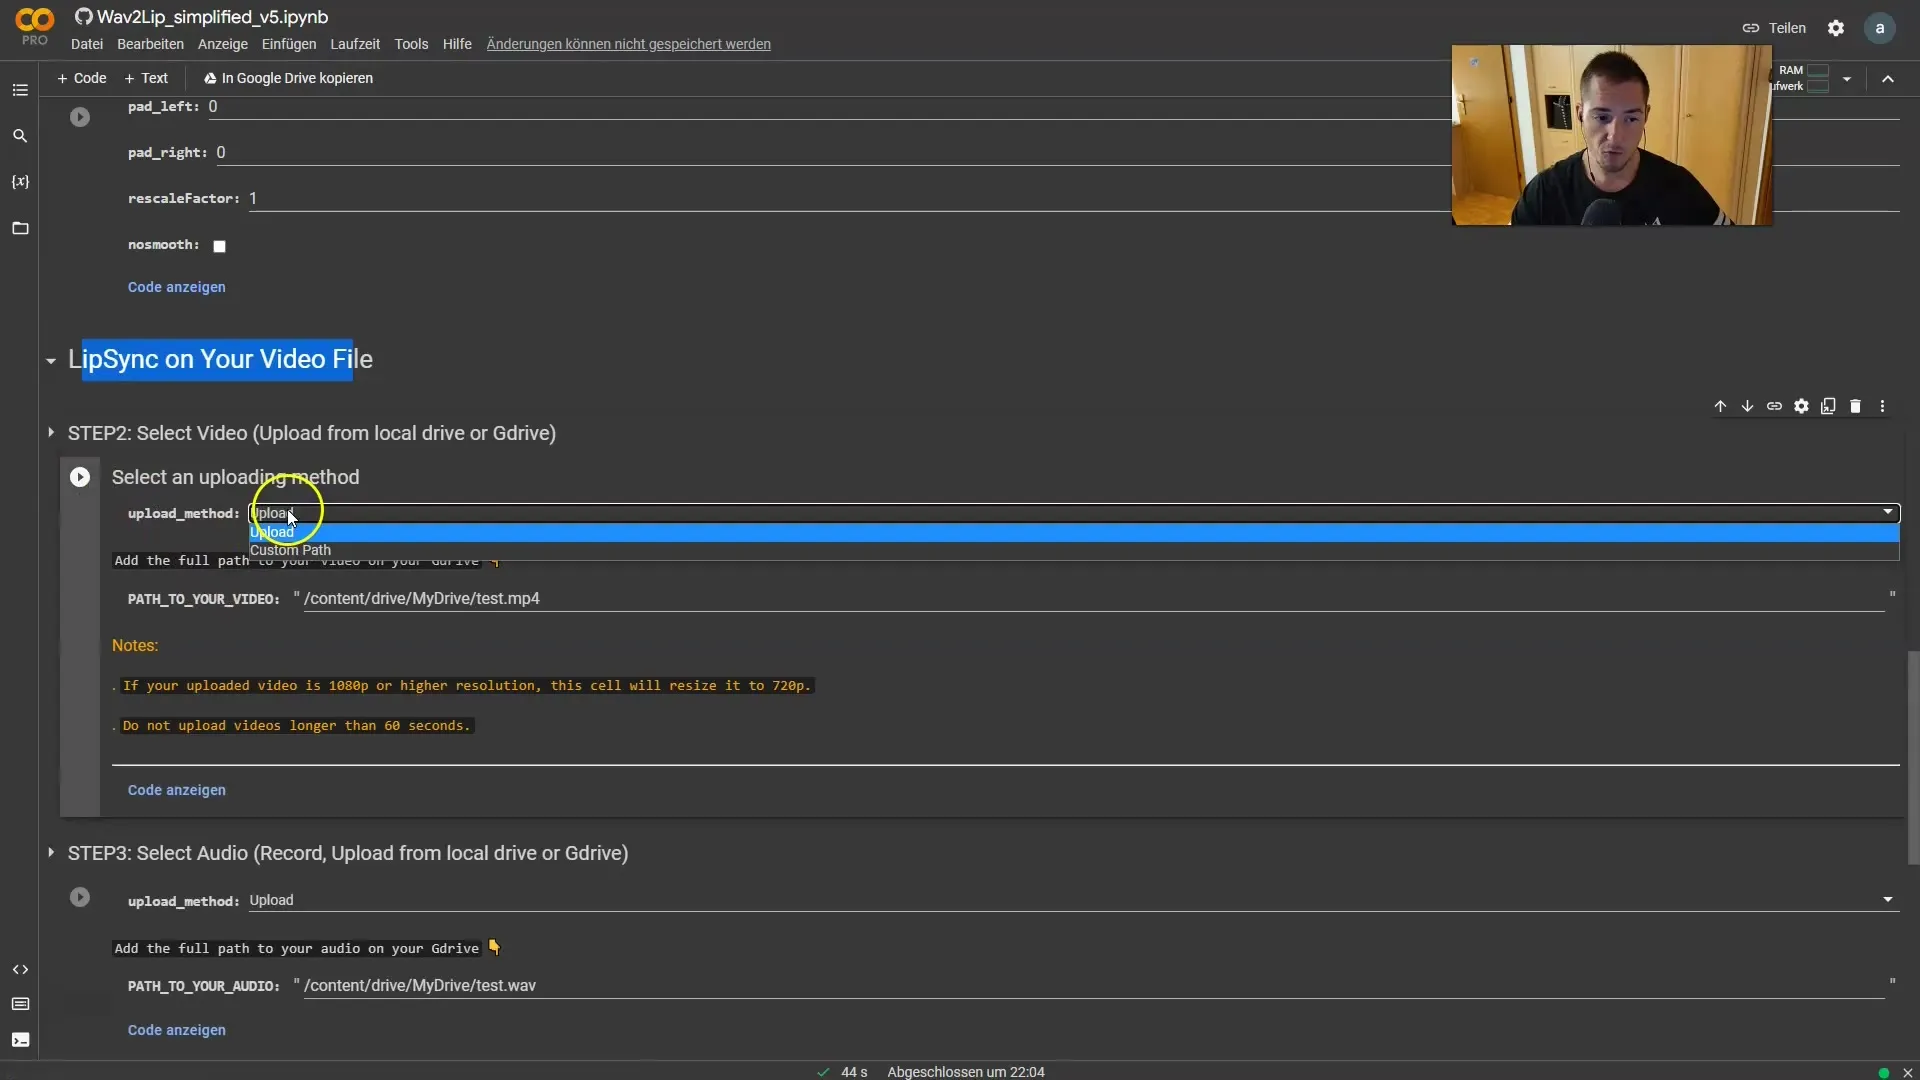
Once you click "Play," a button will appear for you to choose your file. Click on it to select the video you want to upload.
Step 3: Choosing the Audio
Once the video is uploaded, the next step is to select the audio file that will be synchronized with your video. Ensure that the audio format is in the correct file type. If your audio is in MP3 format, convert it to a WAV file.
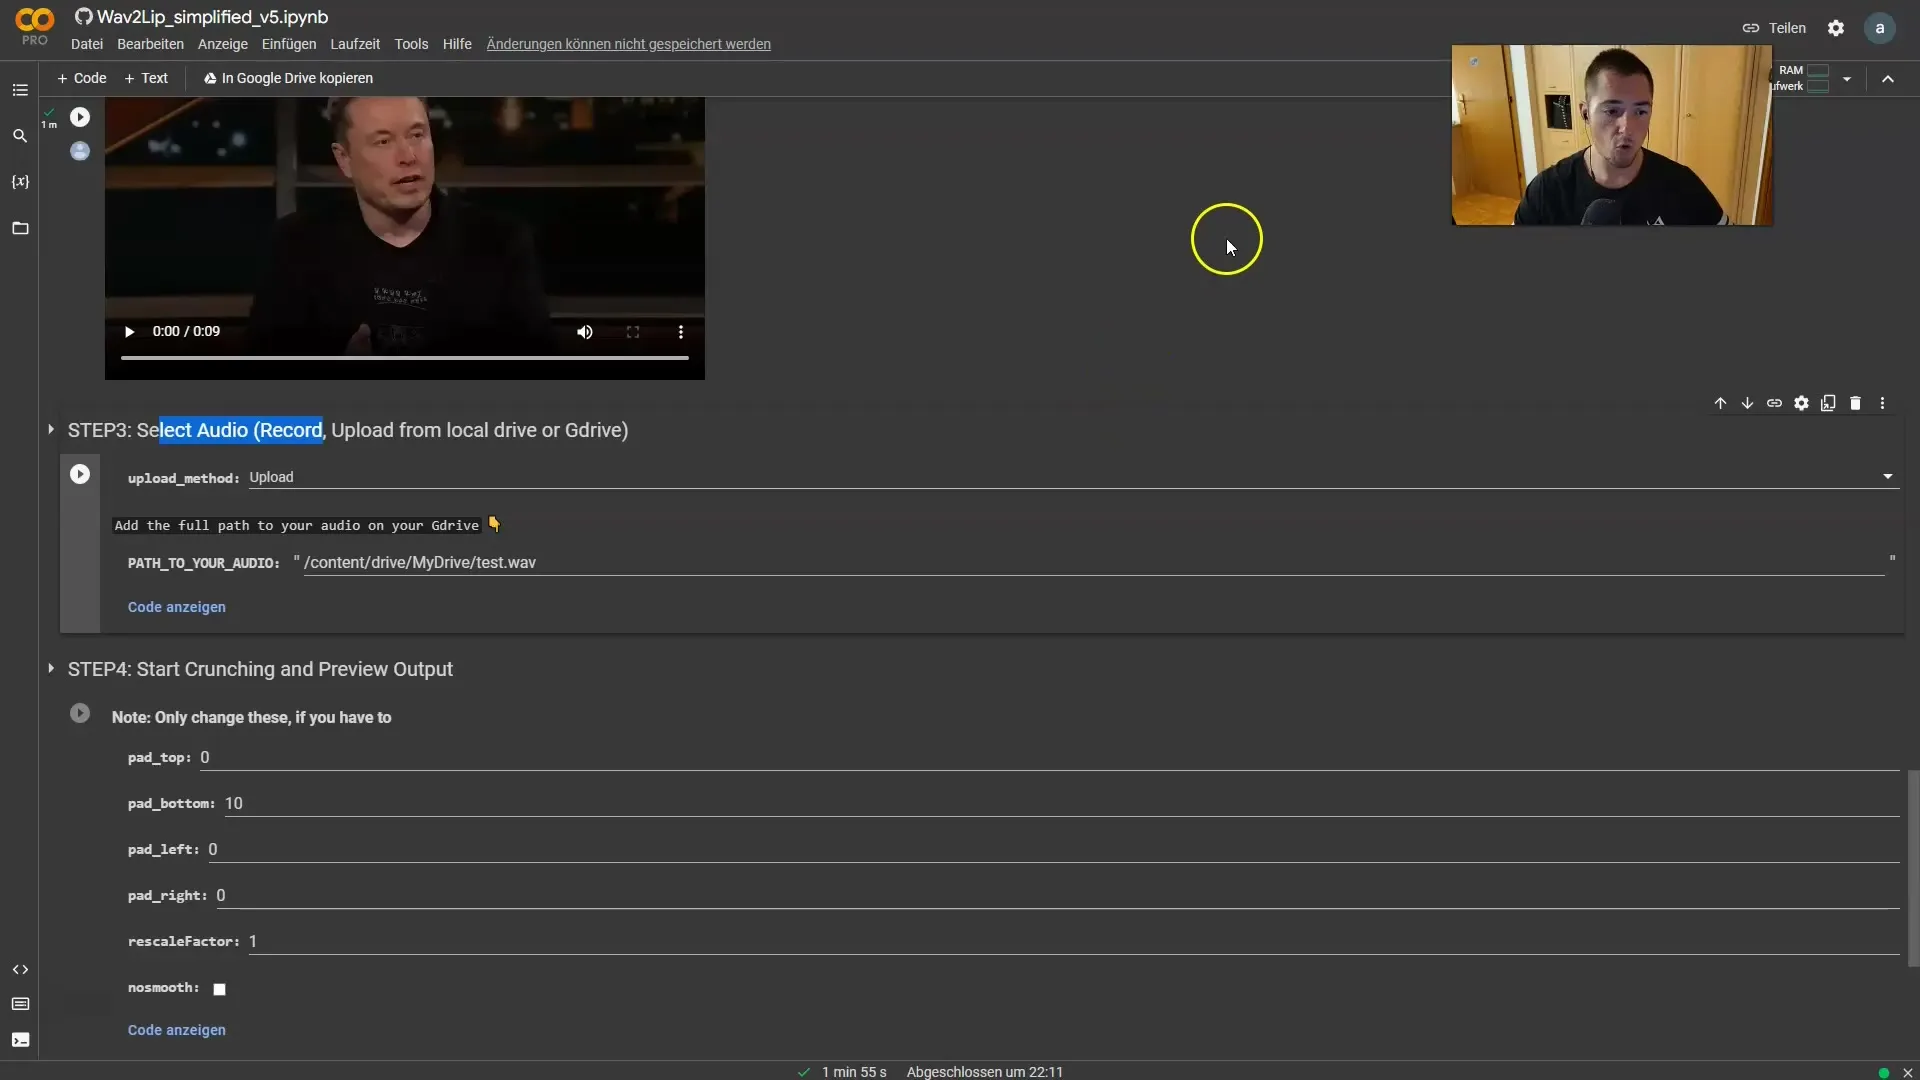
There are many online tools that can help you convert an MP3 to a WAV file. You can simply use one of these tools, upload your audio file, perform the conversion, and download the WAV file.
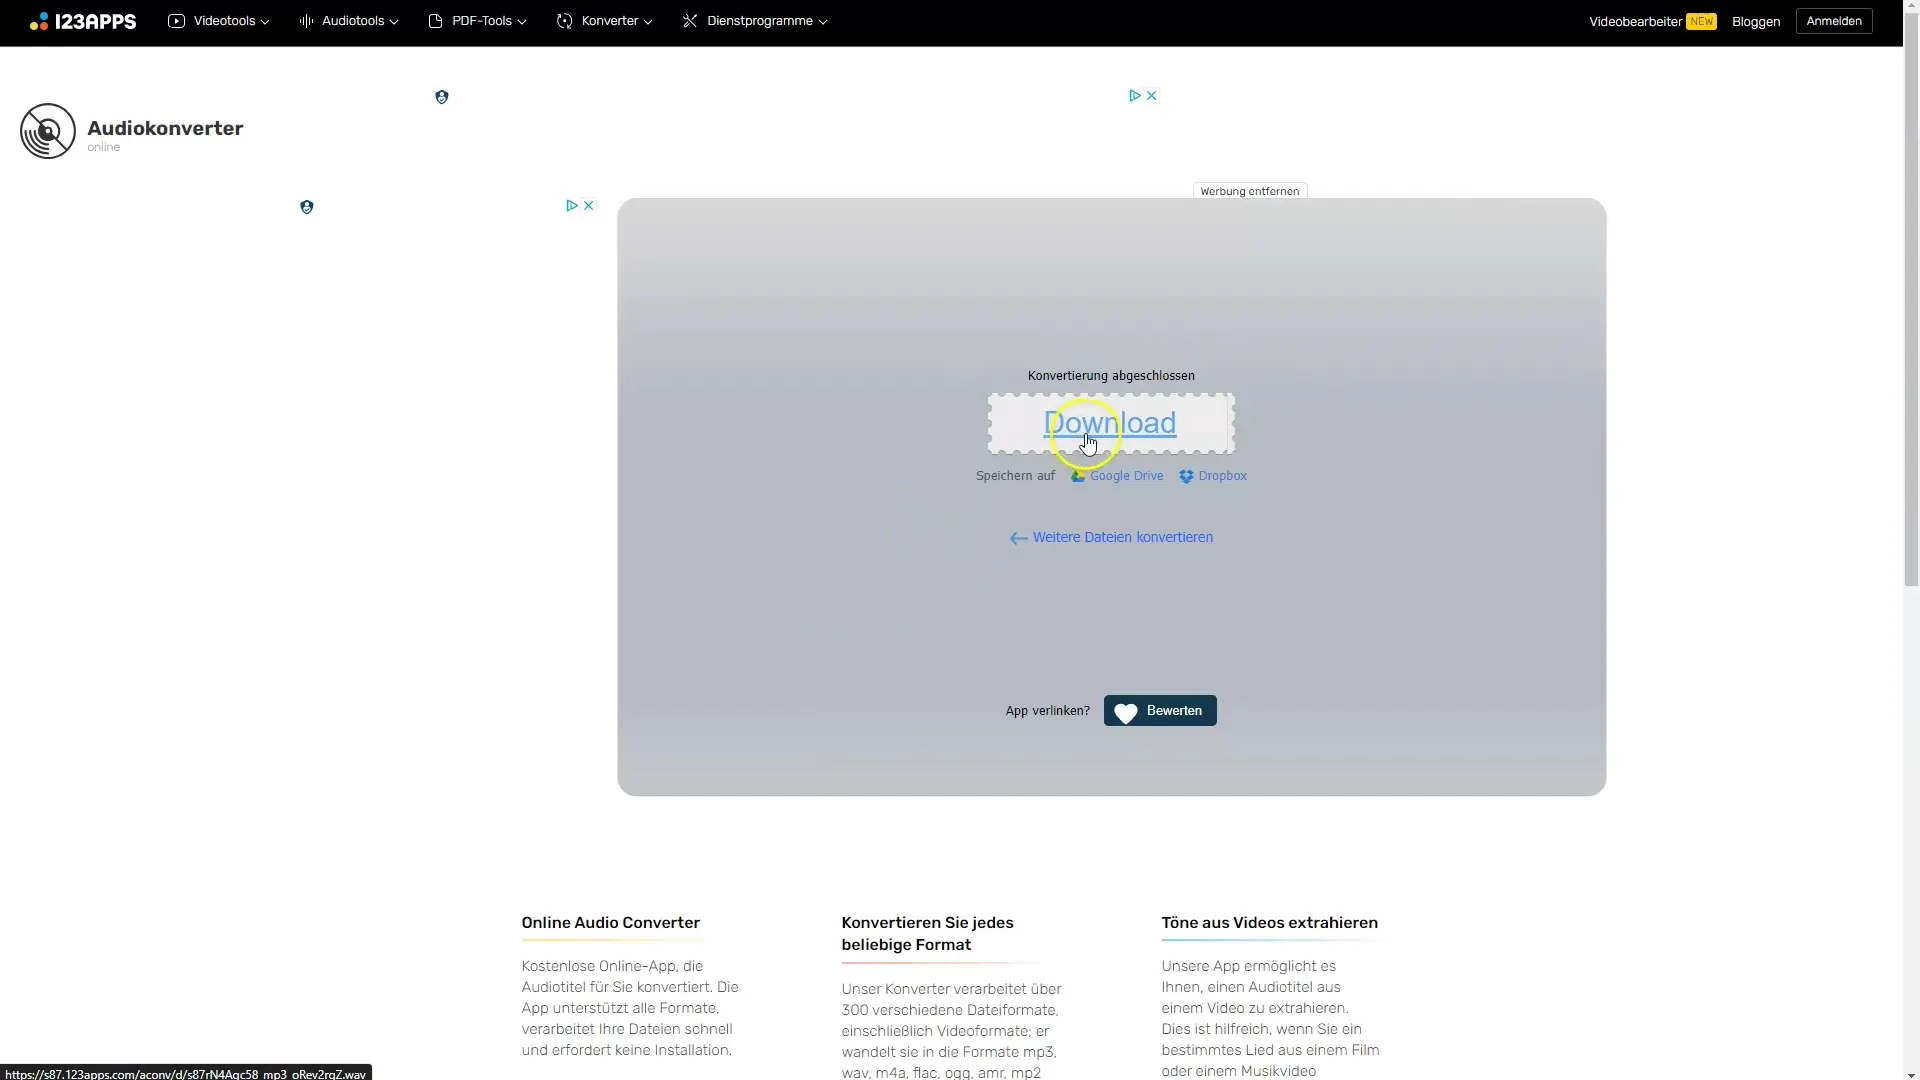
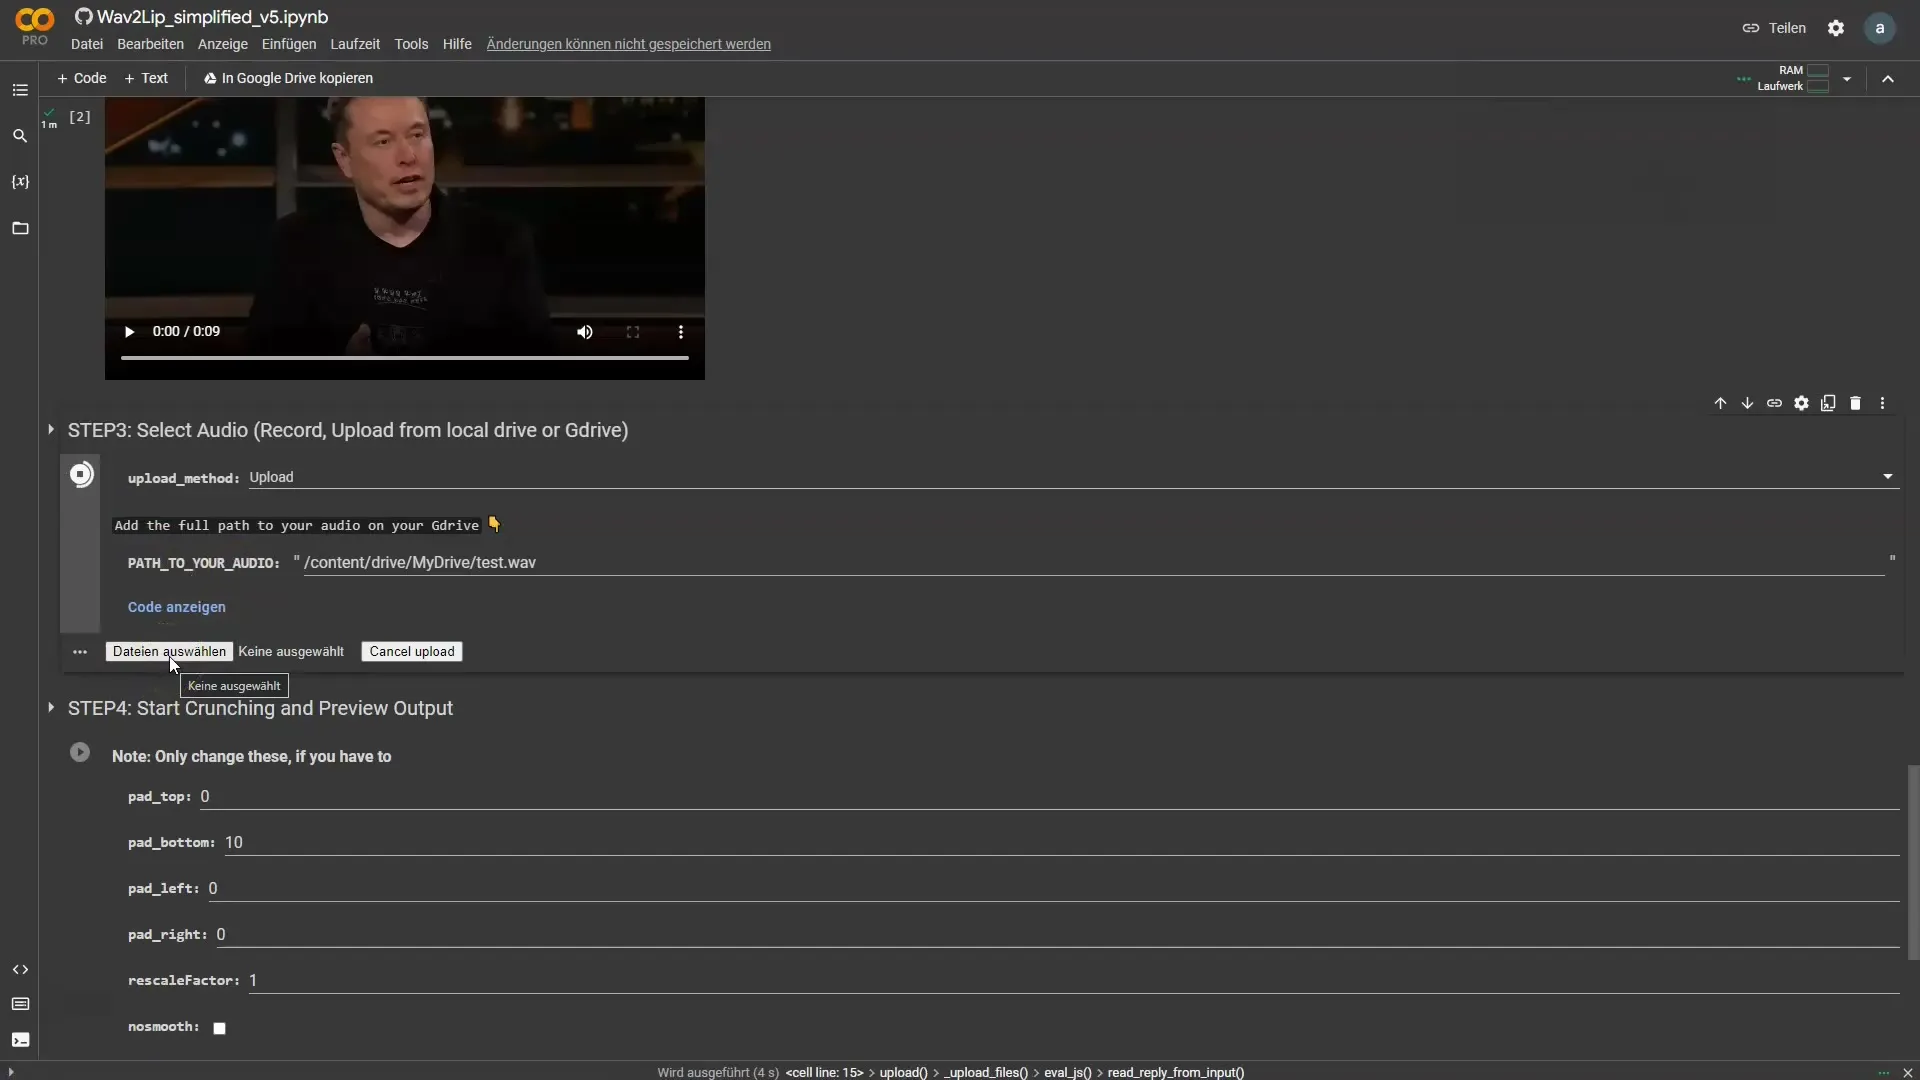
Once you have the WAV file, go back to your Colab notebook and upload the WAV file just as you did with the video earlier.
Step 4: File synchronization
Now that you have uploaded both the video and the audio file, the next step is to synchronize them. Click "Play" again on the corresponding step. The program will then work on synchronizing the lip movements and the audio.
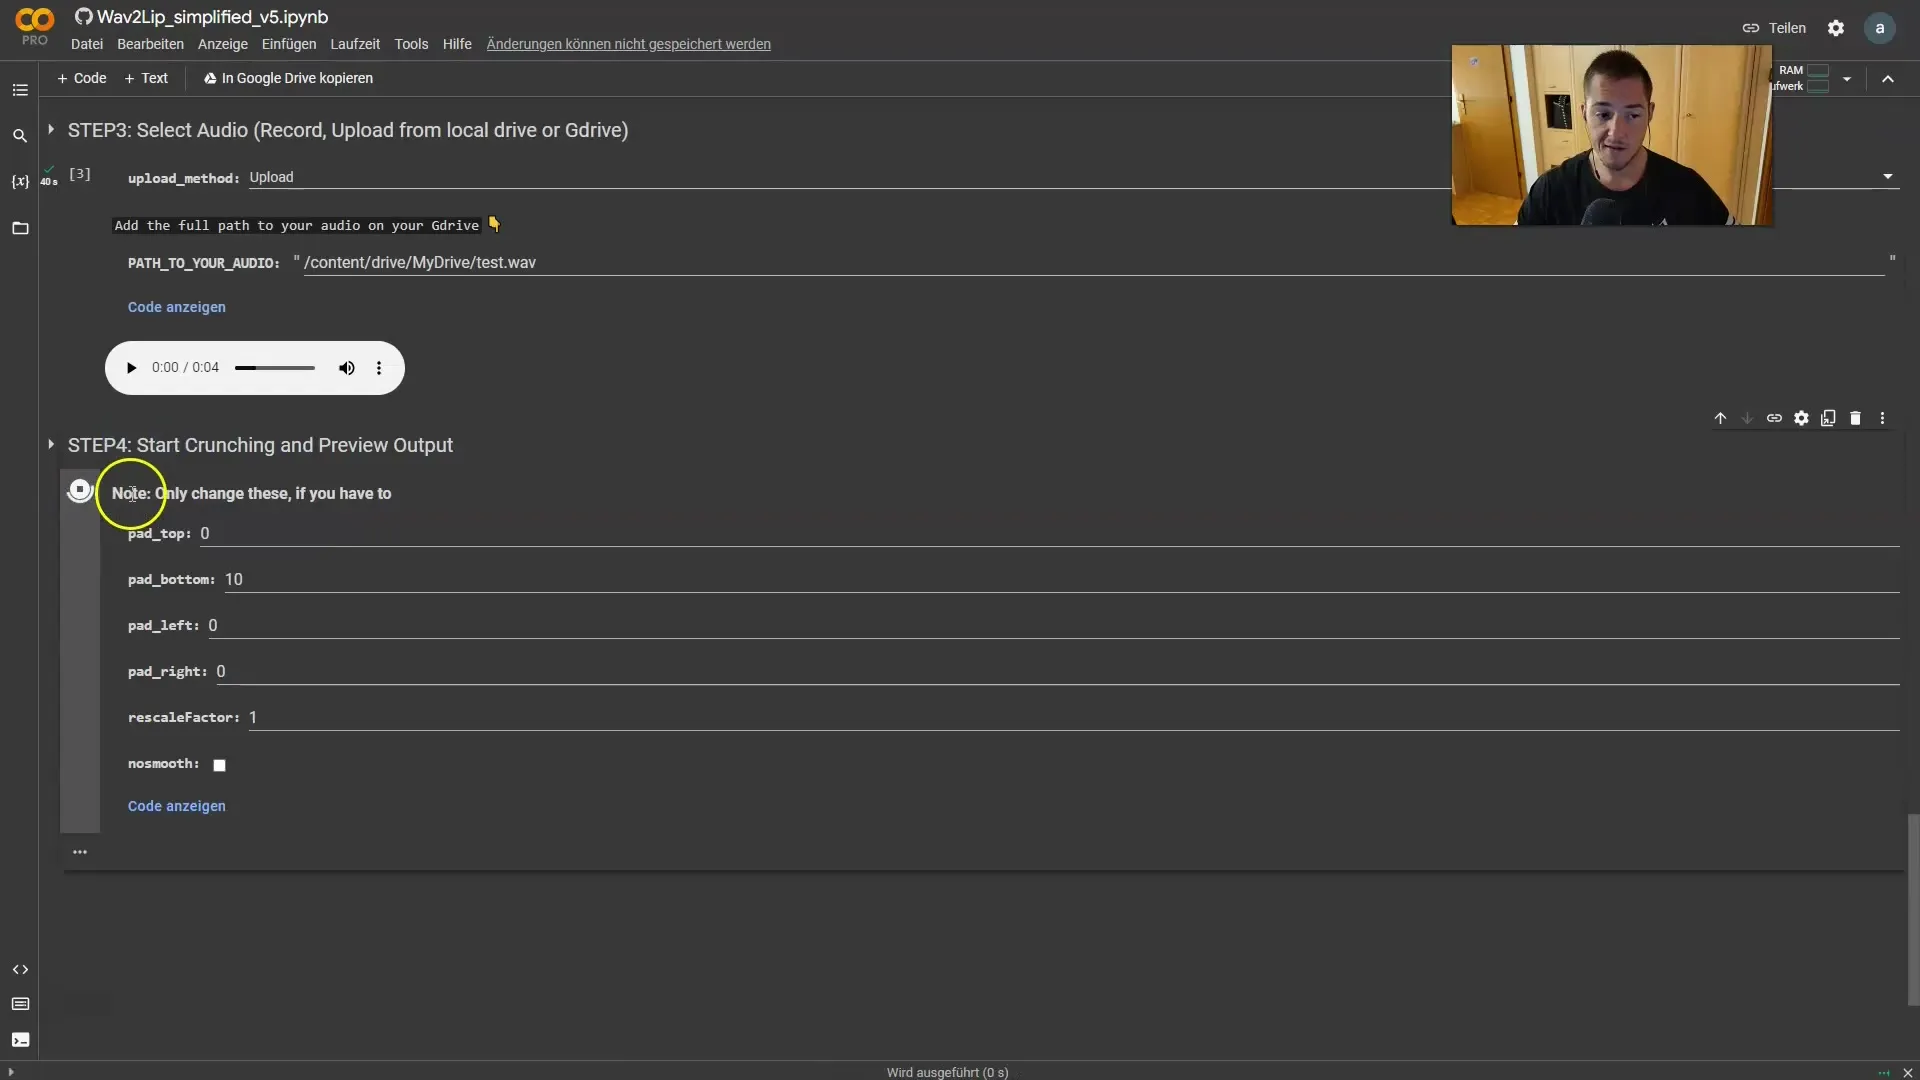
This process usually doesn't take long (approximately 4 to 5 minutes). If all goes well, you should receive your synchronized video after this time.
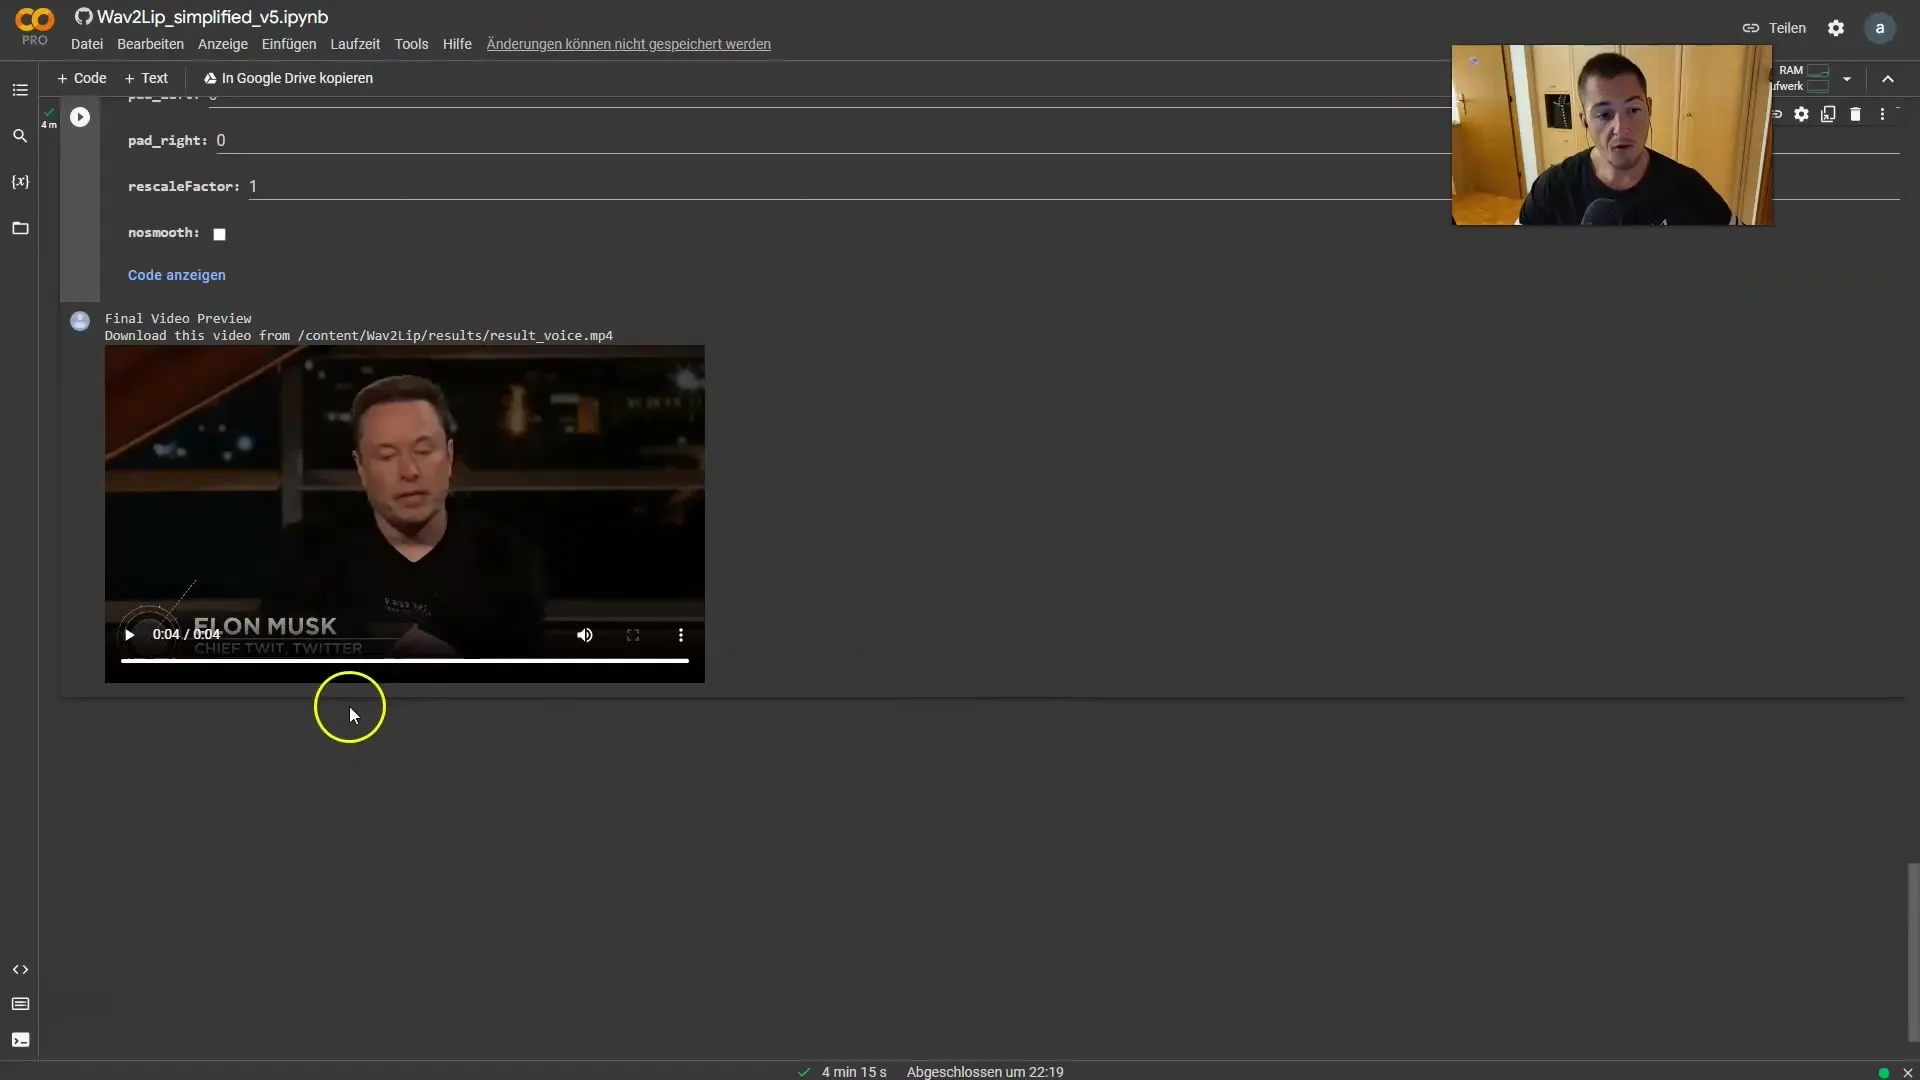
Step 5: Download the finished video
Once the process is complete, you will see the option to download the finished video. Click on the corresponding button to save the video to your computer.
You have now created a deepfake video where the lip movements perfectly match the audio. Make sure to use this powerful technology responsibly and only for humorous or creative projects.
Summary
In this guide, you have learned how easy it is to create videos using Wav2Lip where individuals say what you want them to. The process involves selecting and uploading video and audio files, and then synchronizing both elements. Remember to act responsibly when using this technique.
Frequently Asked Questions
How do I upload a video?You click on the "Play" button and then select "Upload" to choose your video file.
What should I do if my audio is in MP3 format?You should convert it to a WAV file before using it in Wav2Lip.
How long does synchronization take?Synchronization usually takes between 4 and 5 minutes.
Where can I get the WAV file?You can convert an MP3 to a WAV file using an online converter by simply uploading the MP3 and performing the conversion.
Can I use this technique for any video?Yes, you can use Wav2Lip for various videos as long as the face is clearly visible.


