In this guide, you will learn how to make static images speak using the Wav2Lip technology. This method is particularly useful when you want to combine visual content with speech synthesis, whether for presentations, social media, or creative projects. You will learn to proceed step by step and consider the intricacies of the technology to achieve the best results. Note that the process does not always work perfectly, but with some patience, you can achieve great results.
Main Insights
- Wav2Lip works best with videos but can also be applied to images.
- The process involves using a video editor to adjust the image's duration to match the audio.
- When selecting the image, make sure it is a close-up portrait to achieve better results.
- Experiment with different voices and audios to find the optimal combination.
Step-by-Step Guide
Step 1: Image Selection and Preparation
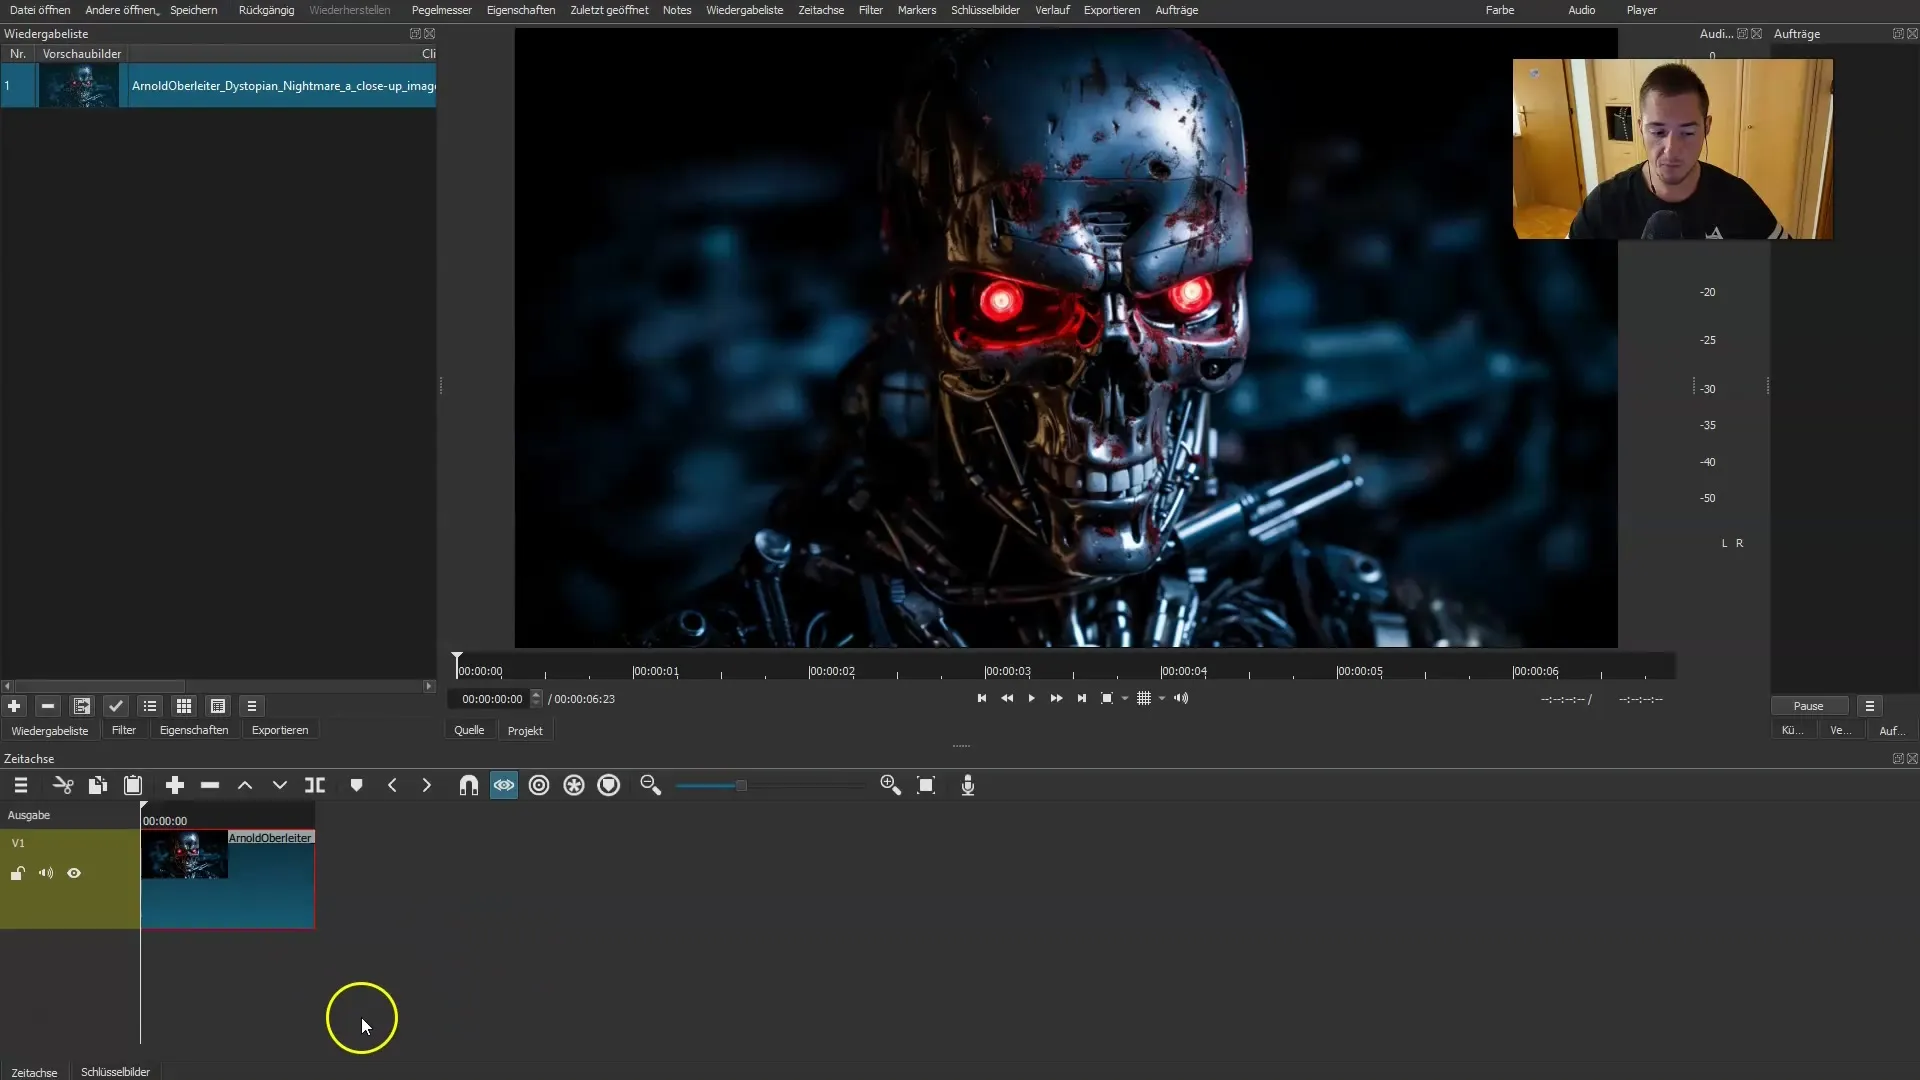
First, open your preferred video editor. In this example, we are using Shortcut. Import the image you want to animate and drag it onto the timeline. Make sure to stretch the image to the desired length so that it synchronizes with the audio. Ensure the image's duration matches the audio length.
Step 2: Creating and Exporting Audio
The next step is to generate an audio. You can use a text-to-speech platform like El Labs. Experiment with different voices until you find a text you like. In this case, we chose a text that is humorous and informative: "Artificial intelligence is here to wipe out humanity, yet Ani delivers the best content." Ensure this audio is about 6 to 8 seconds long to align well with the image. Export the audio and save it in an easily accessible location.

Step 3: Using Wav2Lip
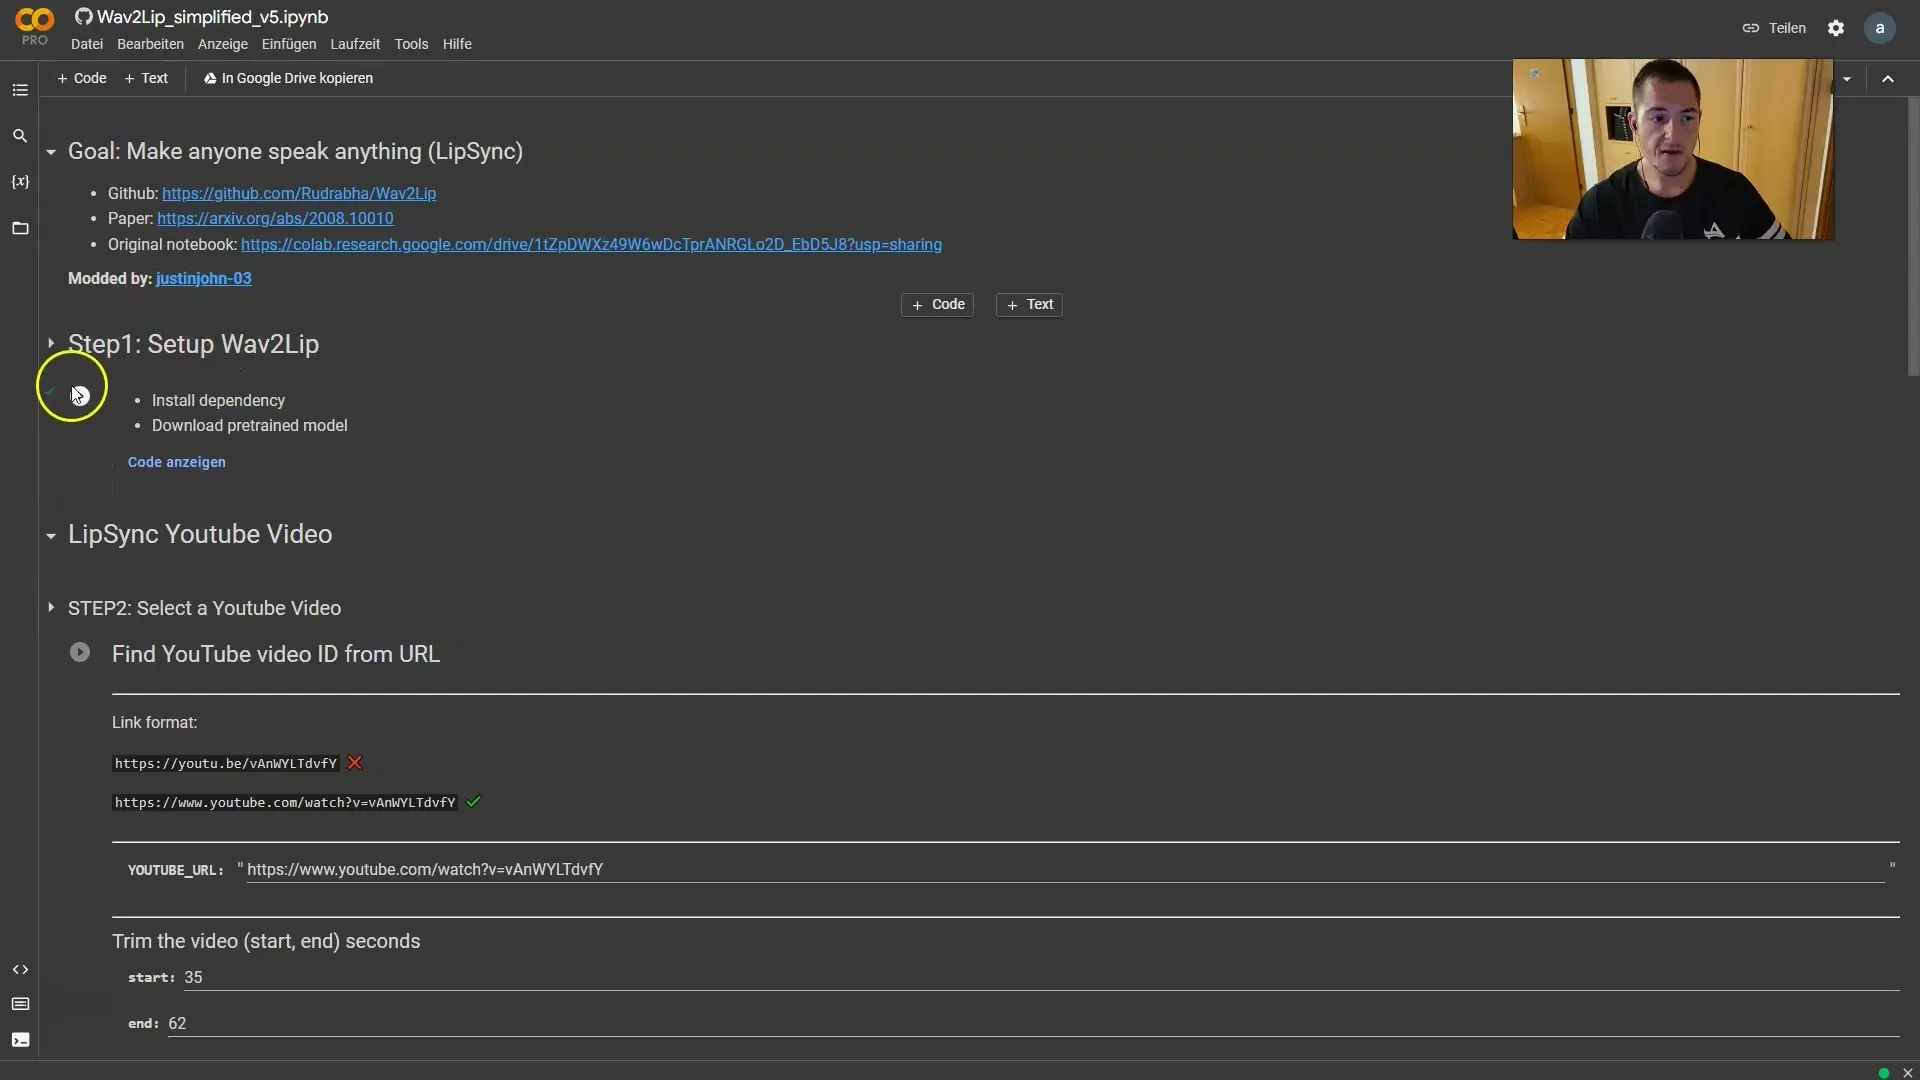
Now, launch Wav2Lip. First, upload the image you used and then the previously exported audio. Pay attention to the correct sequence of steps. Once you have uploaded both files, click on "Play" in Step 4 to start the process.

Step 4: Reviewing the Result
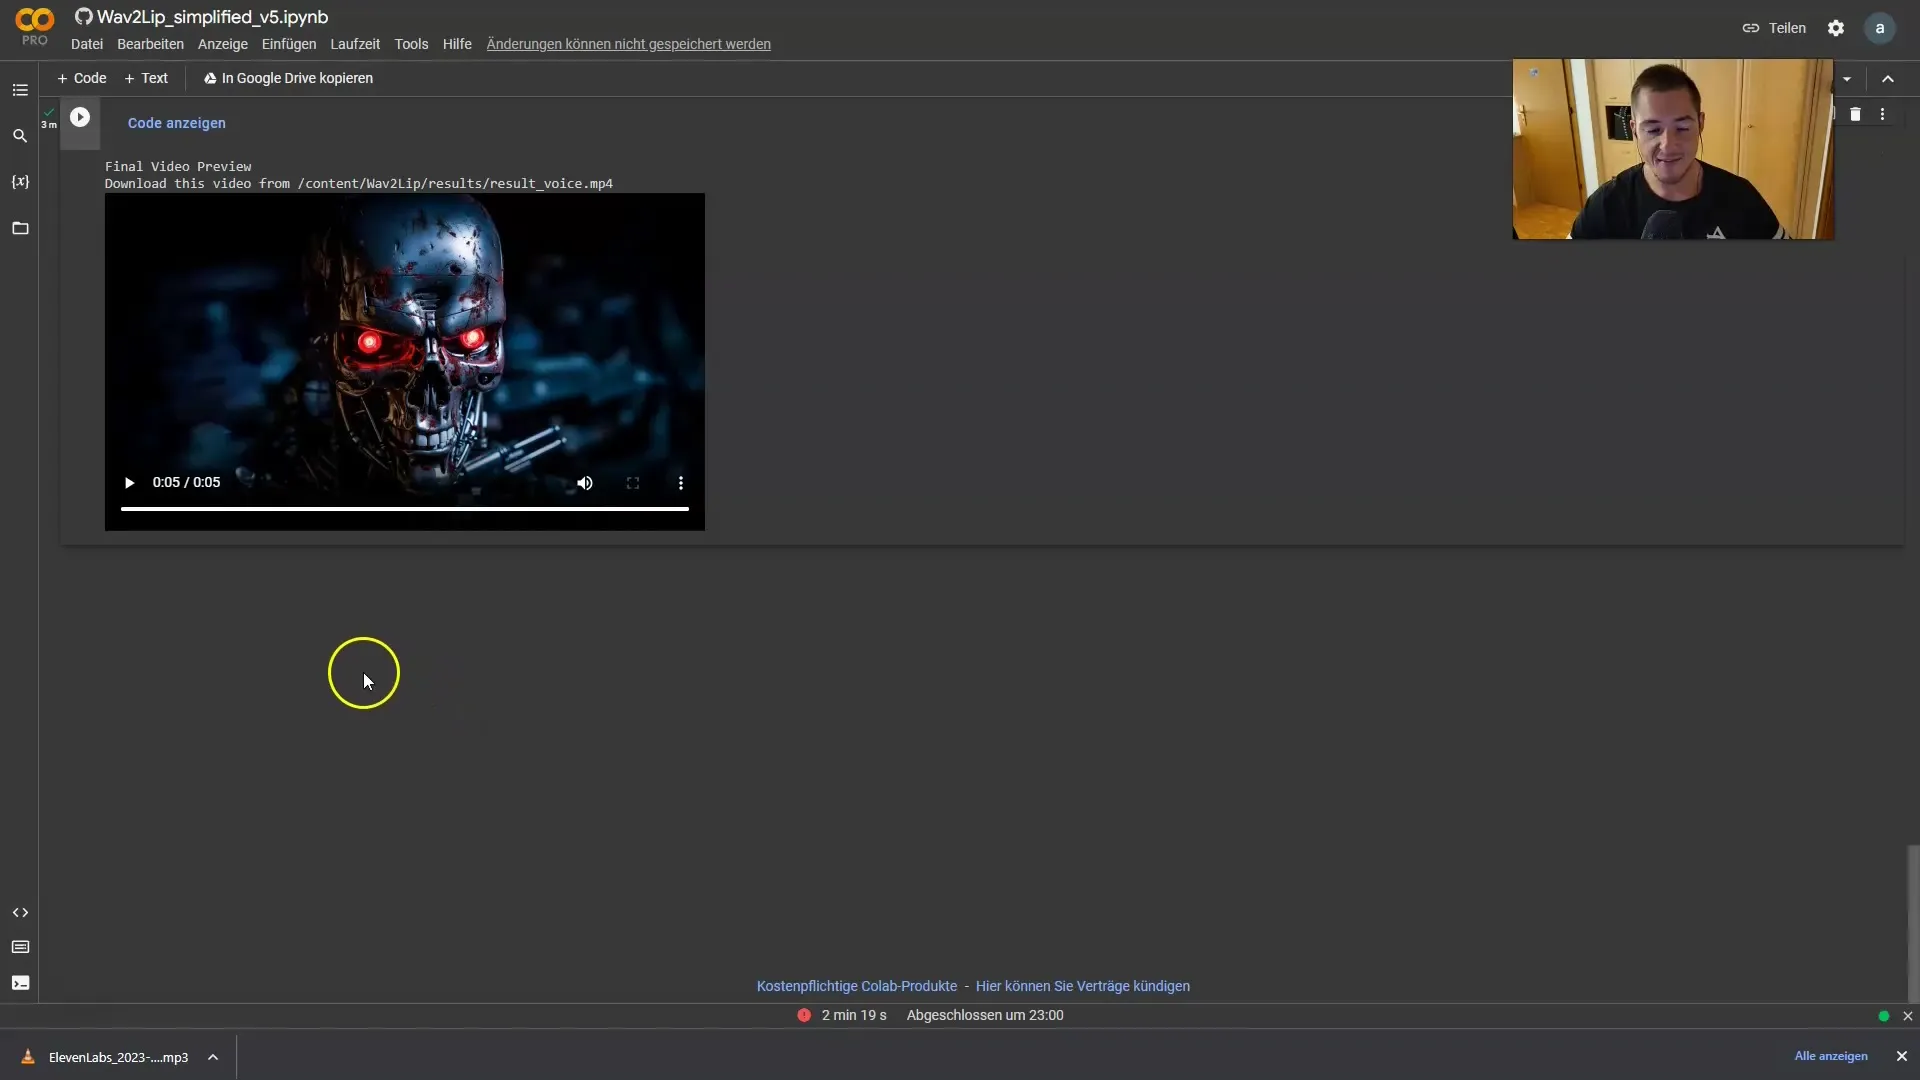
The process may take some time. Once the video is ready, review the result. You may notice that the lip movements are not perfect, and that is okay. However, the program likely captured the basic movements accurately.

Step 5: Adjustments and Optimization
If you are not satisfied with the result, consider using a different image. A close-up face image may yield better results. Remember that Wav2Lip works better with videos but also with images. Therefore, continue experimenting with different portrait images and audio content.
Summary
In this guide, you have learned how to use Wav2Lip to make images speak. While it may not always work perfectly, with patient adjustments and in combination with suitable media, you can achieve the best possible result. Practicing and experimenting with different images and voices often lead to surprising outcomes.
FAQ
How does Wav2Lip work?Wav2Lip uses AI to synchronize lip movements from an image with an audio.
Can I use other image formats?Yes, you can use different image formats, but high-resolution portrait images are recommended.
Why does it sometimes not work perfectly?Wav2Lip works best with videos. In images, the pose or distance can affect how well the lip movements are animated.
What can I do if I am not satisfied with the result?Try using a different image or experiment with different voices and audios.
Which image is best suited for this process?Close-up faces generally work best as they provide more details for animation.


