In this guide, I will show you how to create an impressive double exposure effect using Photoshop. The process involves cutting out a portrait and inserting a second image into the portrait. You will learn how to use layer masks to blend the two images harmoniously and achieve the desired effect. Let's get started and go through the steps!
Key Insights
- Cutting out a portrait is the first and most important step.
- It is crucial to correctly use layer masks to blend the two images.
- Color corrections help perfect the final look.
Step-by-Step Guide
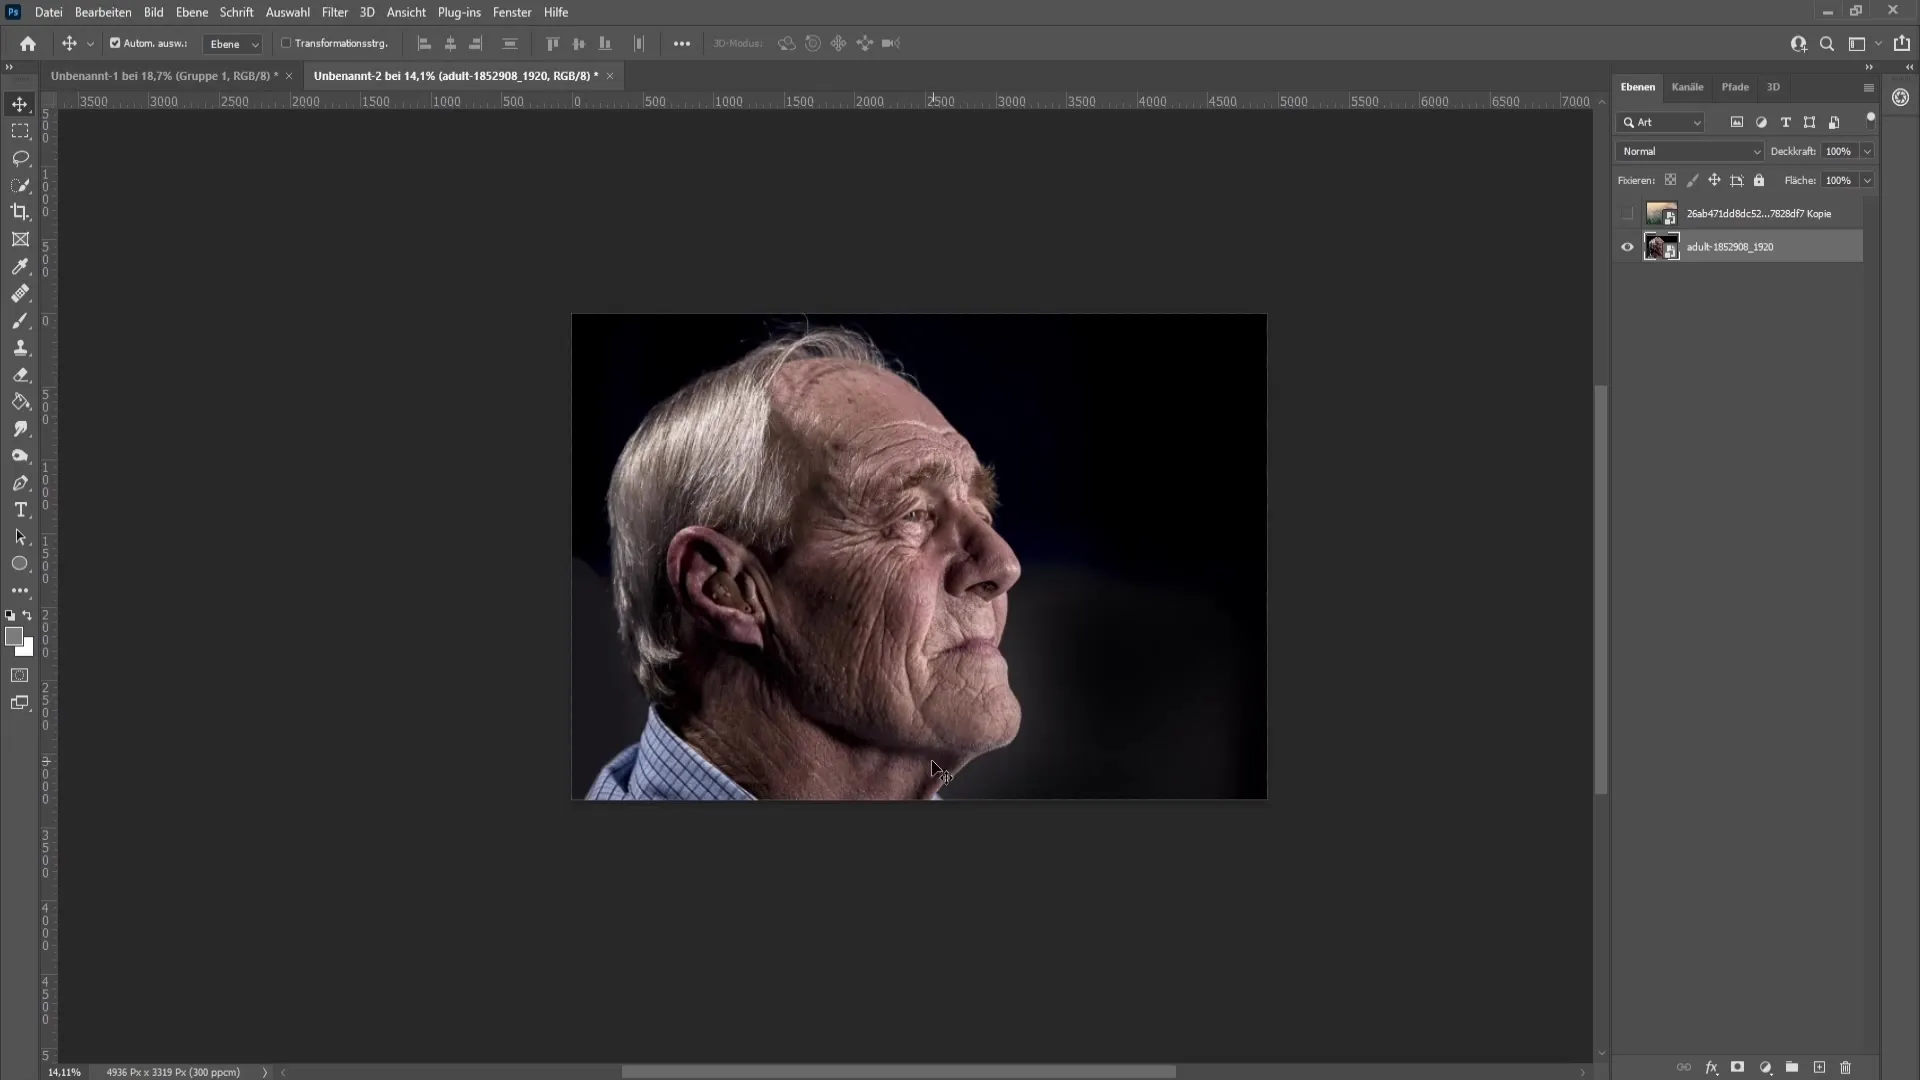
First, you need a portrait image and an image you want to insert into the portrait, for example, a forest.
Now let's get started! The first thing you need to do is cut out the person in the portrait. There are various ways to do this. An easy method is to use the Quick Selection tool by simply dragging over your portrait. However, I prefer the "Subject Selection" feature. It automatically creates a selection of your portrait. To do this, go to "Select" and then "Subject".
Now you can see that Photoshop has made a selection, which may not be perfect yet. You can further refine the result. If necessary, use the Quick Selection tool to refine the selection. You can also use the Lasso tool to remove areas you do not want in your selection. Hold down the Alt key to subtract parts of the selection.
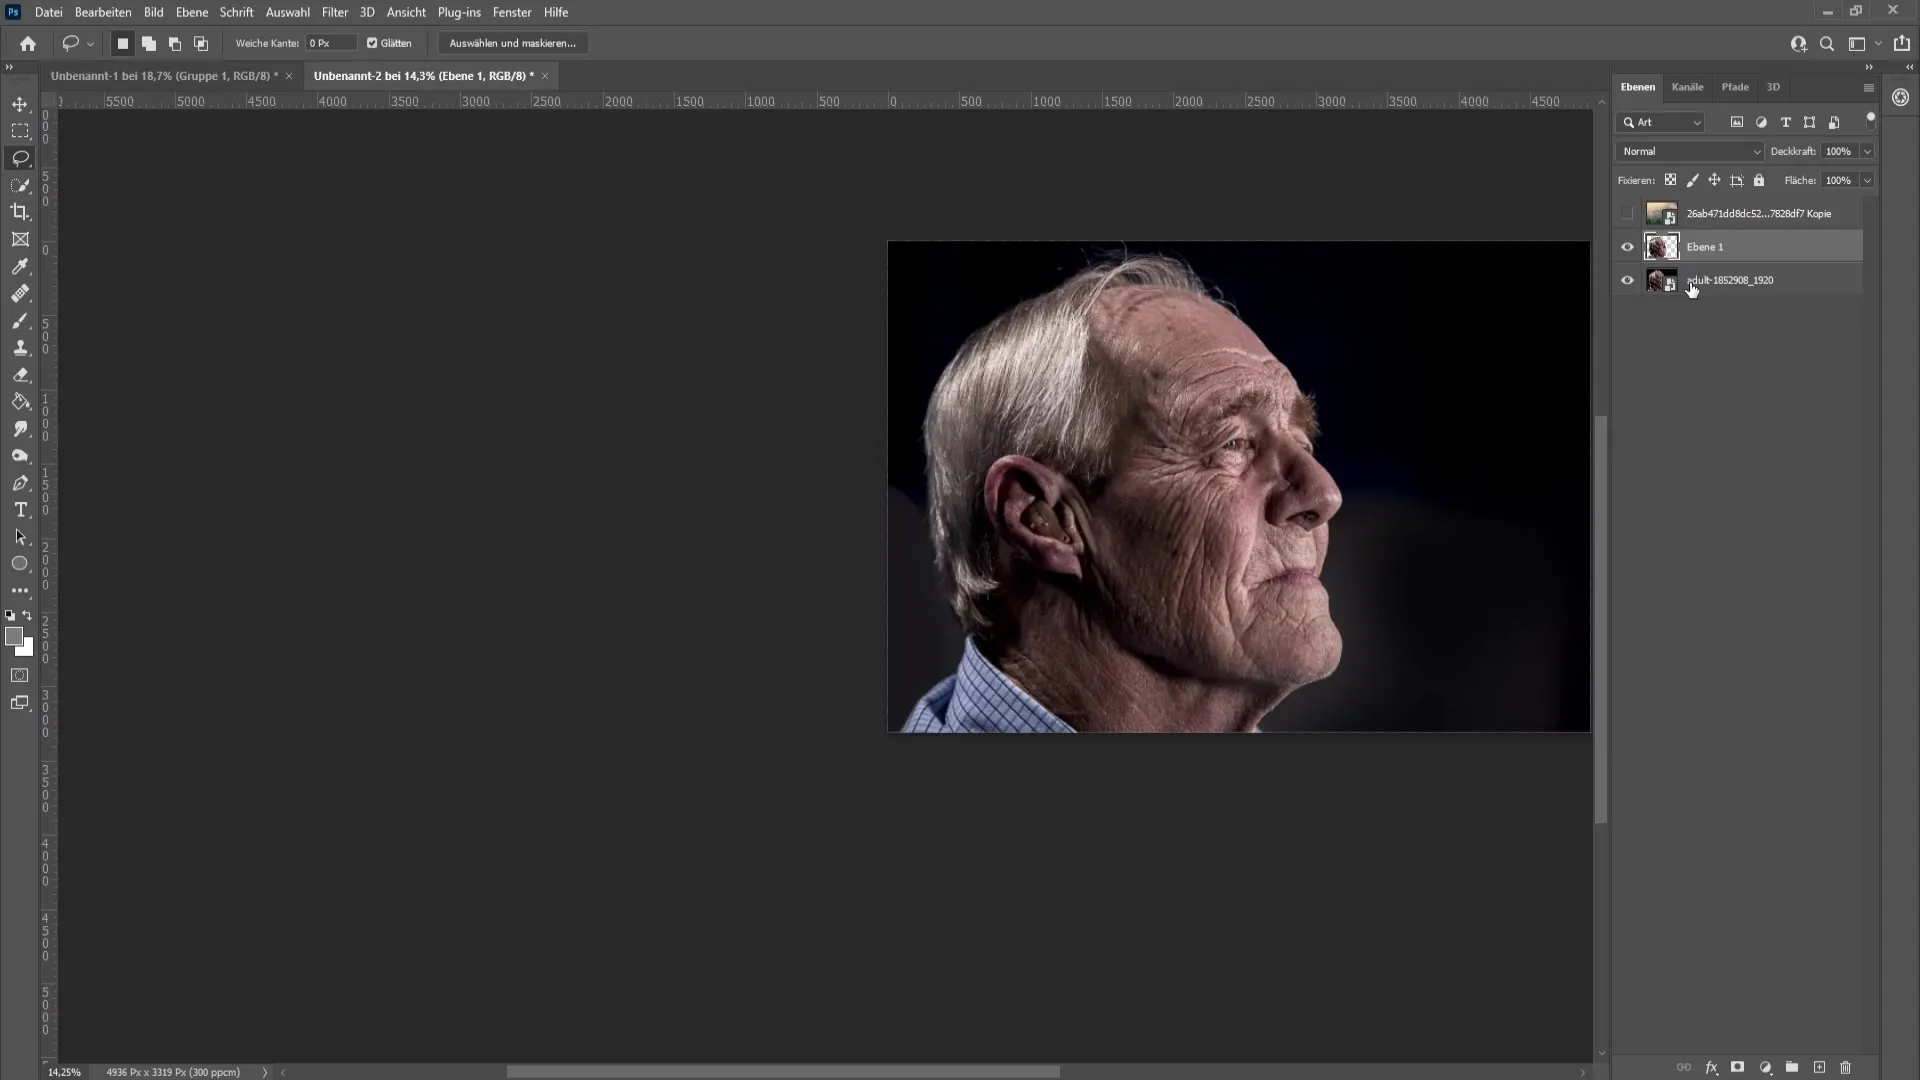
If you are satisfied with the selection, press Control + J to bring the selection to a new layer. You should now only see the image of the person without the background.
The next step is to insert the forest image. Display the image and set the opacity to about 50%. This way, you can allow the image to appear slightly transparent. If needed, you can increase the opacity to about 65% to make more details visible.
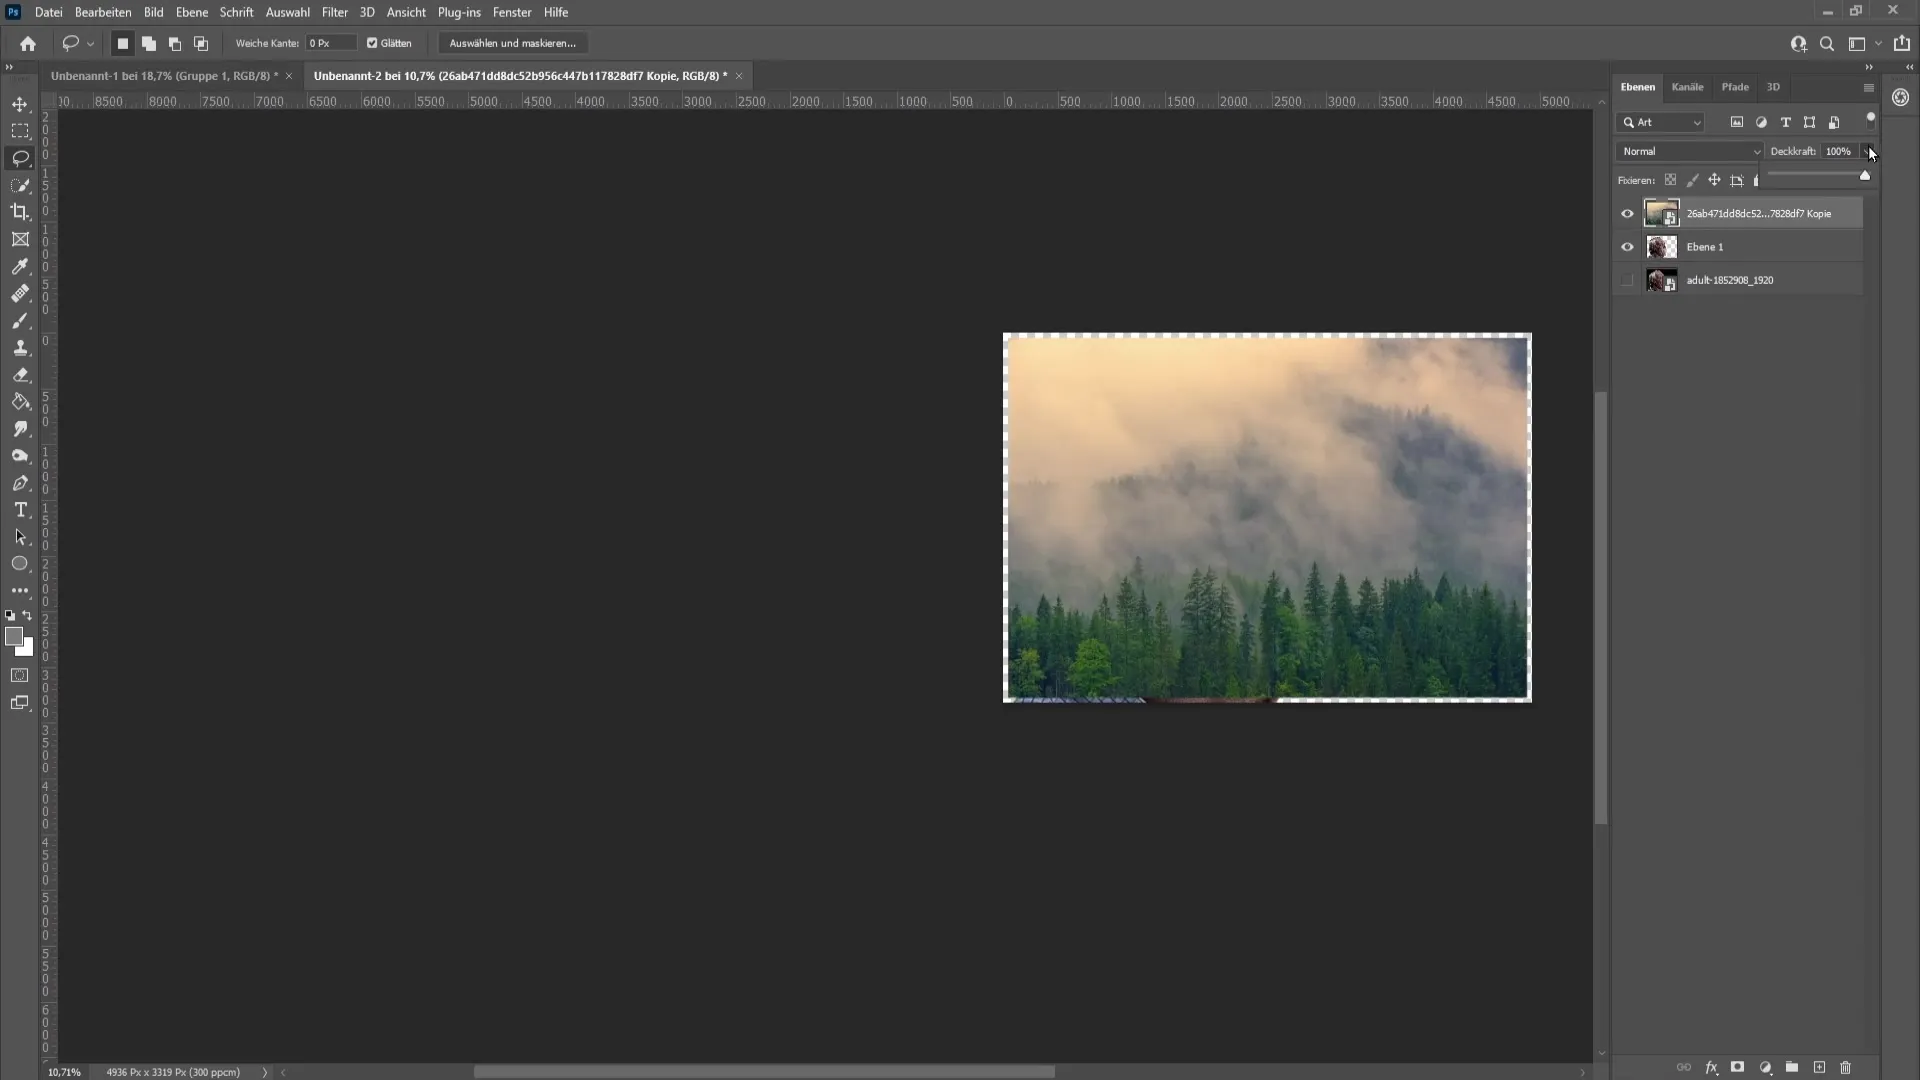
Then use Control + T to adjust the size of the image with the Shift key so that the forest is clearly visible in the portrait. Do not worry if parts of the forest are still overlapping the face of the portrait – you can adjust that later.
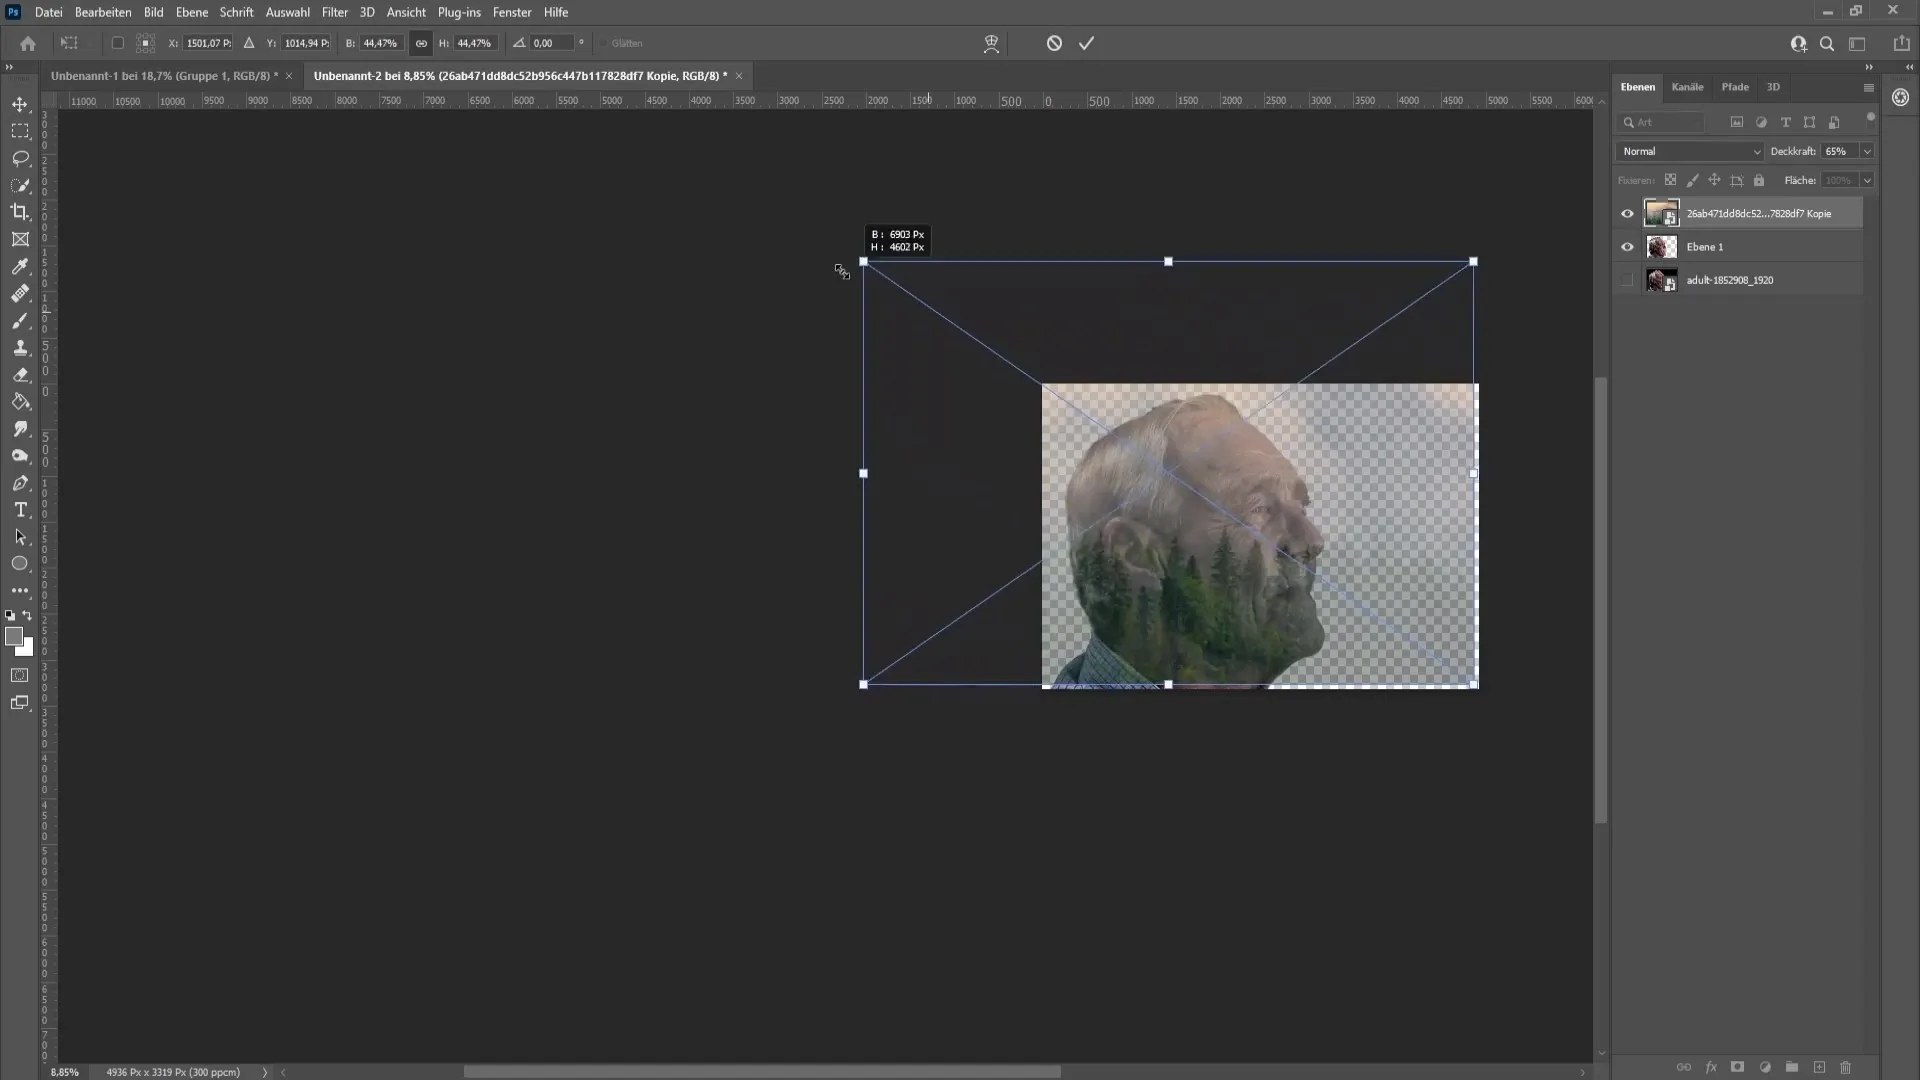
Once you have found the right size, press Enter to confirm the transformation. Now go to "Image" and select "Adjustments". Click on "Black & White". Go to "Auto" and confirm with "OK". This will convert the portrait image into a black and white image.
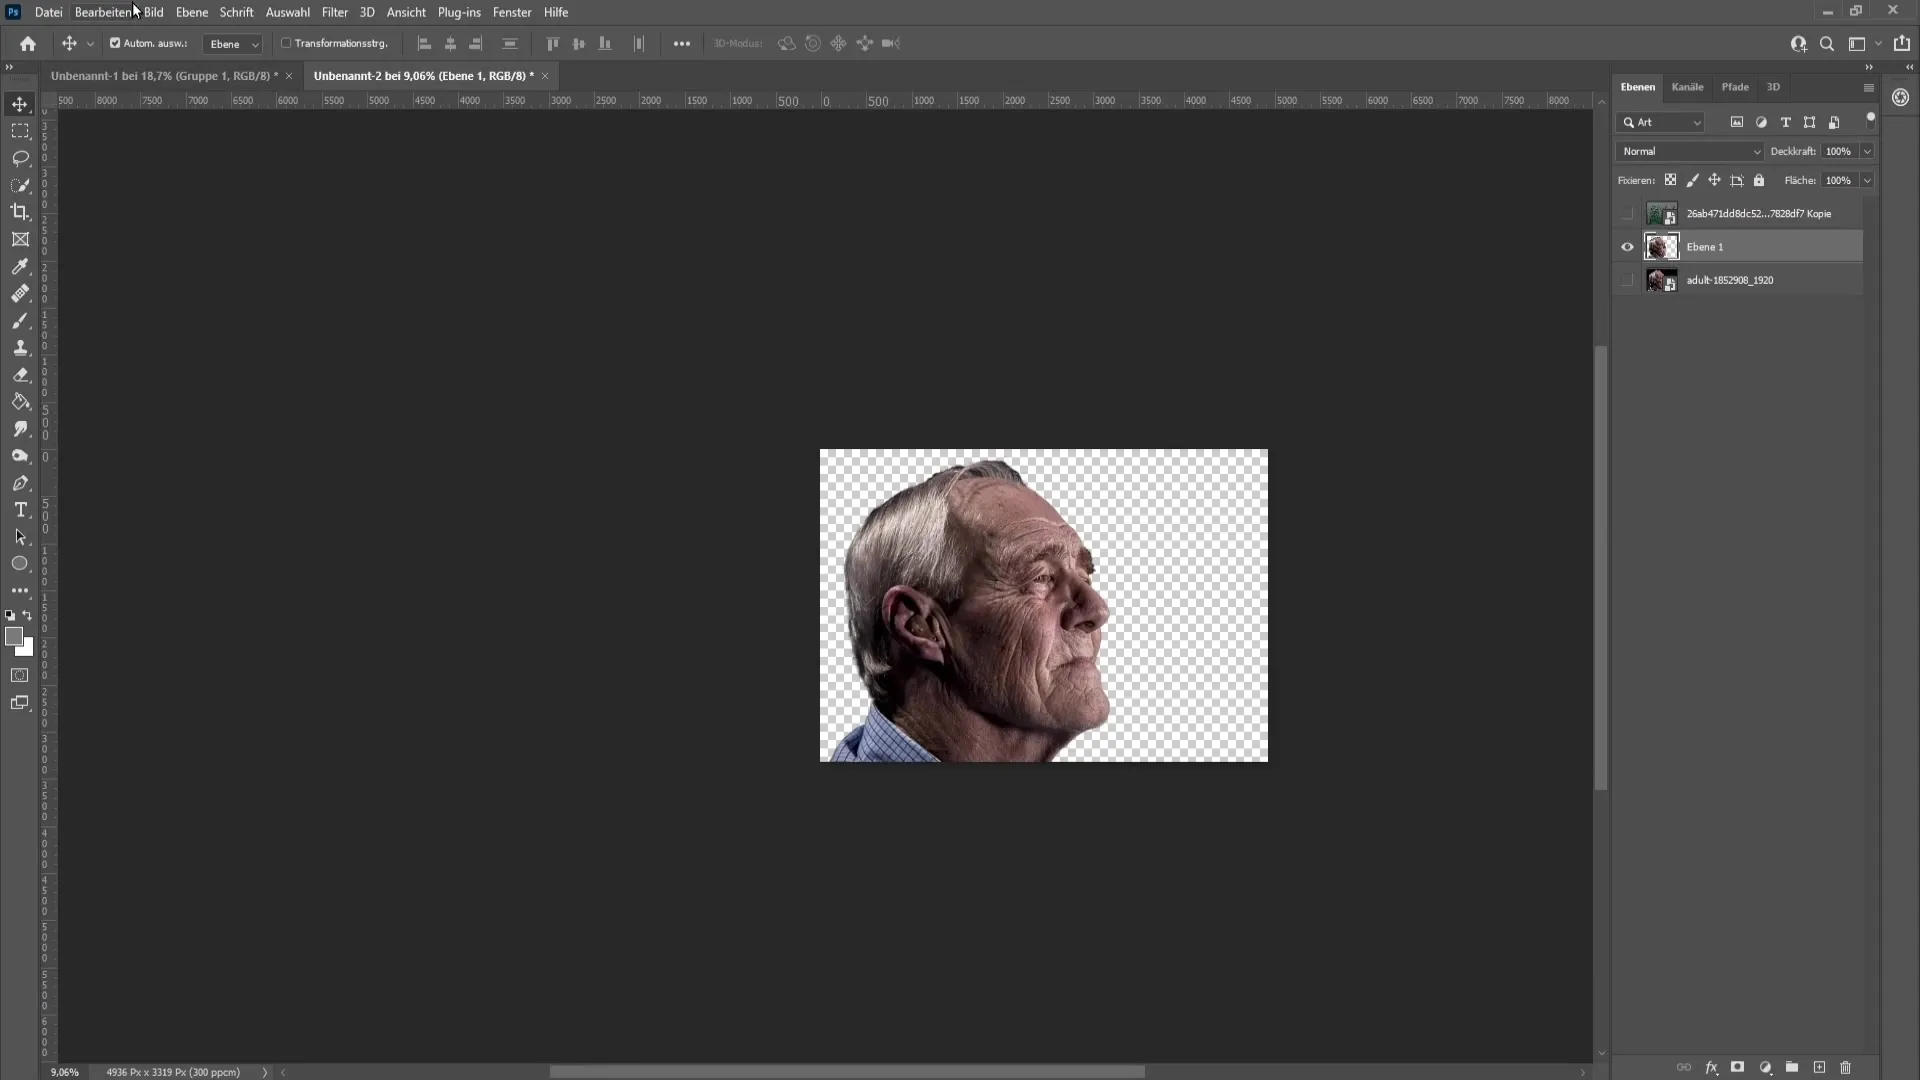
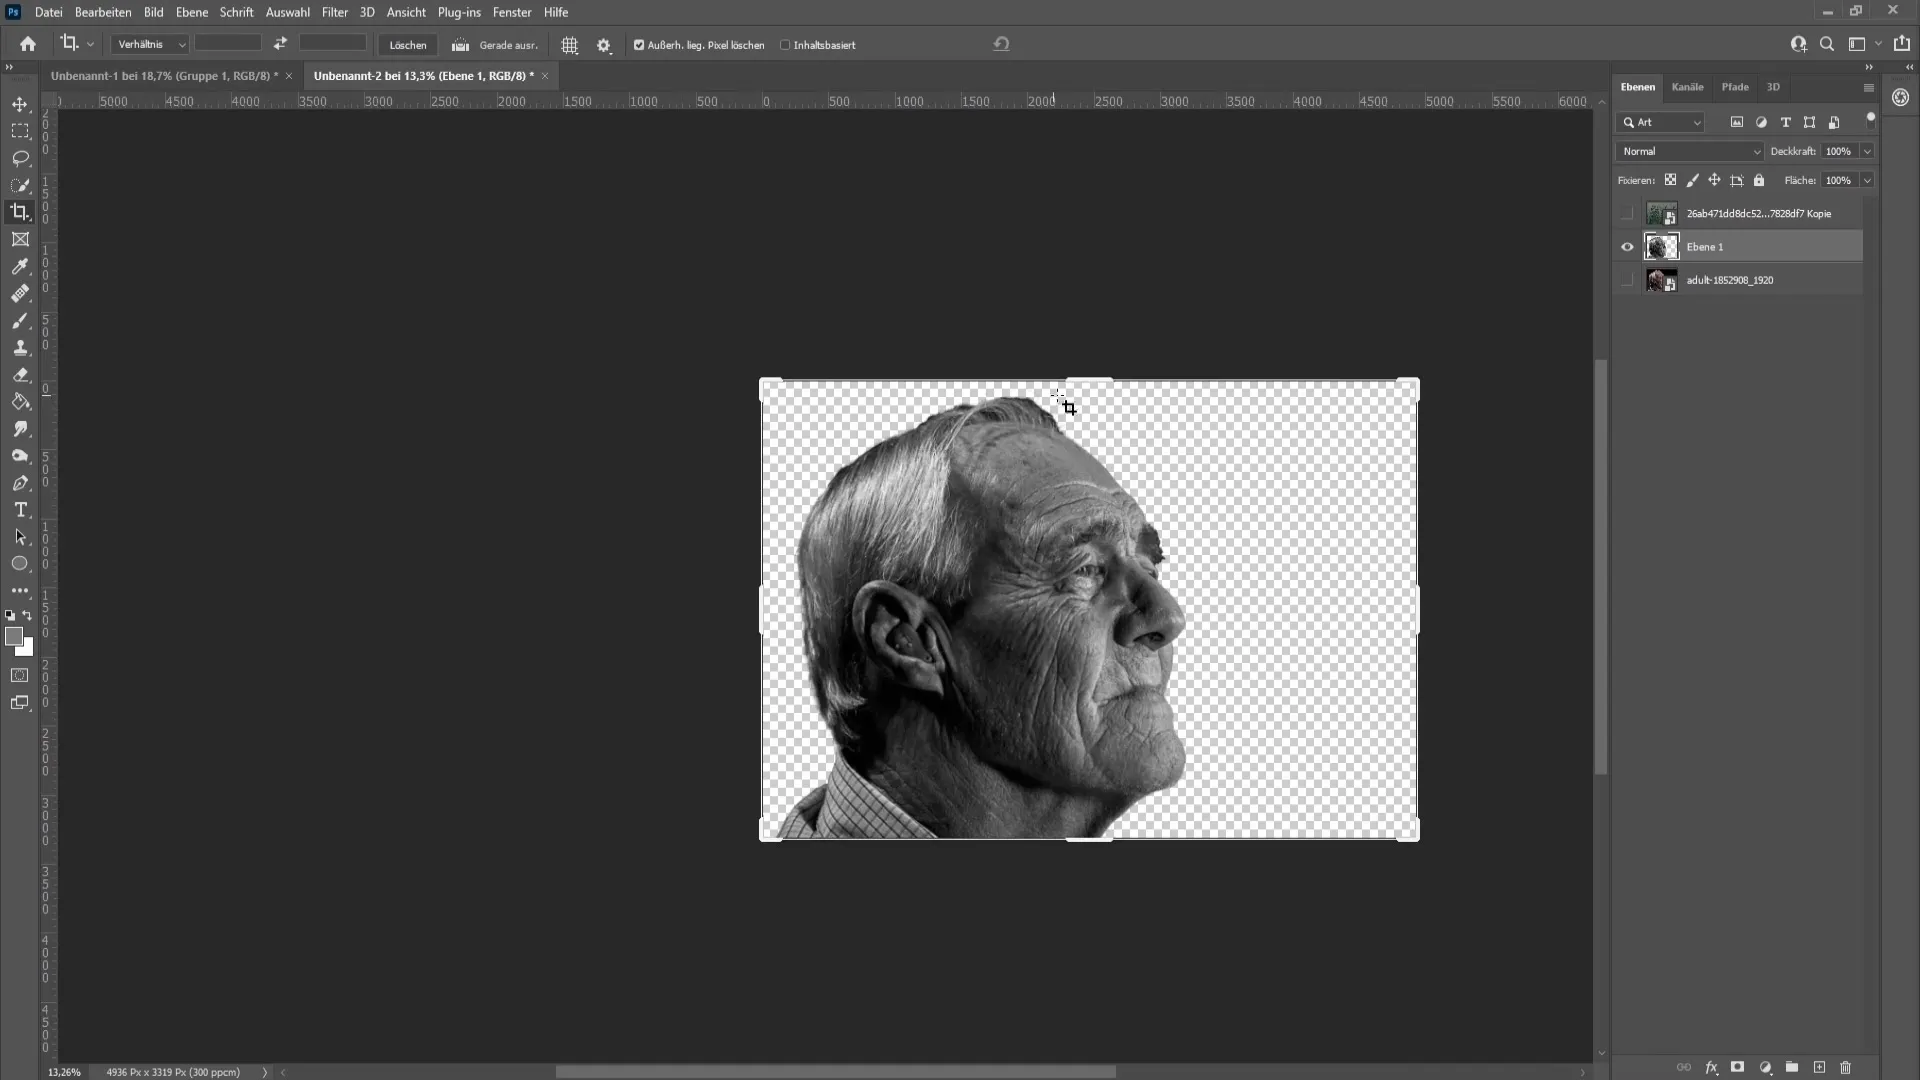
After that, you can use the cropping tool to adjust the format of your image. Drag the corners of the image to create more space if the image sits too close to the edge.
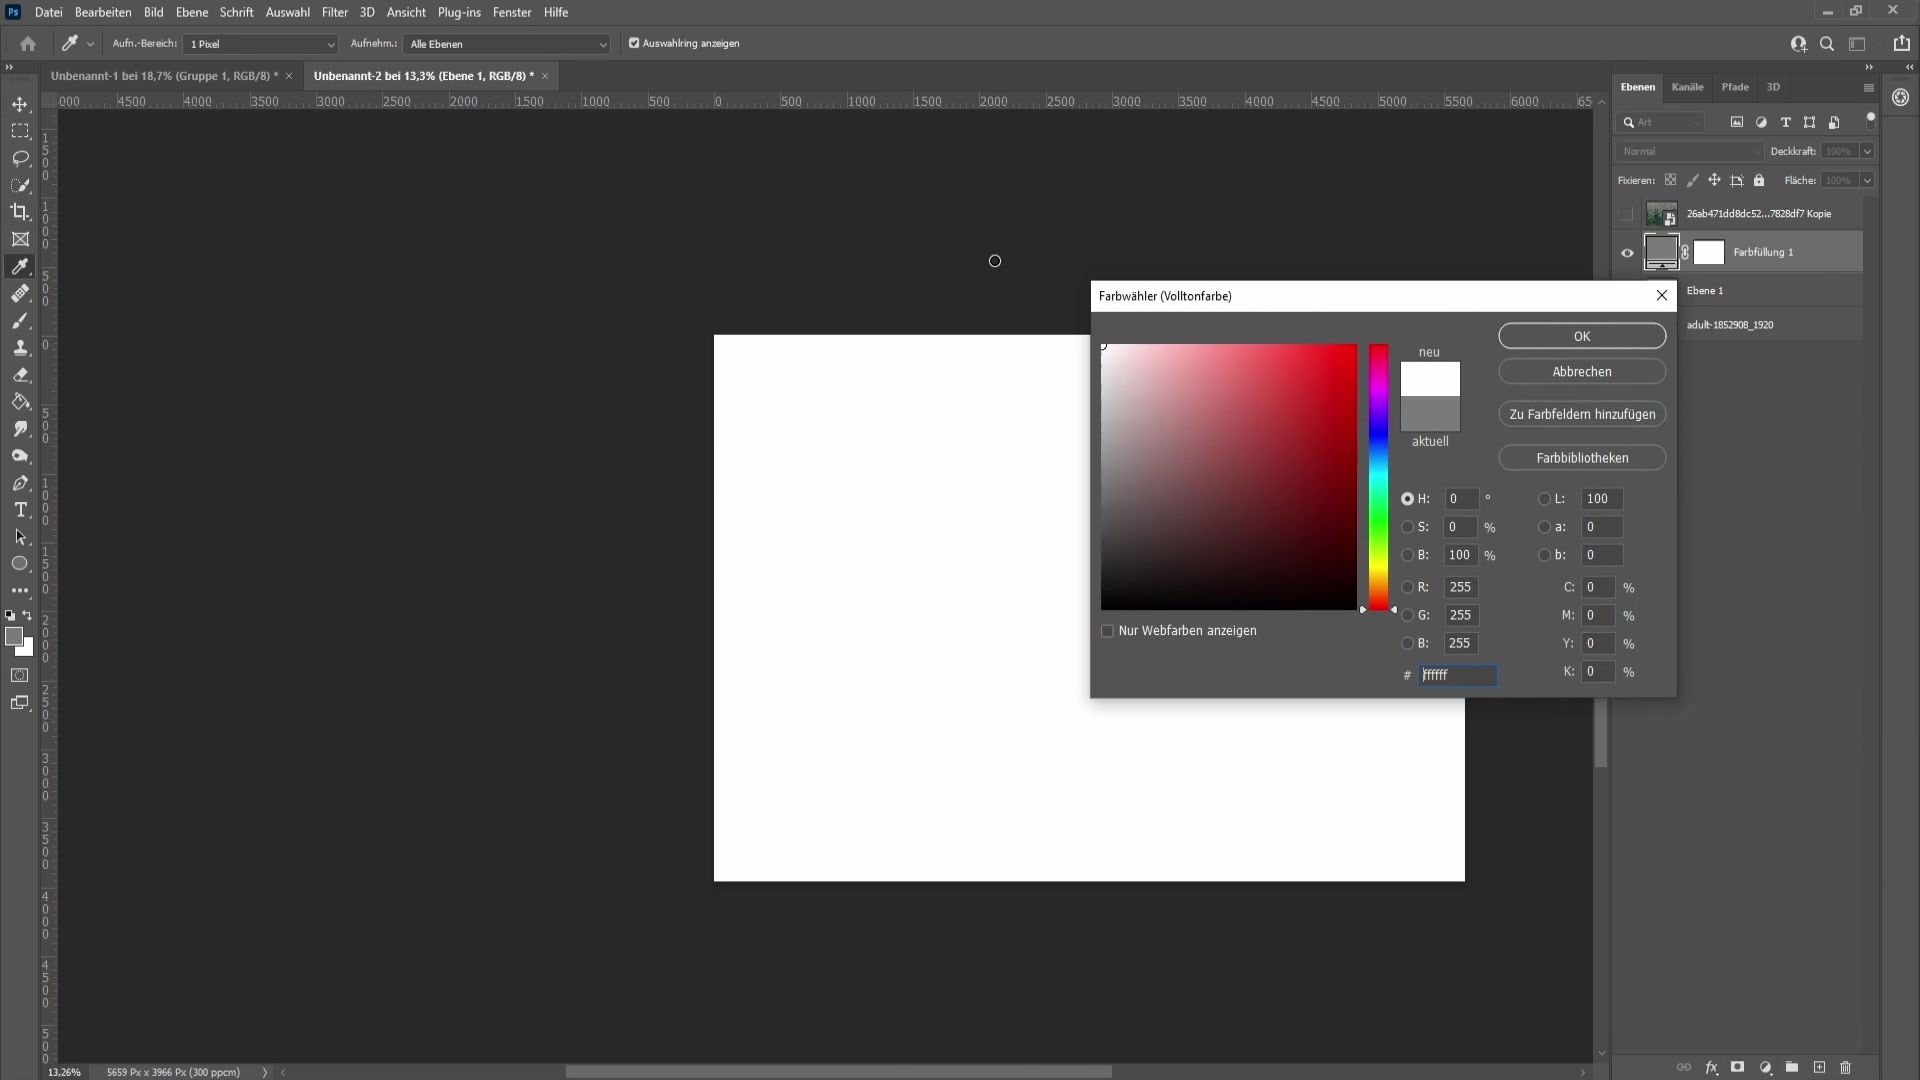
Now create a new solid color with a white background. Simply go to "Layers" and then "New Fill Layer". Drag this new layer all the way to the bottom.
Once that is done, display the forest image again. Set the layer opacity to 100%. Hold down the Control key and click on the portrait preview to maintain the selection. Then go to the forest layer and click on the layer mask icon.
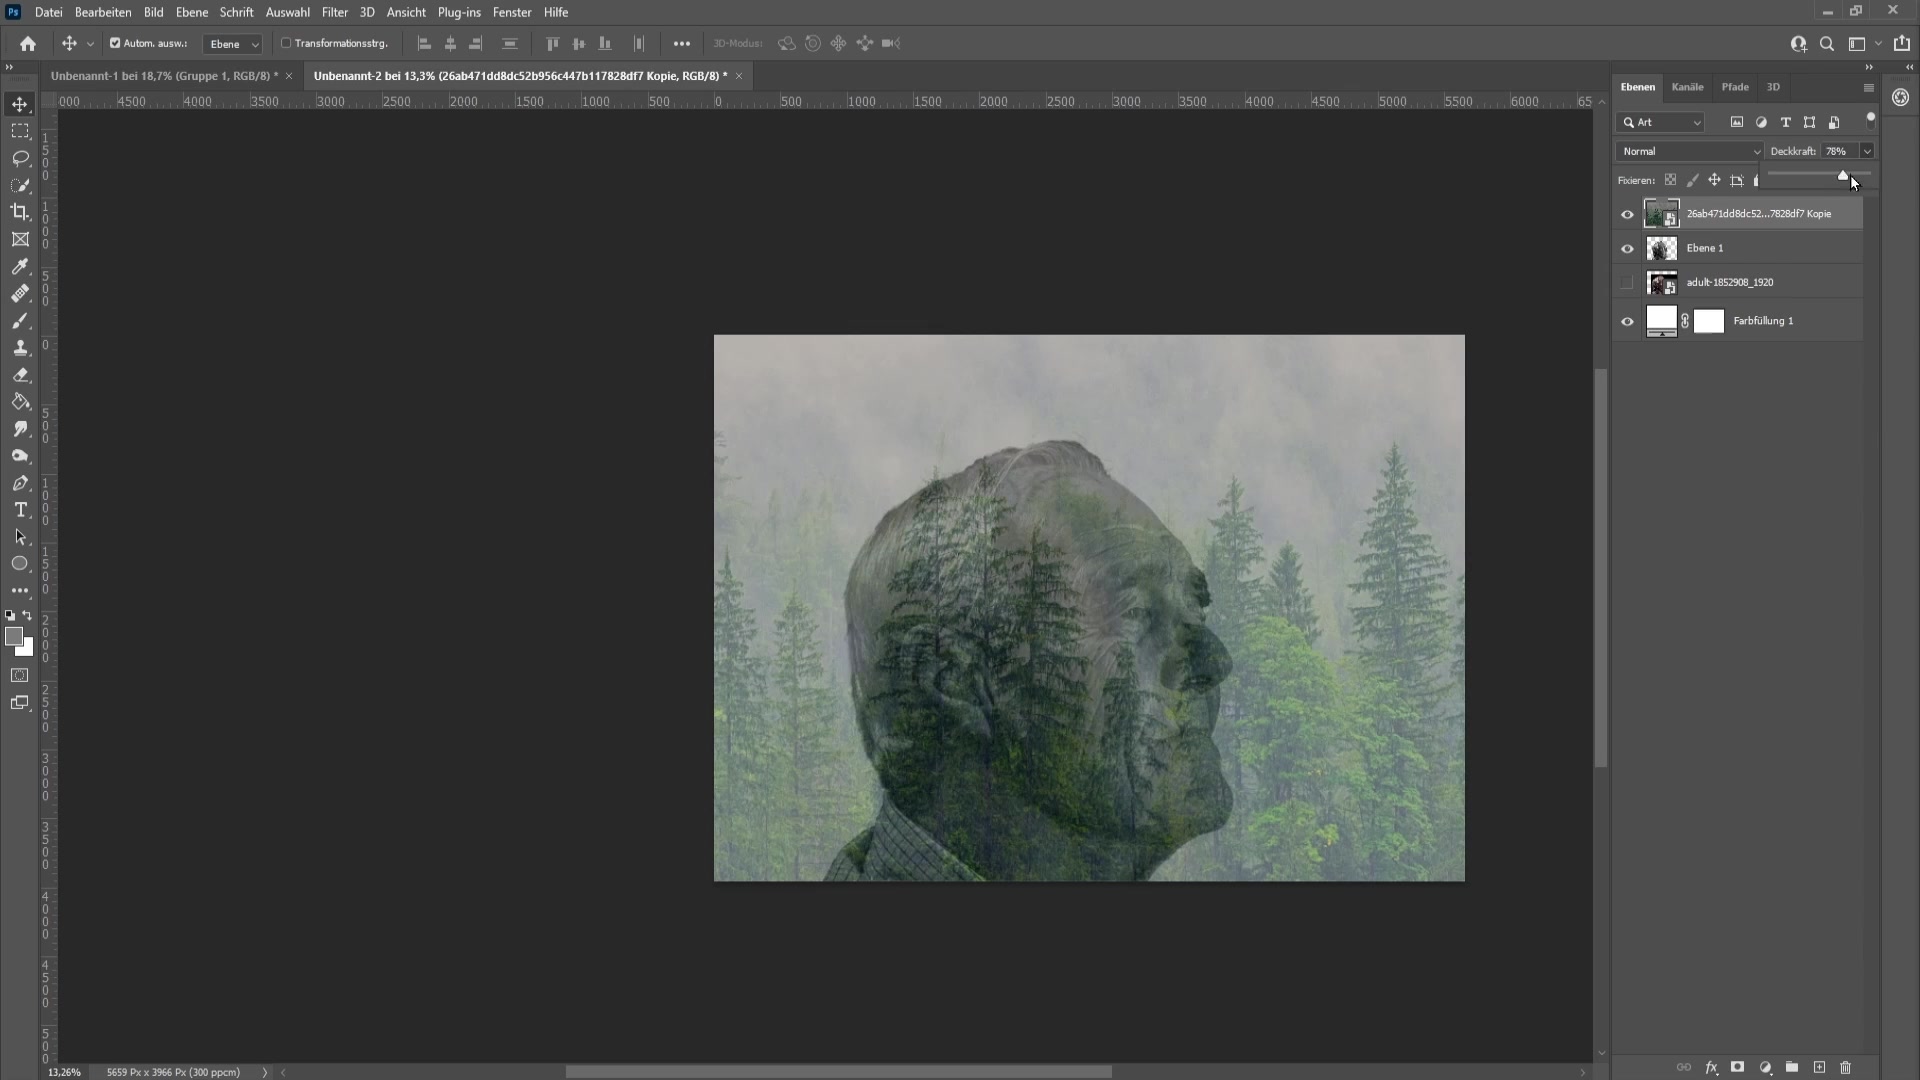
Now you have created a mask for the forest. Select the layer of your portrait, hold down the Alt key, and drag the layer upwards. Set the opacity to 50% and change the mode to "Screen".
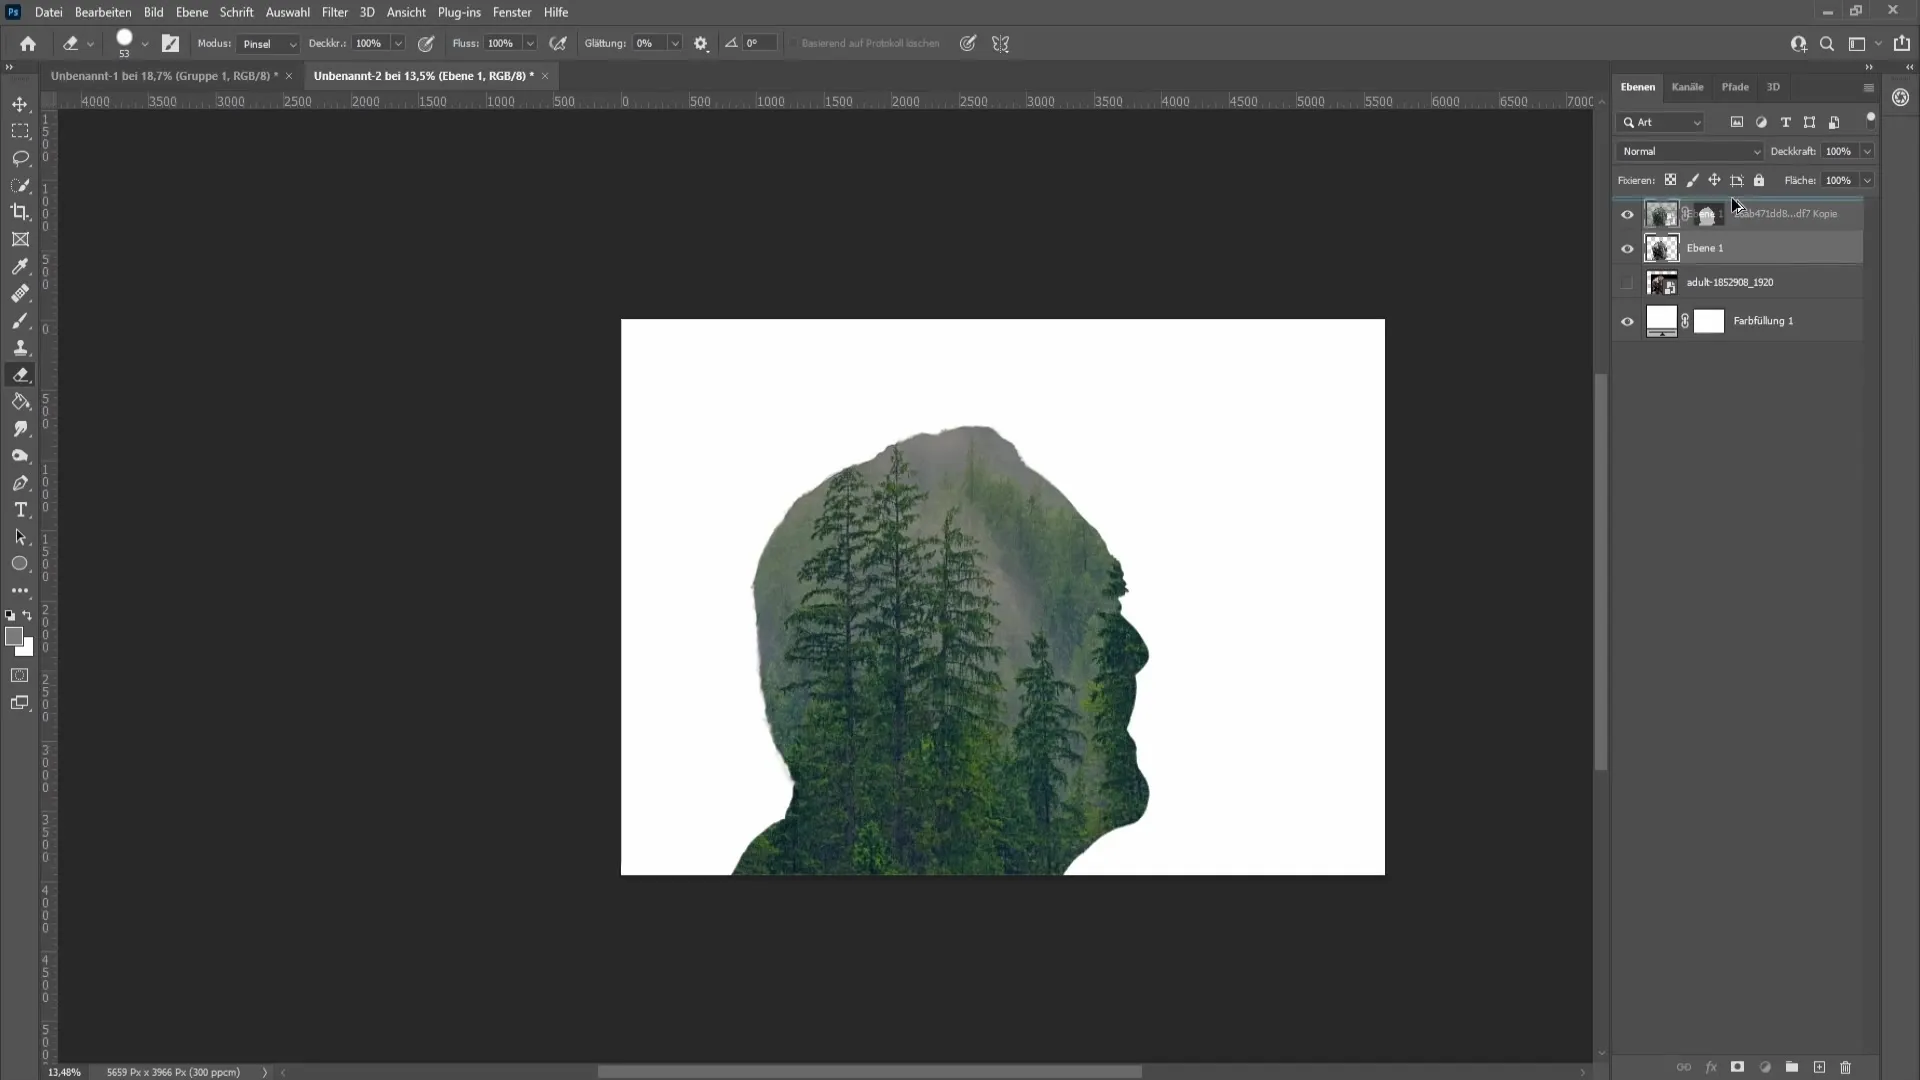
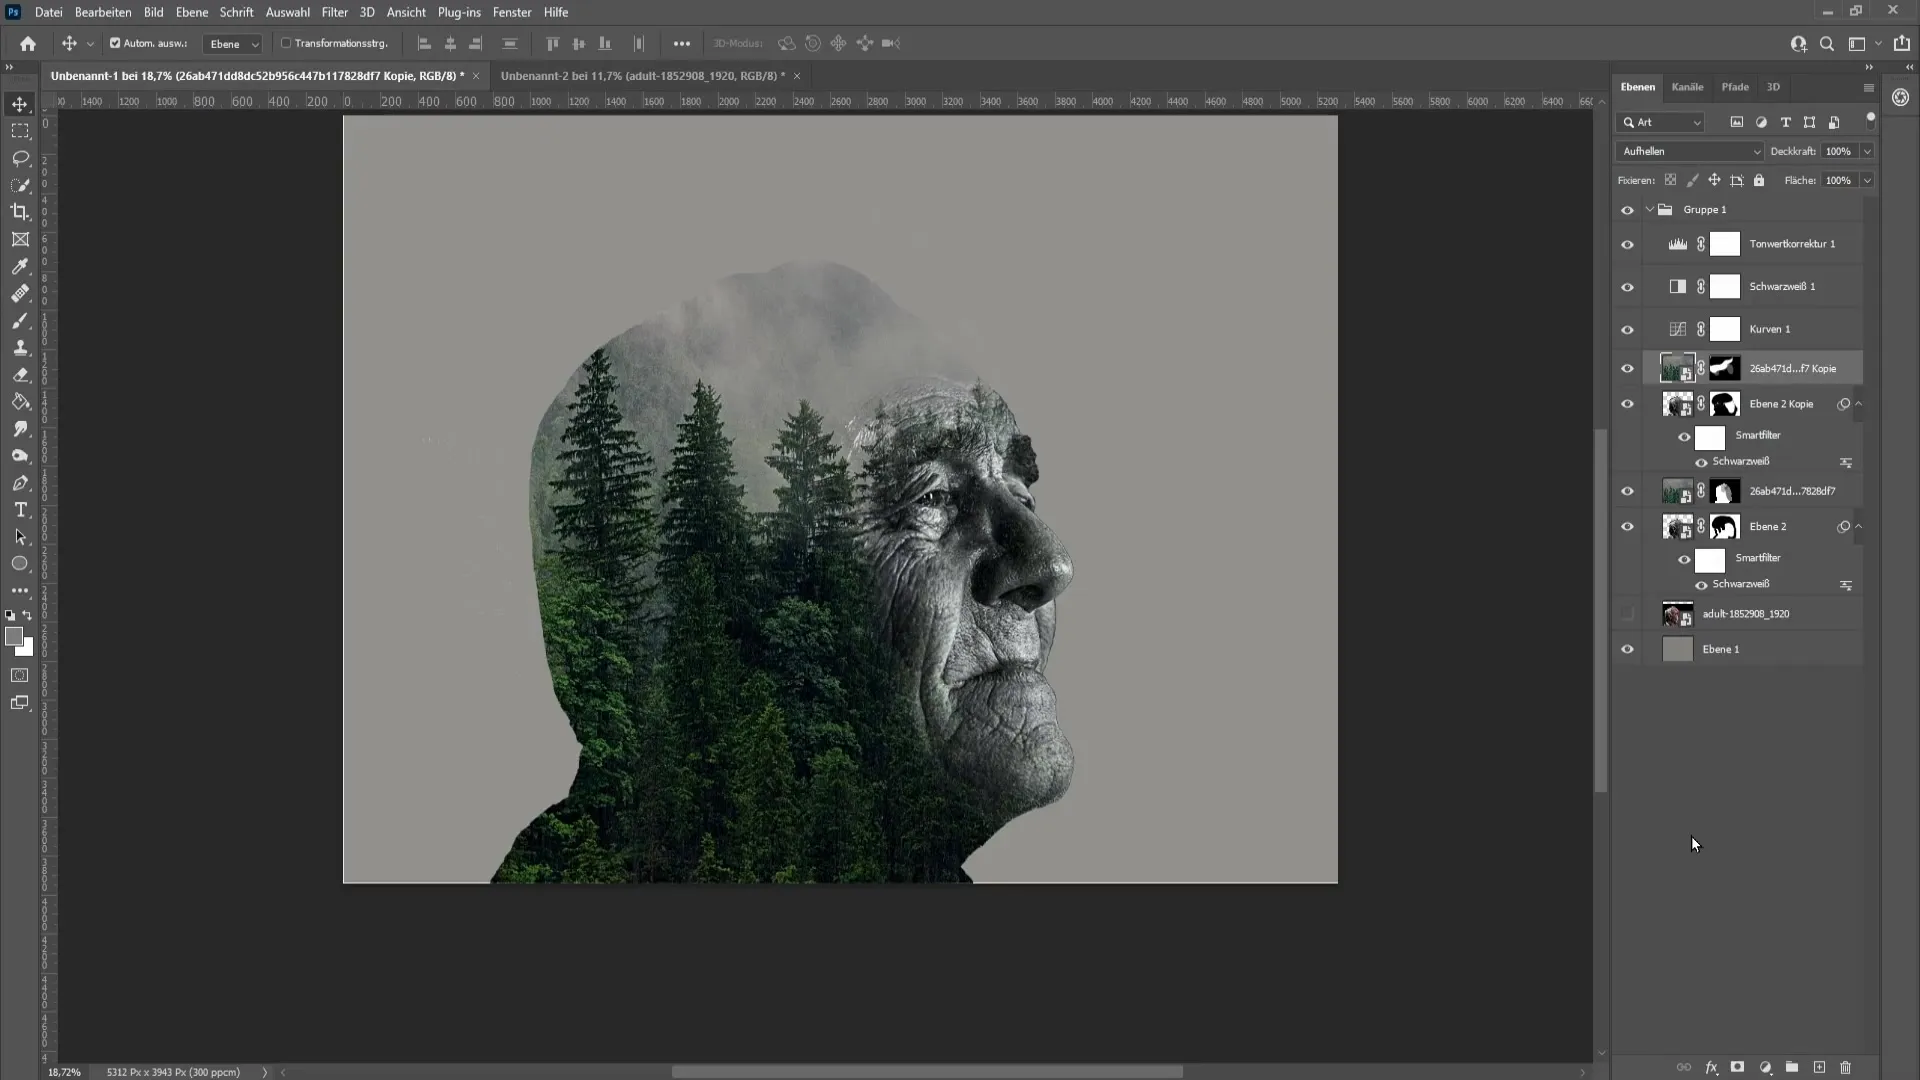
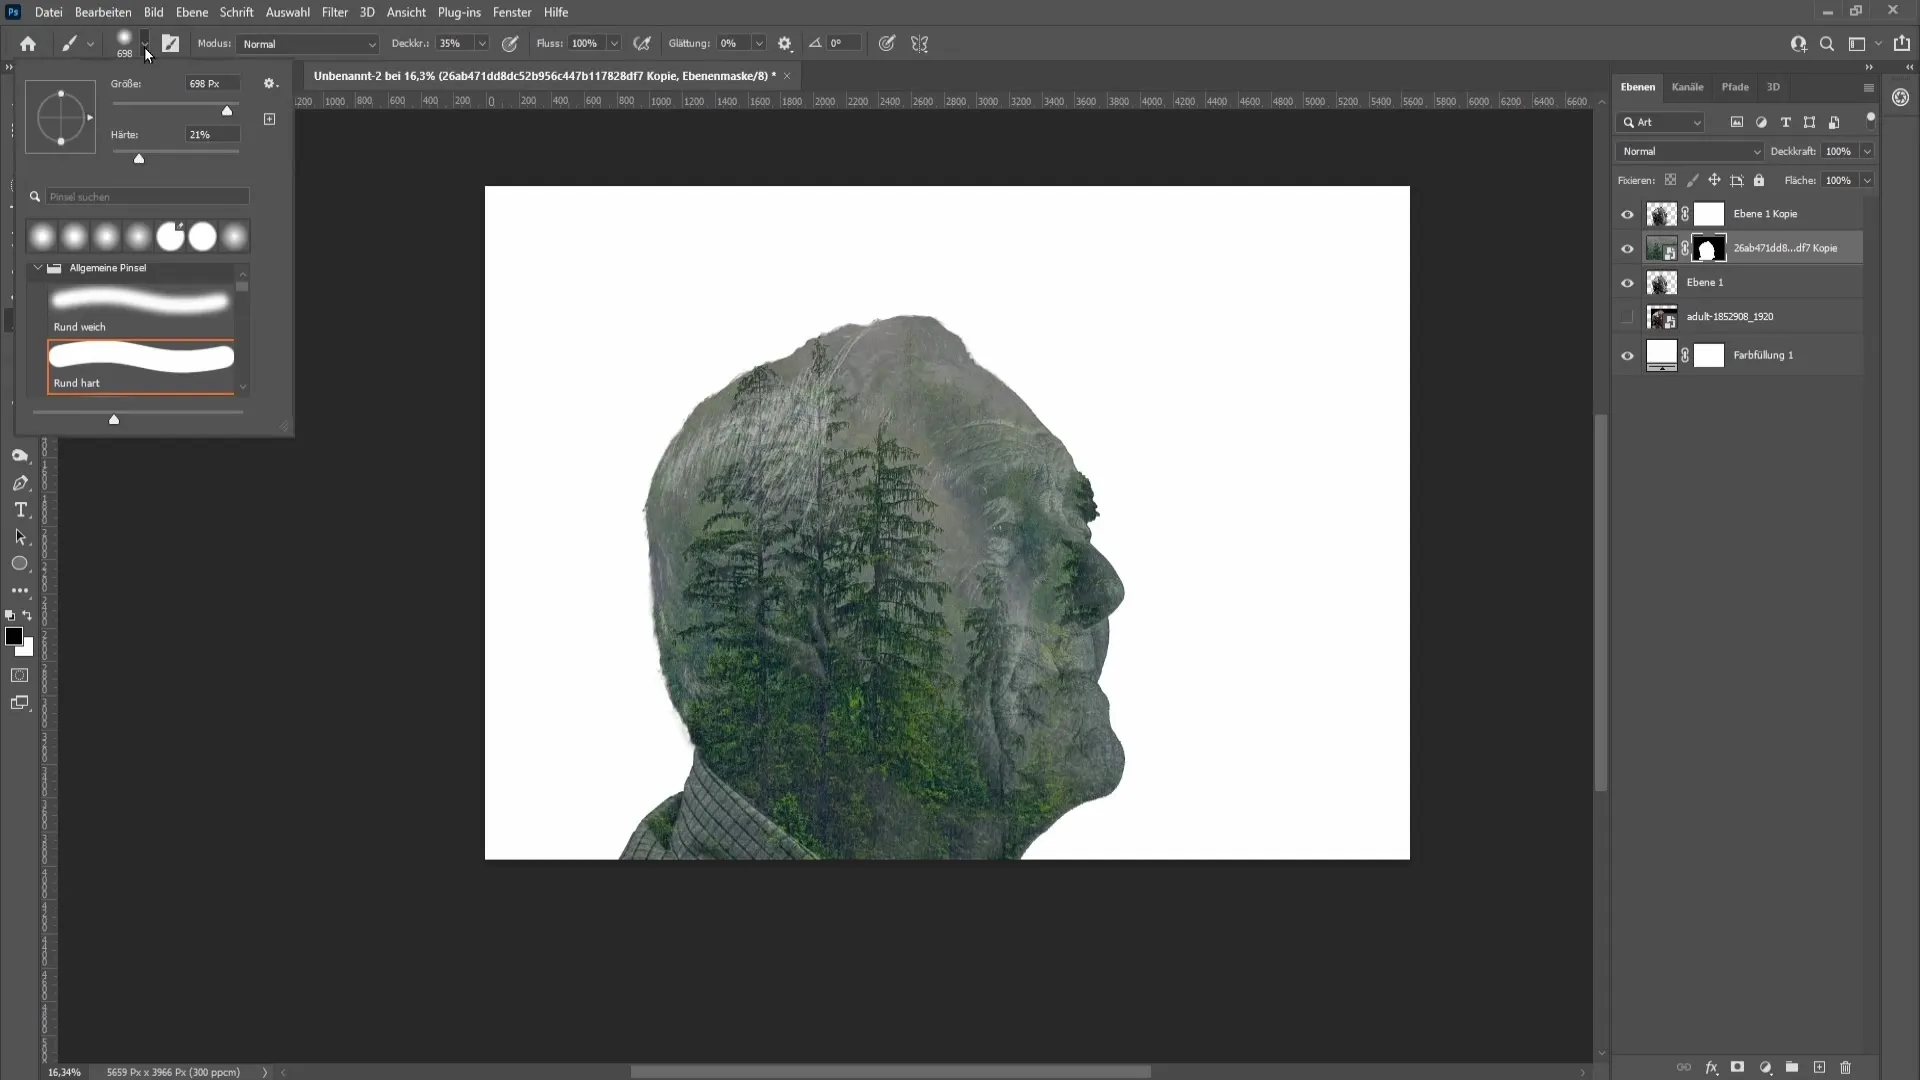
Now comes the interesting part! Select the layer mask of the forest and set a brush with a hardness of about 21% and an opacity of 35%. You can start painting the face into the image with a black foreground color. Switch between foreground and background colors by pressing the "D" and "X" keys.
Now you can work on the portrait's face to make sure it integrates well. If you want more opacity, you can simply apply a new brush stroke on the face.
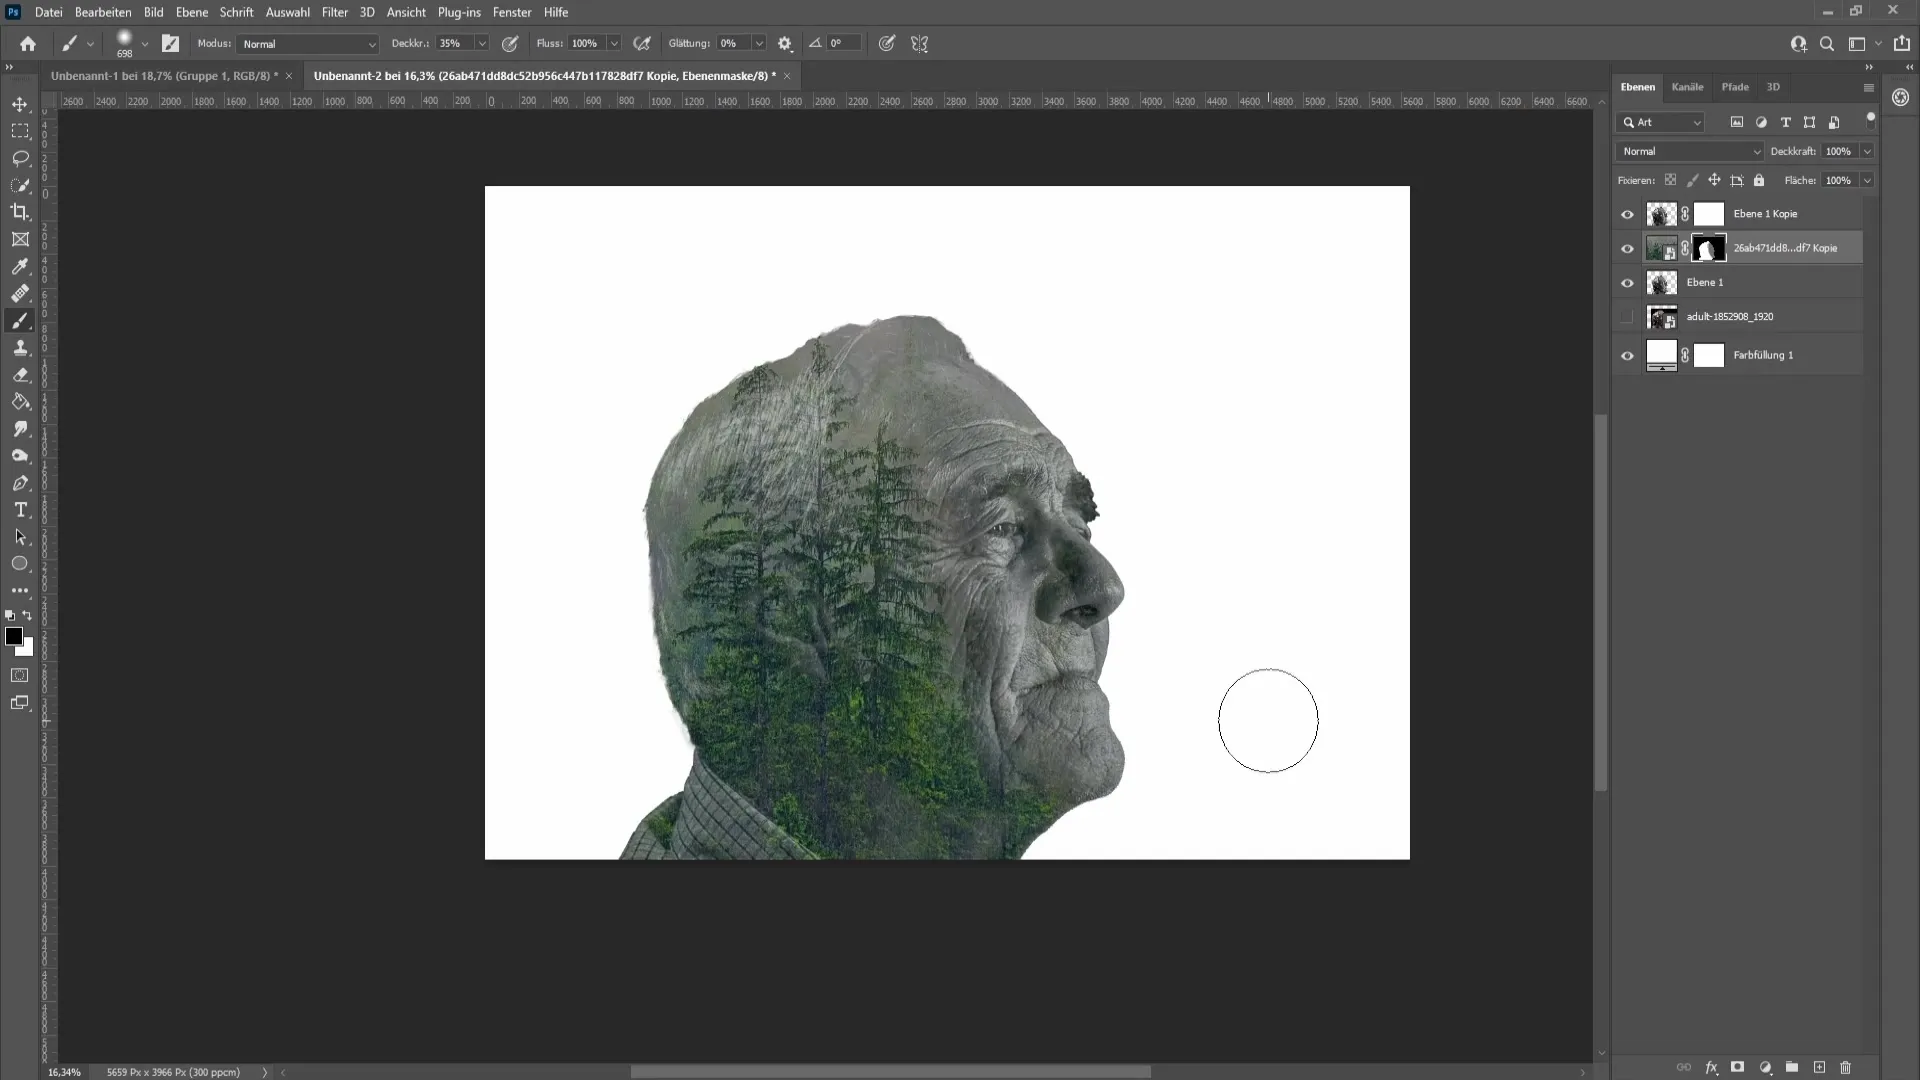
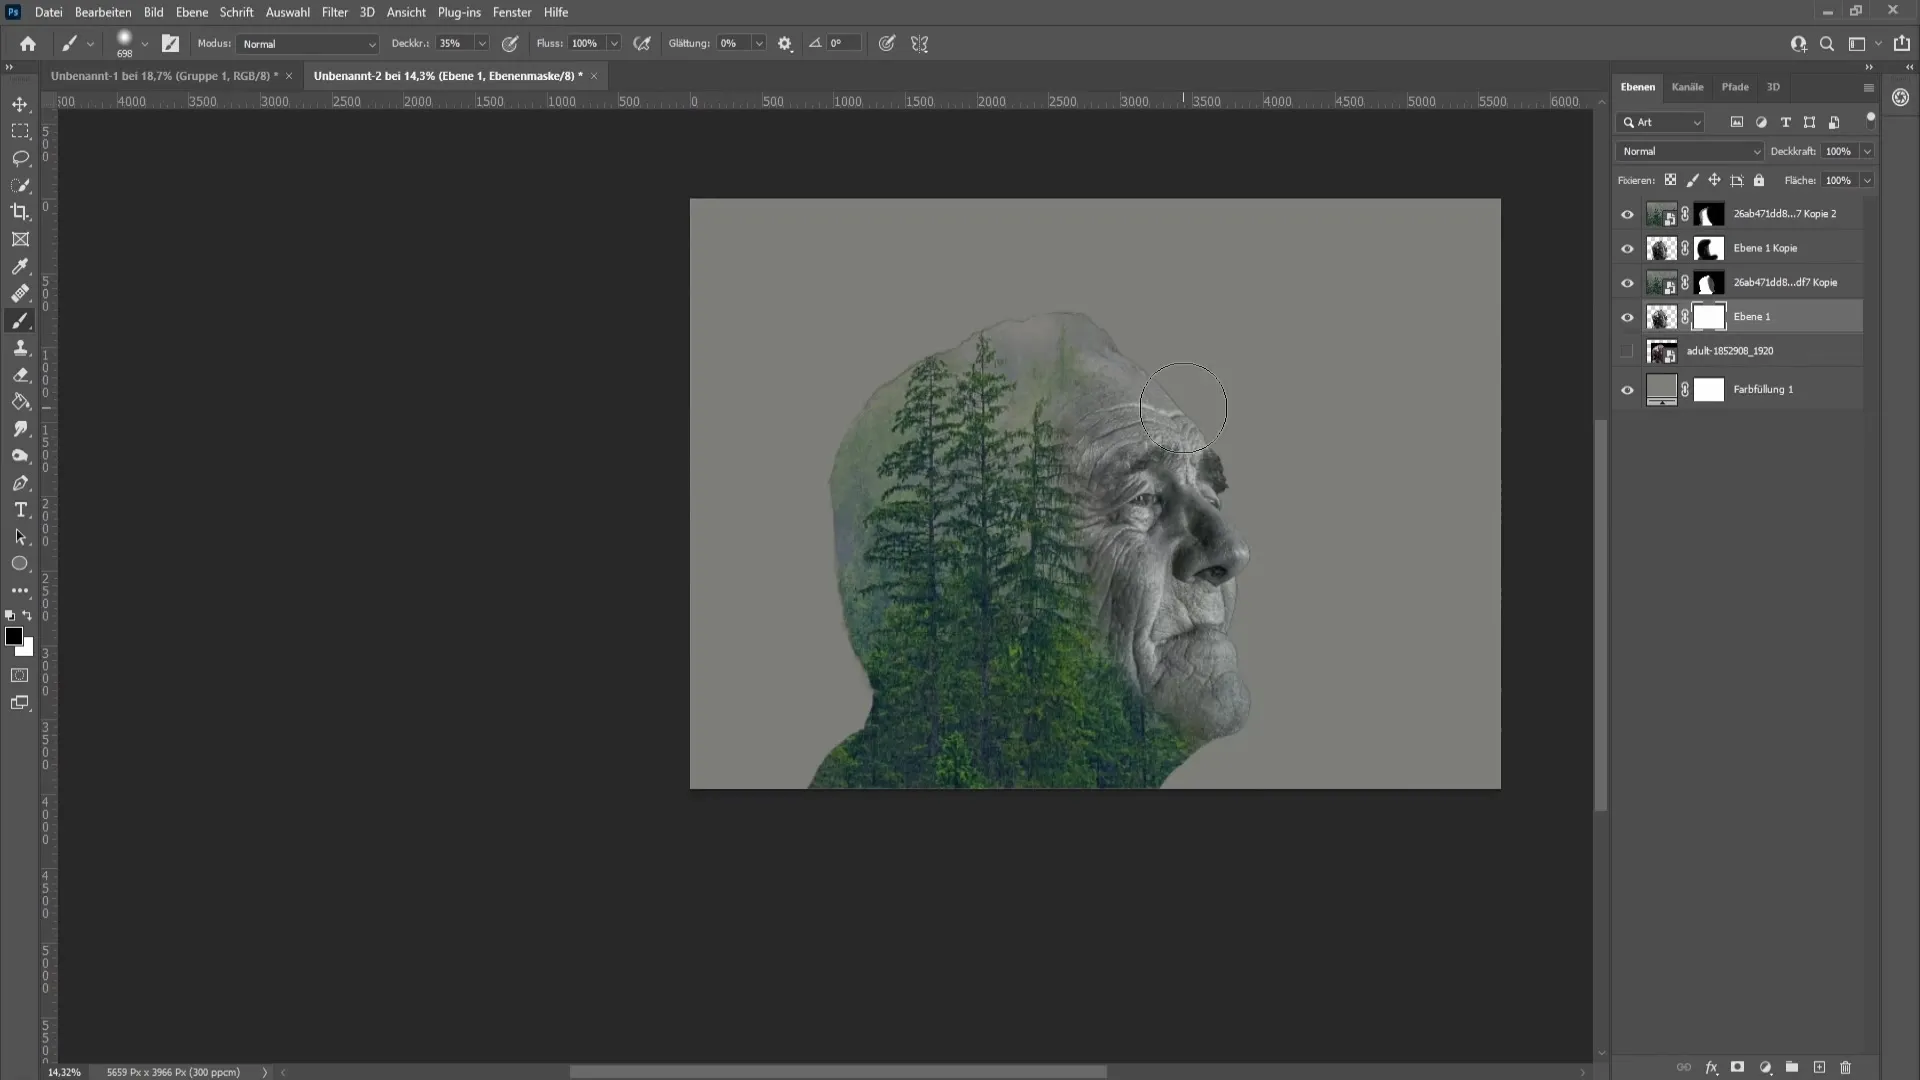
Use the brush to adjust the forest image so that it blends nicely into the portrait. Make sure to work evenly.
Now go to the forest layer and drag it up while holding the Alt key and the left mouse button. Use the eyedropper to select a gray area on the outer edge of your portrait. Adjust the color tone by double-clicking on the layer and filling it with color.
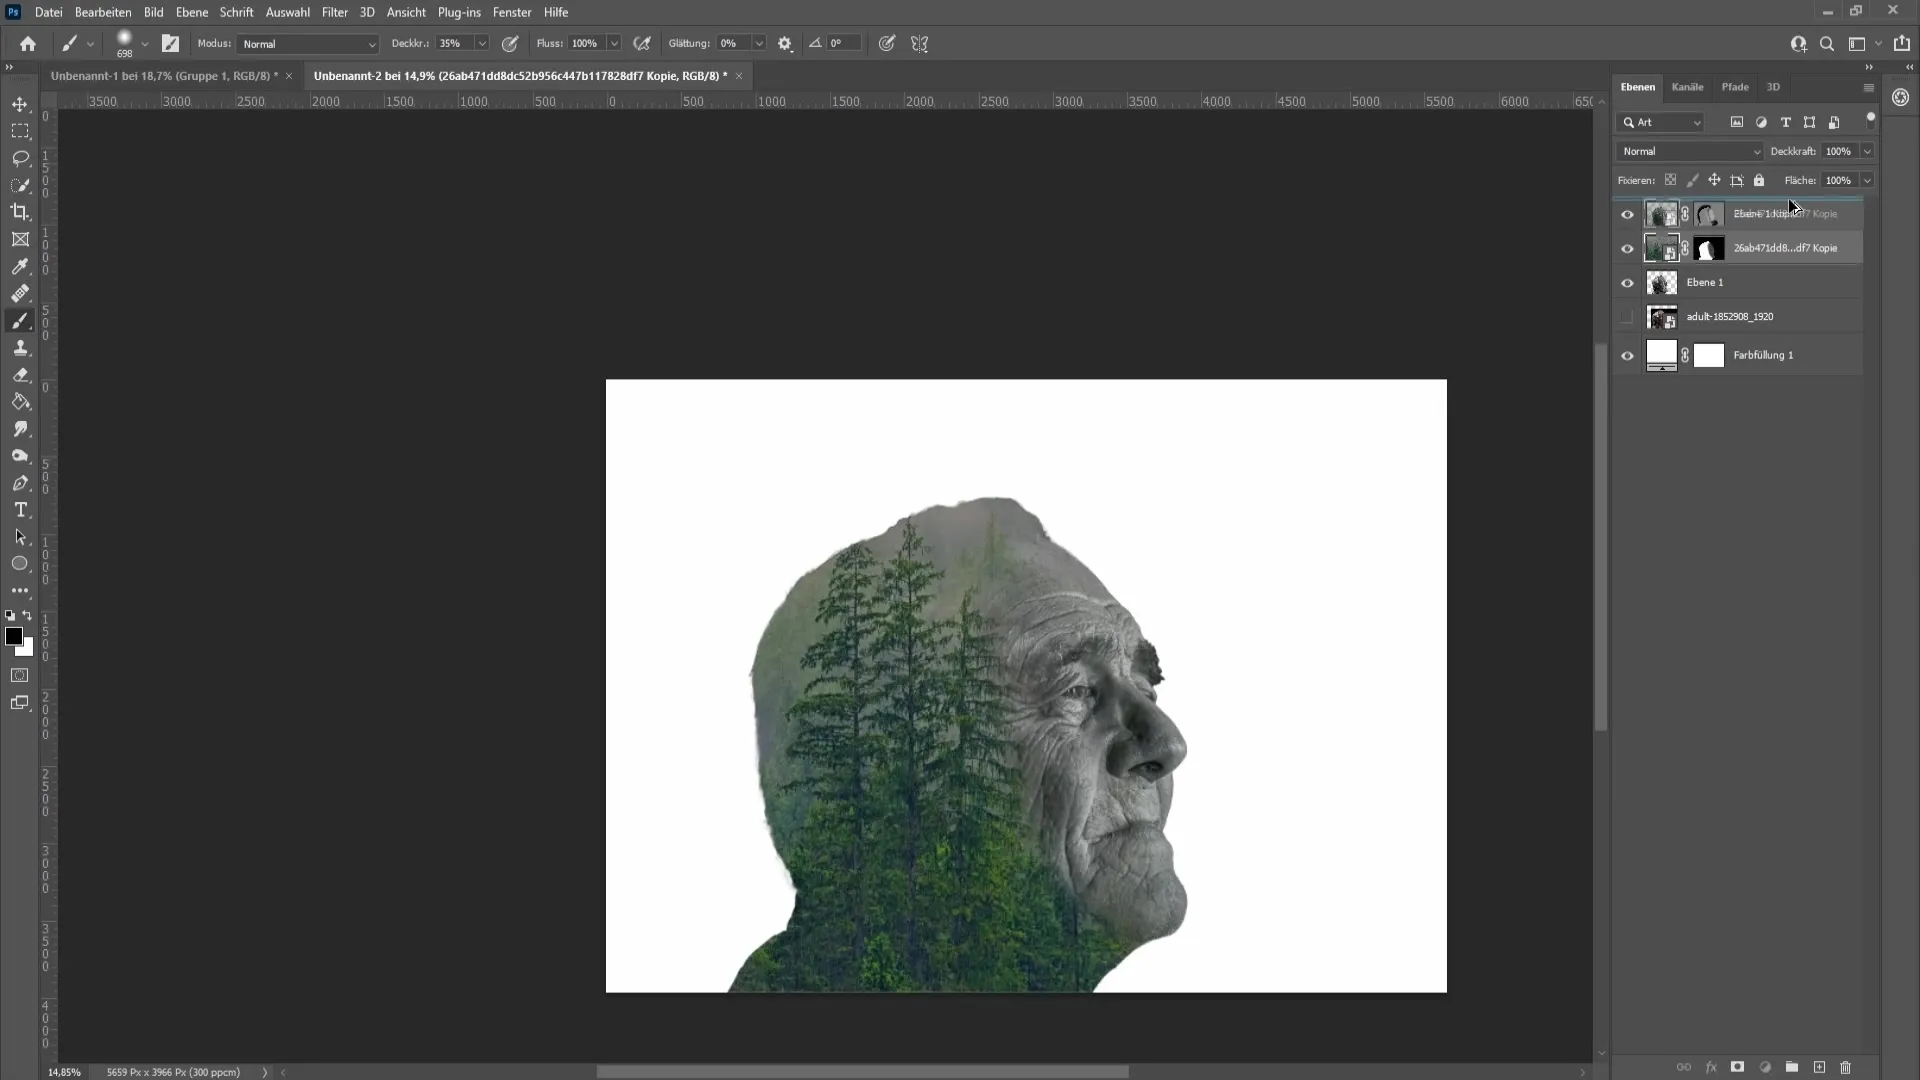
Set the forest to the "Lighten" mode and use the layer mask to further blend the face. Repeat the process with a brush until you are satisfied with the result.
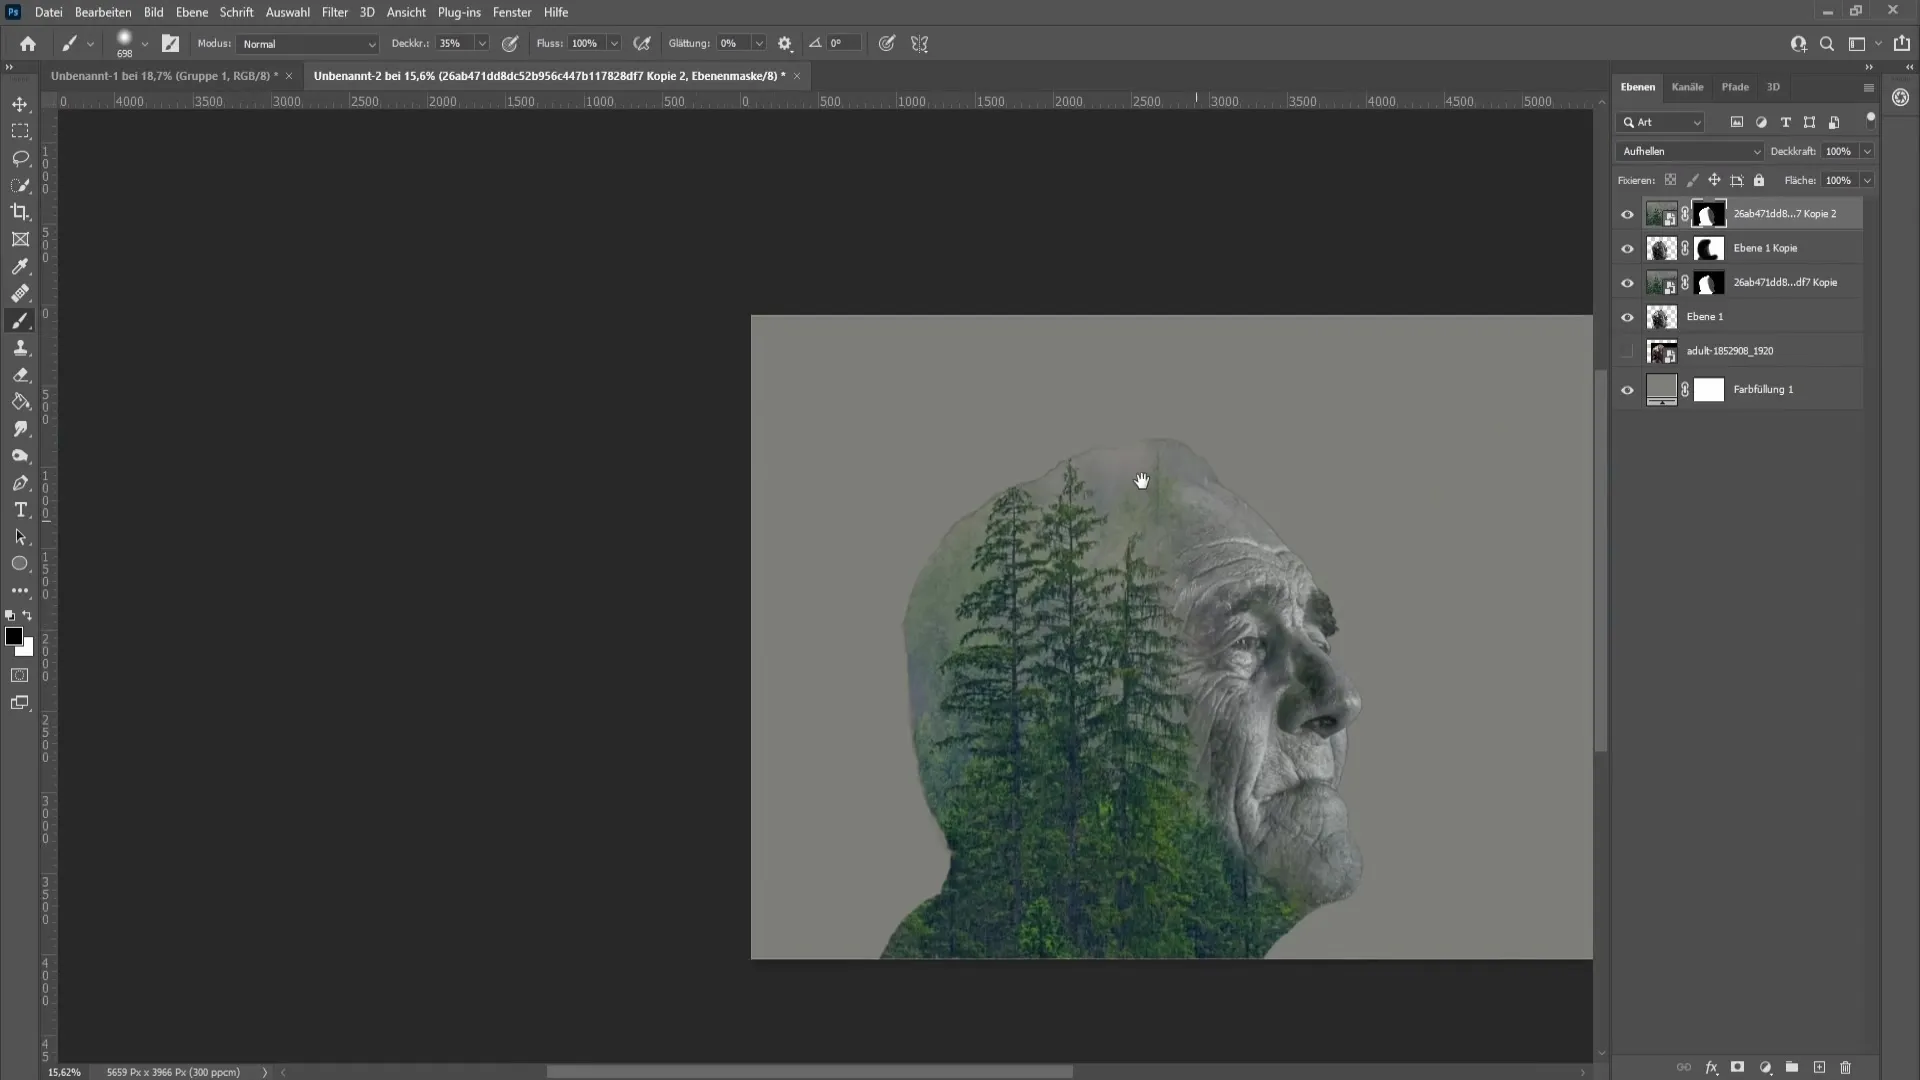
If you want to soften the edges, you can use a layer mask tool and paint along the edges with a black foreground color.
If you want more creative control, additional adjustments like Curves or Levels corrections are possible to give the image more depth or contrast. Use the same color corrections as with the black and white image and adjust the opacity.
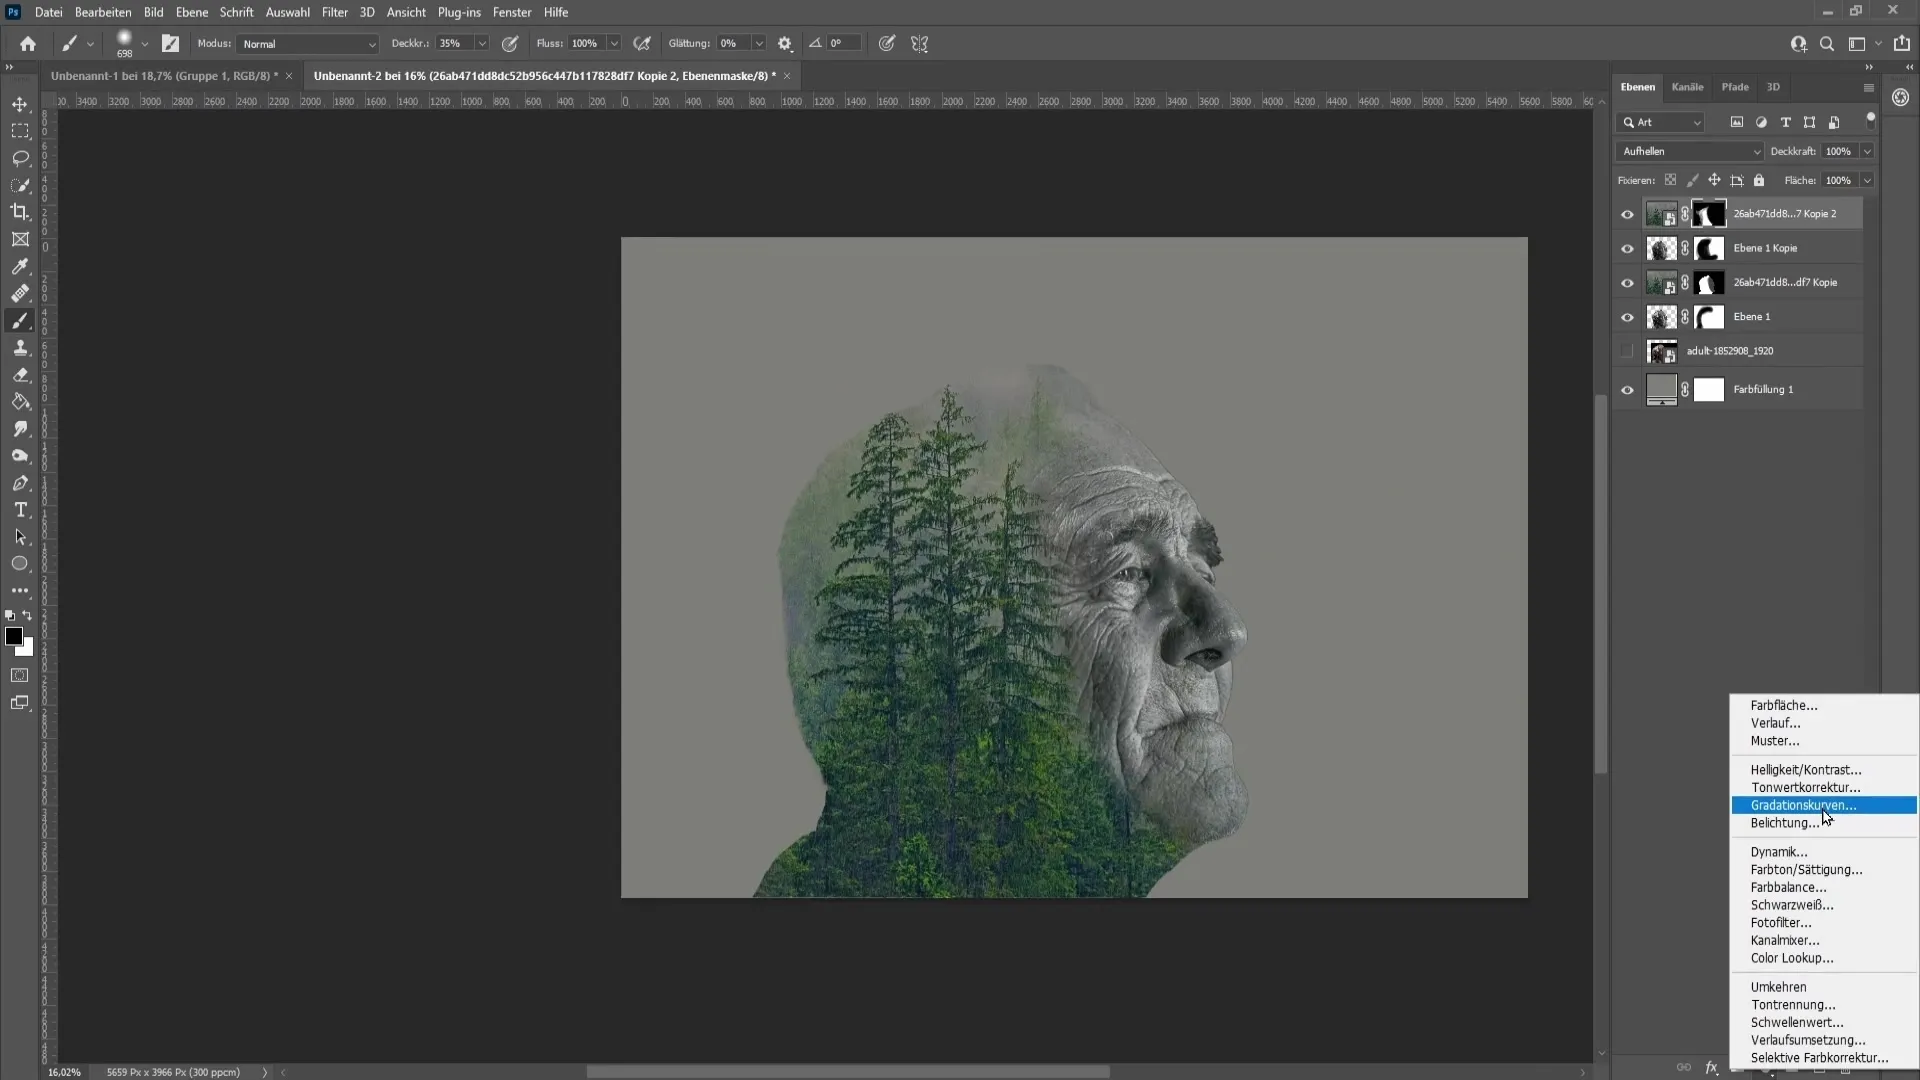
To complete your double exposure effect, finish the process by removing any unnecessary elements and giving the image the final touch.
Summary
You have now gone through all the steps to create an attractive double exposure effect in Photoshop. With some practice, you will be able to easily achieve such effects. Have fun experimenting!
Frequently Asked Questions
How important is the isolation of the portrait?Isolation is important for the clear and clean integration of the portrait into the composition.
Can I use any type of image for the double exposure effect?Yes, you can use any image as long as it fits well with your isolation image.
Is there a specific version of Photoshop that I need?The steps work in most modern versions of Photoshop, but features may vary depending on the version.


