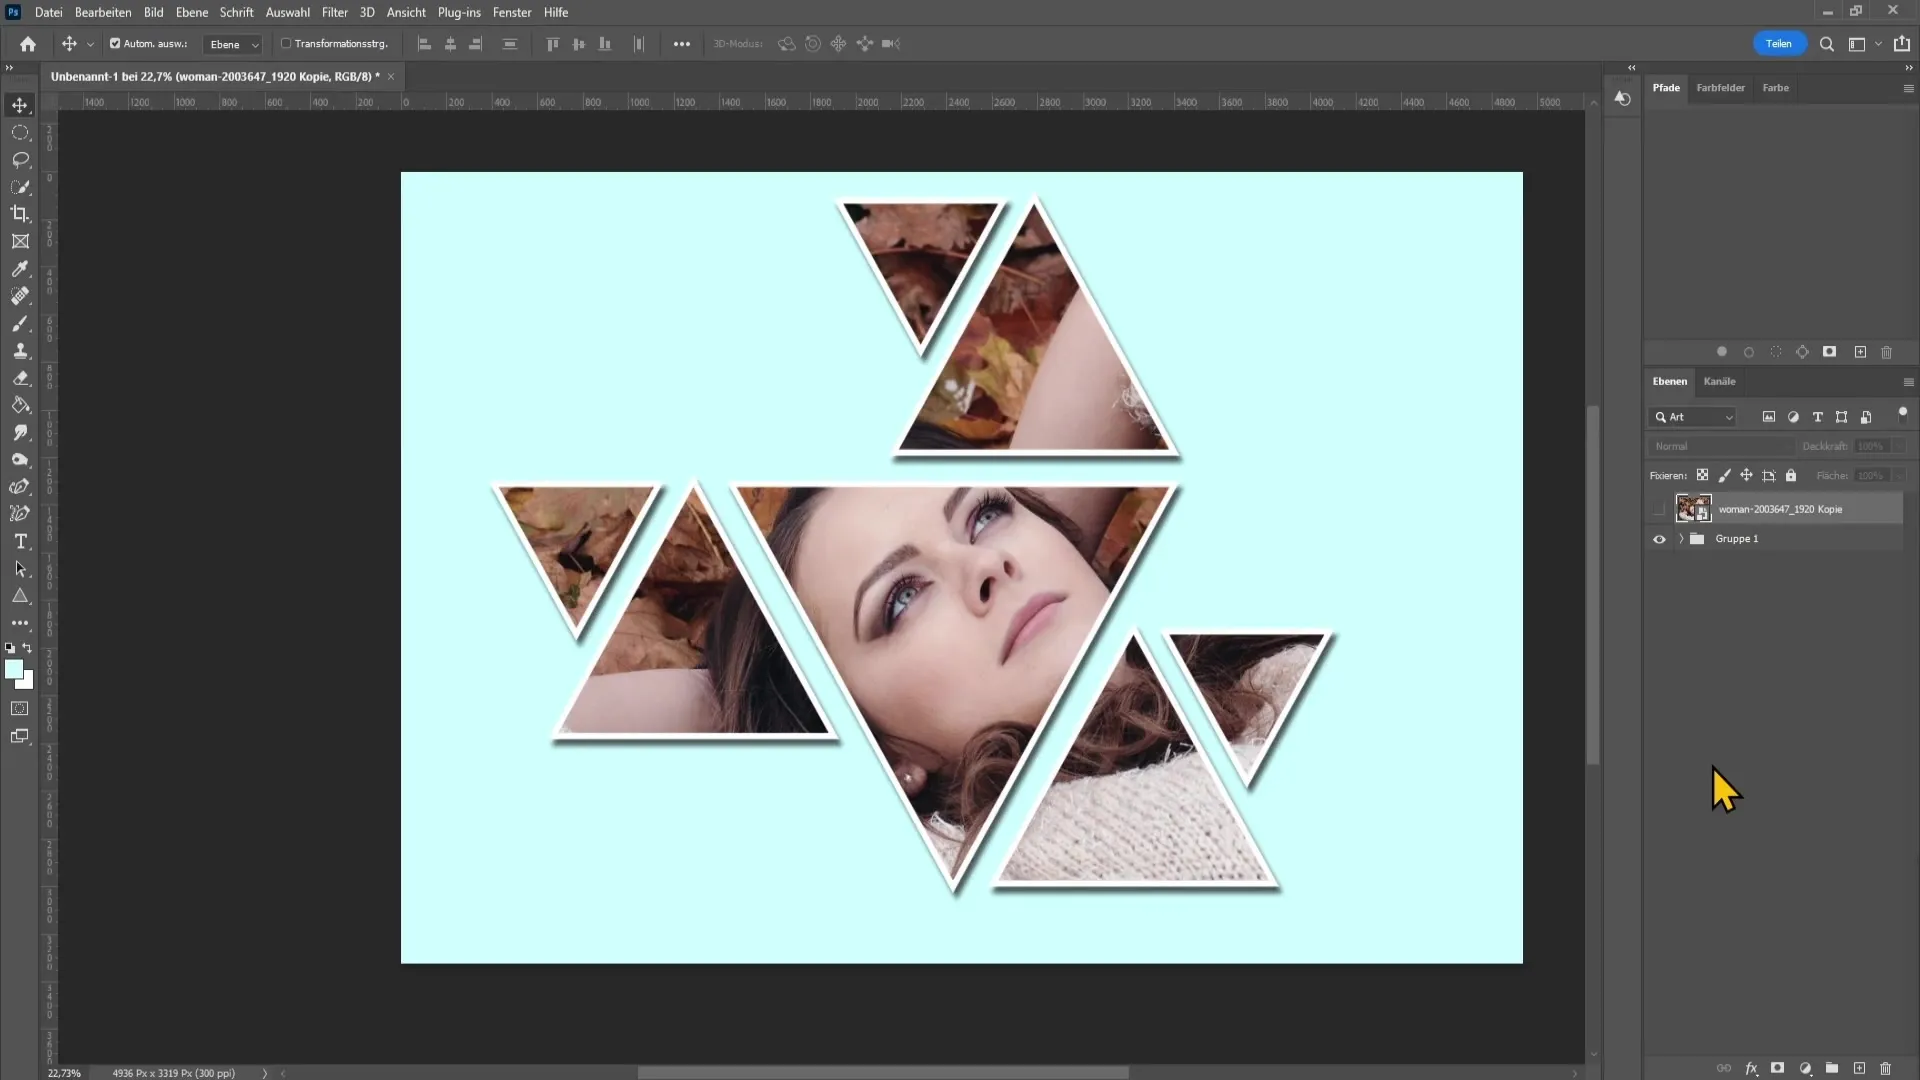
In this tutorial, we will show you how to give photos a fascinating geometric effect using Adobe Photoshop. The geometric effect transforms a simple image into a creative masterpiece by effectively combining shapes and colors. This technique is not only easy to learn but also delivers impressive results suitable for both personal projects and professional work. Let's get started right away!
Key Takeaways
- You will learn how to add a background and work with geometric shapes.
- Using layers allows you to make changes more easily and refine your effect.
- You can enhance the look by adding outlines and drop shadows.
Step-by-Step Guide
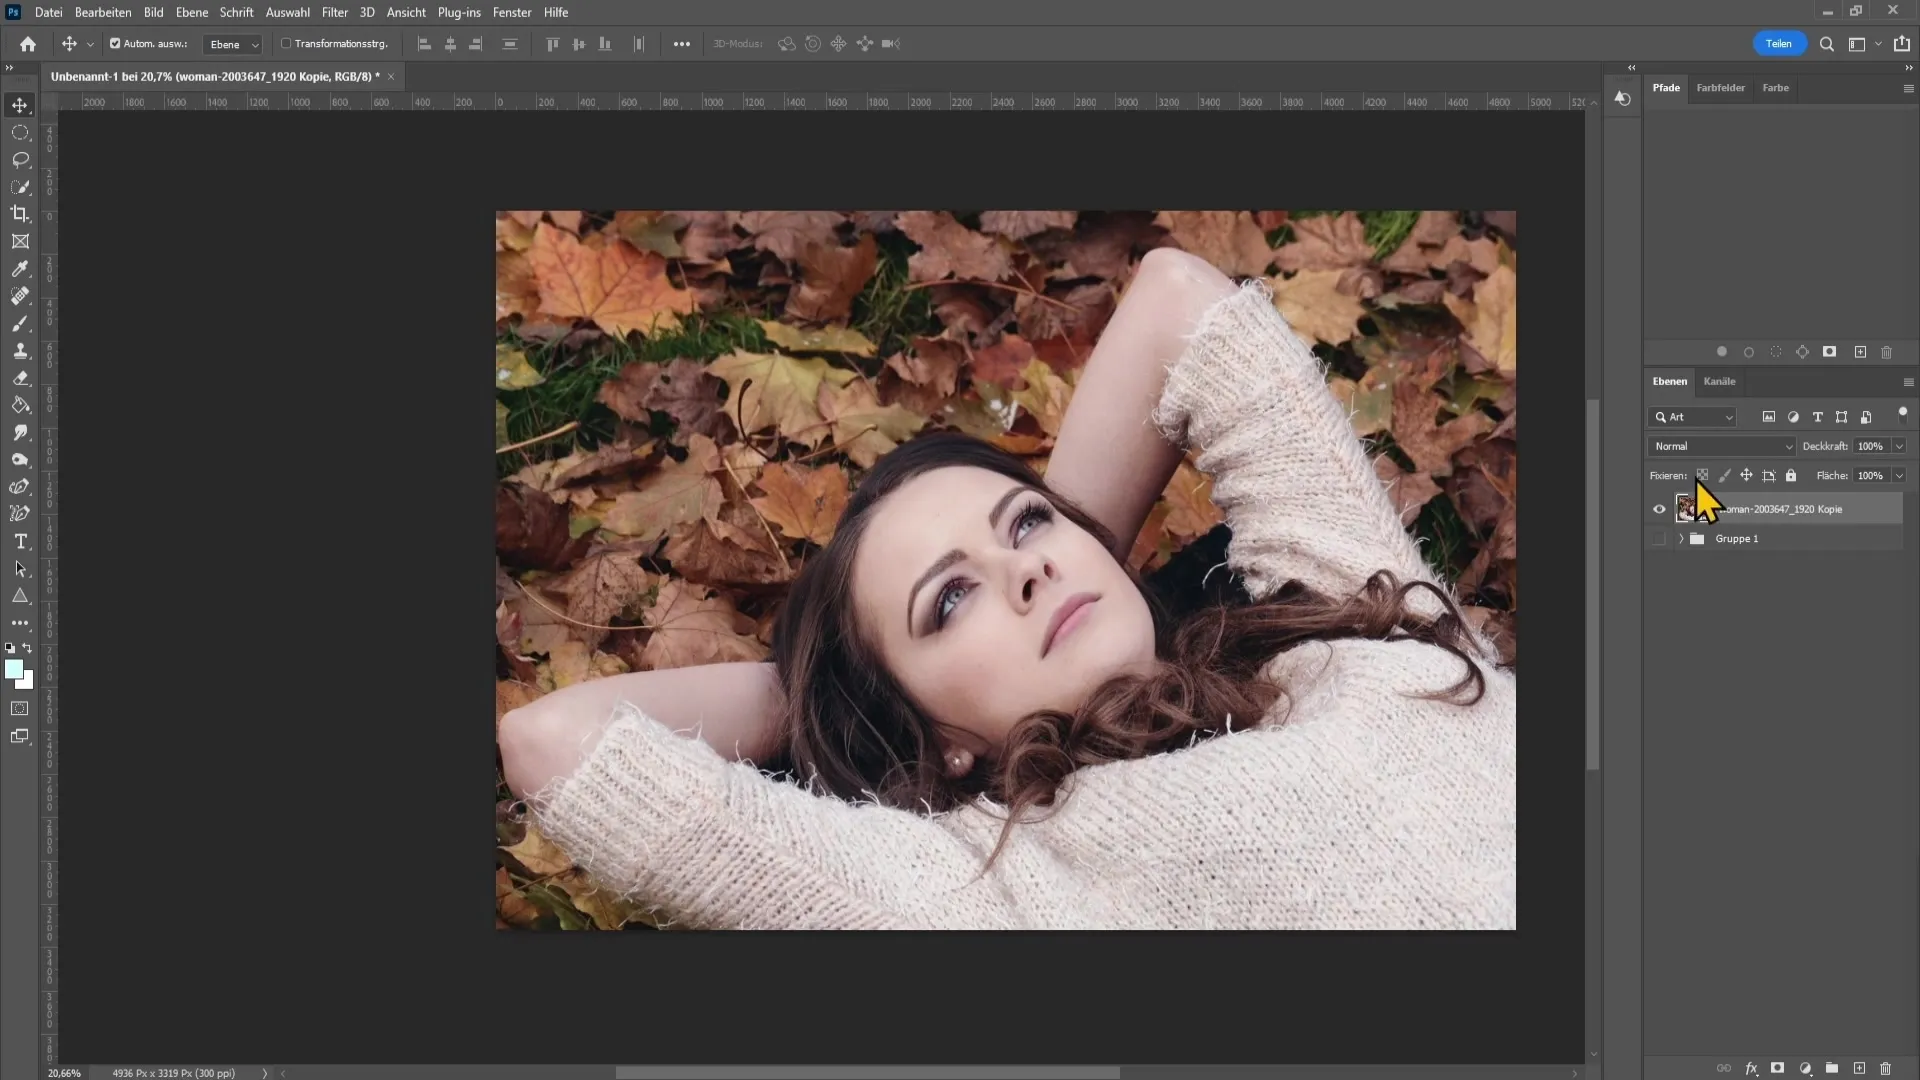
First, open your image in Photoshop. Once you've done that, we can start creating the geometric effect.
Next, add a background. Click on the color selection tool and choose an appropriate background color. I recommend light blue, a pastel color that complements the shapes well. Confirm your selection and bring the layer below your image so the background becomes visible.
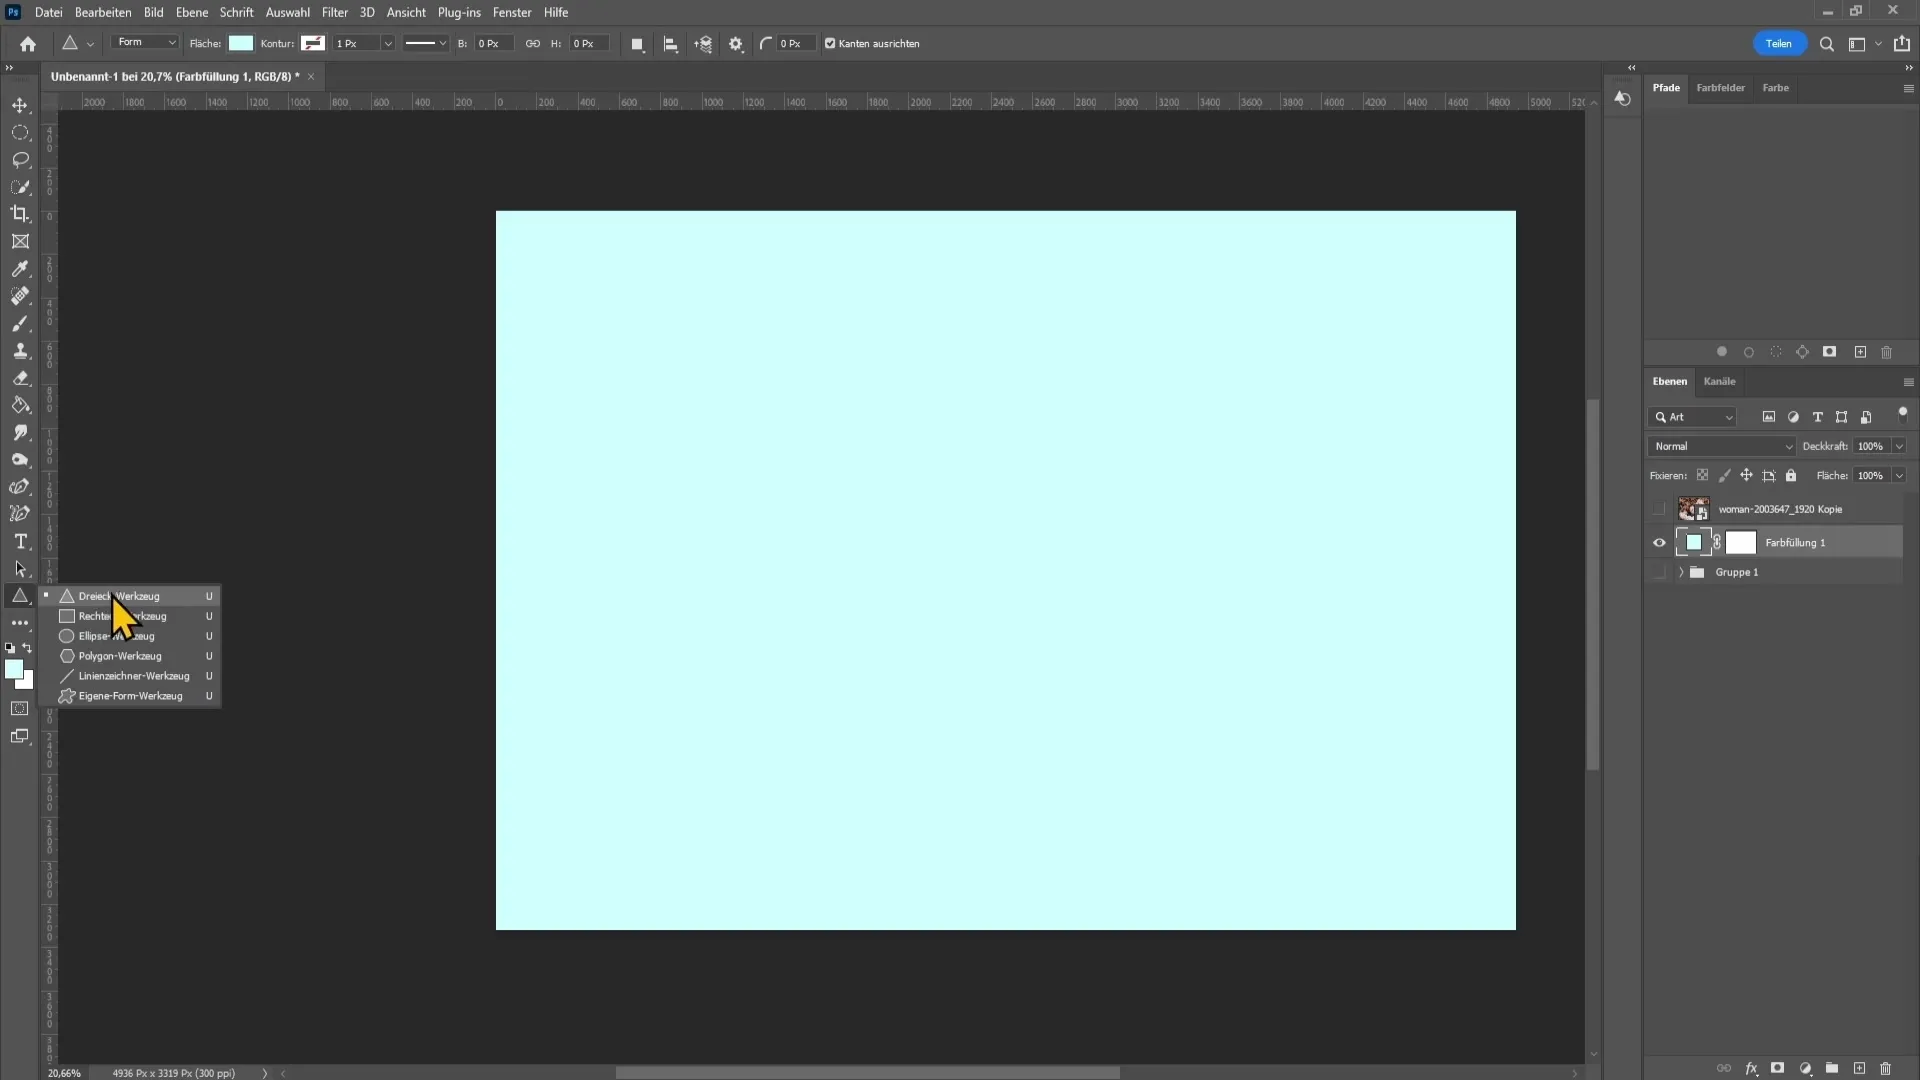
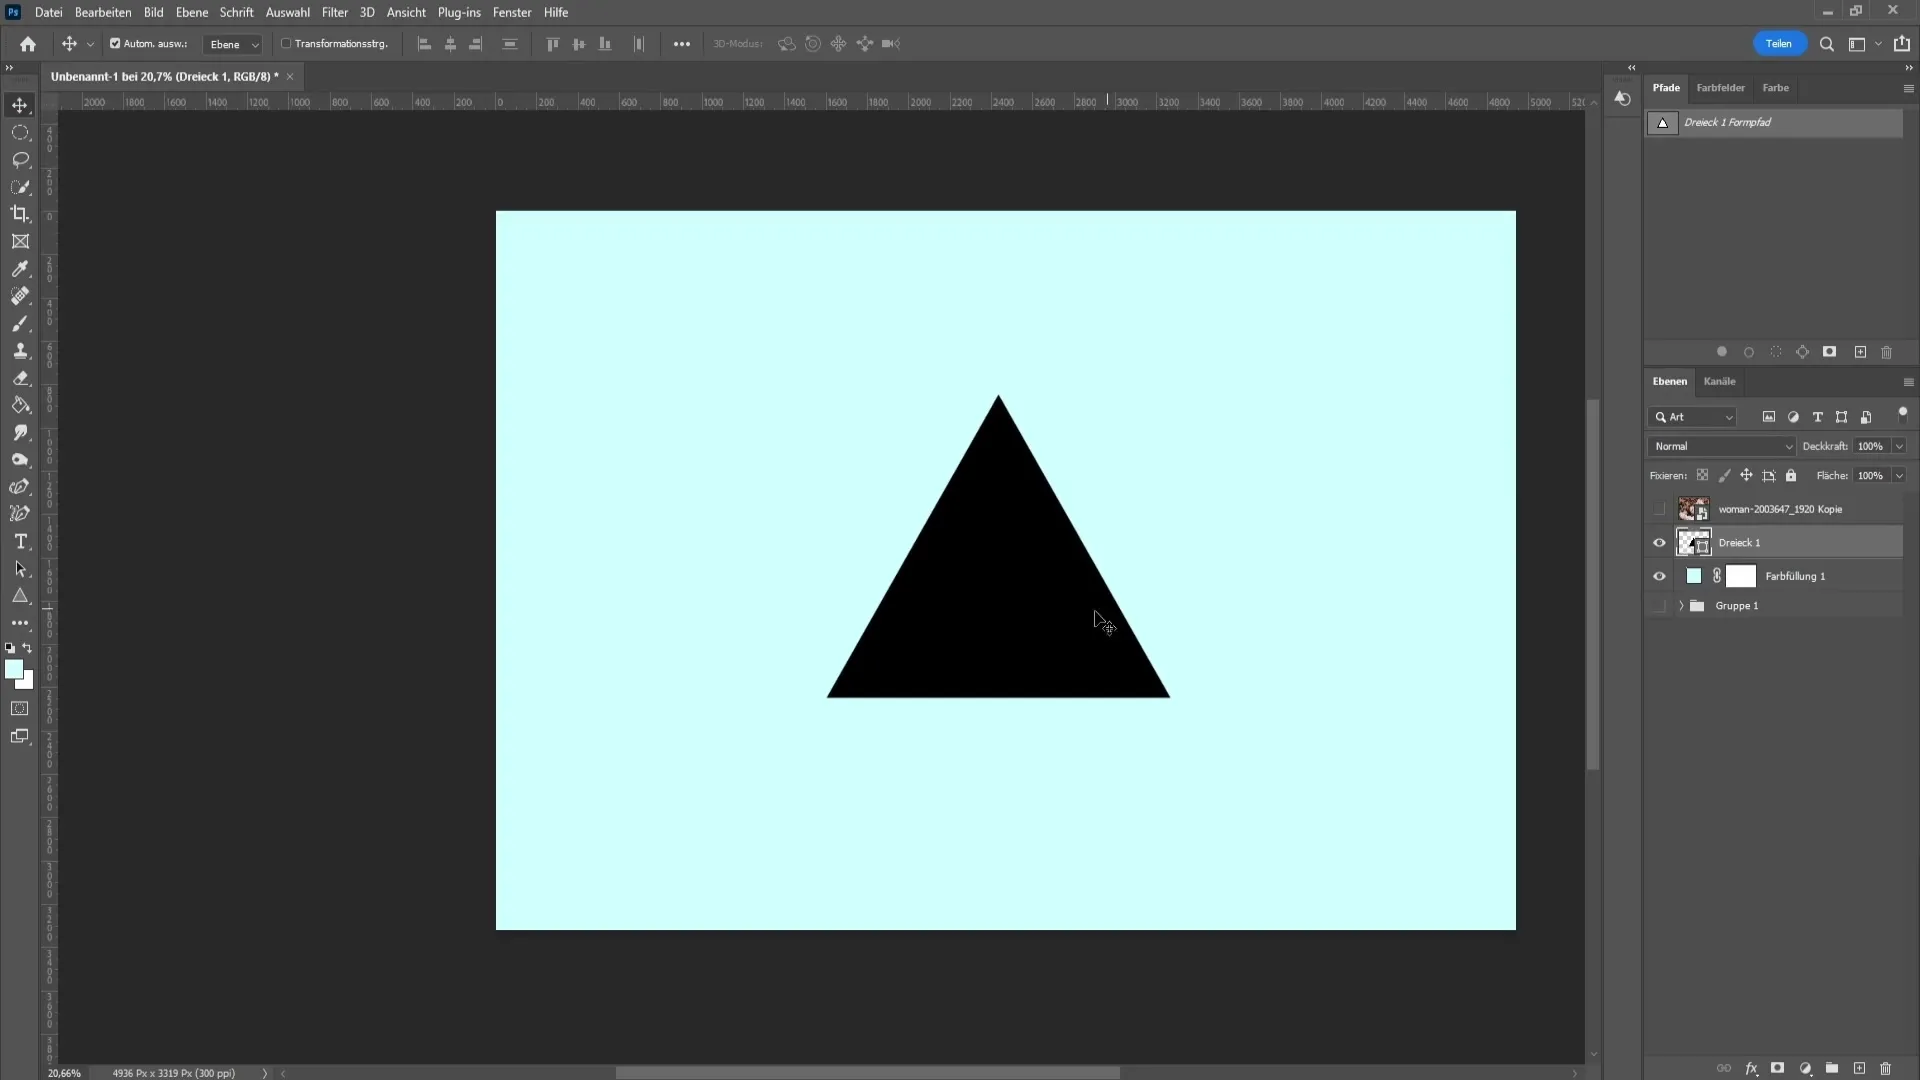
In the next step, hide the image to make it easier to draw the geometric shapes. Select the triangle tool on the left side. Before drawing the first triangle, make sure the stroke is set to "none." Choose a color for the fill, such as black. Press the Shift key while drawing the triangle to keep it proportional.
Using the move tool, you can now position the triangle as desired. To create another triangle, hold down the Alt key while copying the first triangle. If you want to rotate the second triangle, press Control and T, then hold down the Shift key while rotating the triangle in 15° increments.
Repeat this process to create multiple triangles in different sizes and orientations. Make sure the spacing between the triangles is consistent so the design looks harmonious.

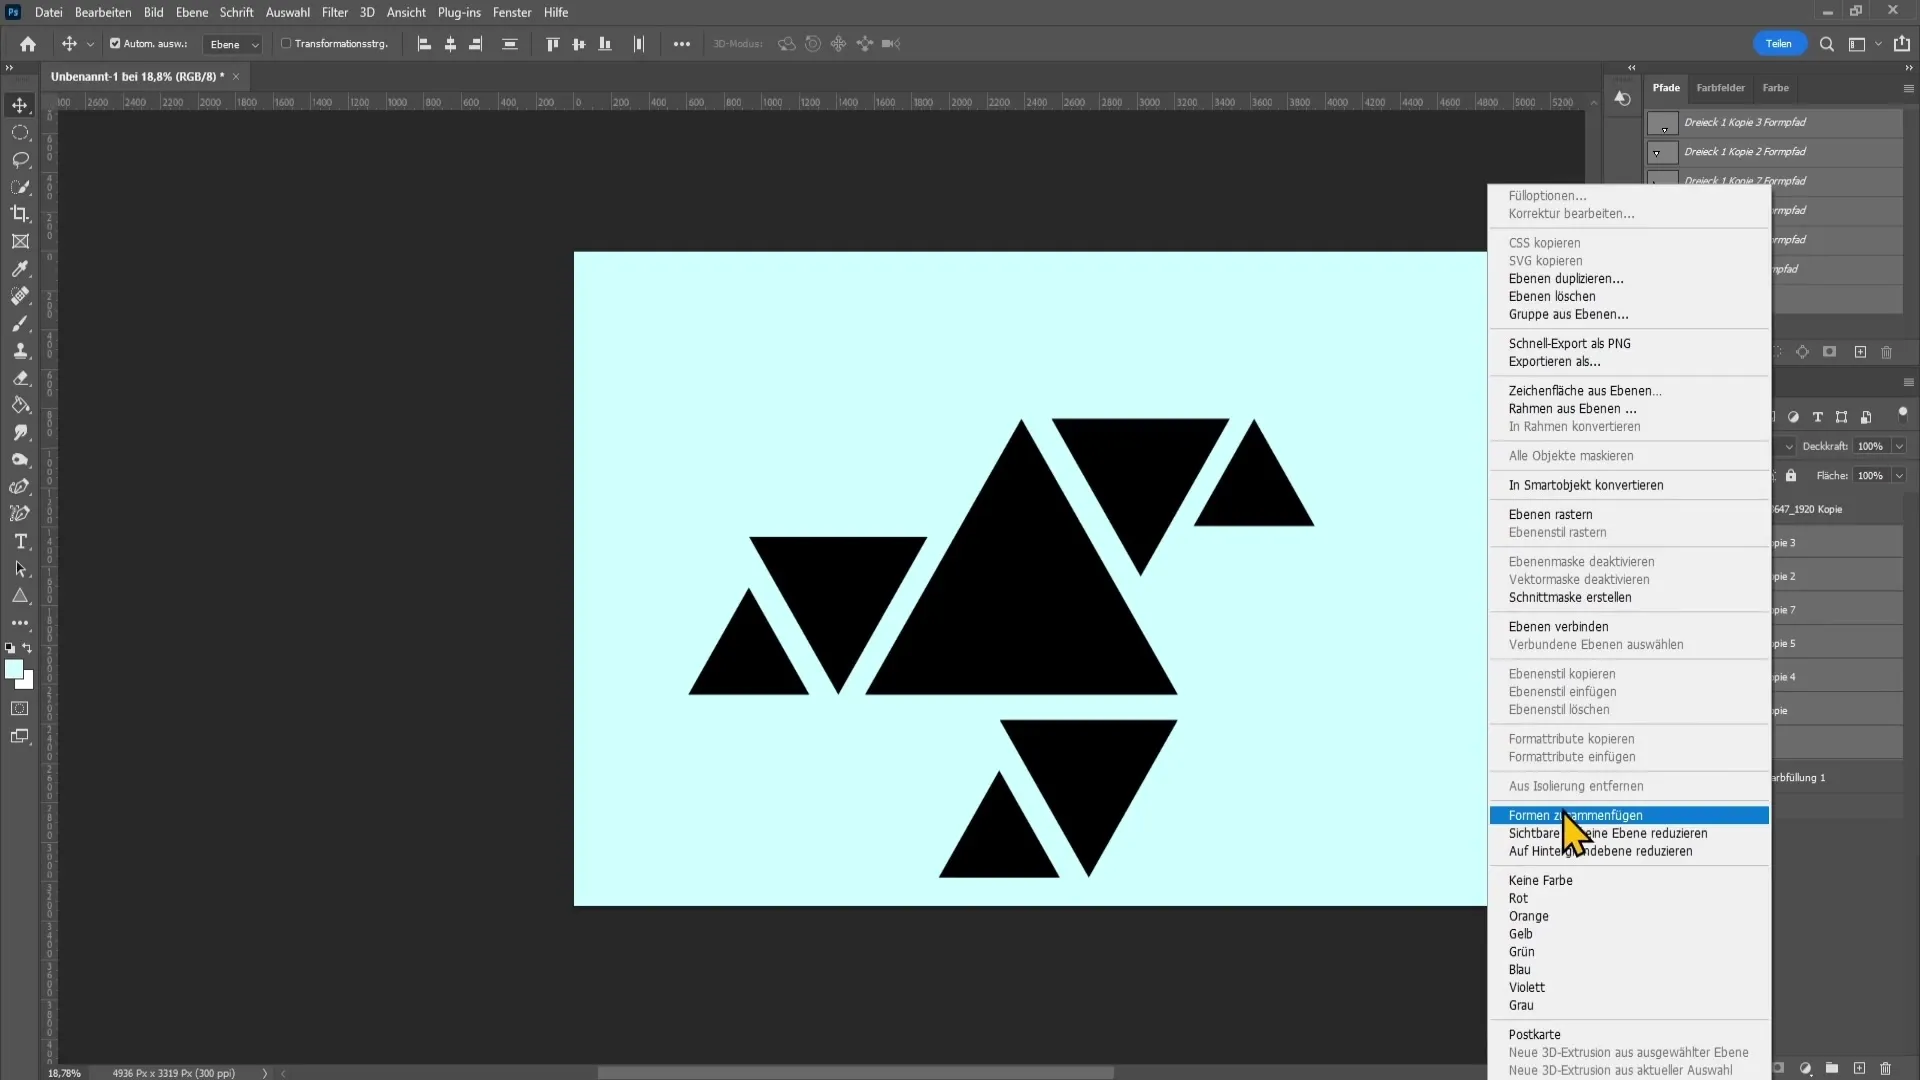
Once you're satisfied with the arrangement of the triangles, you can merge all shapes onto one layer. Select all relevant layers, right-click, and choose "Merge Shapes." Now you can move the entire group as a unit.
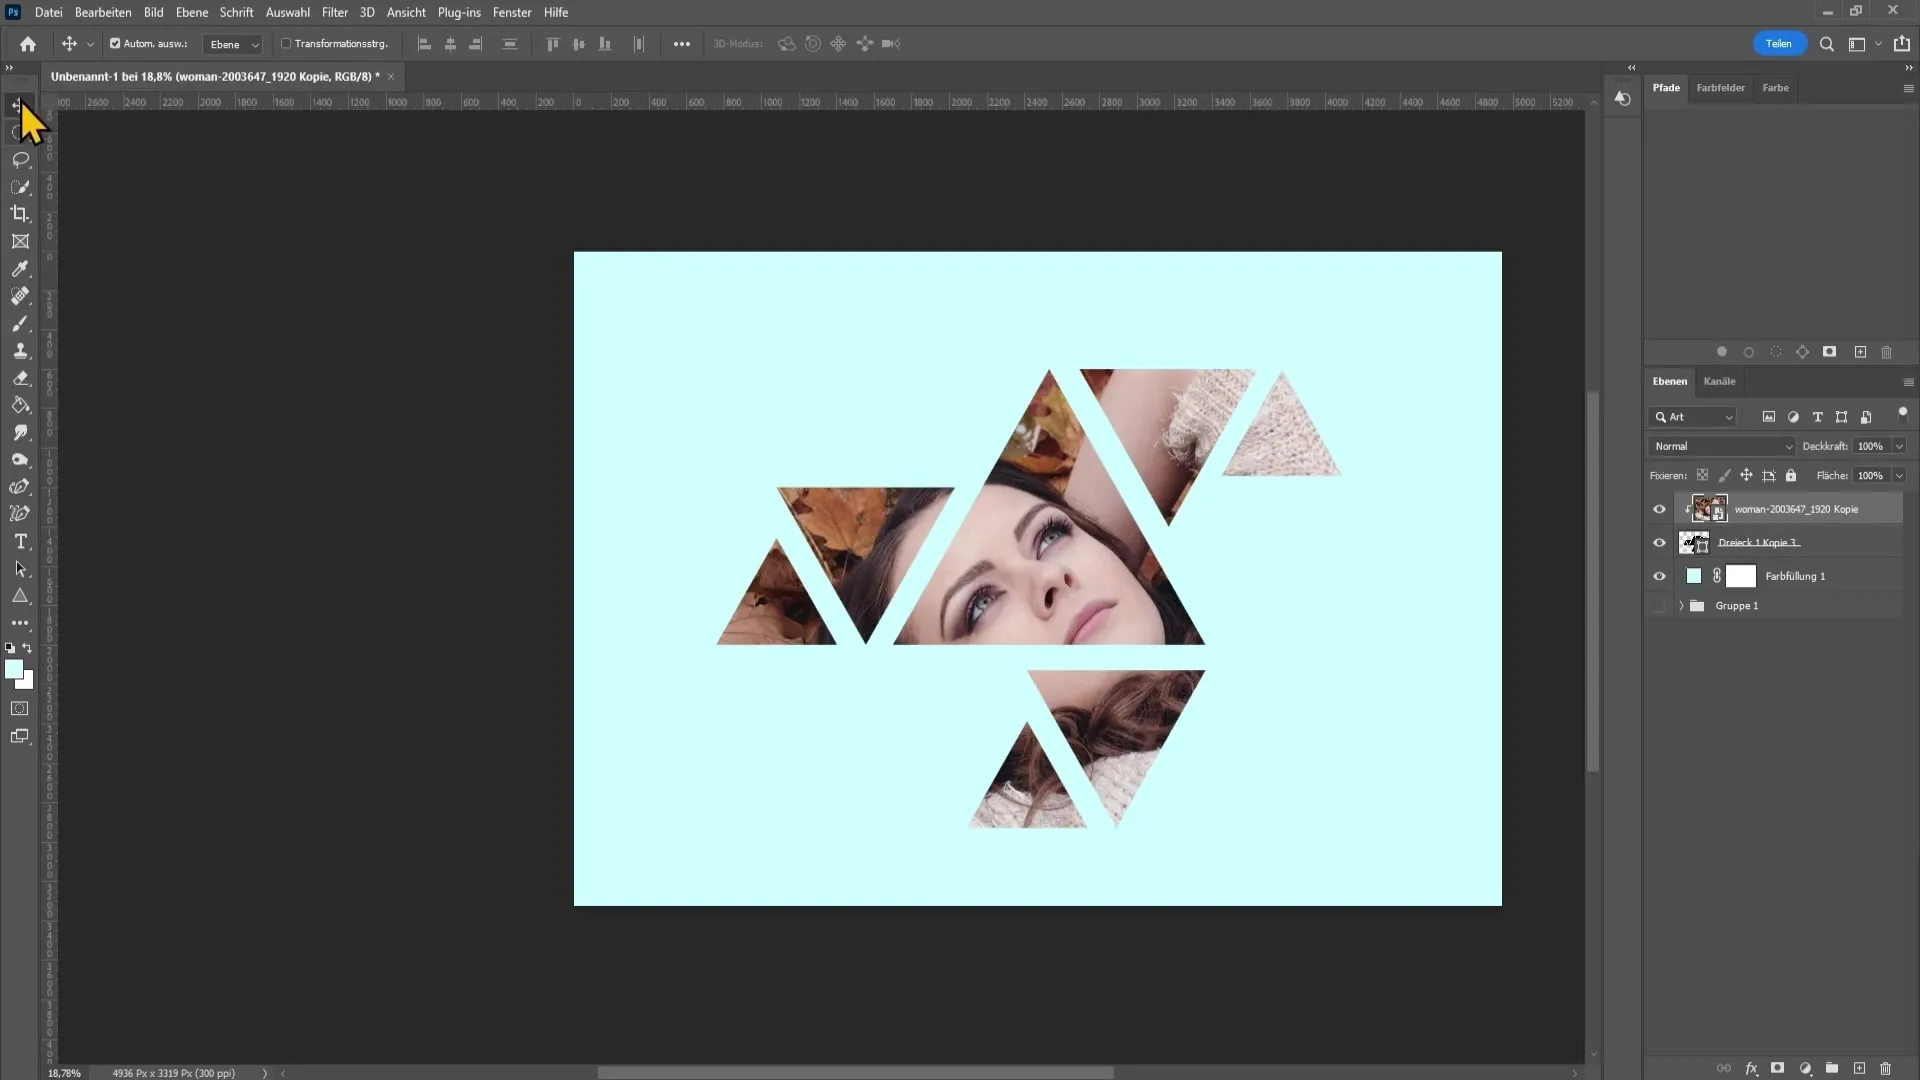
To link the shapes with your image, unhide the image. Hold down the Alt key and click between the image layer and the shape layer to create a clipping mask. This will make the image visible only within the shapes.
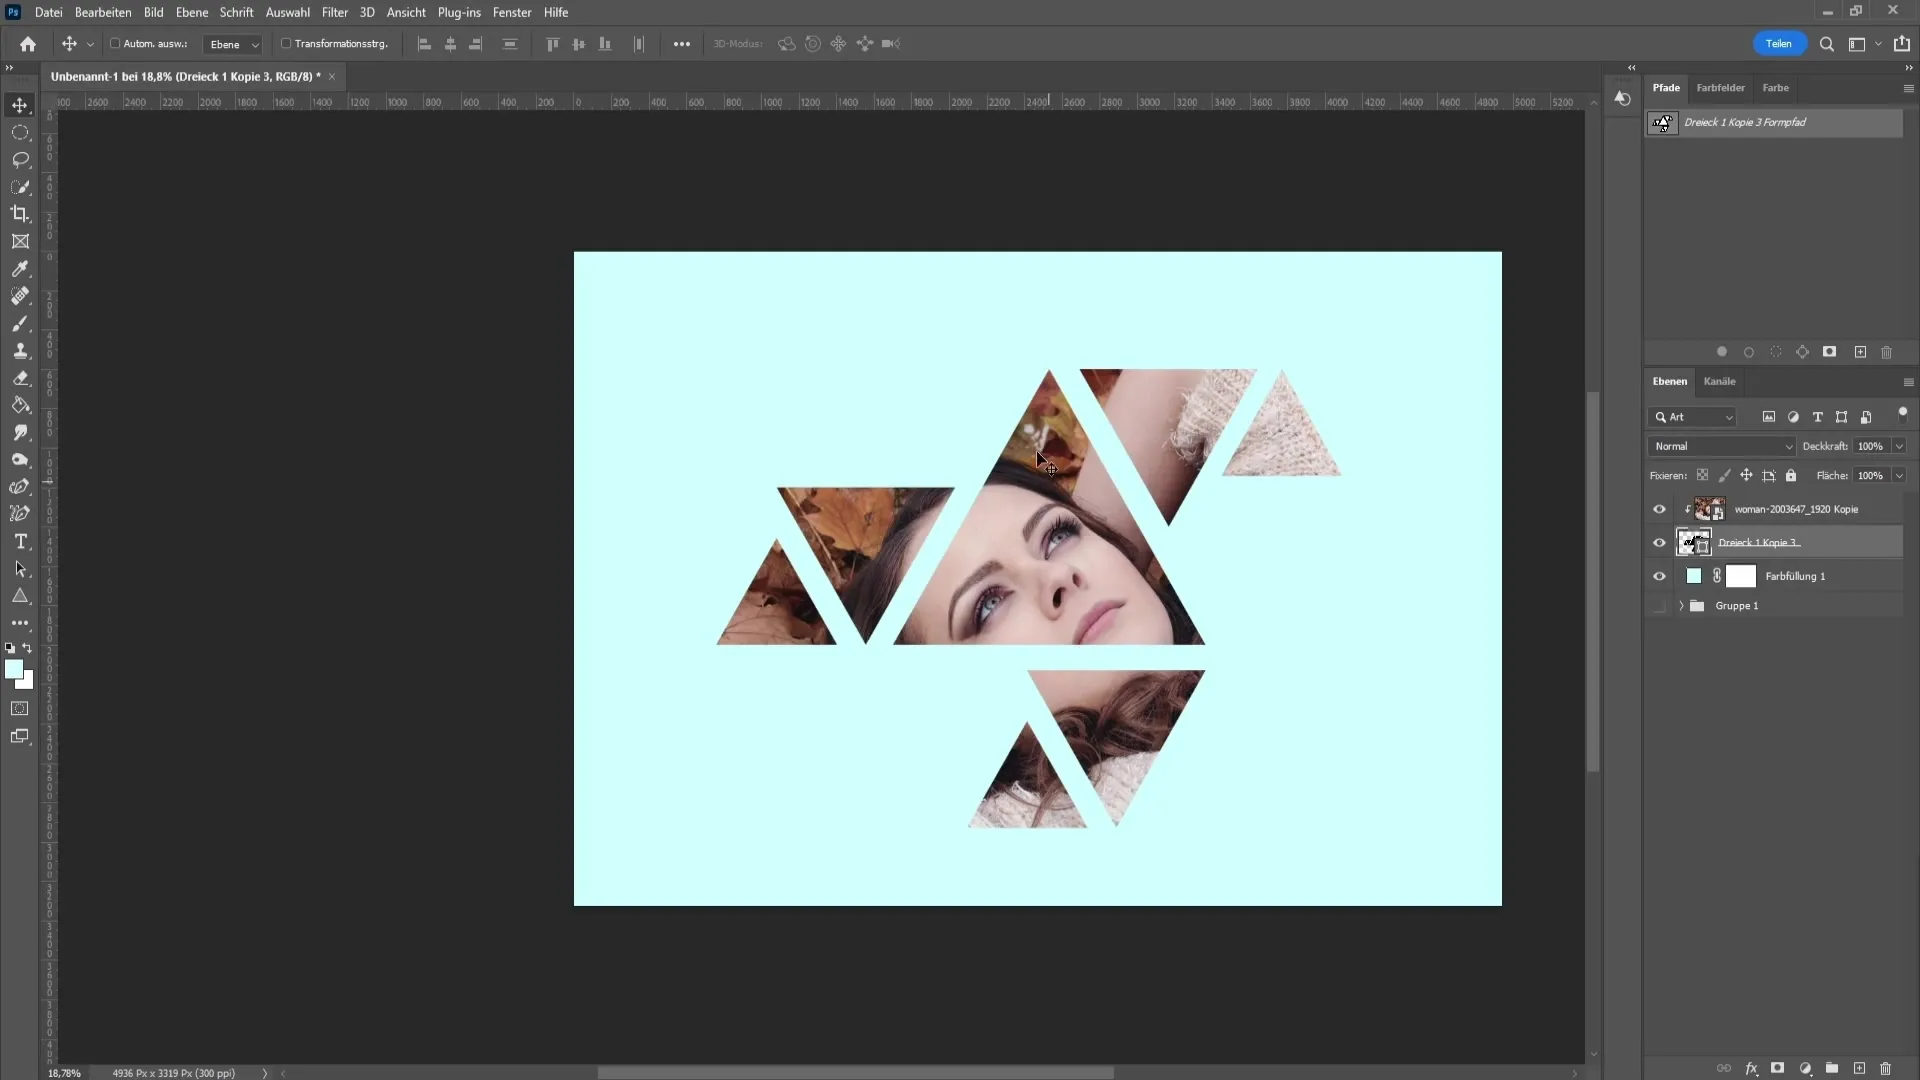
If you want to adjust the position of the shapes or the image, use the move tool. It's important to uncheck "Auto-select" so you can move the shapes and image independently.
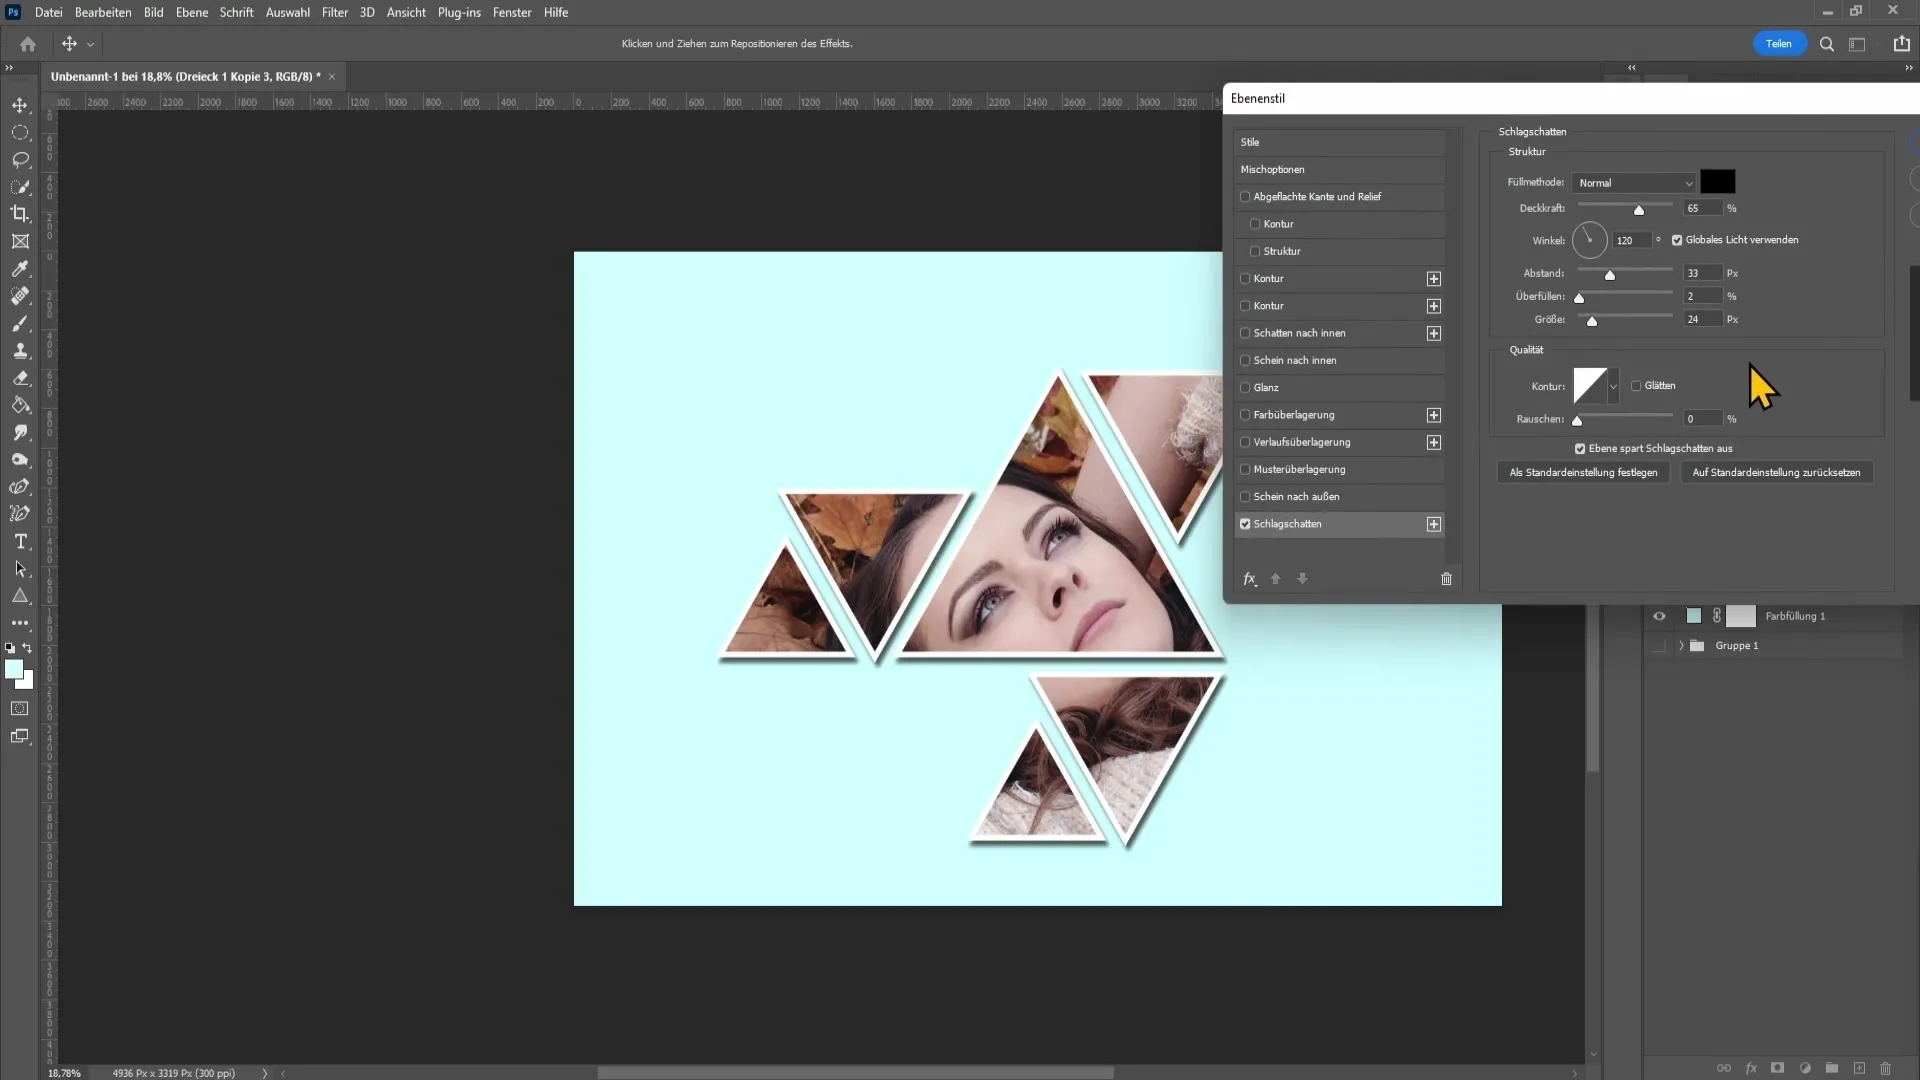
To add the finishing touches to your artwork, include a white outline and shadows to the shapes. Click on the shapes layer, go to properties, and select the outline. Set the color to white and adjust the size.
For the drop shadow, select the fill options again by right-clicking on the shapes layer. Enable the drop shadow and adjust the values to your liking. Once you're happy, confirm the changes.
You have now created your geometric photo! You can make adjustments at any time to bring even more creativity to your work.
Summary
In this tutorial, you have learned how to create an impressive geometric artwork in Photoshop using simple techniques. By adding shapes and colors, your image gets a new, creative look.
Frequently Asked Questions
How can I change the colors of the triangles?You can adjust the fill color of the shapes in the Properties panel.
Can I use other shapes as well?Yes, you can use any type of shape or tool in Photoshop.
How do I save my project?Go to File > Save As and choose the desired format.
Do I need to merge my layers?Merging the layers is not necessary but it makes handling your work easier.
Can I edit the image later?Yes, as long as you keep the original layers or save it in an editable format.


